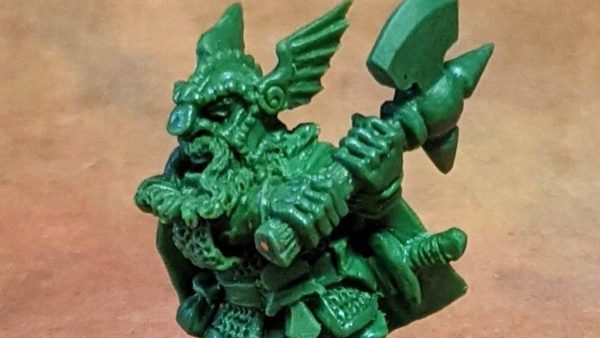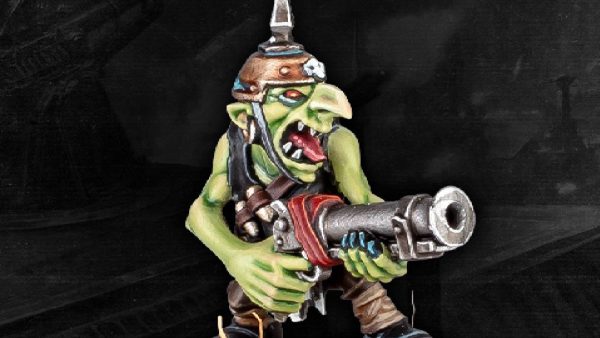


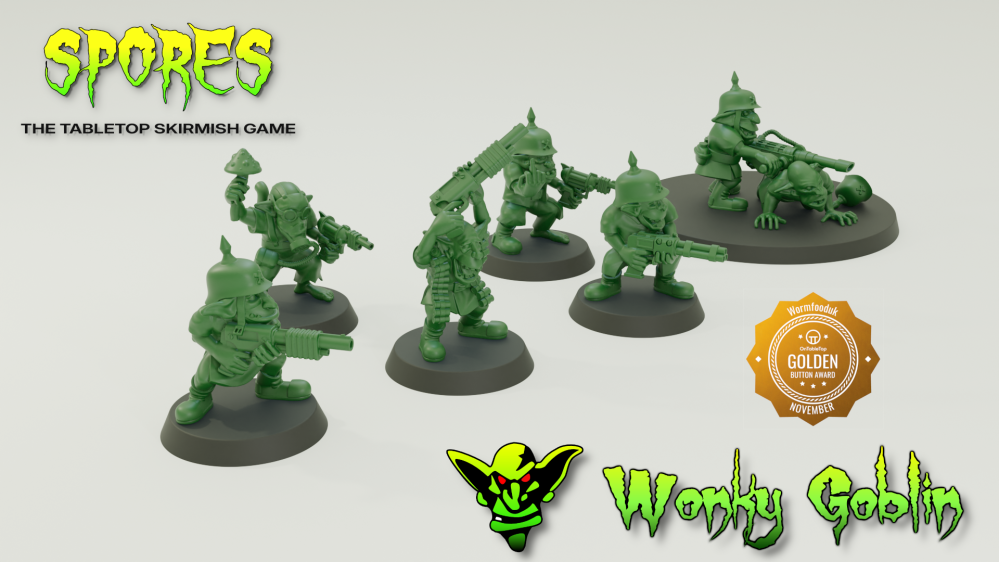
Goblins in Nostalgic style (3d printable)


Recommendations: 1362
About the Project
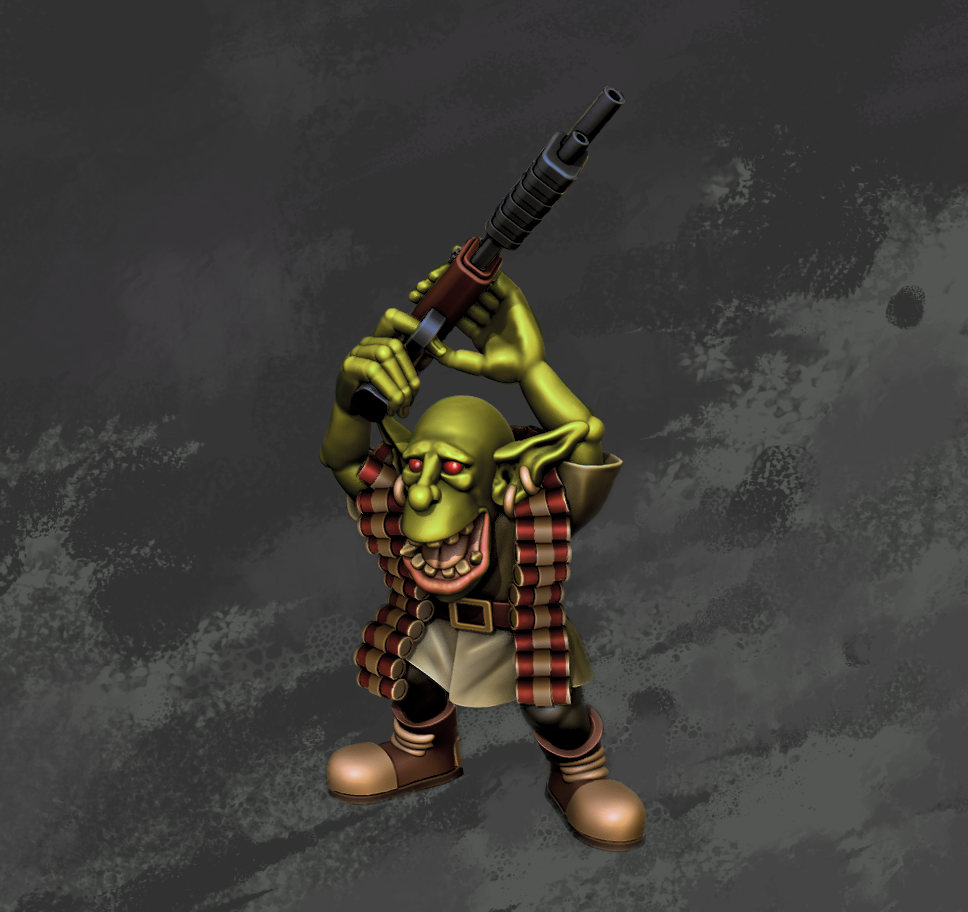
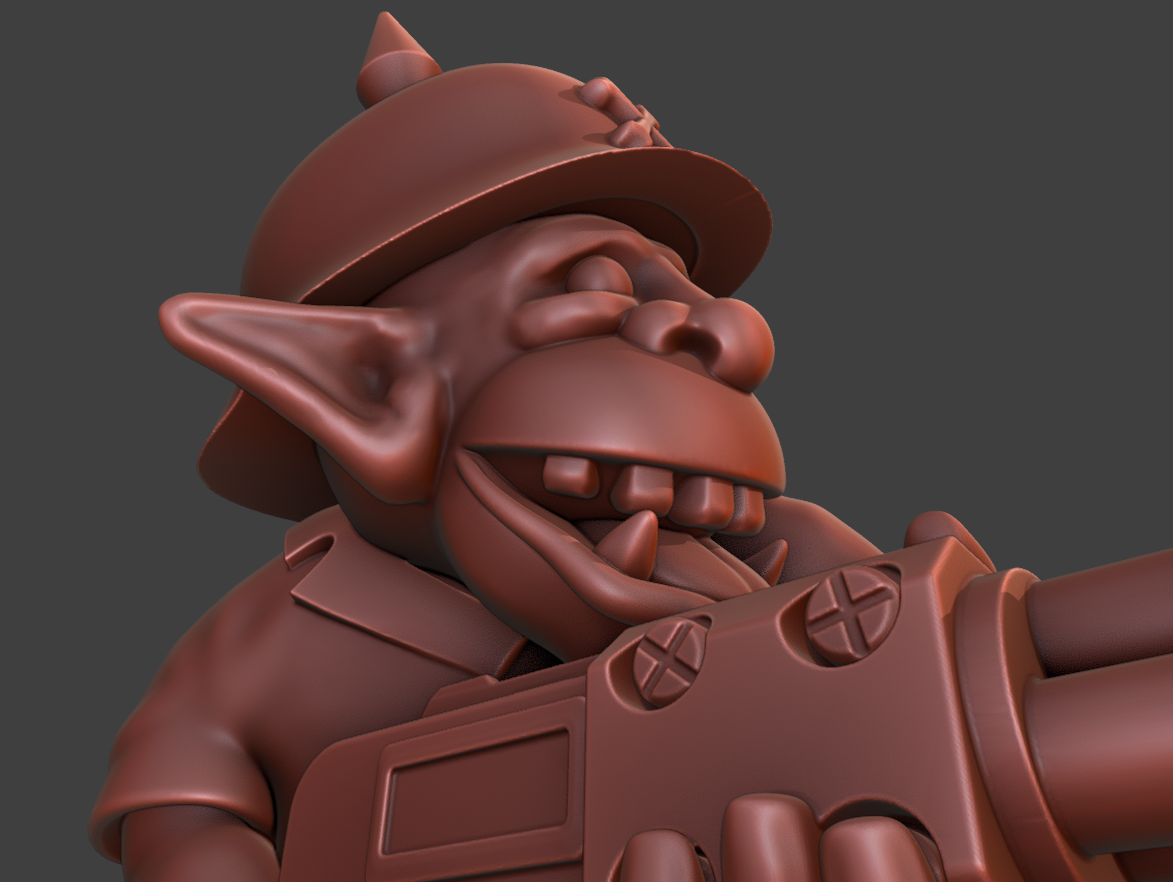
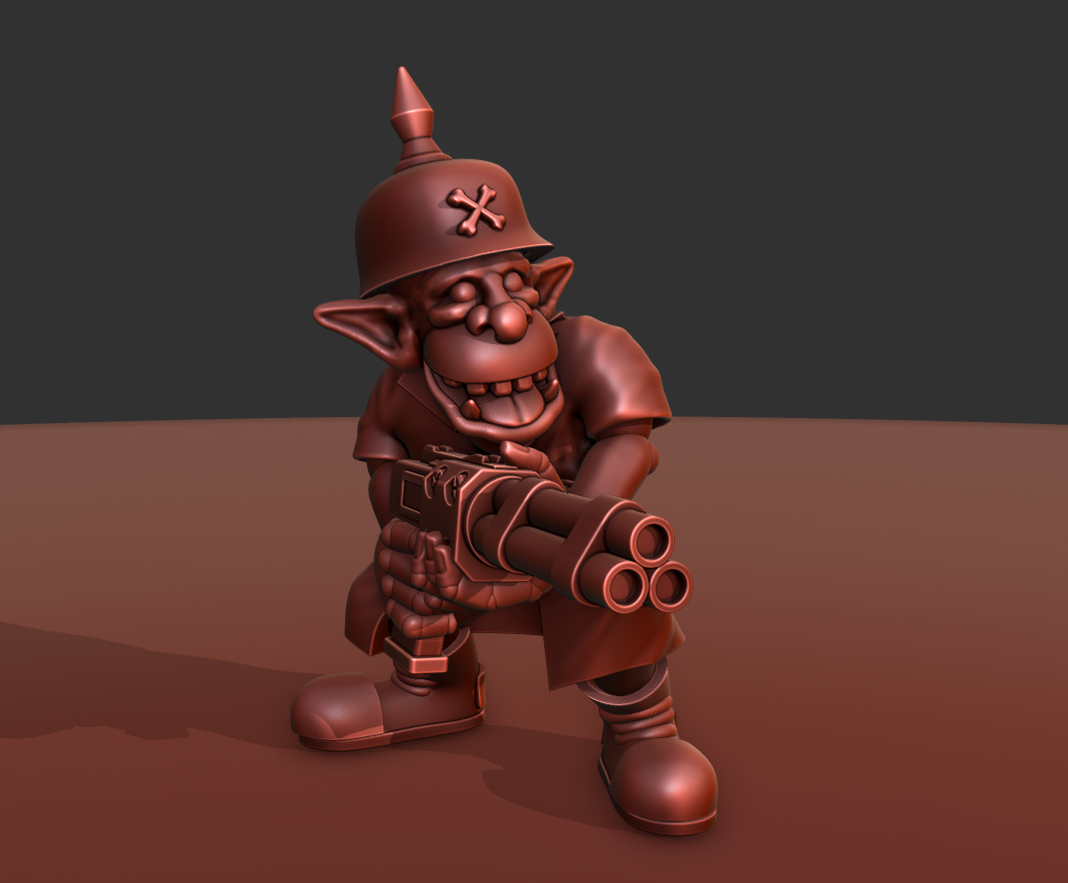
3d Printable Goblin project, Sculpted in Blender and test printed on a Anycubic Photon 4k mono. Loving old style full of Character minis from the eighties and early nineties, I decided that the modern goblins just didn't inspire me. So I figured I'd try my hand at making my own.
Related Game: Warhammer 40,000
Related Company: Games Workshop
Related Genre: Science Fiction
This Project is Active
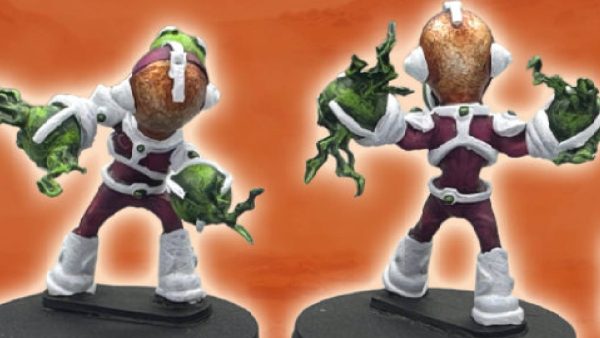
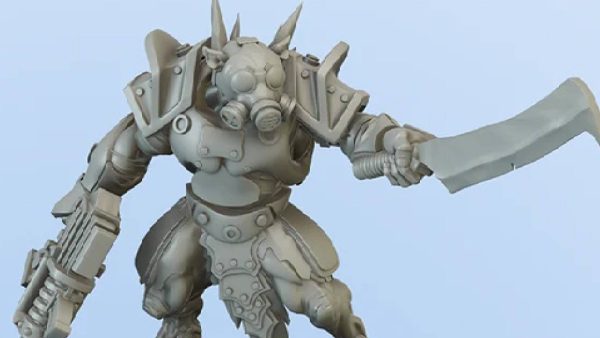
Improving the gas mask using a ww1 mask as inspiration
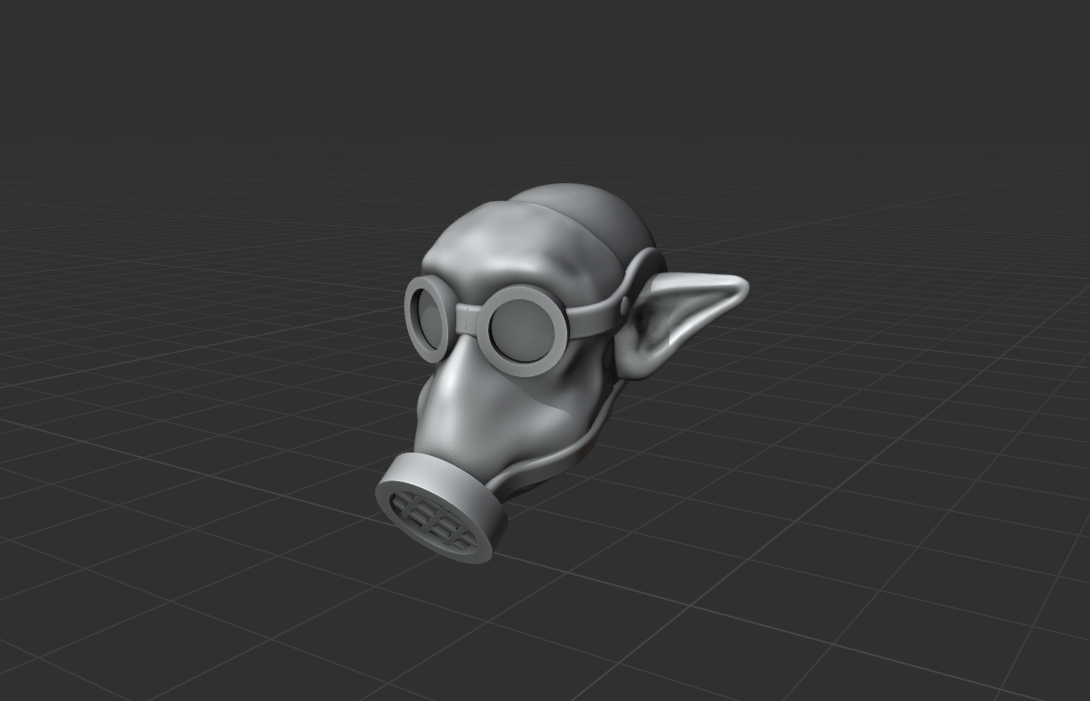
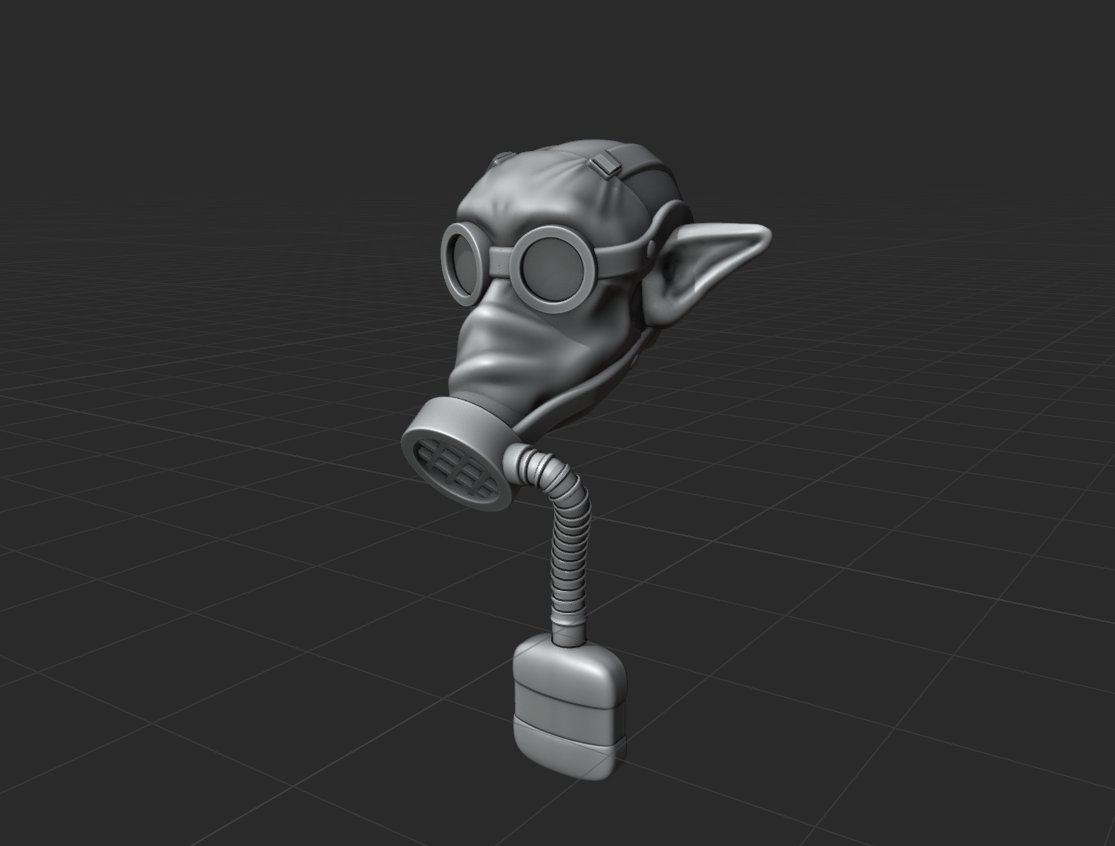
The gas mask wasn’t looking at all like I wanted, So a quick google search for some reference and now I’m much happier.
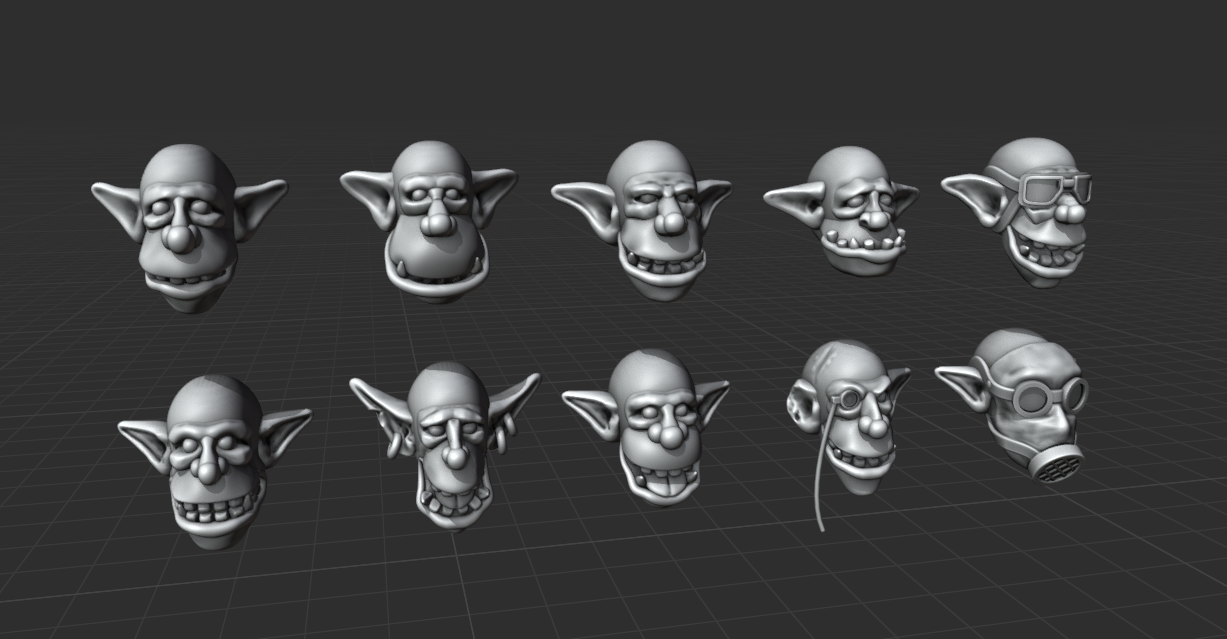
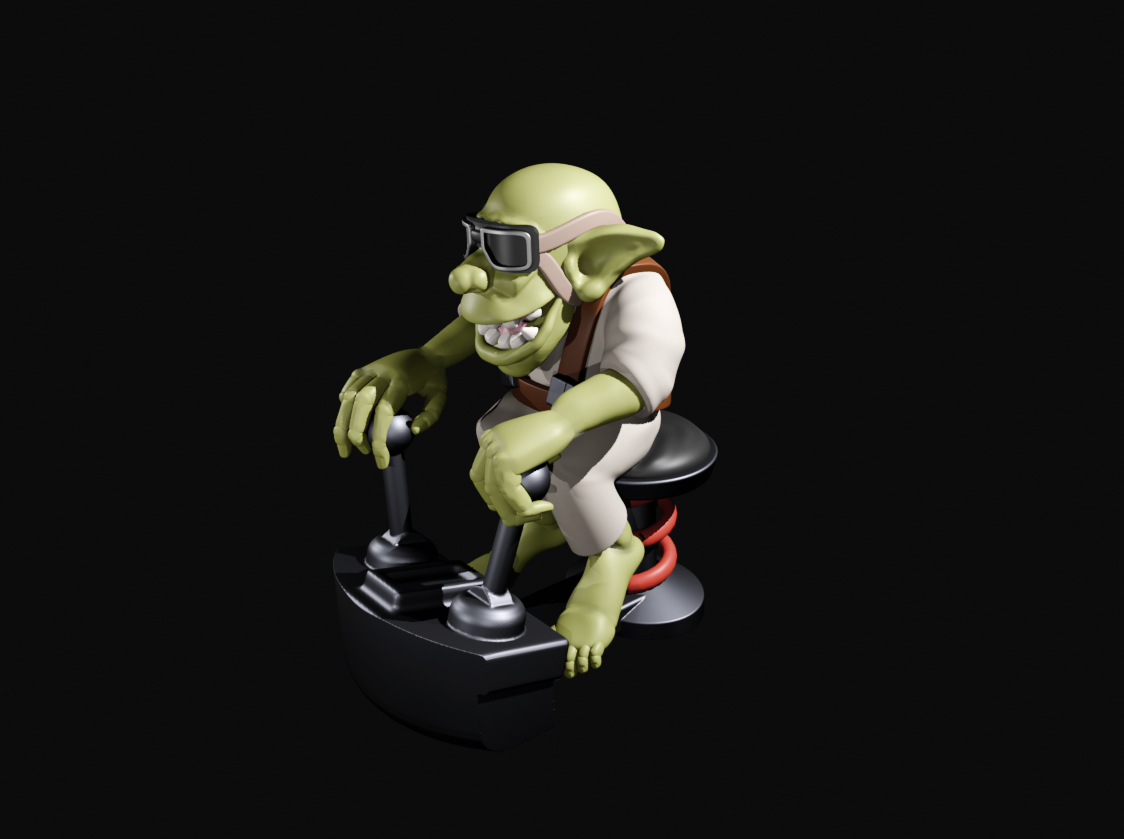
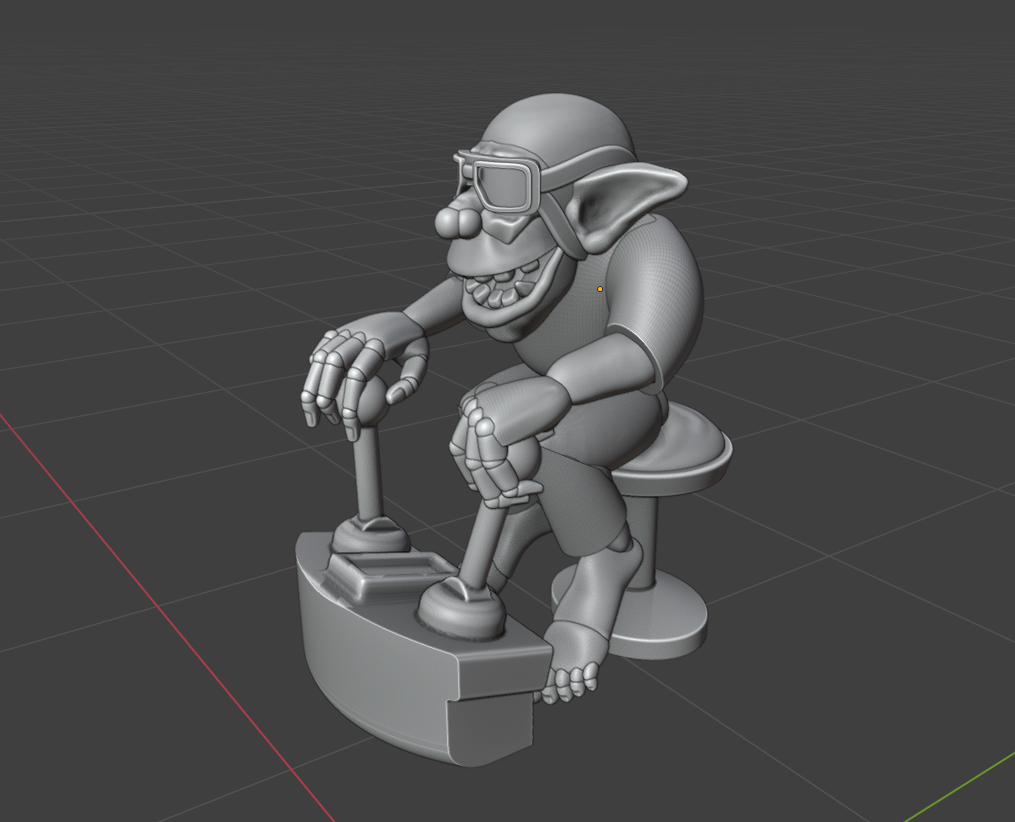
Updates to heads including one in gas mask
 still need to add pipe for gas mask
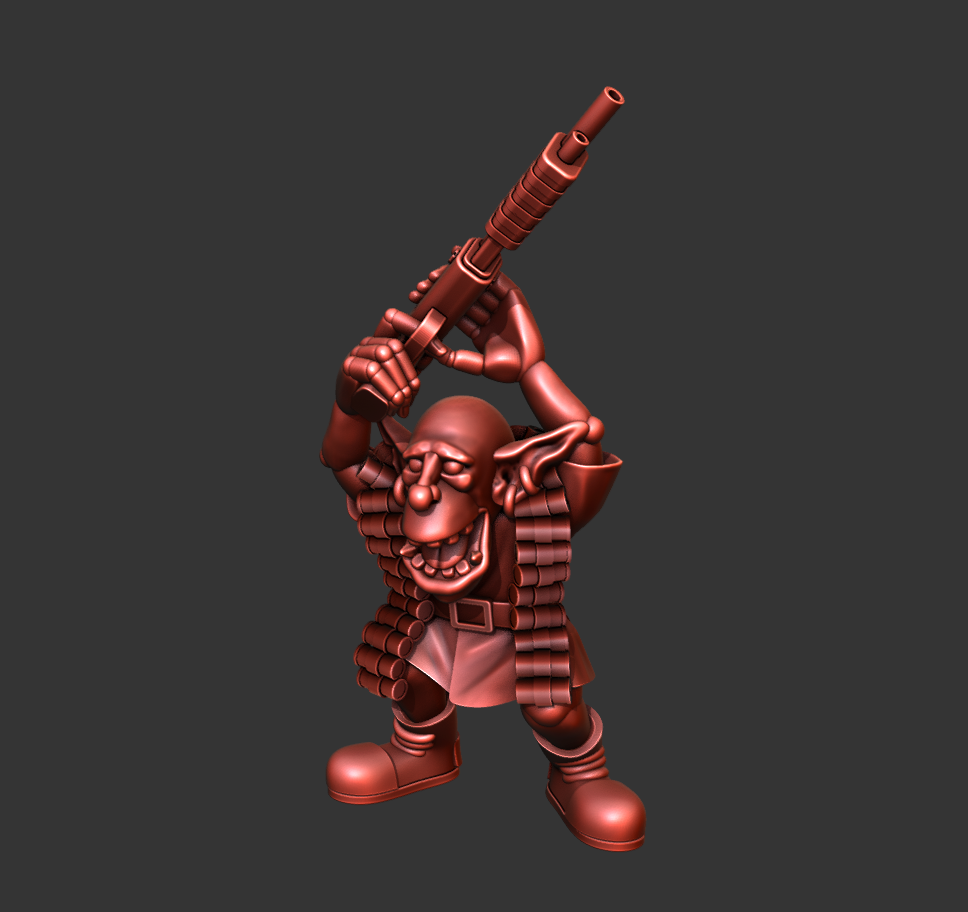
Lots of work with nothing to show
 Repairs to meshes and reduction in polygons.
One model completely combined 25 to go
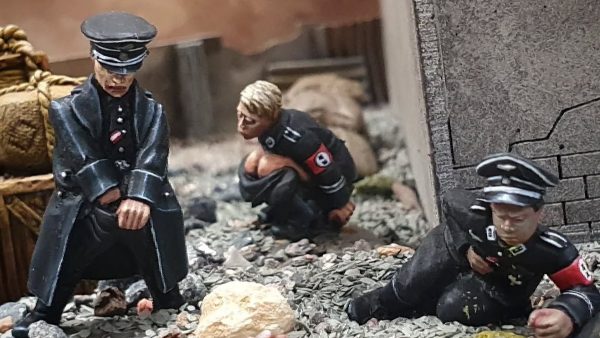
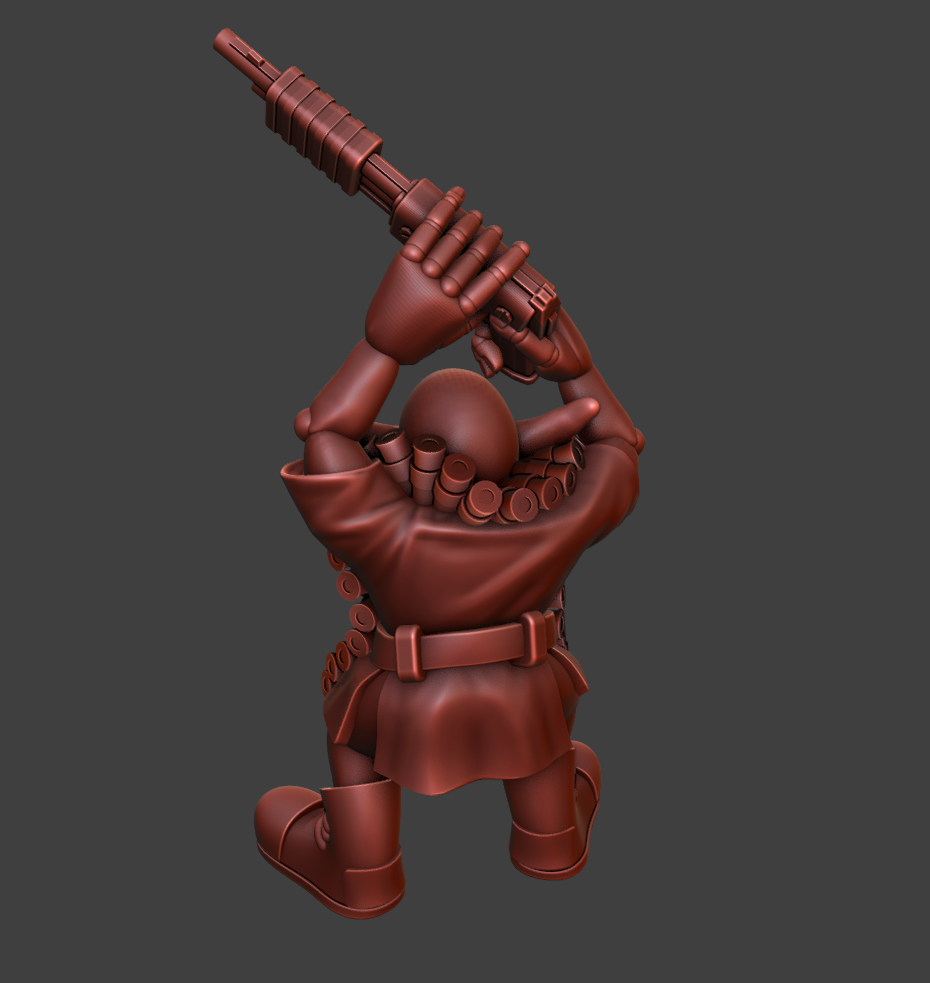
 top of mouth filled and behind teeth. Helmet also filled and combined.
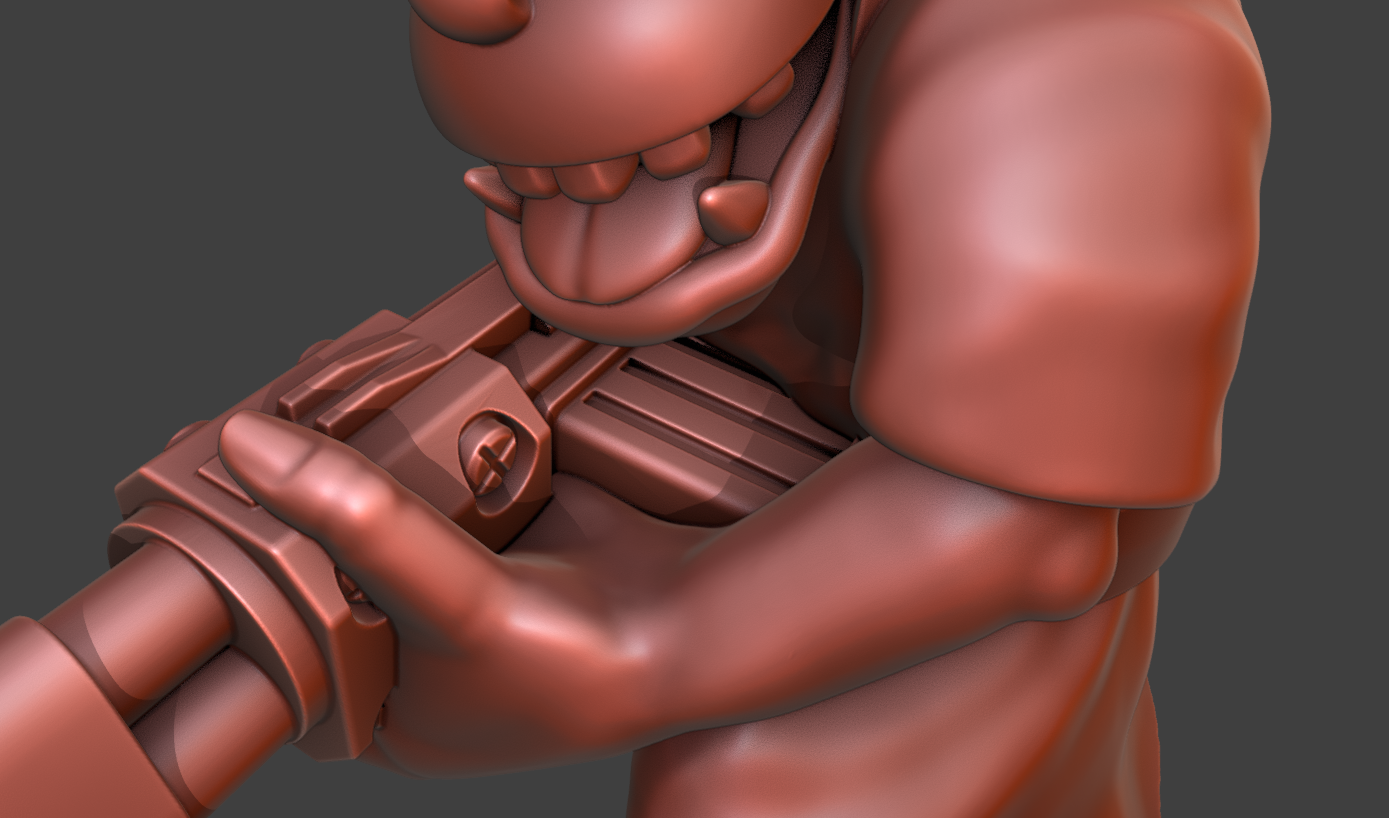 No hole between gun and body, no gaps between fingers and gun
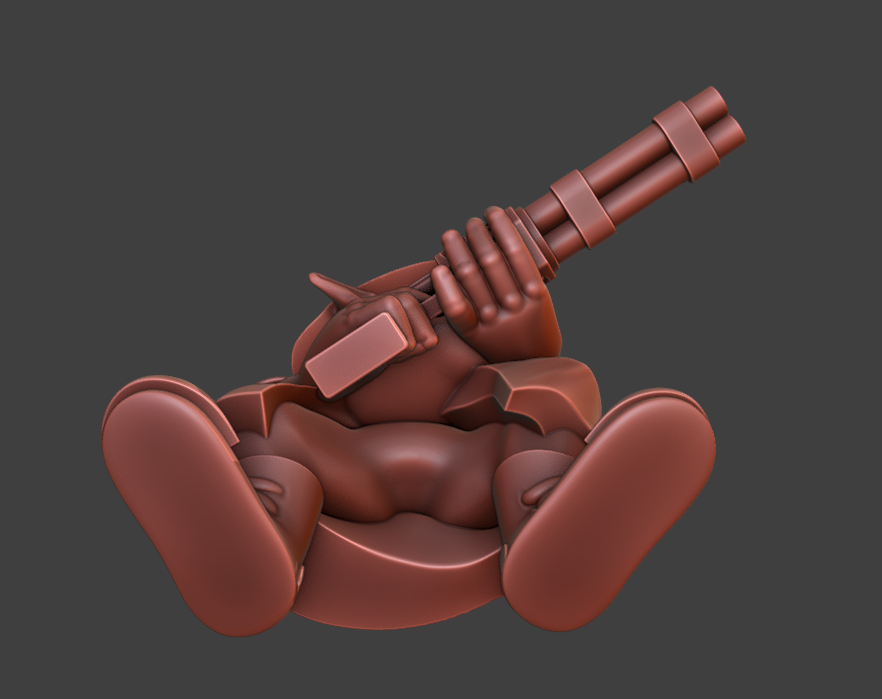 under model all smoothed out so no odd angles to paint.
The slow bit.... Cleanup
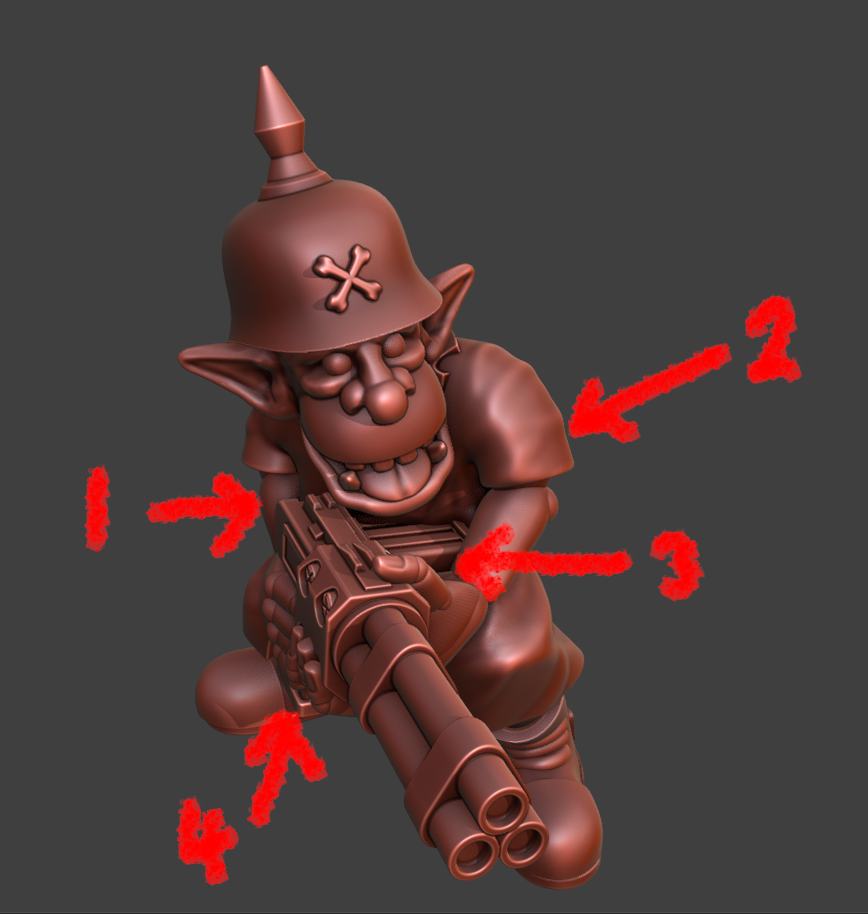 Closing gaps and making it all one piece. This takes time.
- Moved arm against body and added a shape to fill gap between body and gun.
- Filled out jacket under arm to fill gap.
- Filled under mag with a solid layer that also removed small gap between right hand and gun.
- Pushed all the inside surfaces of fingers to join with the gun.
Still to do …
Gap between helmet and head.
Combine arms, hands and fingers.
Combine whole model and add final details.