


Collins Does Scarif Table Build


Recommendations: 235
About the Project
In this project I plan to build something that reasonably looks like it could be the Planet Scarif from Rouge One: A Star Wars Story. Currently one of the best Star Wars battle scenes on the big screen.
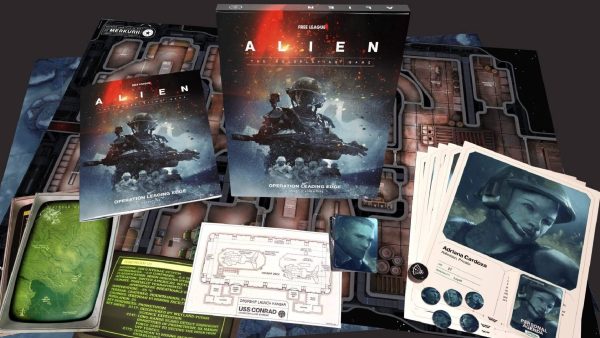
Related Game: Star Wars: Legion
Related Company: Fantasy Flight Games
Related Genre: Science Fiction
This Project is Completed
The Making! Part 3
With the ground and debris sorted it was time to move onto the trees and foliage of the whole affair!
Here are the topiary balls I got from The Range and Homebase. Not cheap but when you look at how much terrain you can get out of one ball they suddenly become very efficient. even more so if you can find them in a sale!
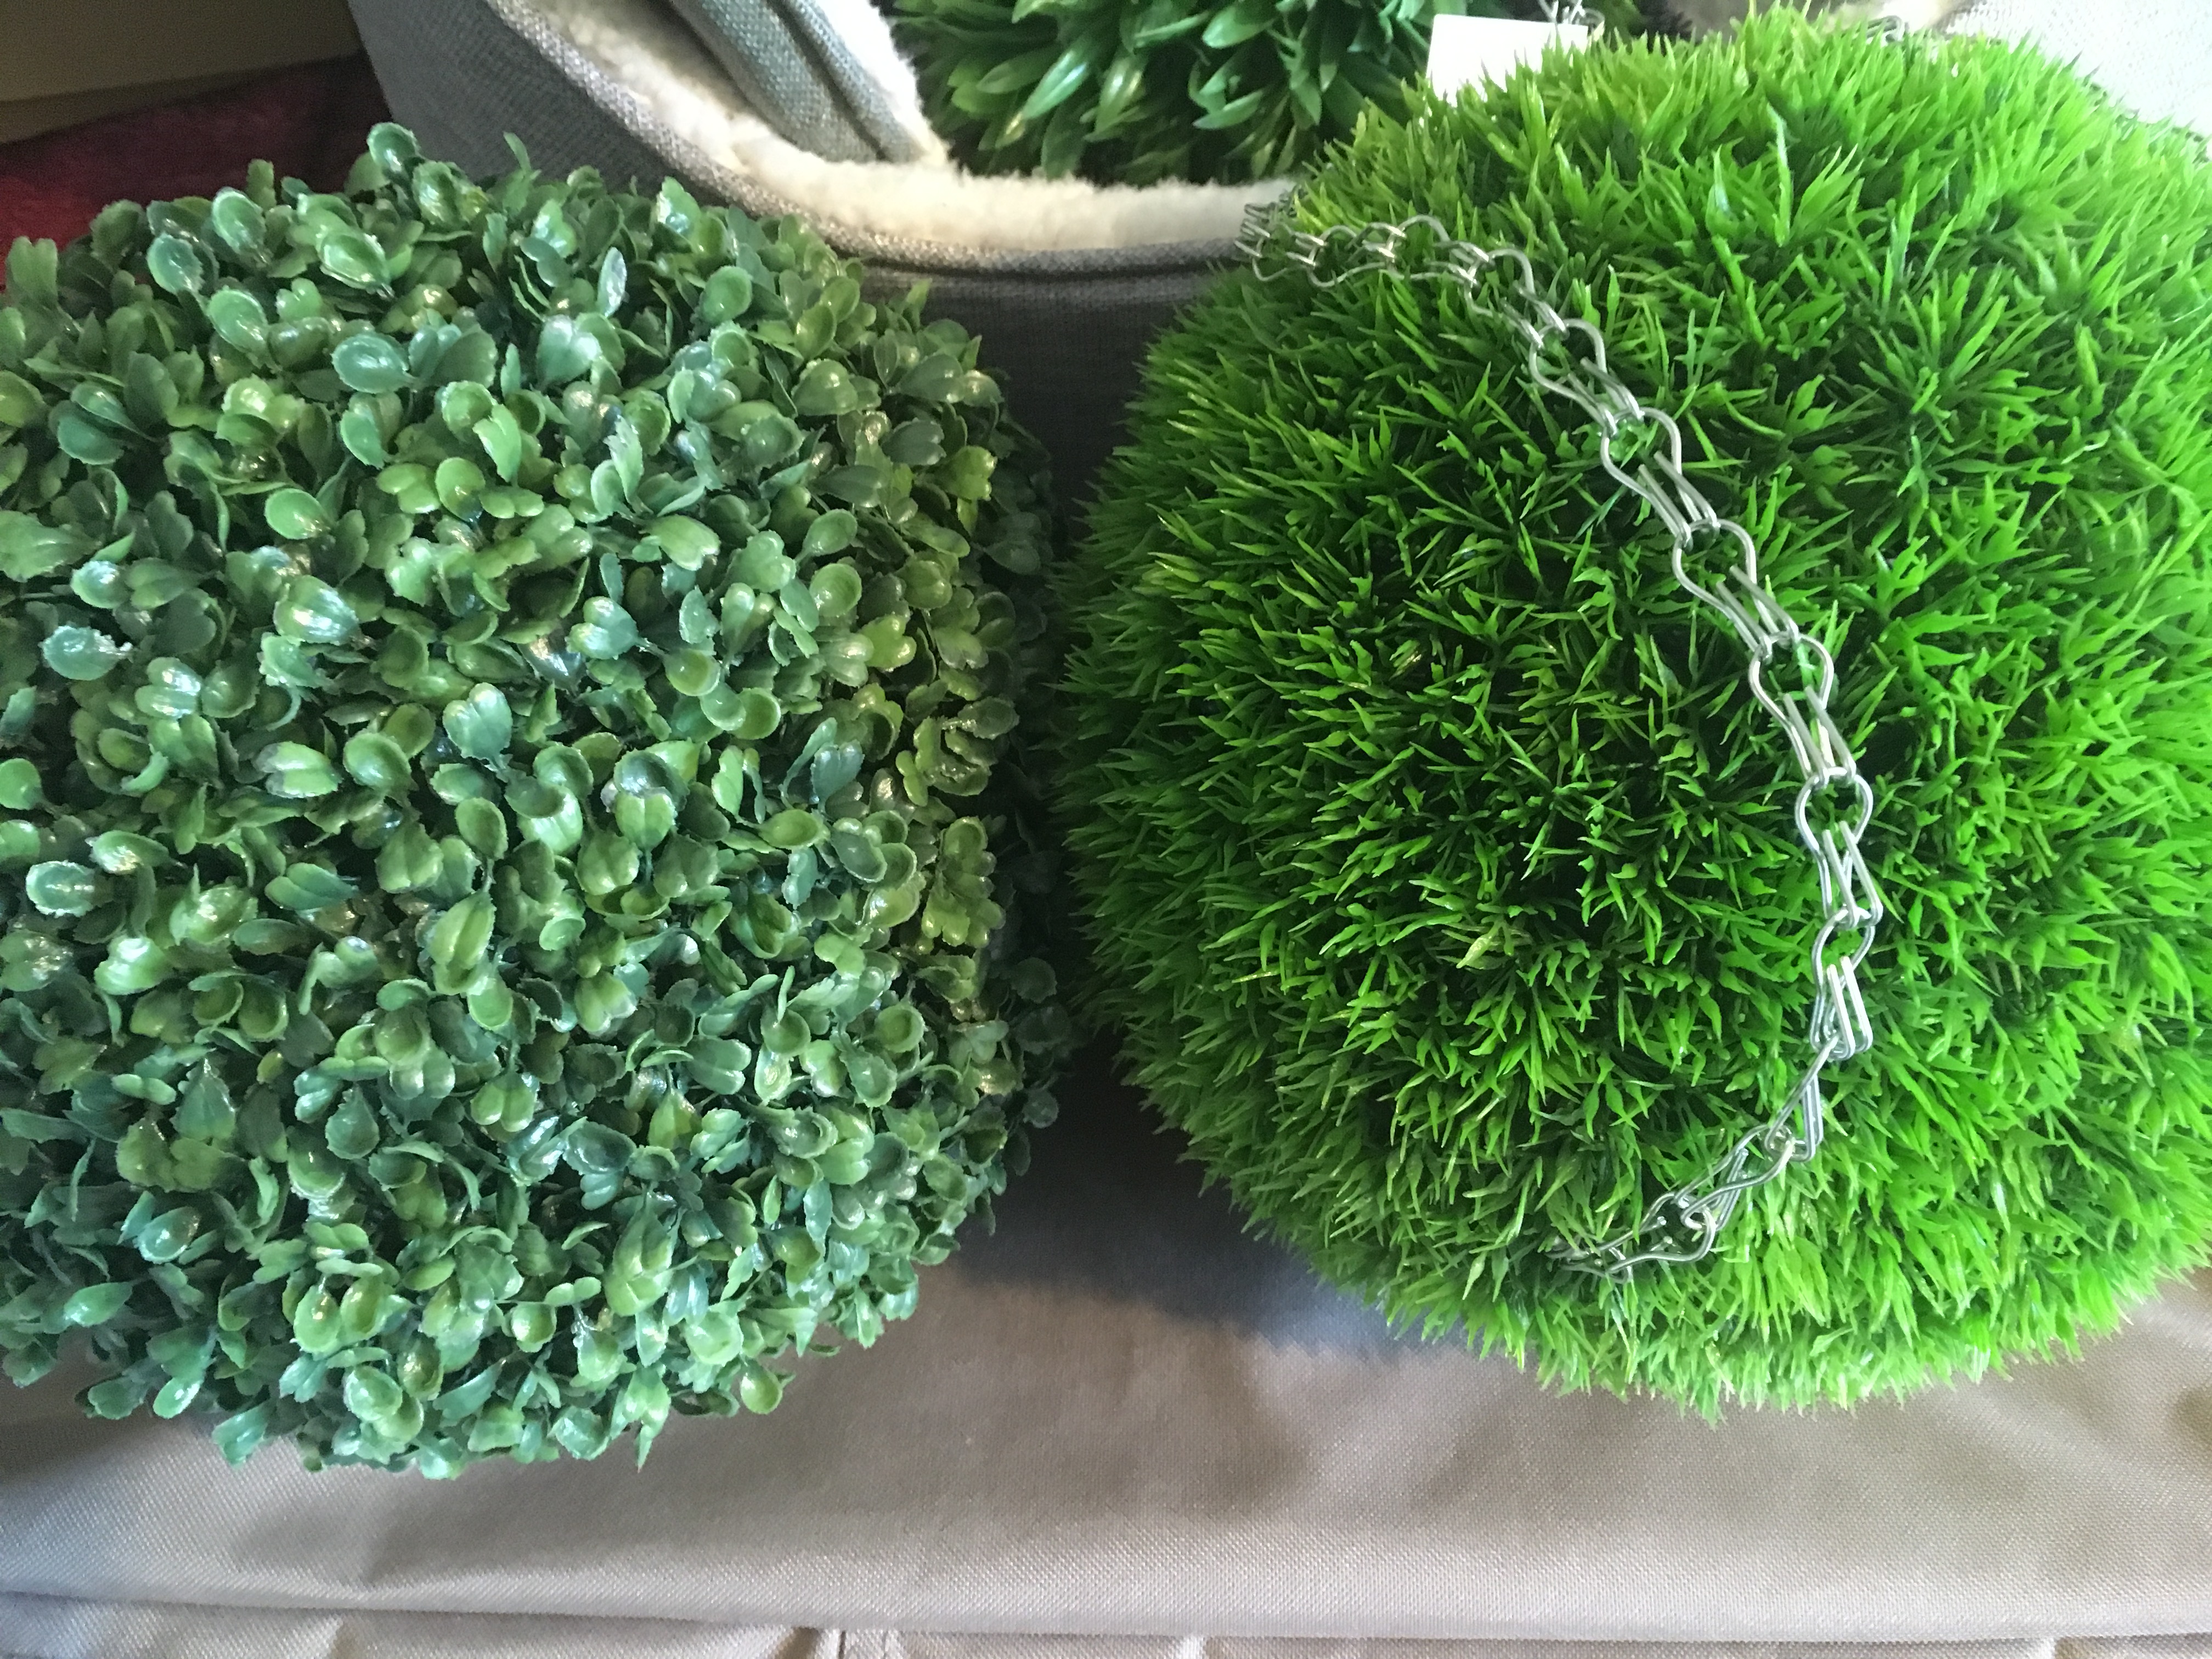 the plastic garden balls
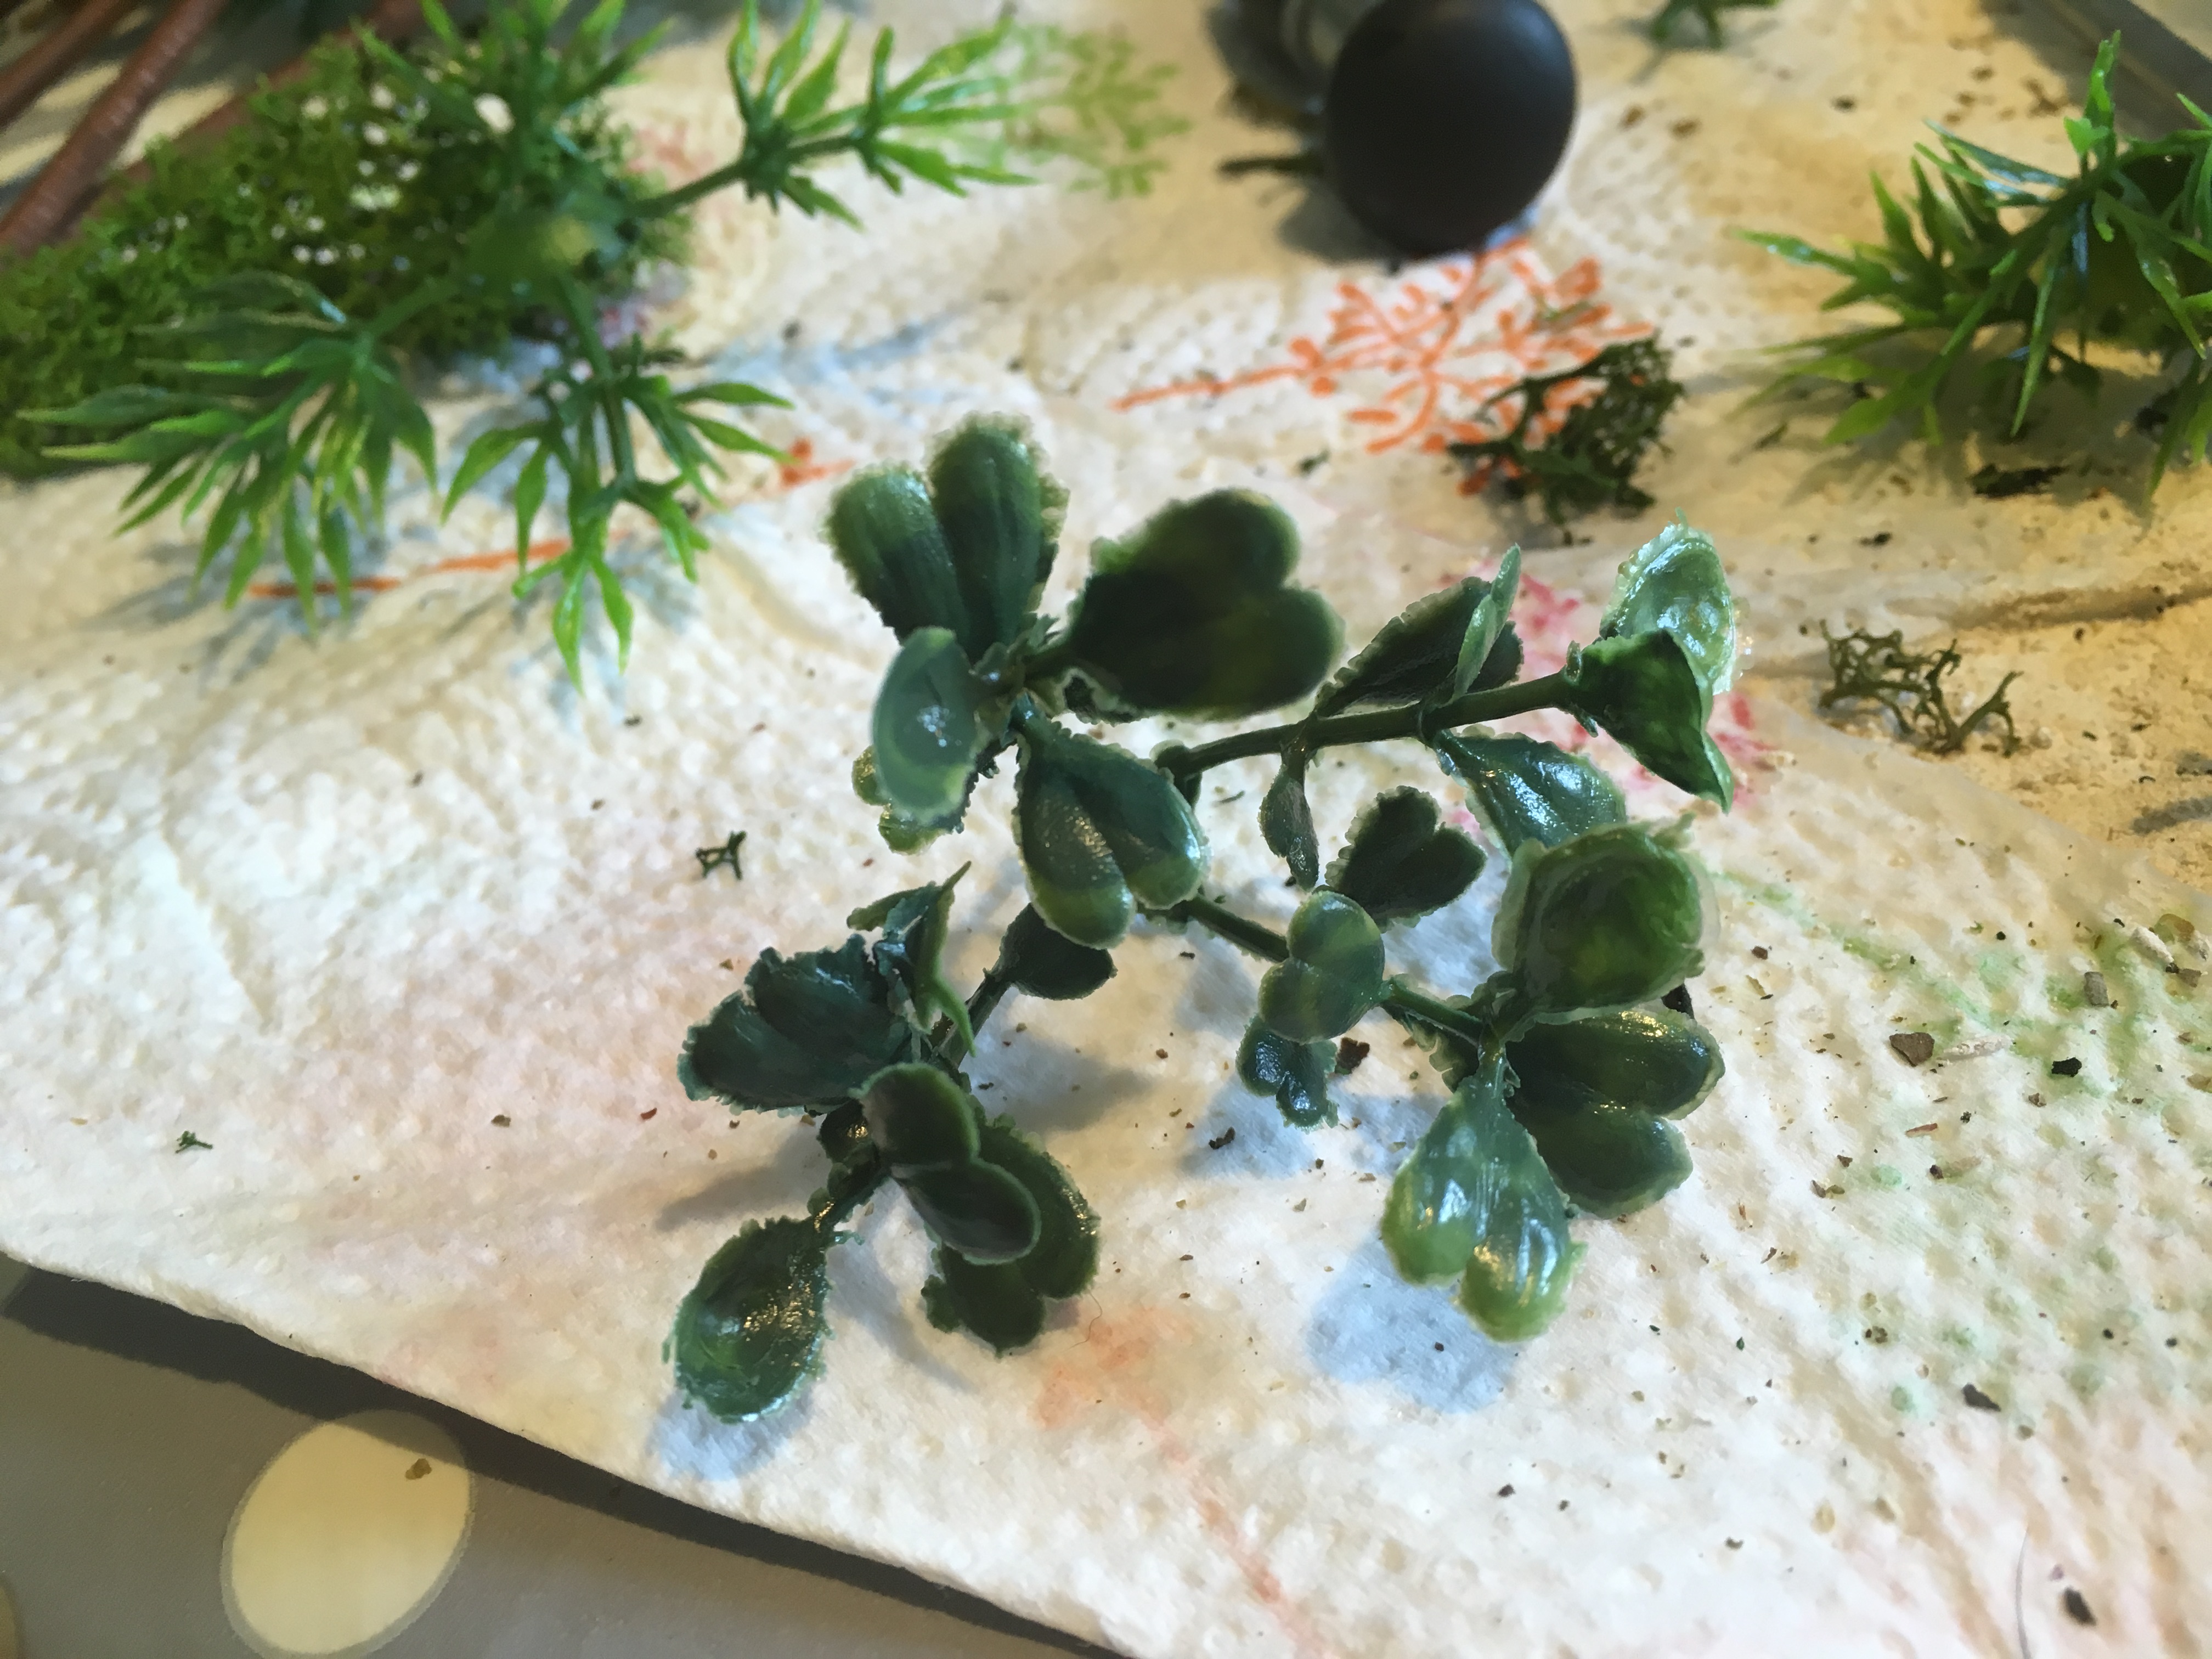 quite big leaves, must be used for plants that have leaves the size of heads
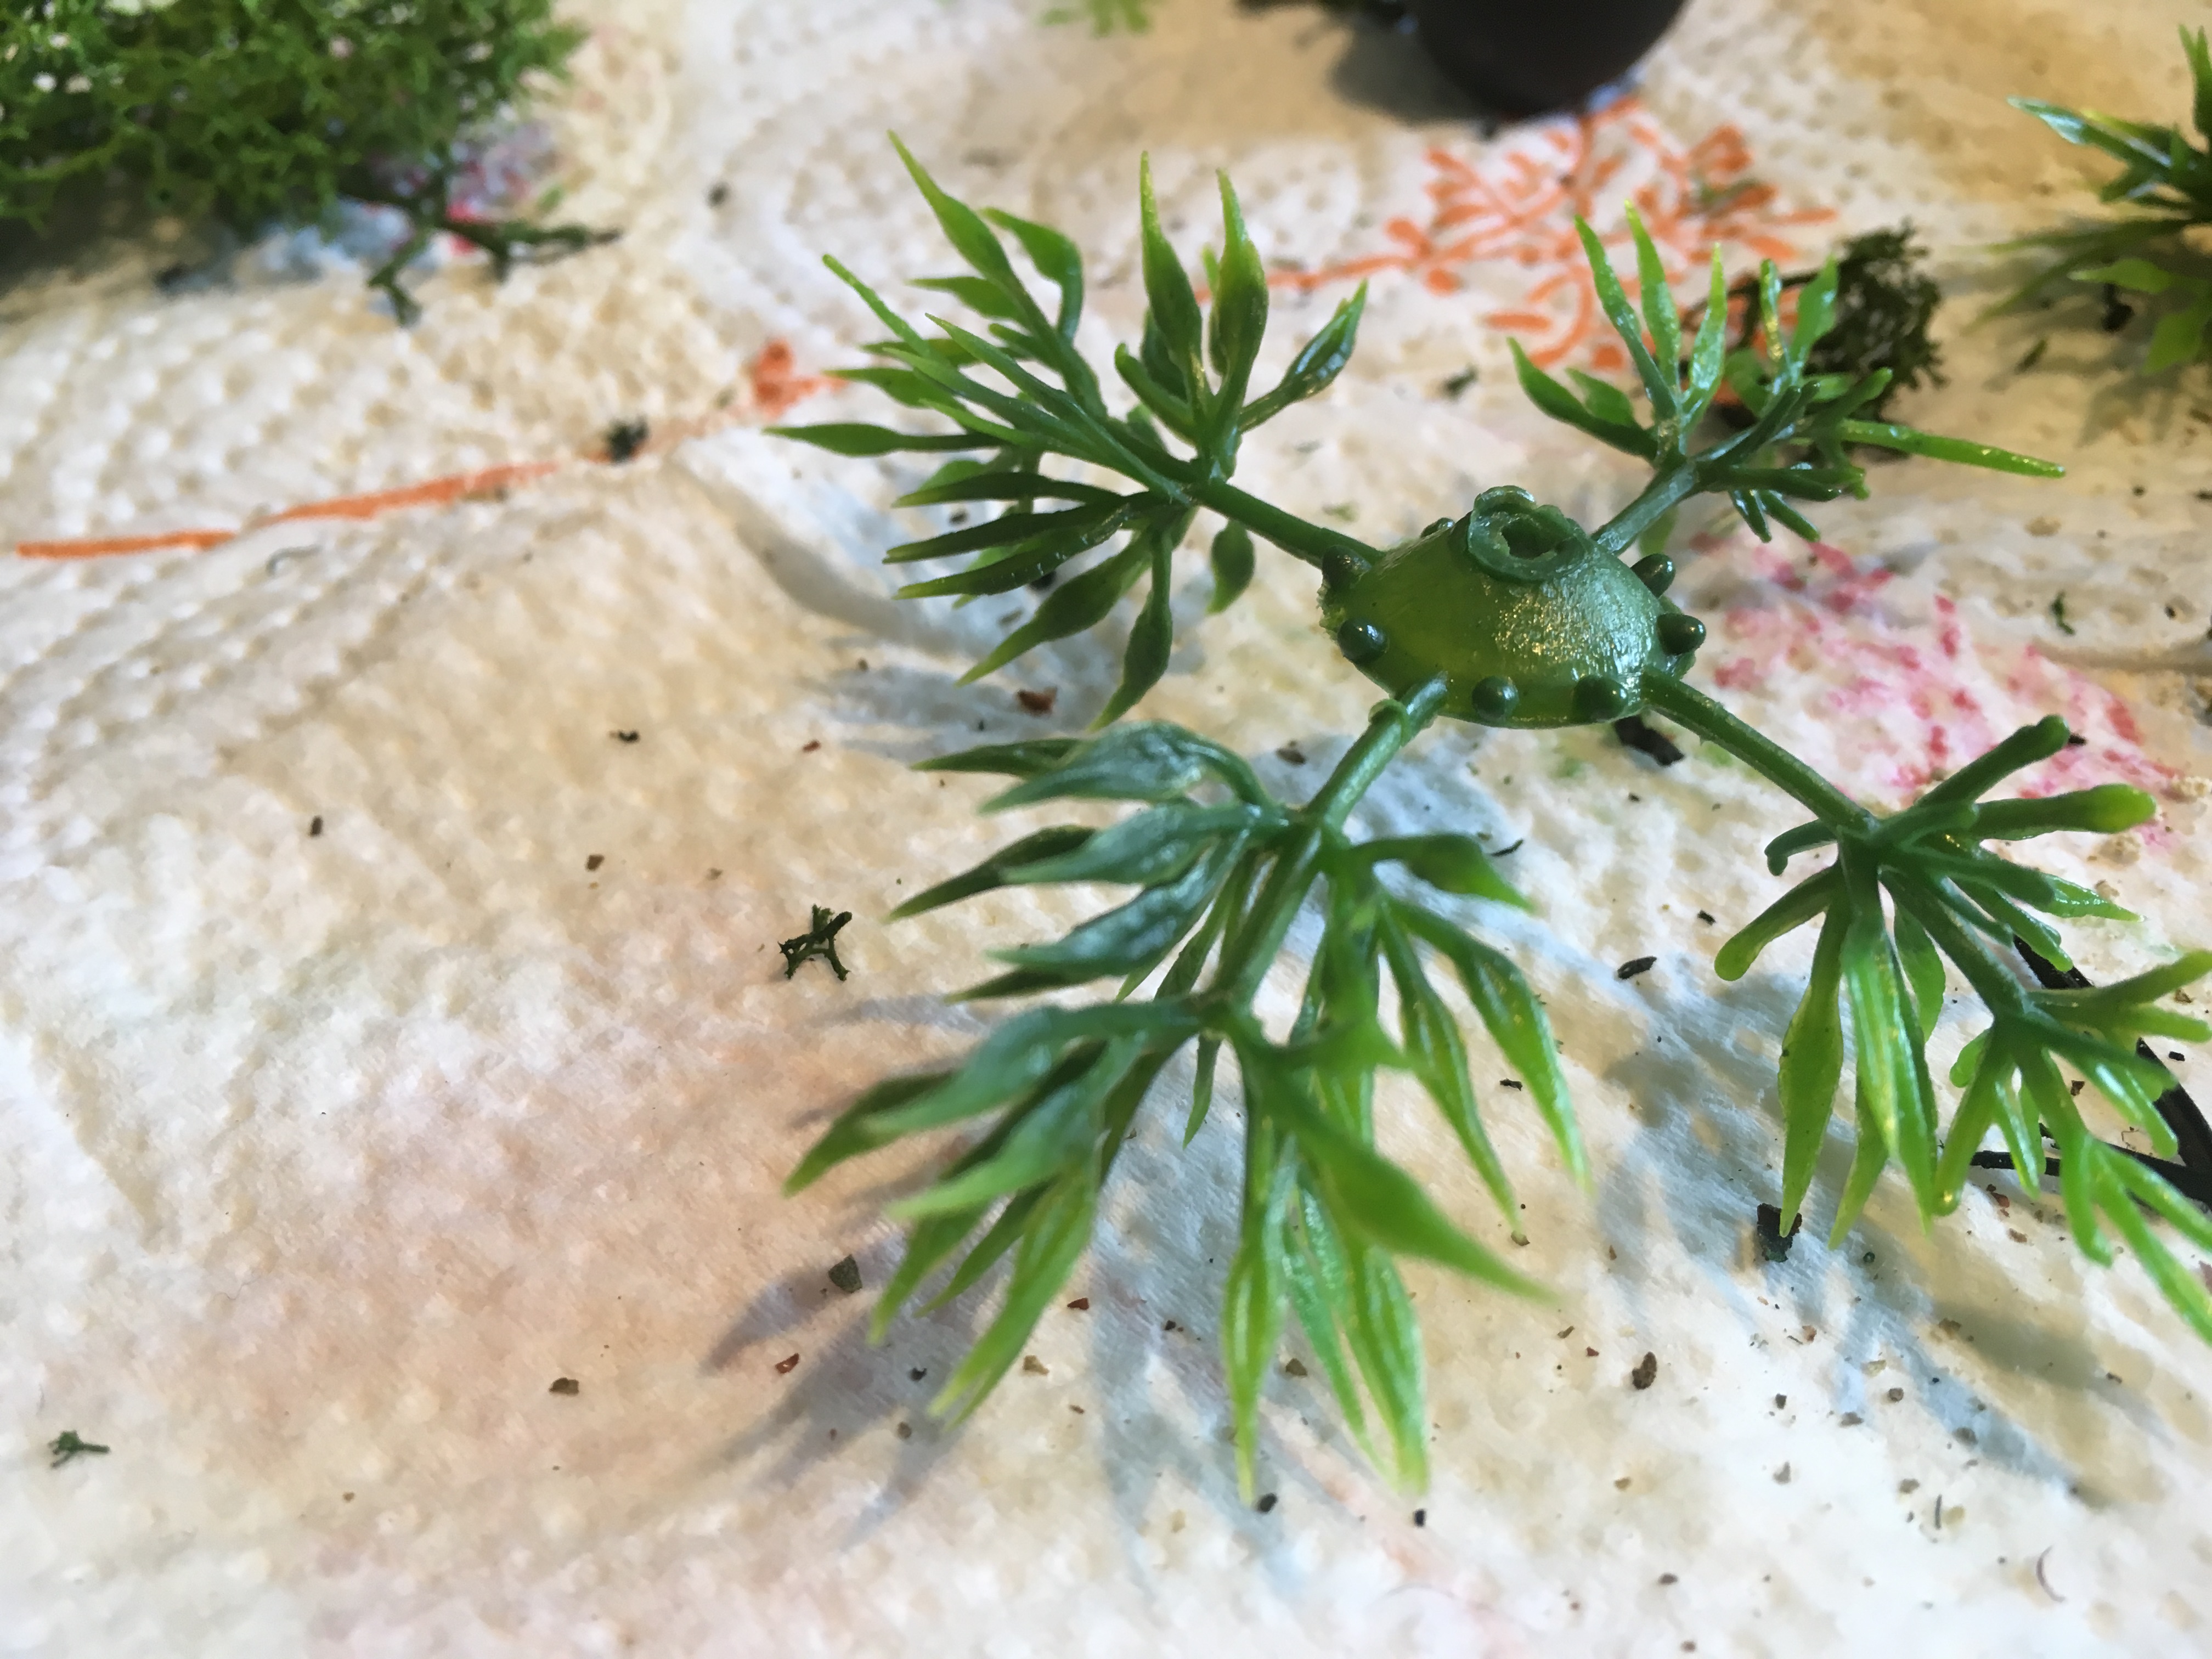 a perfect little tropical plant. four of them per removable item. 100s on one ball
Trees!
The trees had to have a little prep done to them.
first I lit a candle and ran the trunk through them to try and minimise the mould line. This worked well but if I lingered too long completely destroyed the detail of the tree, they are only cheap plastic and a flame is actually very very hot even if it is small.
After they were all done I took them outside and sprayed all the trunks Army Painter Fur Brown. Once dry, Agrax Earthshade wash and then once dry from that Army Painter Matt Varnish. Trunks done.
The palm leaves had previously been removed and tried addressing their shininess. I hit one with matt varnish to see what happened. it totally changed the colour and made the leaves look flat. I also noted that if the leaves flexed in any way the varnish would break and fall off. All in all a total failure, I elected to just leave them as they came.
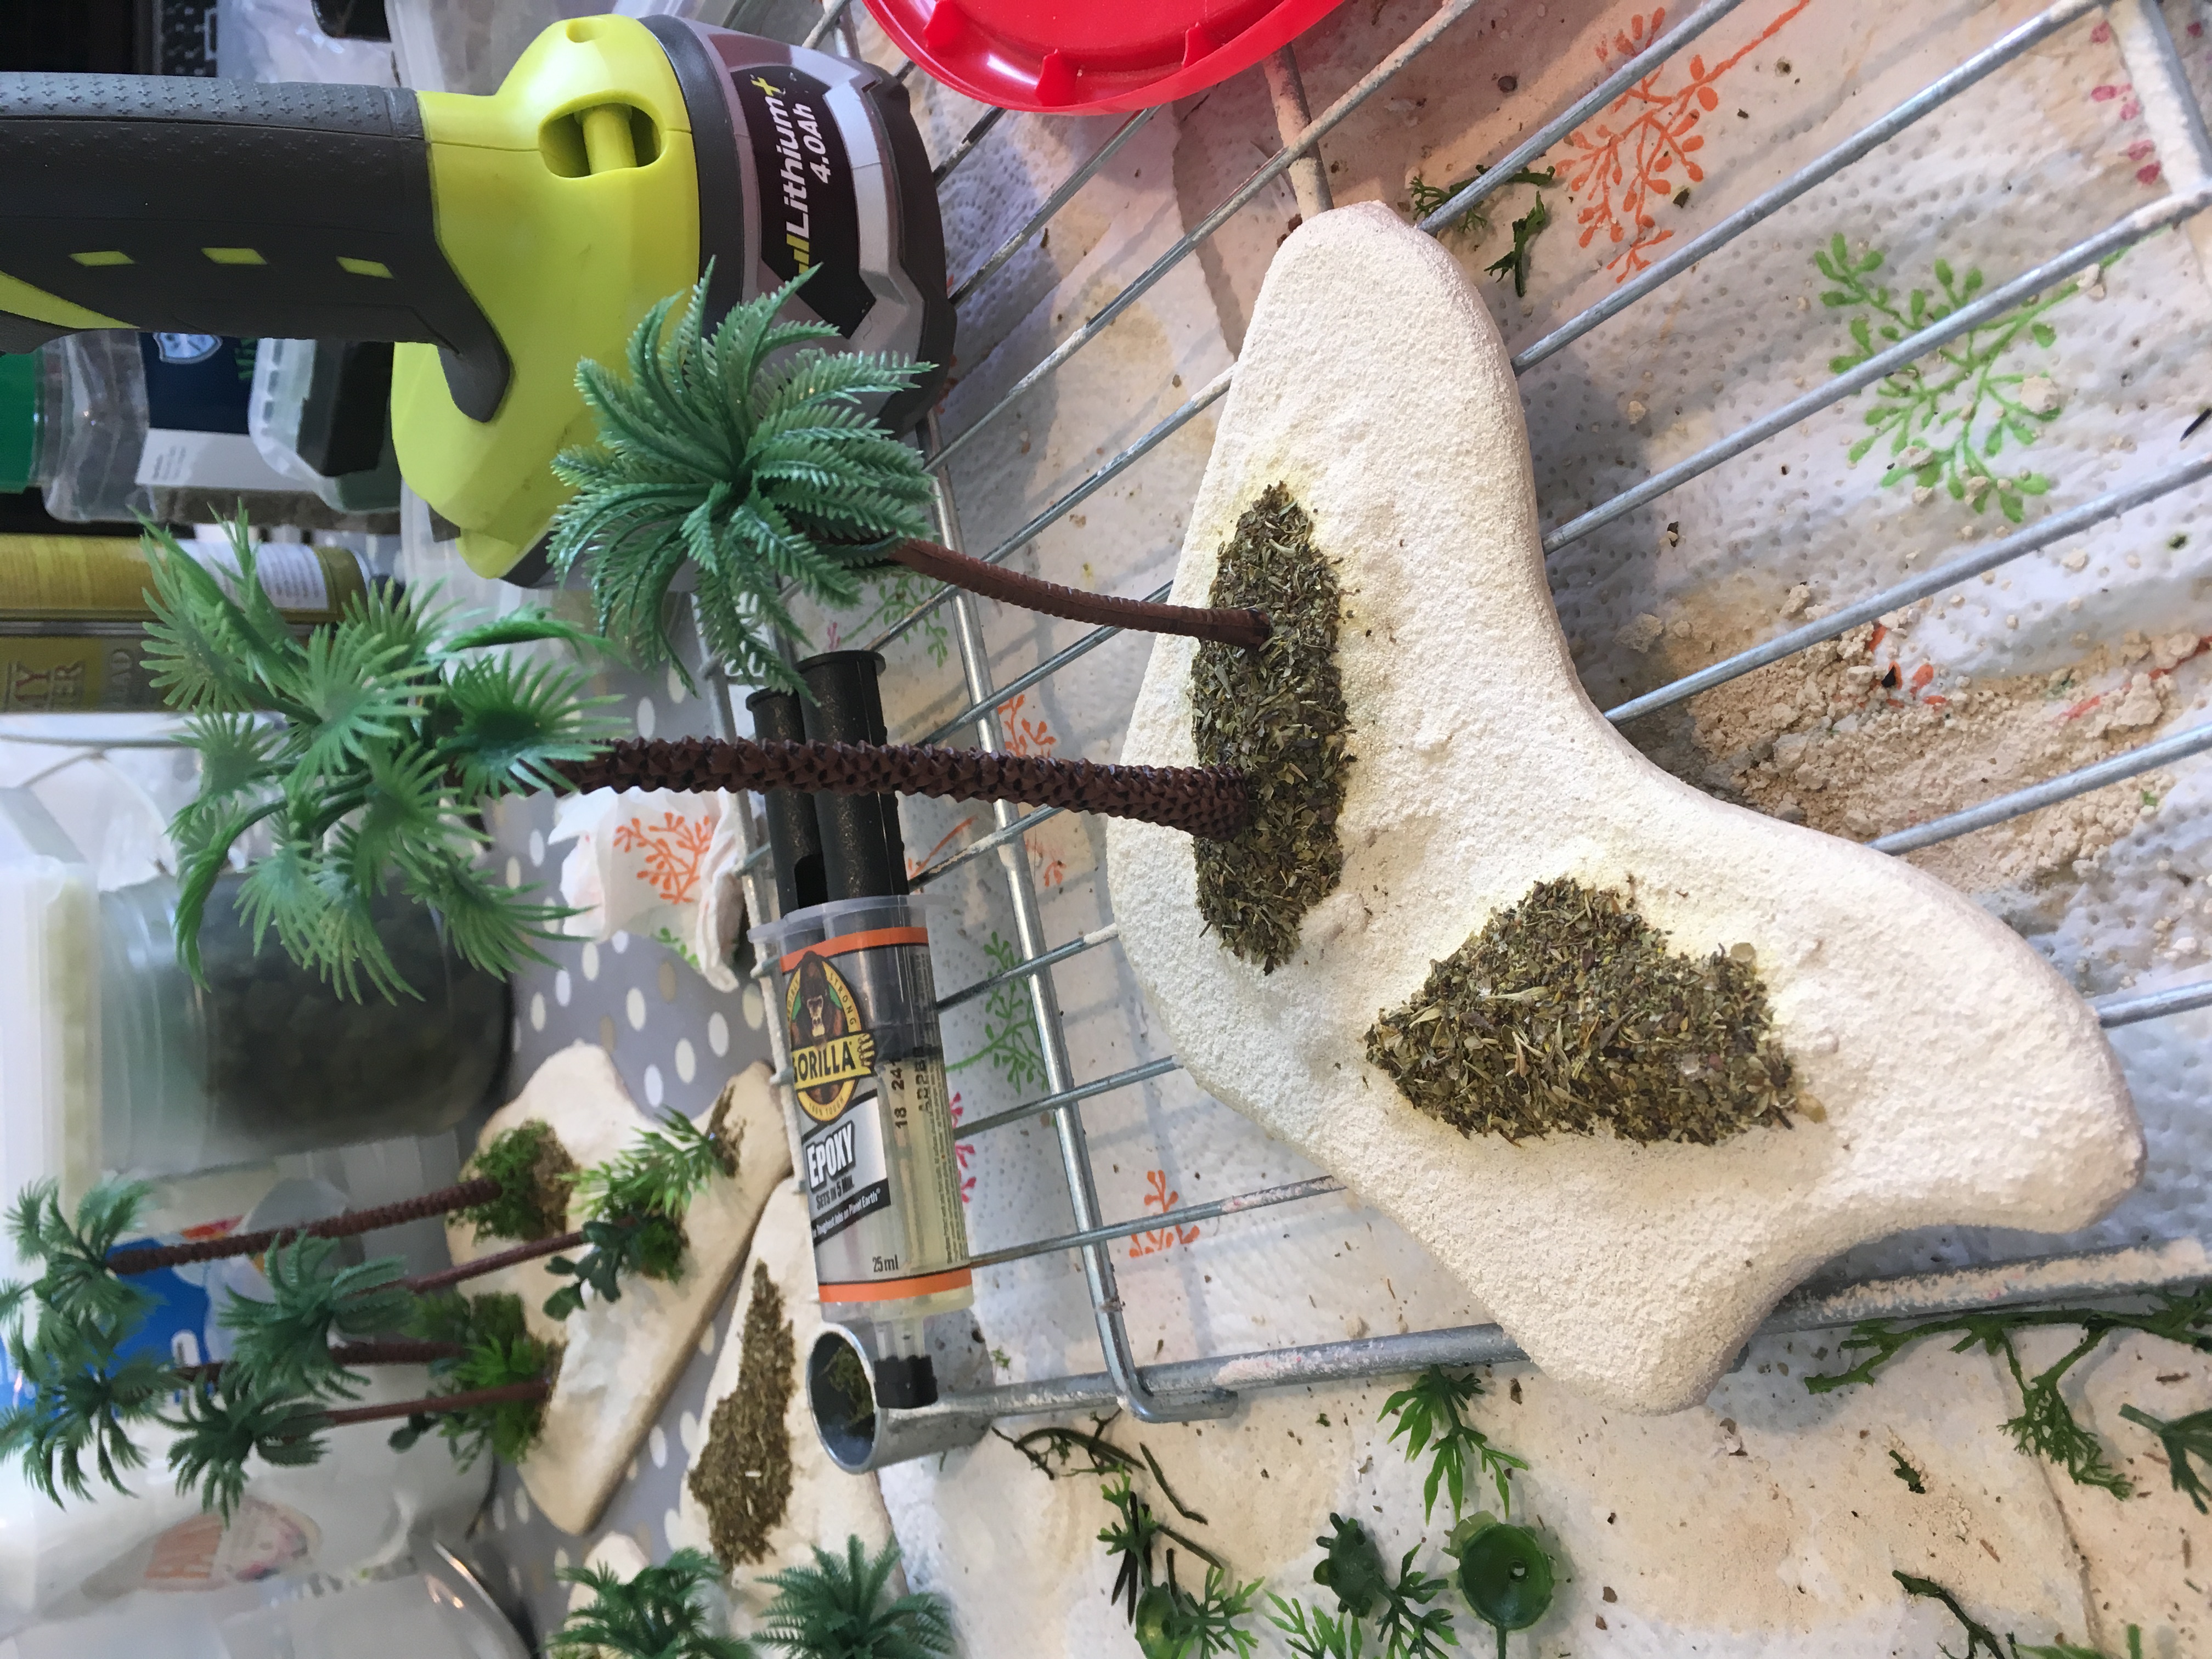 trees dry fitted to the base
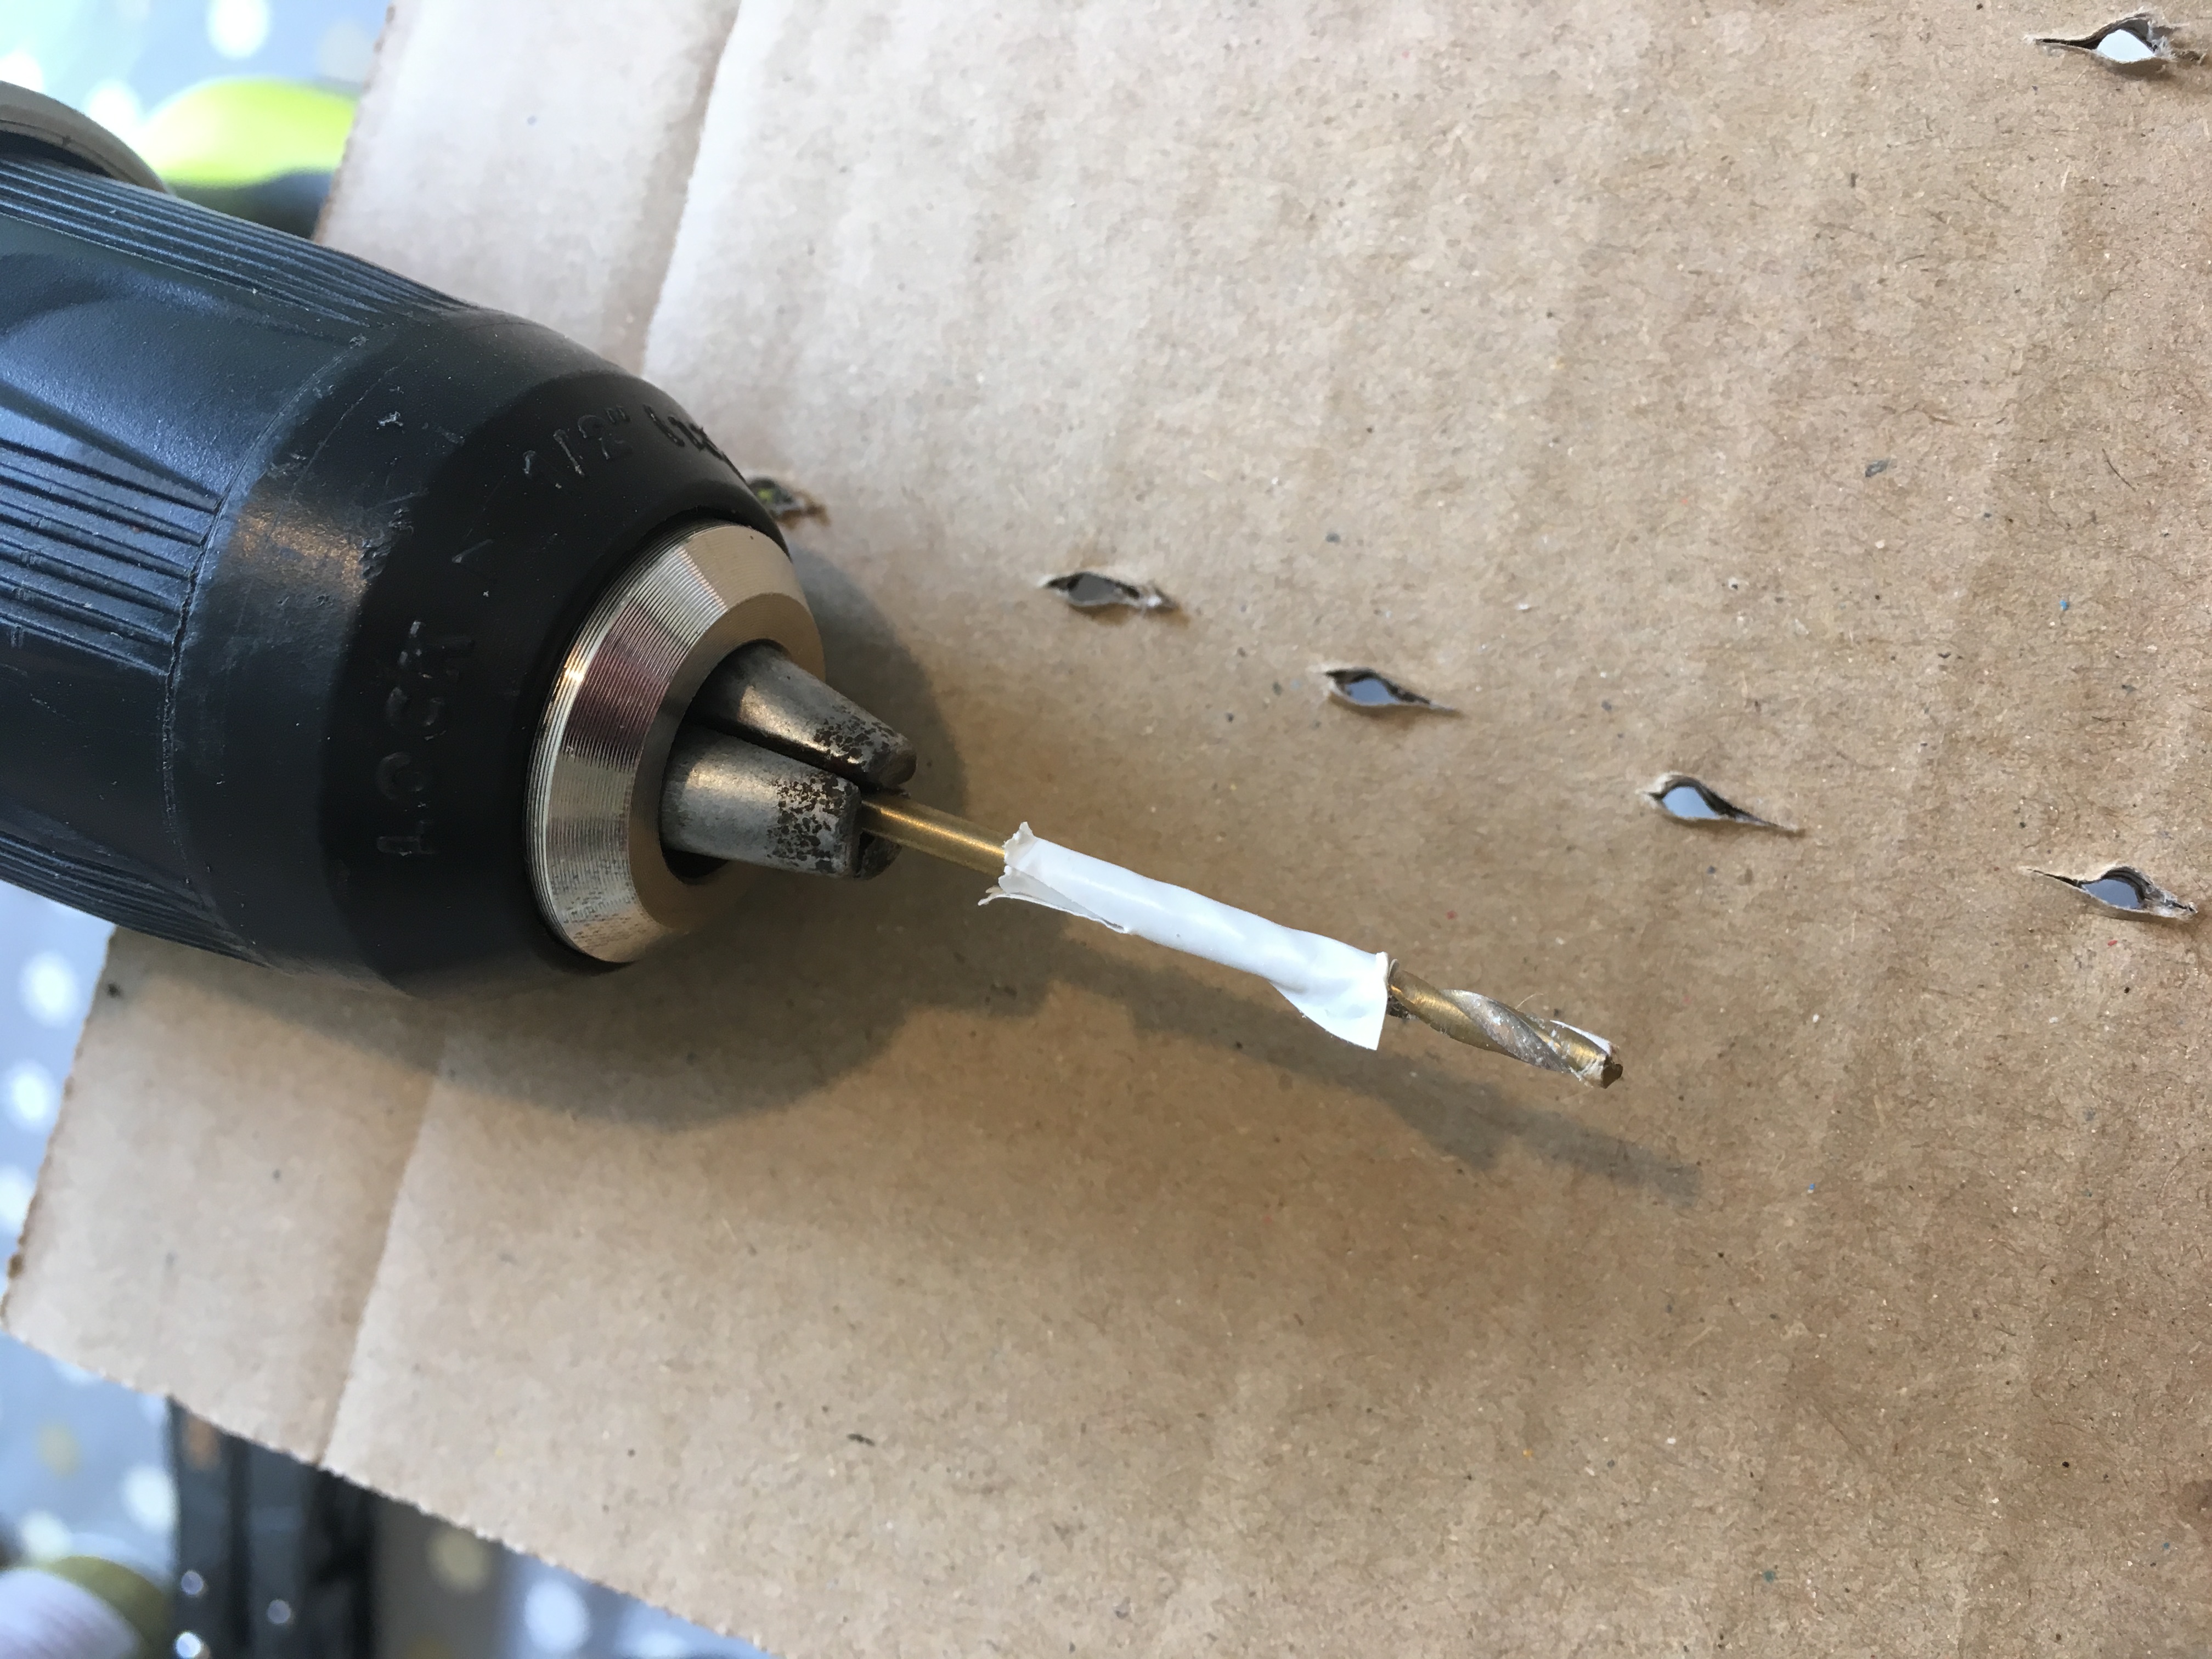 put tape on your drill bit so you don't over drill the base and end up damaging your dining room table
 mix the two part 5 min epoxy resin to glue down the trees
When it came to placing the tress what I did was guess what might look good and then drill the holes using the larger of the two drill bits.
I attached plumbers tape to the drill bit so I didn’t drill too far into the base and potentially damage my dining room table. That would have ended with my demise.
The trees were then dry fitted, potentially heated slightly and bend if required to look good. Not all palms start growing directly upwards!
I then went onto start playing with the ground plants (next blog entry!)
once I was happy with it all, I mixed a small amount of 5 min epoxy. I only ever made enough to do one base at a time. I figured I wouldn’t be able to fix two bases worth of stuff down in 5 mins. I was right to do so!
With epoxy, mix little and often.
Ground Foliage
I feel that the ground foliage on these pieces is the best part and it is super simple.
Using the smaller drill bit I drilled holes in the debris areas, never on the sand, and not always in all of the debris areas. Sometimes I would drill closely together and sometimes just one on its own. The reason for the overall relative sparseness was that I had previously bunched it very closely for the Yavin IV build and found that although it looked good it made for naff terrain. im hoping that this rectifies it, only time will tell.
Once the holes were predrilled I snipped a load of foliage from the garden balls and dry fitted them to see how it looked. Lichen was shredded into smaller pieces and stuffed in aswell.
When I was happy I then broke out the epoxy and glued all the trees, foliage and lichen down in one go.
The reason I used epoxy for this build rather than the safer hot glue was because I found the Yavin IV build to not be as durable as I wanted, some foliage bits have come away and had to be glued again. Im hoping the drilled holes and epoxy really make these pieces bomb proof.
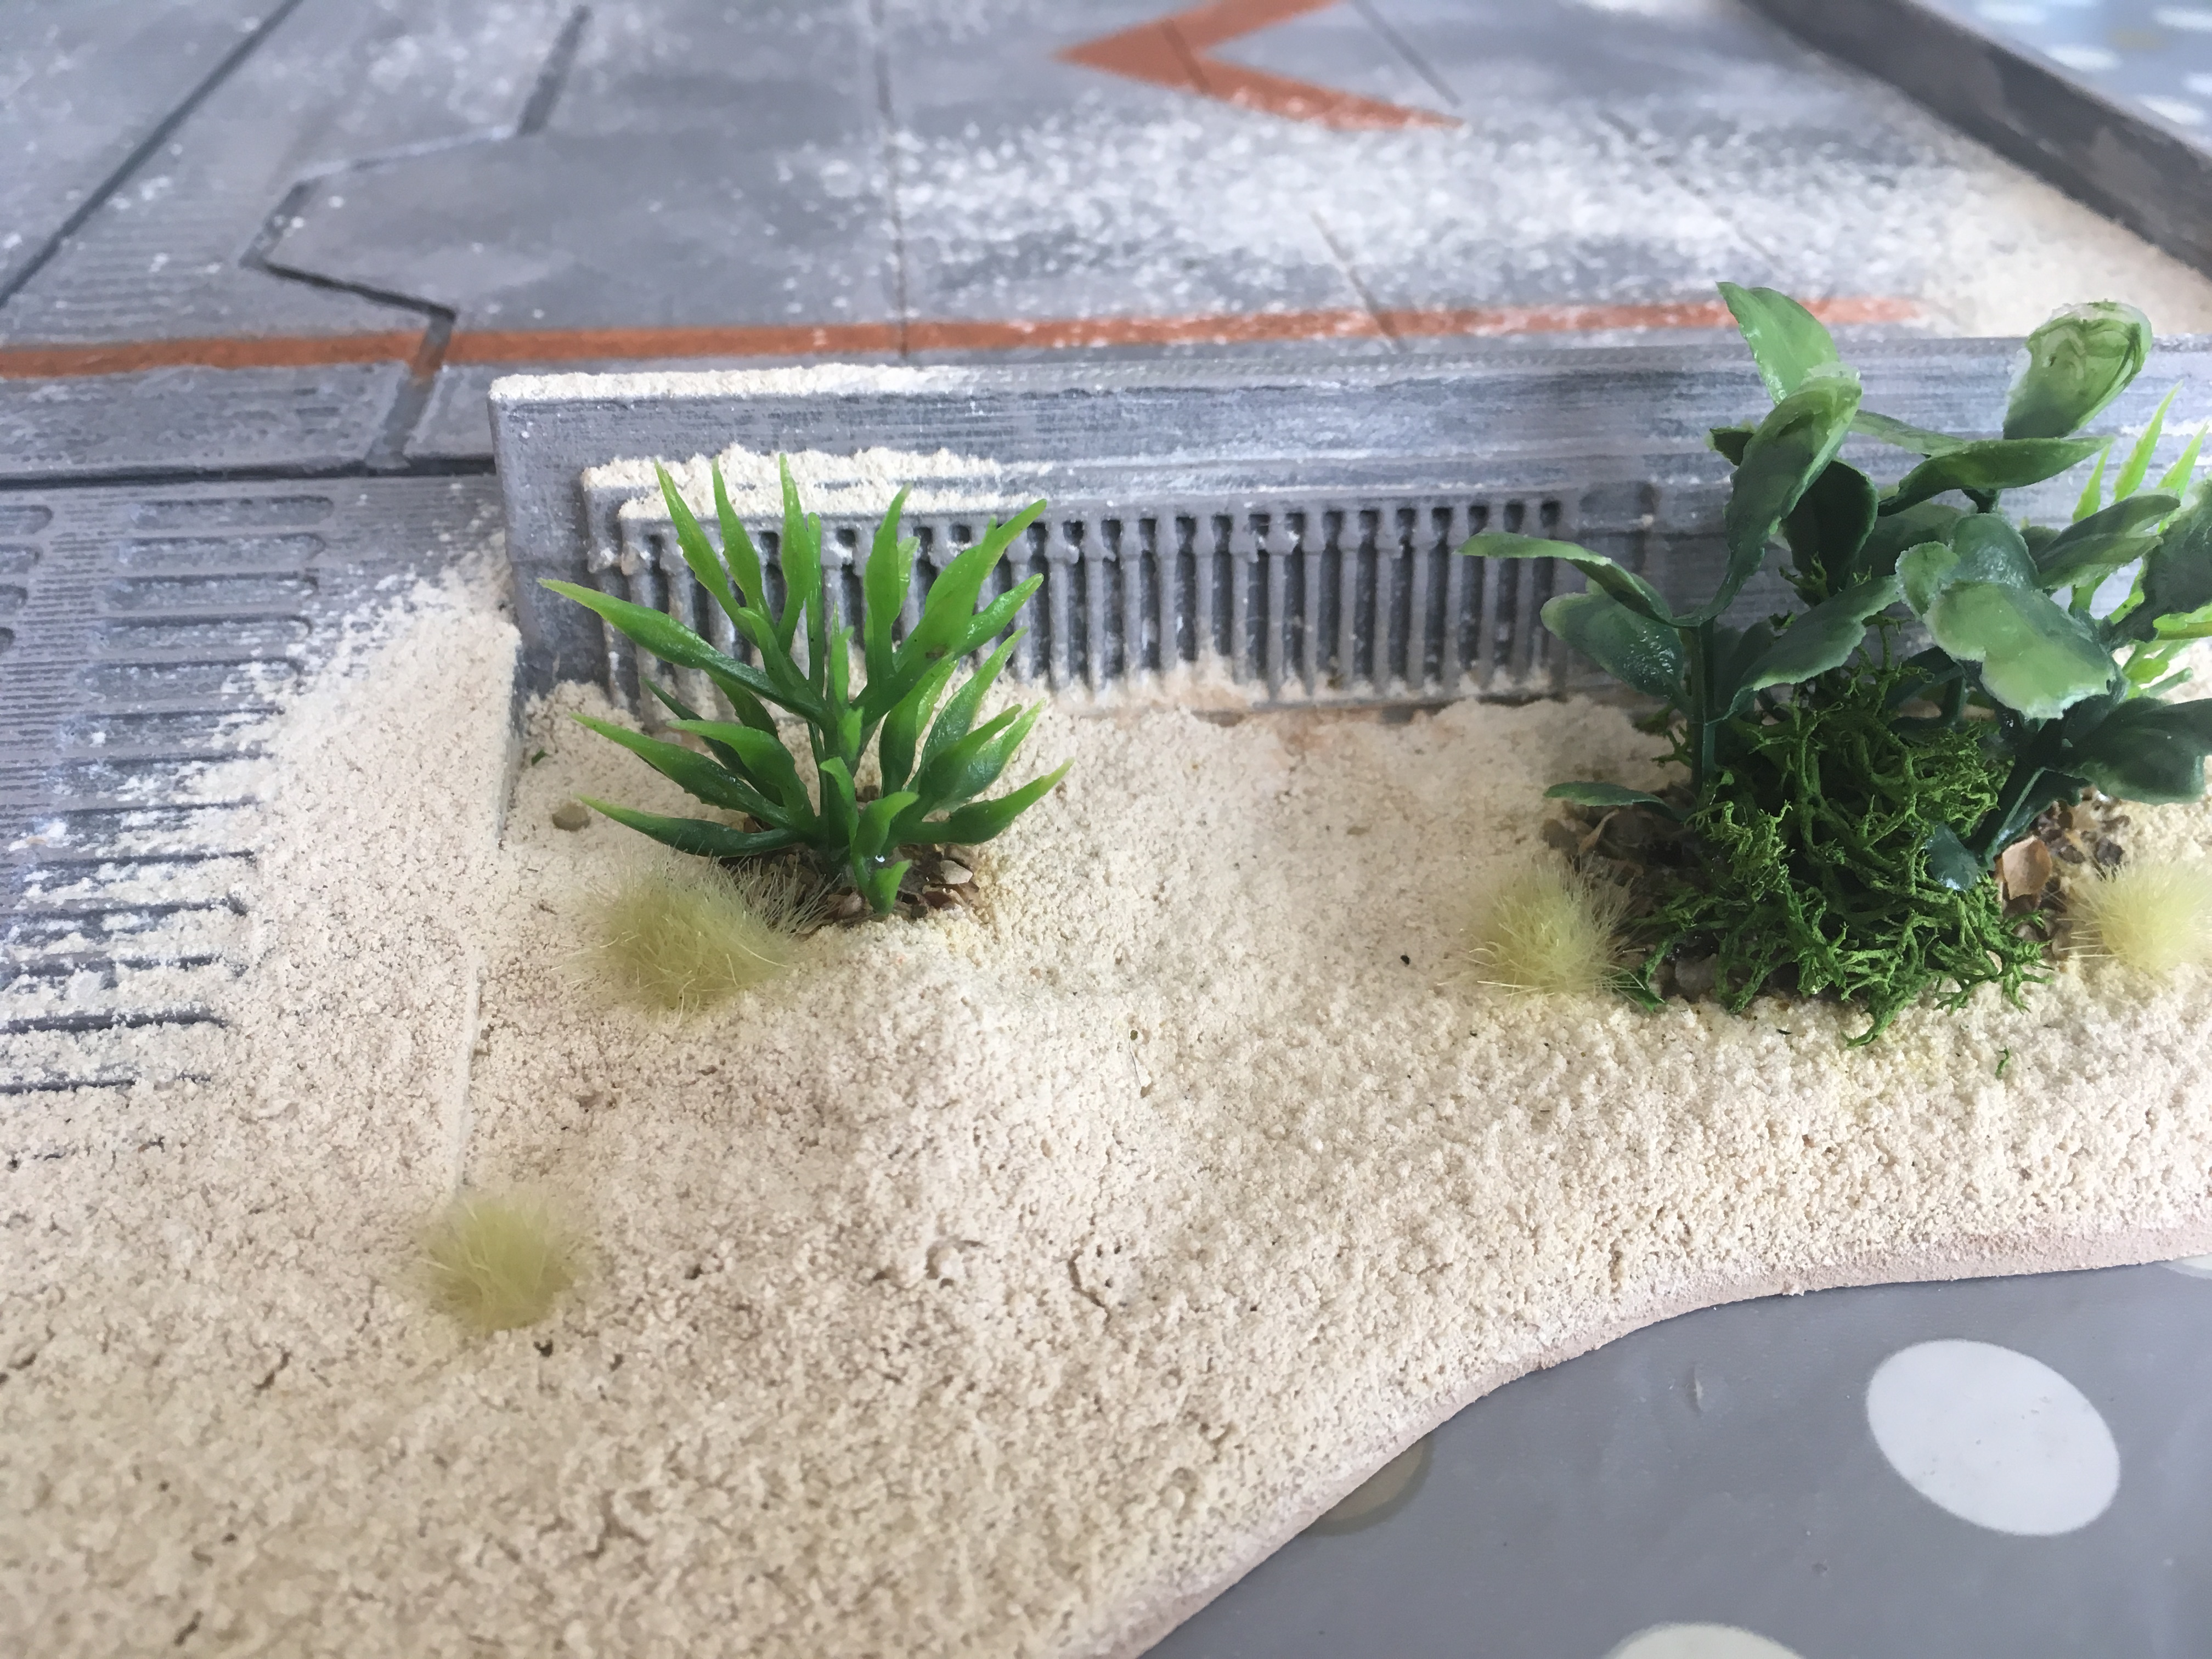
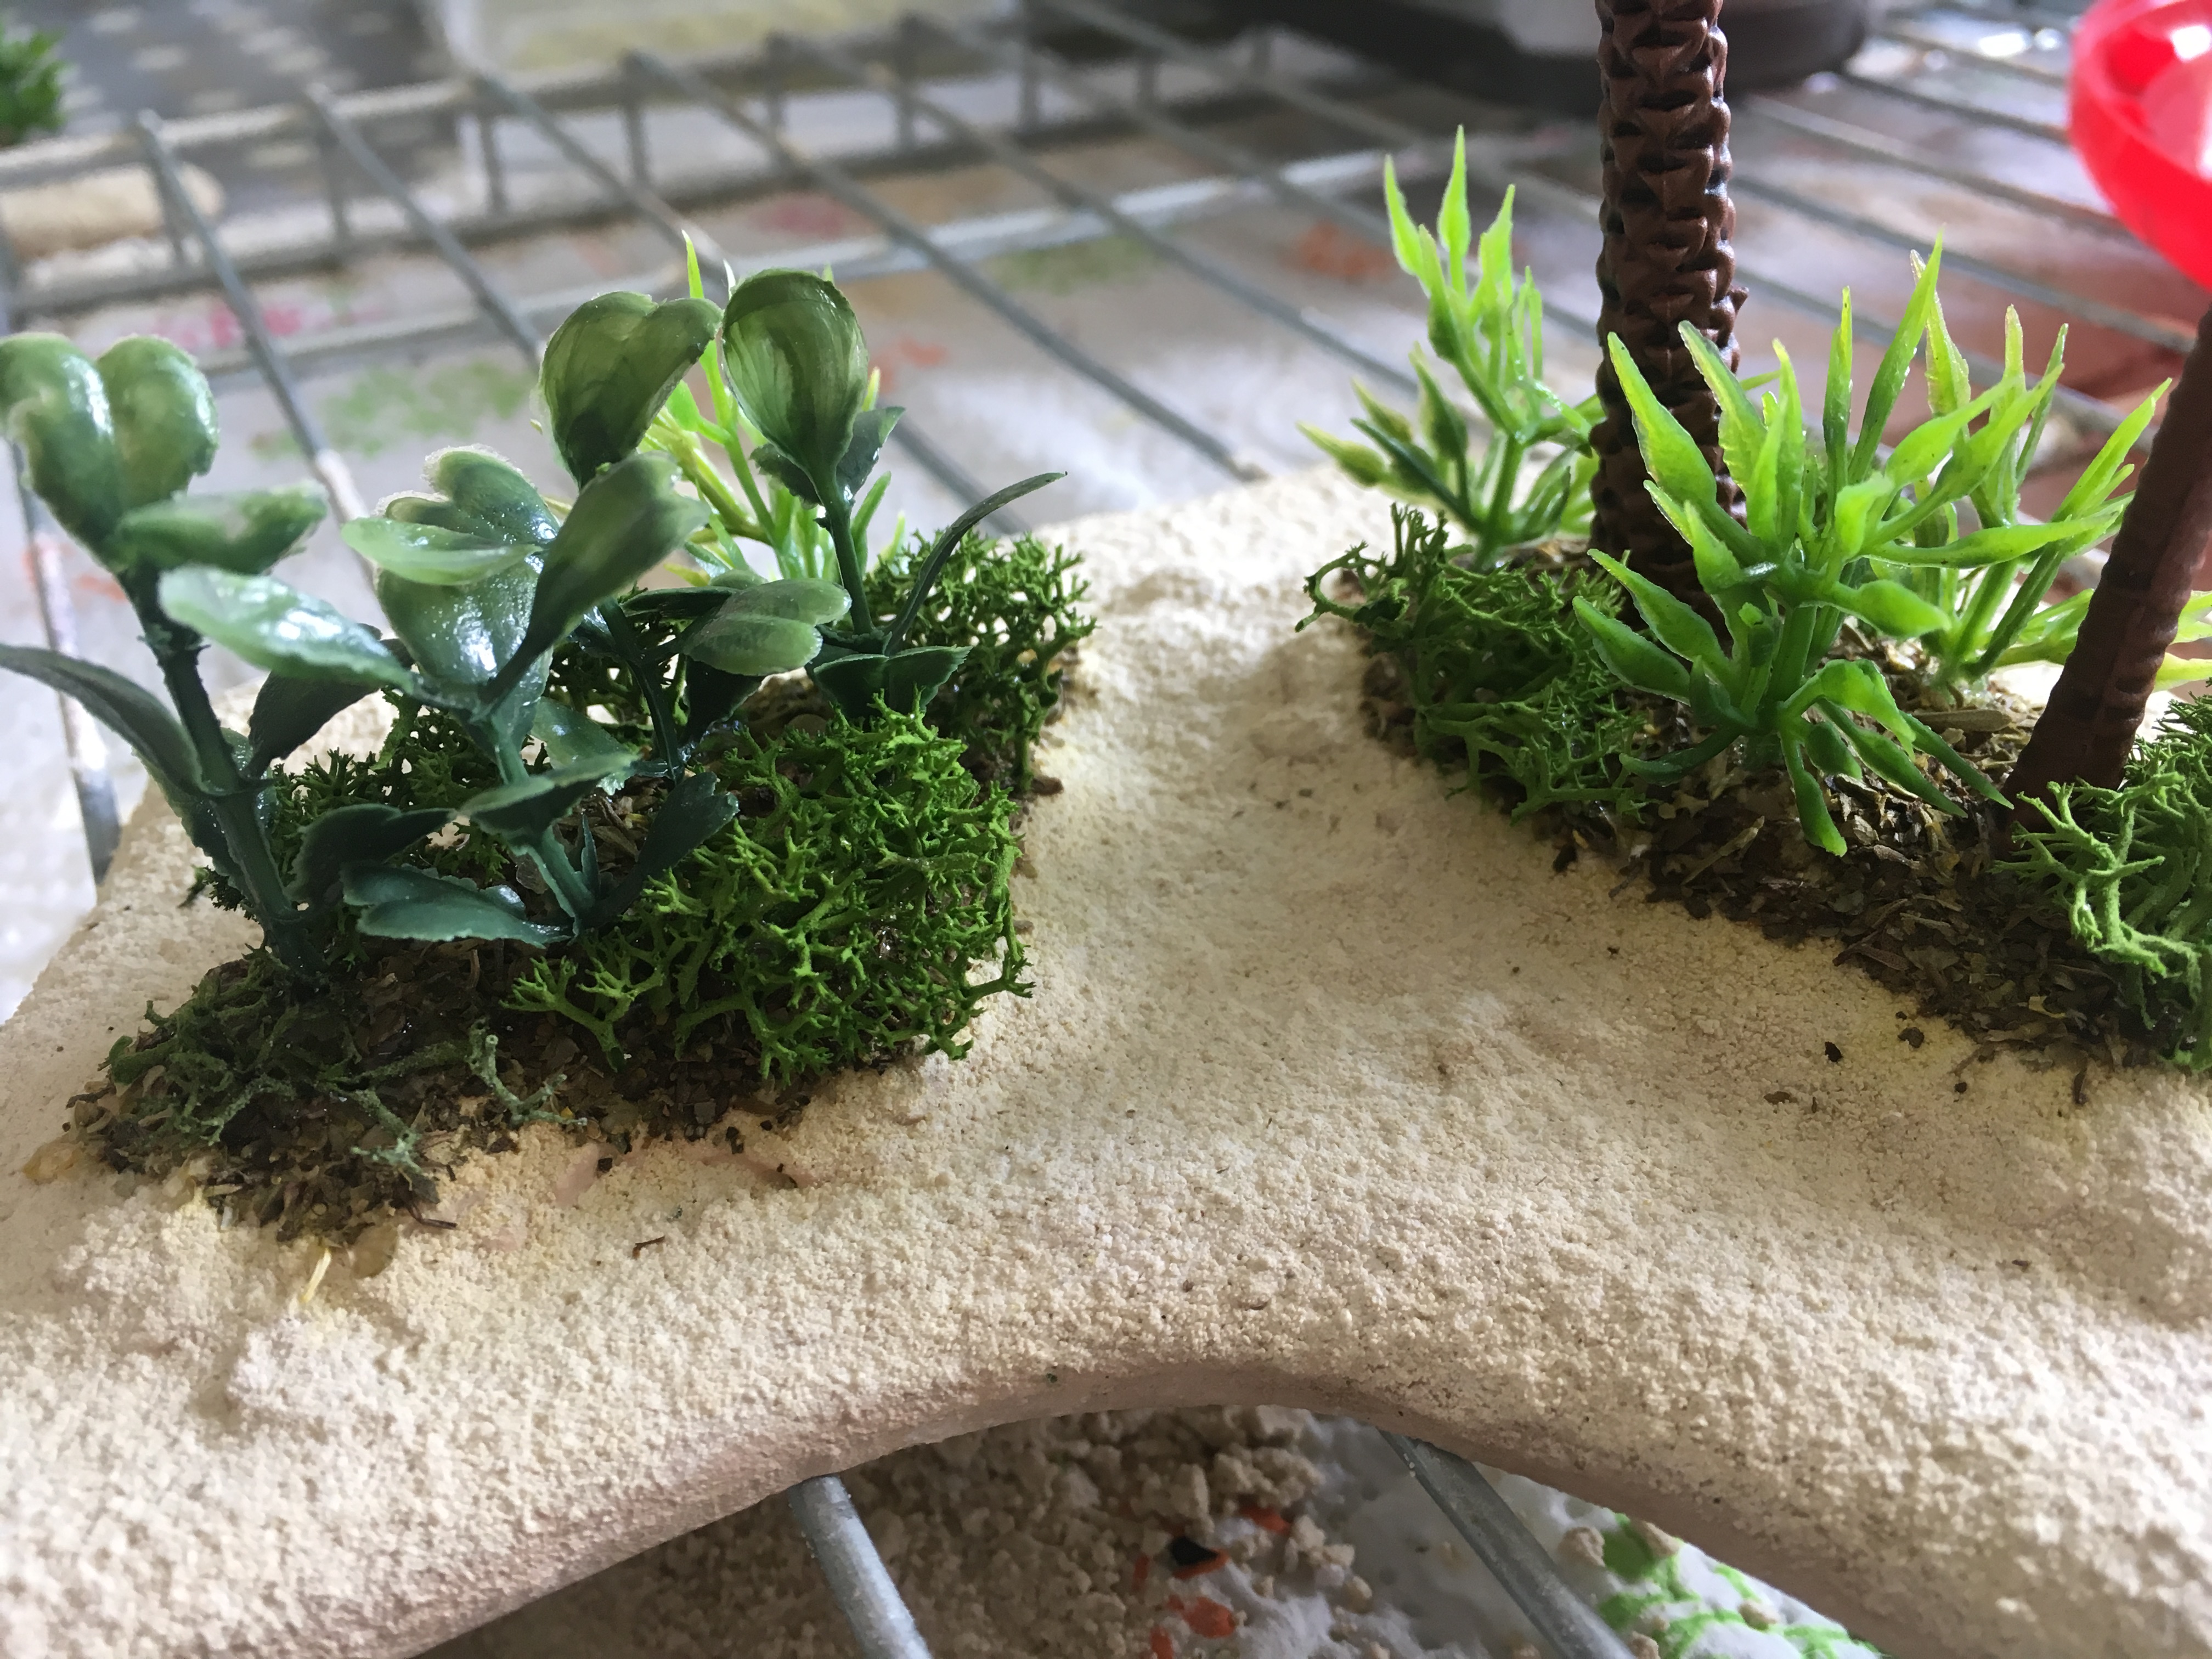 close up of the foliage
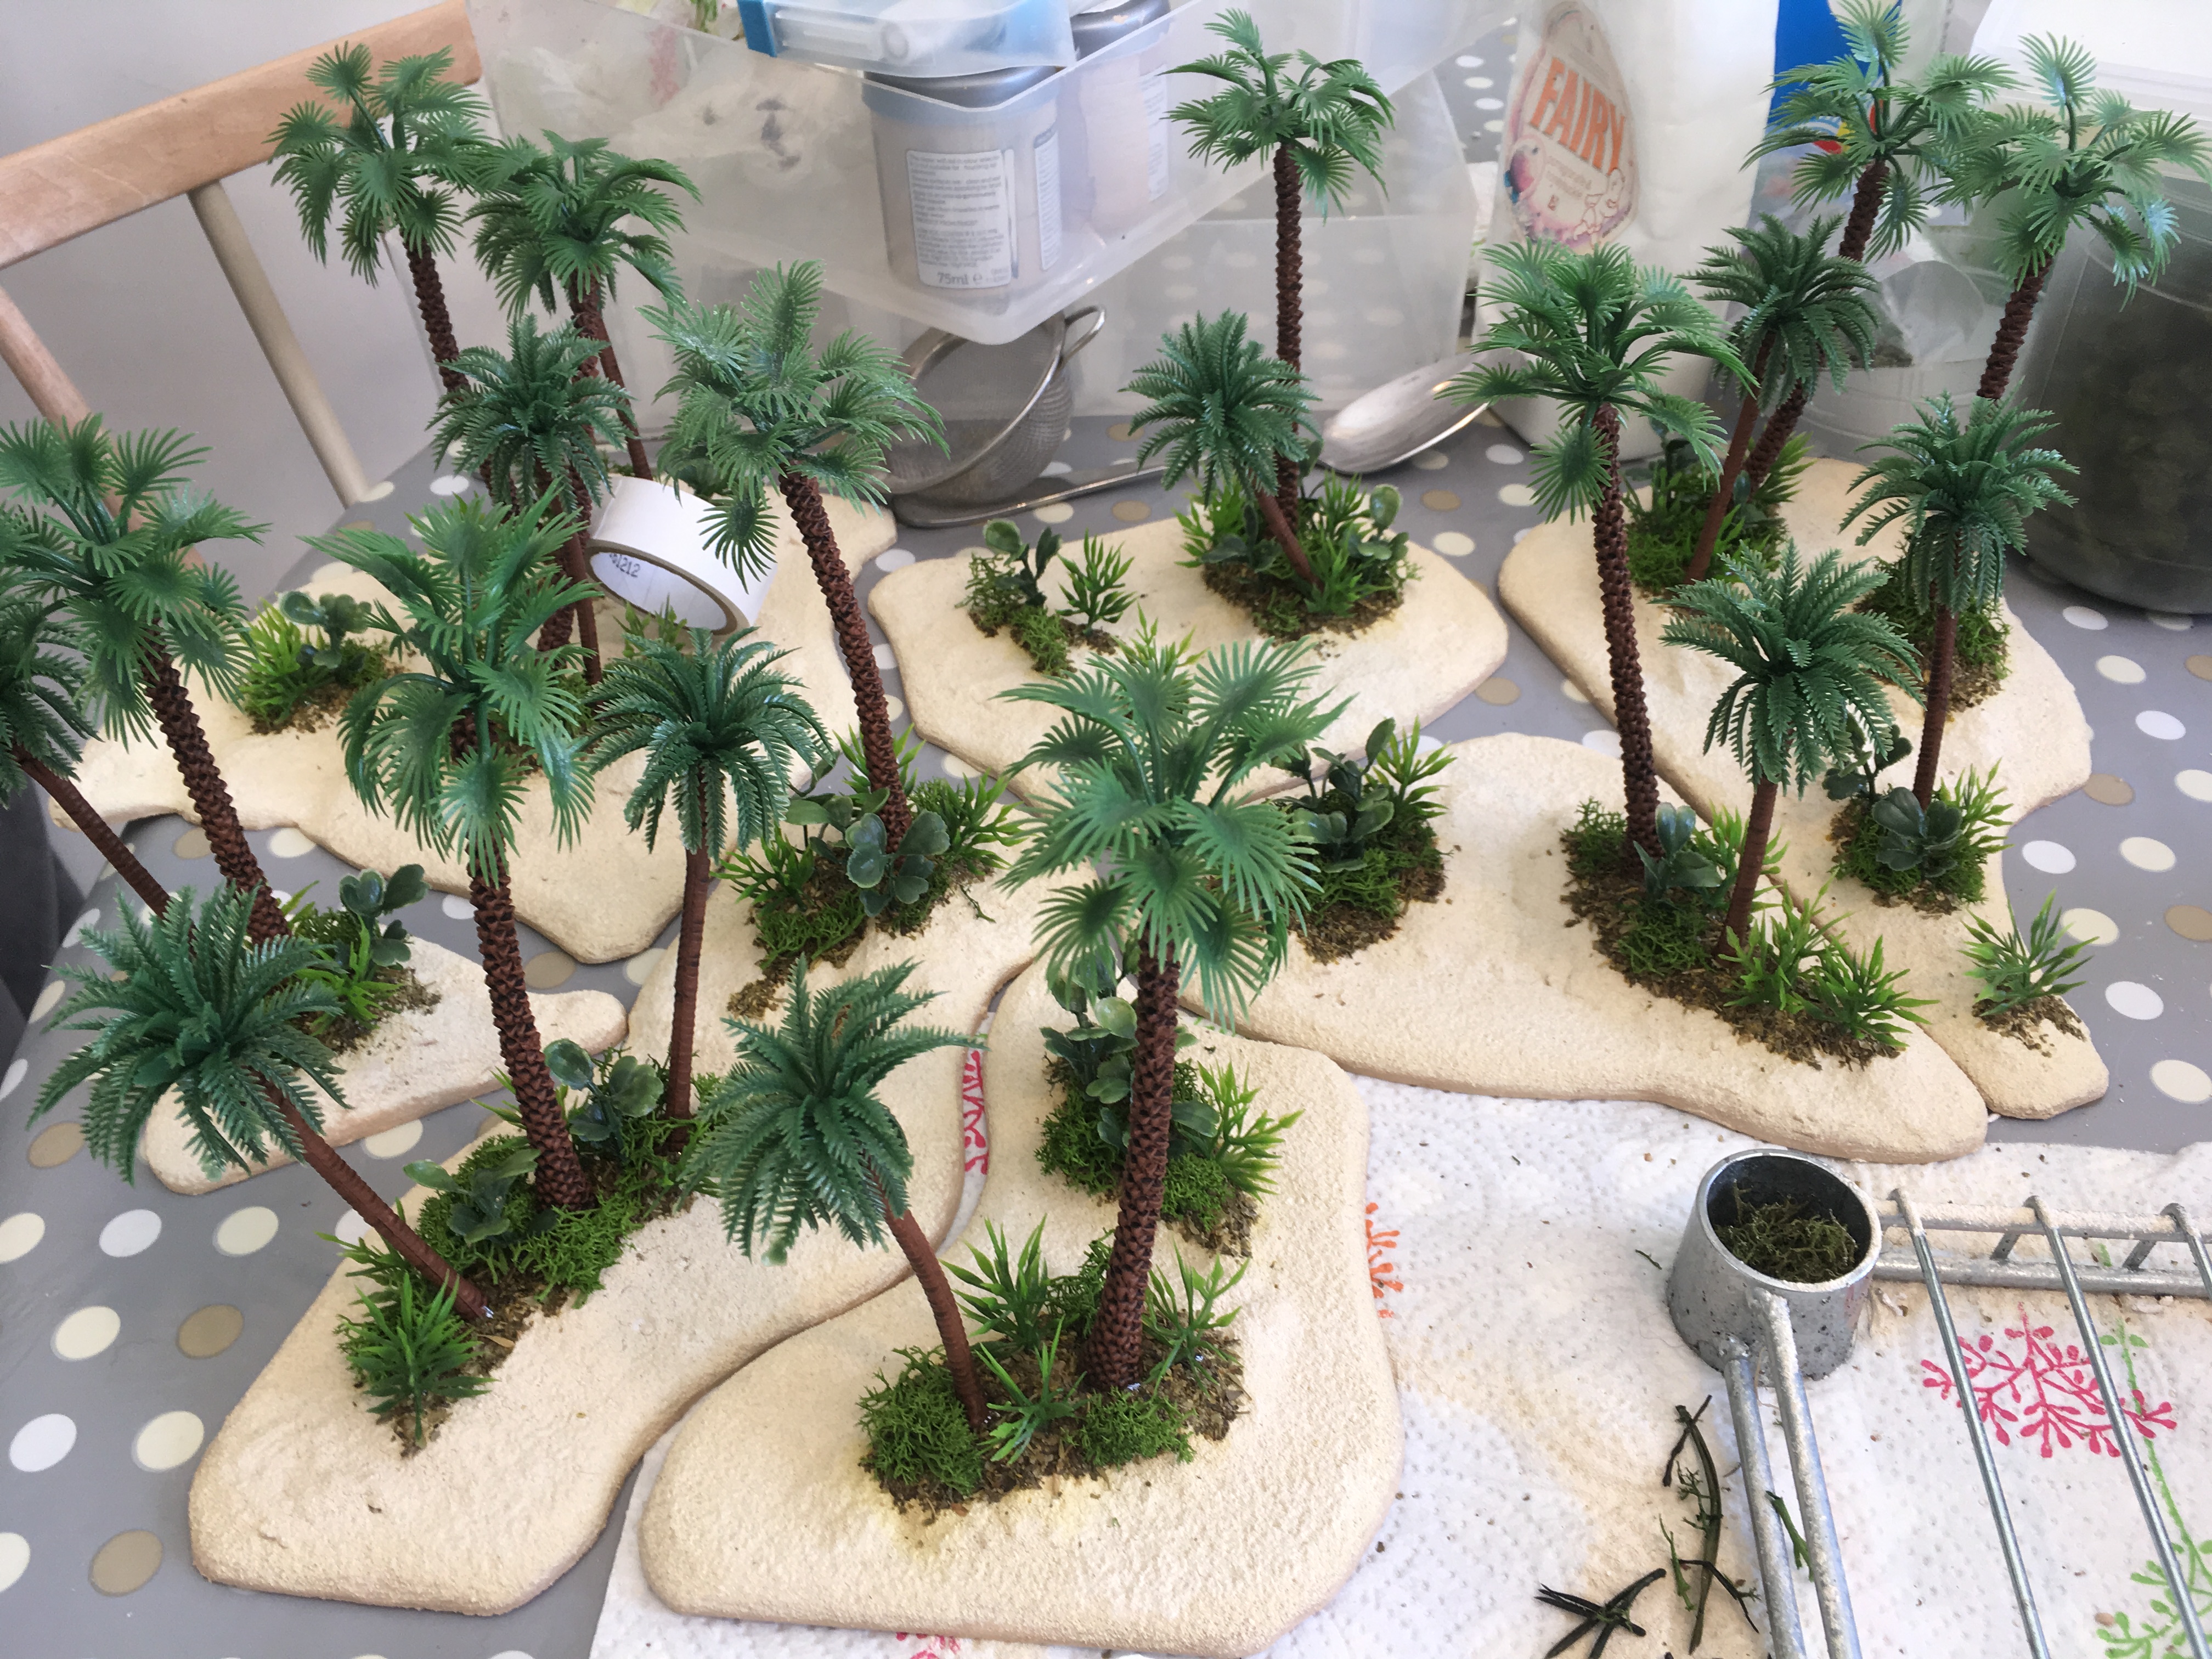 the whole lot together, looks effective but missing something
The final thing I did was to add some lime green static grass tufts. These come from the citadel range. not the cheapest around but easily available, and more importantly, I had them to hand!
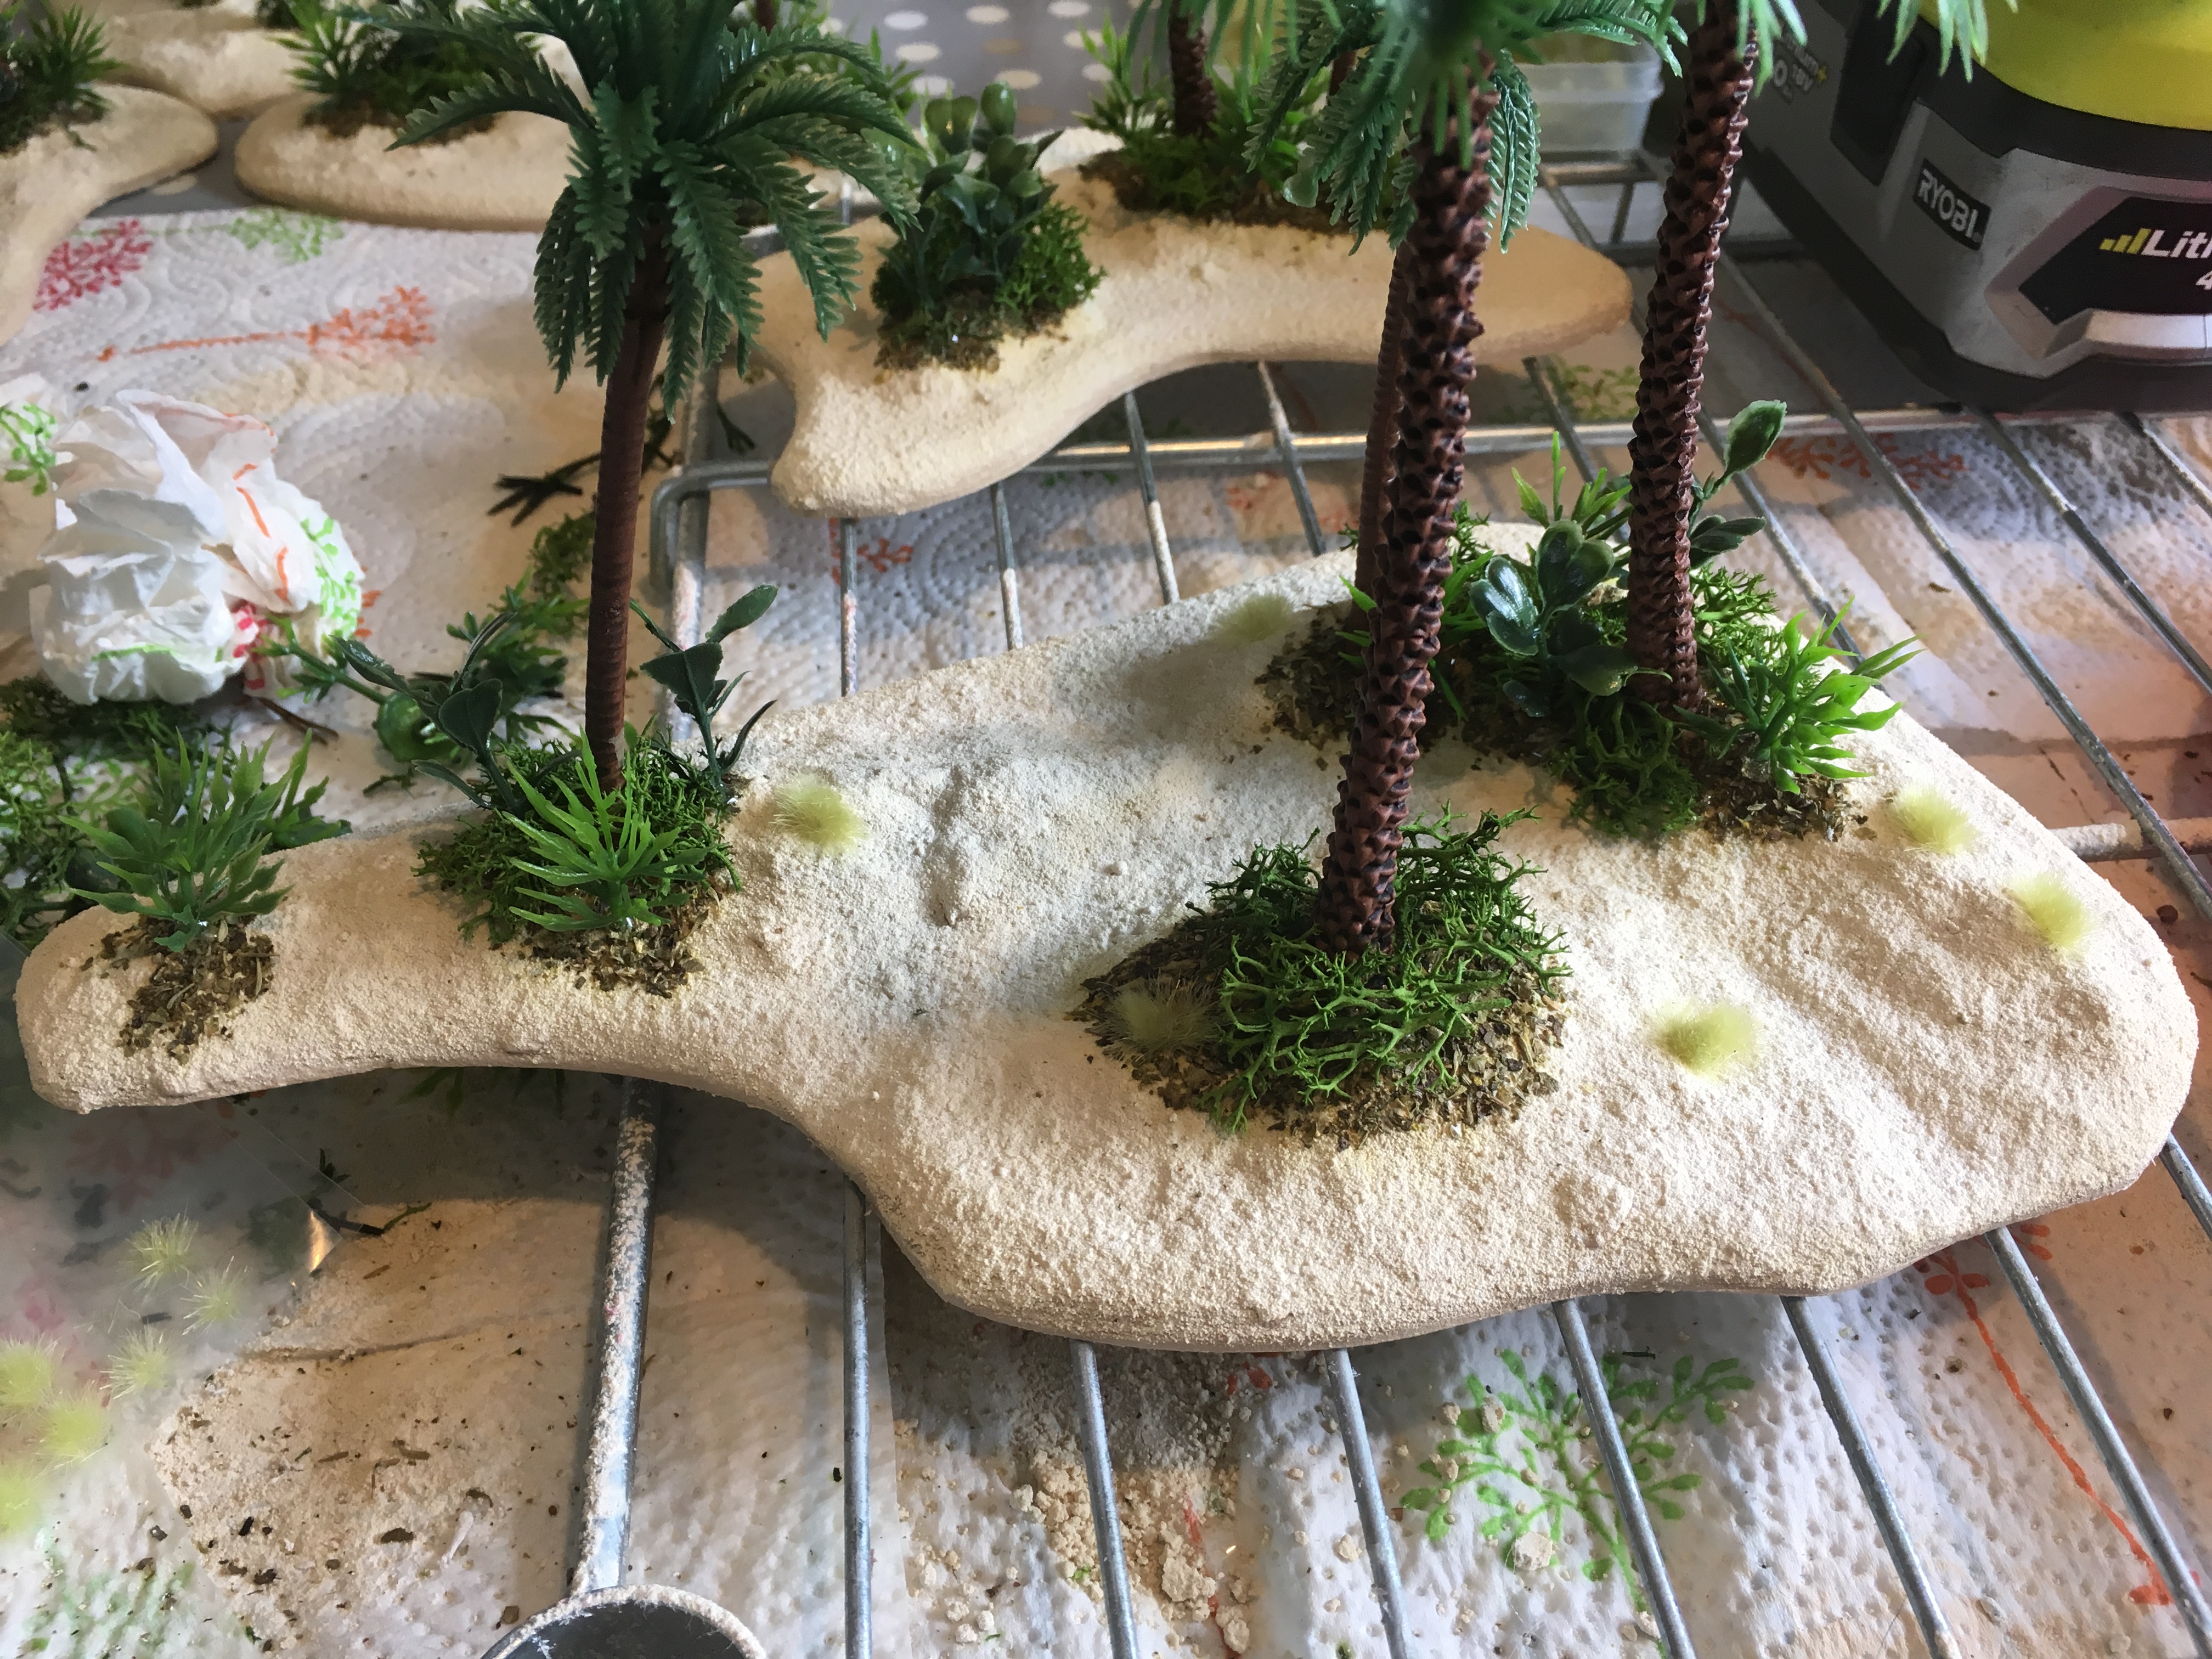 note the bush on its own to the left and the tuffs randomly just on the sand but not in walkways
The 3D printathon!
Ok, so as you have probably guessed I had some of the 3D printed bits already done before I started writing this blog up. I’m sorry, but hey, that’s Blue Peter for you!
What I did do today however is paint all those items.
Ive made crates, in 4 flavours, turrets, comms relays and some tool sheds.
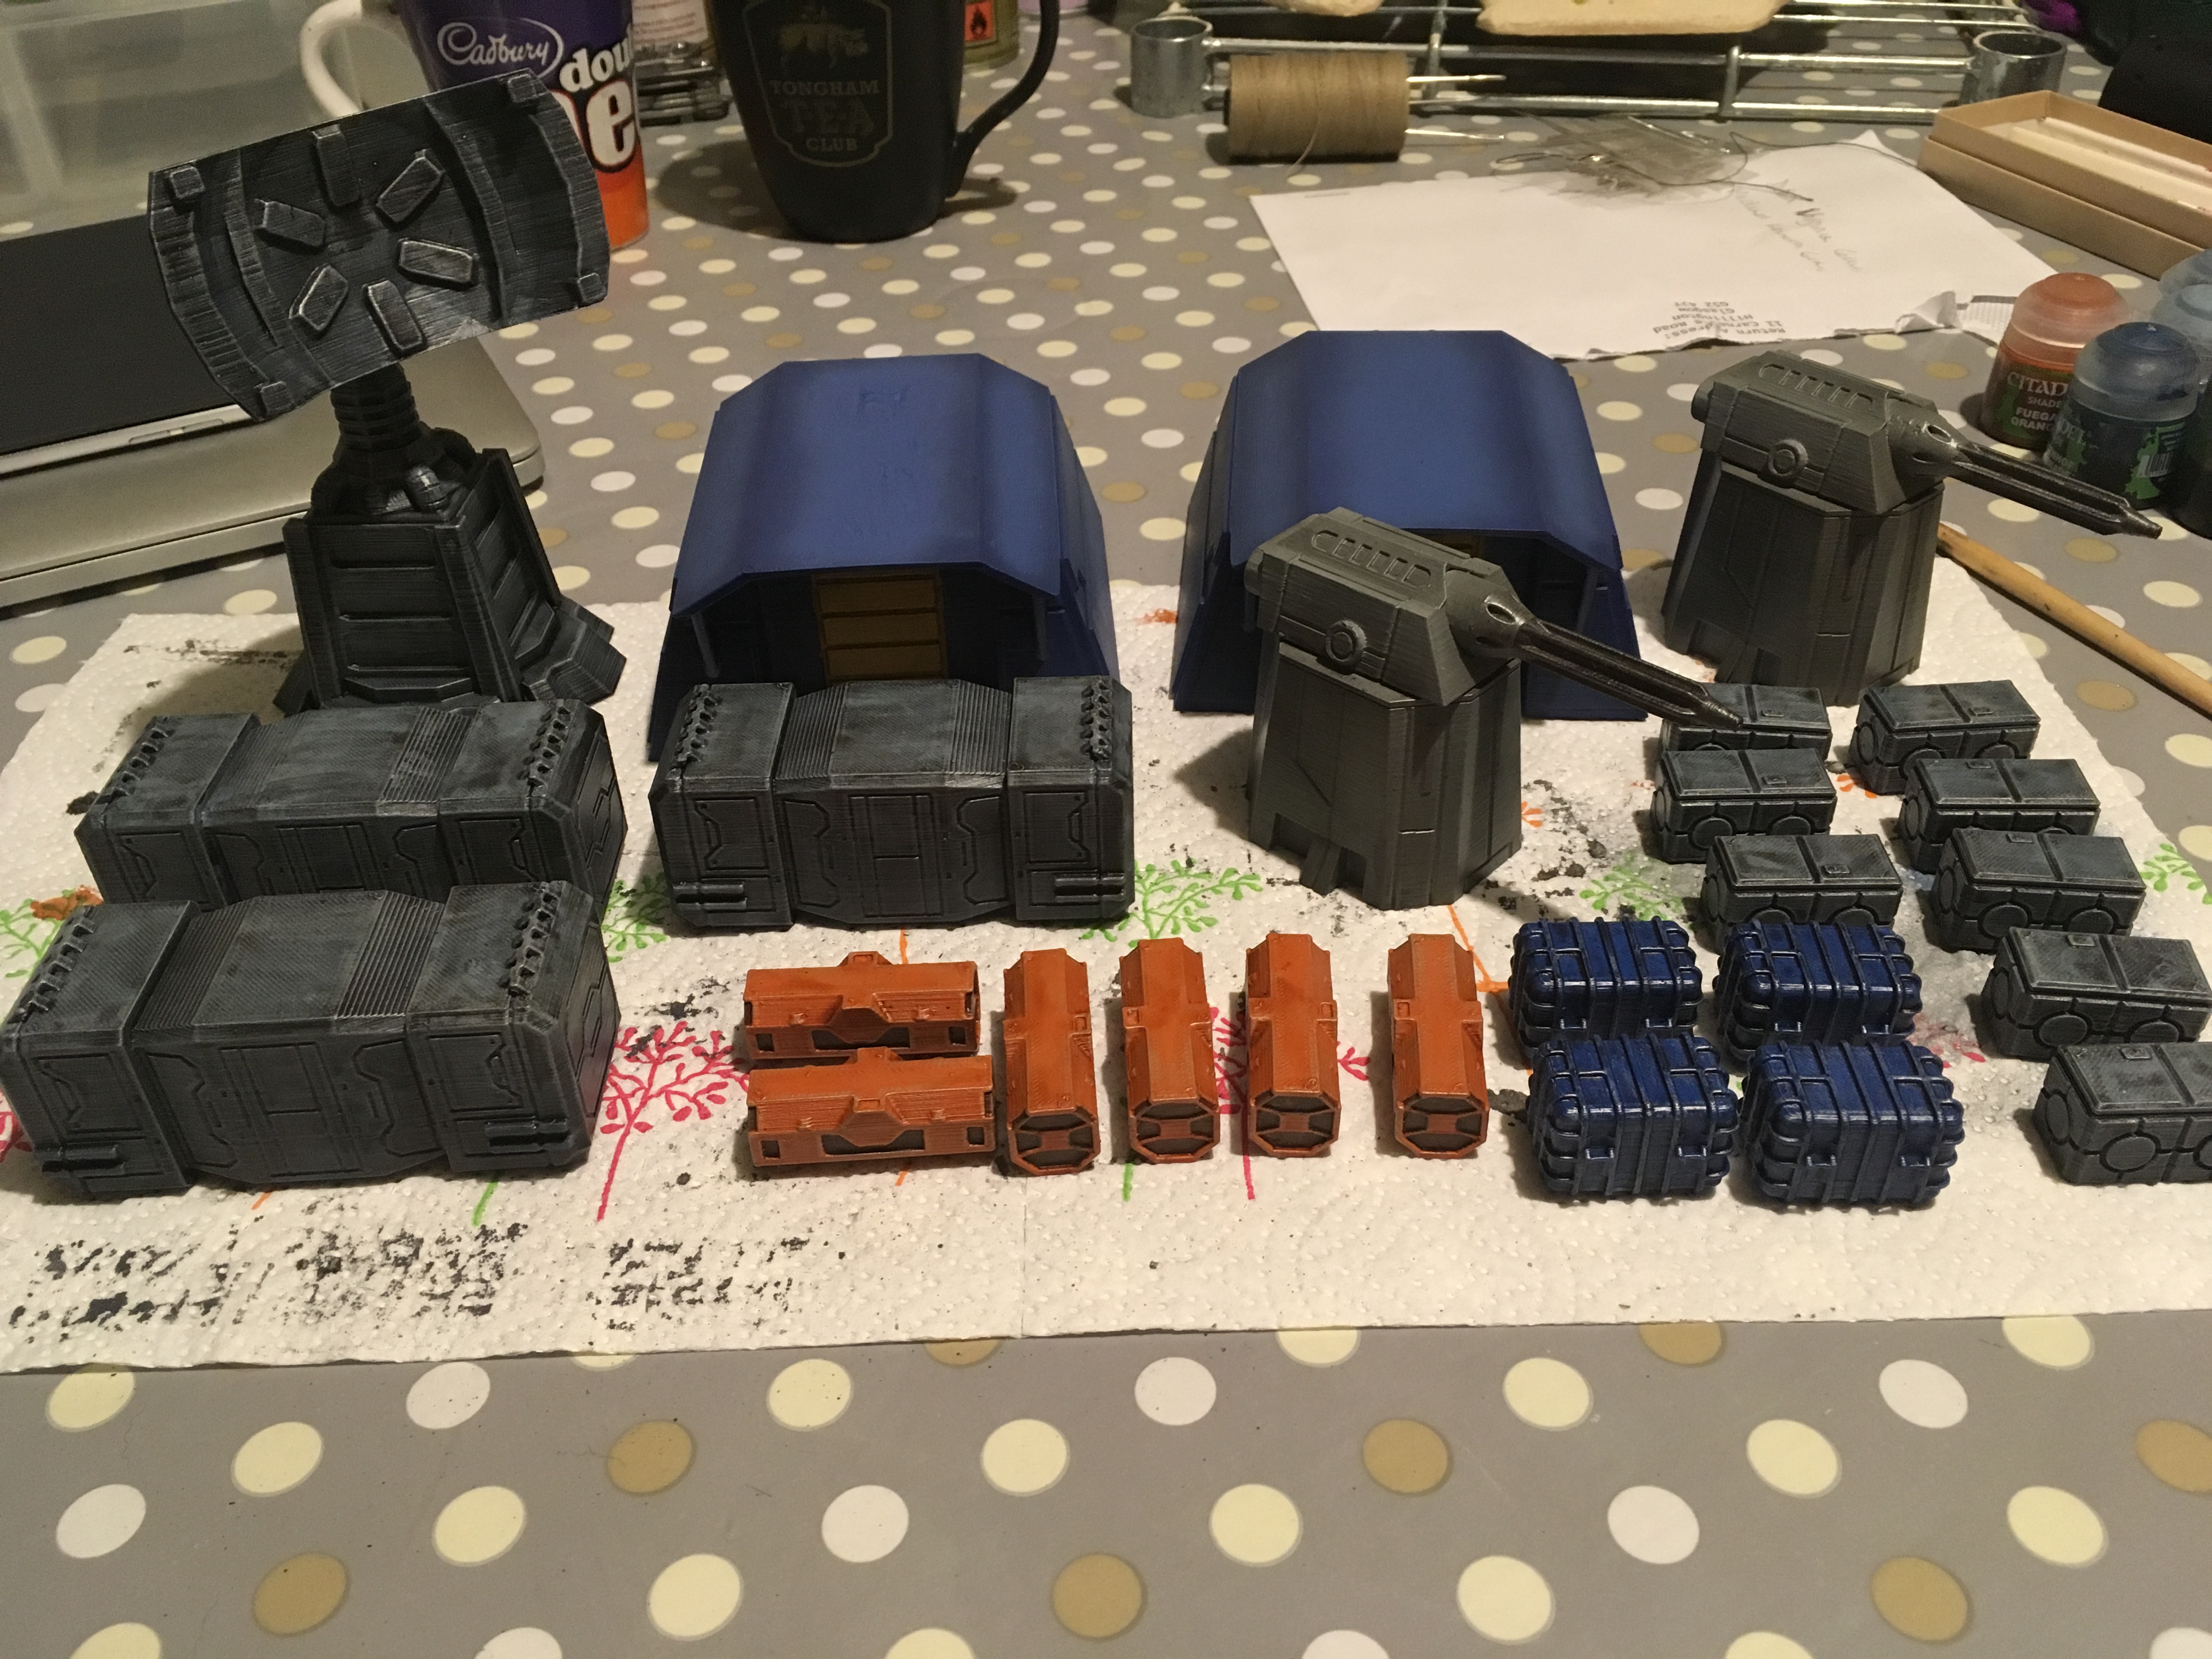 All the 3D stuff done so far painted and varnished
Quite a collection really.
There are two painting styles in this lot. Firstly the good old trusty paint, drybrush and wash method, which is reasonably quick and secondly there is the more advanced ‘learn how to use an airbrush method’ which is noisy, unknown to me and somewhat frustrating.
The sheds and the laser turrets were airbrushed. You can tell that I have no idea what im doing, even something as simple as paint consistency is a mystery to me. I do like the ability to softly blend things with an airbrush, looks so good. I need lessons though, I’ll have to get a friend to teach me.
The comms relay and crates were all done using the archaic method of primitive brushwork. Overall the effect of the dry brushing works well but I think I went a little overboard on the nuln oil wash. I shall not be redoing them though. It’s only terrain and not a competition level paint job miniature.
The way I’ve done the greys is quite simple and a copy of what I did for the Yavin IV build.
Mechanicus Standard Grey Base/prime
Russ Grey Drybrush
Fenrisian Grey Drybrush
Necron Compound Drybrush
Nuln Oil wash
Army painter matt varnish.
A note on the varnish. It says its matt on the tin but that’s entirely dependant on what the environment you spray in is. Tonight is a cold and not exactly dry (but not raining) atmosphere. As such I have ended up with a satin finish. This will be easily rectified by doing it again when its a bit warmer during the daylight, no biggie.
The orange and blues used were Jokaero and Caledor with a necron compound drybrush and Fuegan and Drakenhof washes over appropriately.
Coming Up!
The next places to go are the landing pad, which has finished printing, with major warping issues. will need to be ‘hobby’d’ to be looking at its best I expect and also a bunker, the roof of which has just finished tonight, again with warping issues.
I need to find a way of having wide short prints stay stuck to my PEI sheet. These are taking up the entire of my print bed and so my usual raft/brim method is not on. I shall research and get back to you if I need to.
On top of that I will write up an entry about the 3D printing stuff. The settings I’ve used, the material, the print times etc. I’m sure there are people who are interested in that.
Landing Pad
Obviously as part of this build I will need a landing pad. Its quite a large piece of recognisable terrain for this theme along with the bunker.
It would be quite easily to make one out of MDF, Card, Plasticard, Grit etc but I decided to try and test my 3D printer.
I shall preface this with, If I was to redo this, I would go with a traditional method rather than 3D printing.
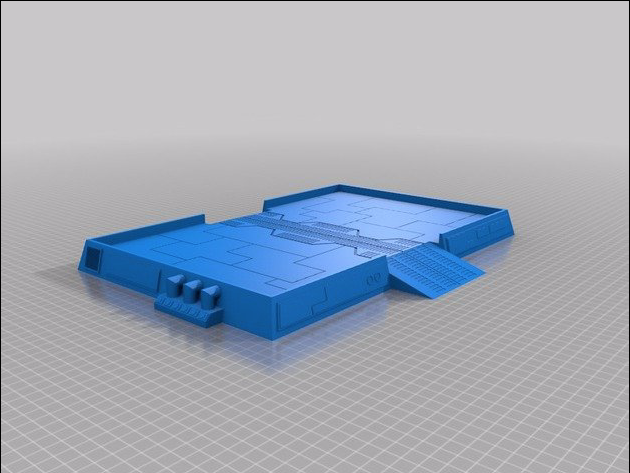 https://www.thingiverse.com/thing:3087418
A quick trawl of thingiverse gives us this landing pad by cheffrey85. It looks pretty cool and has the added benefit of giving some additional cover through being raised about an inch to what might end up being a very flat open area (unless you fill it with boxes and scatter etc)
The model is broken down into 5 parts.
Left side, right side, middle walkway and two ramps.
Cheffrey85 has done us all a solid one by making the model fit on a small sized bed (210×210) so we don’t need to muck about with it at all. I printed it at 0.2 layer height with 7% infill. This I’ve found is the lowest amount of infill I can have without compromising the structure without needing to have lots of top layers. I also tried to put a brim/raft on it. Sadly due to it taking up the majority of the heatbed I could only put a very small brim on it. something that would come back to bite
The left and right sides would take 9 hours to print each and the middle and ramps would take 6 hours to print together. Thankfully my wife was away from the house at the weekend I did this so I was able to run the printer and only annoy myself and the puppy. Prusa machines are demonstrably quieter than others, but they’re still loud and annoying.
The never ending battle with 3D printing
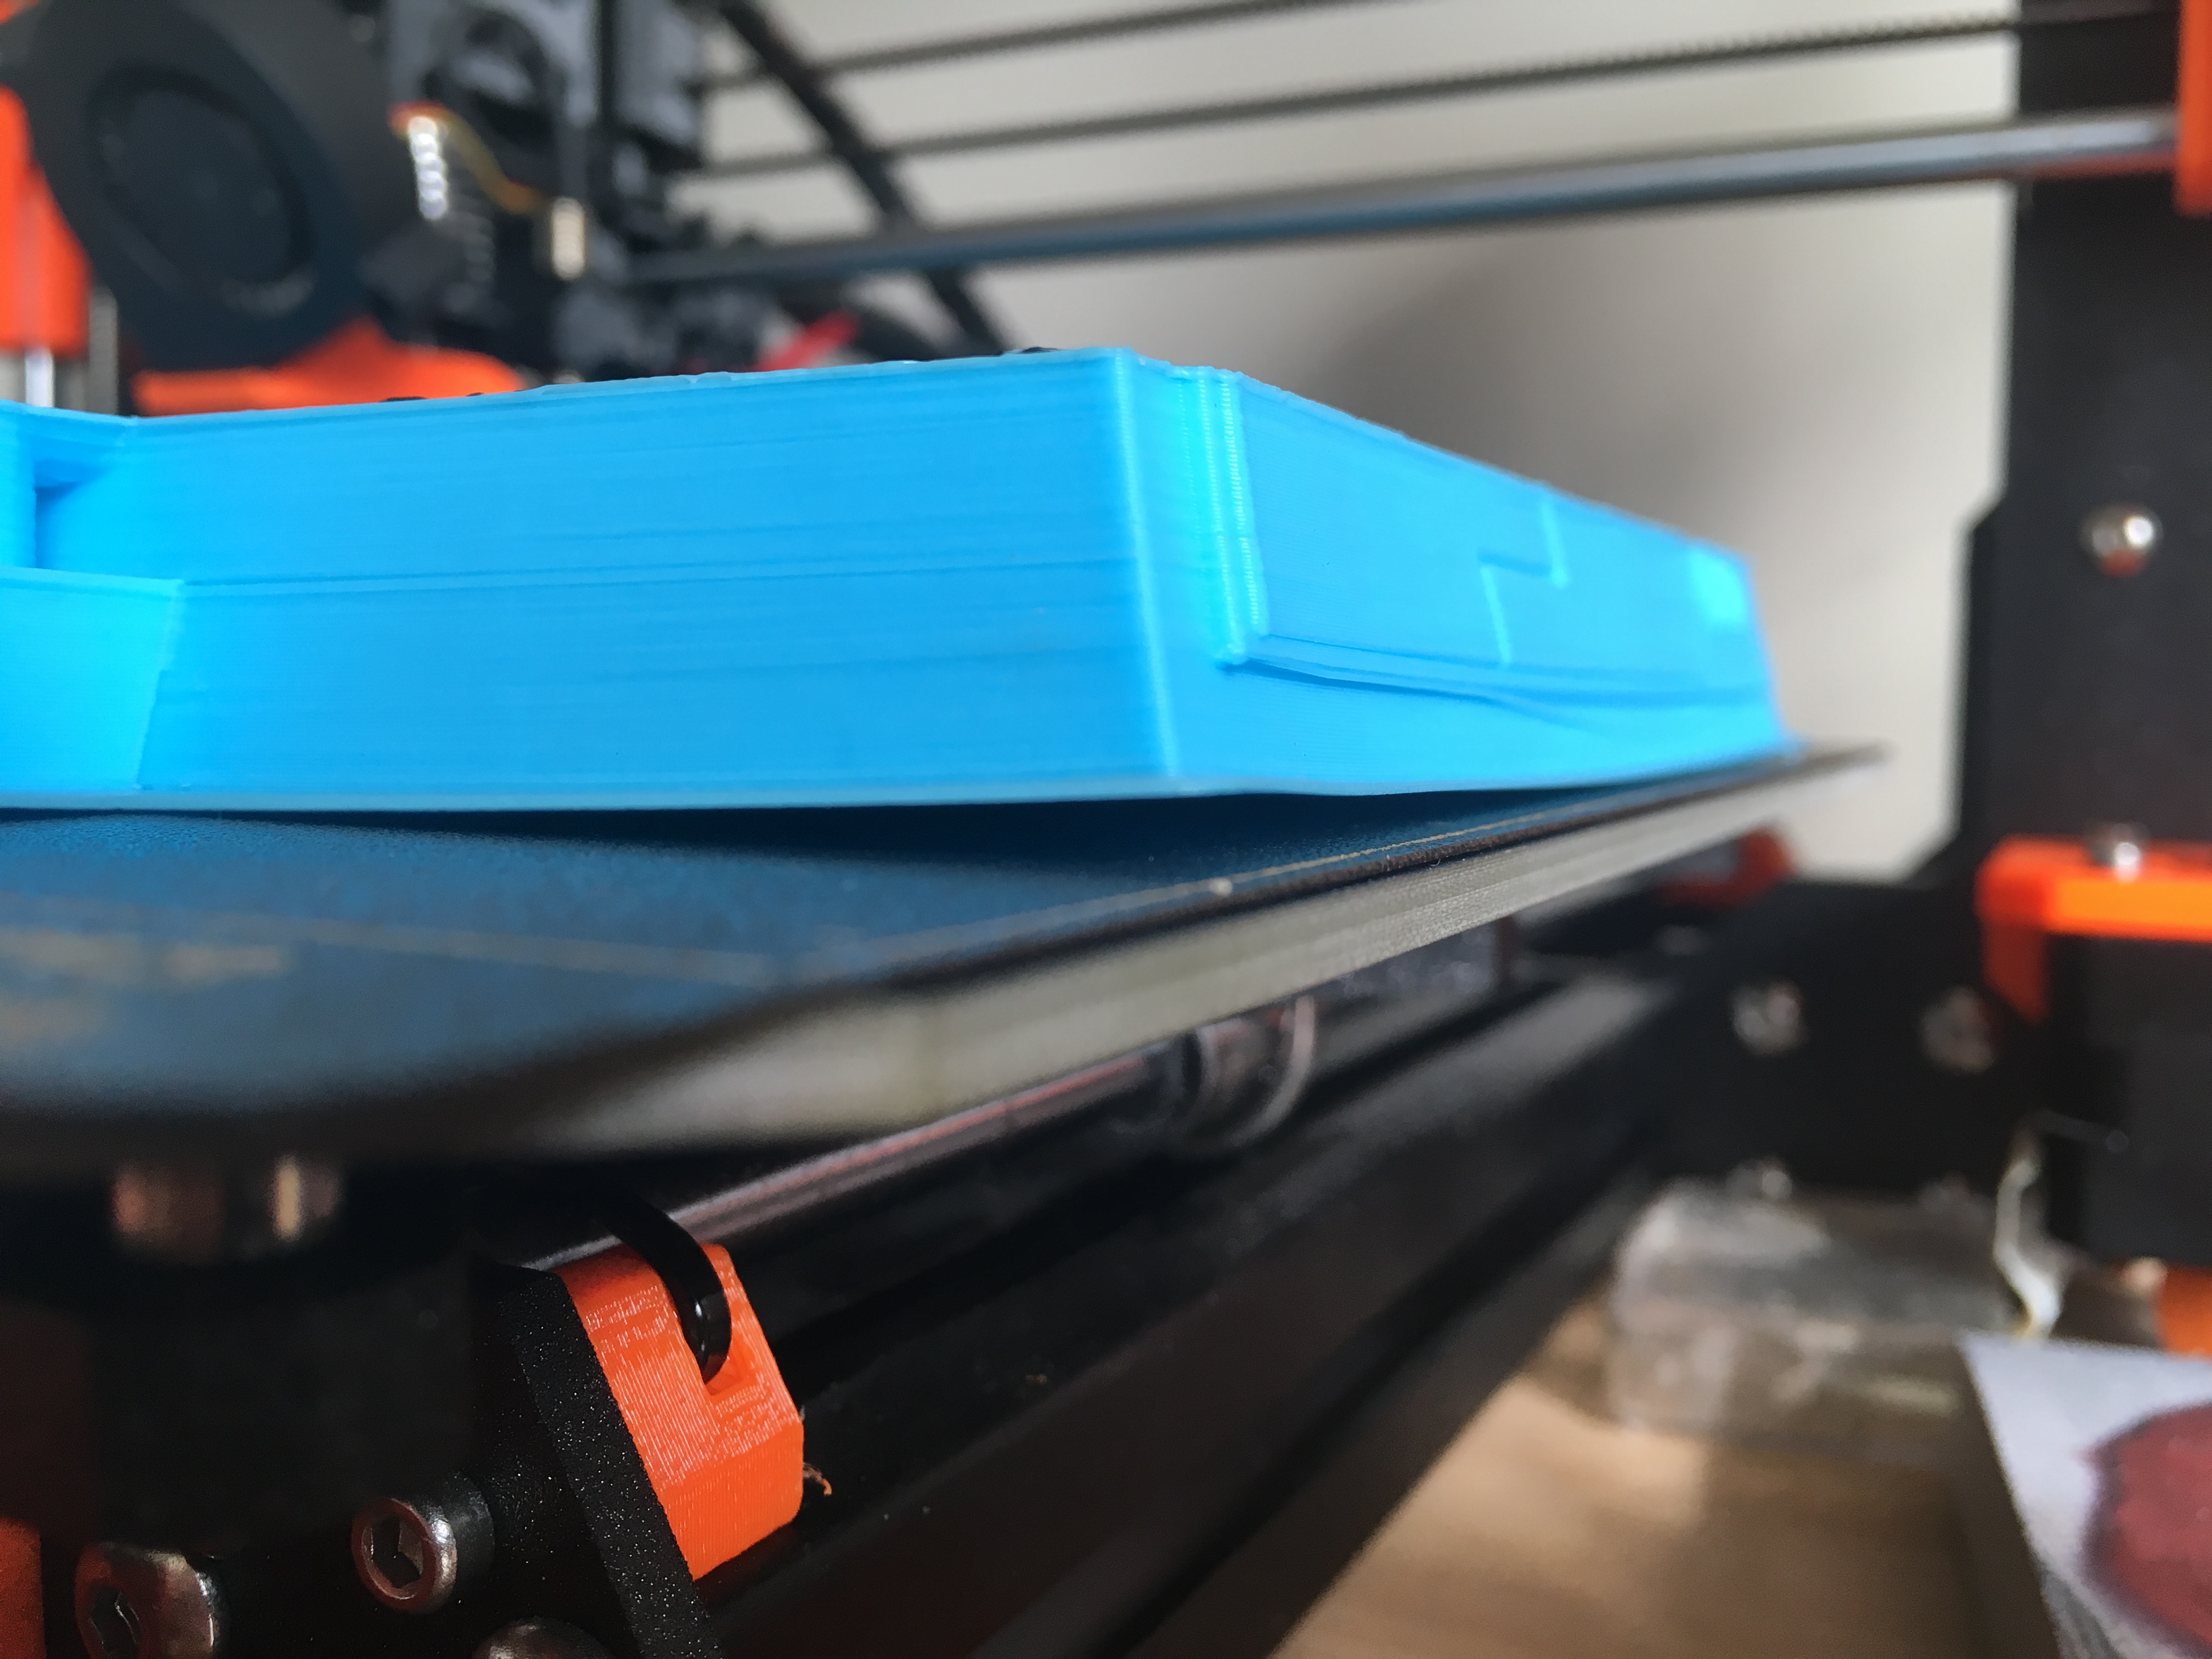 Please just stay stuck to the bed!
It is always hard to keep prints from lifting from the bed. it is especially difficult (for me) with wide prints. I have done all I can to ensure a perfectly level bed and use the electronic adjustments to allow for a 100 micron (+/-50) variation over the bed. There are lots of people on facebook groups that are willing to help and once you get past the standard responses of ‘oh just change your Z hight’ (which is usually wrong advise) you do get the odd nugget of useful info.
There are a number of videos on youtube that explain why we have these problems etc.
The advise I see regularly for this problem is to A) raise the bed temp, B) lower the bed temp, C) clean the bed, D) recalibrate the machine, E) pray, F) drink beer.
A lot of people explain that a clean bed is the best, for me, I find my bed is a lot less ‘sticky’ once its been cleaned using soapy water, isopropyl alcohol and/or acetone (rarely). Once its had two prints done on it it miraculously becomes much more sticky.
Still it suffers from print lifting. I think the only way I can make this better is to rebuild the machine using proper tools rather than rocks and hope. to be fair, its done 3700 metres of filament with minimal failures to date so it is doing quite well. I just think this was a challenge that it wasn’t set up for.
Please advise if you know how I can sort this problem!
 The first coats. Note the problems and scratched up surface from the print lifting from the bed.
Once the print had completed I glued it together using a polyutherene type glue (a gorilla glue). This is a water activated expanding product so you don’t need to use much of it.
It is at this point that the warping from the print bed became a problem for me. It was so noticable that I decided that I had to base it to get around the issue. The point of 3D printing is that you shouldn’t need to base the stuff unless you want to blend it into a table layout. It then becomes somewhat dedicated to that one layout which really defeats the objective. This is the reason I said at the beginning I would do it the traditional way if I was to do it again. It would have been quicker and probably cheaper too when you take into account the energy and plastic used. Cut plasticard or foam board would have done just as well.
On the image you can see the damage to the top layers by the print lifting. It has caused ripple and scratching and loss of details. all parts suffer from this except for the ramps. AKA all the big prints are damaged.
The pad was primed black and then some house emulsions used to paint it.
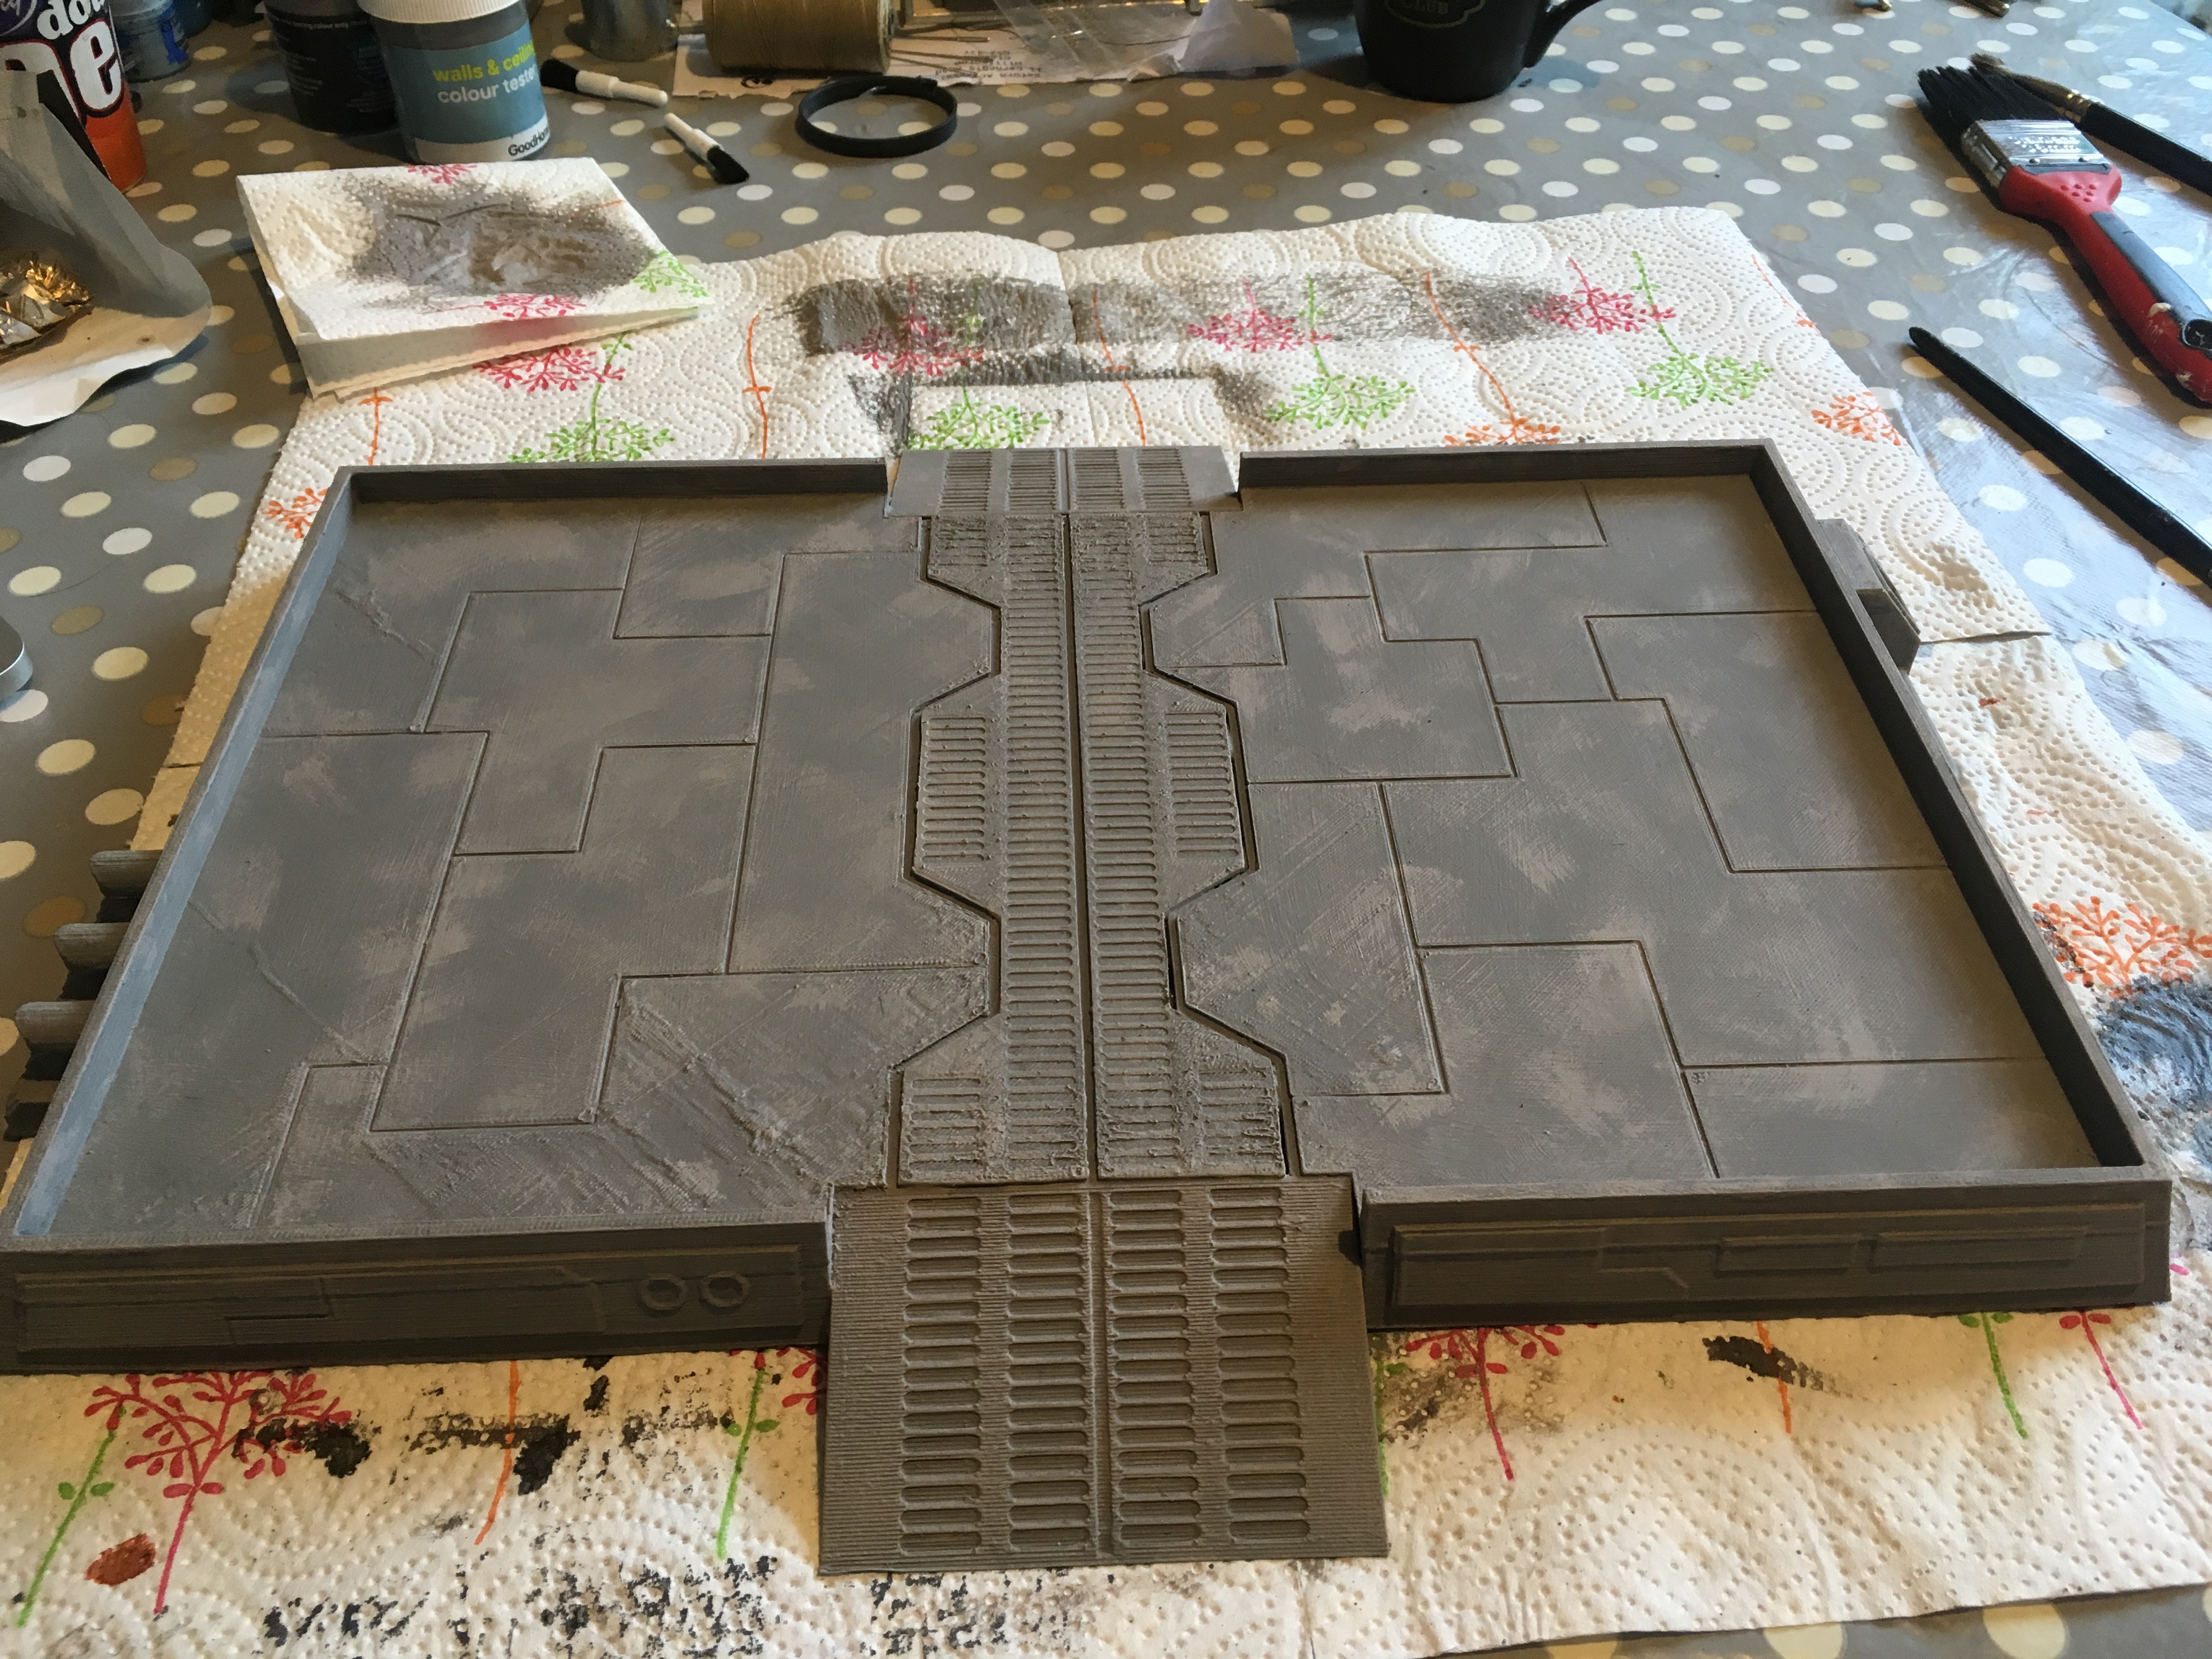 minor dry brushing
 The house paints used are Hamilton grey and then dry brushed with with Long Island grey.
I kept the dry brushing to the edges of the panels. I thought that it would give the best effect. I then thought about it again and added some larger marks to simulate scratches etc.
Once that was done it was time to add landing markings. When you refer to the research images you can see that they are usually lines and arrow heads and usually orange/browny orange in colour. I broke out the airbrush ive been lent. I’ll be honest, I don’t know how to use this fully yet, still learning and I am consistently over thinning the paint but Im getting there slowly.
I made a stencil out of cereal box and then laid it over and sprayed. didn’t take long.
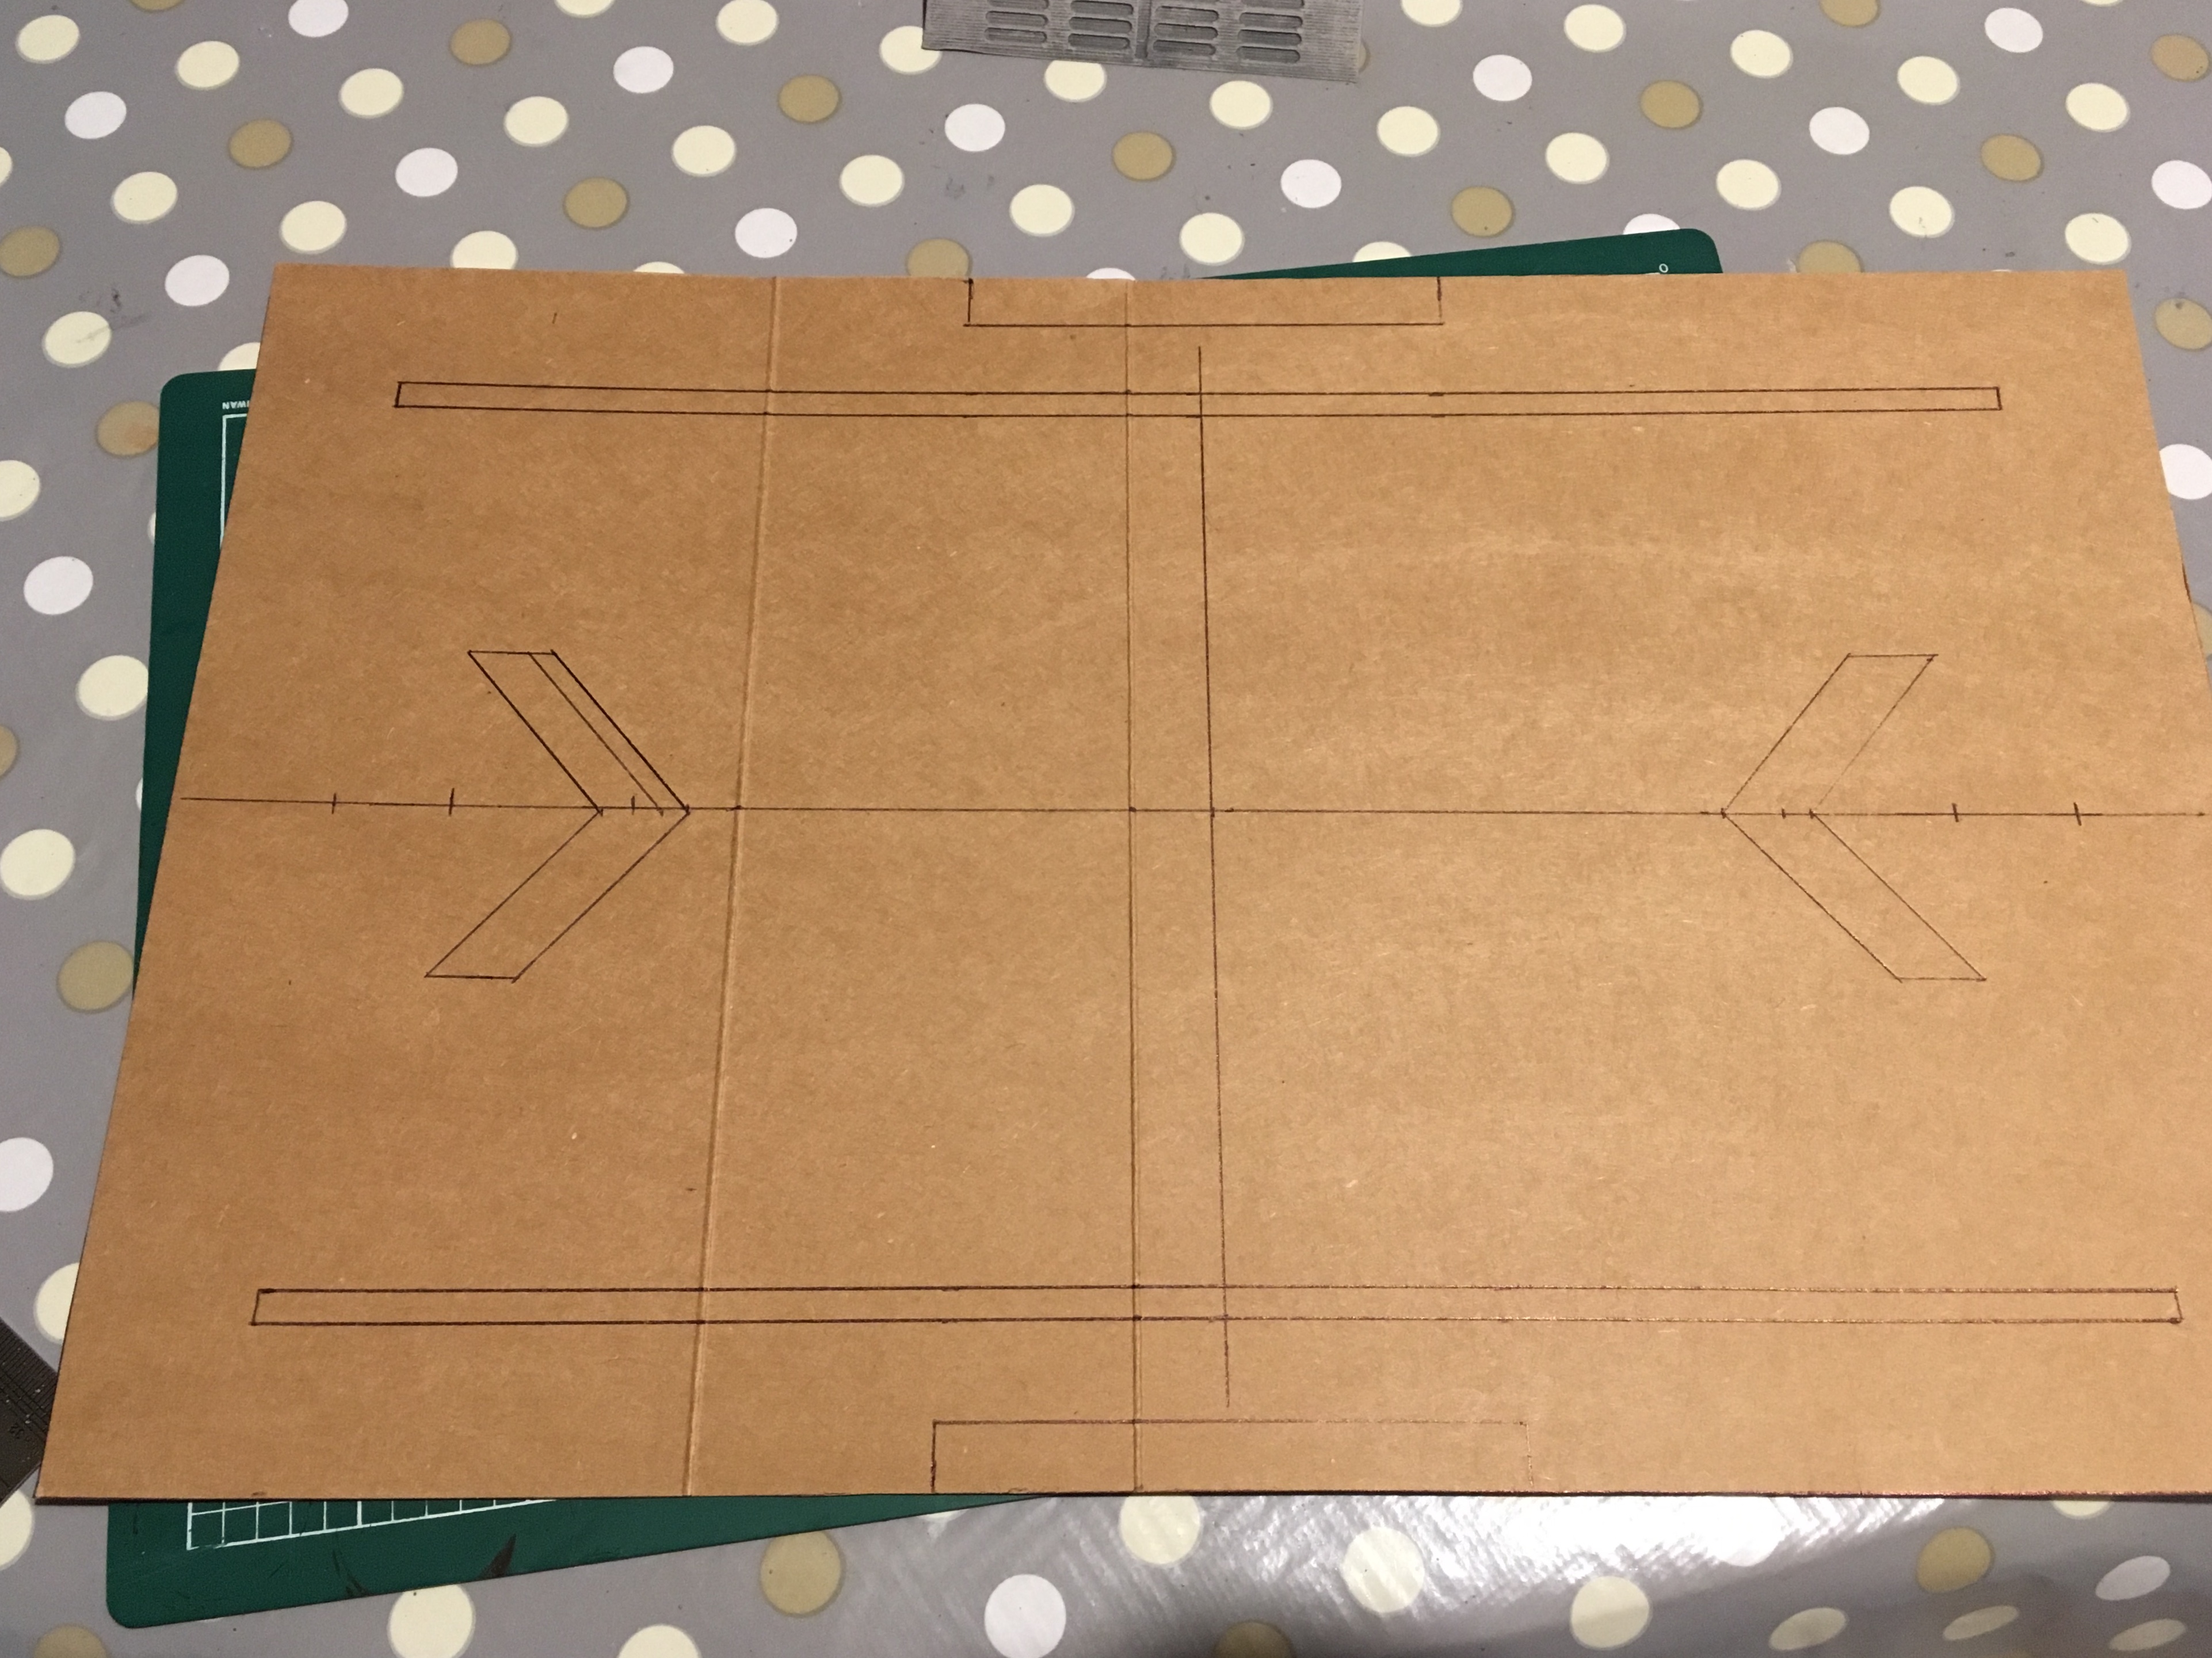 Cereal box stencil drawn with pen then cut out.
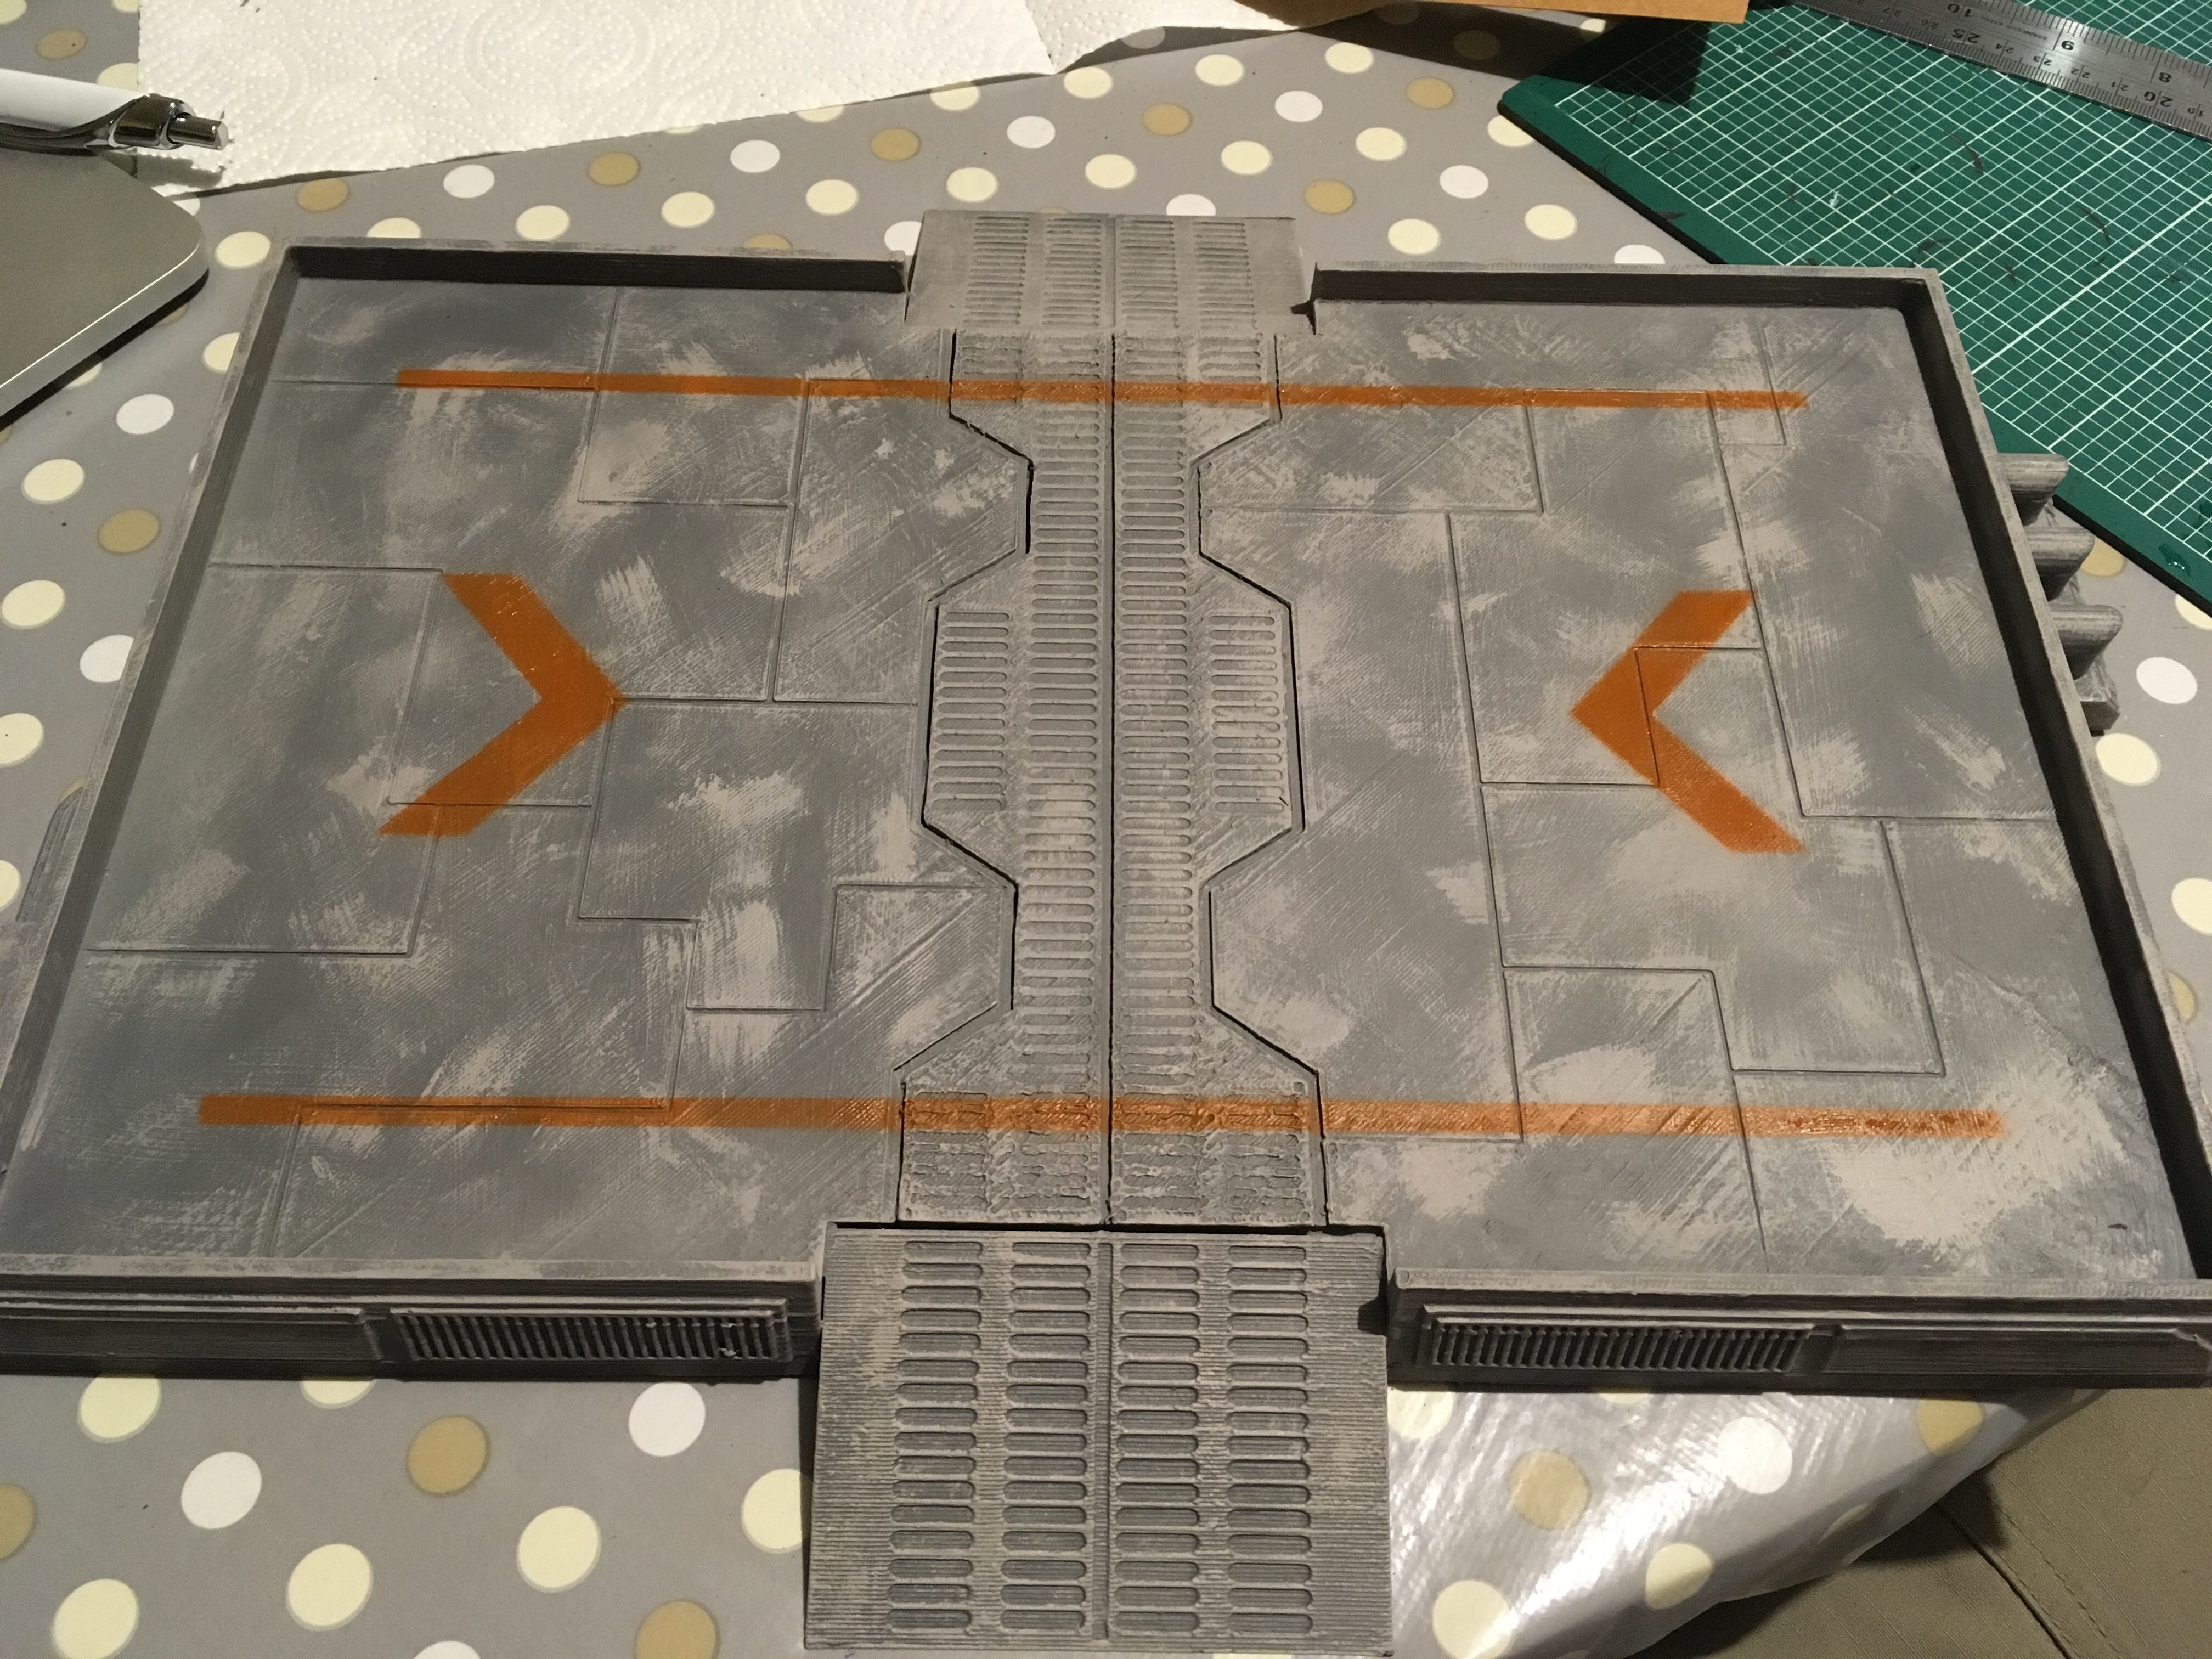 im happy with that result!
Basing the Landing Pad
So to get around the warping problem I had I’ve had to base this.
Again I chose 6mm MDF as its cheap. The pad was then glued down using gorilla glue (polycyante glue. the brown foaming when wet nasty stuff) only did it in spots rather than all over. did quite a lot but I wanted it to cure quickly so I went with the less is more approach. That and it would get sealed down later with the process.
Then I went in with sculptor mould and build up around the edges, this is primarily done to hide the warping and gaps but also does help with locking it down.
Once dry it was painted soft hessian and given the tile grout, isopropyl and PVA water treatment. The excess was dabbed up.
sculptormold and tile grout was added to the pad itself to make it look like sand has built up through wind etc. I think this looks effective and helps in my mind to make it look blended in.
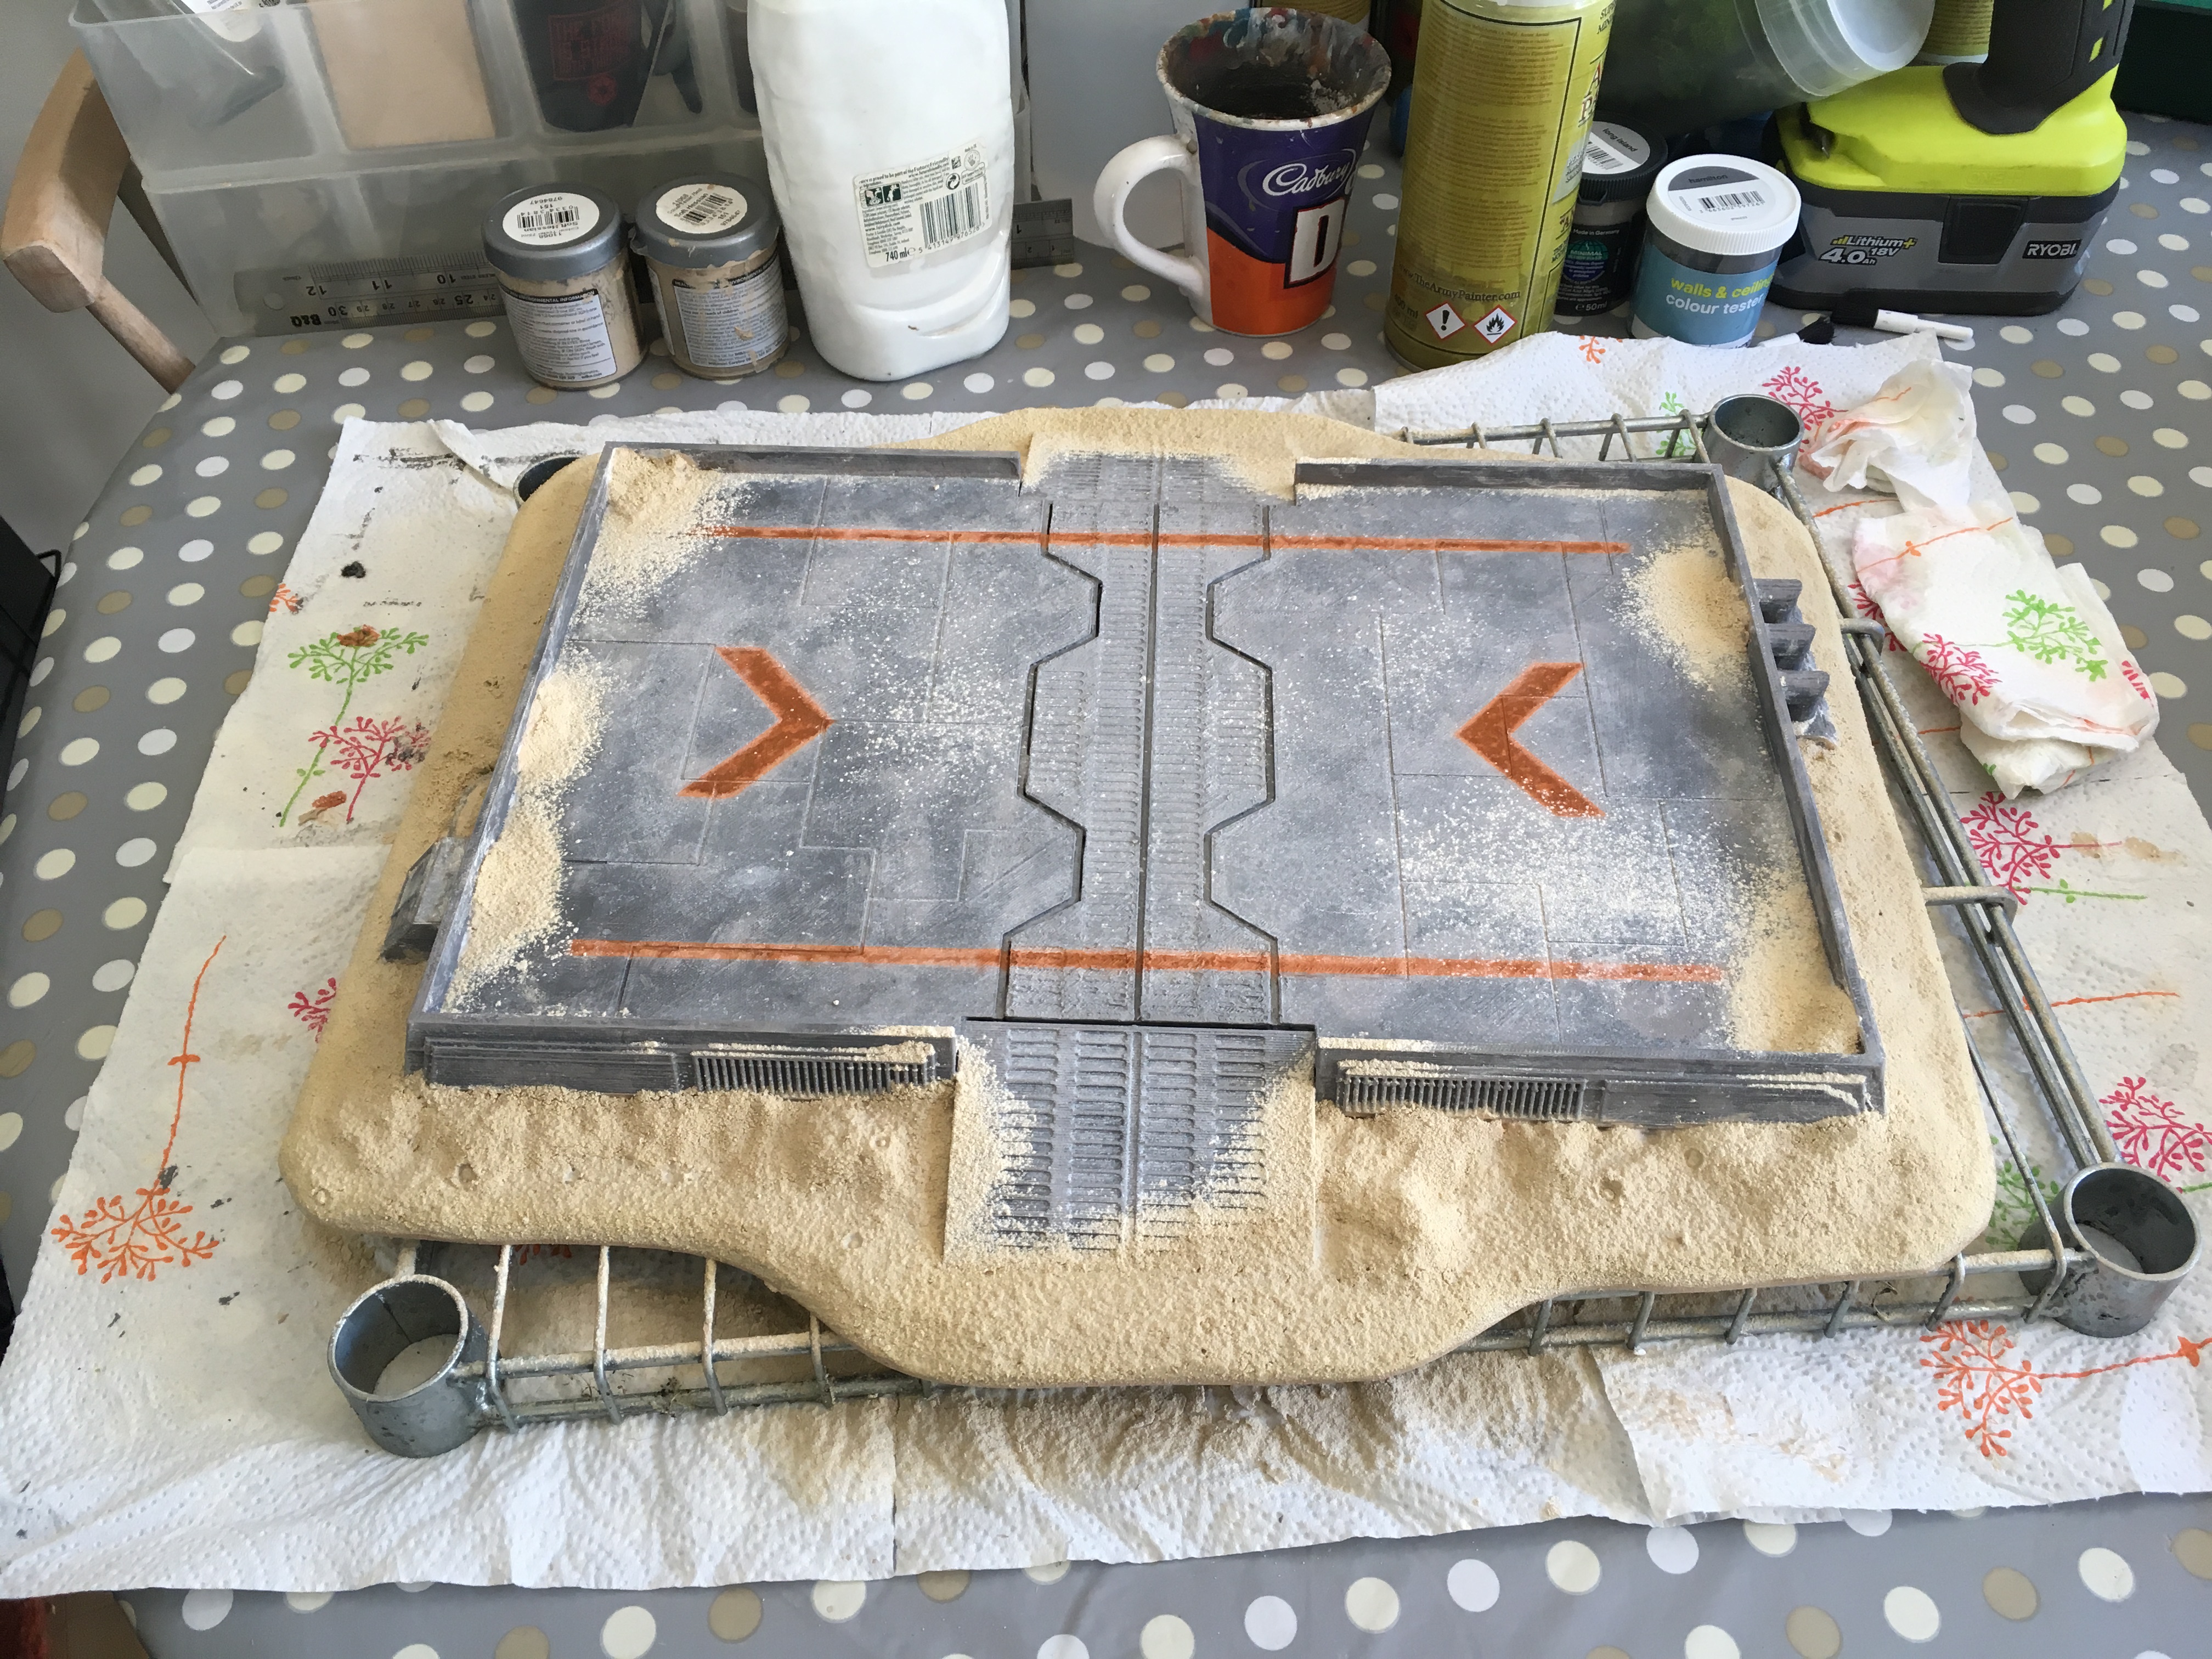 Note the sand deposited on pad itself, adds character.
Once completely dry I matt varnished the landing pad using army painter spray just to dull it a bit after the PVA left it mildly satin.
Then I set about adding ground cover, bushes and grass as per the palm tree scatter to help tie them together
 when using a spray bottle this is what happens with it 'spits' rather than 'sprays' cover up with grass tuffs or ground cover later!

Whats it look like all together so far?
 Pretty good I'd say! Still needs more though!
More 3D printing!
Ive finished printing some more bits and bobs!
the main item is a bunker. Its a key feature of the landing pad area so is a must on the build list.
Again I suffered from warping issues due to size. only on the lid/roof though but as you can see causes issues.
I ended up bodging this somewhat with fillers and will cover over with a bit of grout. it won’t be perfect but it will do.
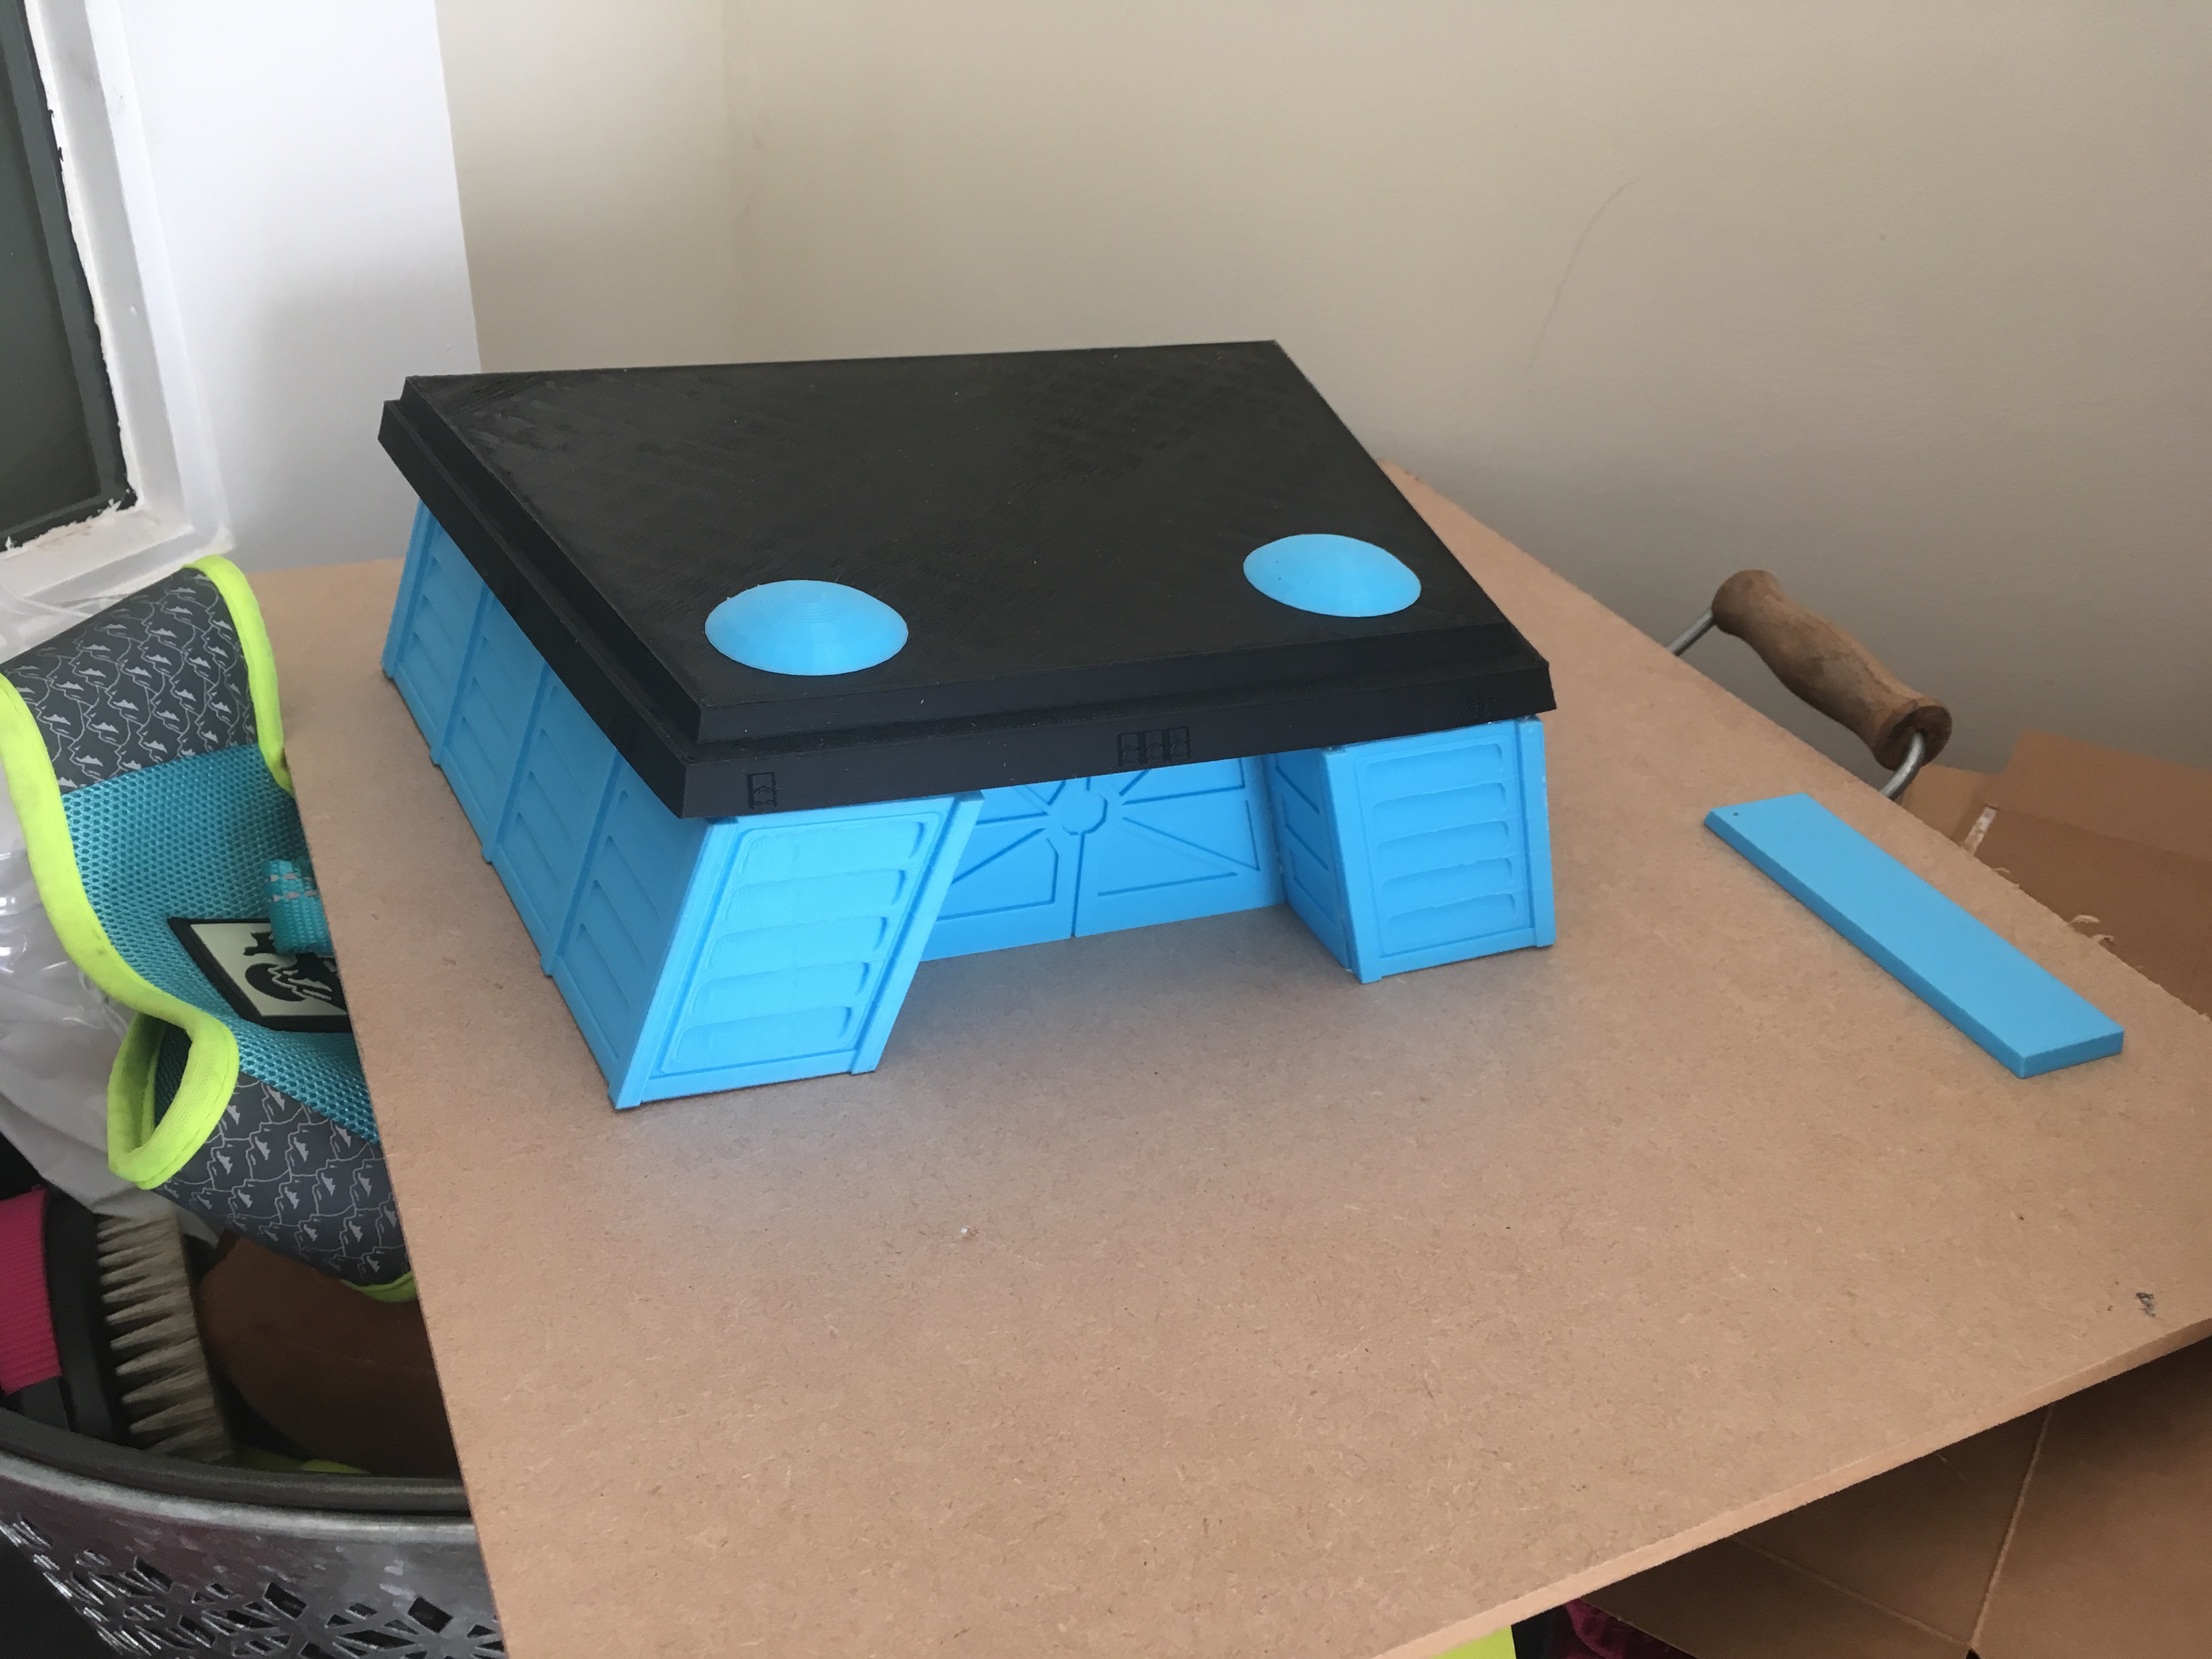
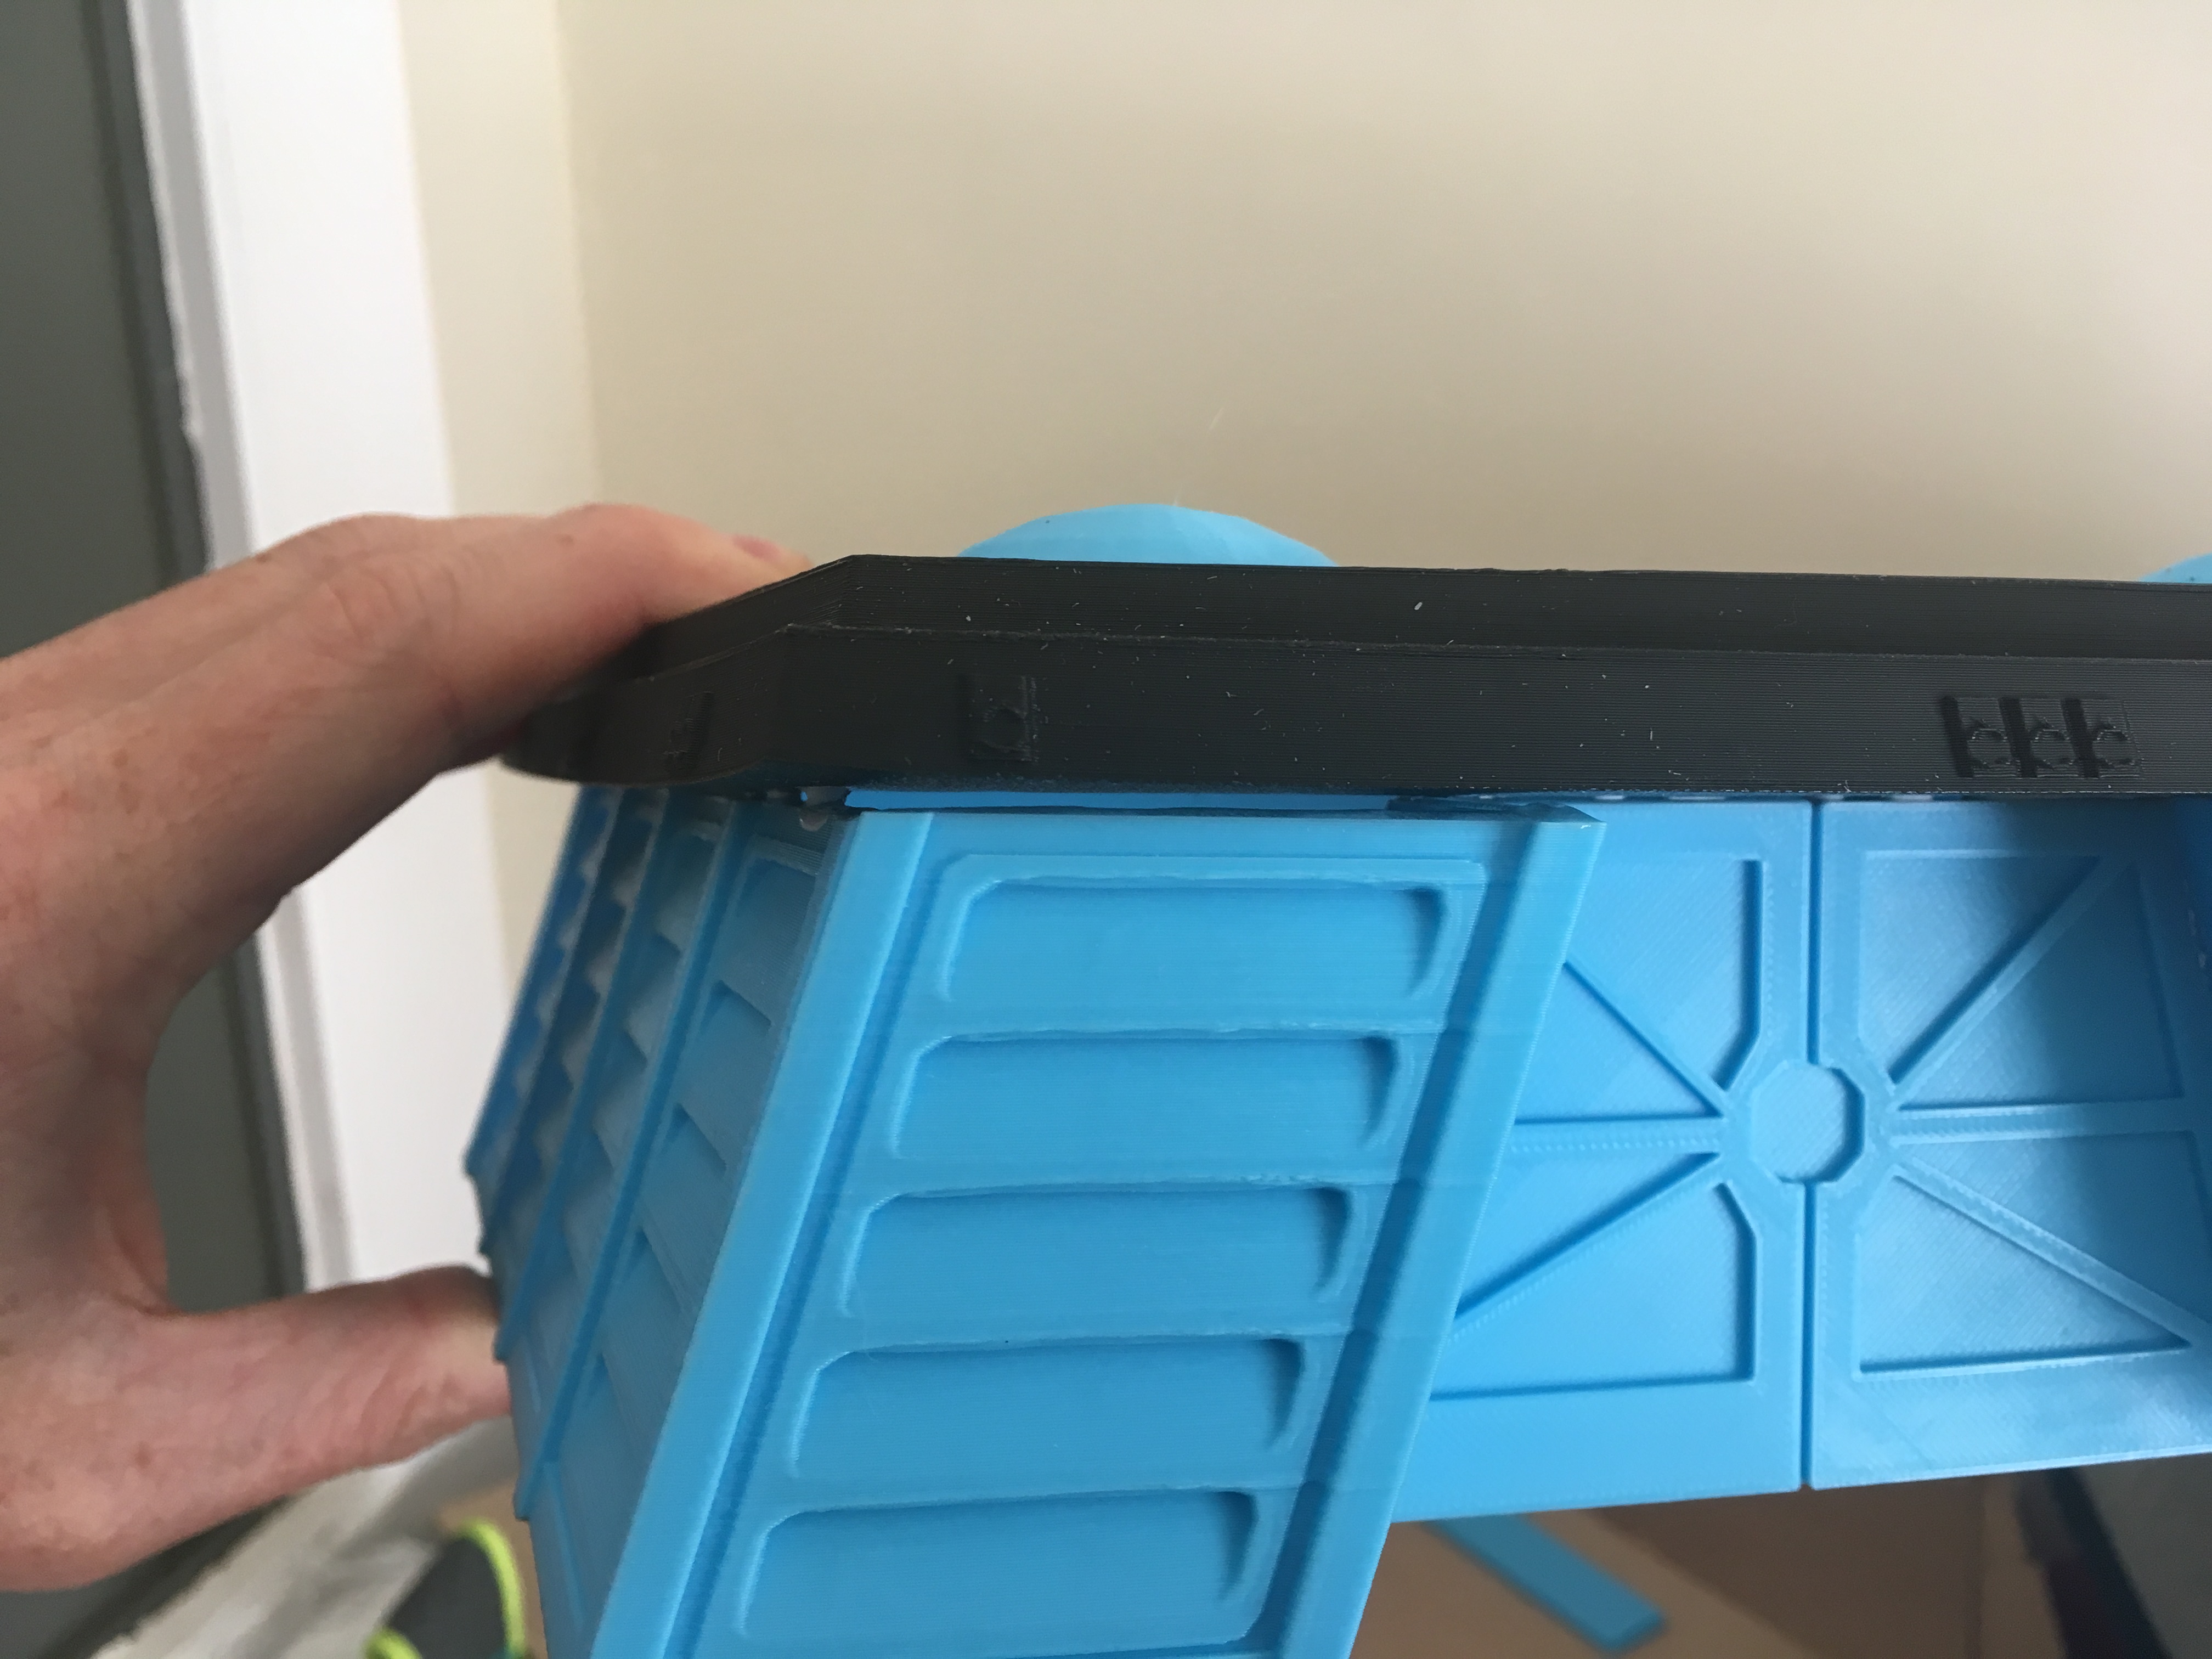 ah! gaps! gonna need some filler
Ive also decided to show the table in the mid state of battle. as such I need some craters fo show the explosions from the ground attack and AT-ACT fire.
I got these plans from imperialterrain.com. They make some class not Star Wars but totally Star Wars stuff and they’re well done and easy to print. they are of course paid for files however. not expensive though. I recommend them.
the image below shows the craters mid print and the infilled pattern I’ve been using.

Craters
Once the craters had finished printing I primed these in white and then roughly brushed on the soft hessian standard base colour for this project.
Once dry it was covered in the tail grout following the previously documented method.
Everything is all standard so far! well apart from the grout didn’t stick as well as it did to the MDF. I did two coats of watered down PVA for that. Bit of a pain as well because it then left a whitish residue on the craters which was very noticable.
The last thing I did to them which is different however was hit them with two types of weathering spray. Model Mates Dirty Yellow and Light Grey. This is to represent ‘glassed’ sand and explosion epicentres. It was a very very light dusting. not even half a squirt from the can!
IT was sealed using matt varnish afterwards so the model mates couldn’t be reactivated afterwards and ruin the effect.
 the finished items
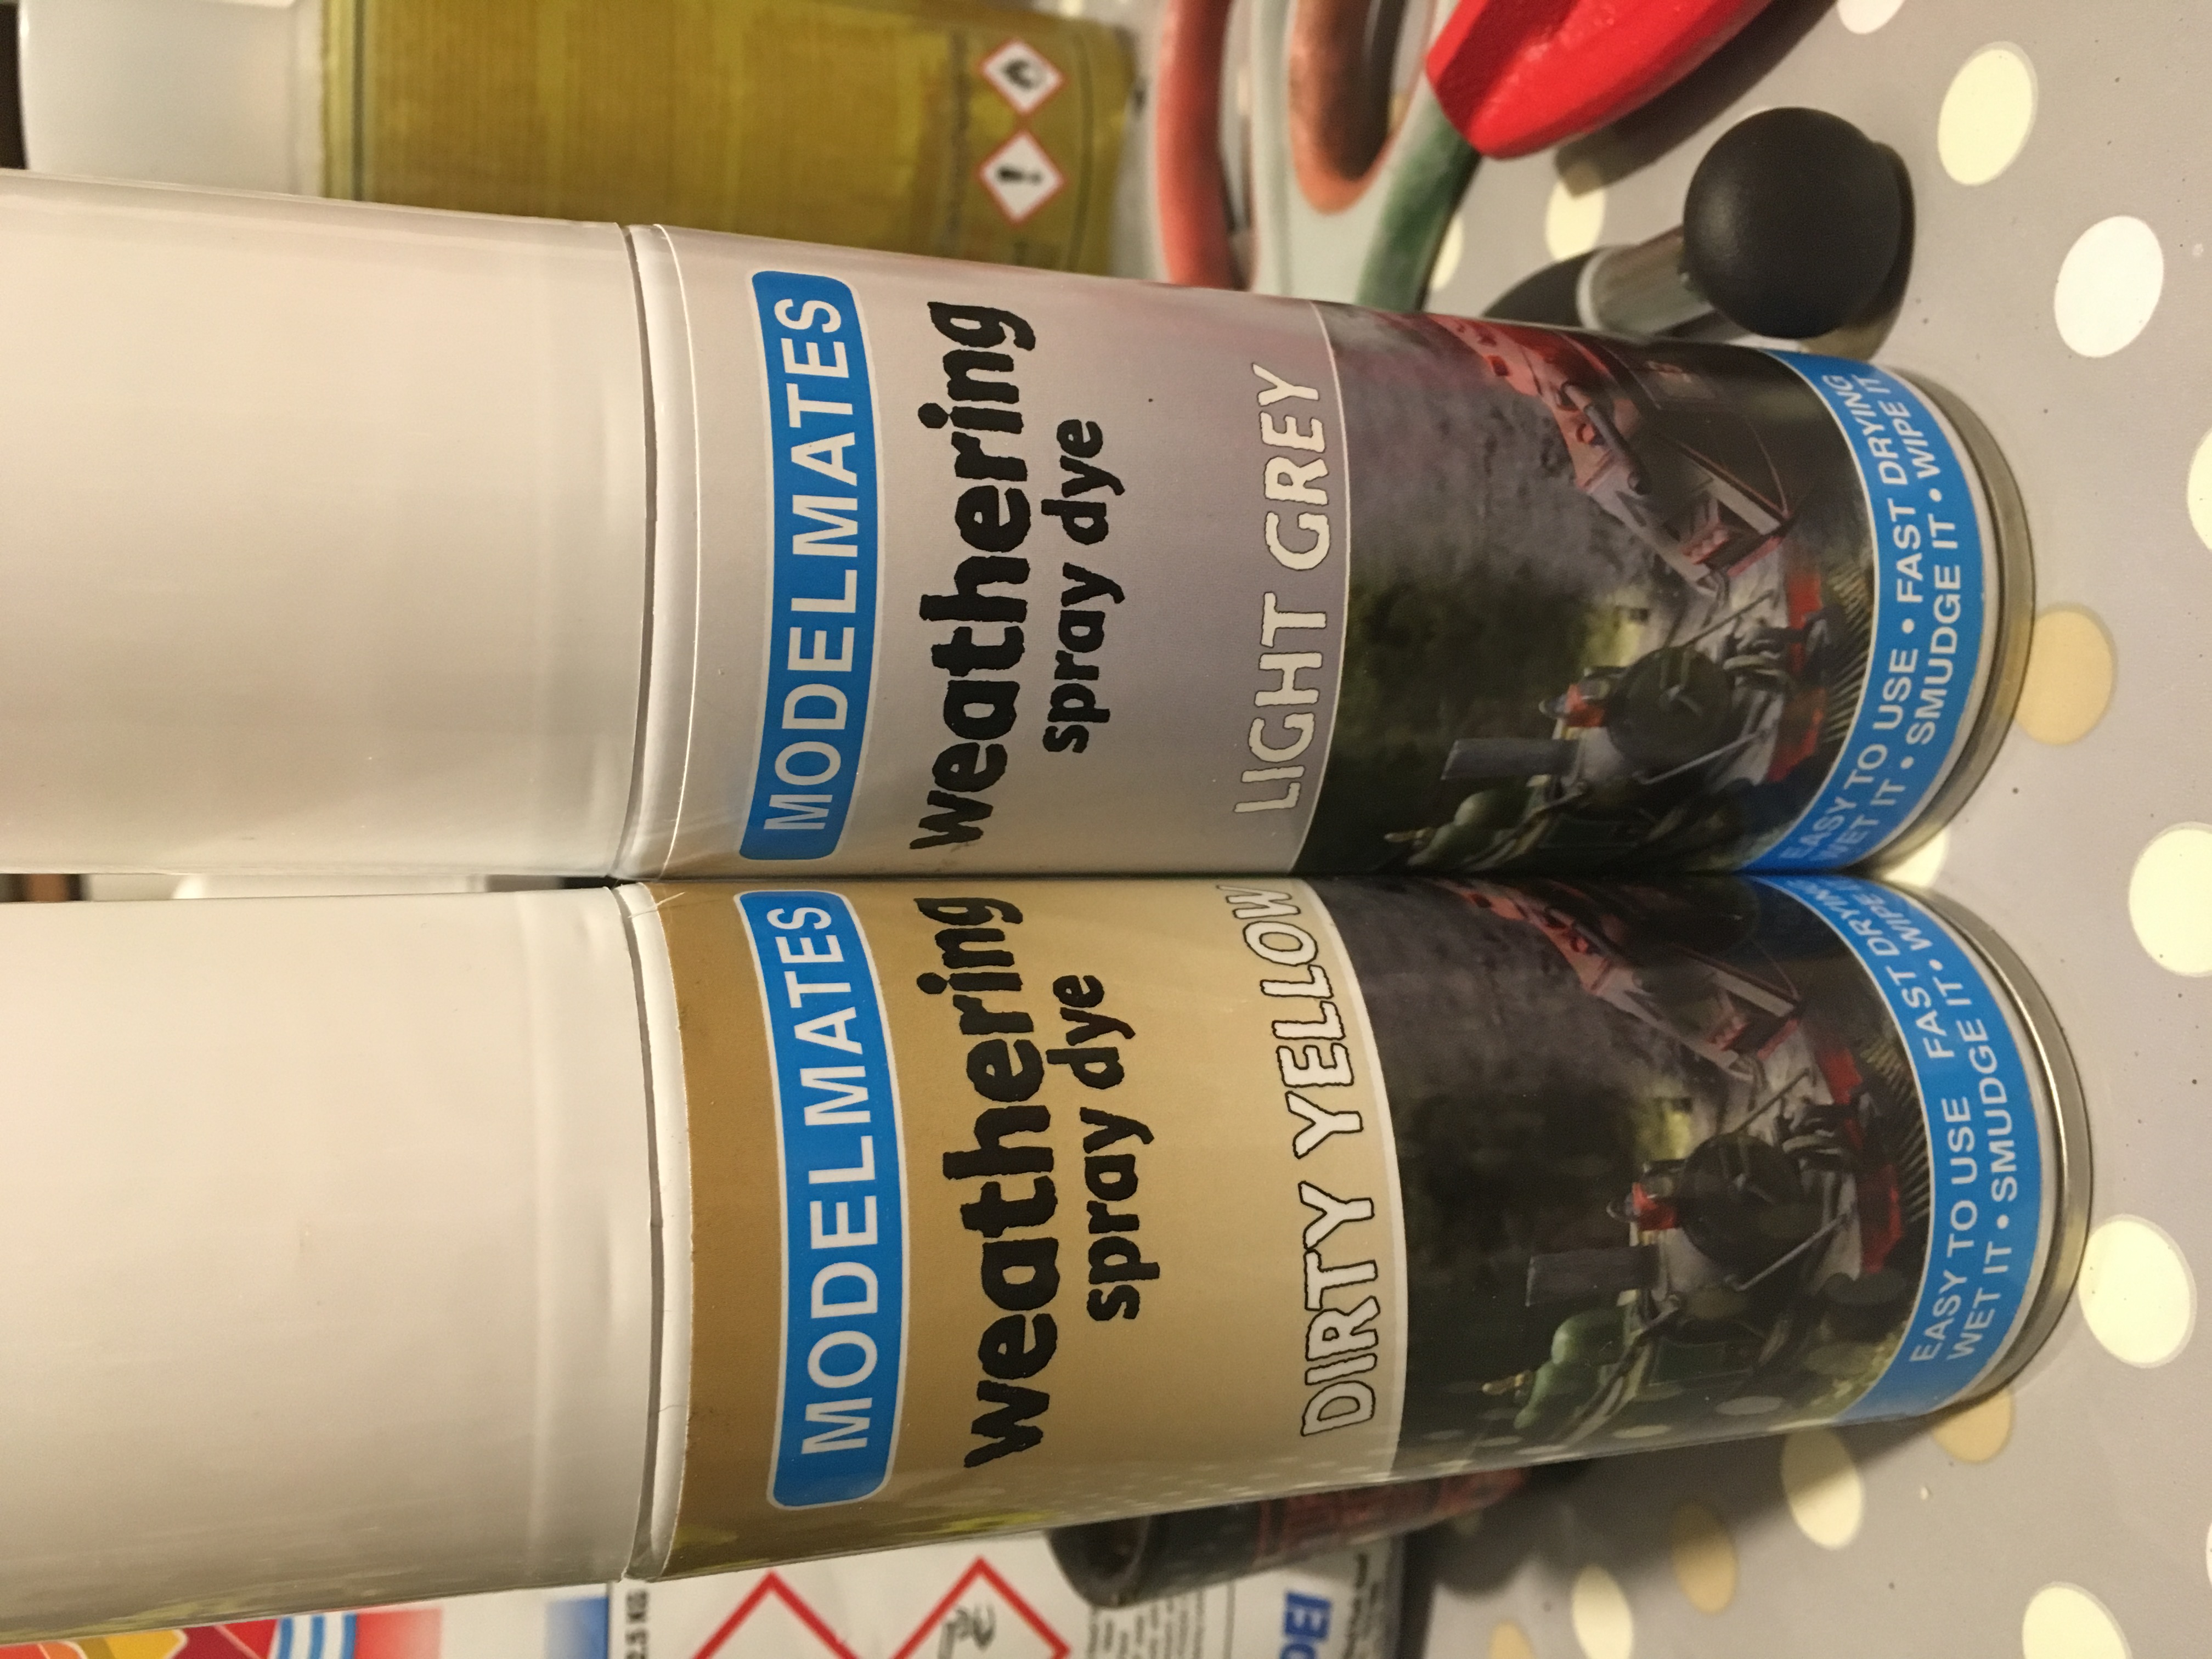


![11th Edition Warhammer 40K Core Rules Now Available & More [Updated]](https://images.beastsofwar.com/2026/06/orks-new-cover-600-338.jpg)