


Build an LED Arch Hobby Light


Recommendations: 34
About the Project
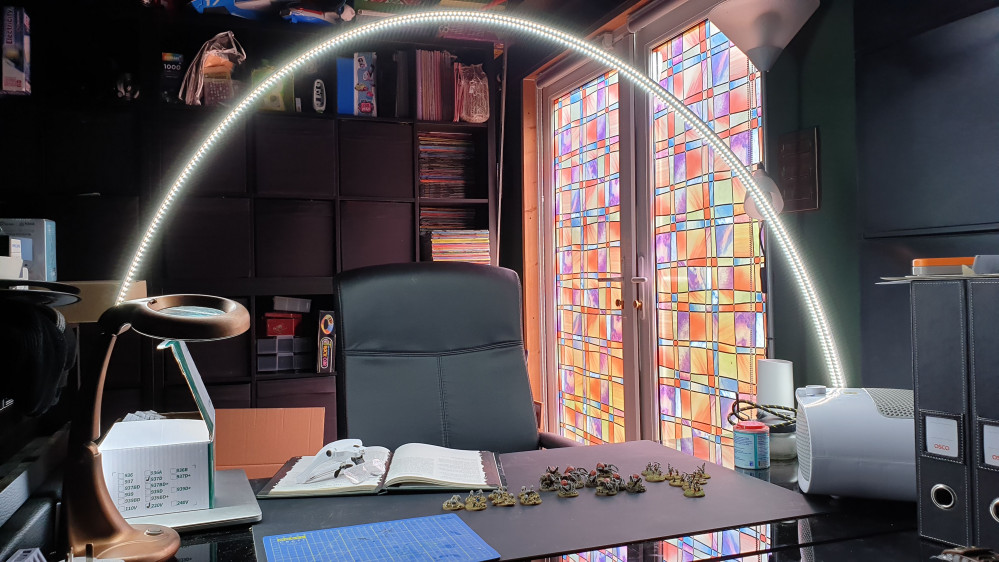
I want better lighting on my project desk, so I have opted to build an LED arch light for maximum light and maximum shadow reduction.
Related Genre: General
This Project is Completed
Disaster Strikes!
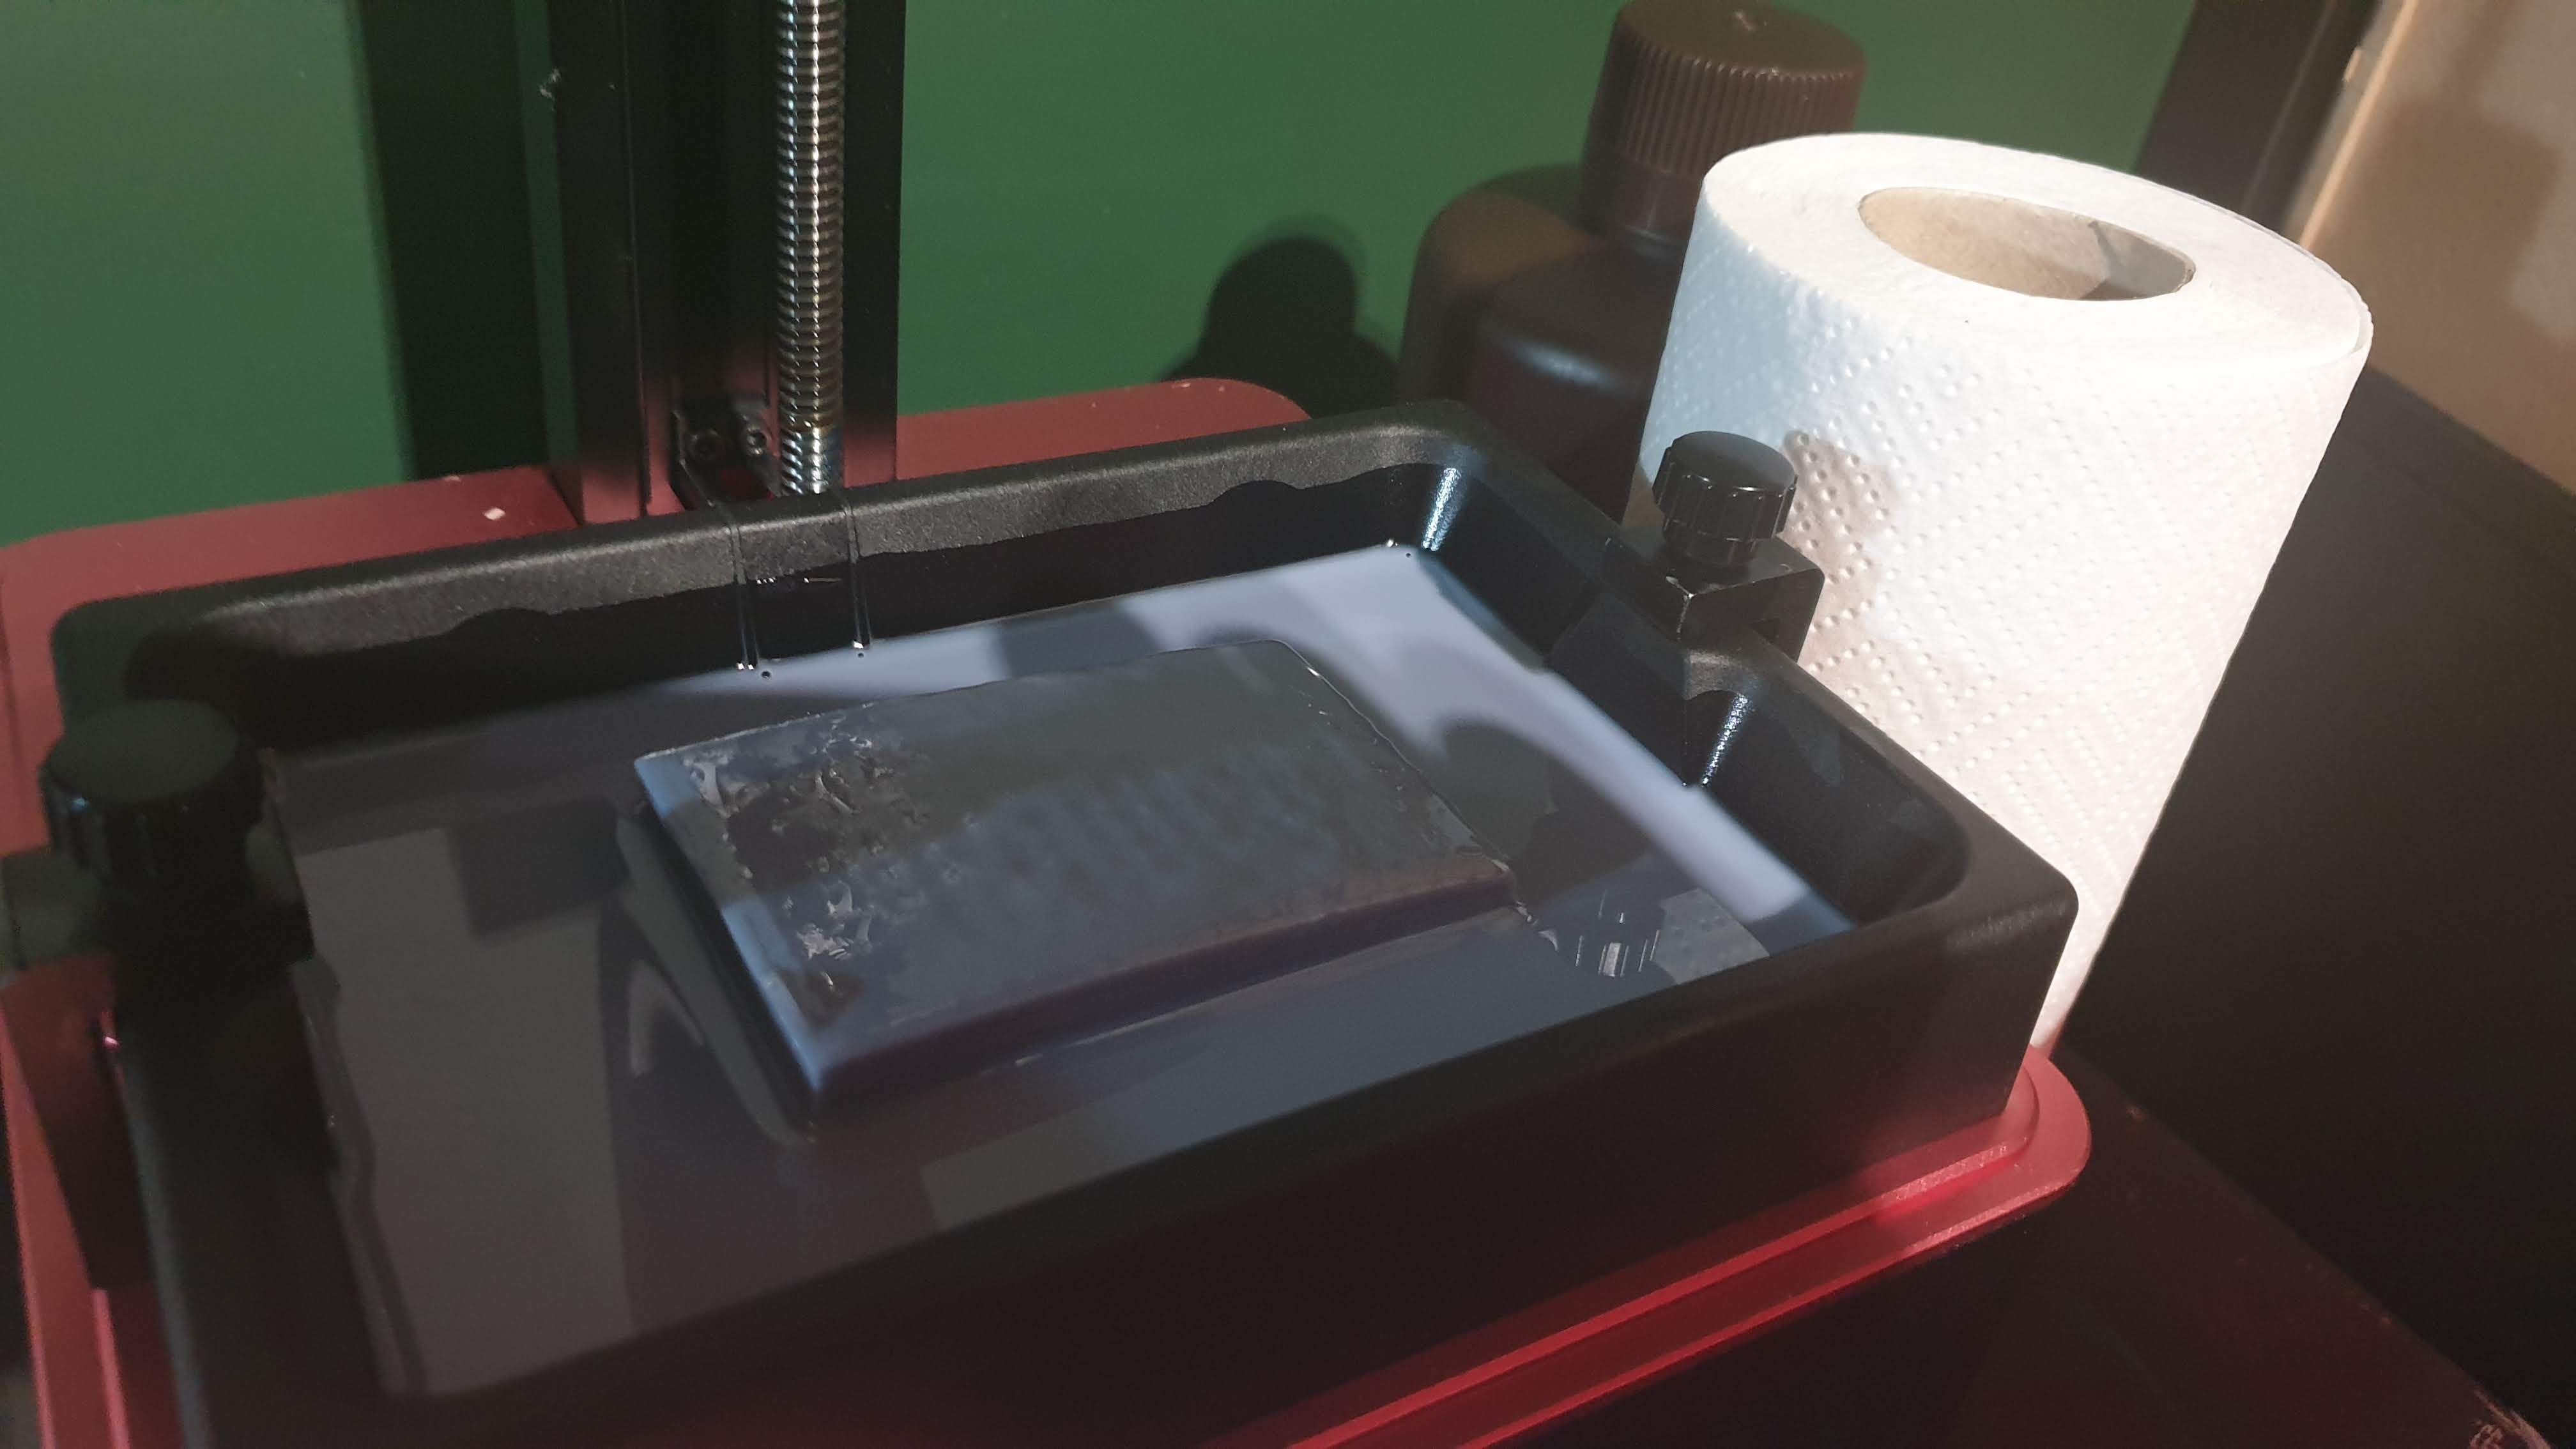 Its always heartbreaking when you wake up to a block of resin sitting detached in the tank!
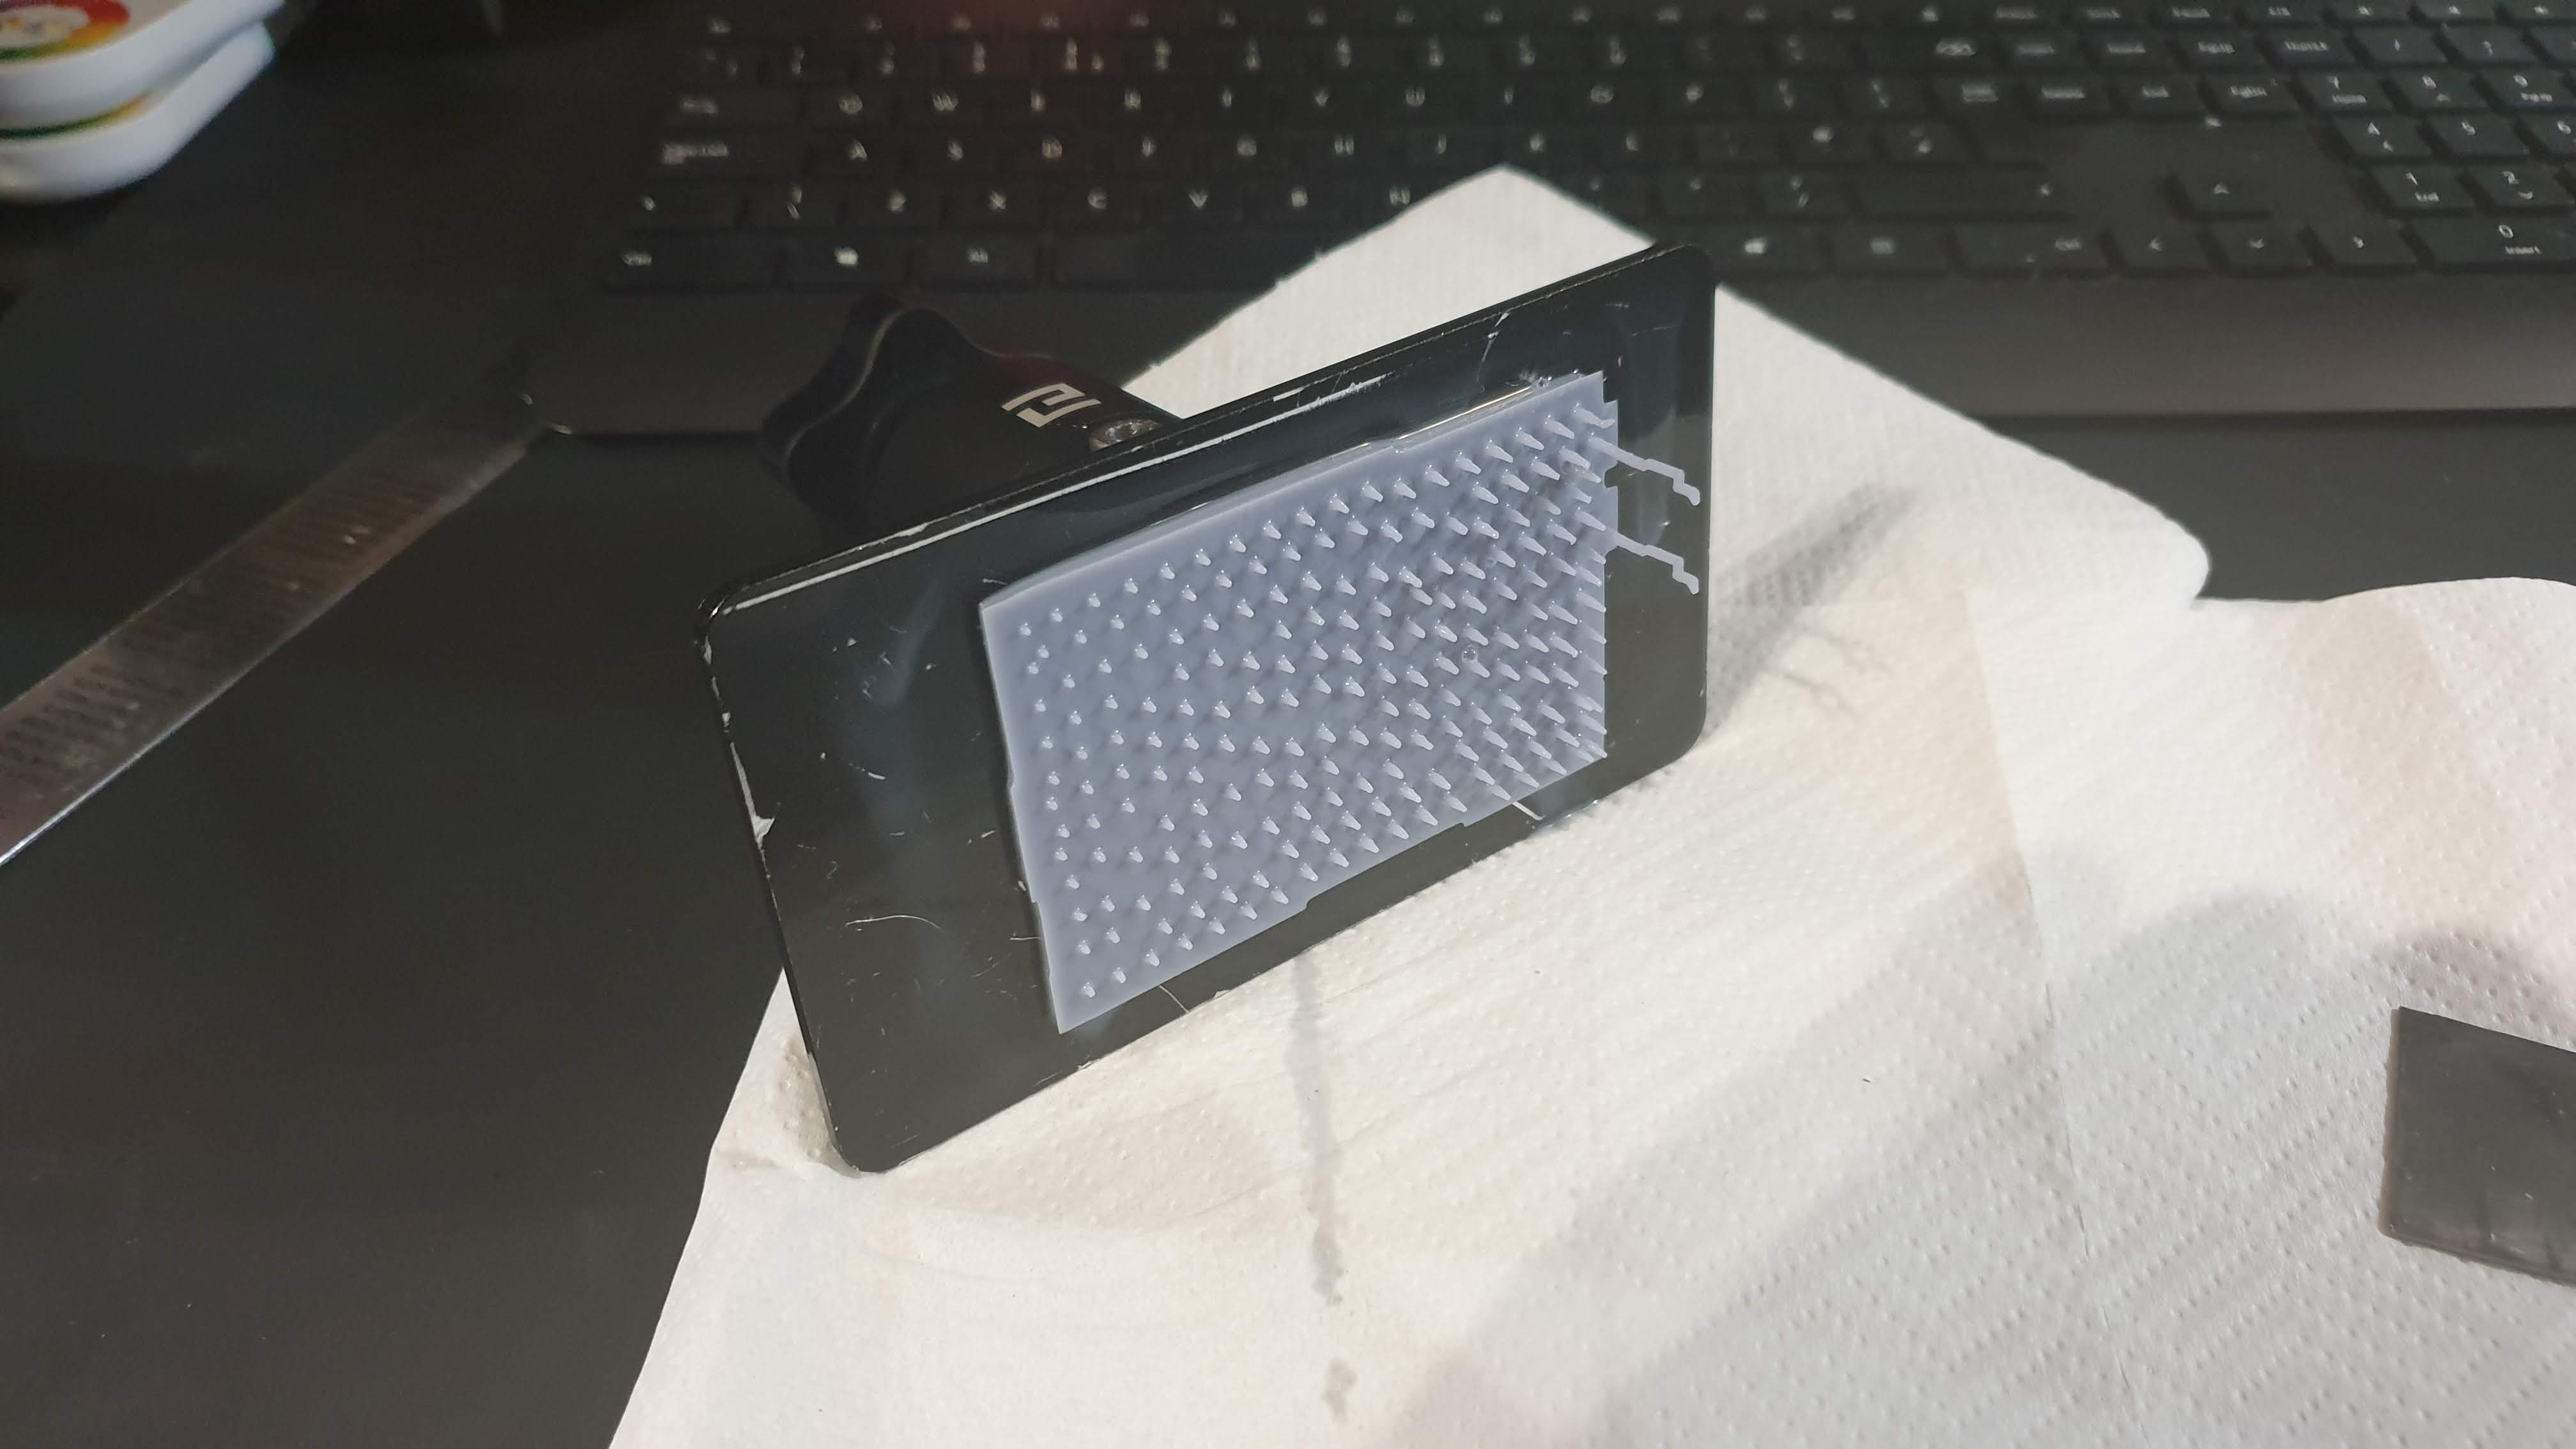 Broke from the supports - I reckon that over the course of the print the surface area connected to the fep film exterted too much pressure onto the supports and they weakened as the print progressed.
These things happen…
But in the words of Bob Ross they may always turn out to be happy little accidents. So I washed off what printed of the component to get a look at what it was turning out like.
 First thing to notice is the strange distortion is still present in the print so that's gonna require some more deeper research.
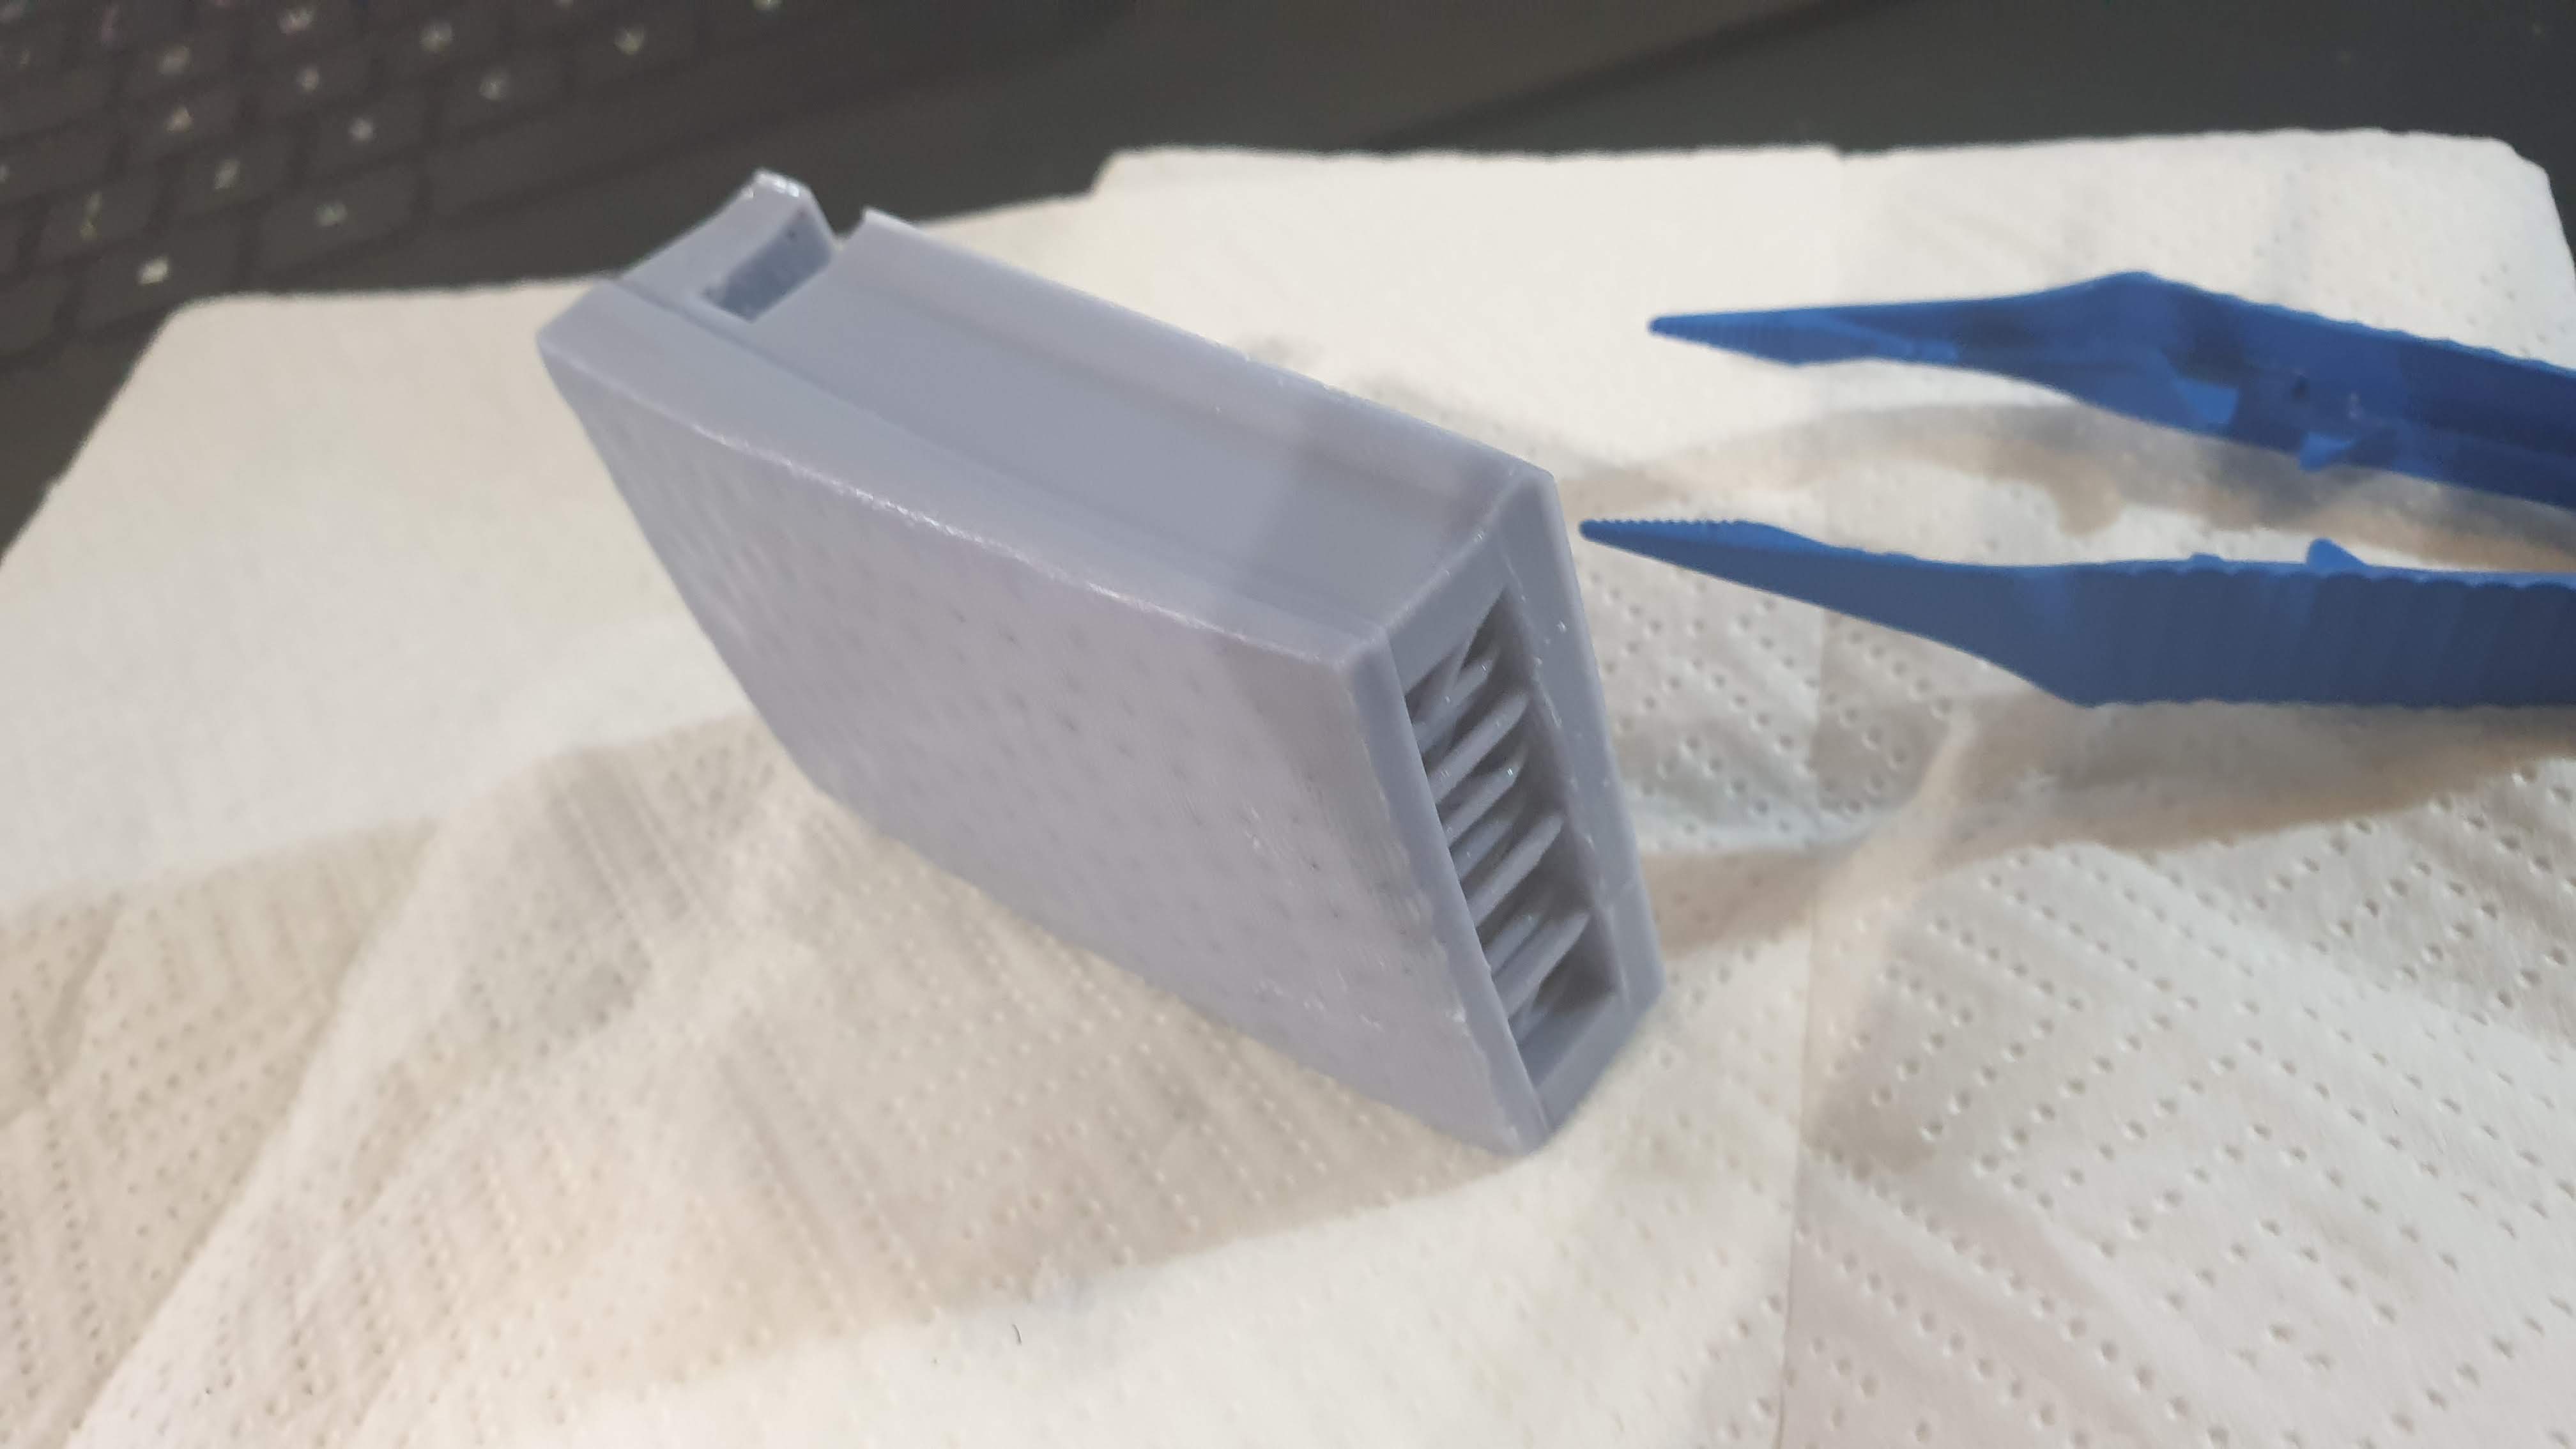 You can also see some warping to the back of the component where it attached to the supports that attach to the build plate. This is quite common in larger prints I have attempted, and again is going to require some research into how to reduce it.
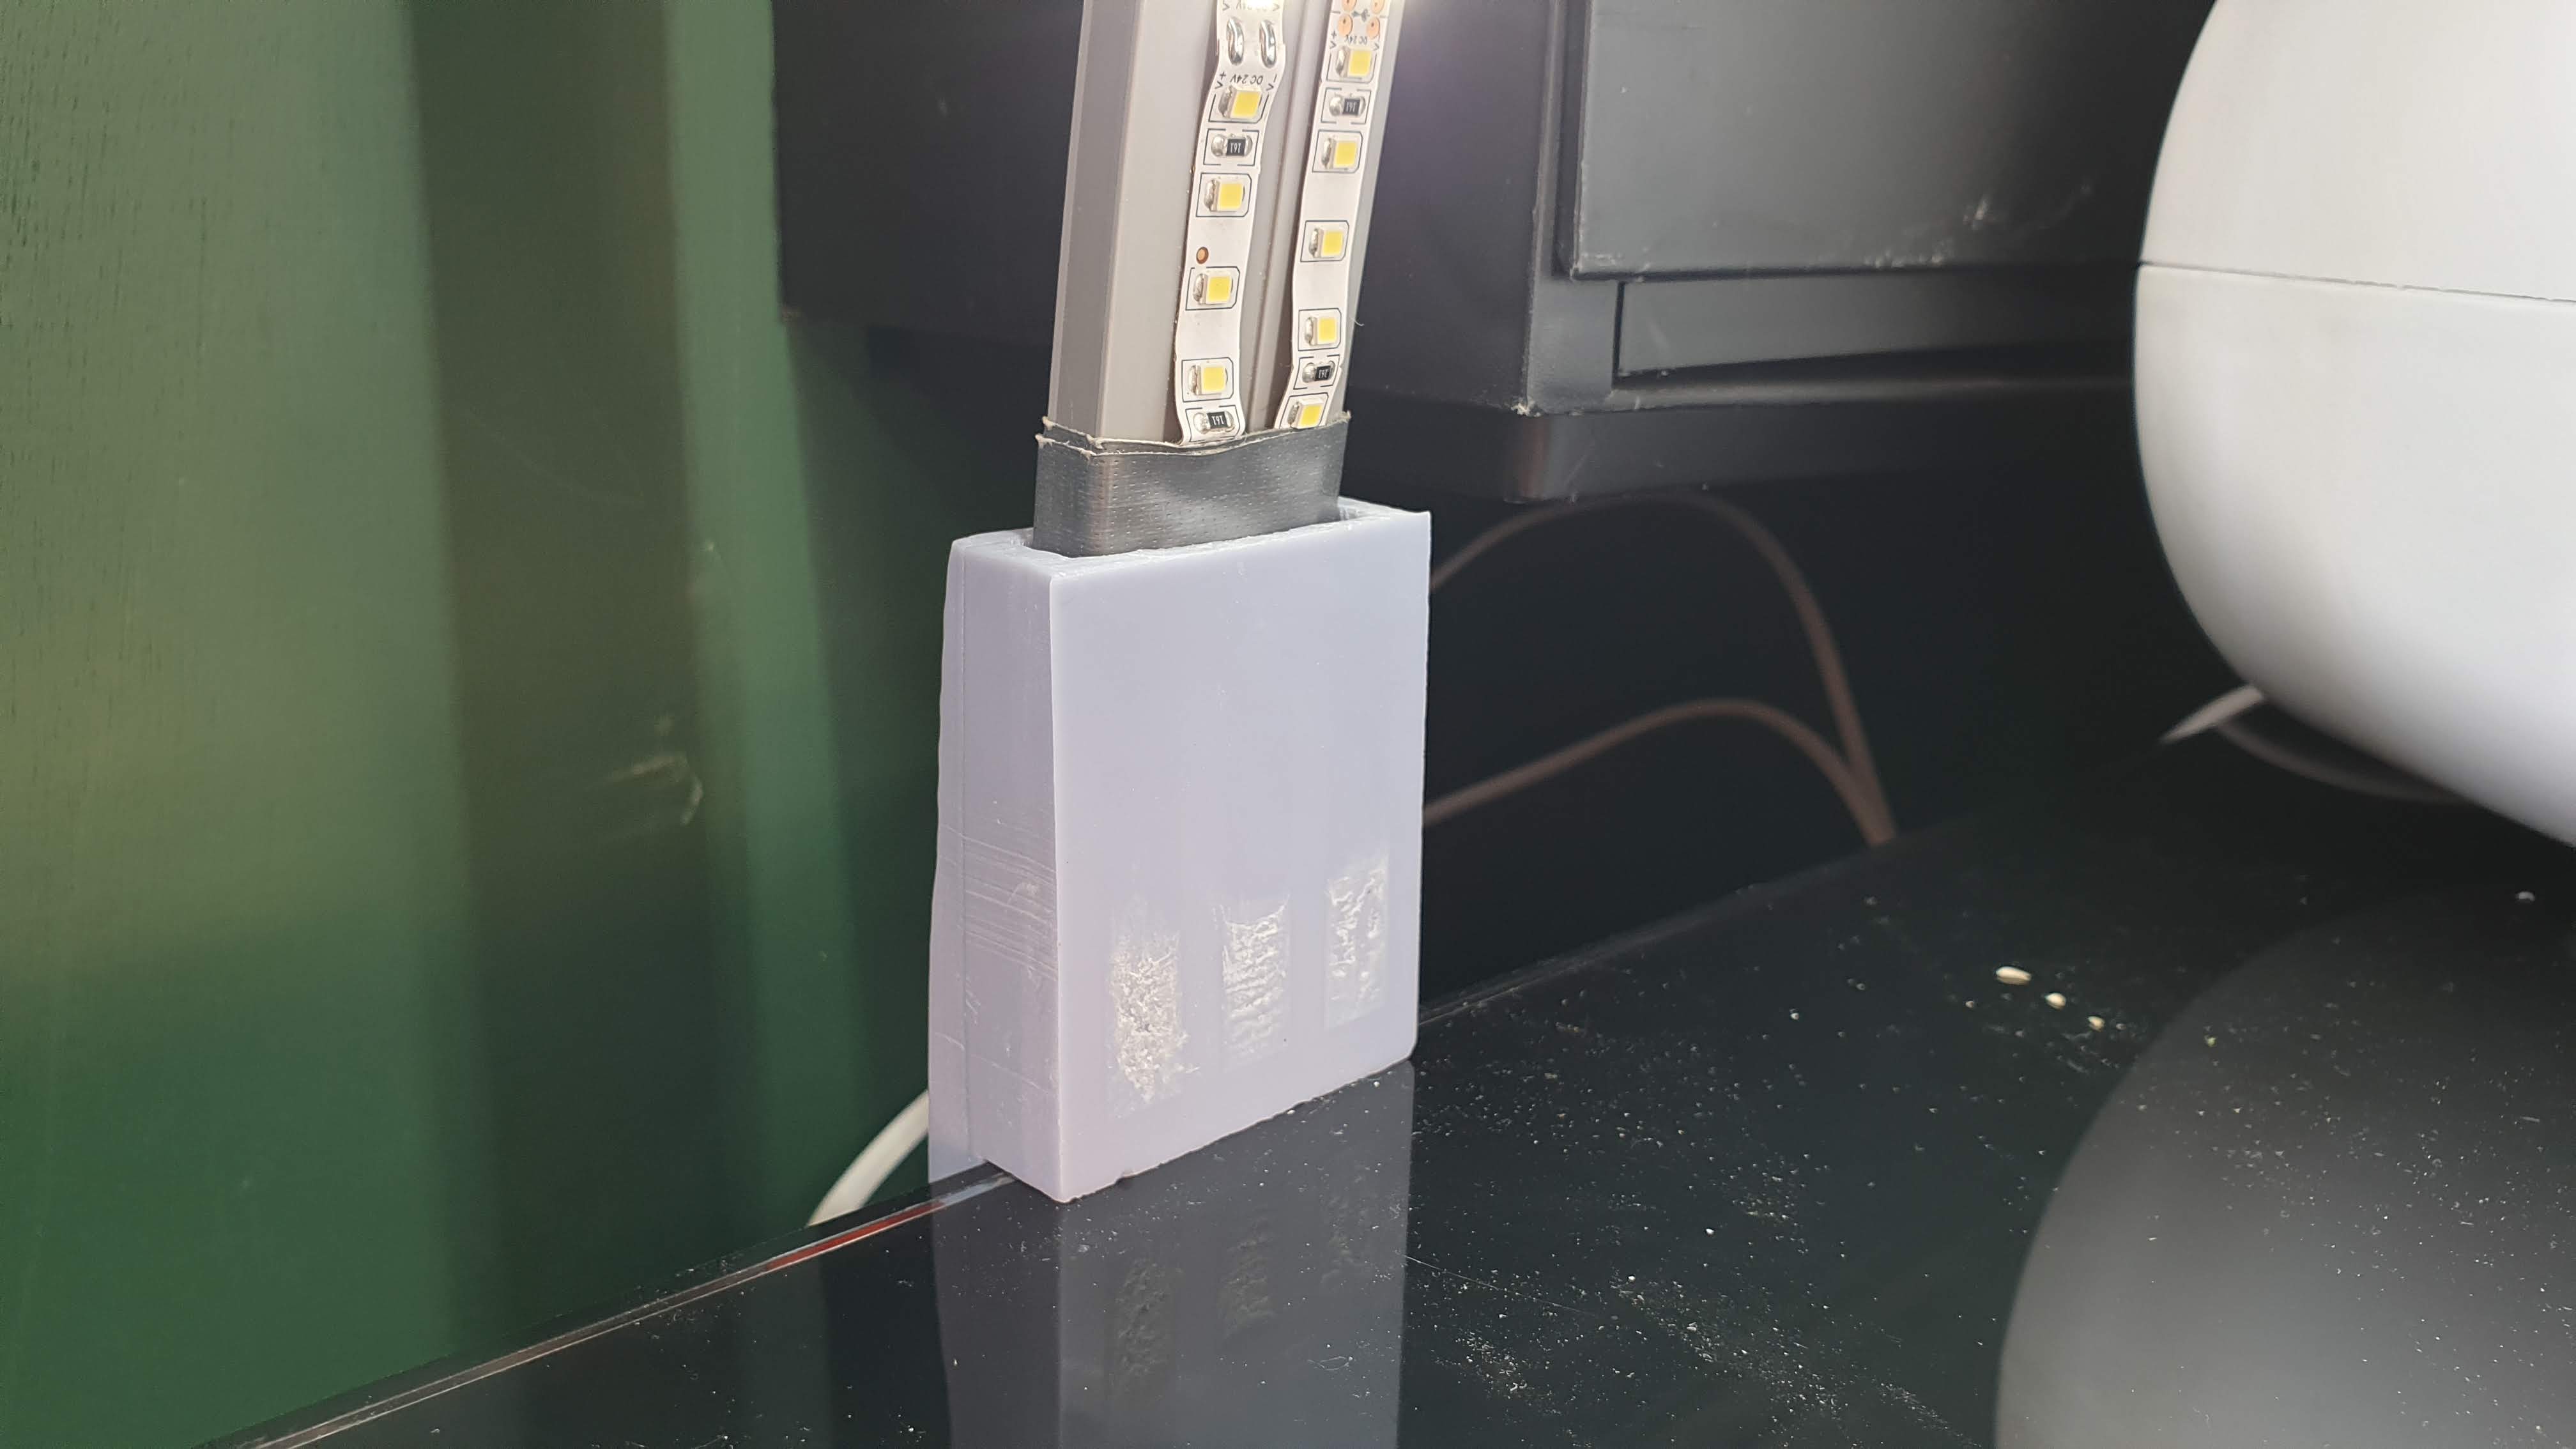
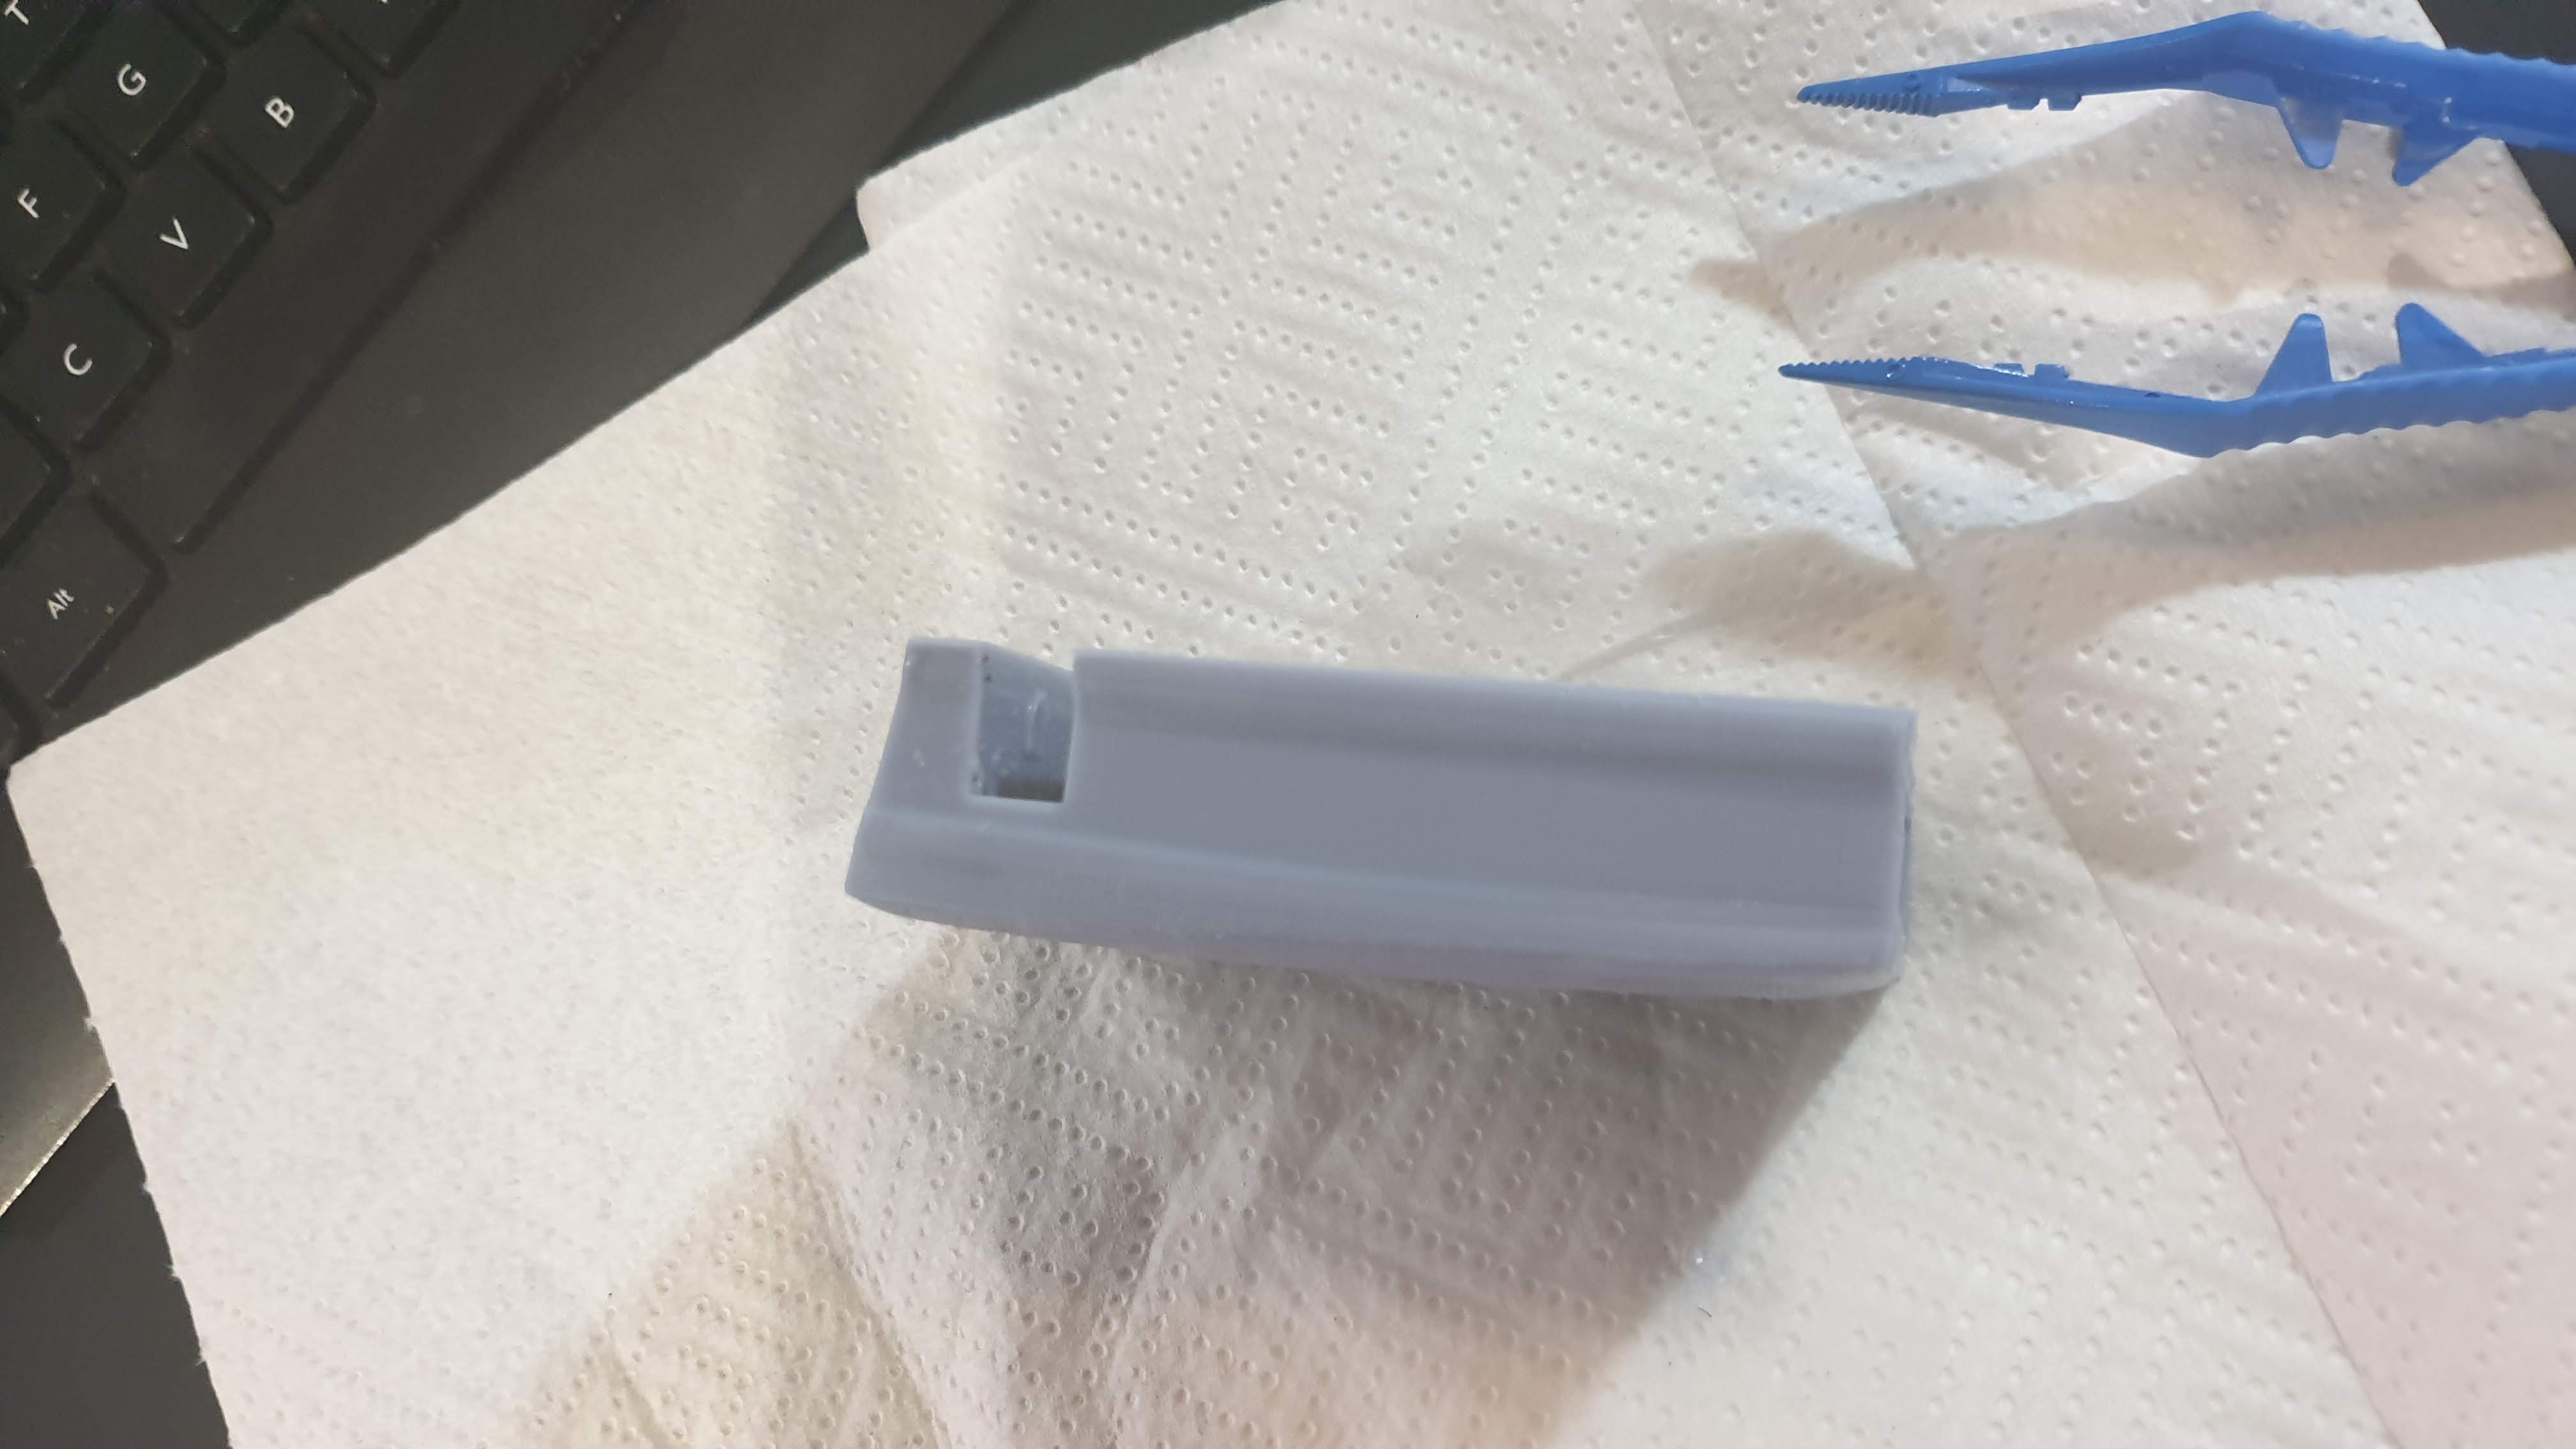 Interestingly enough of the component has printed to make me want to see if it might work like this. It would be much lower profile than my design and I'm keen to see if it fits to the glass table.
So I set to work with a mini rasp to clean out and expand the arch slot a bit to accommodate the thicker wires that will feed into it.
The glass table slot just required a tiny bit of filing to remove a slight burr.
I then drilled and filed out a hole in the back of the component to feed the wires out through as the much lower profile of the table slot means I need to keep as much of it clear as possible – so moving the cable exit to the back makes some sense…
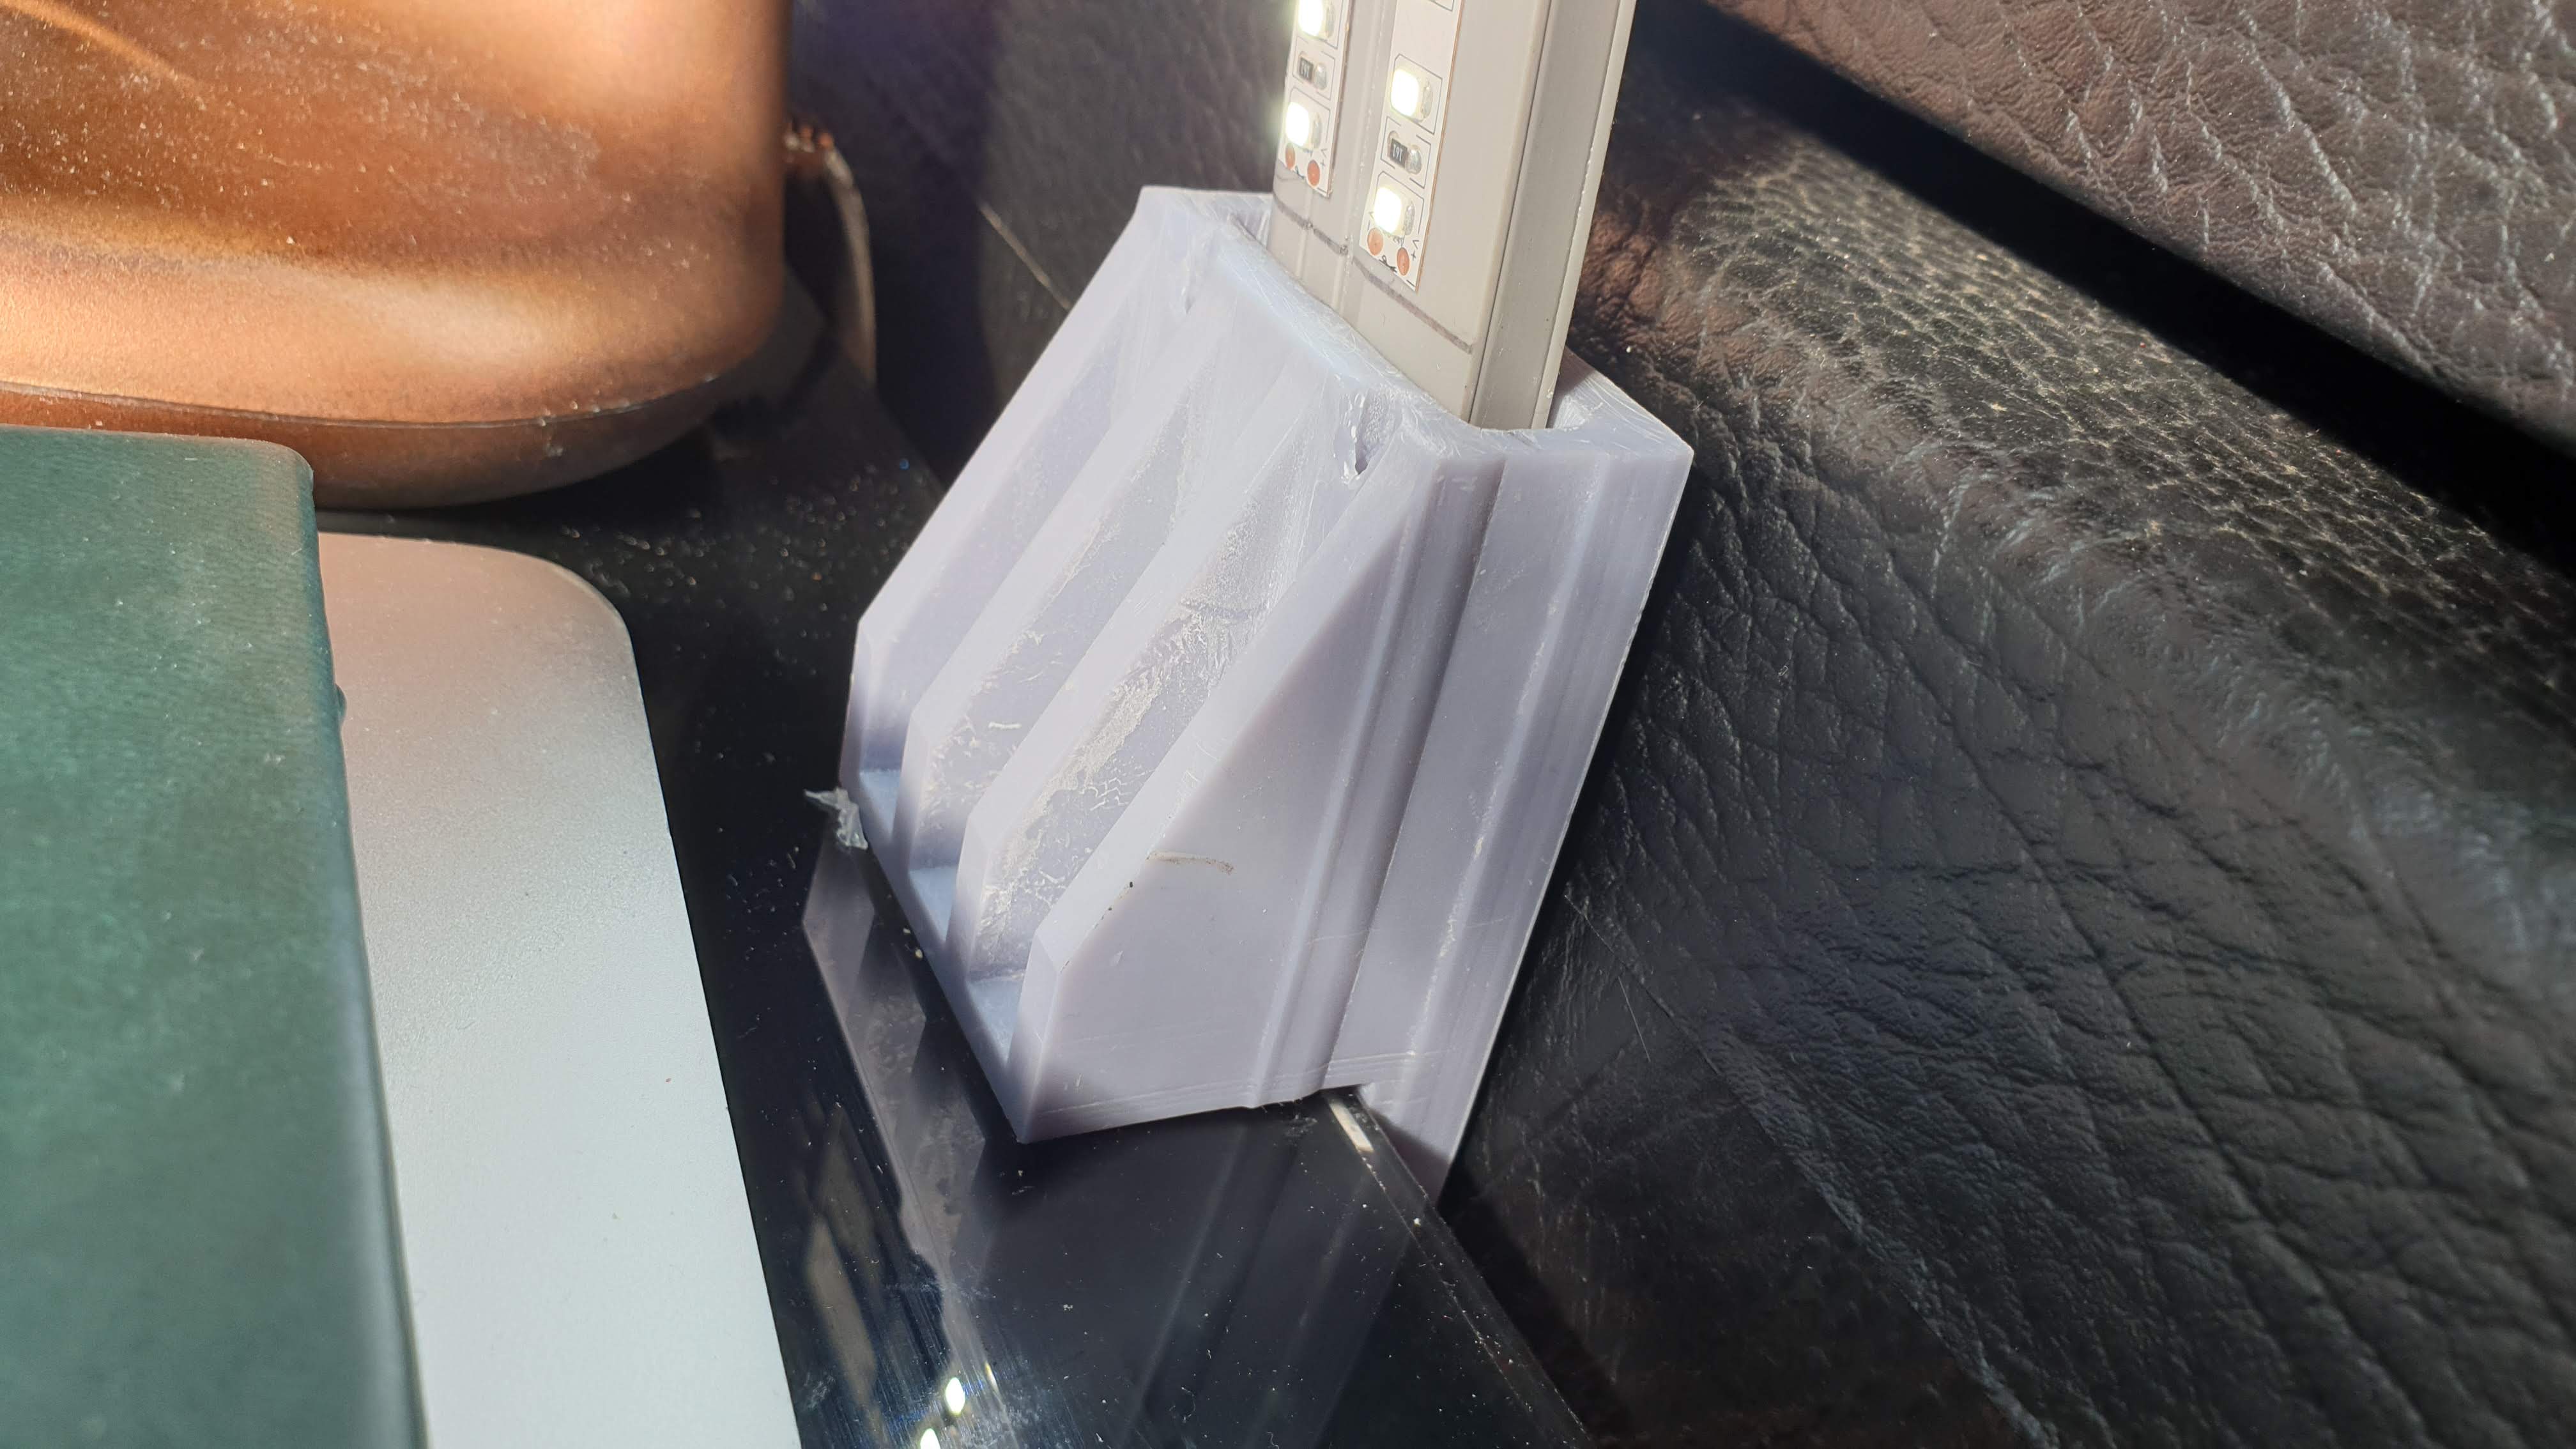
This might actually be better??!?!
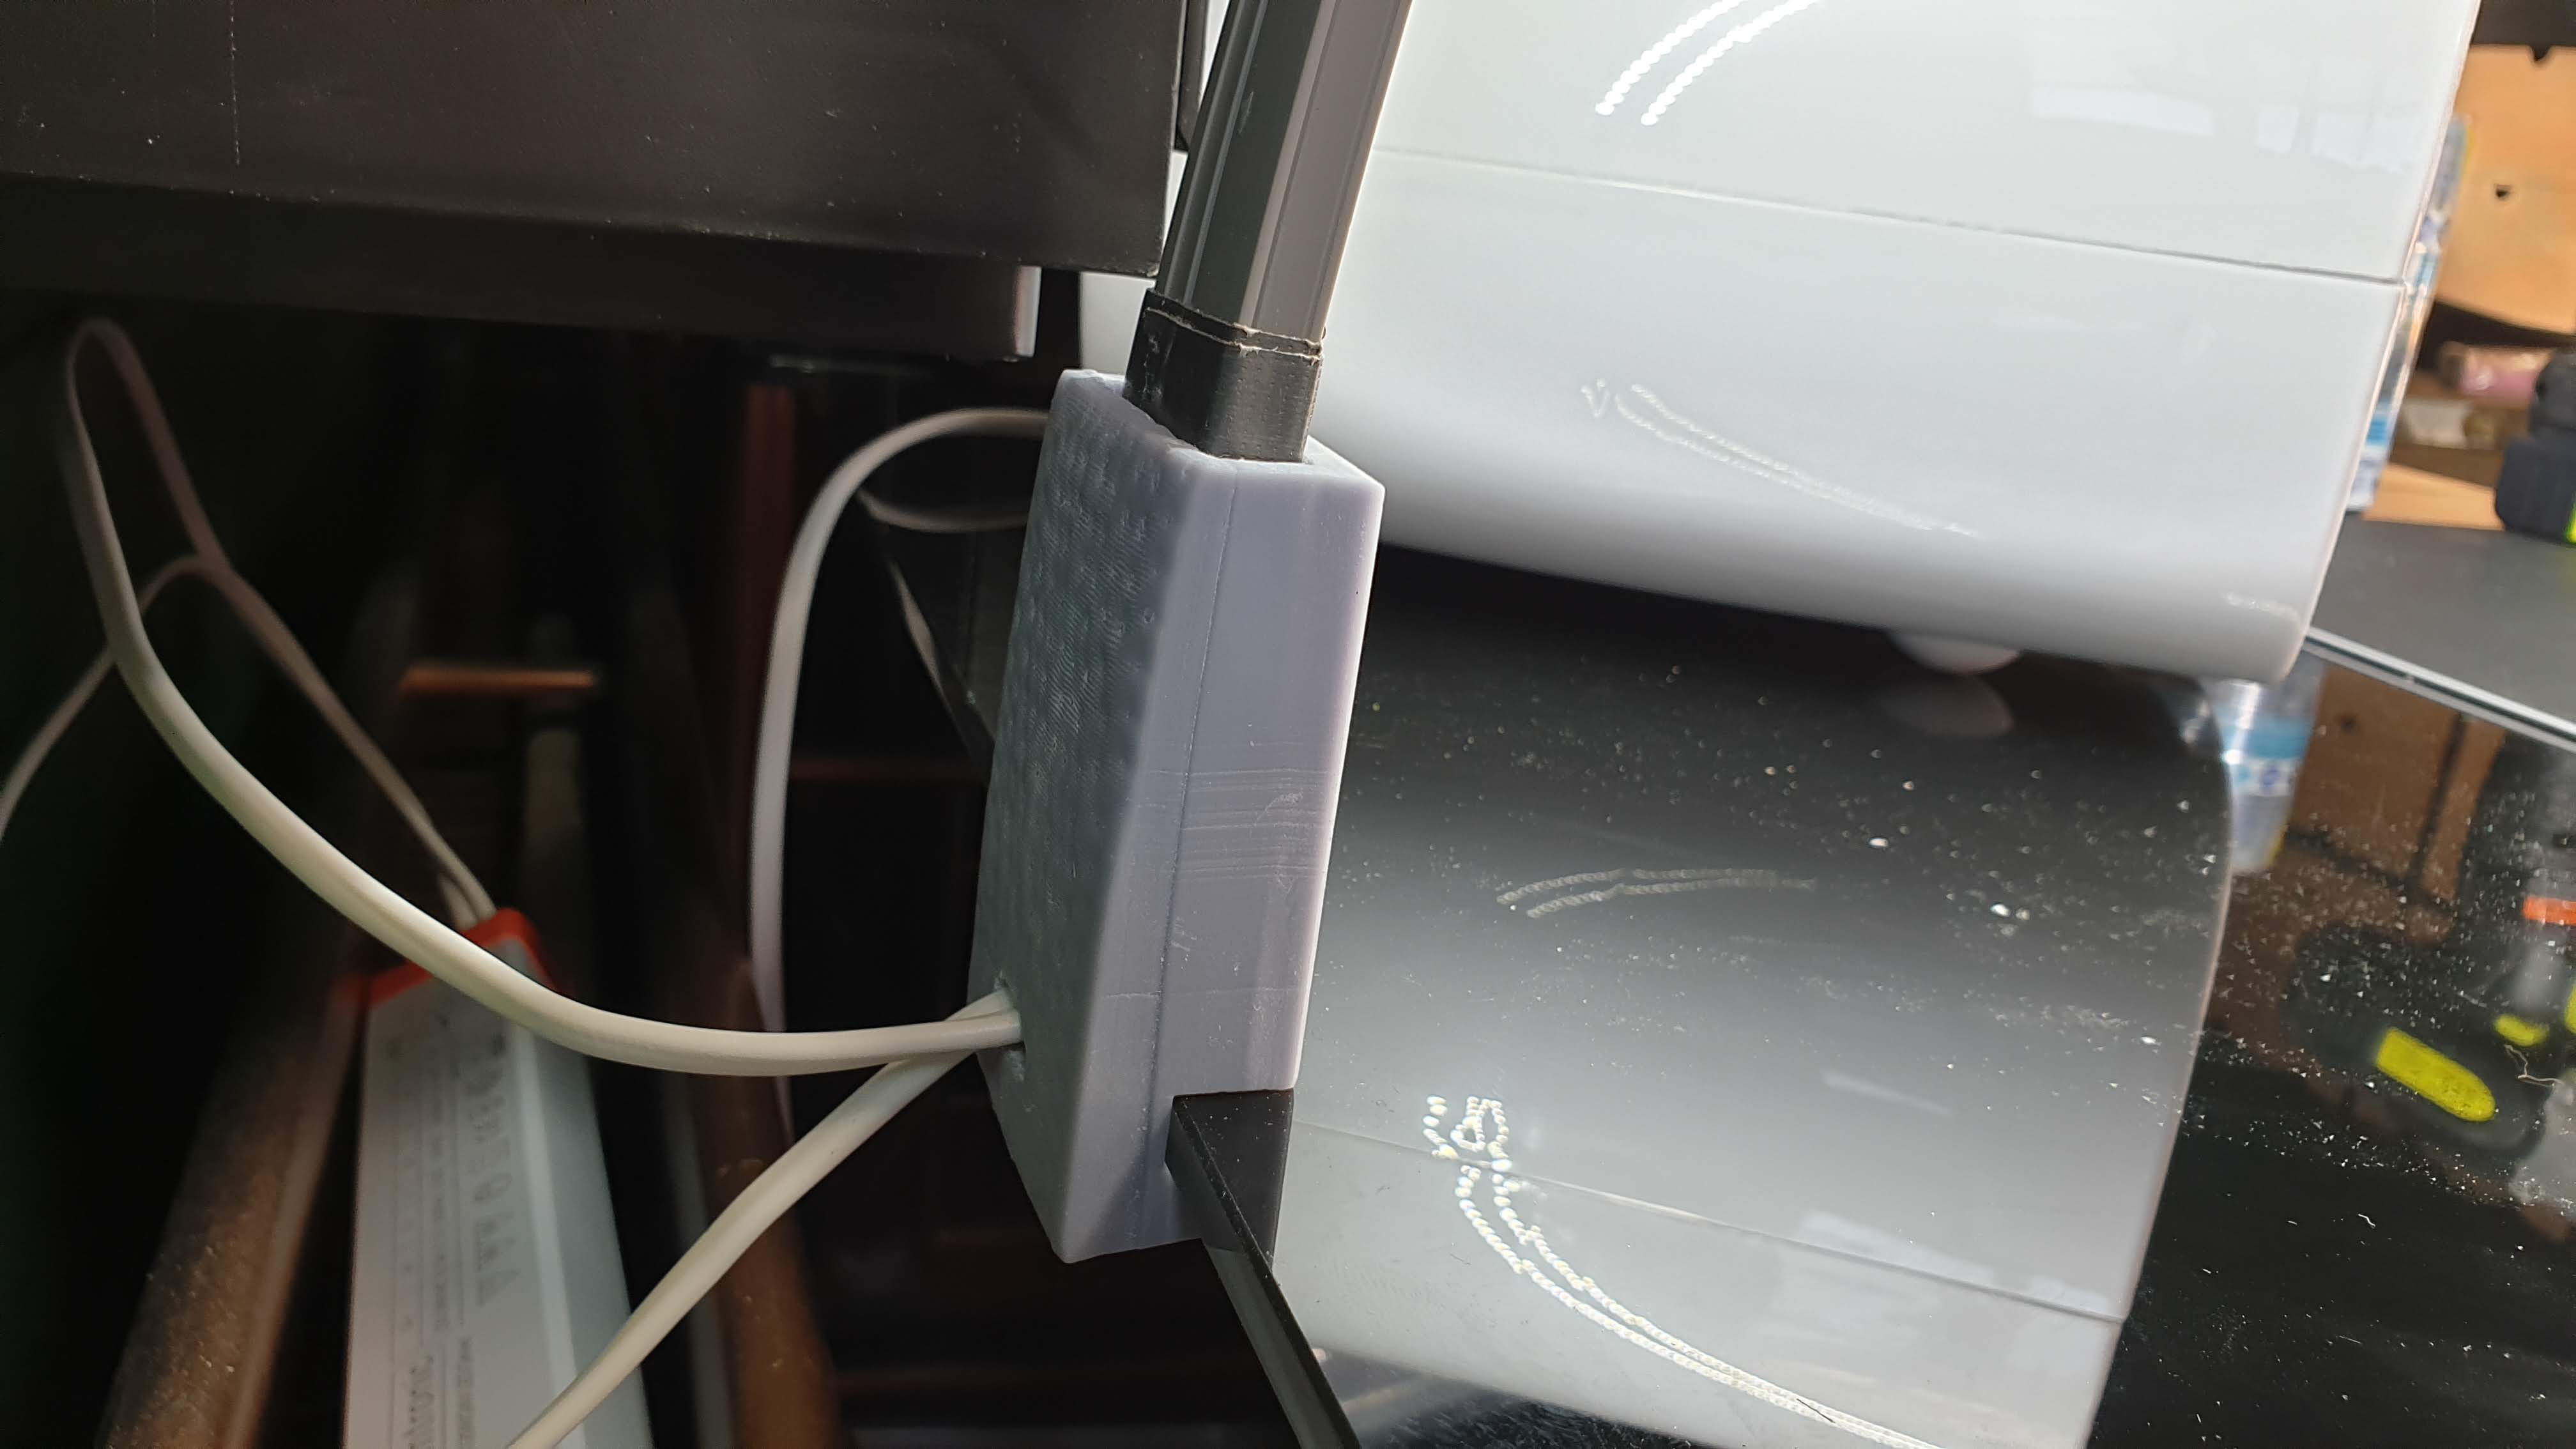
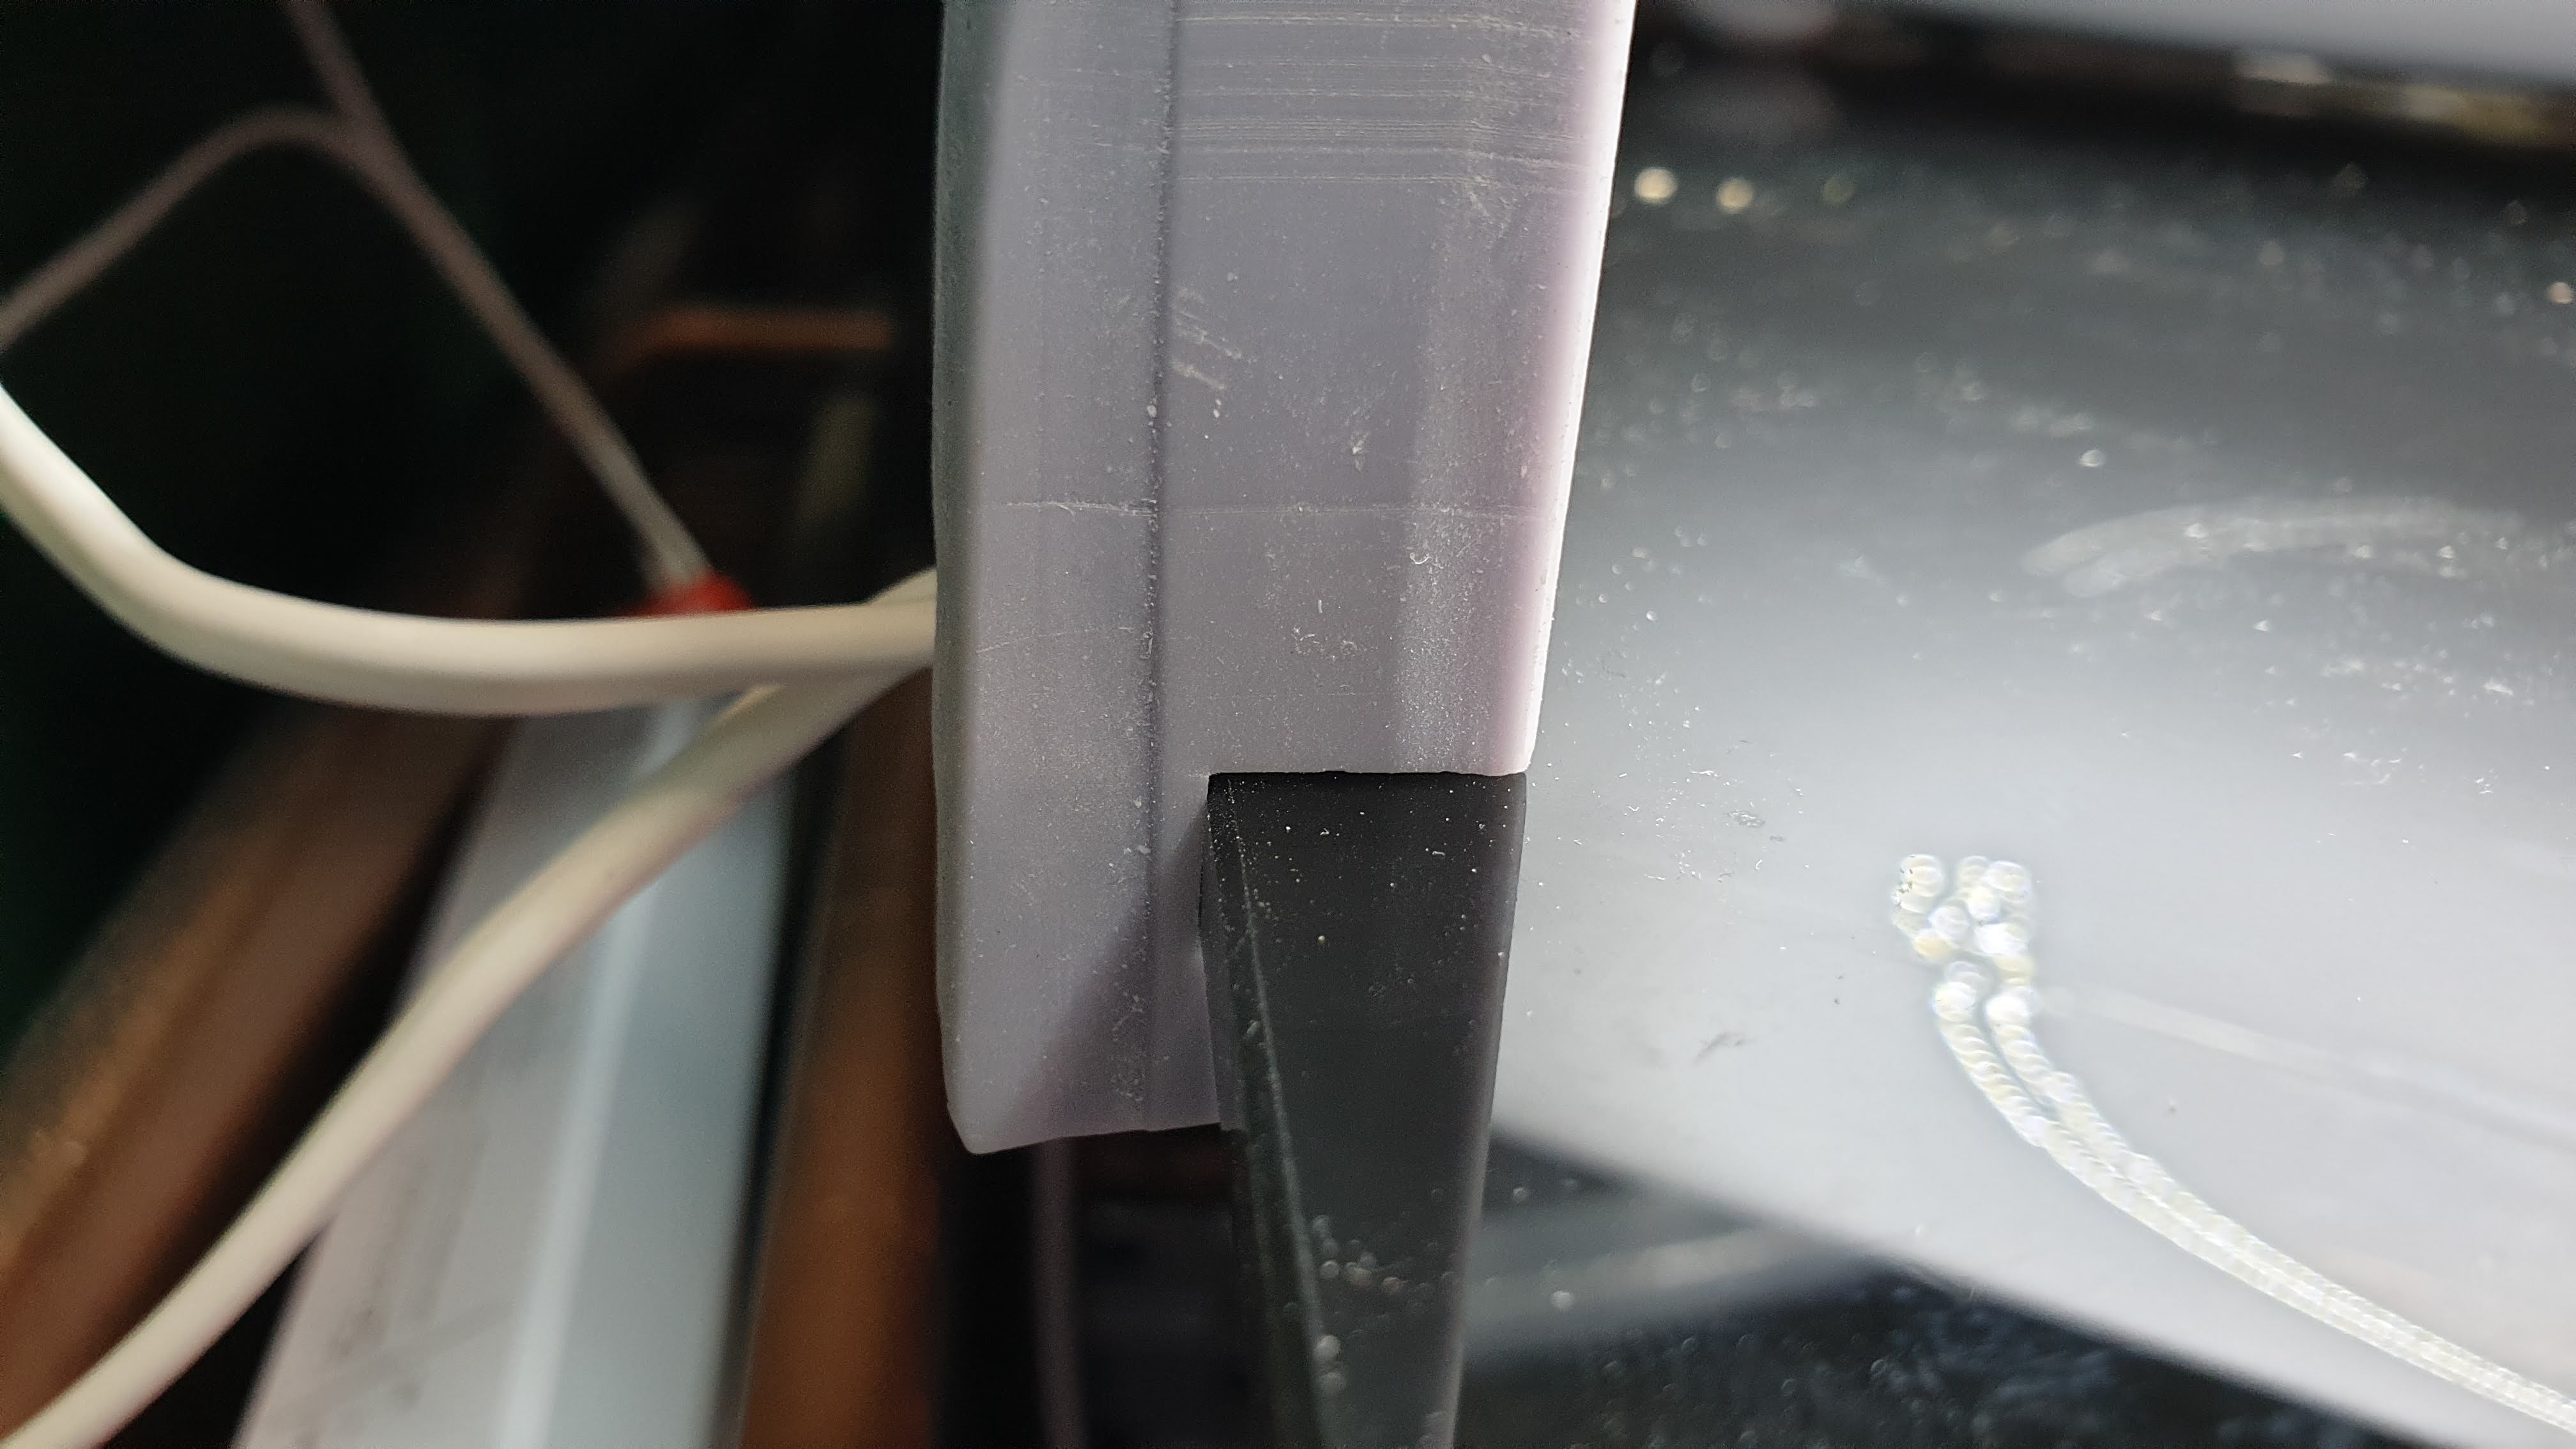
I’m actually maybe preferring this, the low profile is quite slick and it actually fits really well to the glass table.
Here is a shot of the original design to compare it to.
And I name thee... HALO
So I’m going to let the rough prototype sit with me for a few weeks now to let it grow on me and give me a chance to use it to see what changes I need to make to a new iteration.
As I said it has no handy switch so the easiest option for me is to integrate it into a smart home setup (I use Google Assistant at home, while the studio has started implementing an Alexa setup for star trek style video drop-ins and a fancy video doorbell)
So I will implement the light into my setup using a TPLink Kasa smart plug.

So it needs a name to beable to interact with it. I have chosen… HALO… yup this is my Hobby Halo Light! 🙂
 Adding plugs and devices to Kasa is a very straight forward process.
 And as well as voice commands it allows for all sorts of scheduling and timing options.
 Once in Kasa you can then add it to a room in Google Home
 There it is there at the bottom...
Now to control the light all I have to do is say…
OK Google, Turn On Halo.