


Manda’s (Amachan) RC Adventures


Recommendations: 447
About the Project
This project follows along my adventures of getting into the world of RC crawling.
Related Genre: General
Related Contest: Spring Clean Hobby Challenge (Old)
This Project is Active
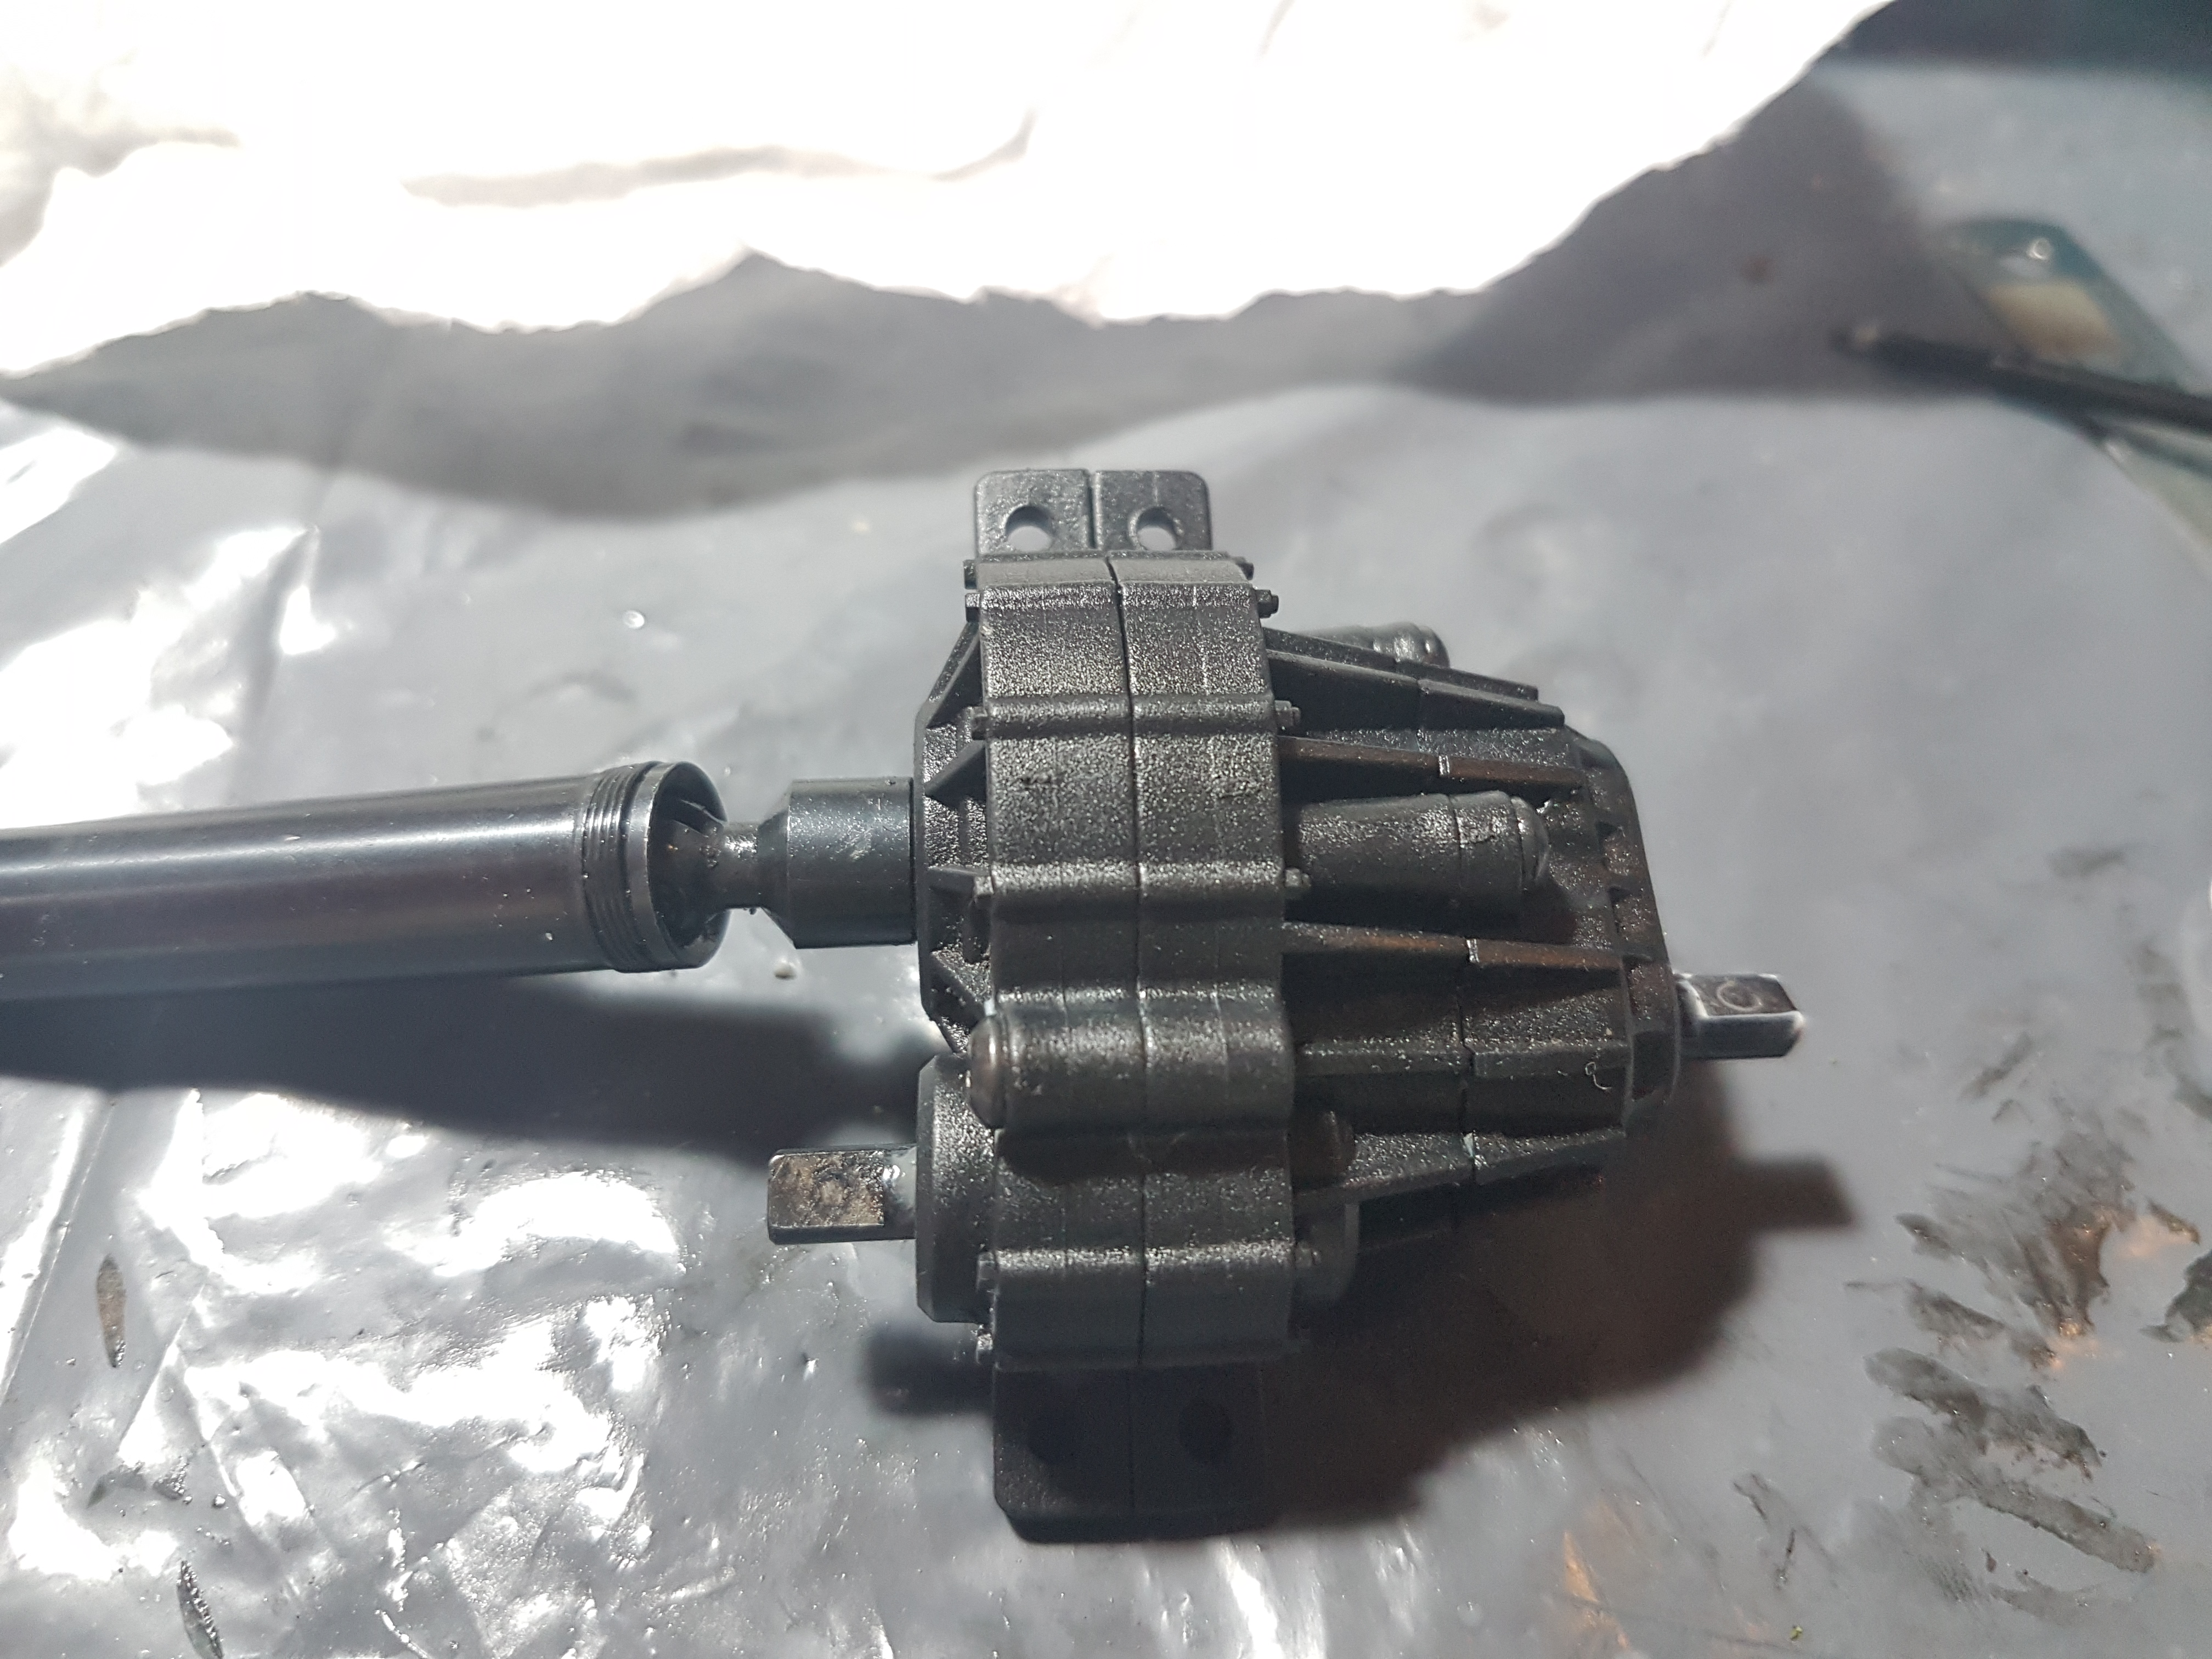
RC Truck Spring Cleaning Day 1.
I took the transmission box apart, completely cleaned out any dirt and old grease. I then lubricated the bearings with some white lithium grease and added a bit more grease in between the cogs for smooth running. I now have a nice clean and smooth transmission box for my RC truck.

Back into Action and Up to Date.
And now I arrive back at today, where I am getting back into action. I have tried my best to write up the whole story my truck has gone through so far, luckily I did often make pictures of what I was doing as I was planning on doing a project on this at some time. So here it finally is.
And here are some action shots from last weekend, running off the dust that had been gathering on it.

Last pictures of 2021.
Nearing the end of 2021 I fell into quite a big depression due to some unfortunate changes in my therapy. I stopped going out for a while during that time and only recently did I get back into it. So these are some of the last pictures that I made in 2021.
I climbed that tree stump!
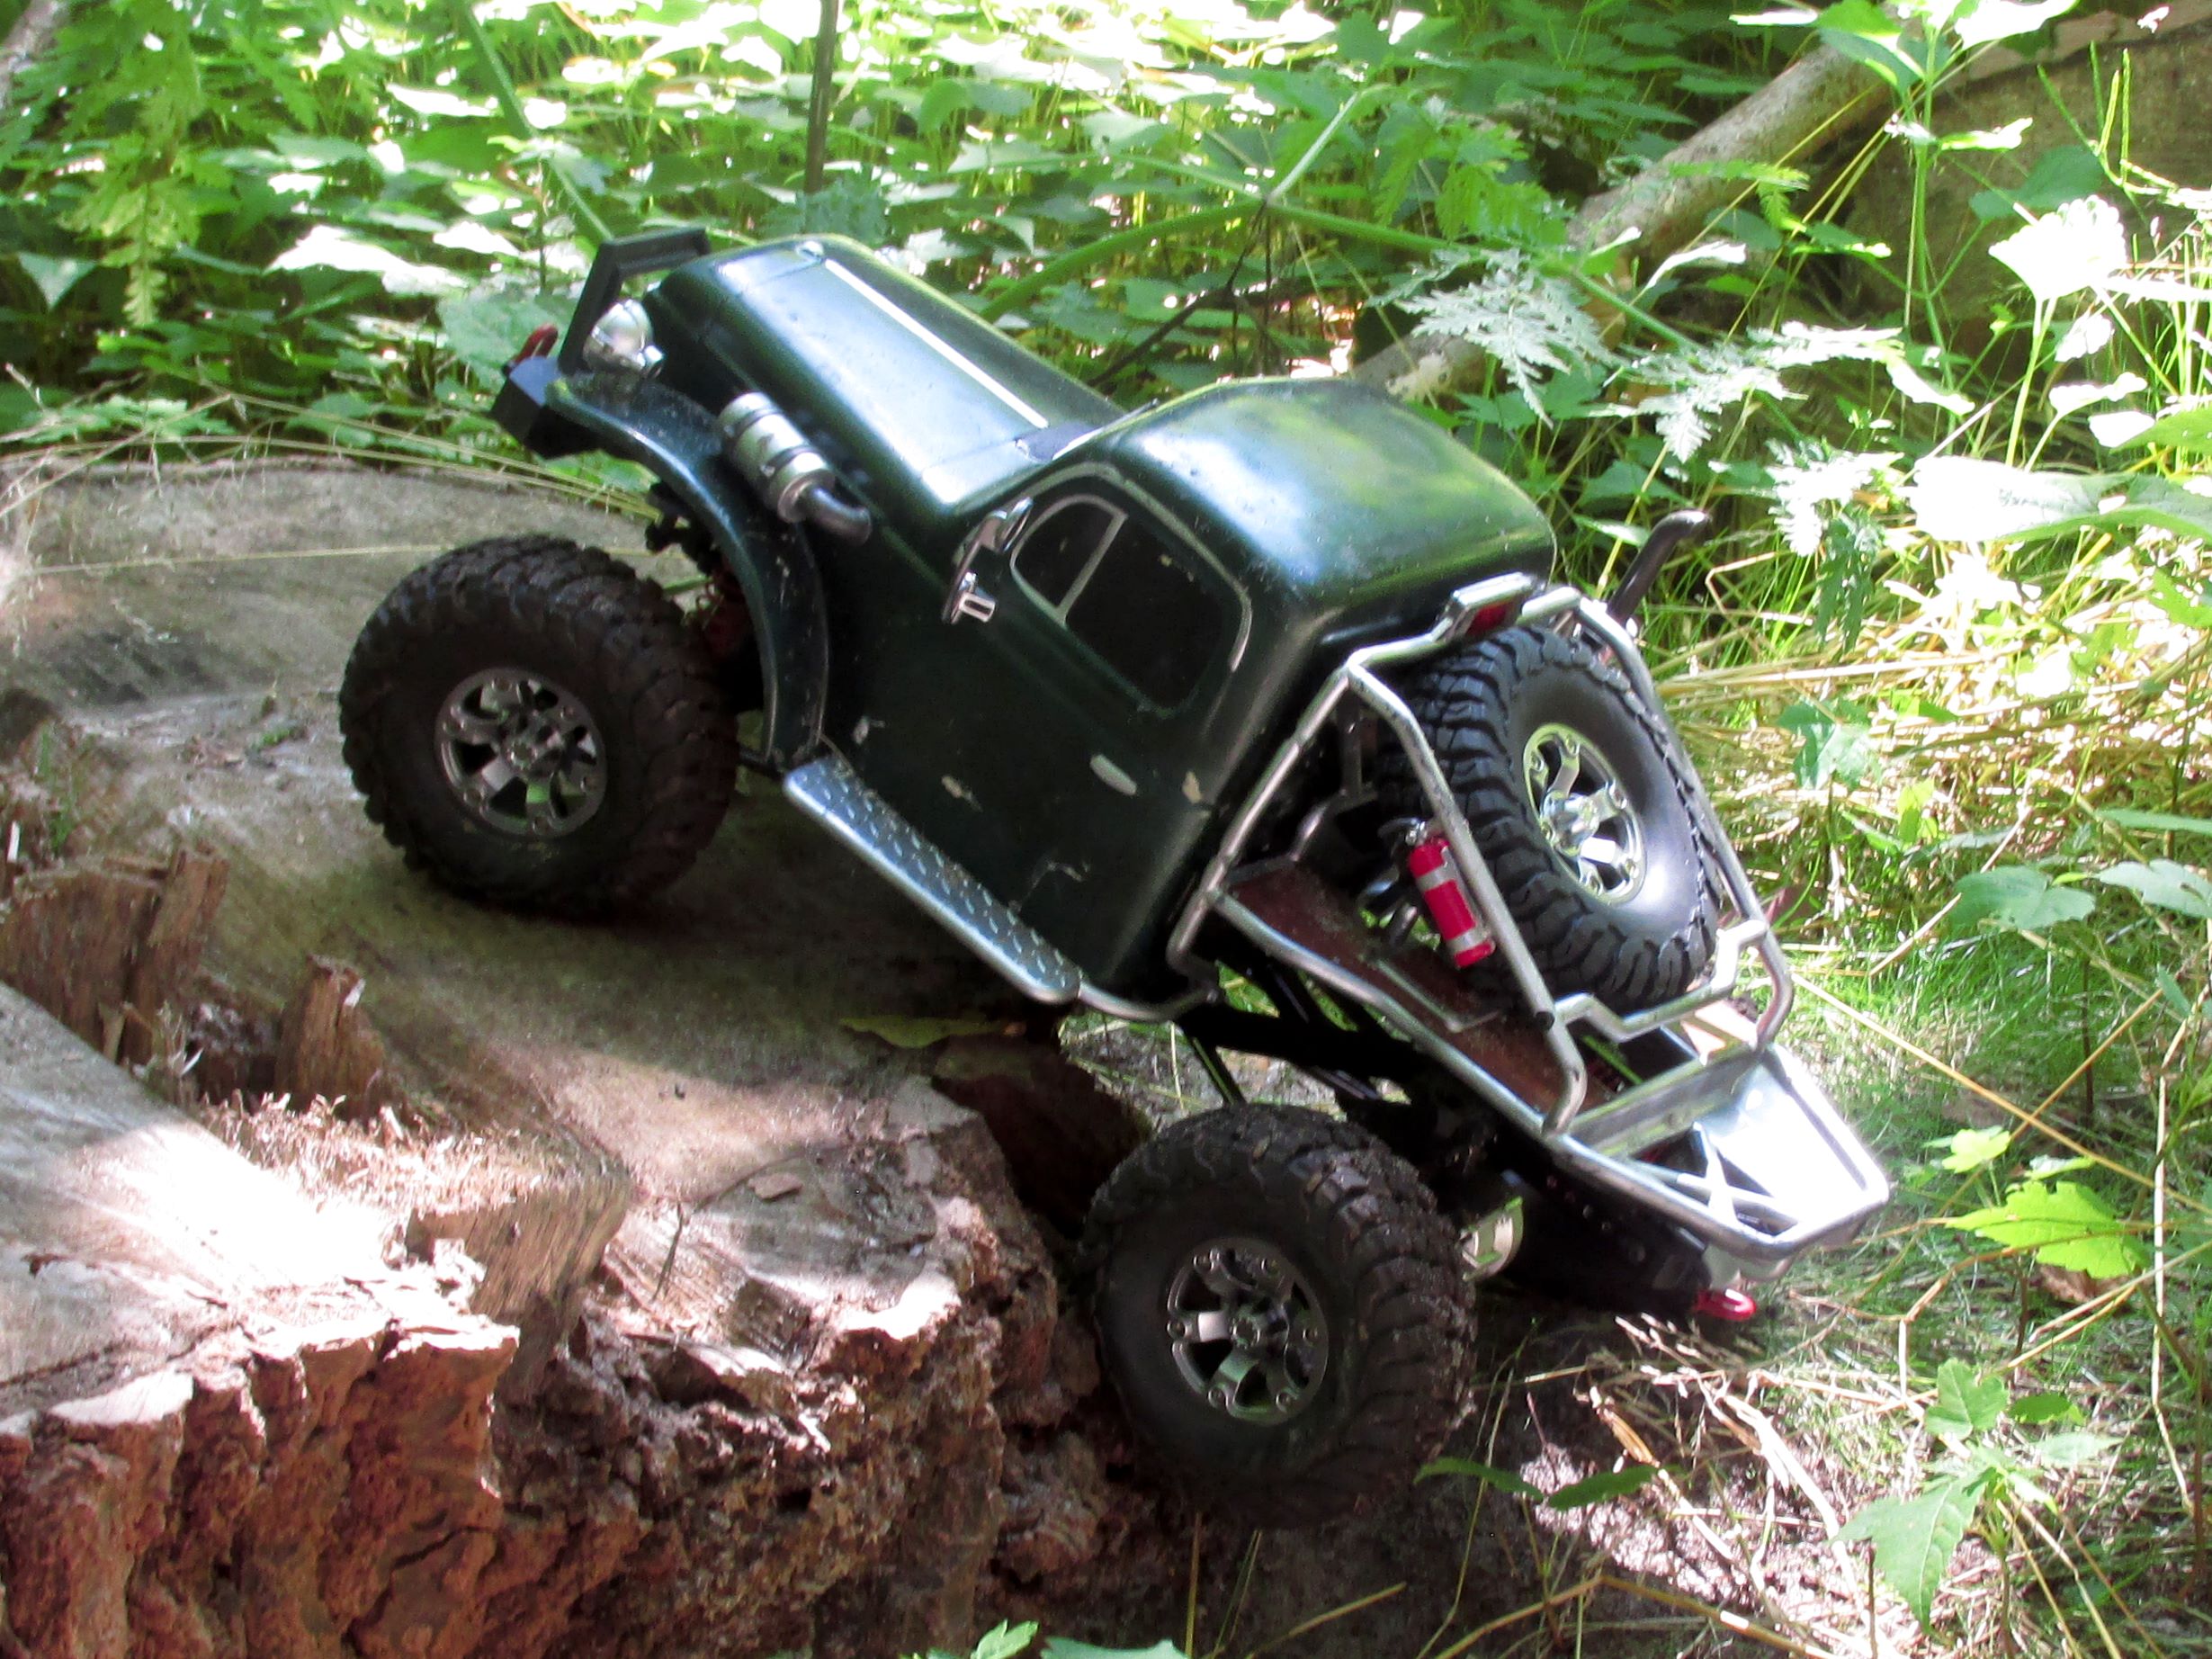
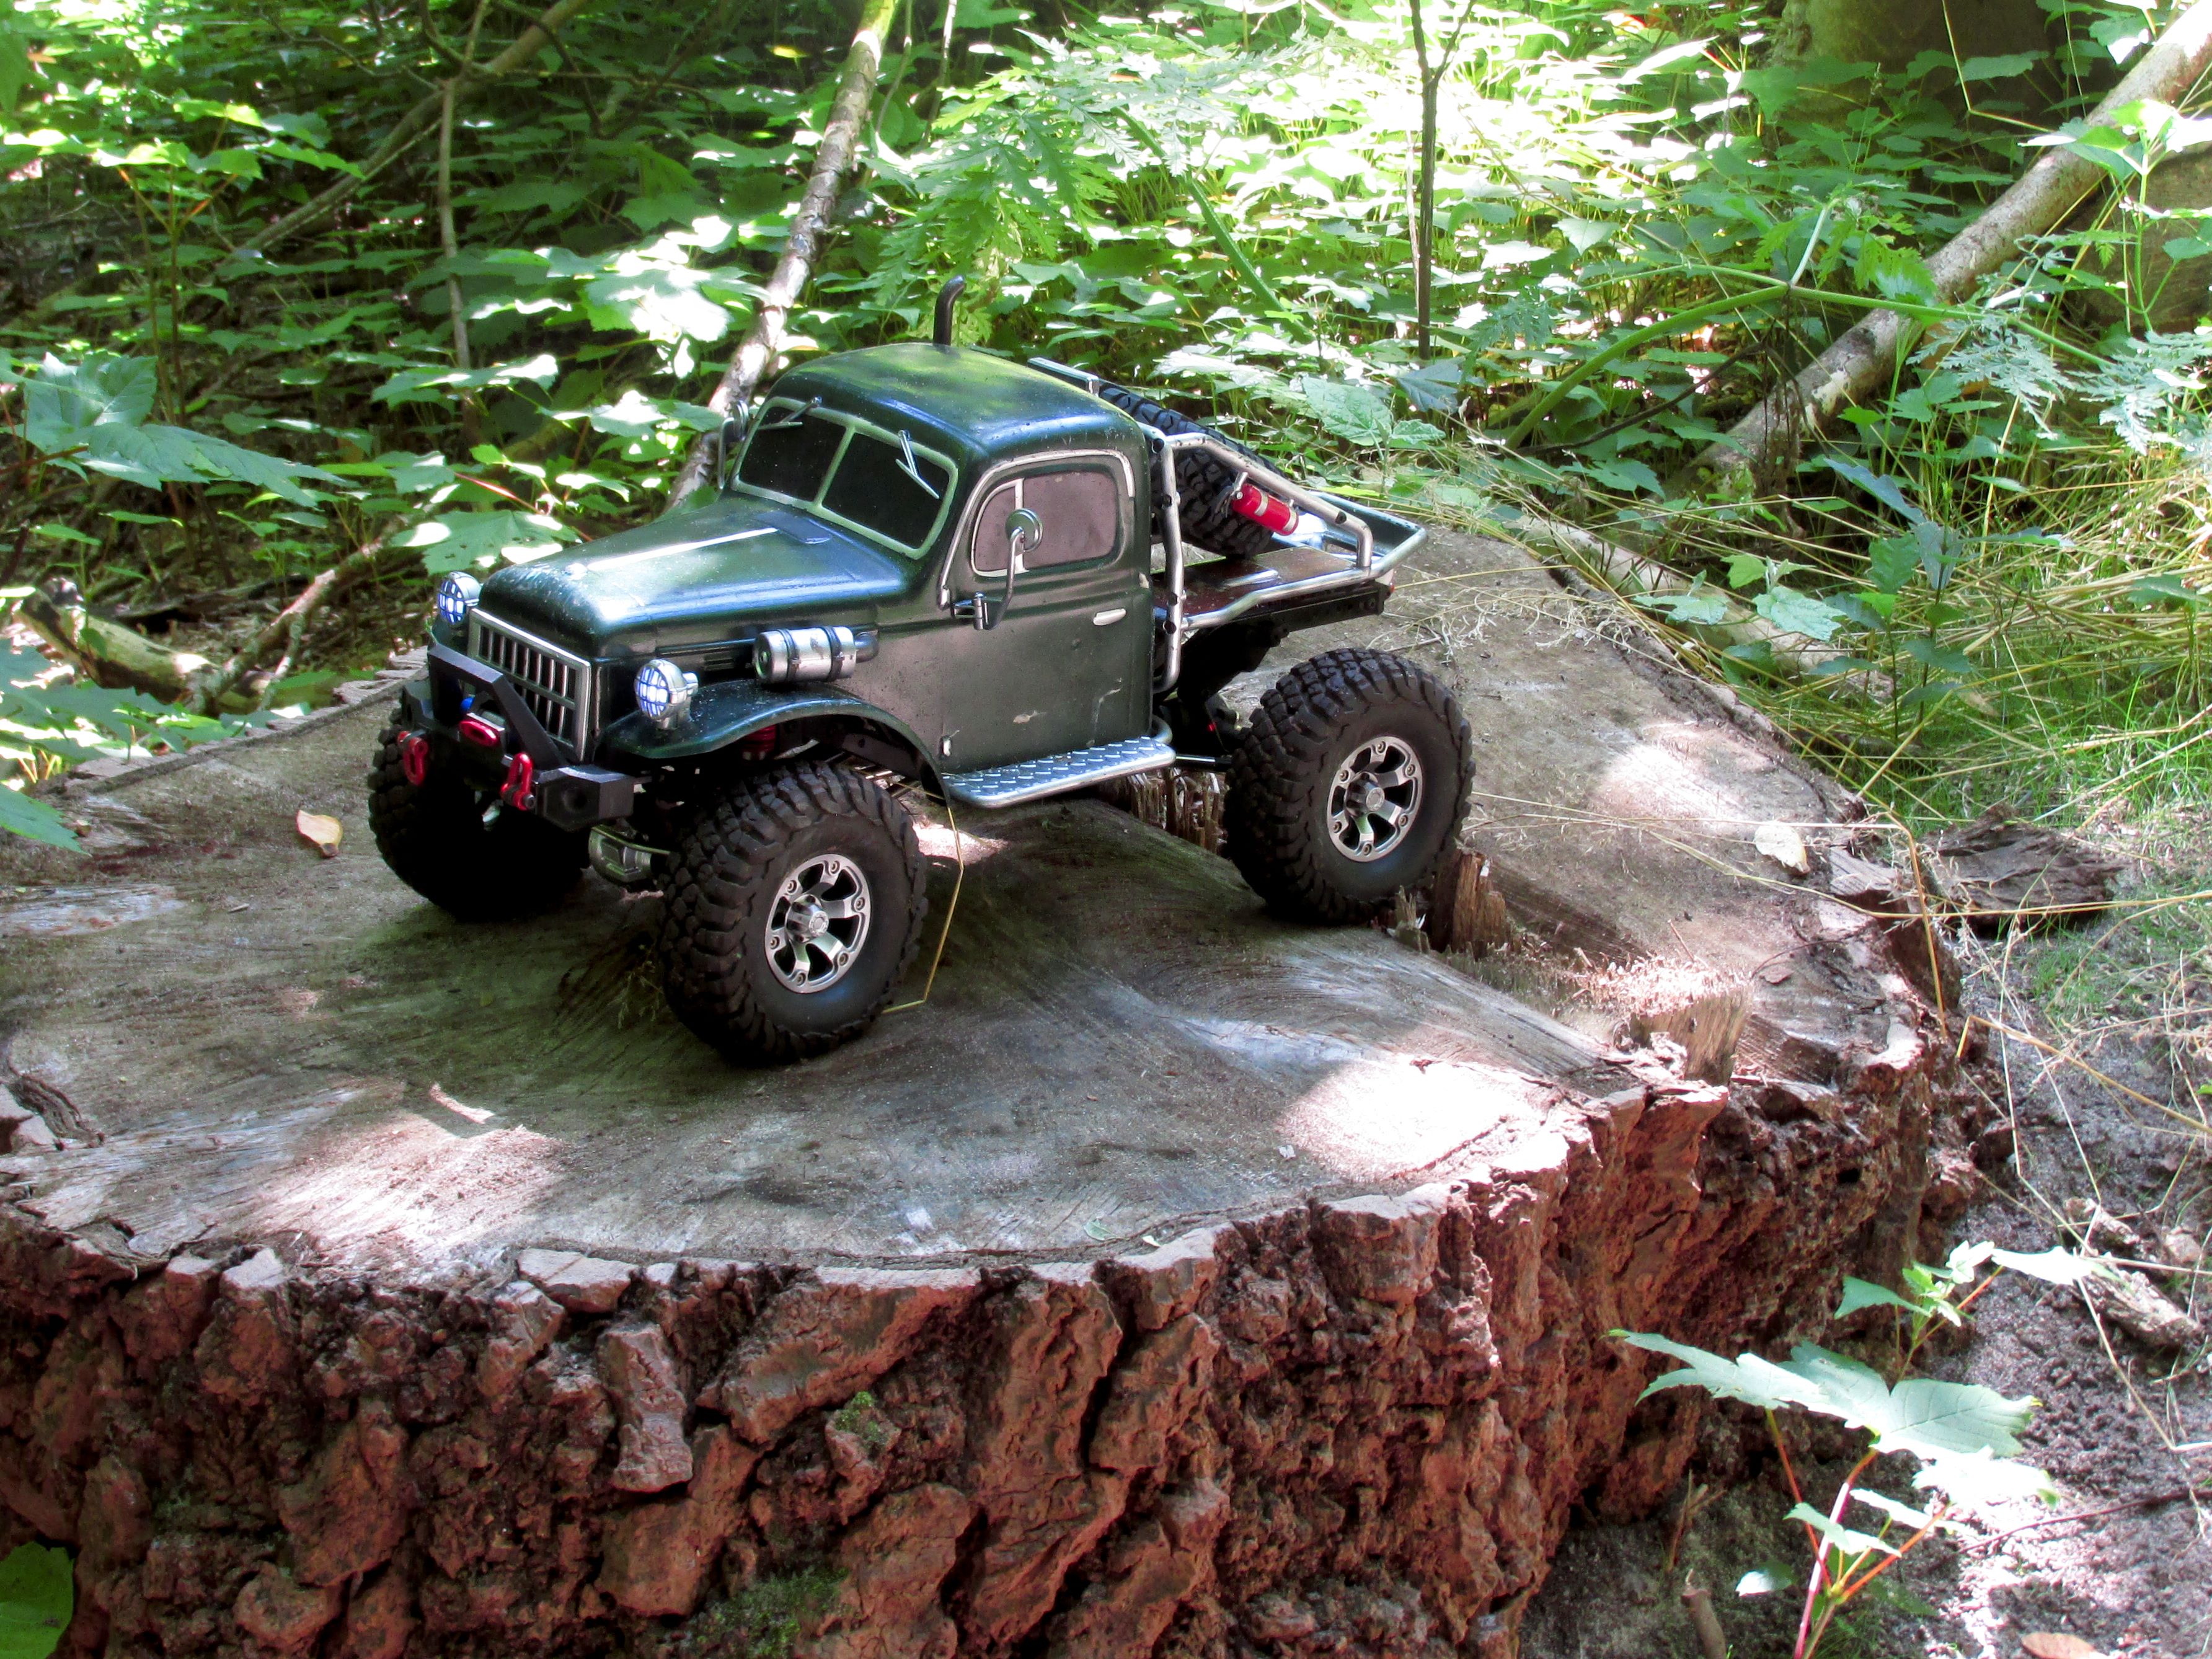
I hump this rock. Good rock.....
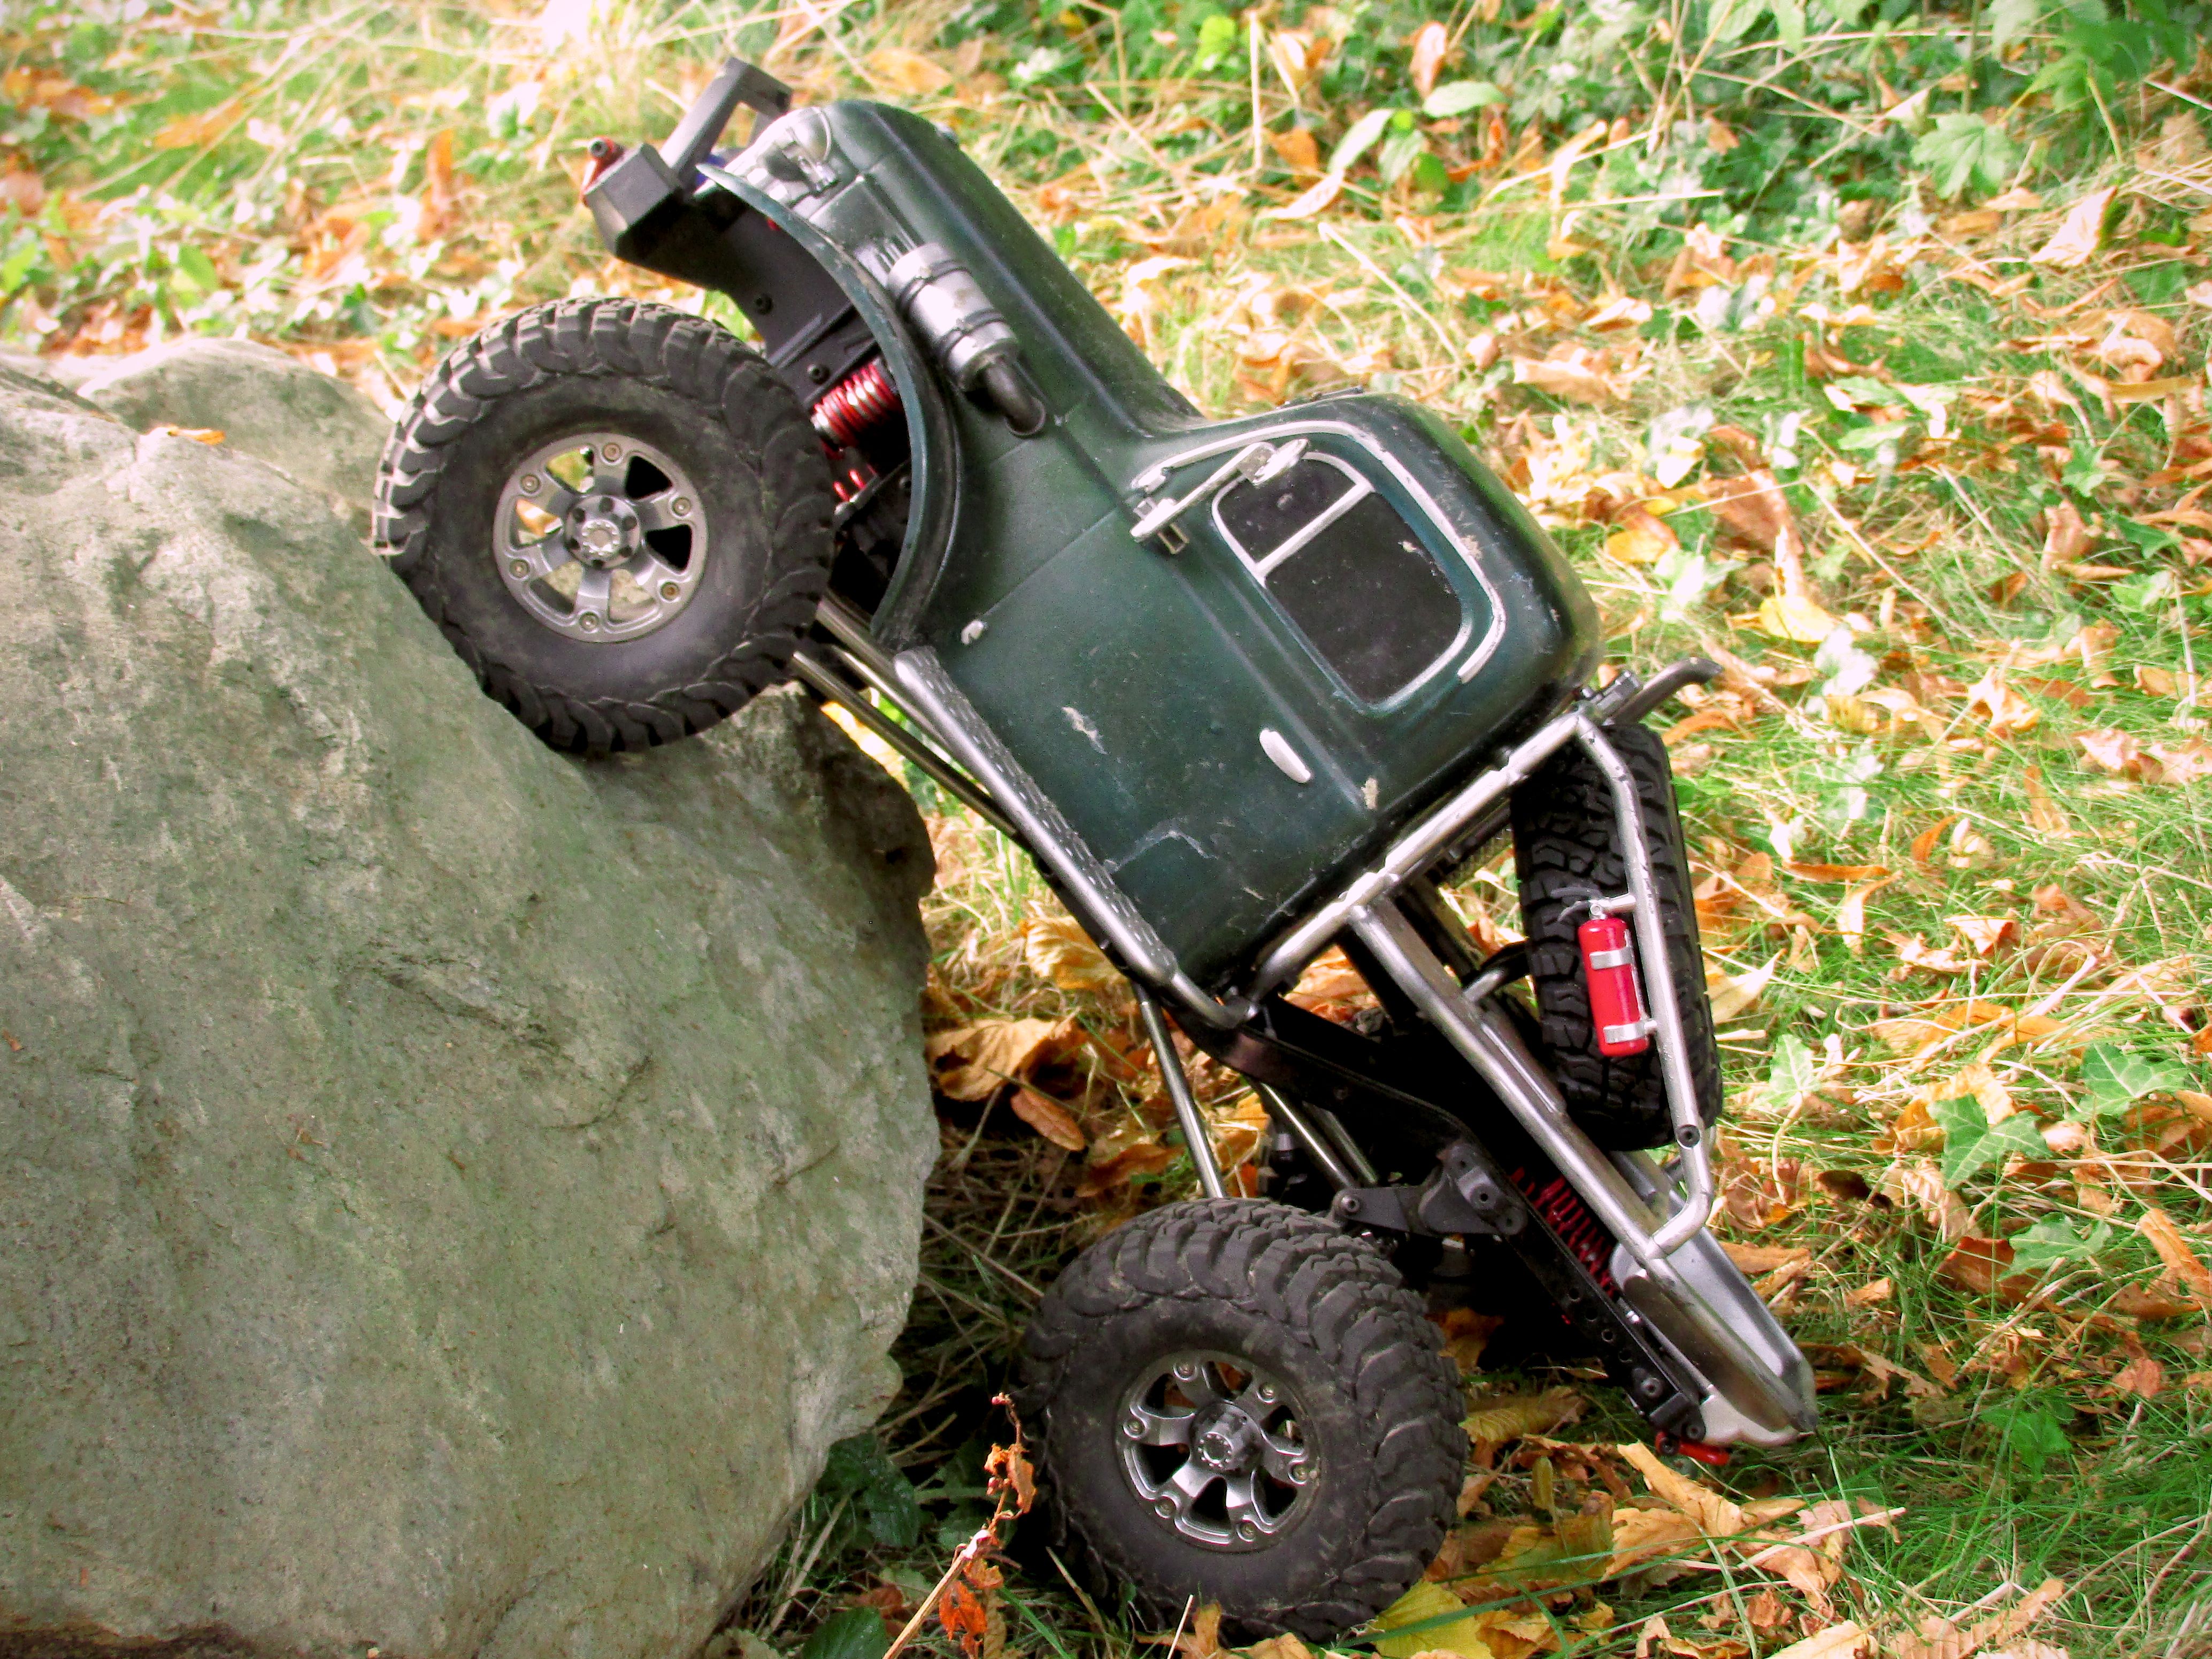
Some more remaining pictures from 2021.


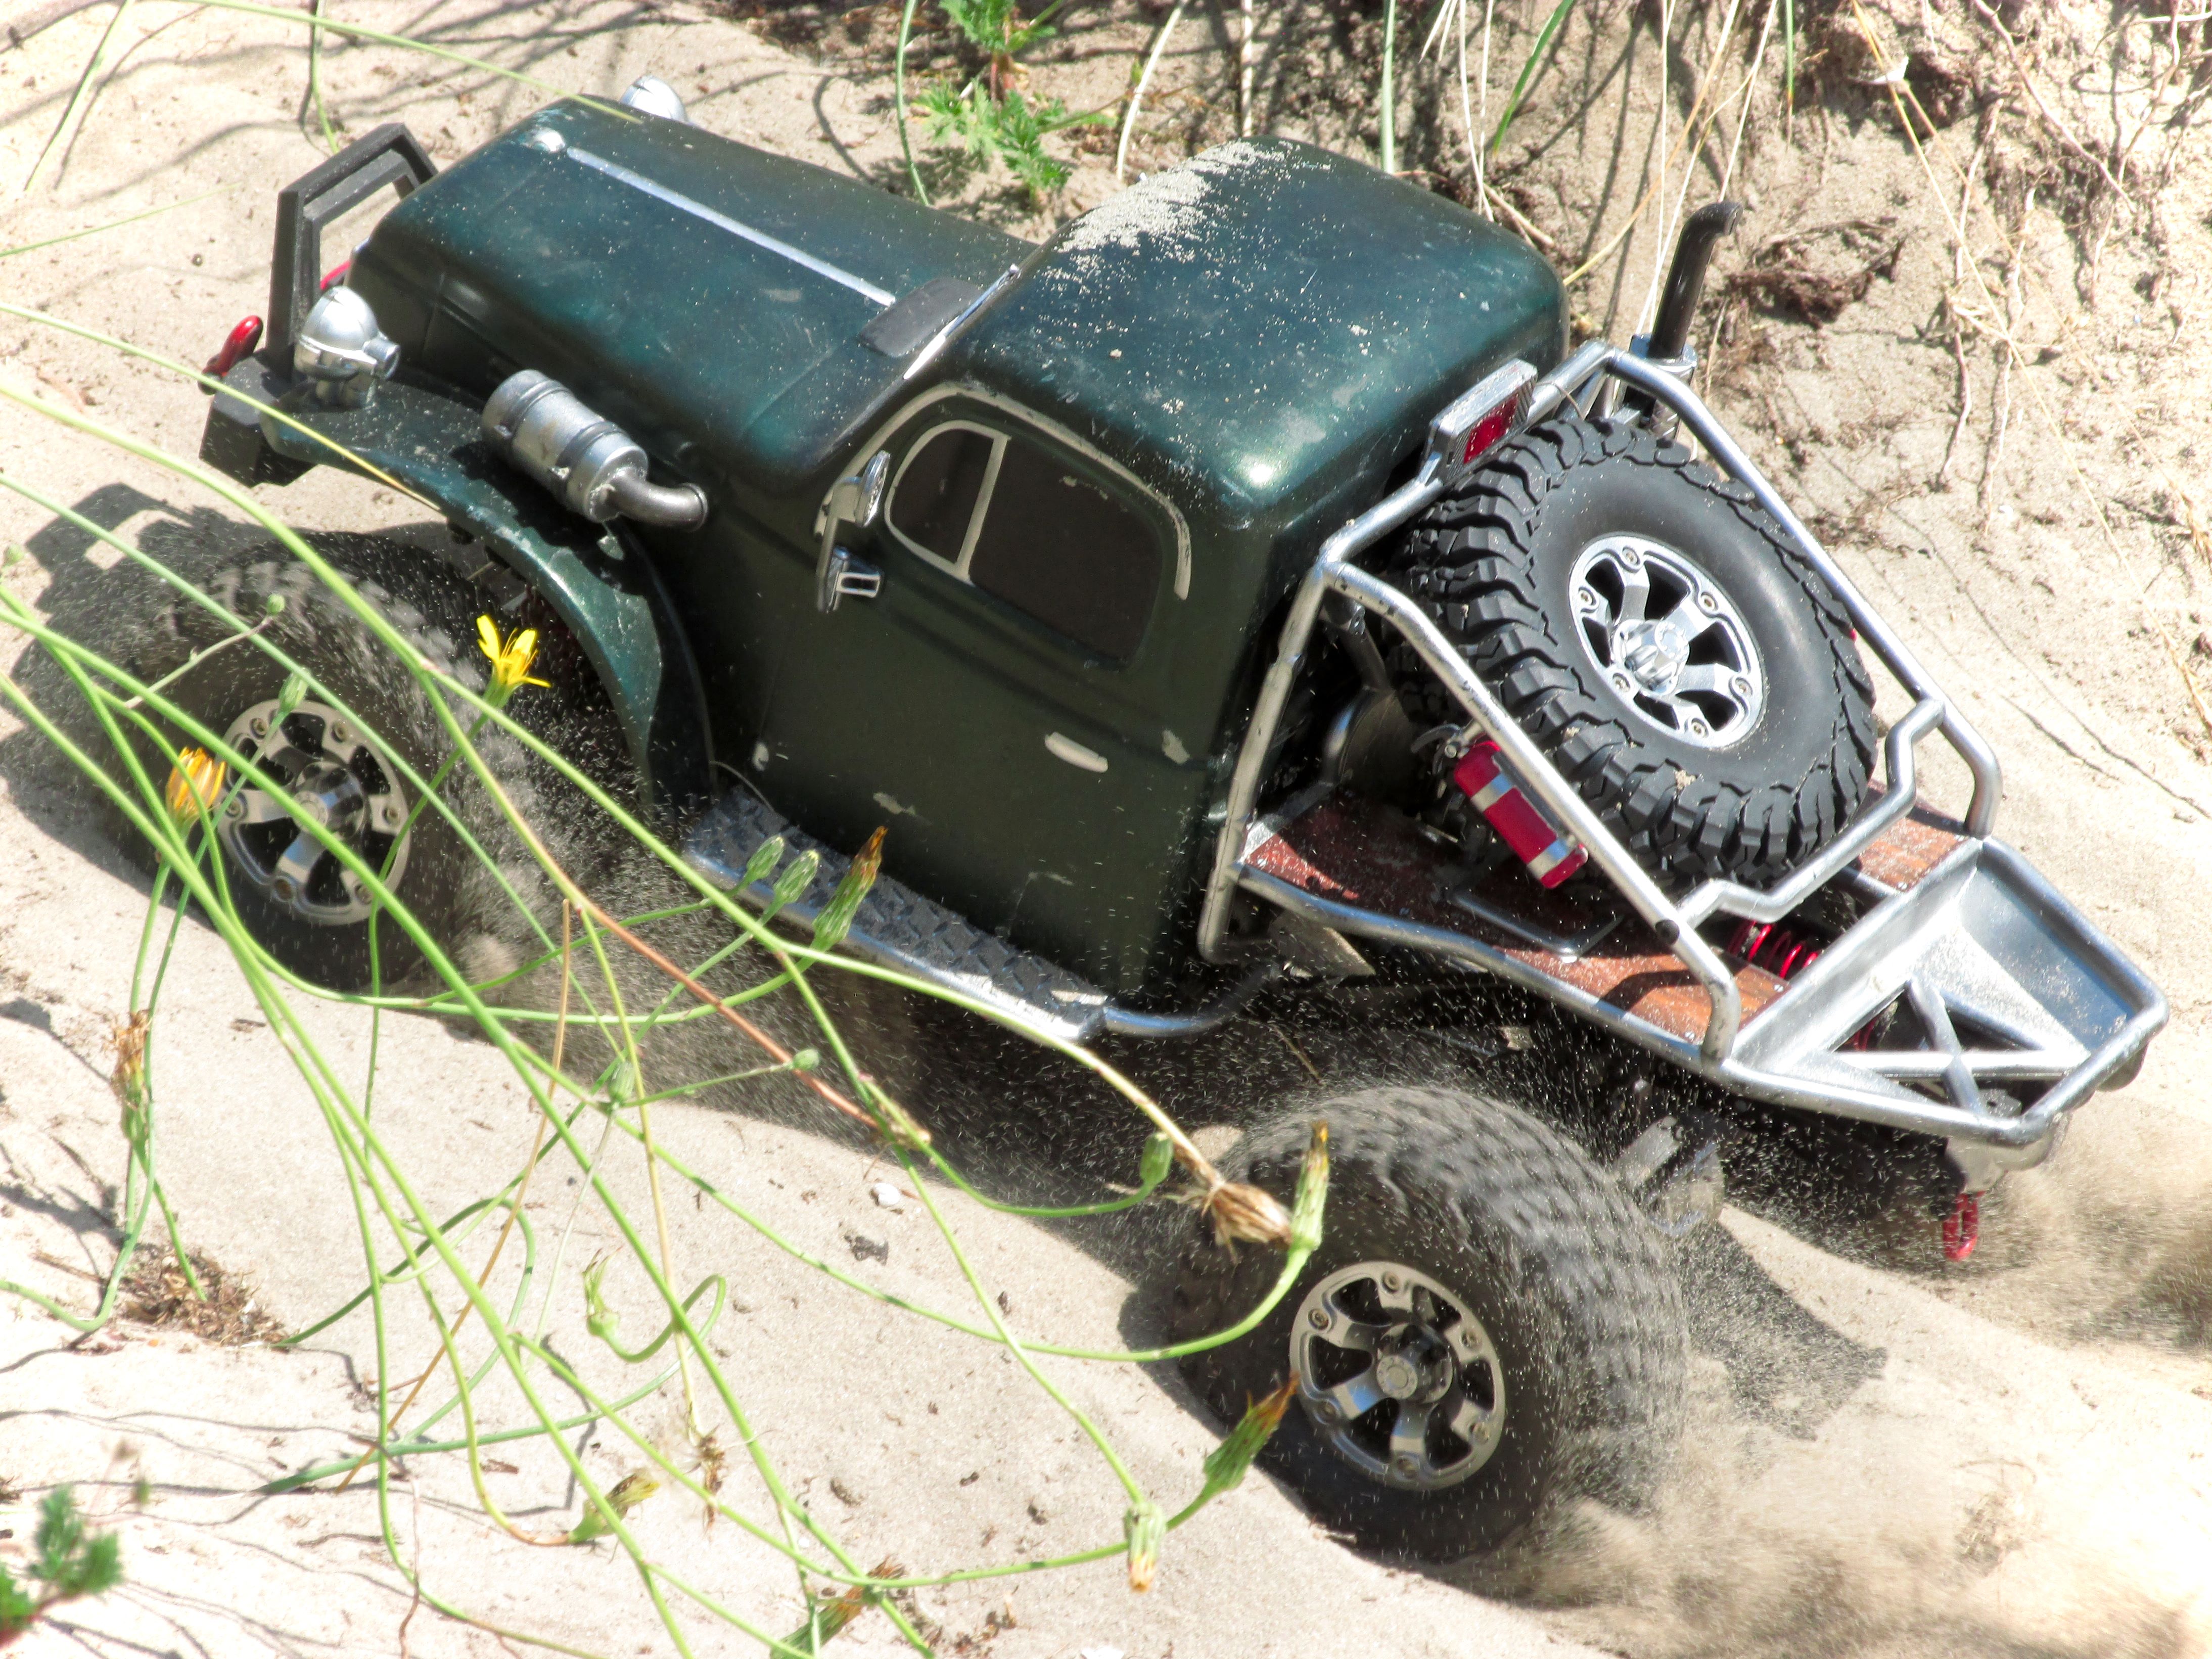
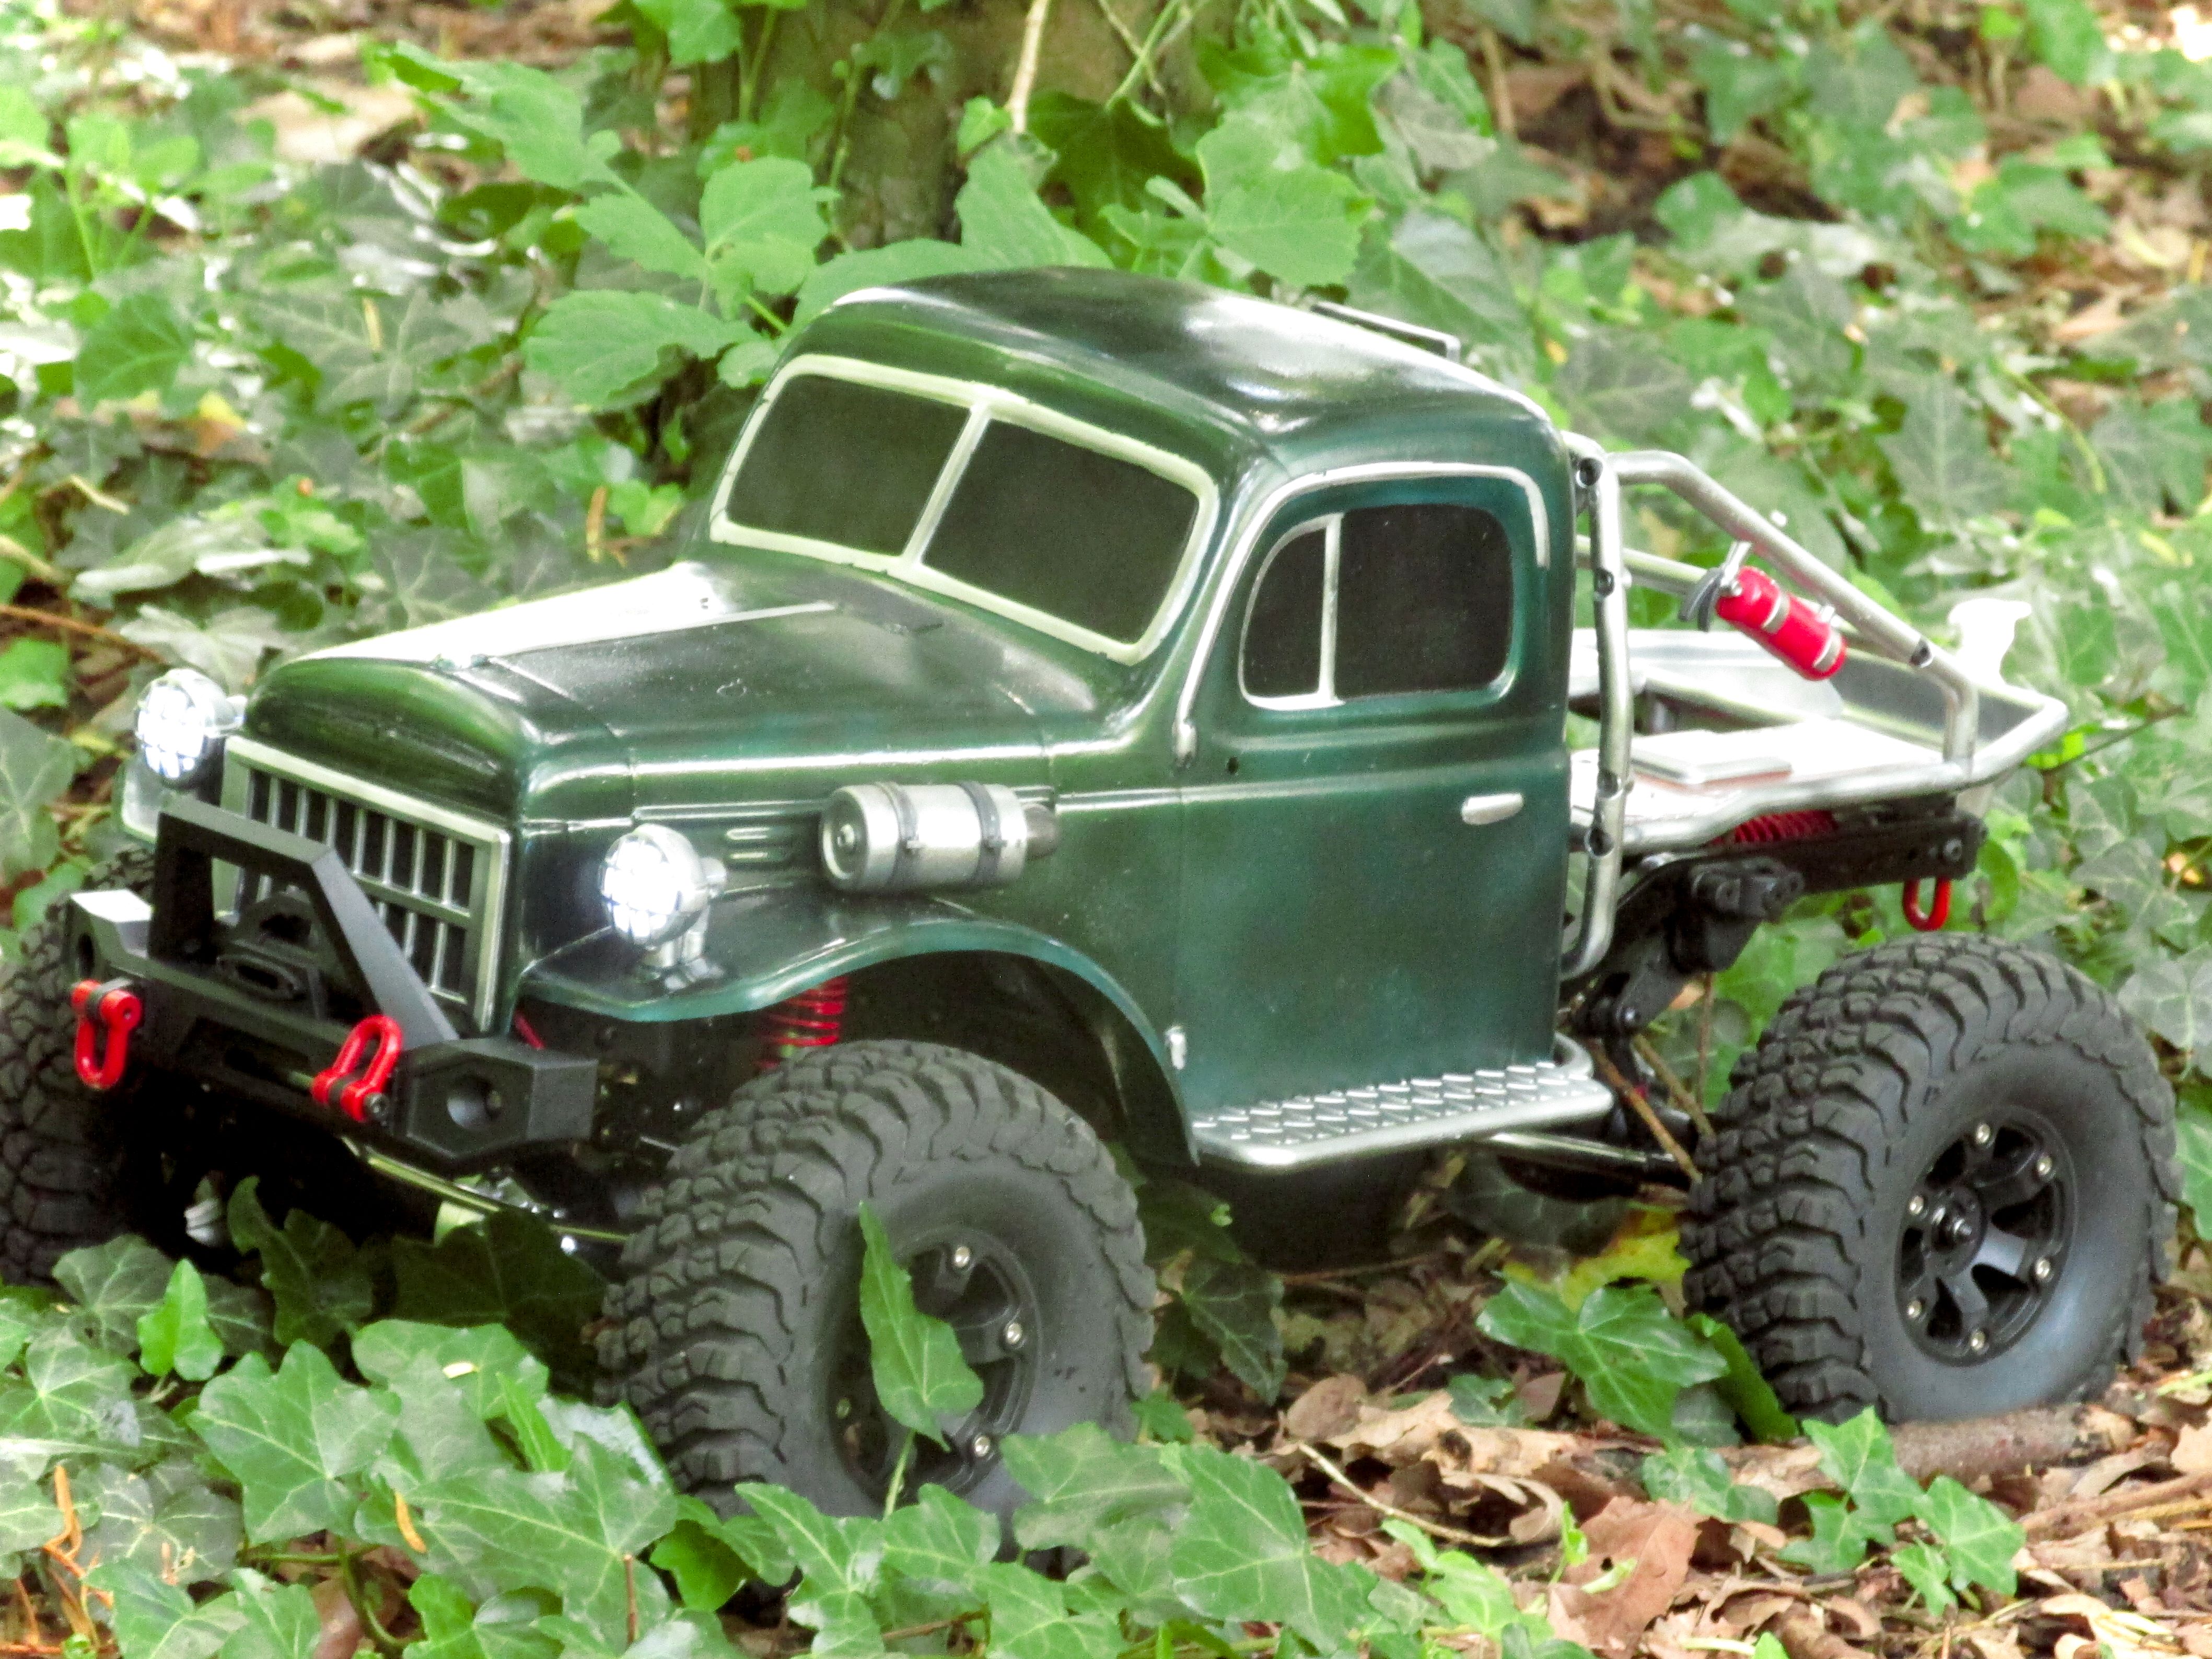
Dune Crawler

Going through the sandy dune areas around here has to be my favourite spot to drive. The sand makes for a really nice and interesting challenge and makes for some really good pictures.


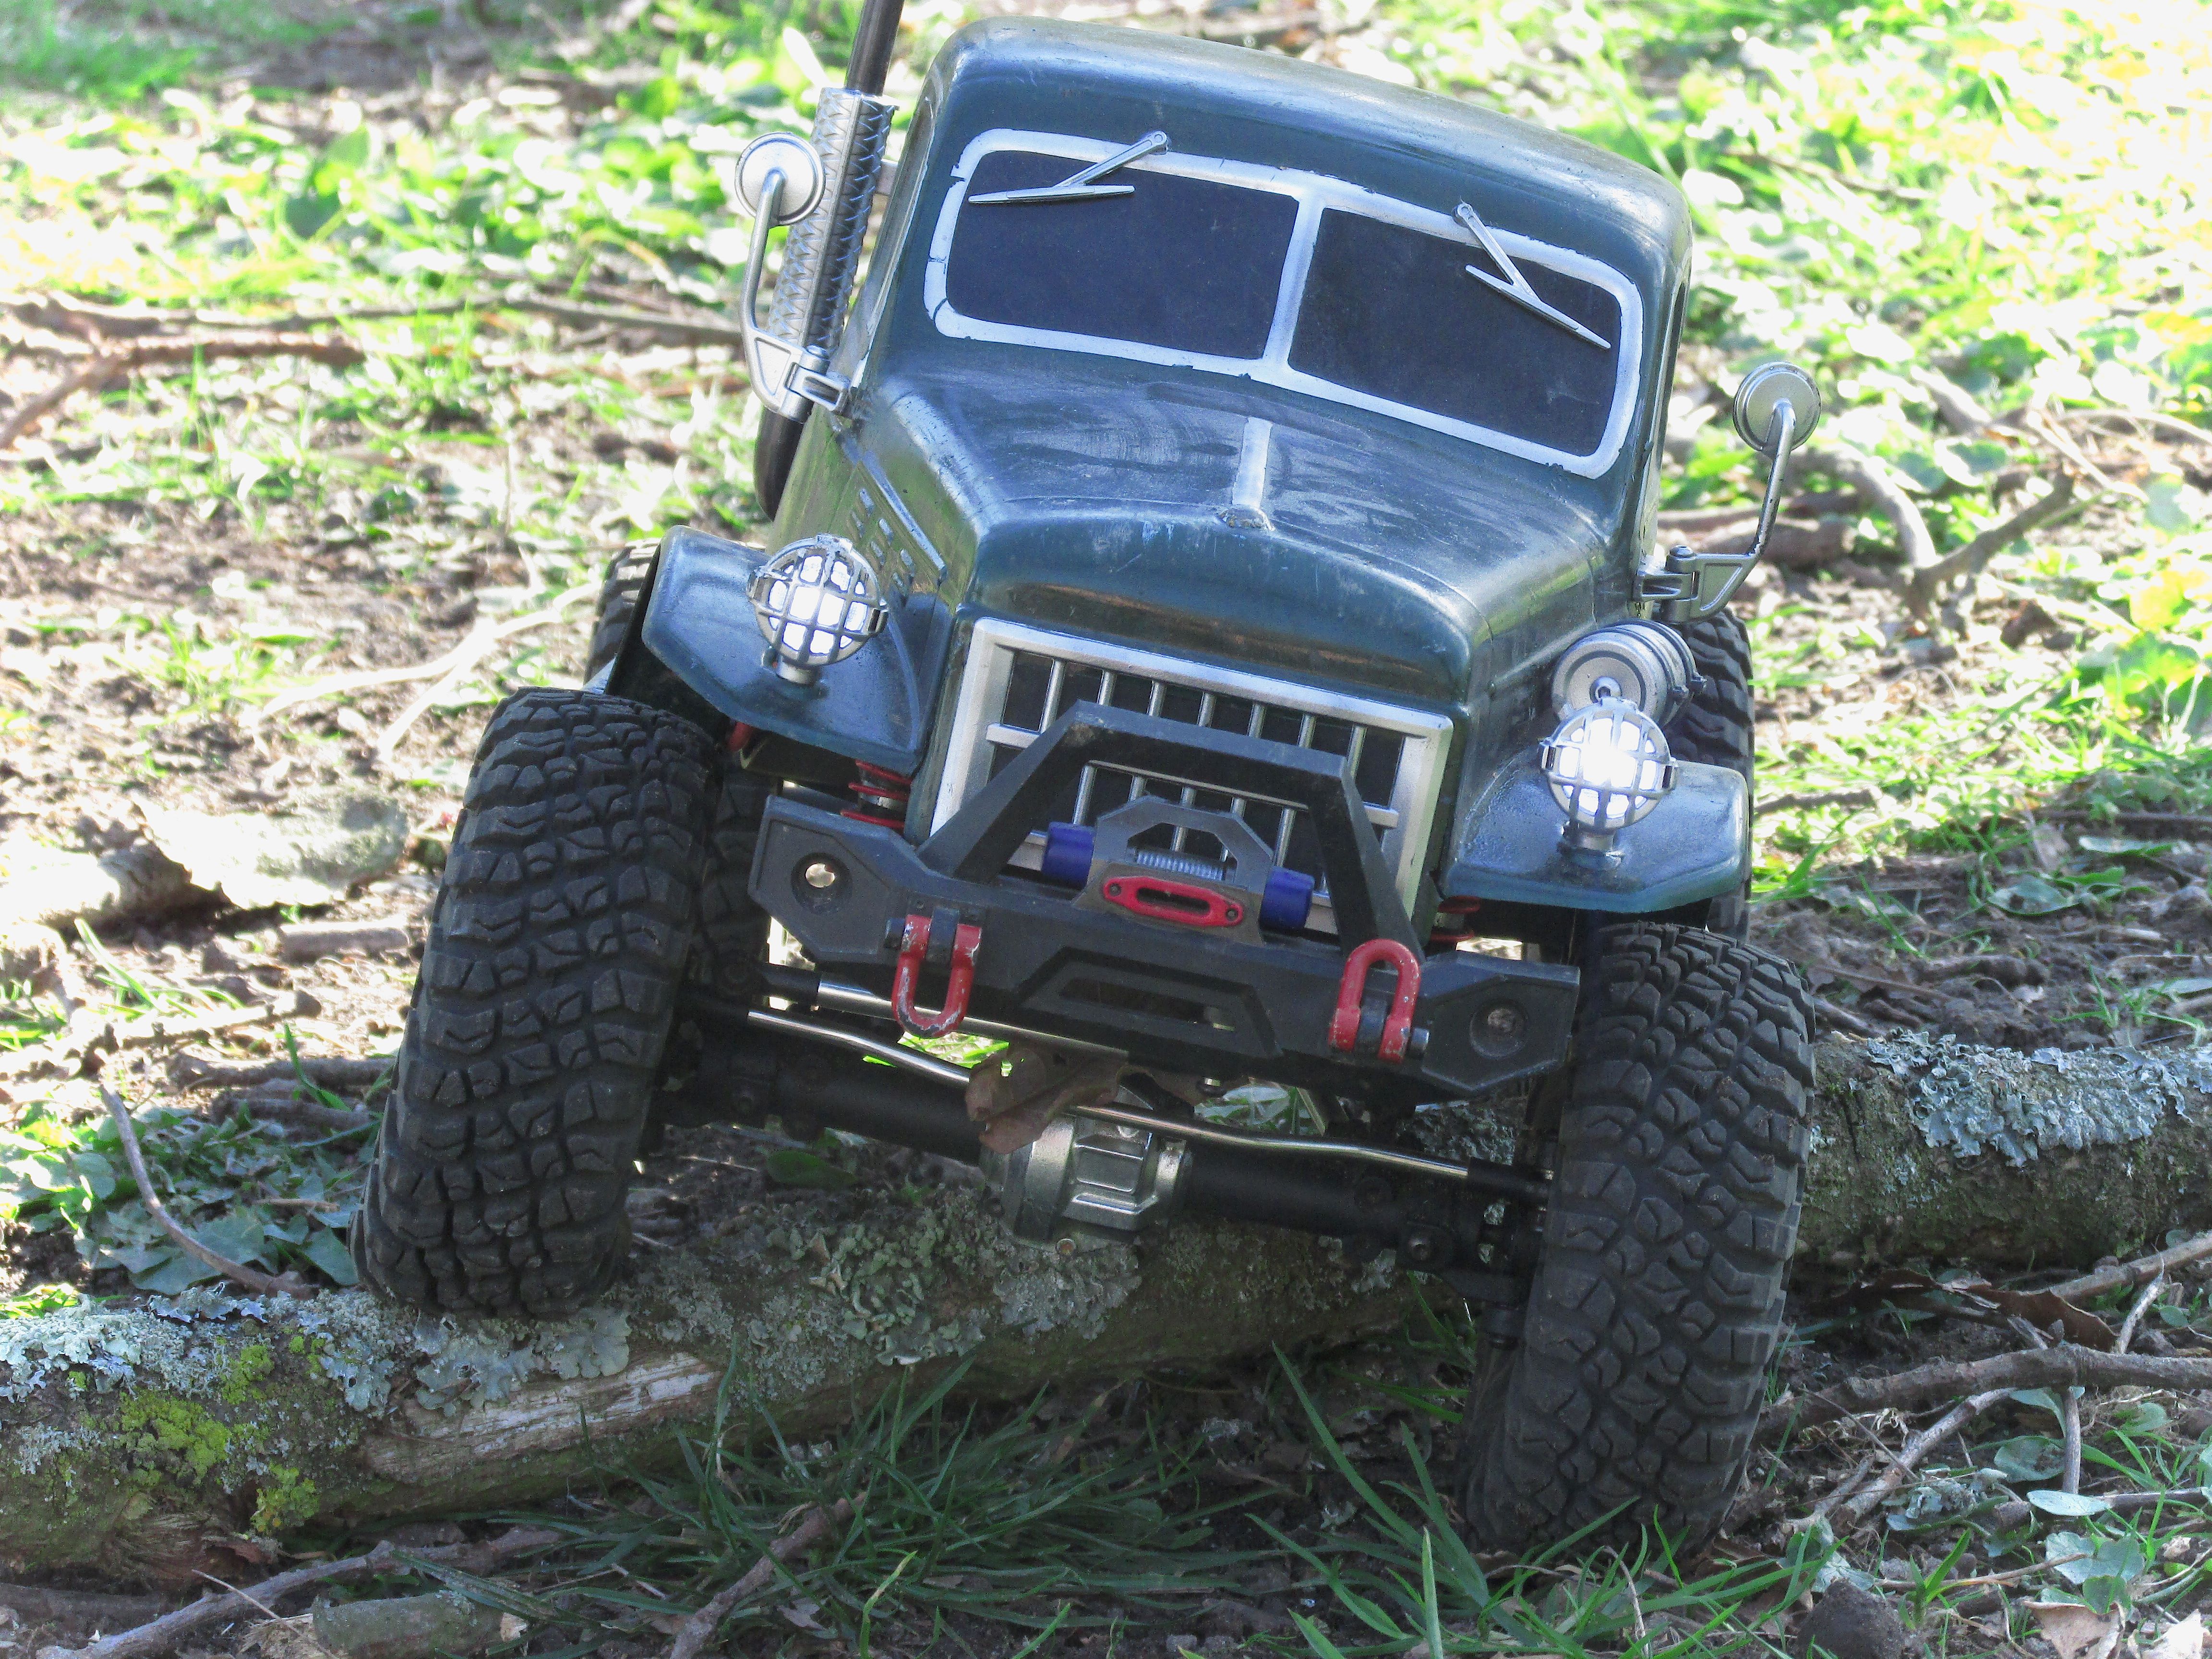
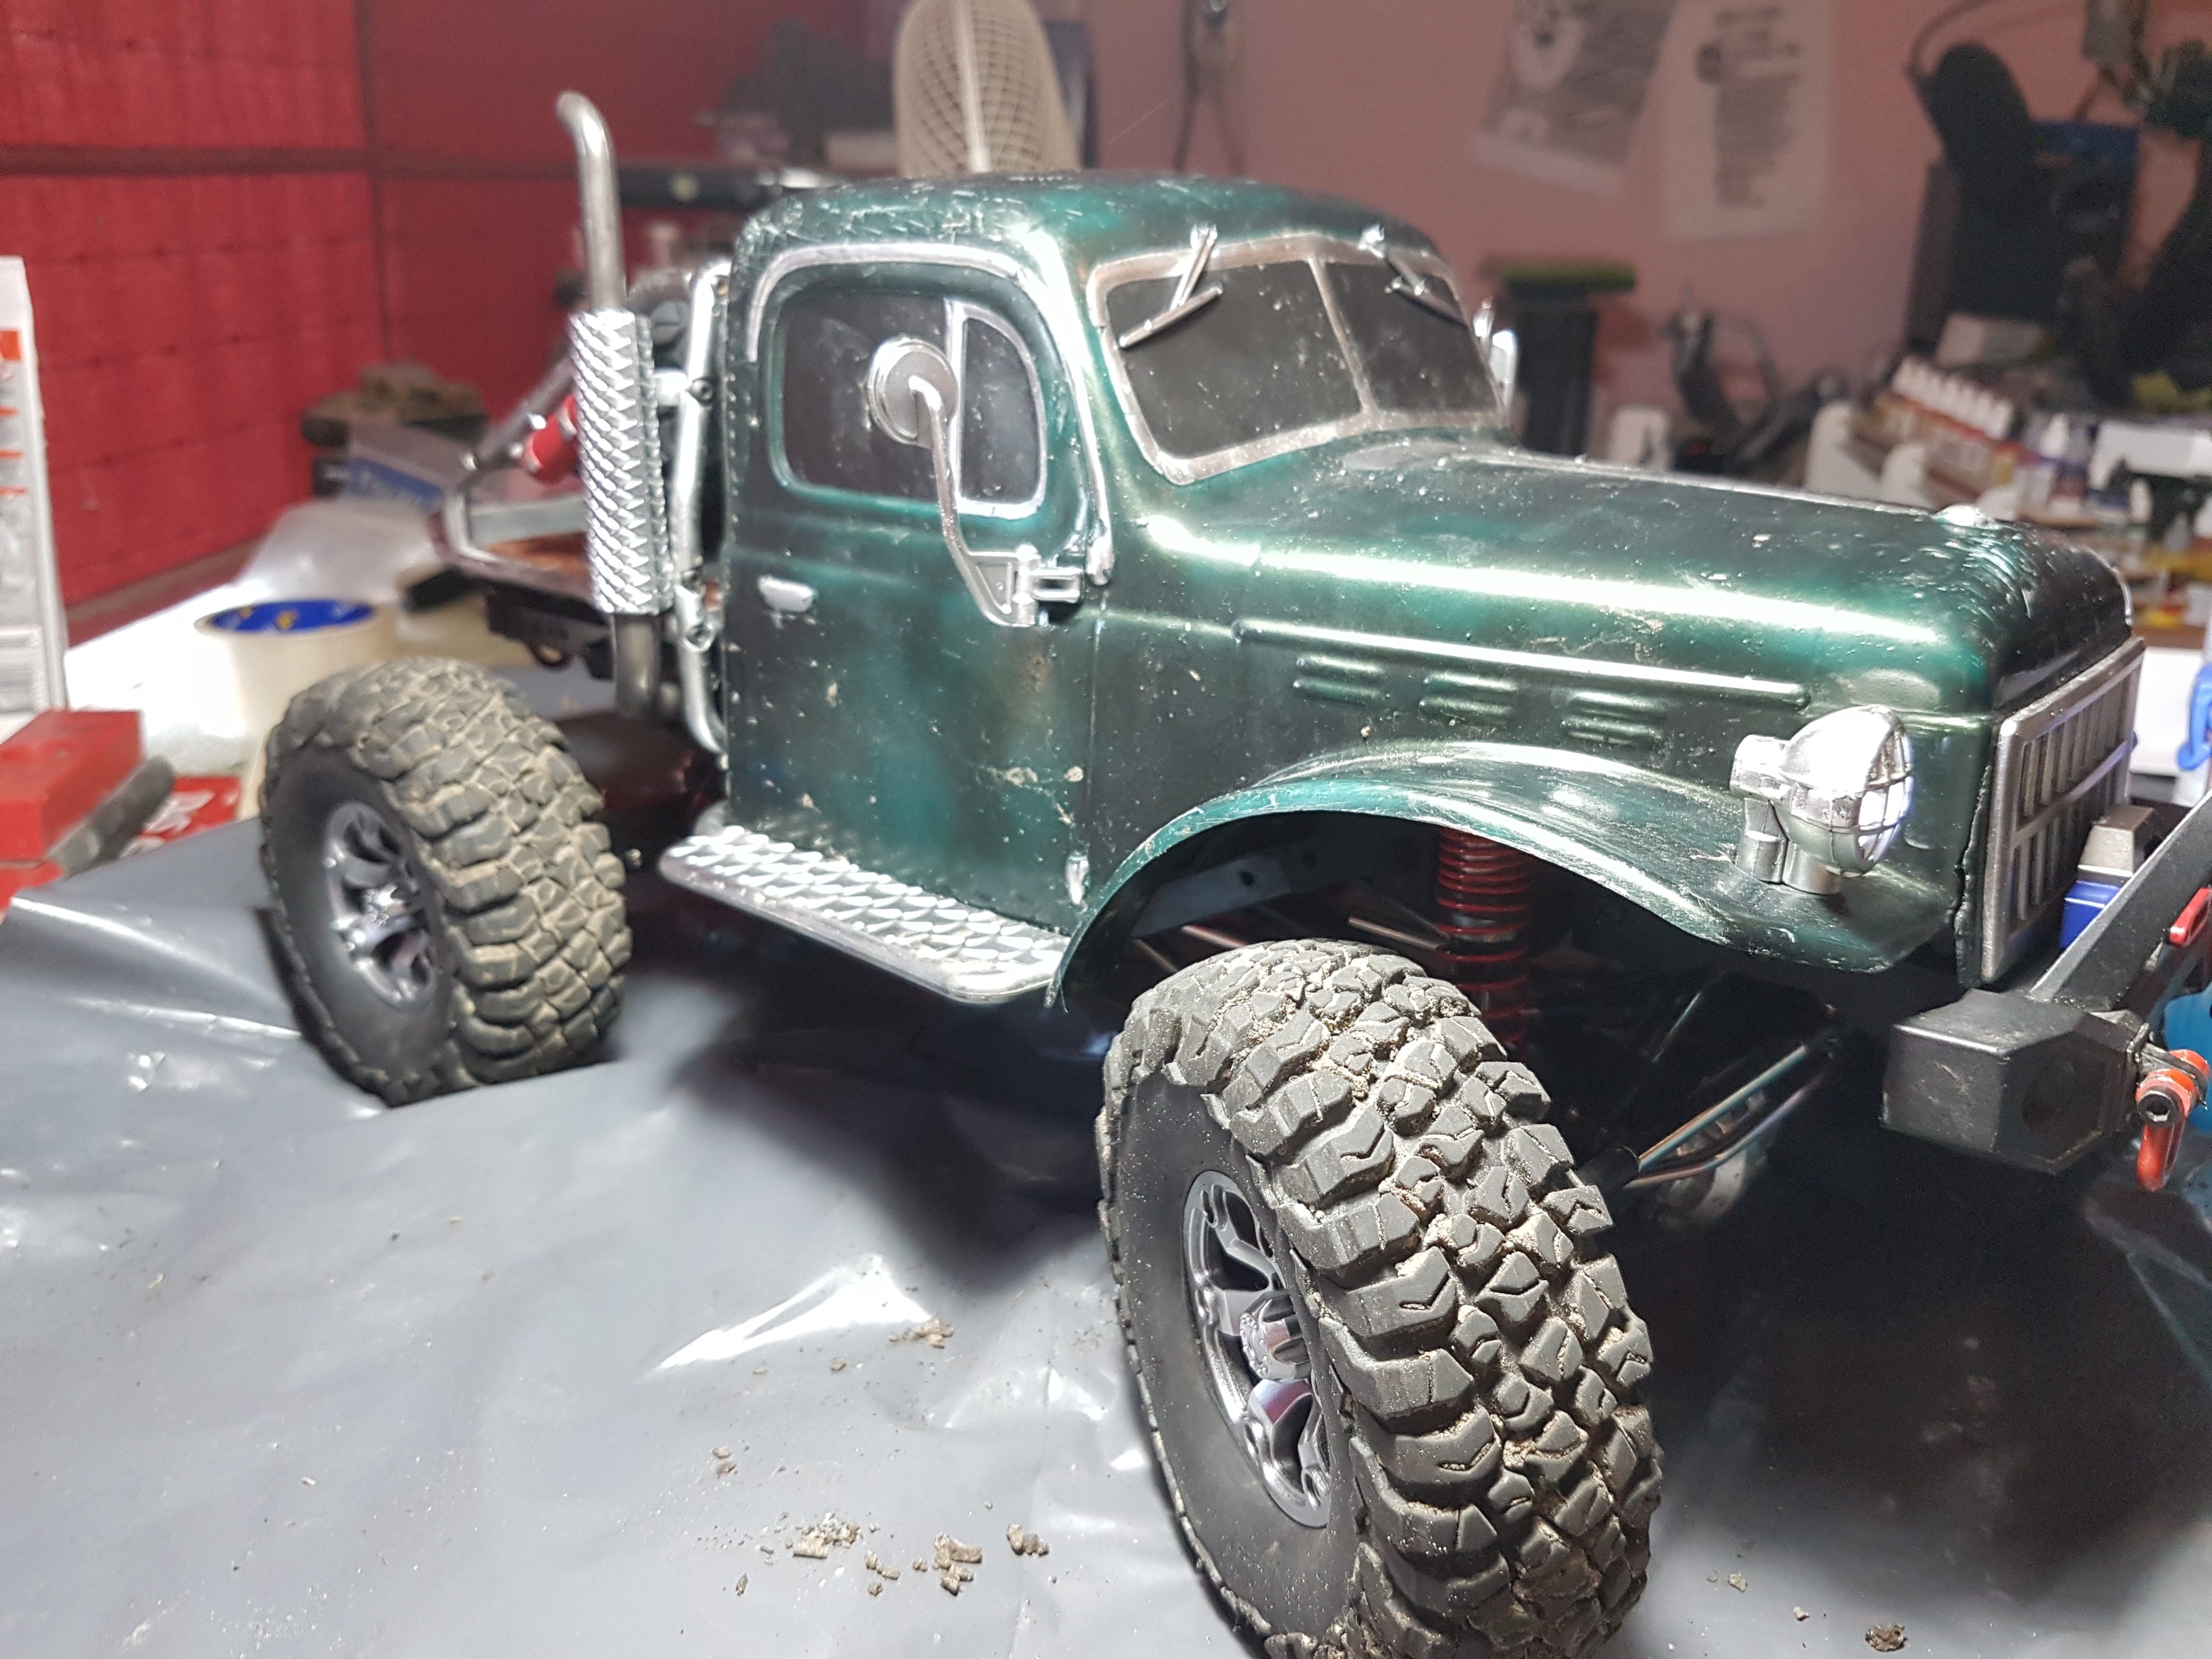
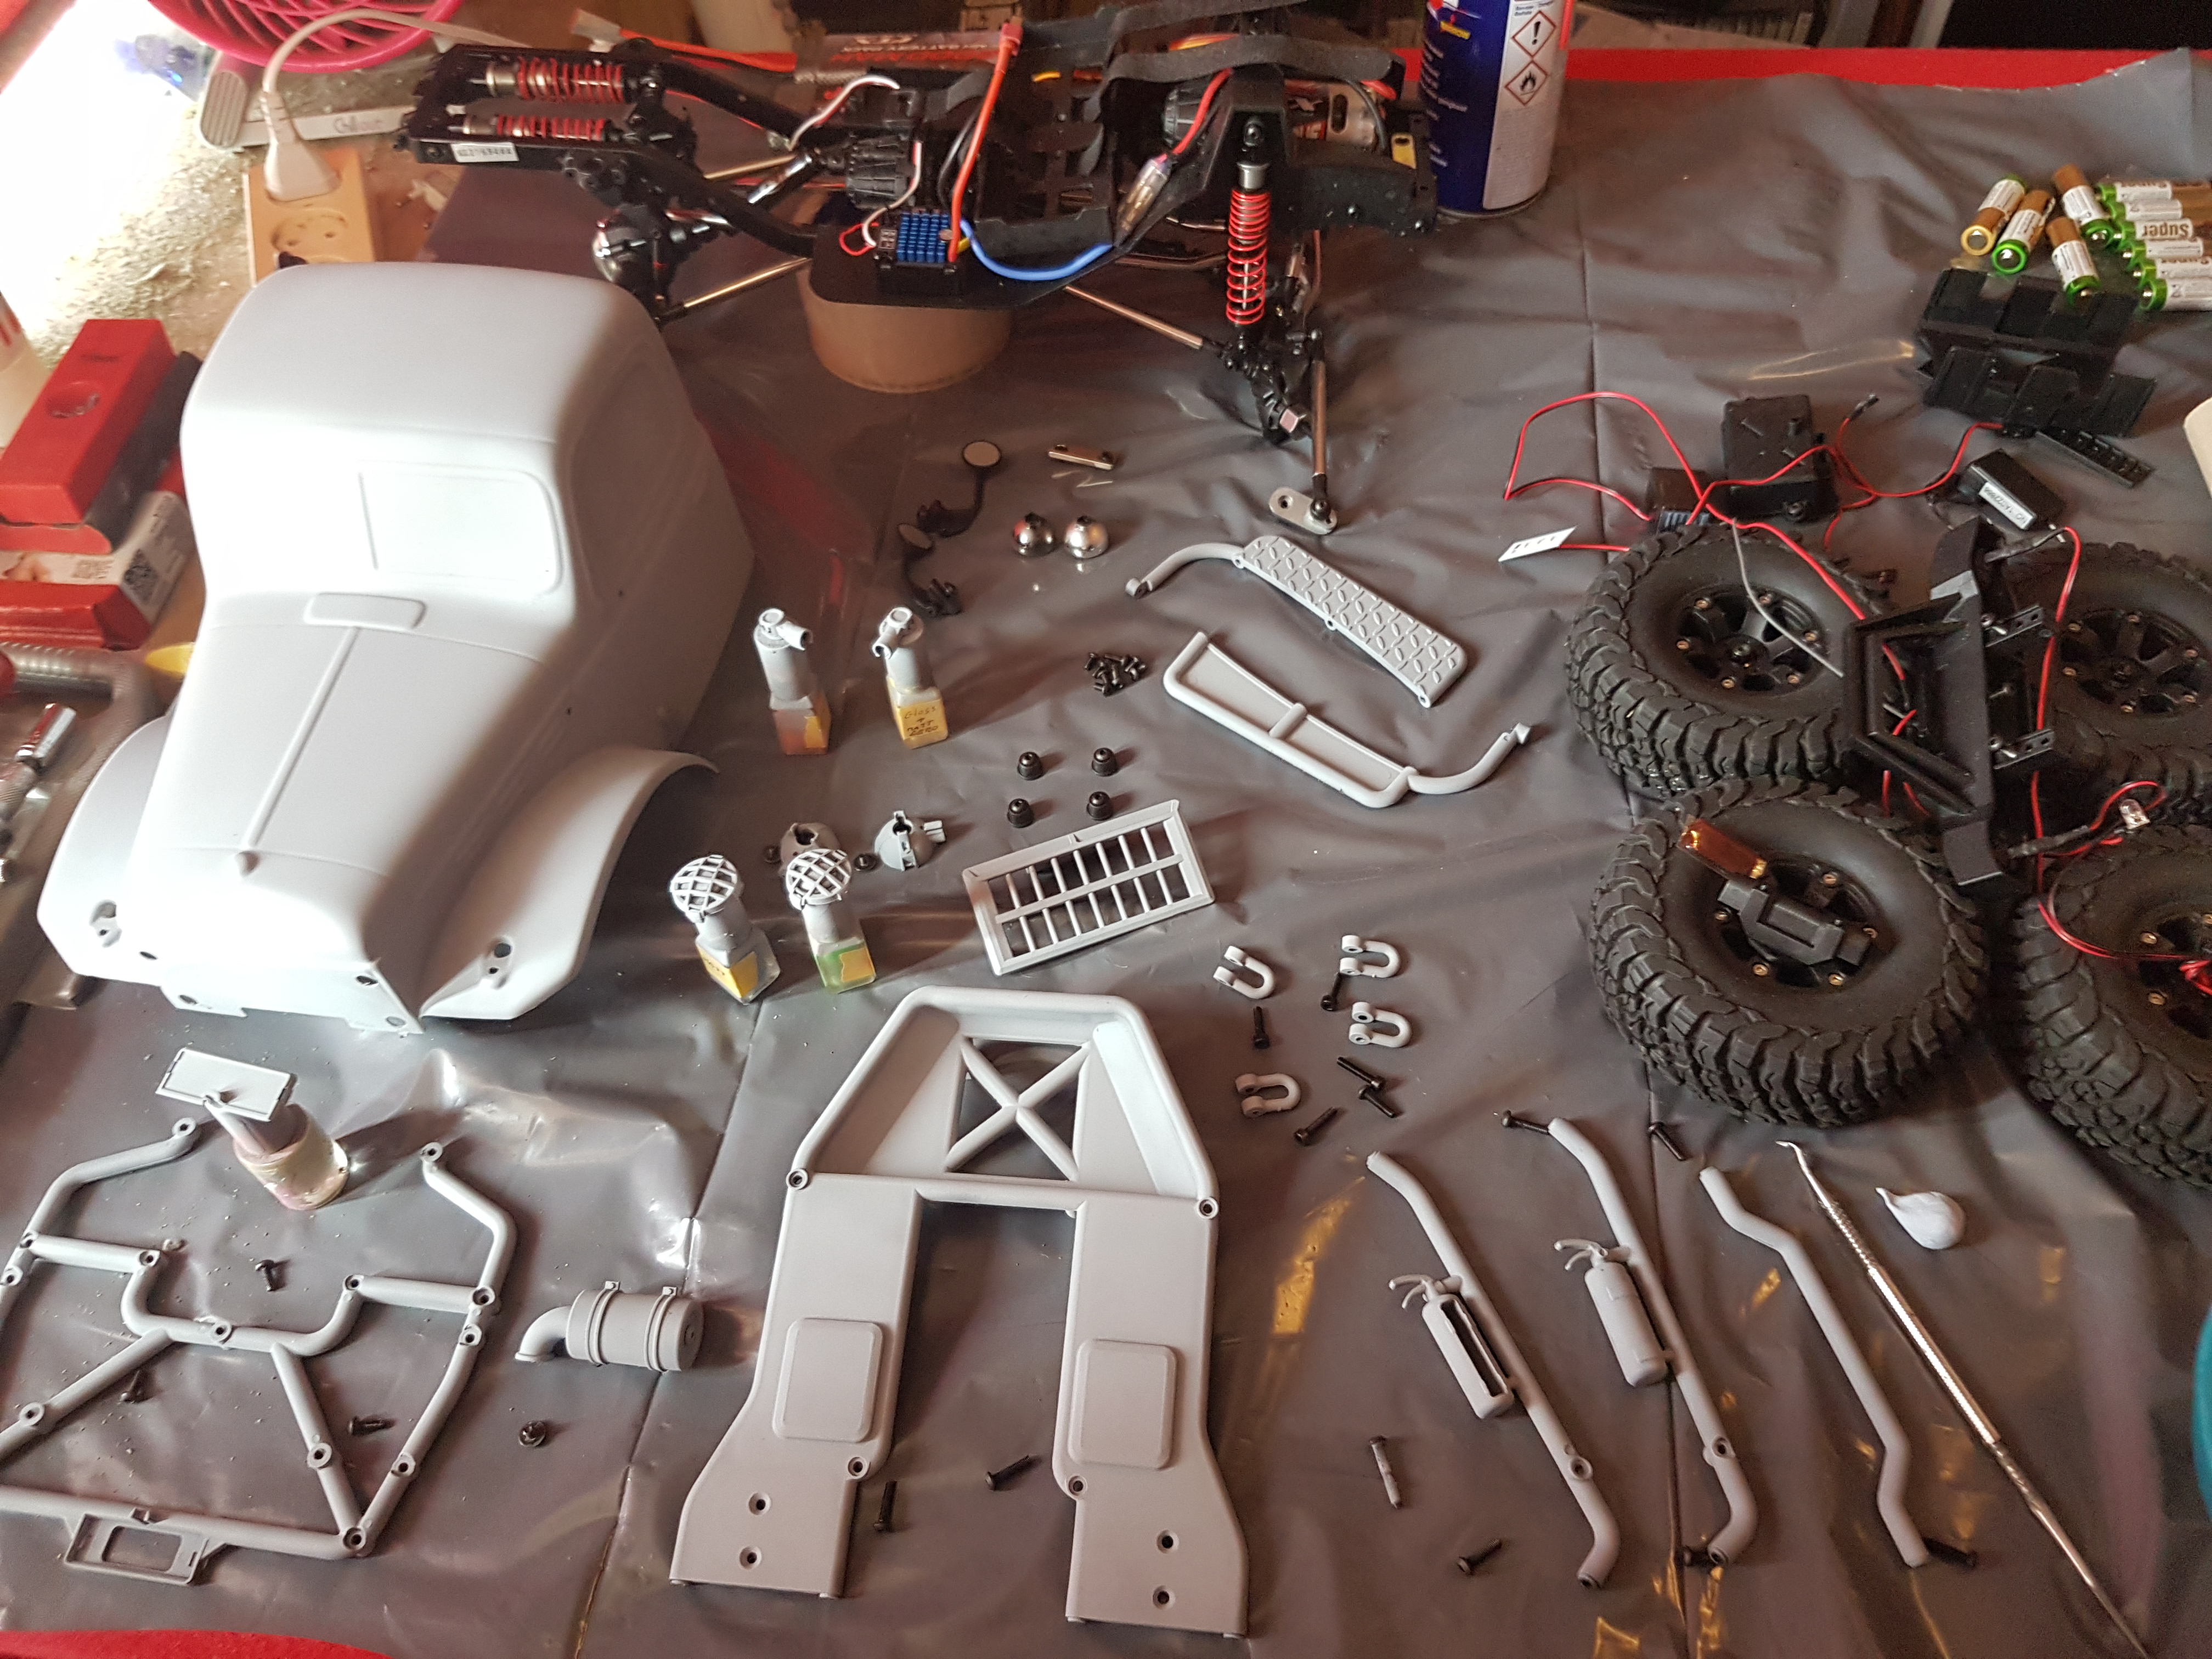
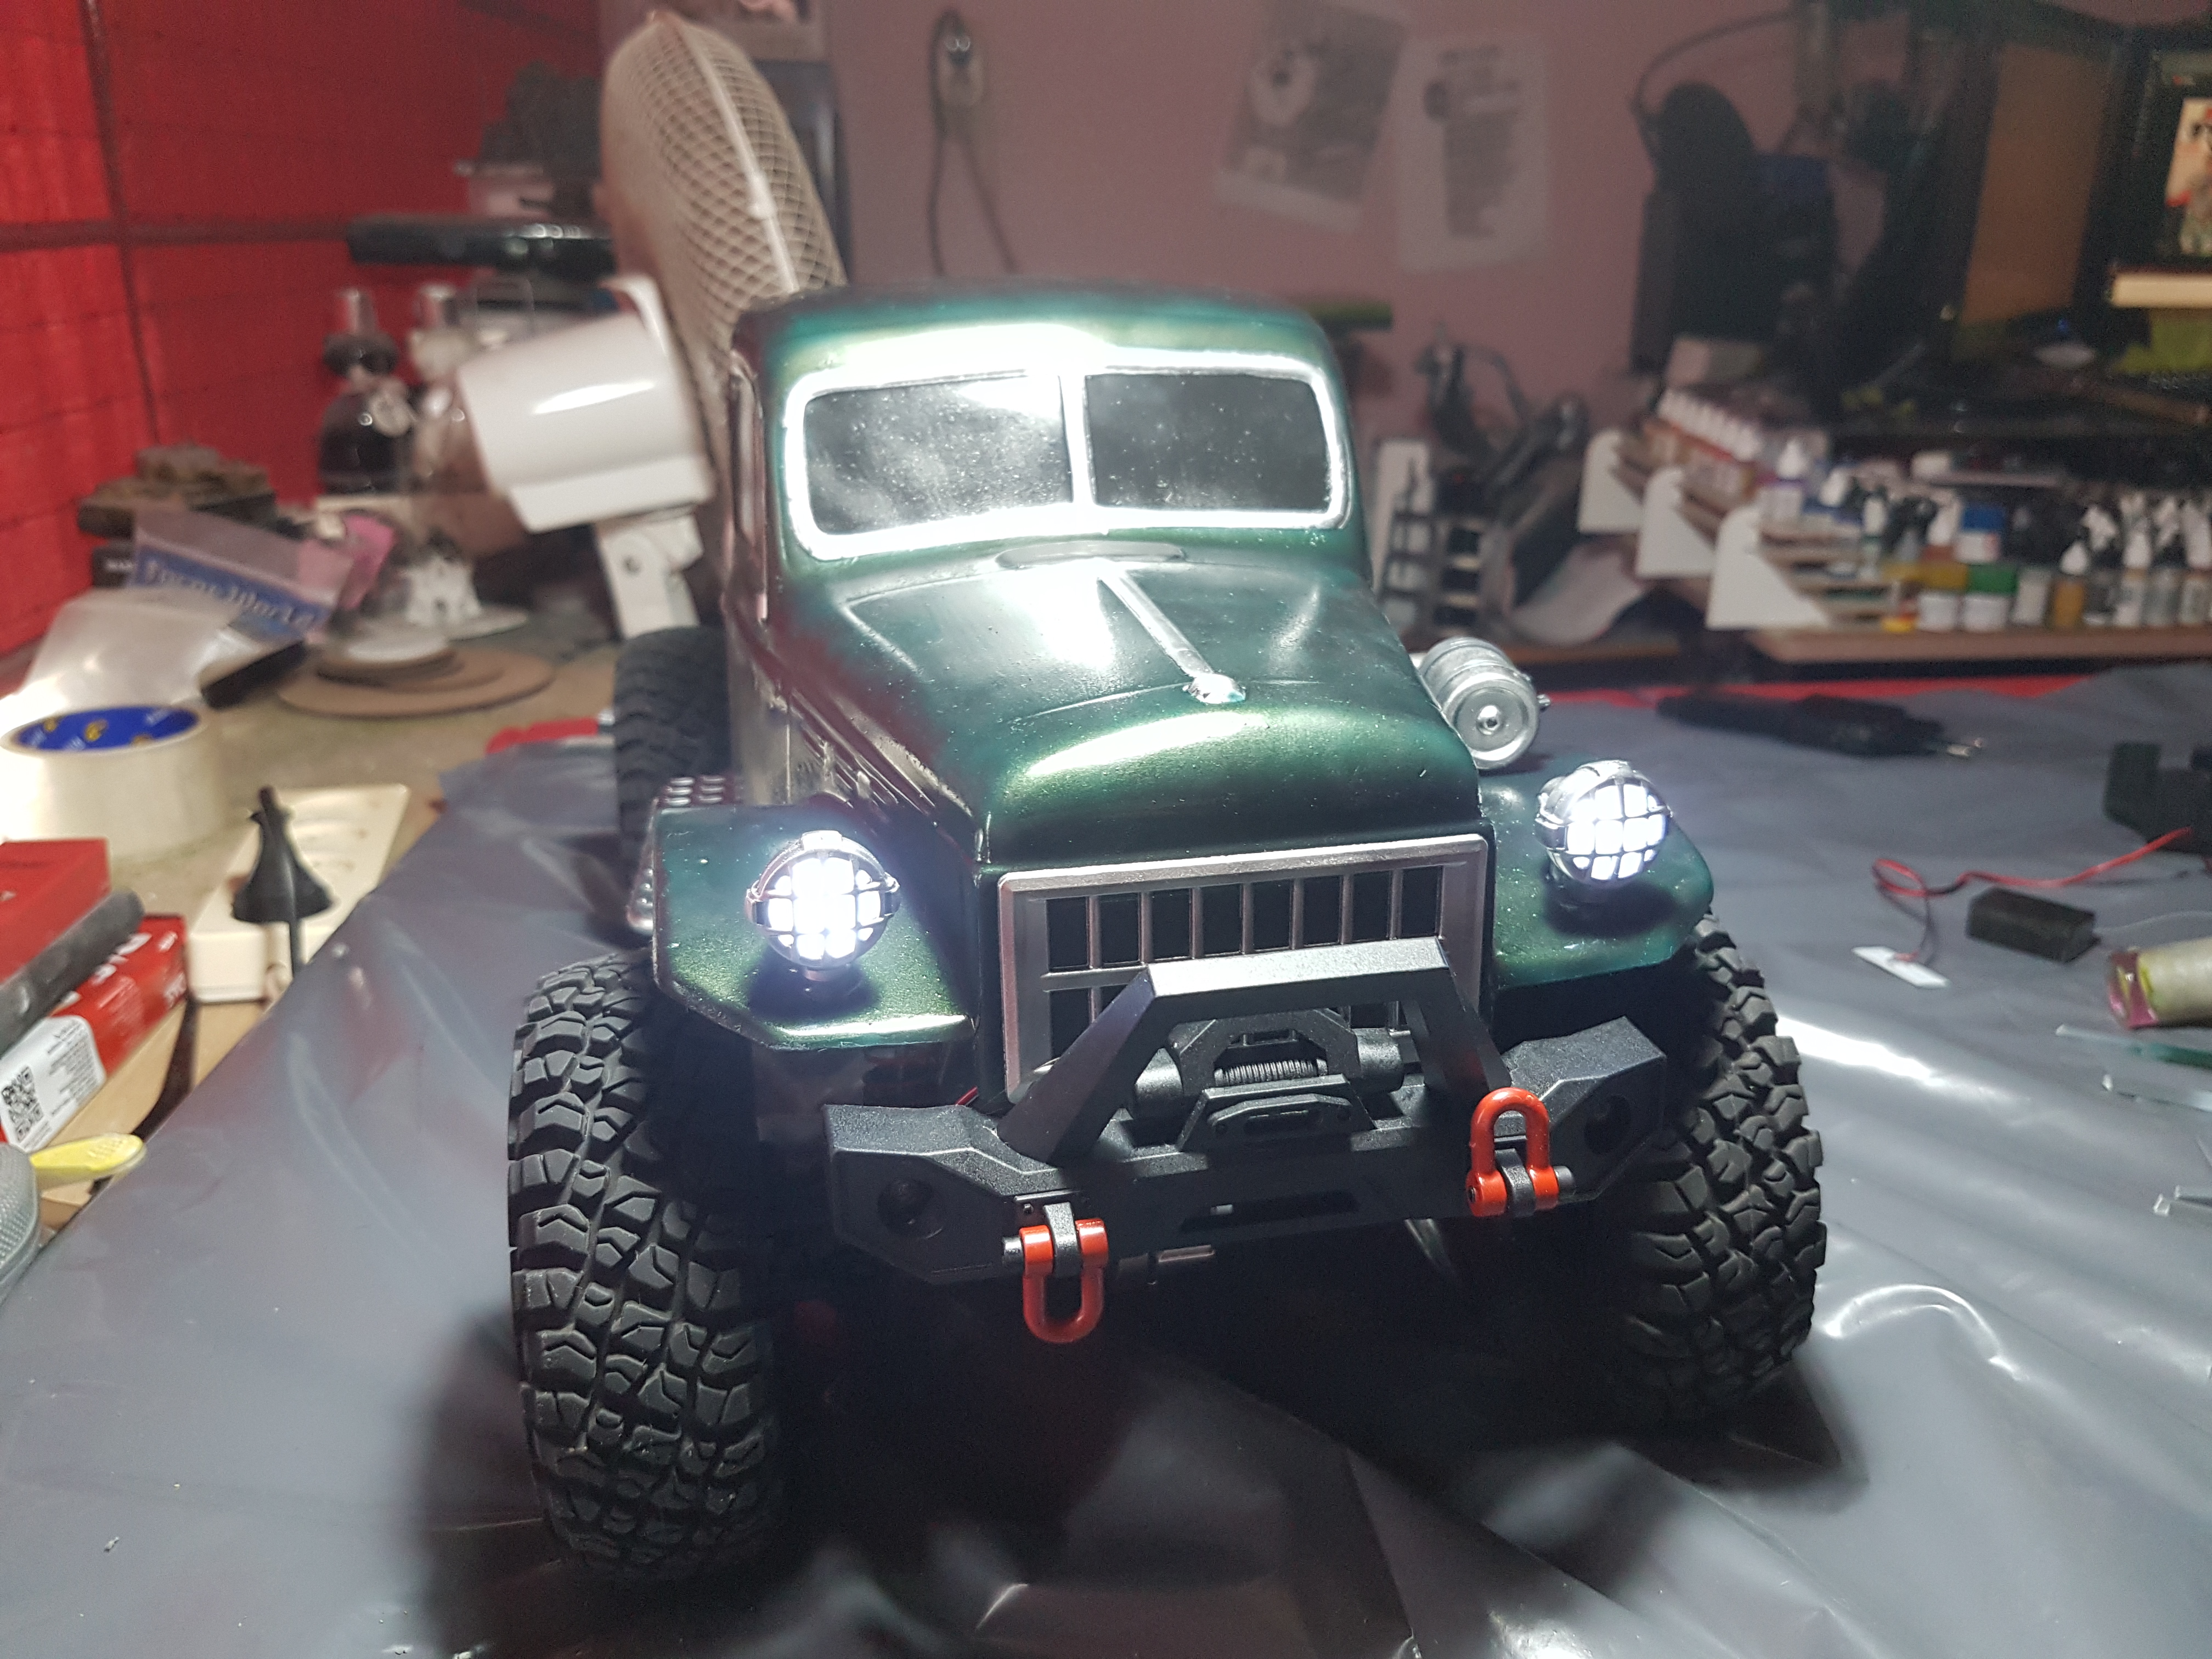
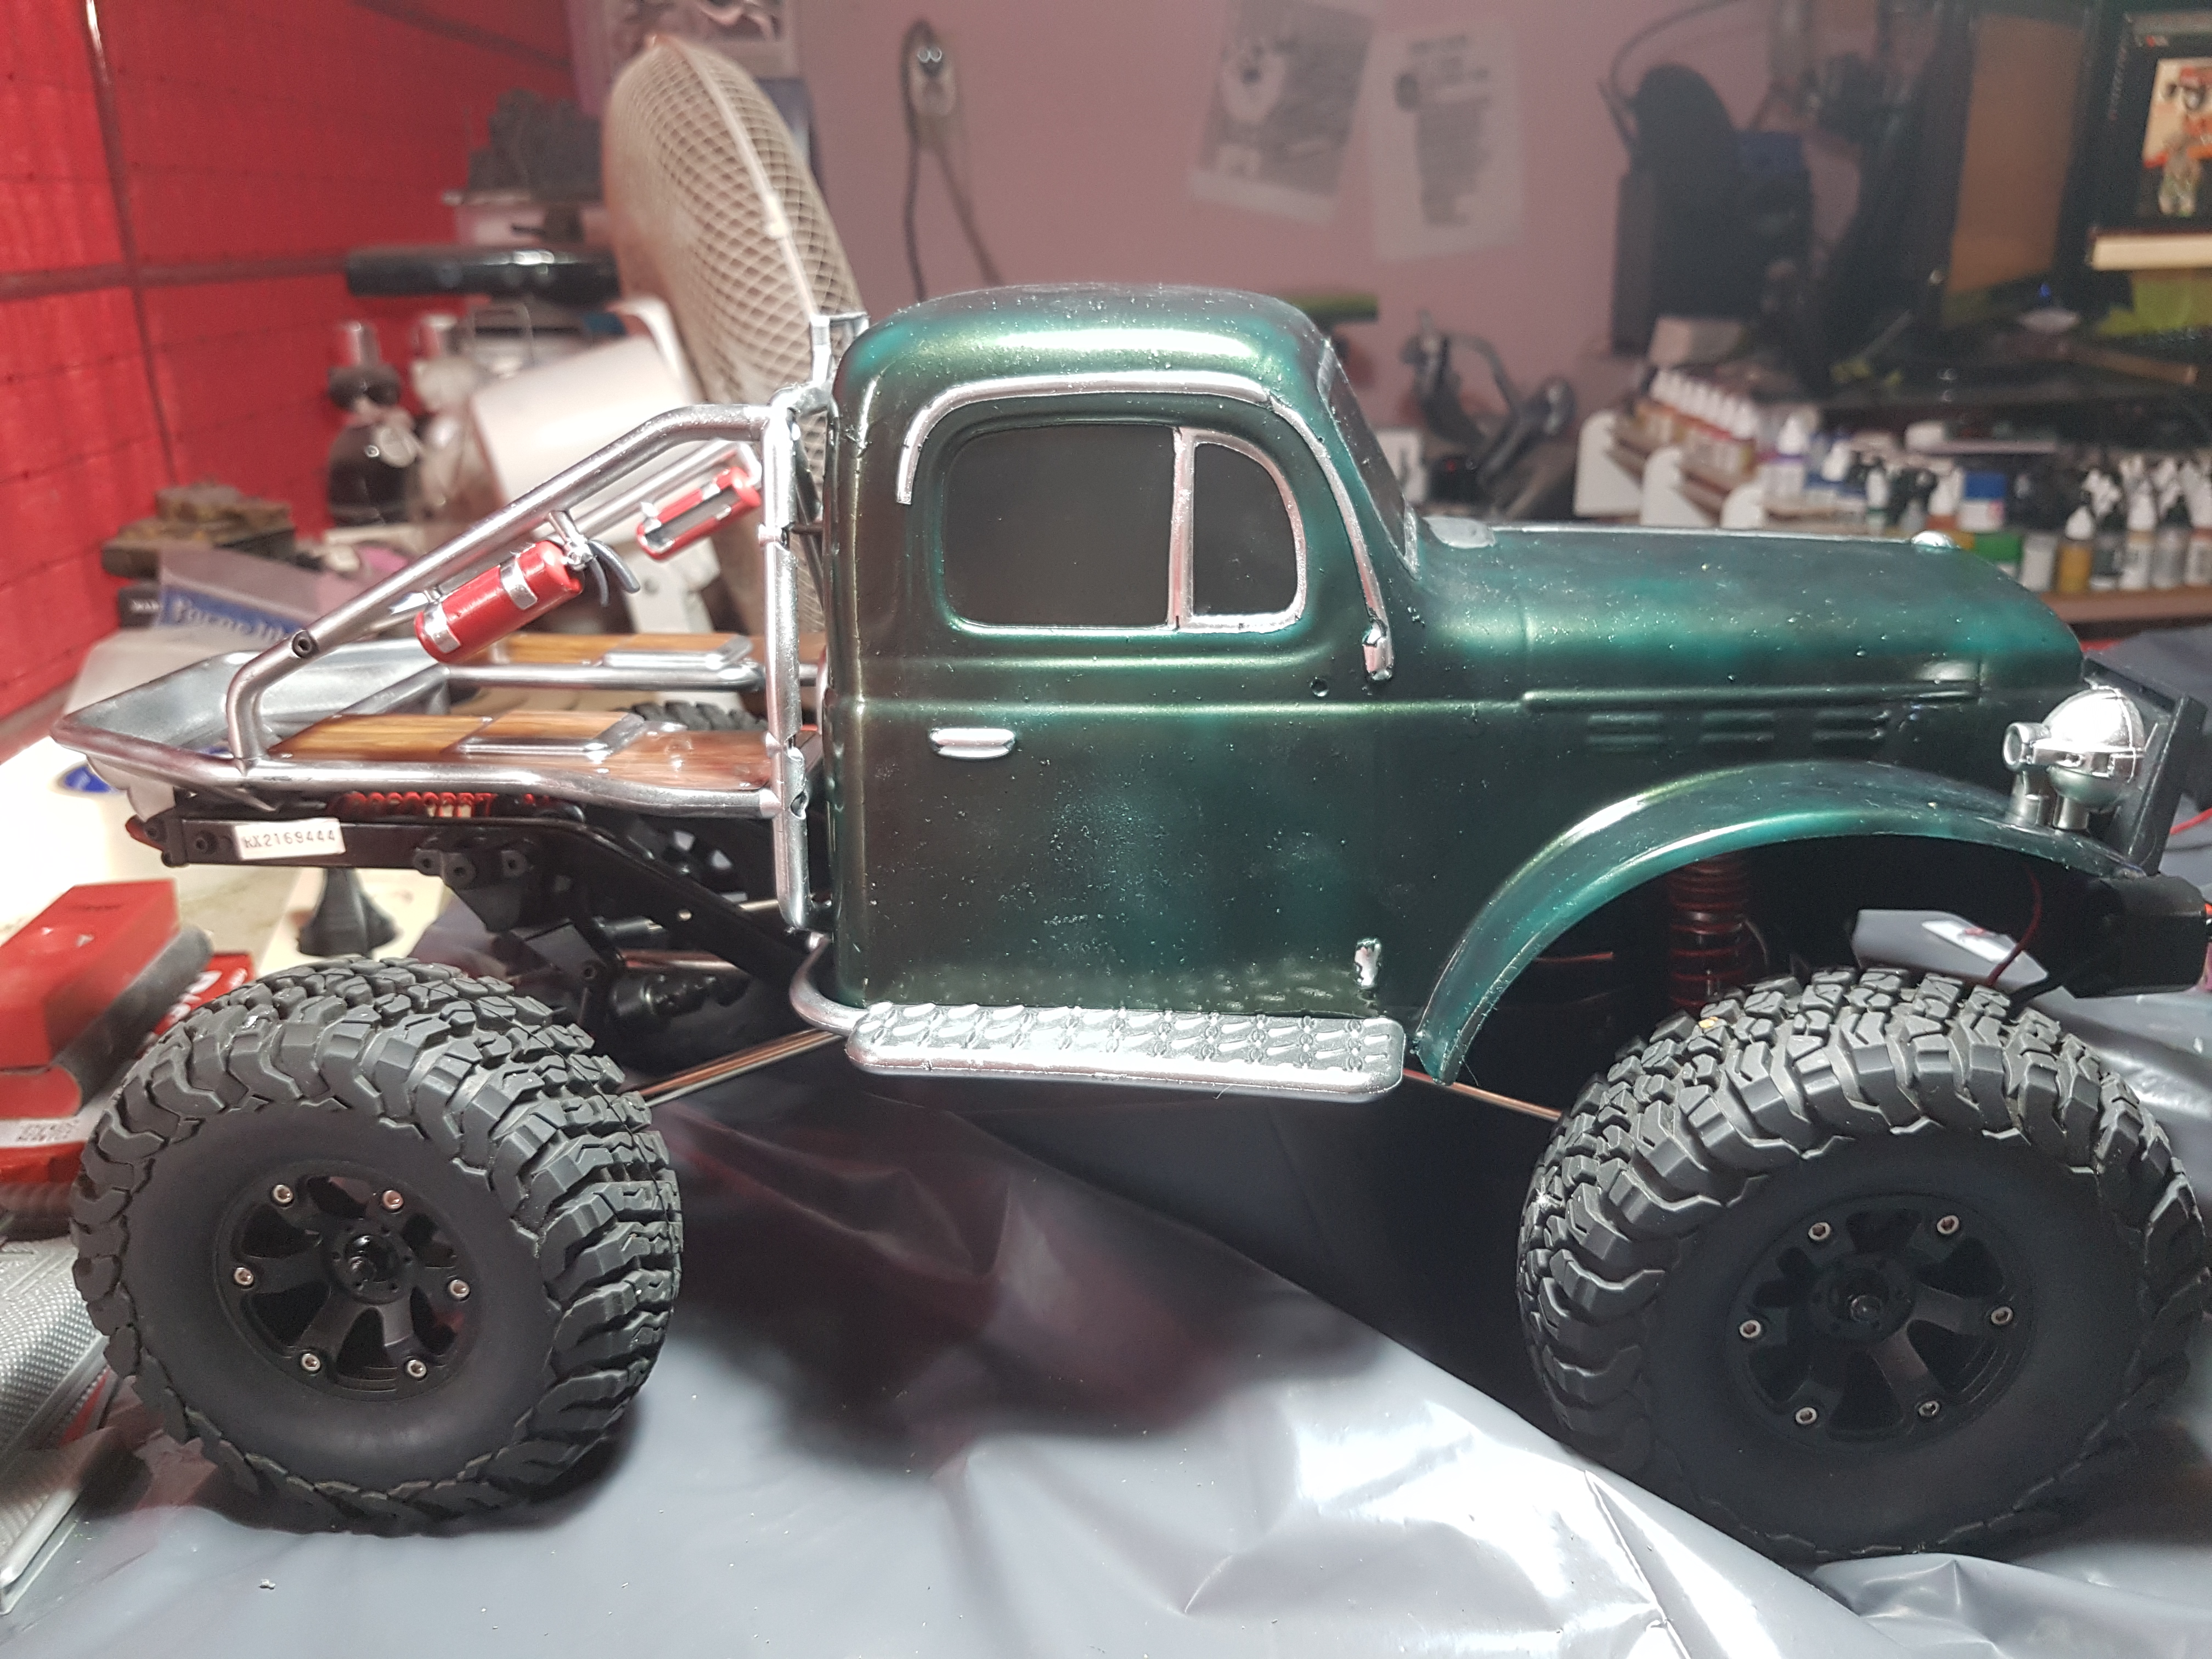
Time for More Detailing.
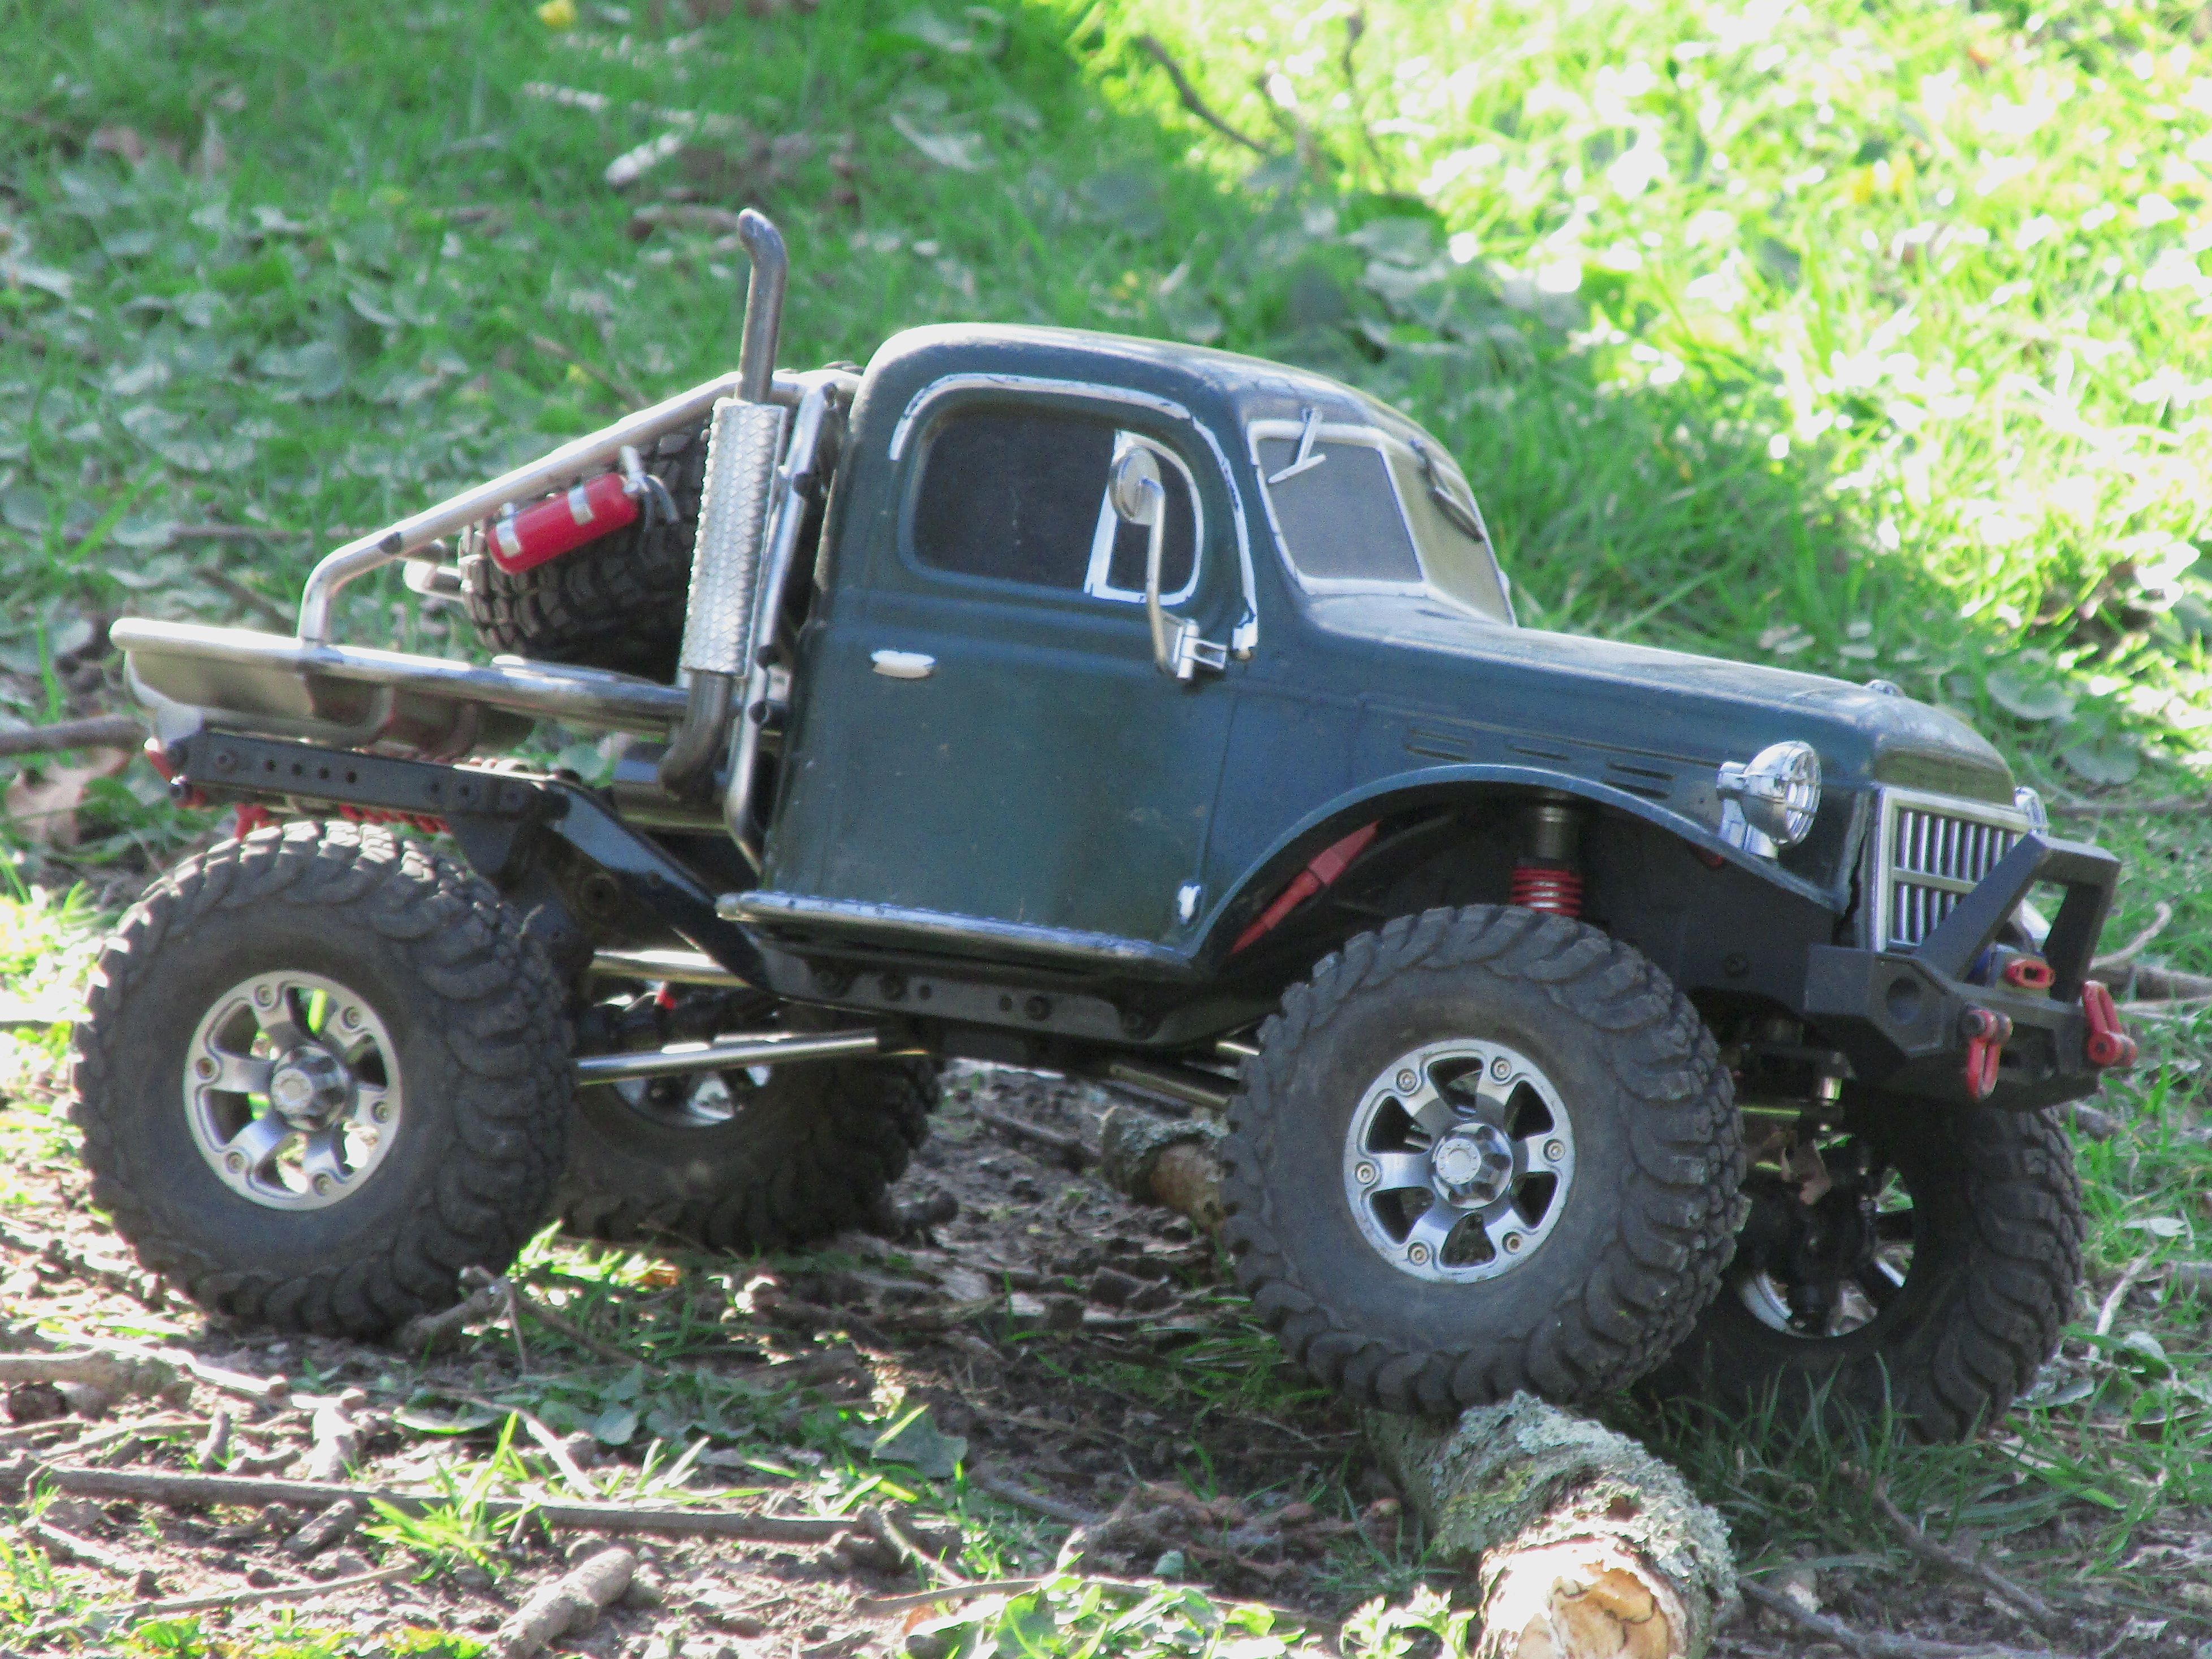
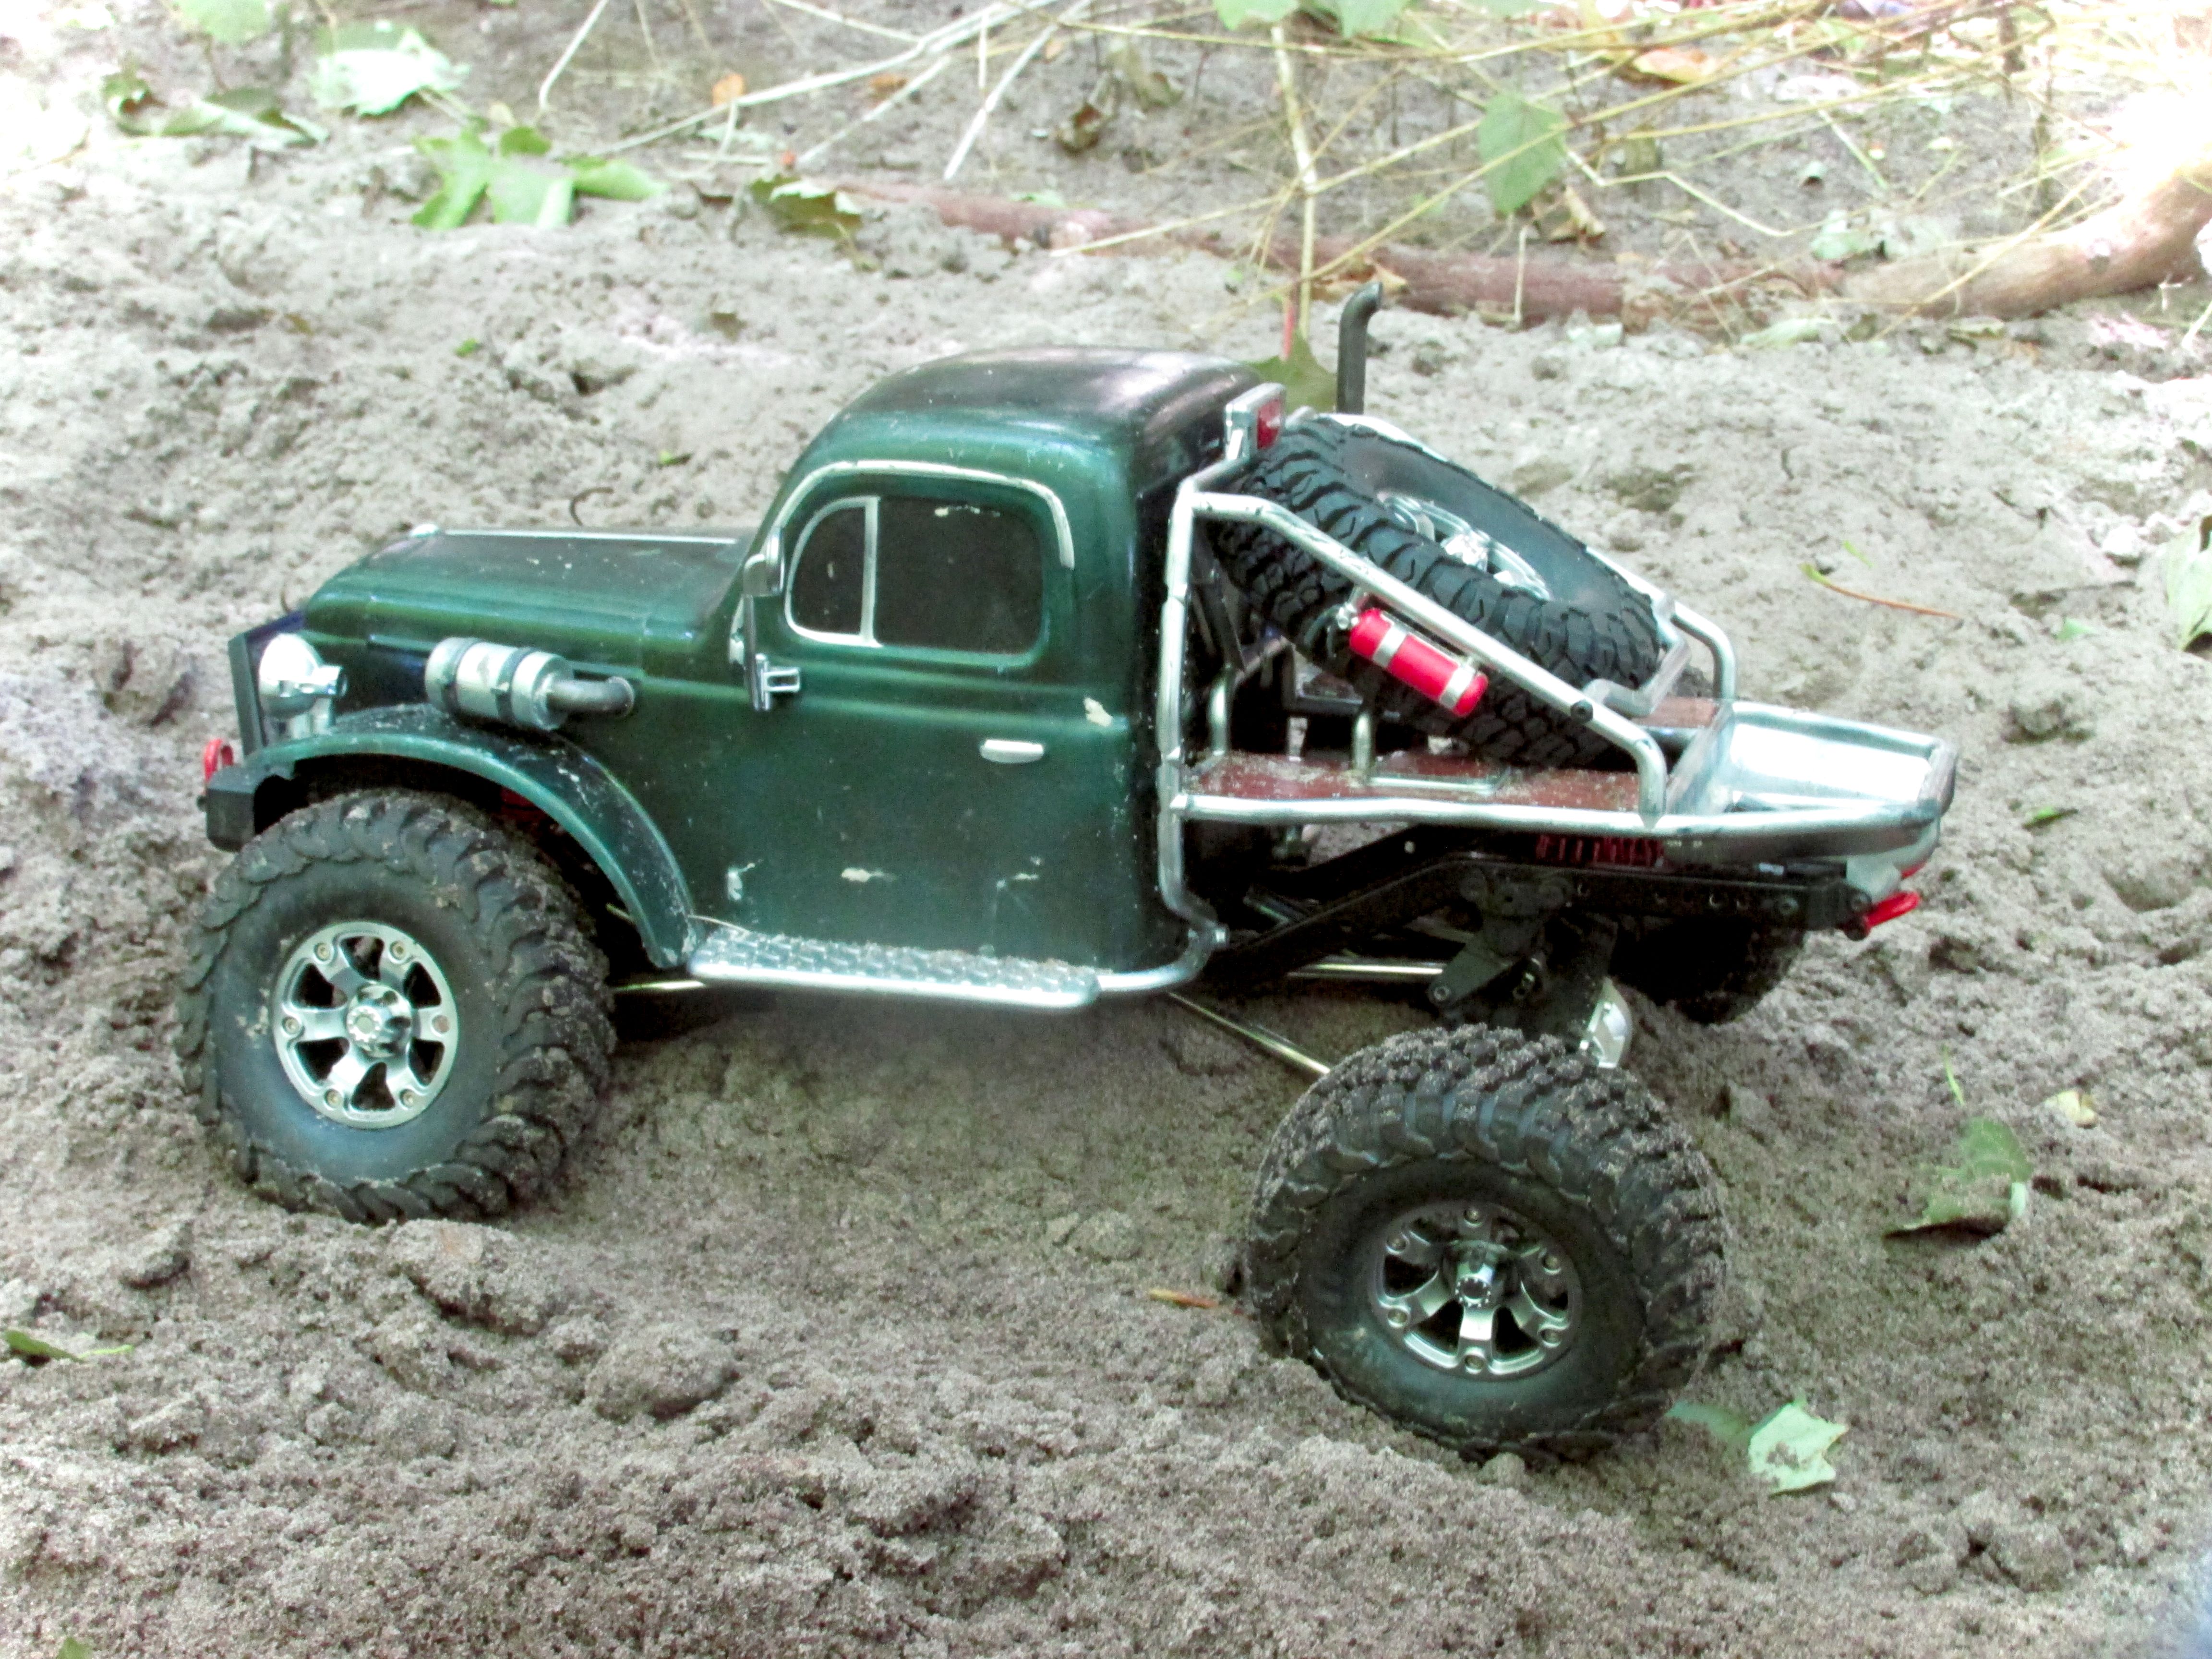
With the kit came some additional detail parts, like the windscreen wipers. I also wanted to re-attach the mirrors and some other details. I painted them in the same colours as I painted the other parts before. The wheels are beadlock wheels, so I painted the outer part of them in the same chrome as I did the rest.
I put all those details on and the truck is looking great, minus the damages it has accumulated over time.
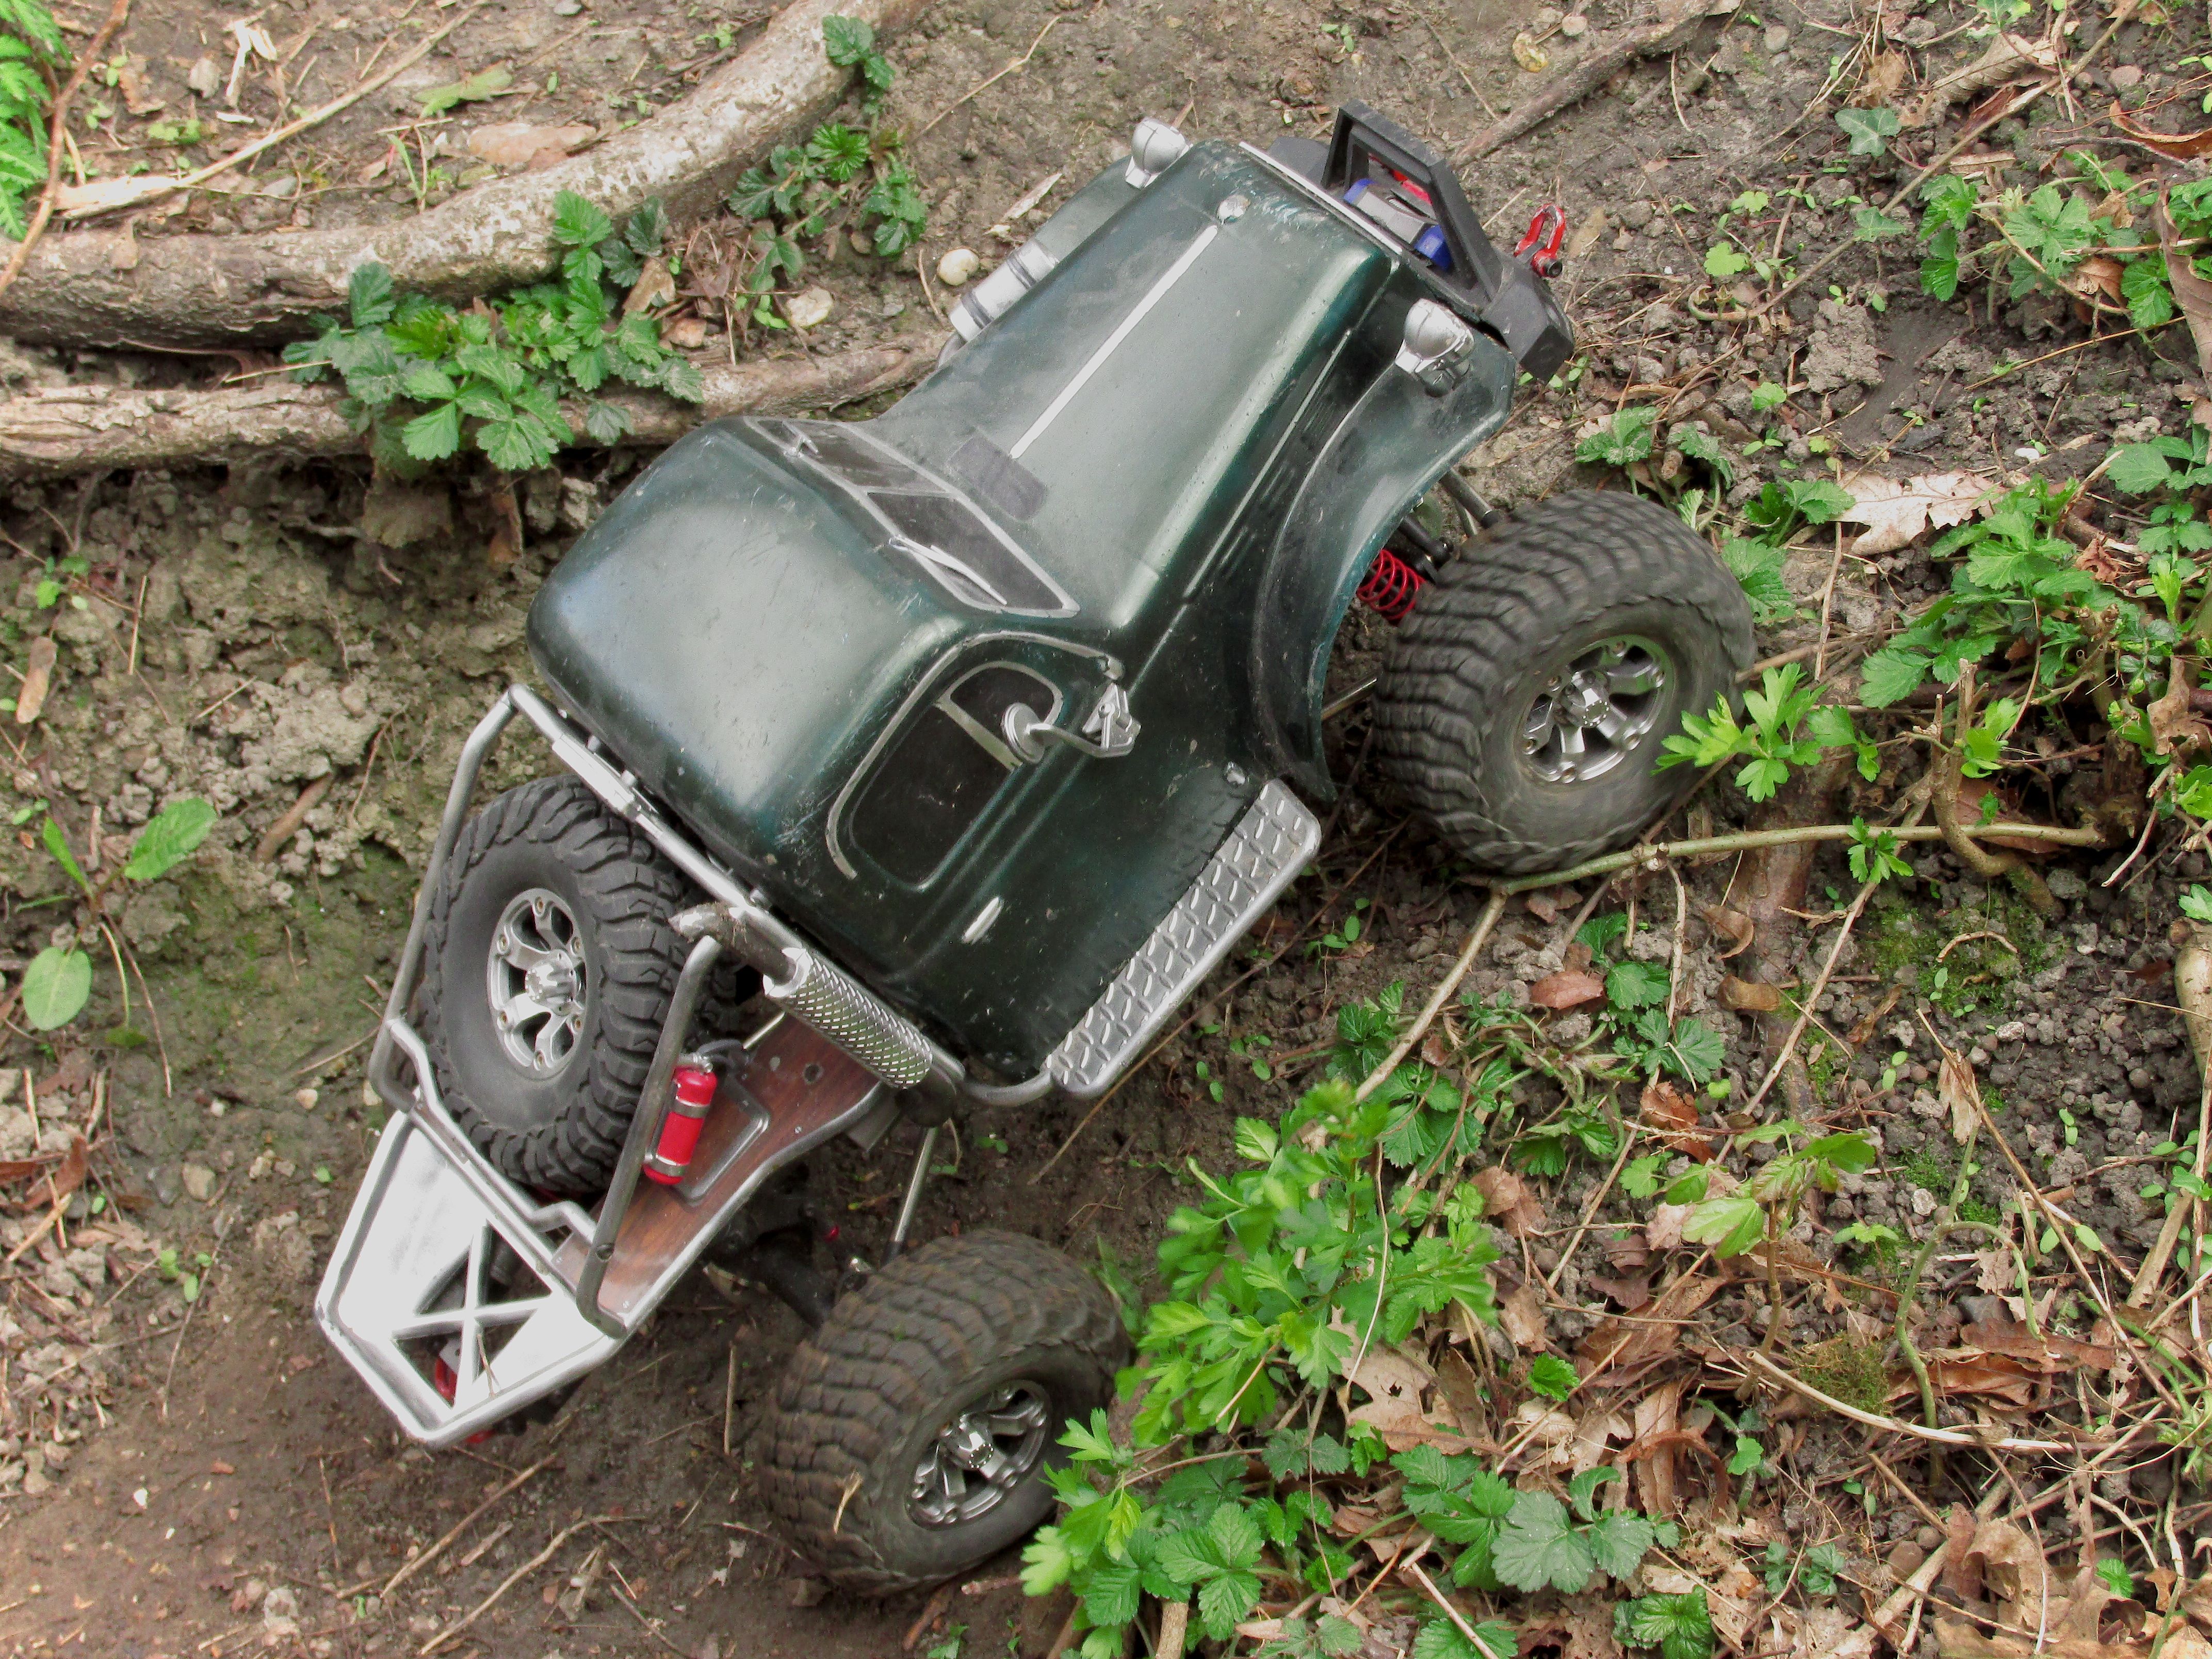
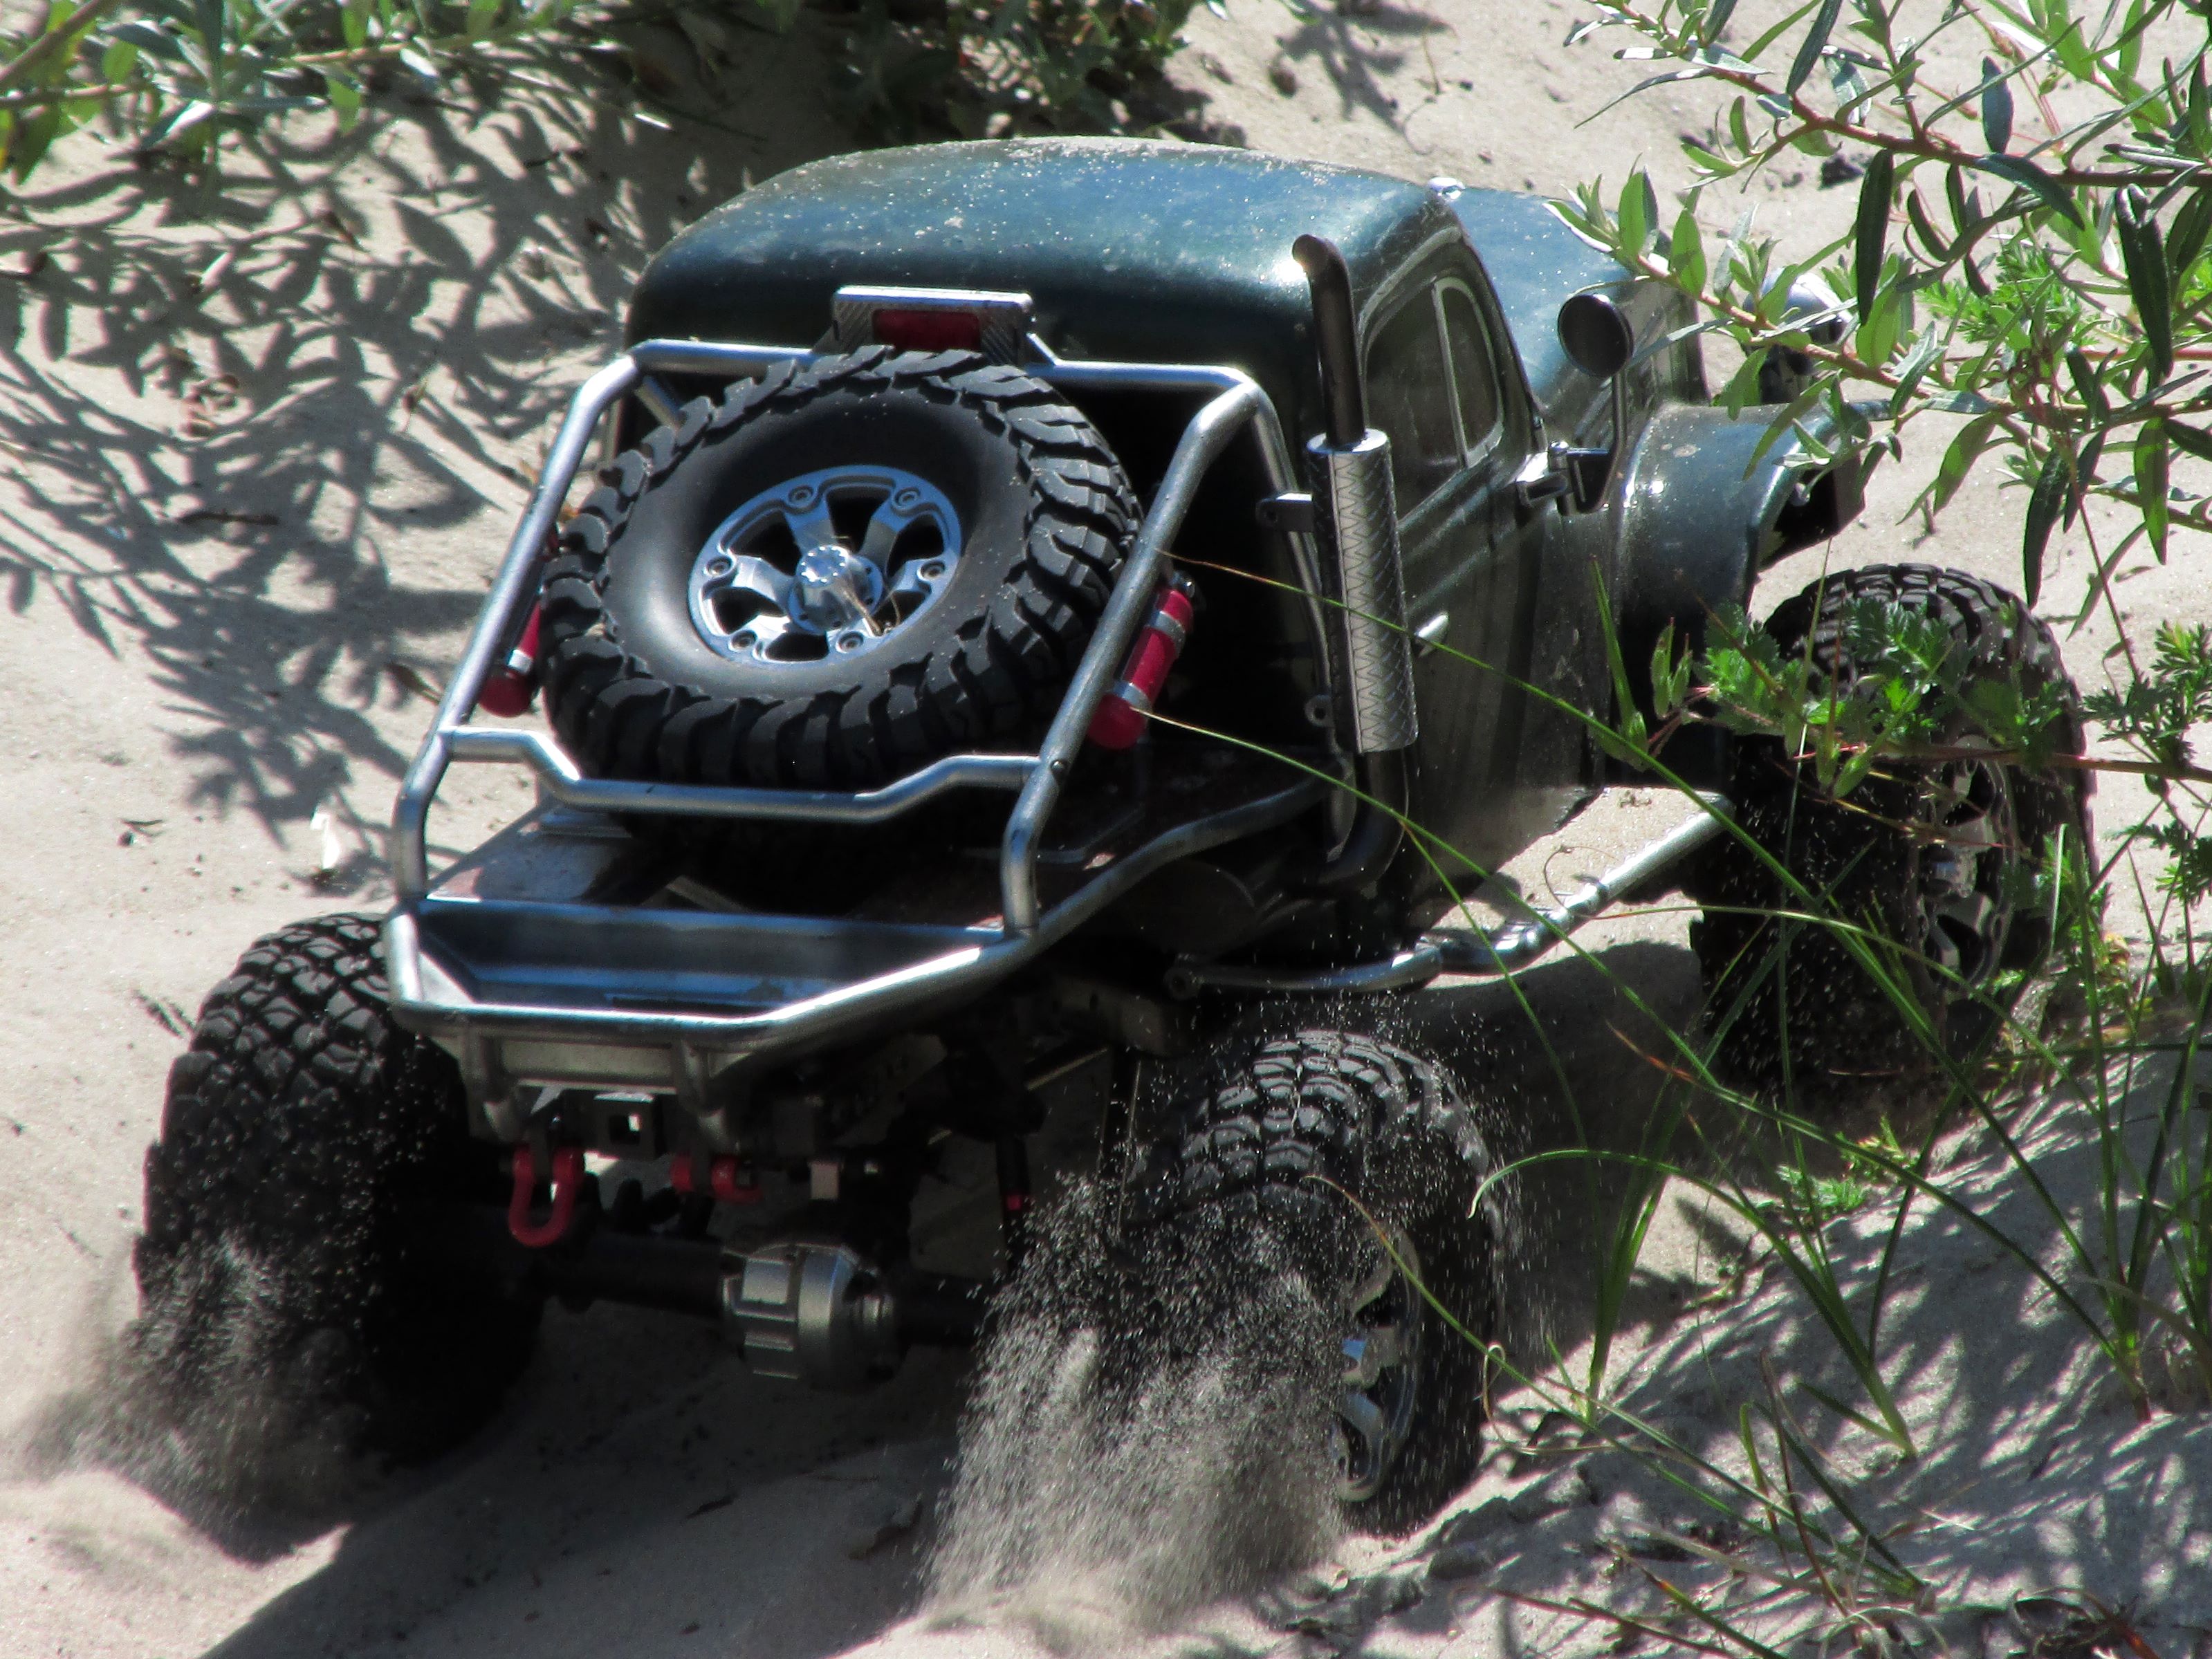
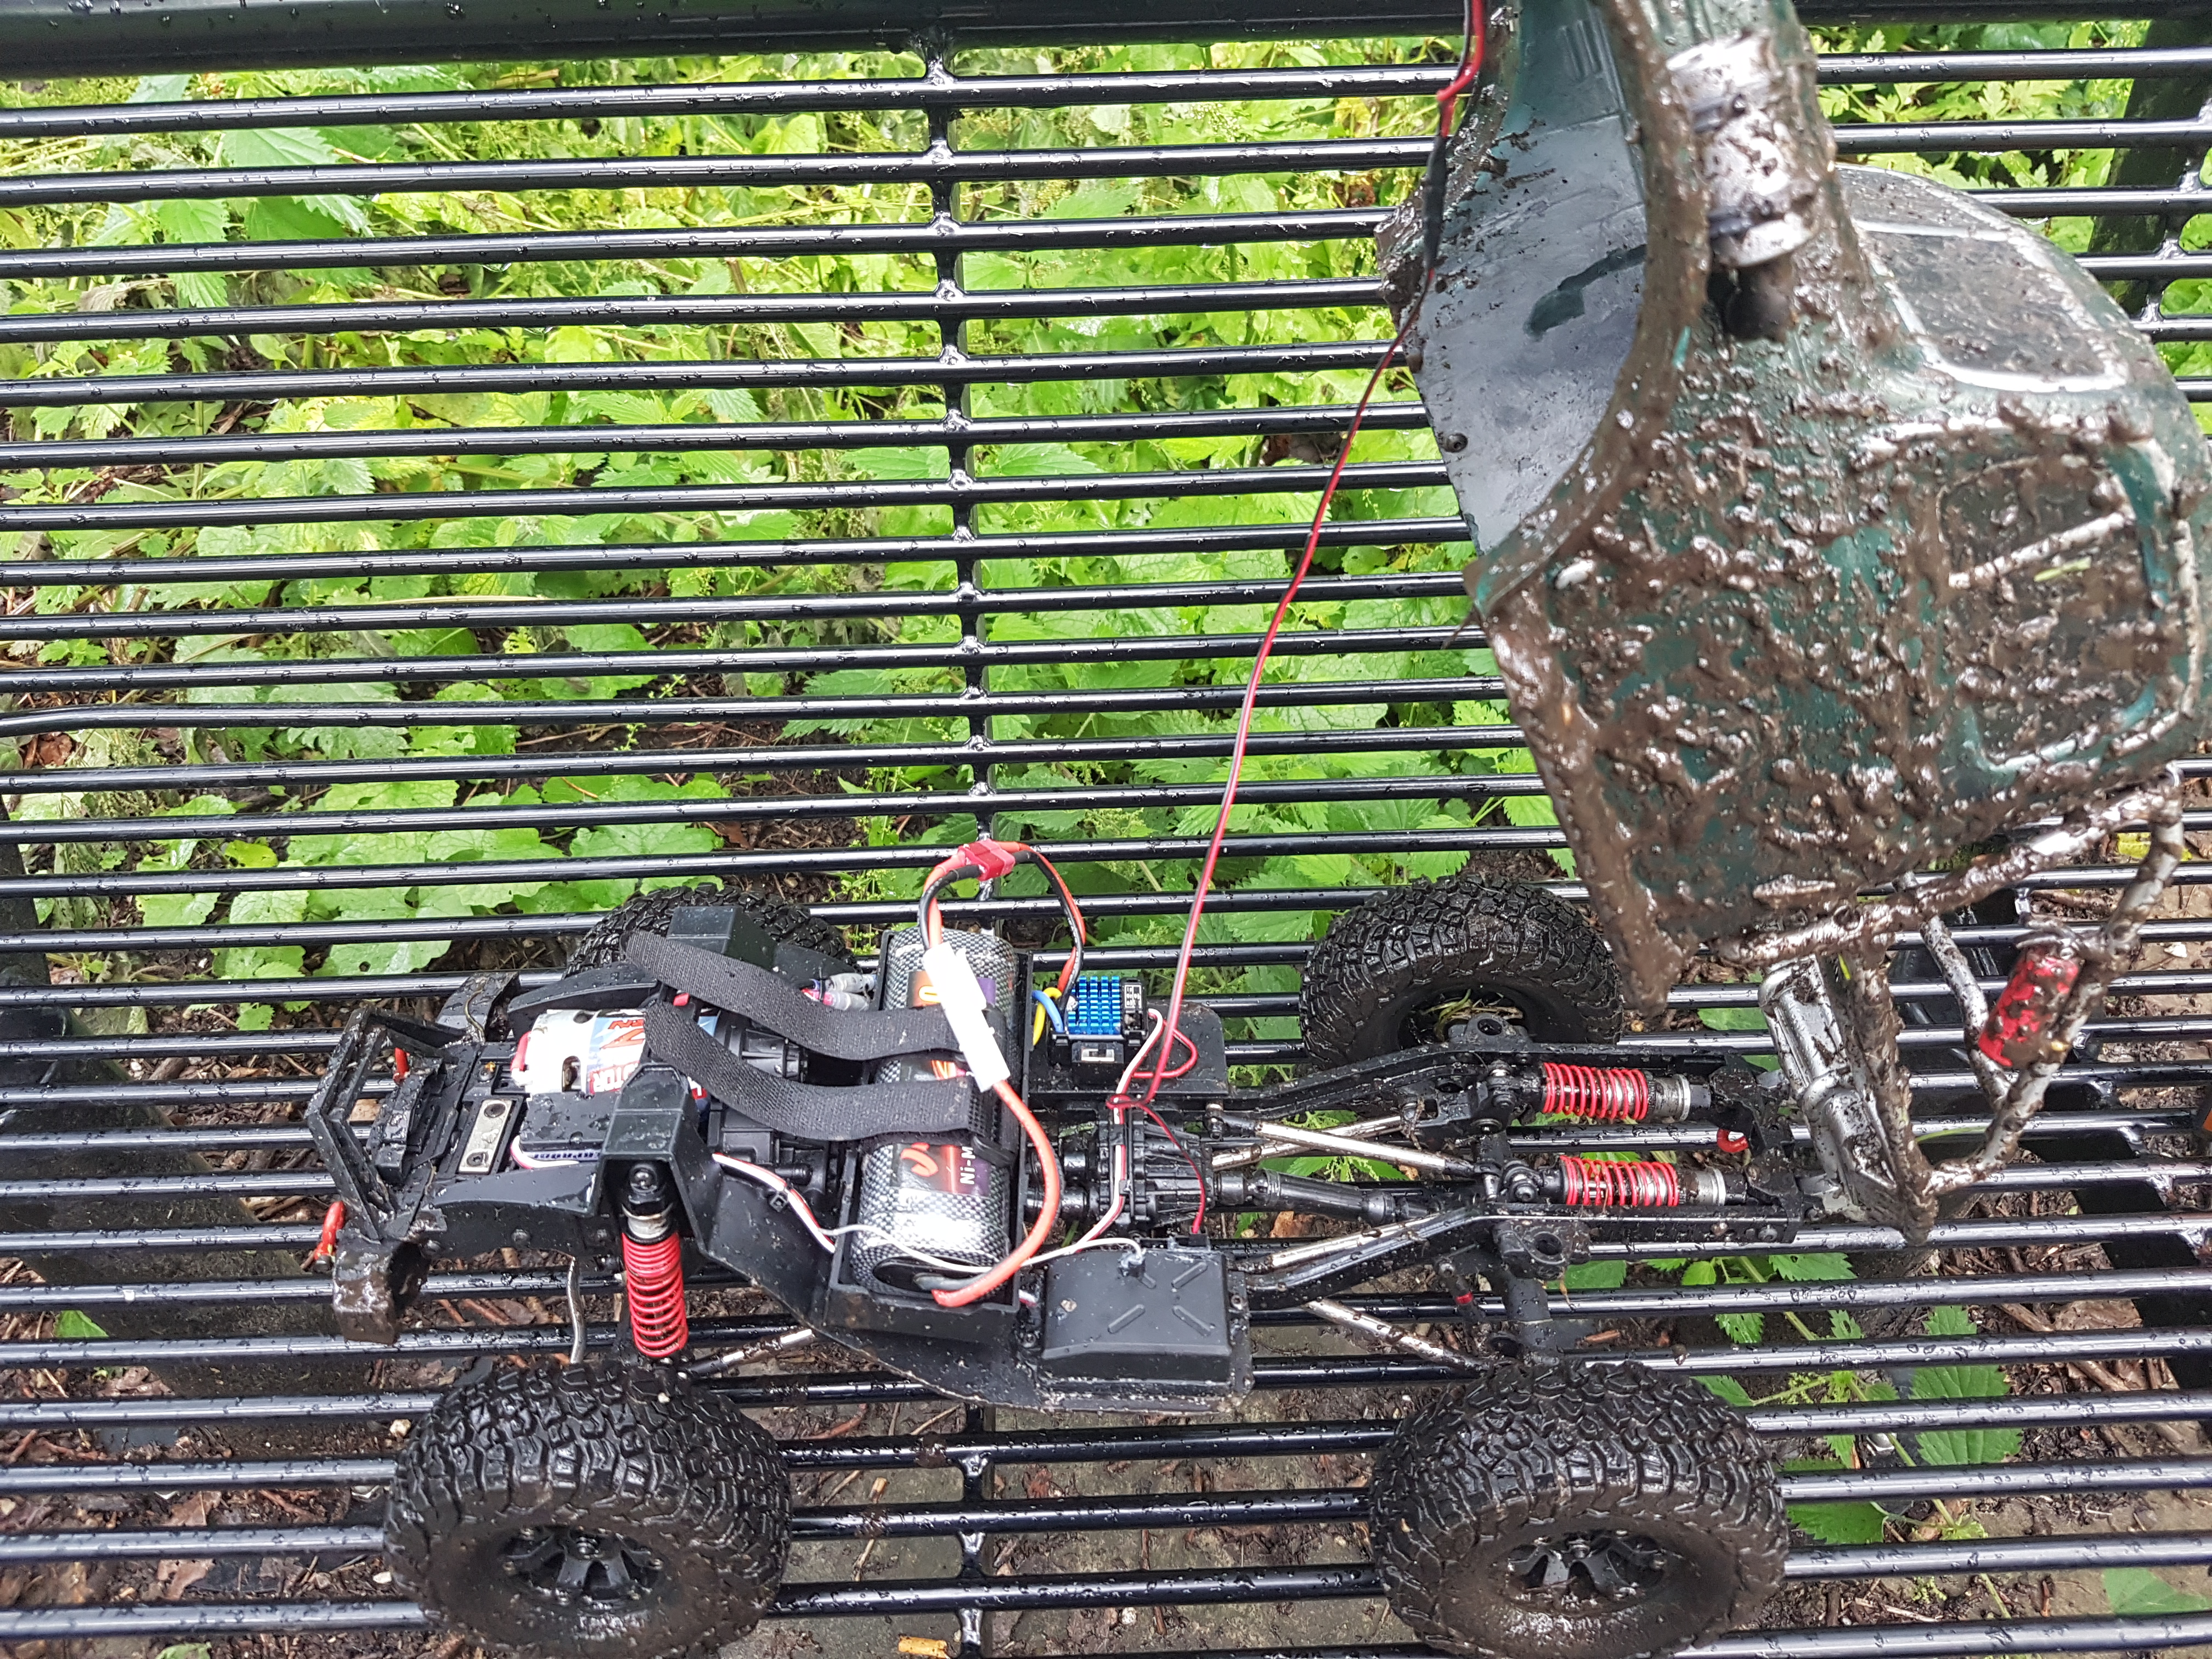
Mudrunner RC
It was a rainy day and there was going to be lots of mud, I thought let’s go and have some fun.
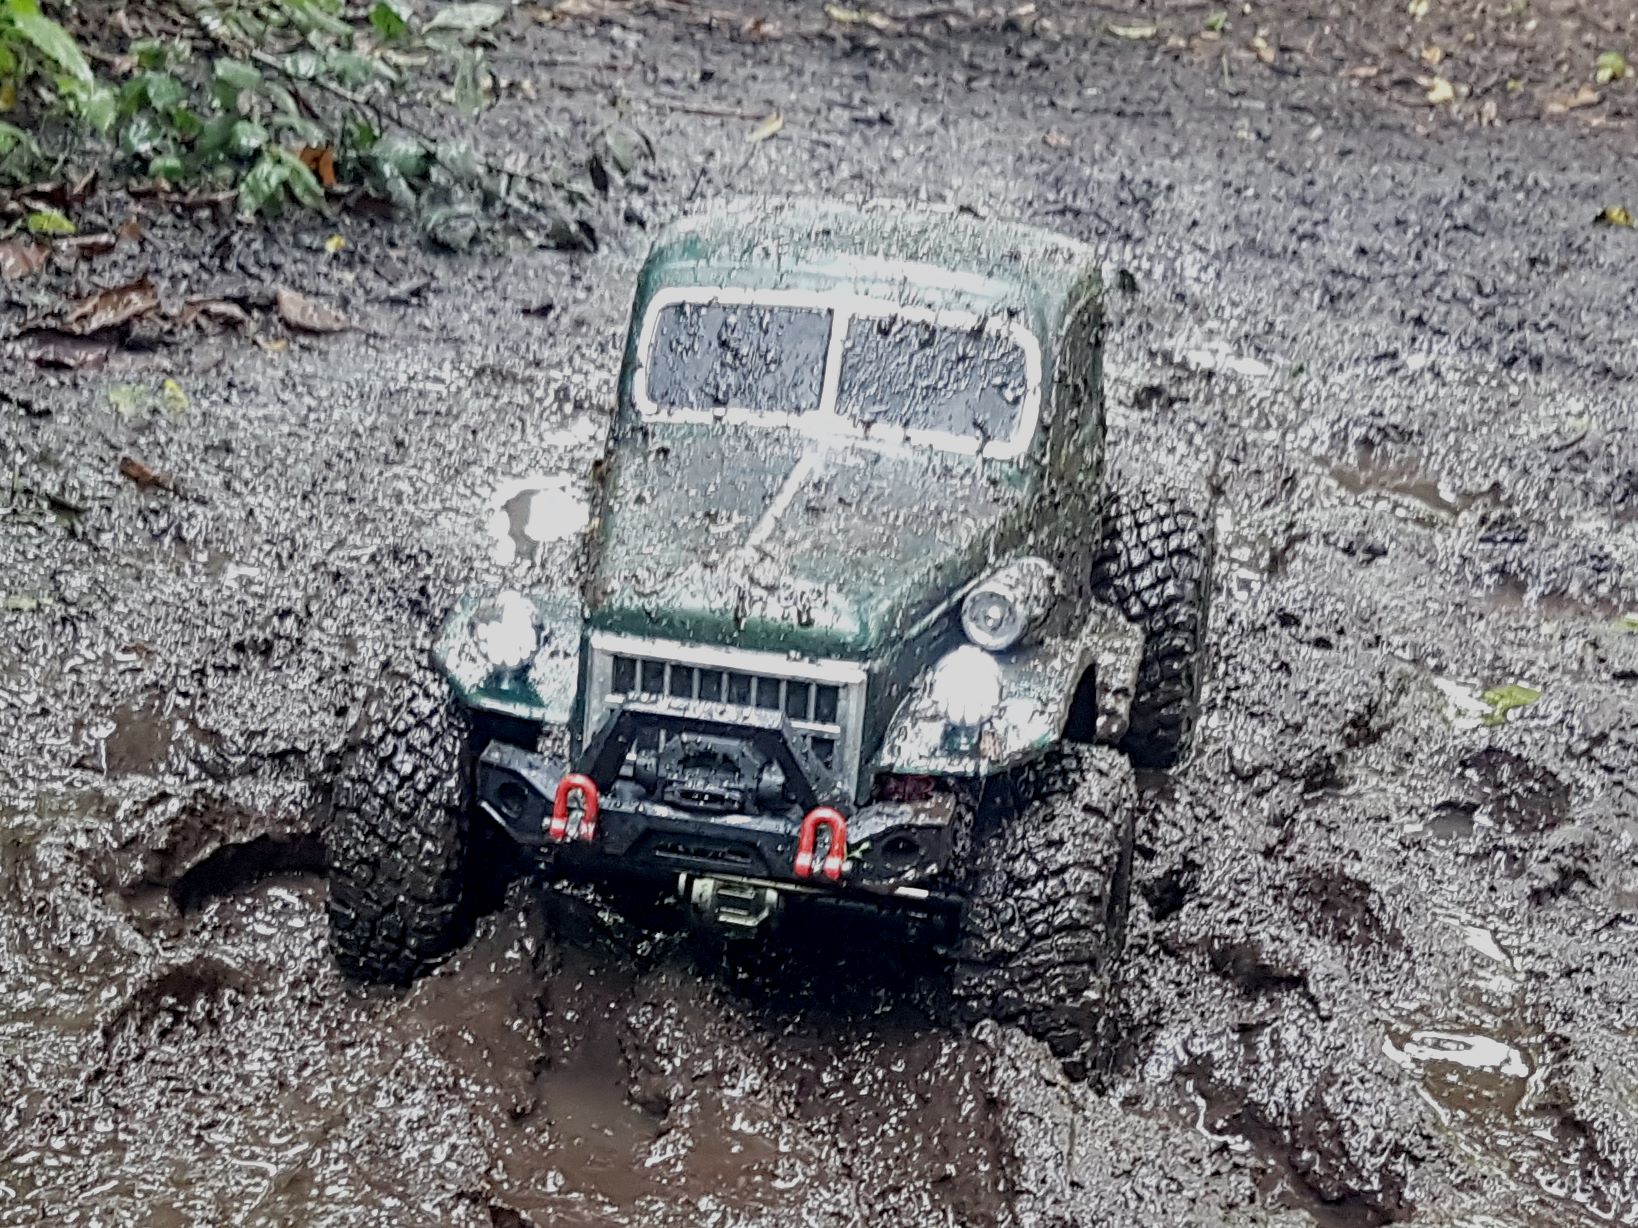
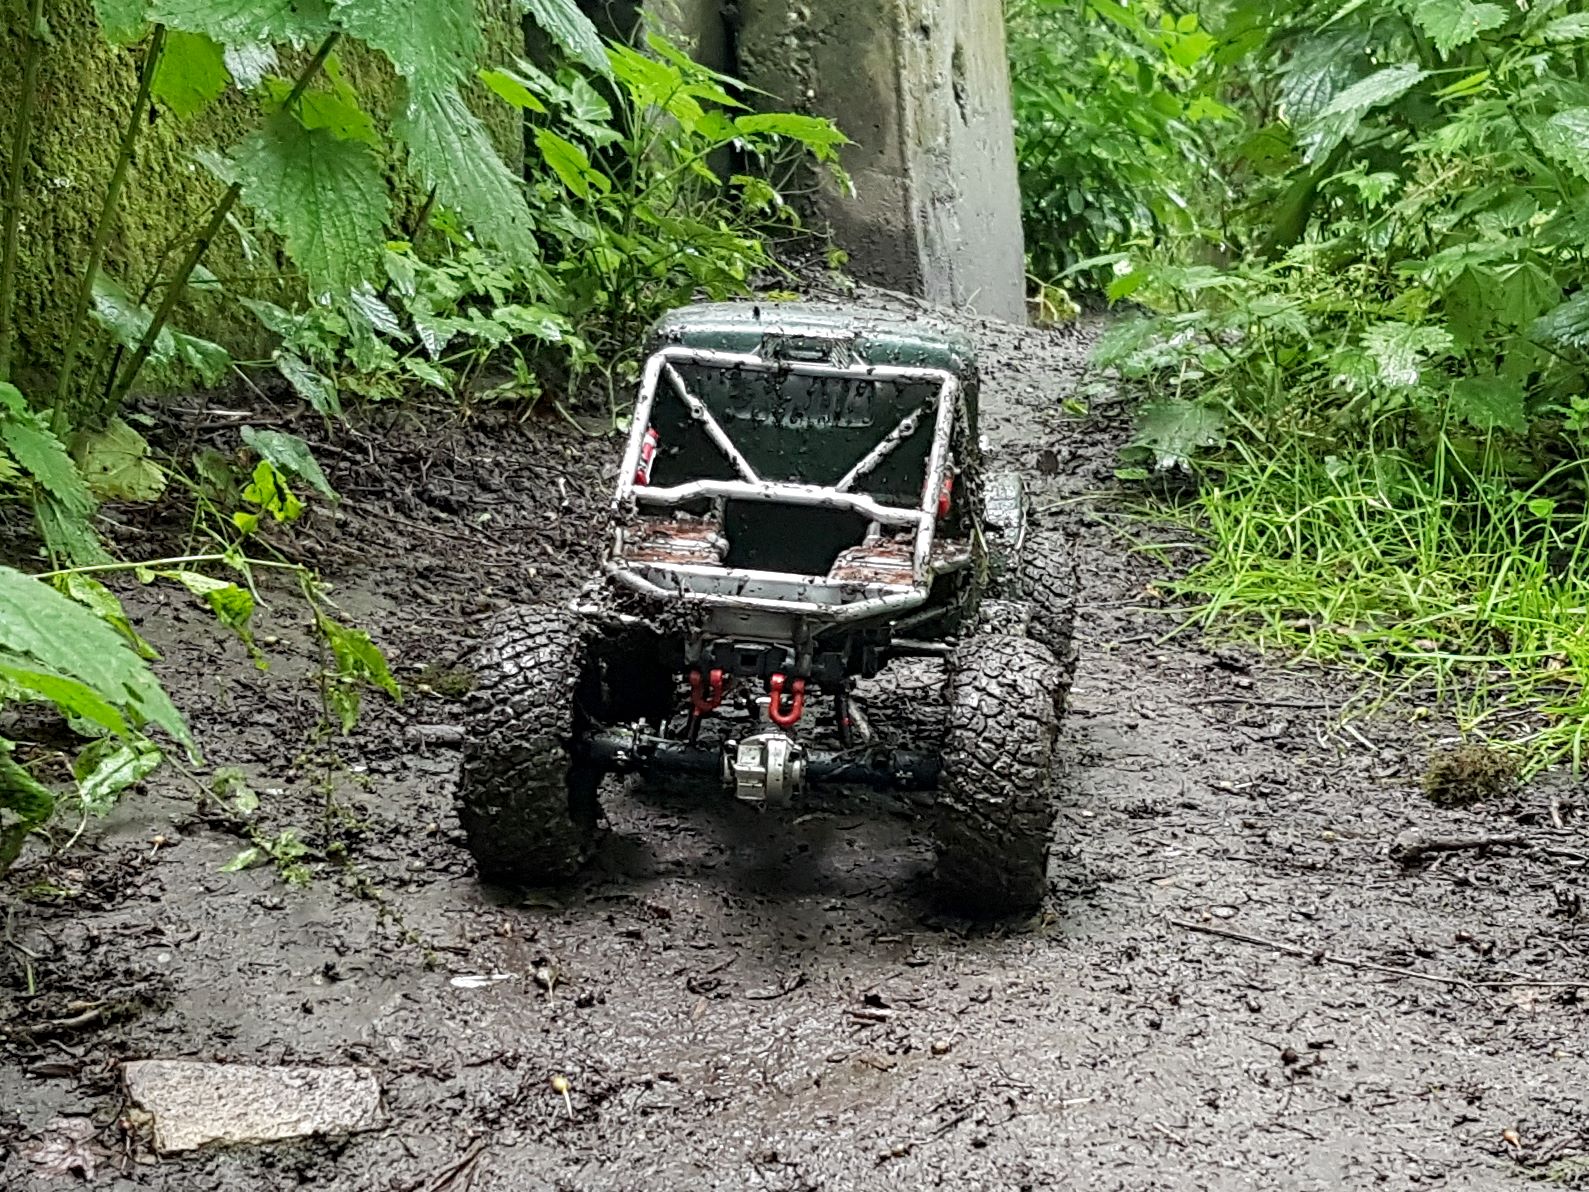
I was really surprised that at the end of the day the internals were still pretty clean even though the rest clearly wasn’t. When I got home, I took of the wheels and body, dropped them in the sink and rinsed them clean. I cleaned out the rest that was dirty as well and made sure nothing mechanical or electrical was wet when done.
Waiting for Components.
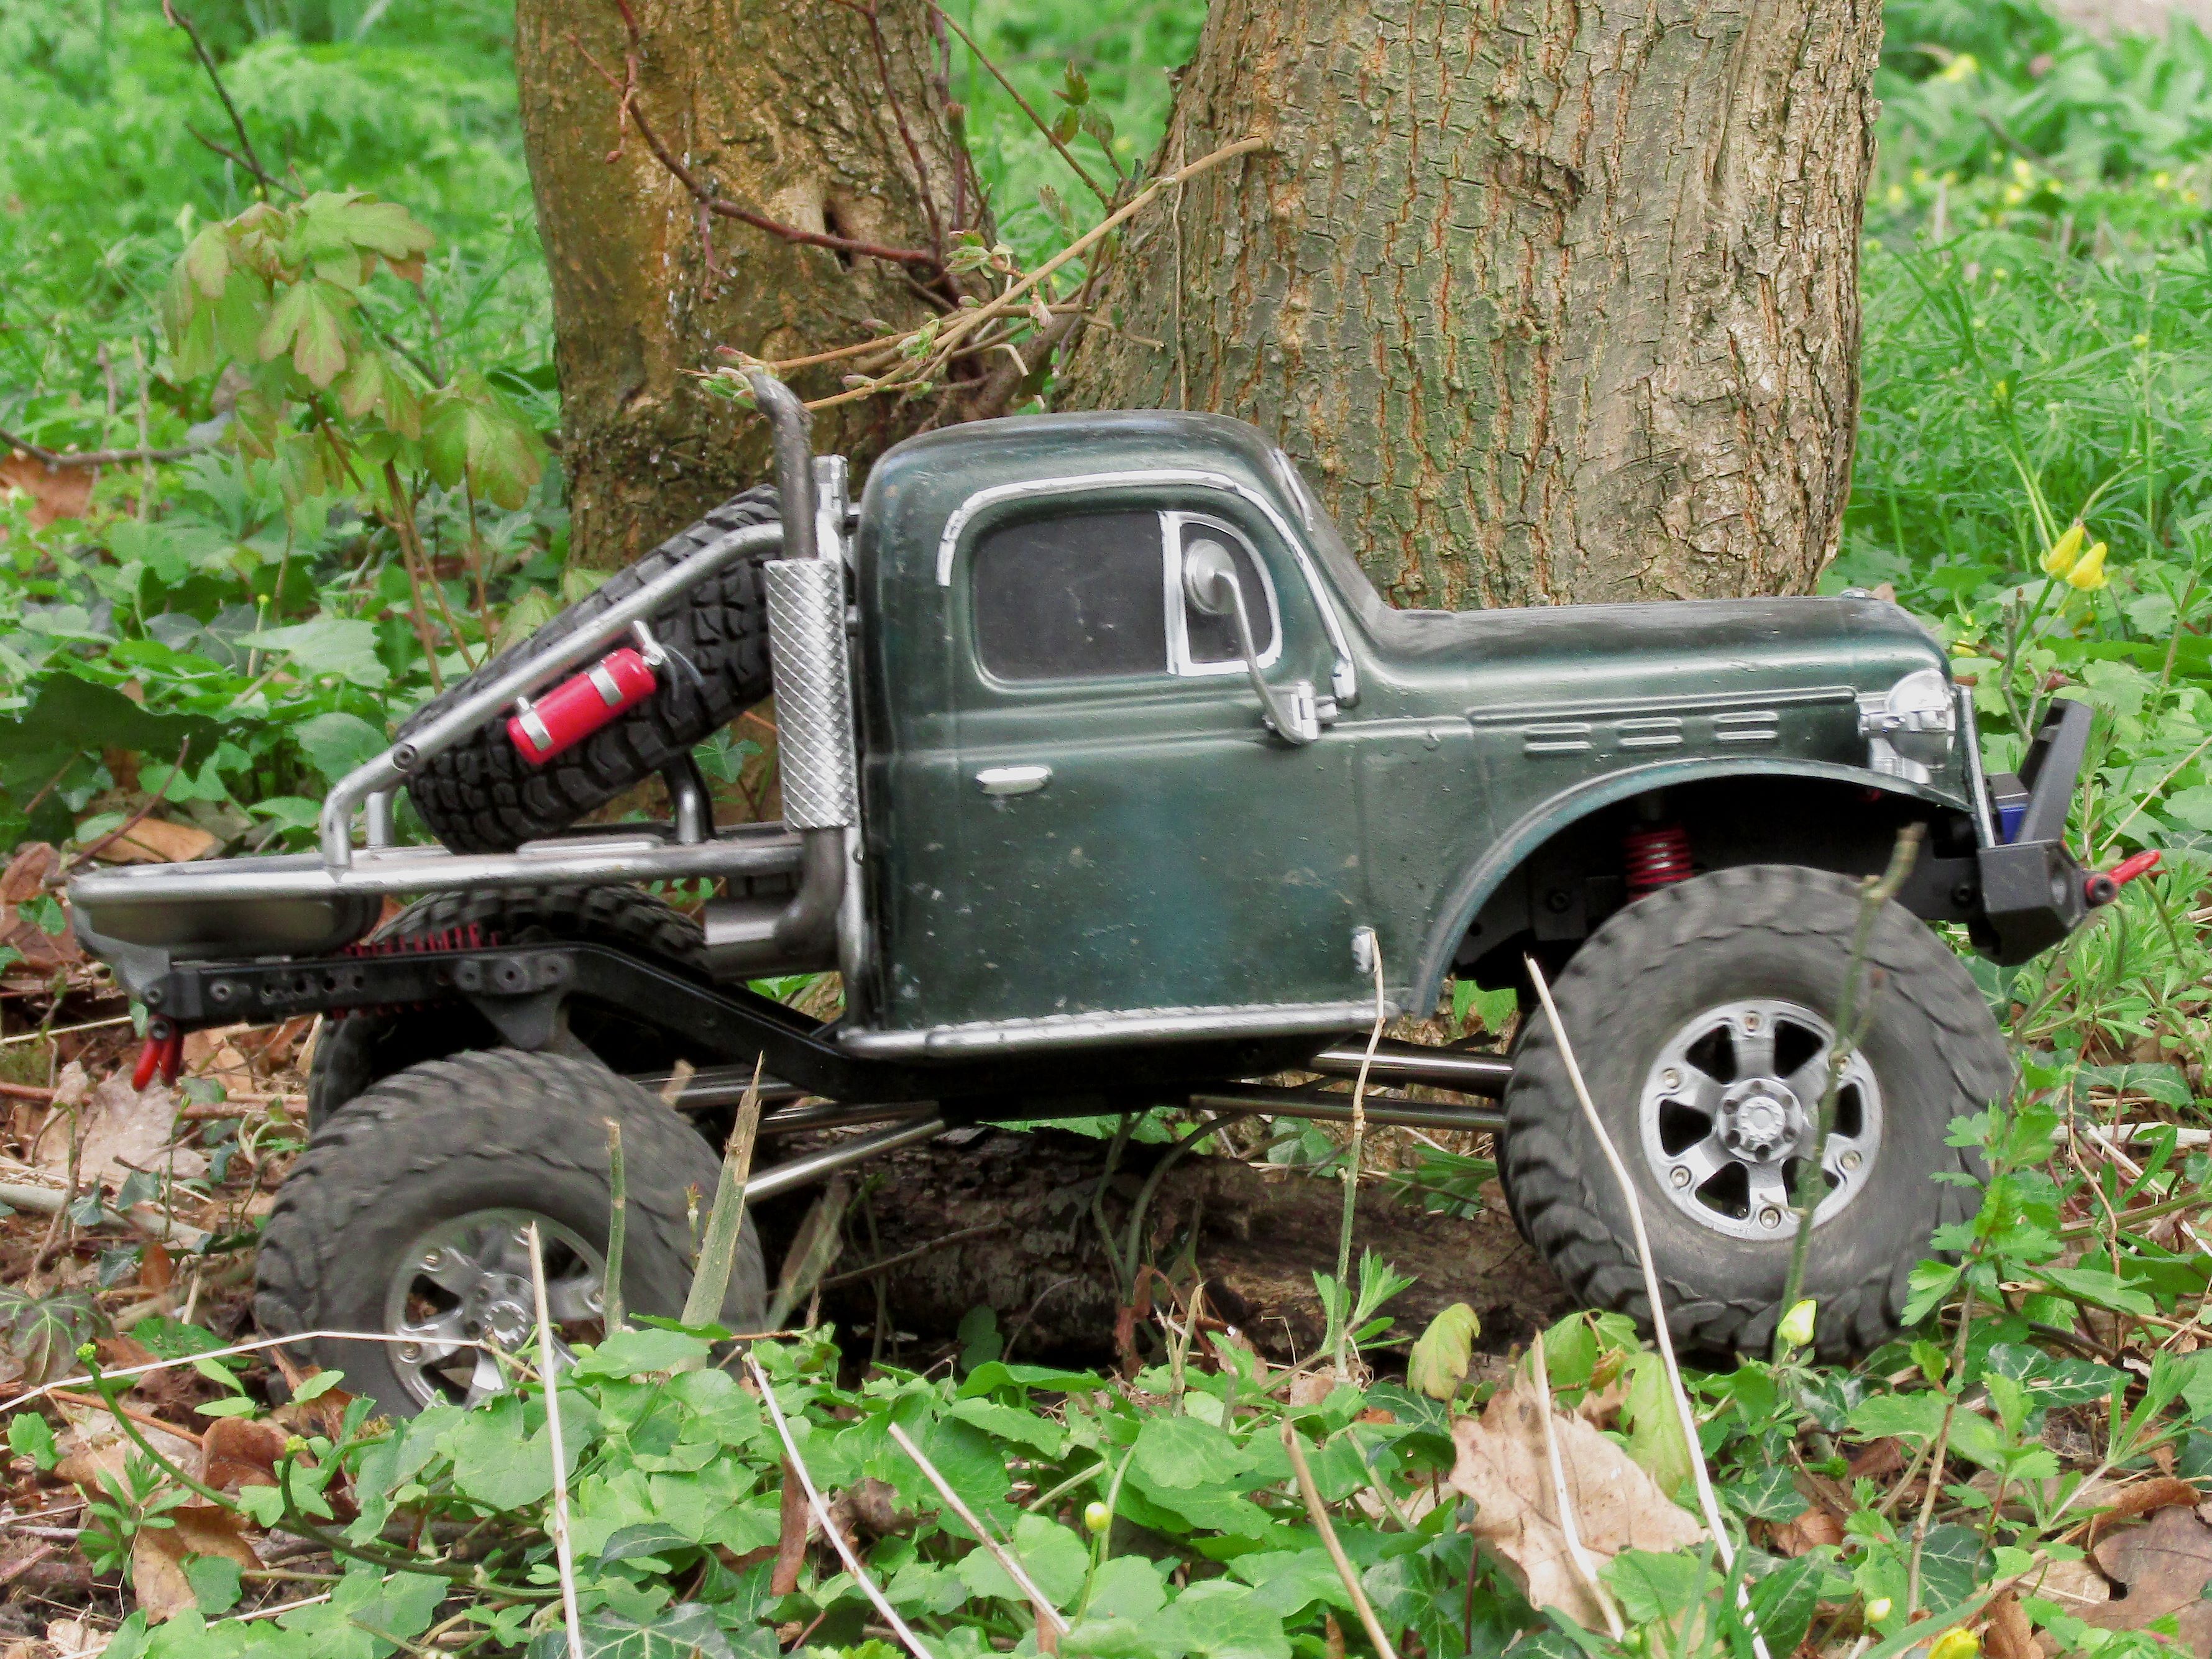
While waiting for all the replacement components to arrive from the last part, I decided to start painting my car. I wanted a green one anyway and I had this Model Master British Green Metallic – Gloss (2716) enamel paint that I really liked the look of, so I decided to paint the car that colour.
I completely disassembled the body, removed all the stickers and cleaned it inside and out with some soapy water.
First I wanted to clean some of the factory paint on the windows so that they were clear, for some reason factories are terrible at painting within the lines. I don’t recall exactly what I used to try and clean it, but it did remove the paint and completely fogged up the windows….. Right, plan B, black windows.

I primed all the parts with AK Interactive Primer and Microfiller Grey (AK 758).
I then coated everything that was going to be metallic with Alclad II Gloss Black Base (ALC-305-60) and then started masking everything that I wanted to say black with masking tape.
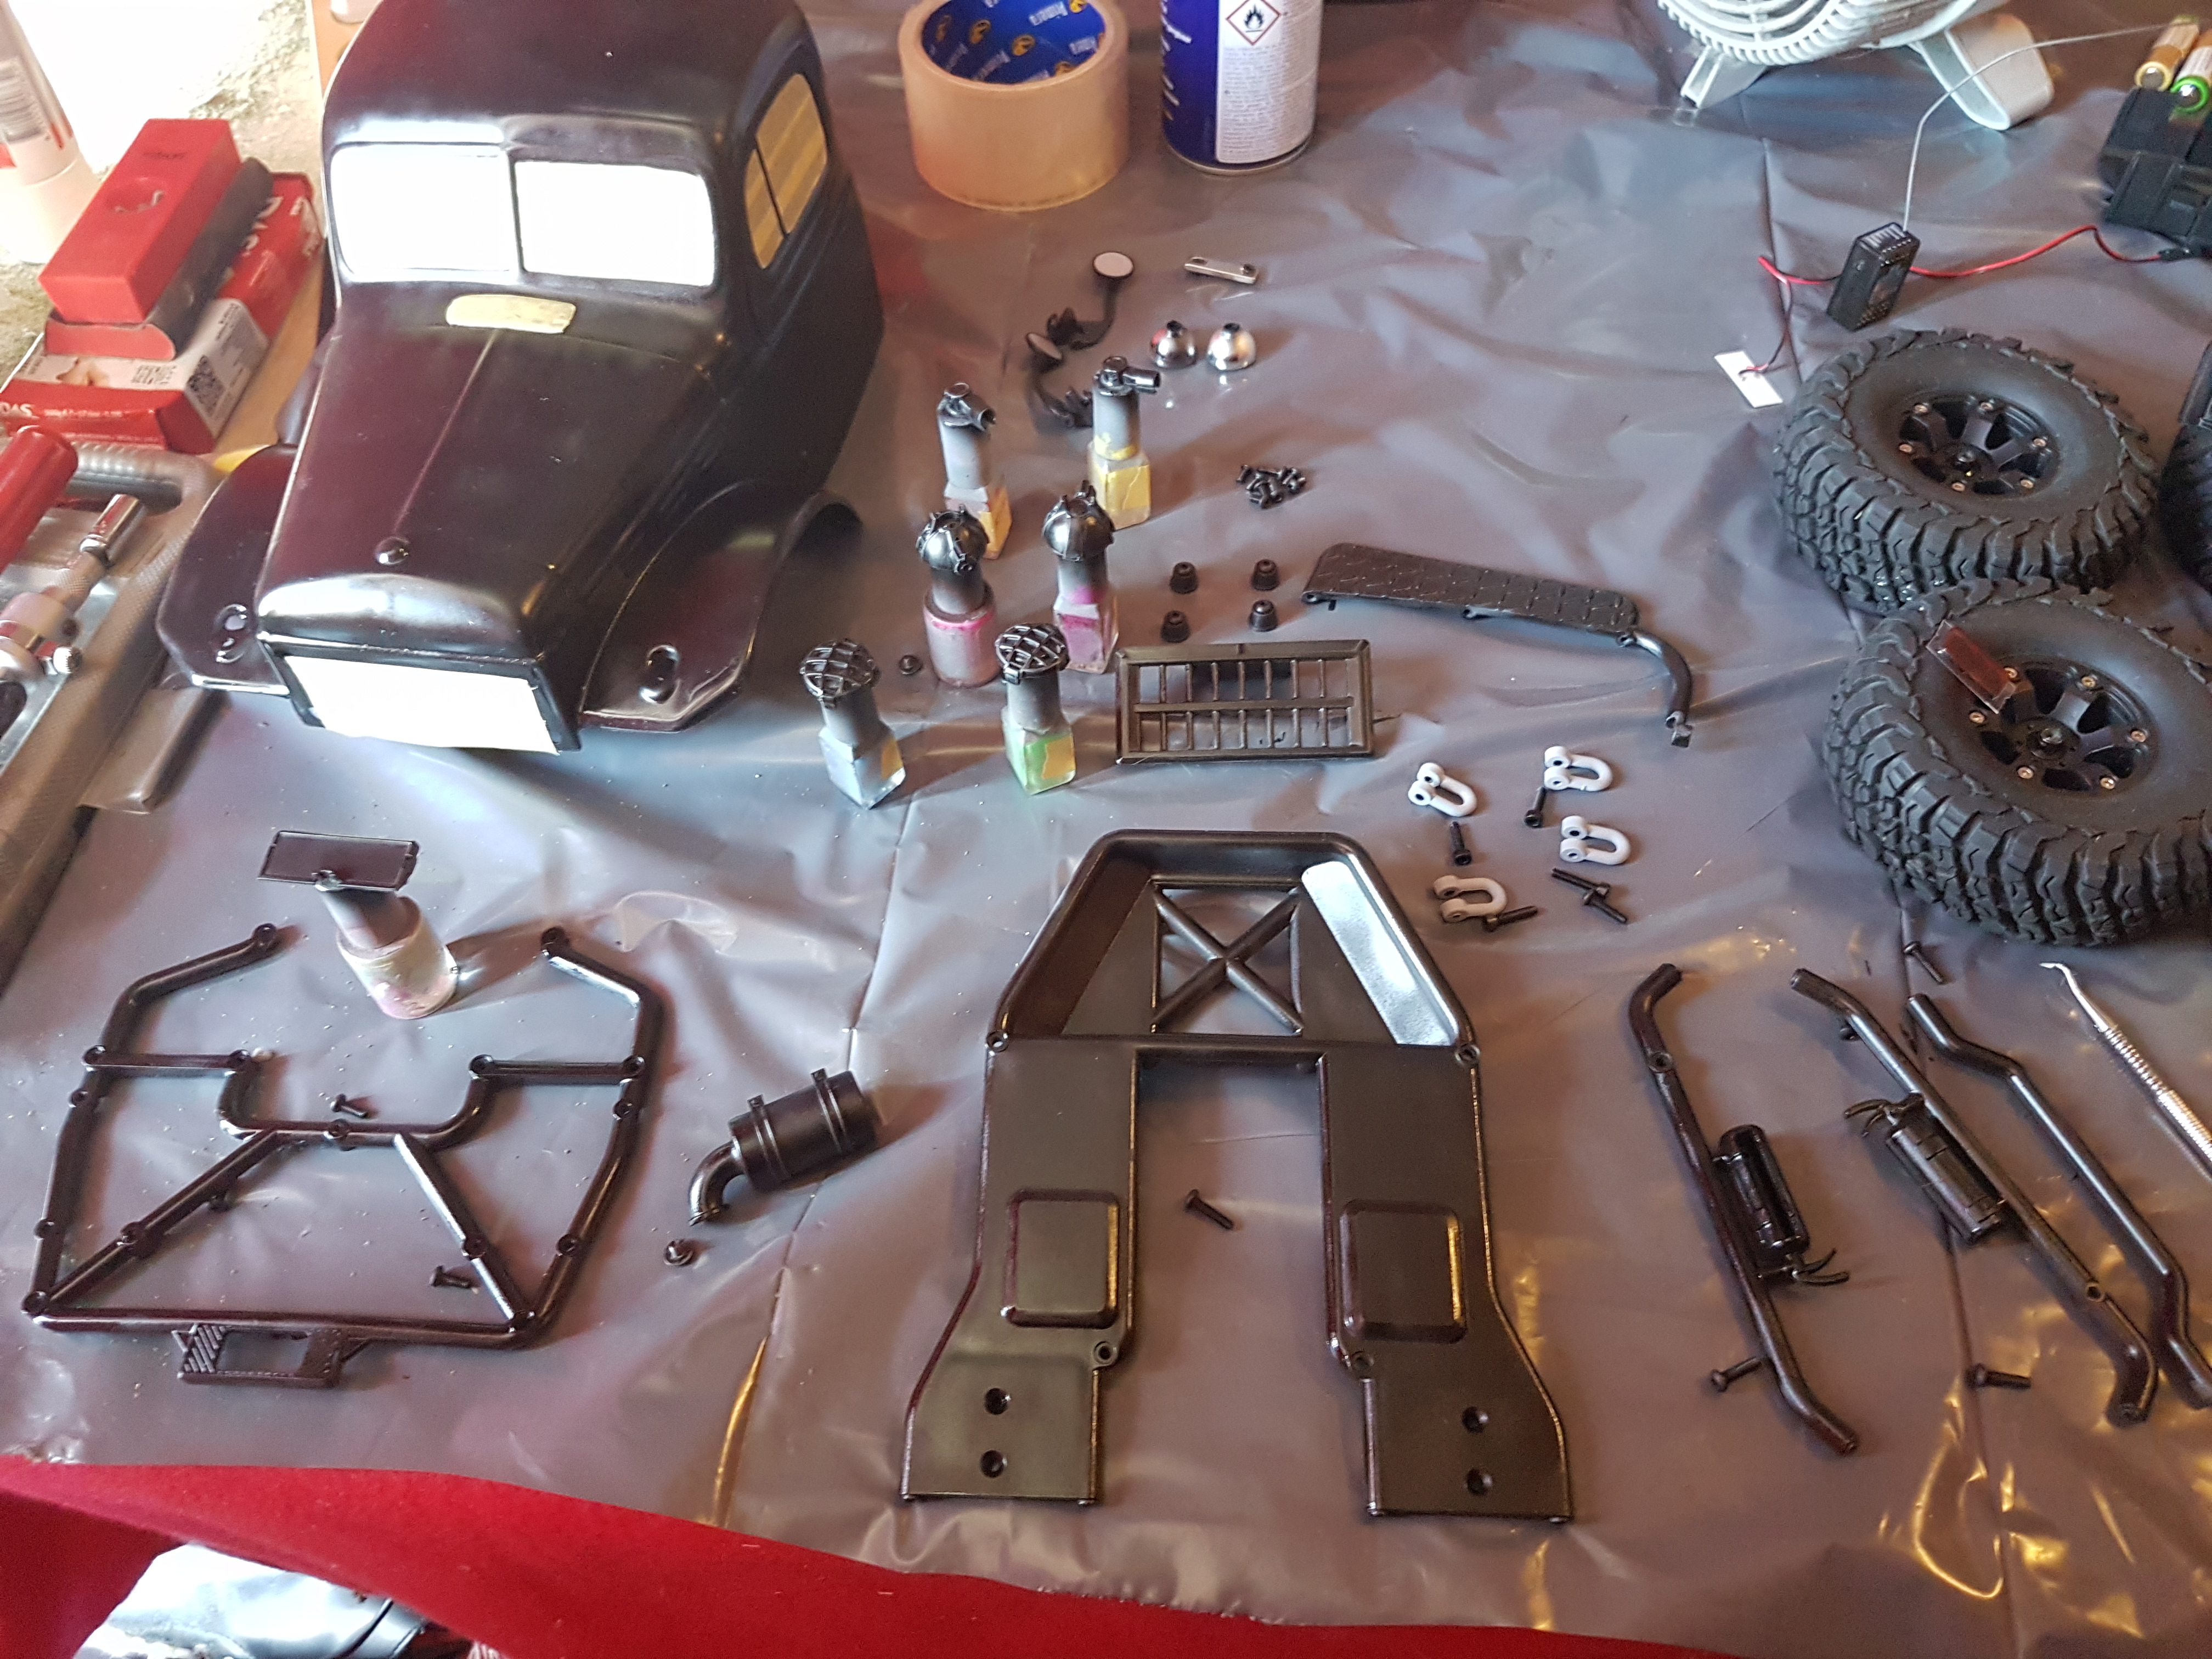
I then painted all the chrome parts with Alclad II Metal Chrome for Plastic (ALC107). Masked off the chrome areas on the body and painted those with the Model Master British Green Metallic – Gloss (2716) mentioned earlier. Sadly I ran out of this paint to get it an all even coat, but that’s okay. I painted all the other colours with basic acrylic paints by hand afterwards, I am not entirely sure what I used for what.
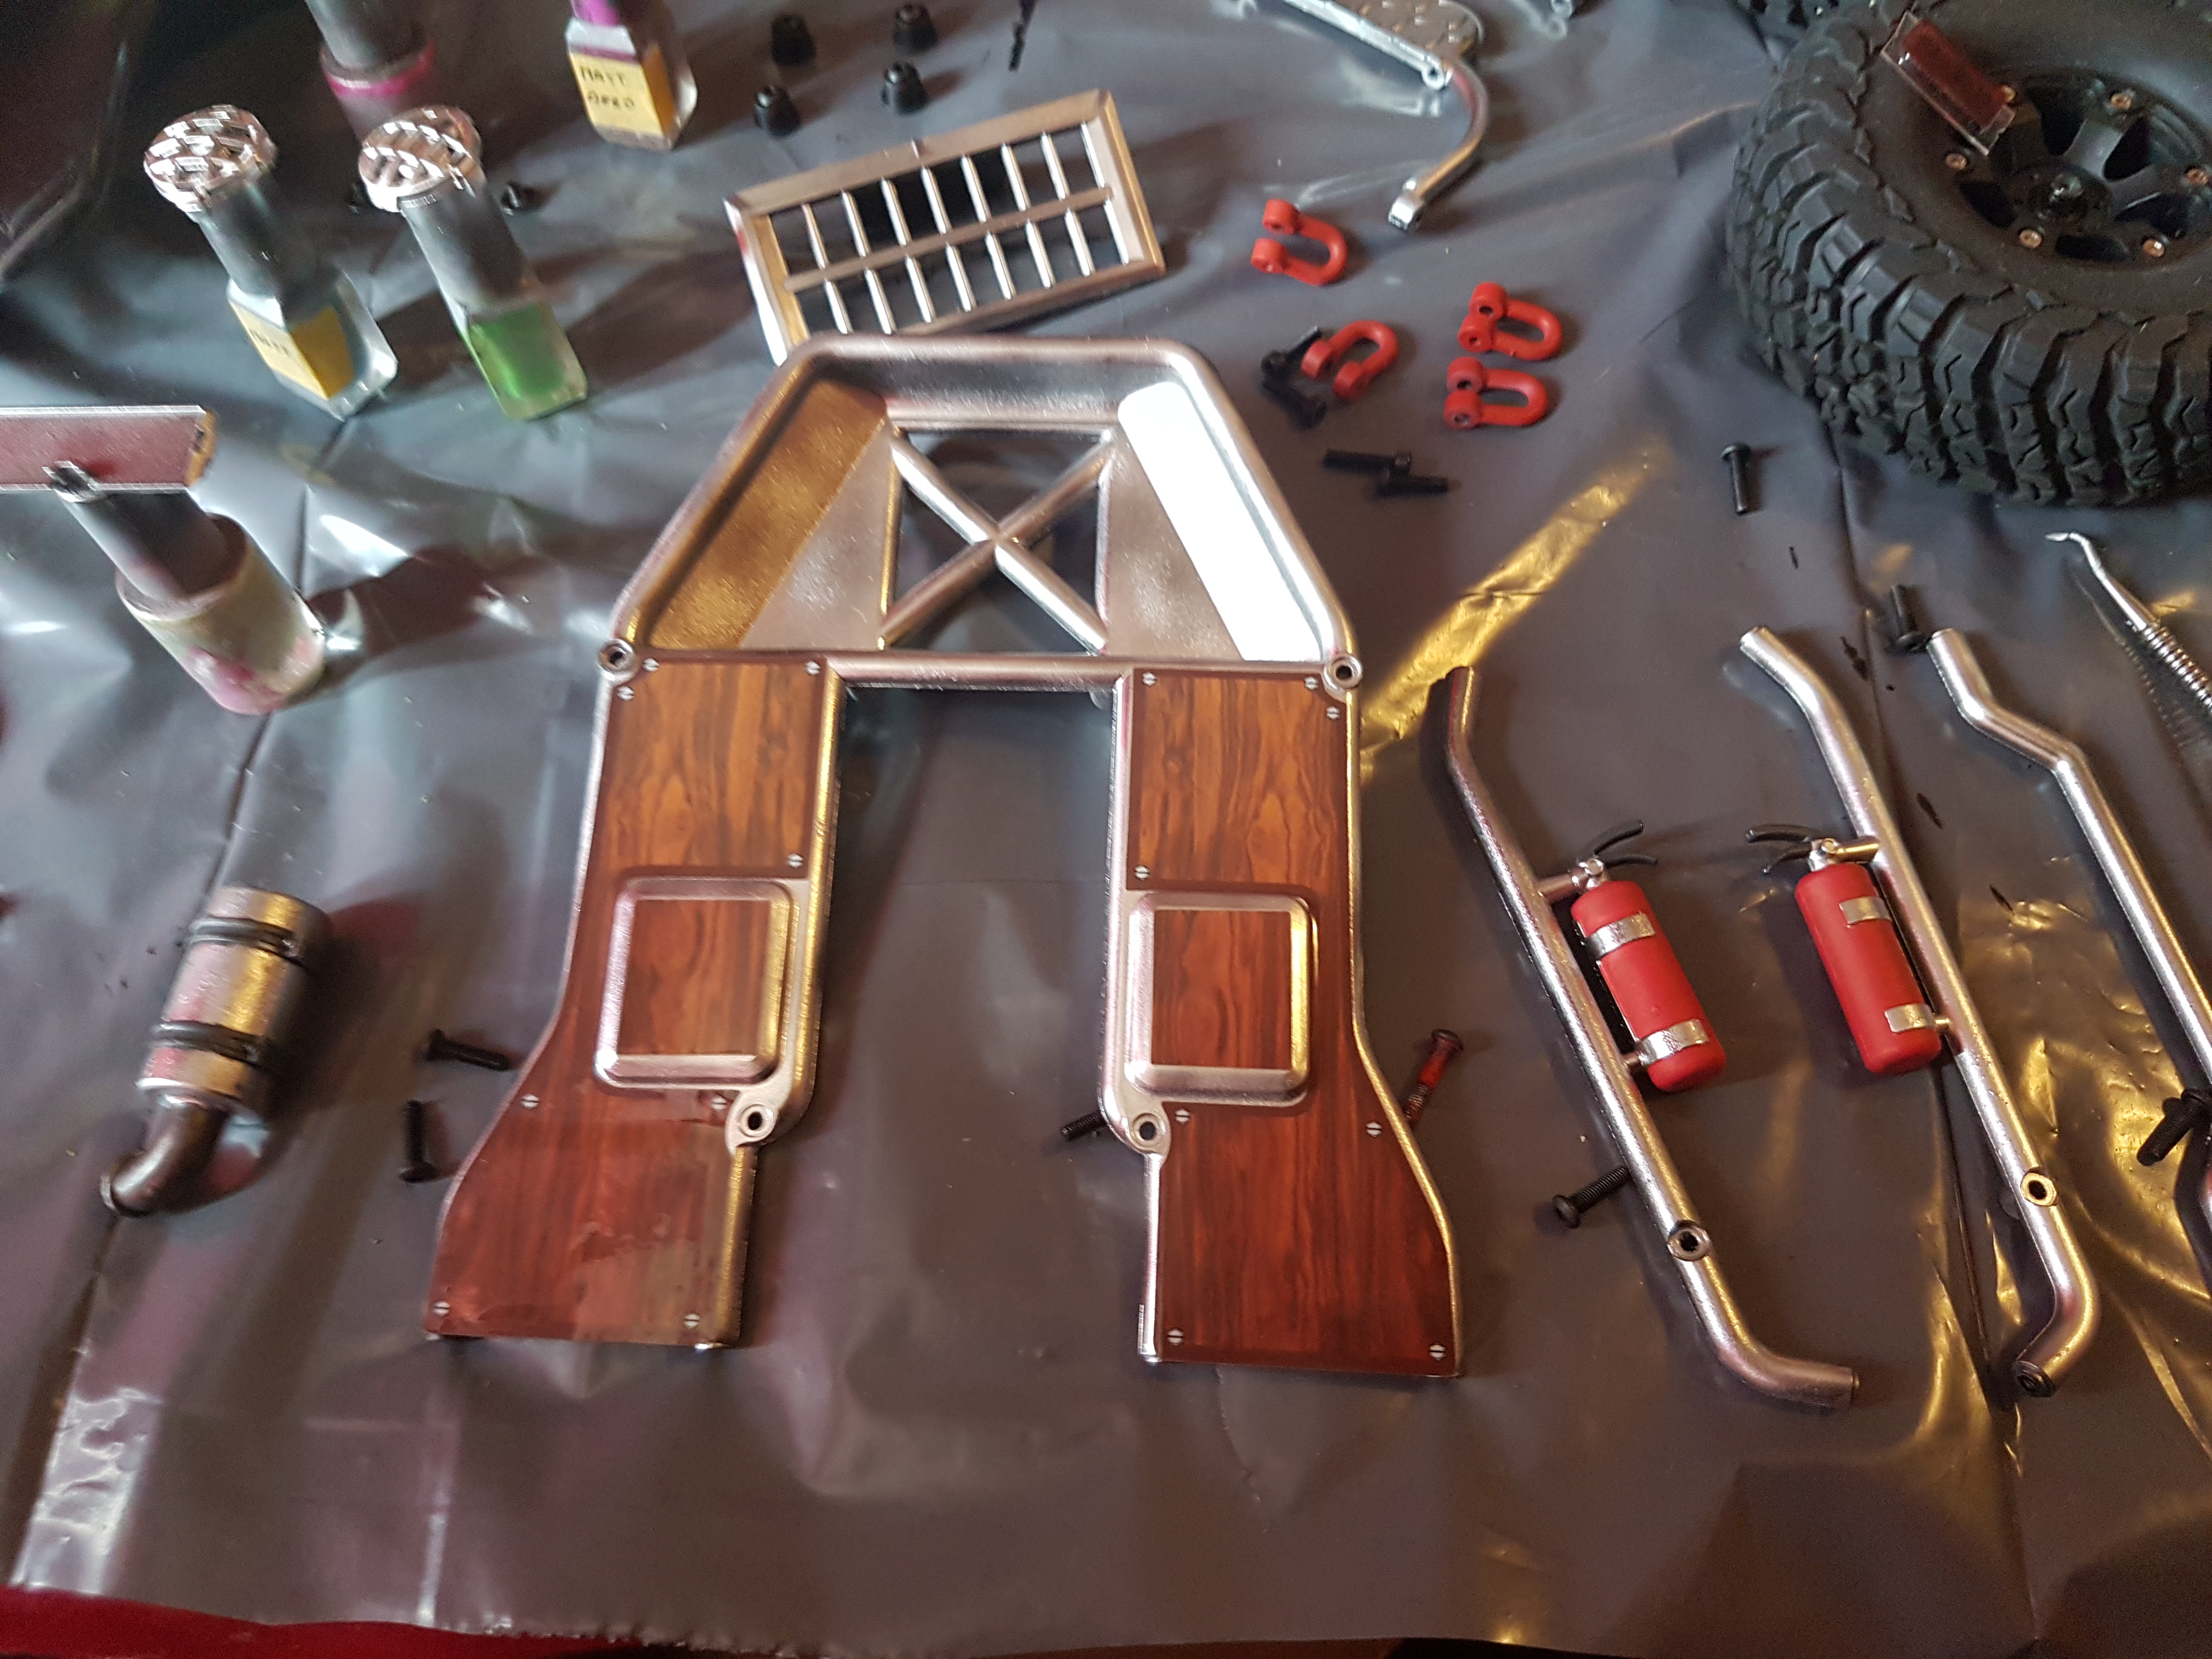
I applied the wood panel stickers that came with the kit to the back frame for additional detail.
I then coated everything with Alclad II Aqua Gloss (ALC-600-60) to seal it all in and then proceeded to add a bit of matt varnish to the places I didn’t want shiny.
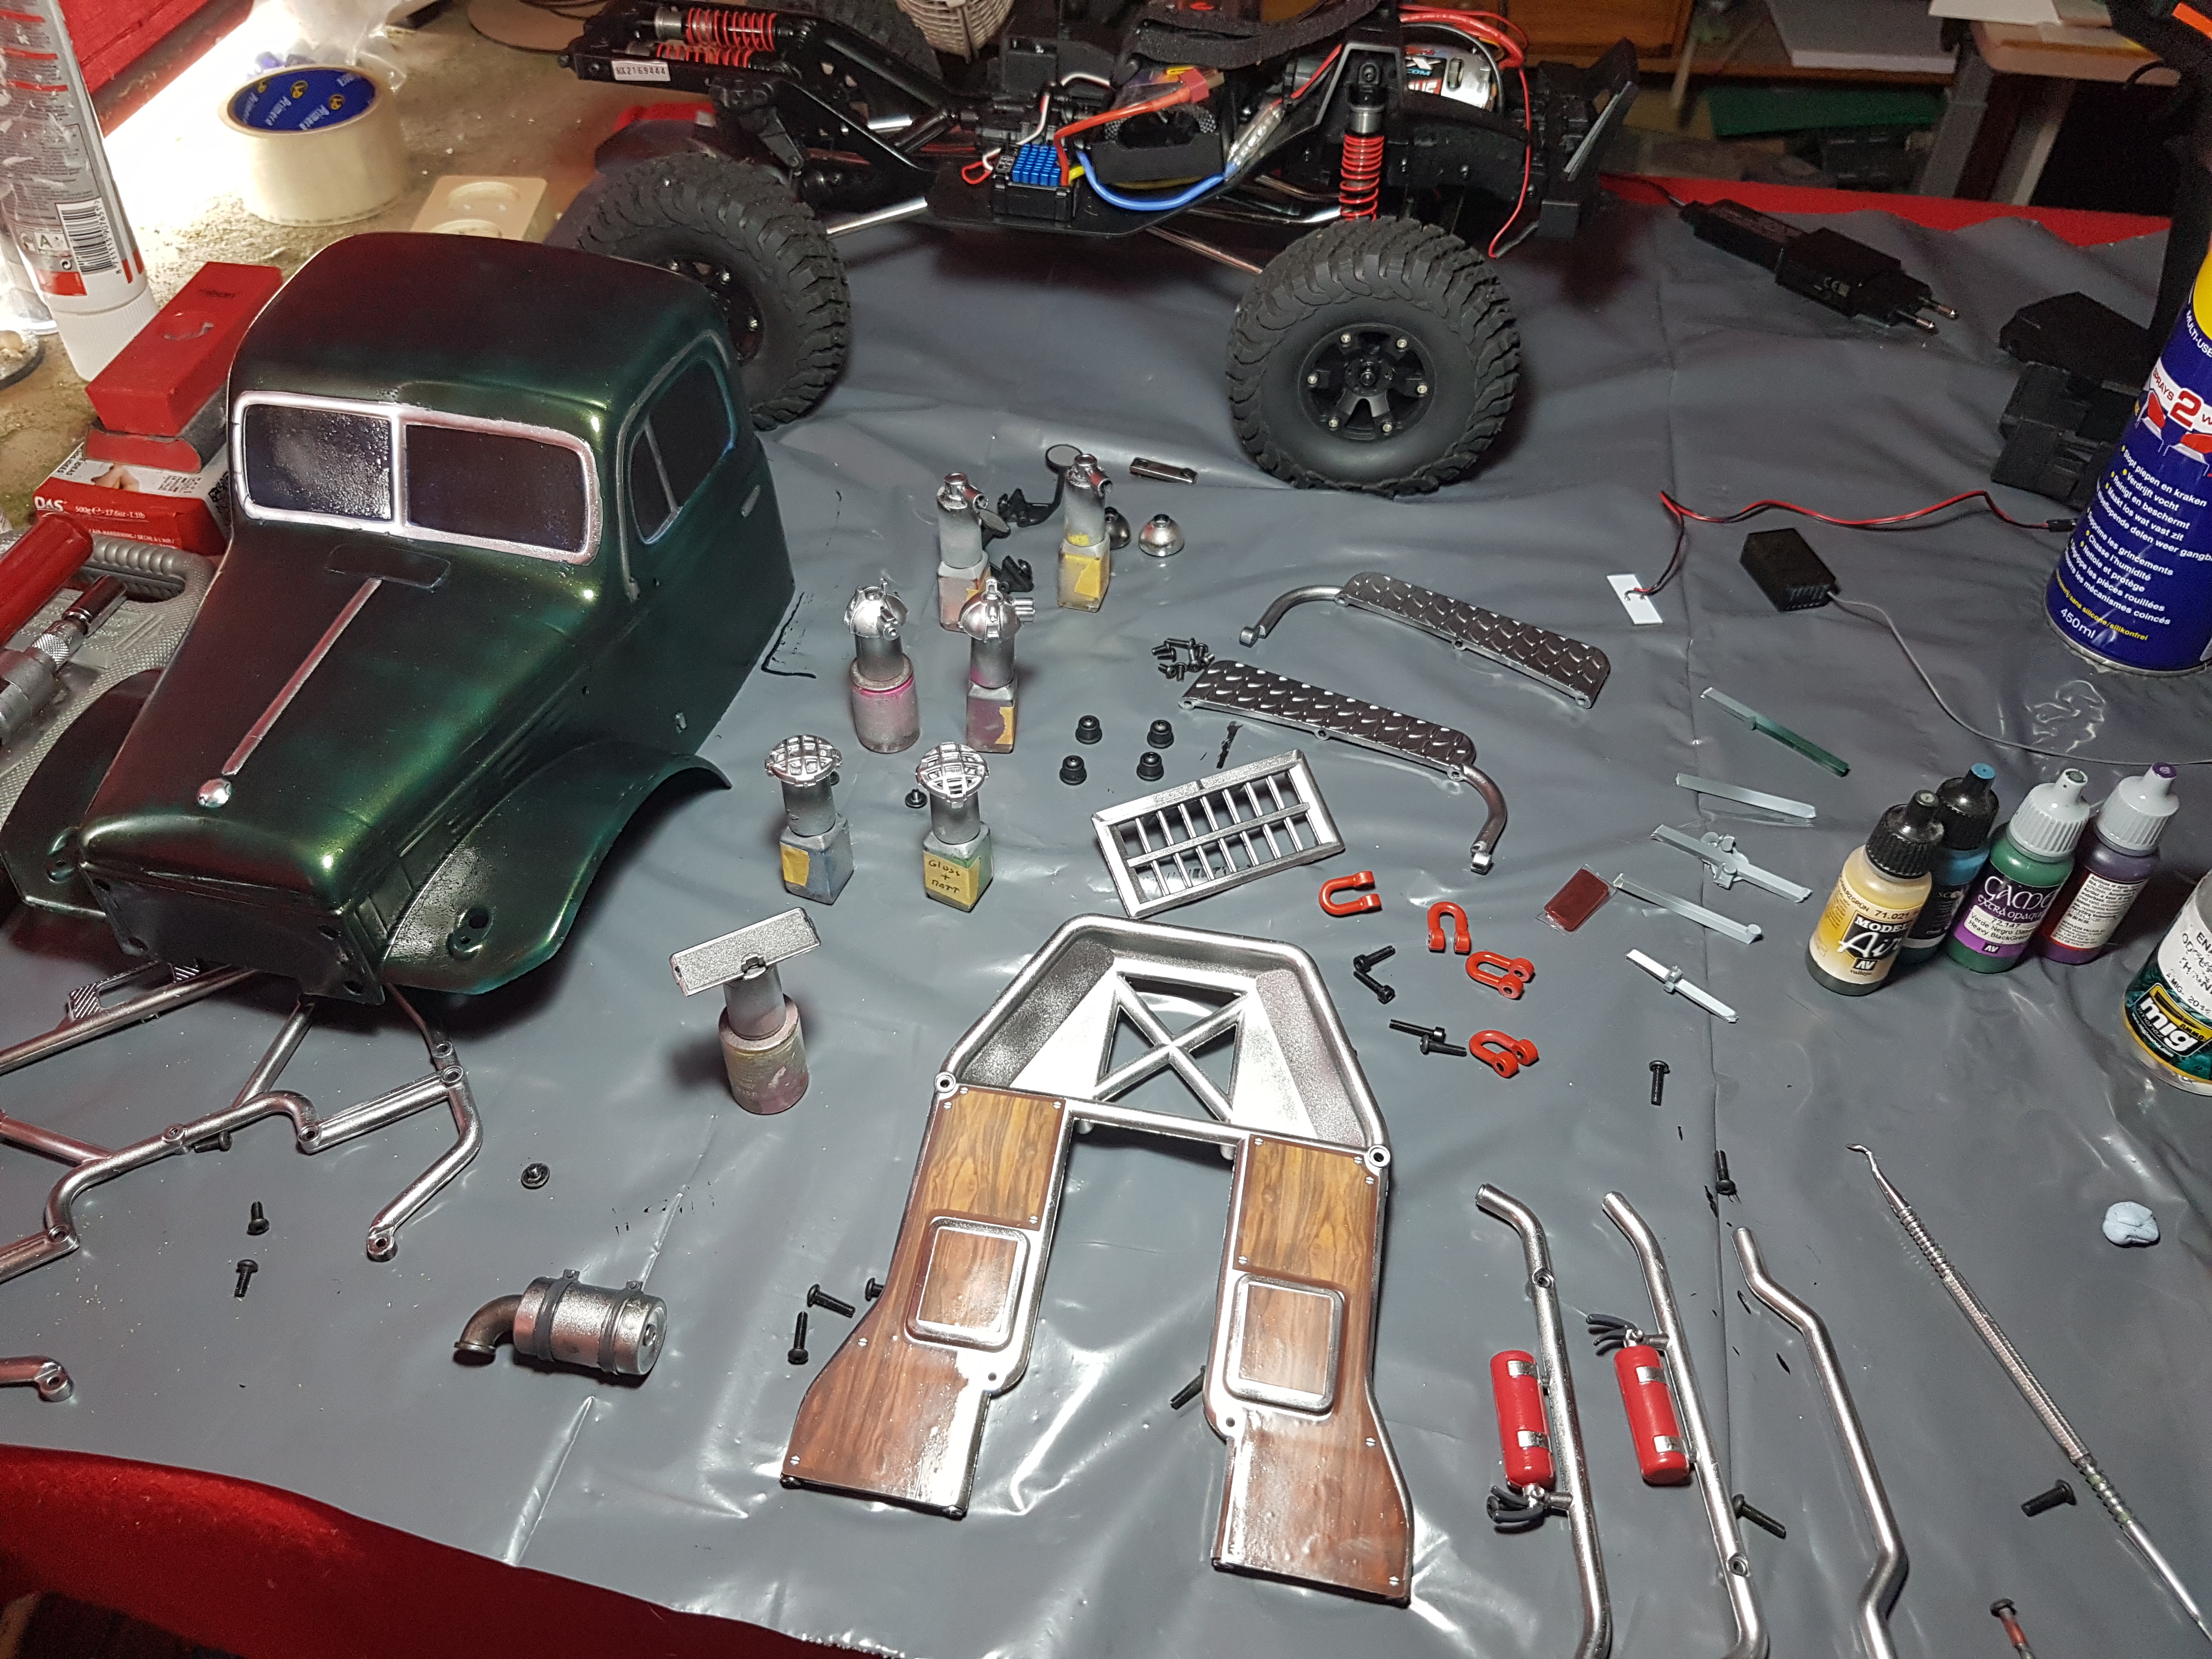
When it all was dry I put it back together and now had a shiny green truck.
Disaster Strikes.
It wouldn’t be me if something didn’t horrendously wrong with anything expensive that I buy. So here we go. During one of the first I was distracted for a second and the car went off a bridge and into the pond at the local park. Luckily it was close to the edge, but it was still submerged more than a meter under water. I had to fish it out with a stick. I succeeded and most of the car was still working. Most of the components where waterproof after all, well apart from the receiver. They put the receiver in a (not-so) watertight box. So after I fished it out it was acting up, steering and throttling like mad. I turned it off and got it home. Sadly warranty was voided for any form of water damage.
So I needed a new receiver and I thought I’d get a new transmitter in the same process. I got the FlySky FS-GT3C with a receiver knowing that I can also get extra receivers quite easily. I am quite happy with this, it works well.
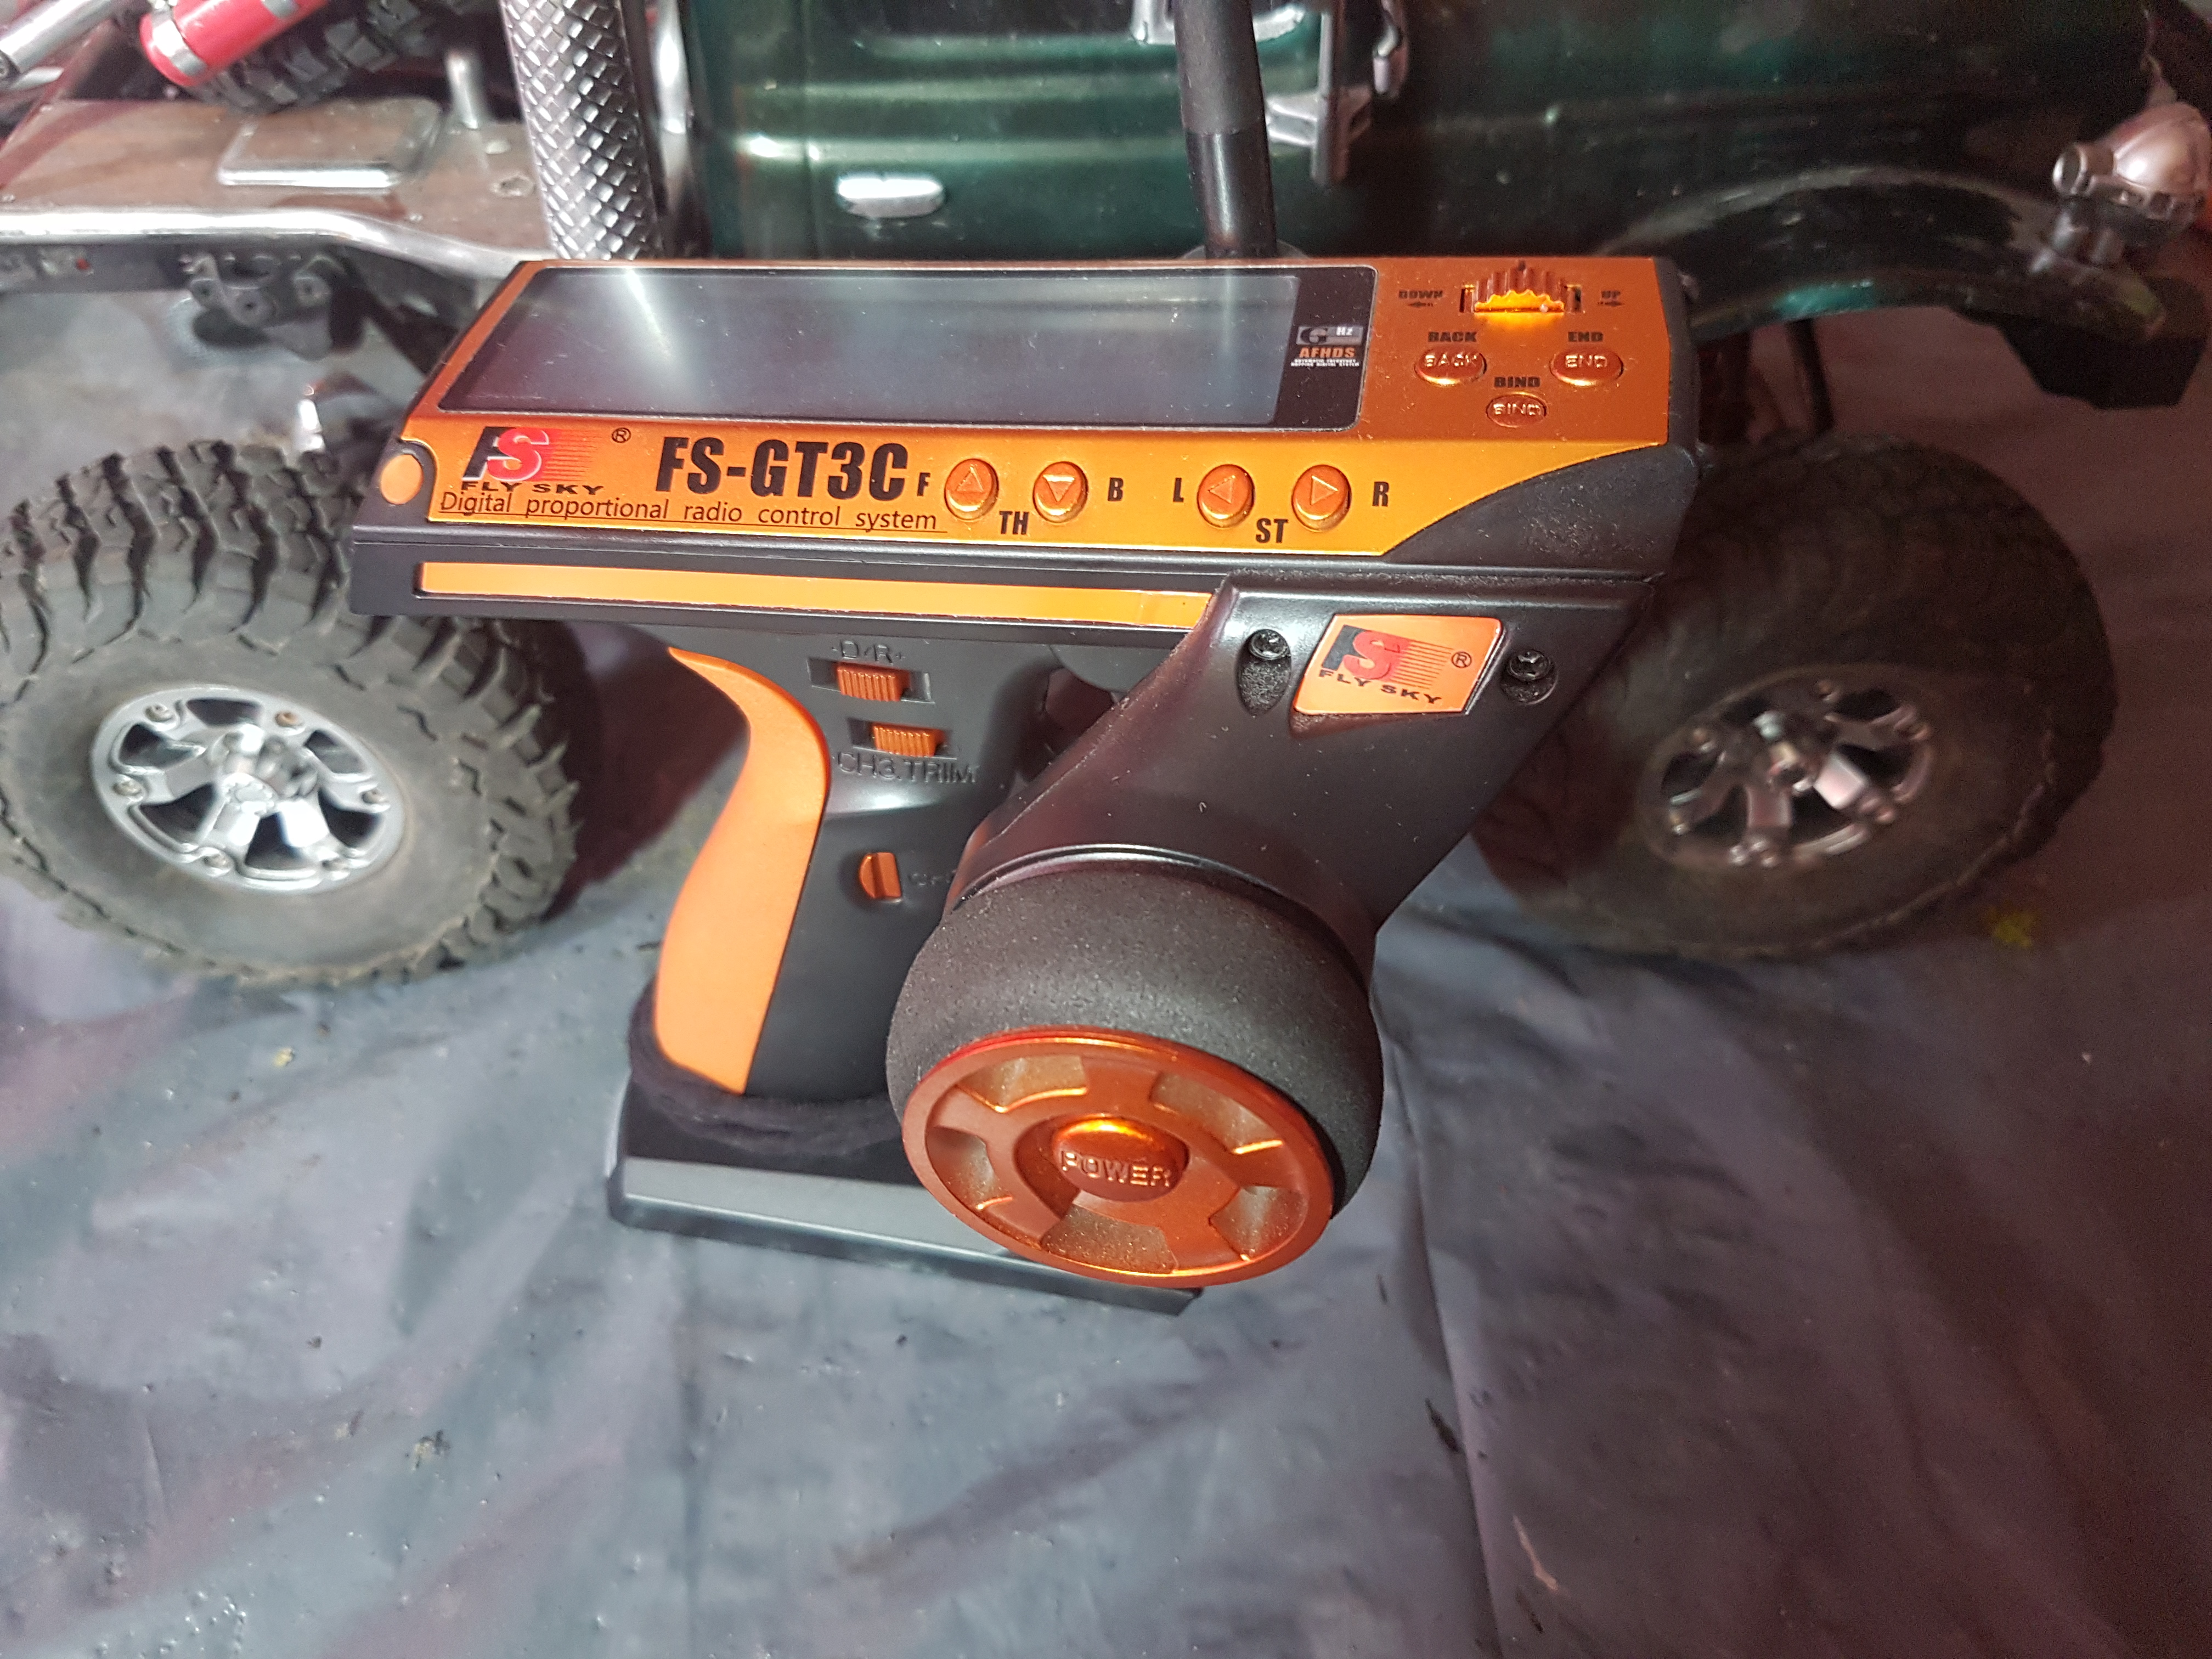 FlySky FS-GT3C
So everything would be well again I thought, so I went out a couple more times and then found out that the steering servo was acting up. I took it apart and found out that this waterproof servo was not so waterproof after all.


So I got into contact with Etronix, the manufacturer of the servo and told them what happened and asked if they knew of a way to fix it. They got back to me and said that as a good will gesture they were willing to replace it. That was great, unfortunately they didn’t have any in stock and would then be willing to send an alternative, a 6kg servo. Now the servo that was broken was a servo with 15kg pull strength, so that would have been a severe reduction in strength. I looked at their website and asked for a different one saying that I would pay the difference. So that’s how I got an Etronix ET2070, a 21kg servo for 5 pounds. It took a week or two to get here from the UK I then installed it and it worked great.
I then proceeded to add additional waterproofing to this servo using a silicone sealant for aquariums and sealed up the receiver box as well. So now on the mechanical and electrical front everything was fine again.
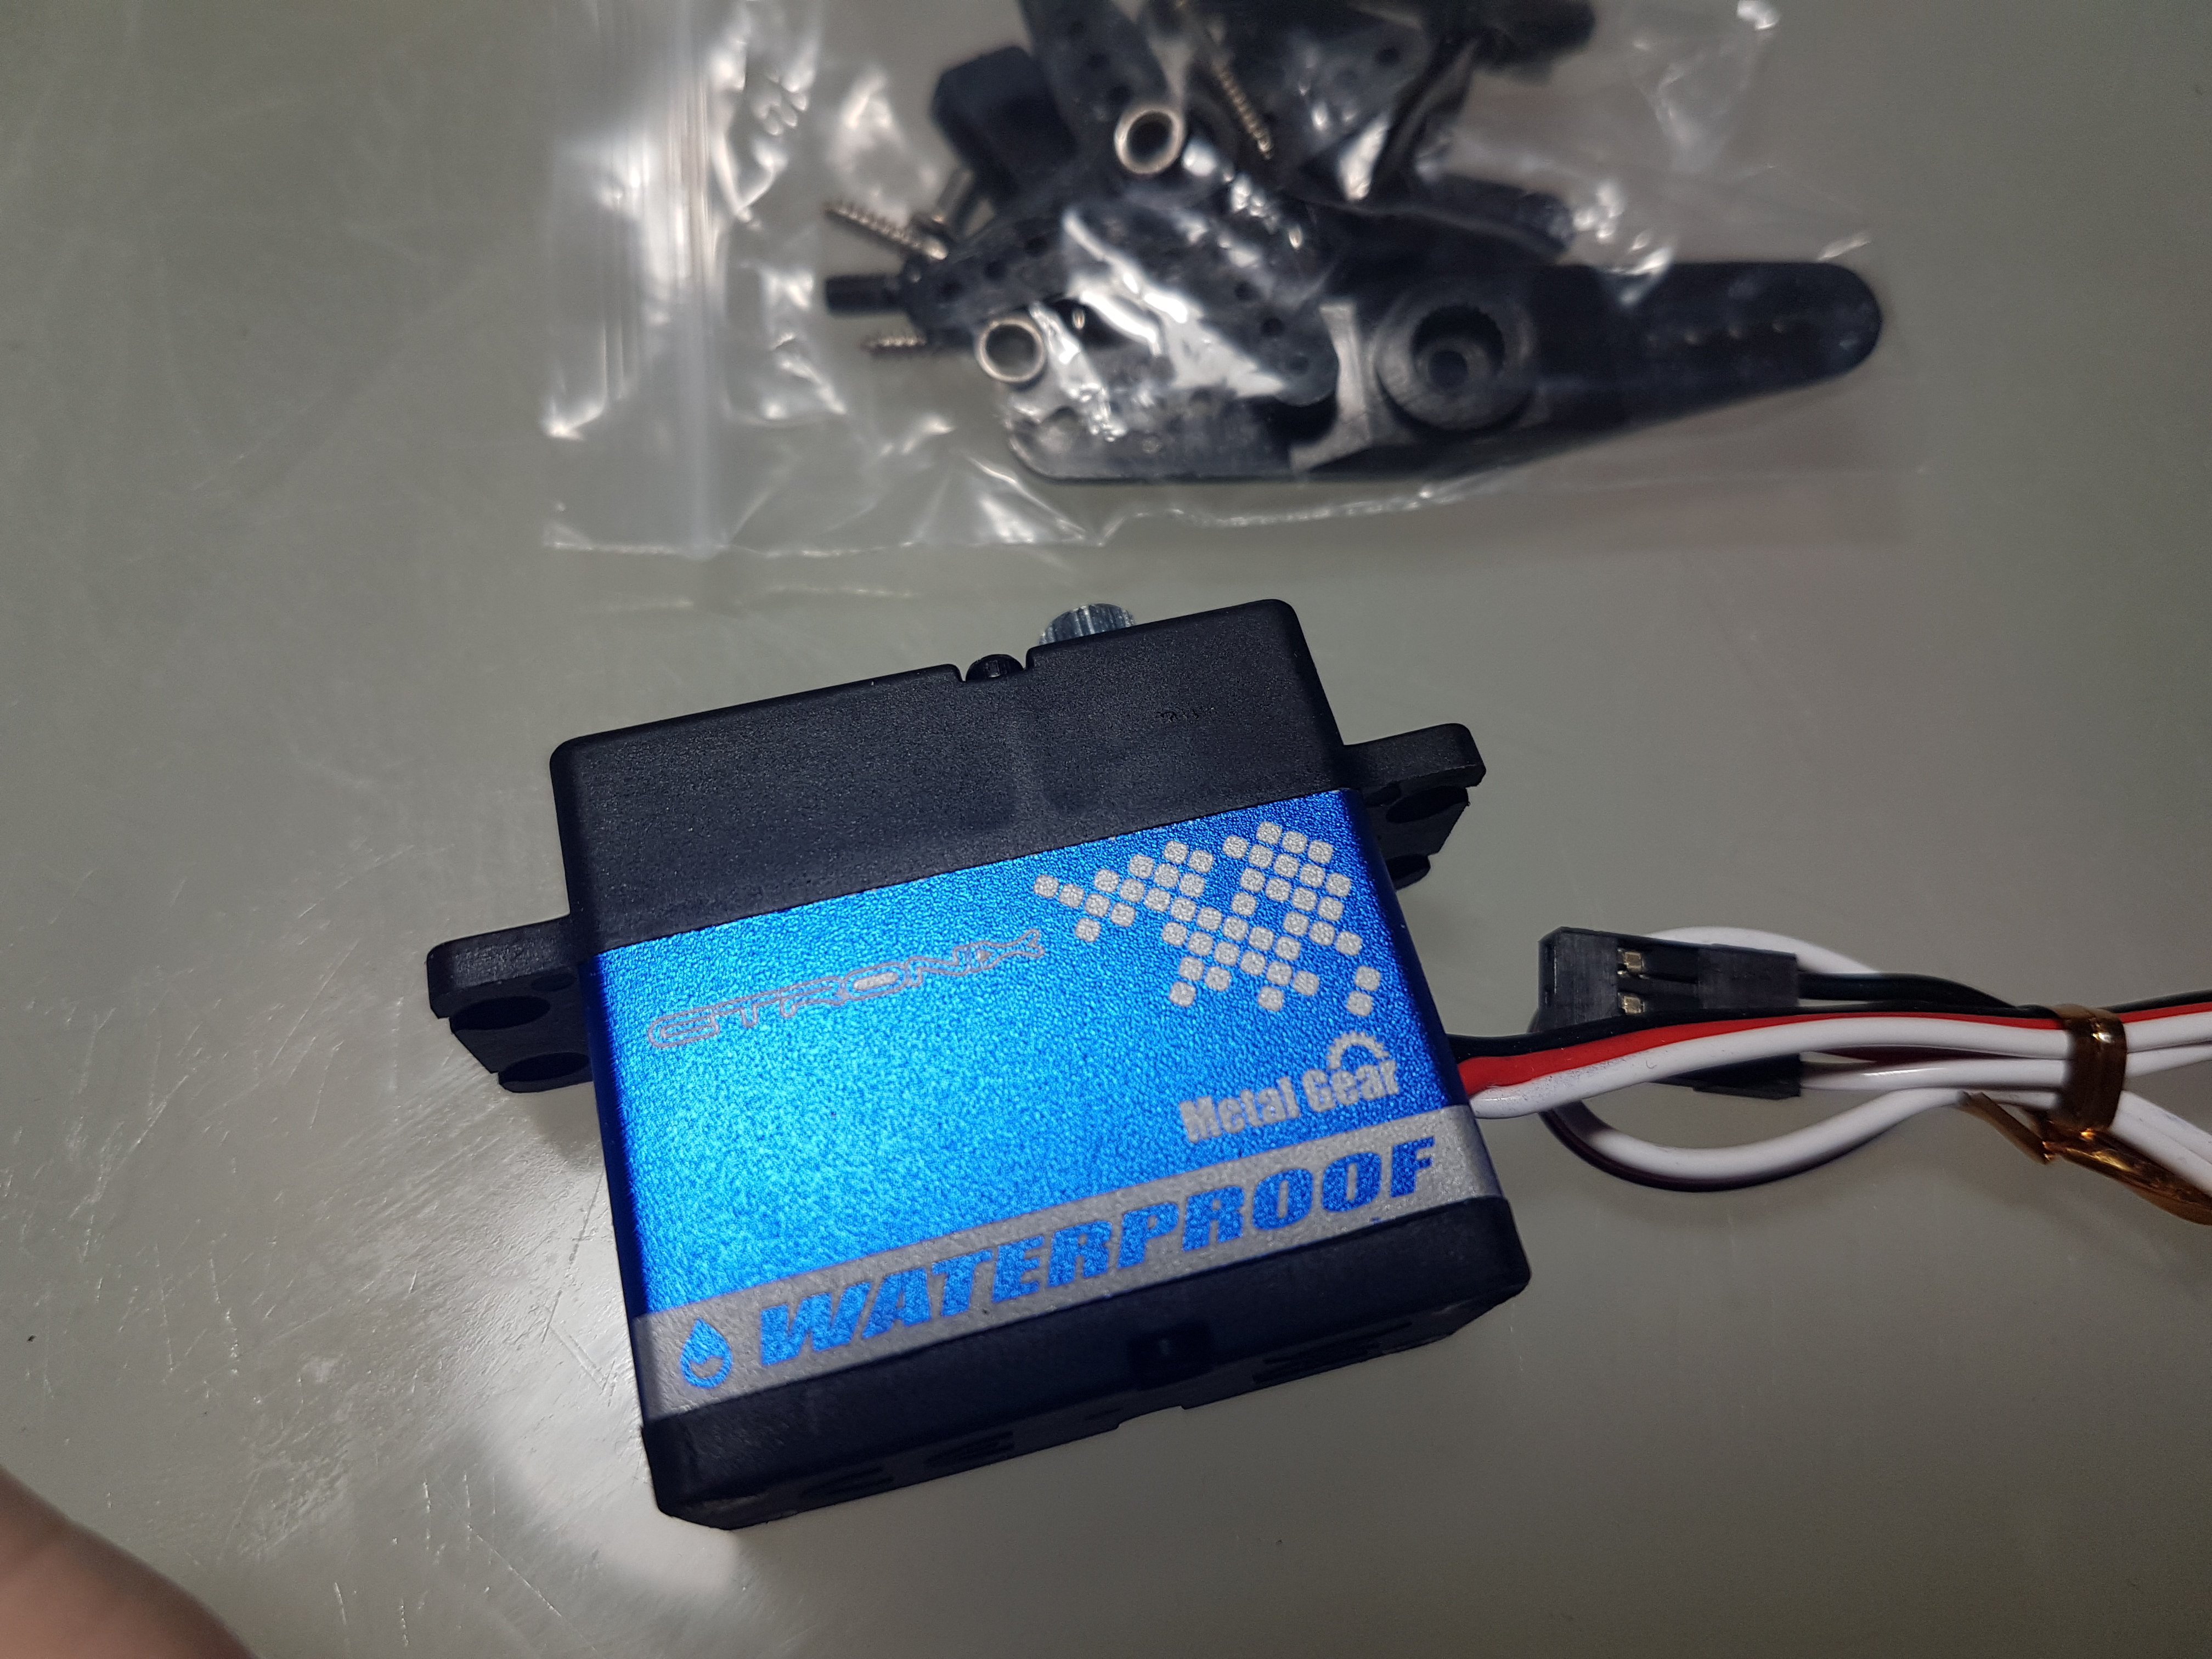 Etronix ET2070


![11th Edition Warhammer 40K Core Rules Now Available & More [Updated]](https://images.beastsofwar.com/2026/06/orks-new-cover-600-338.jpg)