





SAGA Challenge




Recommendations: 505
About the Project
The game SAGA has been of interest to me for years, but I’ve never taken it beyond just an interest. My young son (just turned 13) is now expressing a desire to do some wargaming more seriously, and has a liking for Vikings. So, this challenge comes at the right time to both prepare two armies, but also to build some relevant terrain and scenery. This is our journey together.
Related Game: SAGA
Related Company: Studio Tomahawk
Related Genre: Historical
Related Contest: Spring Clean Hobby Challenge 2023
This Project is Completed
The Battle! - Part 1
So we finally made it to the table. This is the first time I’ve done a battle report and I’m not sure how this will go, but I took a lot of pictures and so hopefully it will all make sense!
The scenario is a raid by a small Viking war band on an Anglo-Saxon village. The Vikings will approach from the sea and the villagers had time to get the local Lord to come with an attachment of his warriors to help repulse the heathens! It was a four-point game as recommended as a starter for new players.
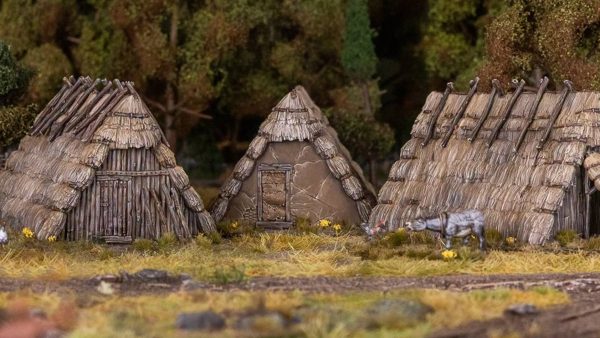
The set up was per the SAGA rules, we chose different terrain pieces alternatively, but decided to to overcrowd the space too much. So a couple of woods, some fields and the houses.
The Anglo-Saxons gathered around the village, and the Vikings at the top of the hills from the beach.
The Forces:
Anglo-Saxons – I selected 2 Levies, 1 Warrior and 1 Hearthguard units. The Levies I split into 3 x 8 figures to get an extra SAGA die, but this obviously made them weaker and was maybe a mistake.
Vikings – 1 Levies, 1 warrior, and 2 Hearthguard. They were left at their recruitment strength.
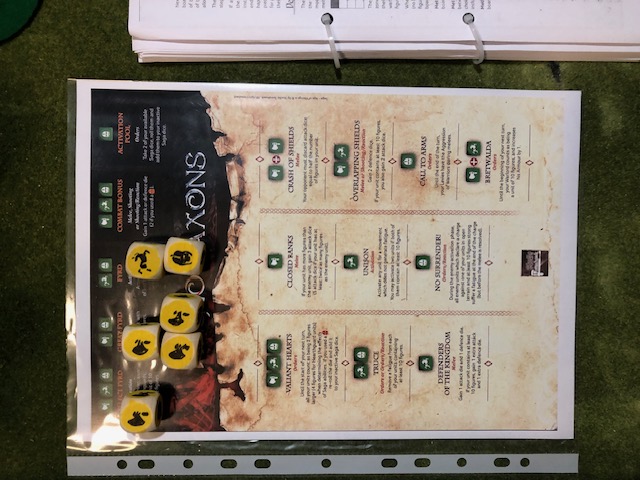
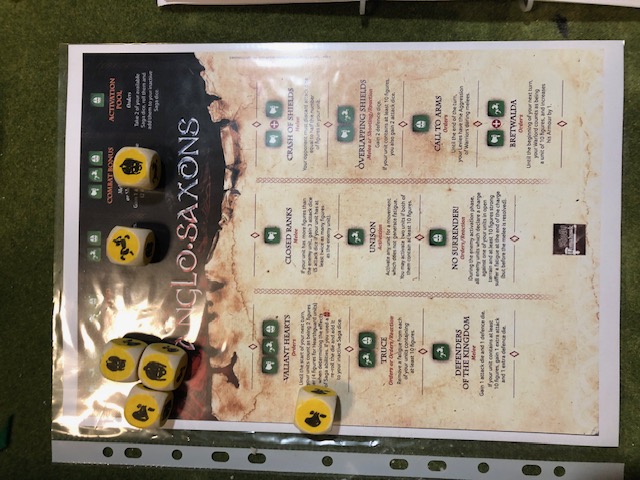
For people unfamiliar with SAGA one SAGA point cab recruit a unit of 12 Levies, 8 Warriors, or 4 Hearthguard. These total numbers can be split up r combined, but any unit must comprise between 4 -12 models. The game works with the additional skills/abilities determined by SAGA dice which have three different images. 3 x common, 2 x rare, and 1 x exceptional.
How these are assigned on a “Battle Board” (specific to each army) determined what extra abilities are available each turn. Units can provide dice, but ONLY if they are at a minimum strength. In the case of Warriors, this is 4 figures, and for Levies a minimum of 6 figures. So, reducing the units to 8 models might not be that clever. We shall see.
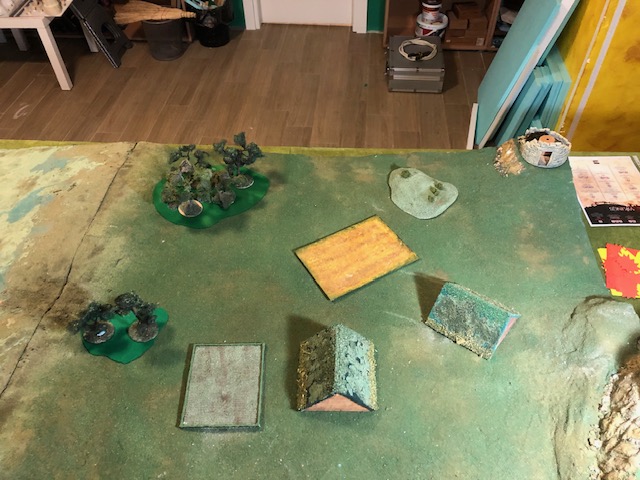
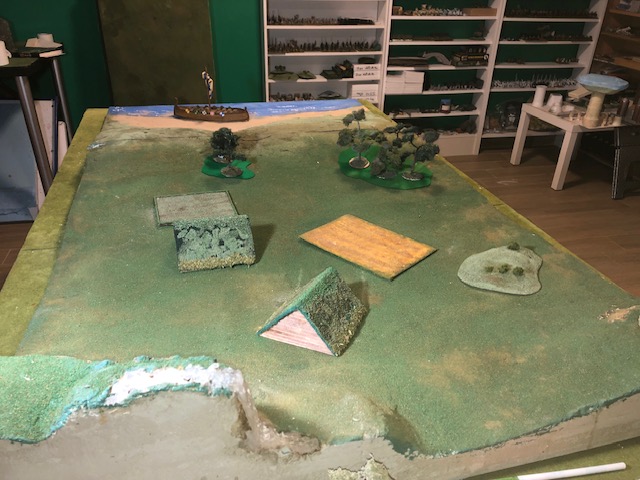
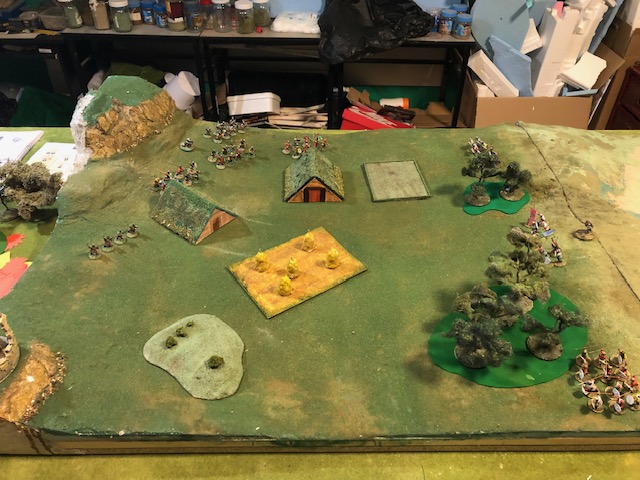
In the first turn the player going first can only use 2 SAGA dice. After that the dice are determined by the remaining units as described above.
In both our first urns, we just moved units into new positions.
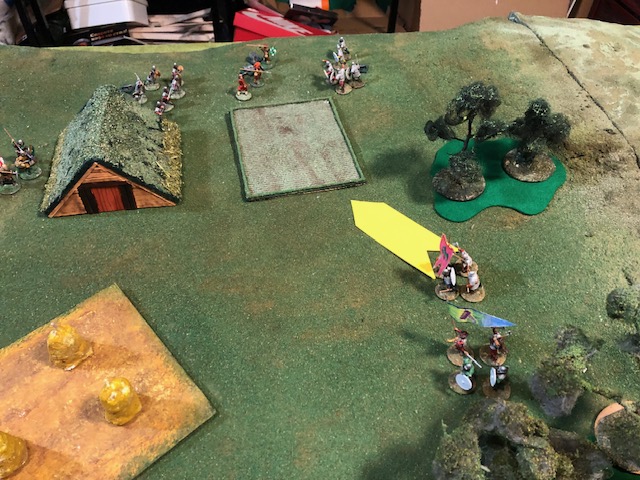
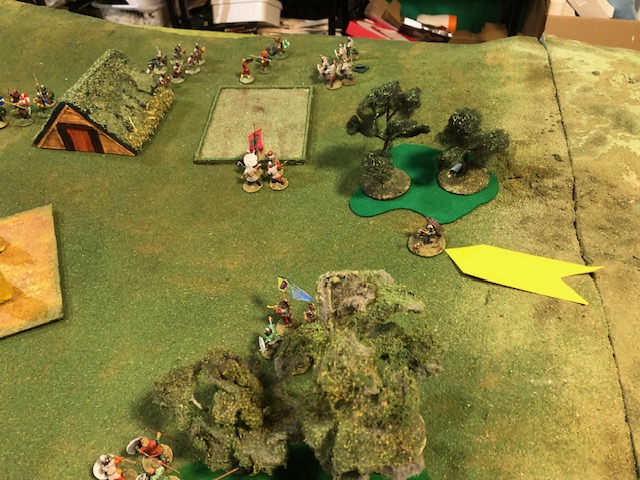
The Vikings went first and moved the Hearthguards and Levies onto the board. Moving through the woods reduced the Levies’ movement and it would take them two rounds to clear this.
The Anglo-Saxons brought some levies and the Warriors into the game in a reckless movement up the left side of the village and straight towards a group of Viking warriors. This double move resulted in the getting “fatigued” which is an aspect of the game that allows your opponent to use this fatigue to weaken your unit further or to boost their own. It affects the likelihood of the unit receiving damage.
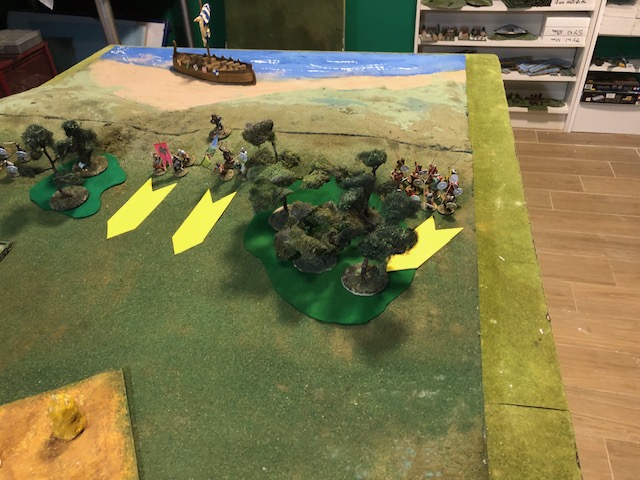
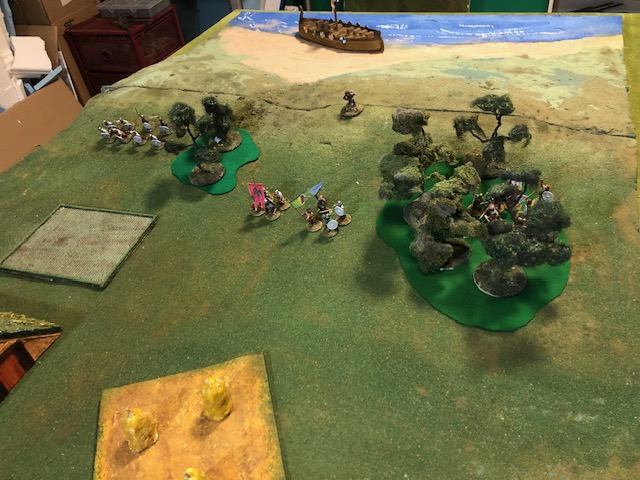
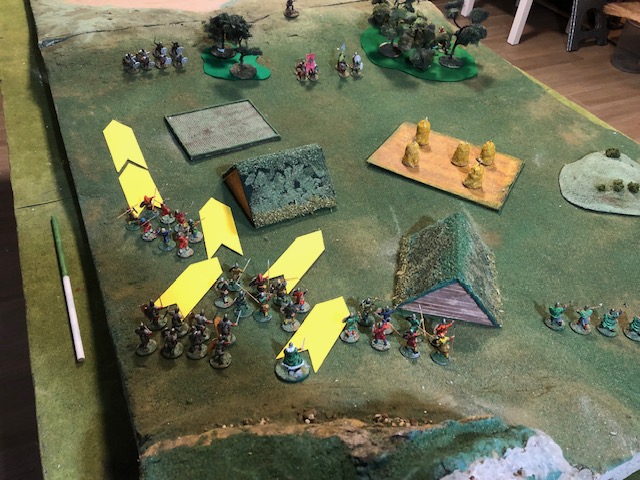
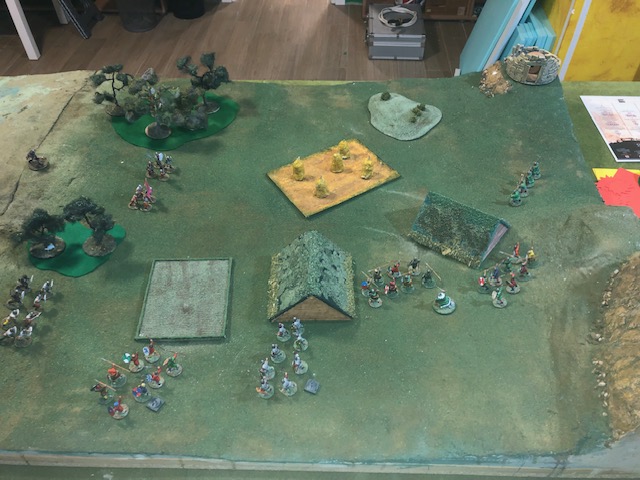 State of play after the First turn
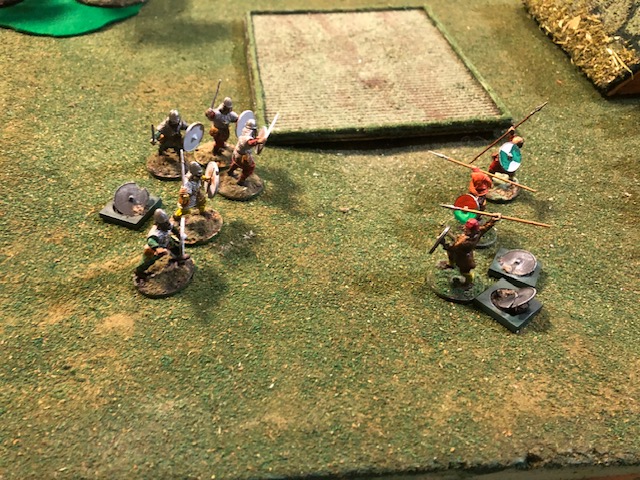
The second turn began with the Viking warriors gleefully attacking my rather too adventurous Levies on my left and a short, but bloody melee followed with both sides receiving casualties.
Attack dice are determined by the relative strength of the units and the figures remaining. In this case the Viking Warriors had 8 dice, one per model in the unit and the Levies 4 dice (1/2 per model).
As the Levies were fatigued the Warriors chose to use the fatigue to lower the Levies’ armor level from 4 to 3+, thus making them easier to hit. The fatigue marker is removed if it is used in this way.
But as luck would have it, it seems Loki was about to play tricks, and the dice rolls of the Anglo-Saxons managed to inflict a high number of hits of the Vikings, and they were not able to remove them. (However, the Vikings DID crush the Levies anyway reducing them to three models, and for the rest of the game, they lost their SAGA die – had I kept them at full strength, this would not have been the case).
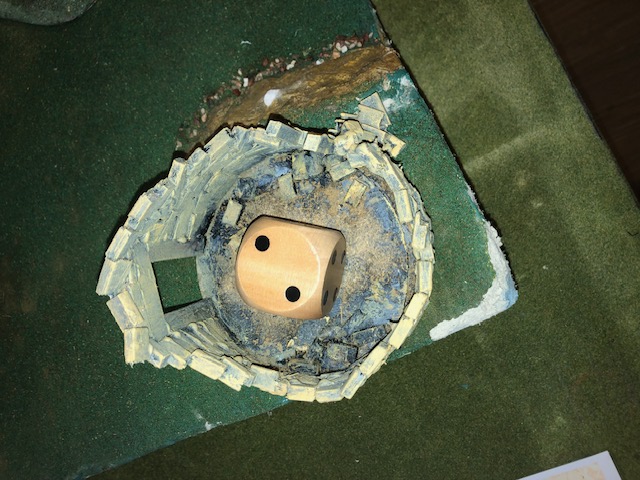
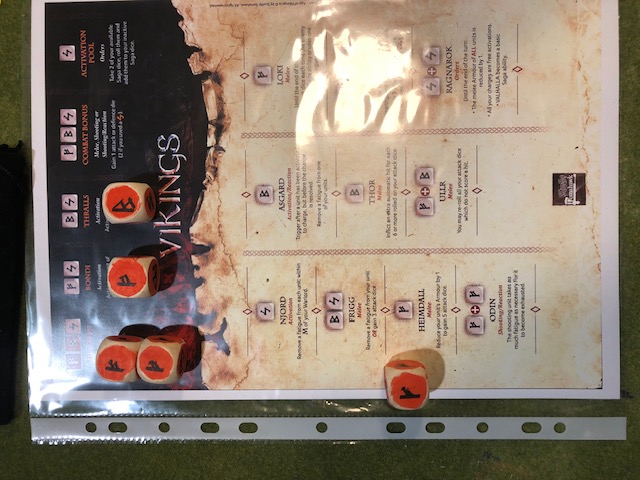
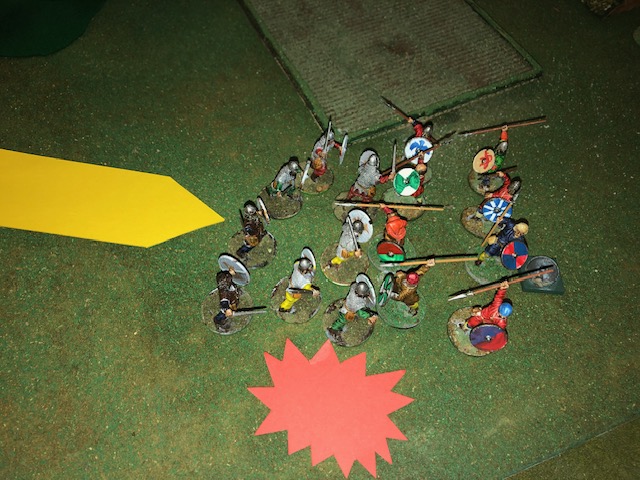
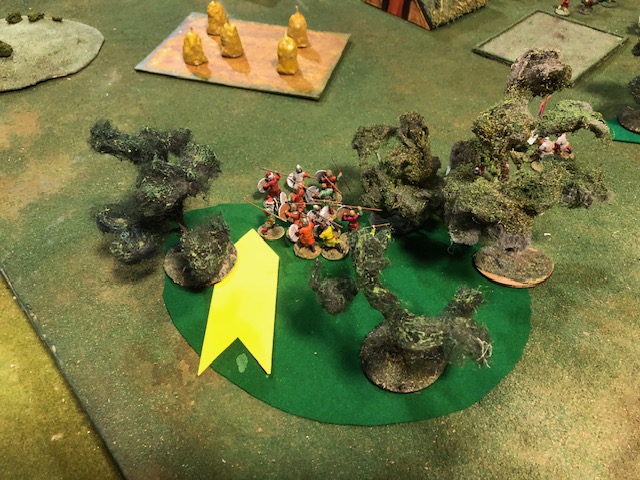
Elsewhere on the battlefield the Vikings moved up their Warlord and other units to put them into position to attack next turn.
The Battle! - Part 2
So with a unit already effectively destroyed, the Anglo-Saxons had a lot to do to repulse the Vikings from their shores.
In SAGA the dice determine what a player can do each turn, but it also demands that you think ahead to anticipate future actions (The Gods being willing, of course!)
As a consequence, the Anglo-Saxons used this turn to maneuver their units and Warlord into a more attacking position for, hopefully, an advantageous dice roll next turn.
The SAGA Battle Board has two portions. The top row is for common Activities and where you can place dice to enable you to activate (ie. move) your units. The lower portion allows you to make special actions, specific to each of the armies involved.
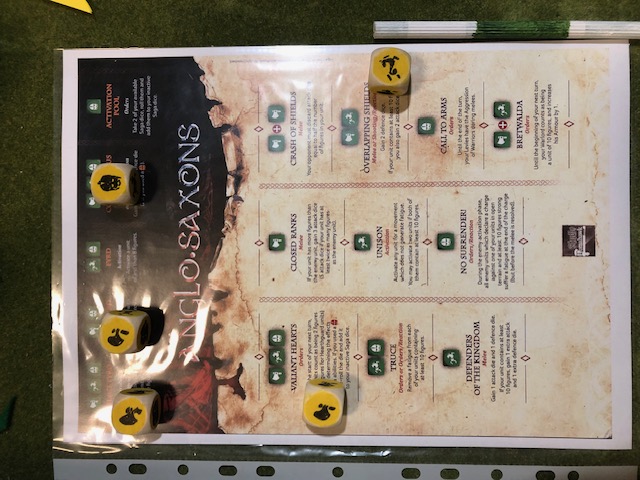
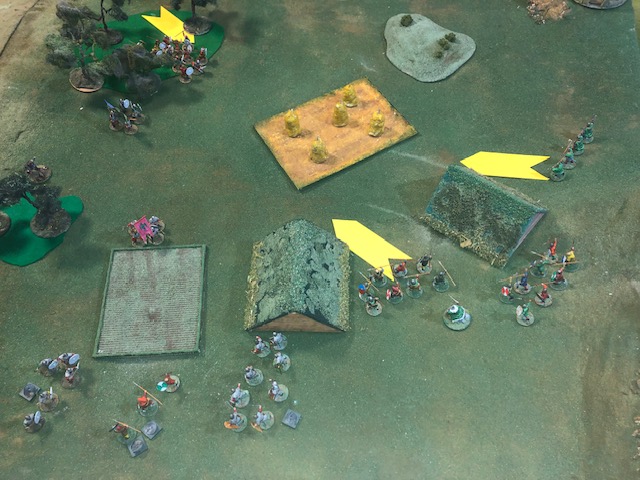
The next turn involved more Viking attacks on the poor Levies, but the Anglo-Saxon Warriors finally getting into the game. The use of the fatigue markers is interesting and I’m not sure we got this 100% correct, but essentially the first move is ‘free’, but any subsequent action gets a marker. Also BOTH sides in a melee receive markers at the end of the melee, irrespective of who charged into battle.
If a unit ever gets three fatigue markers, they become exhausted and MUST stop for a turn to remove a fatigue before continuing. Some SAGA skills allow you to also remove markers
One Viking unit of Hearthguard rushed across a field and into a unit of Anglo-Saxon warriors. One again the Gods were being capricious, much to Anton’s annoyance (he’s usually extremely lucky with the dice and found this turn of fortune particularly annoying).
Hearthguard get 2 attack dice per man, and Warriors 1 per man. So we both had 8 dice. Each unit had a fatigue marker and they effectively cancelled each other out the Hearthguard decreased my warriors armor, and I increased it again.
Amazingly I managed to inflict three casualties, almost wiping out the Hearthguard, but in return I also suffered hugely taking SIX casualties. A return to the Gods’ favour for the Vikings. So the warriors retreated and in the process I lost another SAGA dice as the unit was under half strength.
With his remaining move Anton finally bought his Levies out of the woods.
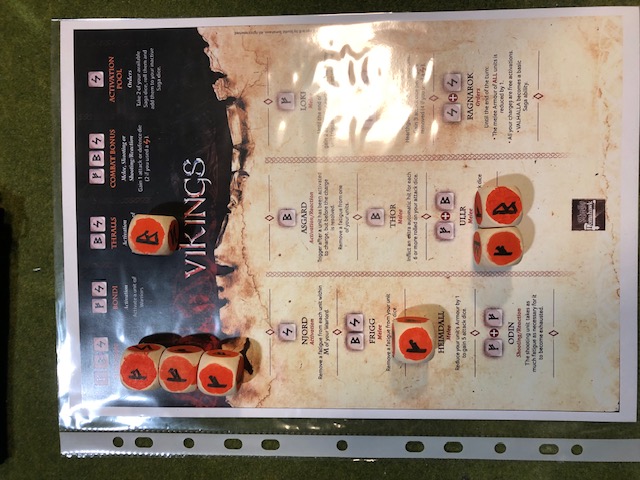
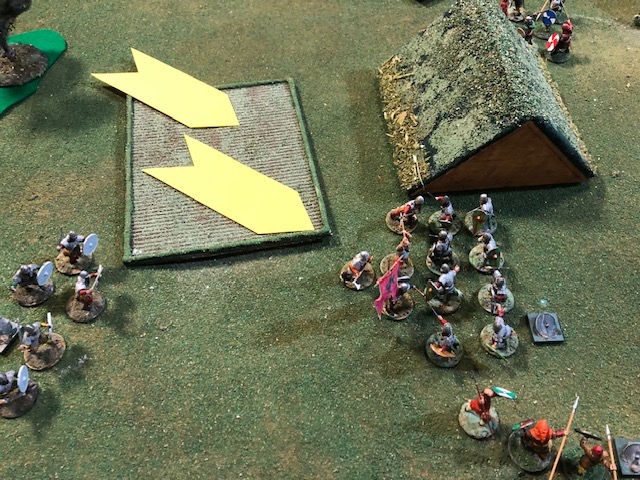
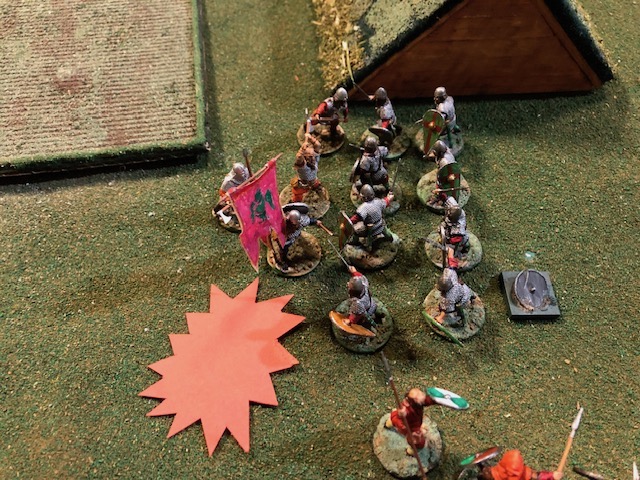
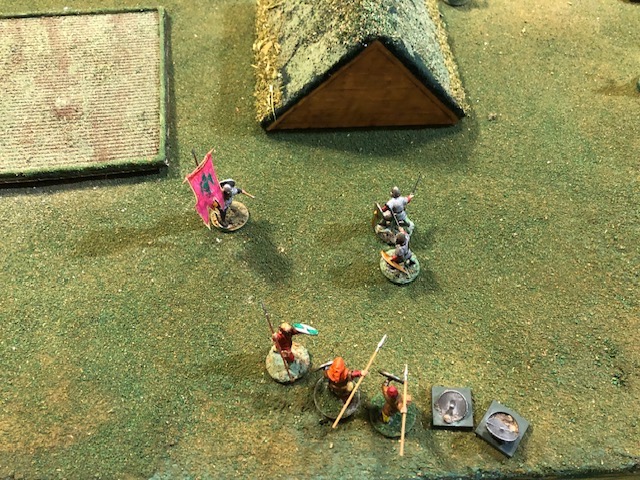
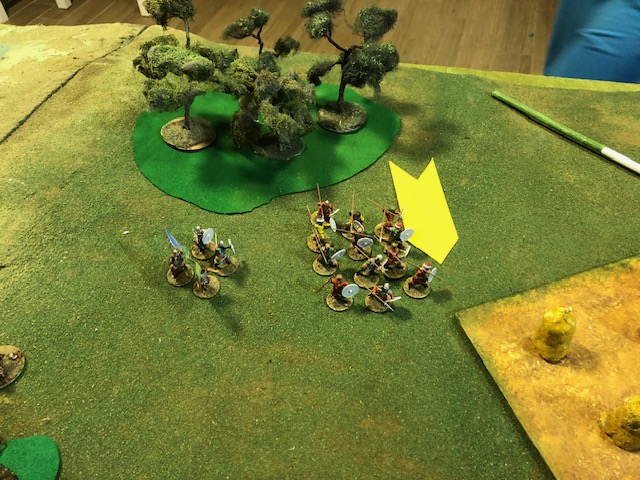
So onto the Anglo-Saxons turn.
In a rush of blood my Walrord decided to take matters into his own hands and rushed like a maniac at the sole remaining Hearthguard. What could possibly go wrong?
Warlords are single figure units and in melee attacks wield eight dice. Against a single Hearthguard (with only 2 dice) I was onto a winner!
I incurred a fatigue with the double move, but I could take that risk.
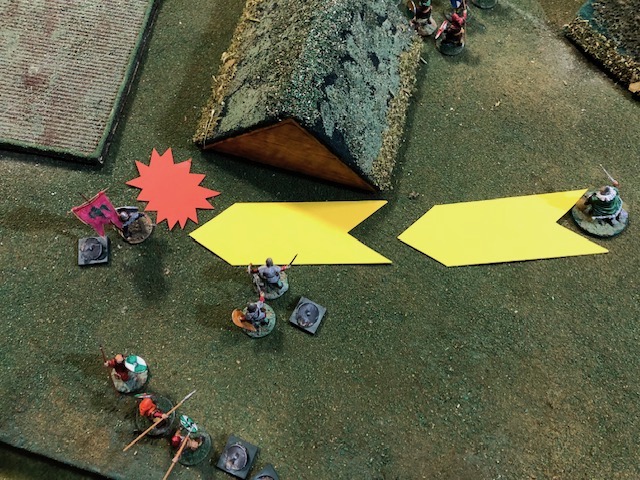
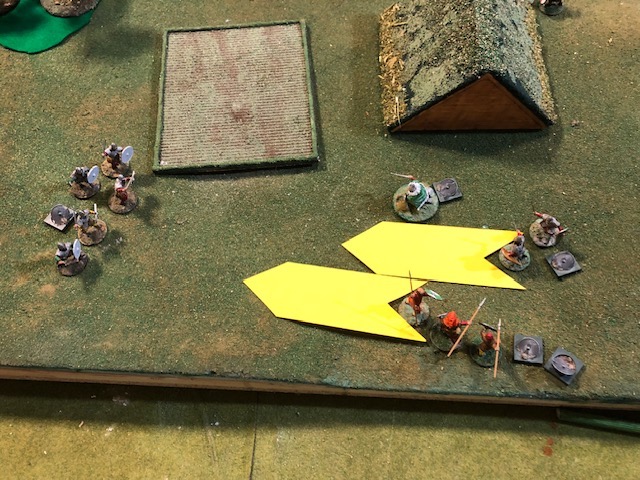
After defeating the sole remaining Hearthguard, I move my depleted warriors and Levies up as a bit of a protective “barrier for my Warlord. It was too early on to risk him further.
So the turn comes to an end with casualties on both sides. (SAGA is a bloody game!)
The Battle! - Part 3
Turn four – Half way through. (Saga lasts 6 turns after which Victory points are assessed).
This was a limited turn by the Vikings who attacked one of the central Anglo-Saxon Levies with their own full strength levies. I think in retrospect I will keep units, particularly Levies, at full strength to ensure they can contribute a SAGA dice as long as possible.
The melee went well enough for the Vikings but fortunately I only suffered two casualties (due to rolling three 6s on my defense throw) and so the unit held on to a SAGA dice by the skin of its teeth!
Thinking that the Gods were with me I launched my depleted Levies on the left into the Viking warriors. As it turned out not the smartest thing in the world, but the casualties were not too bad for me. In the centre my Hearthguard decided they’d had enough standing around and charged into the Levies who had been hanging around for far too long.
Frustratingly they only caused one casualty.
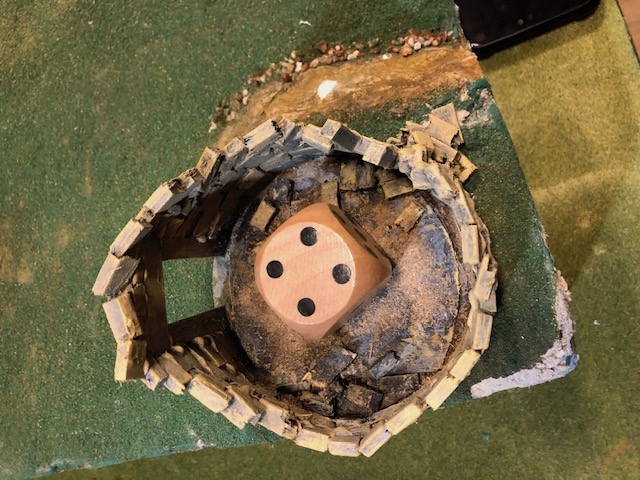
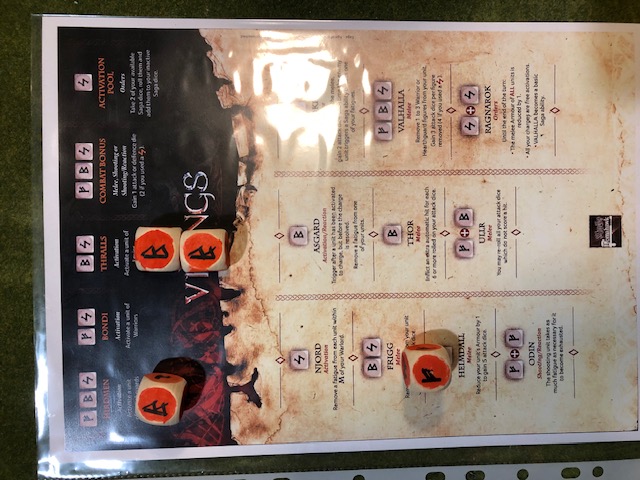
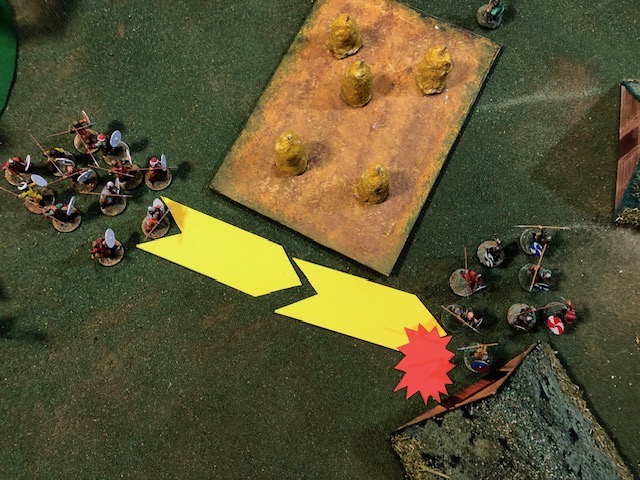
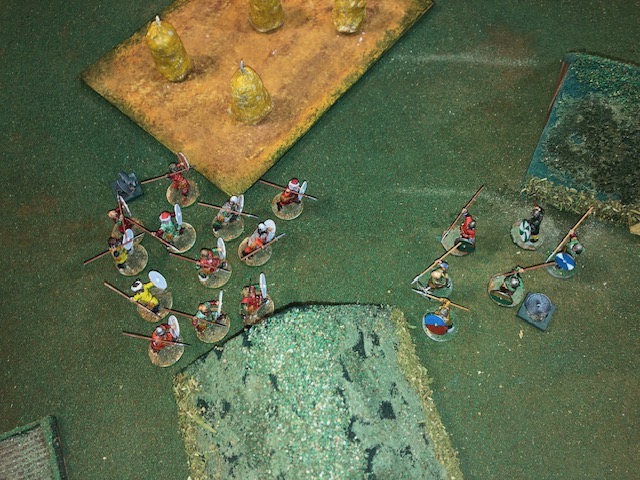
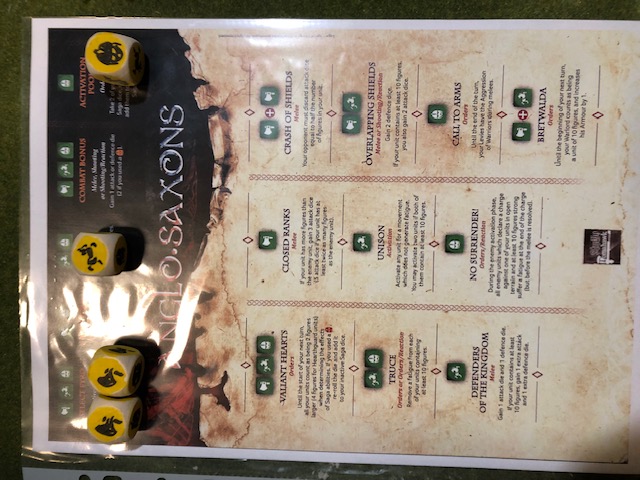
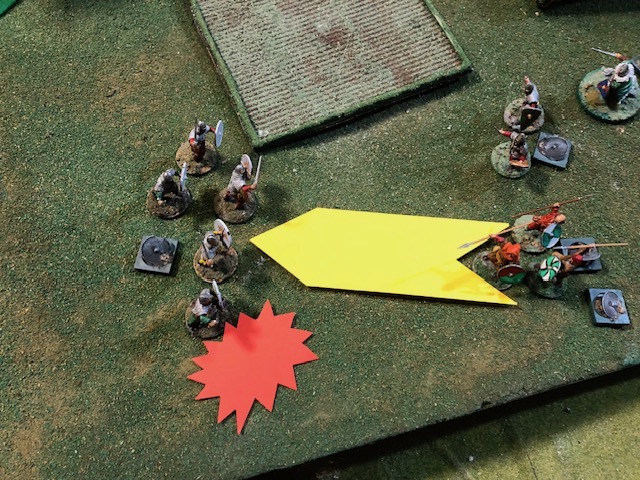
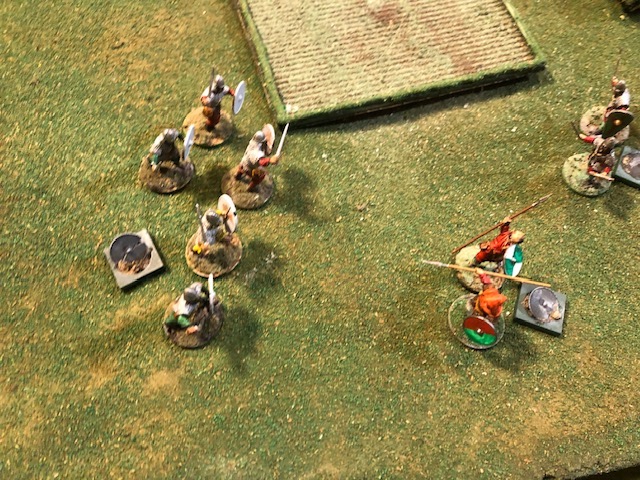
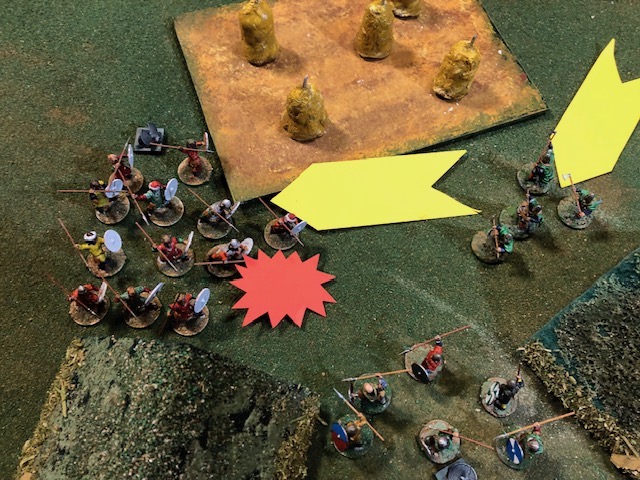
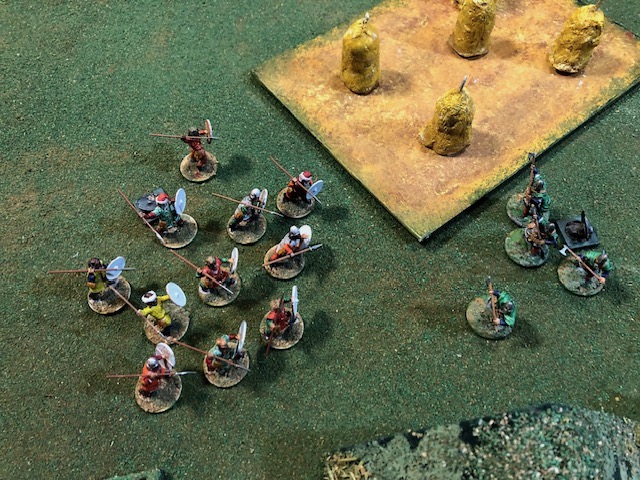
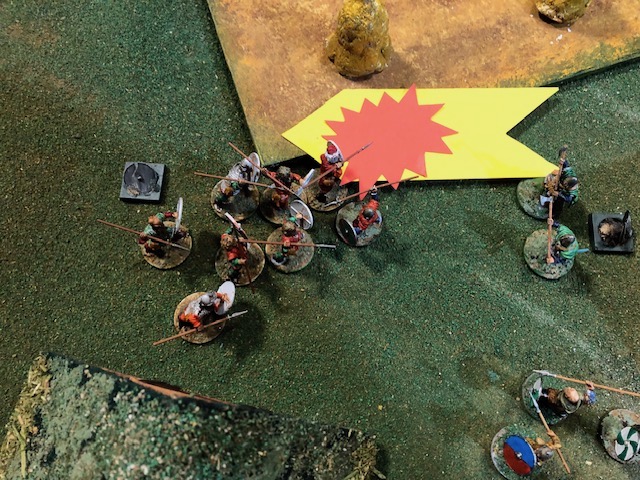
So two melees without a really decisive result. It Was Time! My Warlord had whispered a prayer to his God and charged!
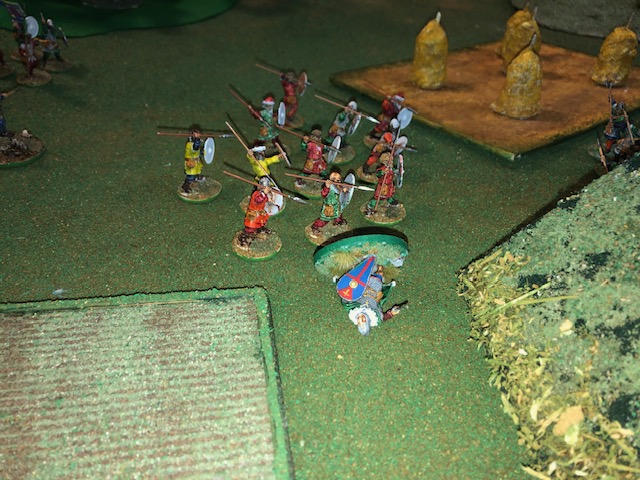 Oh!!!!!!
The loss of the Warlord was a shock (I think we misinterpreted the rules here, so maybe he could have survived – I’ll check that later) and Anton was as delighted as I was stunned! This wasn’t supposed to go like this!
So with some demoralization we started turn 5.
We were getting fewer dice to play with at this point, but one of the “Activity” options on the top of the SAGA Battle Board allows you to replace a die with TWO others (if you’re lucky enough to roll one) and Anton was lucky, so managed to gain an extra couple of die for the penultimate turn.
He took the opportunity (perhaps as a result of overconfidence?) and attacked with his Warlord into my Hearthguard. The dice Gods were not kind, and his Warlord also fell despite inflicting a casualty on the Hearthguard. Valhalla awaits this Viking hero.
In a demonstration of fealty, the levies charged into the Hearthguard who had cruelly cut down their leader, but to little effect and after taking casualties had to withdraw.
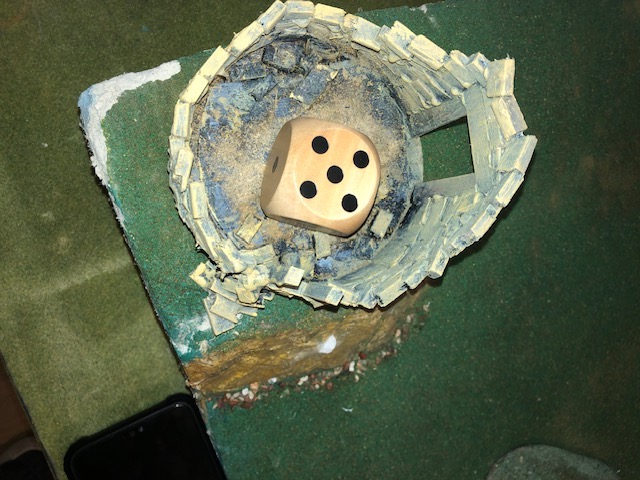
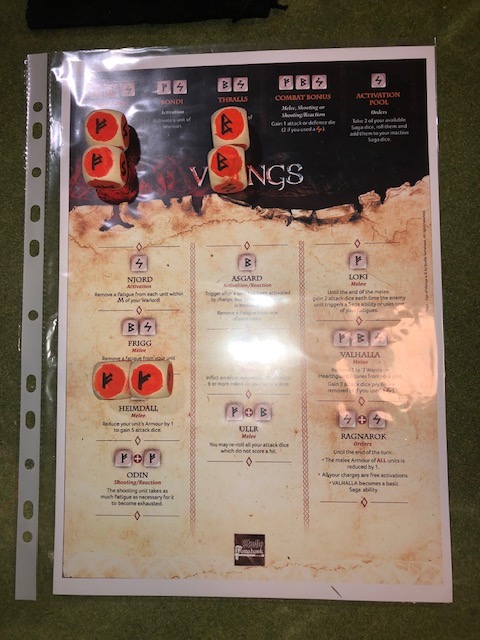
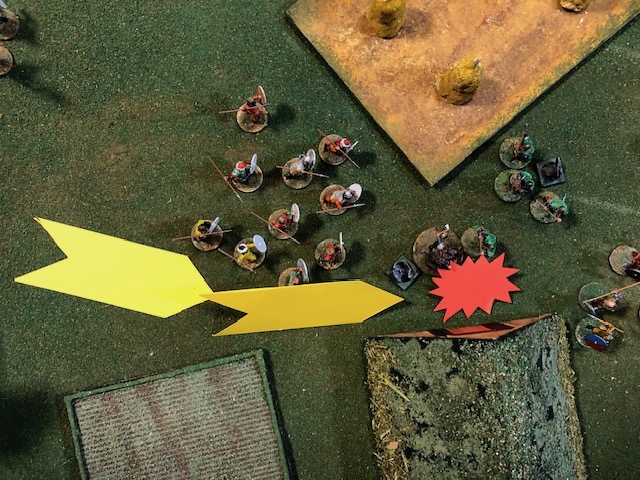
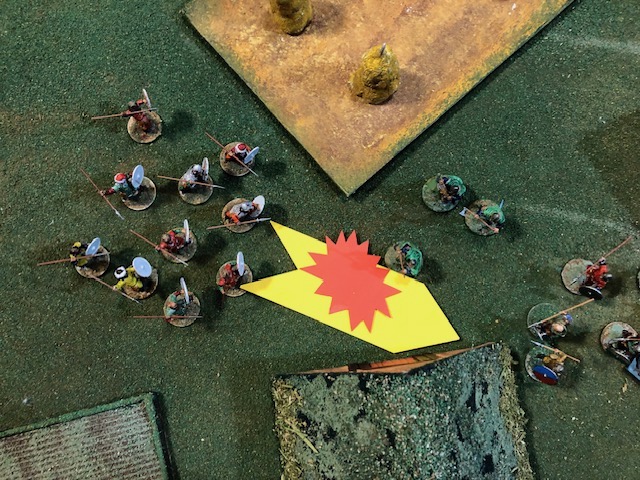
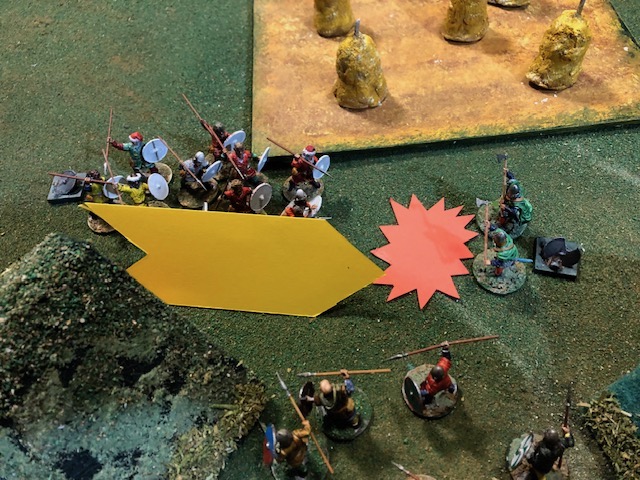
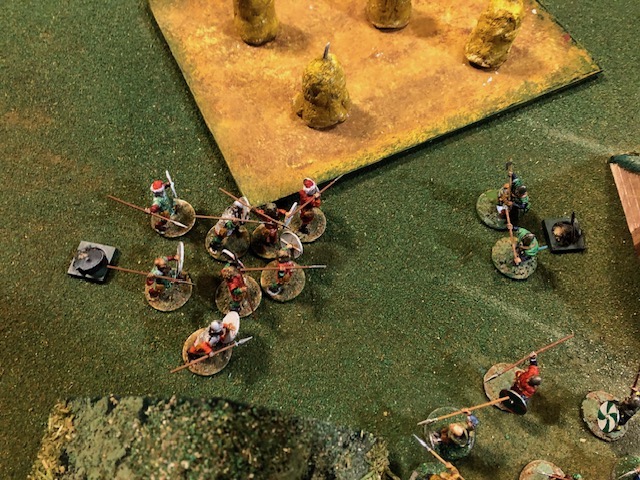
The Anglo-Saxons-Saxons saw the tide turning but with little to achieve with their dice, settled into a defensive position for the final turn.
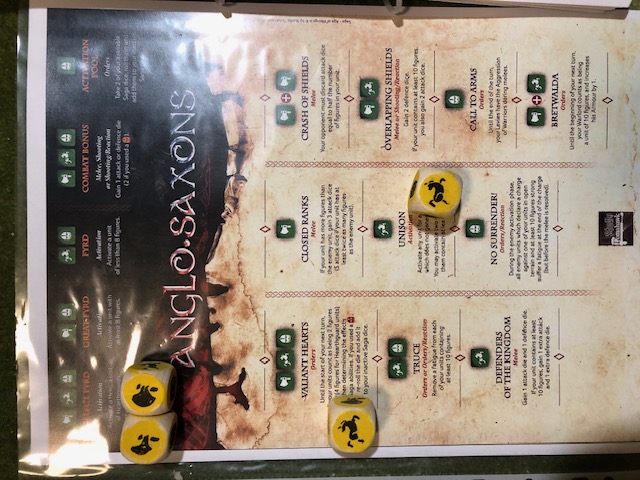
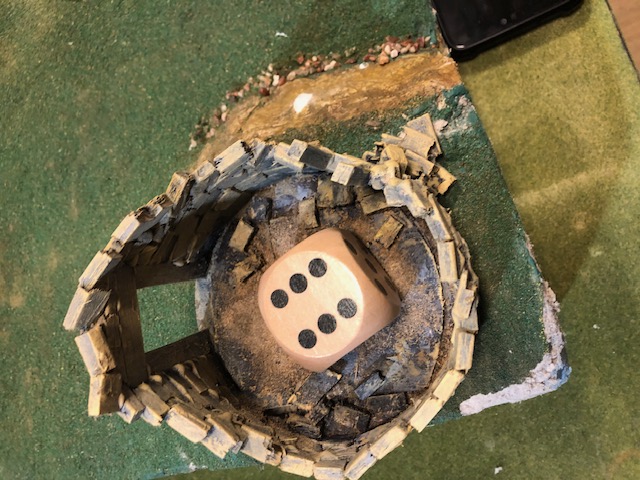
Turn 6 was a final flurry of little effective action with the Anglo-Saxon Hearthguard in a final indecisive attack on the Levies.
So time to assess the victors. In SAGA points are awarded for casualties caused depending on unit type (Warlords are worth 4 points, but Levies only 1 point for every three casualties) so as we assessed the points the tension was high.
Result:
Vikings 12 points
Anglo-Saxons 12 points
A worthy draw.
We both enjoyed the game and although I think we might have got a couple of rules wrong, the game itself flows quickly once you become familiar with the basic rules and the way the game plays is quite intuitive. the battle Boards are the key to success I think and further game play and practice with them should prove to be the key to the full enjoyment of this great game.
So, my last post for the Challenge, thanks to those following along and Happy Gaming

![Battle It Out In The Early War With New Flames Of War Set [Updated]](https://images.beastsofwar.com/2026/10/fow-barbarossa-cover-600-338.jpg)