



Manda’s (Amachan) ‘Oiling Up’ Project




Recommendations: 1124
About the Project
In this project I will go through some experimentation with painting in the Grimdark style and using those lessons learned to develop my own, more gritty paint style. I will be using oil paints for the first time in combination with acrylics, enamels and some wax paints, hence the title...
Related Genre: General
This Project is Active
Sliding Back in the Groove.
I am getting back into this project. Because of my health, I know now I have a functional neurological disorder, I am still struggling painting and working with the really small stuff like 15mm figures for my Eastern Front project. It may improve over time and than I would get back onto that project. So I am getting back in this oily mess in order to work on developing a style for more gritty looking historical figures.
Things I learned.
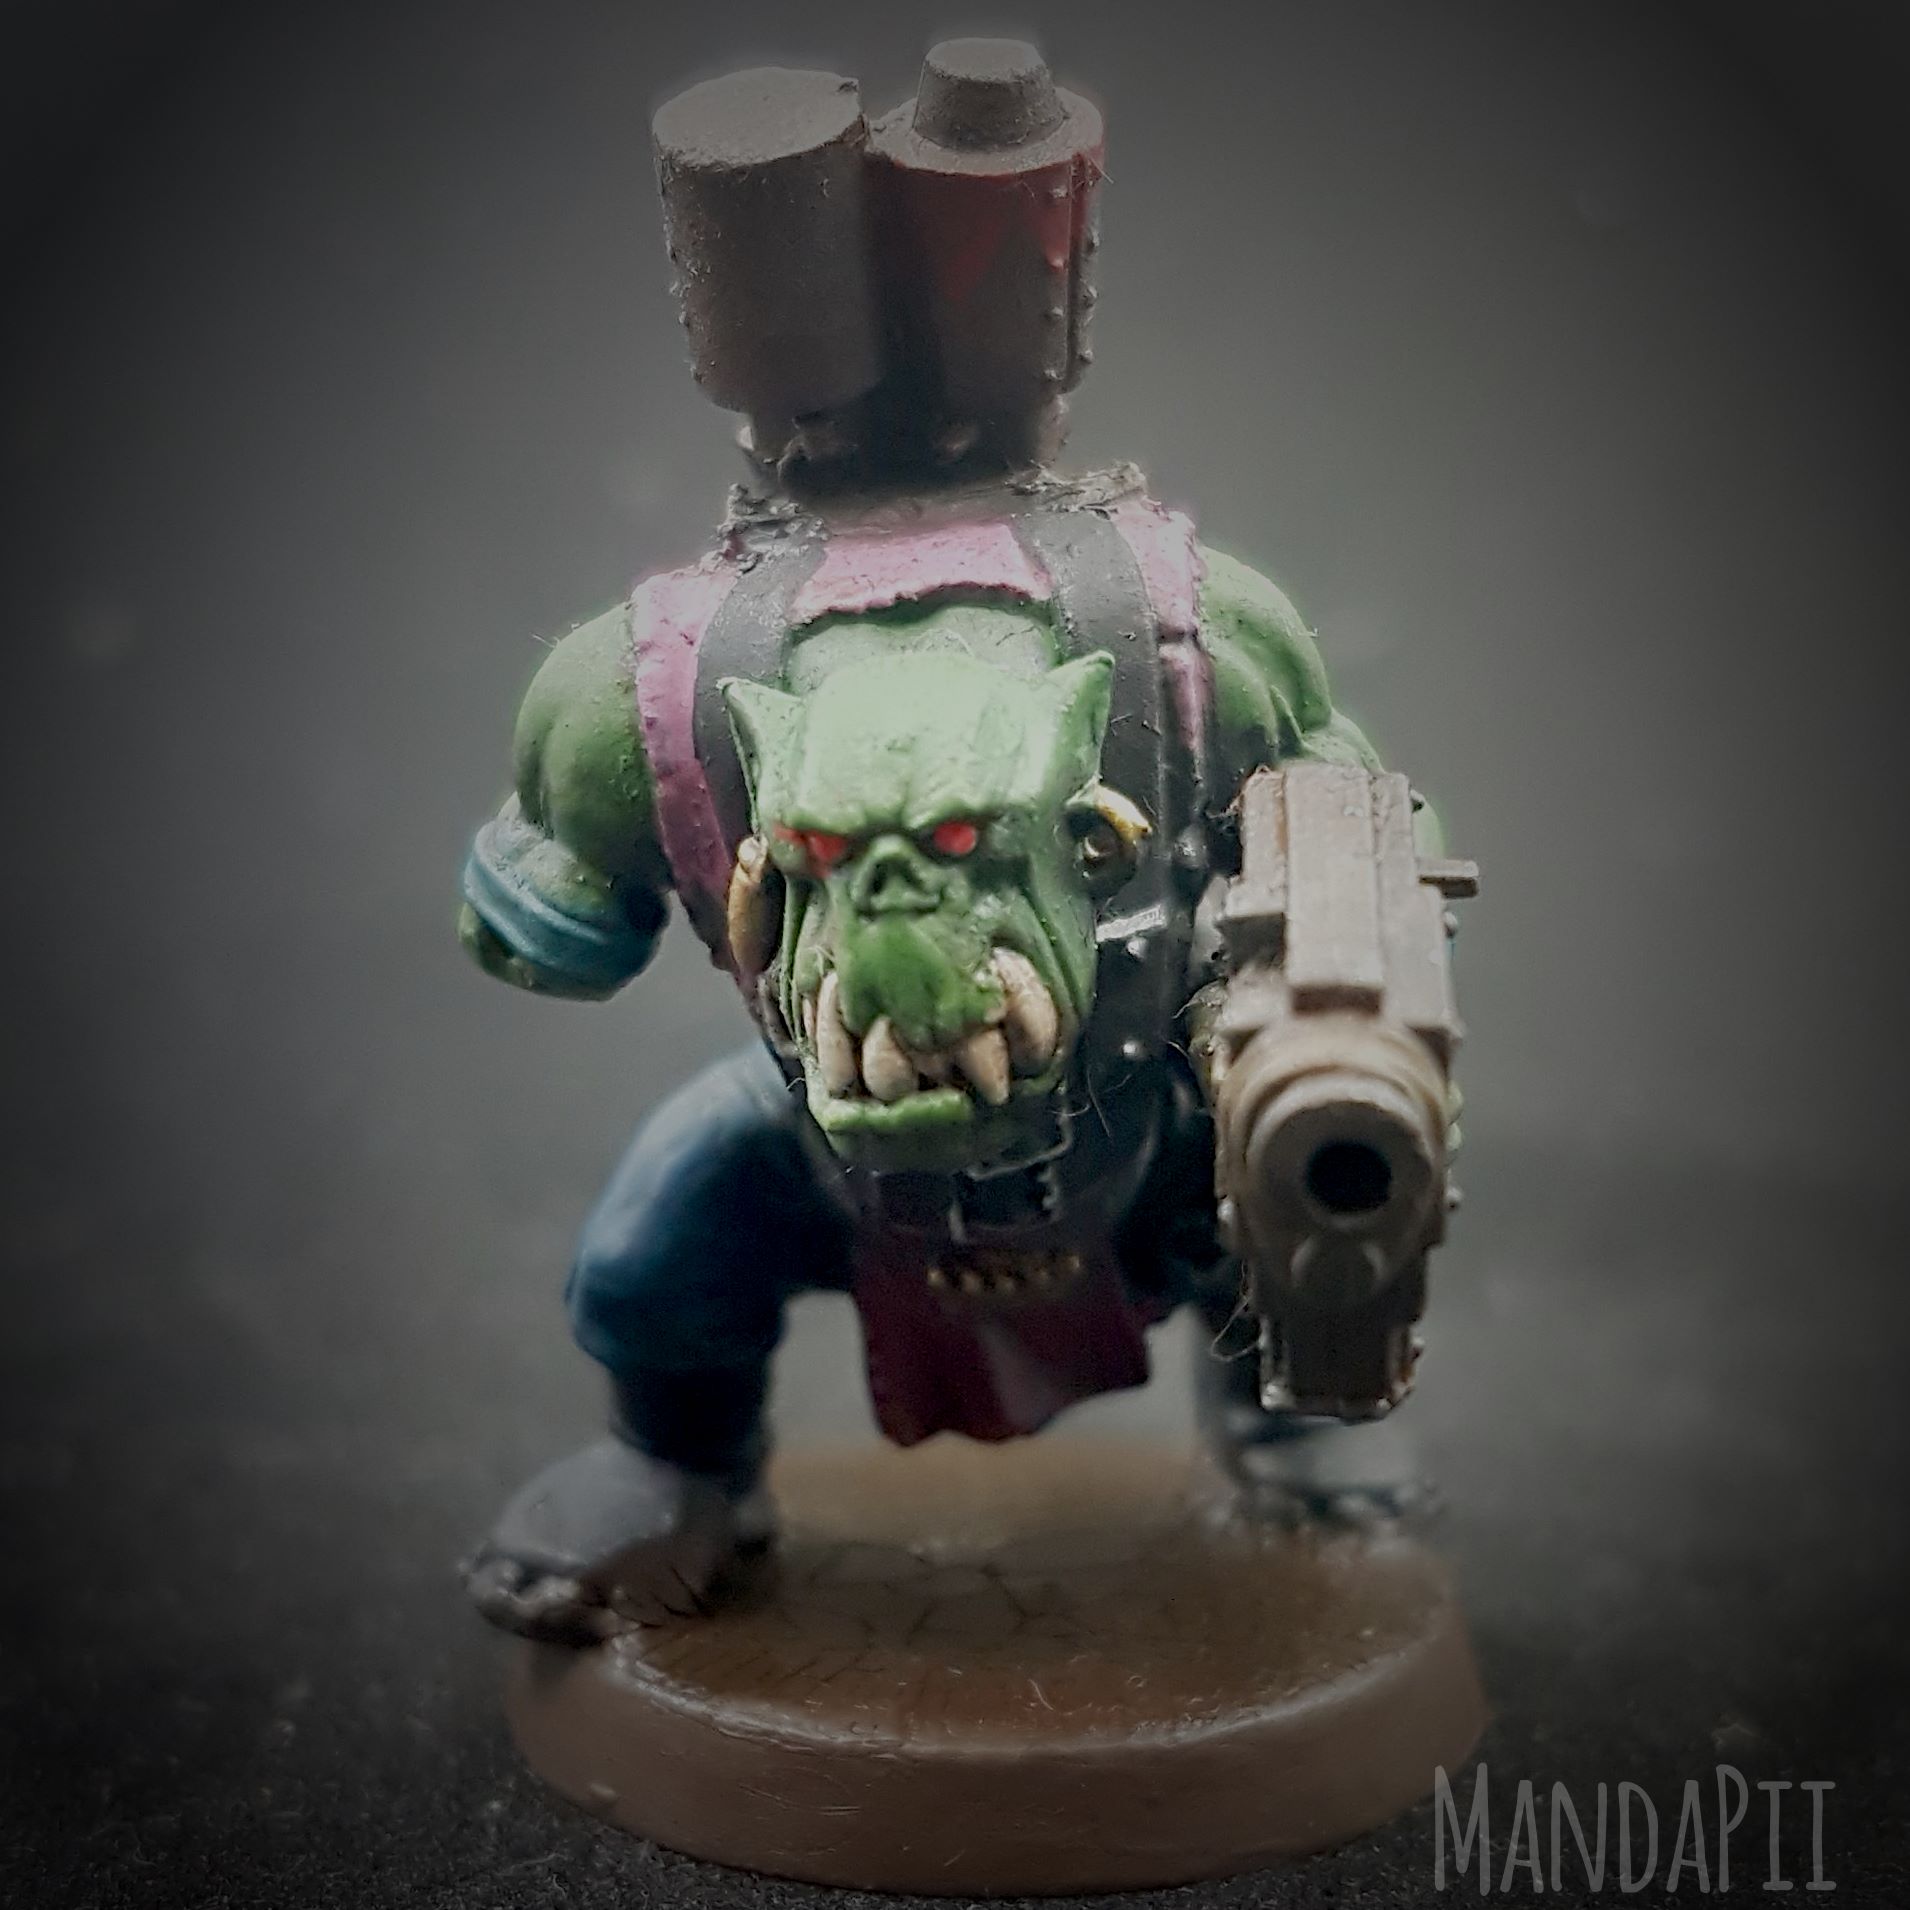
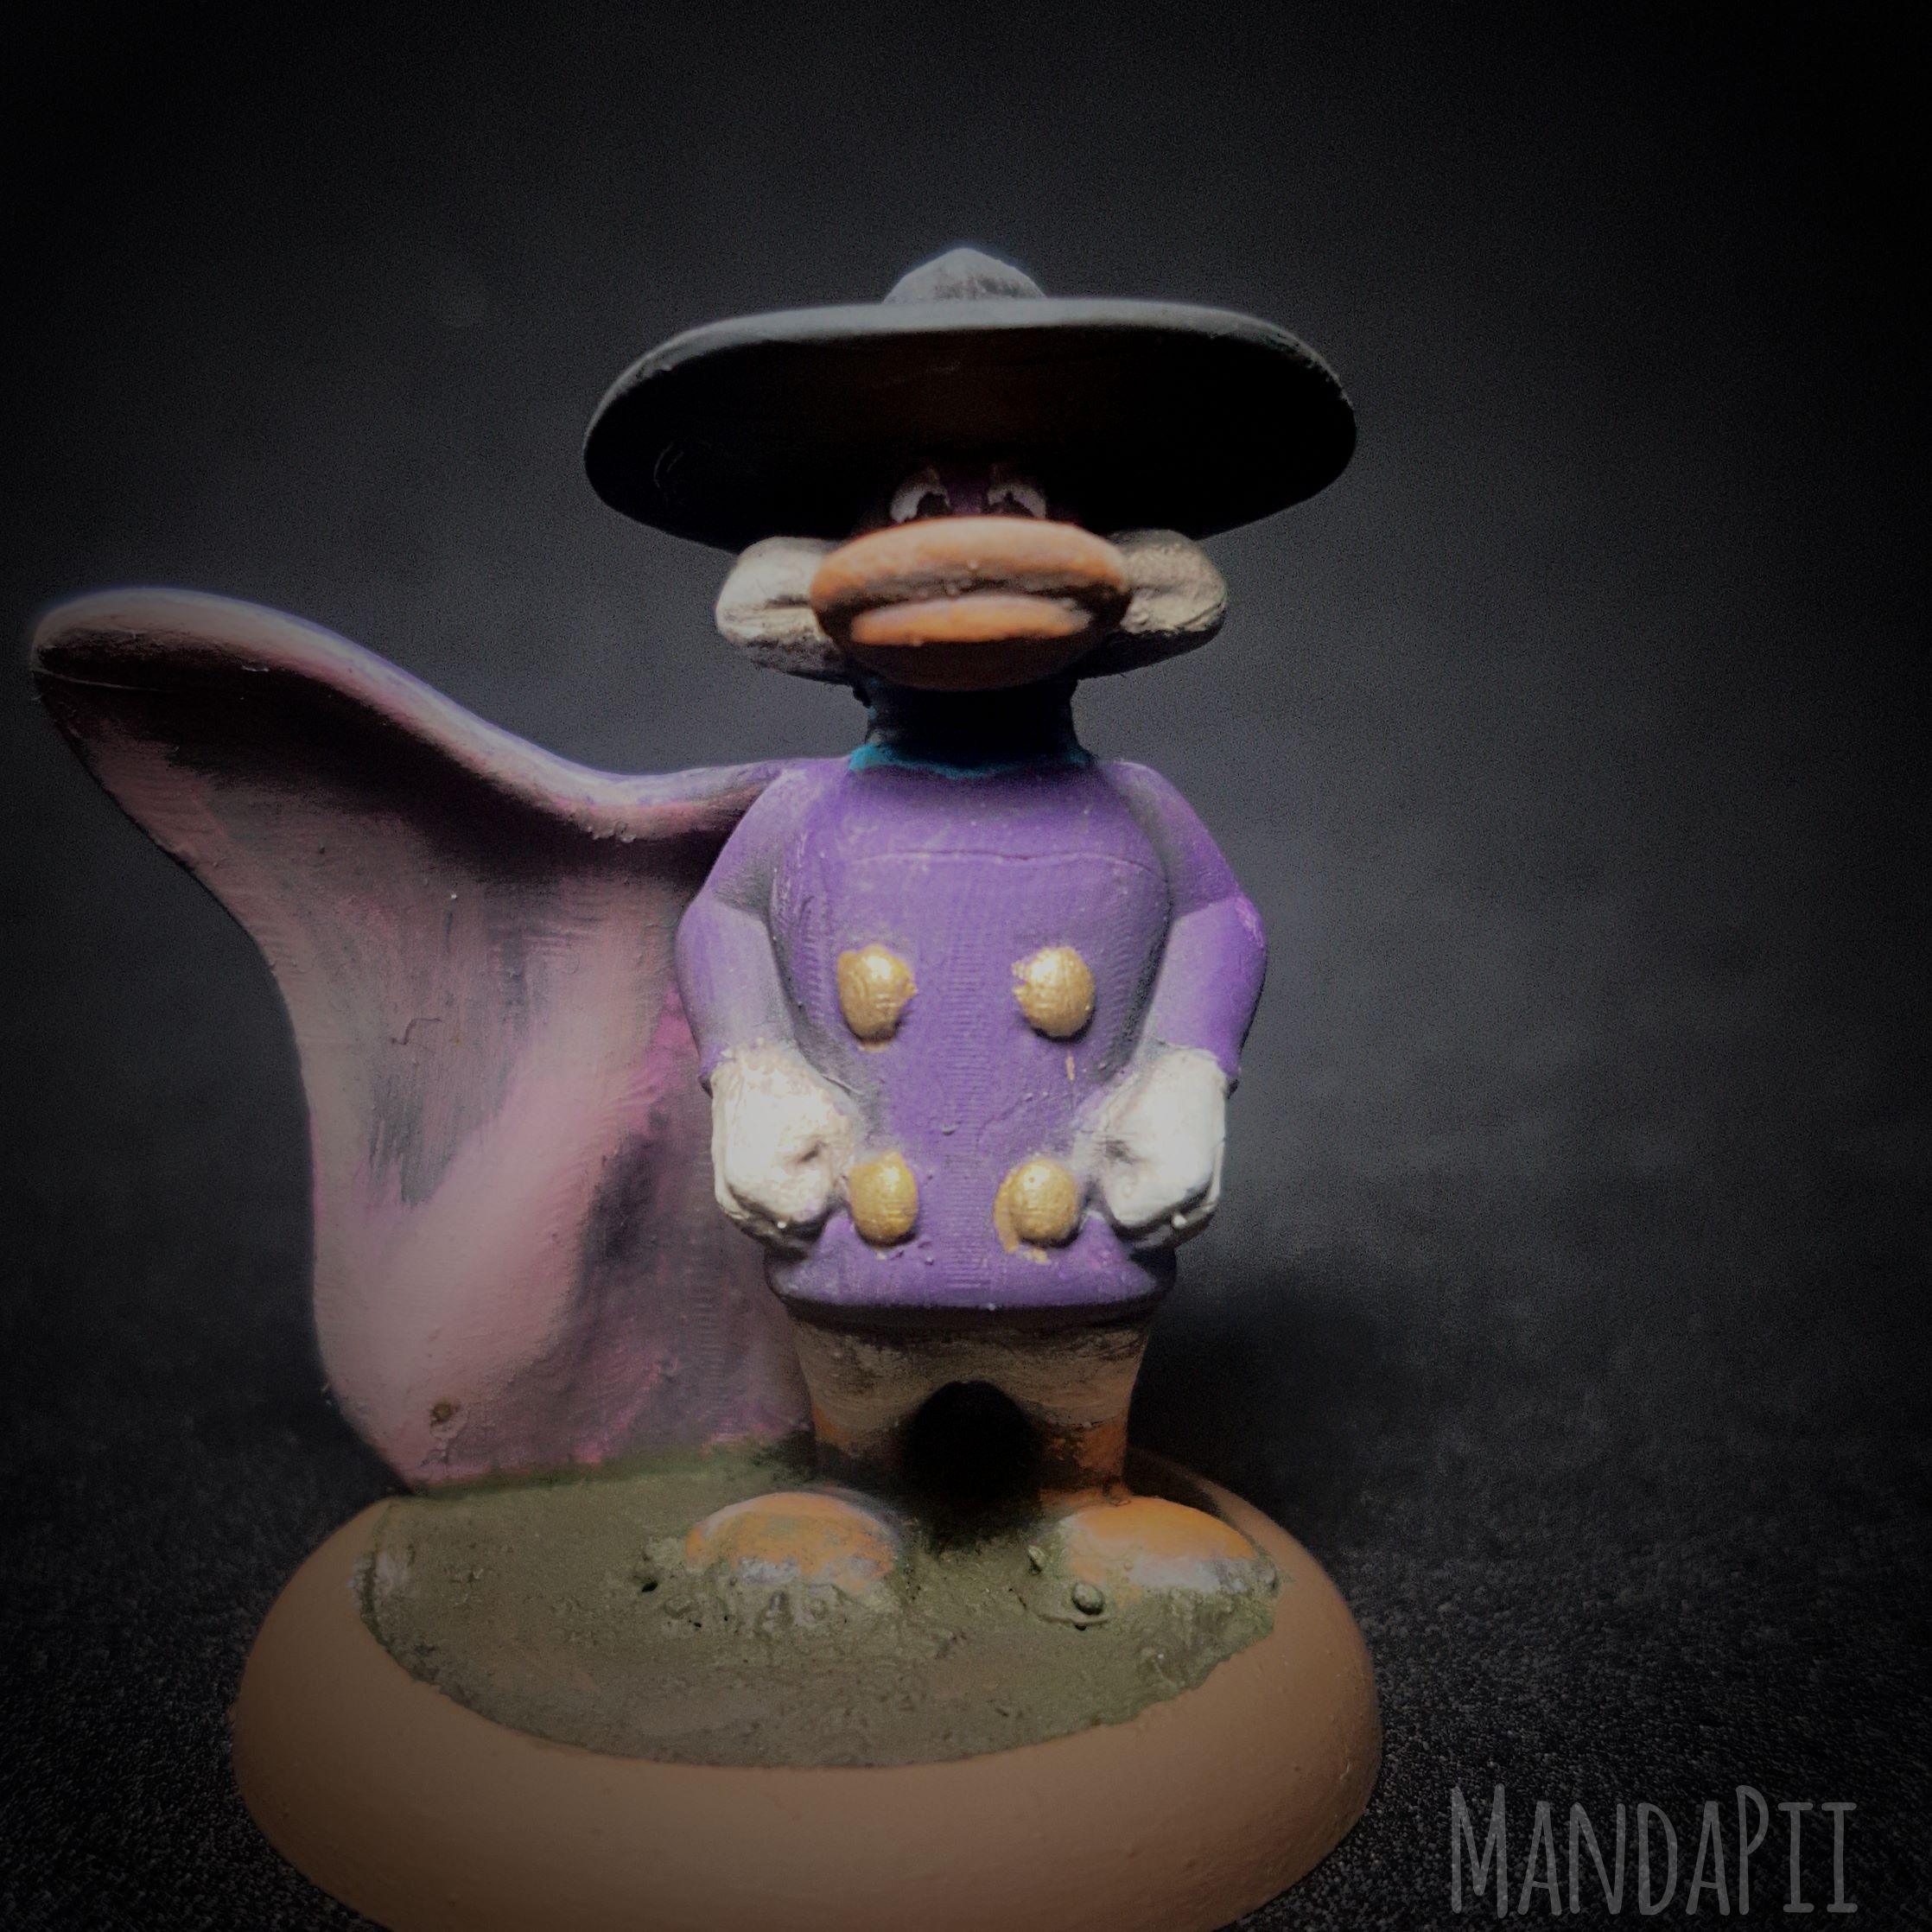
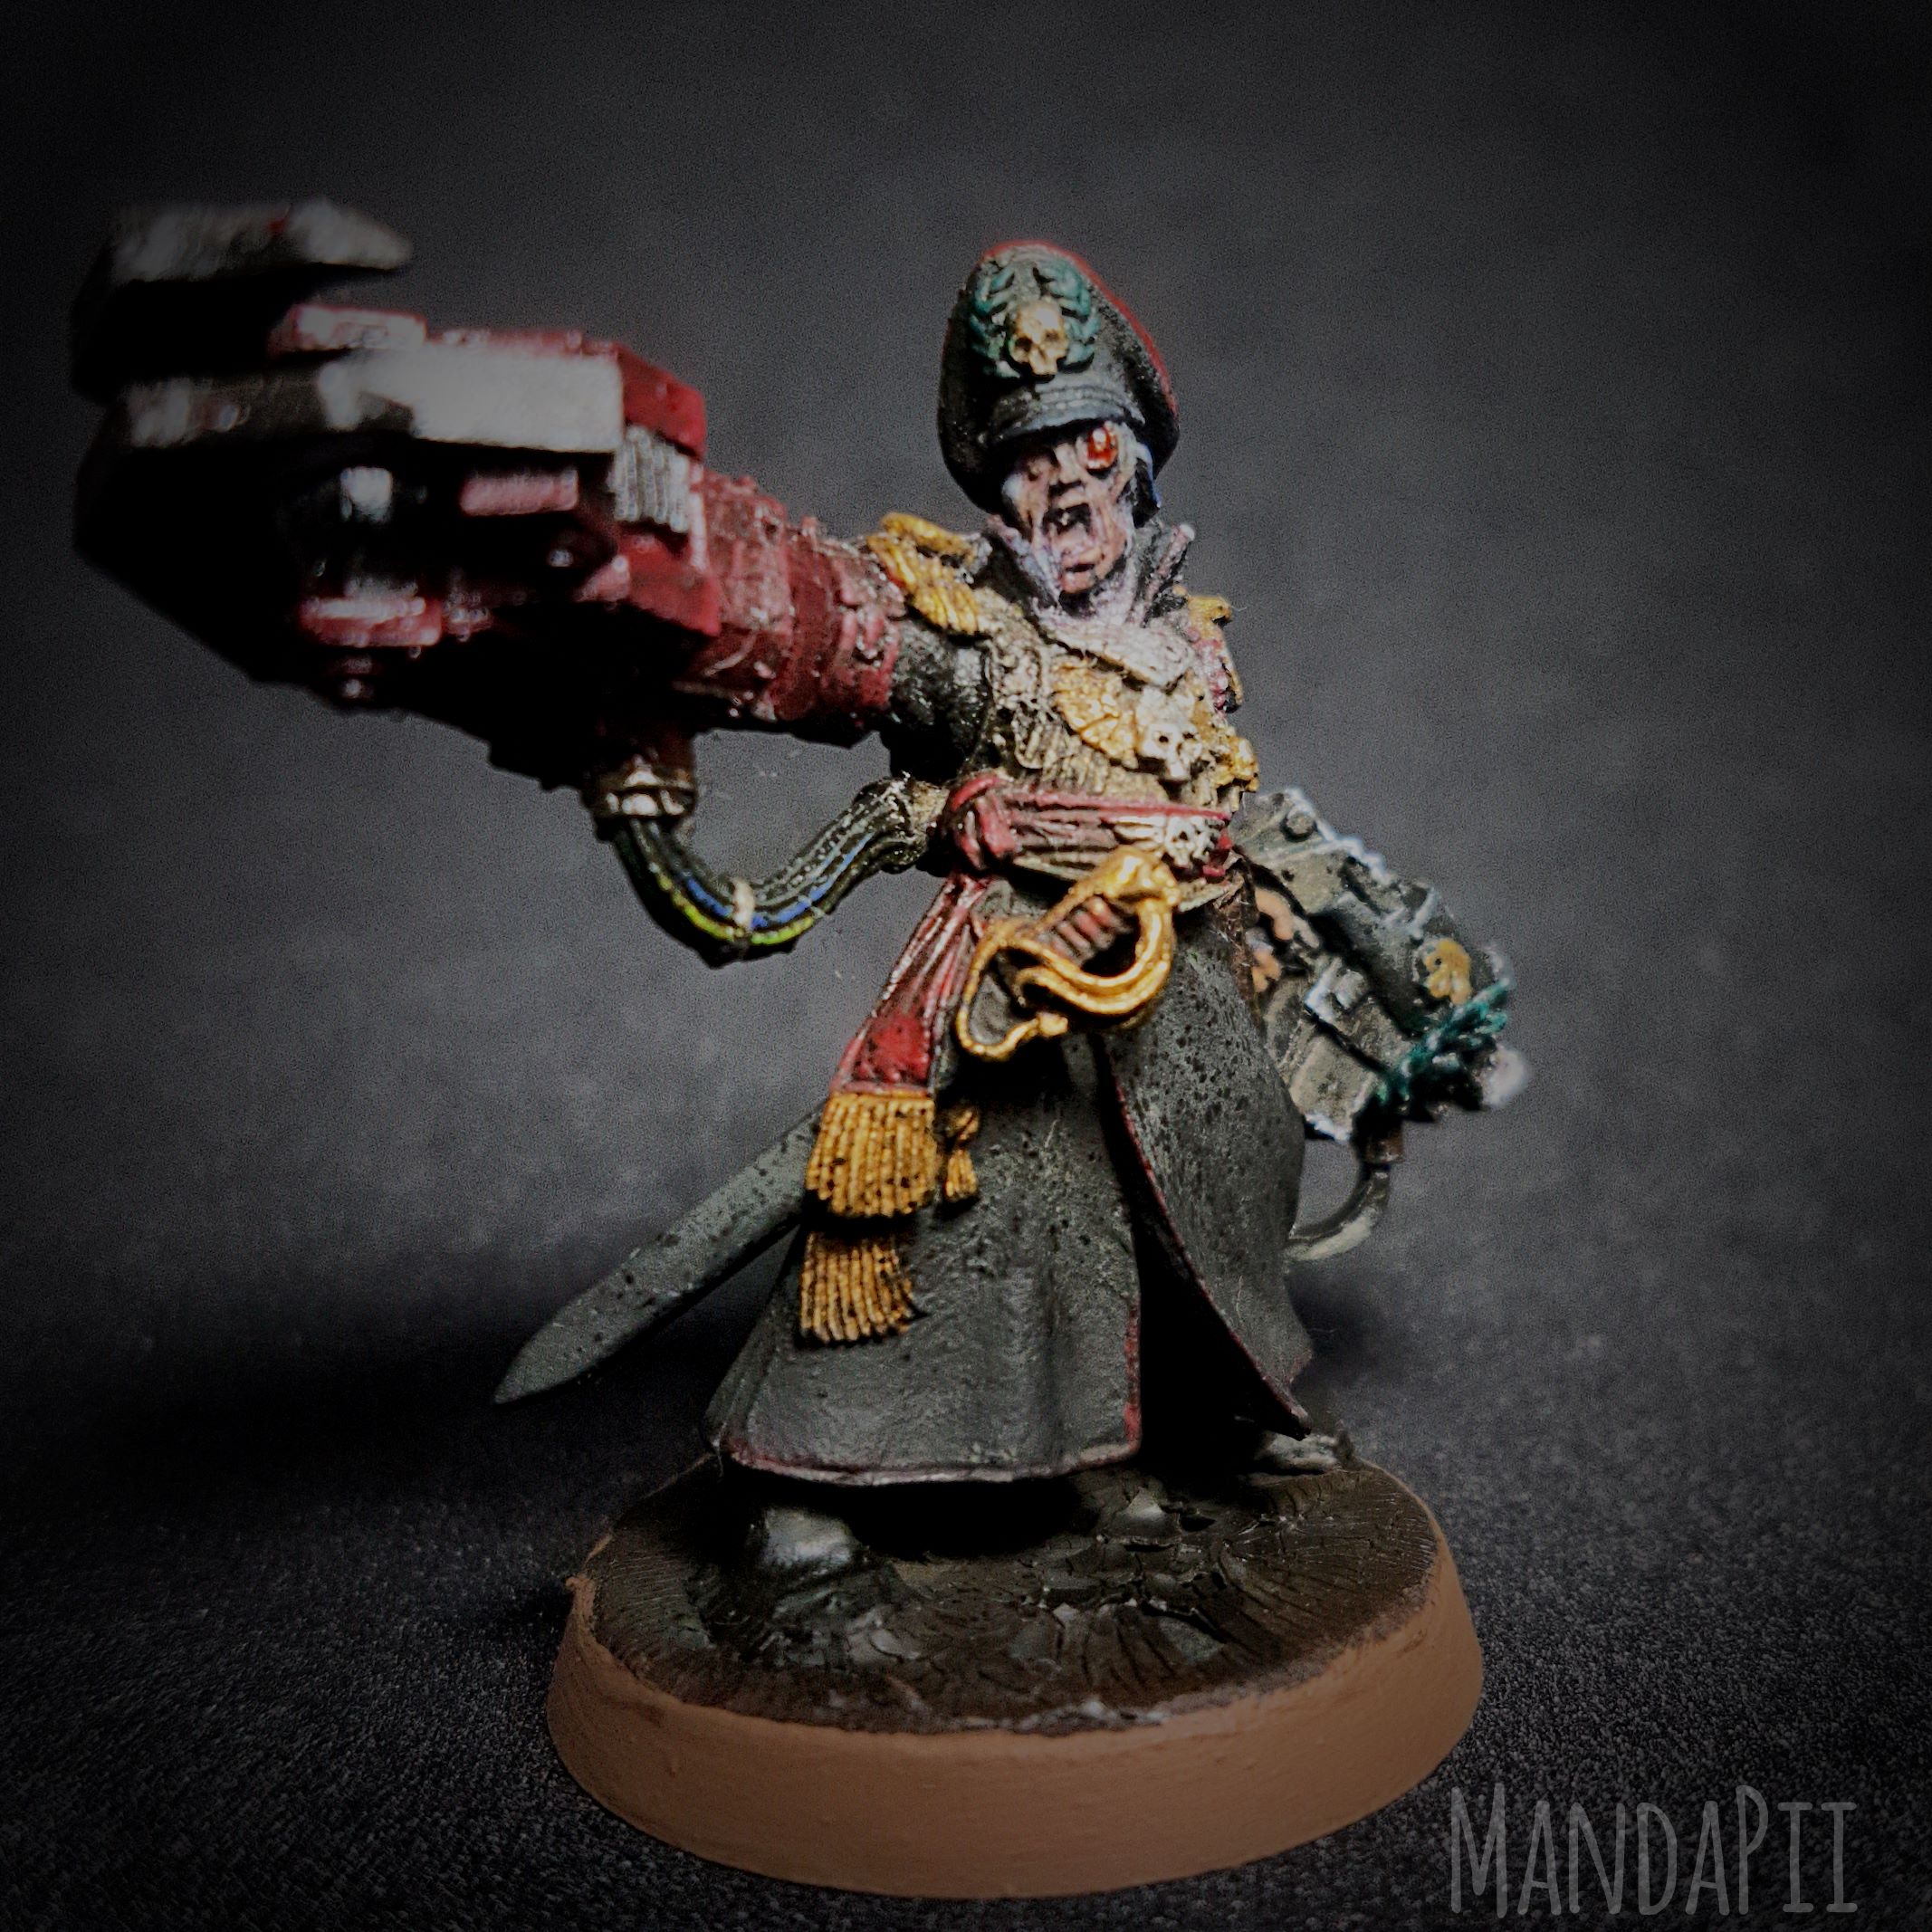
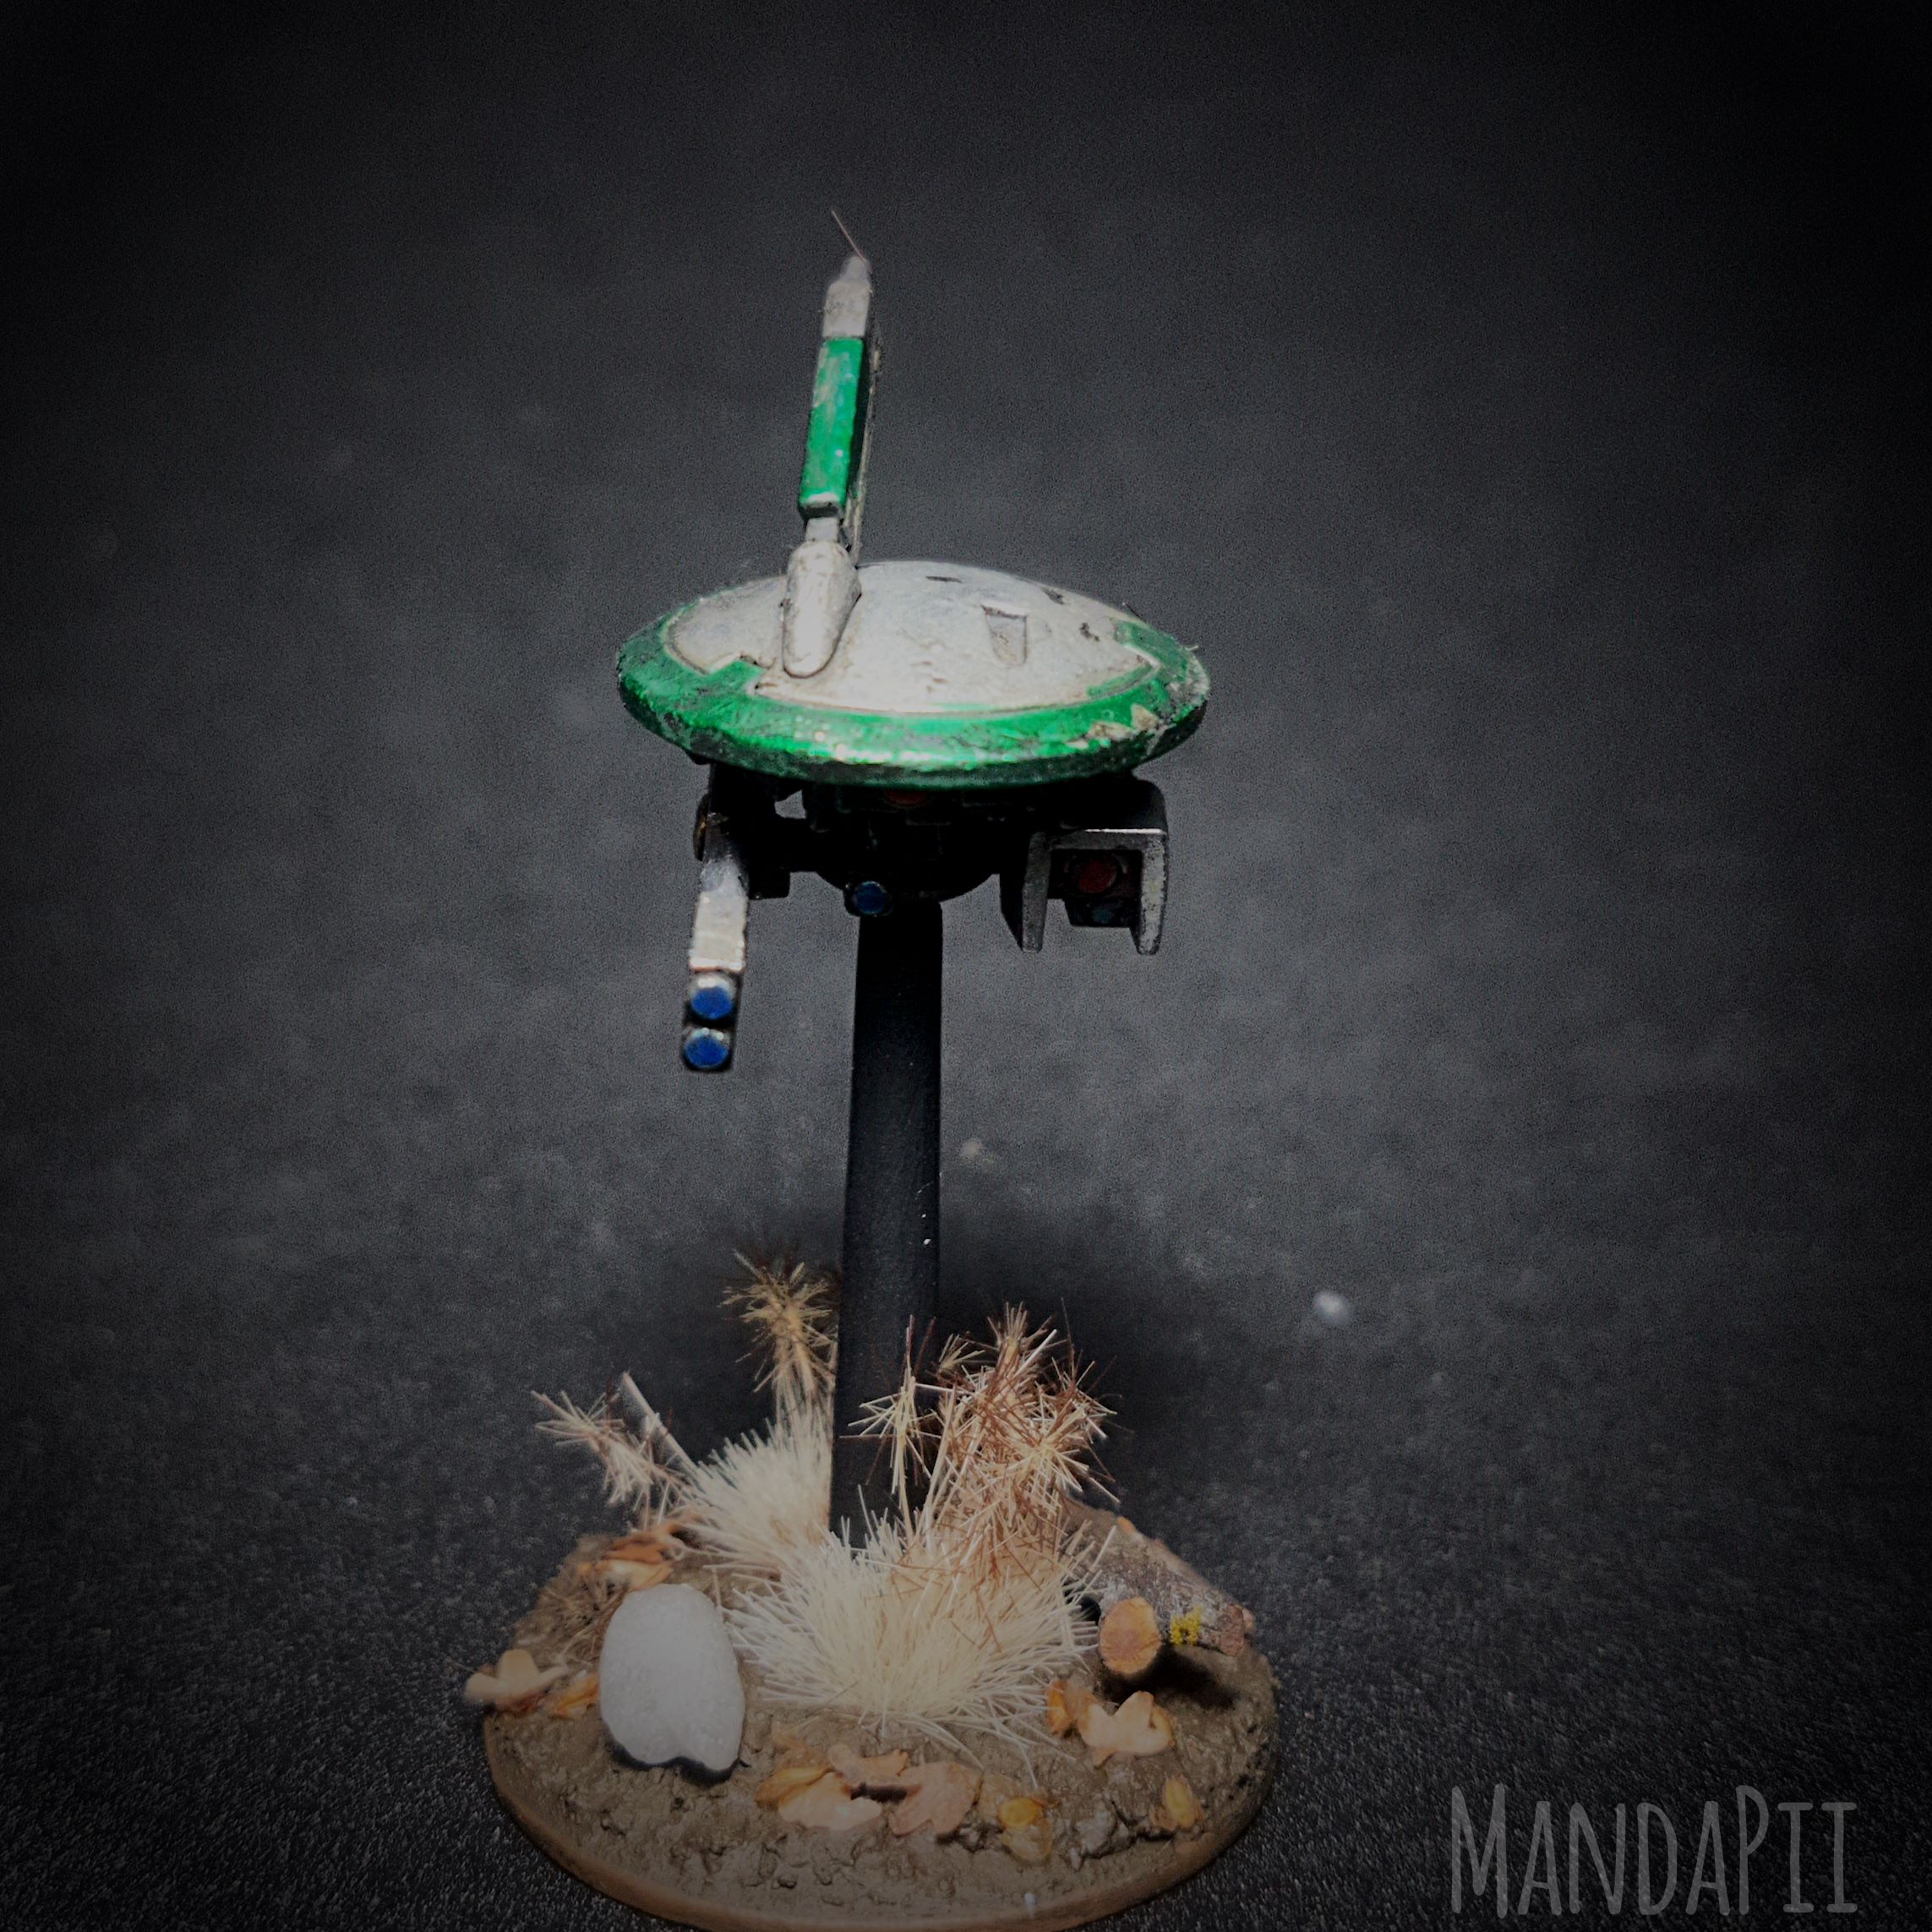
Because I have been painting using the new paints and techniques on my project where I figure out what I can do with my disabilities I have learned quite a bit more. Here are some examples of what I painted in that project and a link to that project as well so you can have a look.
Precision
Less precision is required when working with oils and enamels, as it is quite easy to just put a bit of mineral spirits on your brush and remove or work the oils and enamels into the places where you want them to be. This has been very beneficial to me with my current health problems.
Reducing the Amount of Oil & Shine.
By putting the oil paint from the tube onto a paper towel first and then either use it from there if I use it straight or move the paint to a different palette with a palette knife I really reduce the amount of excess oil I have in the paint. I can then thin it using mineral spirits, this really helps reducing the shininess that I got from the oil paints at times.
Blu Tack and Solvents.
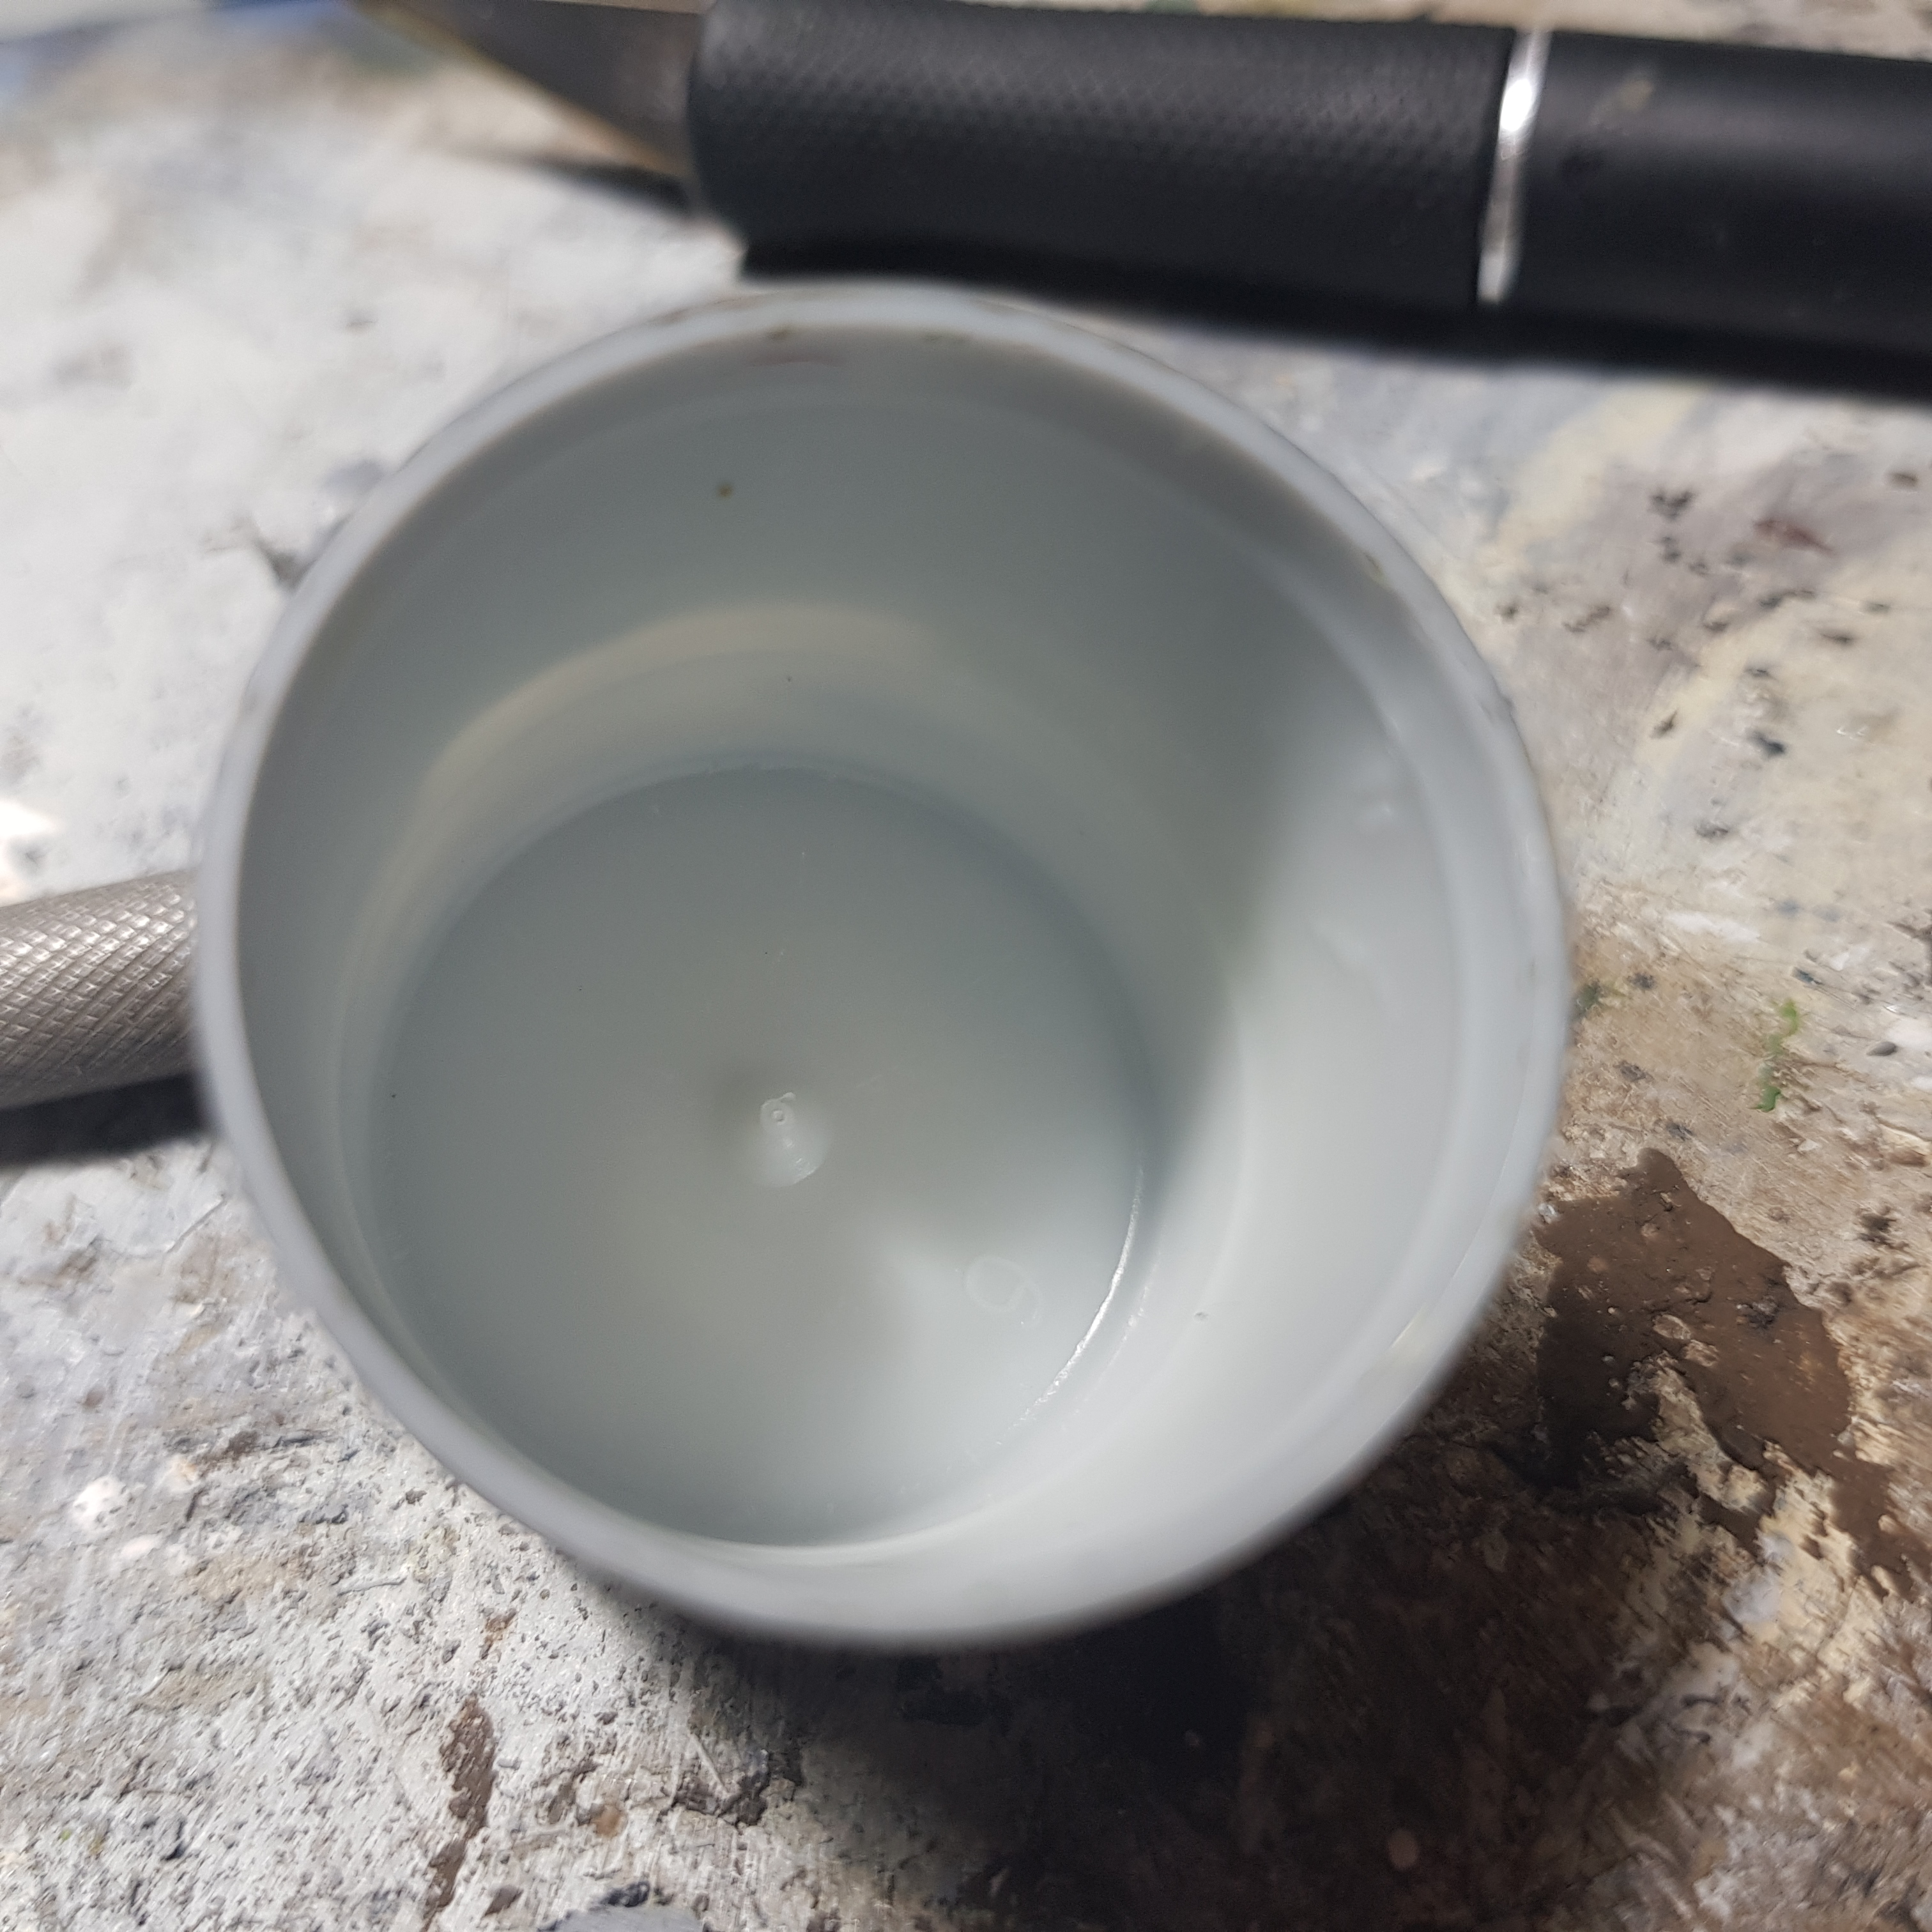
I more and more started to notice that the Blu Tack was letting go because of the solvents I use, mainly mineral spirits, with oil and enamel paints. Blu Tack is an oil based product so it is no surprise really. This has made me rethink my paint handles. The only one on the market that would technically work is the GW one, but that’s too expensive. So I decided to magnetize my painting handles. Since I use cheap glue sticks as painting handles they all have a lid I can take off and that can rotate. I took off the lid cleaned and roughed up the surface.
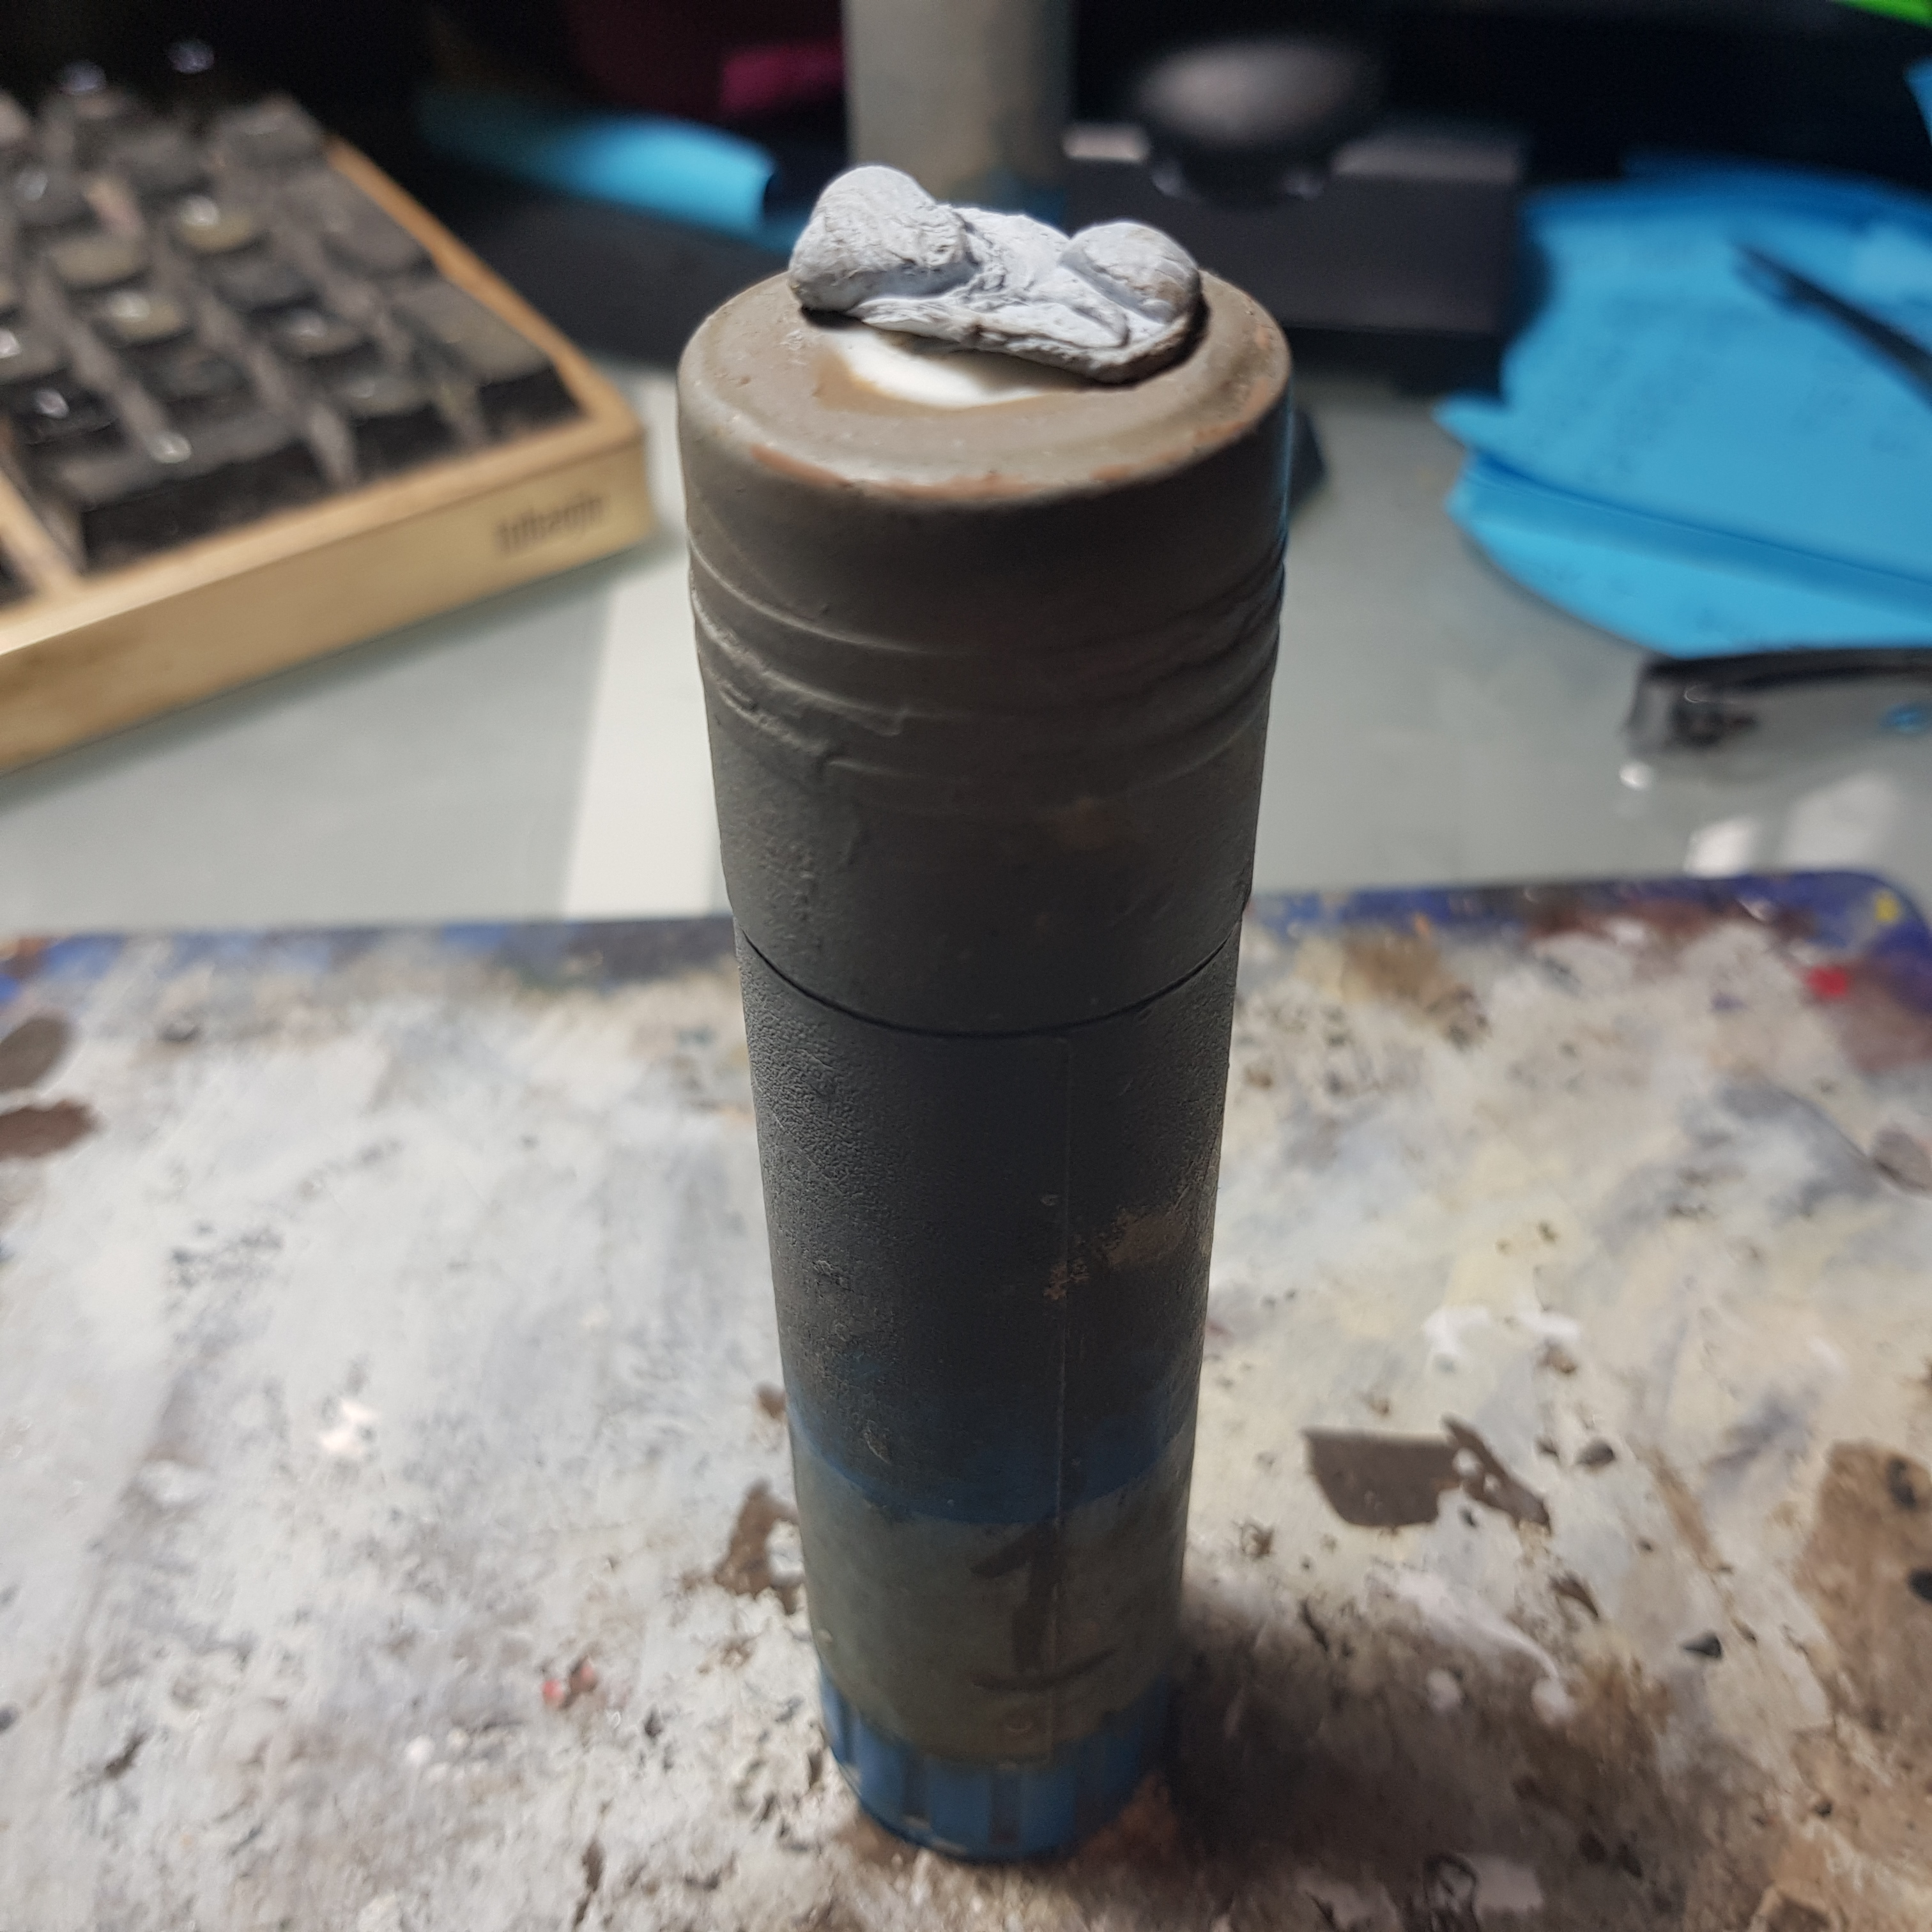
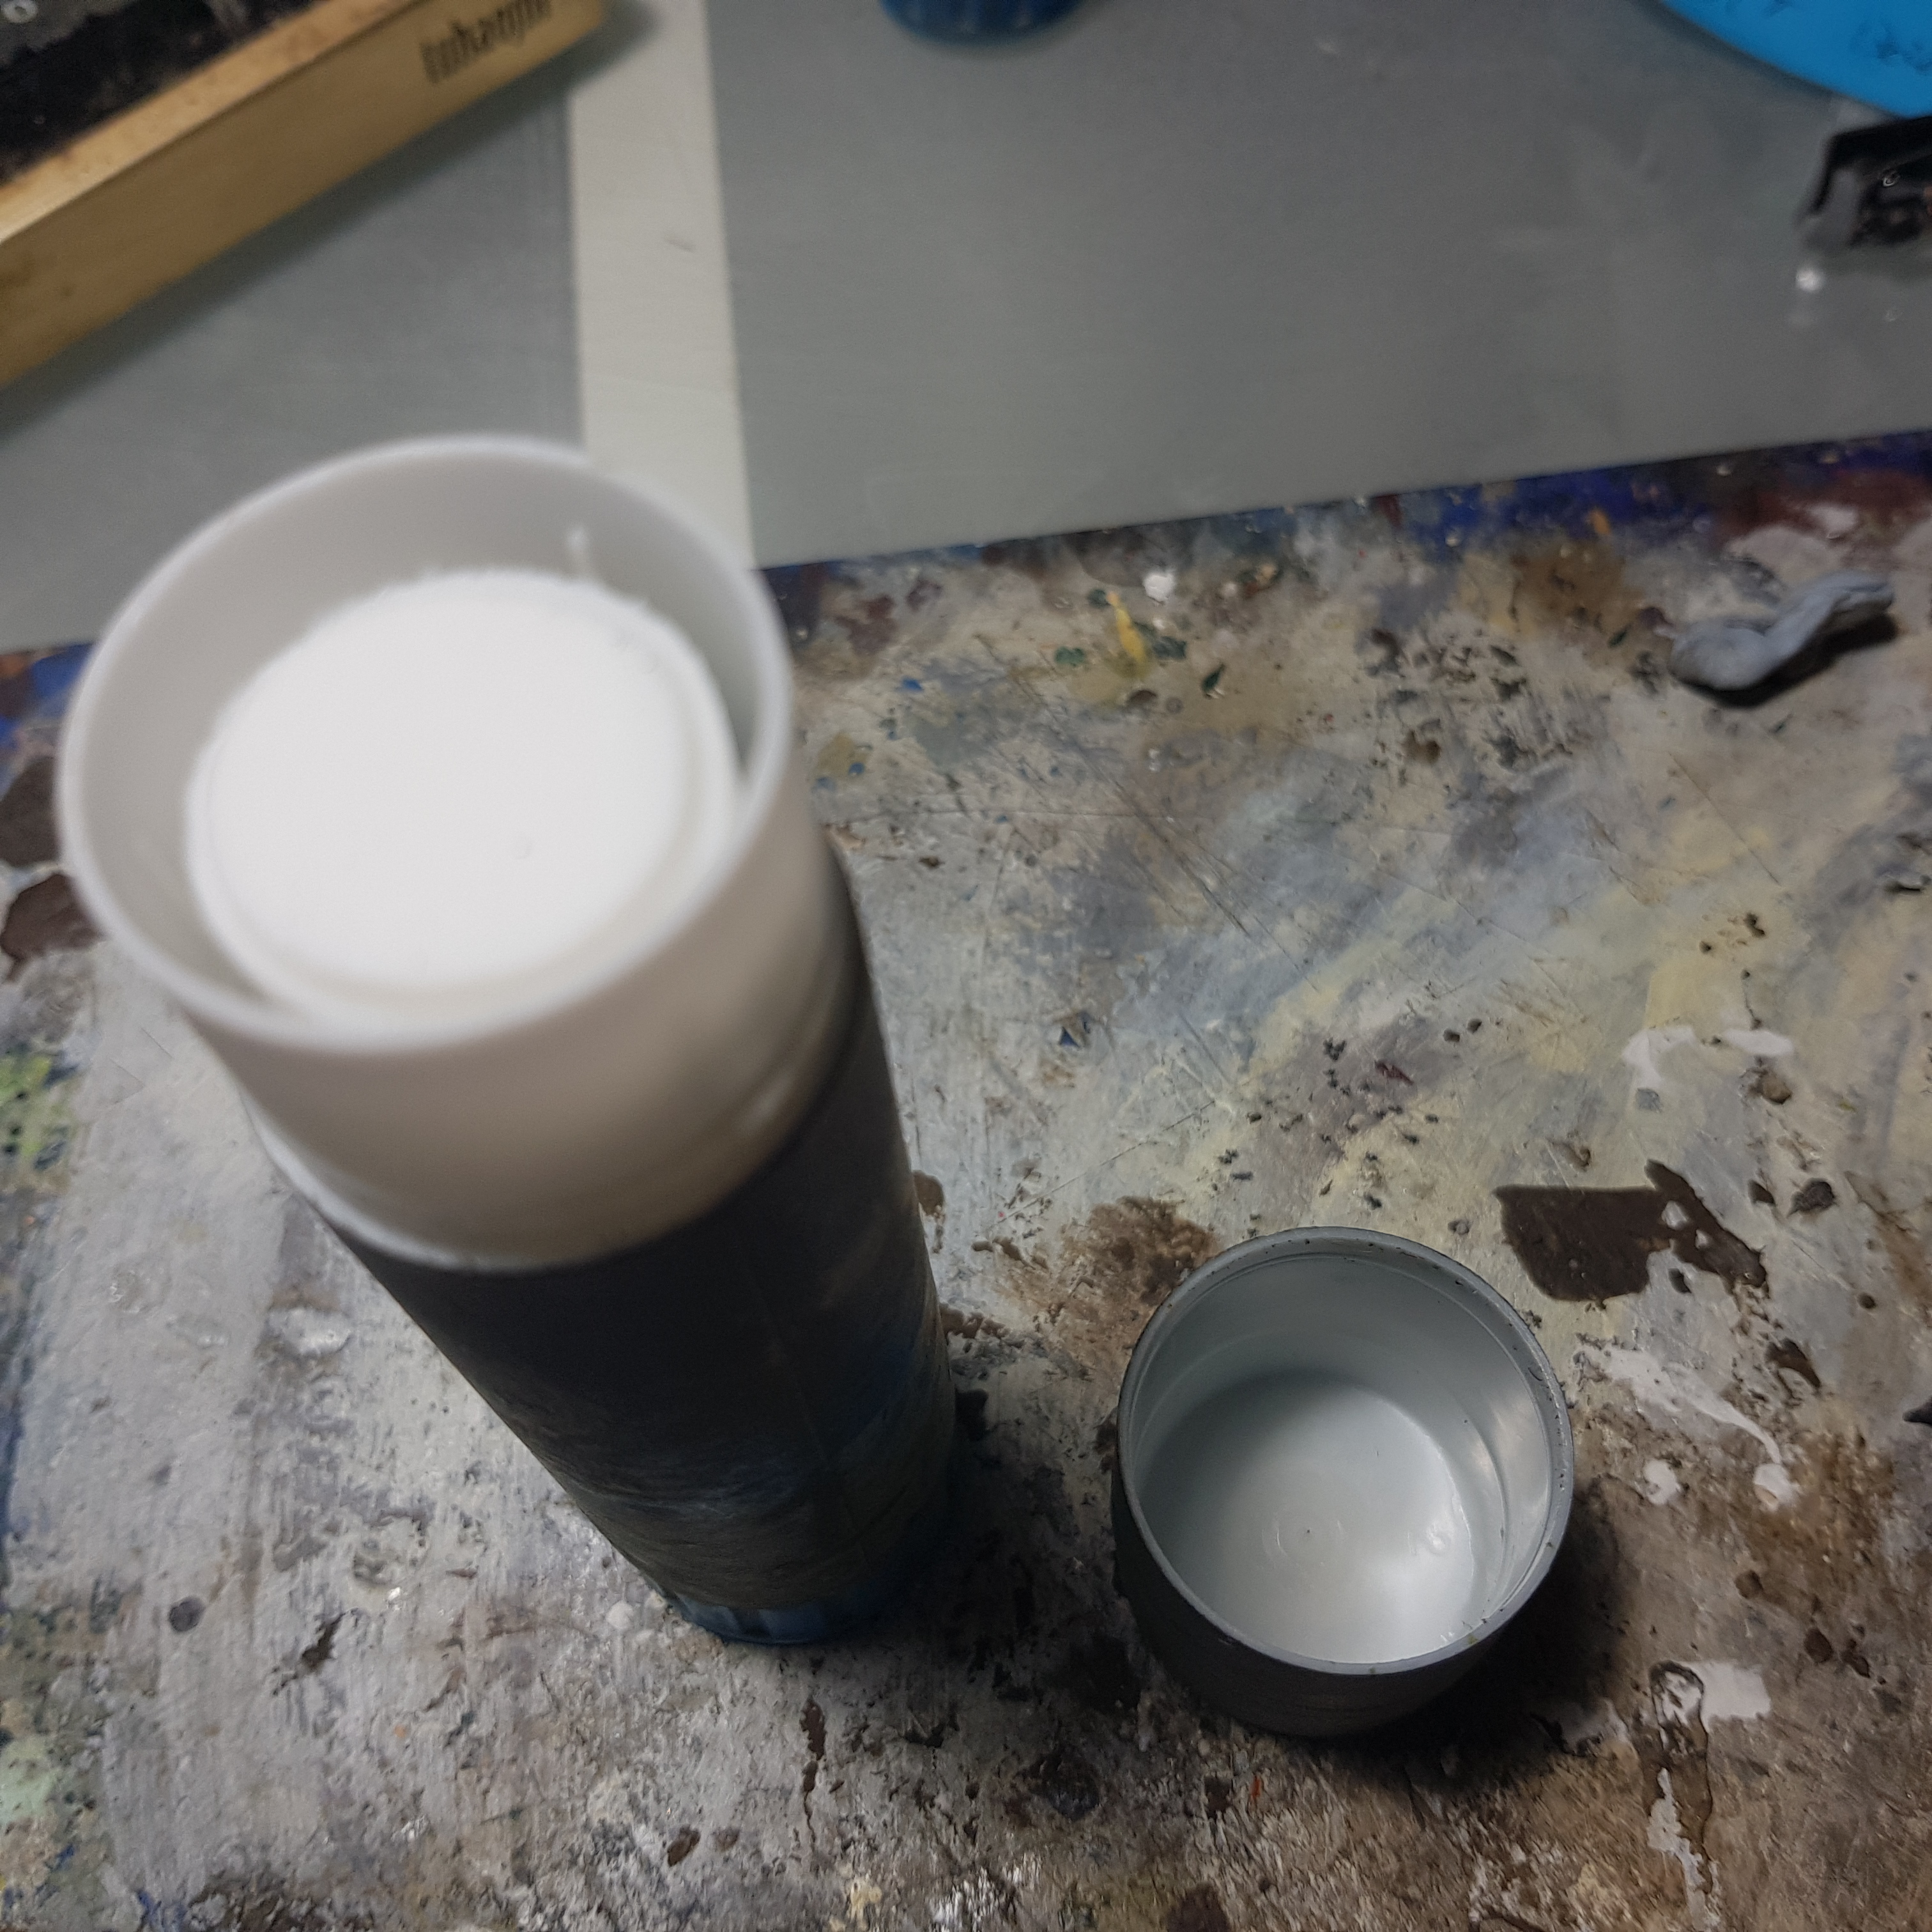
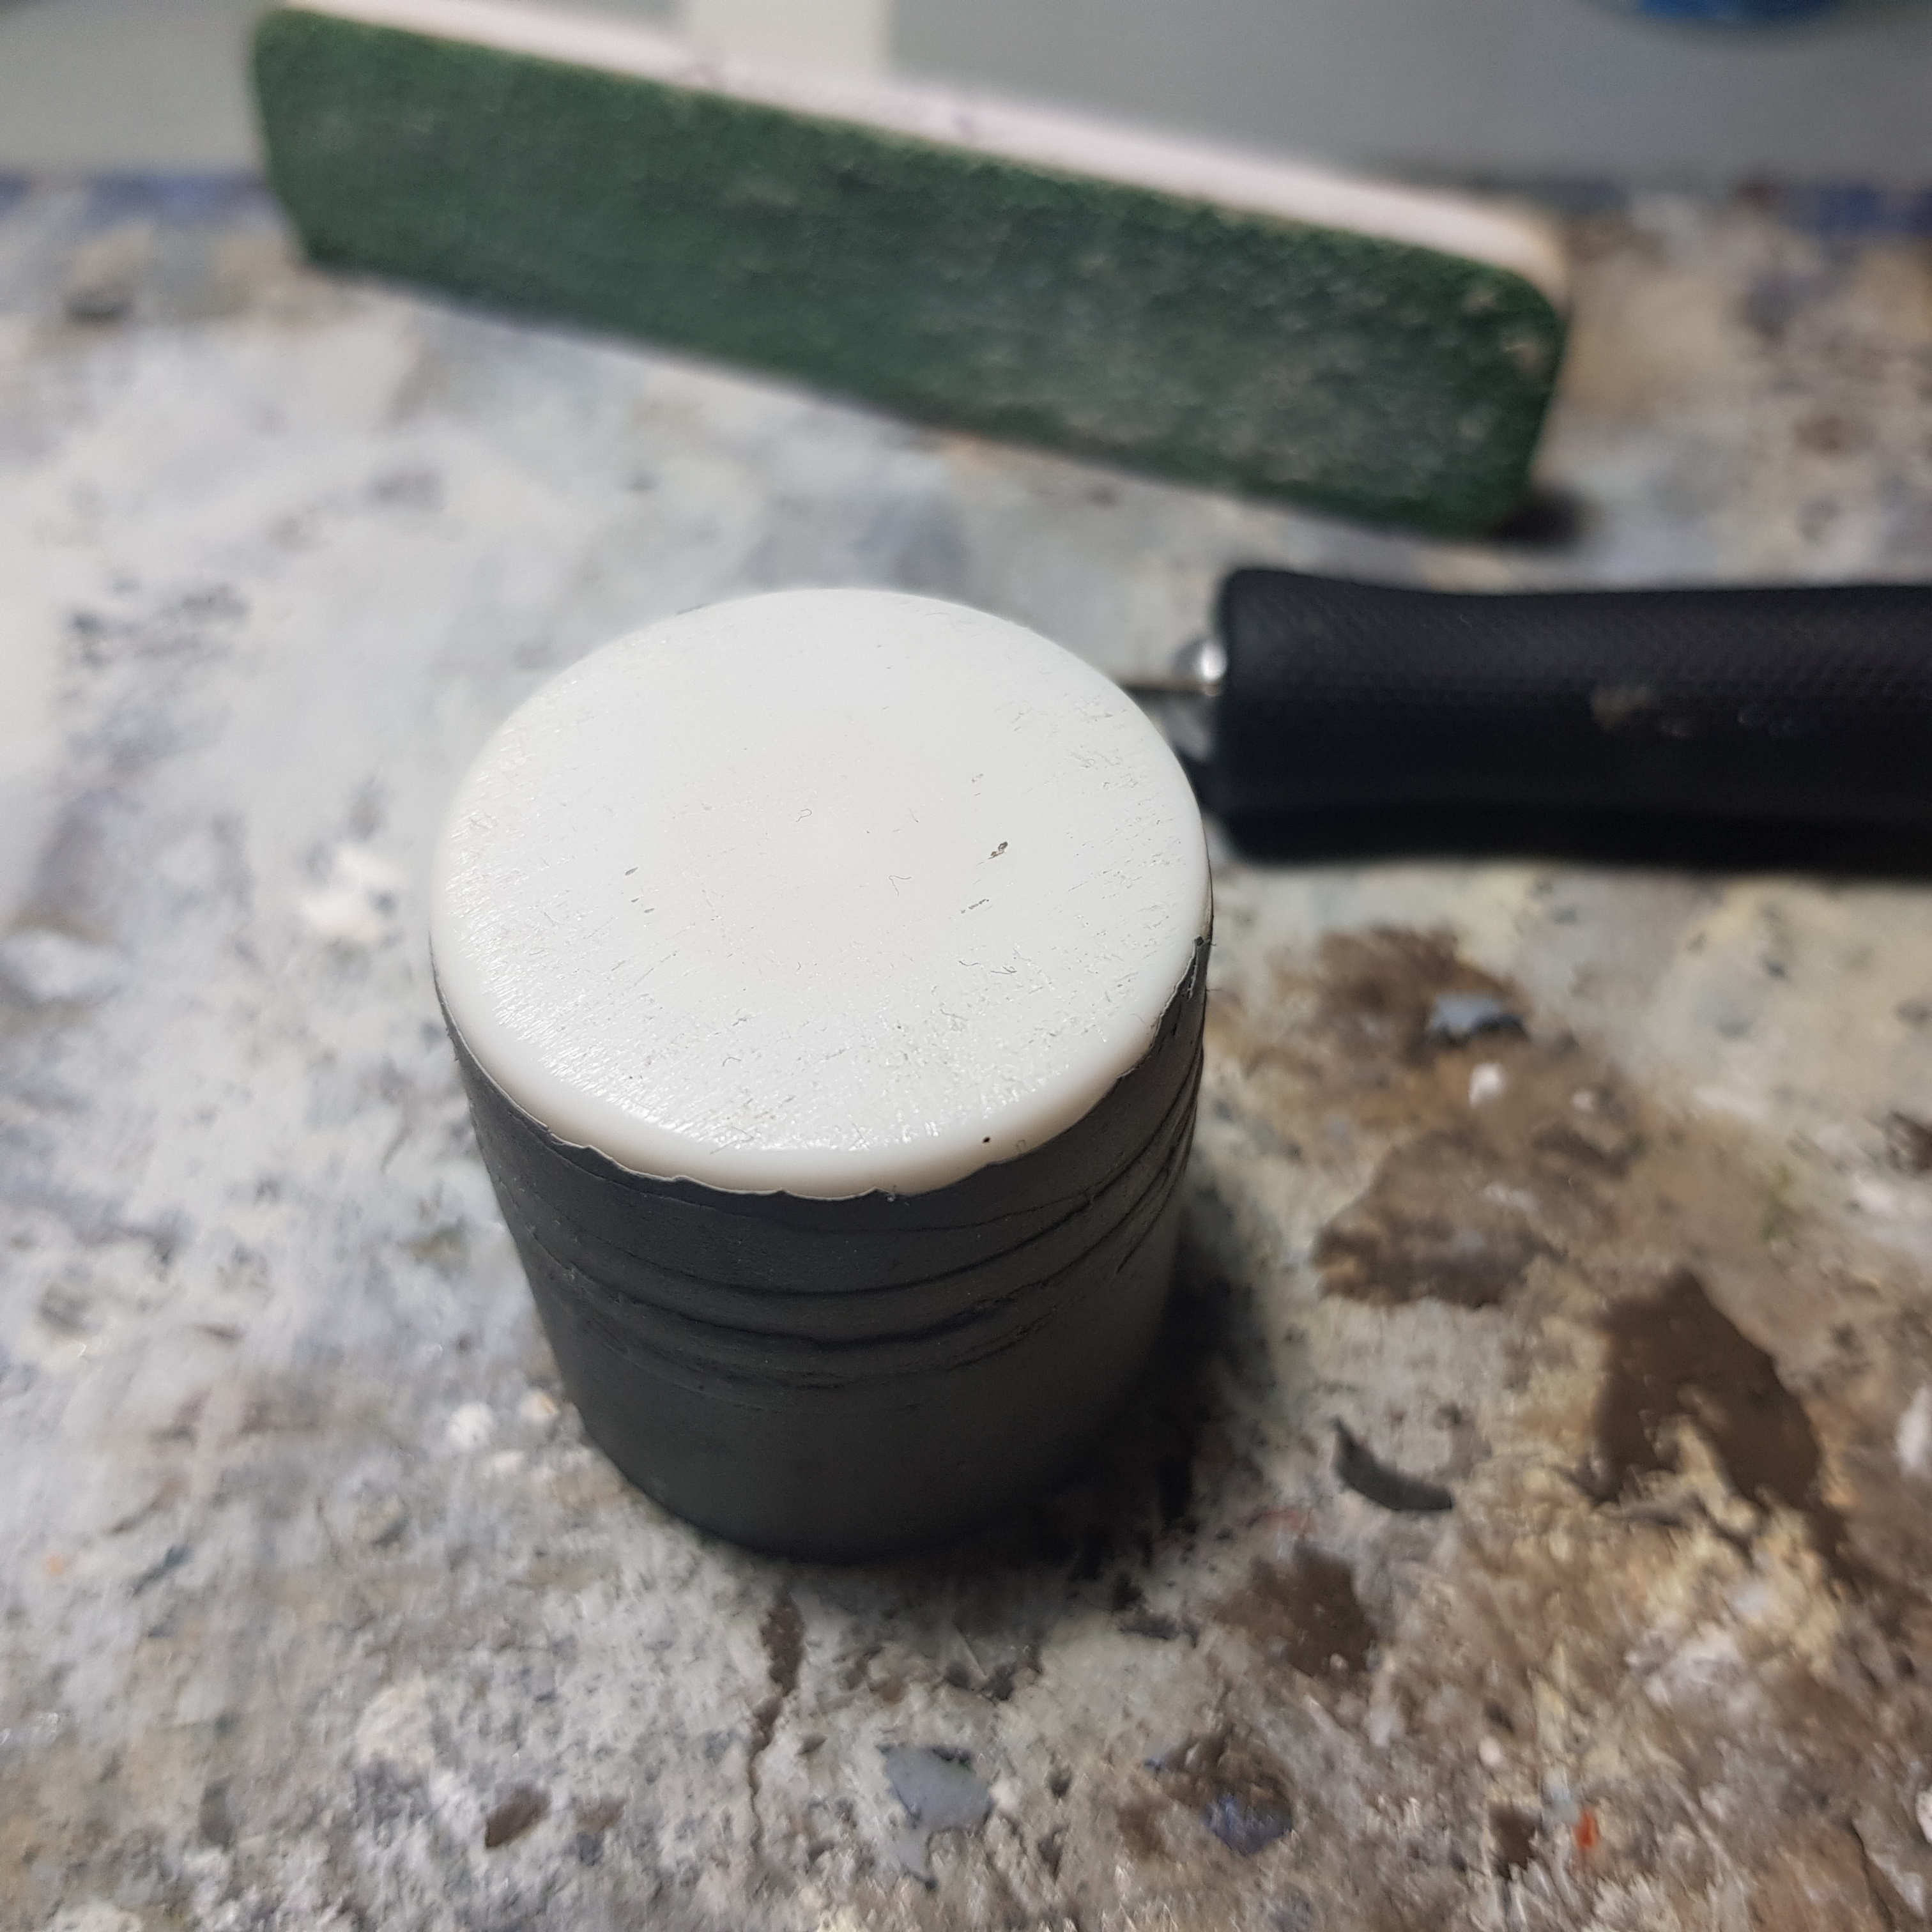
I was at first thinking of just sticking a bit of a magnetic pad on the top, but I was not sure that would be strong enough so I wanted to add an additional magnet for strength. Now I noticed that these had a little knob on the bottom of the top so I had to drill it out otherwise a magnet wouldn’t sit centrally. So I drilled a hole in the top, glued in a magnet and put the magnetic pad over the top. When using magnets you have to be sure that you get the poles the right way. I have a little magnet that I glued to my cutting mat ages a go, so that is my guide for aligning my poles.
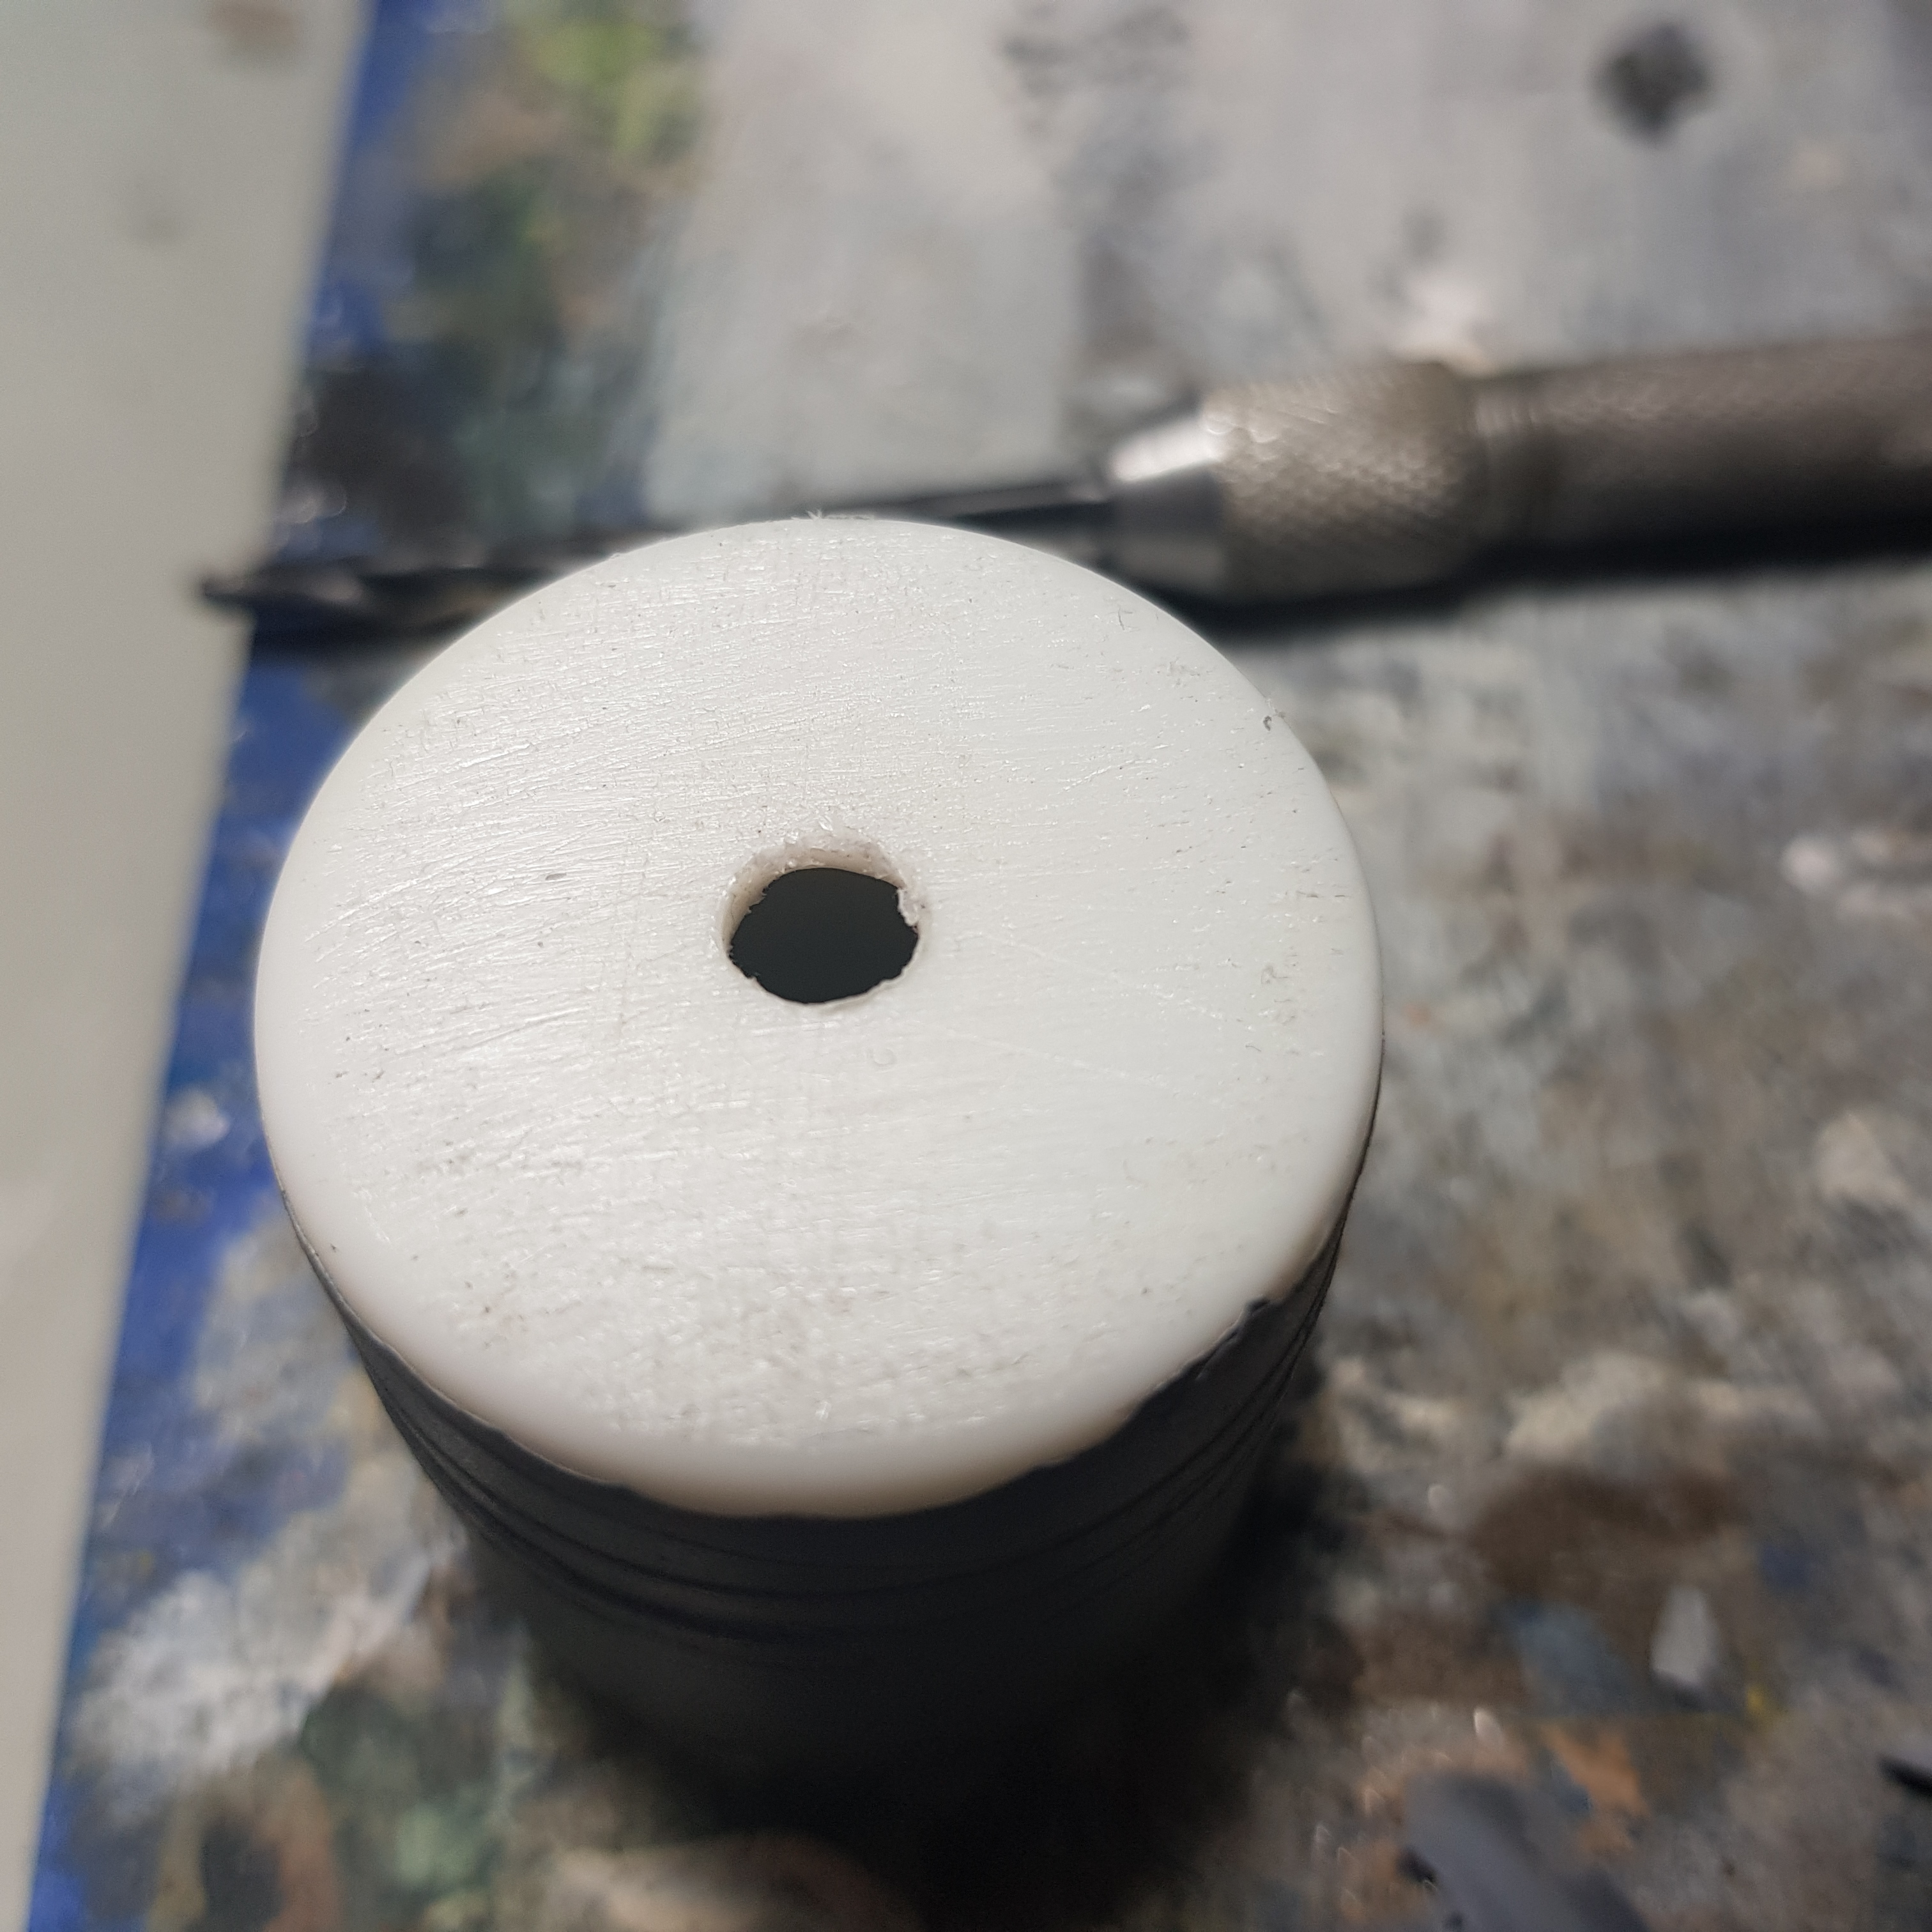
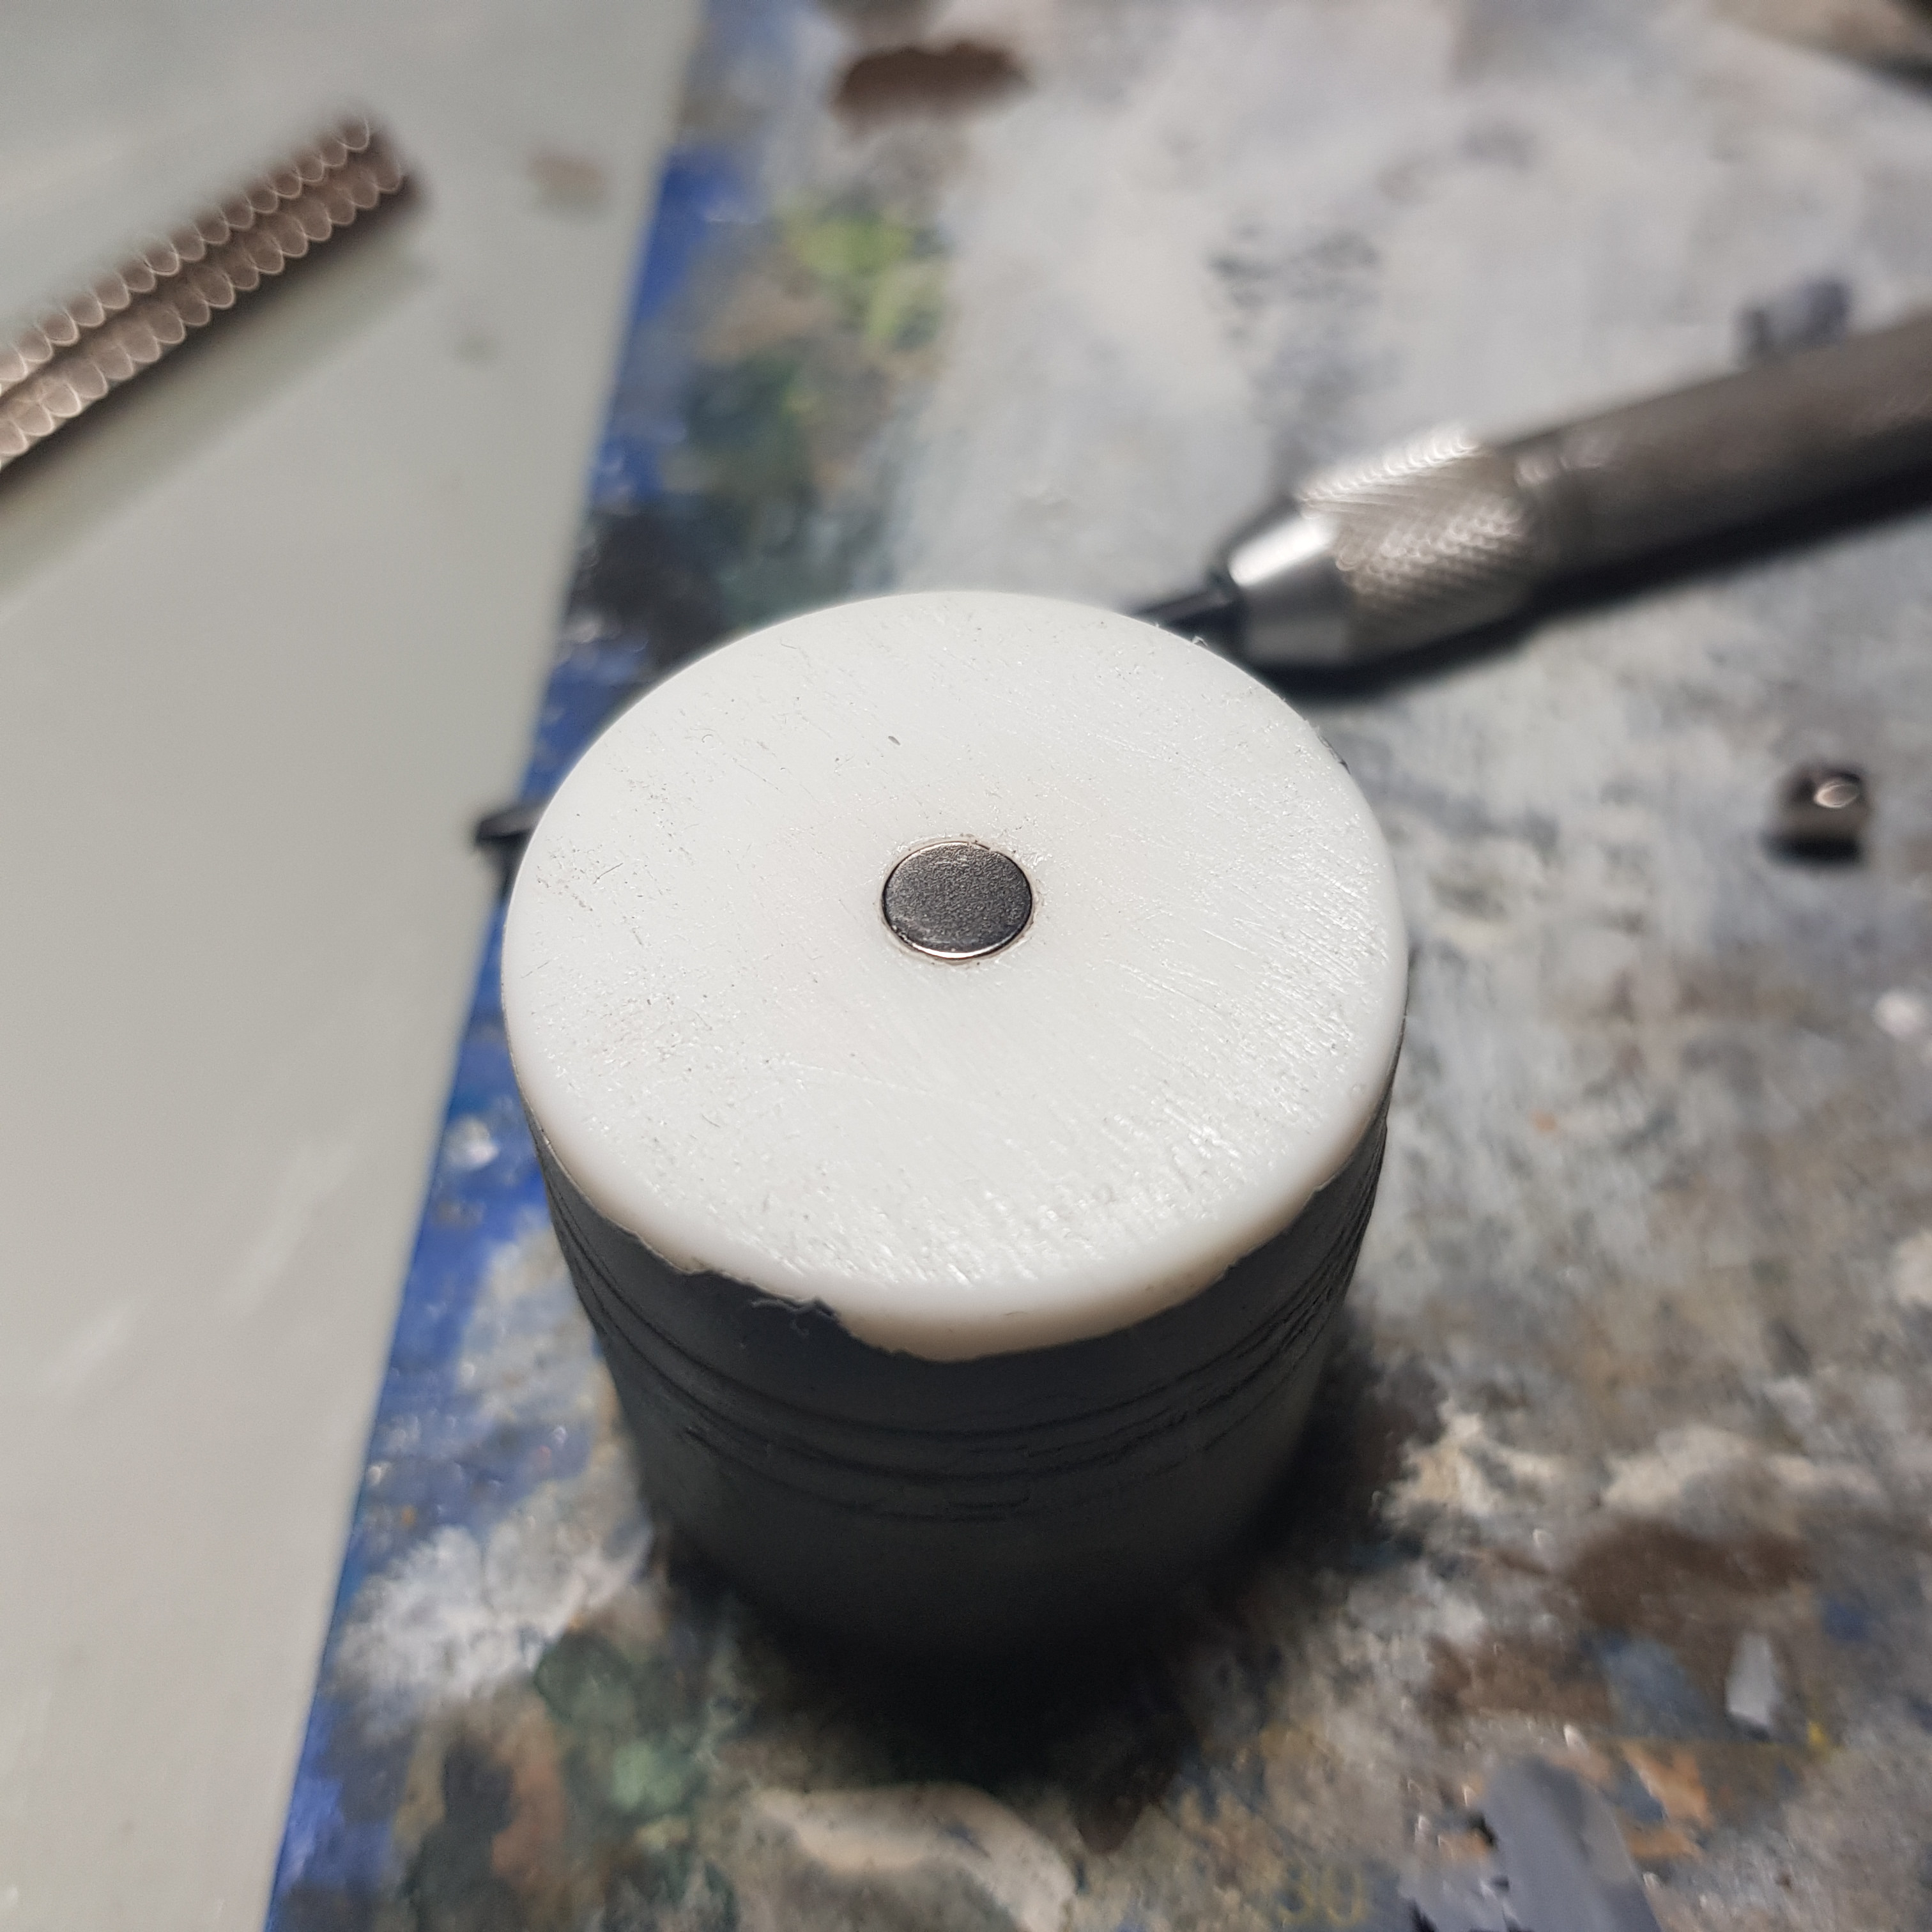
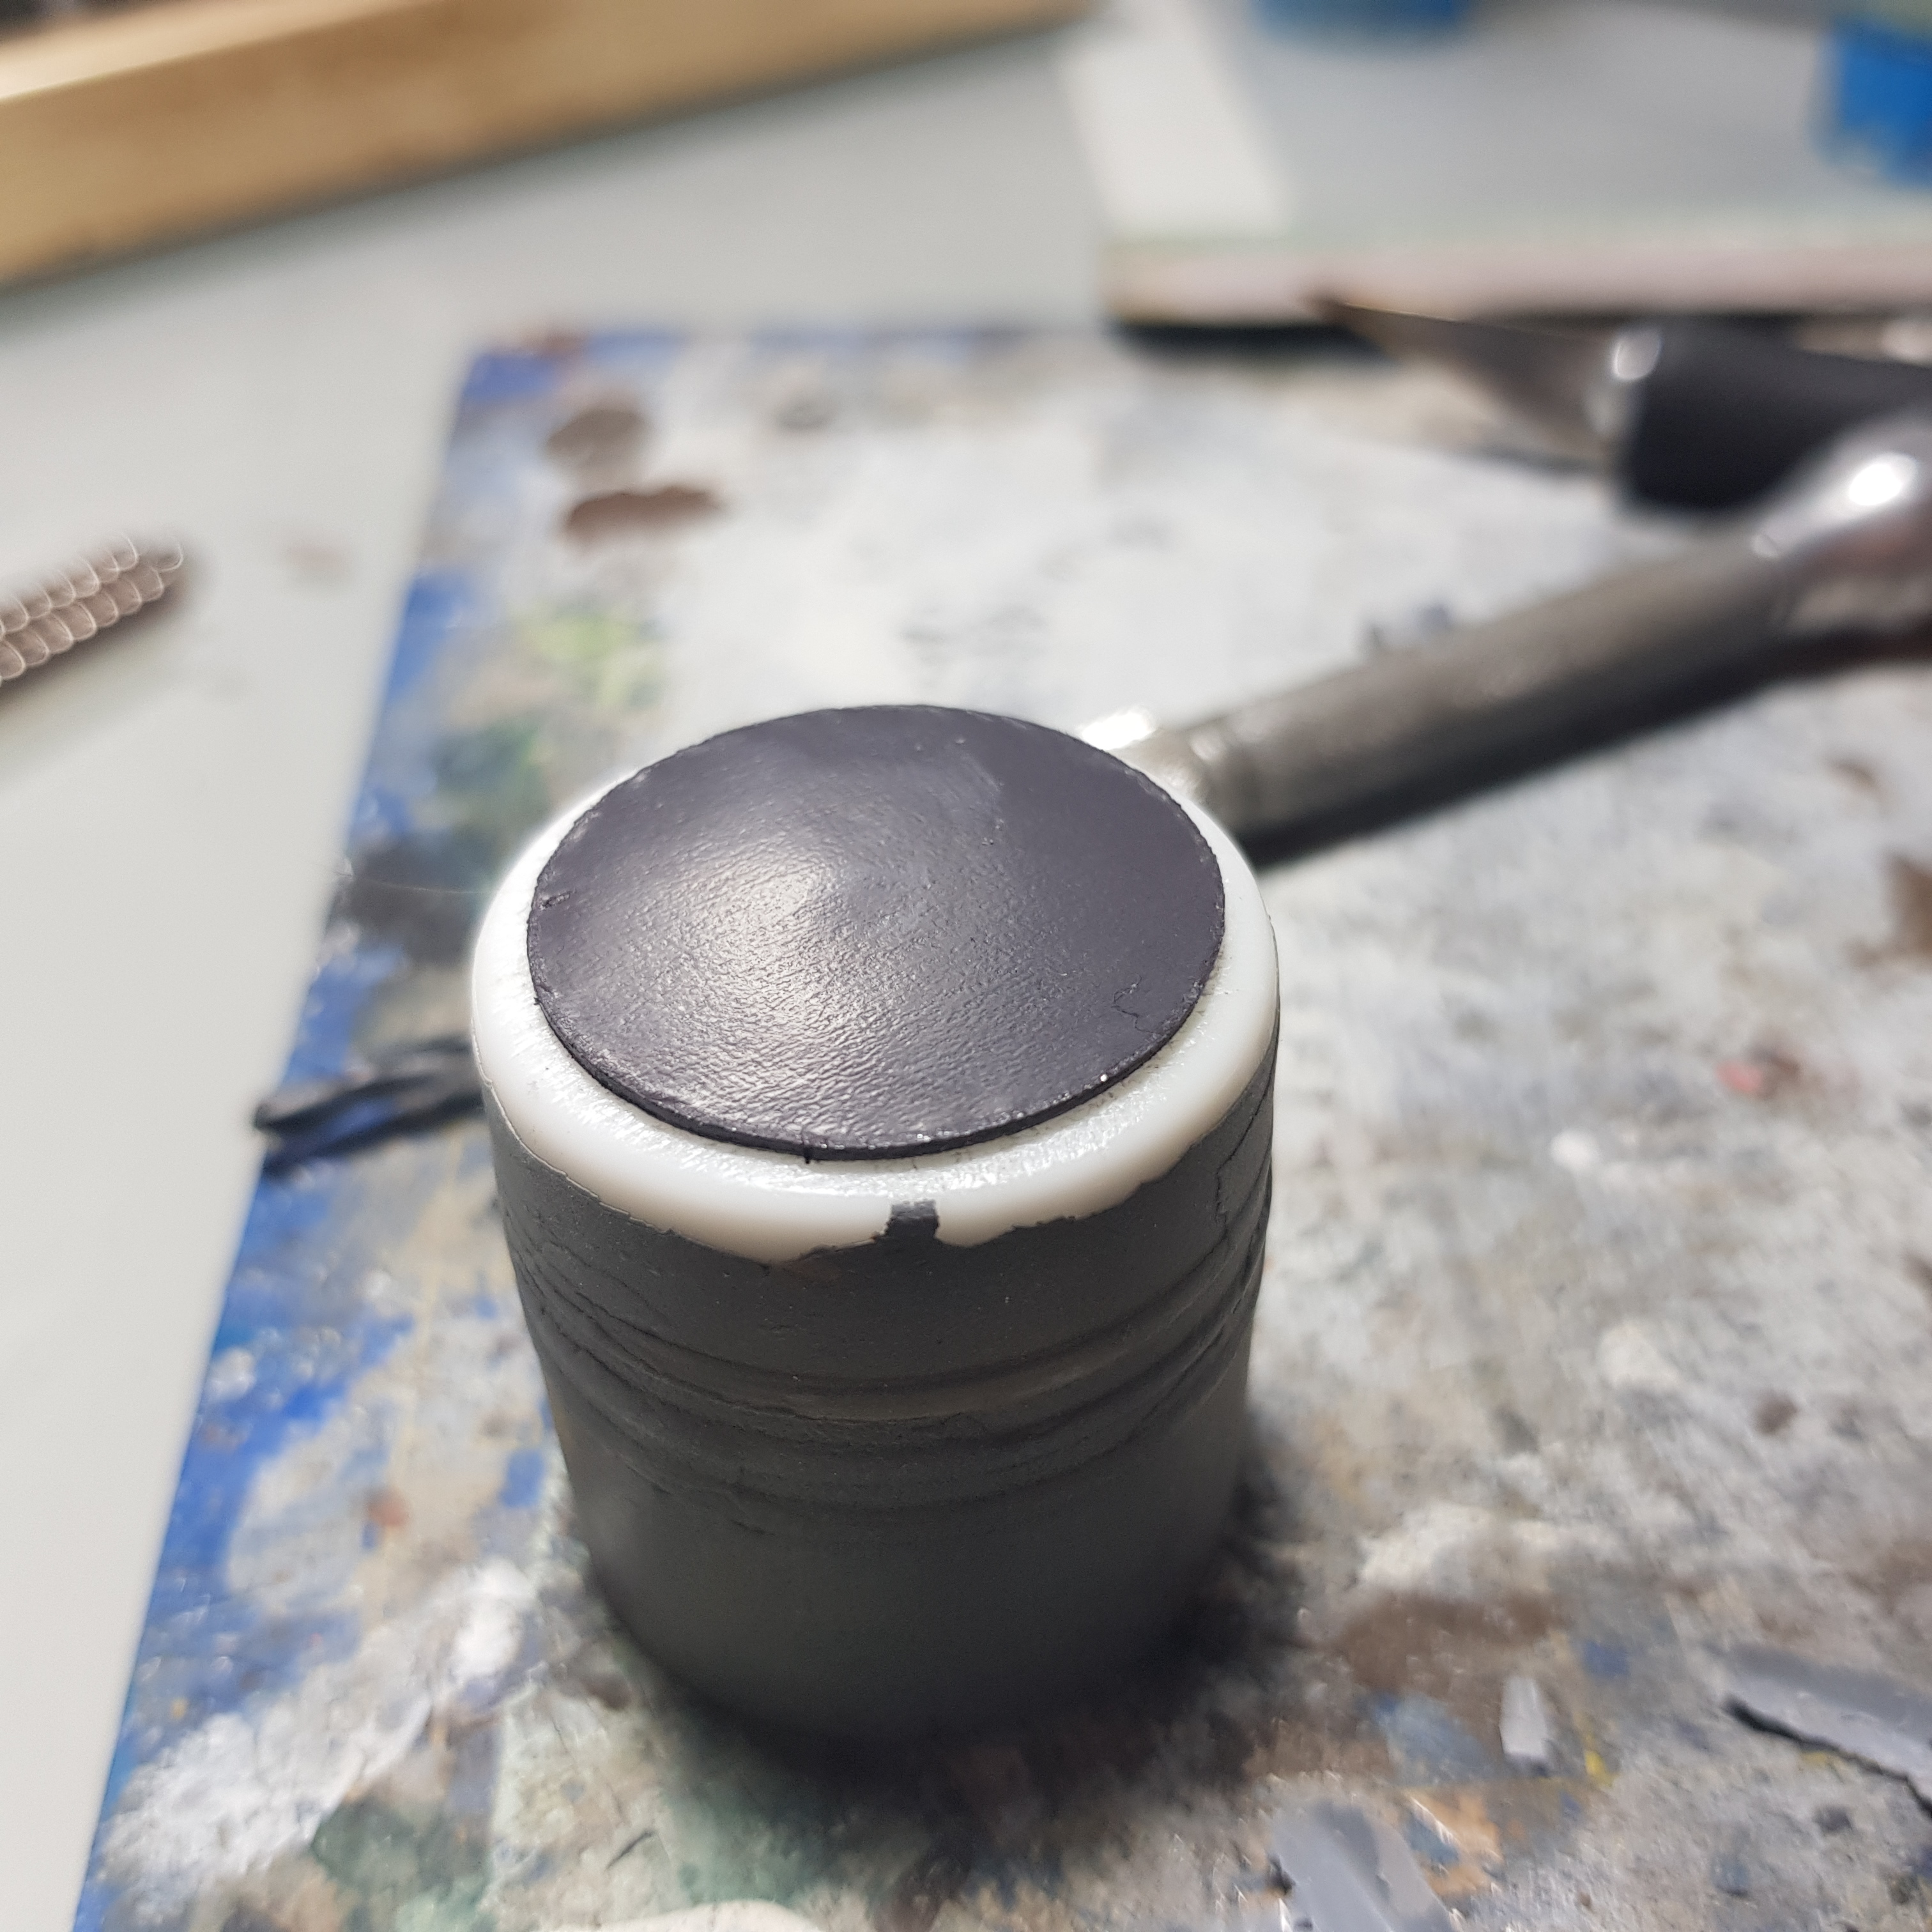
And there you go, magnetized painting handles.
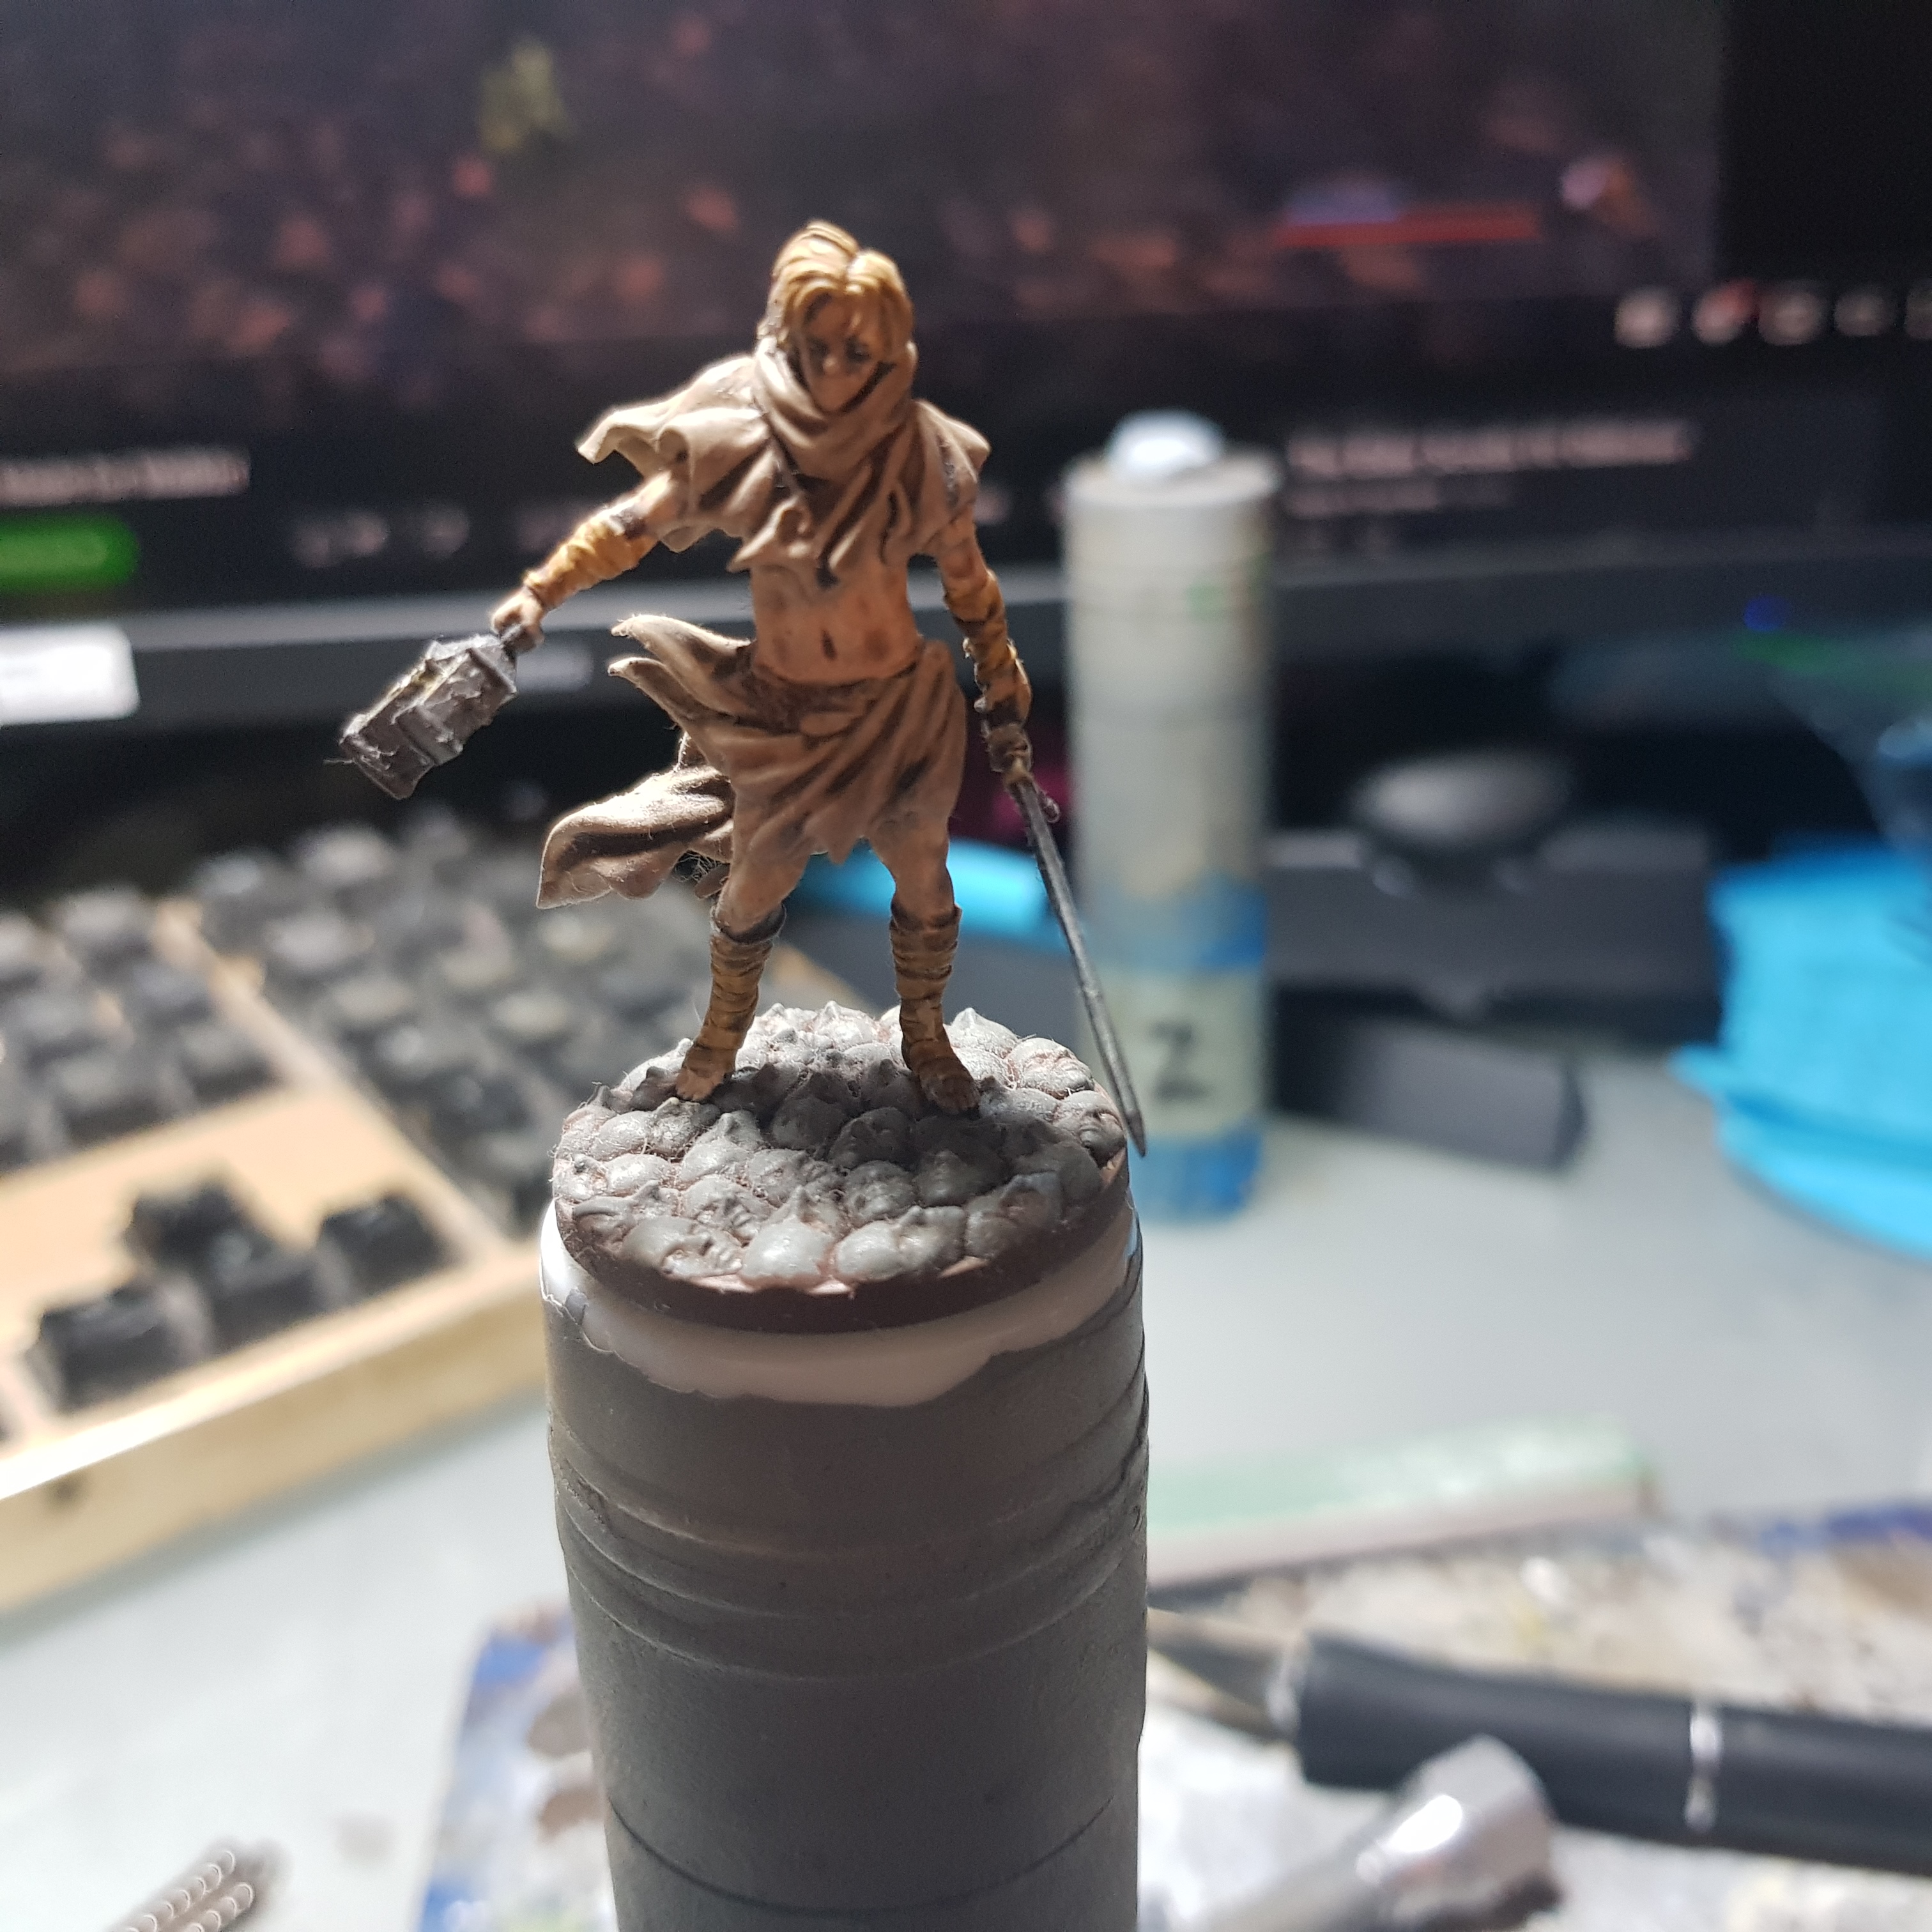
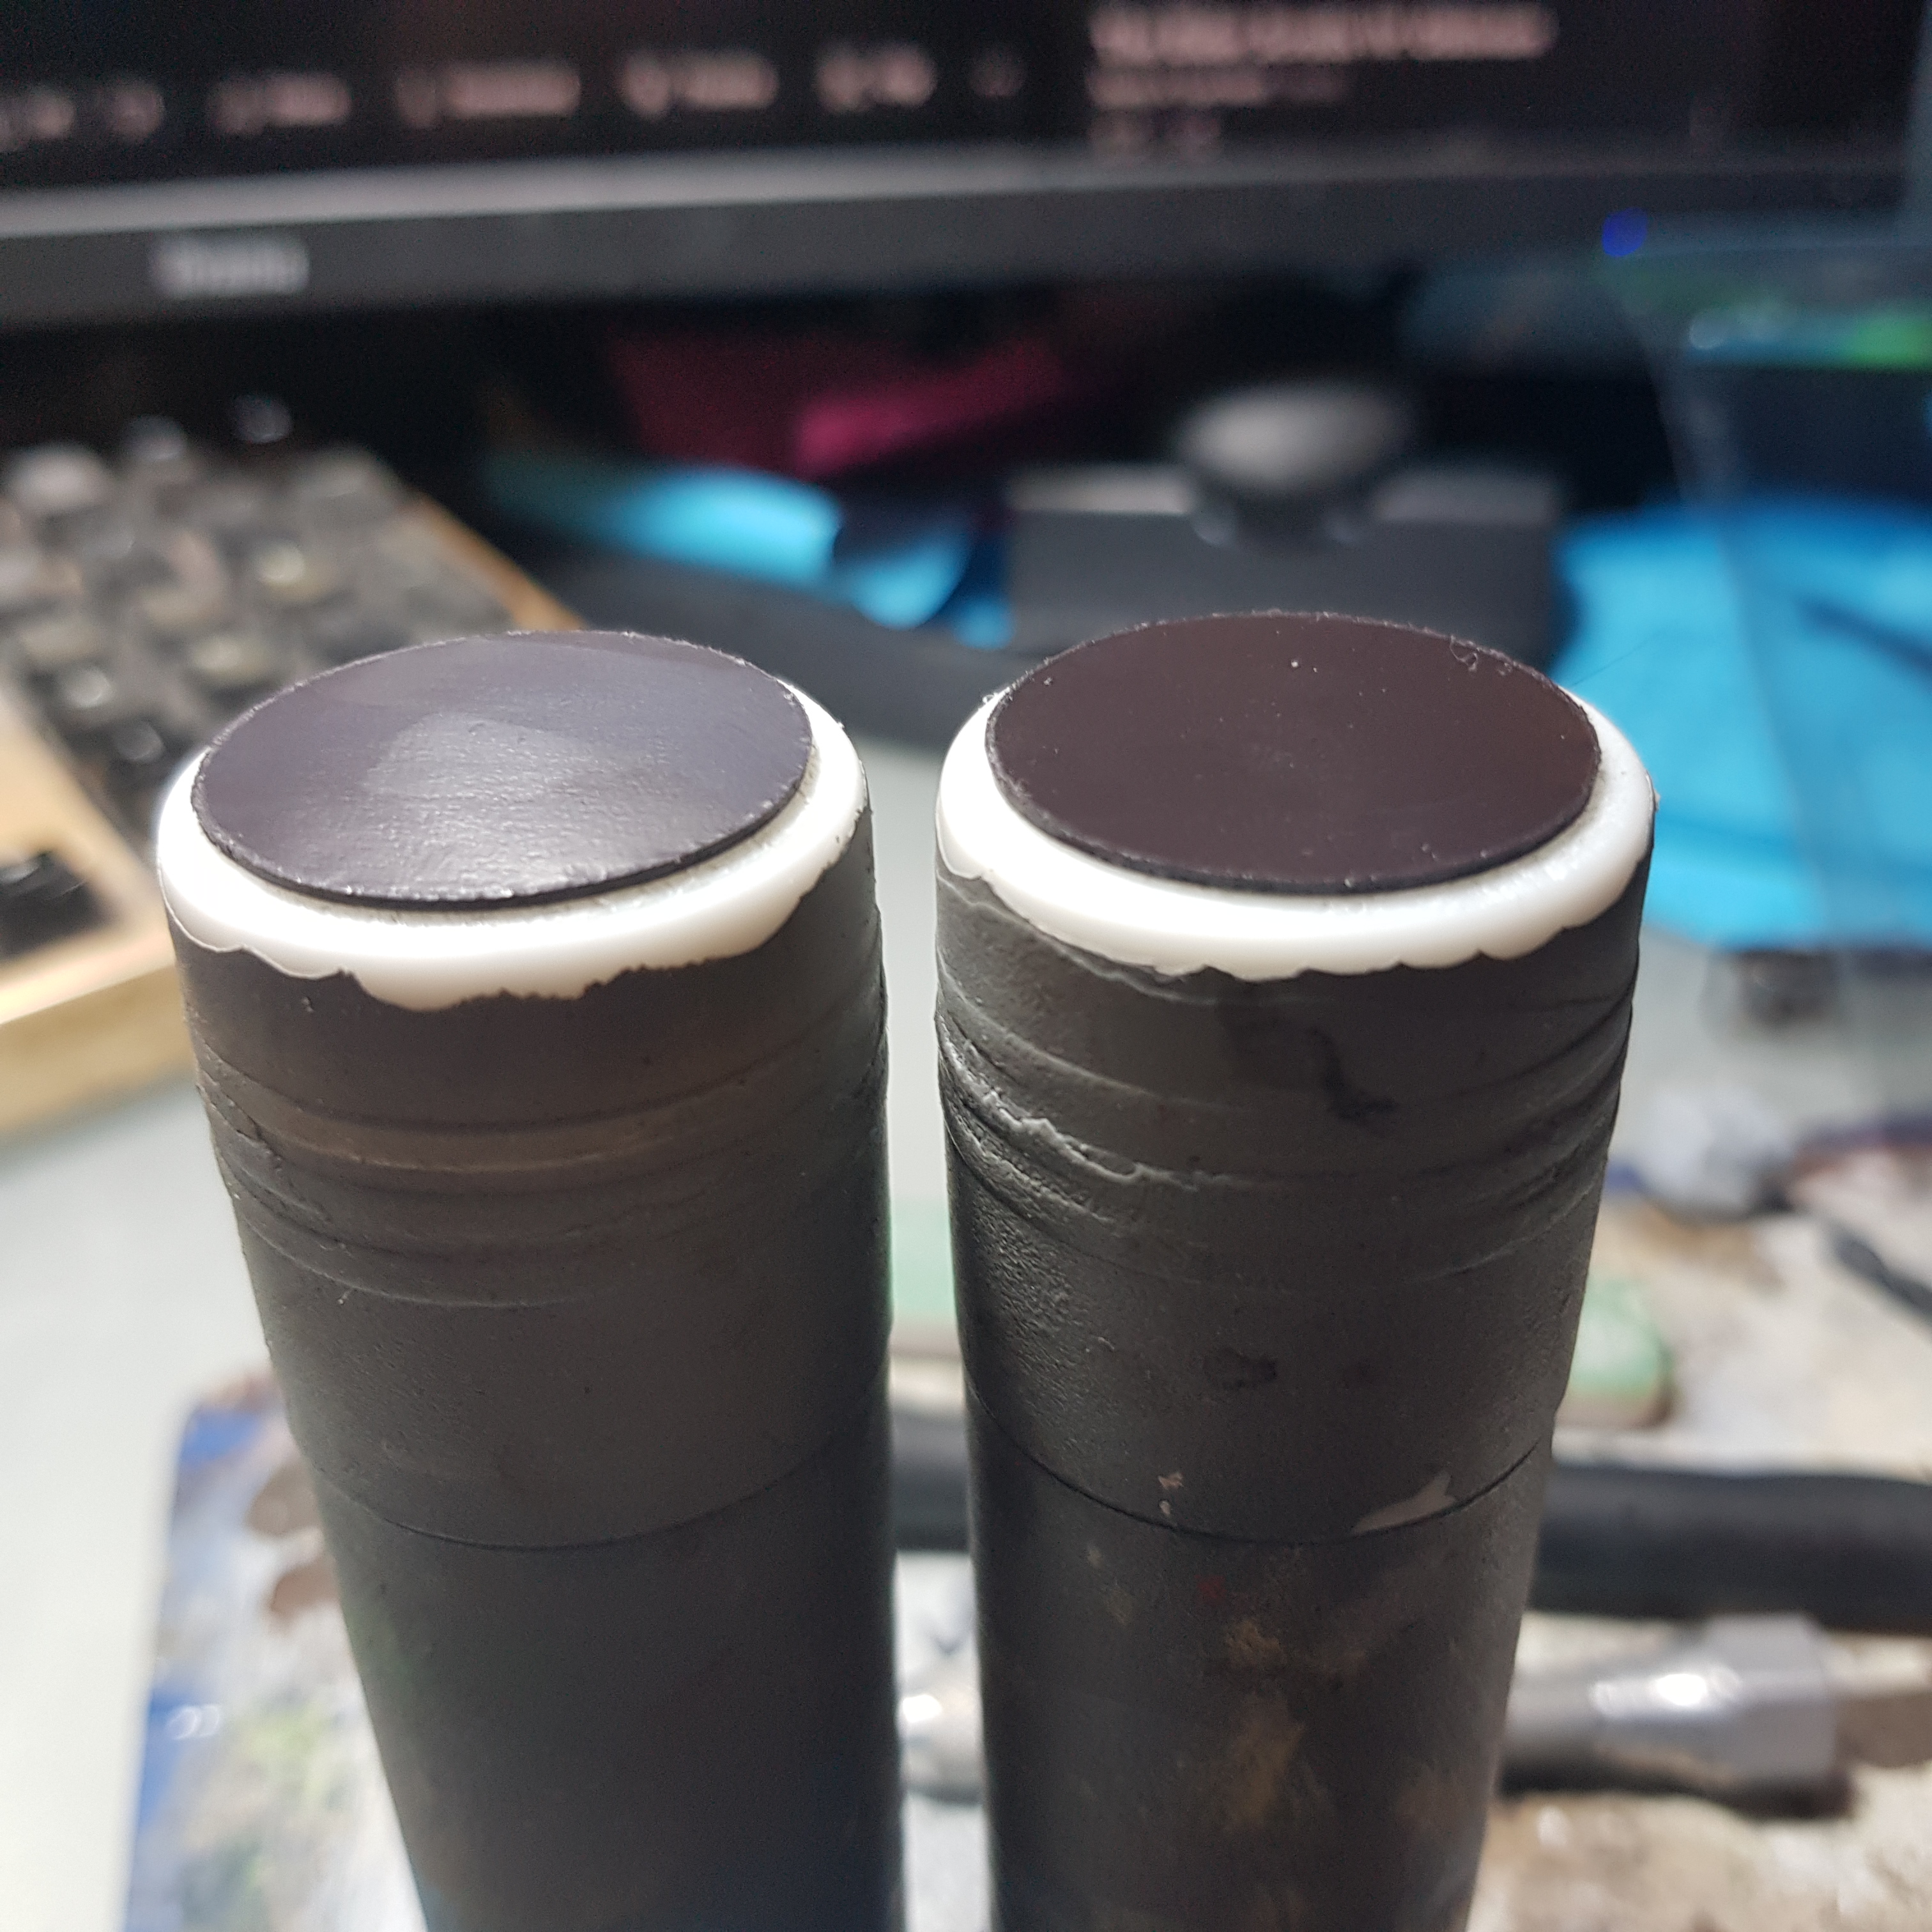
And I learned plenty of things that are hard to put to words as I have just gathered more experience of how oil paints go down and how to work with them.
On Hold
This project is currently being put on hold with a chance of some minor progress being made. I will get back to this if I have more experimentation to do, which I most likely will when it comes to large areas of skin tones for example.
The models I was planning on painting for this will still get painted at some point and added to this project.
I am currently still developing these painting skills in my new project on the Eastern Front.
The next steps.
While it has been too hot to paint last week, next week promises better weather. So up next are the 2 late imperial Roman legionnaires. One with a sculpted base and 1 with my old style of basing after. After that I am going to repaint my Dynamic Boudi miniature from Hasslefree Miniatures. This model has more exposed skin to work with so I can experiment with that more. I have also done the basing in the new style of basing that I am planning on using. This simply uses a texture paste with some grit in it. I got this texture paste for a new gaming table, but may as well use it for miniatures as it really beats the price of coloured texture paints.
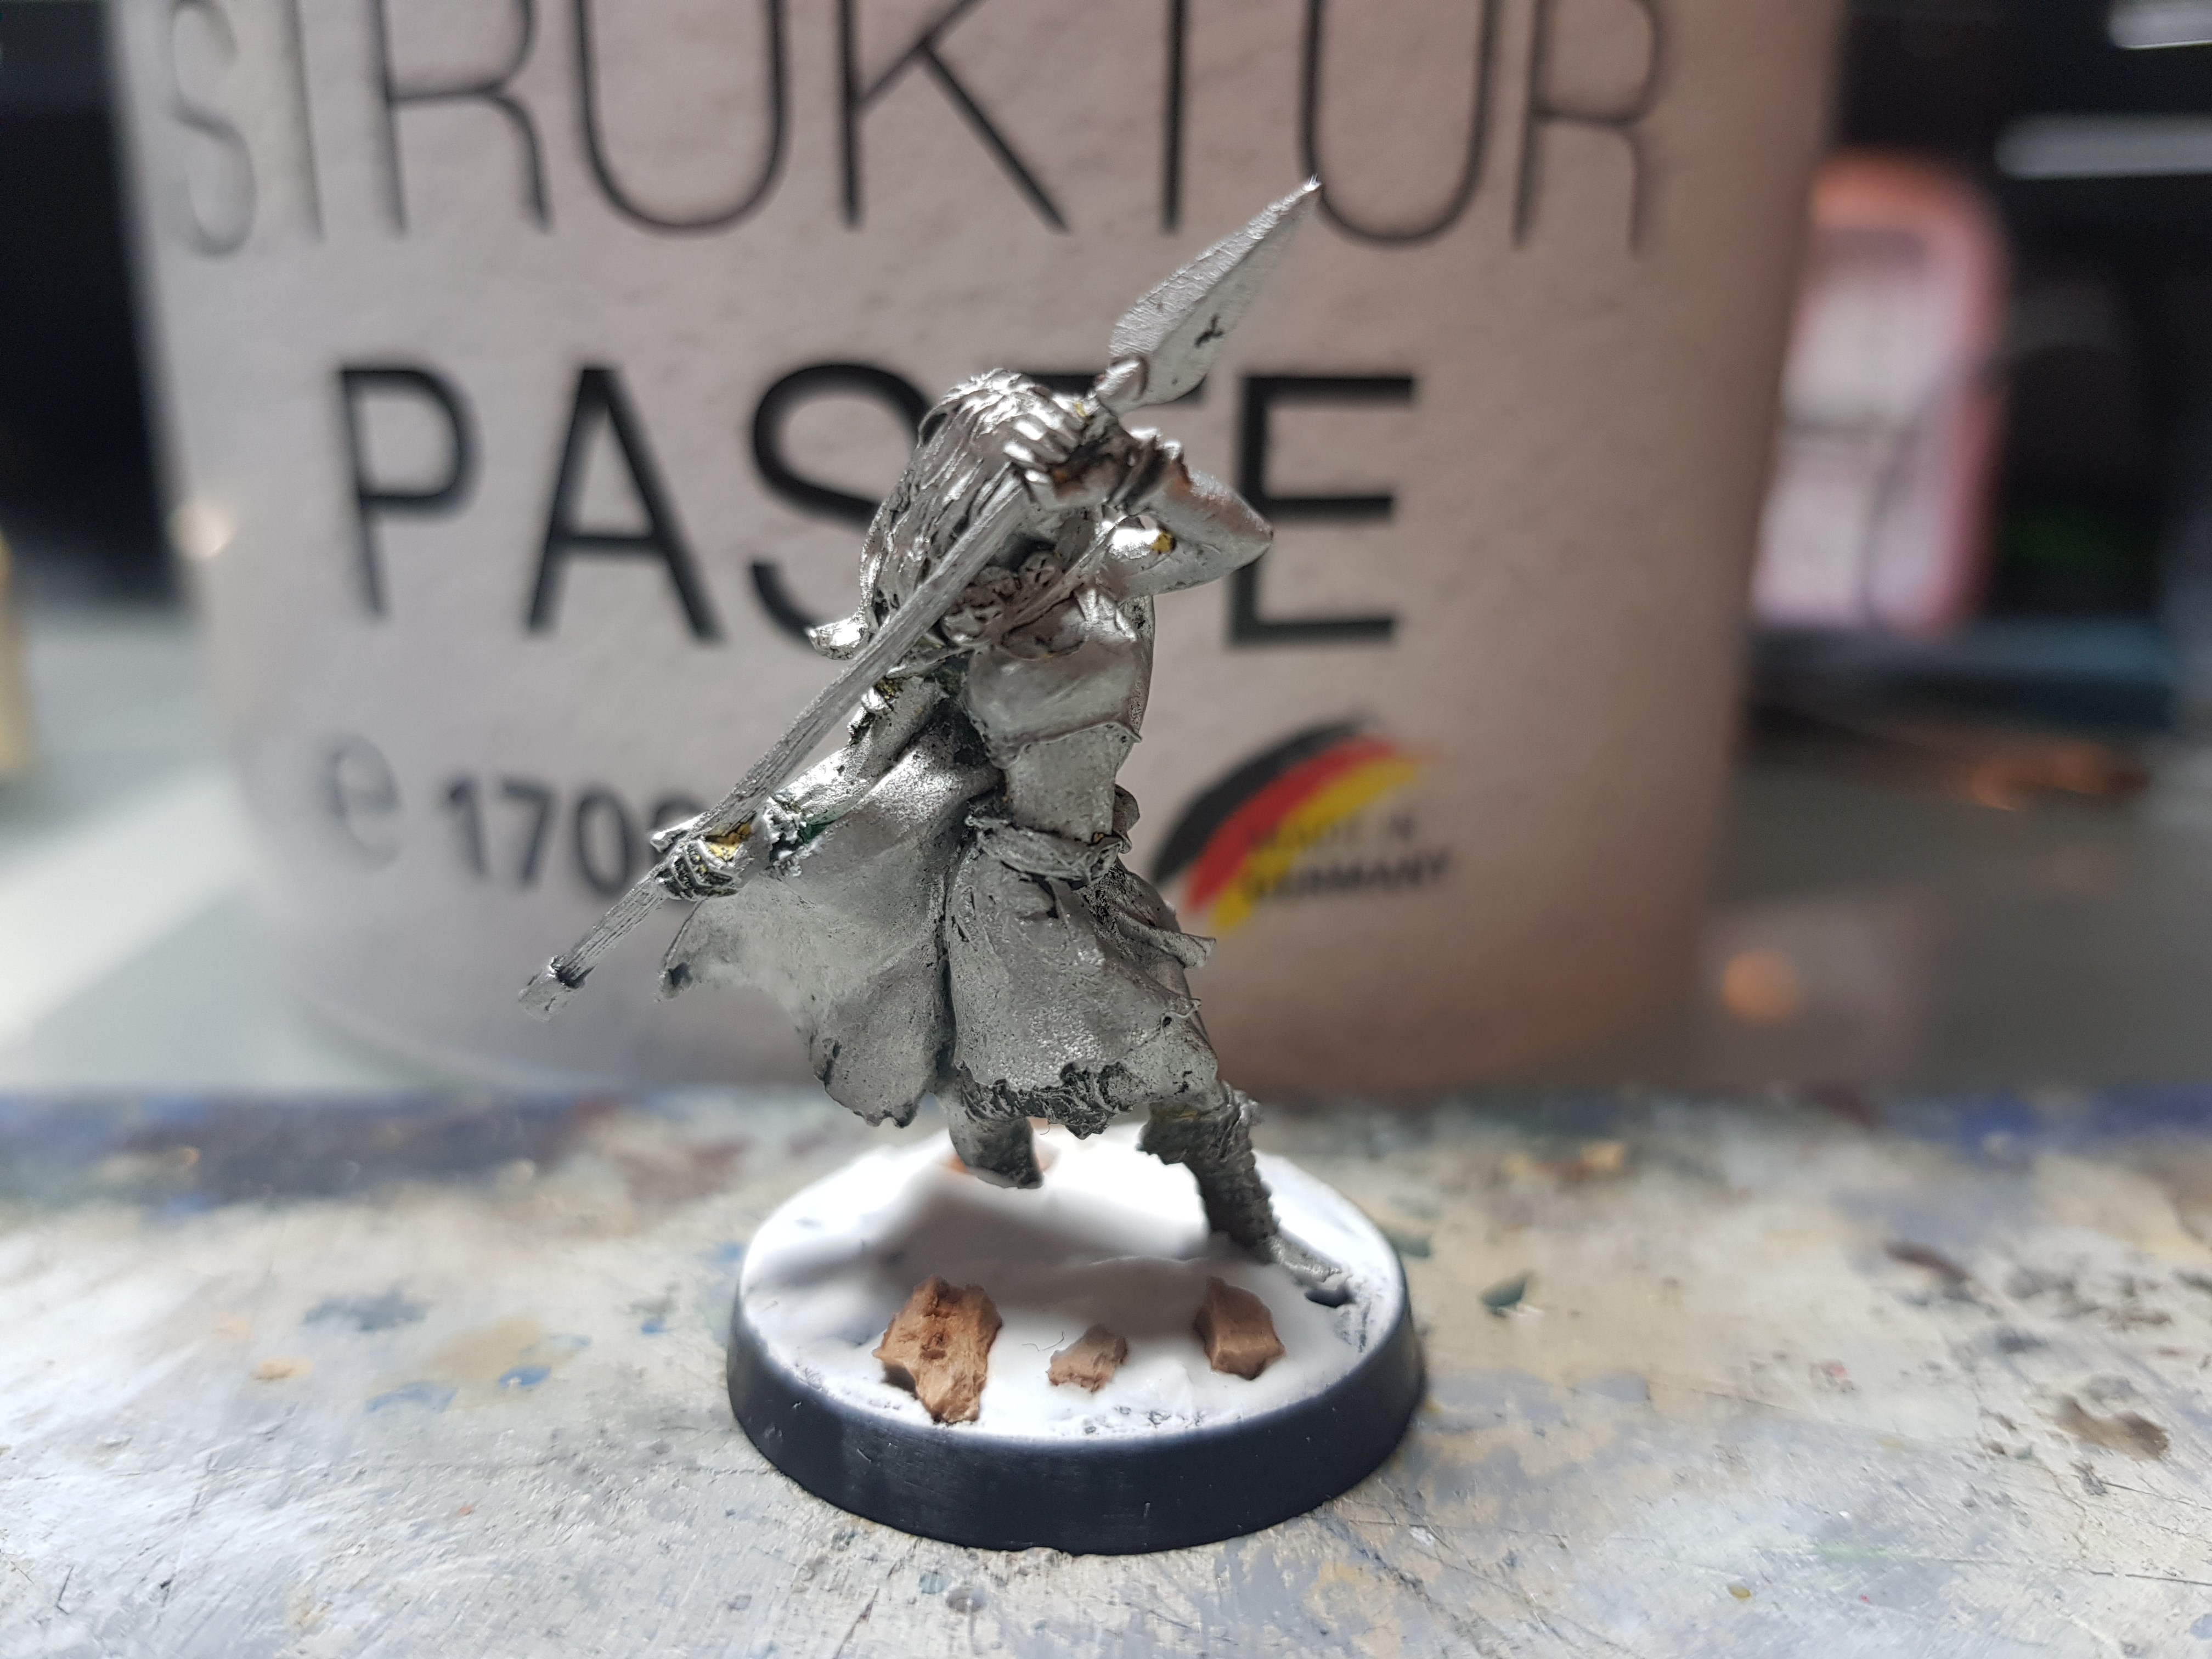
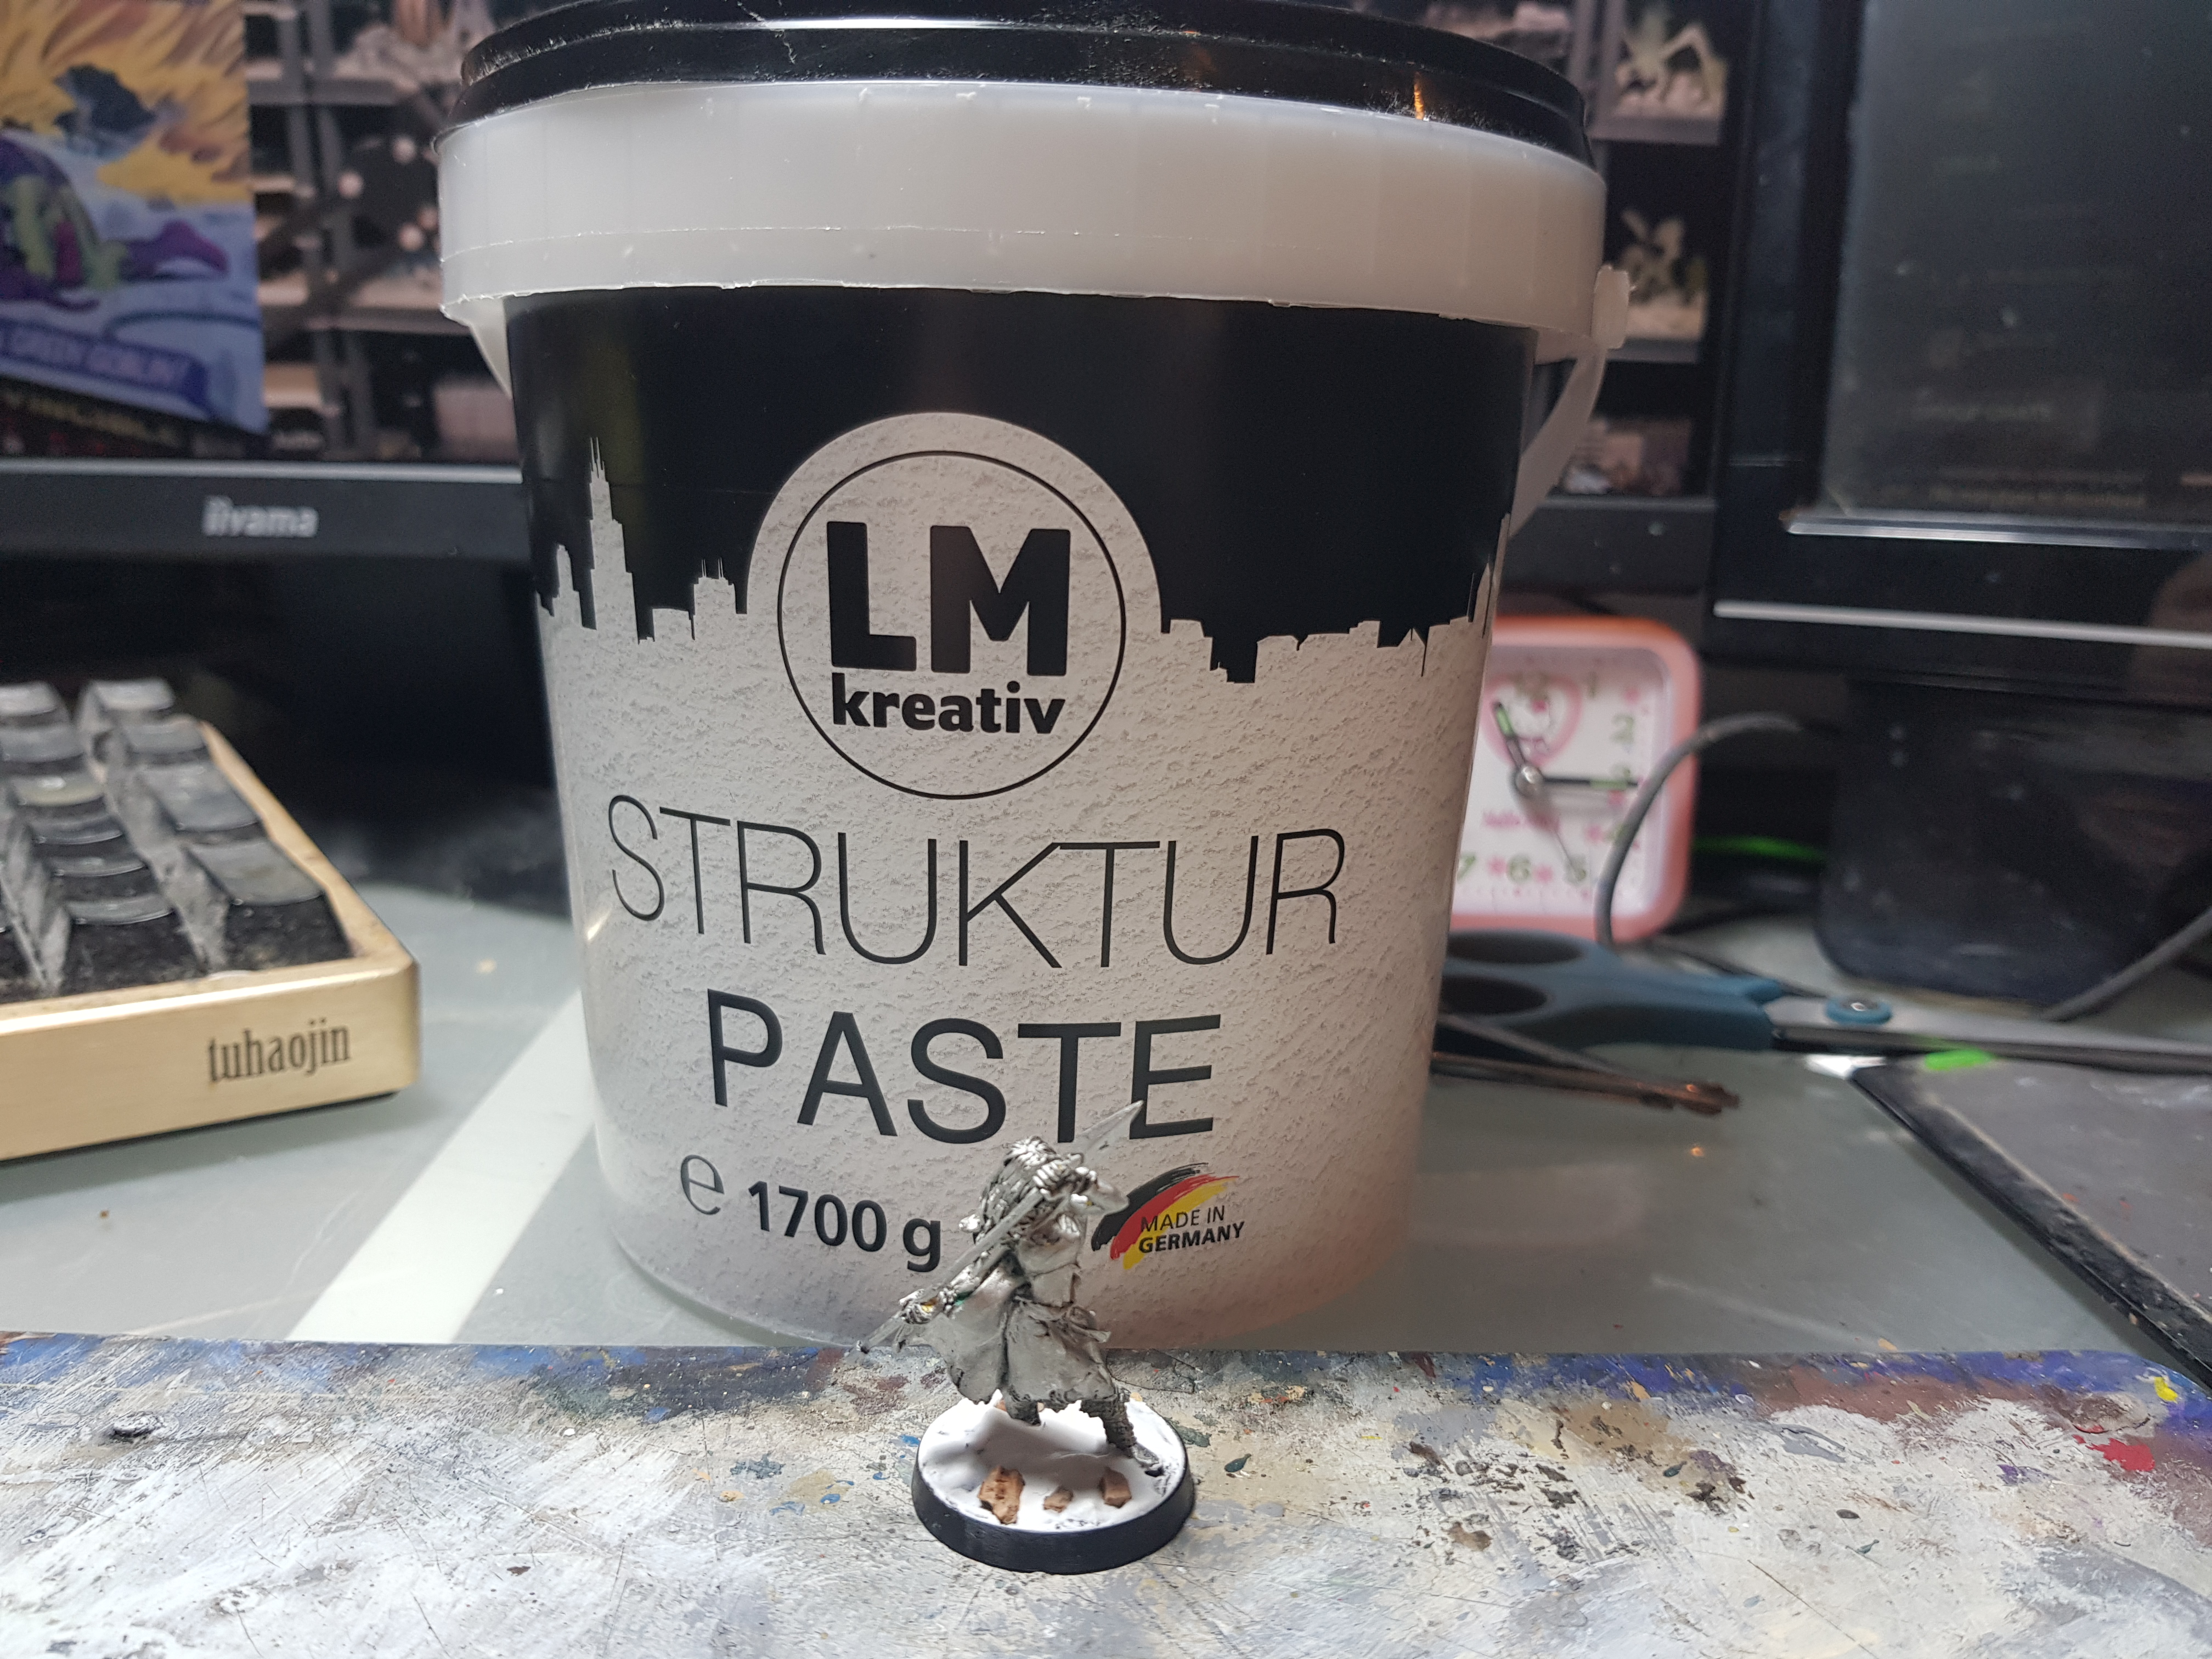
The old paint job.
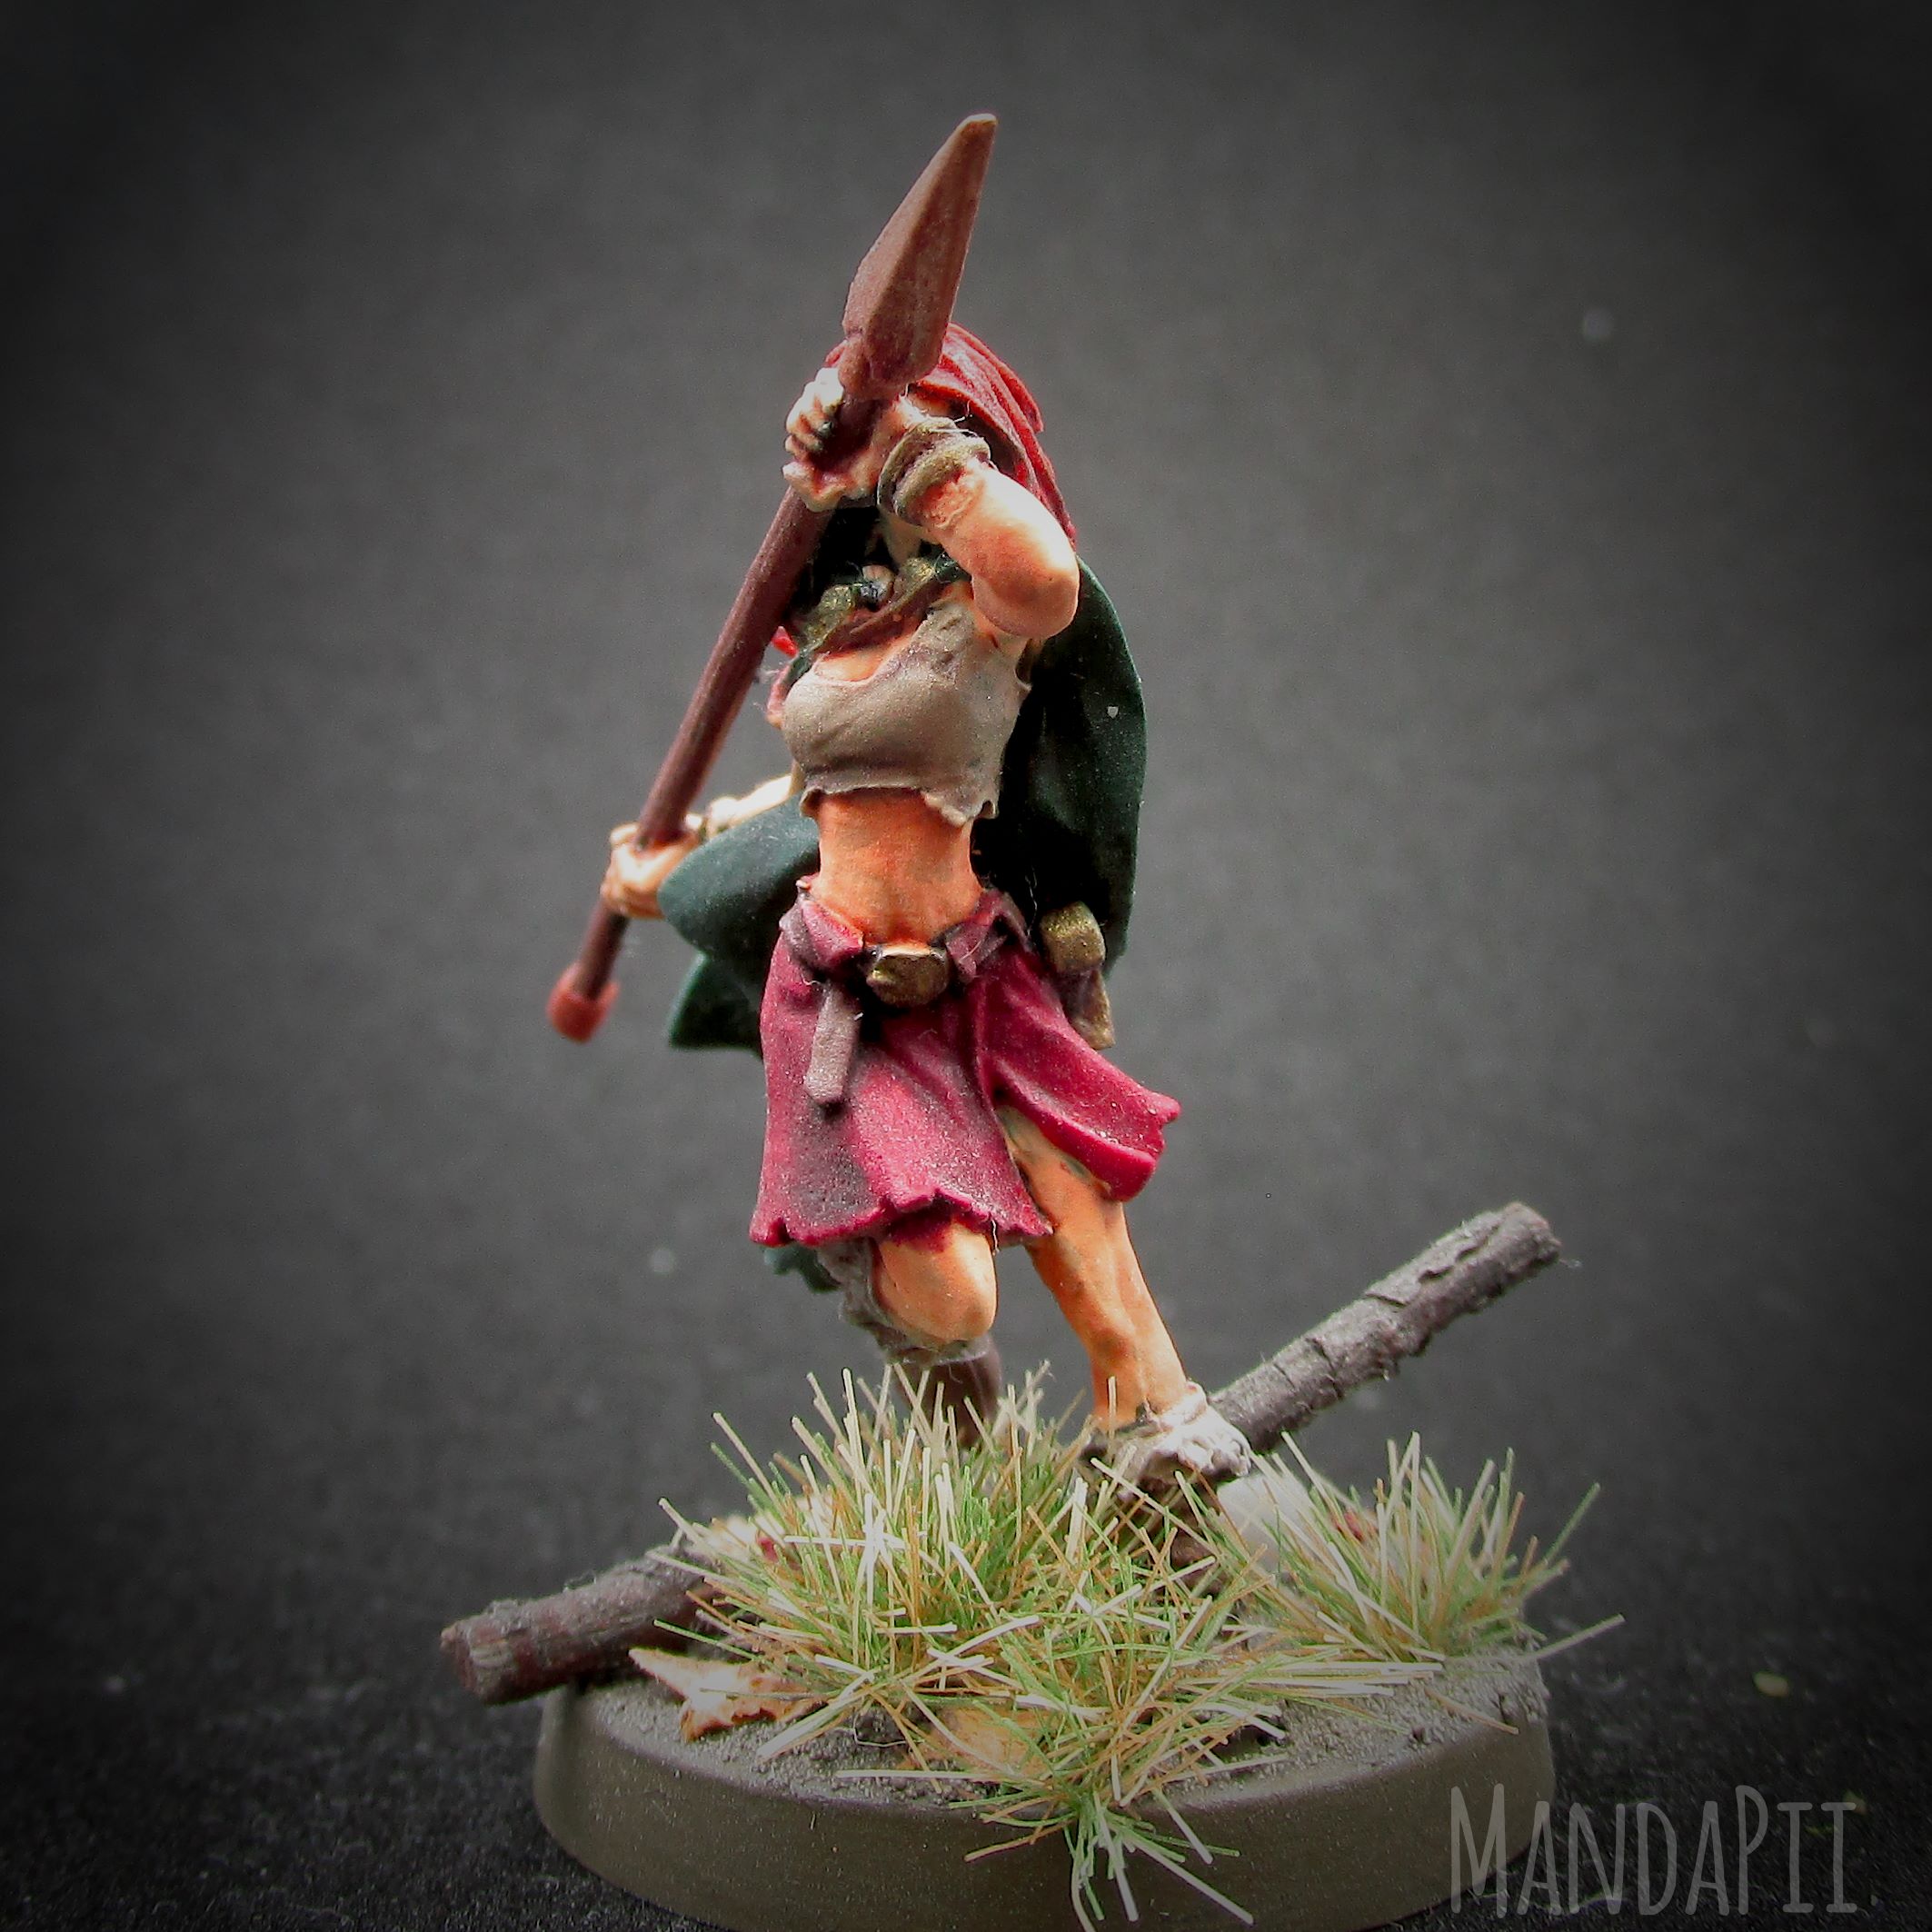
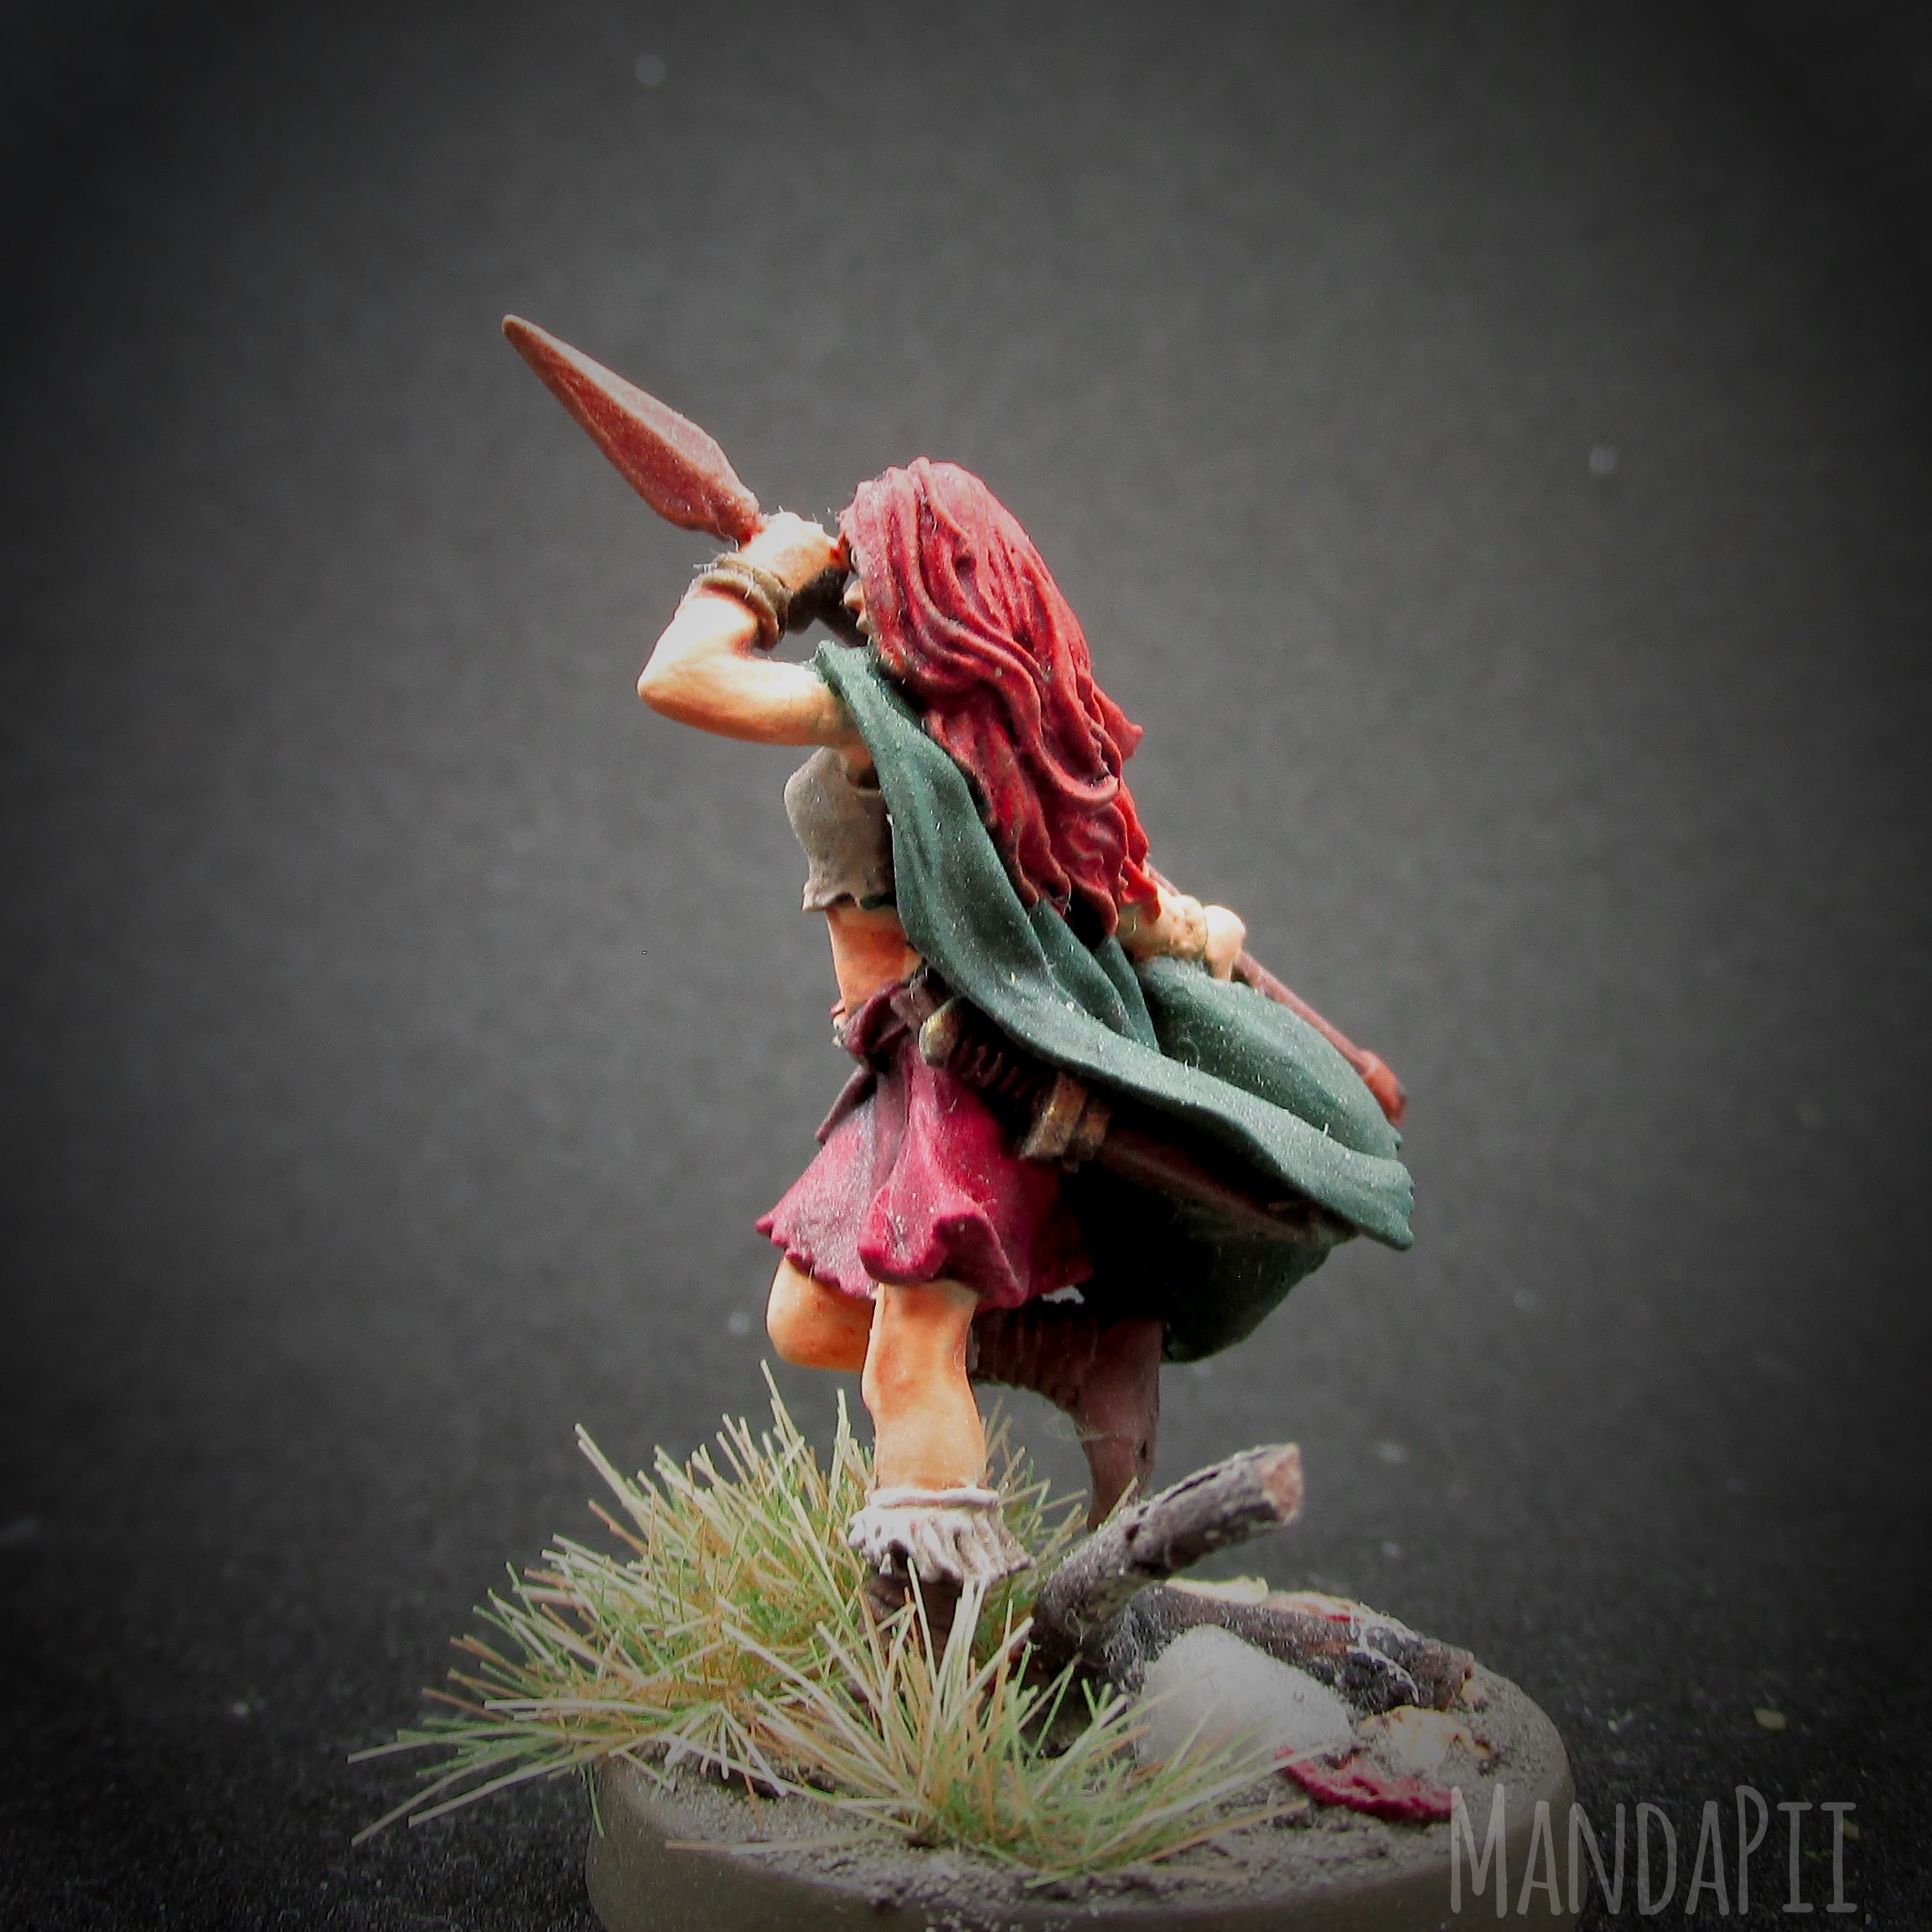
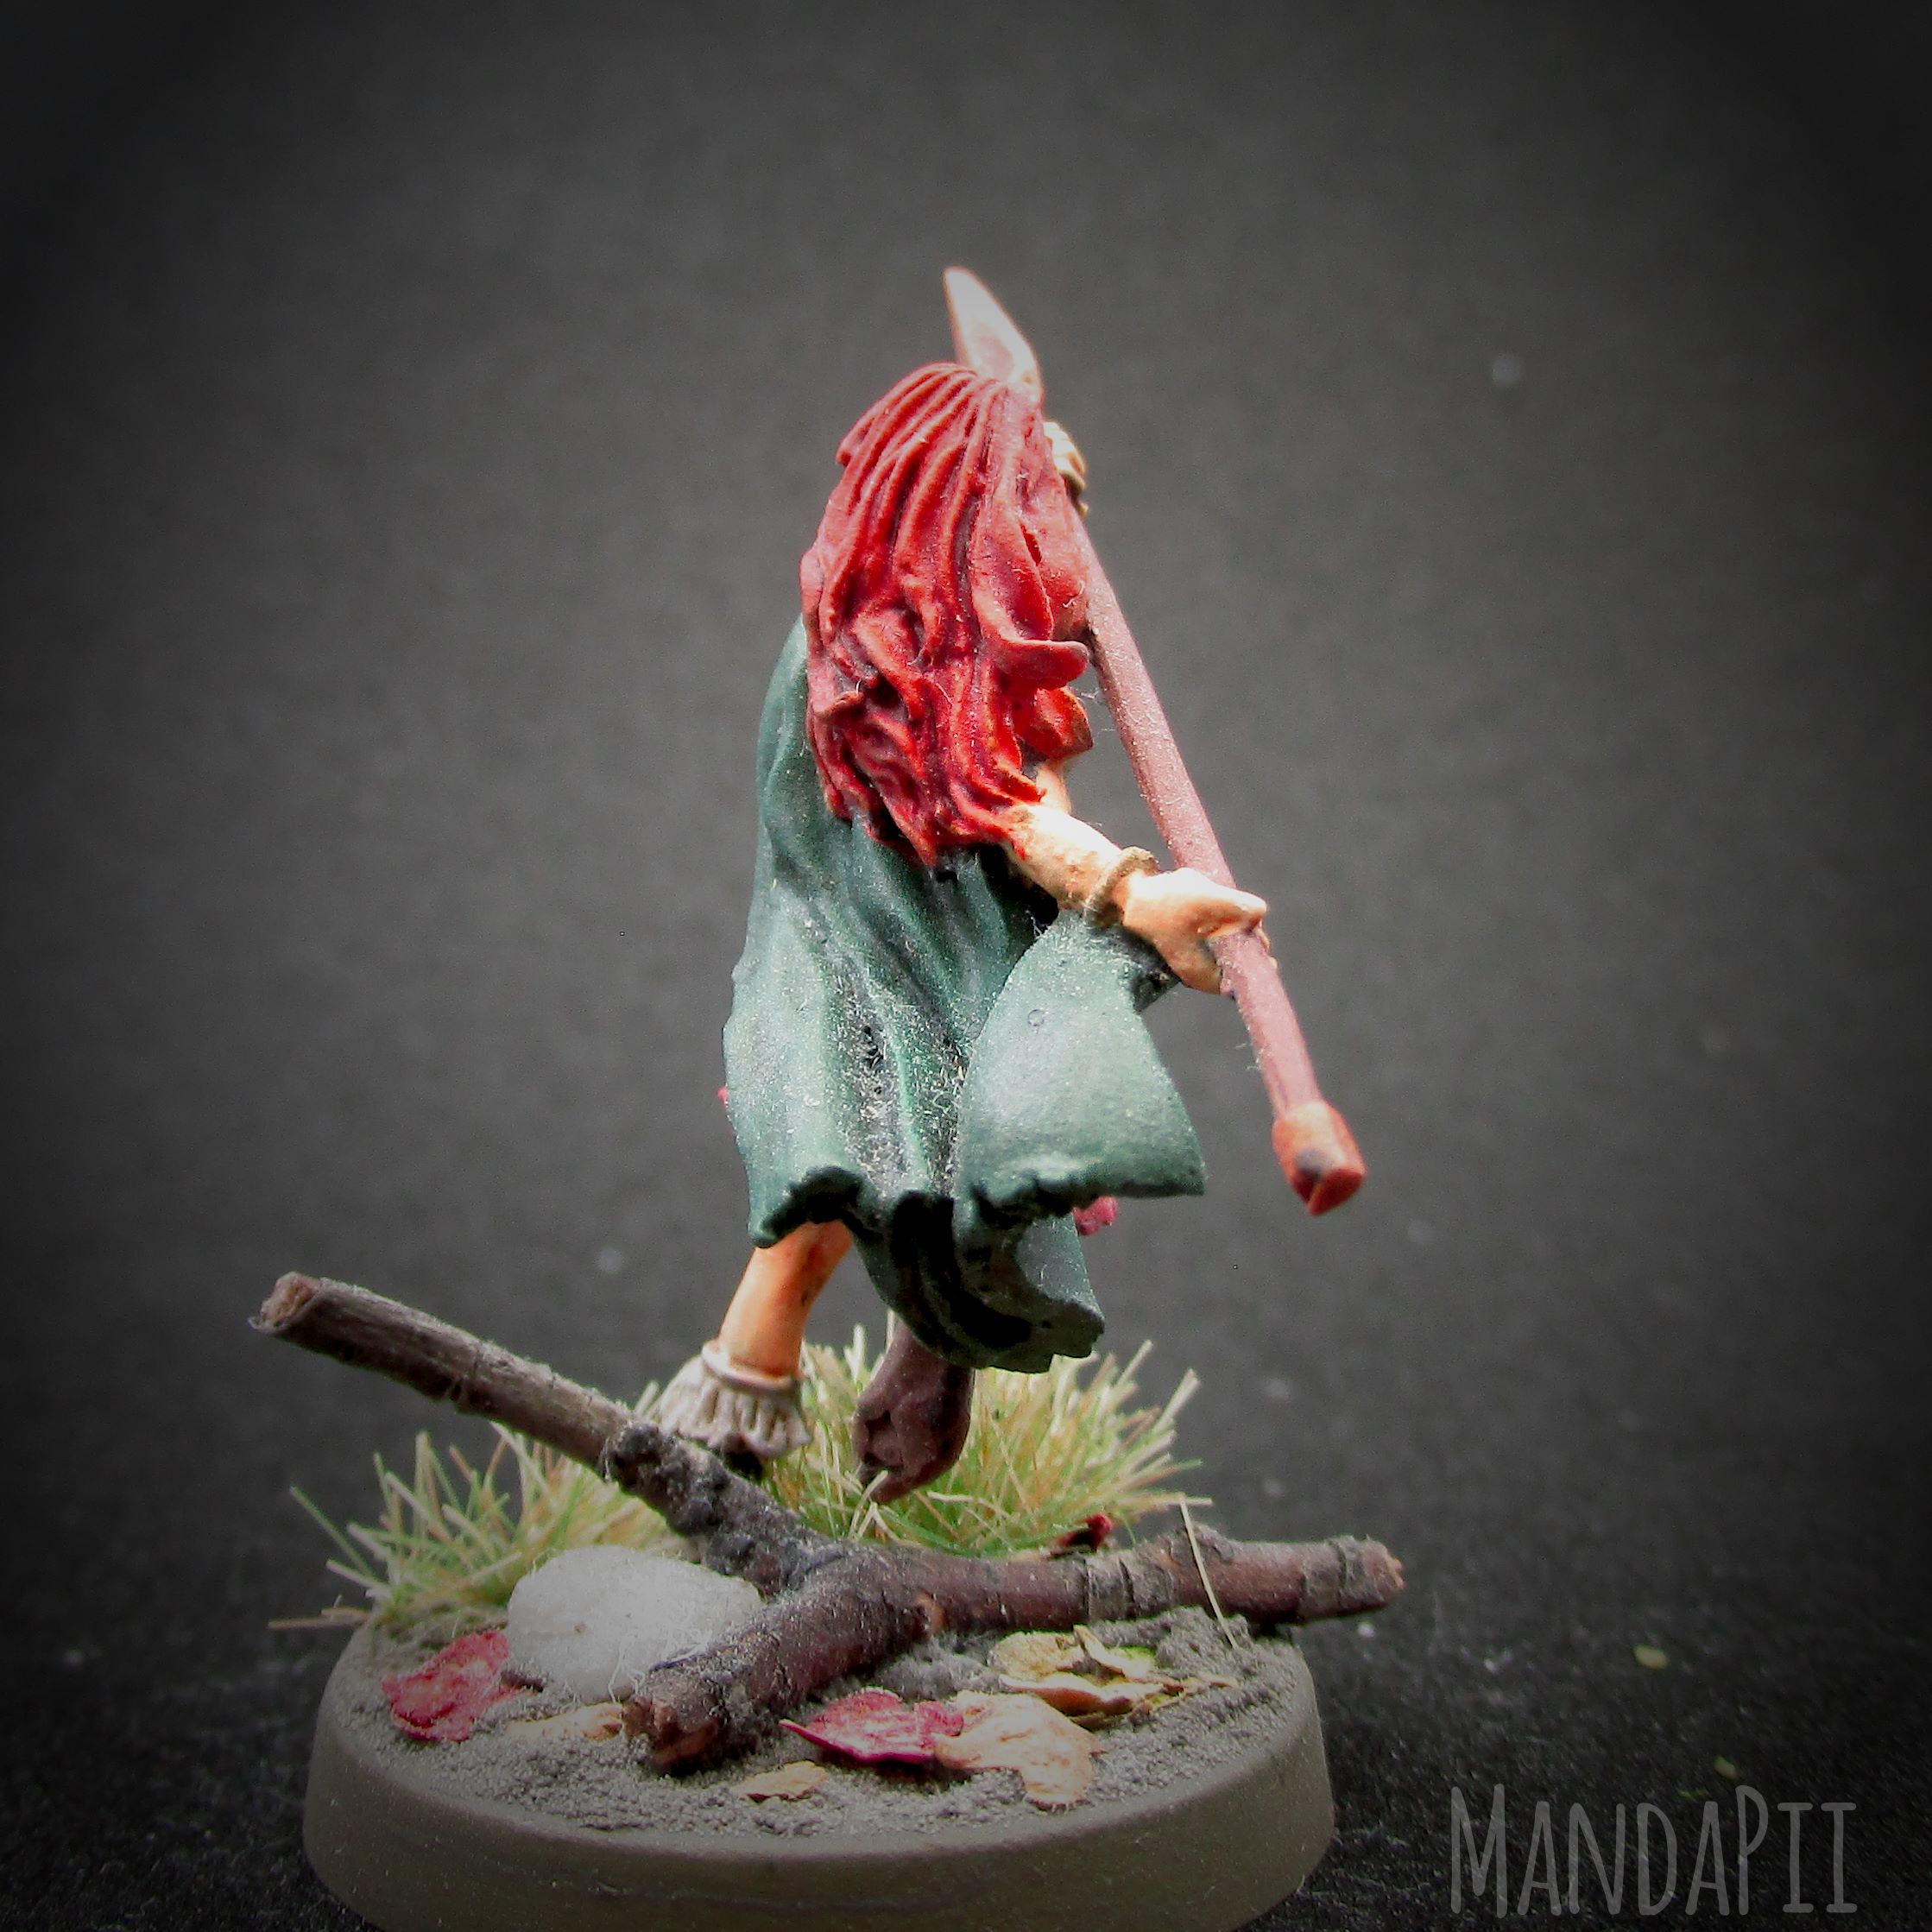
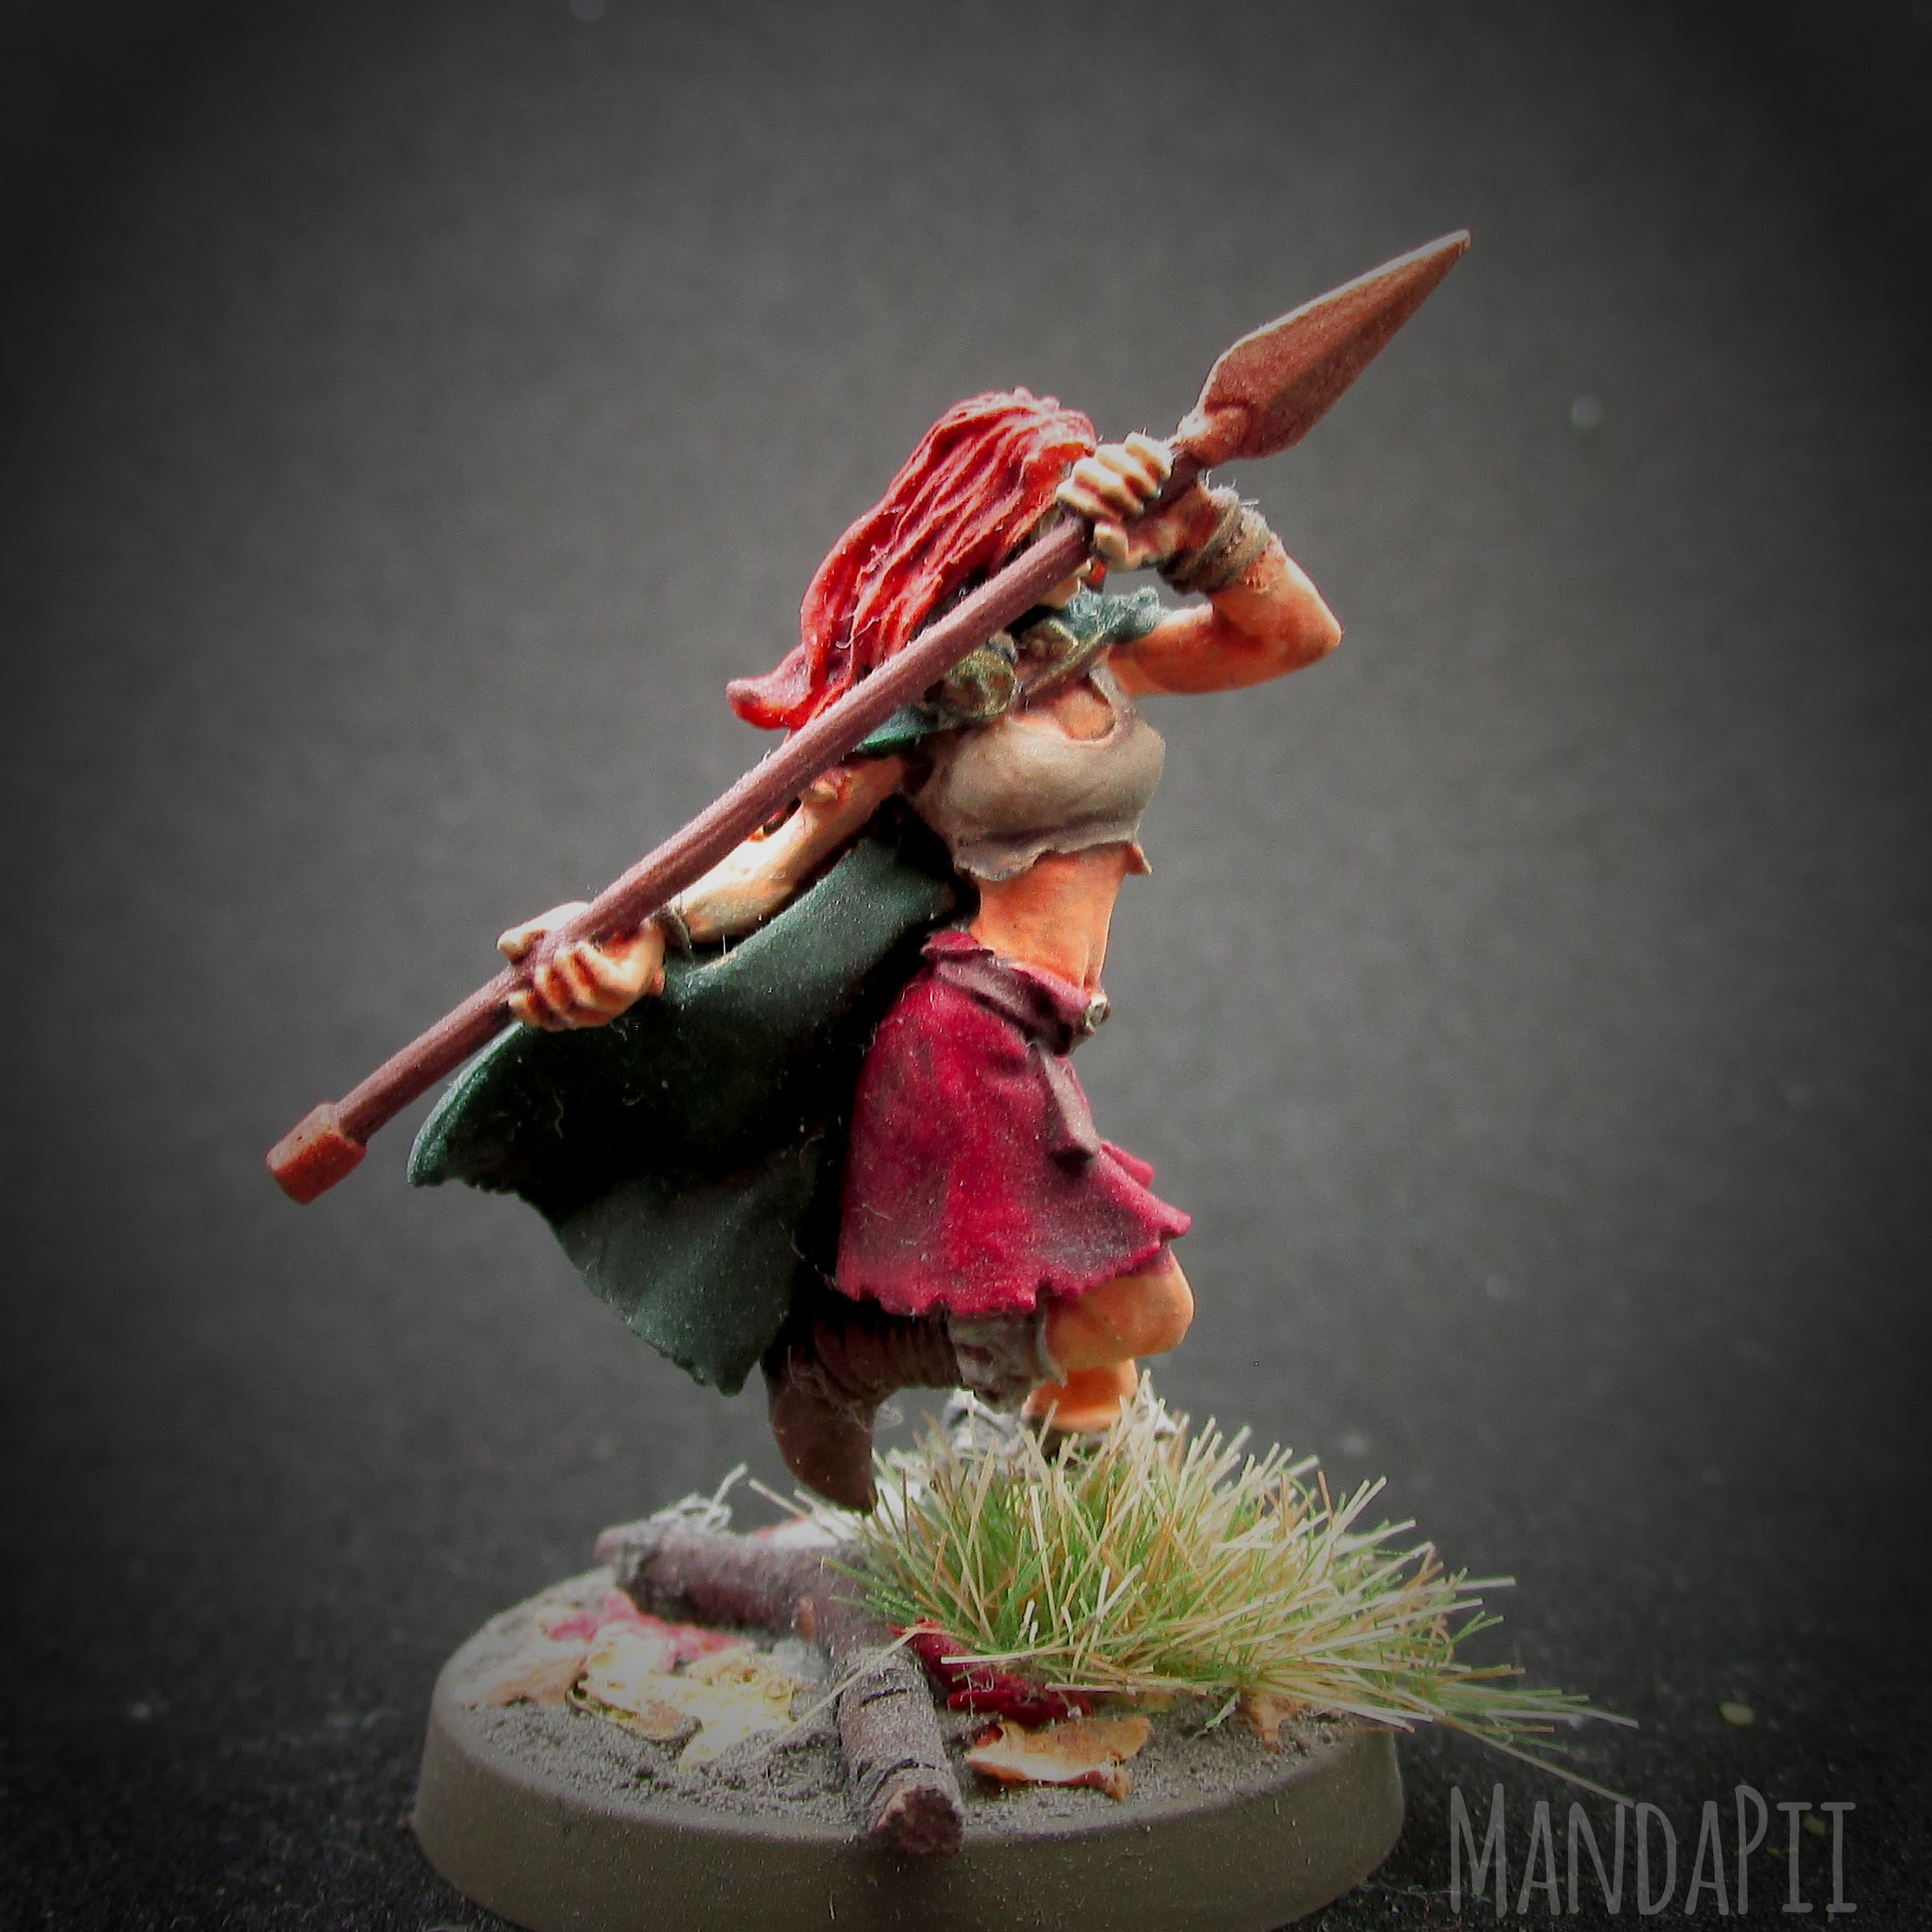
I also was planning on stripping this V&V Miniatures model, but the resin just turned extremely soft and I really struggled getting the paint of using isopropyl alcohol….. Lesson learned I guess, don’t use isopropyl alcohol with resin….
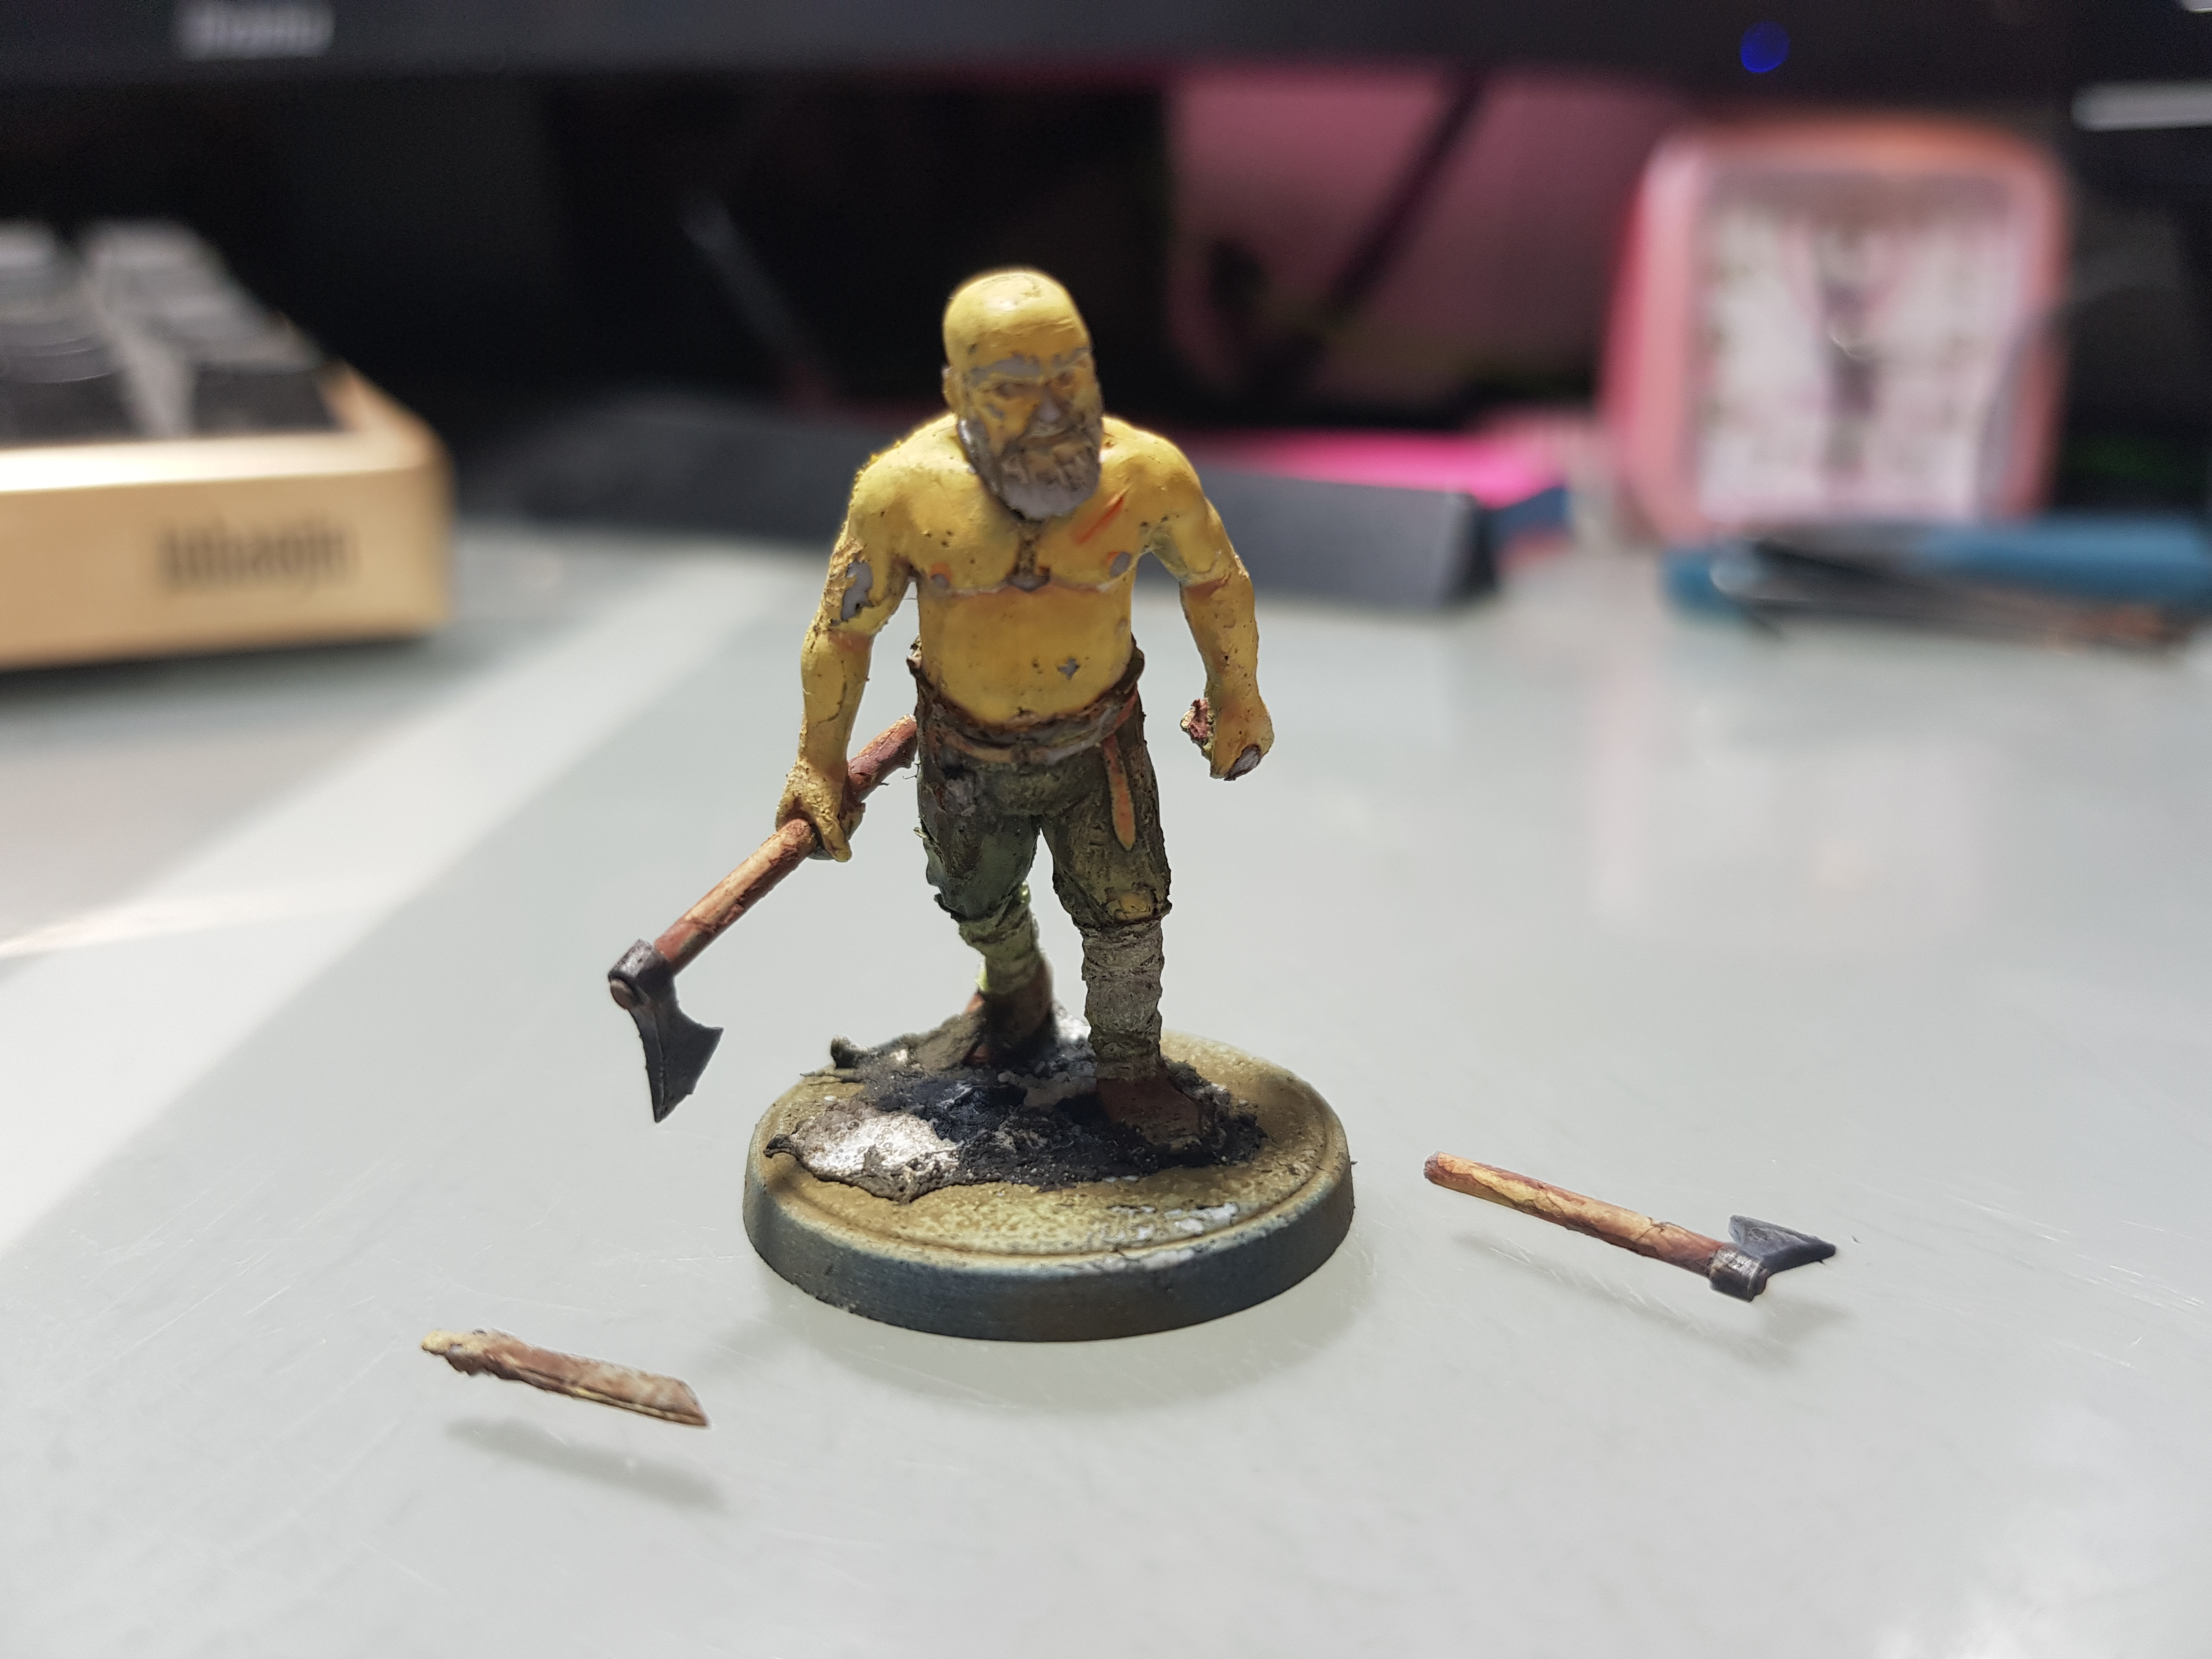
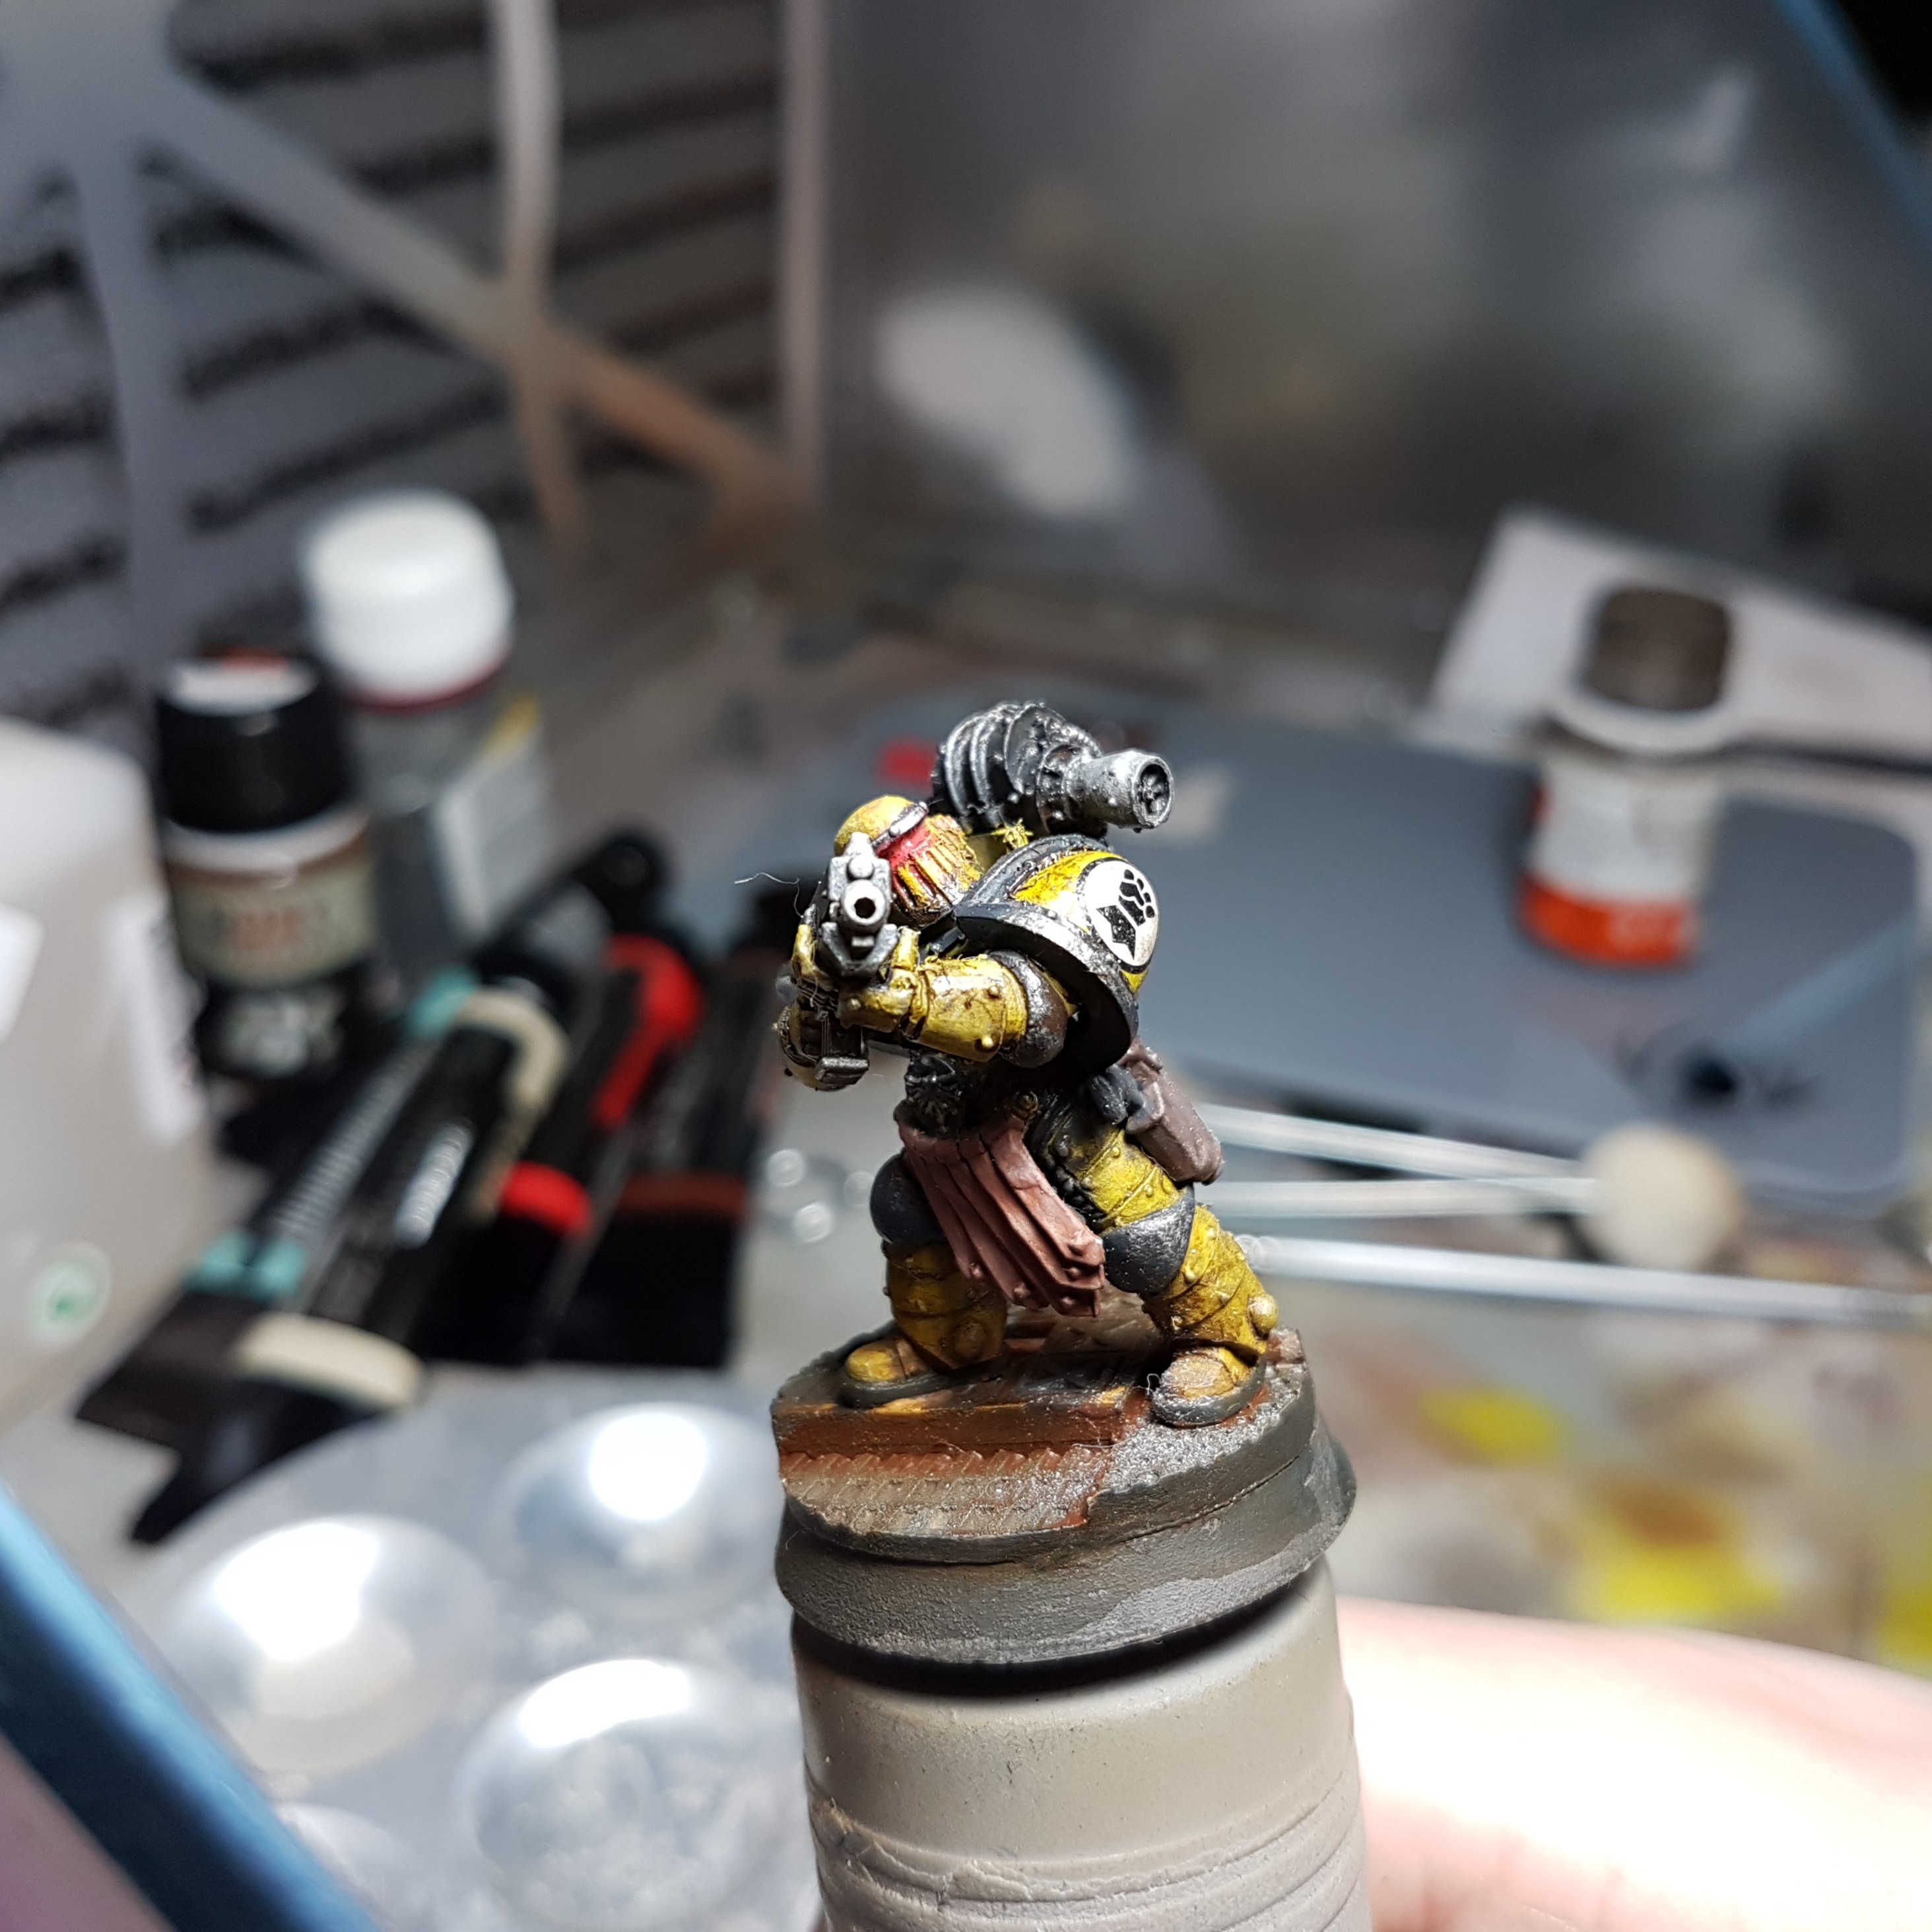
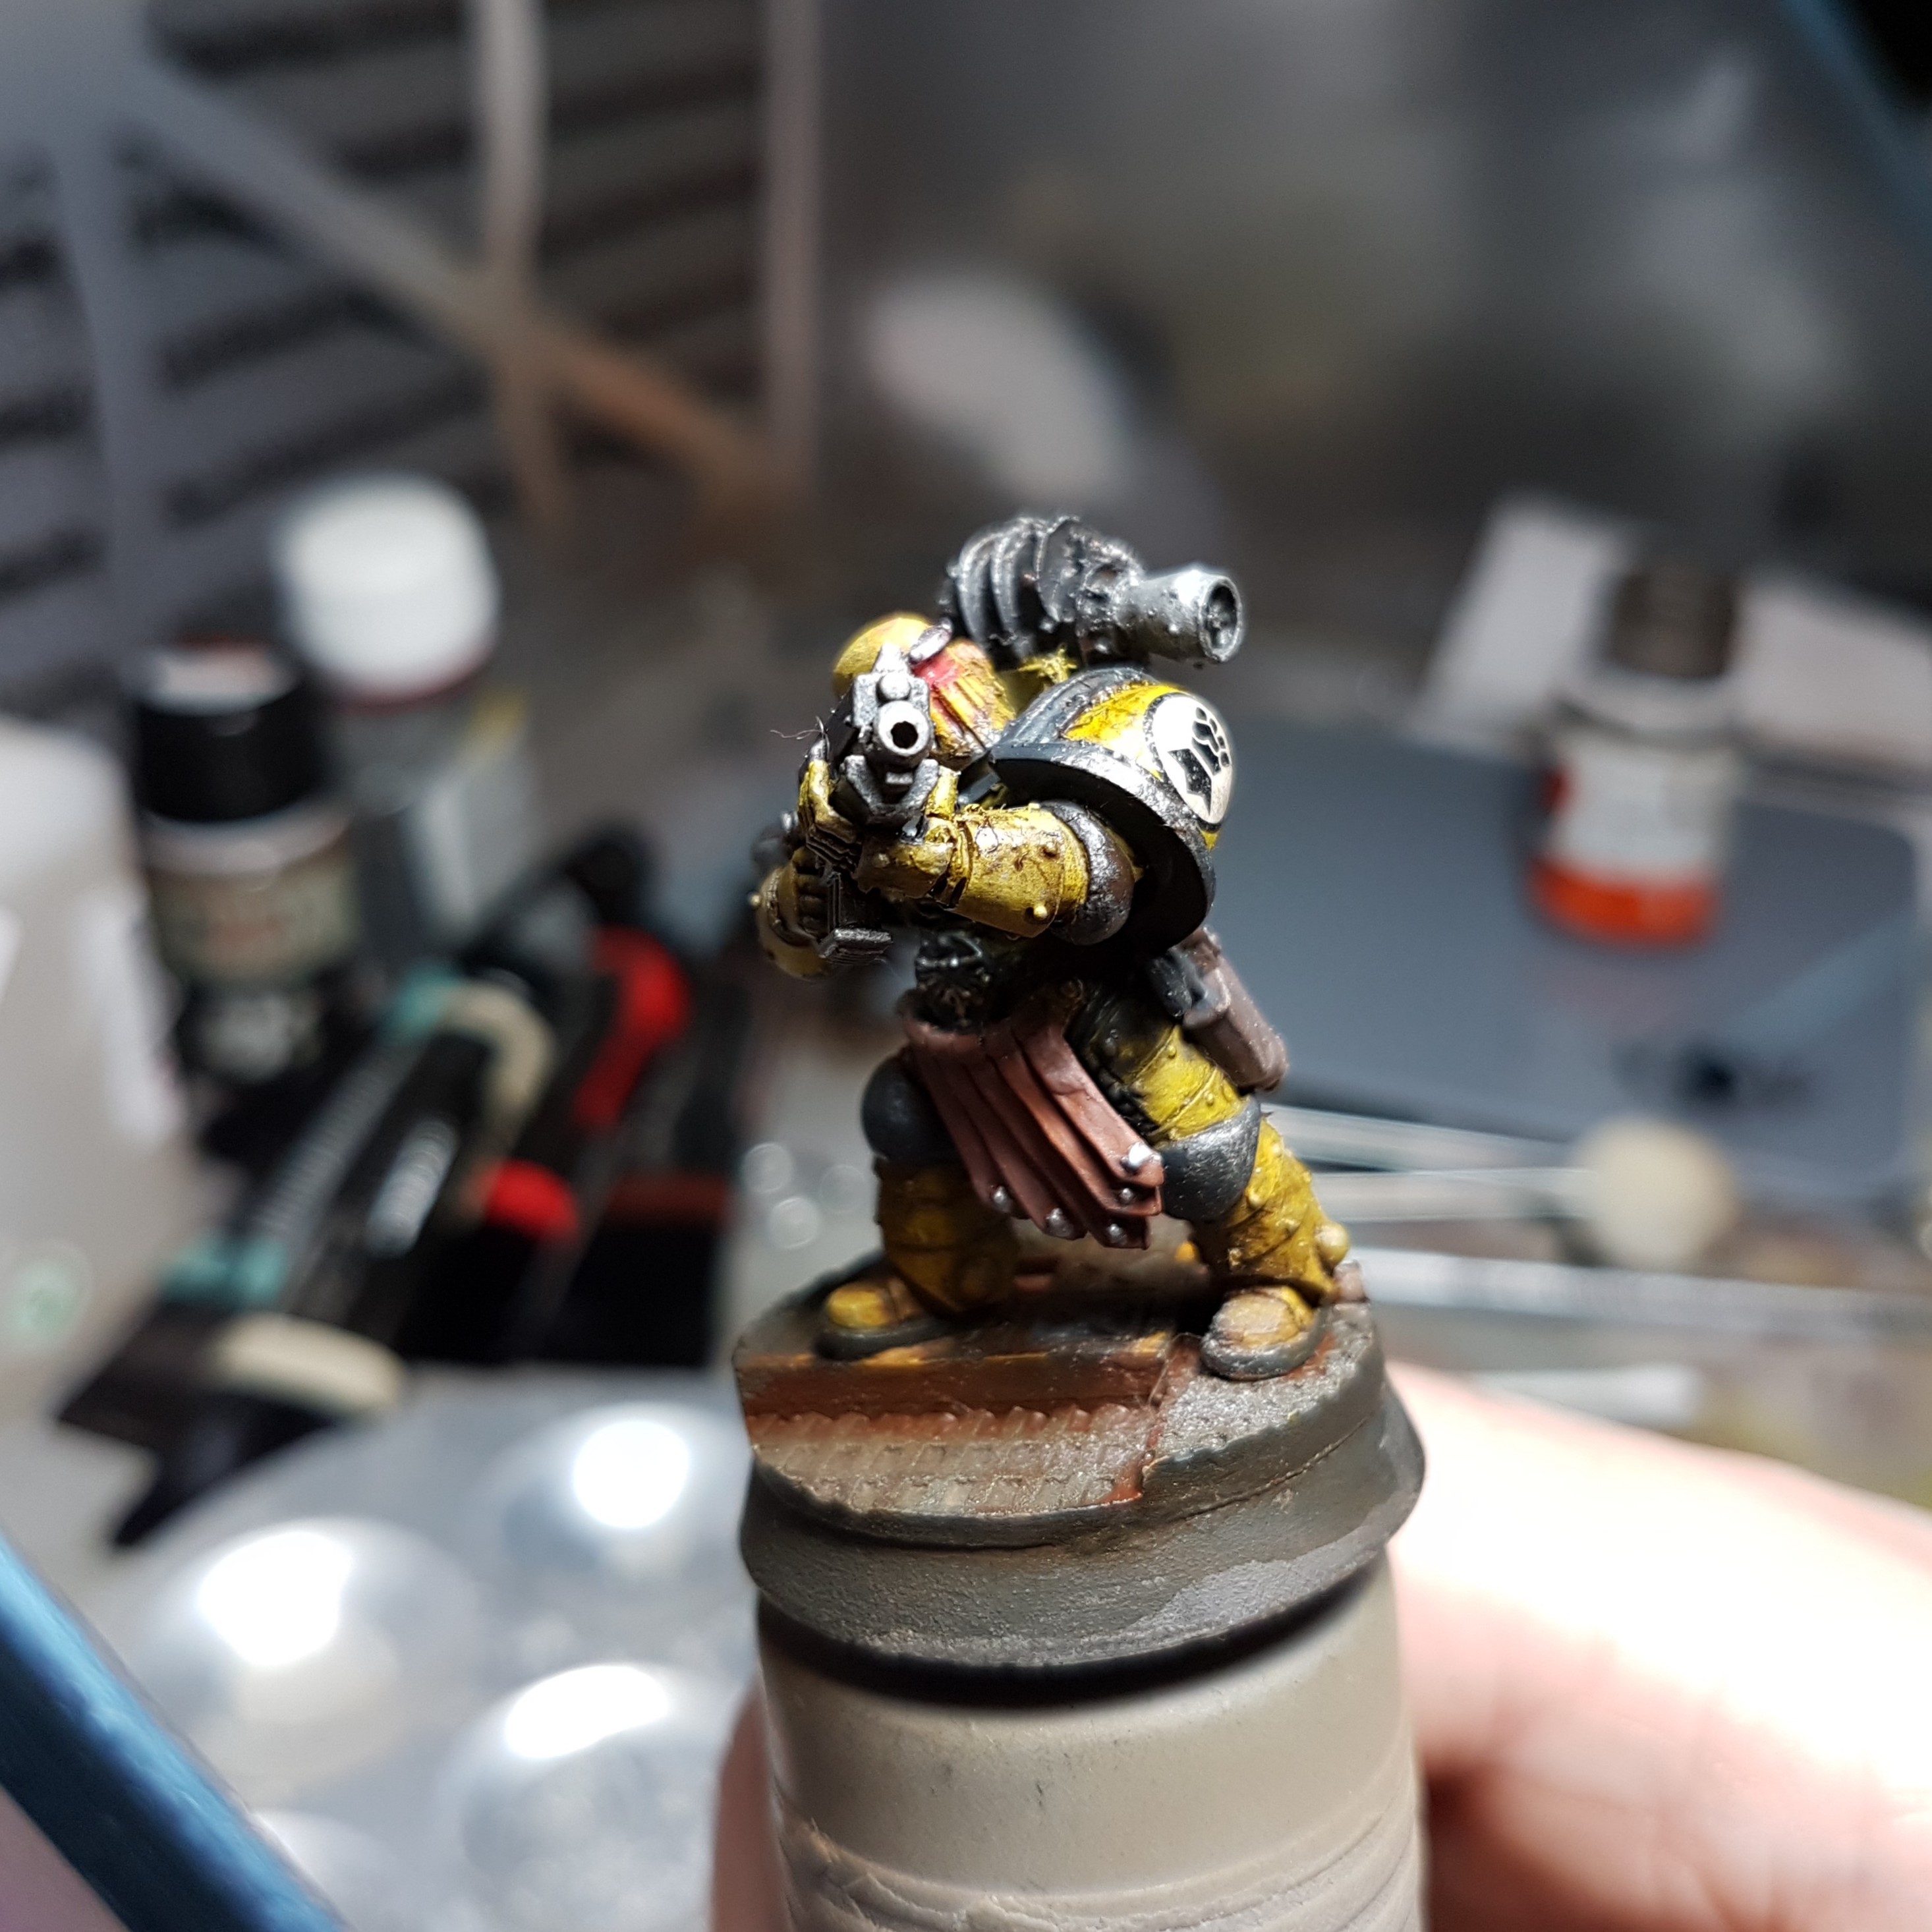
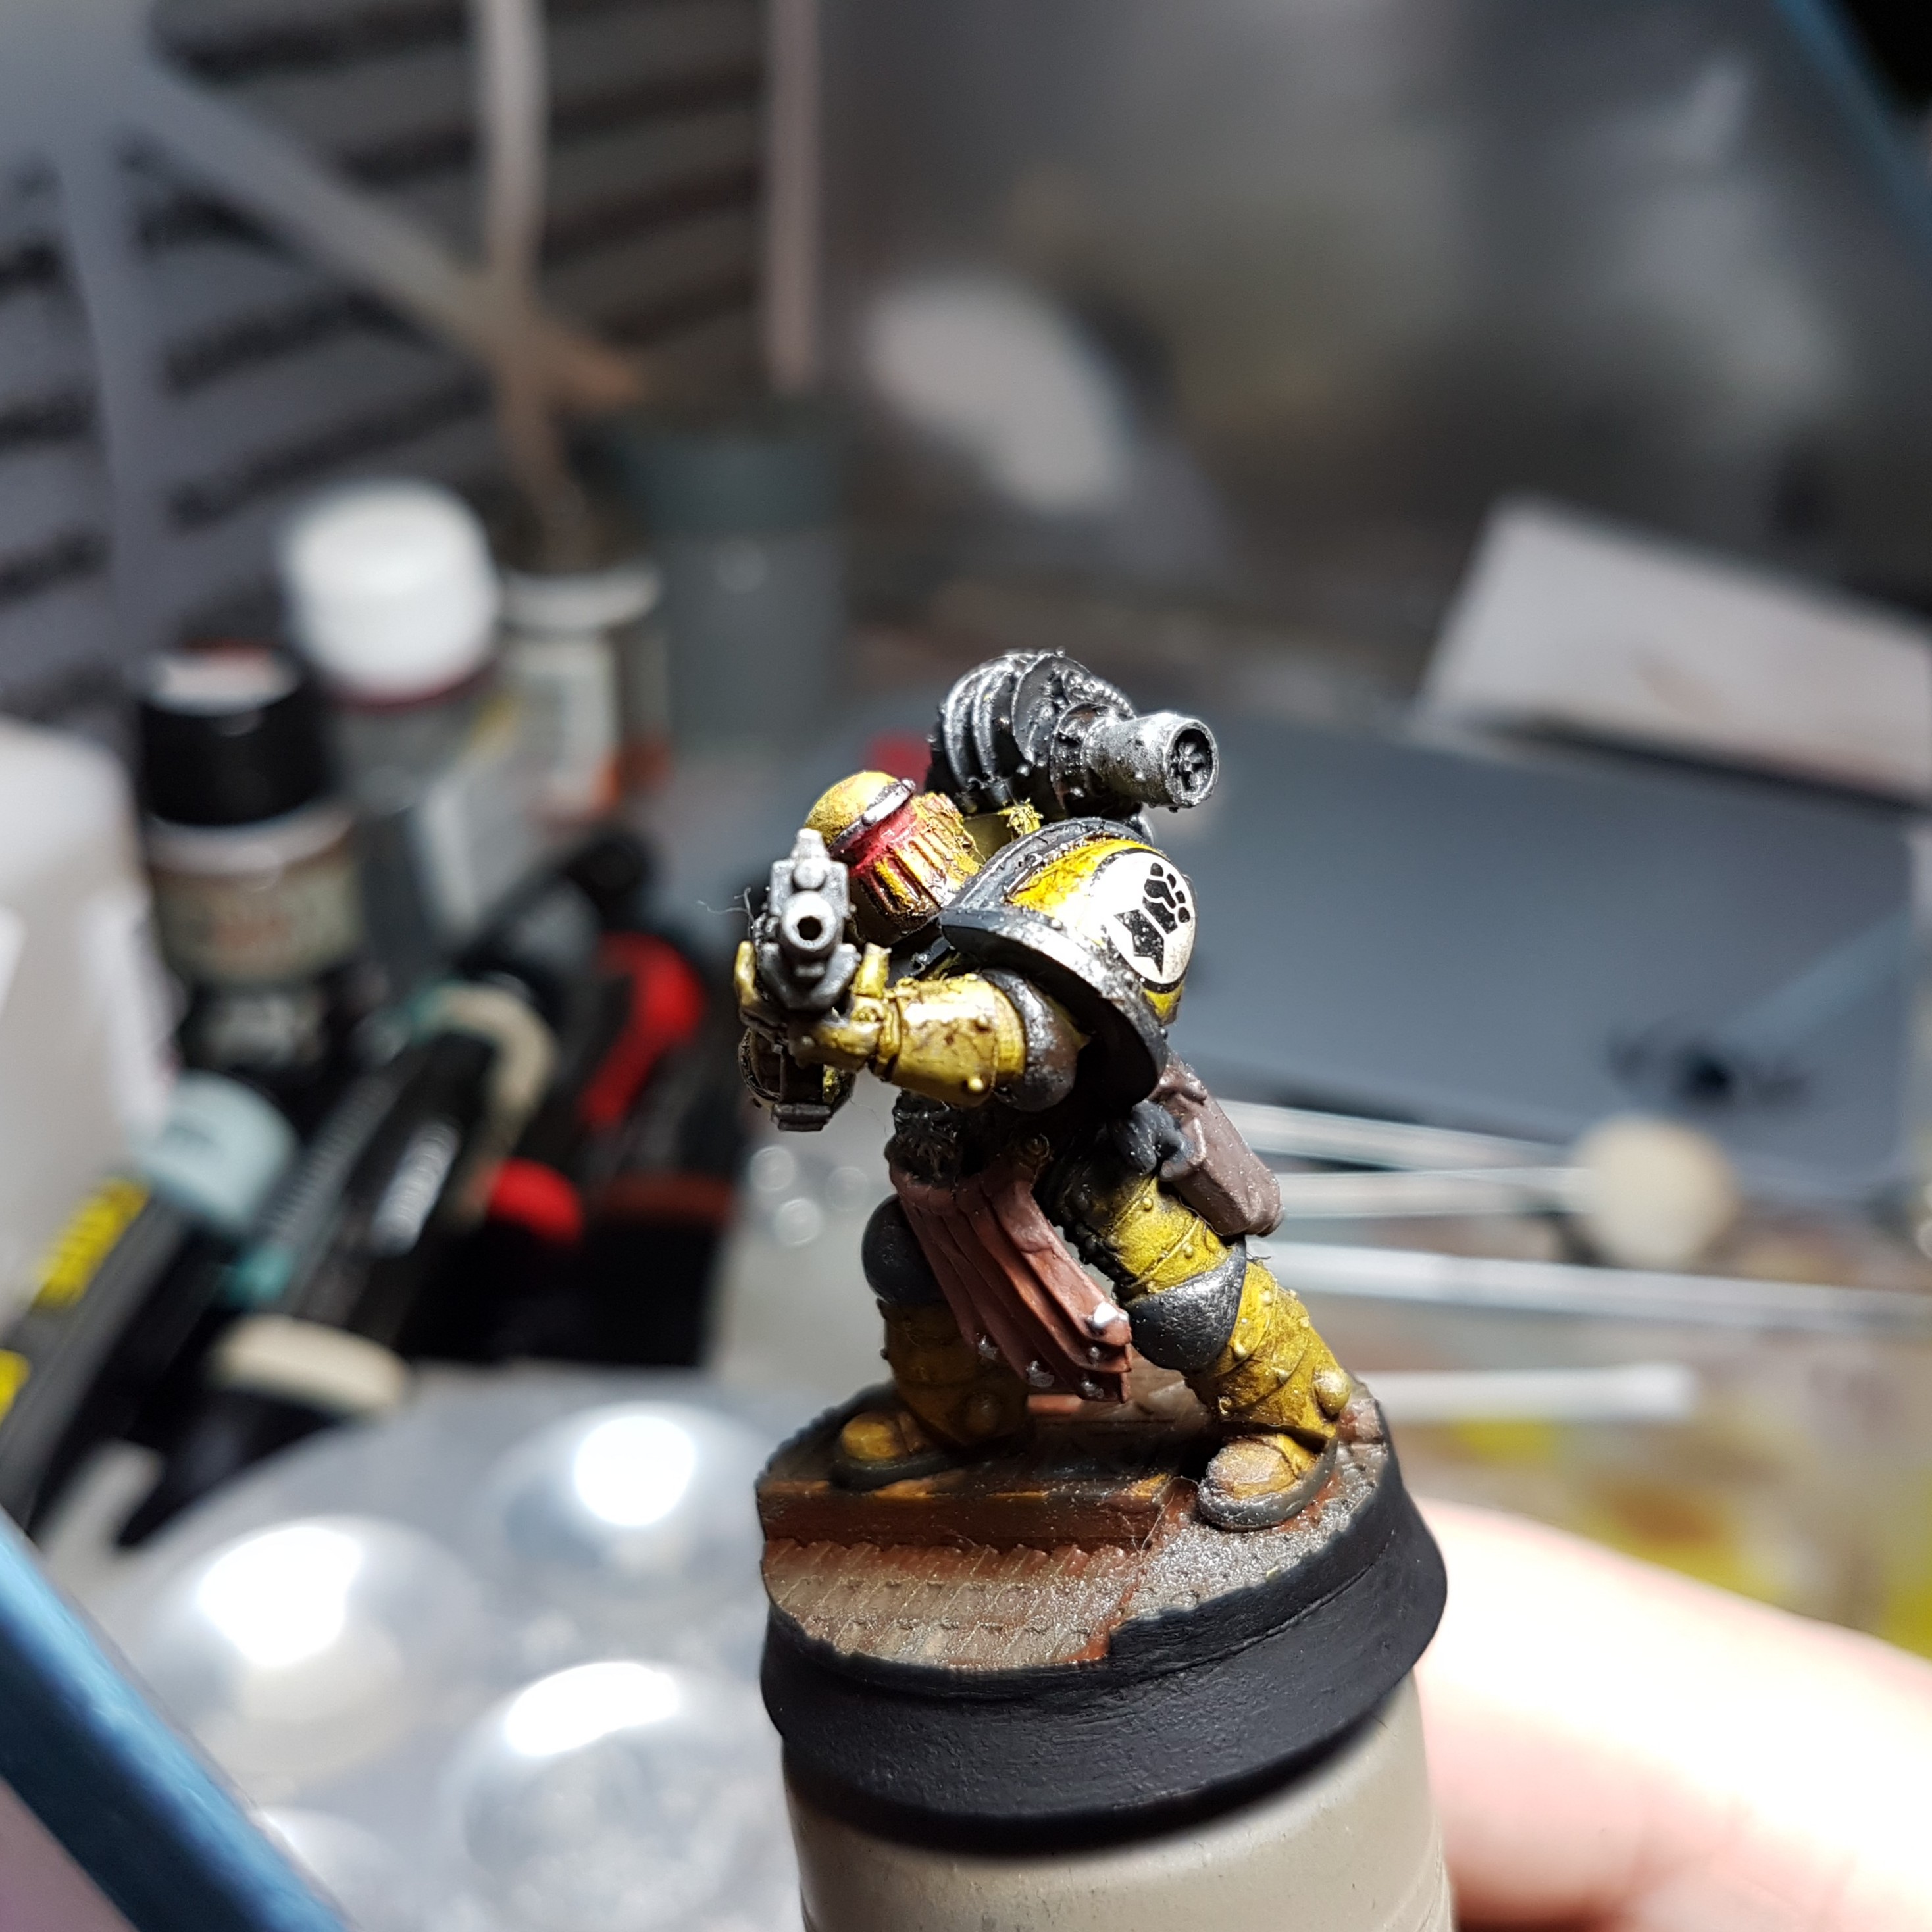
Imperial Fists Mk. II Space Marine

And the second model in my new painting journey is done. It is a Forge World Mk. II Space Marine in Imperial Fist colours.


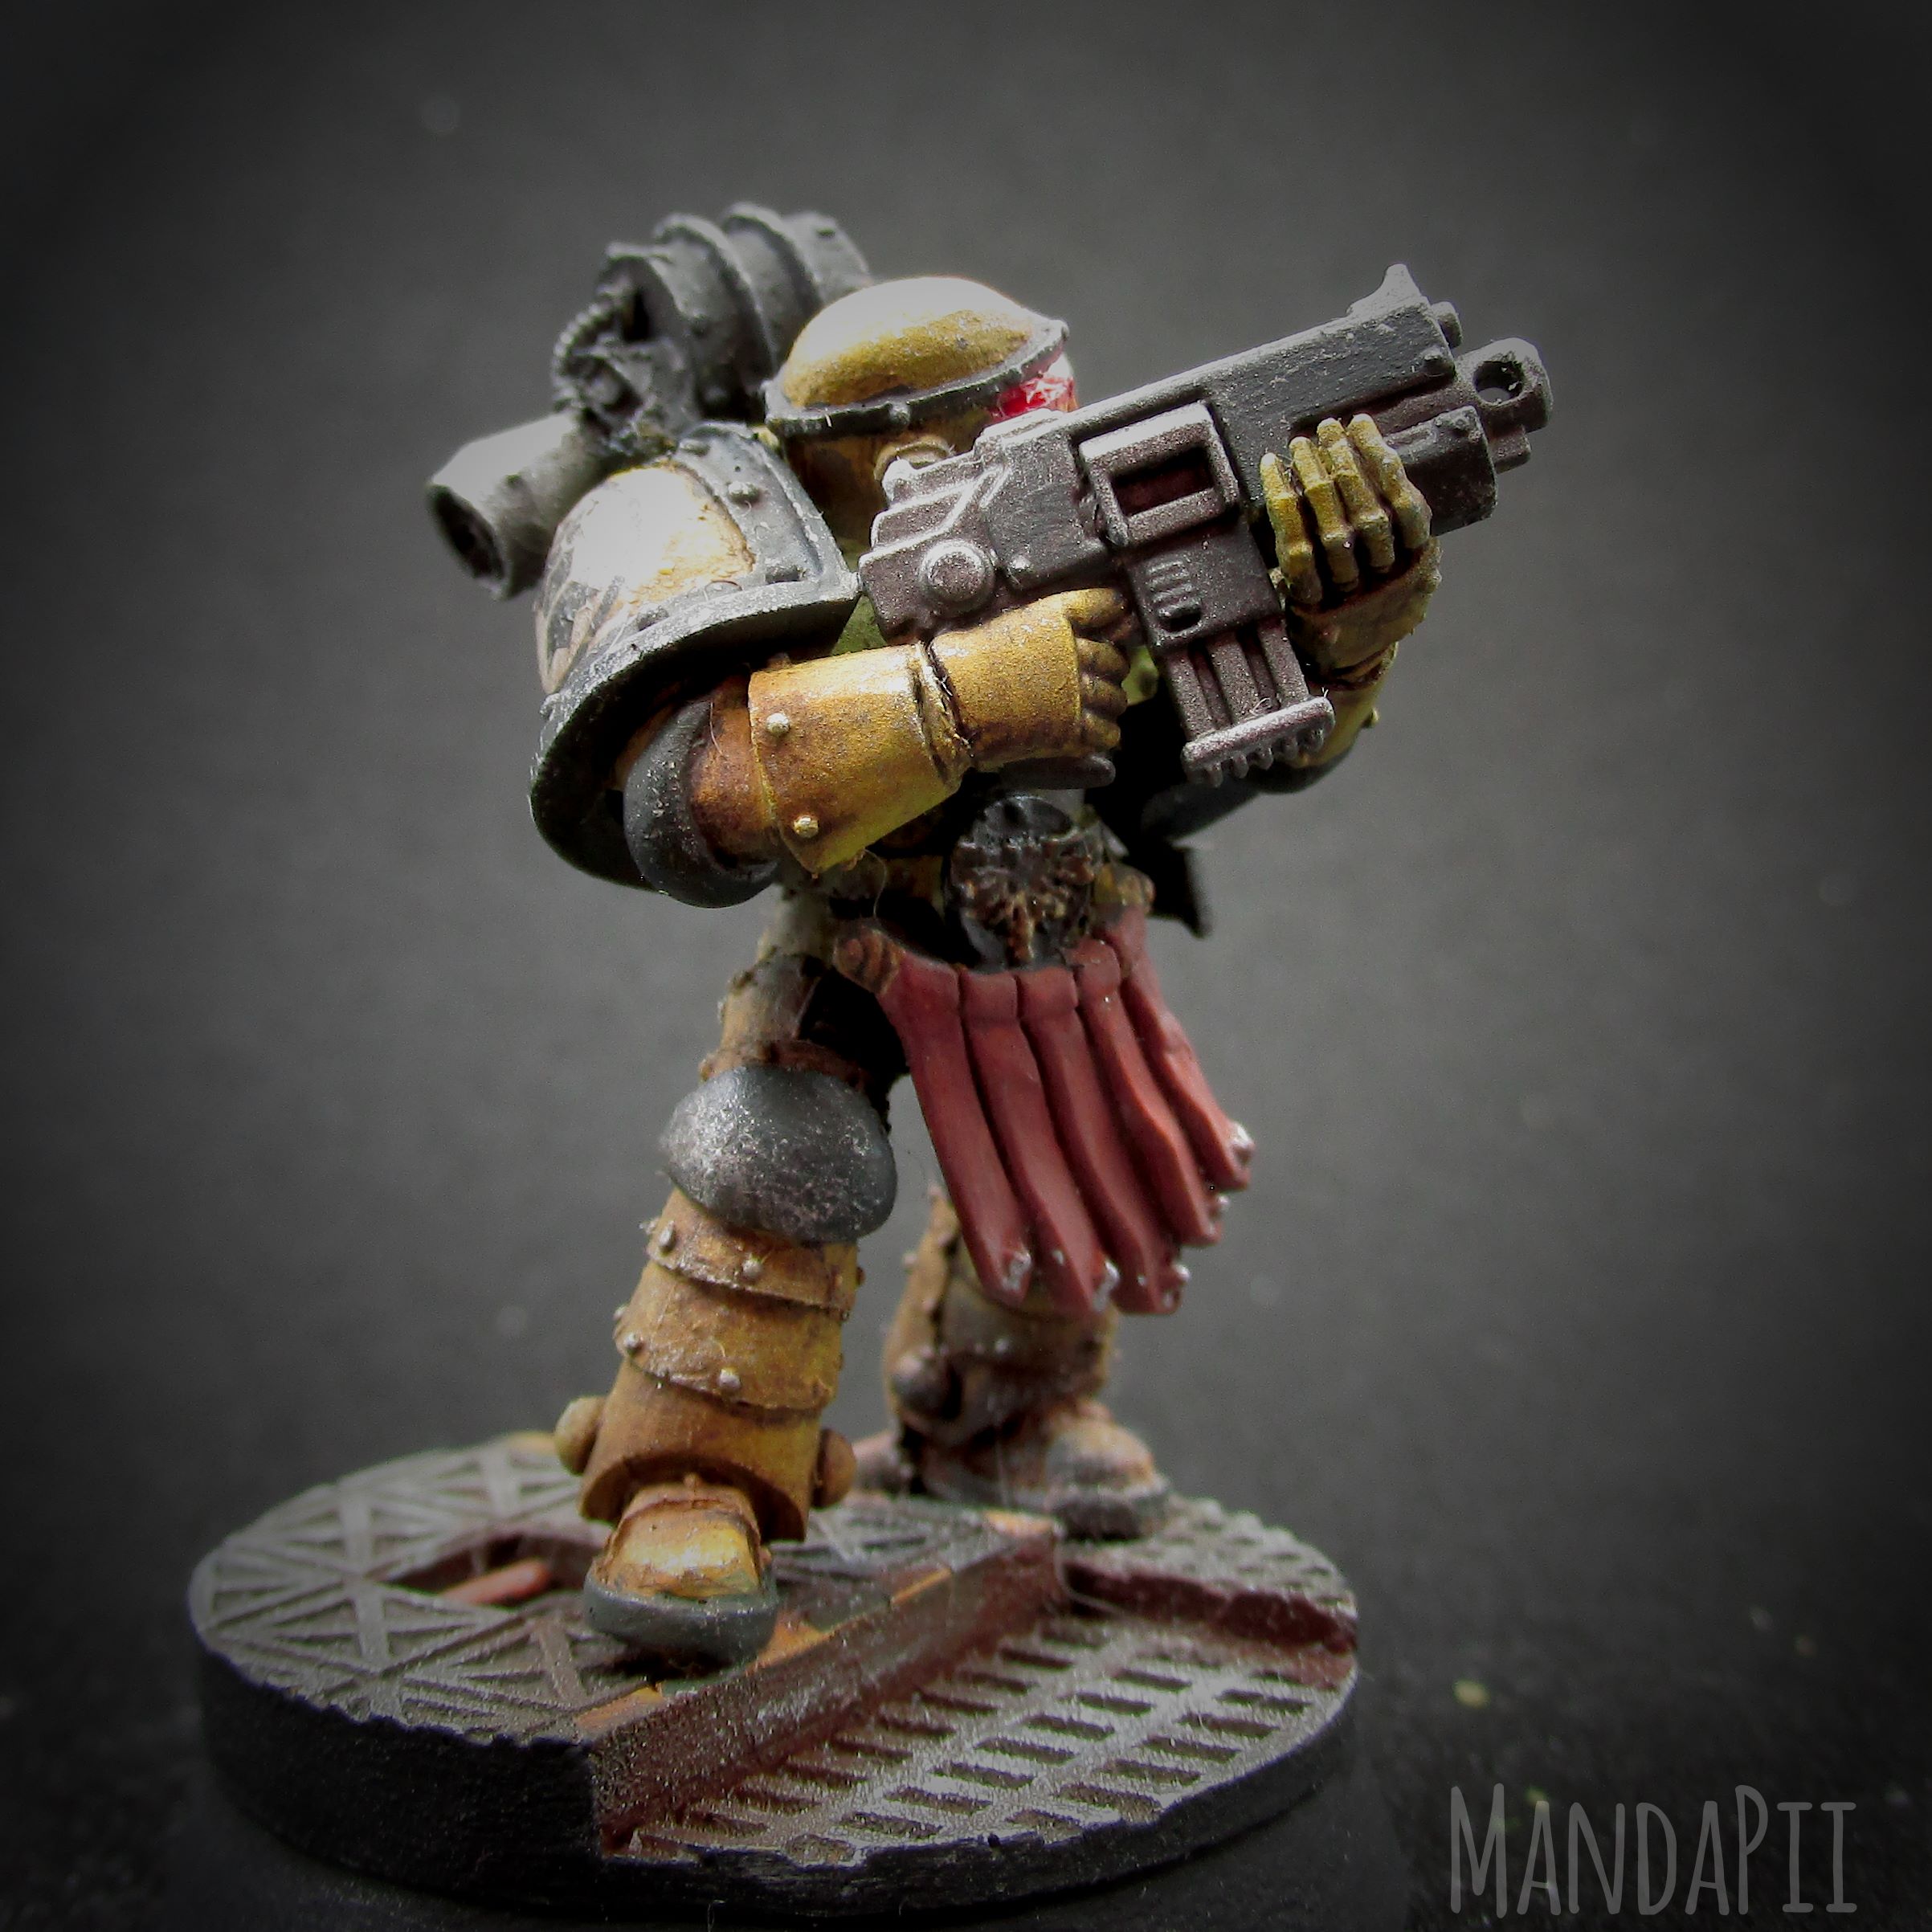
To finish off this model I did add a bit of AK Interactive True Metal Steel (AK457) with a cotton bud over the base as I forgot to do this before.
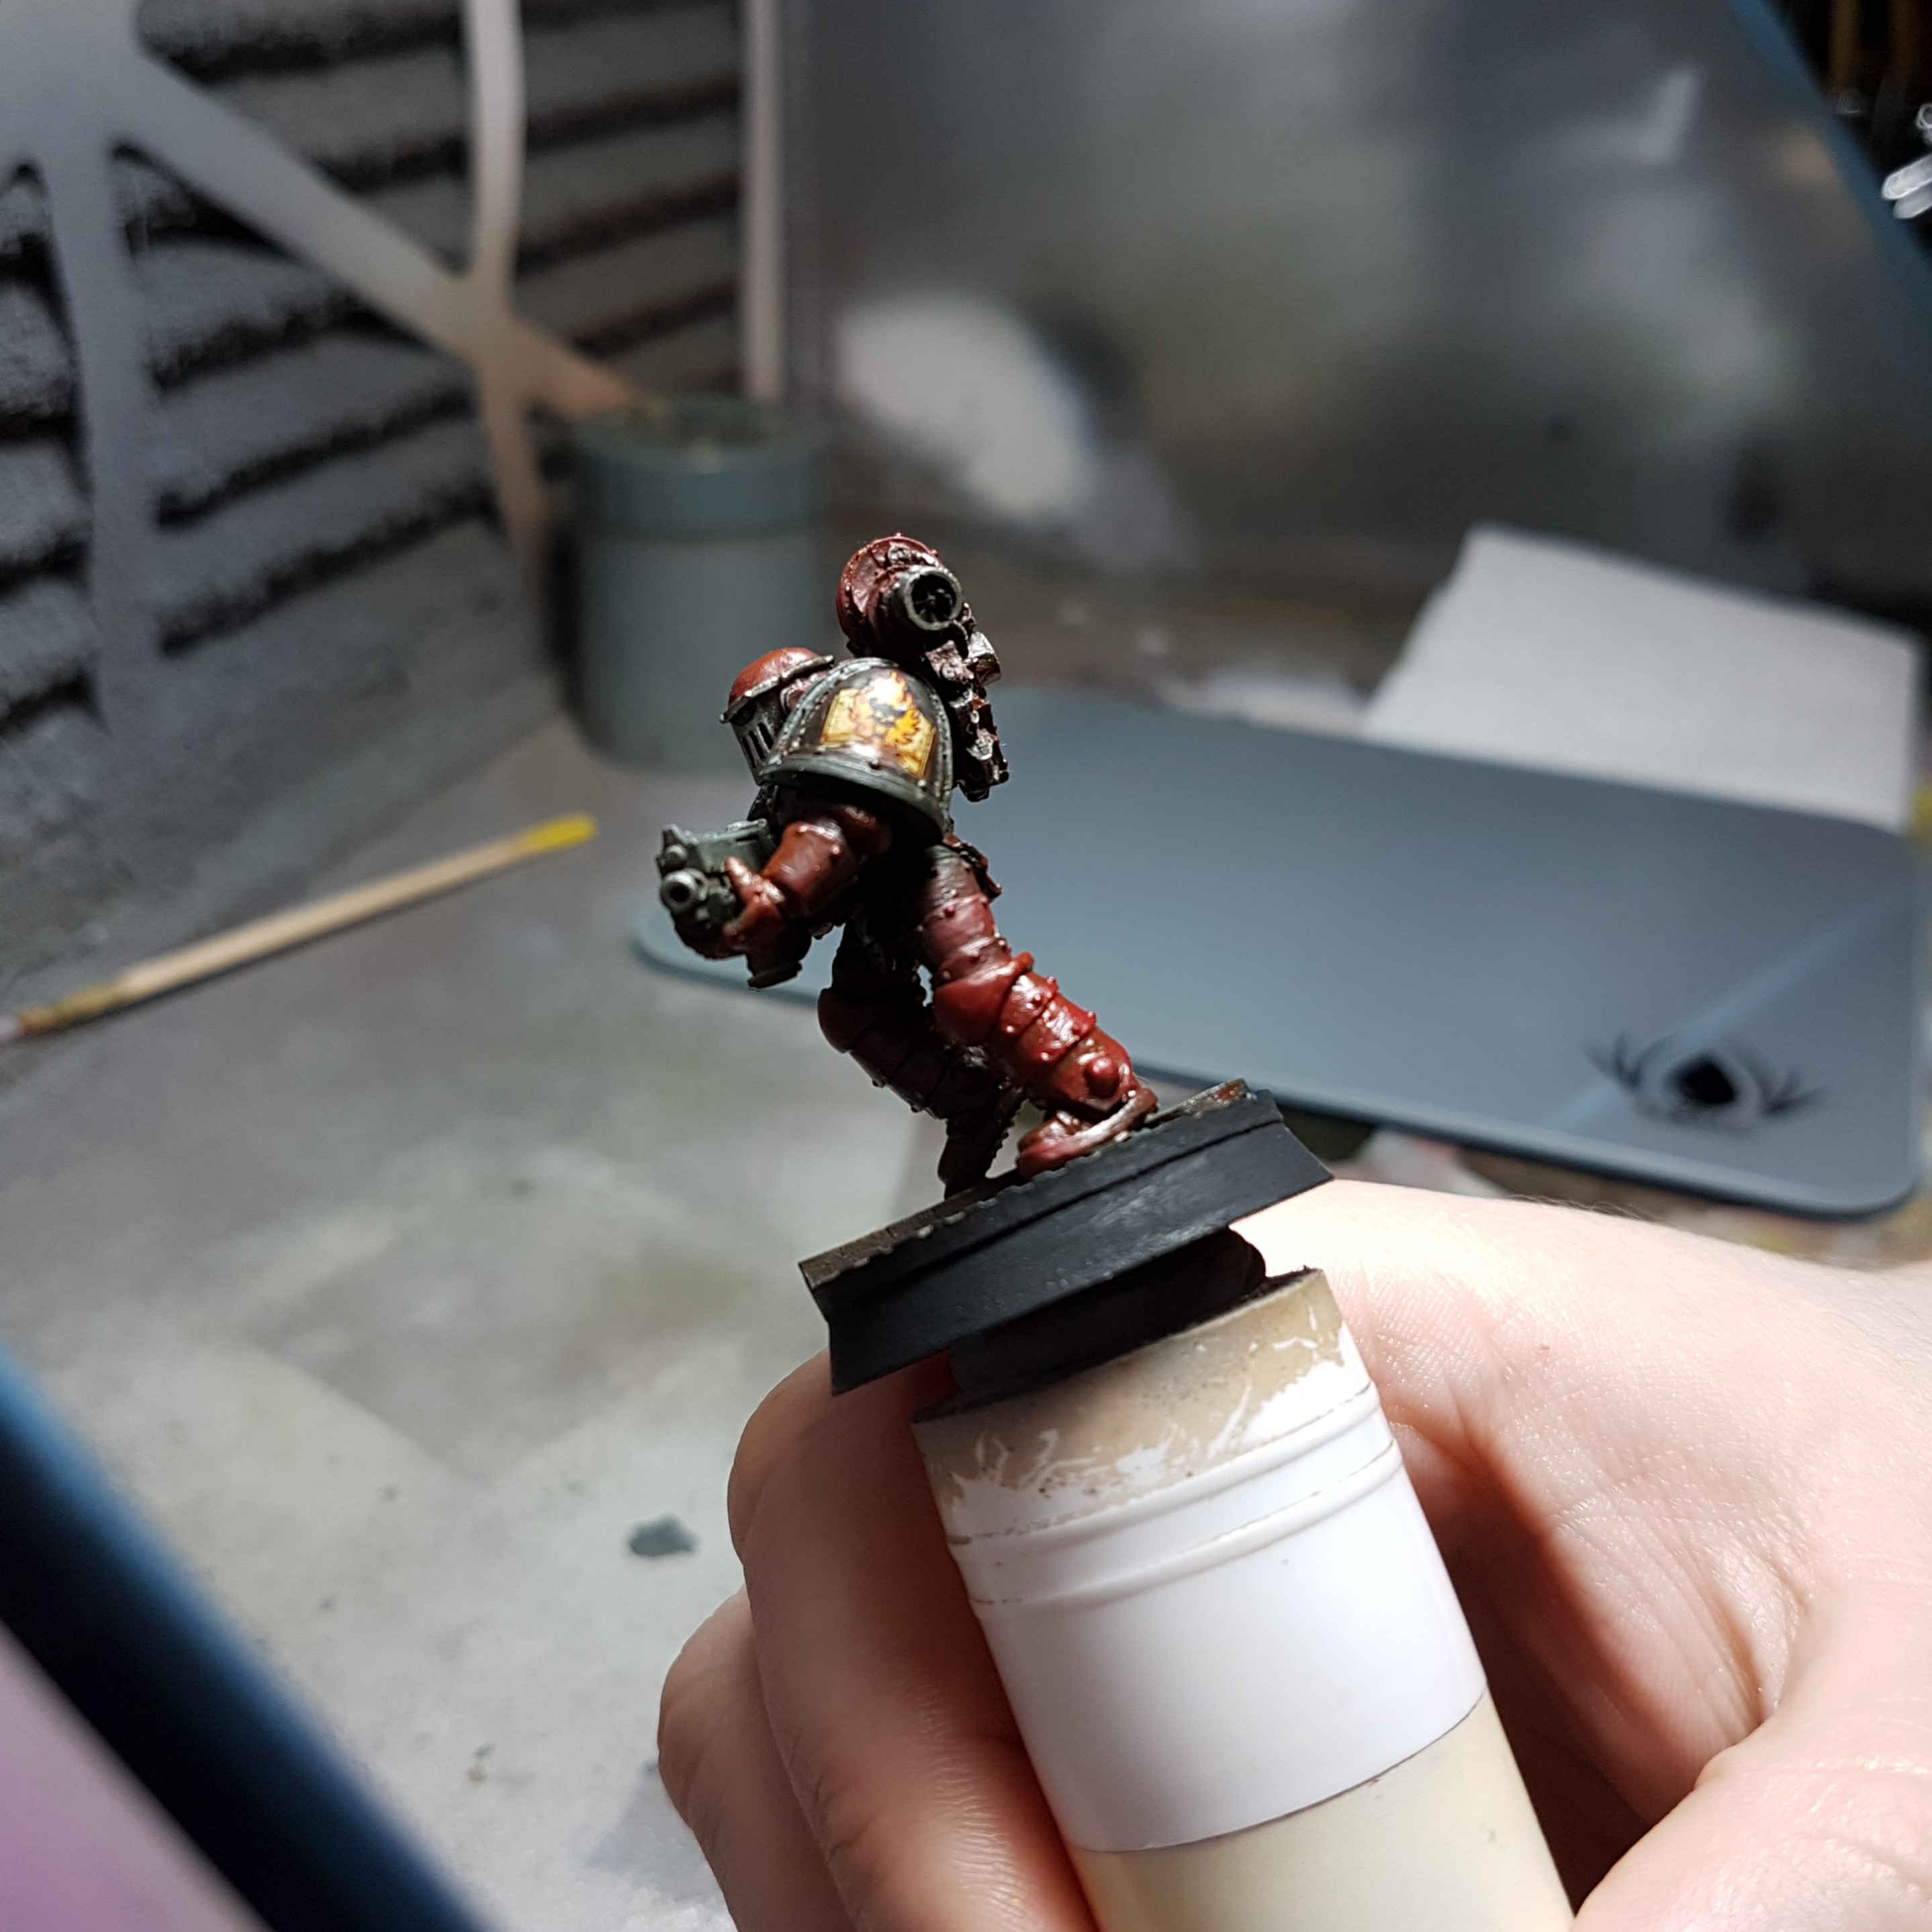
Word Bearers Mk. II Space Marine
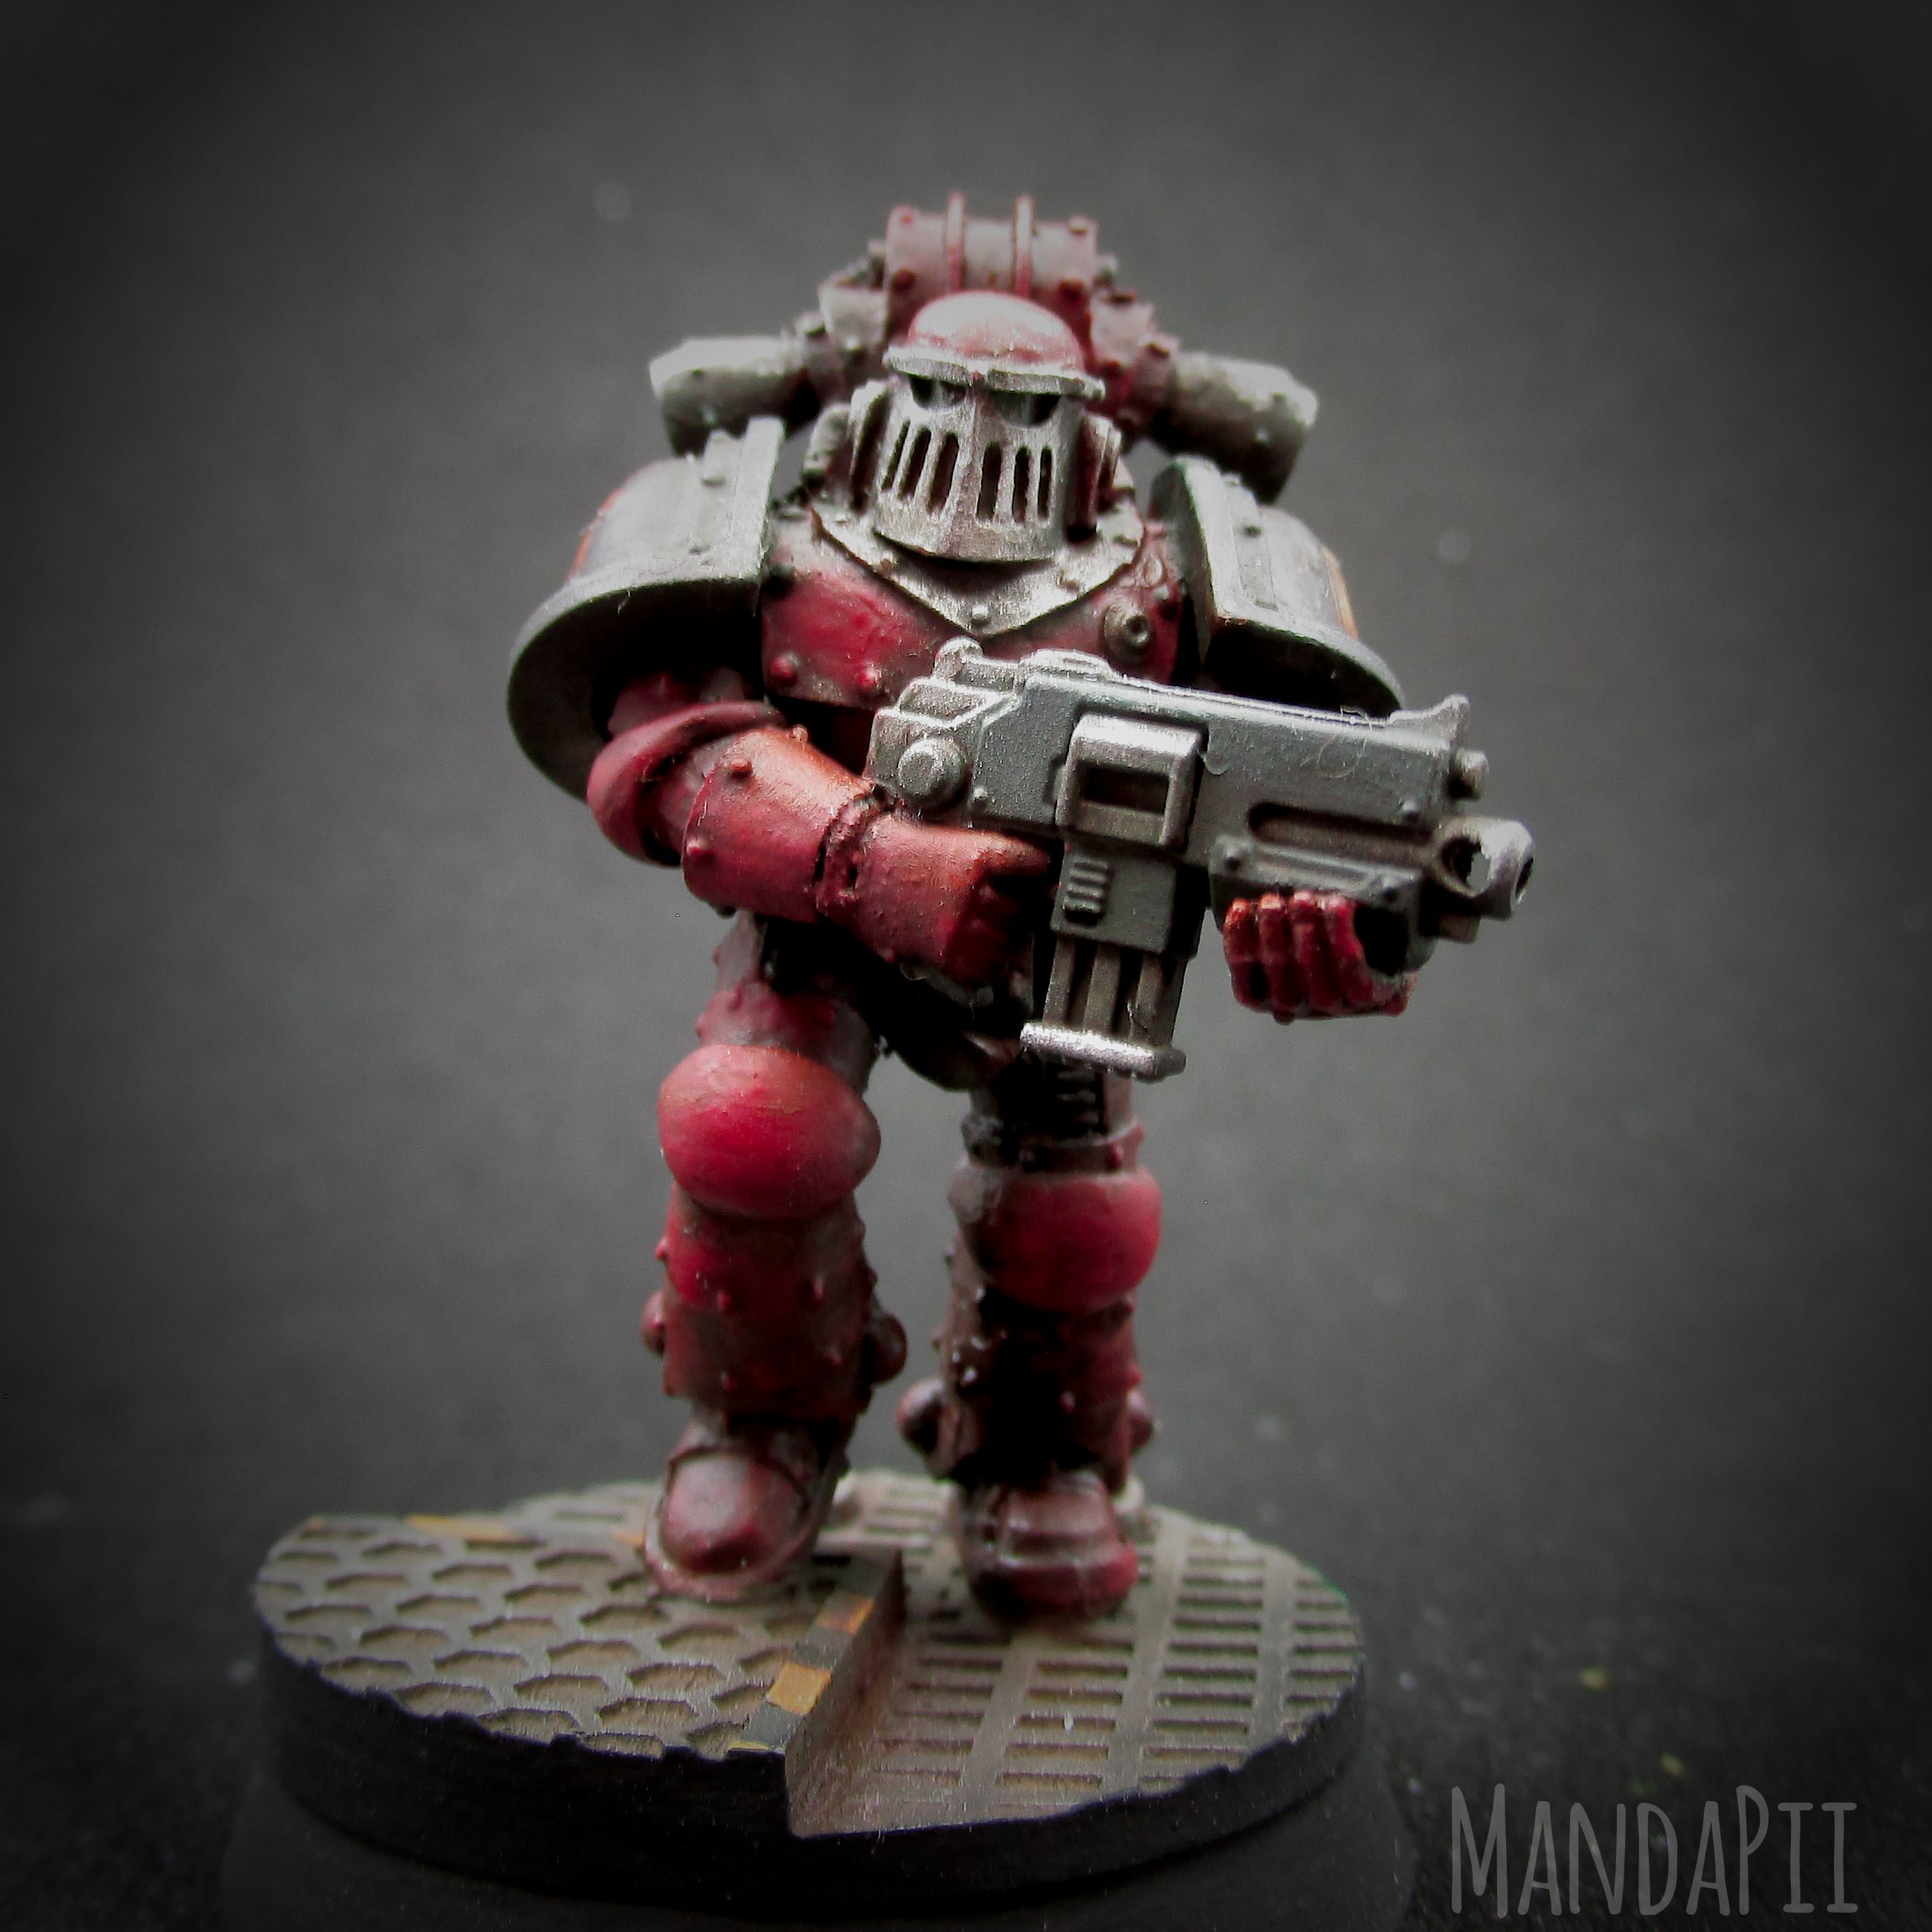
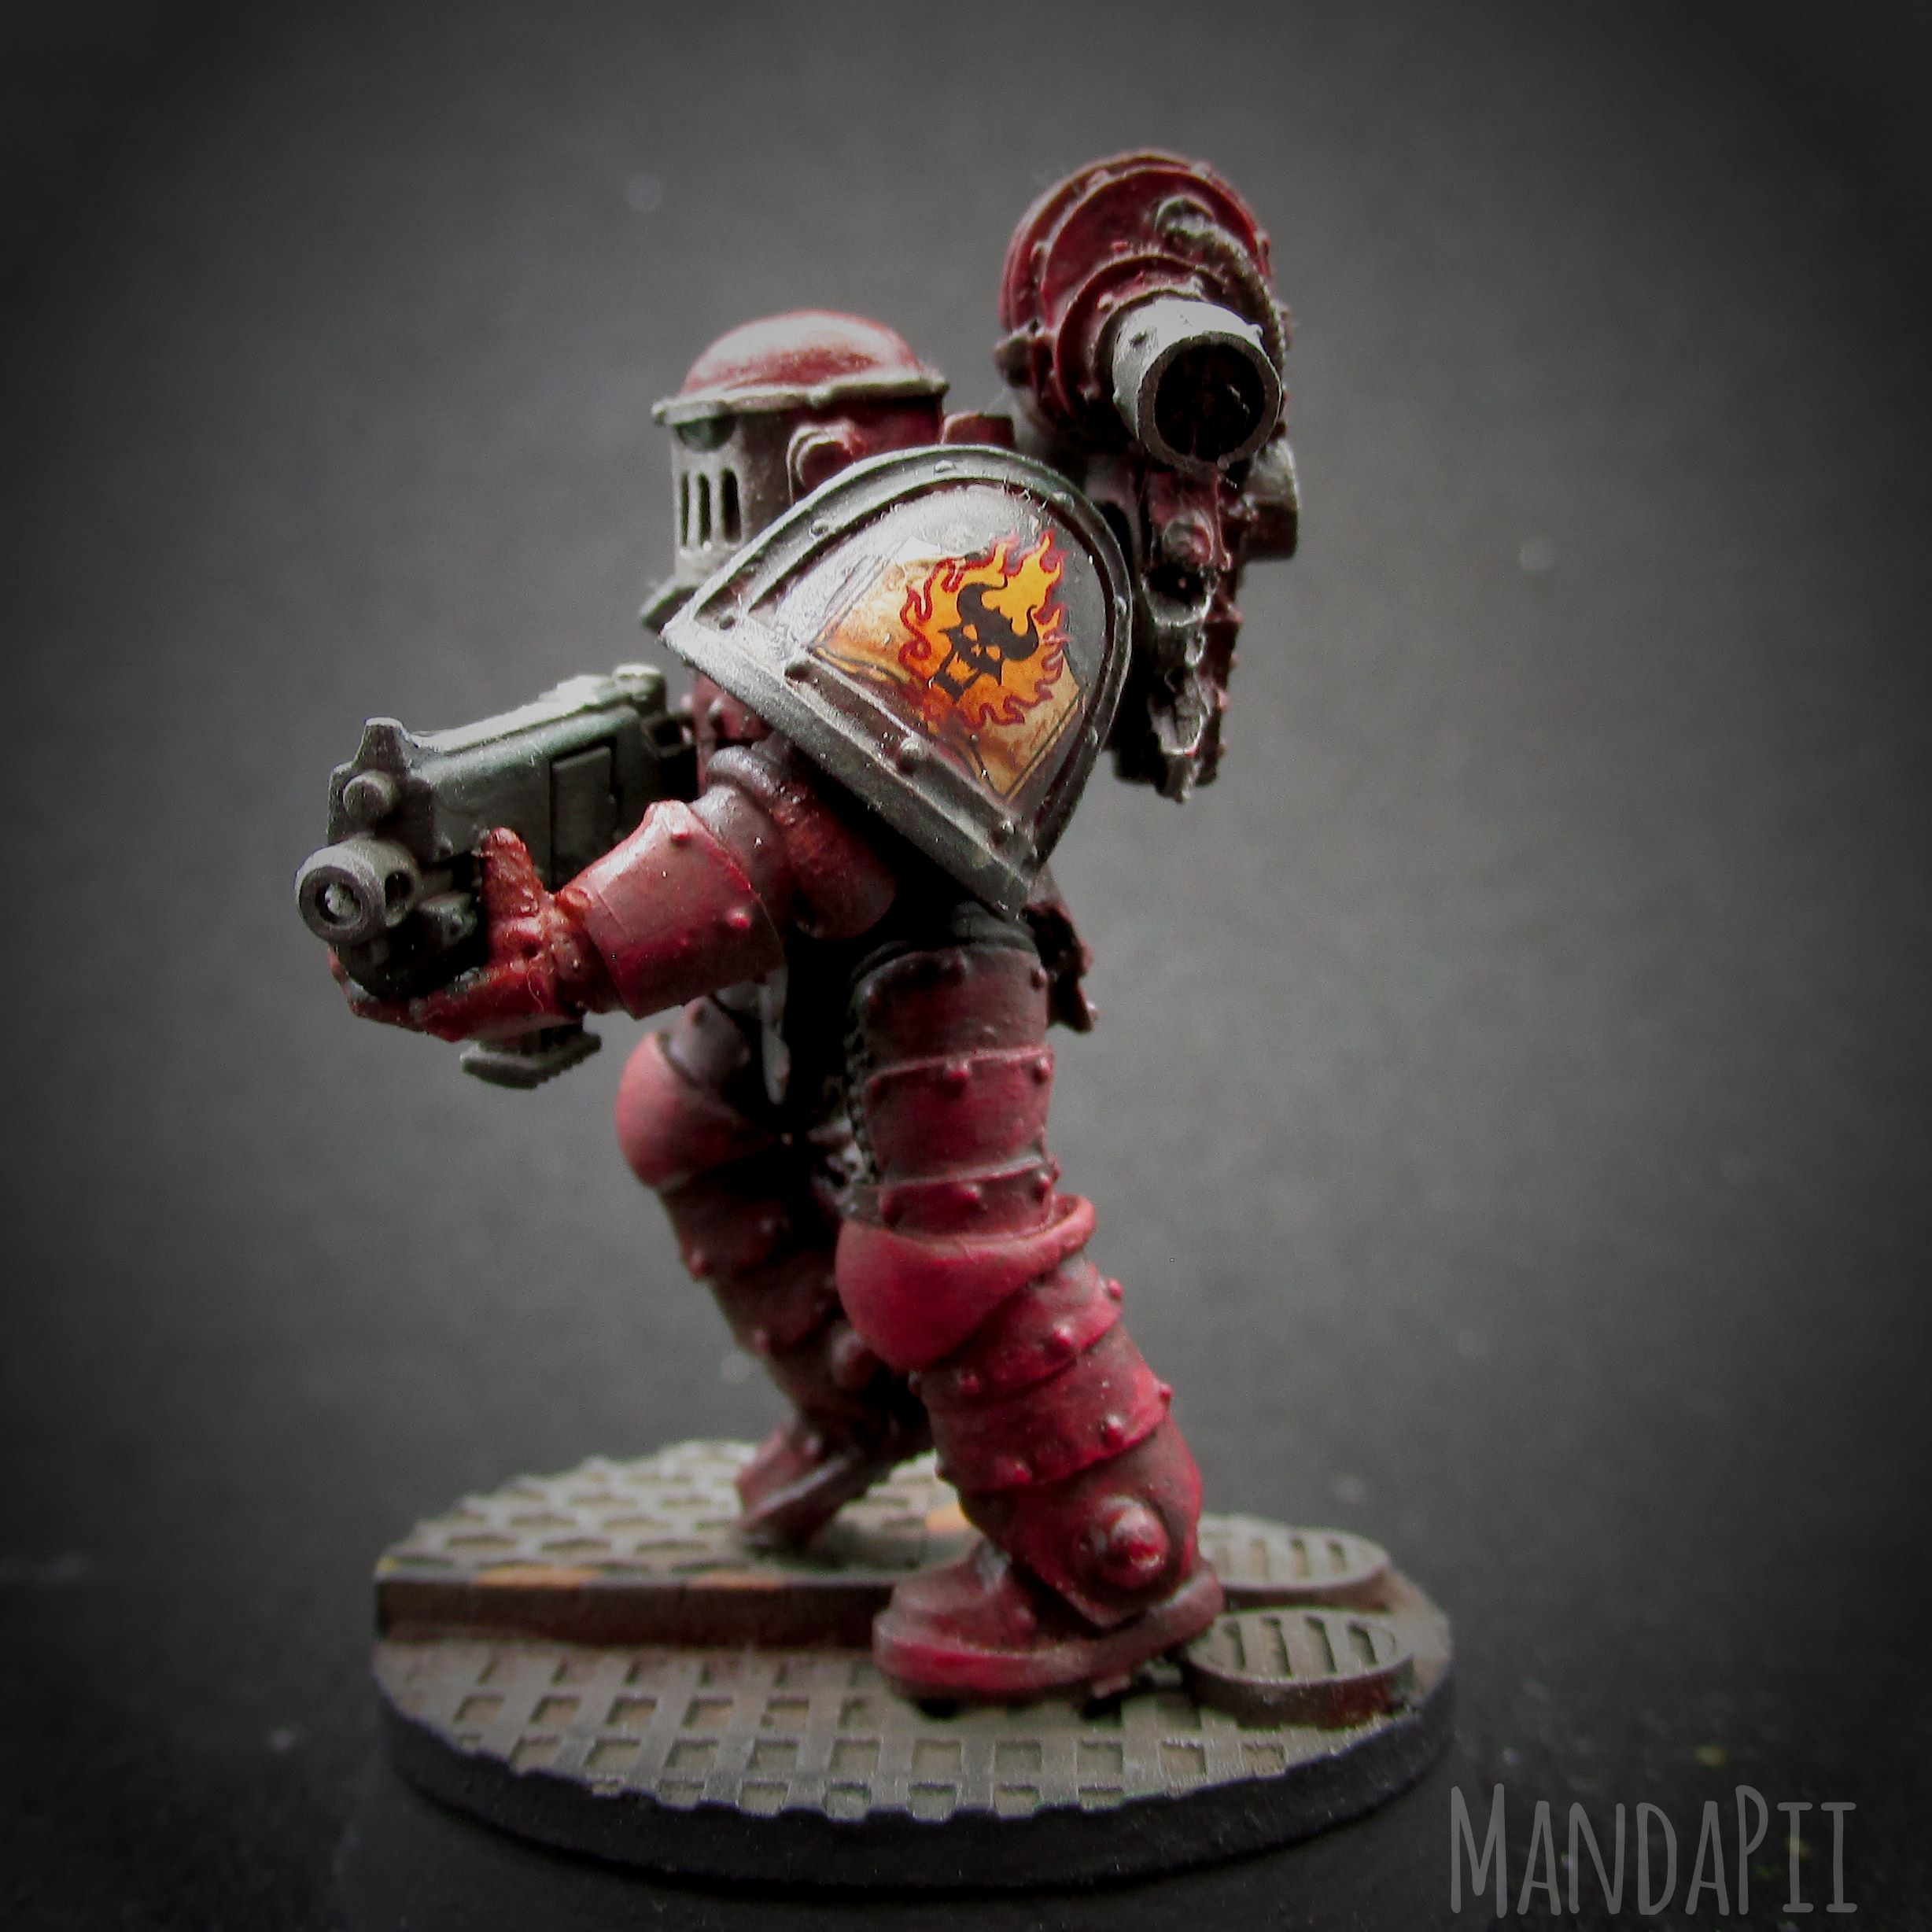
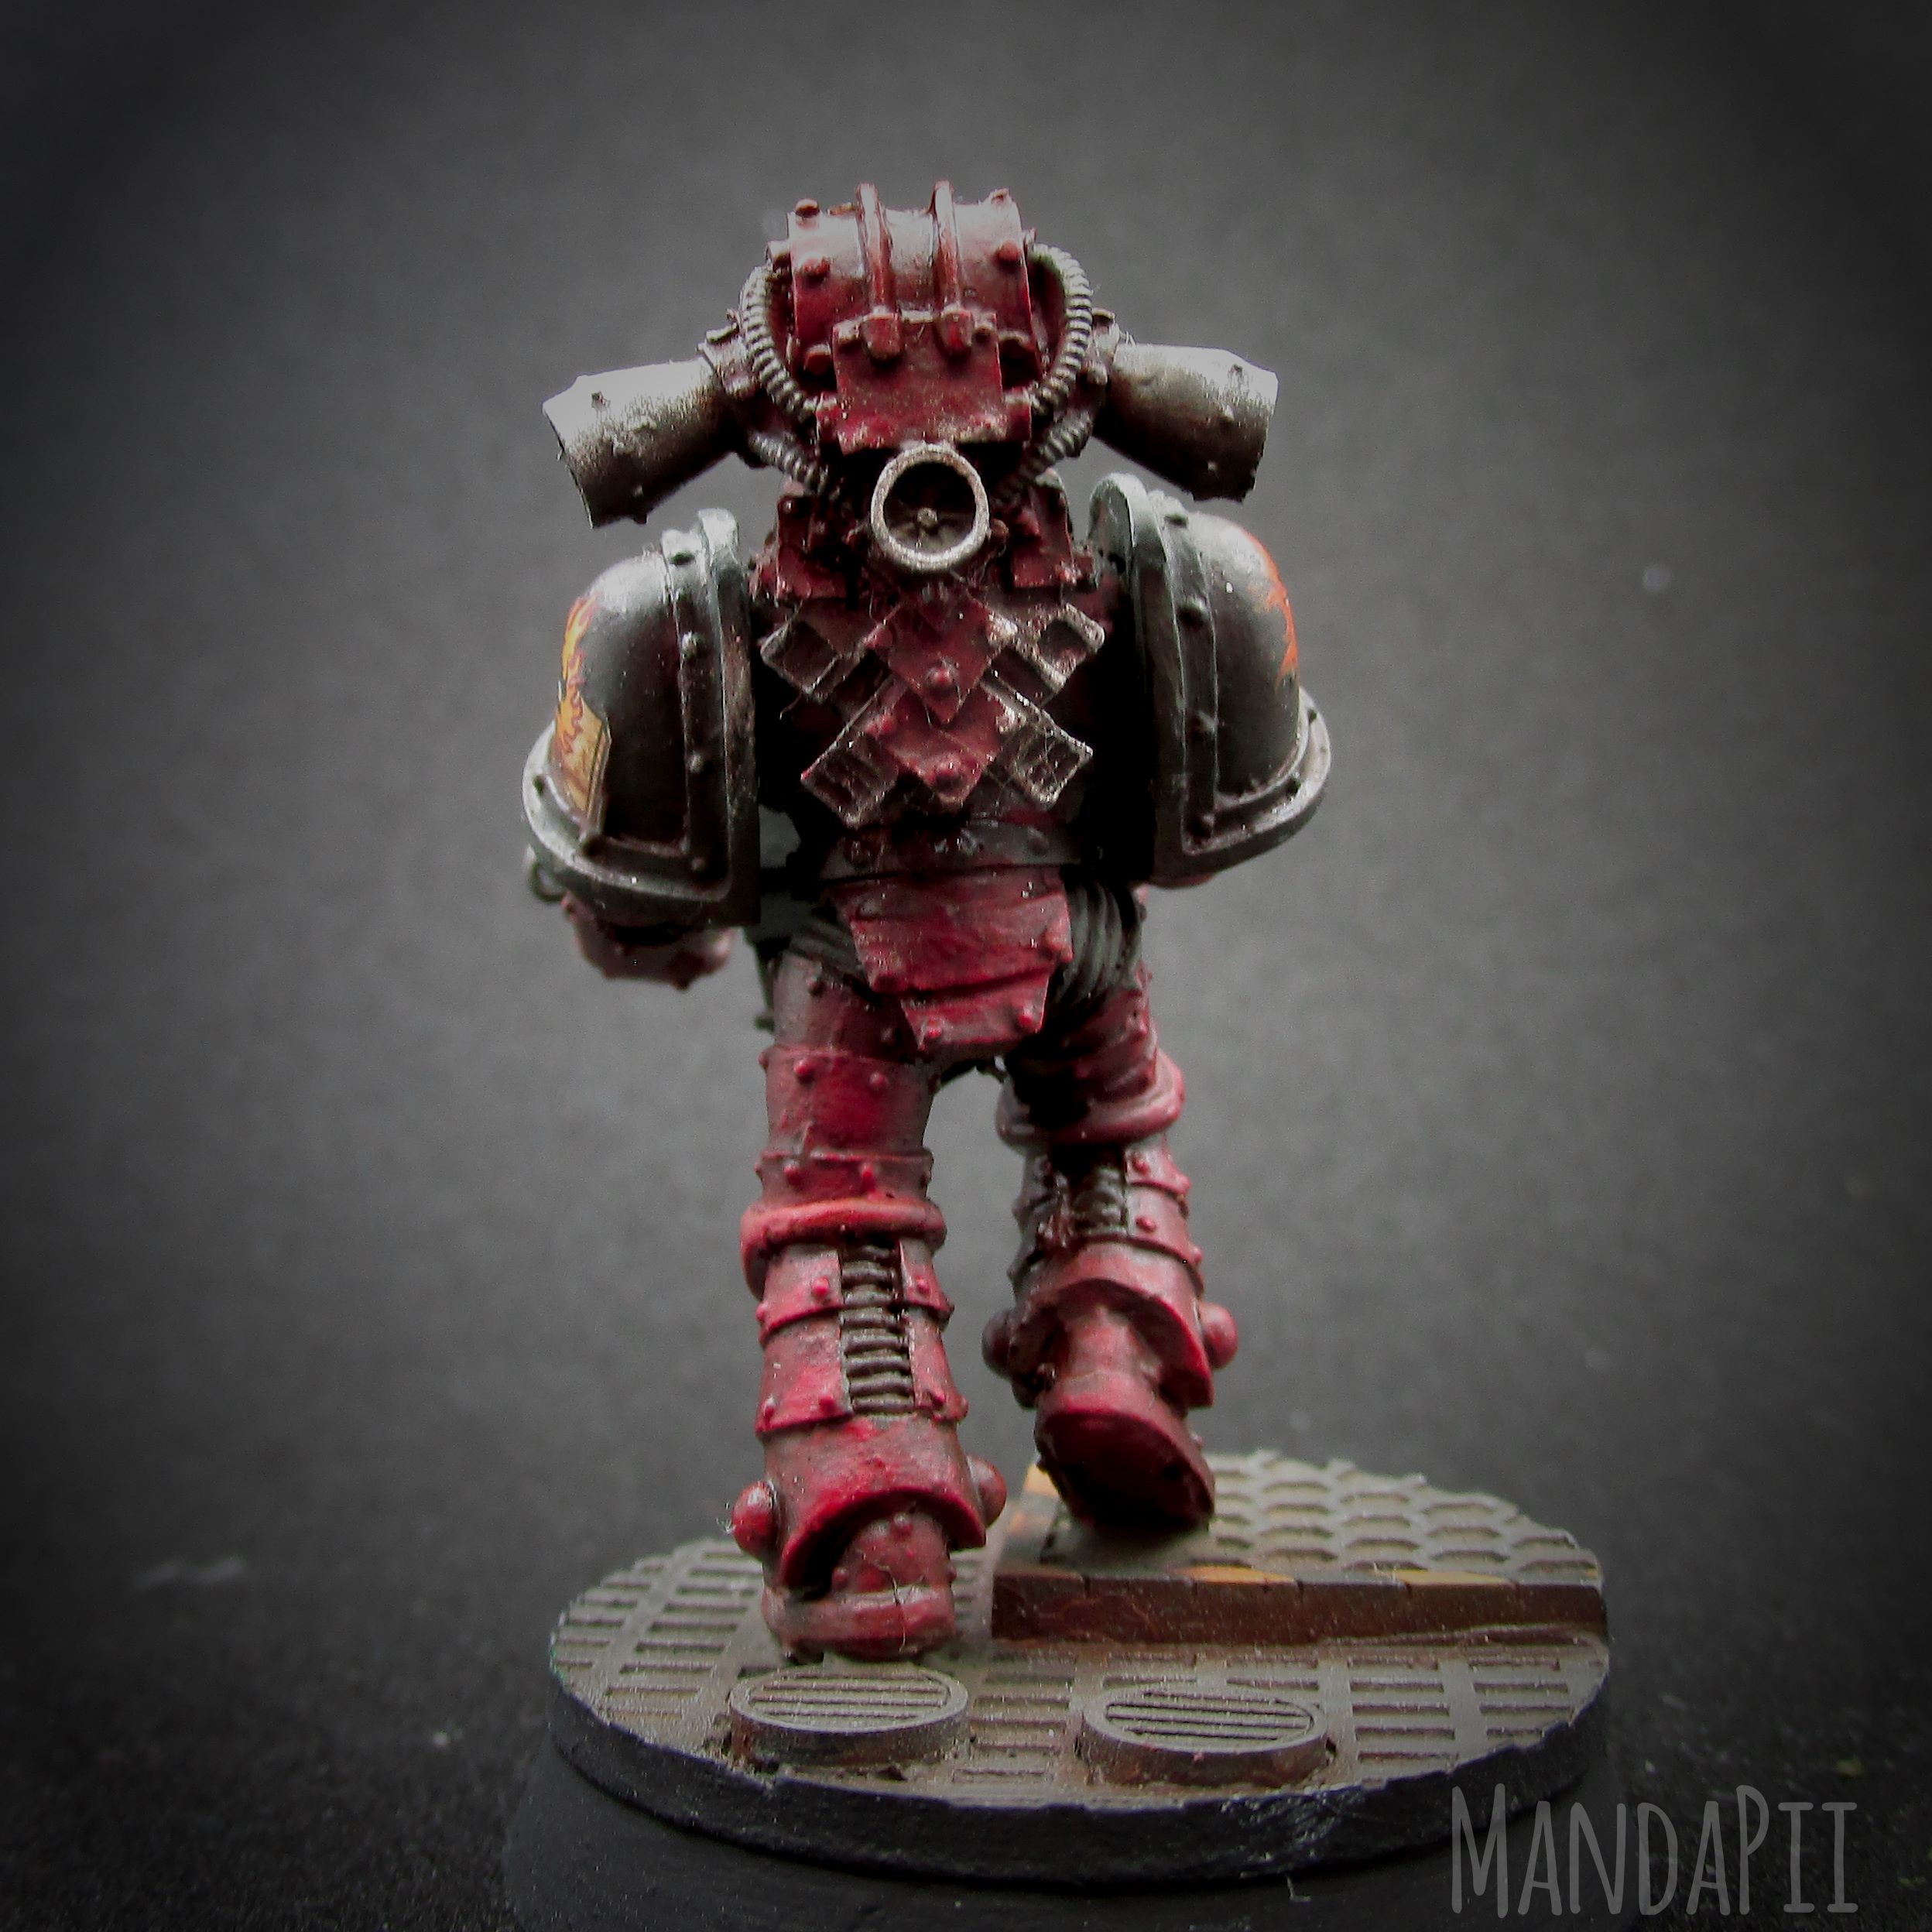
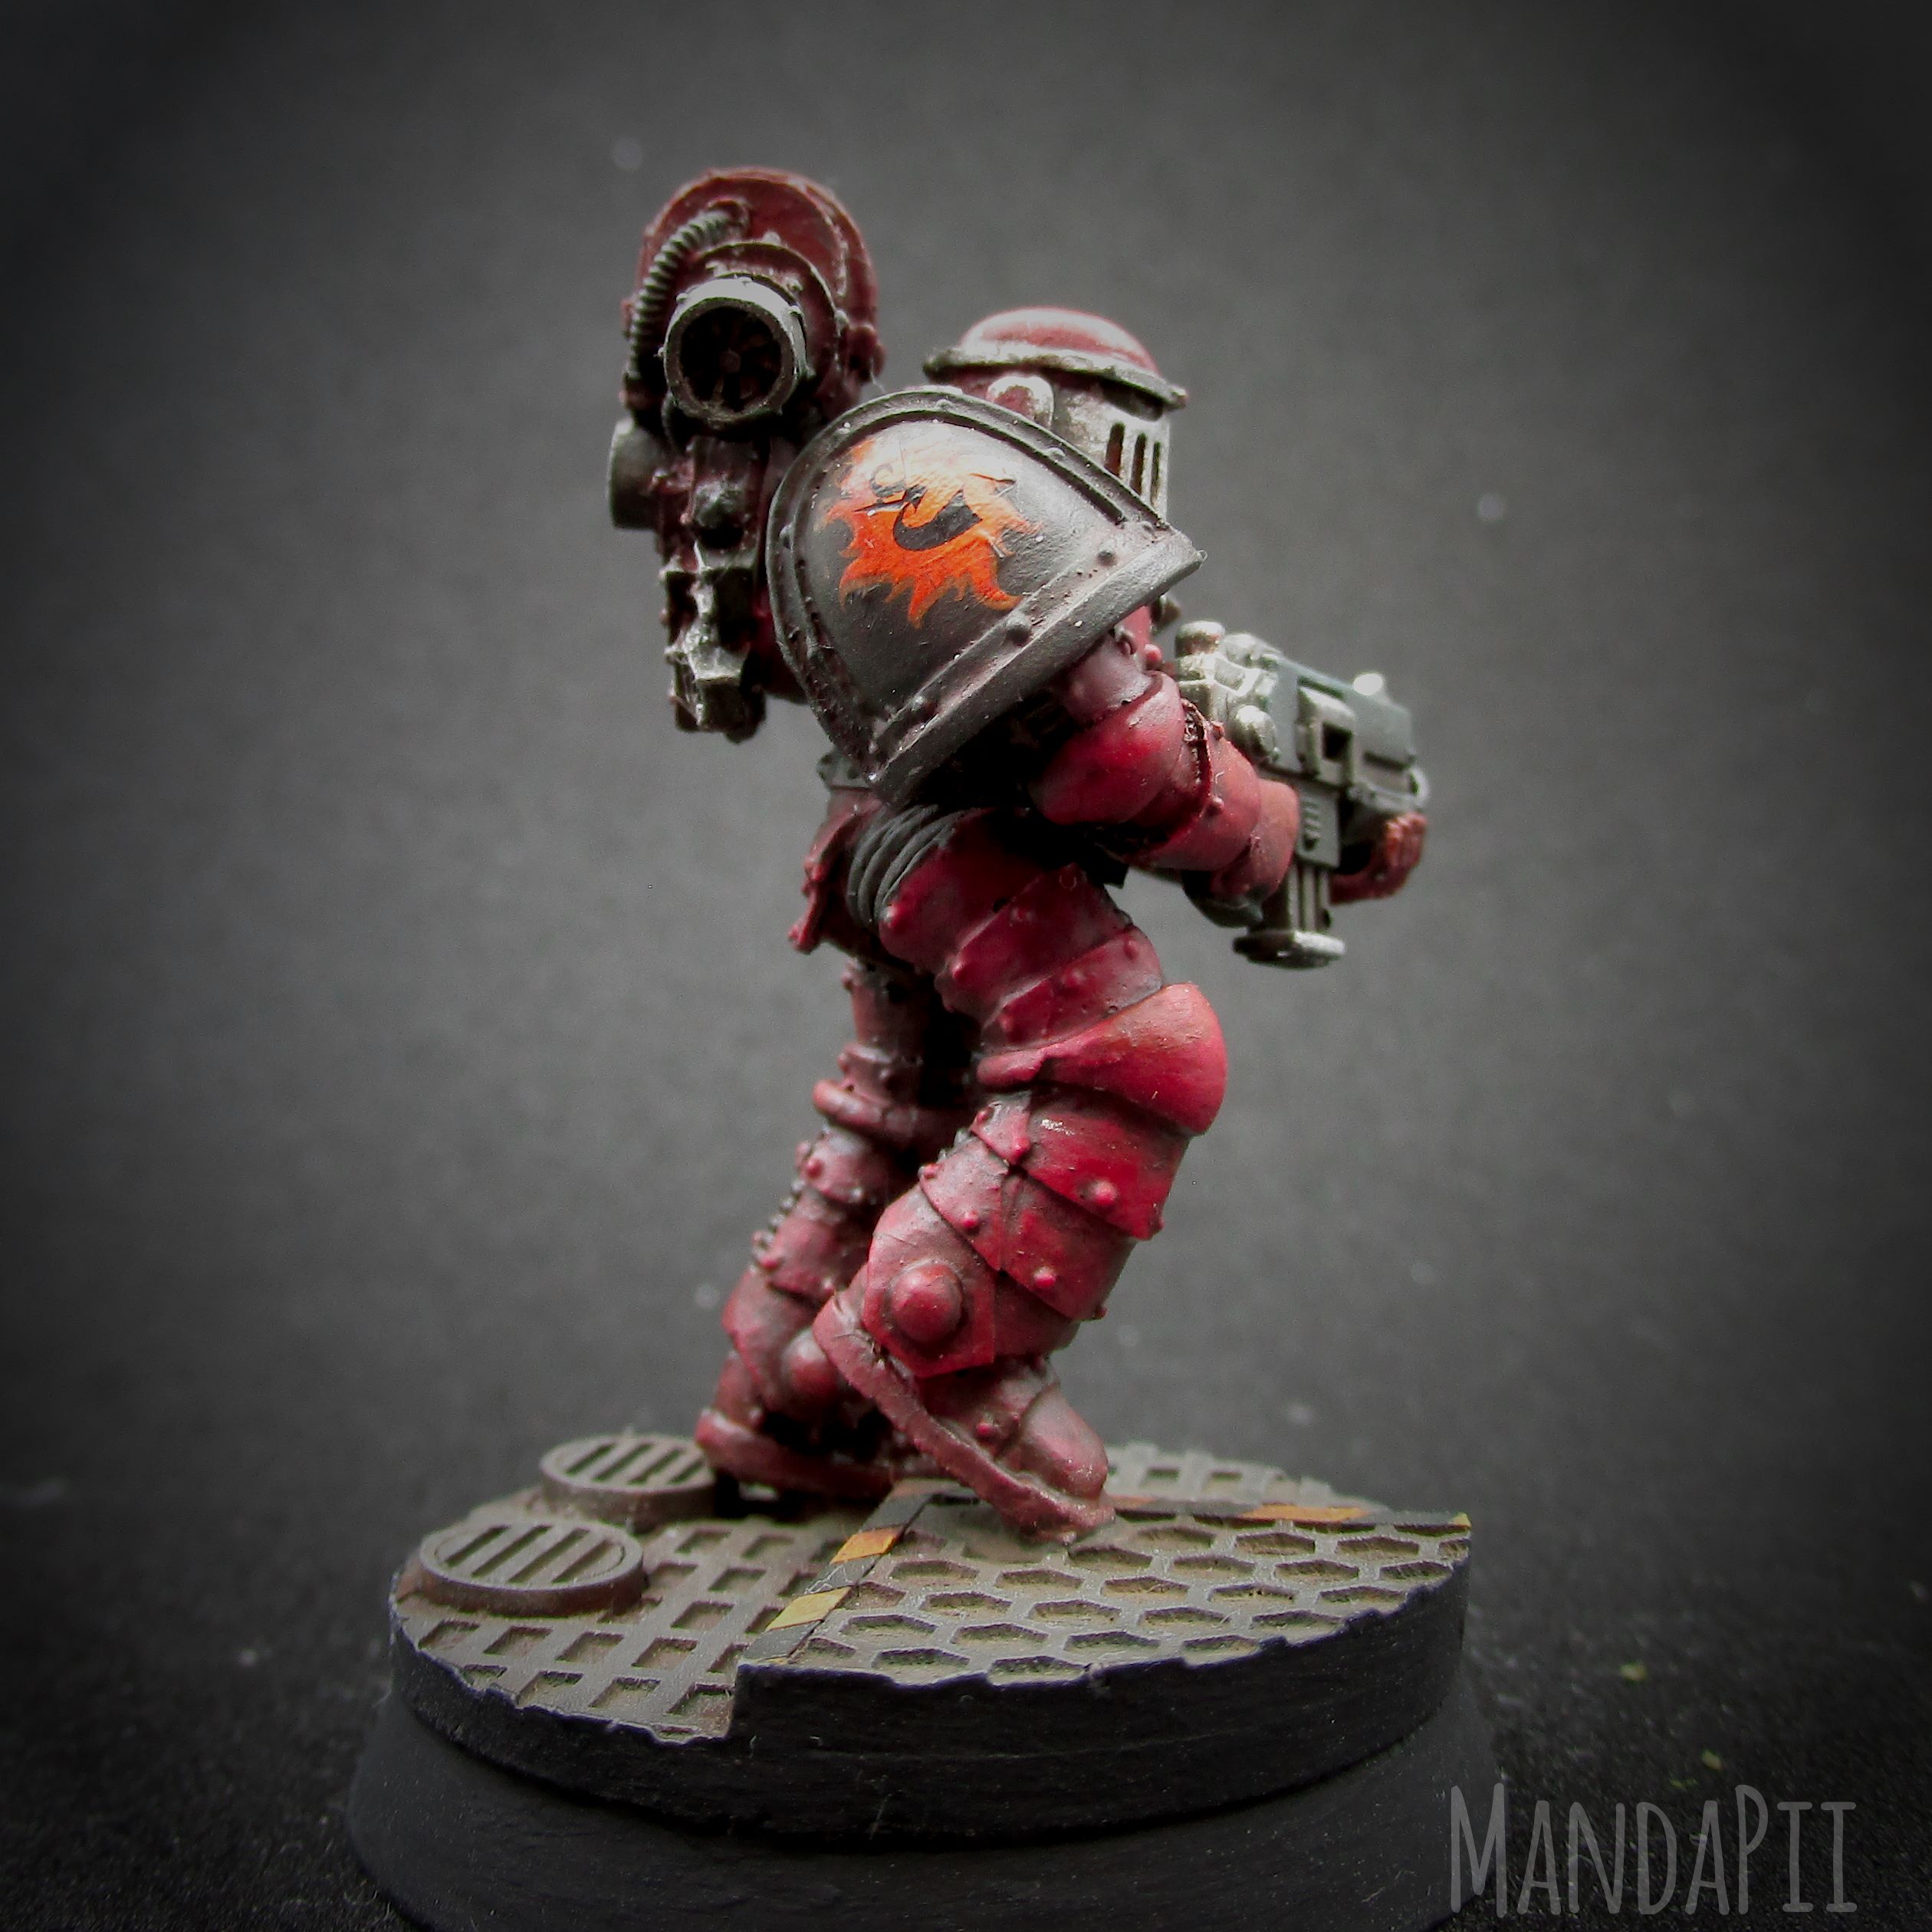
The first model in my new painting journey is done. It is a Forge World Mk. II Space Marine in Word Bearers colours.
Next Steps.
First, to finish up the word bearer, I added a wash with a mix of Abteilung 502 Modelling Oil Color Bitume (ABT004) and some white spirit in the recesses. Once dry I’ll see where he is at, but I think that is him done.
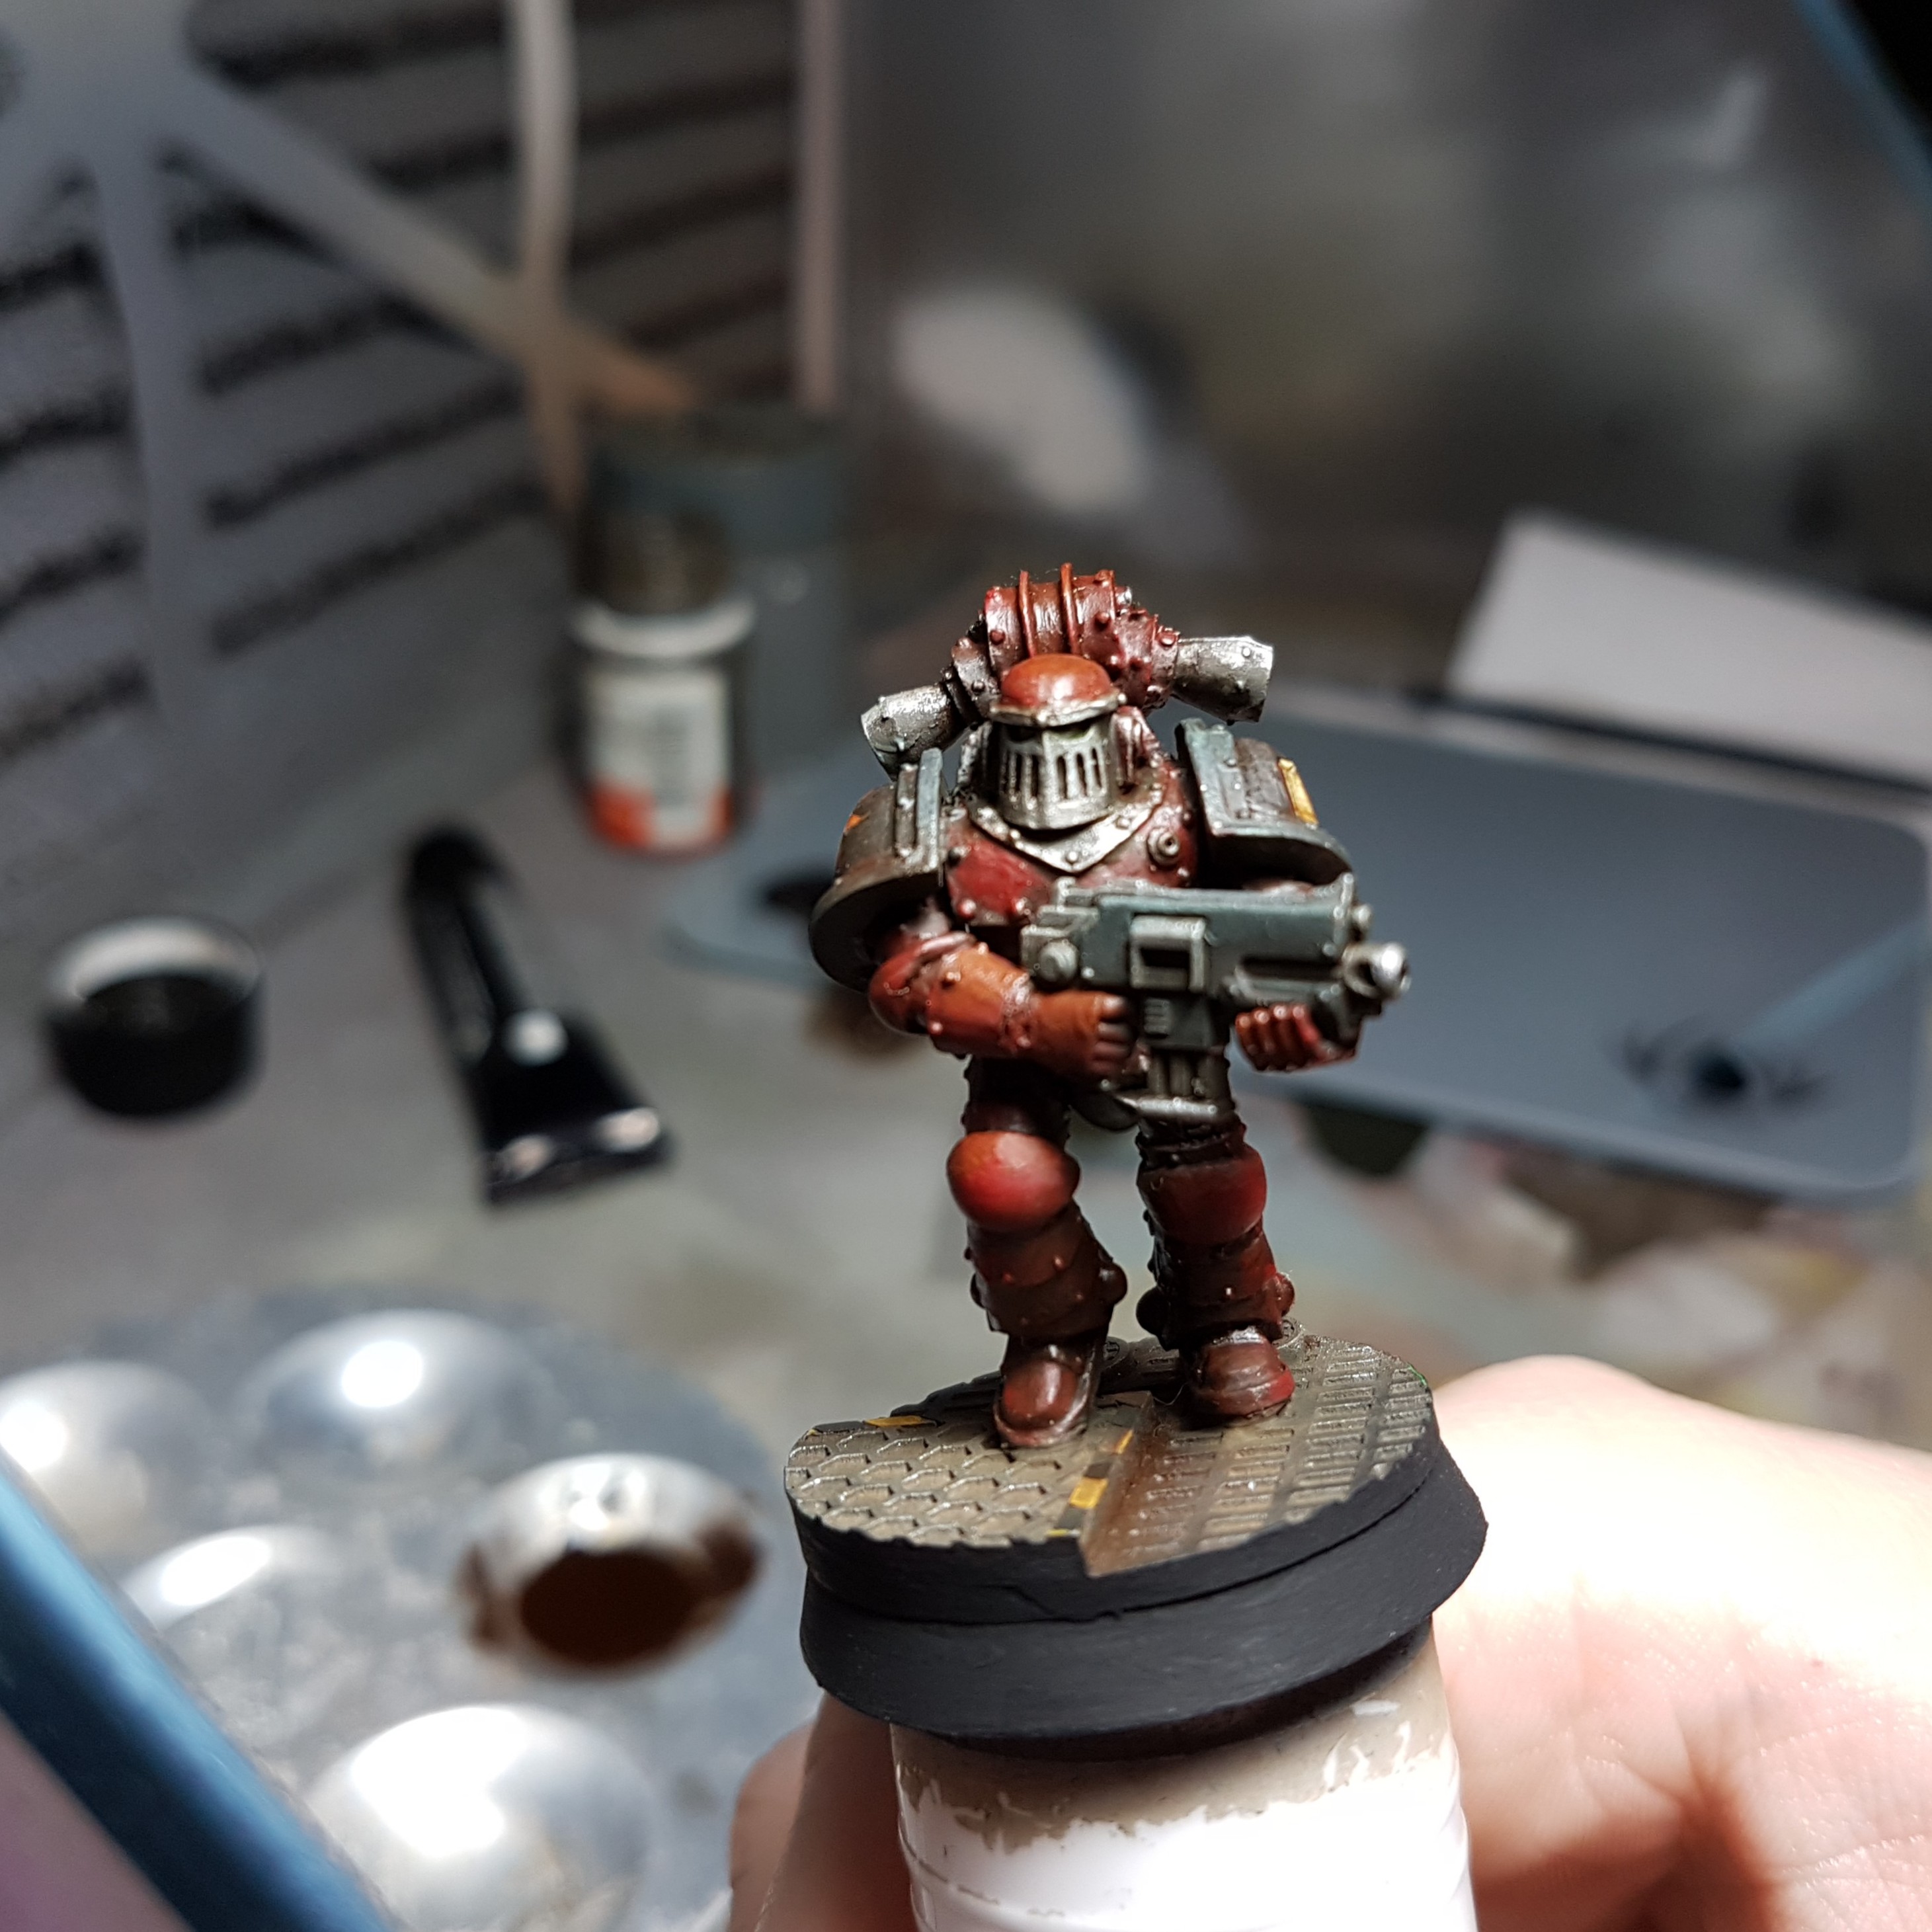
To start of with the Imperial Fist, I first added some chipping to most of his armour using a sponge and some Vallejo Model Air Steel (71.065).
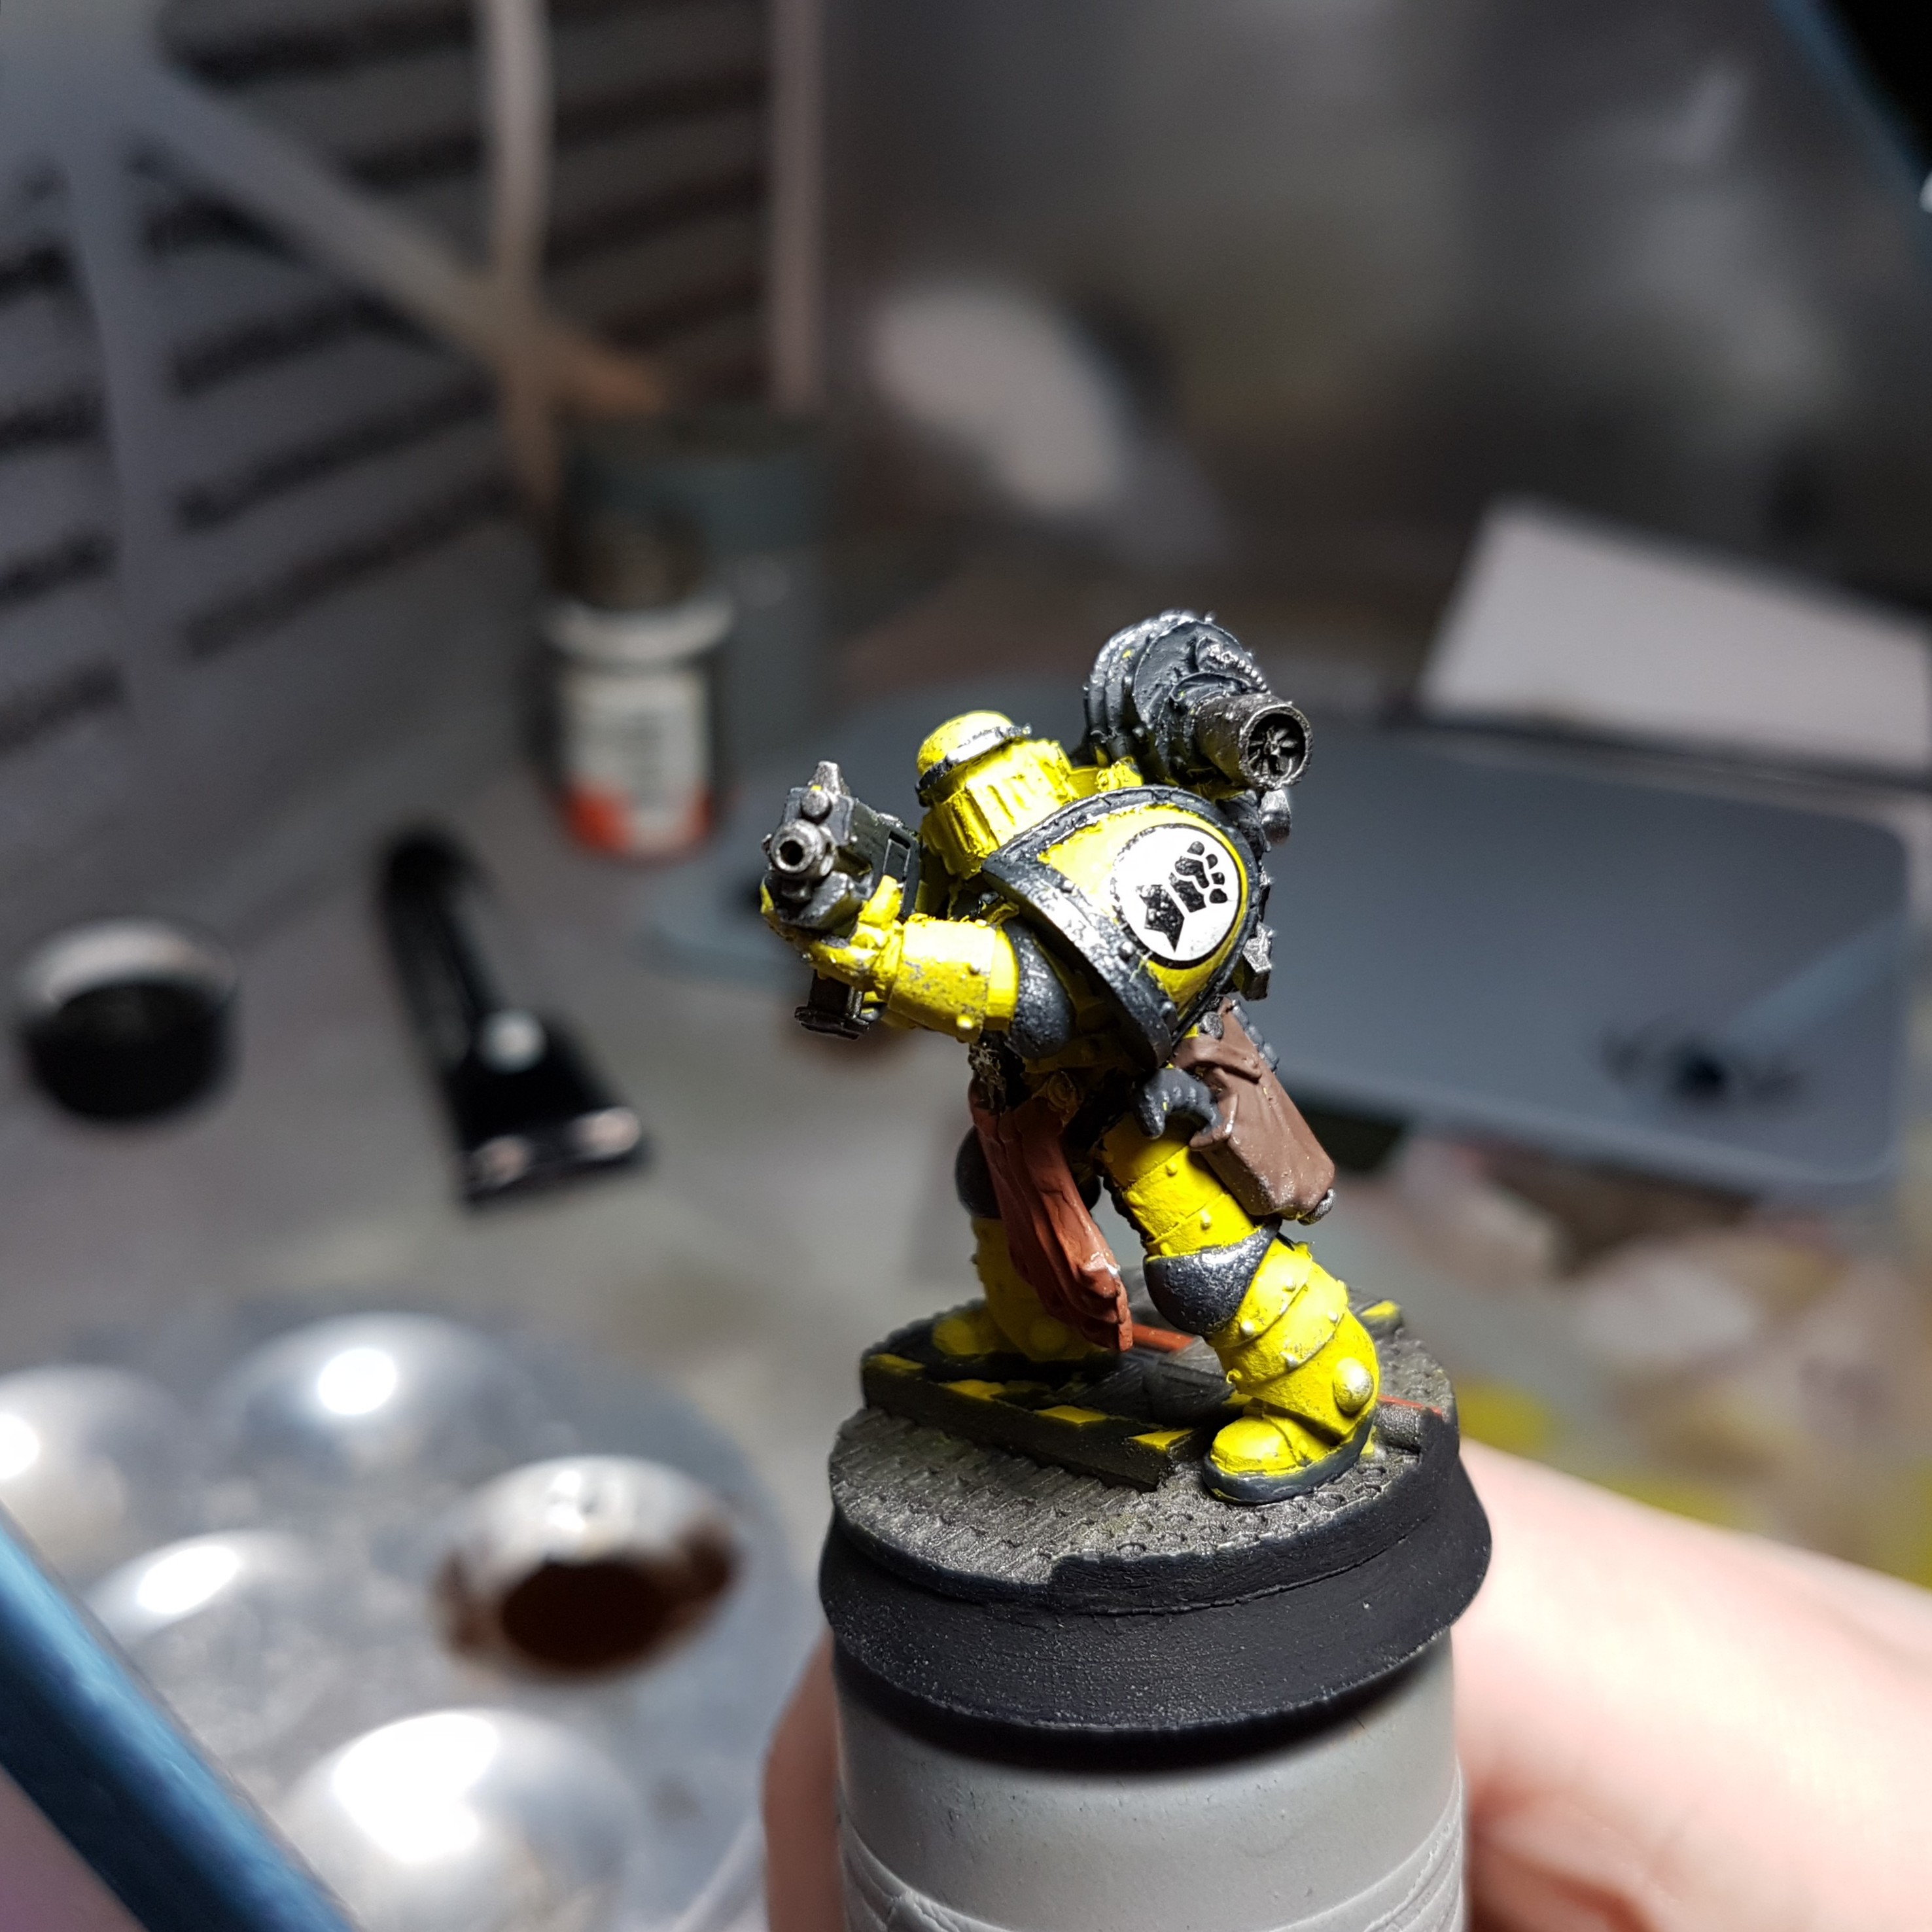
I then applied a coat of AK Interactive Rust Streaks (AK 013) to the base and a coat of MIG Neutral Wash (P222) to the model and wiped off the excess in the same way as I did before. After drying that with a hairdryer I applied the same Abteilung 502 Modelling Oil Color Bitume (ABT004) oil wash as before to him, wiping some bits of and then drying him again. And then I went into the vision slot with a bit of Abteilung 502 Modelling Oil Color Red Primer (ABT120) and blended that in with the visor a bit to create a slight glow effect.
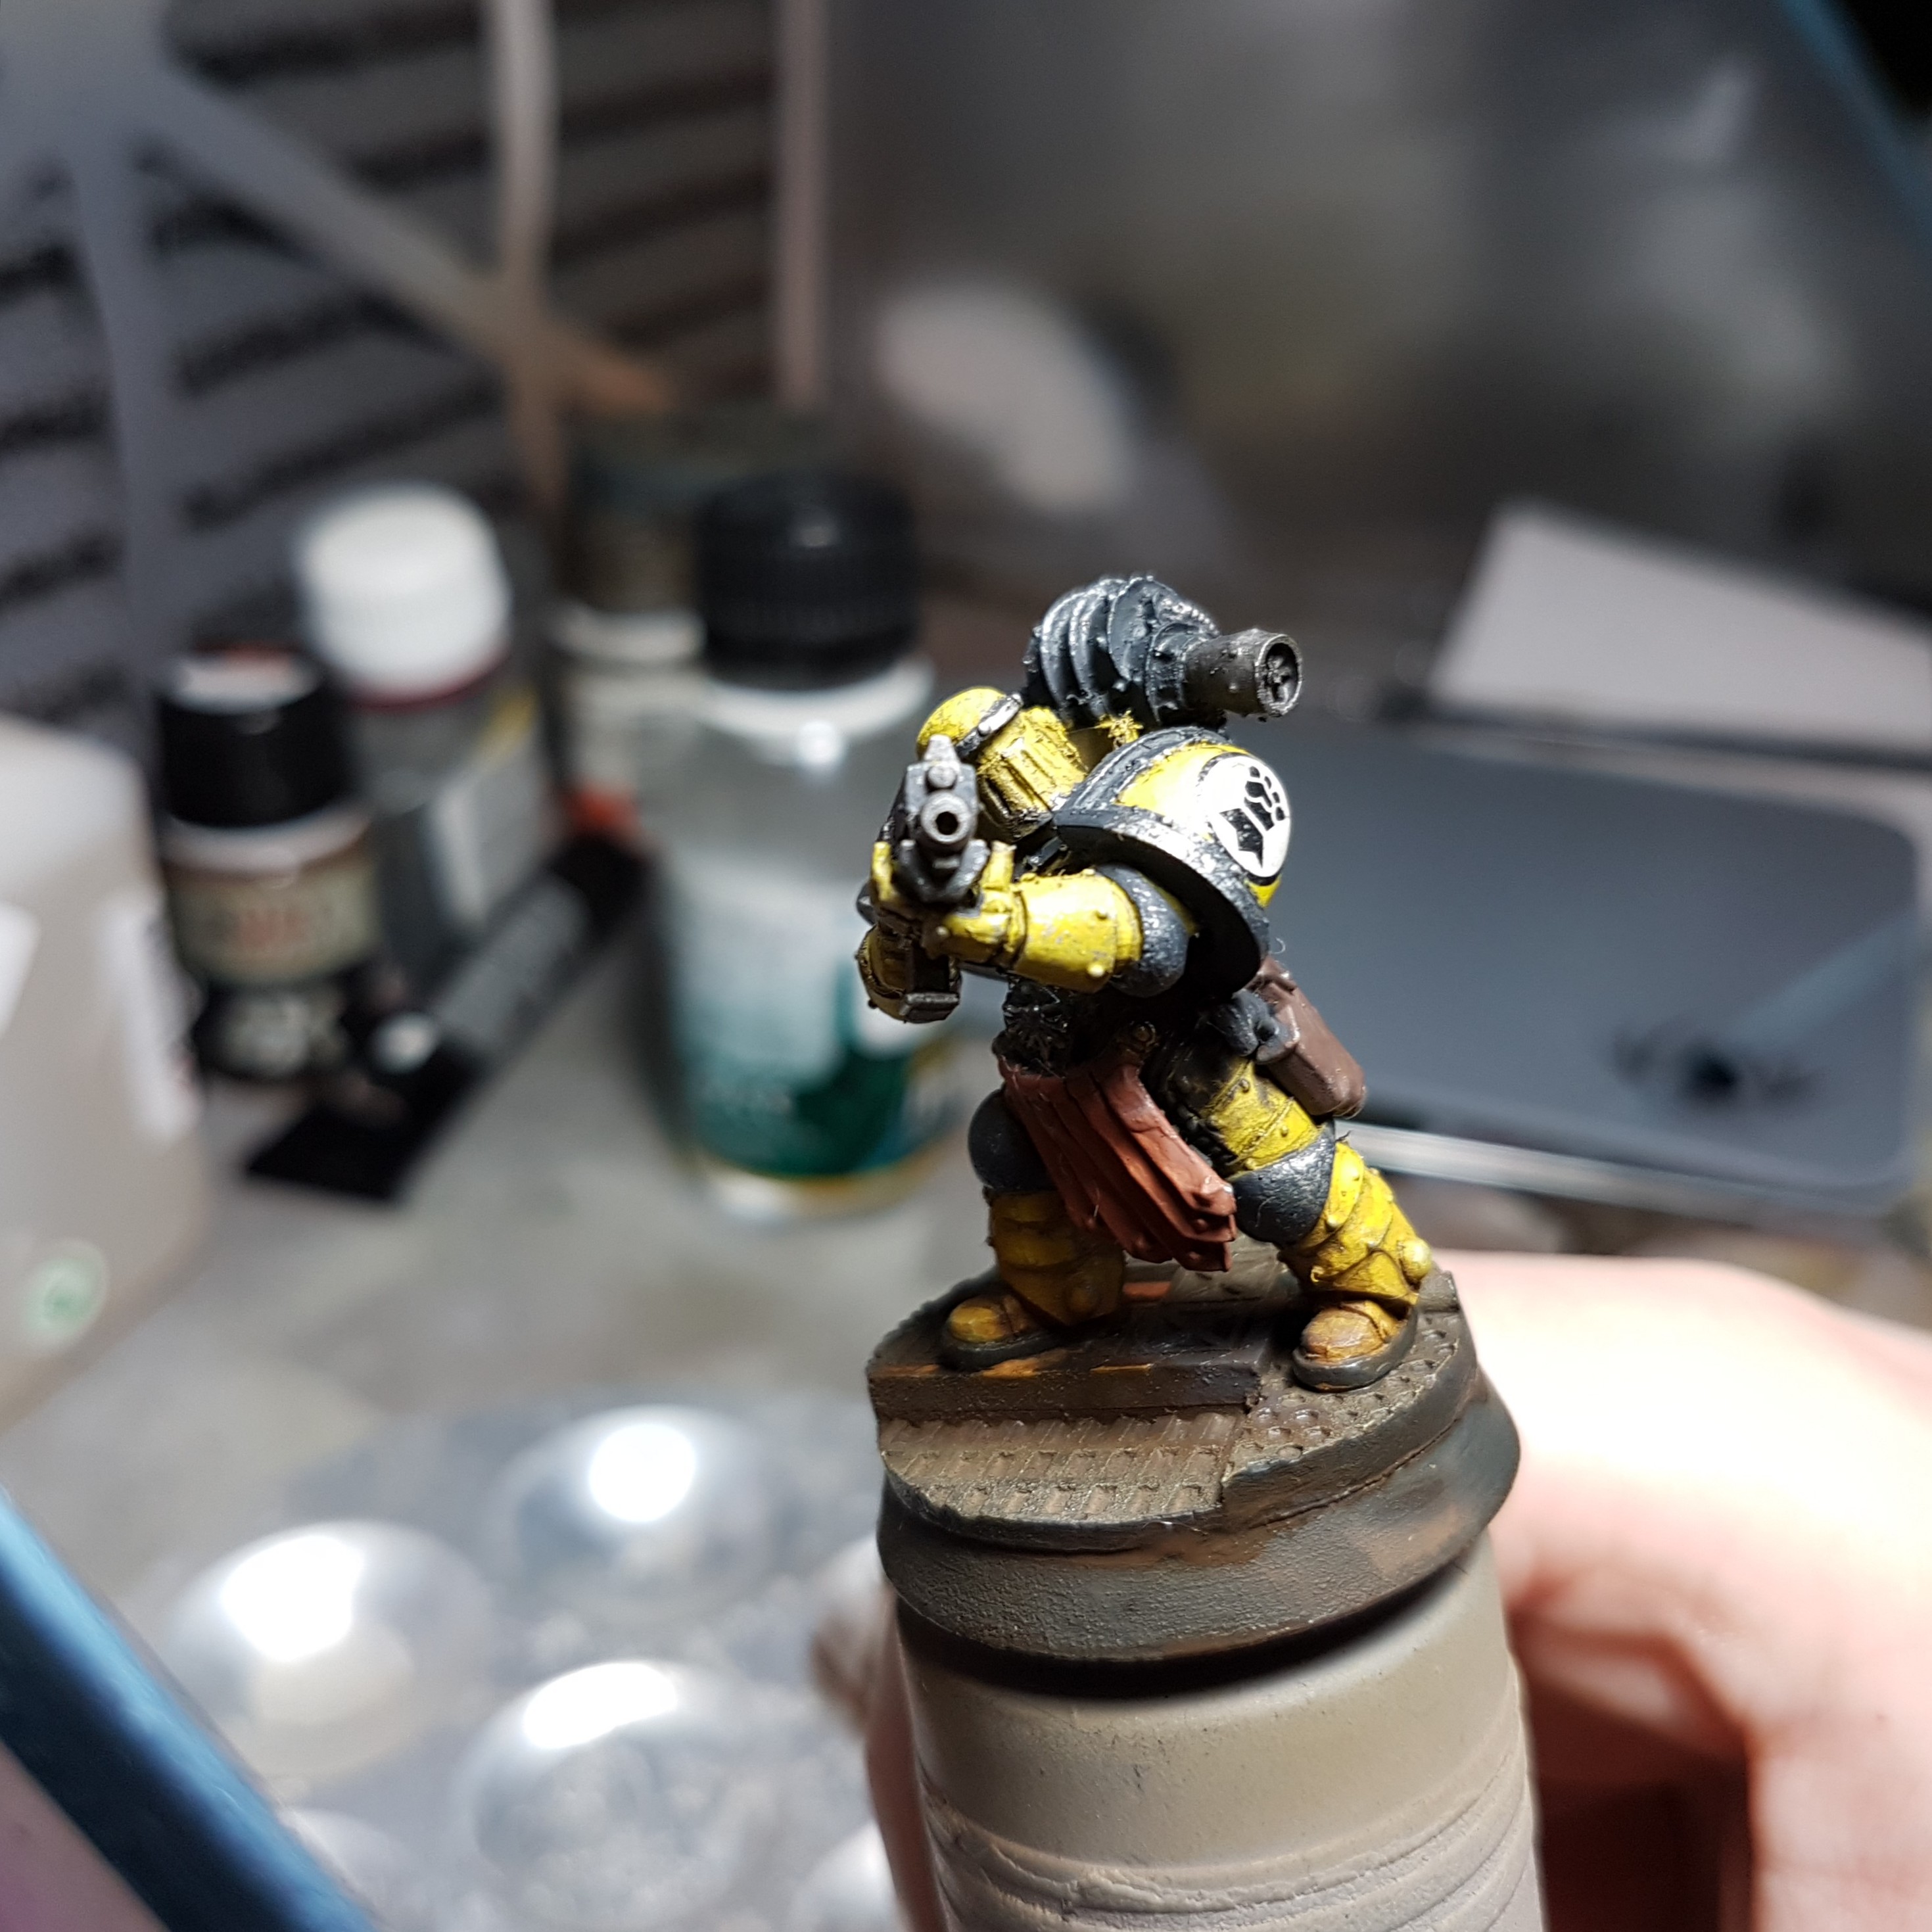
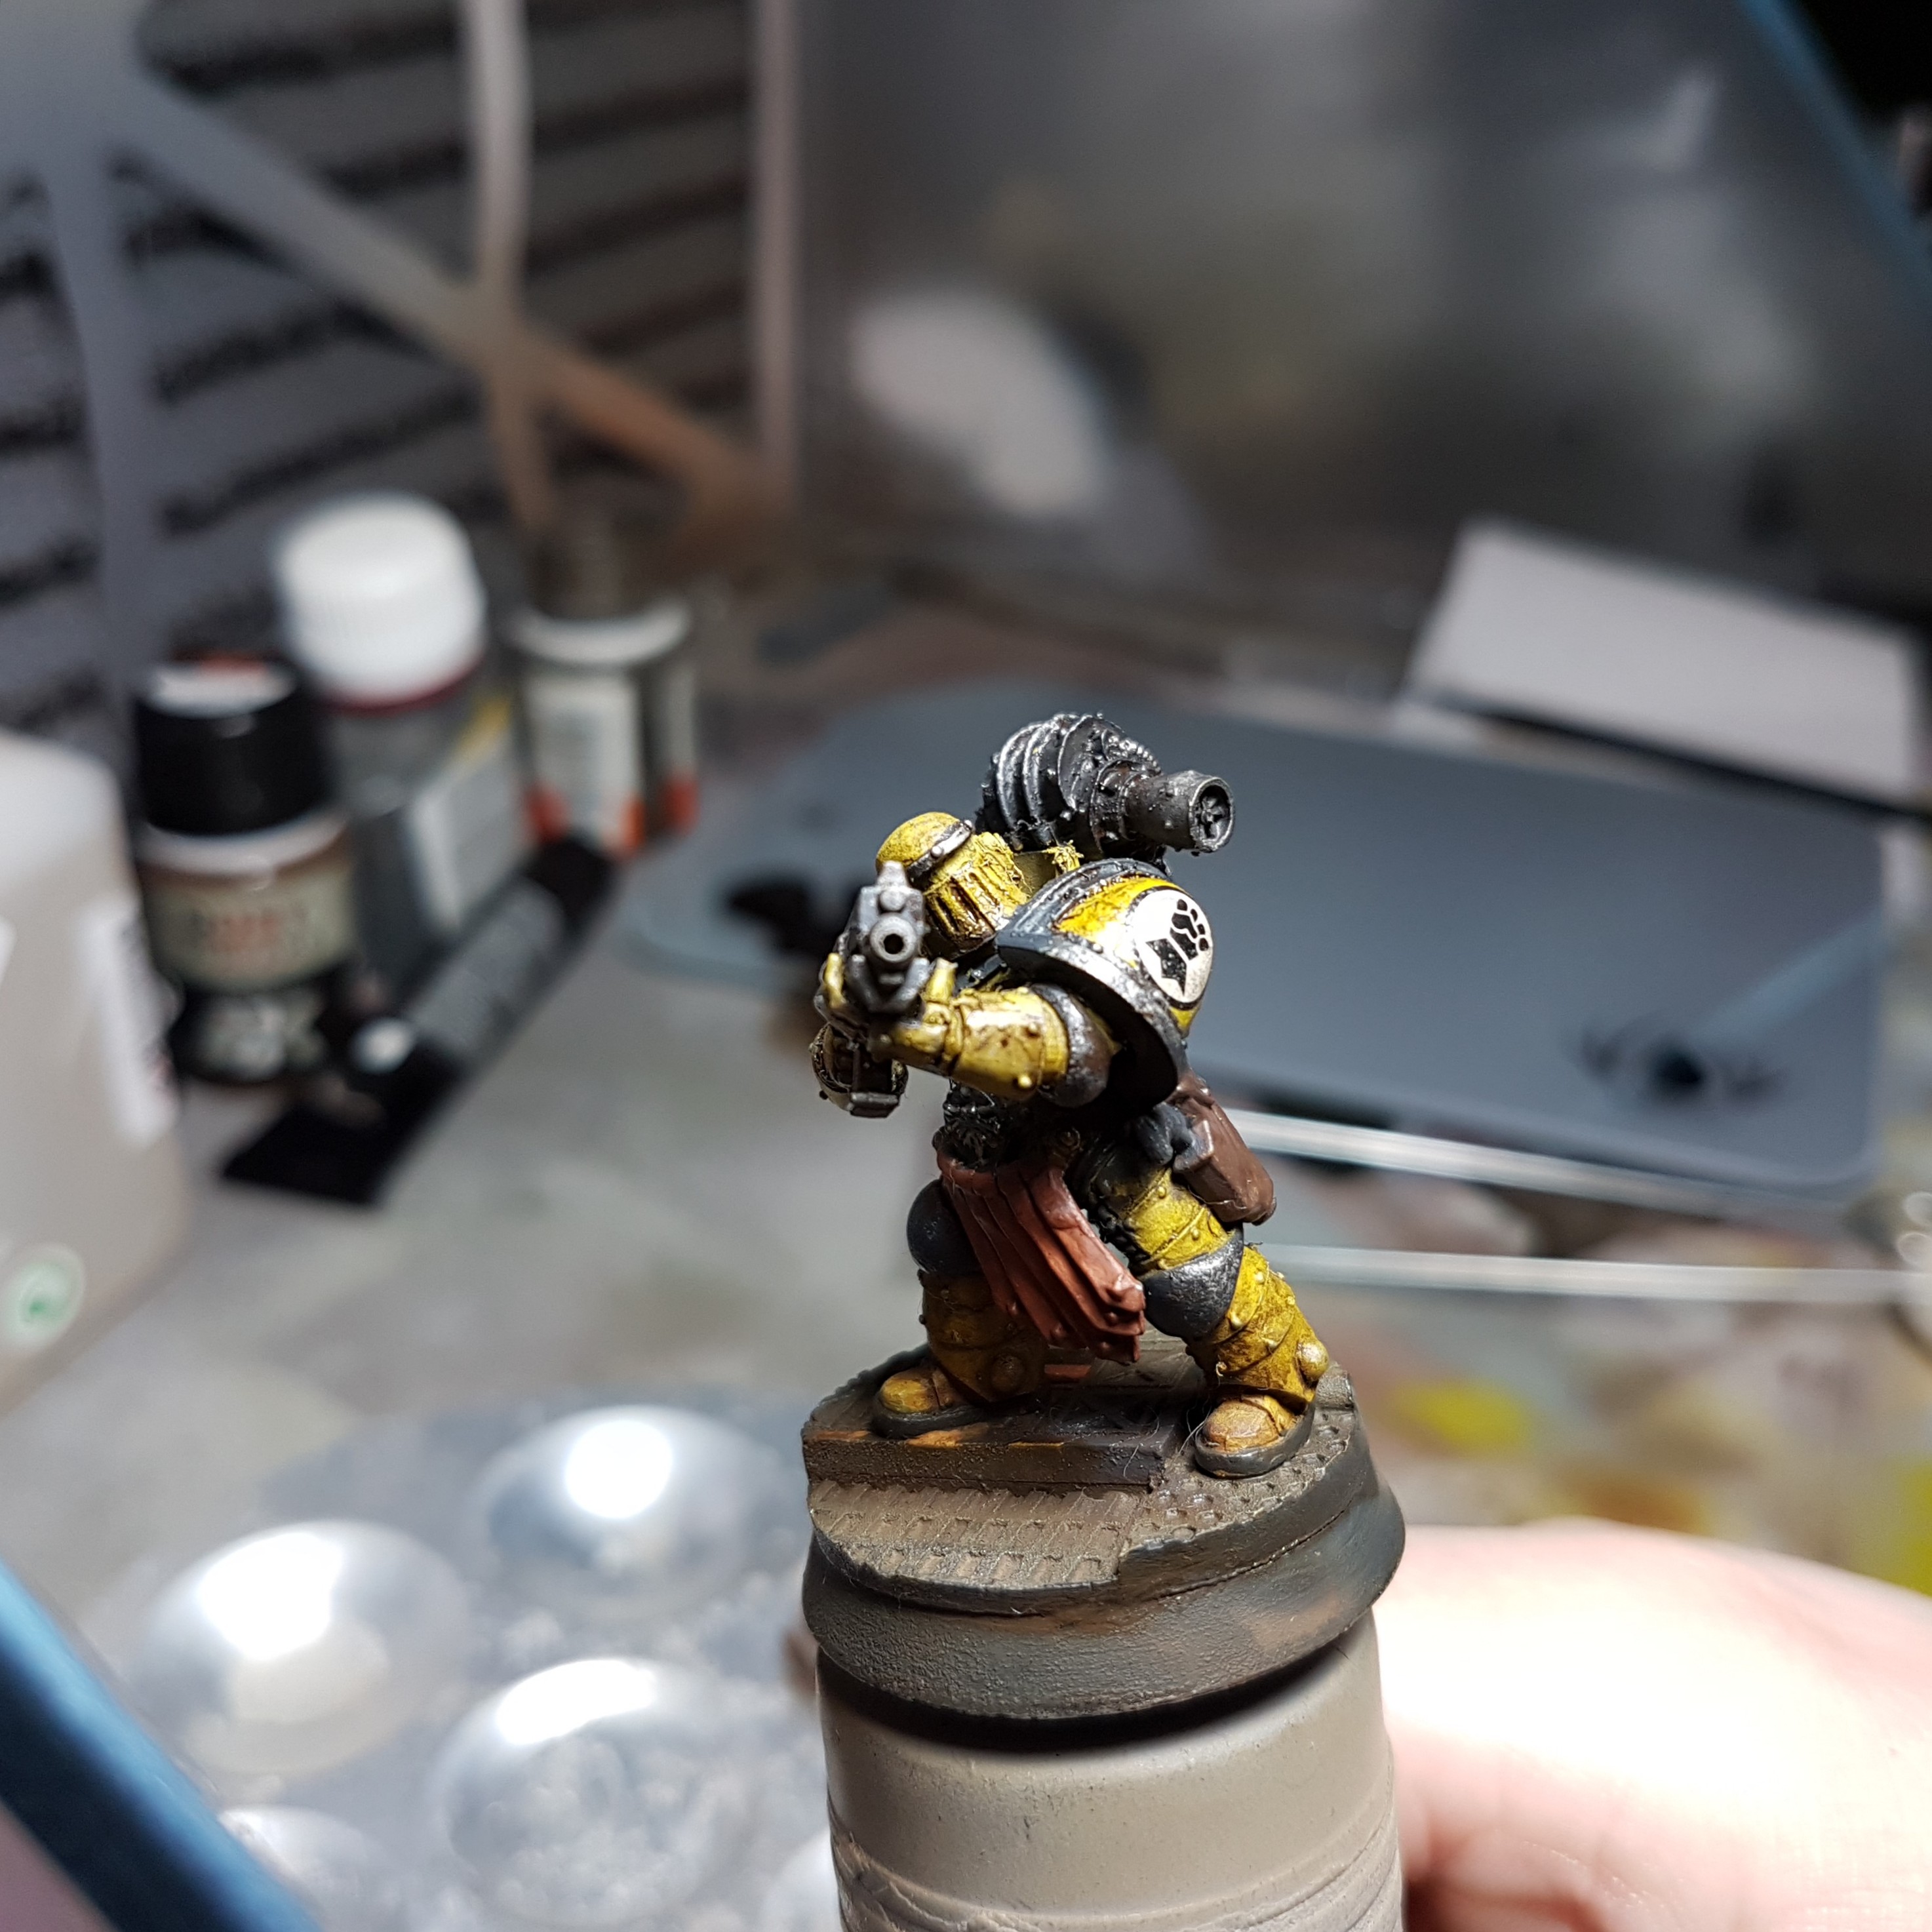
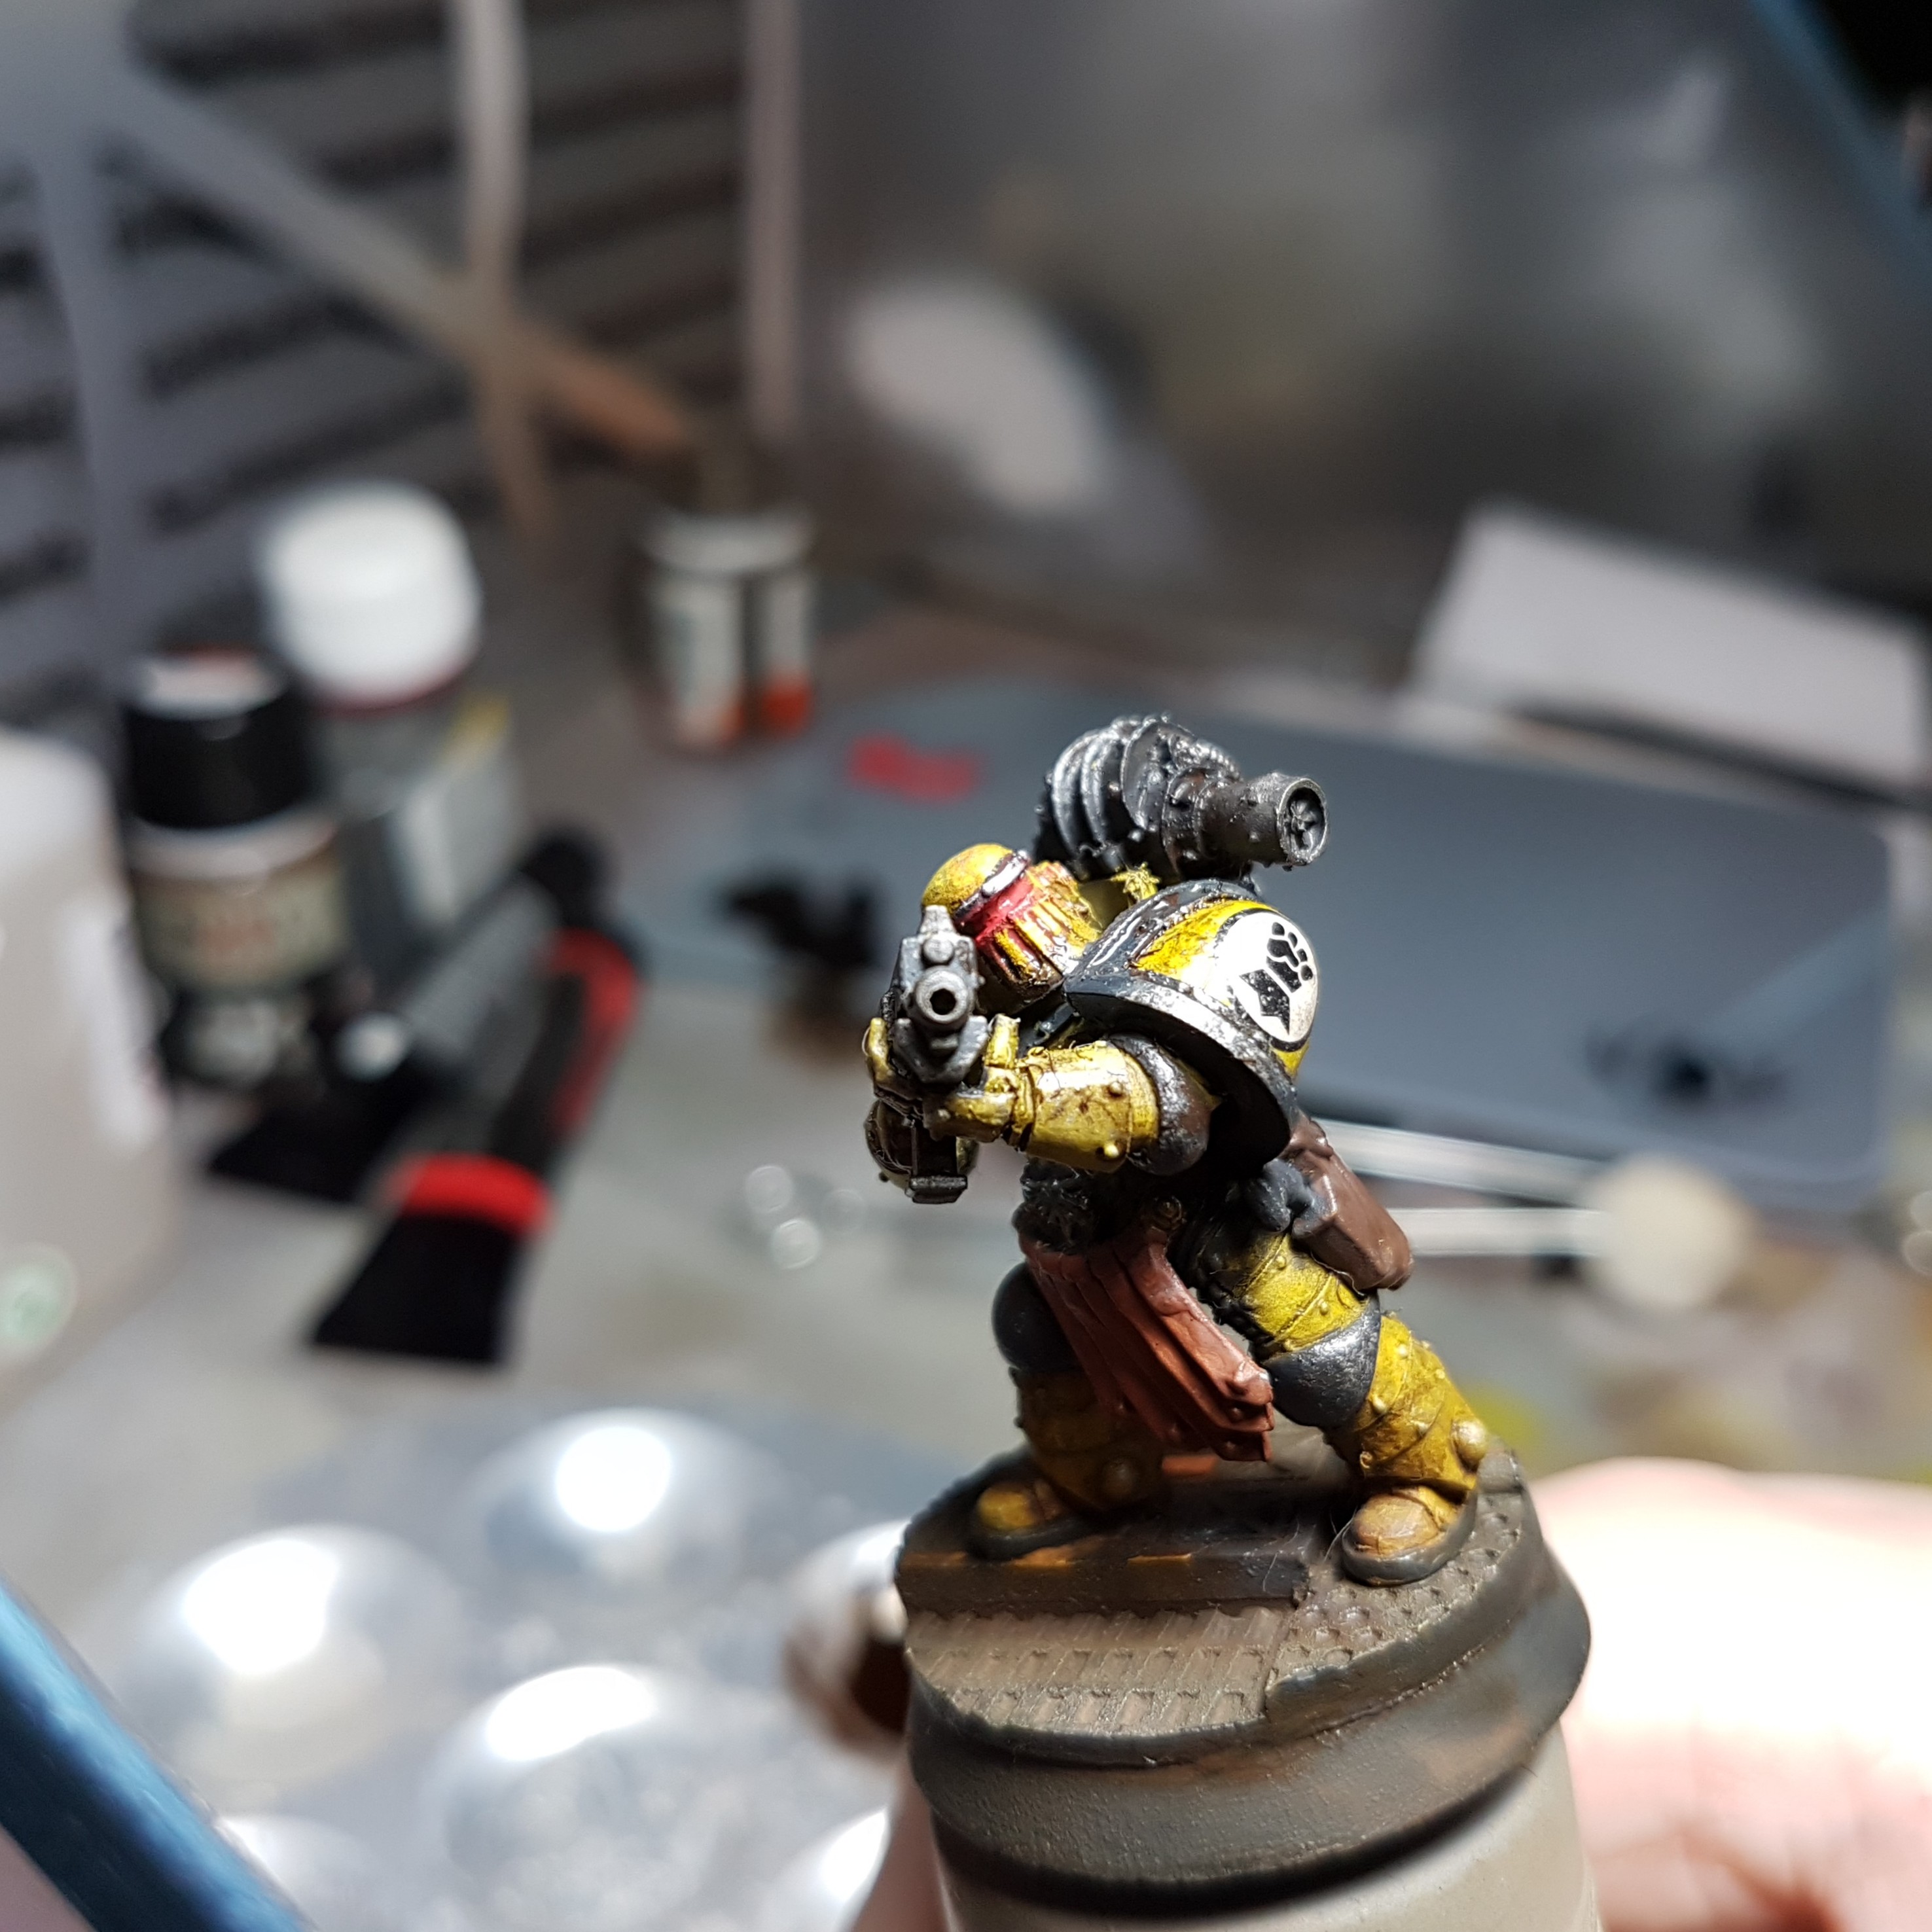
Then I focused on the base. I added a bit of Abteilung 502 Modelling Oil Color Dark Rust (ABT070) in the recesses and blended that into the floor with some white spirit. I then did the same with some Abteilung 502 Modelling Oil Color Copper Oxide Blue (Patina) (ABT180) around the copper pipes.
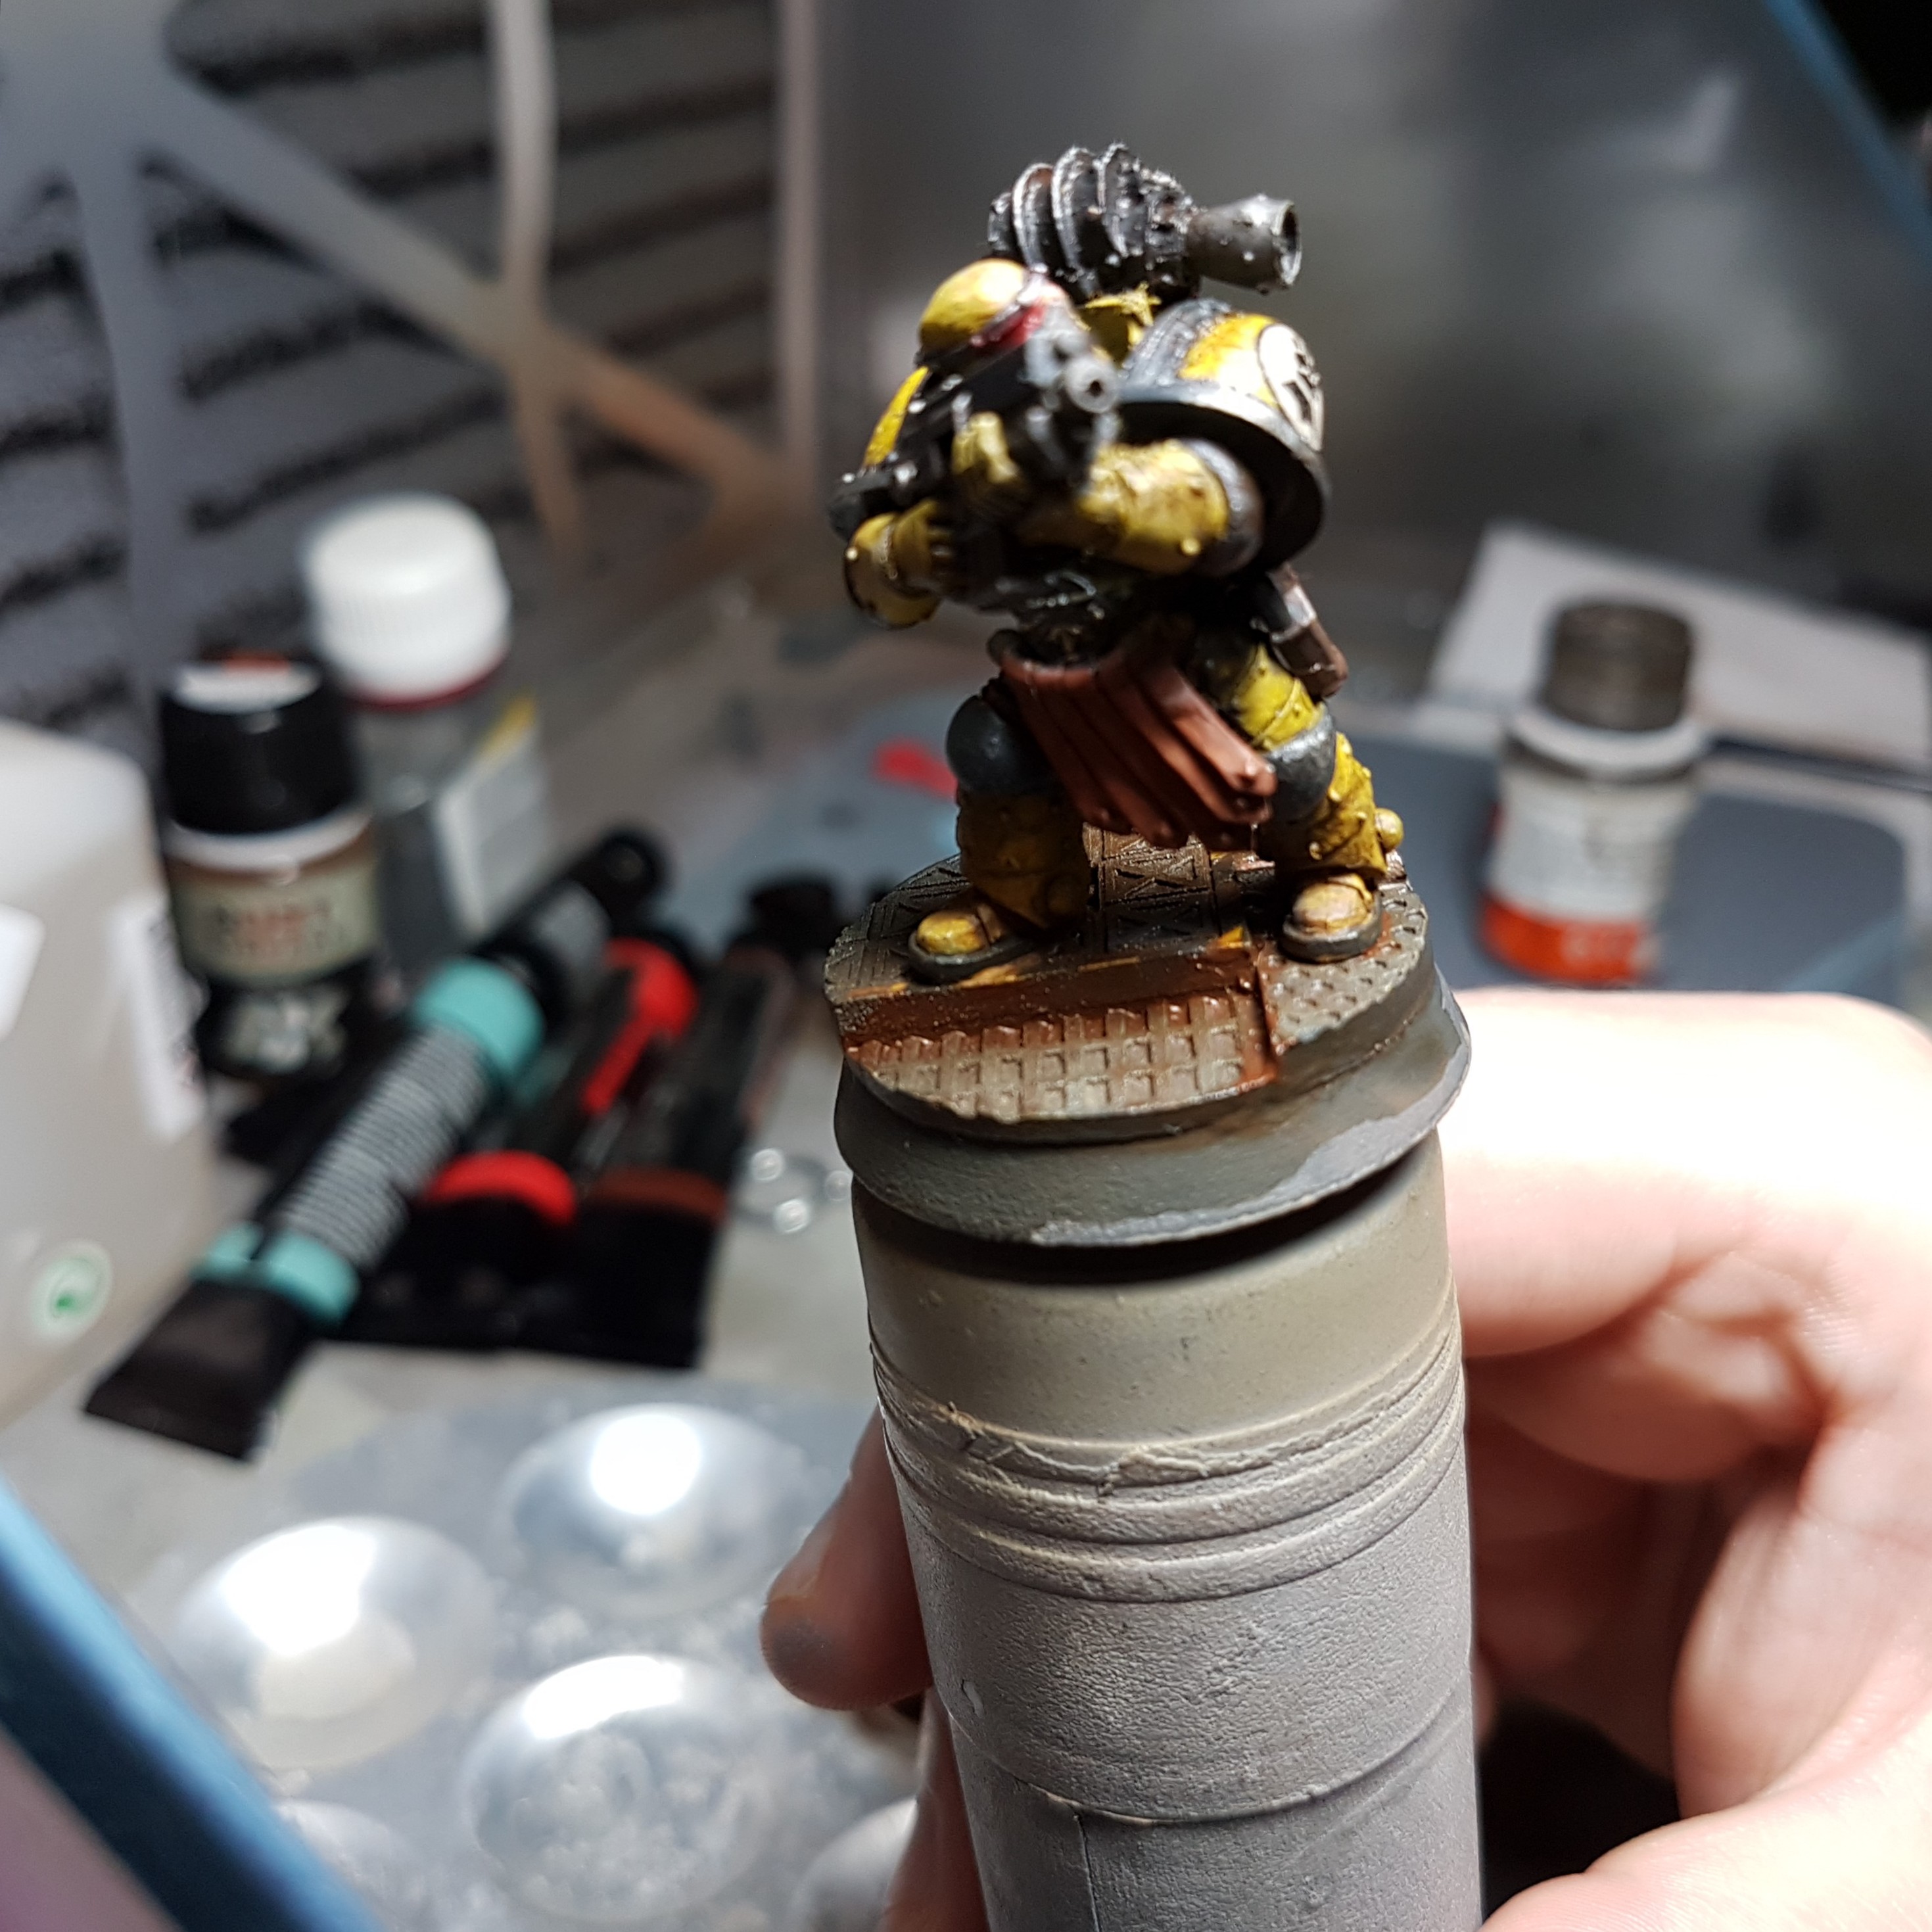
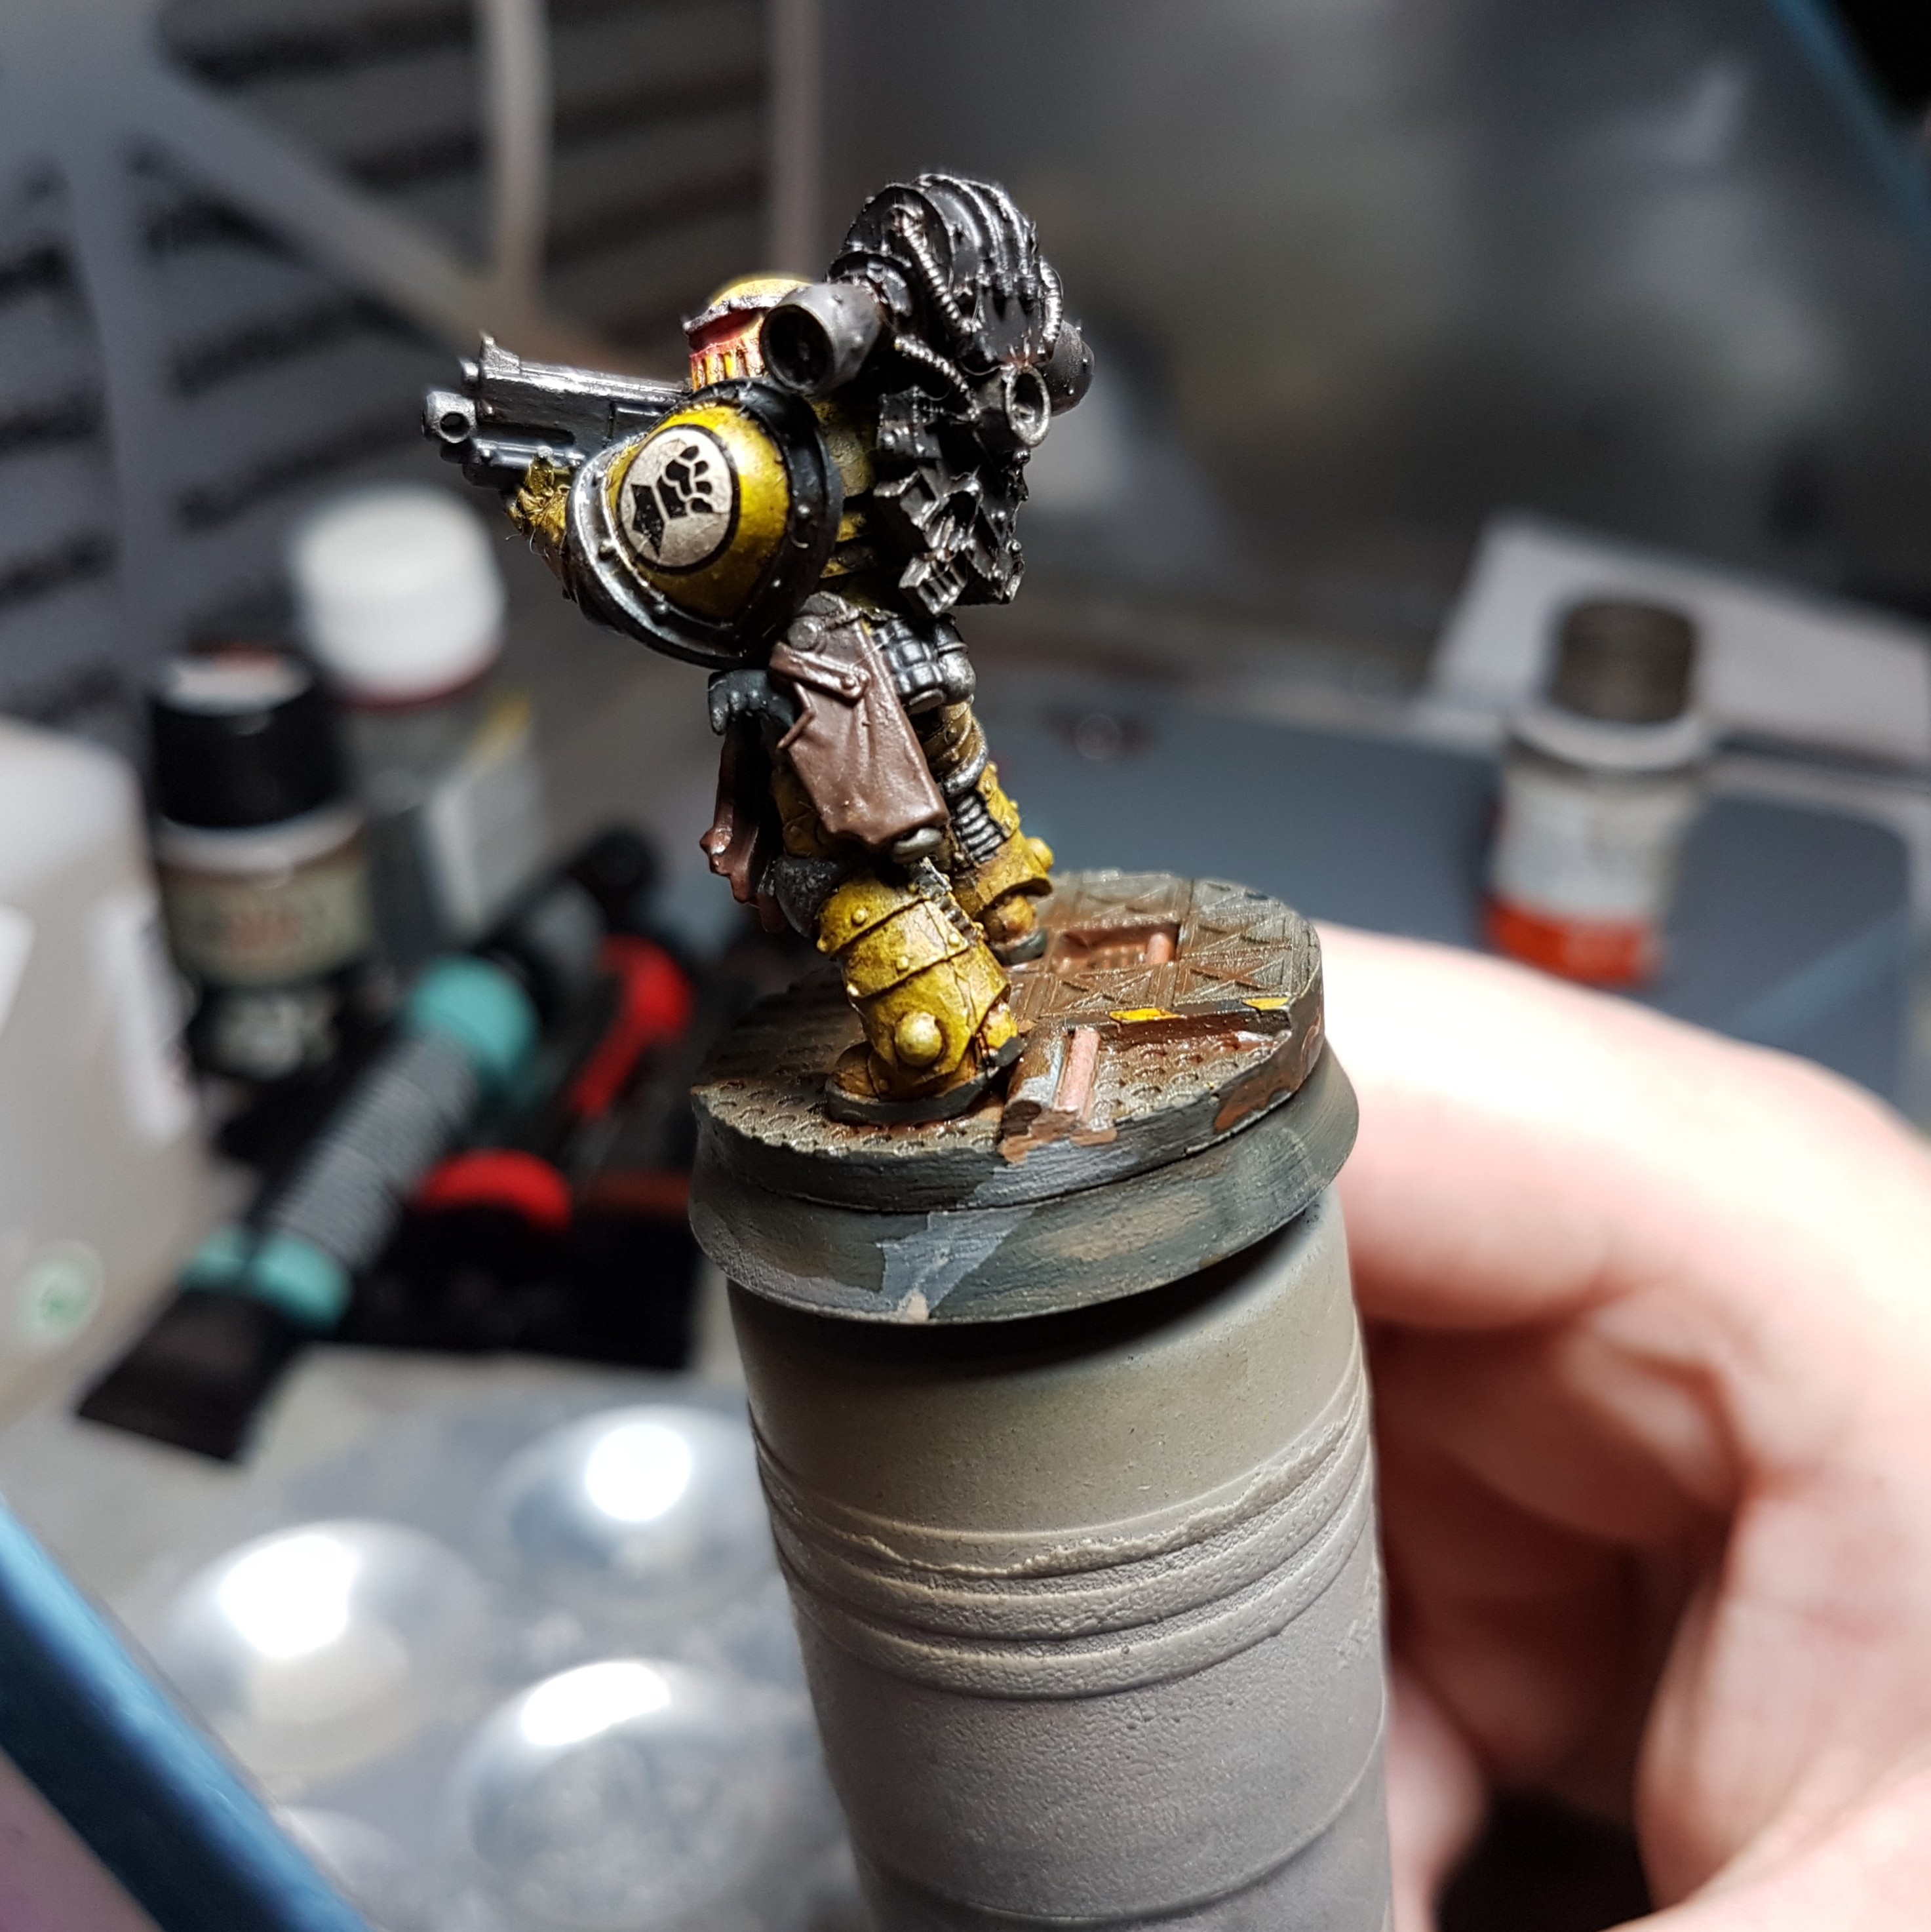
For a bit of extra detailing on the leather, I stippled on some Abteilung 502 Modelling Oil Color Dust (ABT003) with a brush and then with a separate completely dry brush worked it into the leather.
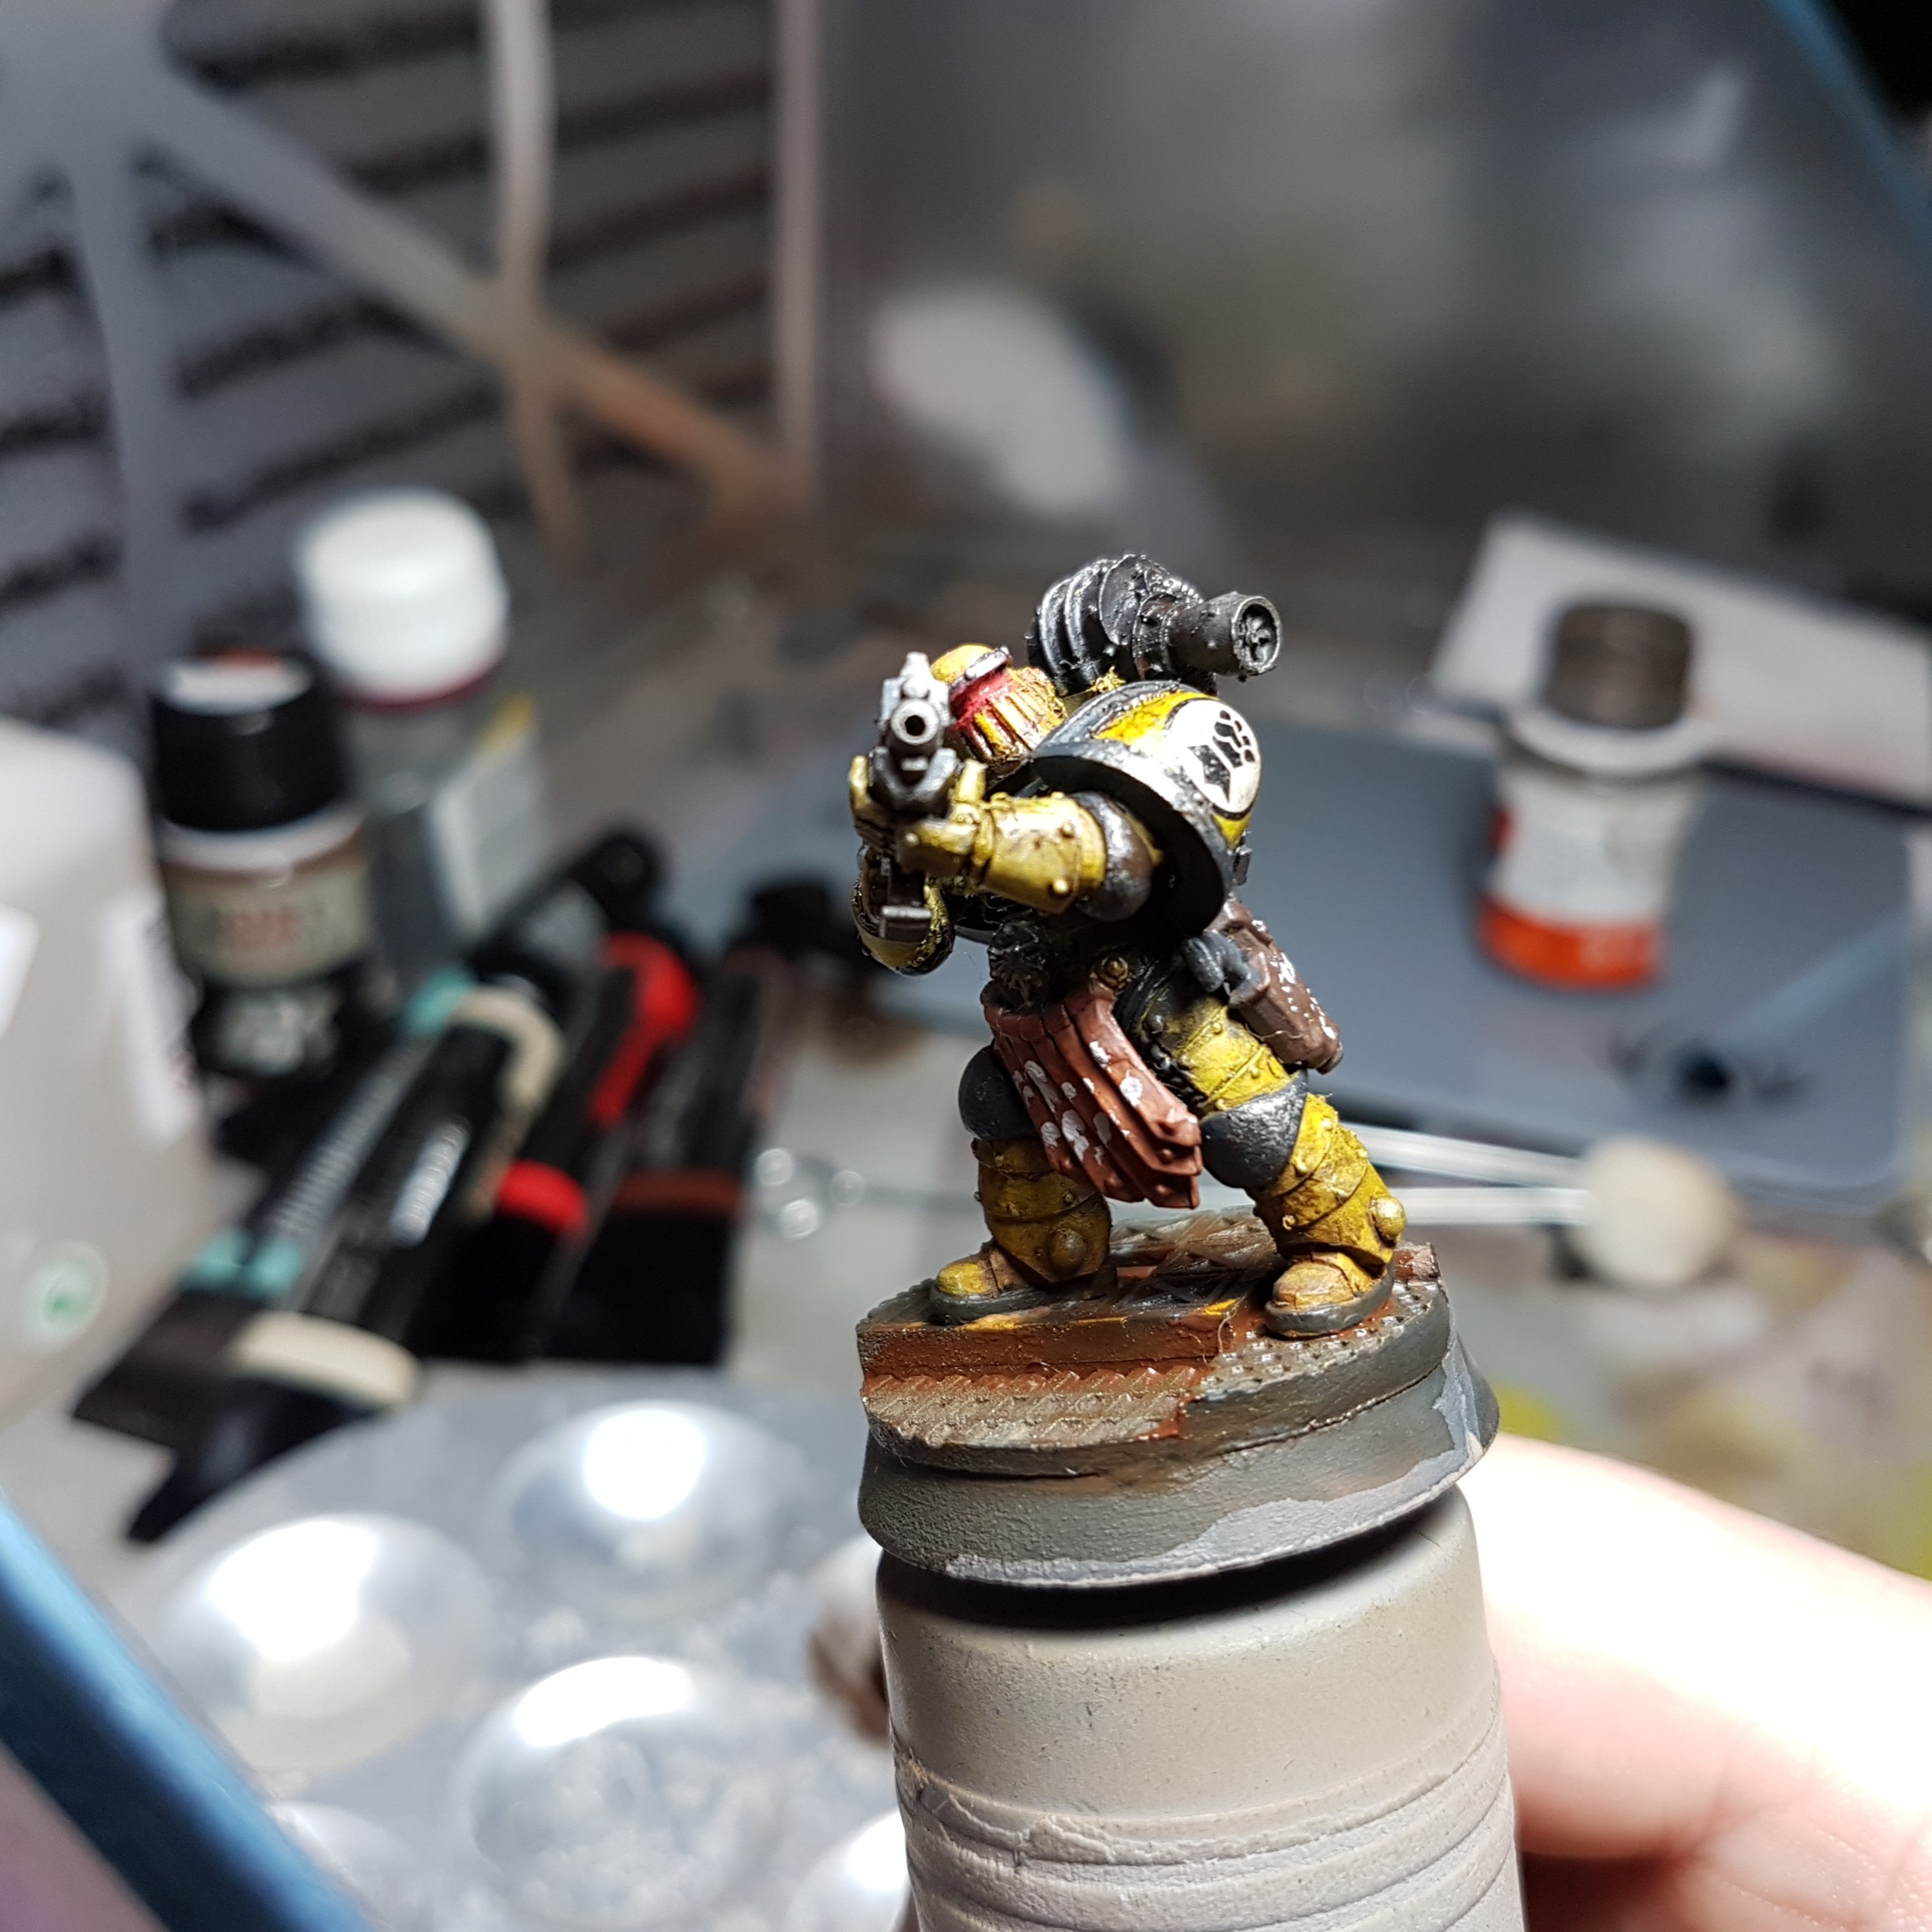
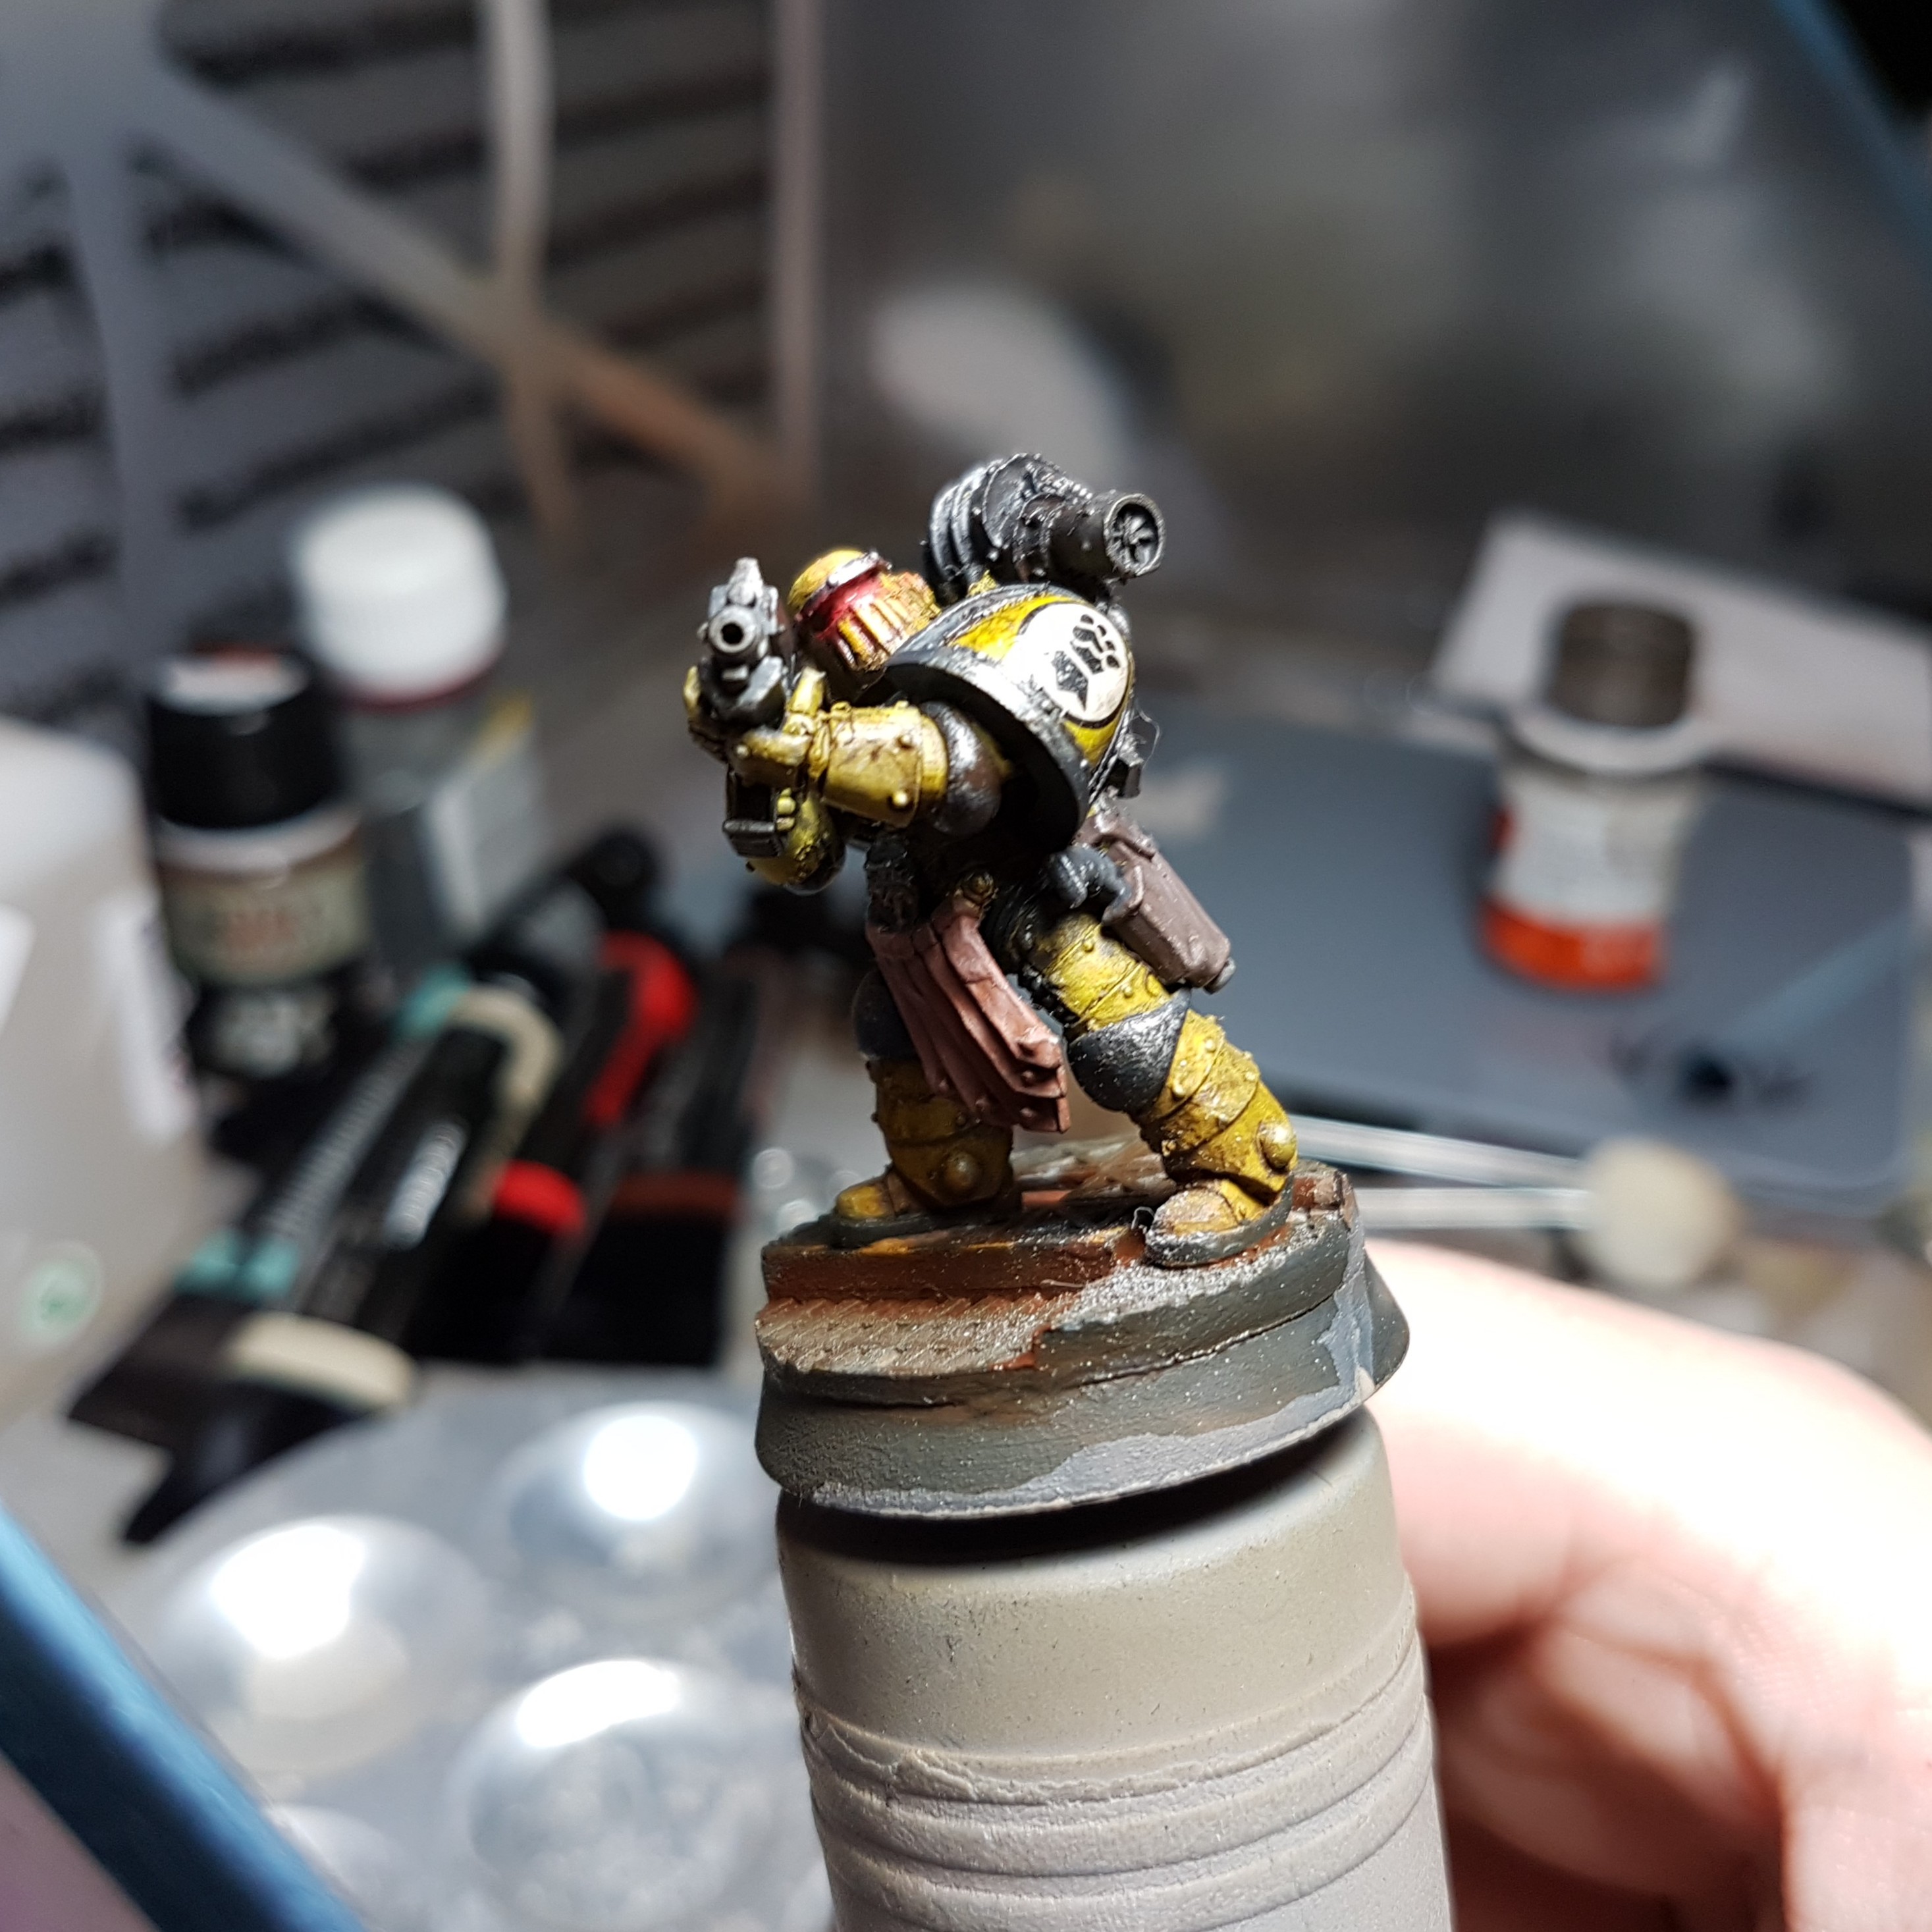
I then stippled on some AK Interactive True Metal Steel (AK457) on the metal bits and with same technique as before, I worked that into the top of the metal bits. I stippled a bit AK Interactive True Metal Steel (AK457) on the leather studs as well and then finished the rim of the base off with a bit of Scale 75 Scalecolor Black (SC-00).
And that is where I am leaving him for now.
Oily Legs.
So I found that after a couple of days the legs were very shiny. Now I do not know if this was maybe still the linseed oil not fully cured or me not drying off the white spirit. Anyway, I brushed some matt varnish over it to fix it now. Once this is all cured I’ll see what more I want to do before I move on to the next model.
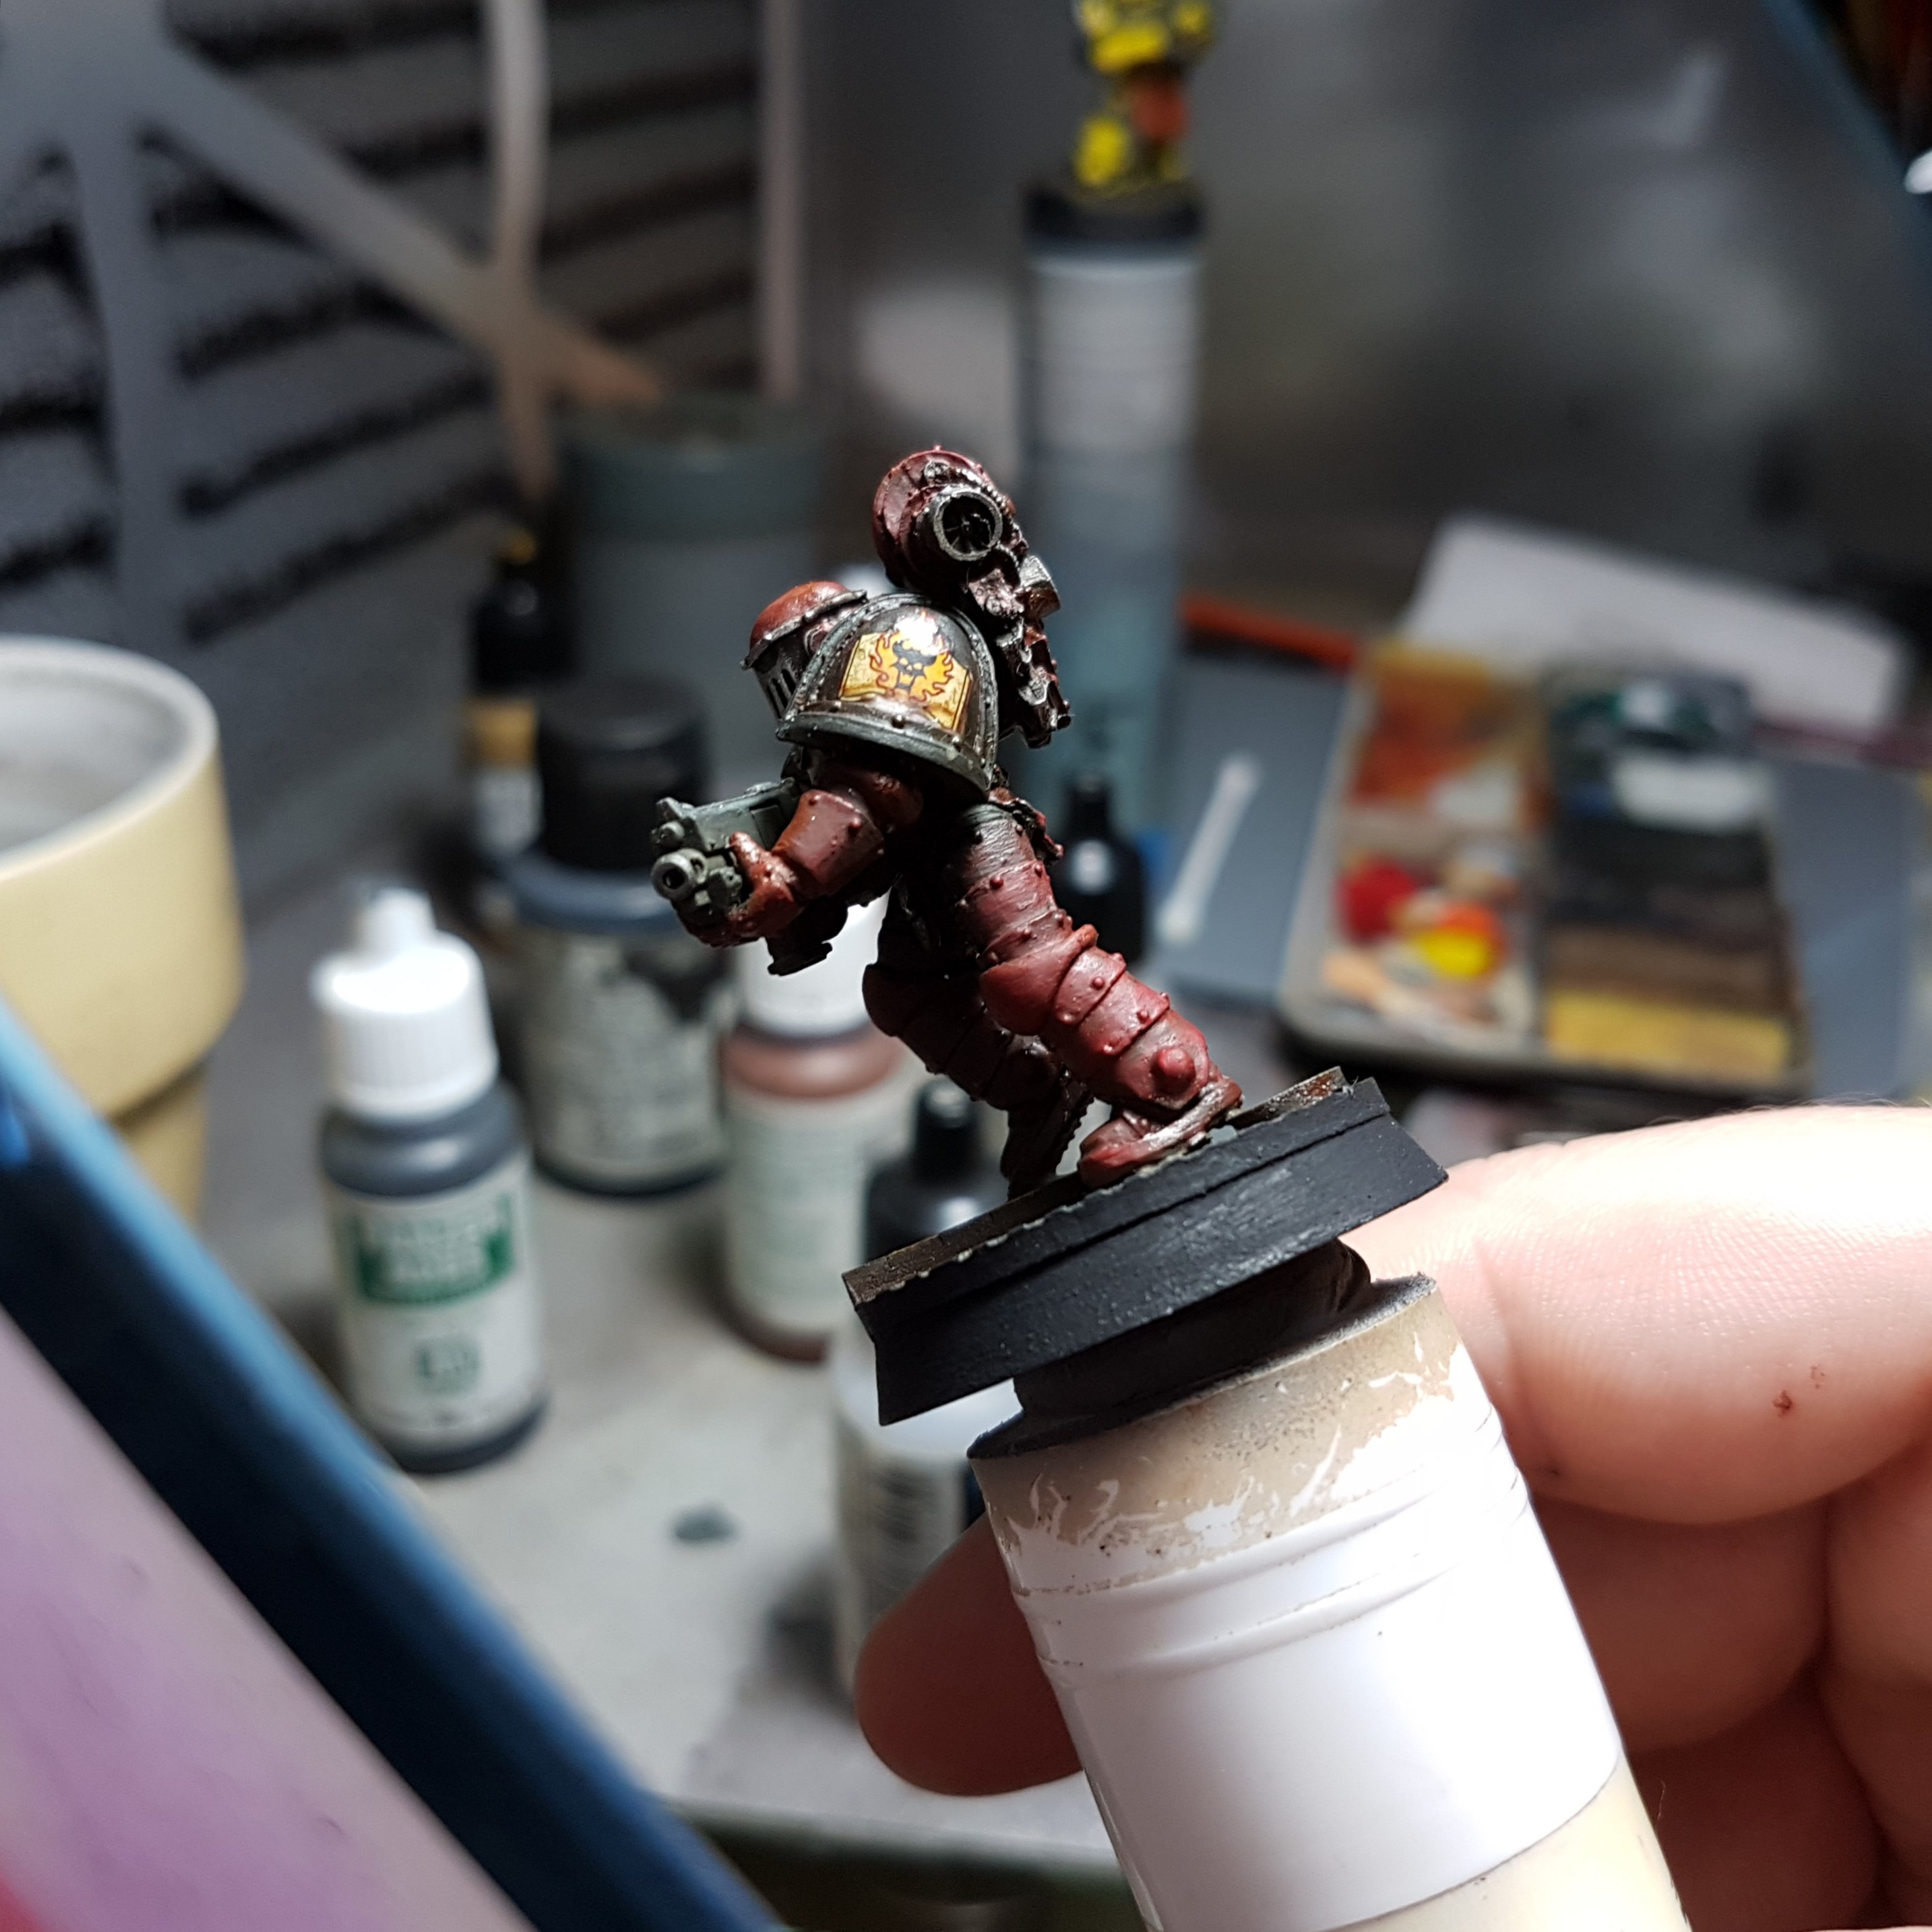
And to follow up on my new painting journey, here is the second marine. Since I paint with a lot of bright colours, what better chapter to choose than the Imperial Fists. He is all basecoated and ready for when the Word Bearer is done.
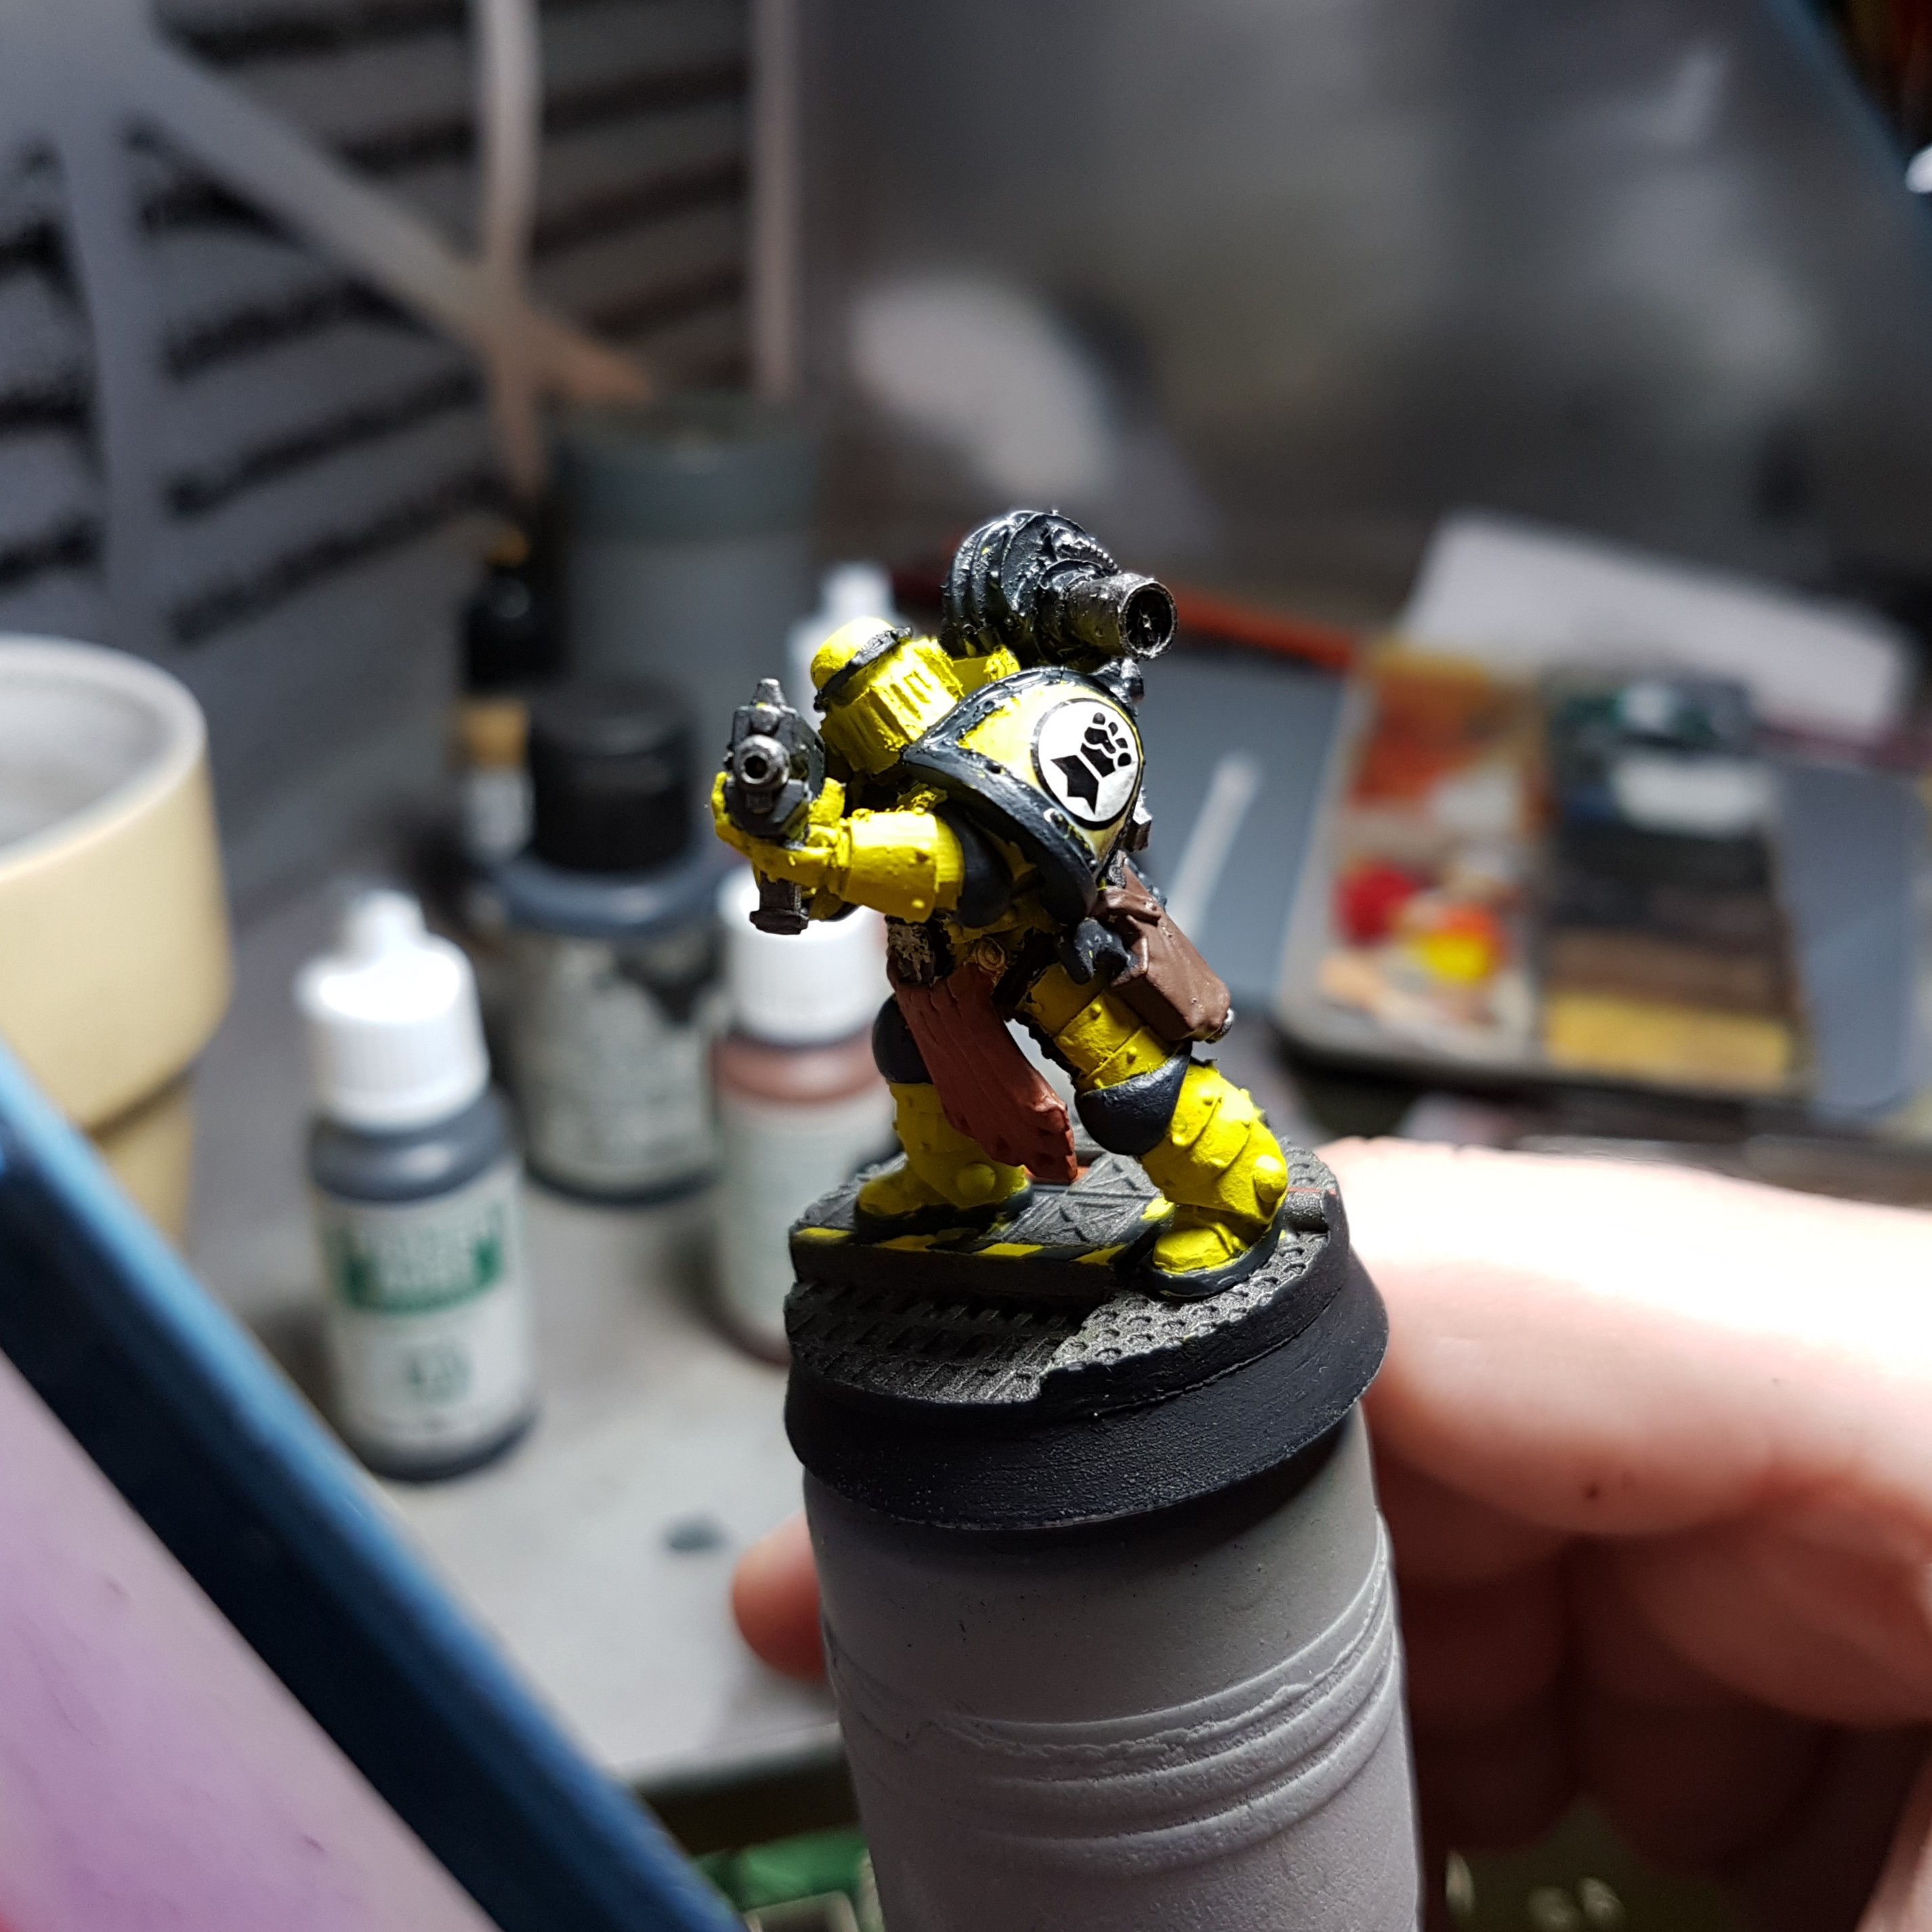
I know there was originally only 1 space marine, but I had another one, so might as well paint it while I’m playing around.
Since I like using bright paints, maybe I should name my style Grimbright. ?
Progress
I started off with a coat of AK Interactive Rust Streaks (AK 013) over the base and a coat of AK Interactive Streaking Grime (AK 012) over the model with my airbrush. I then used a wool dauber with a bit of white spirit to clean off the excess.
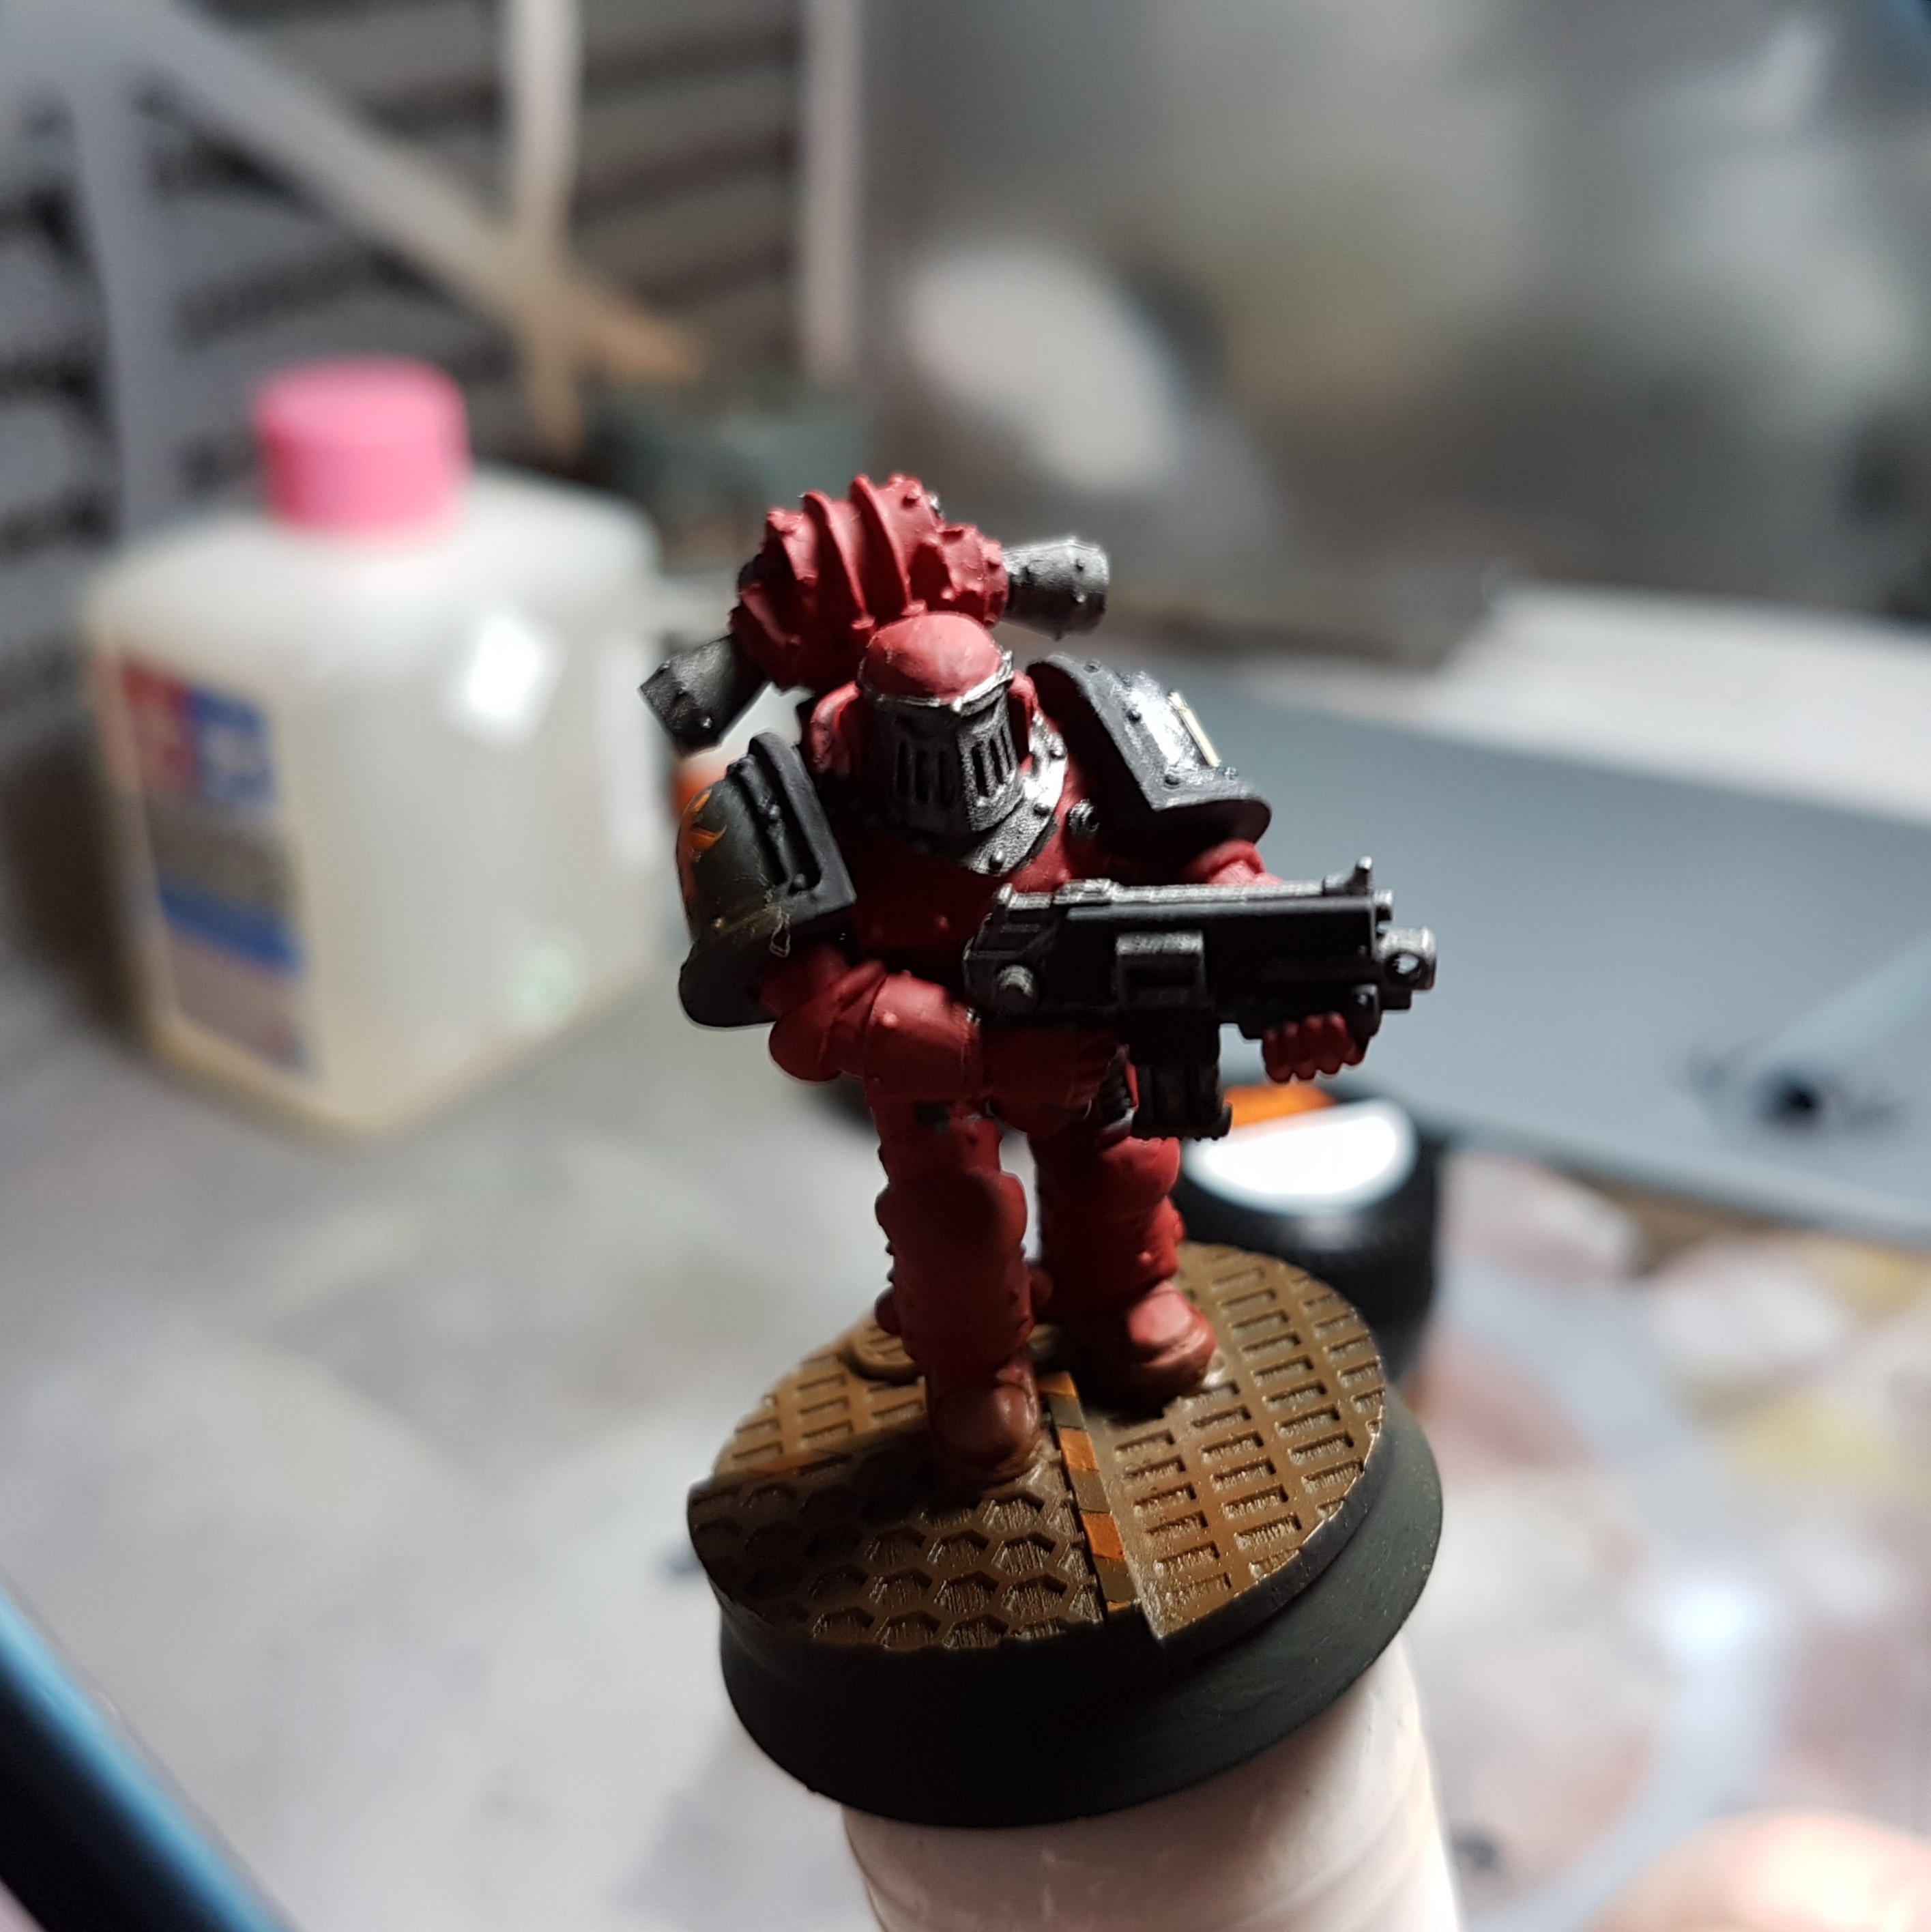
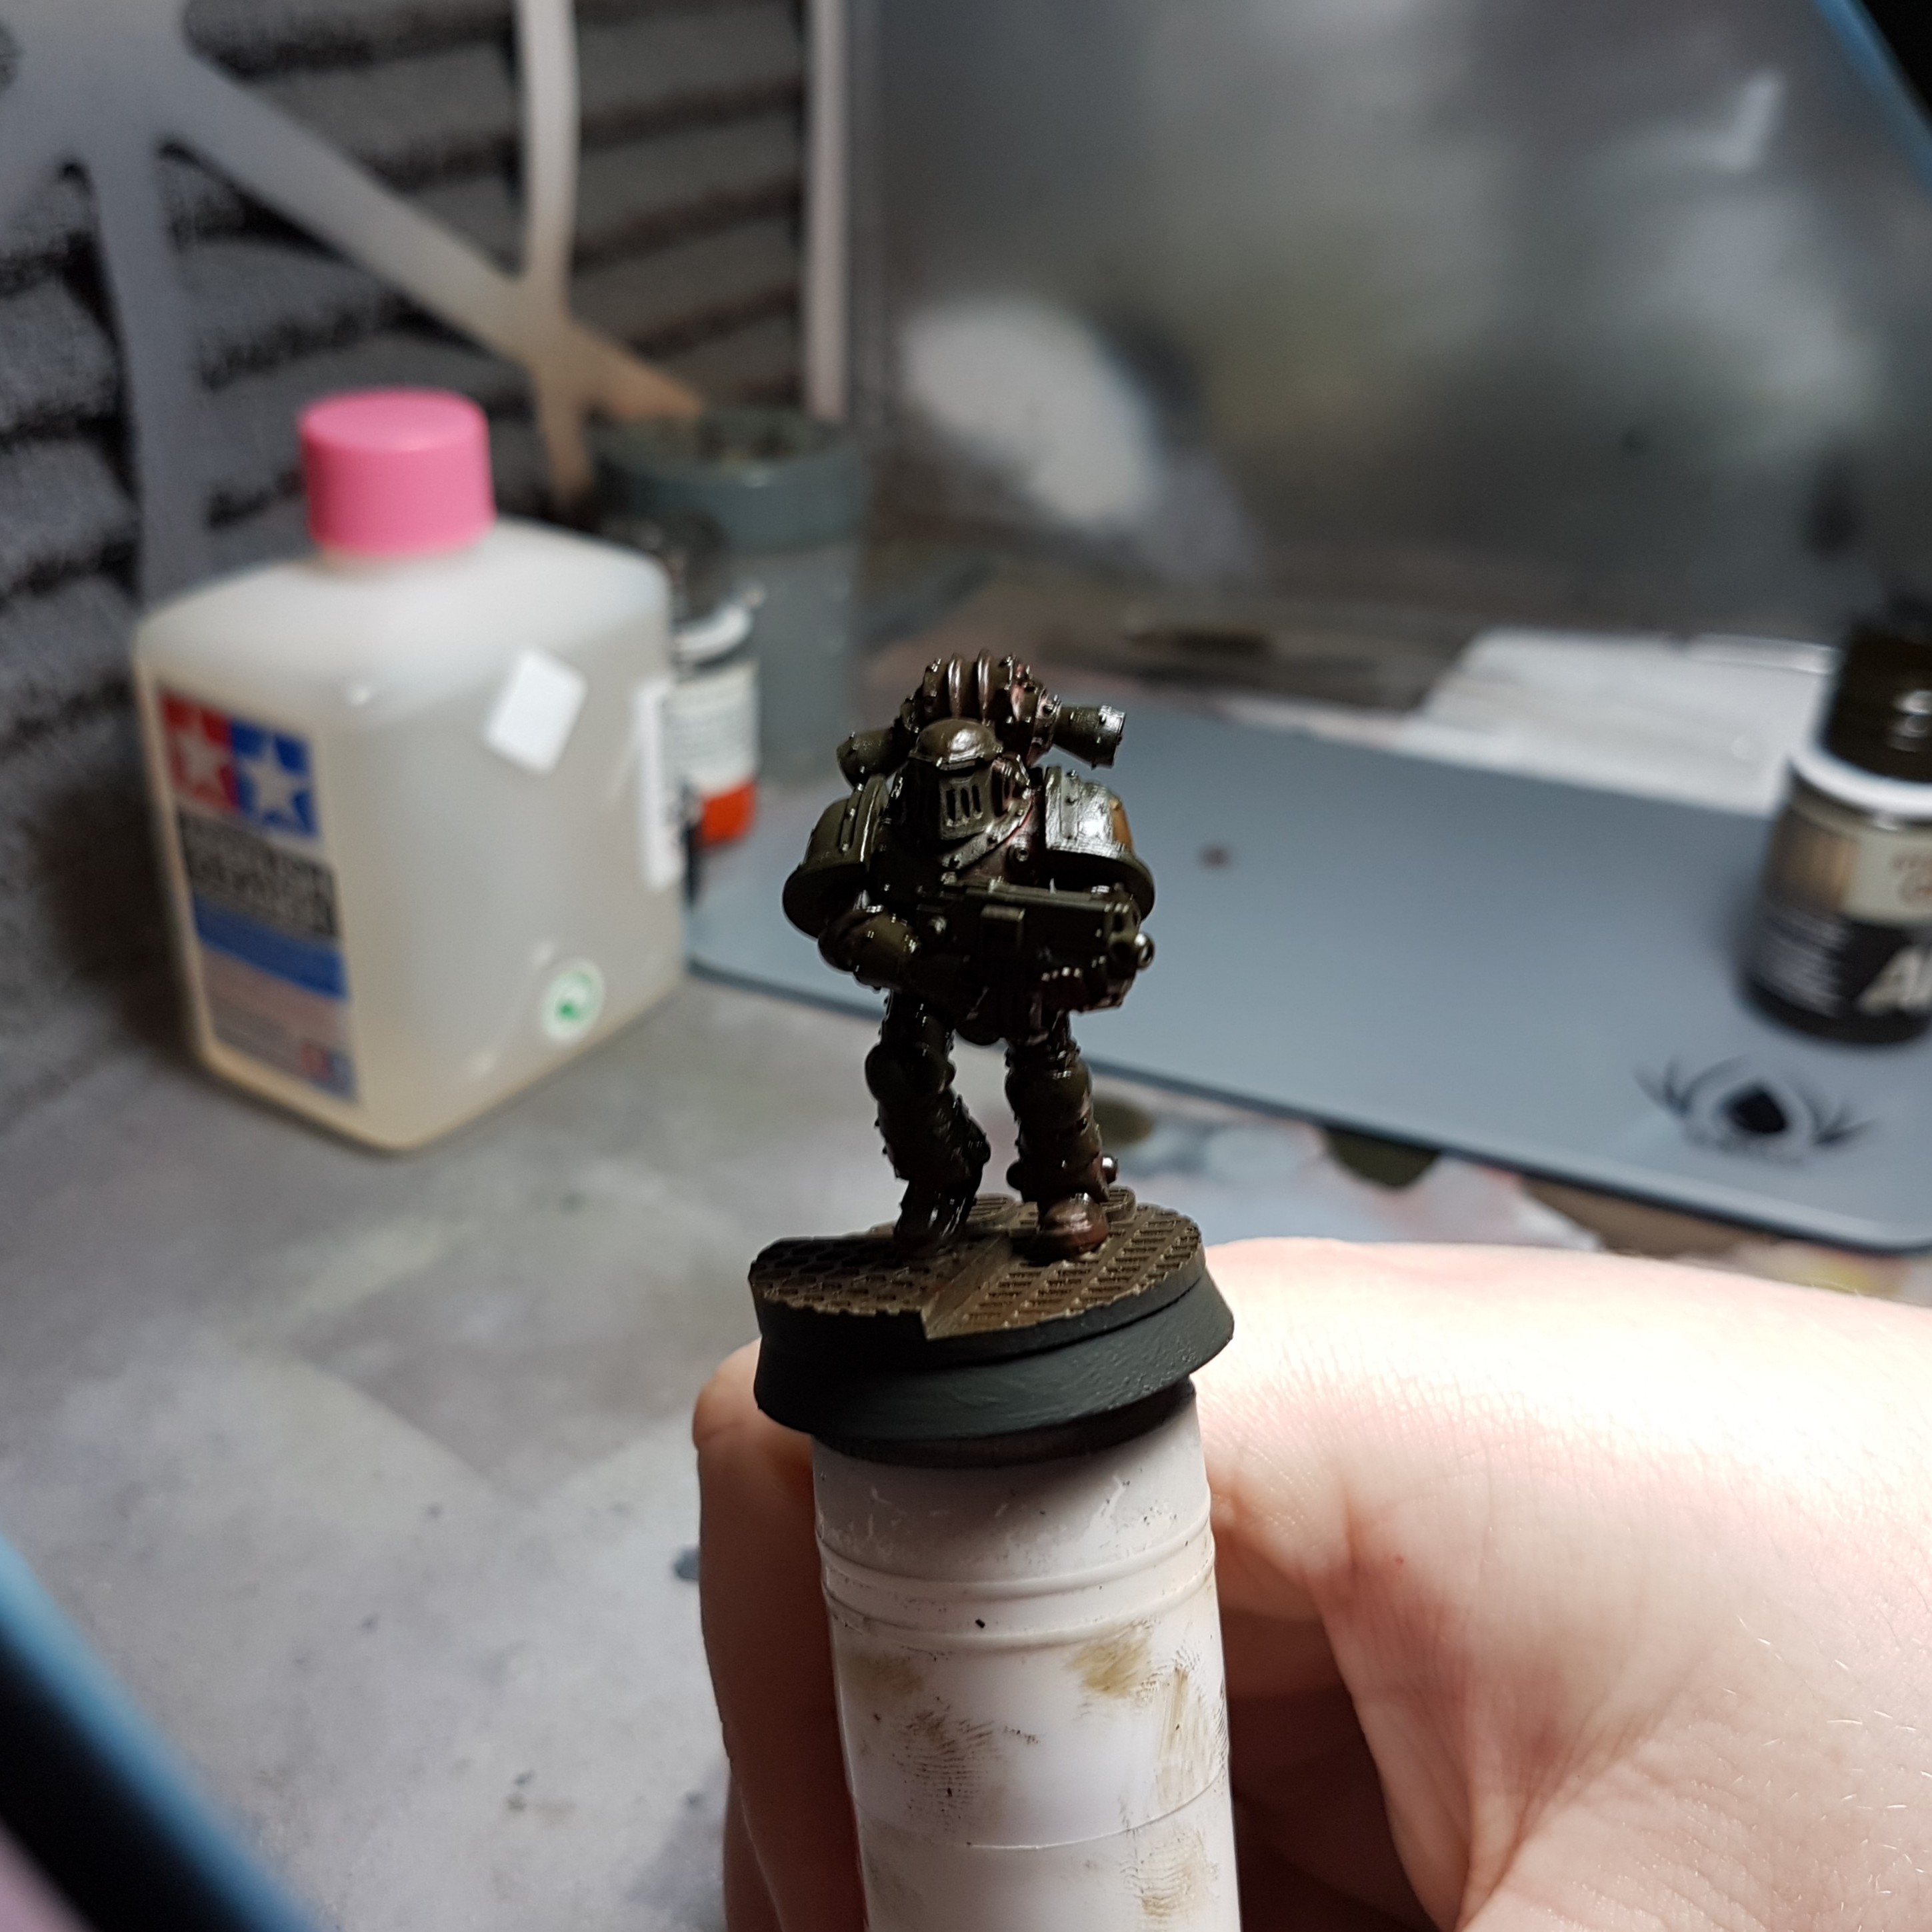
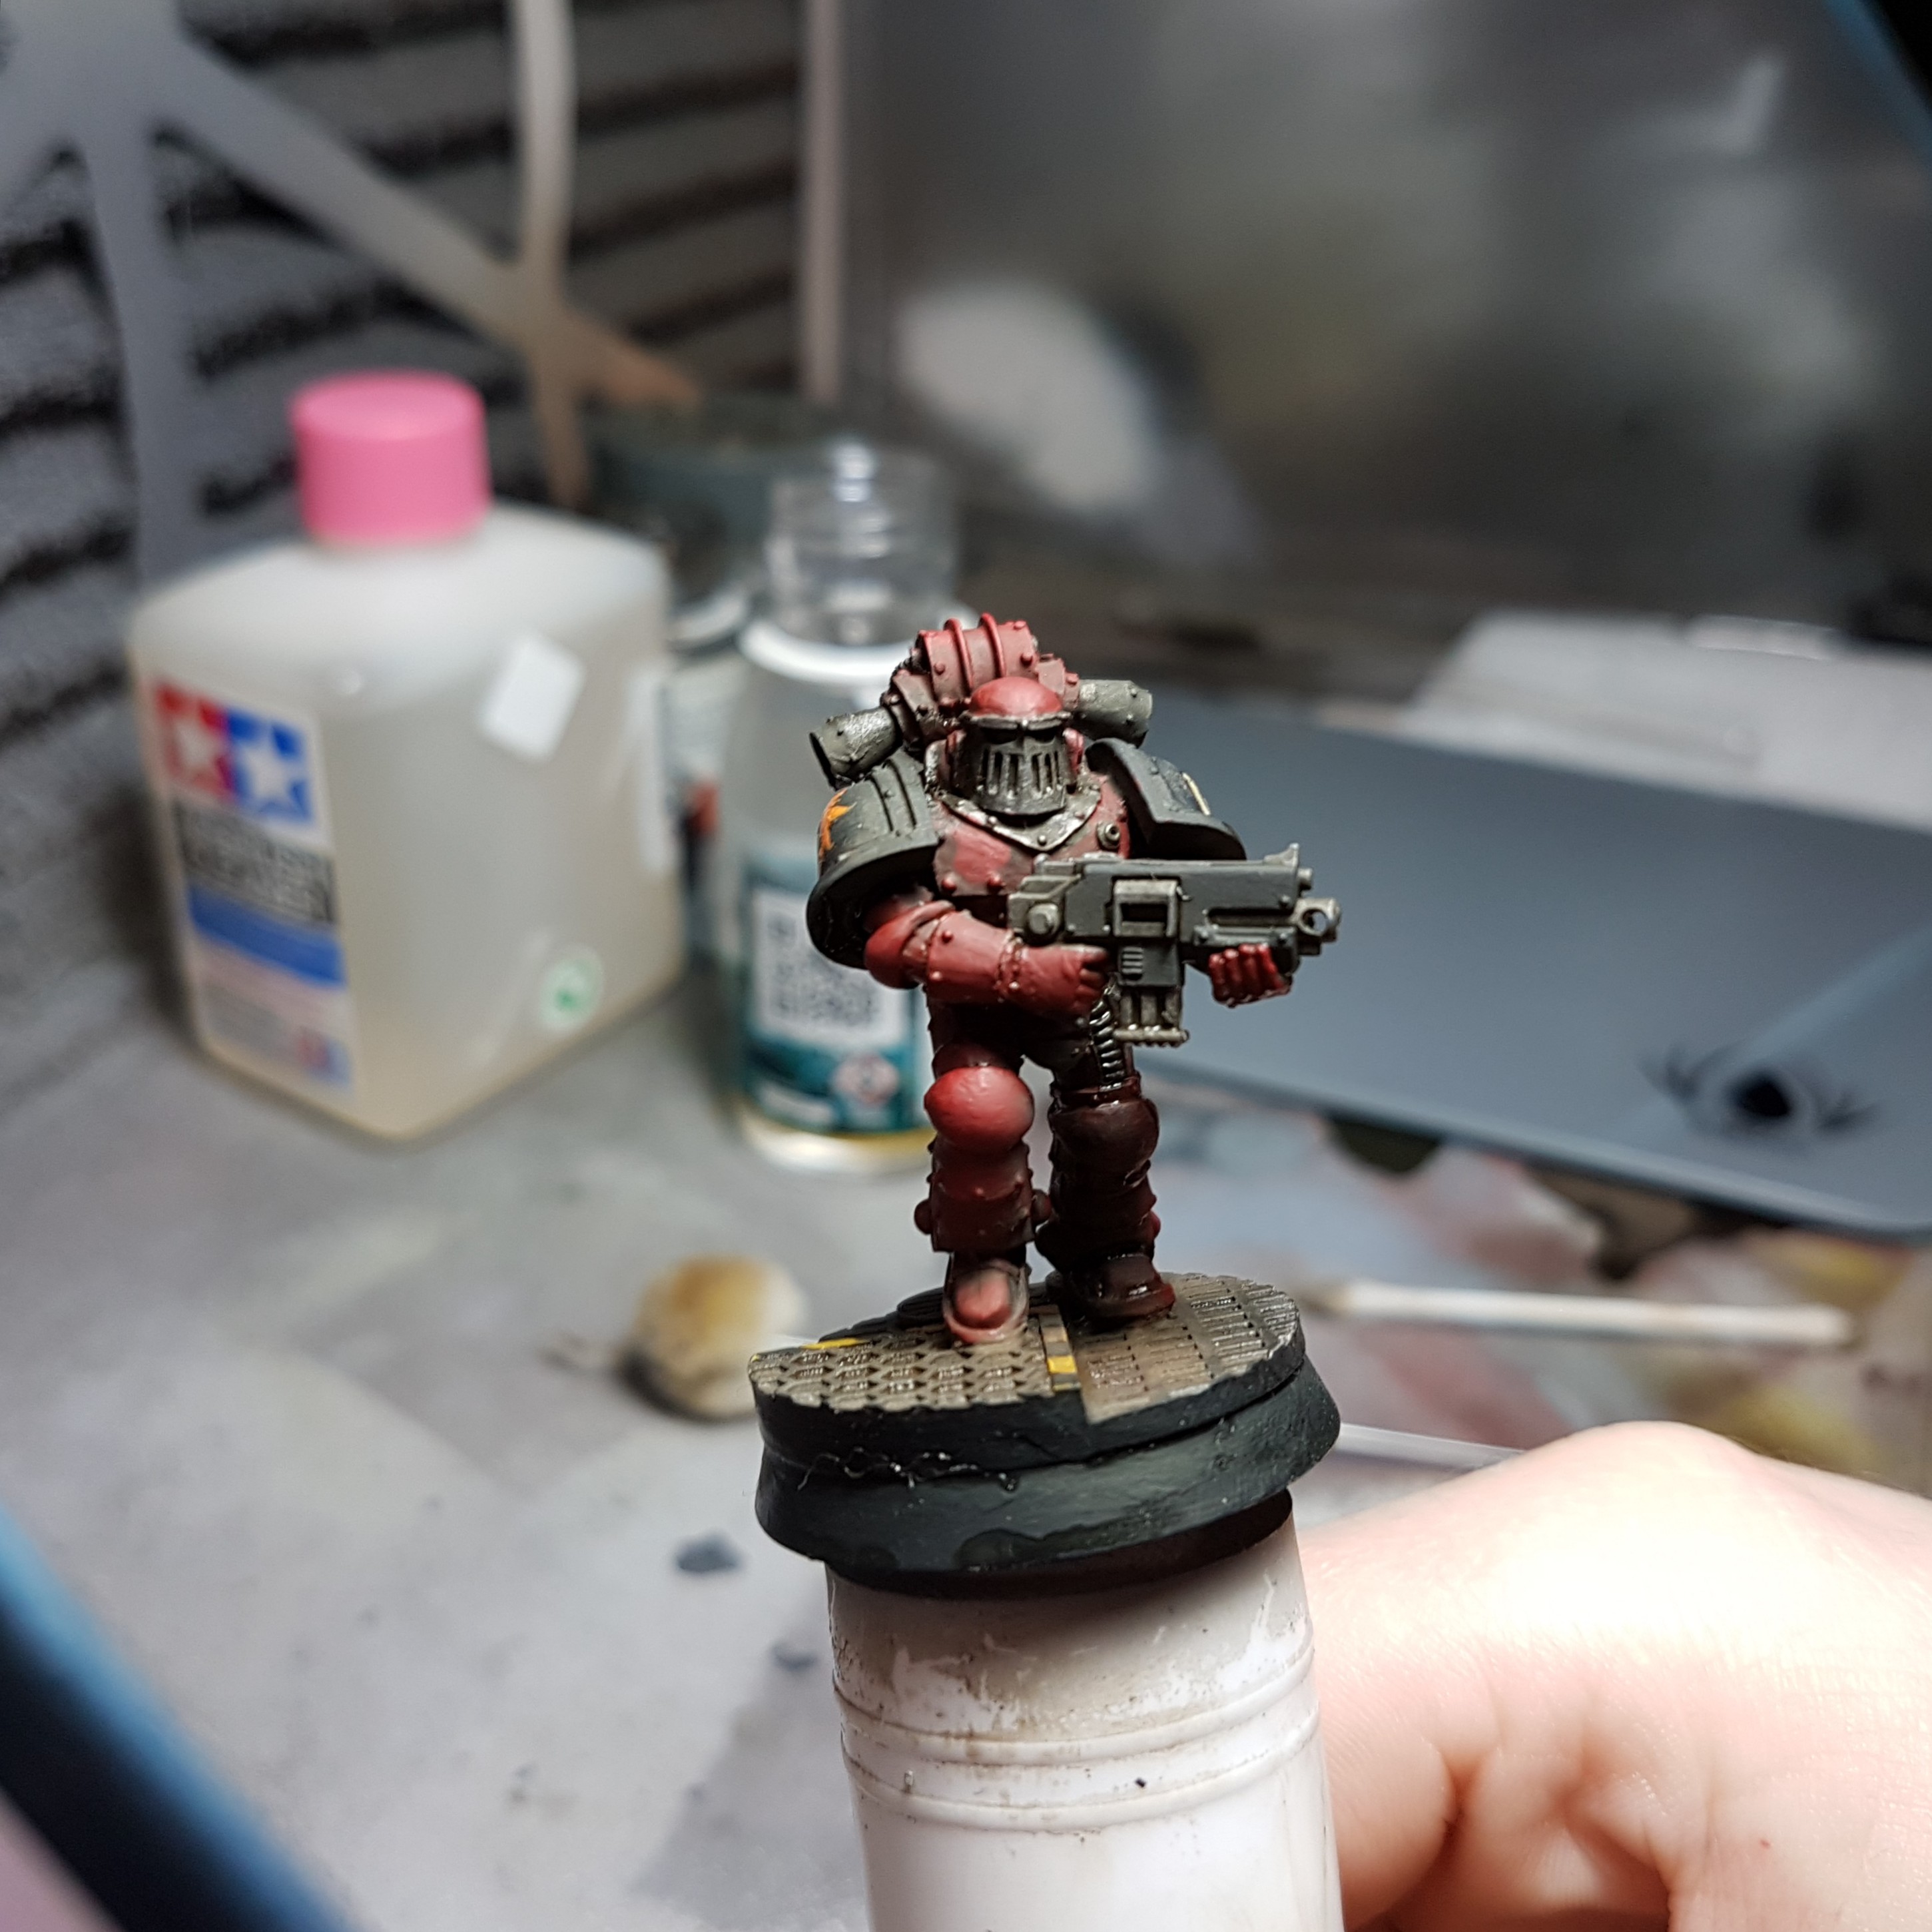
I then painted some Abteilung 502 Modelling Oil Color Dark Rust (ABT070) thinned with a bit of white spirit in the recess where I wanted some extra shadow. I applied a light coat of Abteilung 502 Fantasy Modelling Oil Color Ghost Grey (ABT525) on the top edges of the shoulder pads and on the gun, blending that in with the base paint. I then used some Abteilung 502 Modelling Oil Color Flesh Shadow (ABT215) to highlight particular areas on the model. Then with my airbrush I sprayed on a little bit more AK Interactive Streaking Grime (AK 012) from the bottom of the model. With a bit of white spirit removed the Streaking Grime from the edges and added a bit of Abteilung 502 Modelling Oil Color Green Grass (ABT094) in and around the eyes. Then I added some Abteilung 502 Modelling Oil Color Dark Rust (ABT070) in the edges of the base.
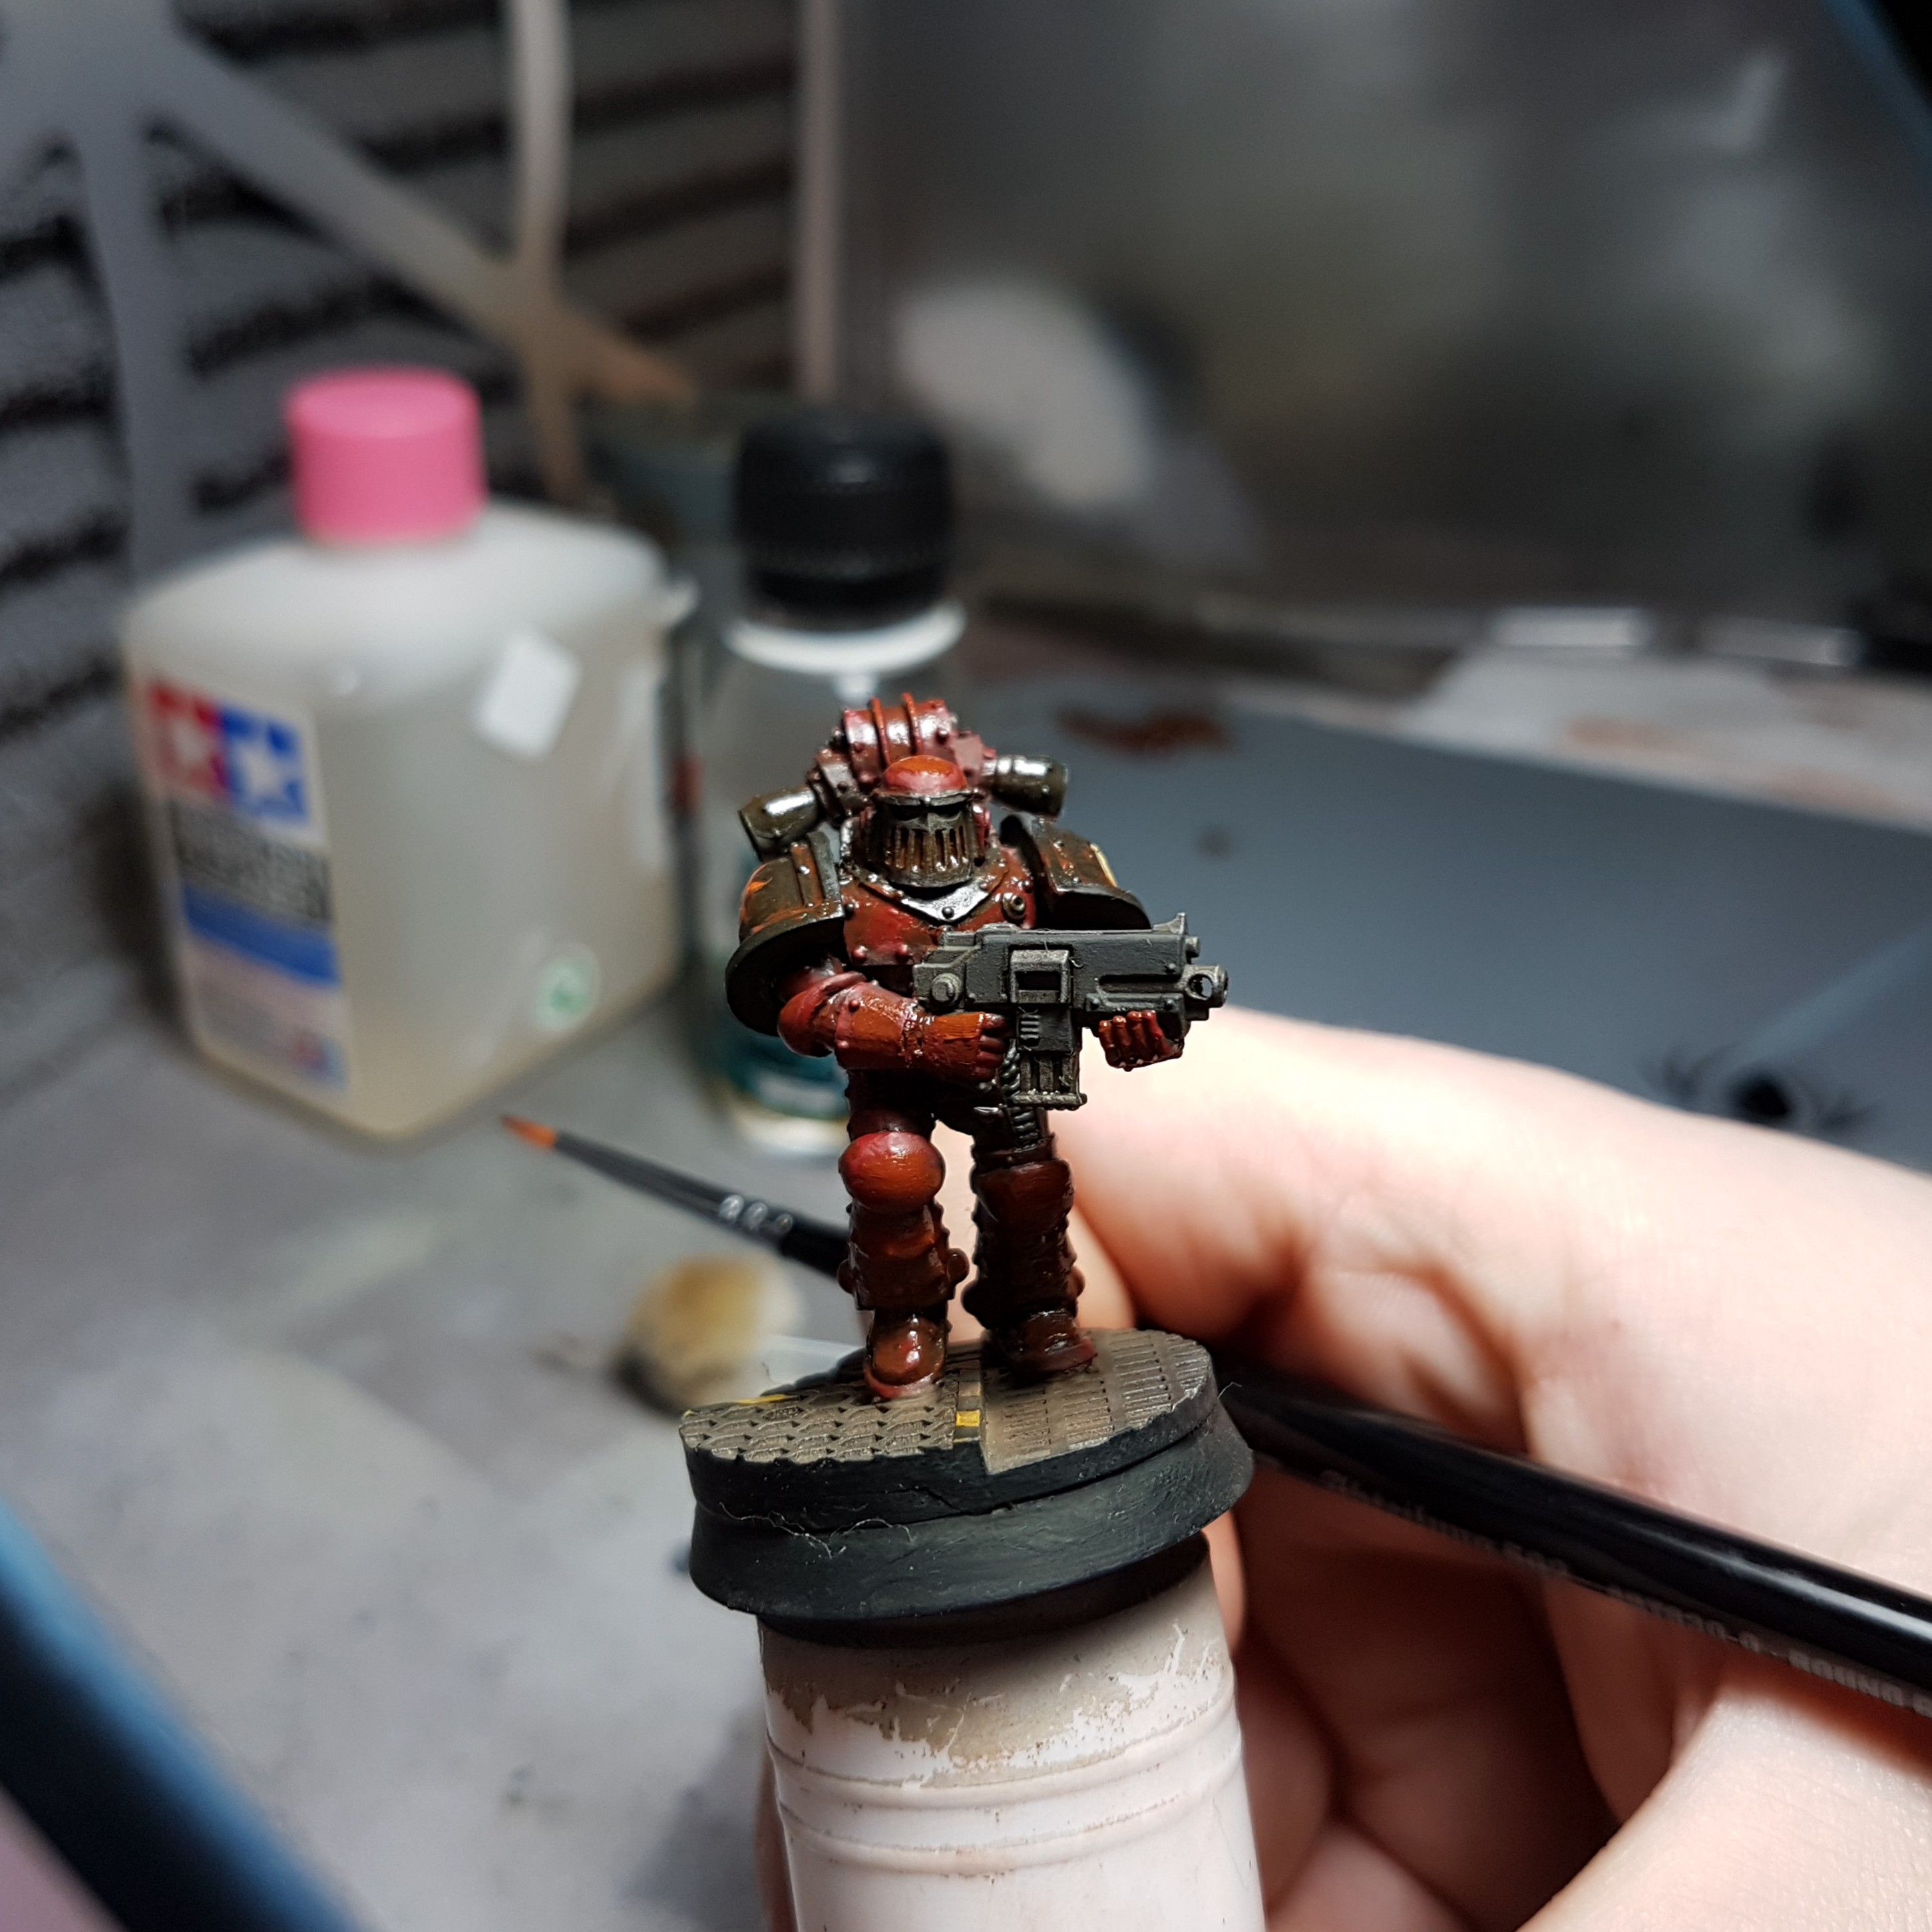
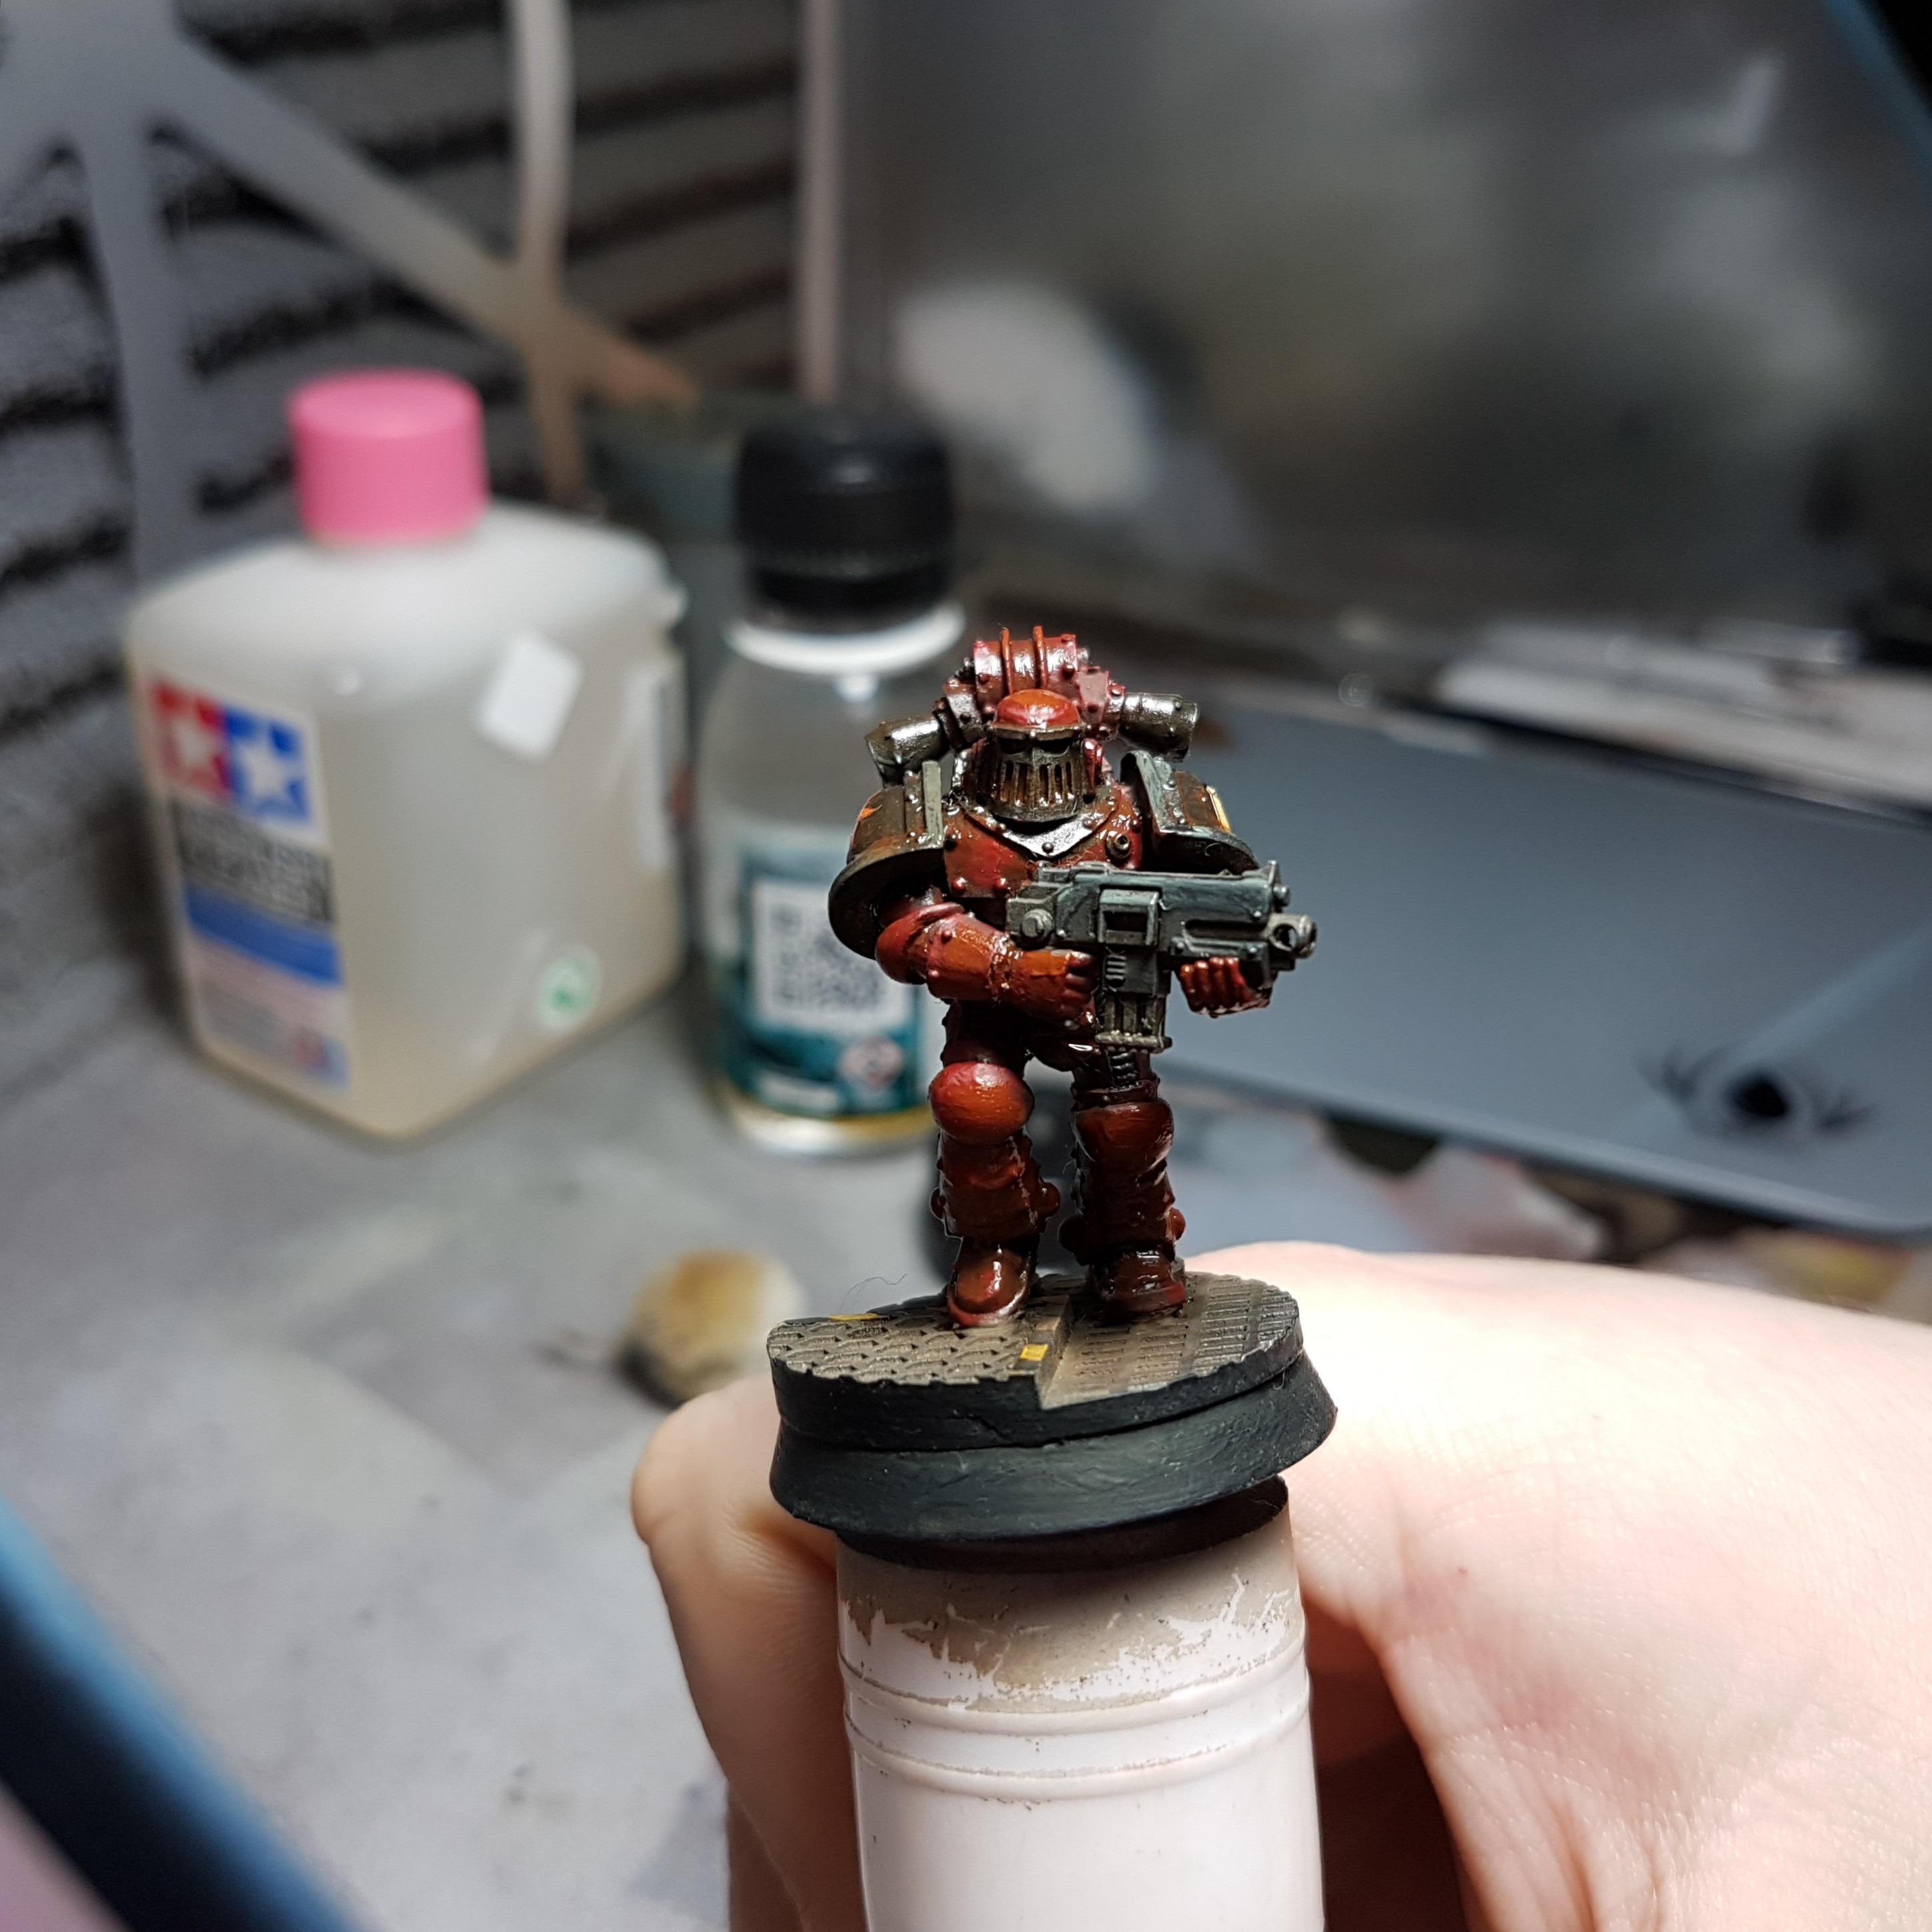
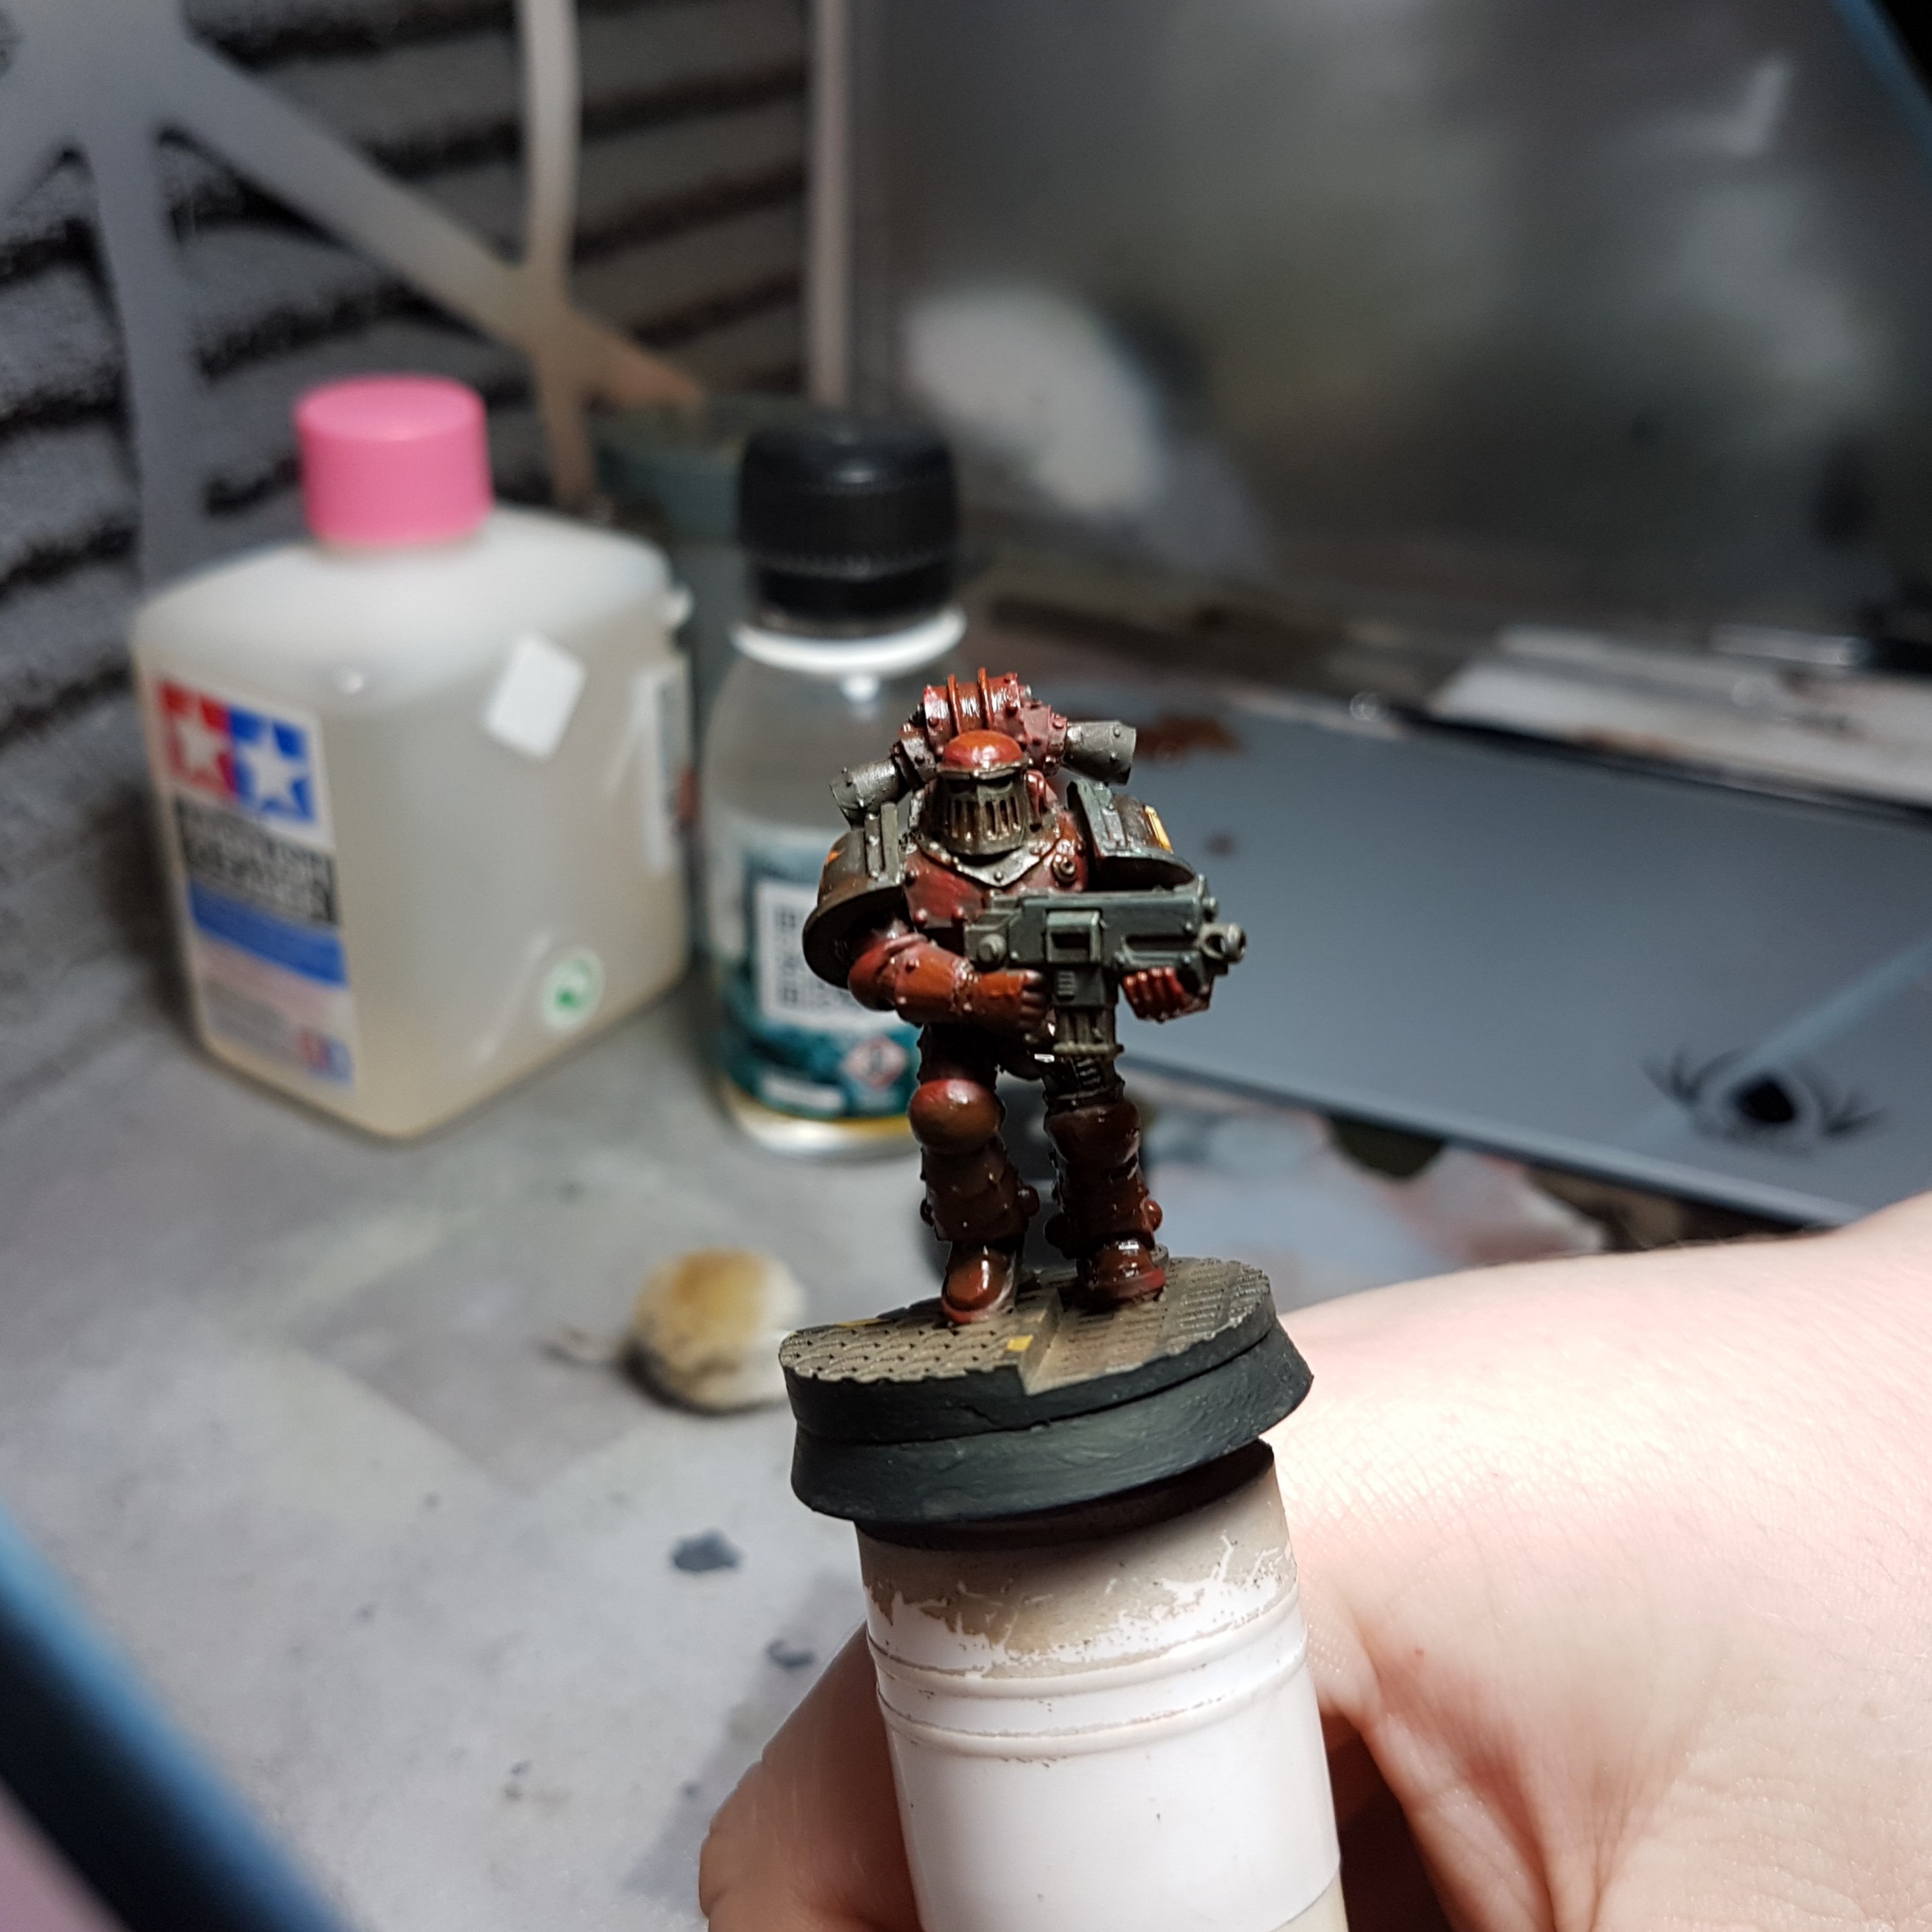

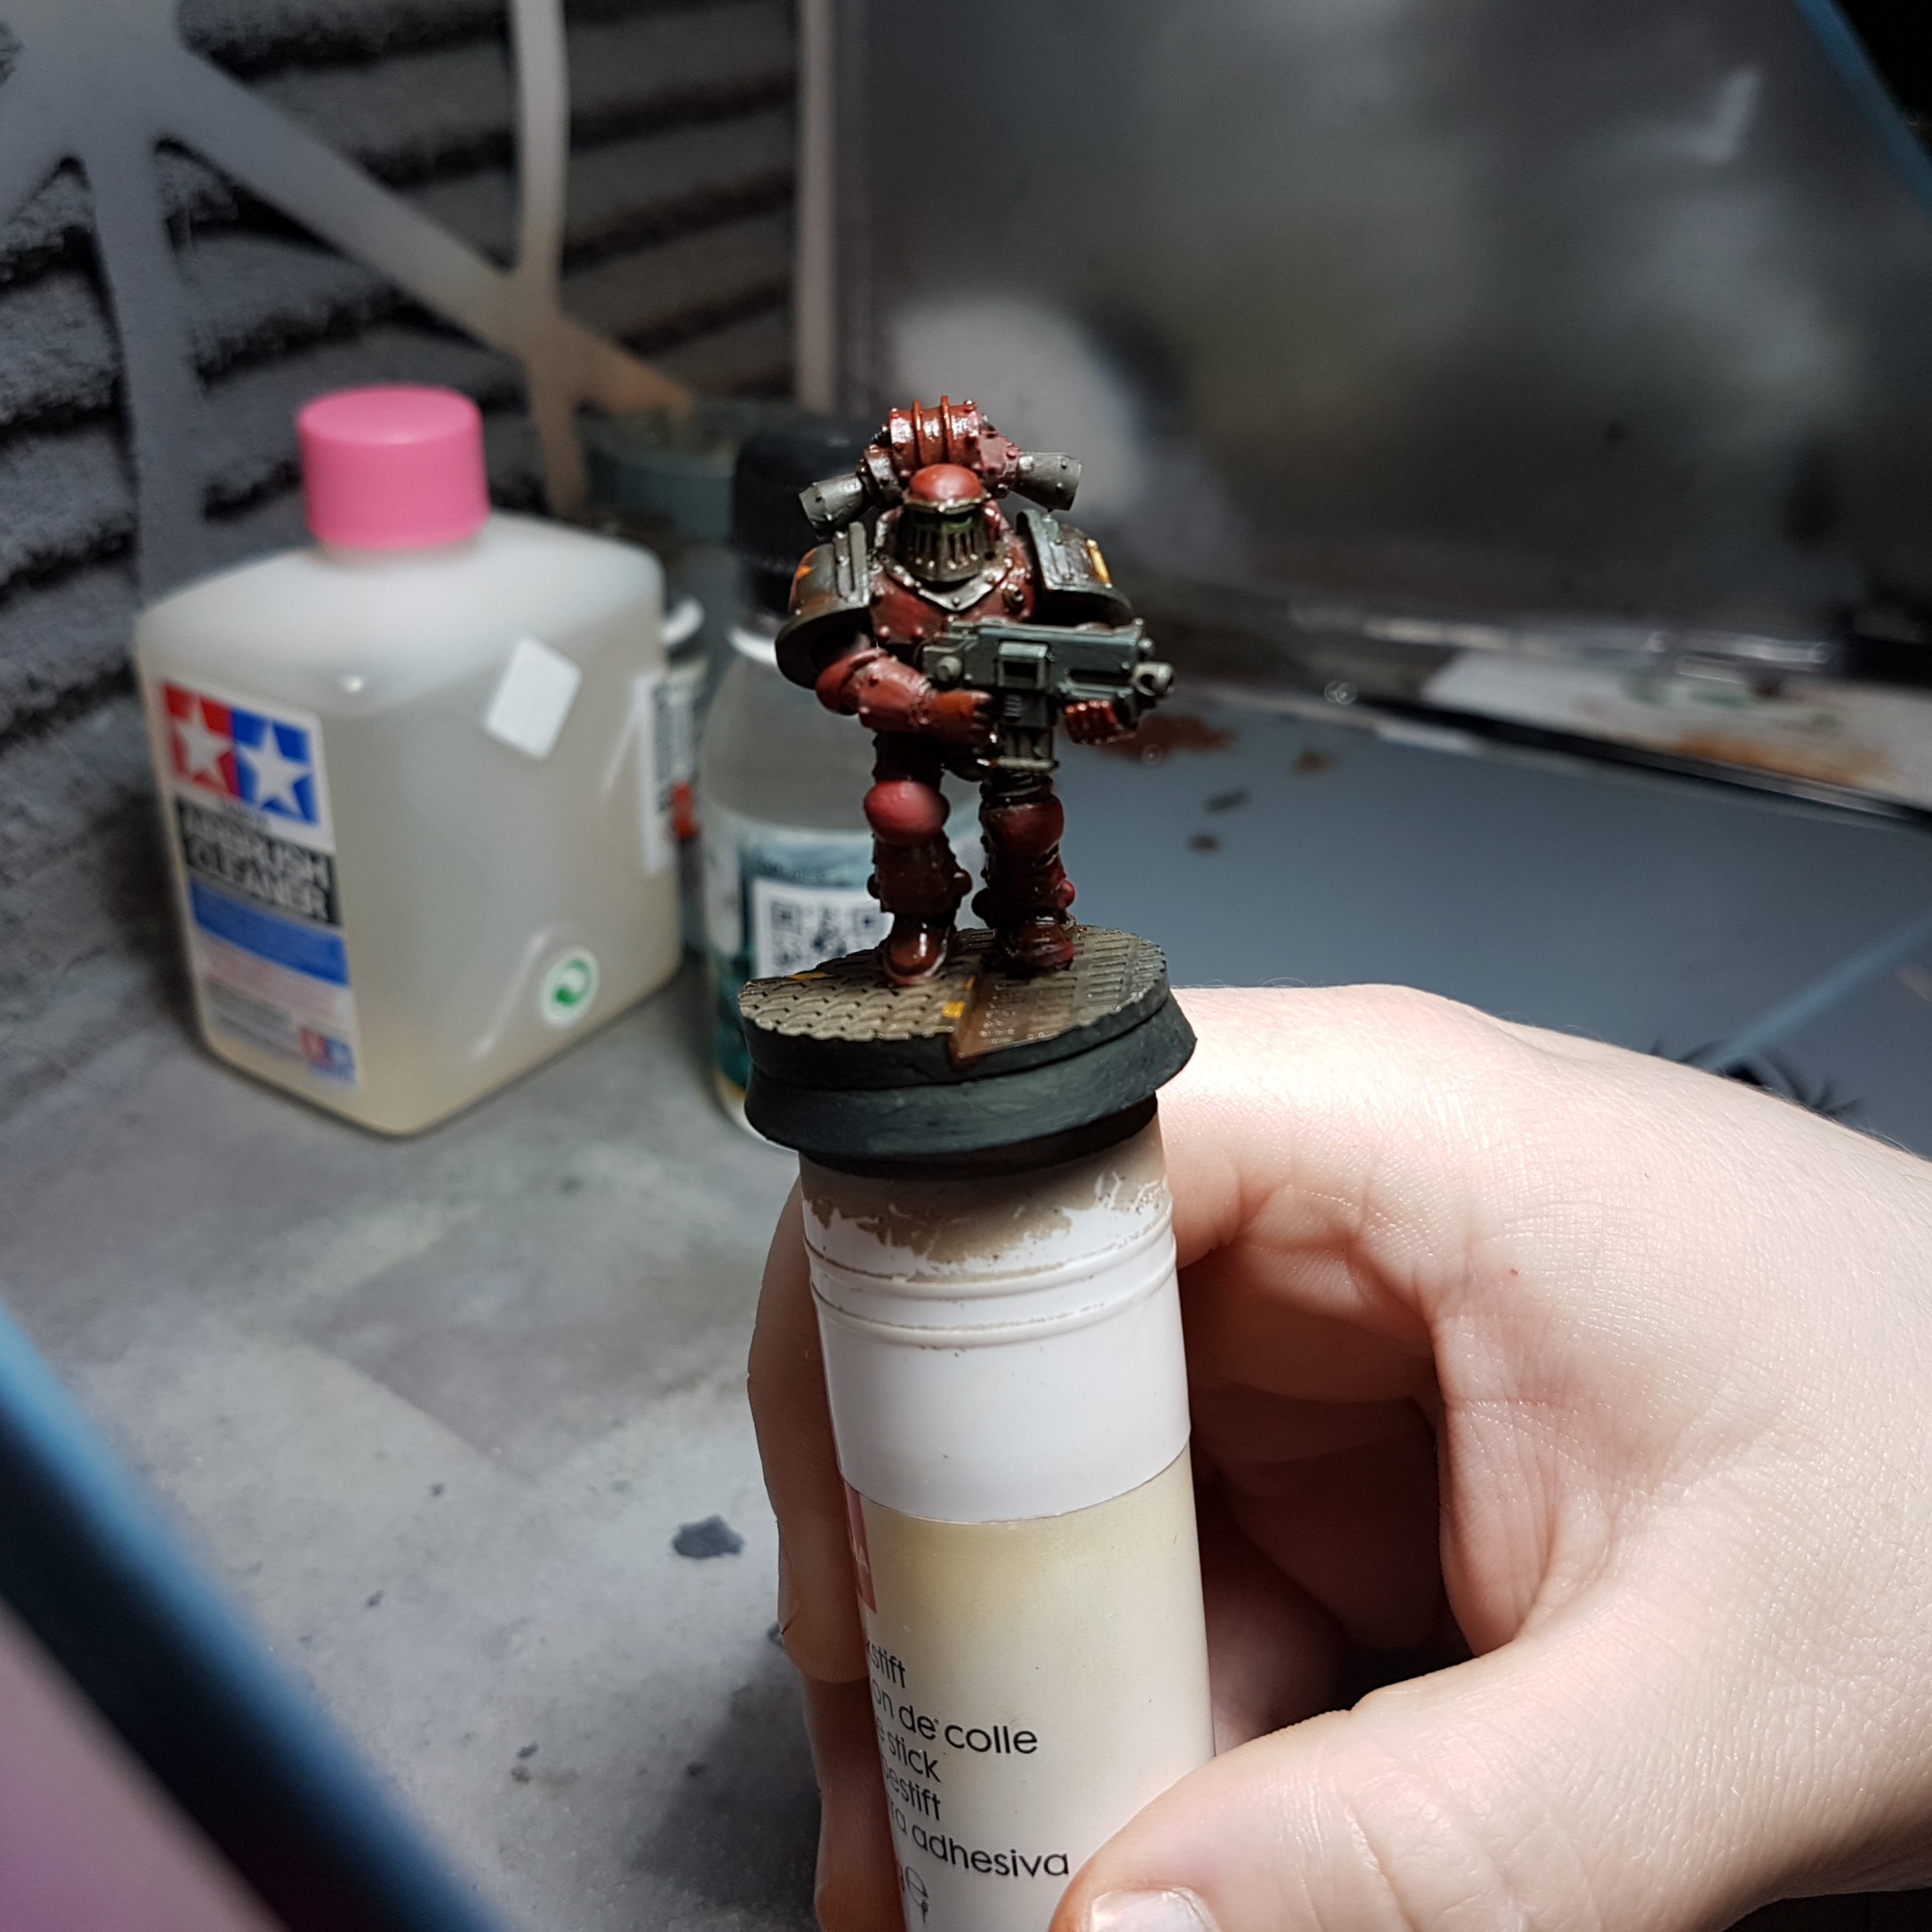
And then this paint decided to get really excited……
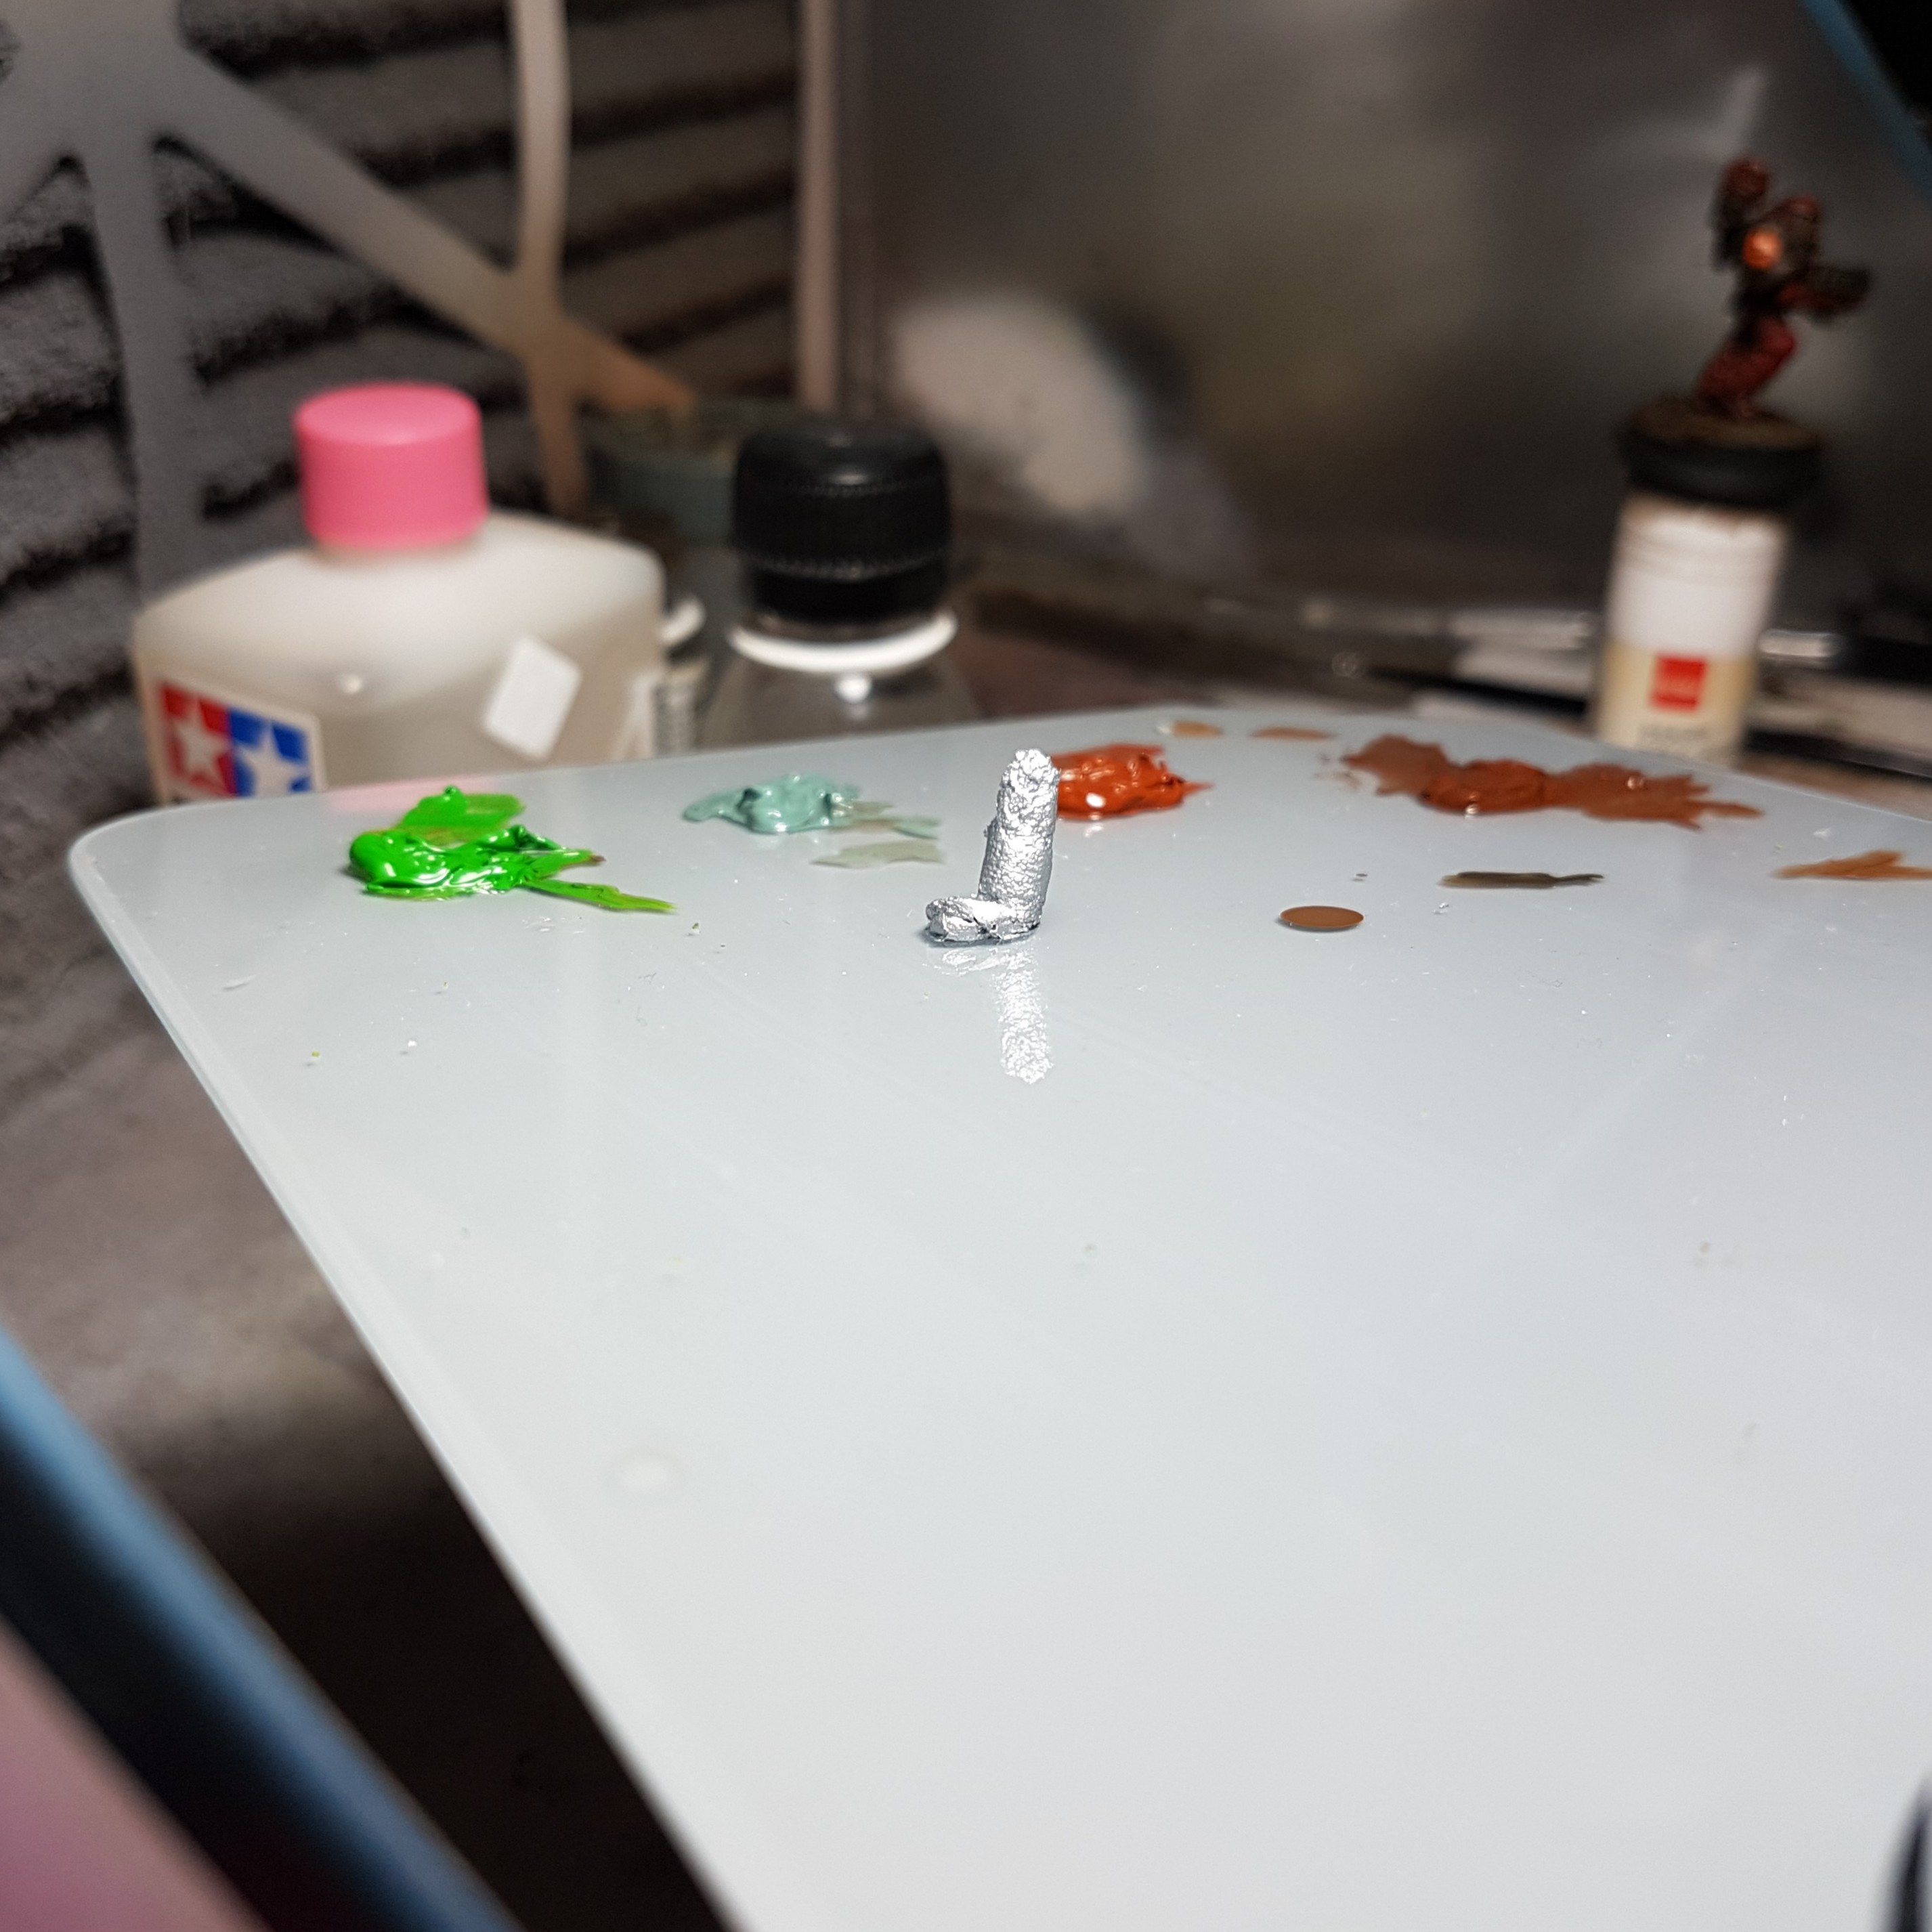
So I took some of the really excited AK Interactive True Metal Steel (AK457) with a bit of a cotton bud, removing the excess and then wiping that over the metallic areas.
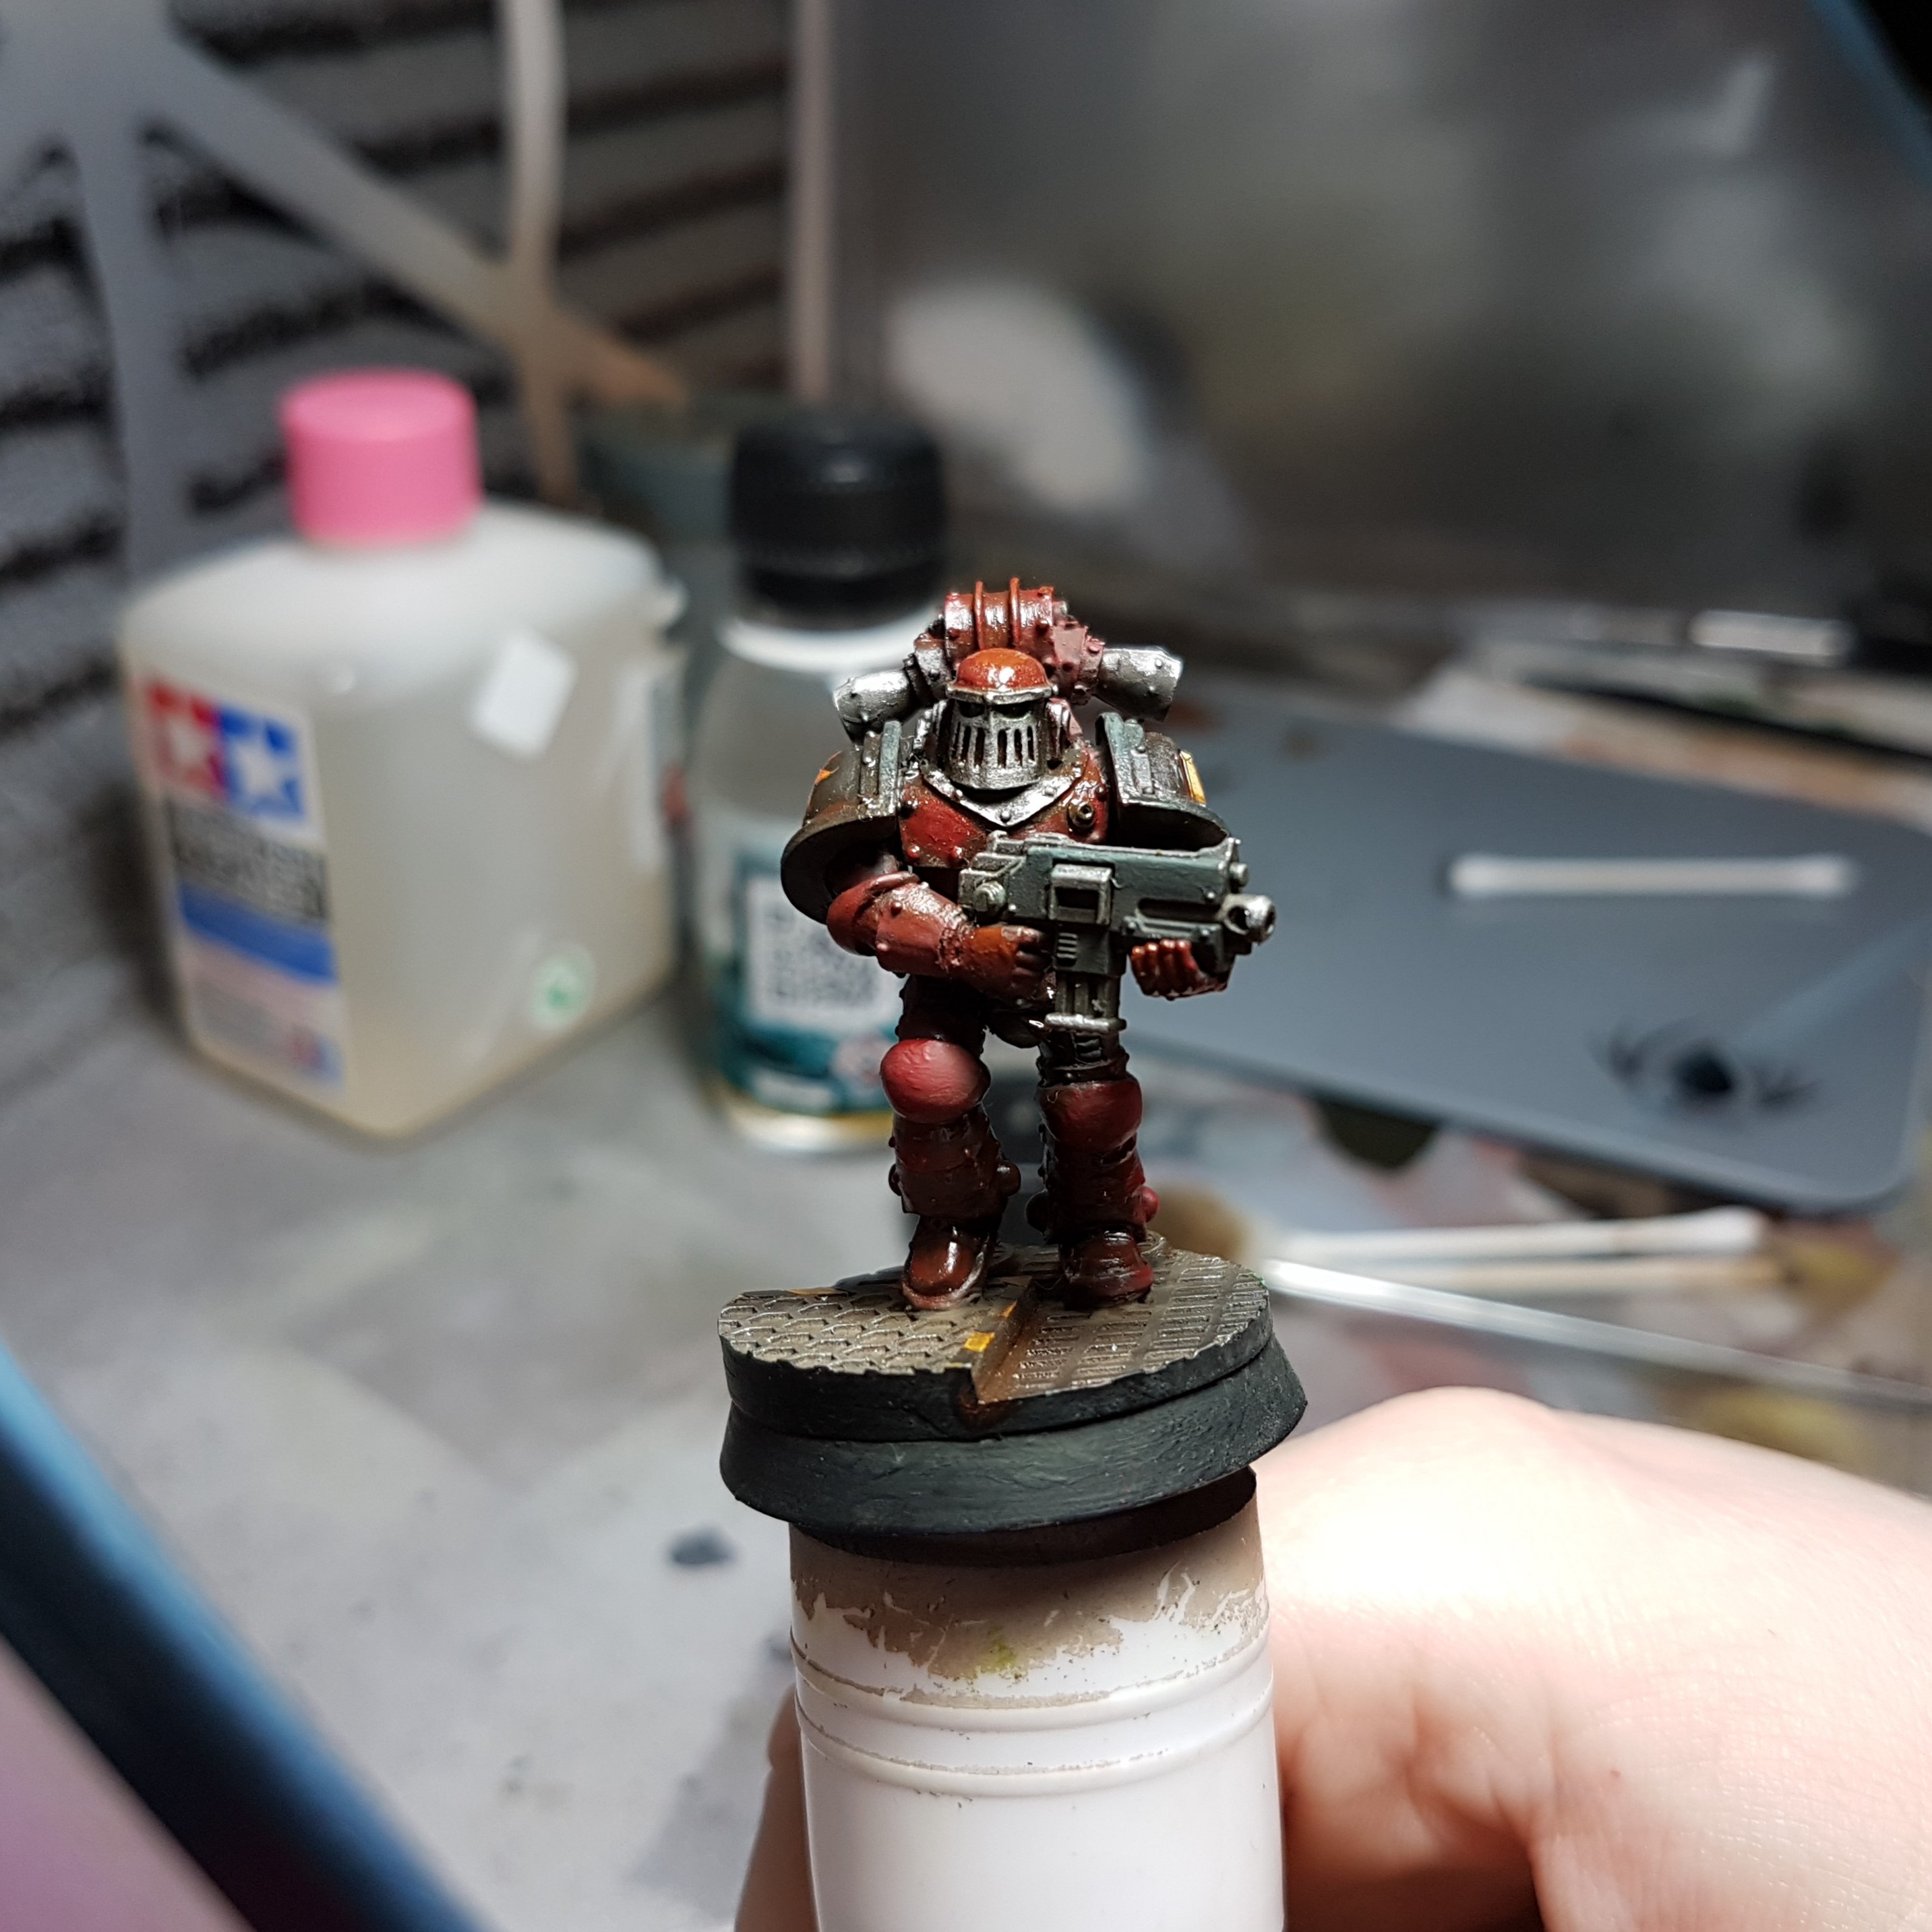
I cleaned up the rim by painting over it with a bit of Scale 75 Scalecolor Black (SC-00) and then I continued to use the previous steps to deepen the colours and shading over the whole model and this is the result.
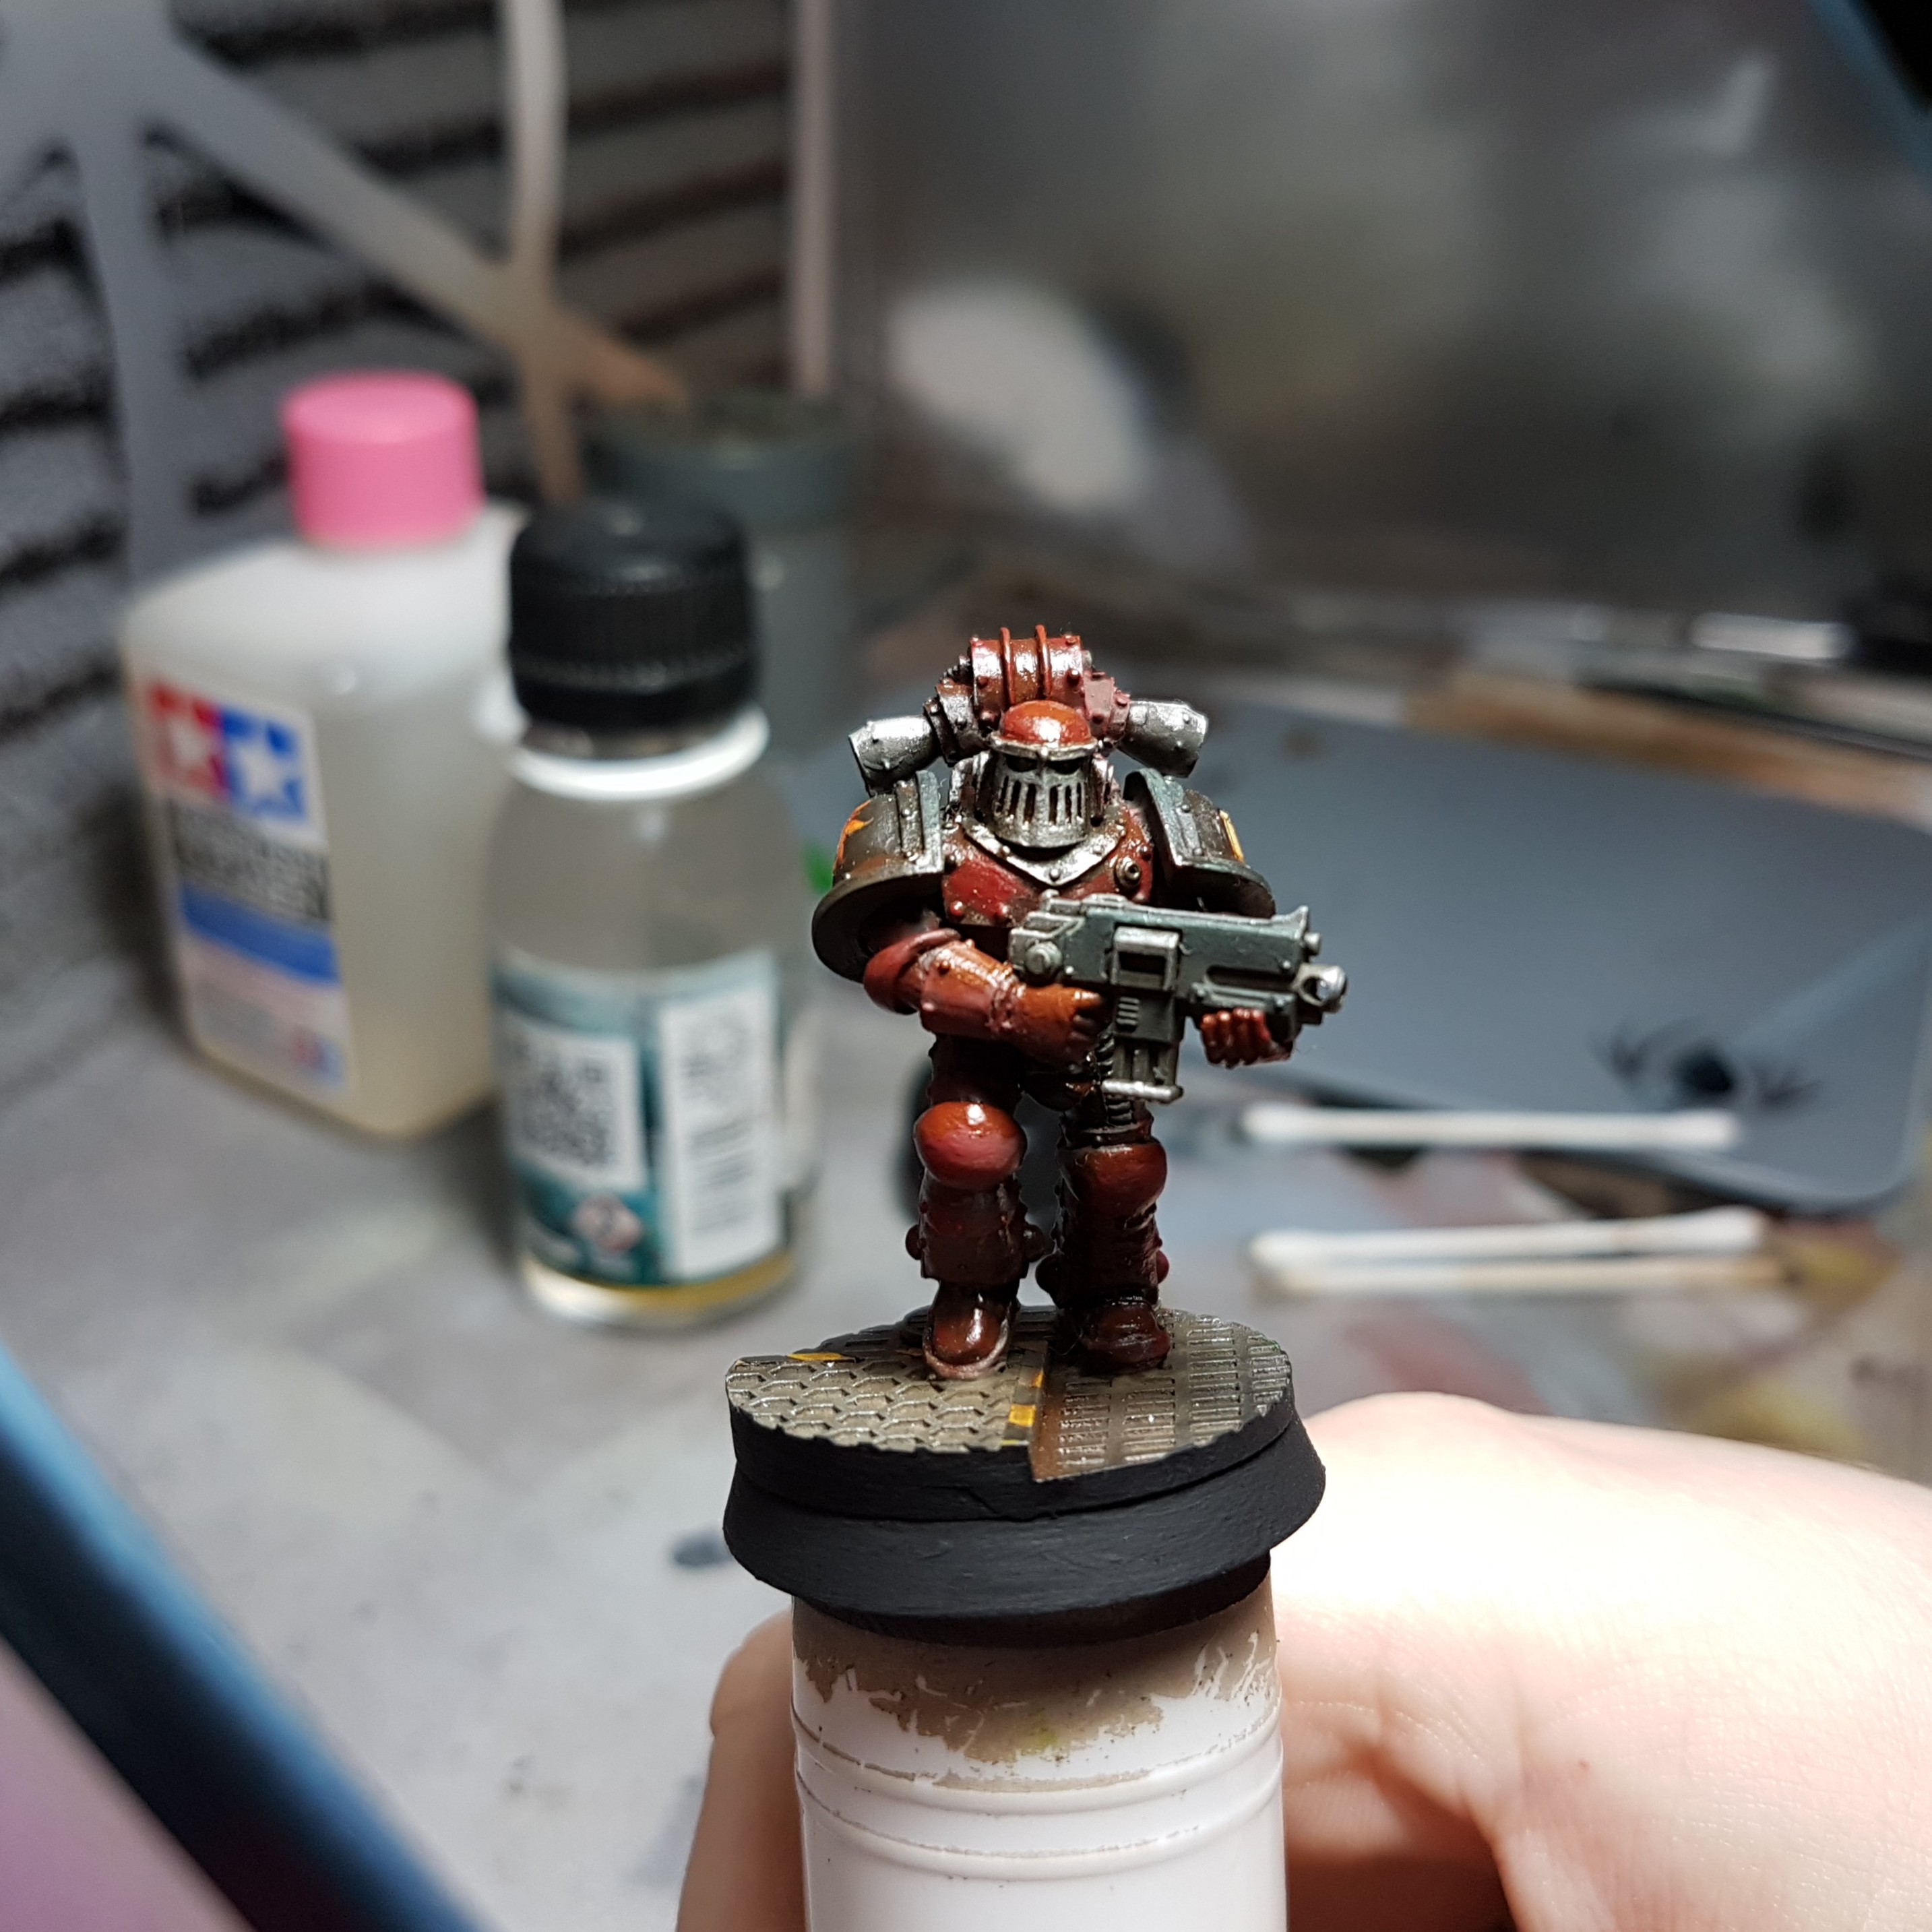
In between I did many times blow dry the model and went in with a brush with some white spirit to remove some from areas where I didn’t want it. Overall I enjoyed the process so far and I am just going to let it dry and see where it’s at.

![New Carolingians & A Pillage Starter Set From Victrix? [Updated]](https://images.beastsofwar.com/2026/07/pillage-introductory-cover-600-338.jpg)