


The Baron’s Hunt – Spring Clean 2026


Recommendations: 64
About the Project
Having a load of miniatures to paint that can be used as various enemies in games like 5 Leagues, I decided to gather a group of them together under a themed army based on the Baron's War army building rules to help me get them finished and spur on more painting of Knights and Levy.
Related Game: The Barons' War
Related Genre: Weird
Related Contest: Spring Clean Hobby Challenge 2026
This Project is Active
Wrapping up
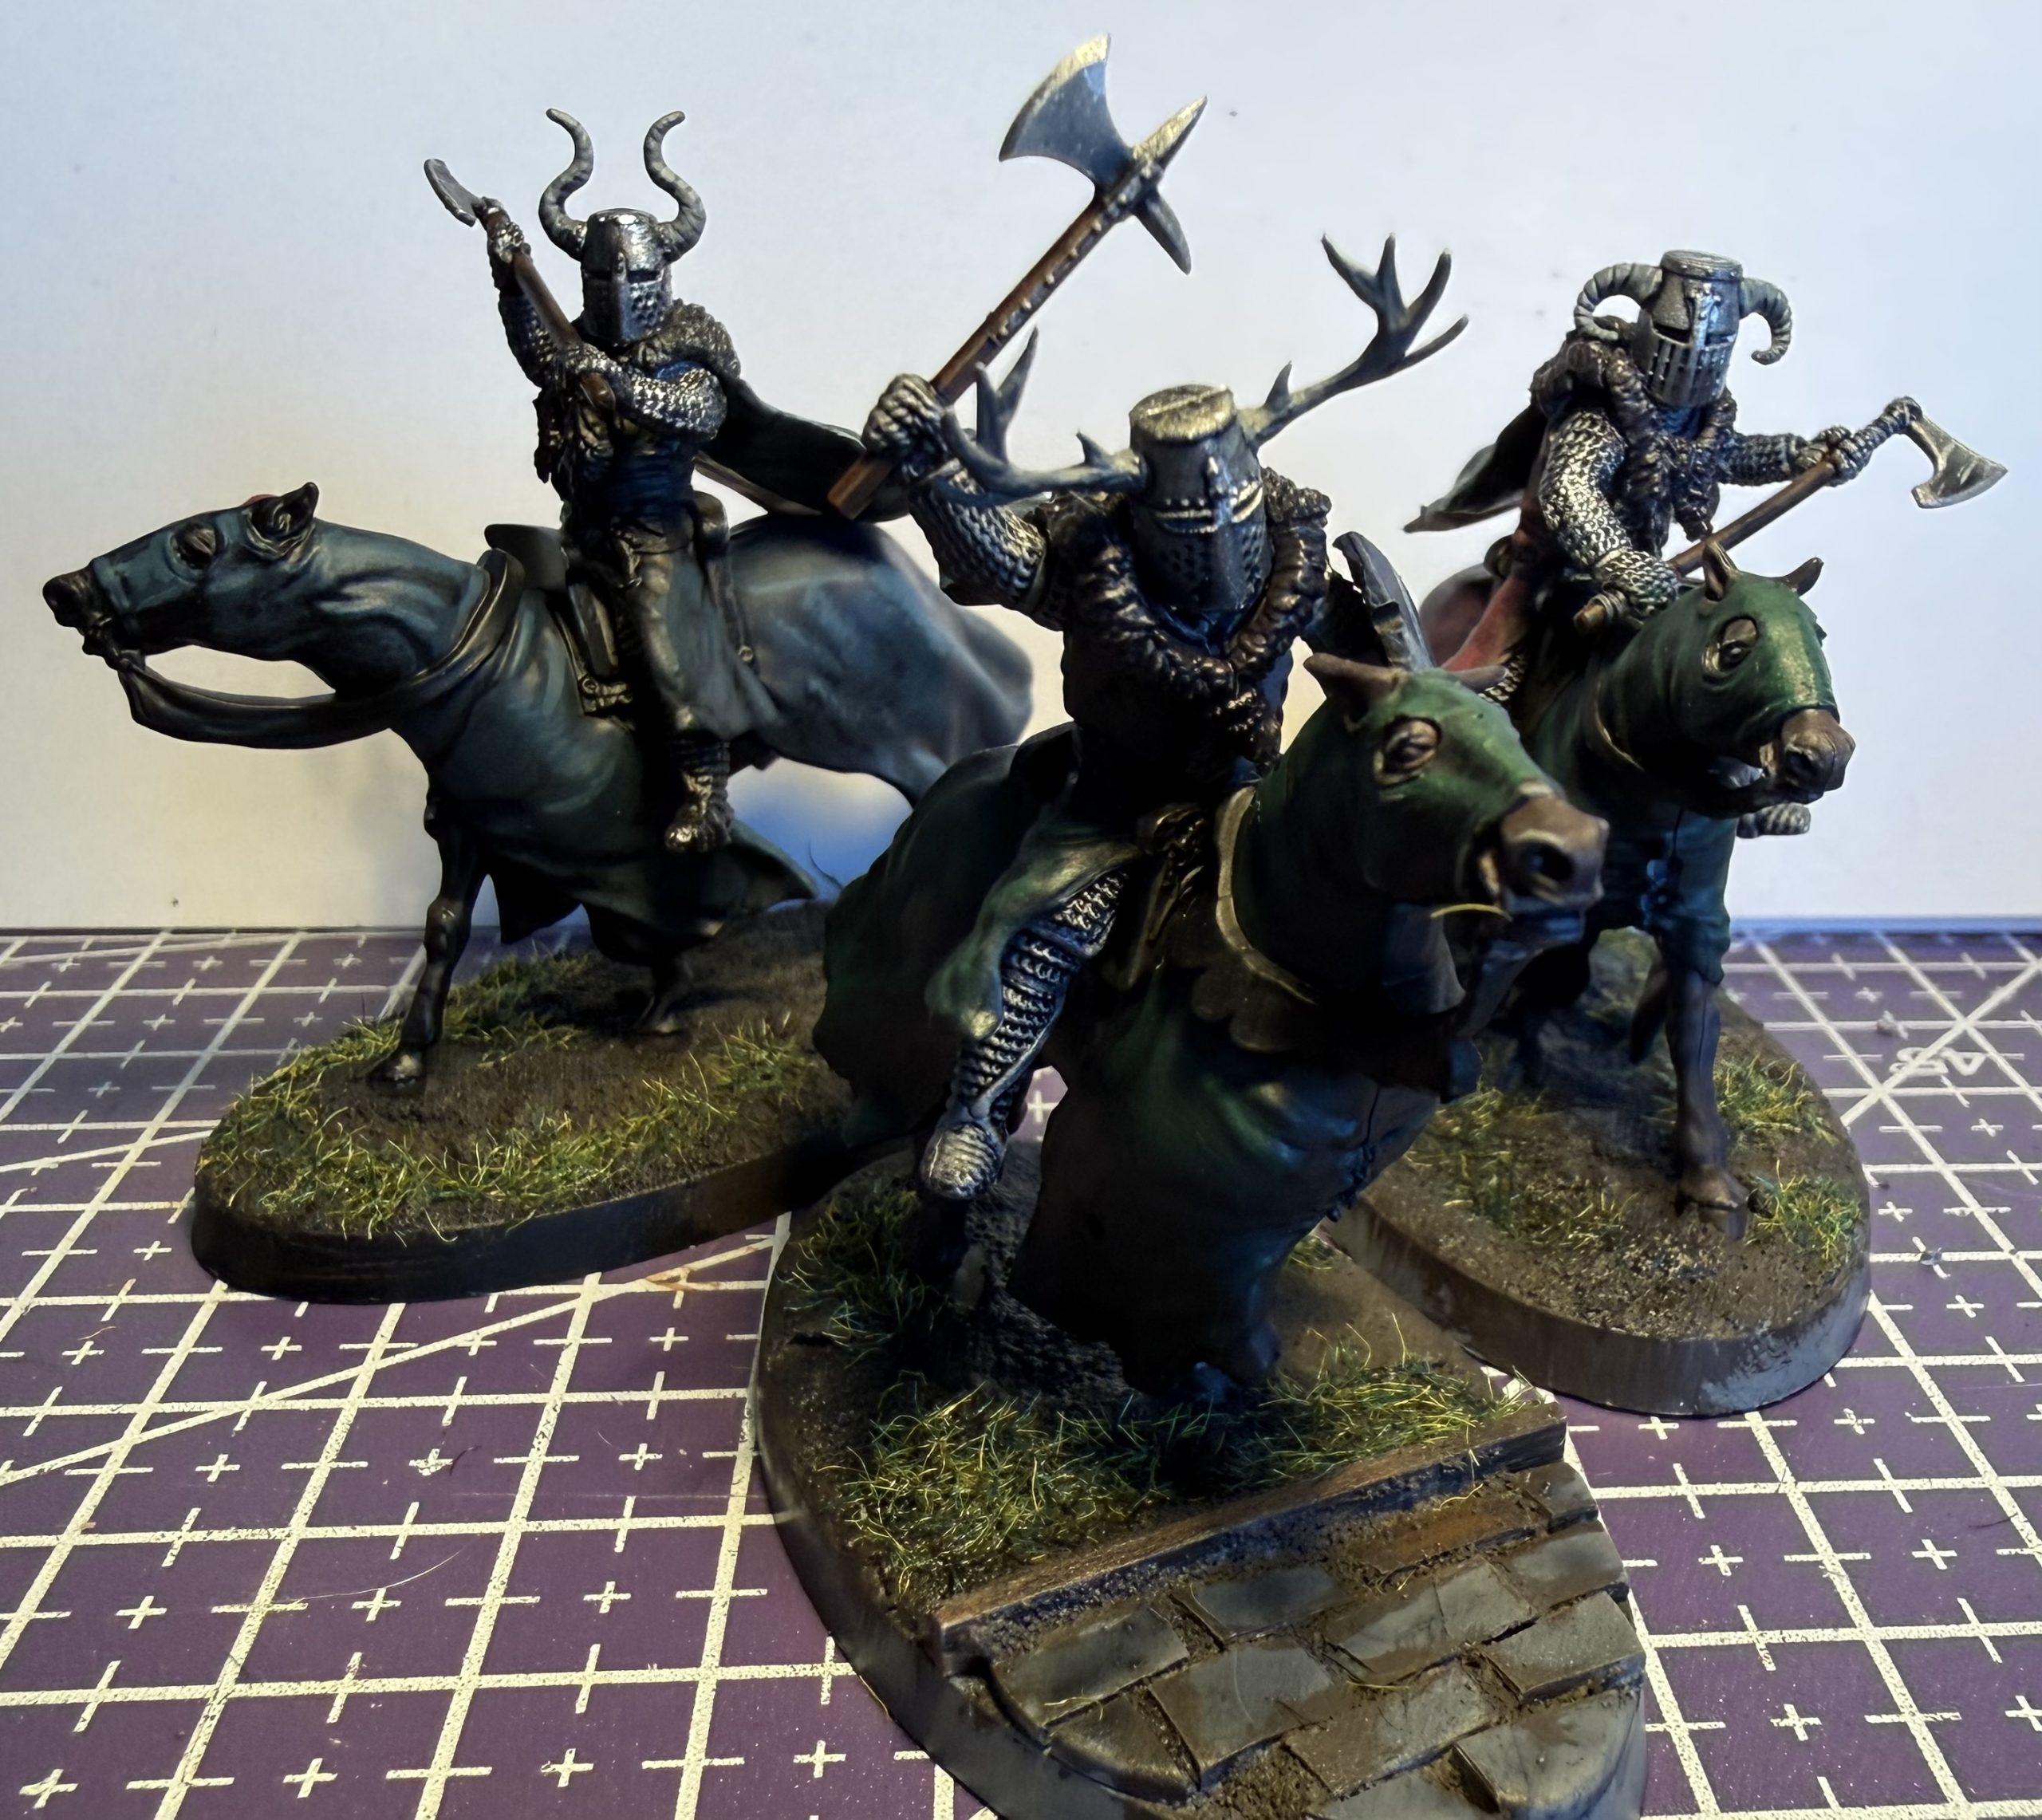
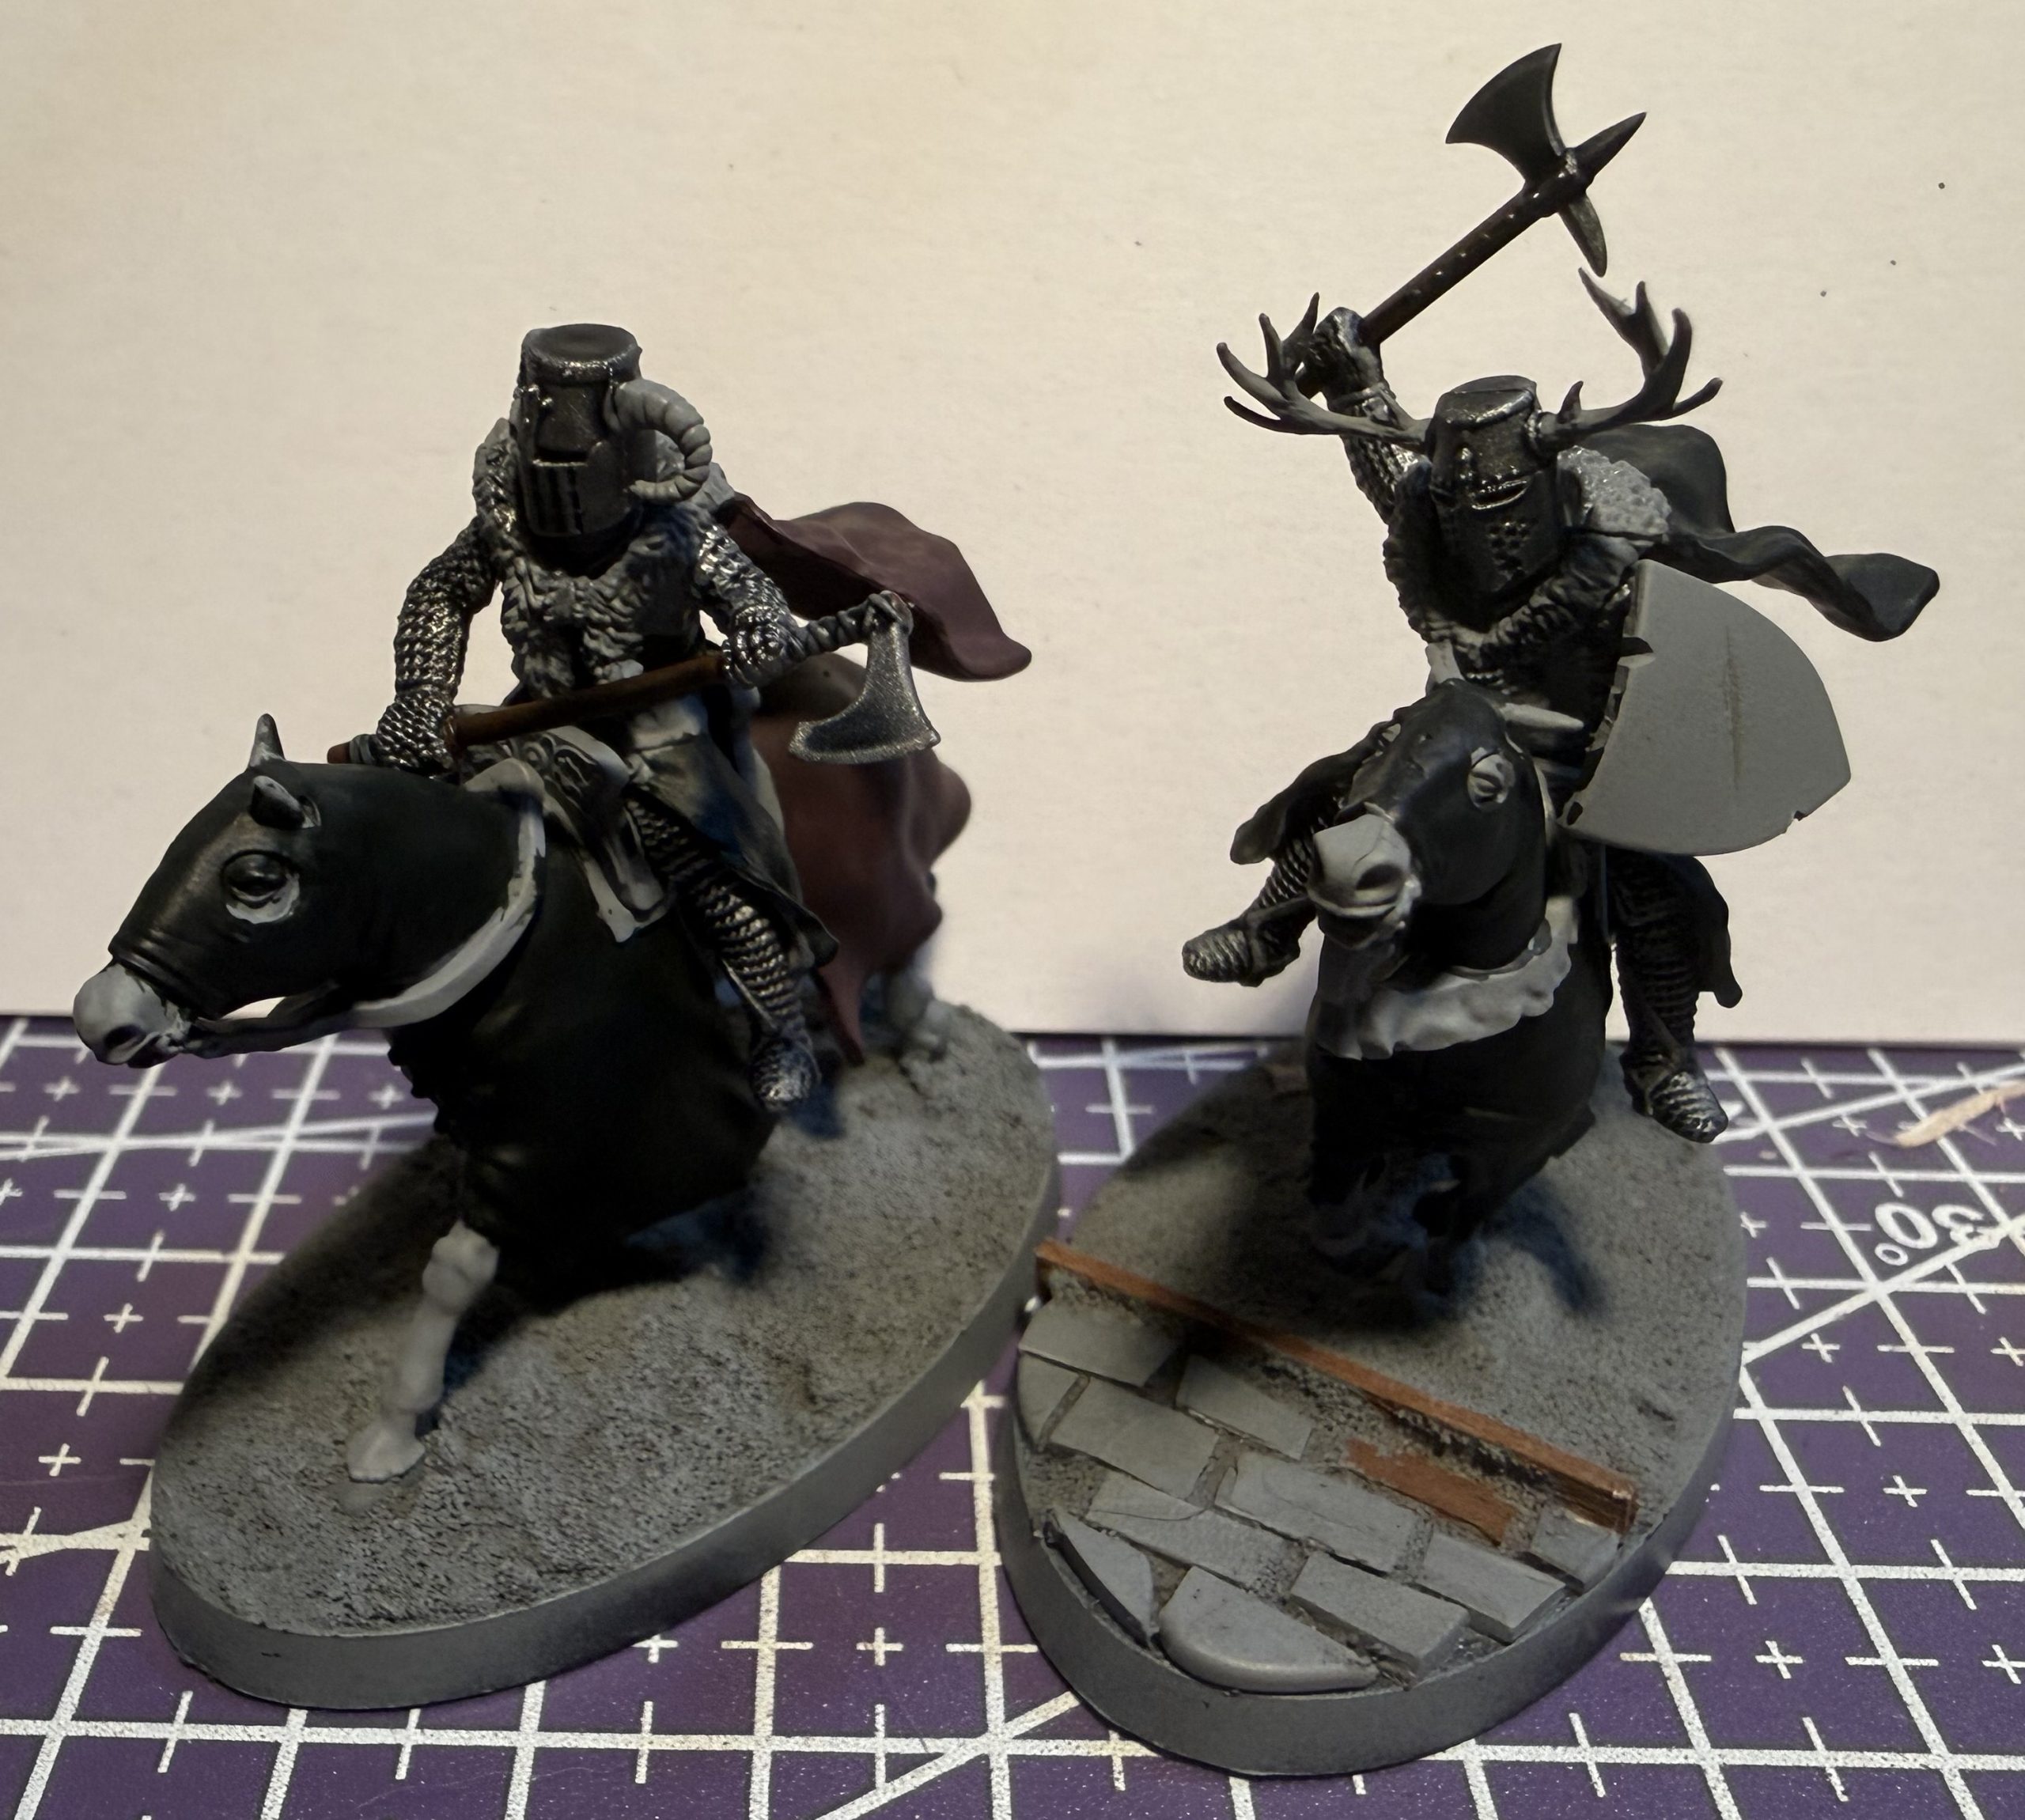
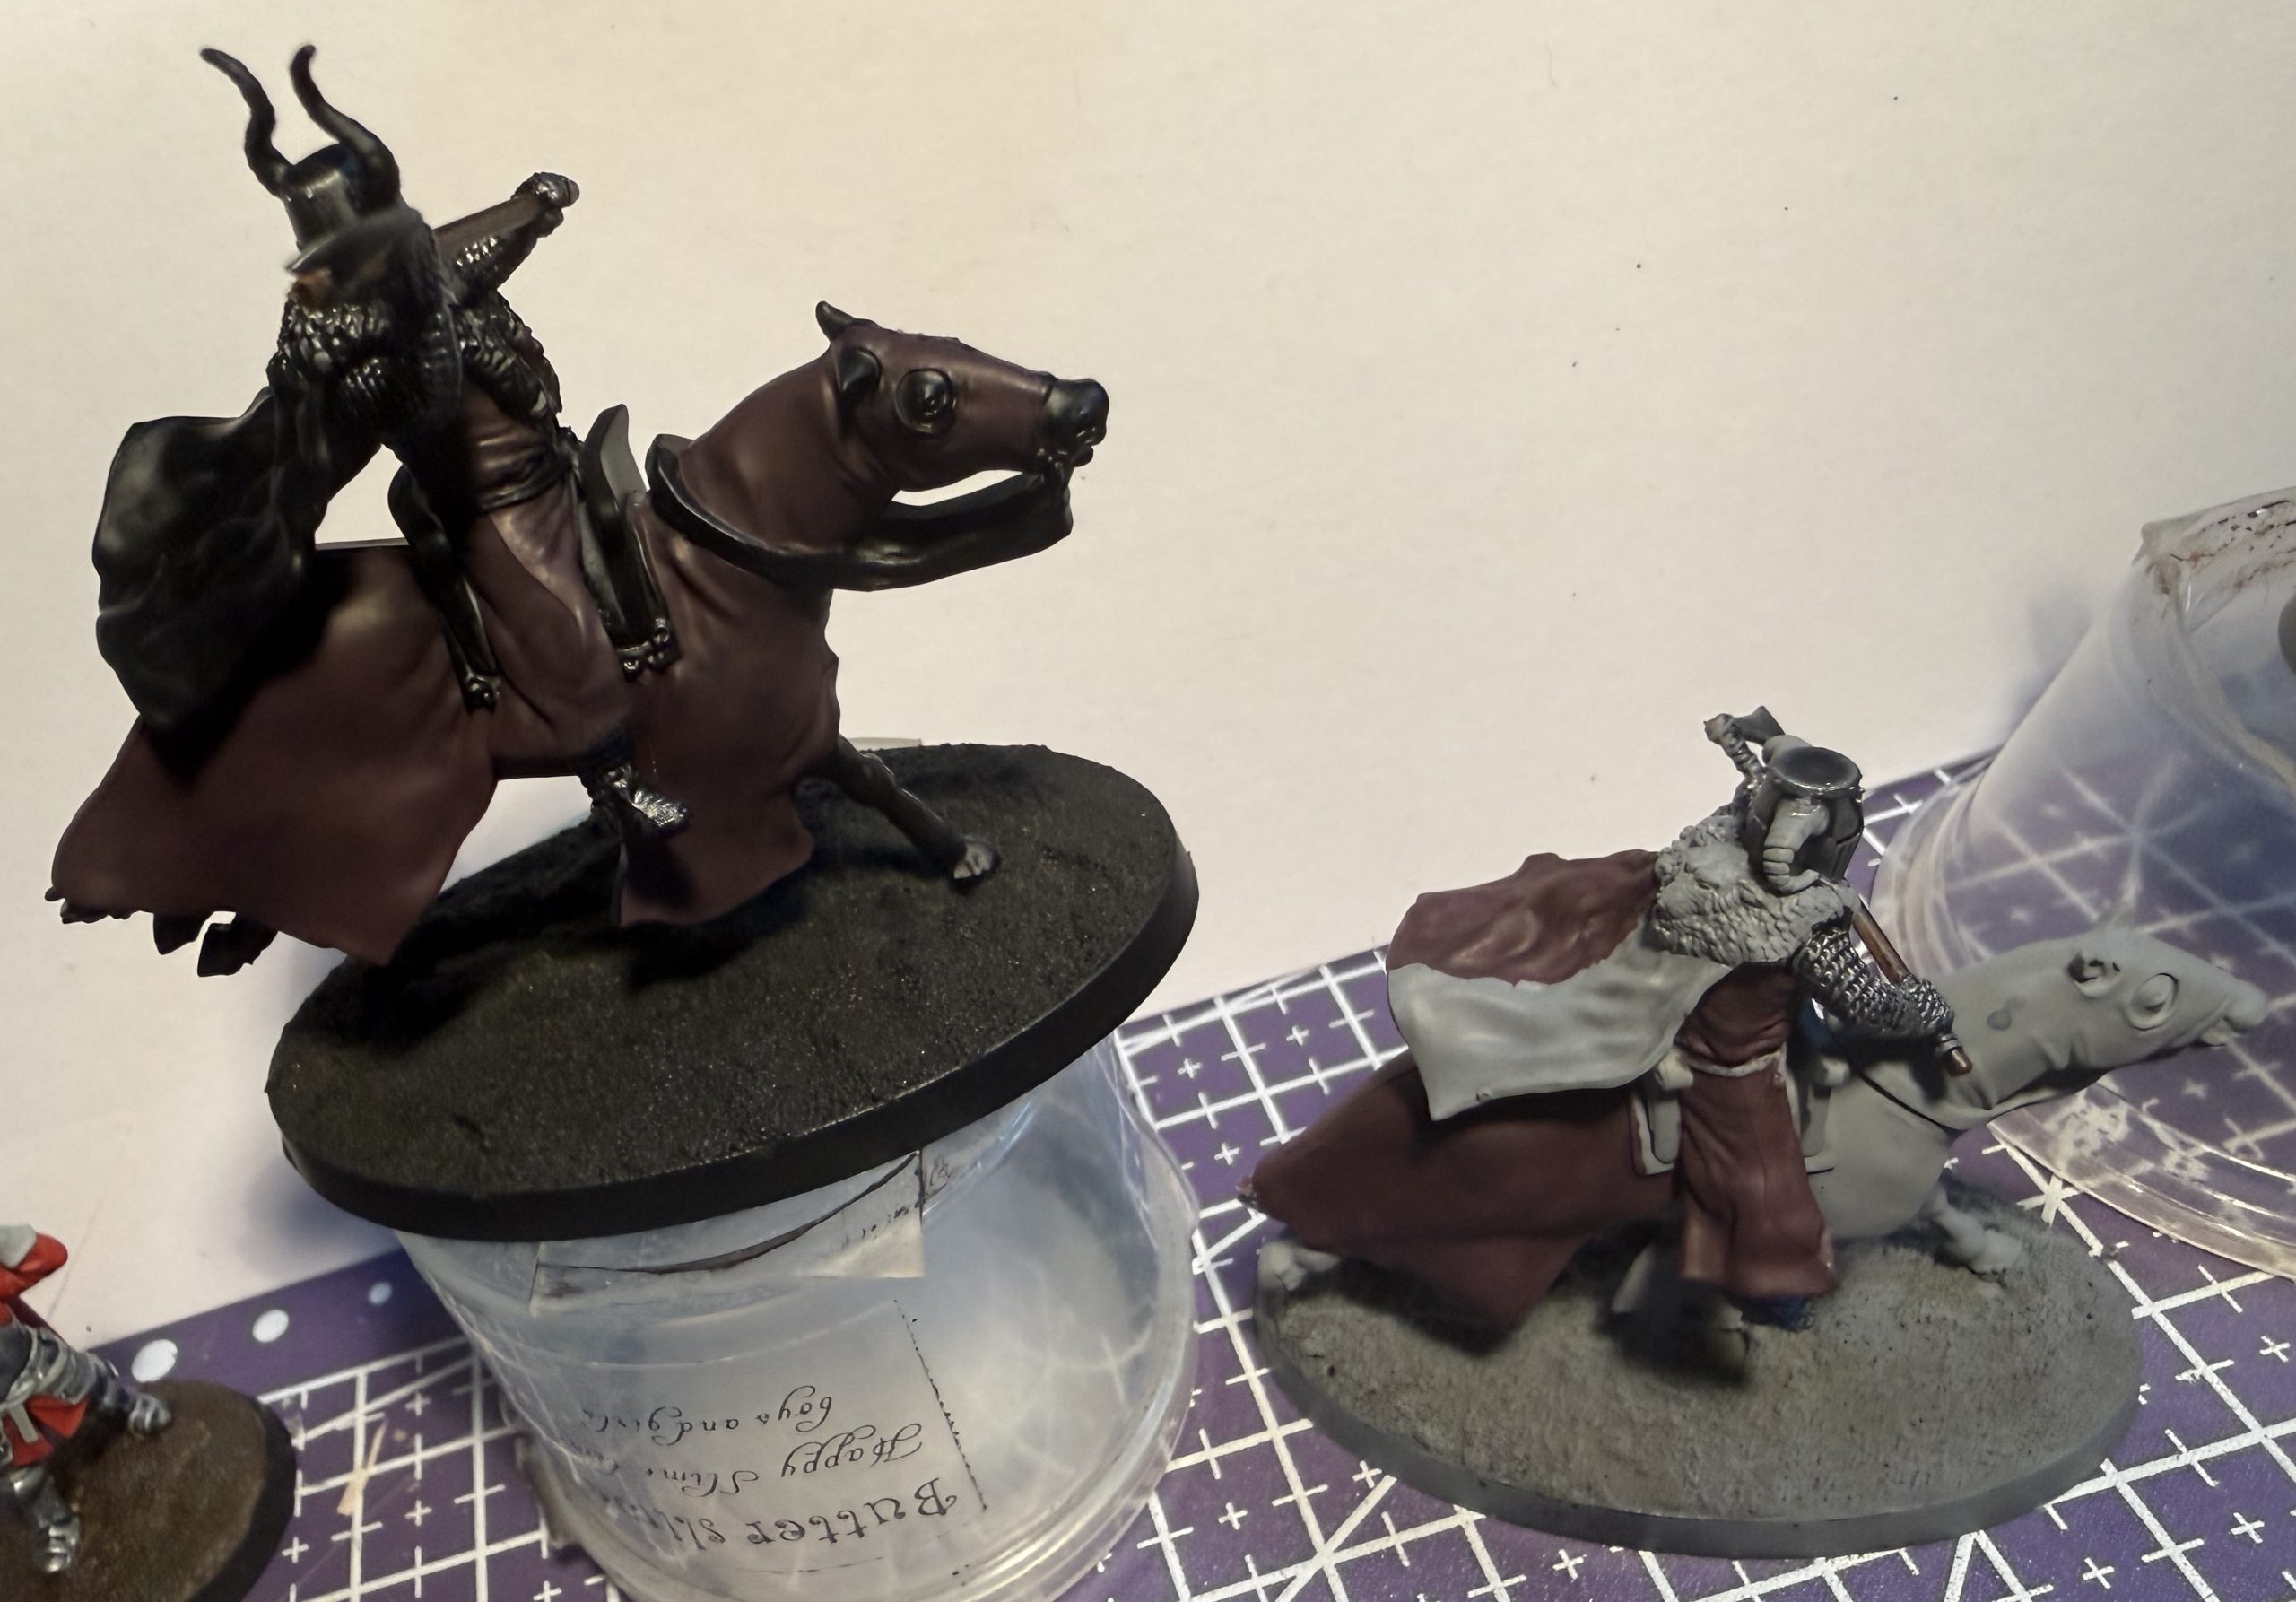
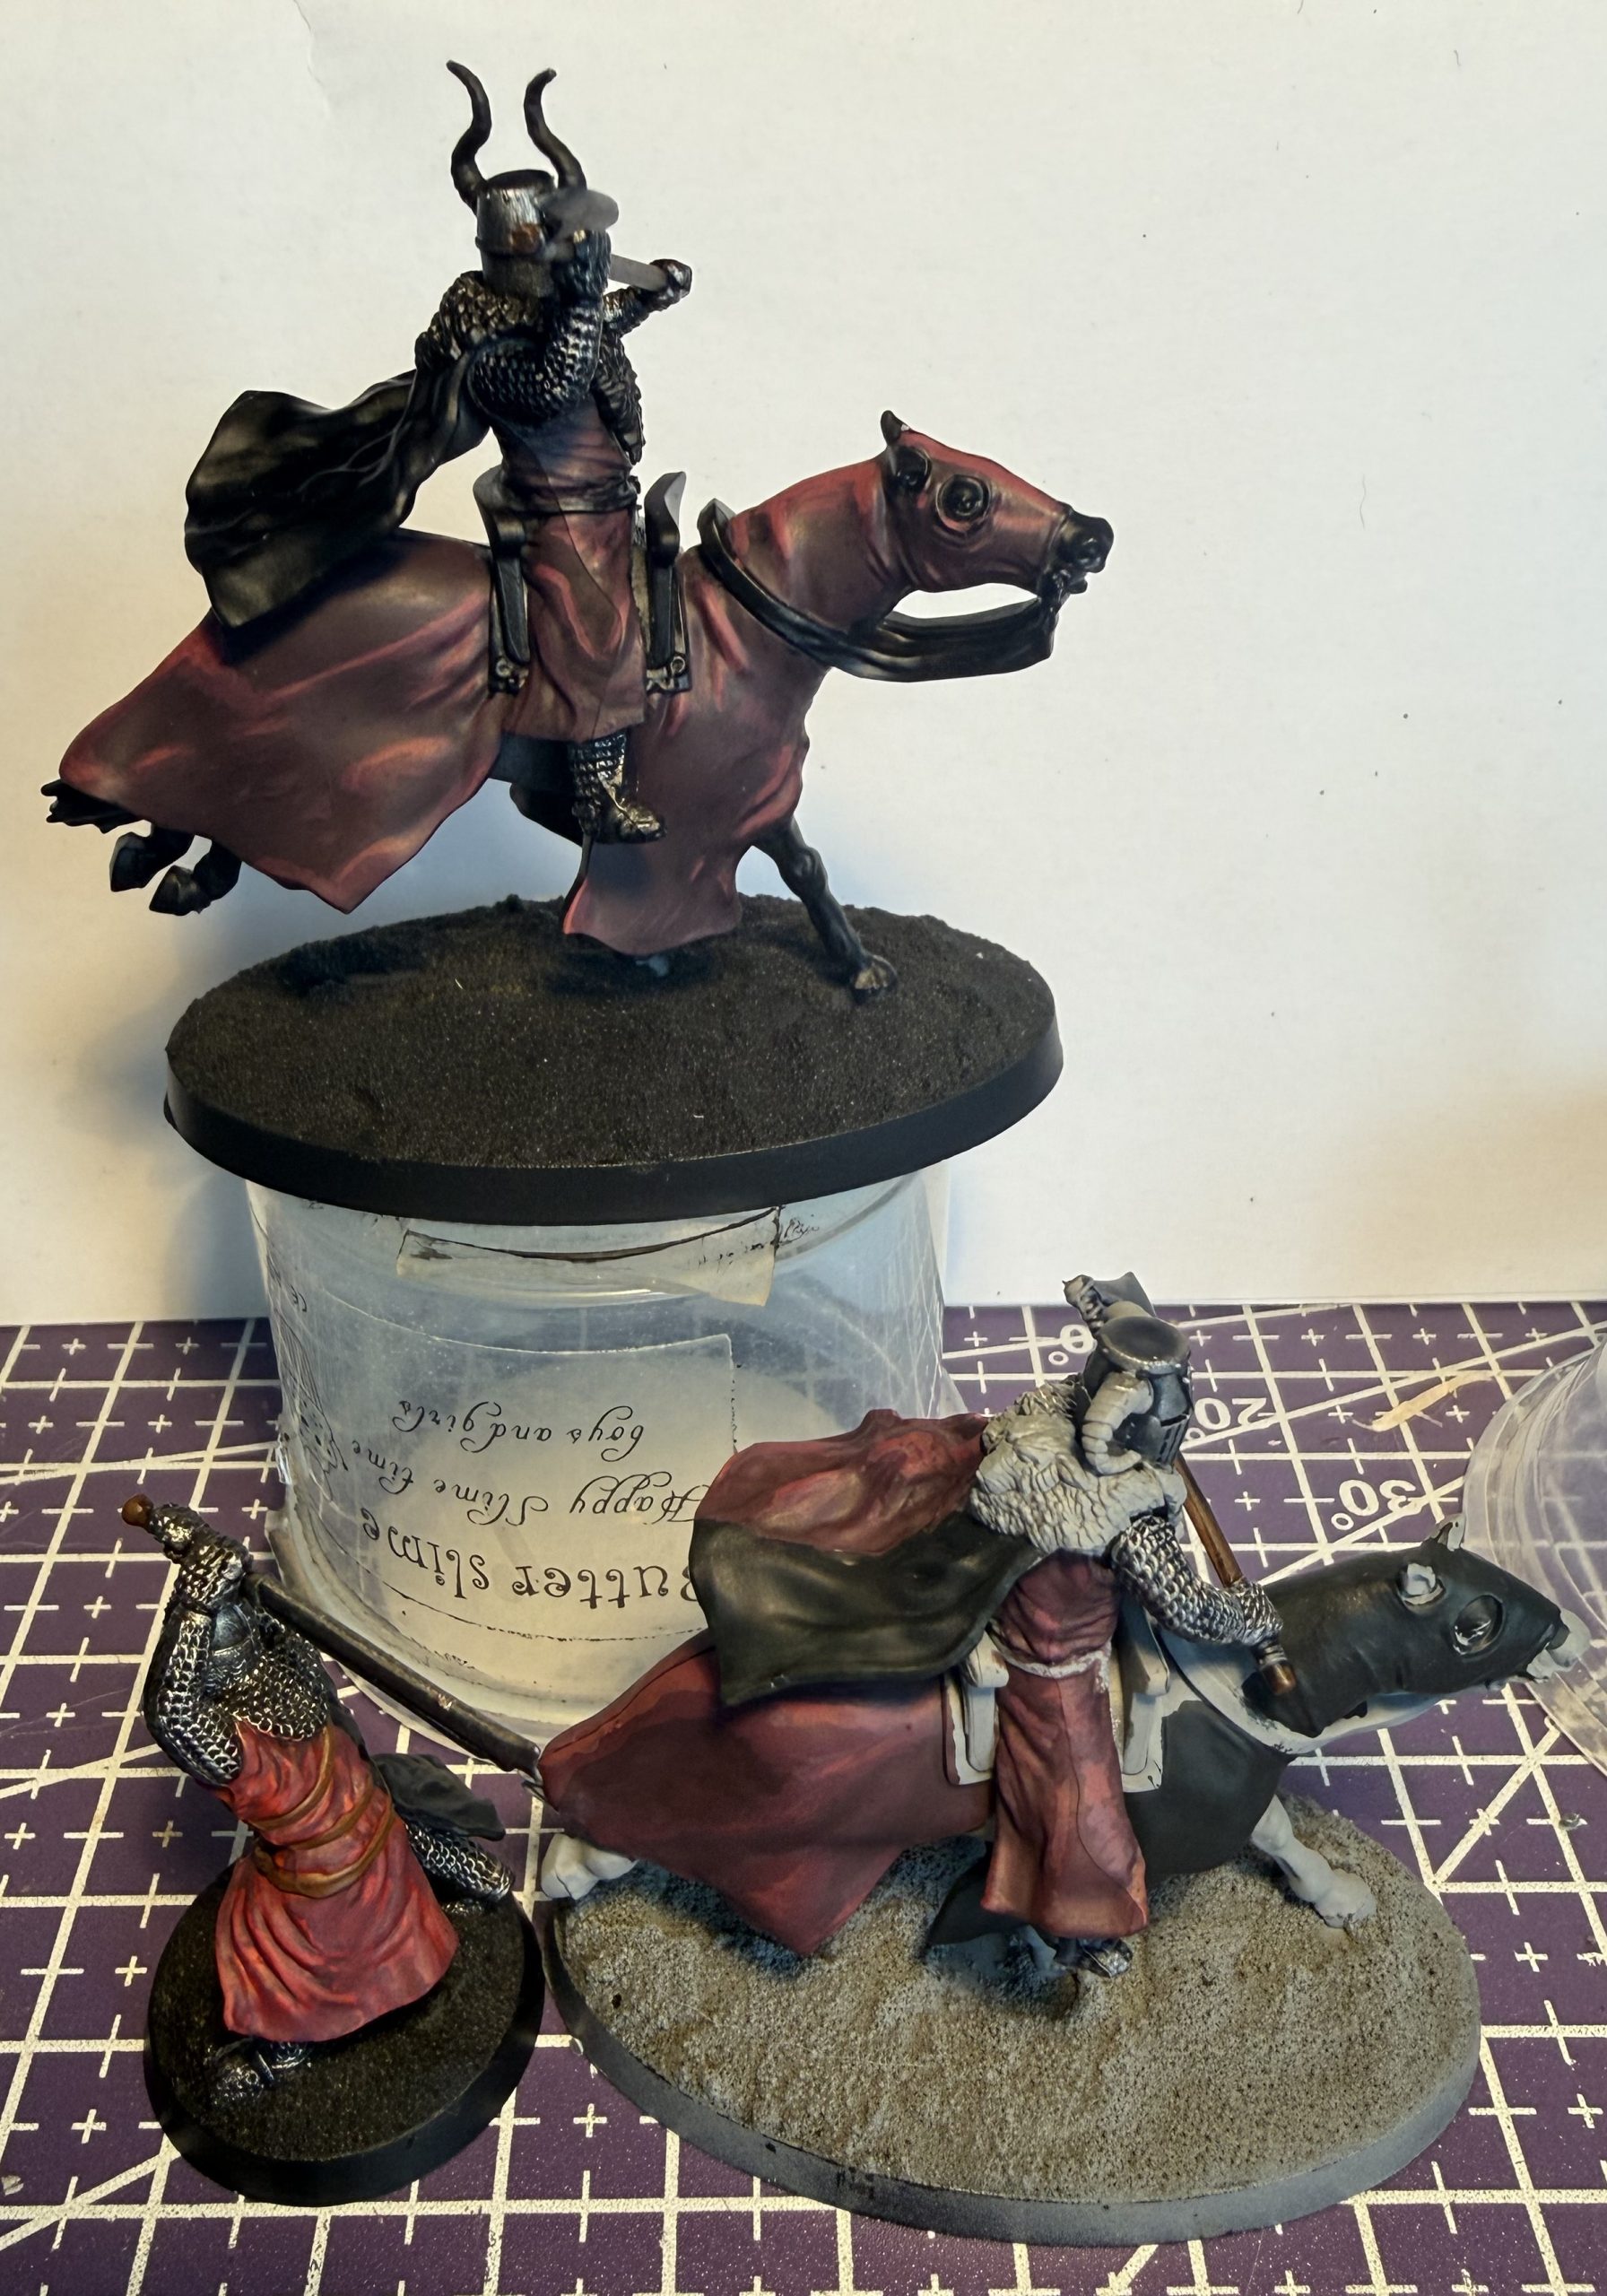
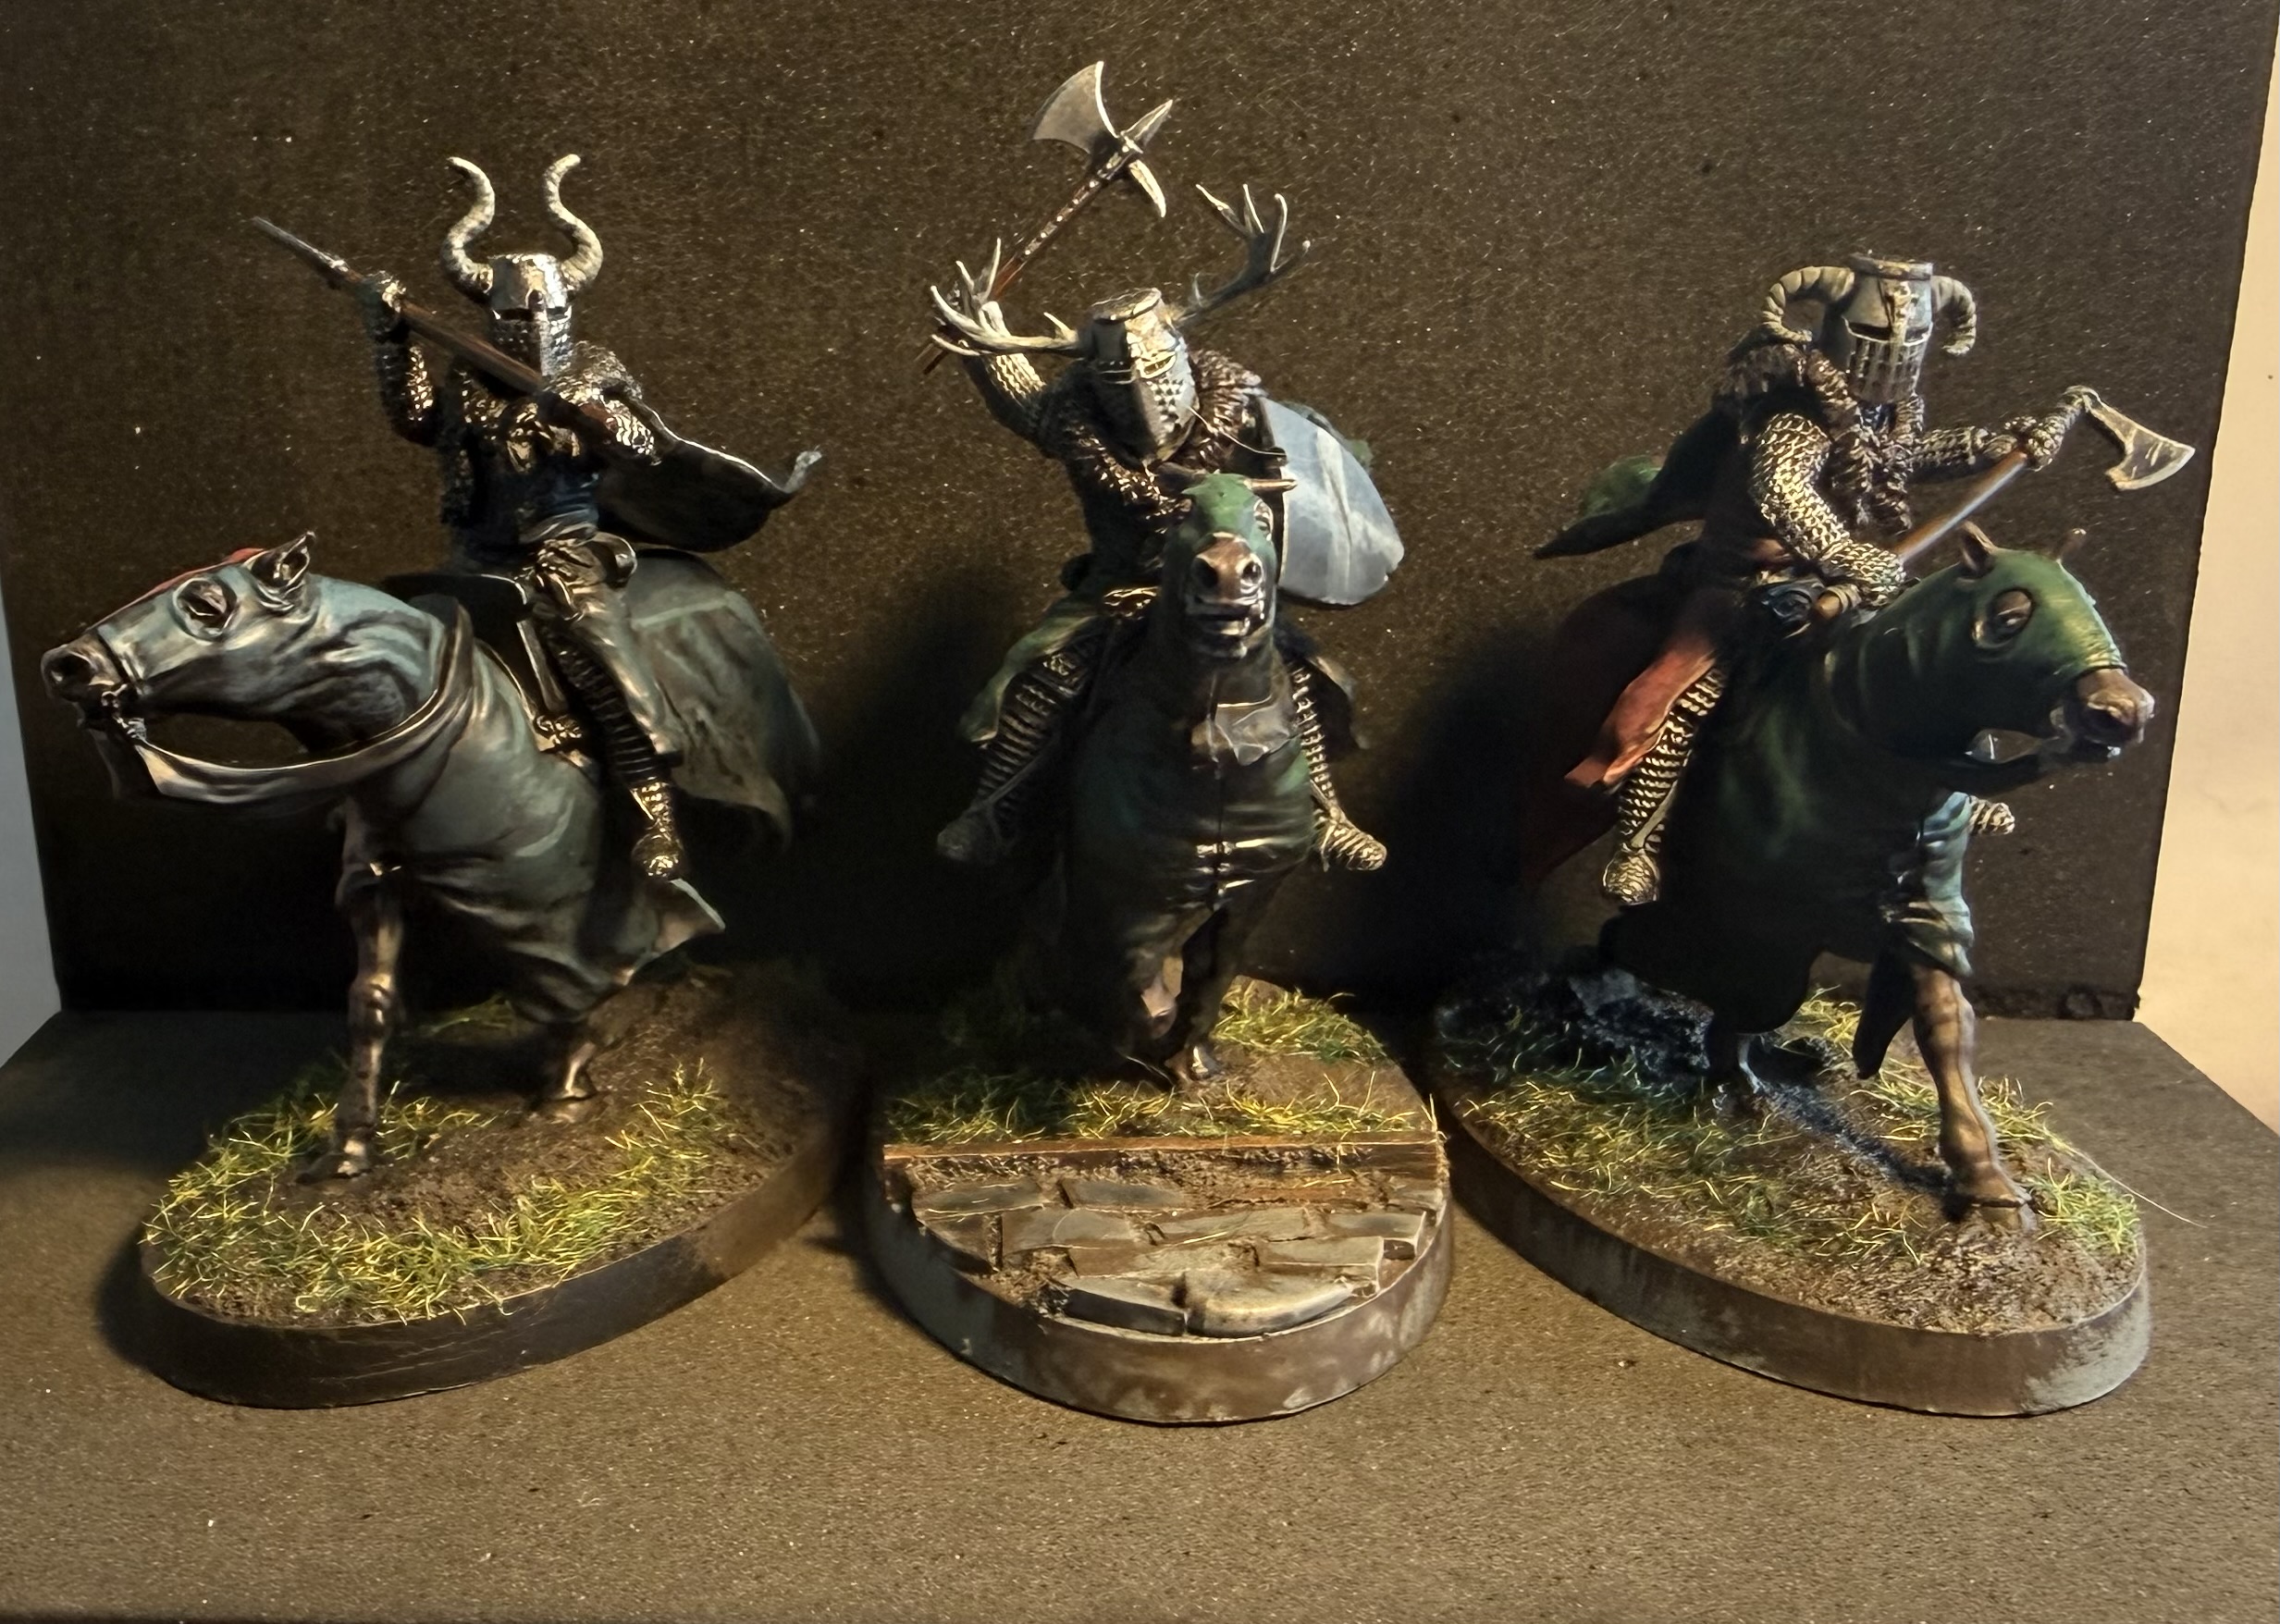 Baron and Mounted Knights
Time to put the units together and wrap this retinue project up.
Starting with the Baron and attached Mounted Knights, all veteran.
Battle Axes, Medium Shields (artistic liberty to leave them off the knights), Barded Horses, and Mail.
 The Knights
Knights, regular, five of them, armed with Two-handed weapons (and Mail).
 The Sergeants
To keep the rabble in order, if they can.
Four regular ser(g/j)eants with Swords, Padded armour (trust me, it’s there) and Medium Shields.
 Archers
Archers, there has to be archers. Only four of them, irregular, with bows, very unique.
 Spearmen
Five regular spearmen, with spears.
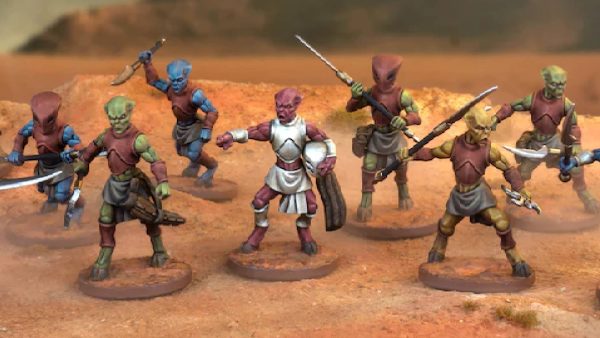
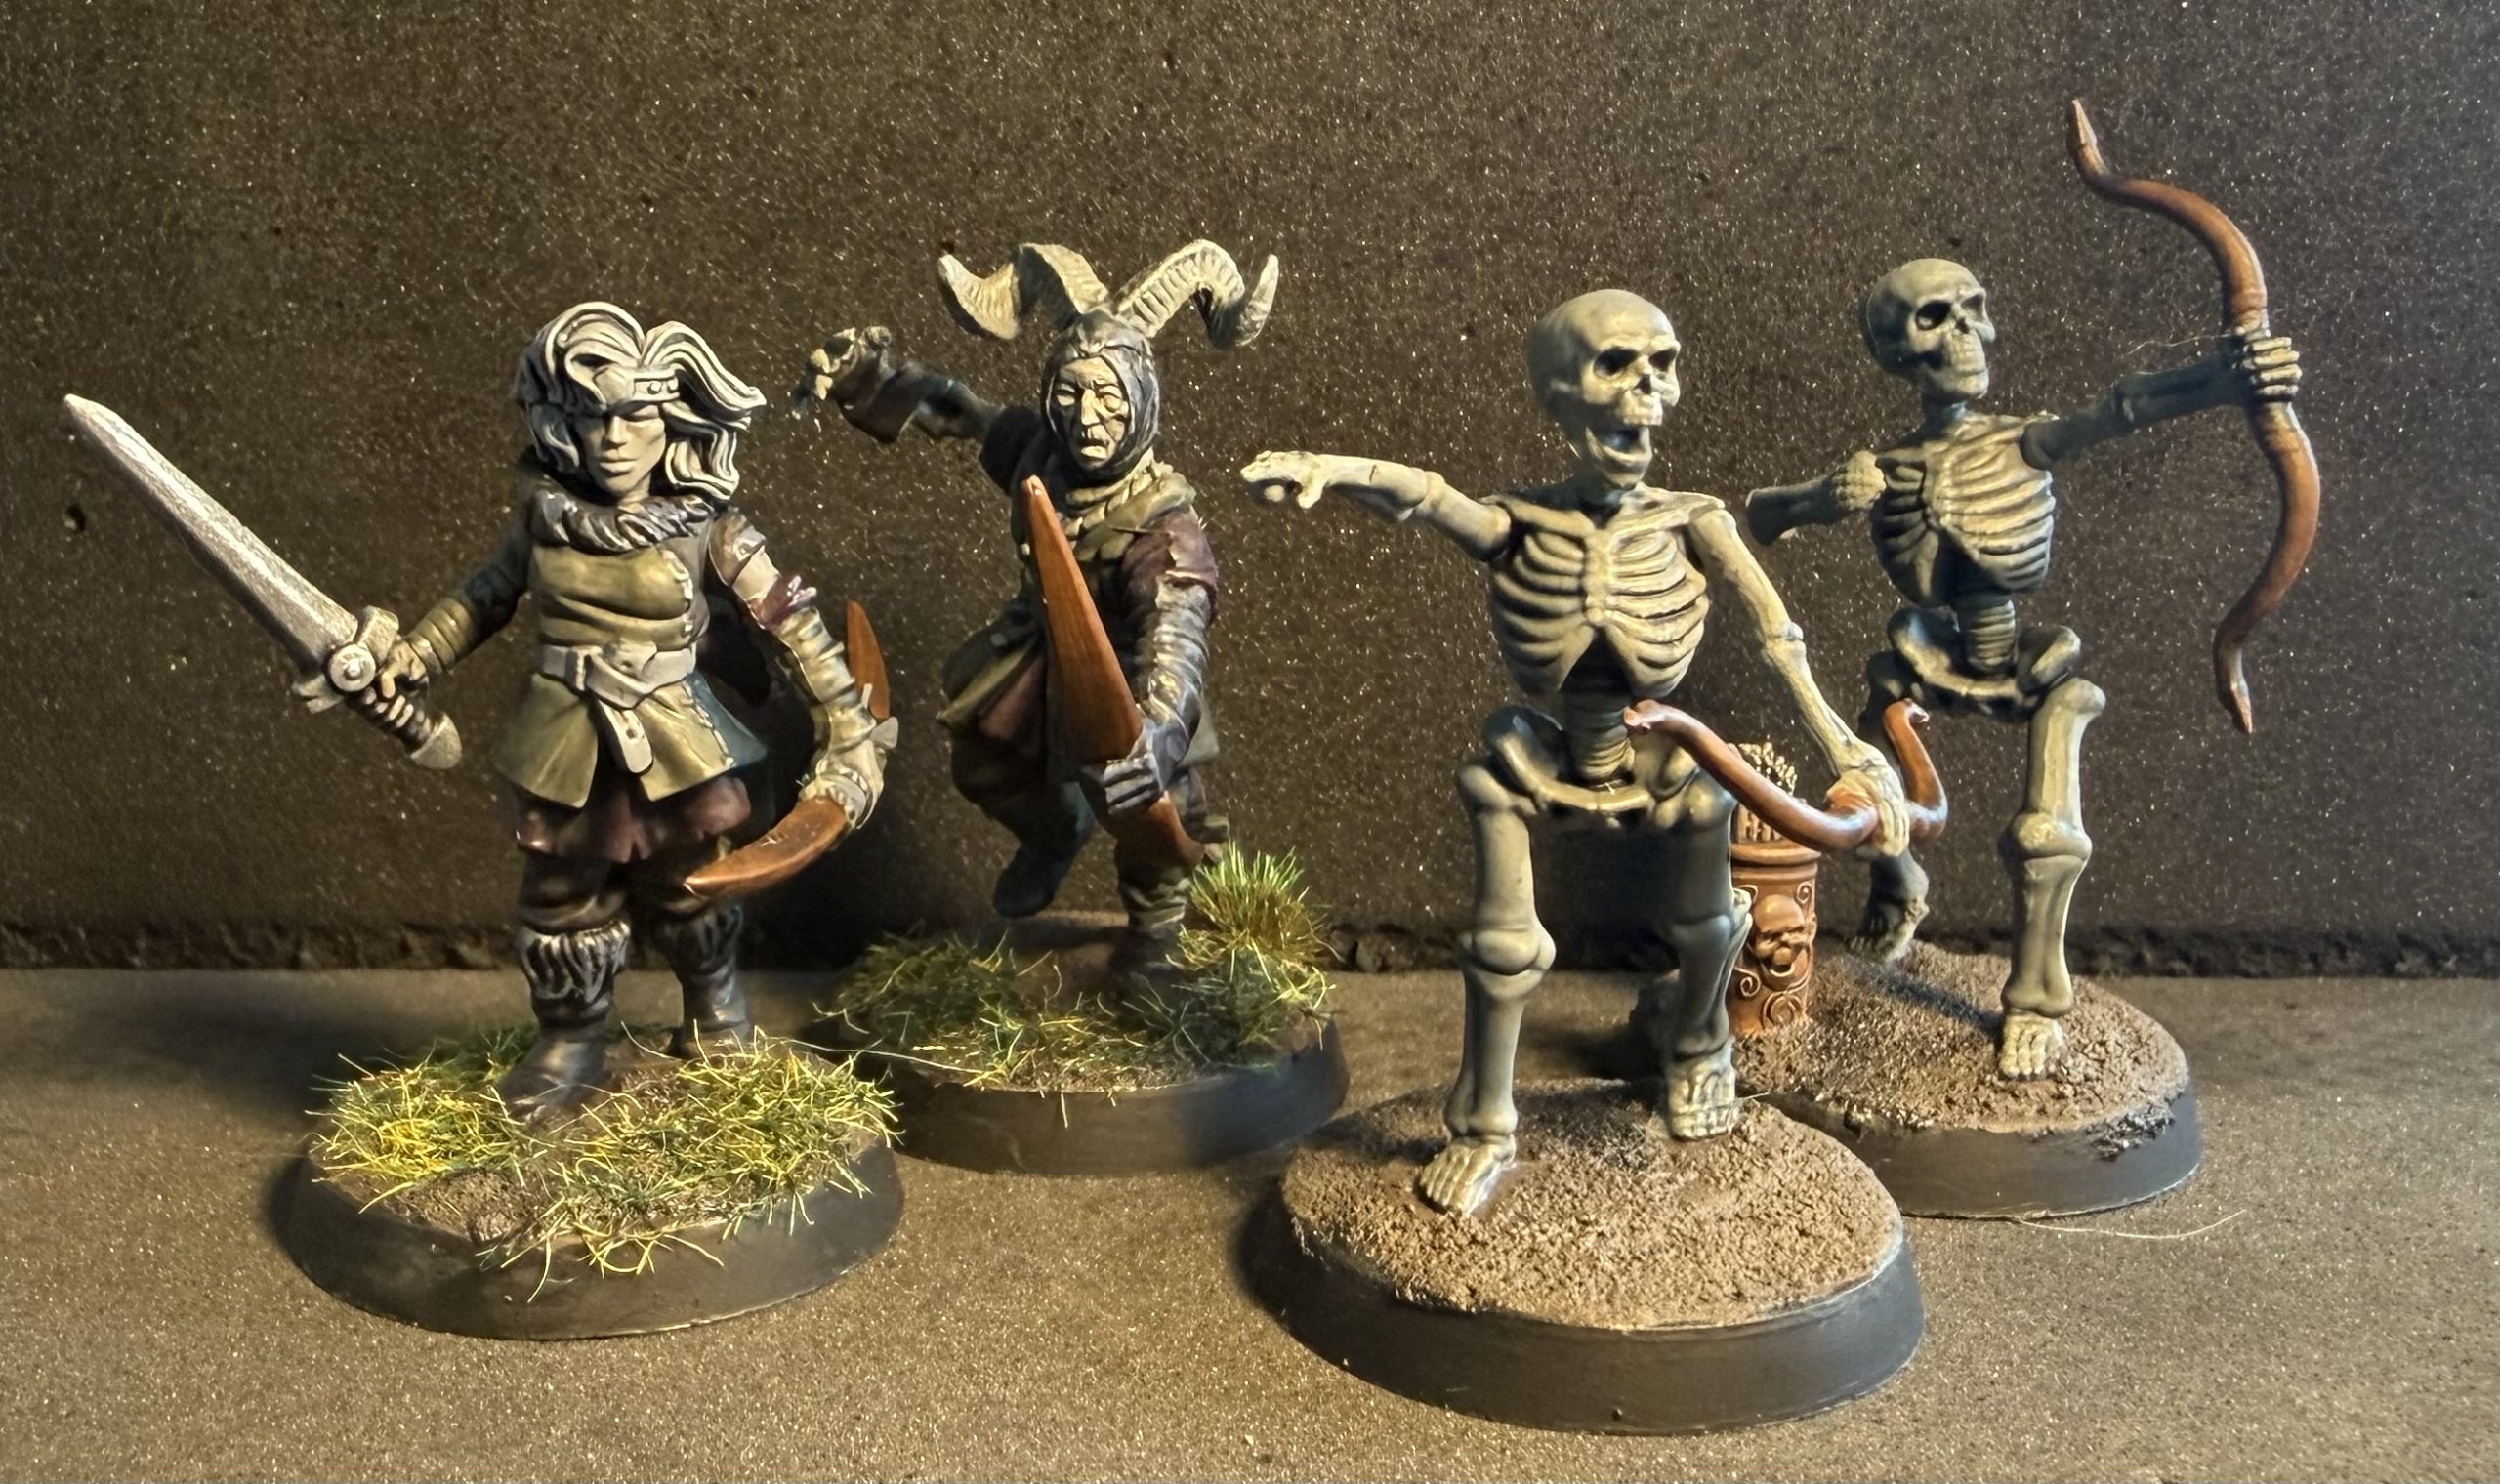
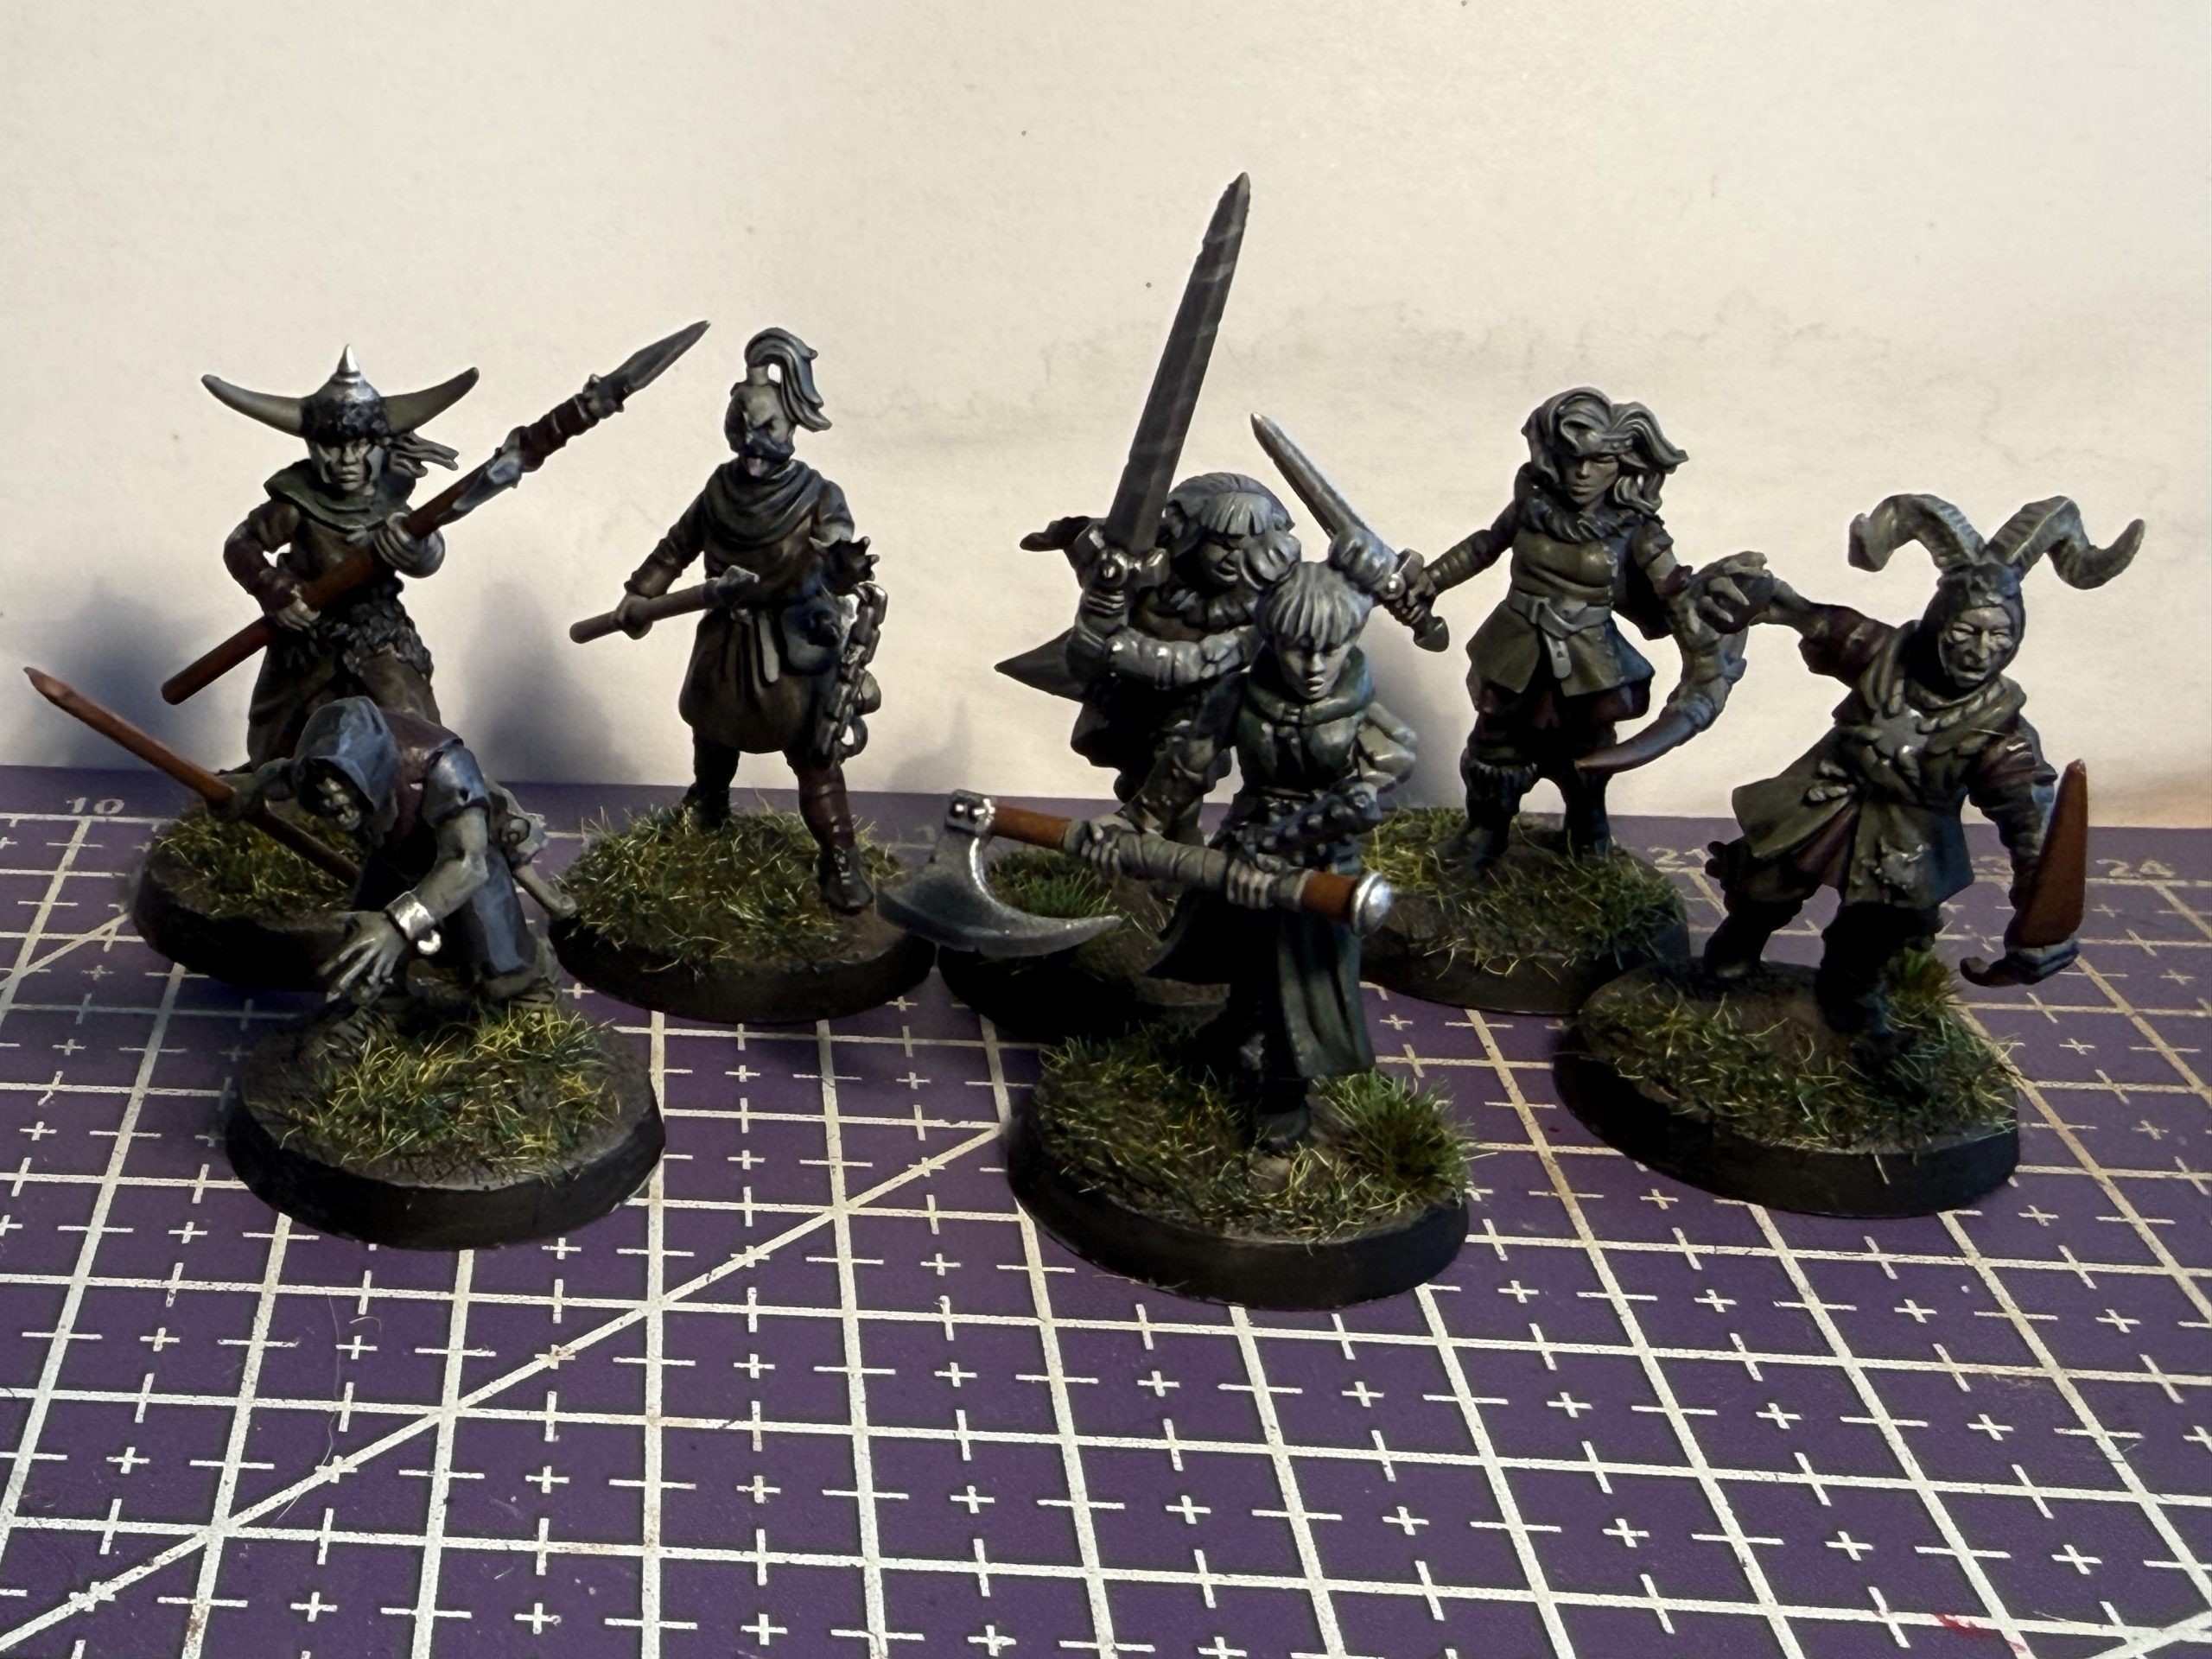
 Levy
LevySix green Levy, armed with Hand Weapons.
And, that’s it for now. I’ll possibly add some more options in the future, maybe when I can add more mounted troops to really sell the Wild Hunt idea. I should really do some more traditional troops and have a retinue to oppose this one too.
Thanks for looking, and happy Spring Clean Hobbying and general spring hobbying to everyone.
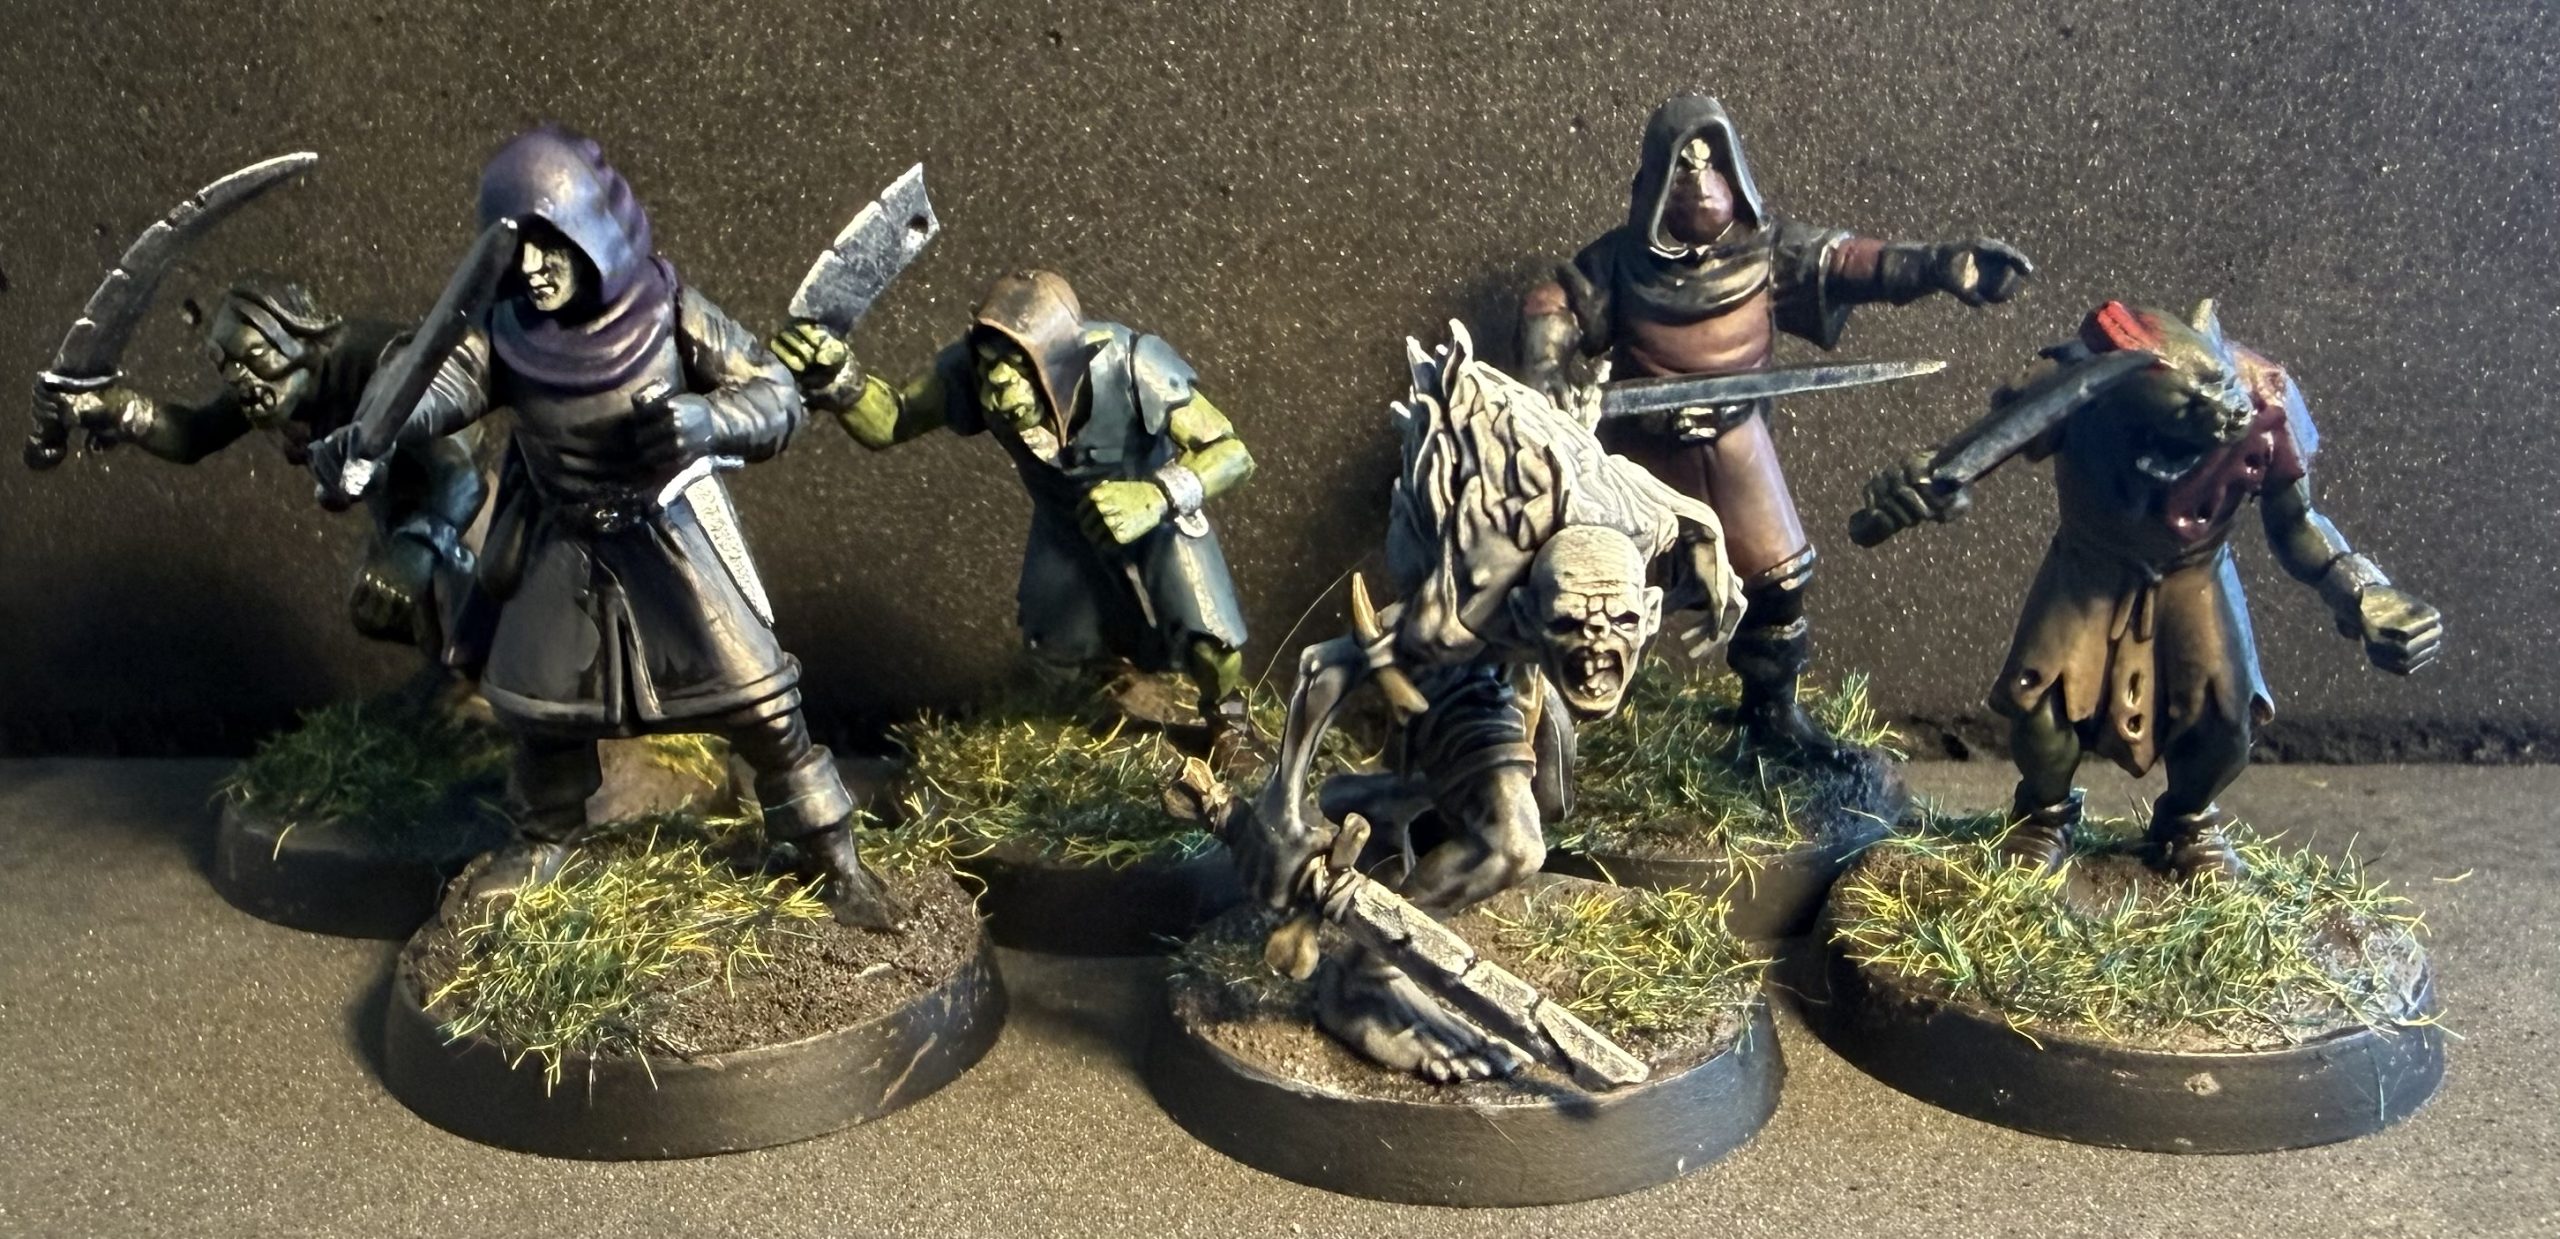
The Levy are dry
“Please my lord, we had no choice but to run. They weren’t mere bandits, they were monsters, my lord” – an excuse uttered in defence of cowardice, Rochester Castle, 1215
Time for the levy, only six of them to round out a small list.
The three Goblins were previously painted, so I attempted to tie them into the theme with a wash of Drakenhof Nightshade and some finished basing.
The two humans are based on elf light infantry for oathmark. These already had a black undercoat, so I worked some The Fang, Khorne Red and Naggaroth Night purple onto the cloth, mixed with black at first, then adding Fenrisian Grey into the mix in increasing amounts to highlight up.
For the skin, I used Kislev Flesh 1:1 with The Fang and applied it as a highlight layer to suggest the faces were just catching the light under their hoods.
Finally, the ghoul. This was primed grey, washed with thinned Drakenhof Nightshade and then washed again, straight from the pot, but only in the shadow areas. I also added thin washes of Skeleton Horde to the cloth, bone and hilt, and then Agrax to the cloth. These were kept thin to keep some of the dark blue showing through.
I will touch up the bases and then put the groups together in their units to show the retinue in full.
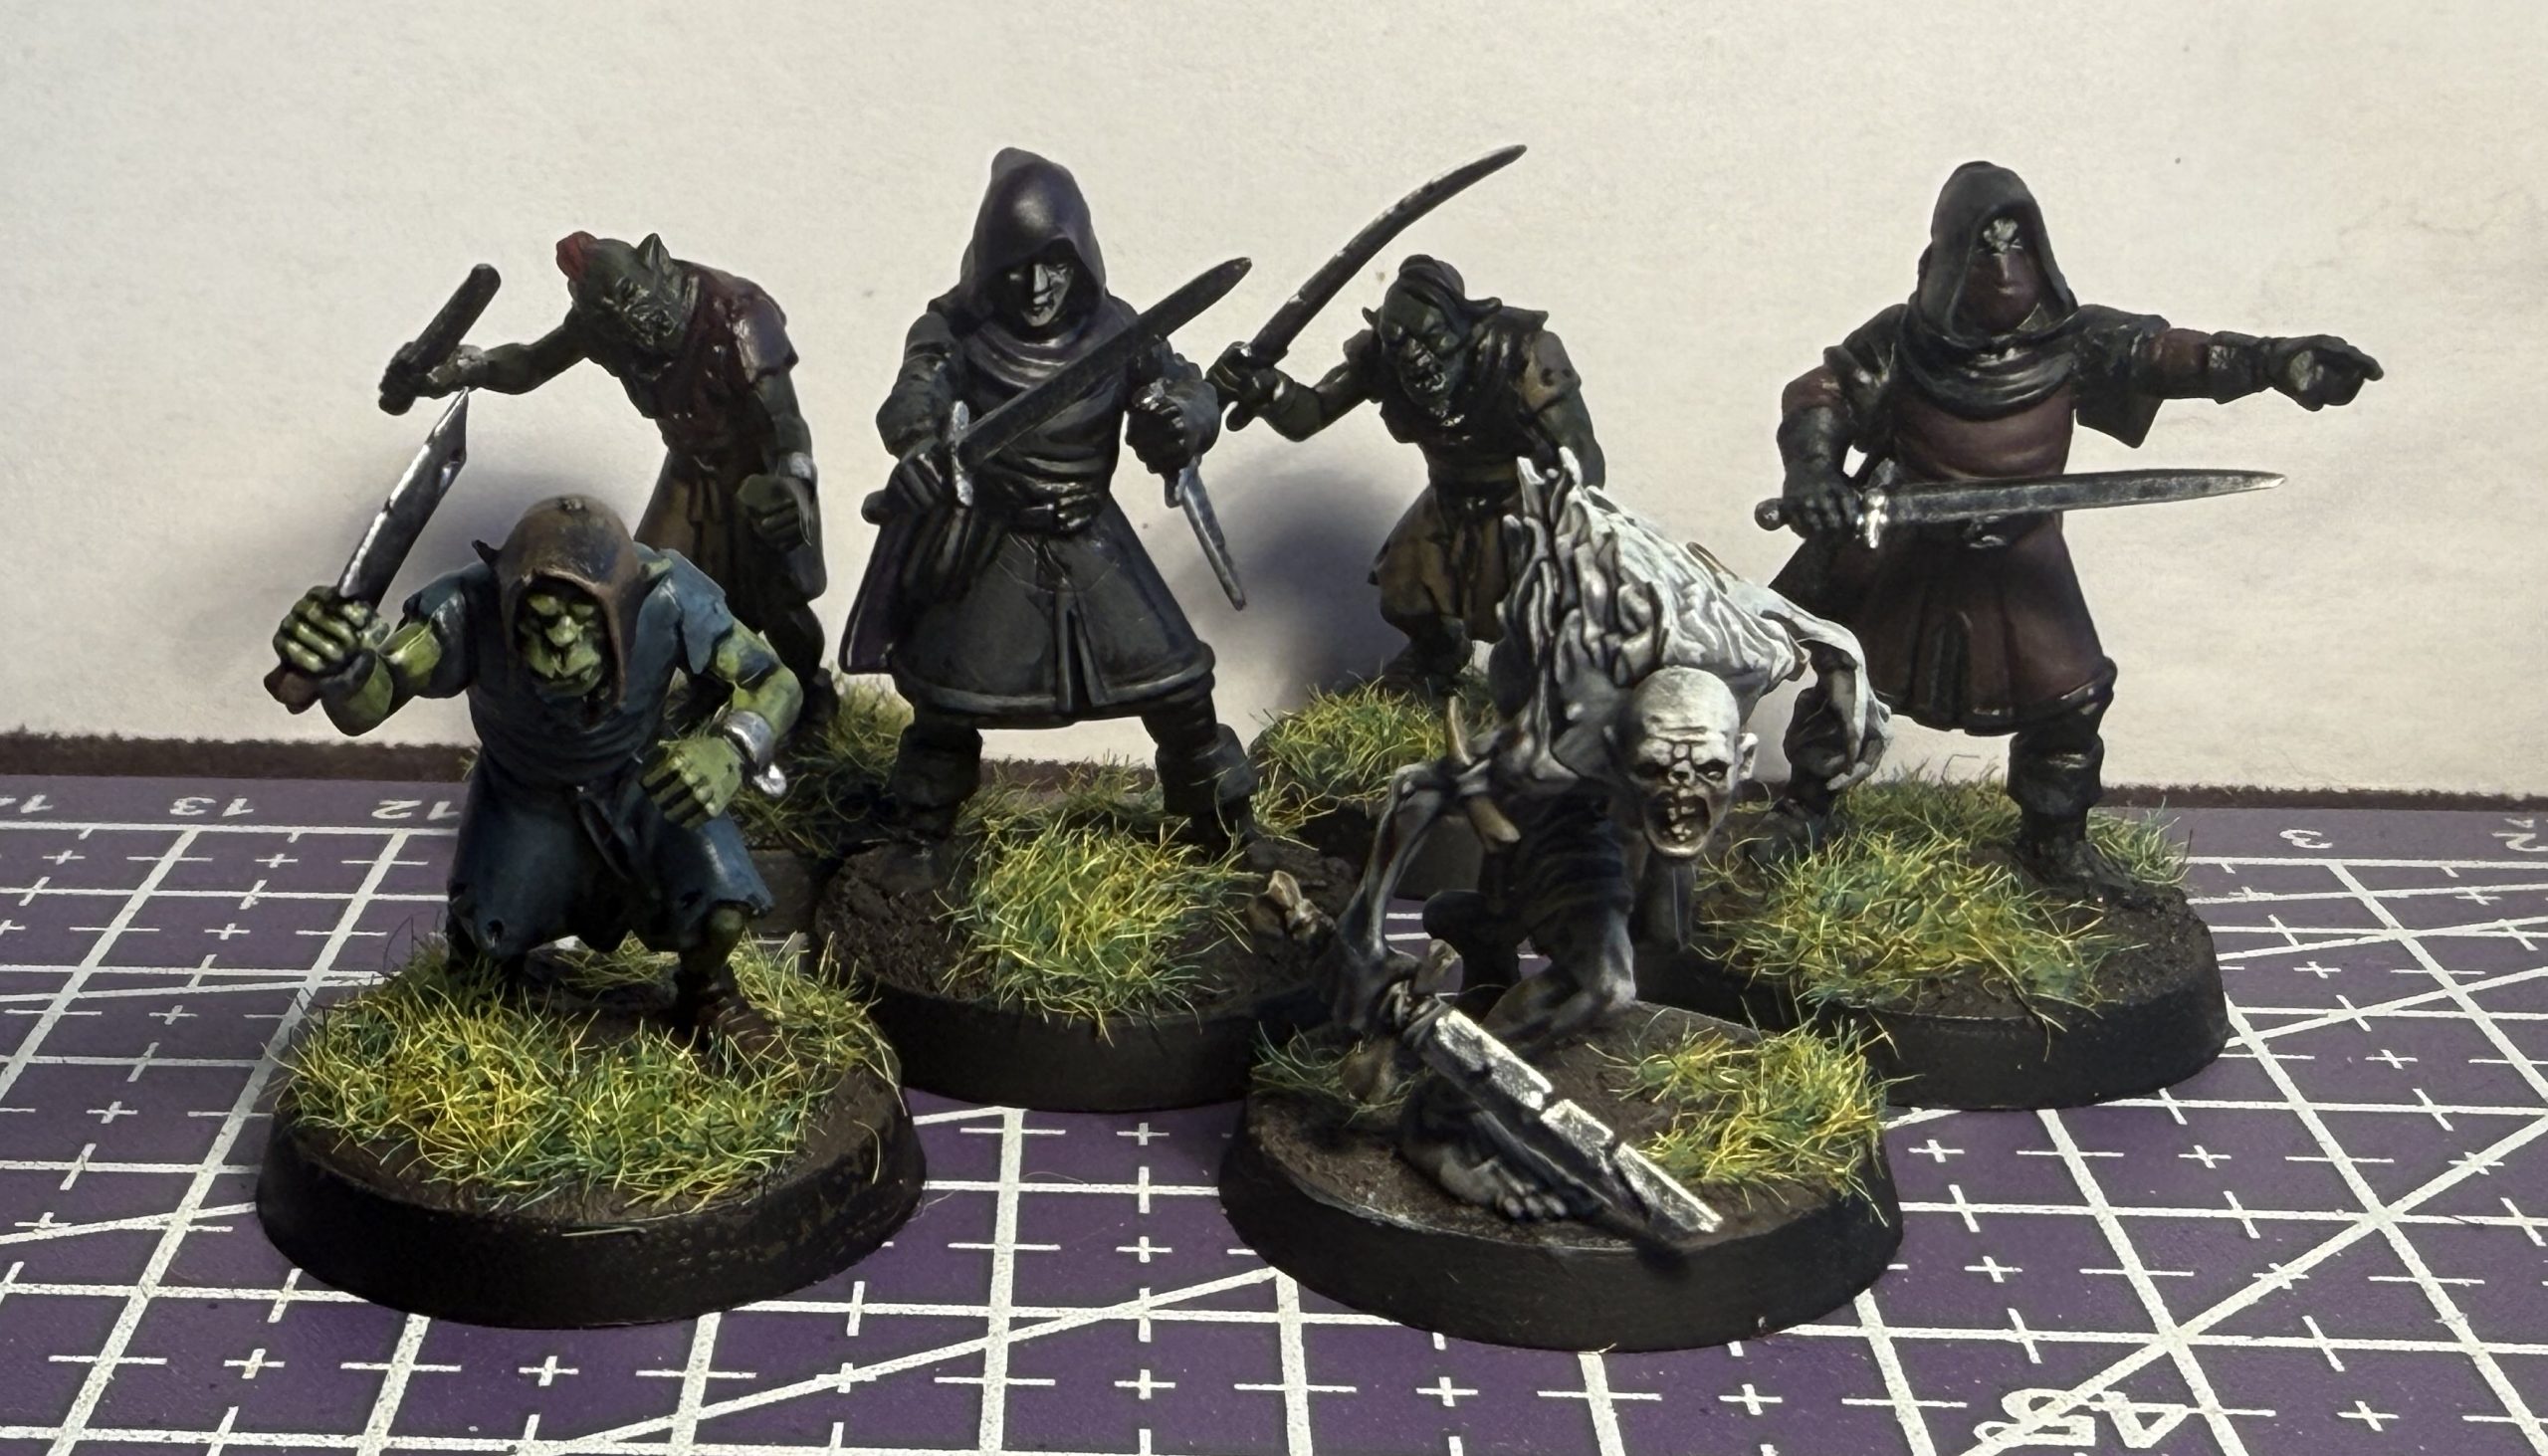 Forgot to wash the grass
Rounding out the Bows, Spears and Knights
“The ones with skin on their bones were just as terrifying. One had green skin, like some devil or goblin. Others had horns growing out of their heads!”
“Growing horns, green skin, what’s in your mug?”
– Overheard in an inn in Lewes, 1217
I grouped up what I still wanted to paint, 6 Levy and a rabble of Spearmen (3), “Knights” (2) and Archers (2) to join those I had already painted. I’ll leave the levy for later.
I mostly kept to colours I had already used such as for the metals, horns, bone and cloth colours.
I added 2:1 Steel Legion Drab:Incubi Darkness for some green cloth variation and goblin skin.
I also used Kislev Flesh 2:1 with The Fang and then Fenrisian Grey for other skin areas.
This just leaves the levy and I’ll have finished off the current incarnation of this retinue.
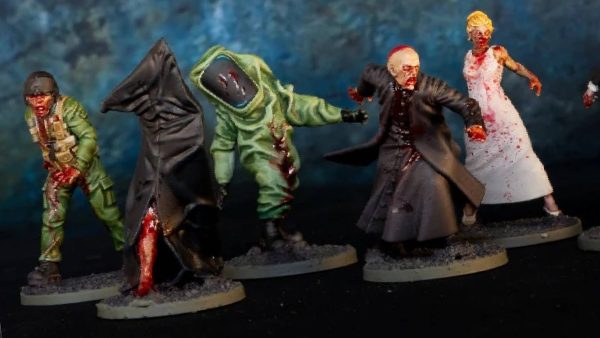
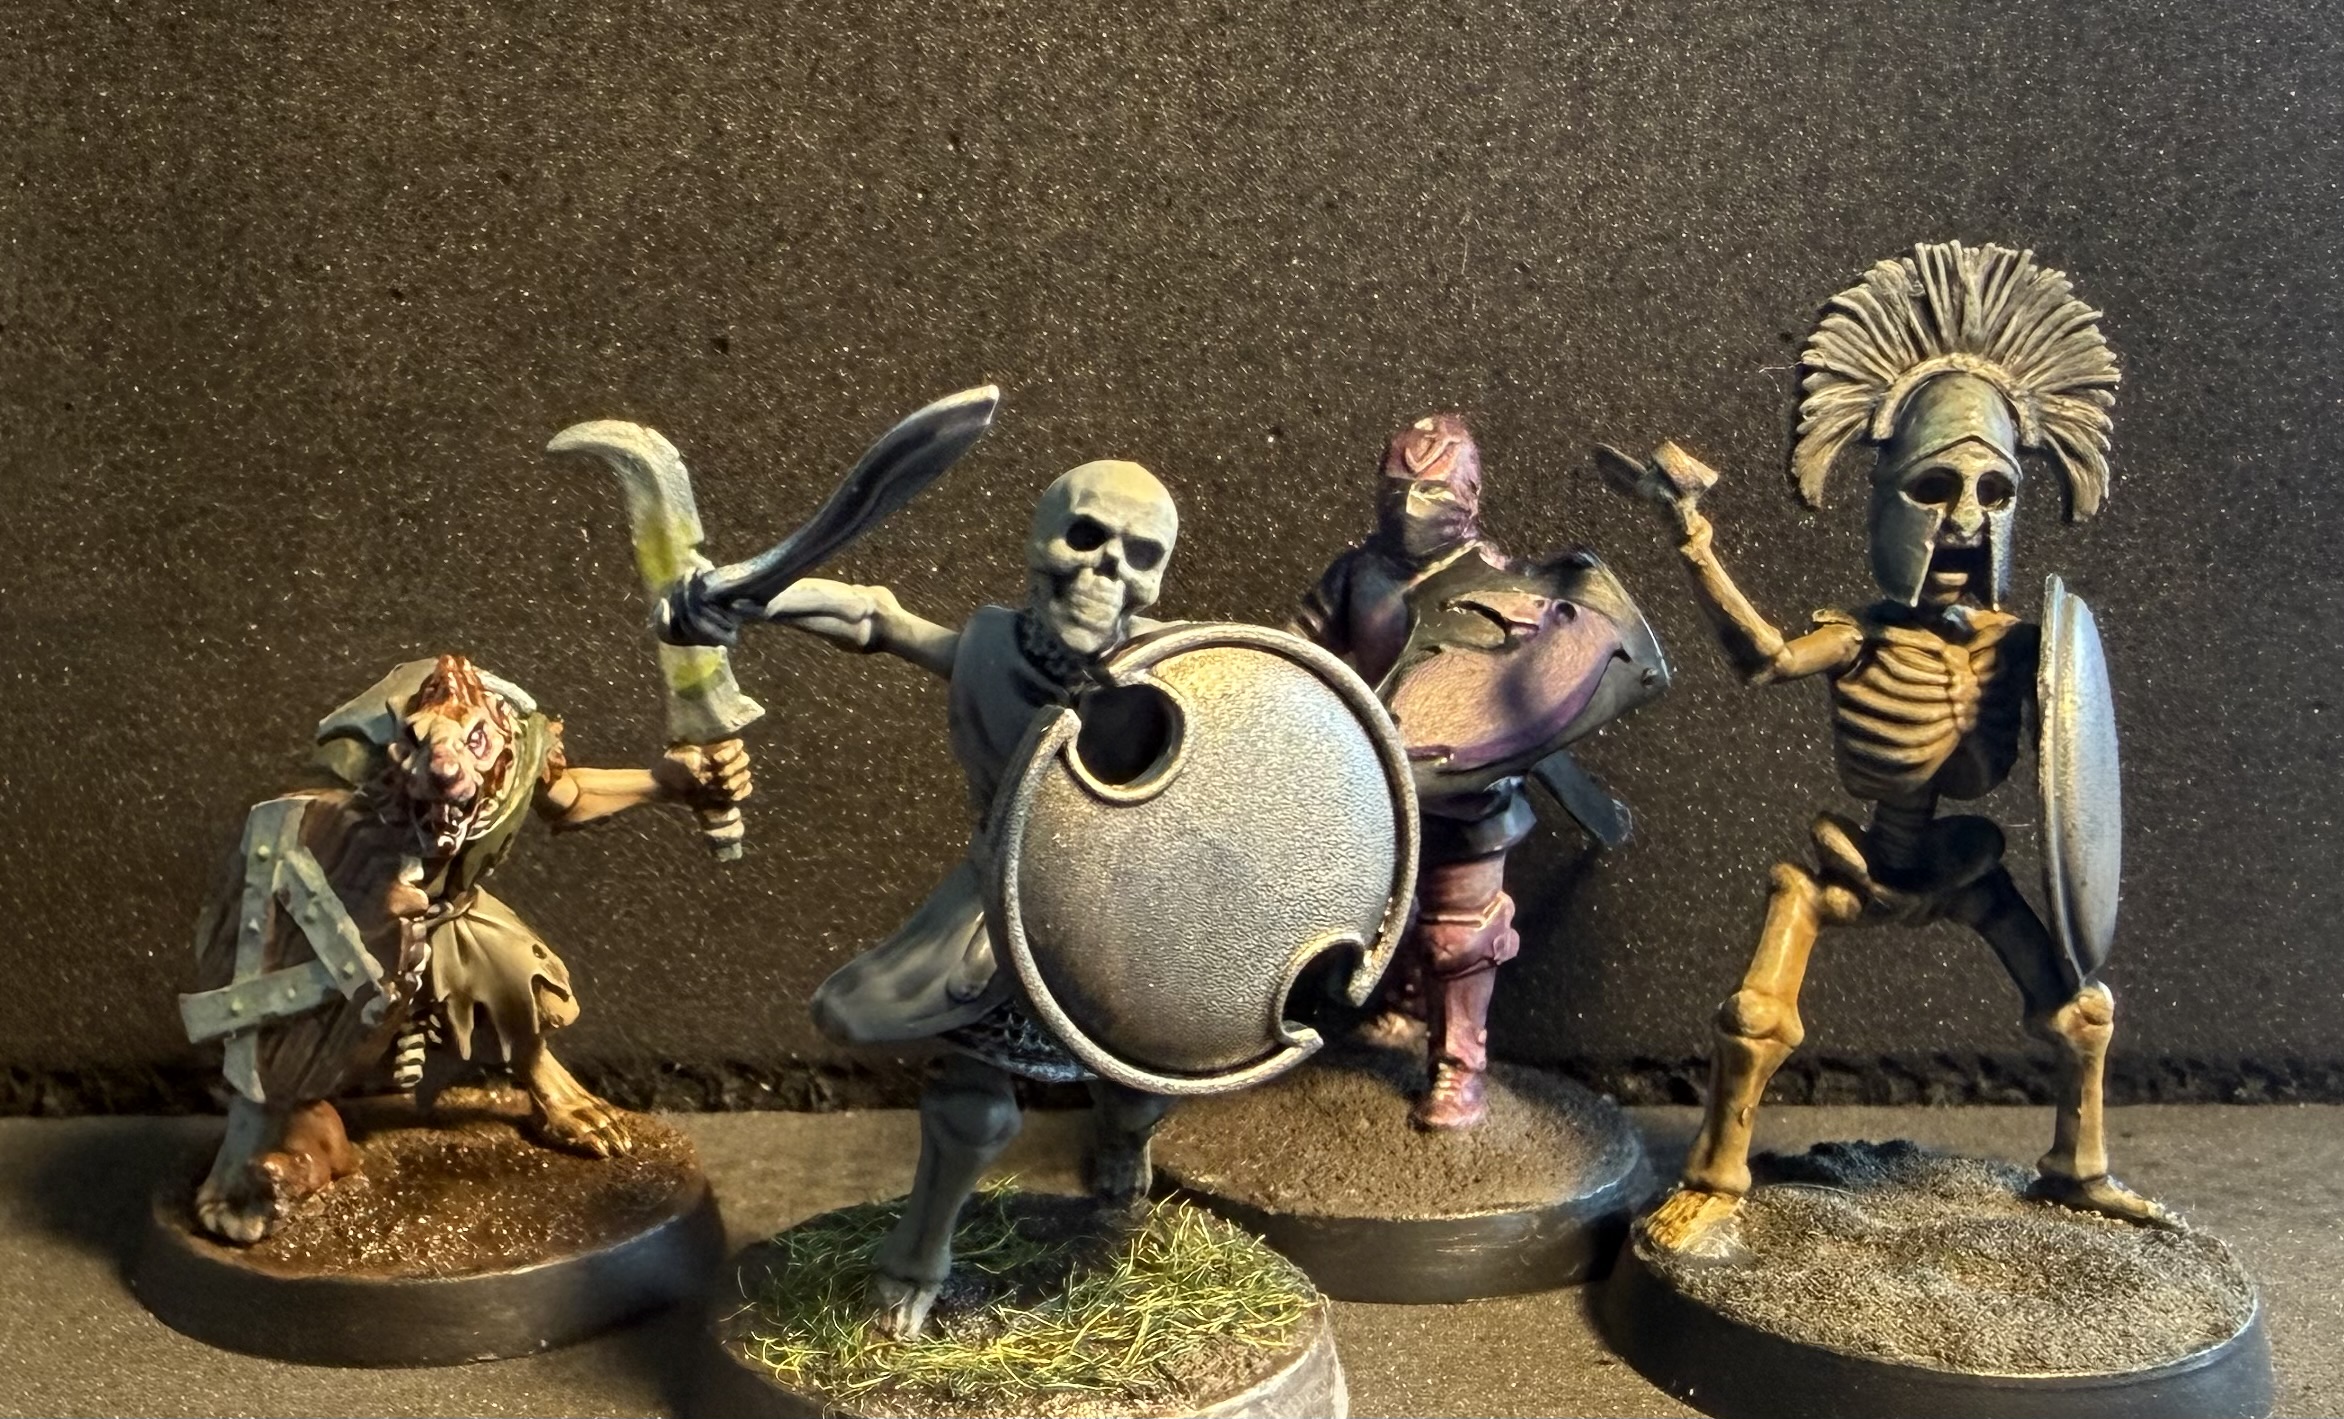
 Non-Levy Humans (and a Goblin)
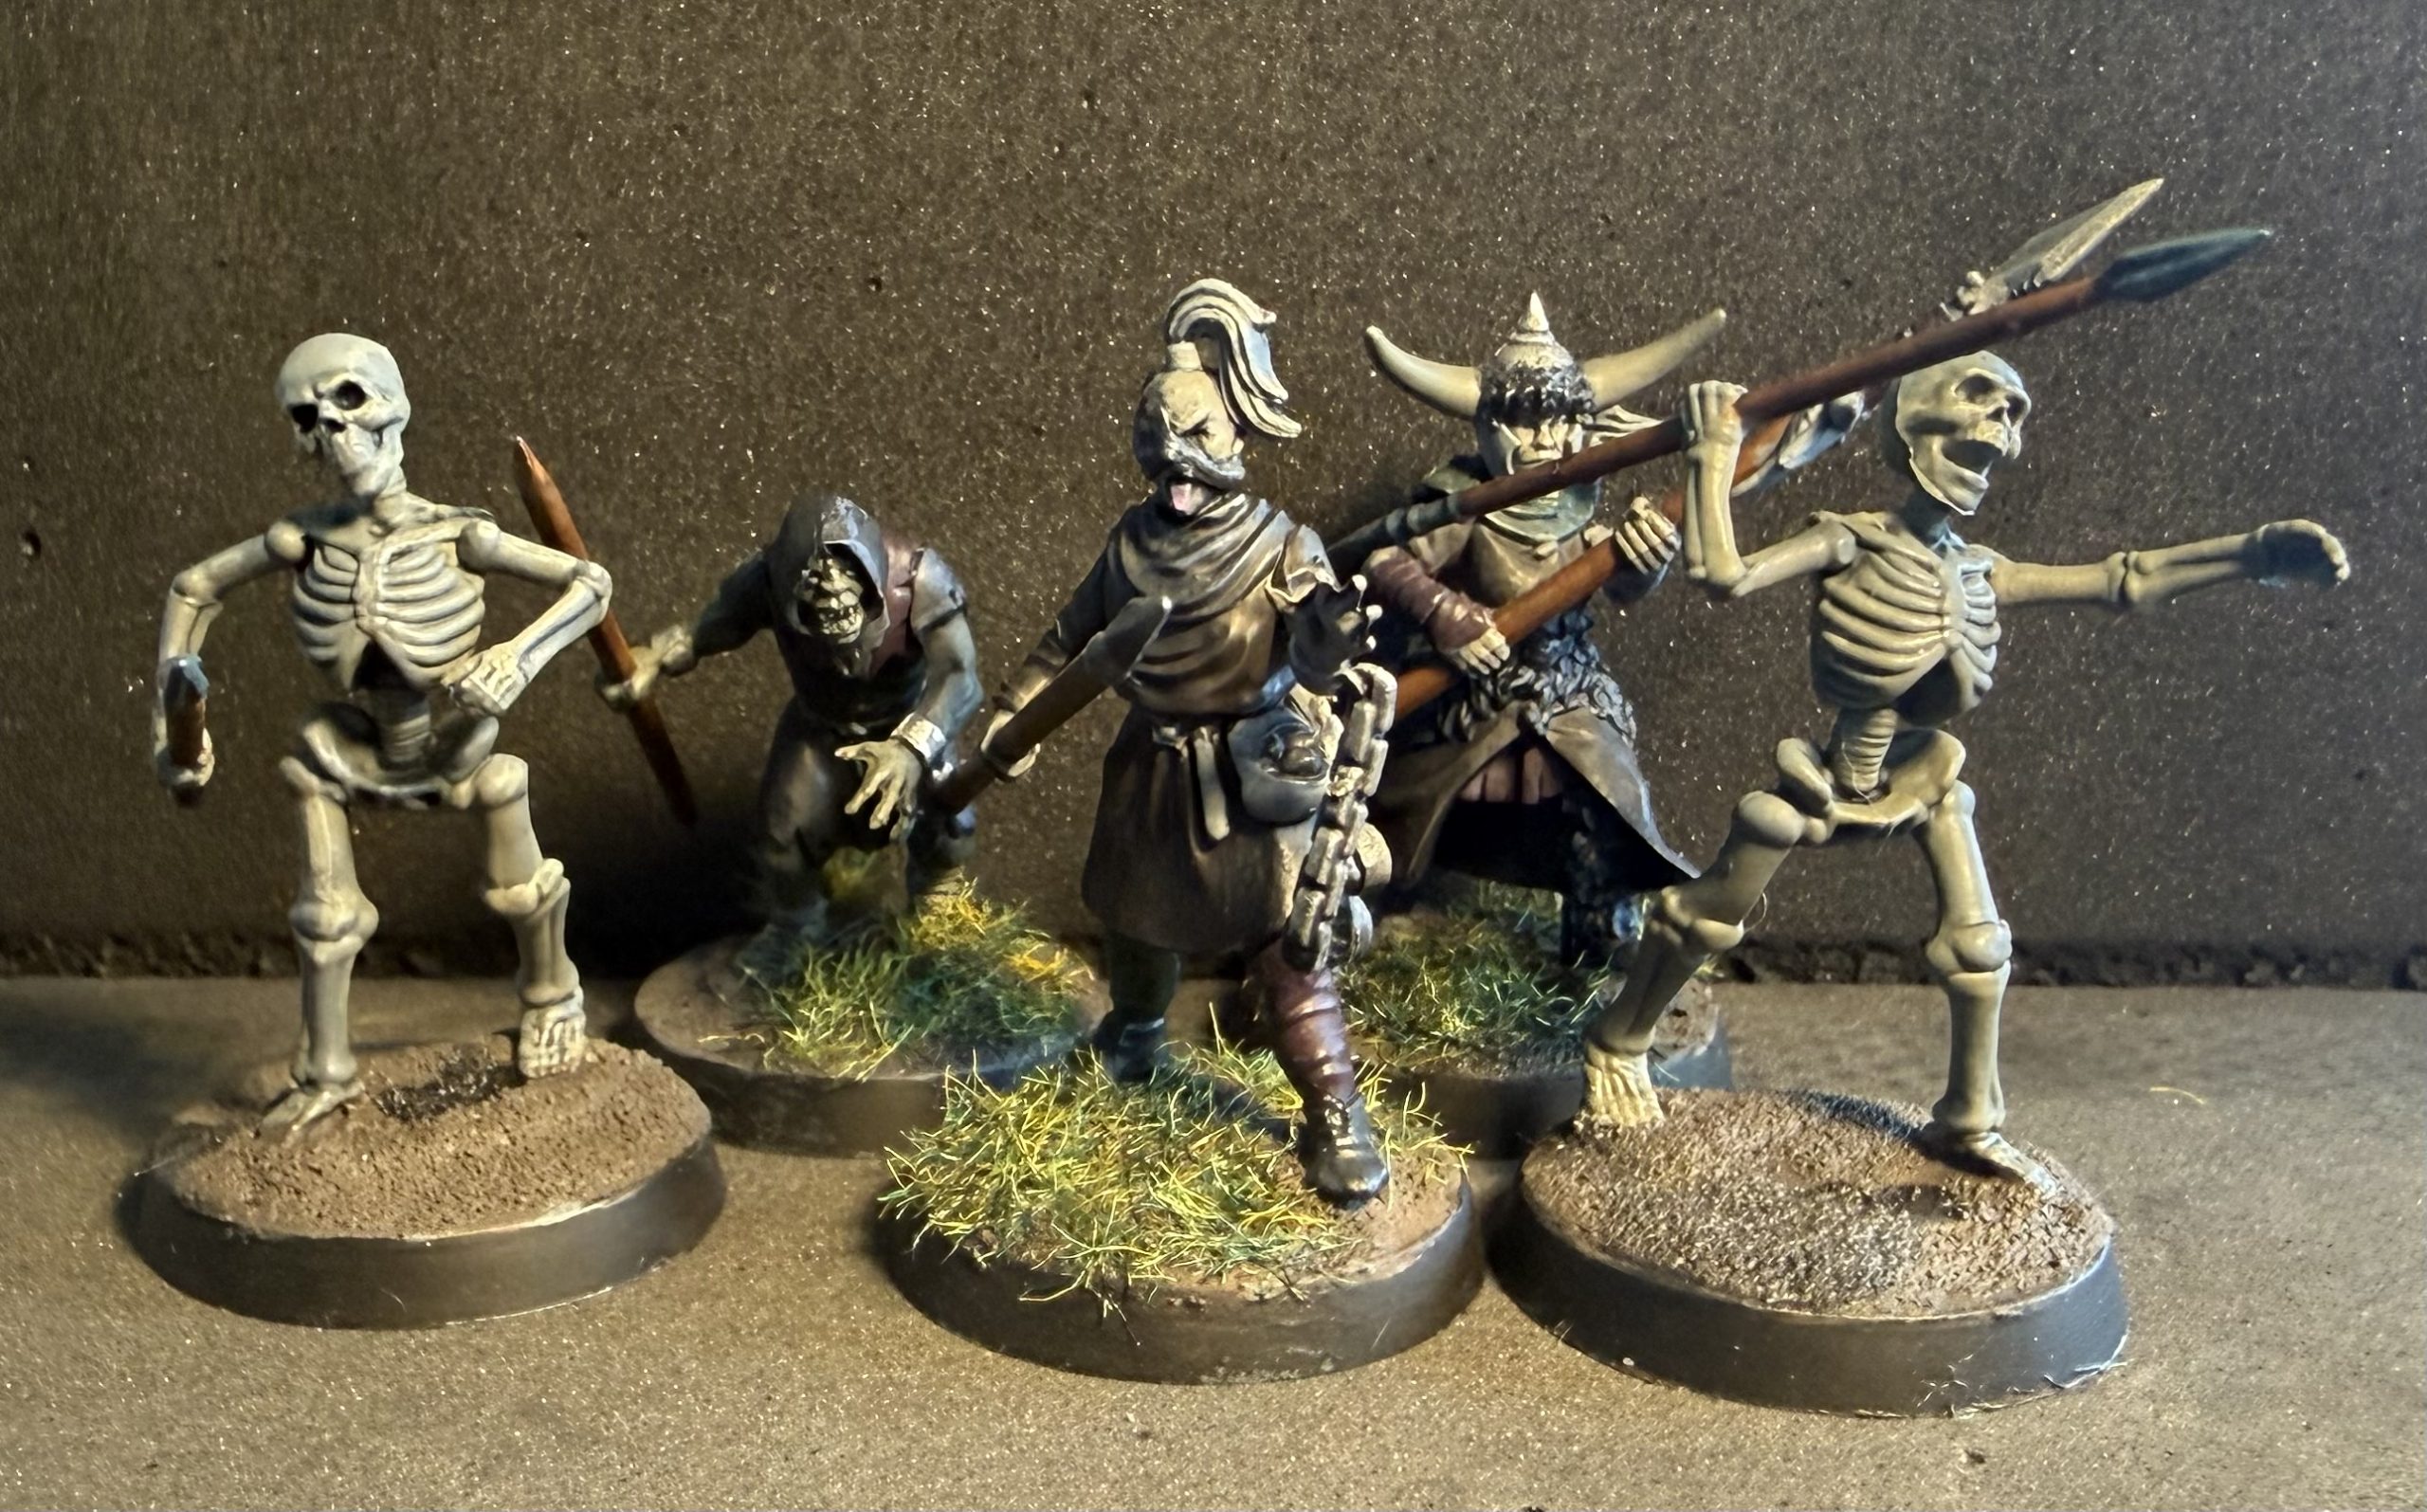
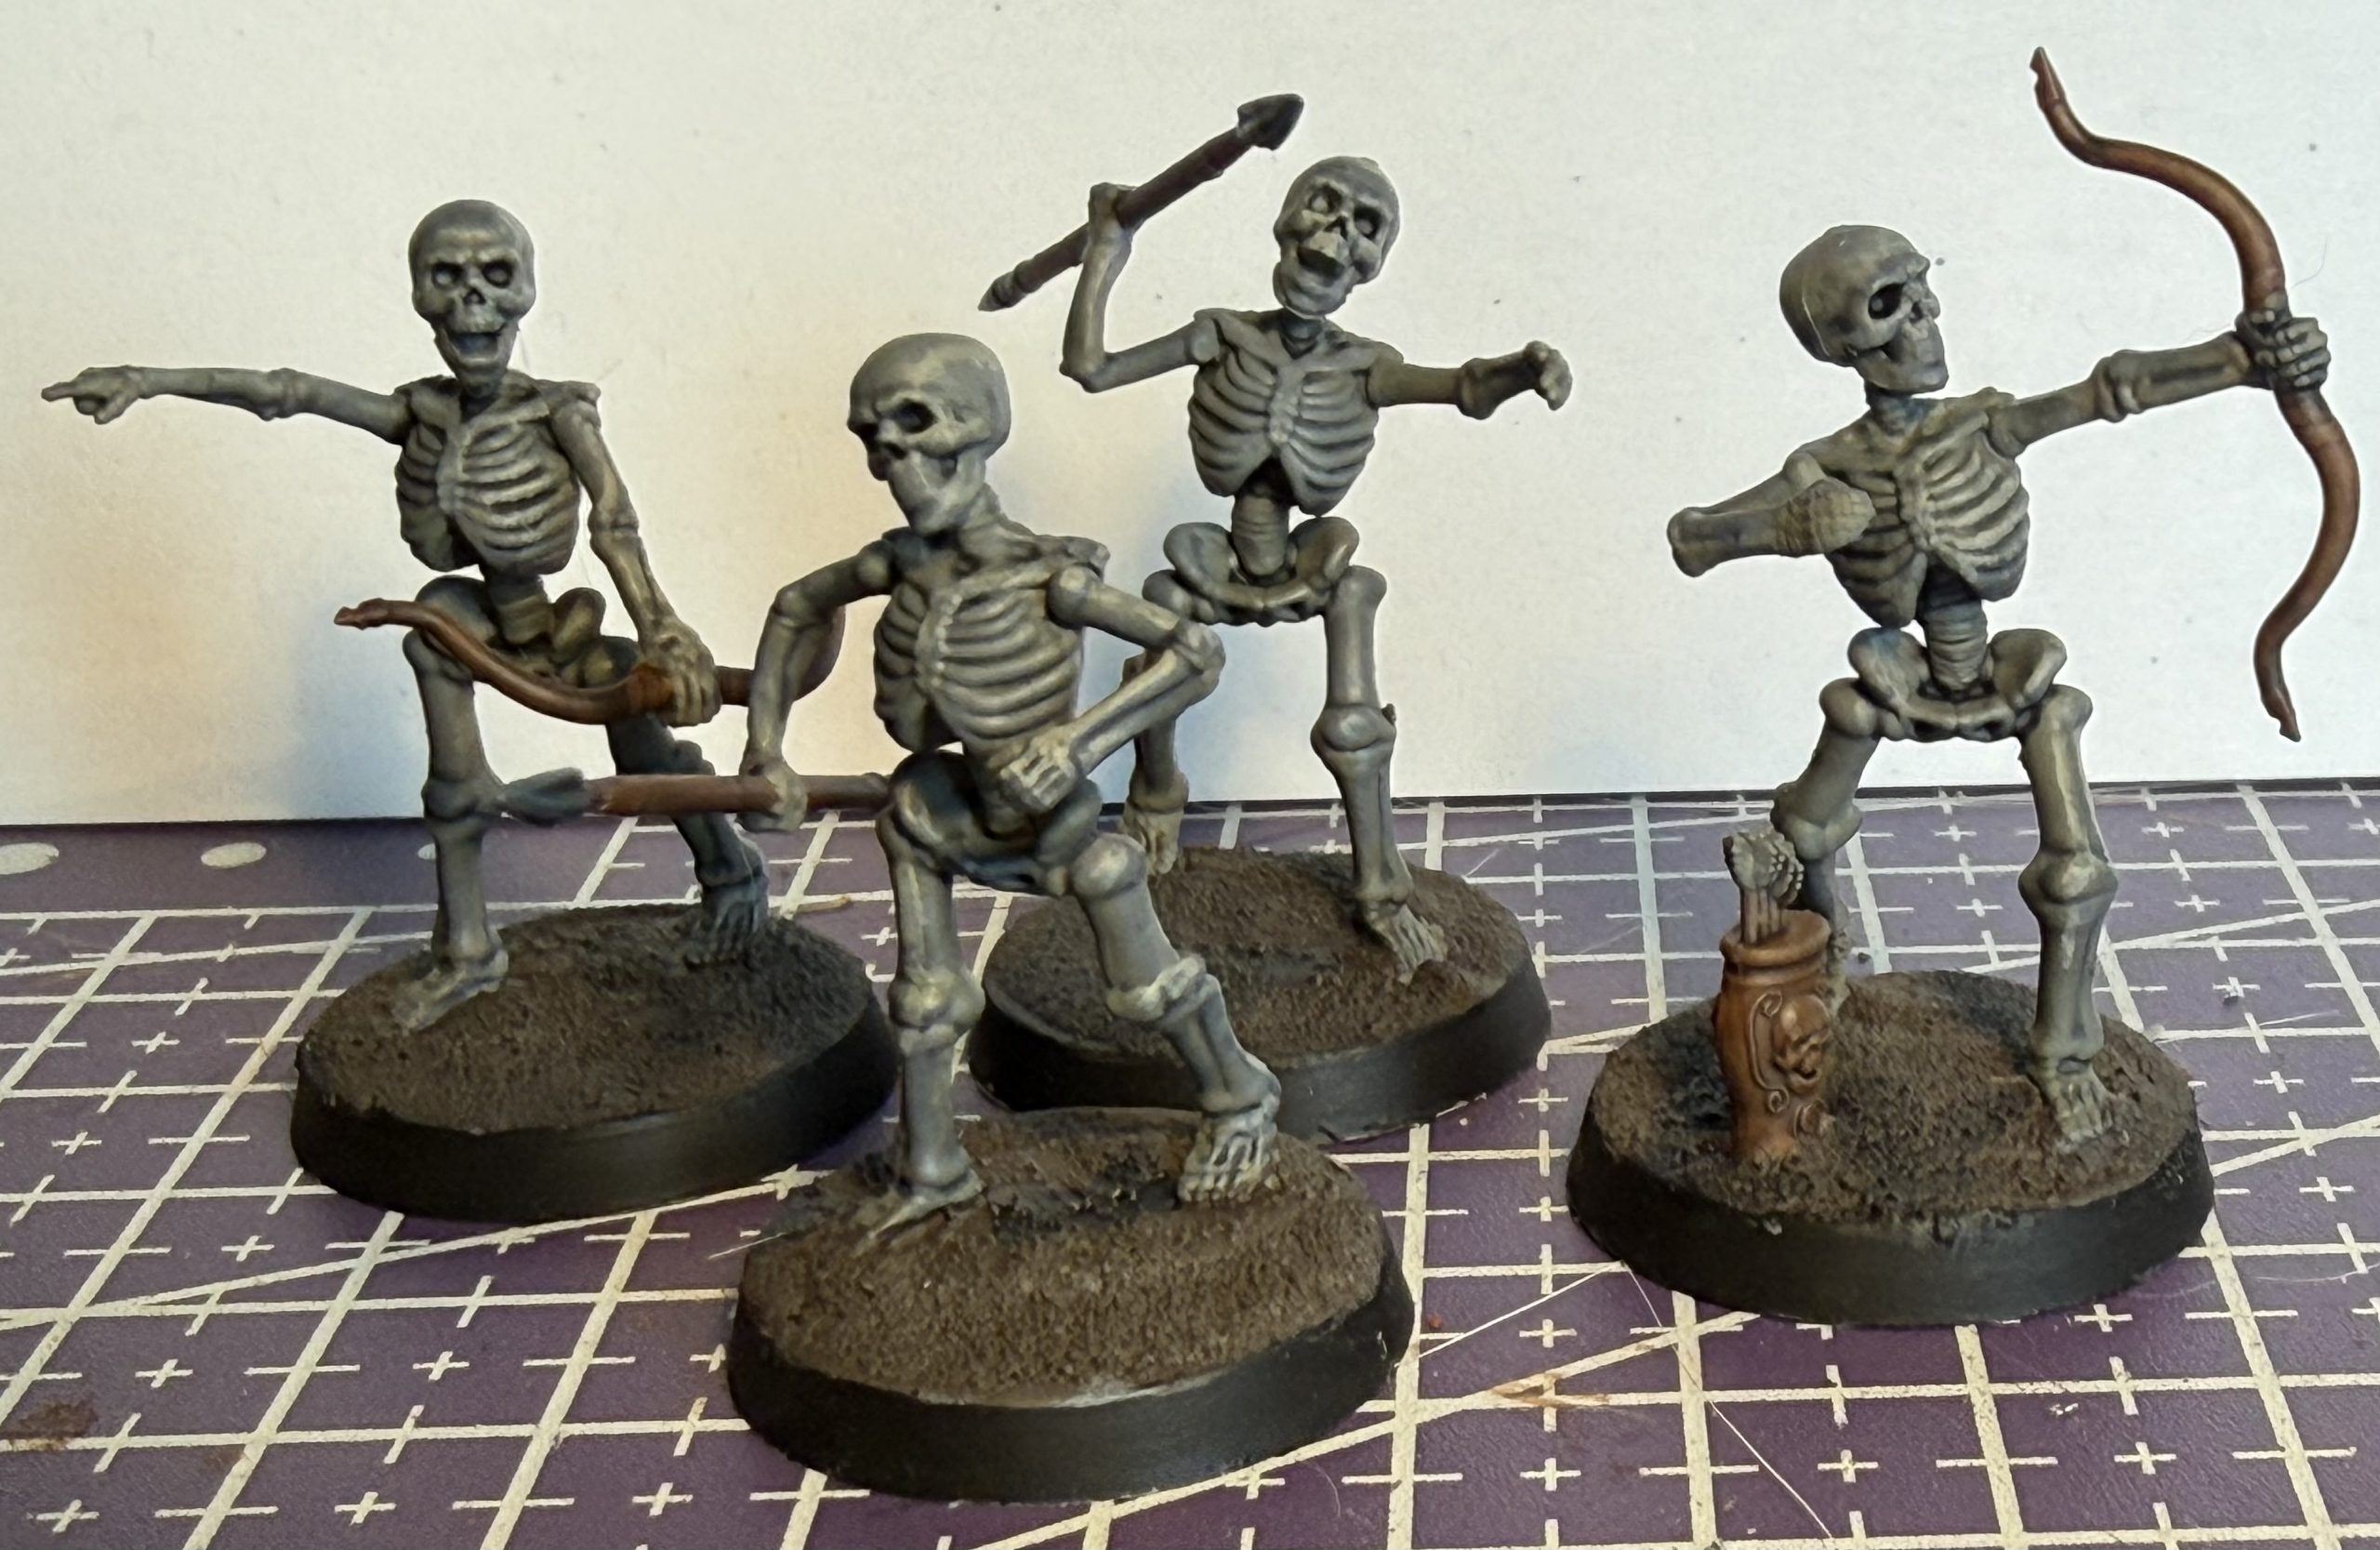
Four Skelebobs
“Beyond the riders, were a horde of warriors, horrible things from your worst nightmares -hic- some of them, I swear, they didn’t have any flesh. Just angry bones, still fighting like they did when they were alive” – overheard in an inn on the road to Lewes, 1217.
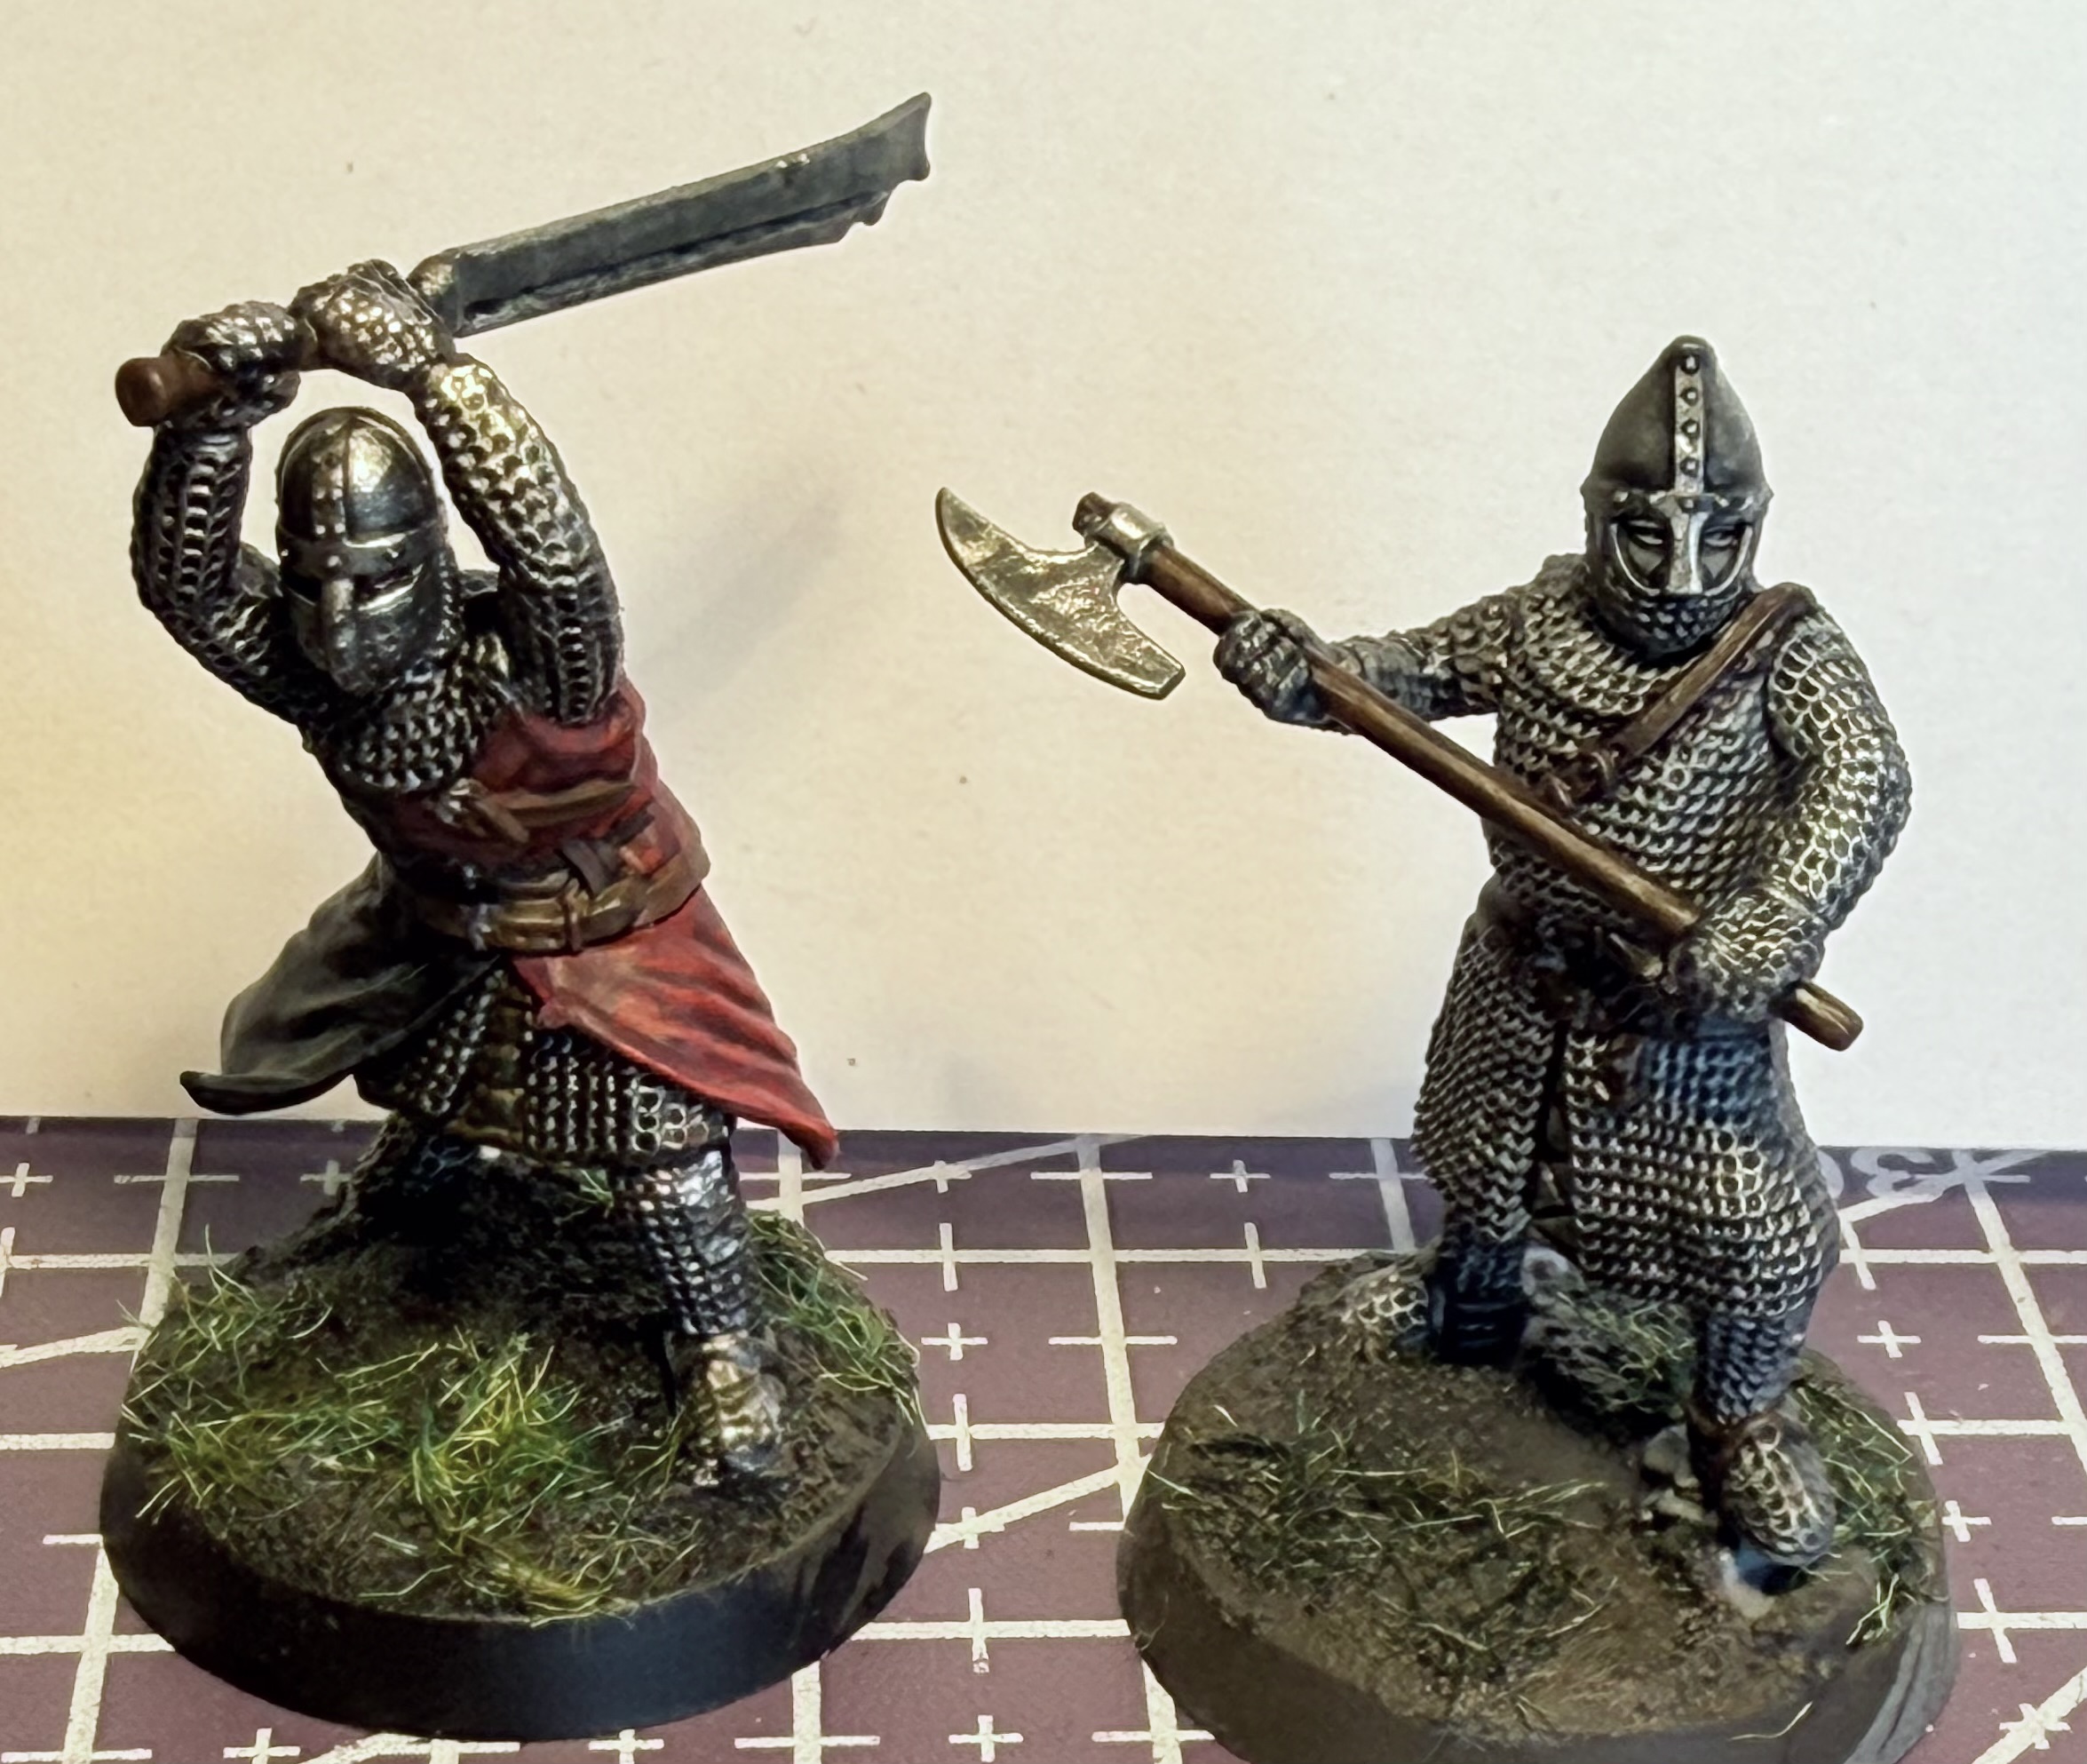
After testing the bone colour on the knight horns and skeleton sergeant, I decided to quickly finish the other bone lads in the group…
In fairness, it has been a quick group to paint, but motivation was lacking and I spread it out over nearly a week.
So, here they are, four skelebobs, really only three areas to paint:
The wood and quiver were just Mournfang Brown again, followed by a Drakenhof Nightshade wash.
The metal this time is Stegadon Scale Green with an overbrushing of Ironbreaker.
Finally, the bones adapt the recipe for the helmet horns; Zandri Dust:The Fang 2:1 followed by Karak Stone:The Fang 2:1, washed with Drakenhof Nightshade thinned with Lahmian medium 1:1 then Karak Stone:Fenrisian Grey 2:1 as highlights towards the “moonlight”.
I decided to keep these bases clear of life, just the mud recipe from before and the same colours:
Thondia Brown:The Fang:Black Templar 1:1:1. I then used Drakenhof again in the shadow of the model, using shadows from my lamp as a guide of where to paint. I gave a light Drybrush of Thondia:Fenrisian 1:1 to the lit areas.
 Marching on an empty stomach
Finishing the first group (almost)
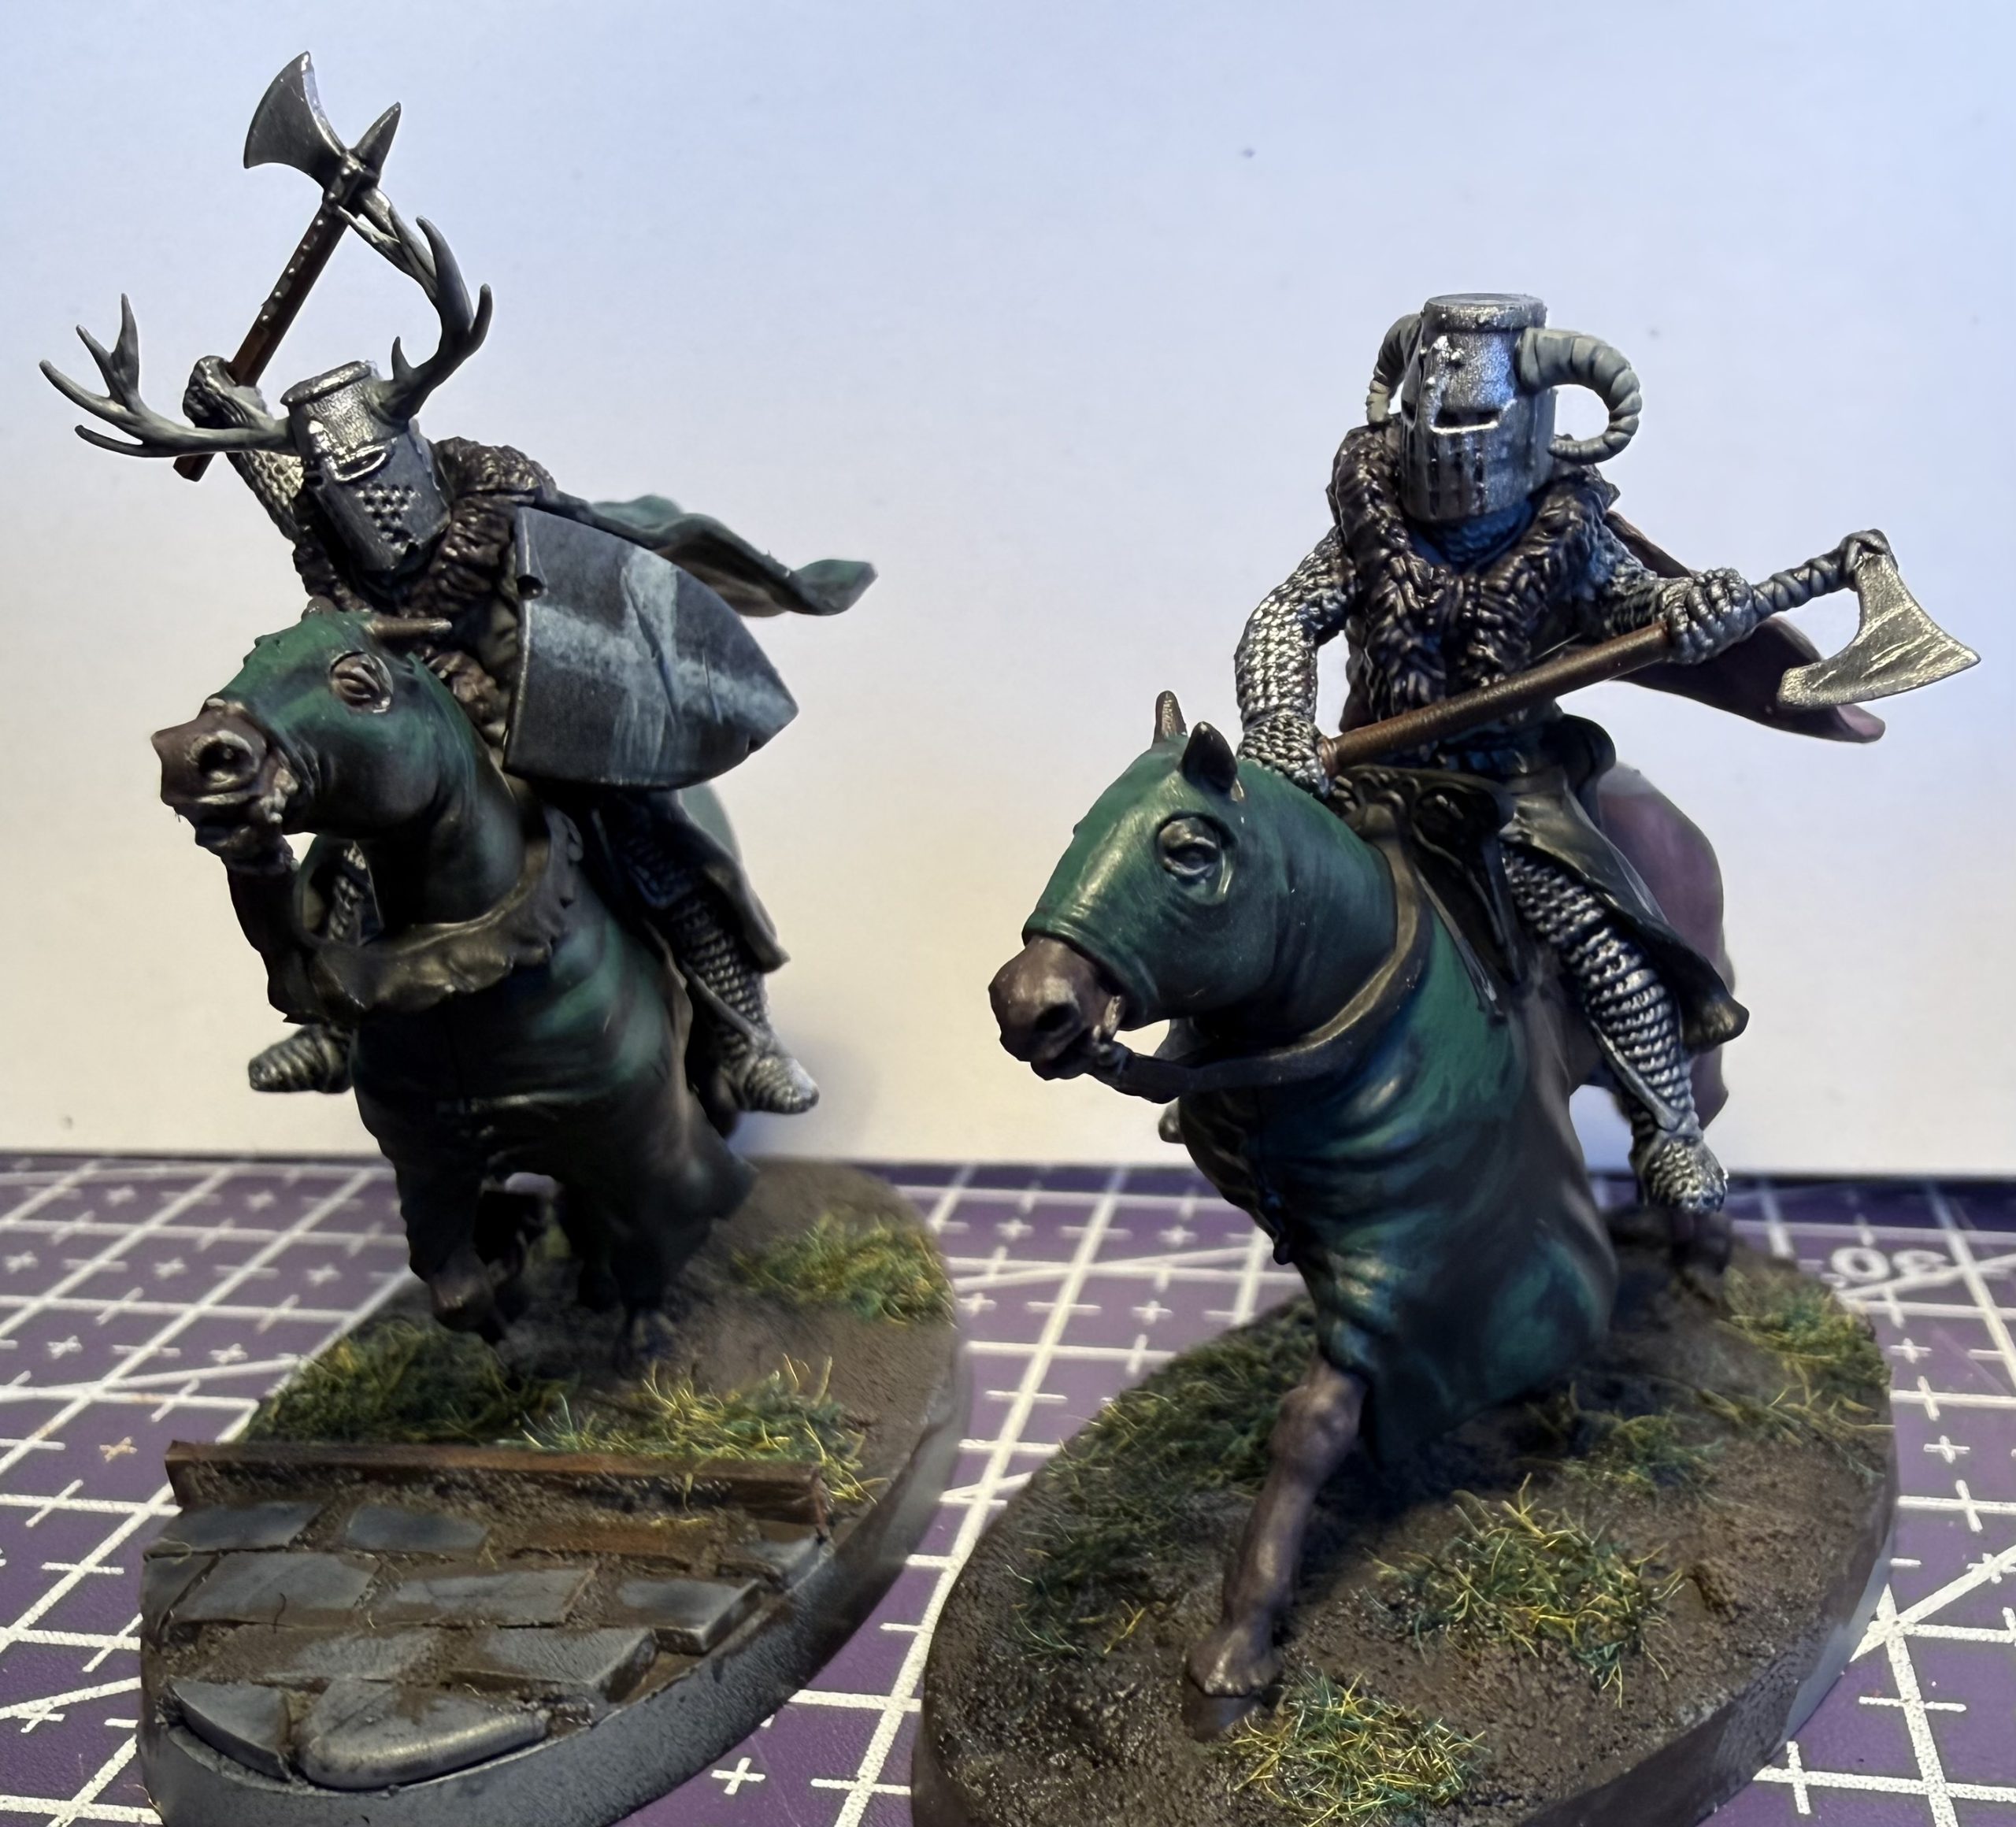
 Almost ready
To finish this group, I still had the horses, shield, silver highlights, horns and the base to paint.
For the horse, I mixed Rhinox Hide:The Fang 1:1 and applied this all over, except on the black primed horse where it was added as a highlight. I also used this for the fur on the cloaks.
For the horns, I tested a bone scheme, starting with Zandri Dust:The Fang 1:1 followed by Karak Stone:The Fang 1:1.
I followed these with a recess and underside wash of Drakenhof Nightshade as a shadow.
I then highlighted the horns further with Karak Stone:Fenrisian Grey 1:1.
For the base, I started with Thondia Brown:The Fang:Black Templar 1:1:1.
I then used Drakenhof again in the shadow of the model. I gave a light Drybrush of Thondia:Fenrisian 1:1 to the lit areas.
I added some grass patches and washed them in Drakenhof mixed with some water to darken the “roots”, which turned out alright compared to the natural bright green of the grass that I use.
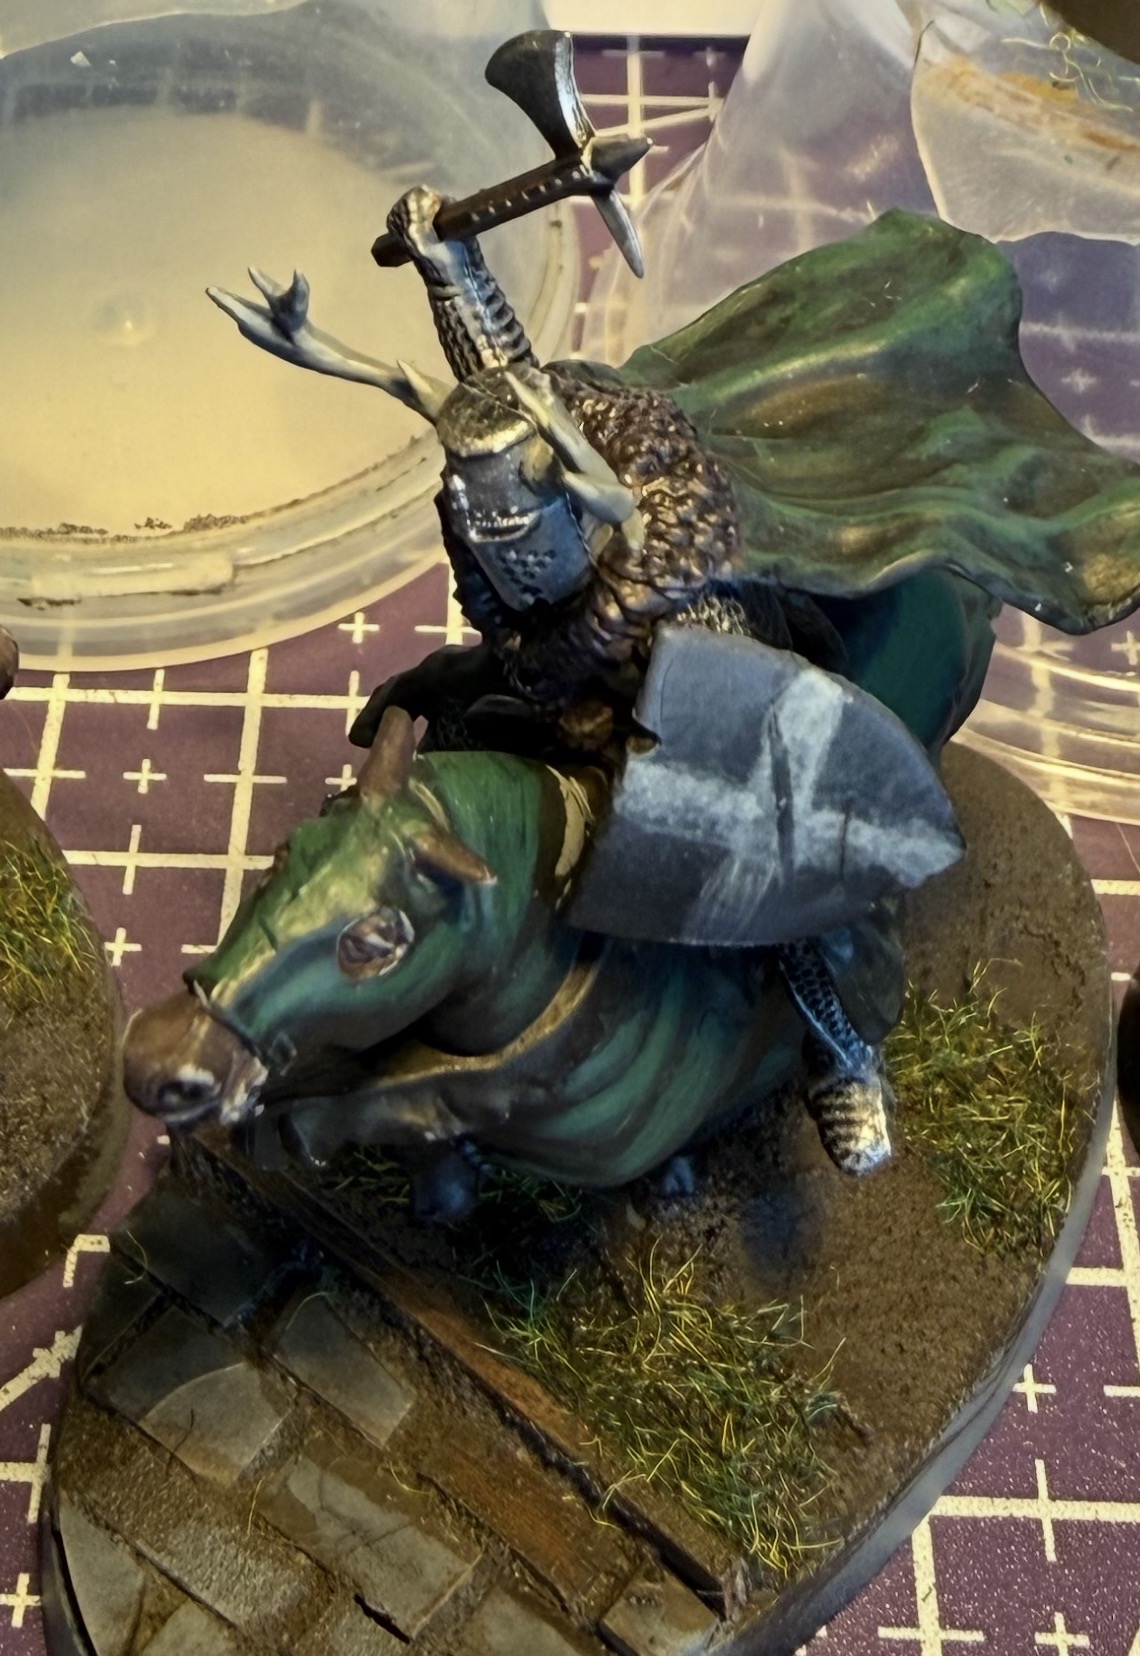
I used Stormhost Silver as a metal highlight to give some shine at the high points of the weapons, helms and mail that points upwards.
Finally, I took the Black shield and glazed on some The Fang pushing towards the upper edge. I then stippled on some watered down Fenrisian Grey as a cross and then Ulthuan Grey towards the upper edges of the pattern. I thinned Drakenhof:Lahmian Medium 1:4 and washed over the full shield to soften some of the colours.
I still need to paint the base rims but grabbed some pictures while the final washes dry.
 Shield close-up
Barding and Tabards Part 2
Following the blue basecoat of Incubi Darkness:Abaddon Black in a 2:1 ratio, I added layers of Incubi Darkness followed by 1:1 Incubi Darkness:Stegadon Scale Blue.
 Blue
BlueFor the Green, I followed the basecoat of Incubi Darkness:Caliban Green:Abaddon Black in a 2:2:1 ratio with 1:1 Incubi Darkness:Caliban Green. I then layered up 1:1 Incubi Darkness:Warpstone Glow followed by 1:1 Stegadon Scale:Warpstone Glow.
 Green
GreenNext, I need to work out how to mix Black without it looking too much like the Blue, test out some Basing colours and finish the Skele-Sergeant, who I cannot decide on a tabard colour for.
Barding and Tabards Part 1
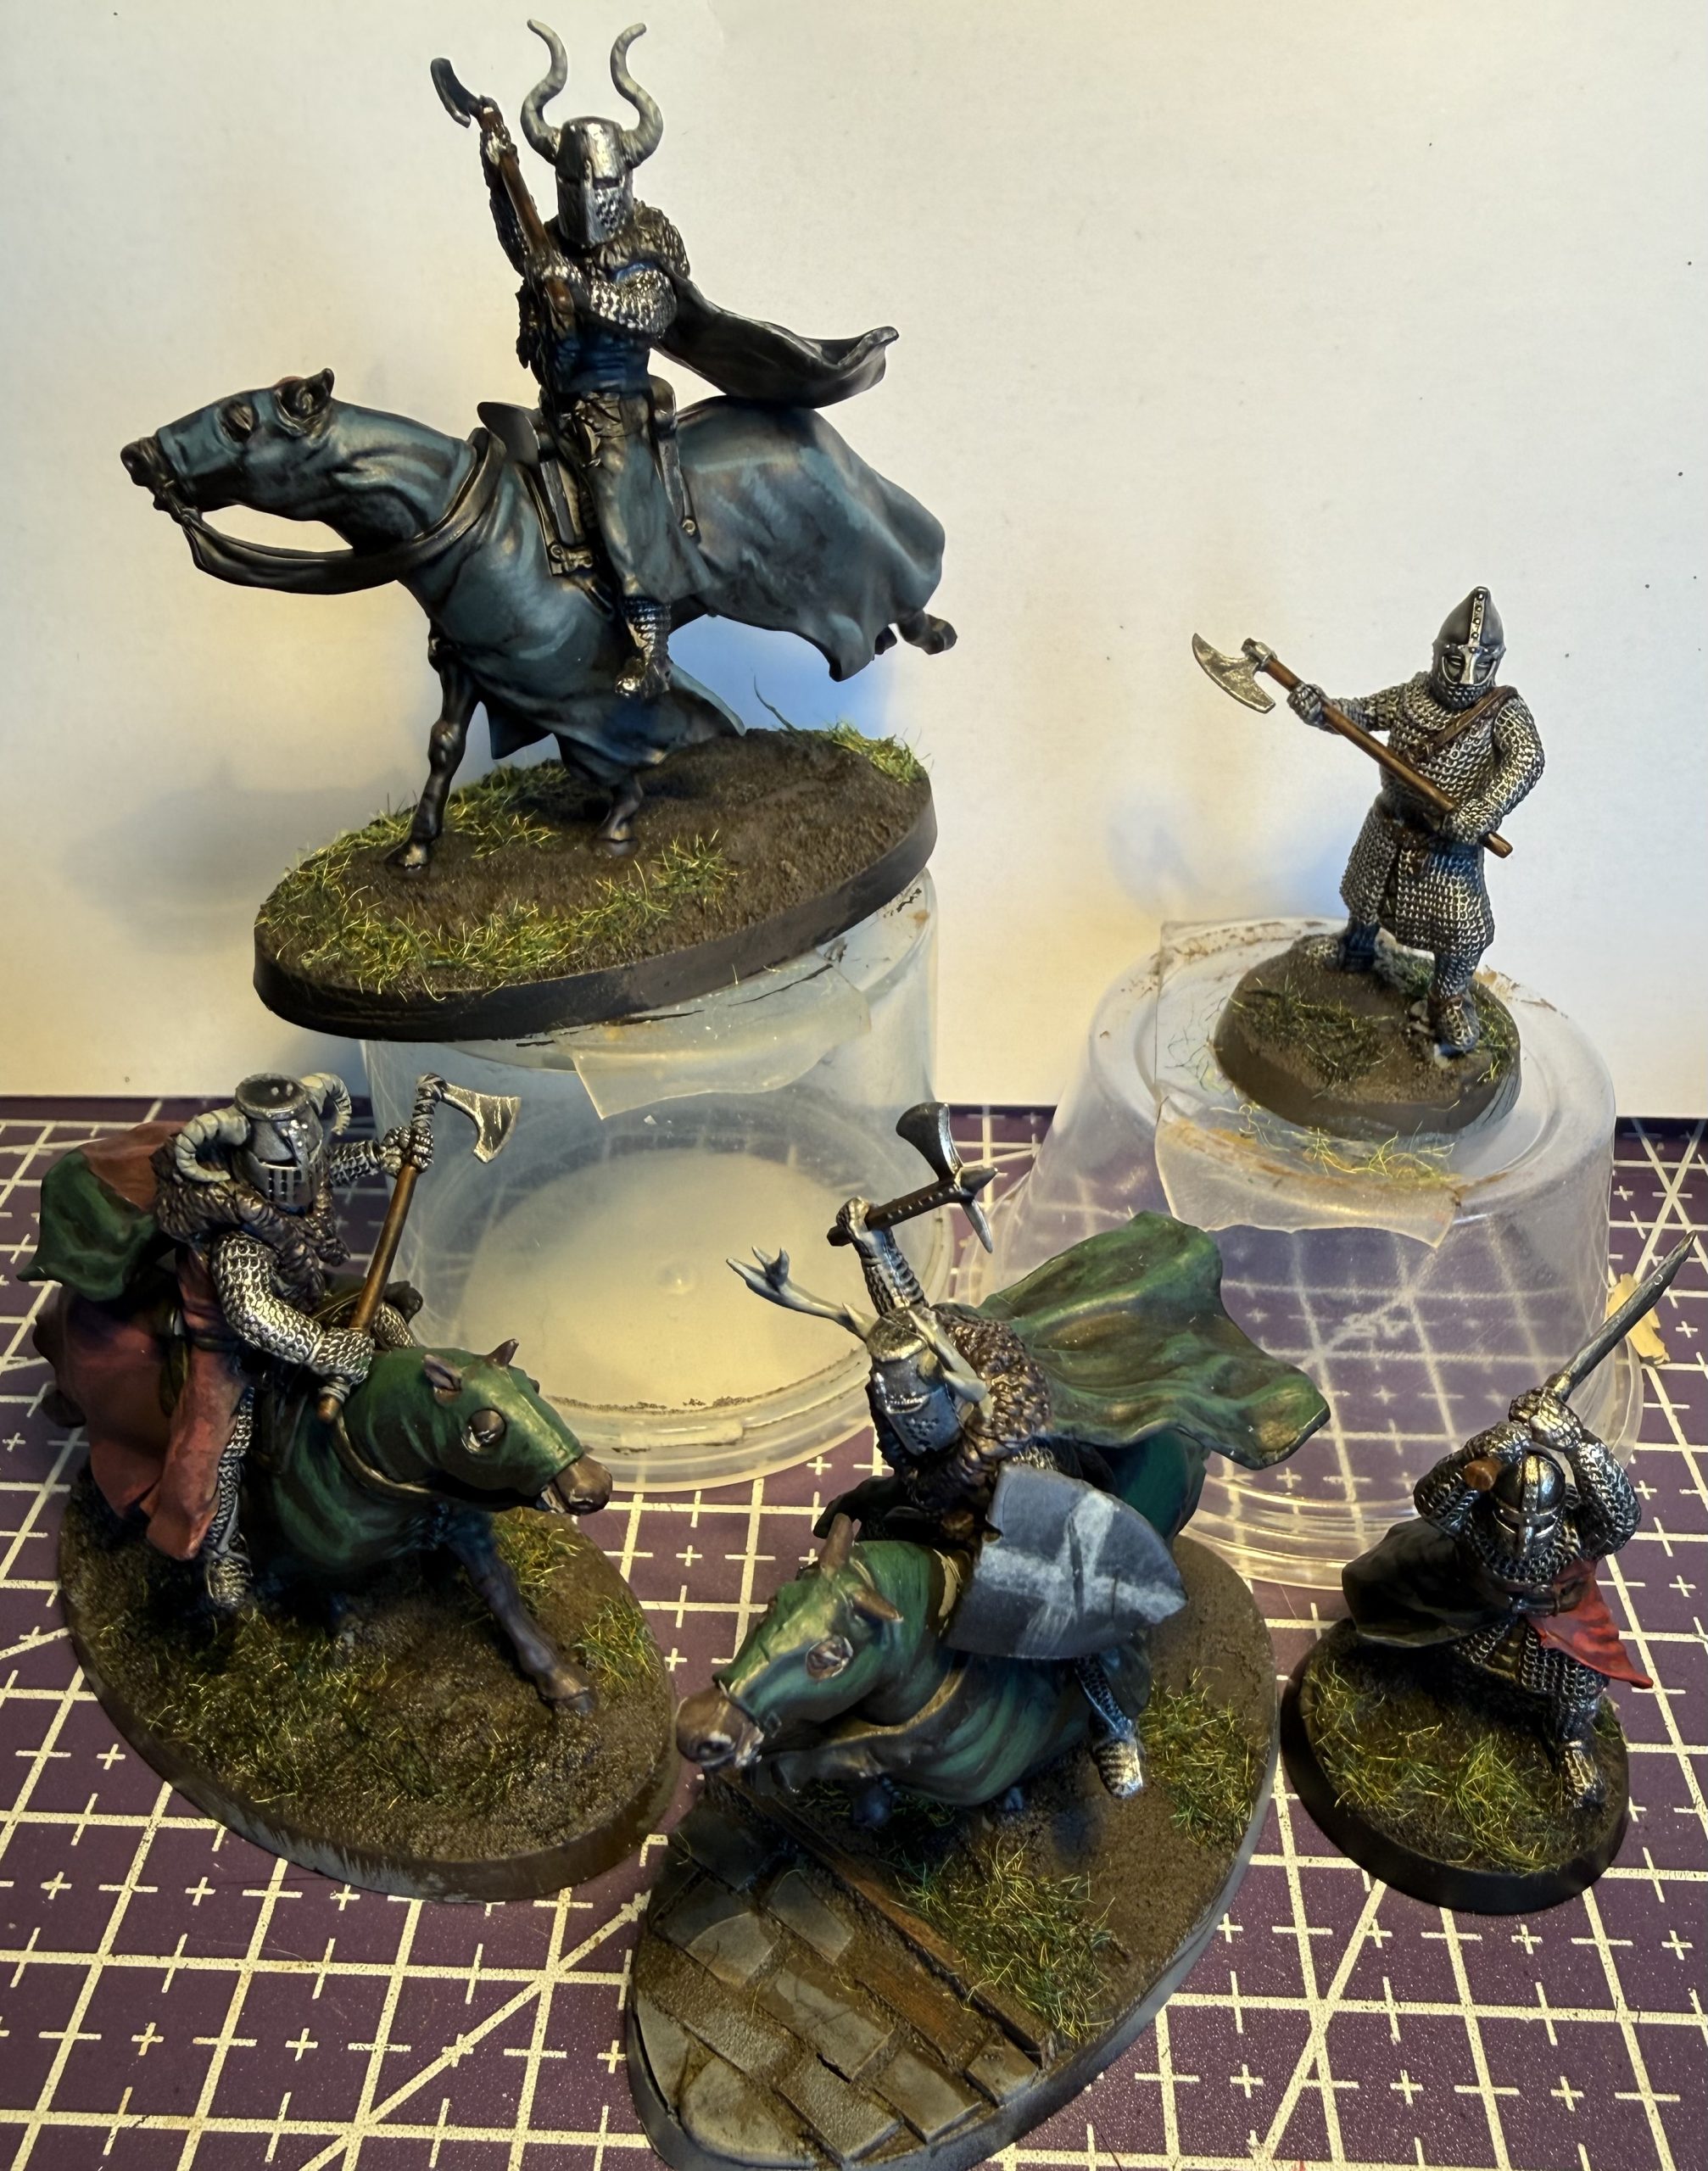
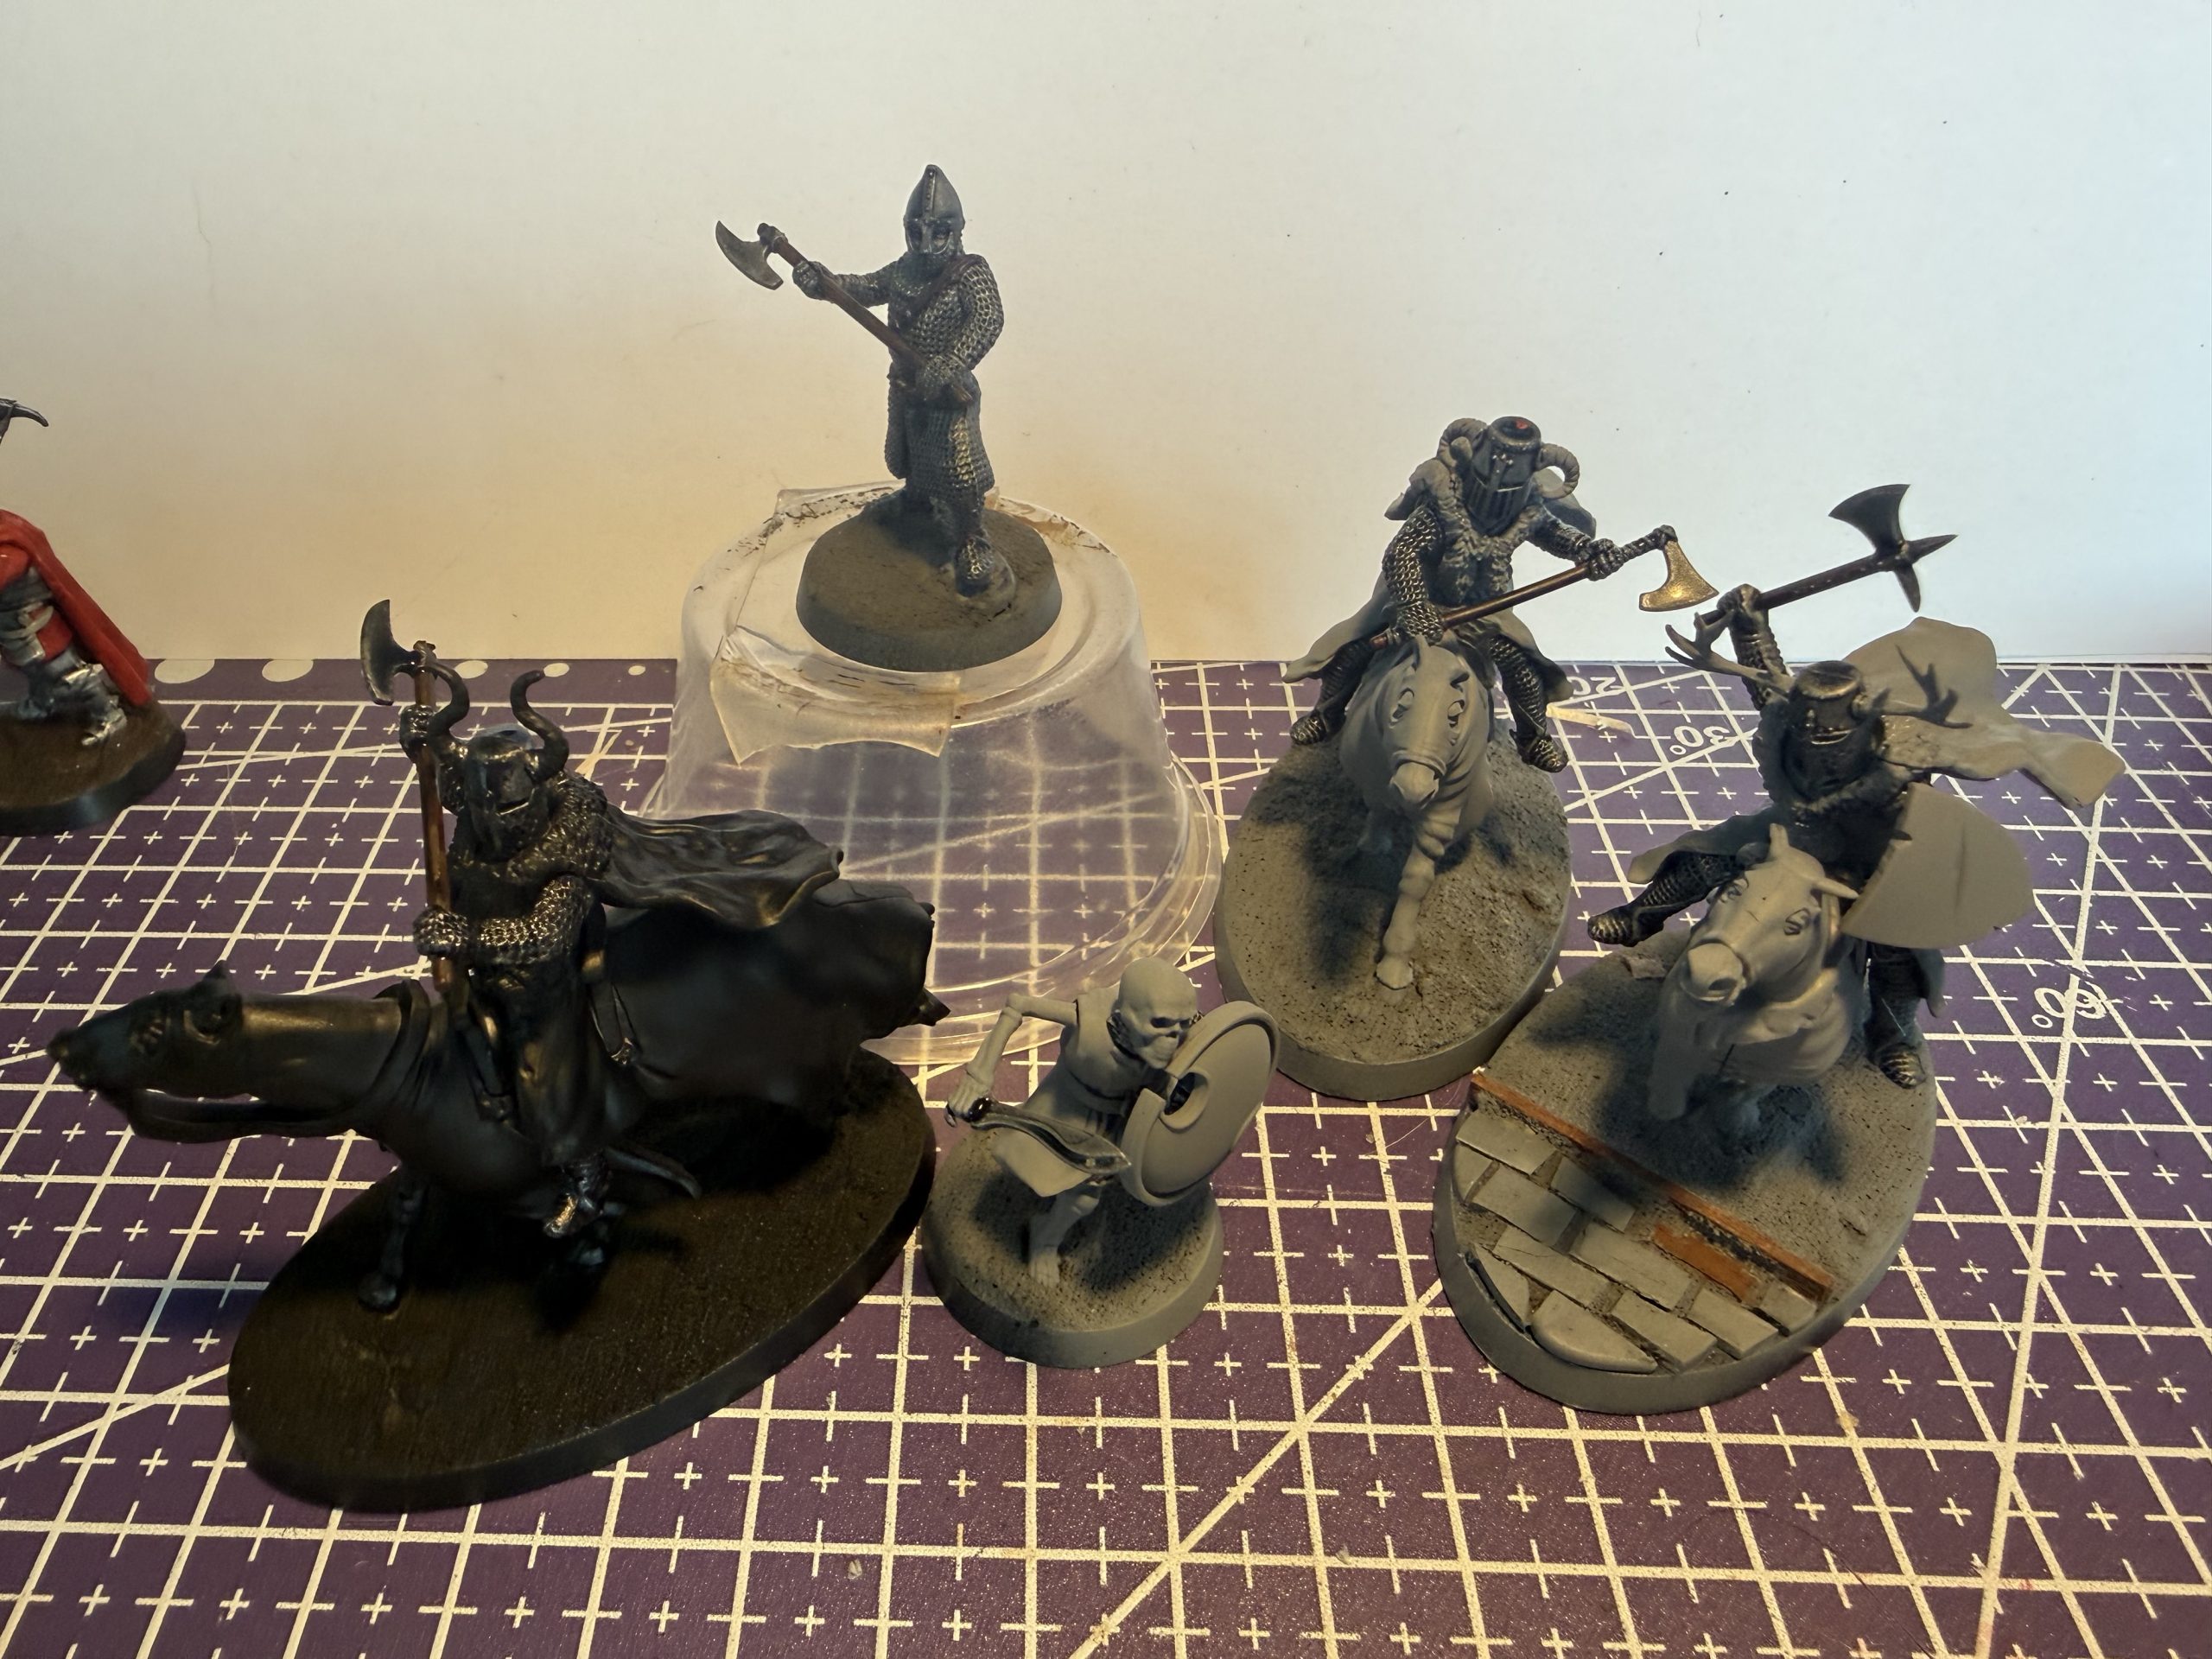 The unpainted models wearing Mail
Following on from last update, I decided to focus on models wearing Mail first. This includes two models that are currently painted which will get some alterations and the models above; The Baron, Two Knights, Two Mounted Knights and a Foot Sergeant with a rather bony complexion.
The main colours that I will be using are Red, Green and Blue, so following the mail, wood and leather areas from last time, I started blocking these in.
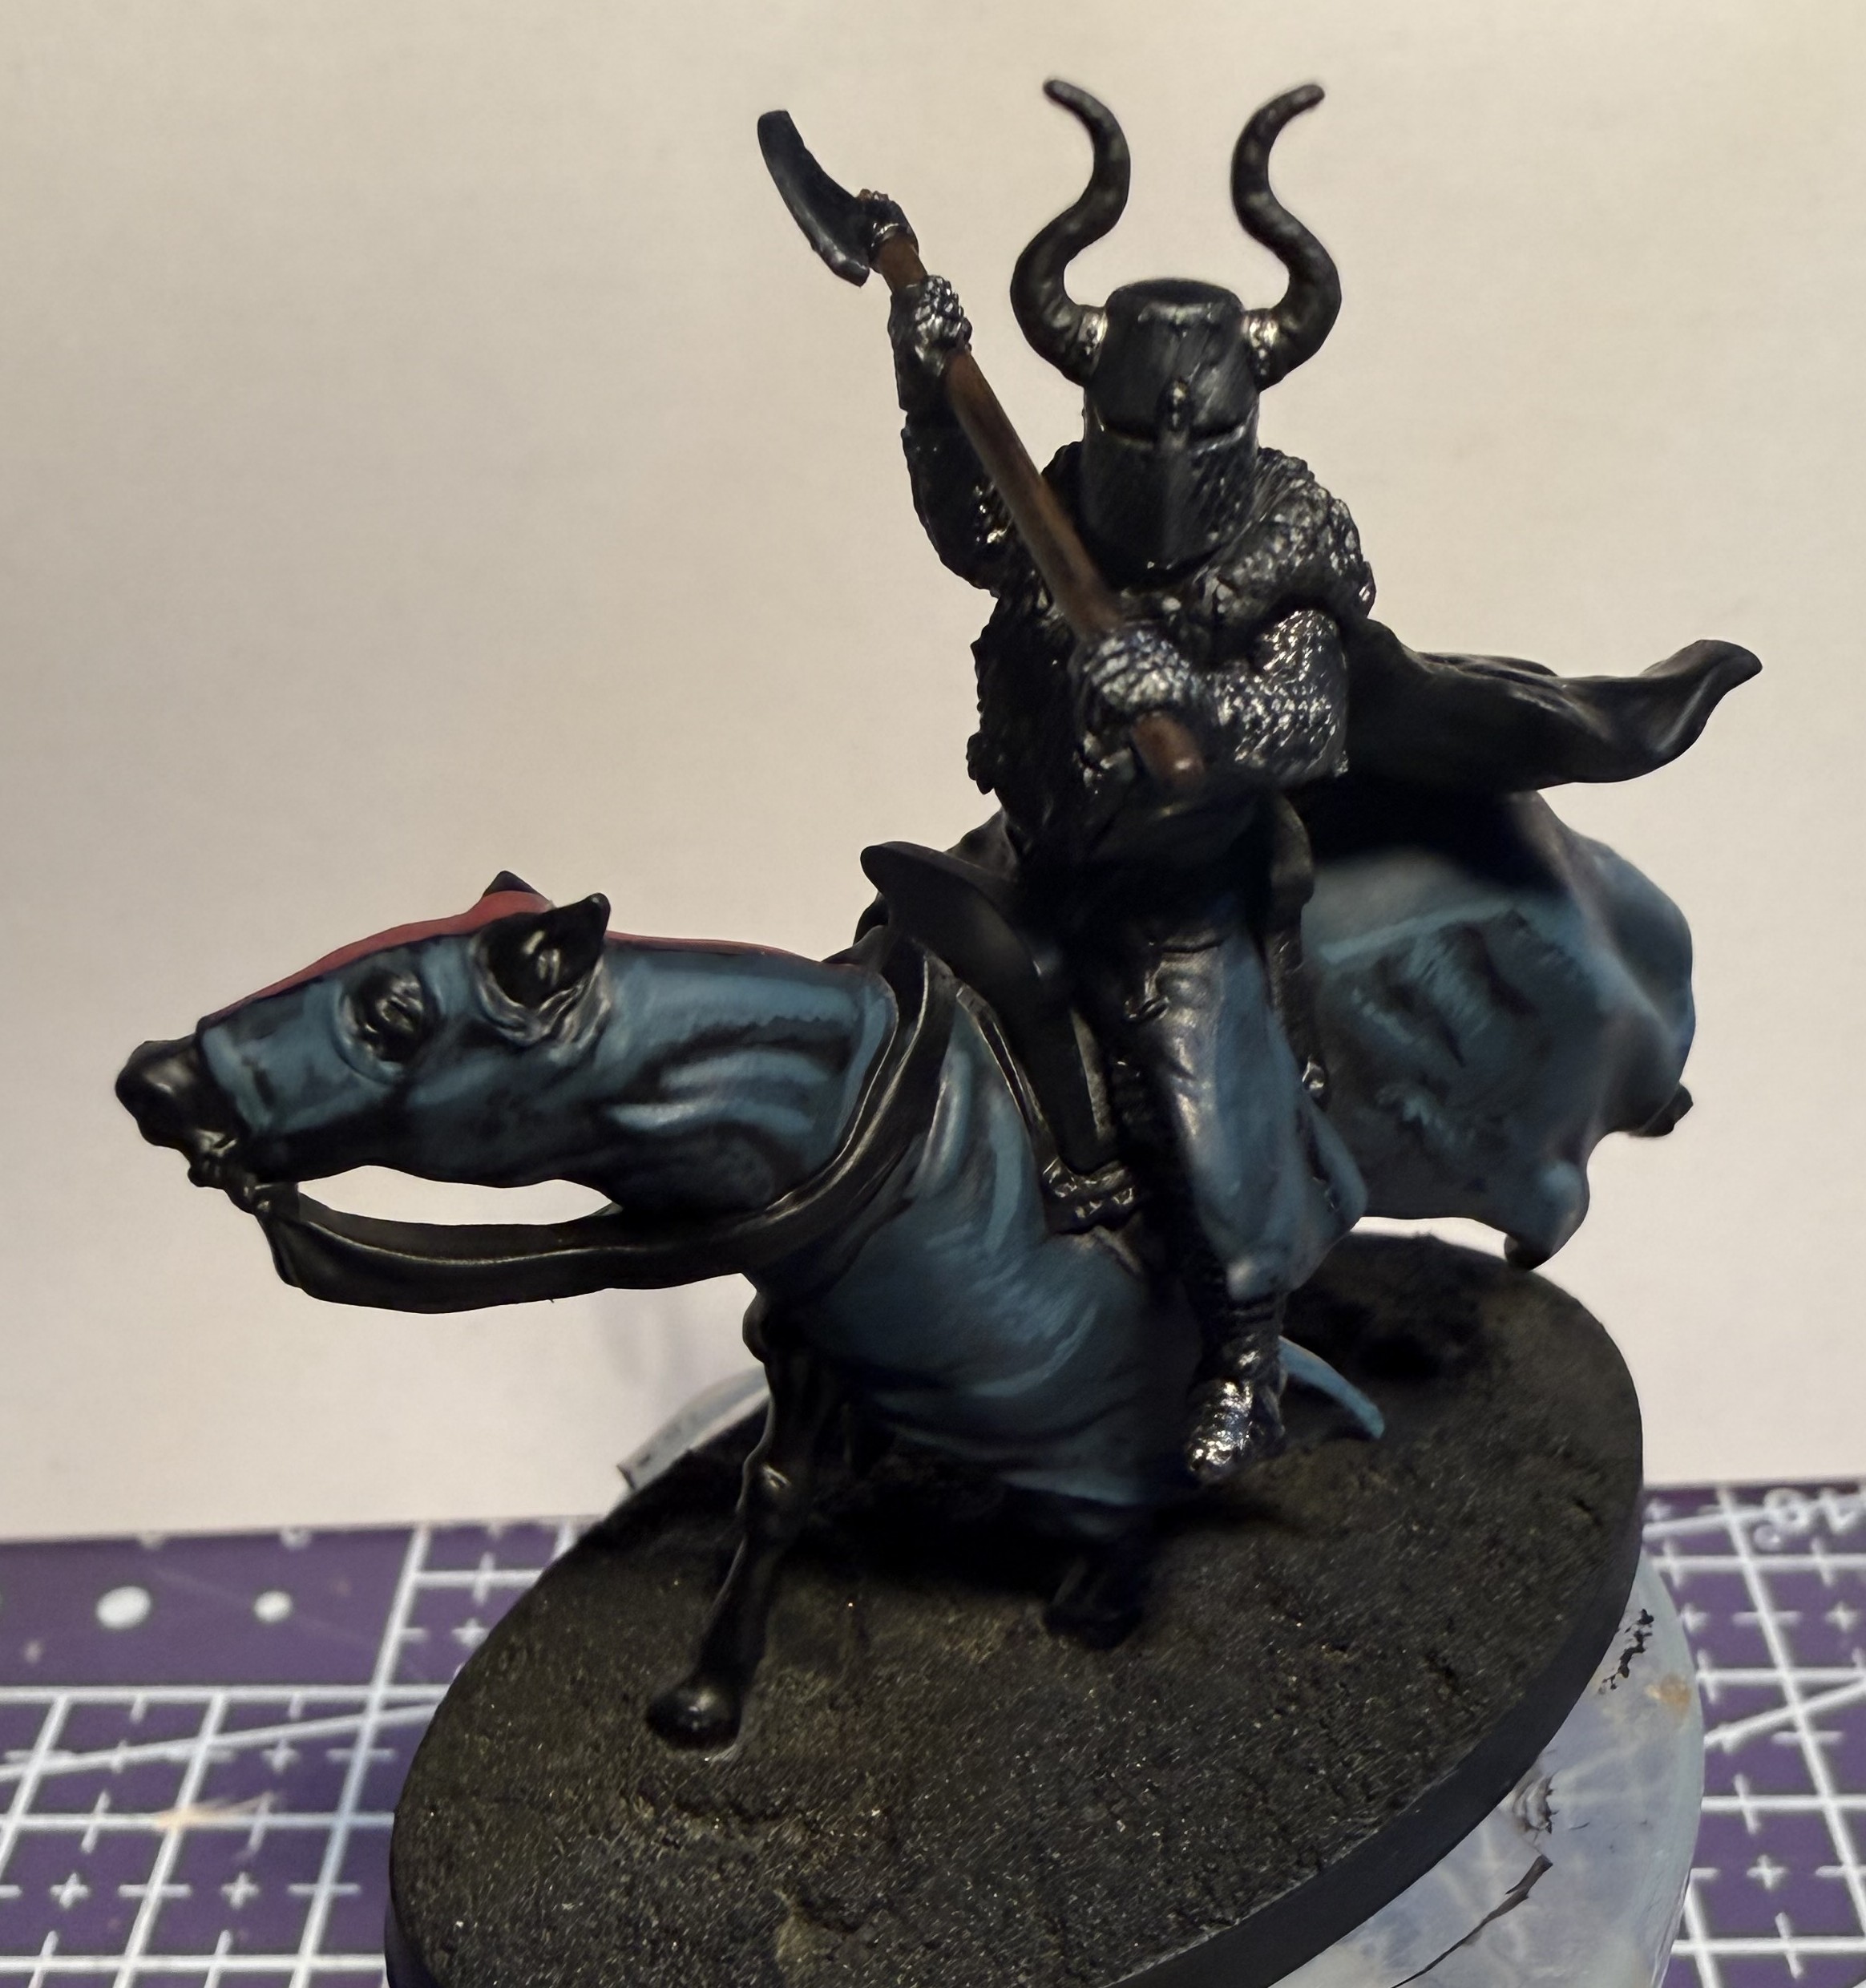
For the blue base, I used Incubi Darkness:Abaddon Black in a 2:1 ratio, leaving some black in the shadows on the Black Primed mini. This will be a half scheme with the other side in Red, which I will focus on for this update.
I am not concerned about using a Grey Primer for the rest as I will be adding more shadow later, and I find Grey easier to see detail in.
 Blue basecoating
For Green cloth, I started with Incubi Darkness:Caliban Green:Abaddon Black in a 2:2:1 ratio. It’s very dark, so I covered the full area.
 Dark Green basecoat
For the Red cloth, I started with a mix of Khorne Red:The Fang:Abaddon Black in a 2:1:1 ratio.
The Fang would add some cold blue to the mix and Khorne Red is already quite dark and lacks the bold redness of something like Mephiston Red. Perfect for my plan for lowlight/moonlit miniatures with the low light levels at night showing Reds with less saturation and much darker than blue colours.
At each stage with these reds, I also covered areas on my red painted models with the corresponding shadow/mid/highlight colours. Just with 1 thin coat, with the intention of desaturating them and tying them into the new theme.
 Red Basecoated
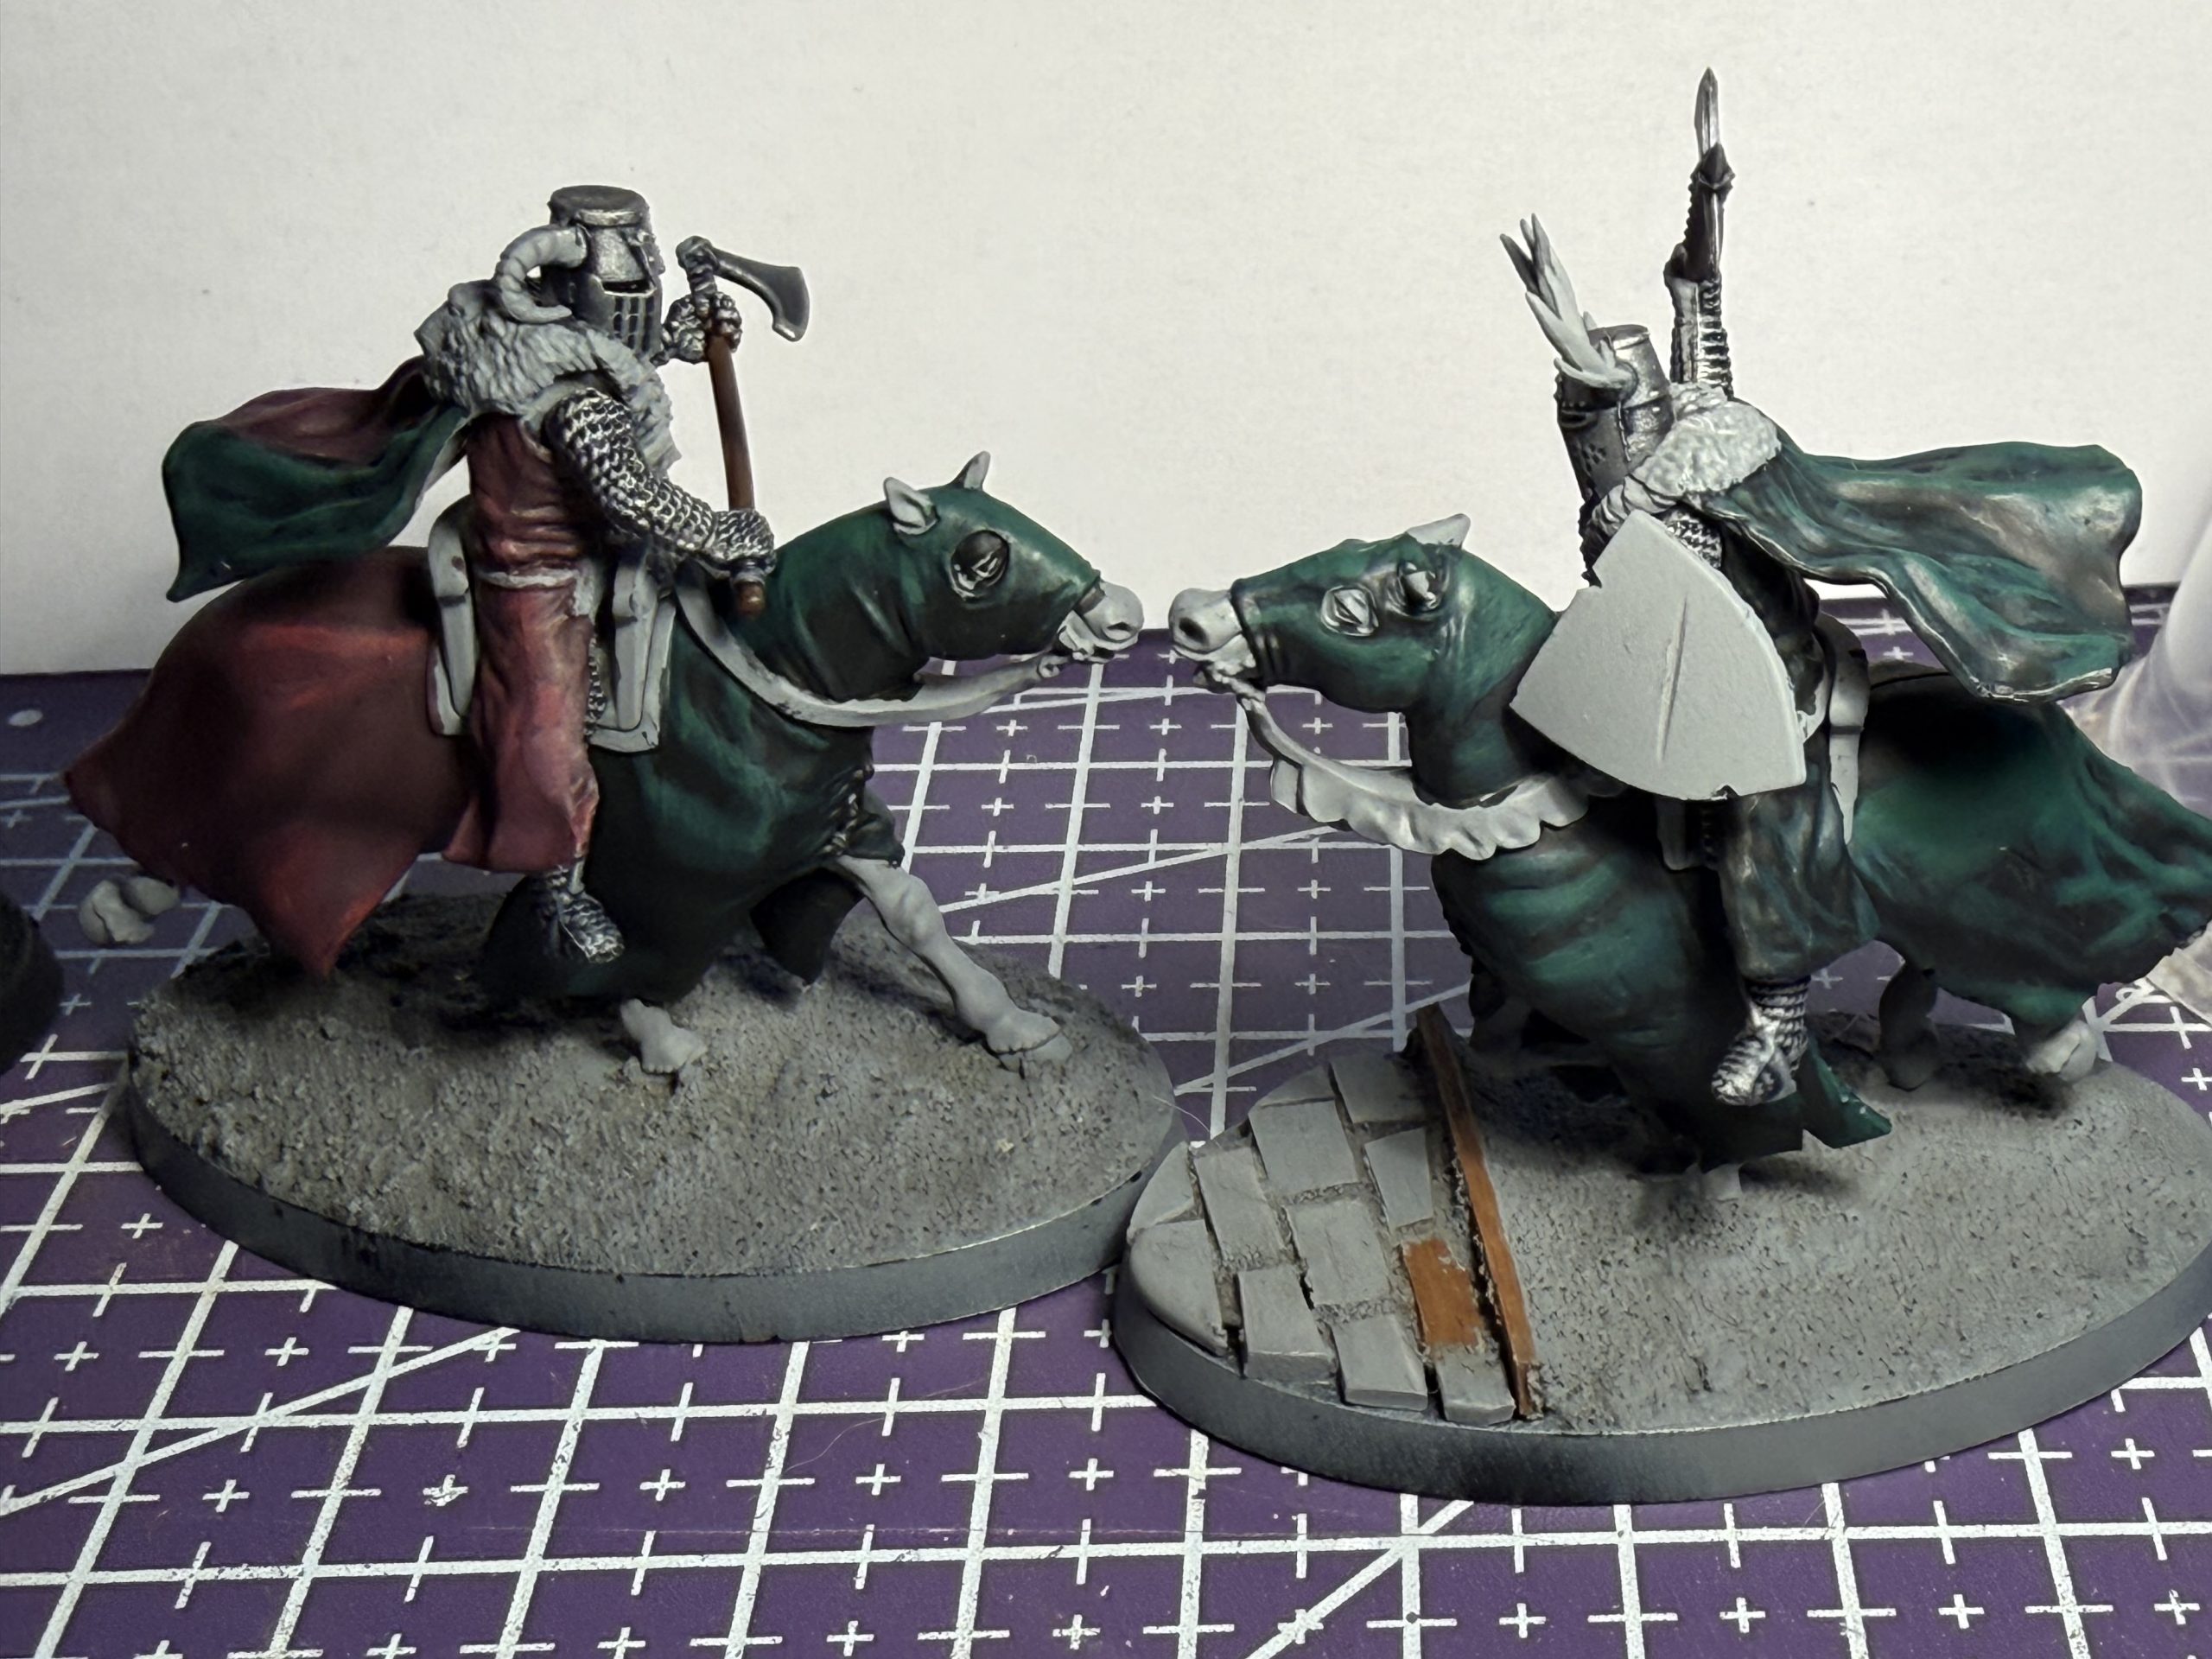
For the next layers of Red I used:
Khorne Red:The Fang in a 1:1 ratio as a first highlight/layer (see the rear of the horse in the next image)
followed by,
Mephiston Red:Fenrisian Grey in a 1:1 ratio as a bright highlight (see the front of the horse in the next image).
I focused these towards the top of the mini, I also selected the left (right as I look at it) of the model to have the highlights running a little further down to suggest the light was coming from up and to their left.
I wondered if the Fenrisian Grey was too much of a jump alongside the Mephiston Red to add some saturation. I had also tried the previous Khorne:Fang with some Screaming Skull mixed in but it was too pink. Maybe just Fenrisian into that would have been enough. In the end, I think it has worked fine, but it is something to consider when I work on the Blue and Green, not to jump all at once into the next brightness level.
I also considered where future shadows would be, keeping highlights from extending under limbs, cloaks, the horses neck etc, as these areas will be getting darkened further later.
 Red highlighting
With that, I was happy with the red for now, and am moving onto the blue and green. I have another image collecting the red clothed models together.
The Wargames Atlantic Guard with GW Dark Riders head is still a bit bright, but I can work on that when I add some more shading.
I hope that the effect is starting to come through, I might need to think about finding something dark to photo against, at least for the finished models later as it is hard to read “Moonlight” when they are in a white space. Future me problem.
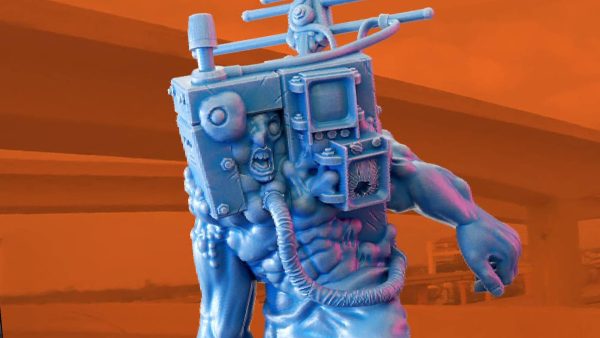
 RED!
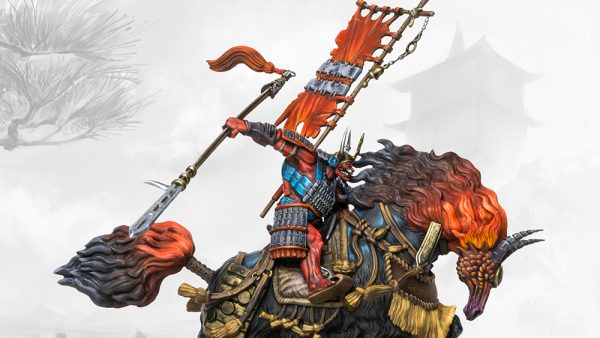
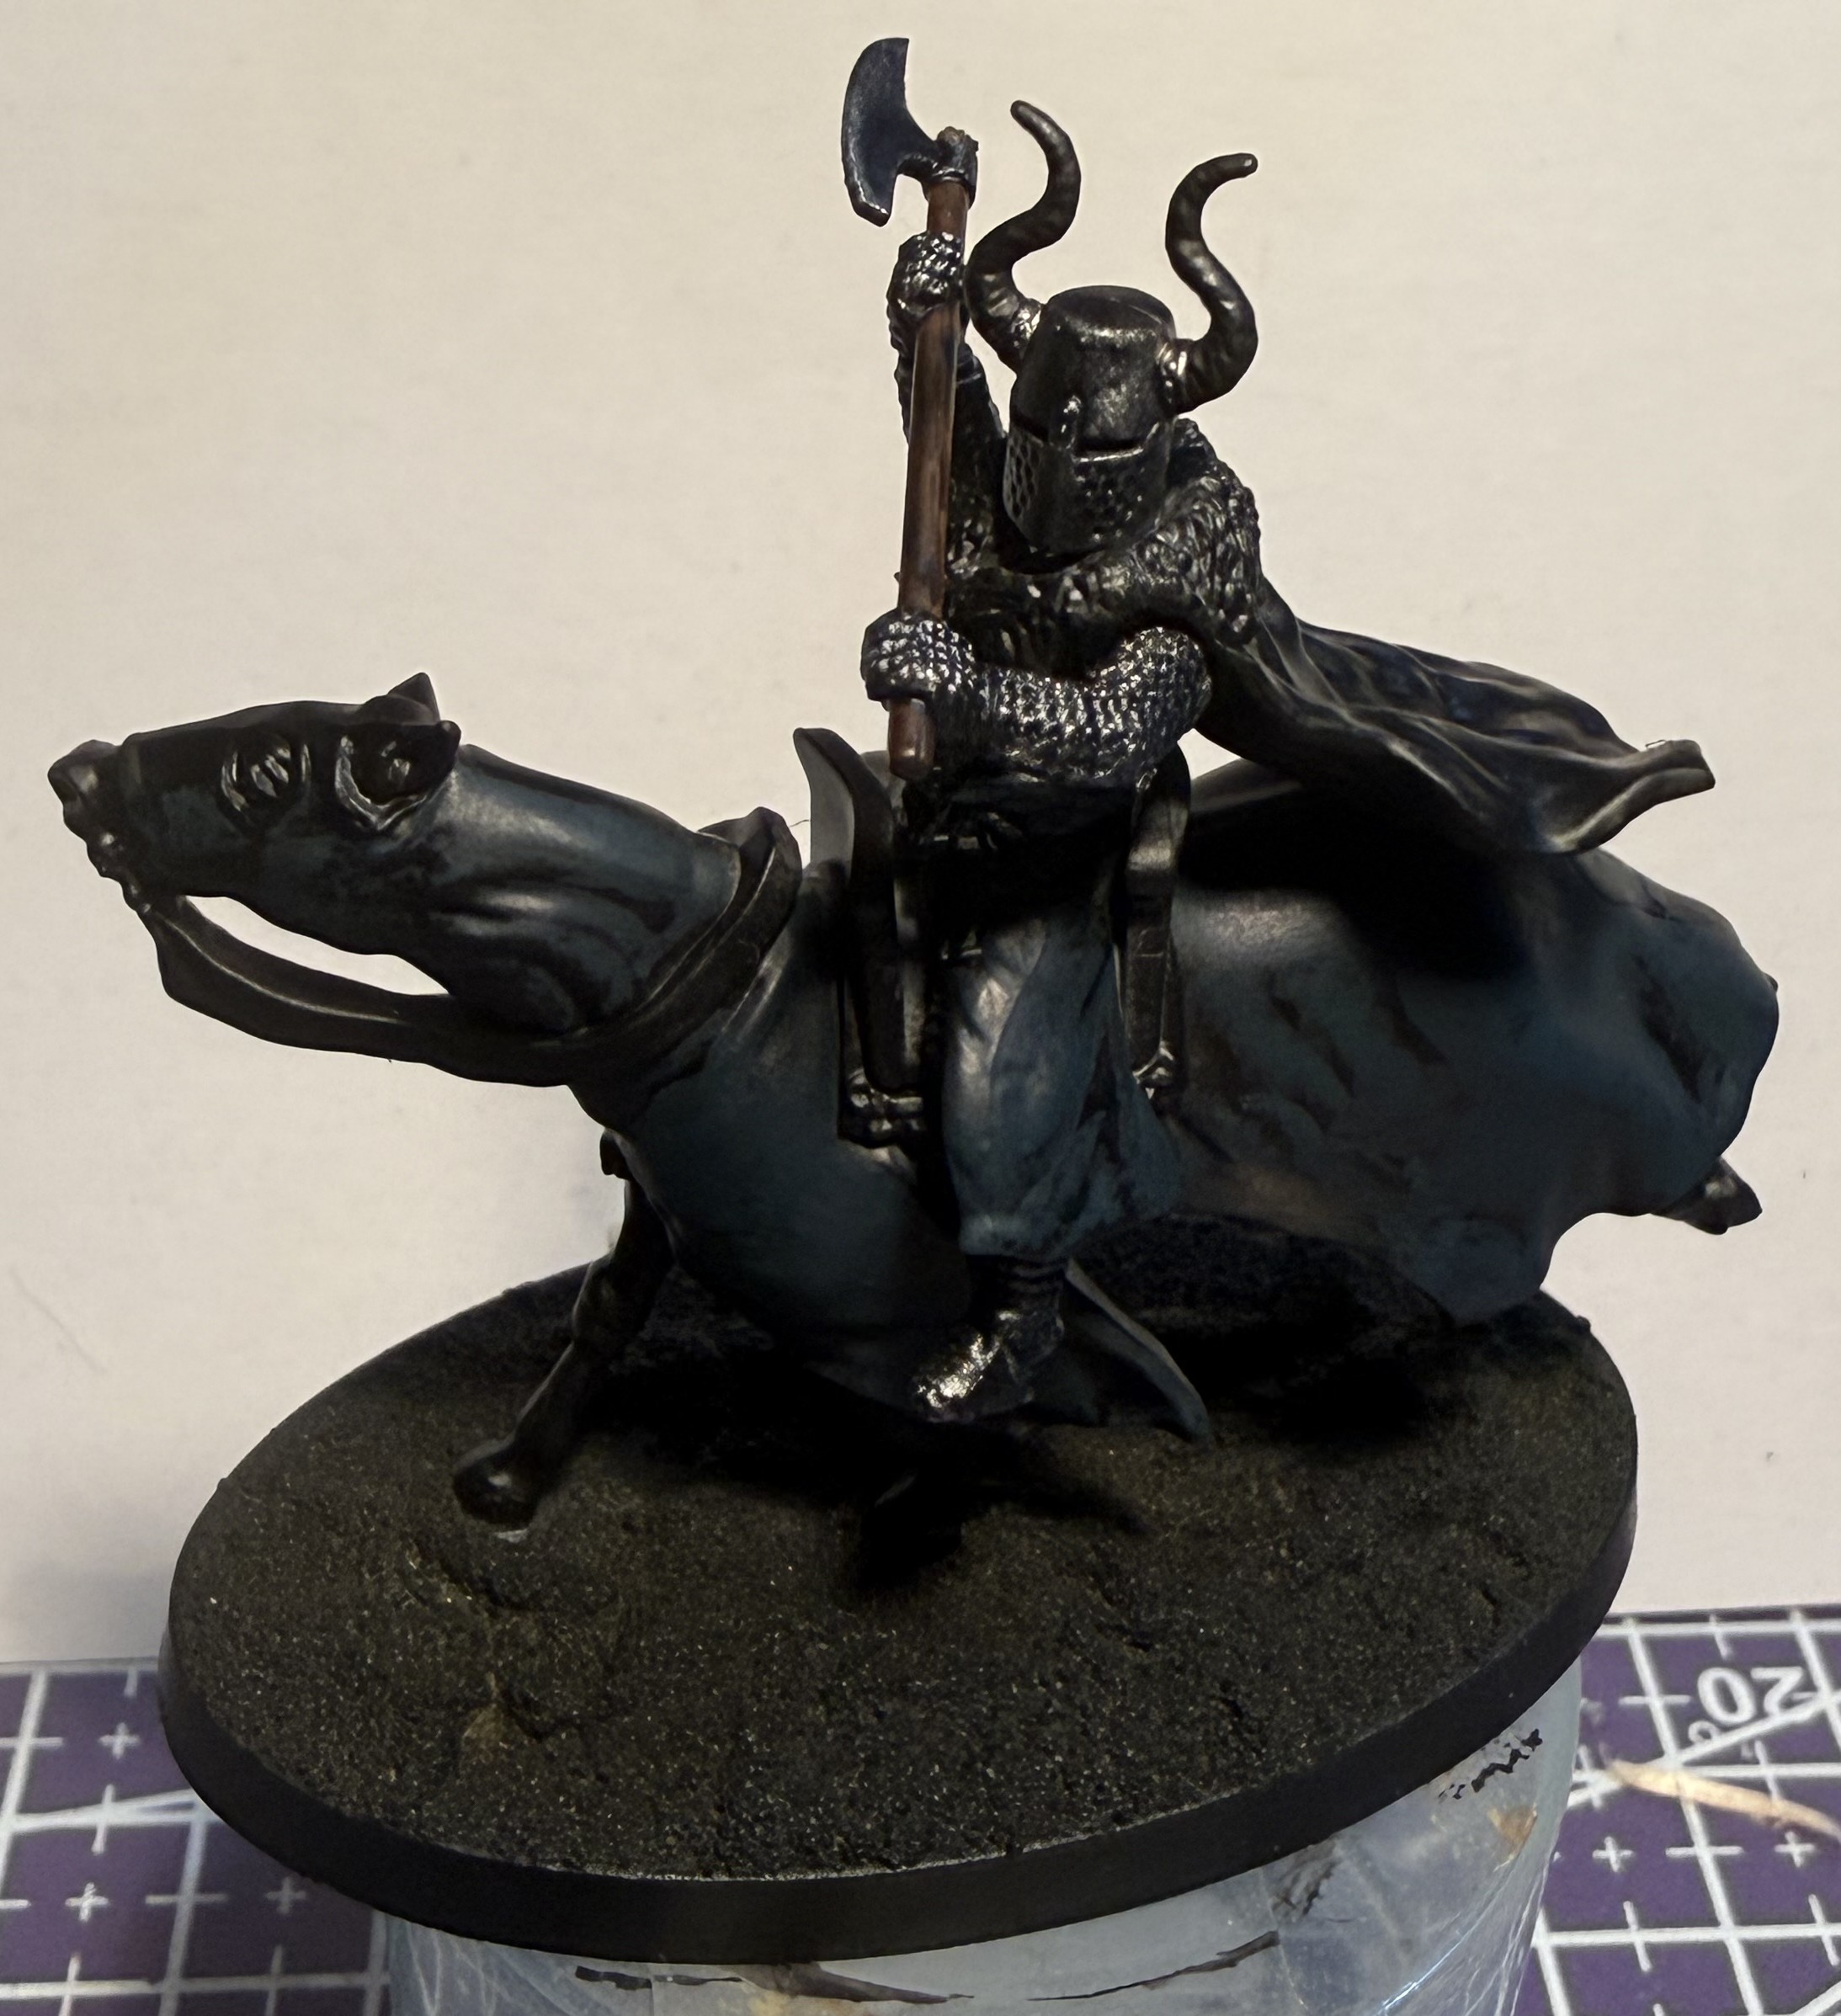
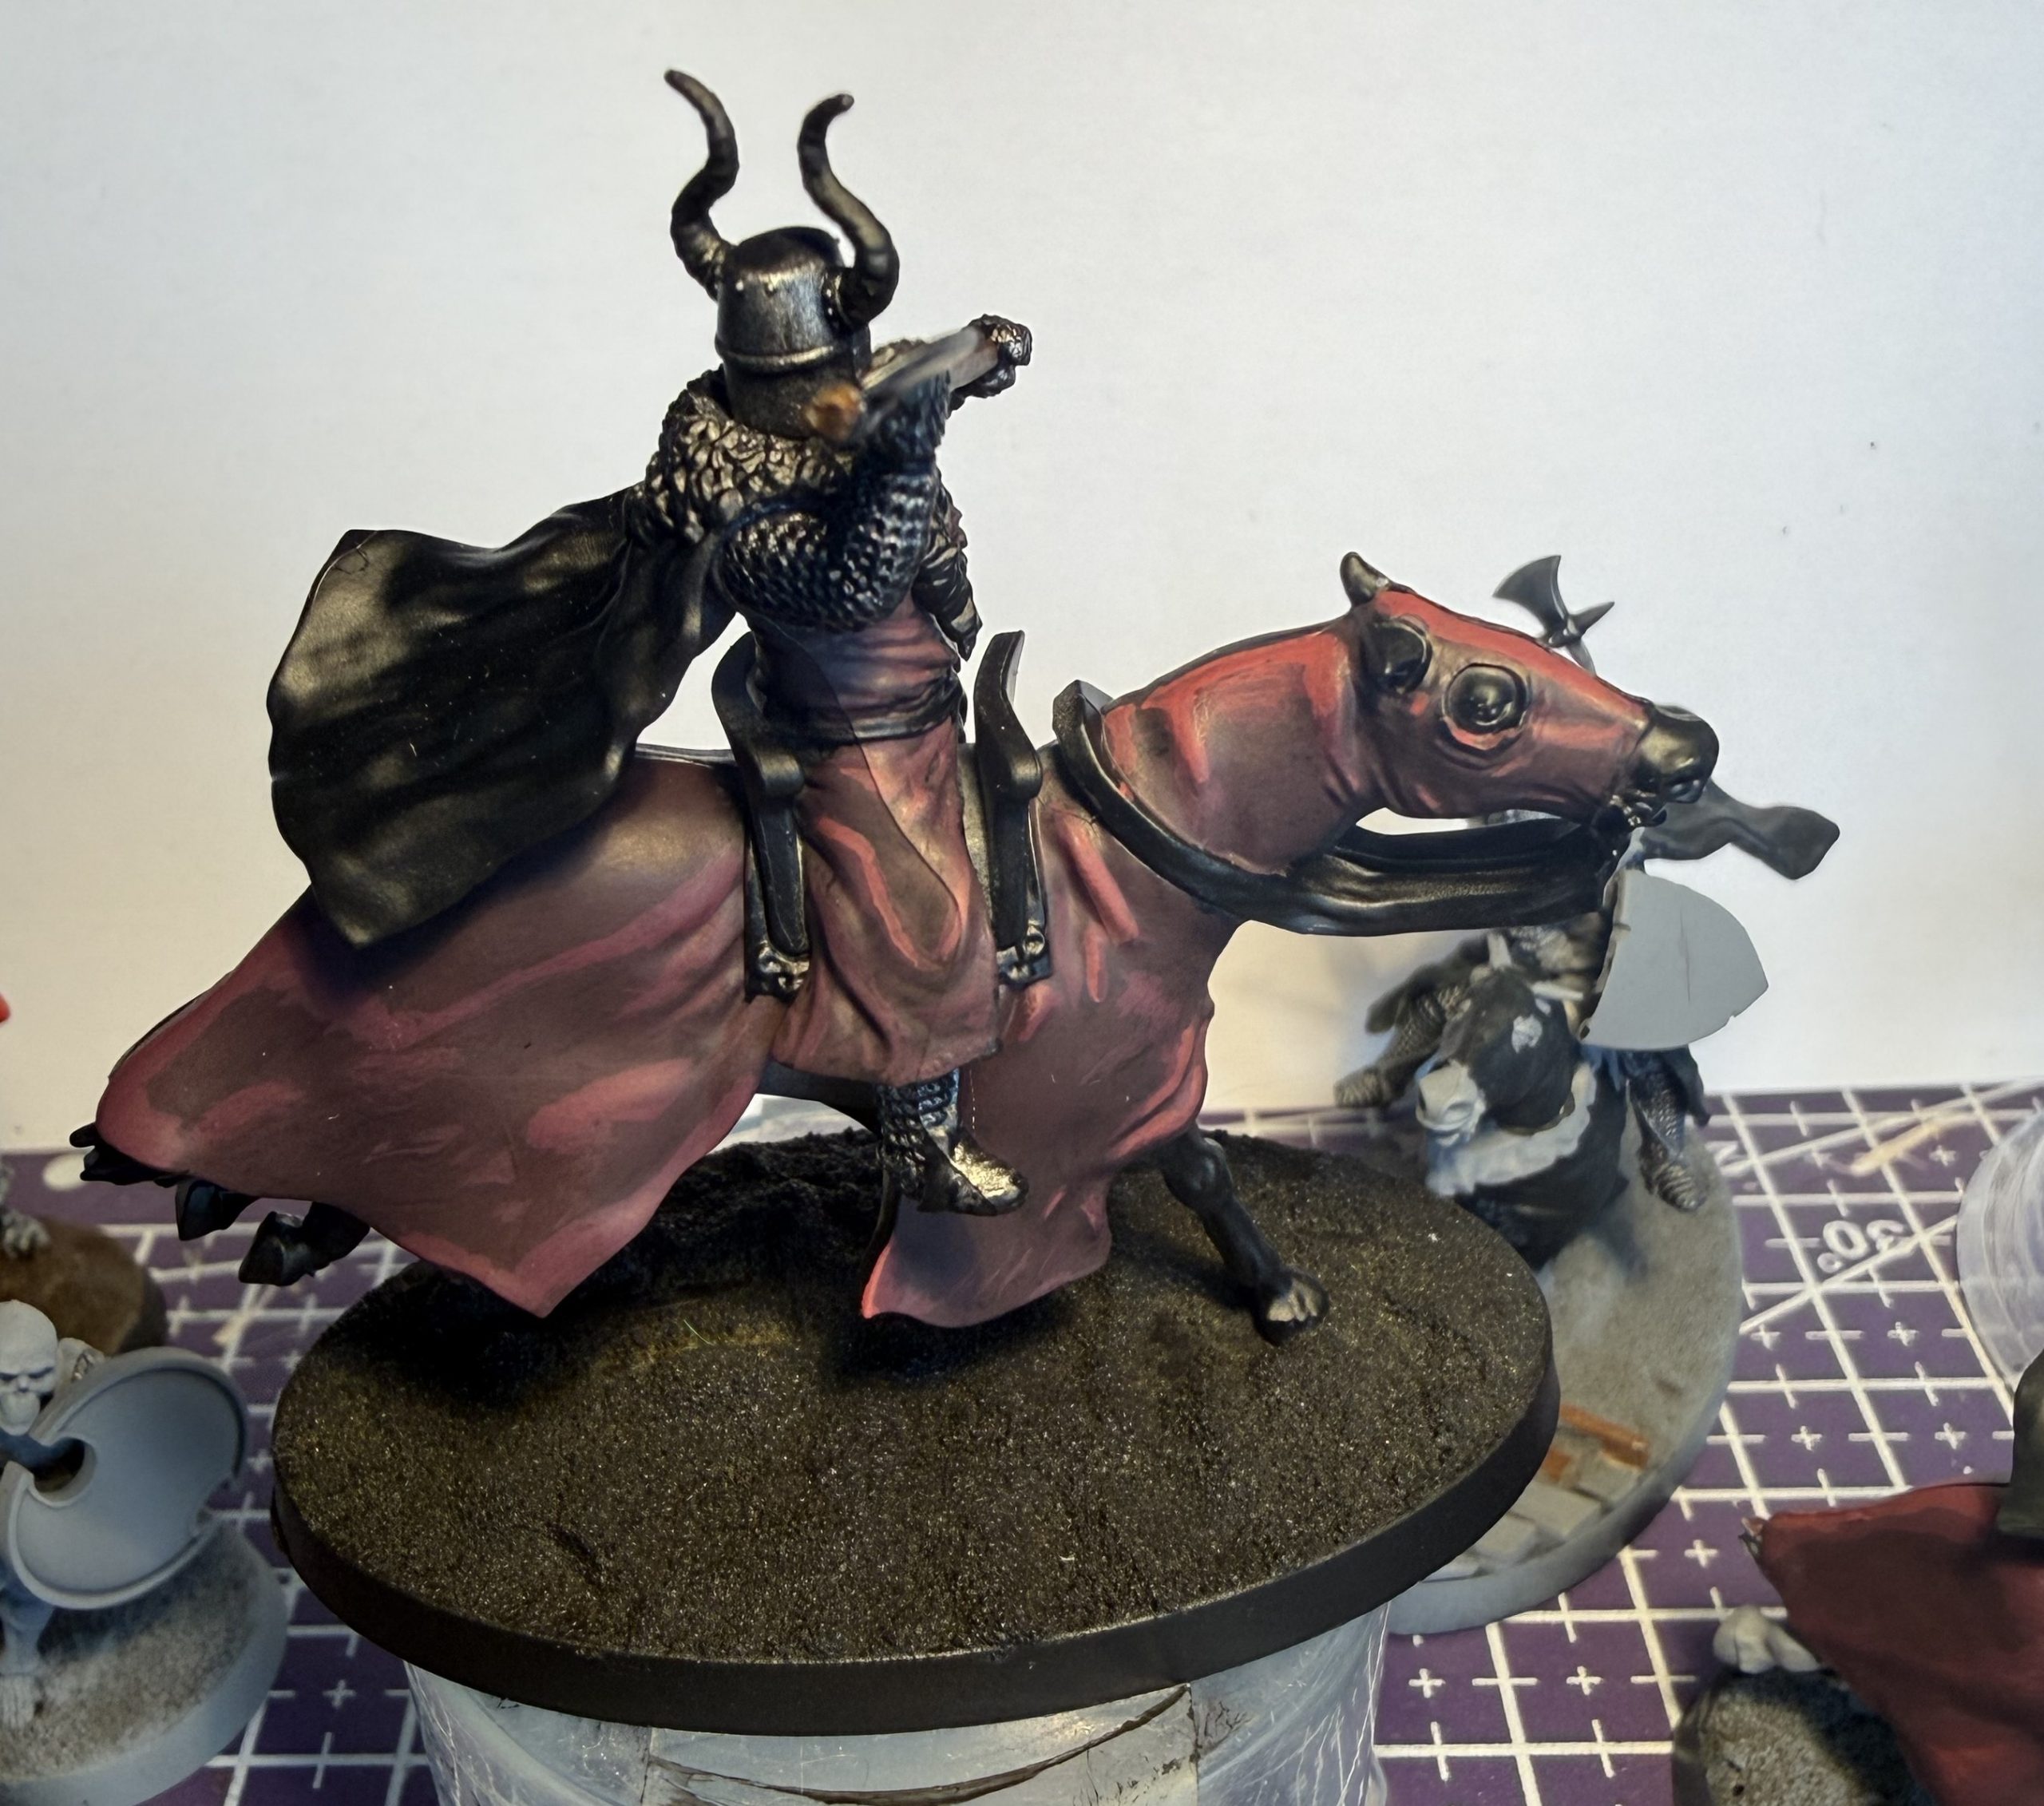
RED!The Baron
 Baron in Progress
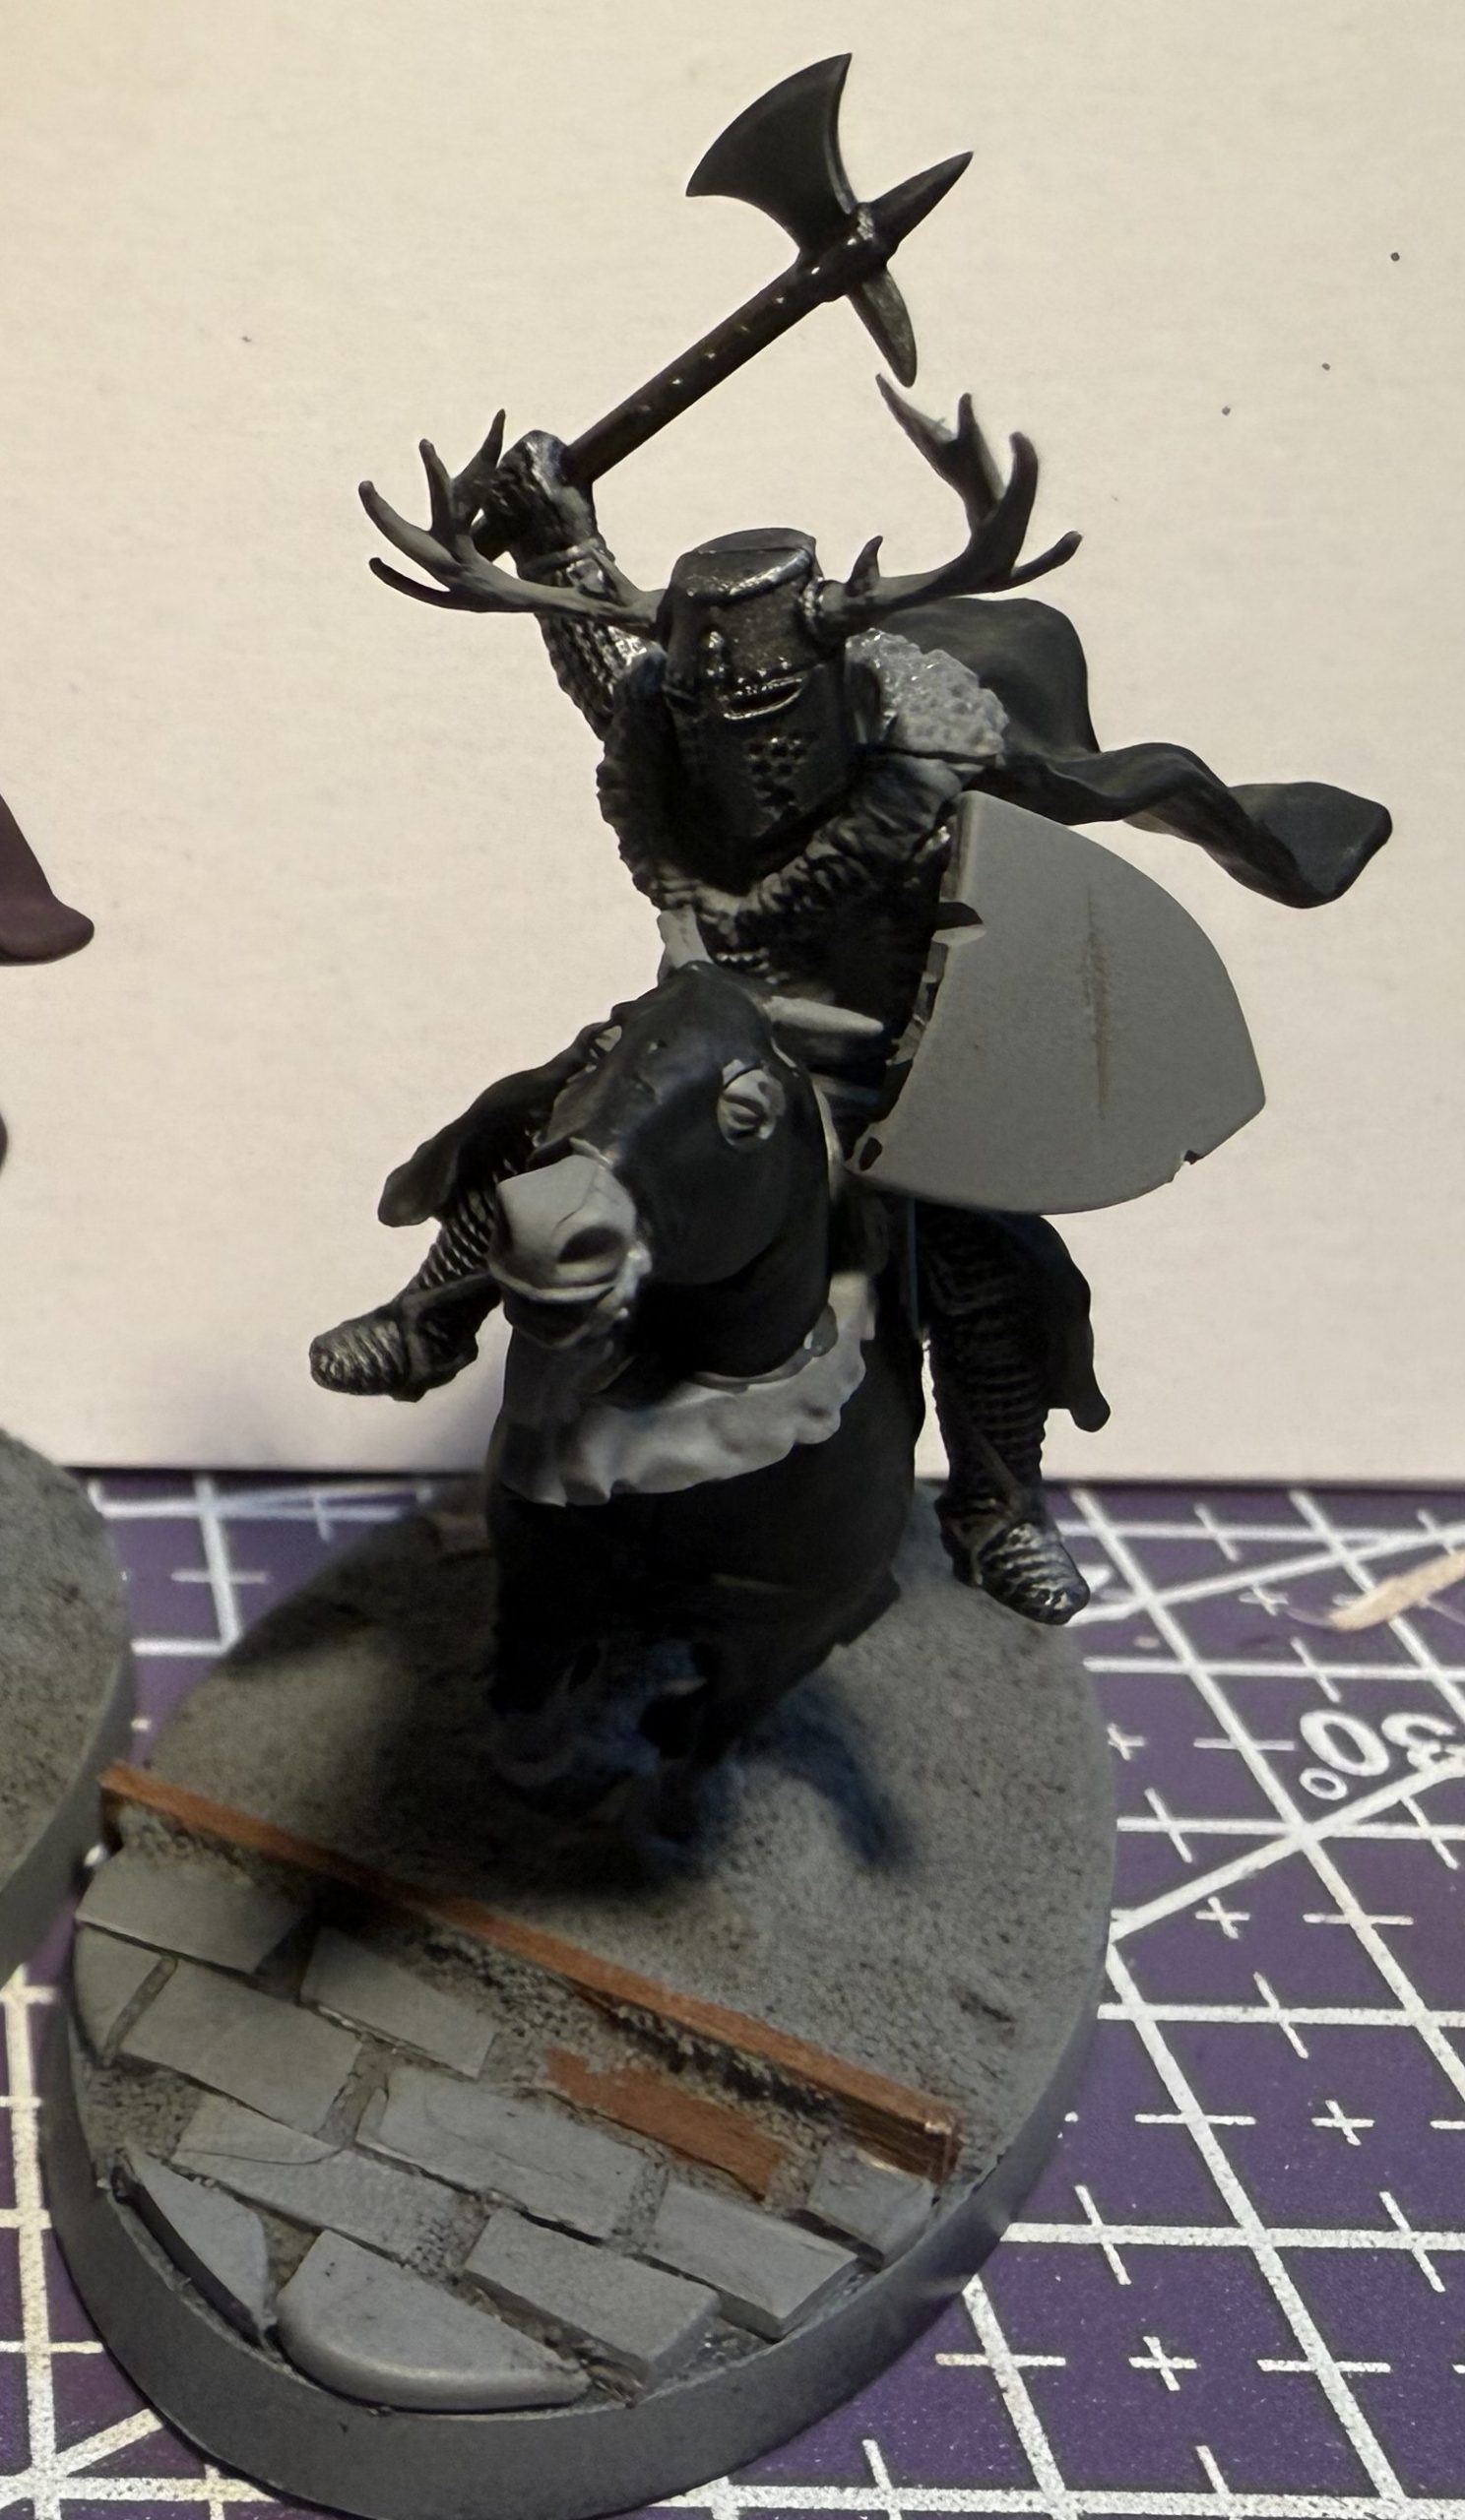
I decided that my Baron would join the two accompanying Mounted Knights I had already built last year in wielding a Battle Axe, a nice addition to the Knight profile in a recent update to their wargear.
I had to take further inspiration from Herne the Hunter and use one of the Antler adorned helms from Victrix Medieval & Fantasy Heads, Cloaks & Shields. He would look out of place without them, since the other two knights had horns of their own.
I also added some damage to the barding on the horse using a triangular file and a pin vise. Though with my plan for painting (which I will come to soon), I should have been more destructive as it is not too clear.
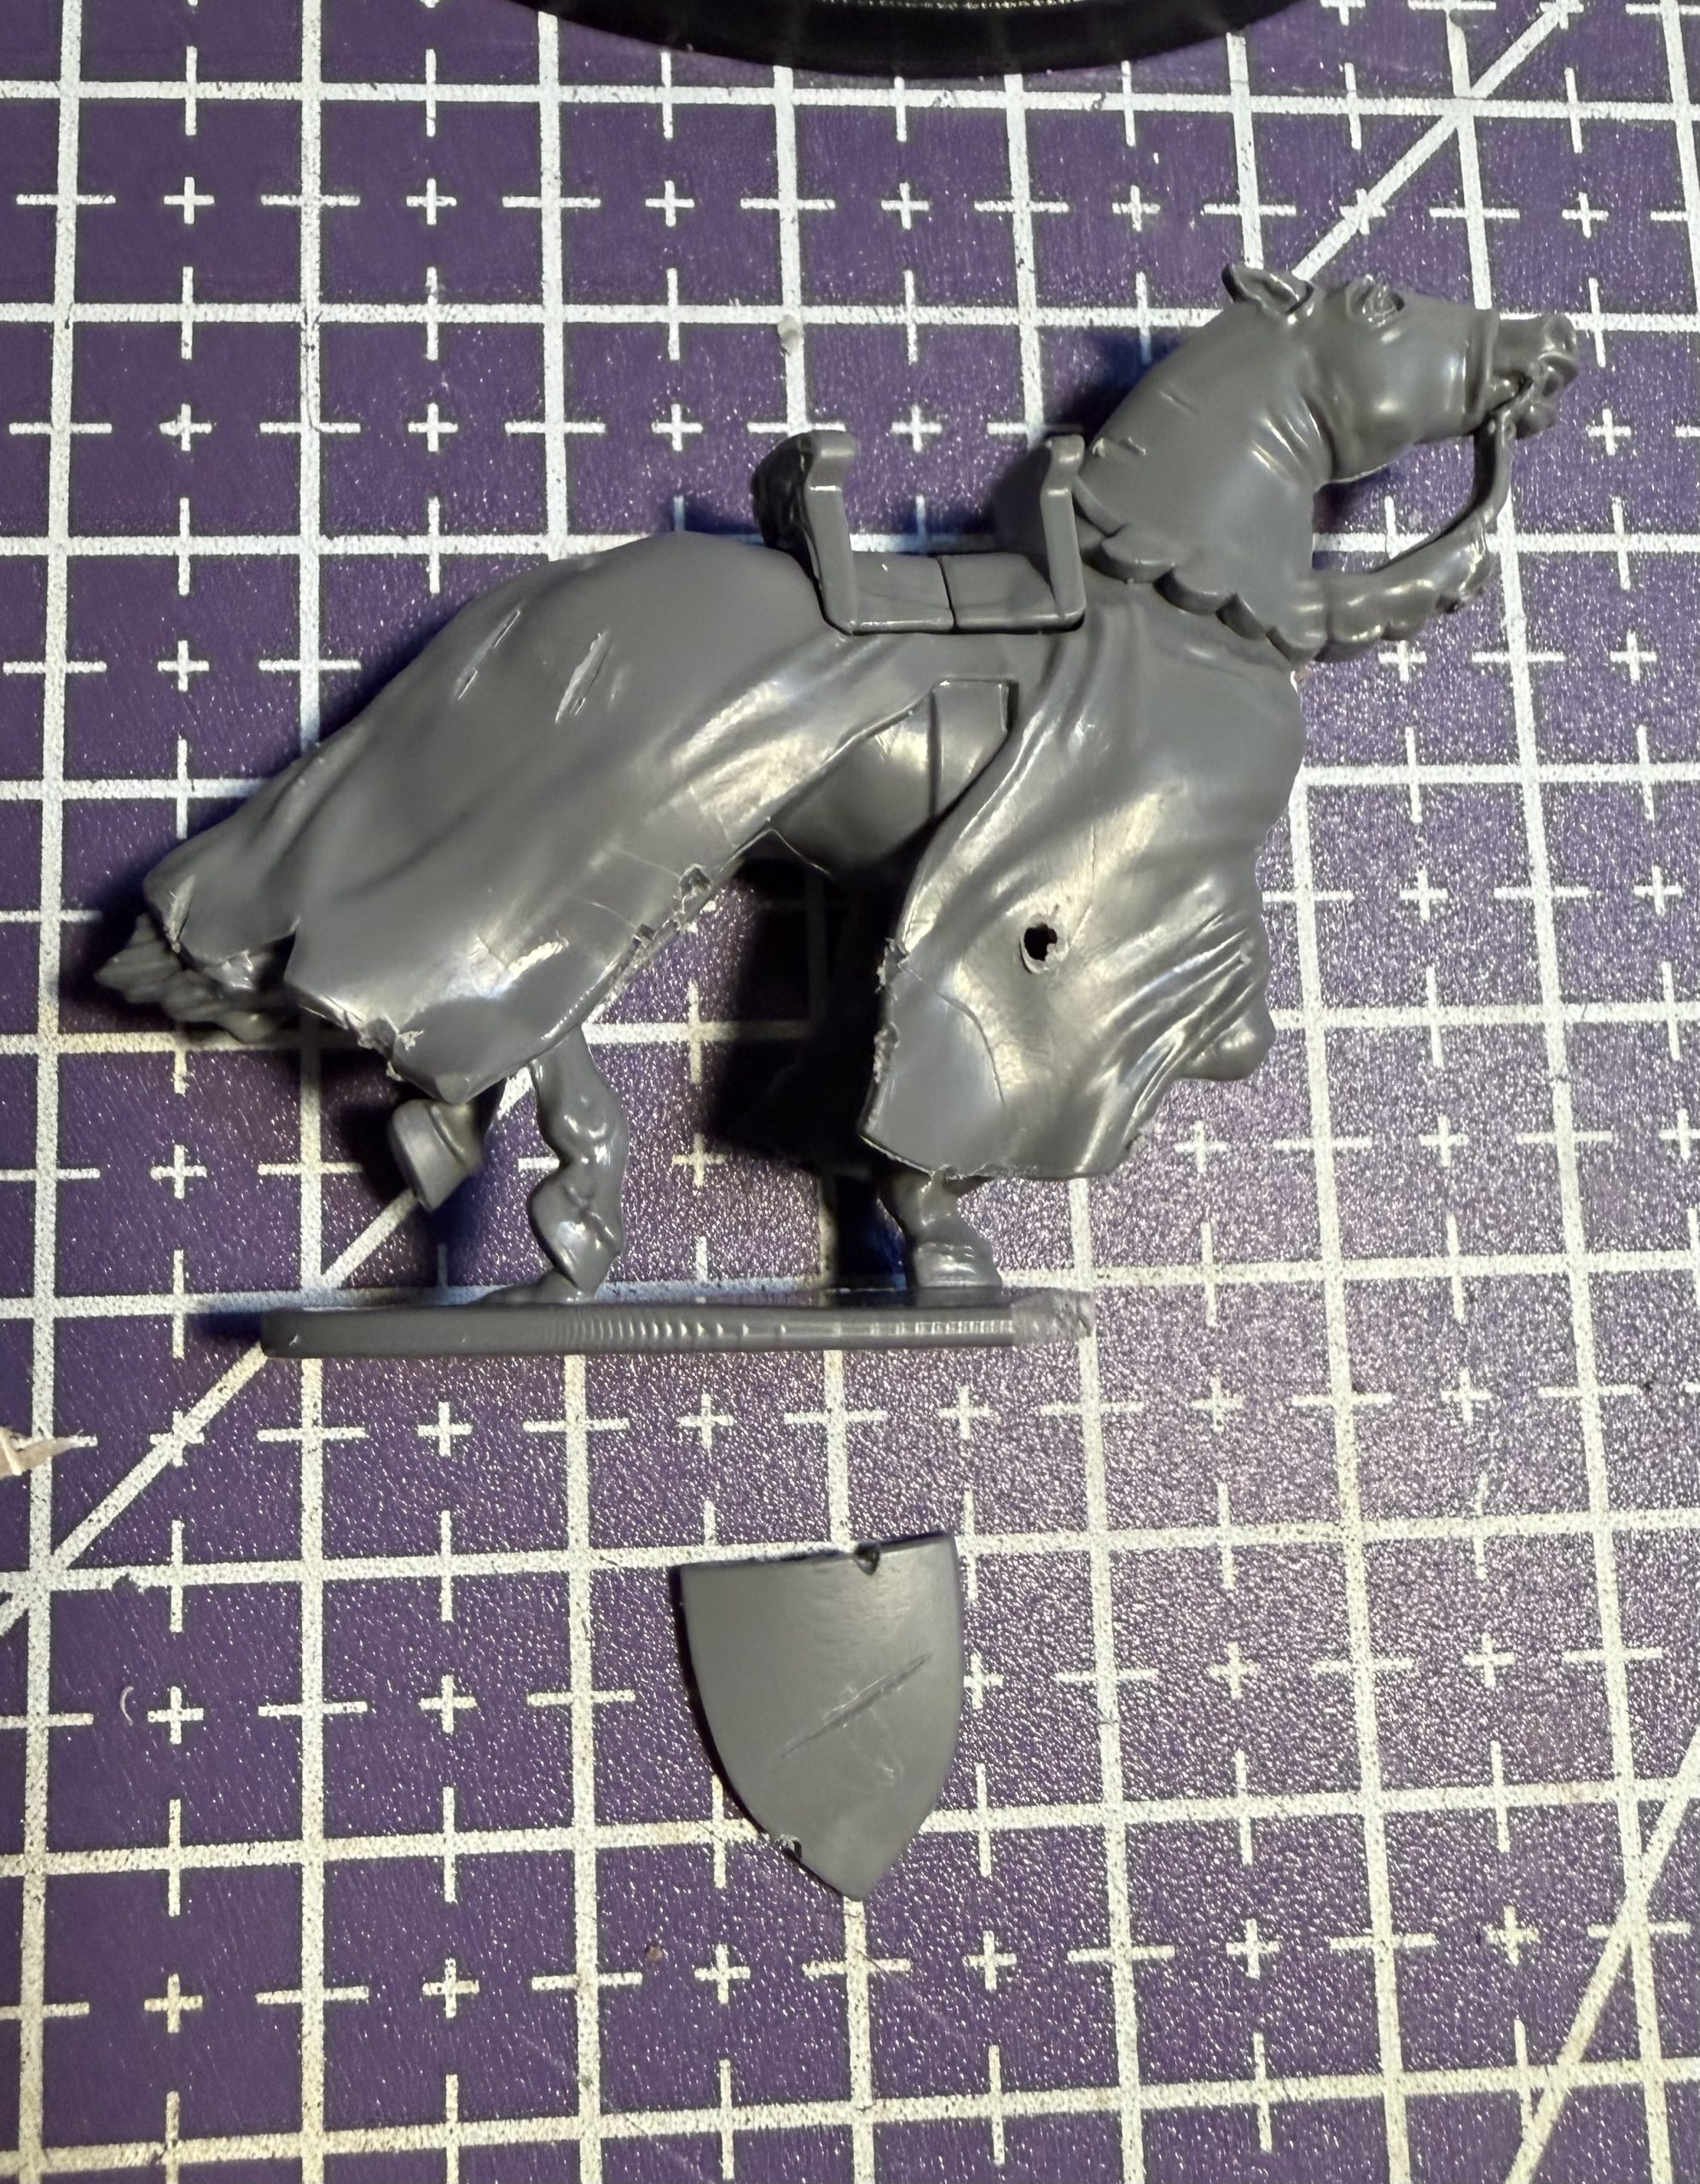 A well worn horse
In a final effort to help my leader stand out, I took some offcut pieces of puddle base and cut them into small slab shapes. I knew I was hording them for good reason, I just didn’t know what it was. I also used a small rectangle piece of coffee stirrer for one slab to represent a hasty wooden repair, though the texture might not be too clear once primed. I’ll have to see when it’s time to paint the base.
I placed these slabs at the front of the base to suggest the rider was approaching a road, since stories involving such hosts often centred around a lone traveller being met on the road by a rider offering them a challenge.
I placed a thinned piece of coffee stirrer at the edge of the road, not sure how accurate it is but I wanted something to represent the mud and verge being restrained and kept separate from the stone bridleway.
I added a mix of Black & Yellow craft paint (comes out a nice dark green-brown), Wall Filler, Play Sand, PVA Glue and Water as my home-made mud mix, washing it into the cracks between the slabs with a wet brush.
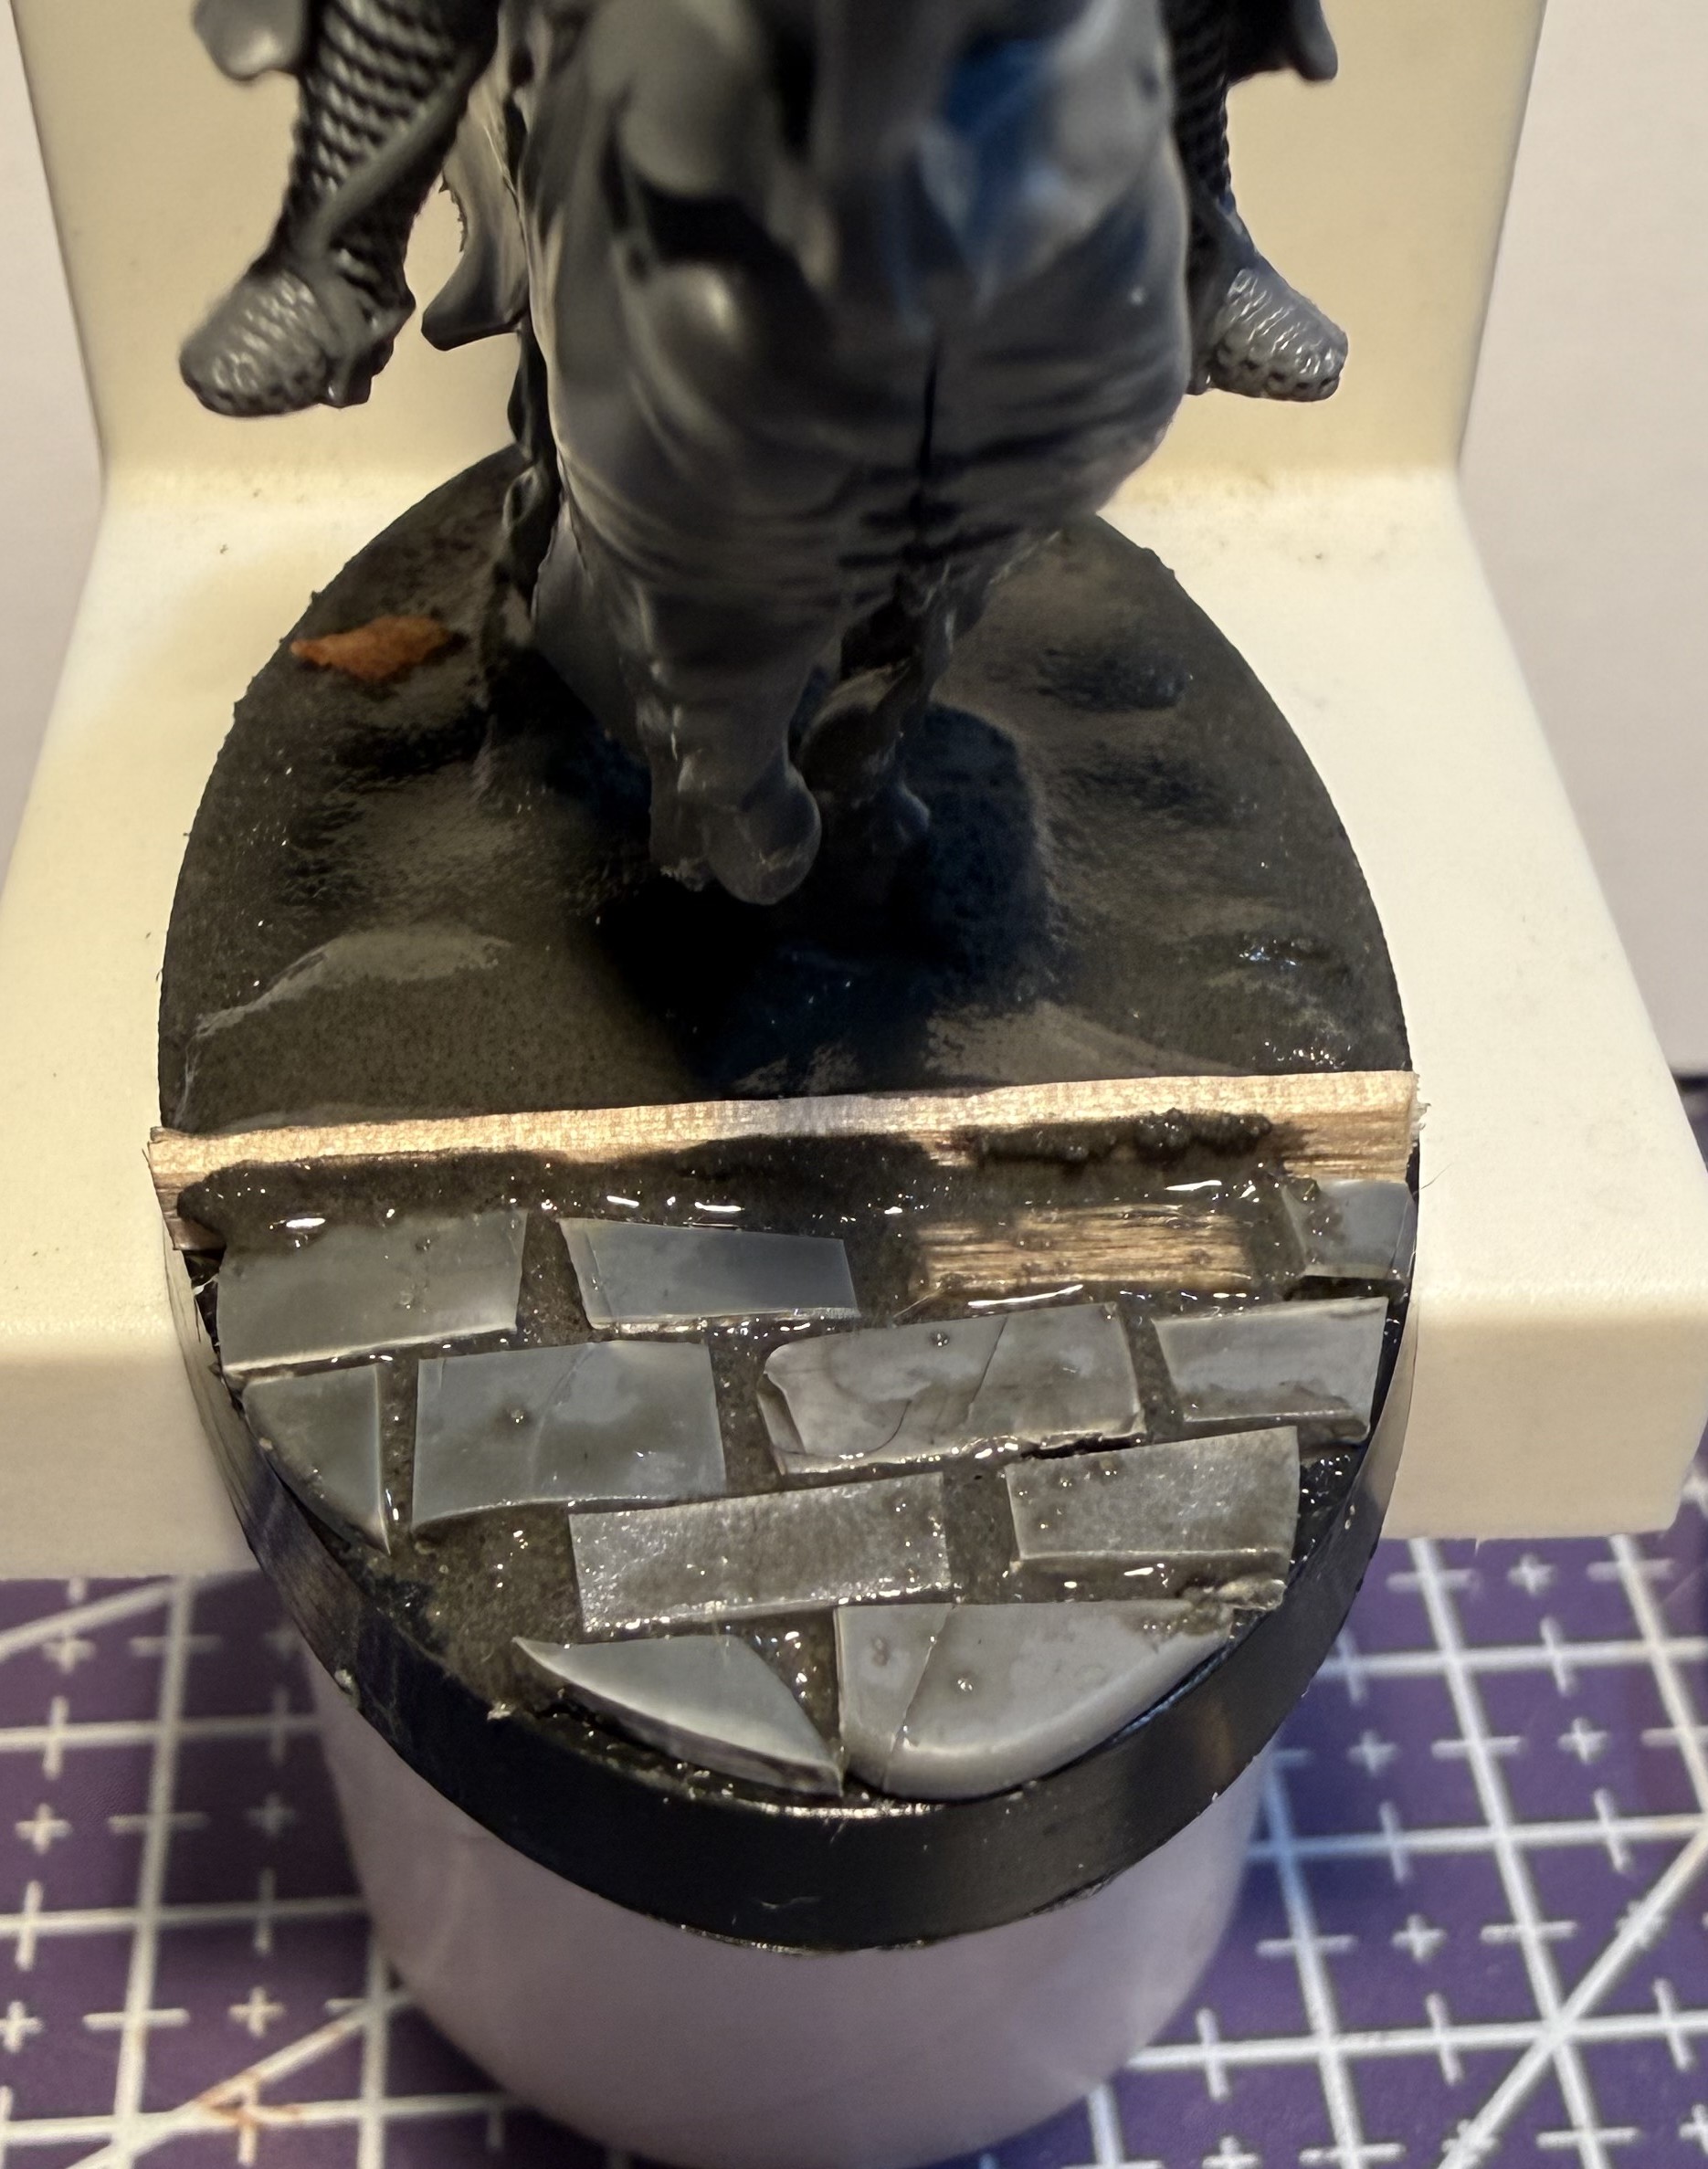 Get off the road!
I forgot to take a Built and Primed picture of the Baron, so I’ll add a sneak preview with a bit of paint on at the end.
Speaking of paint, it was time to decide on how to approach this varied retinue. I needed a theme to tie them together.
From my reading, a few different themes presented themselves. White Hounds with red ears, large black-clad huntsmen, eyes like saucers or perhaps flaming. Either way, one theme stood out, Night.
I haven’t played around with the idea of moonlight, or any sort of OSL or similar before. I don’t want to go the route of light from above and orange flame from below, I know my current limits however, I would like to try a more directional highlight and a bit of mixing to add bluish tones. Reds will be muted as they can appear more black in dim light and I’ll be mixing in blue and blue-greys to aim for a moonlit retinue.
I will probably go unit by unit, but to start, it’s anyone wearing mail.
I blocked in Leadbelcher for the silver, Rhinox hide for leather and Mournfang Brown for wood detail (image 1), before washing with Drakenhof Nightshade (image 2), just to see how it came out at first.
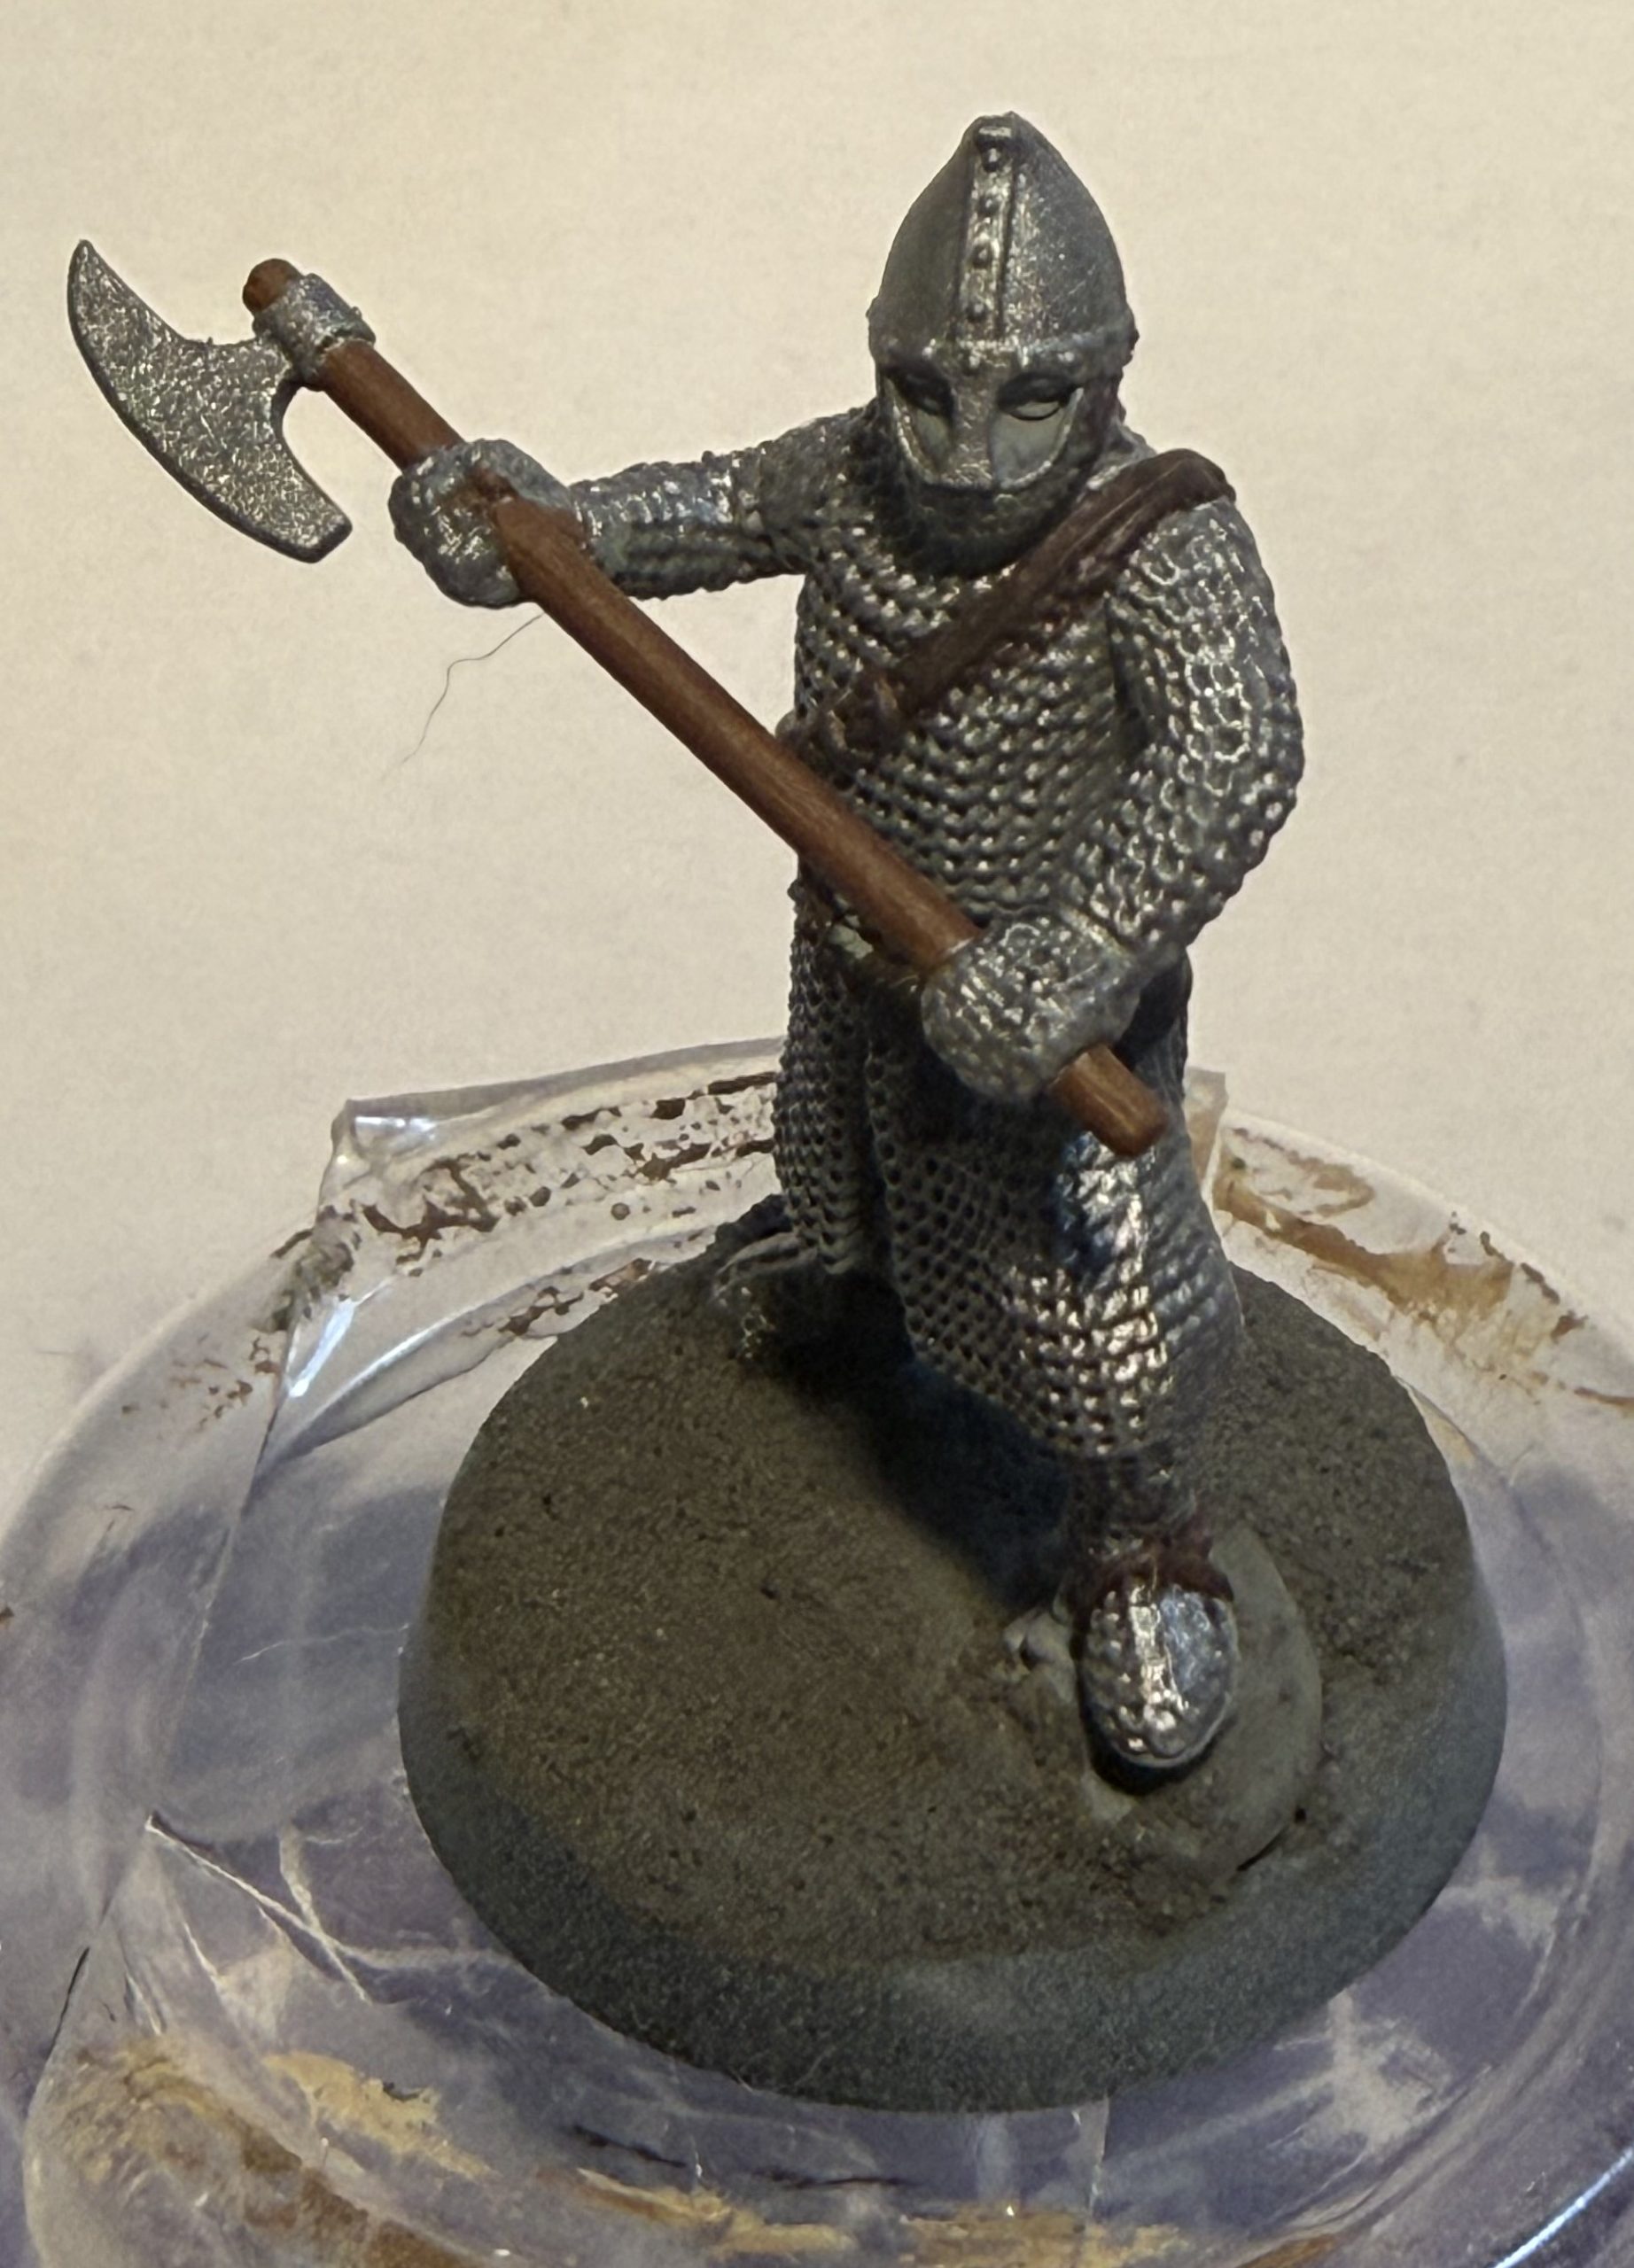
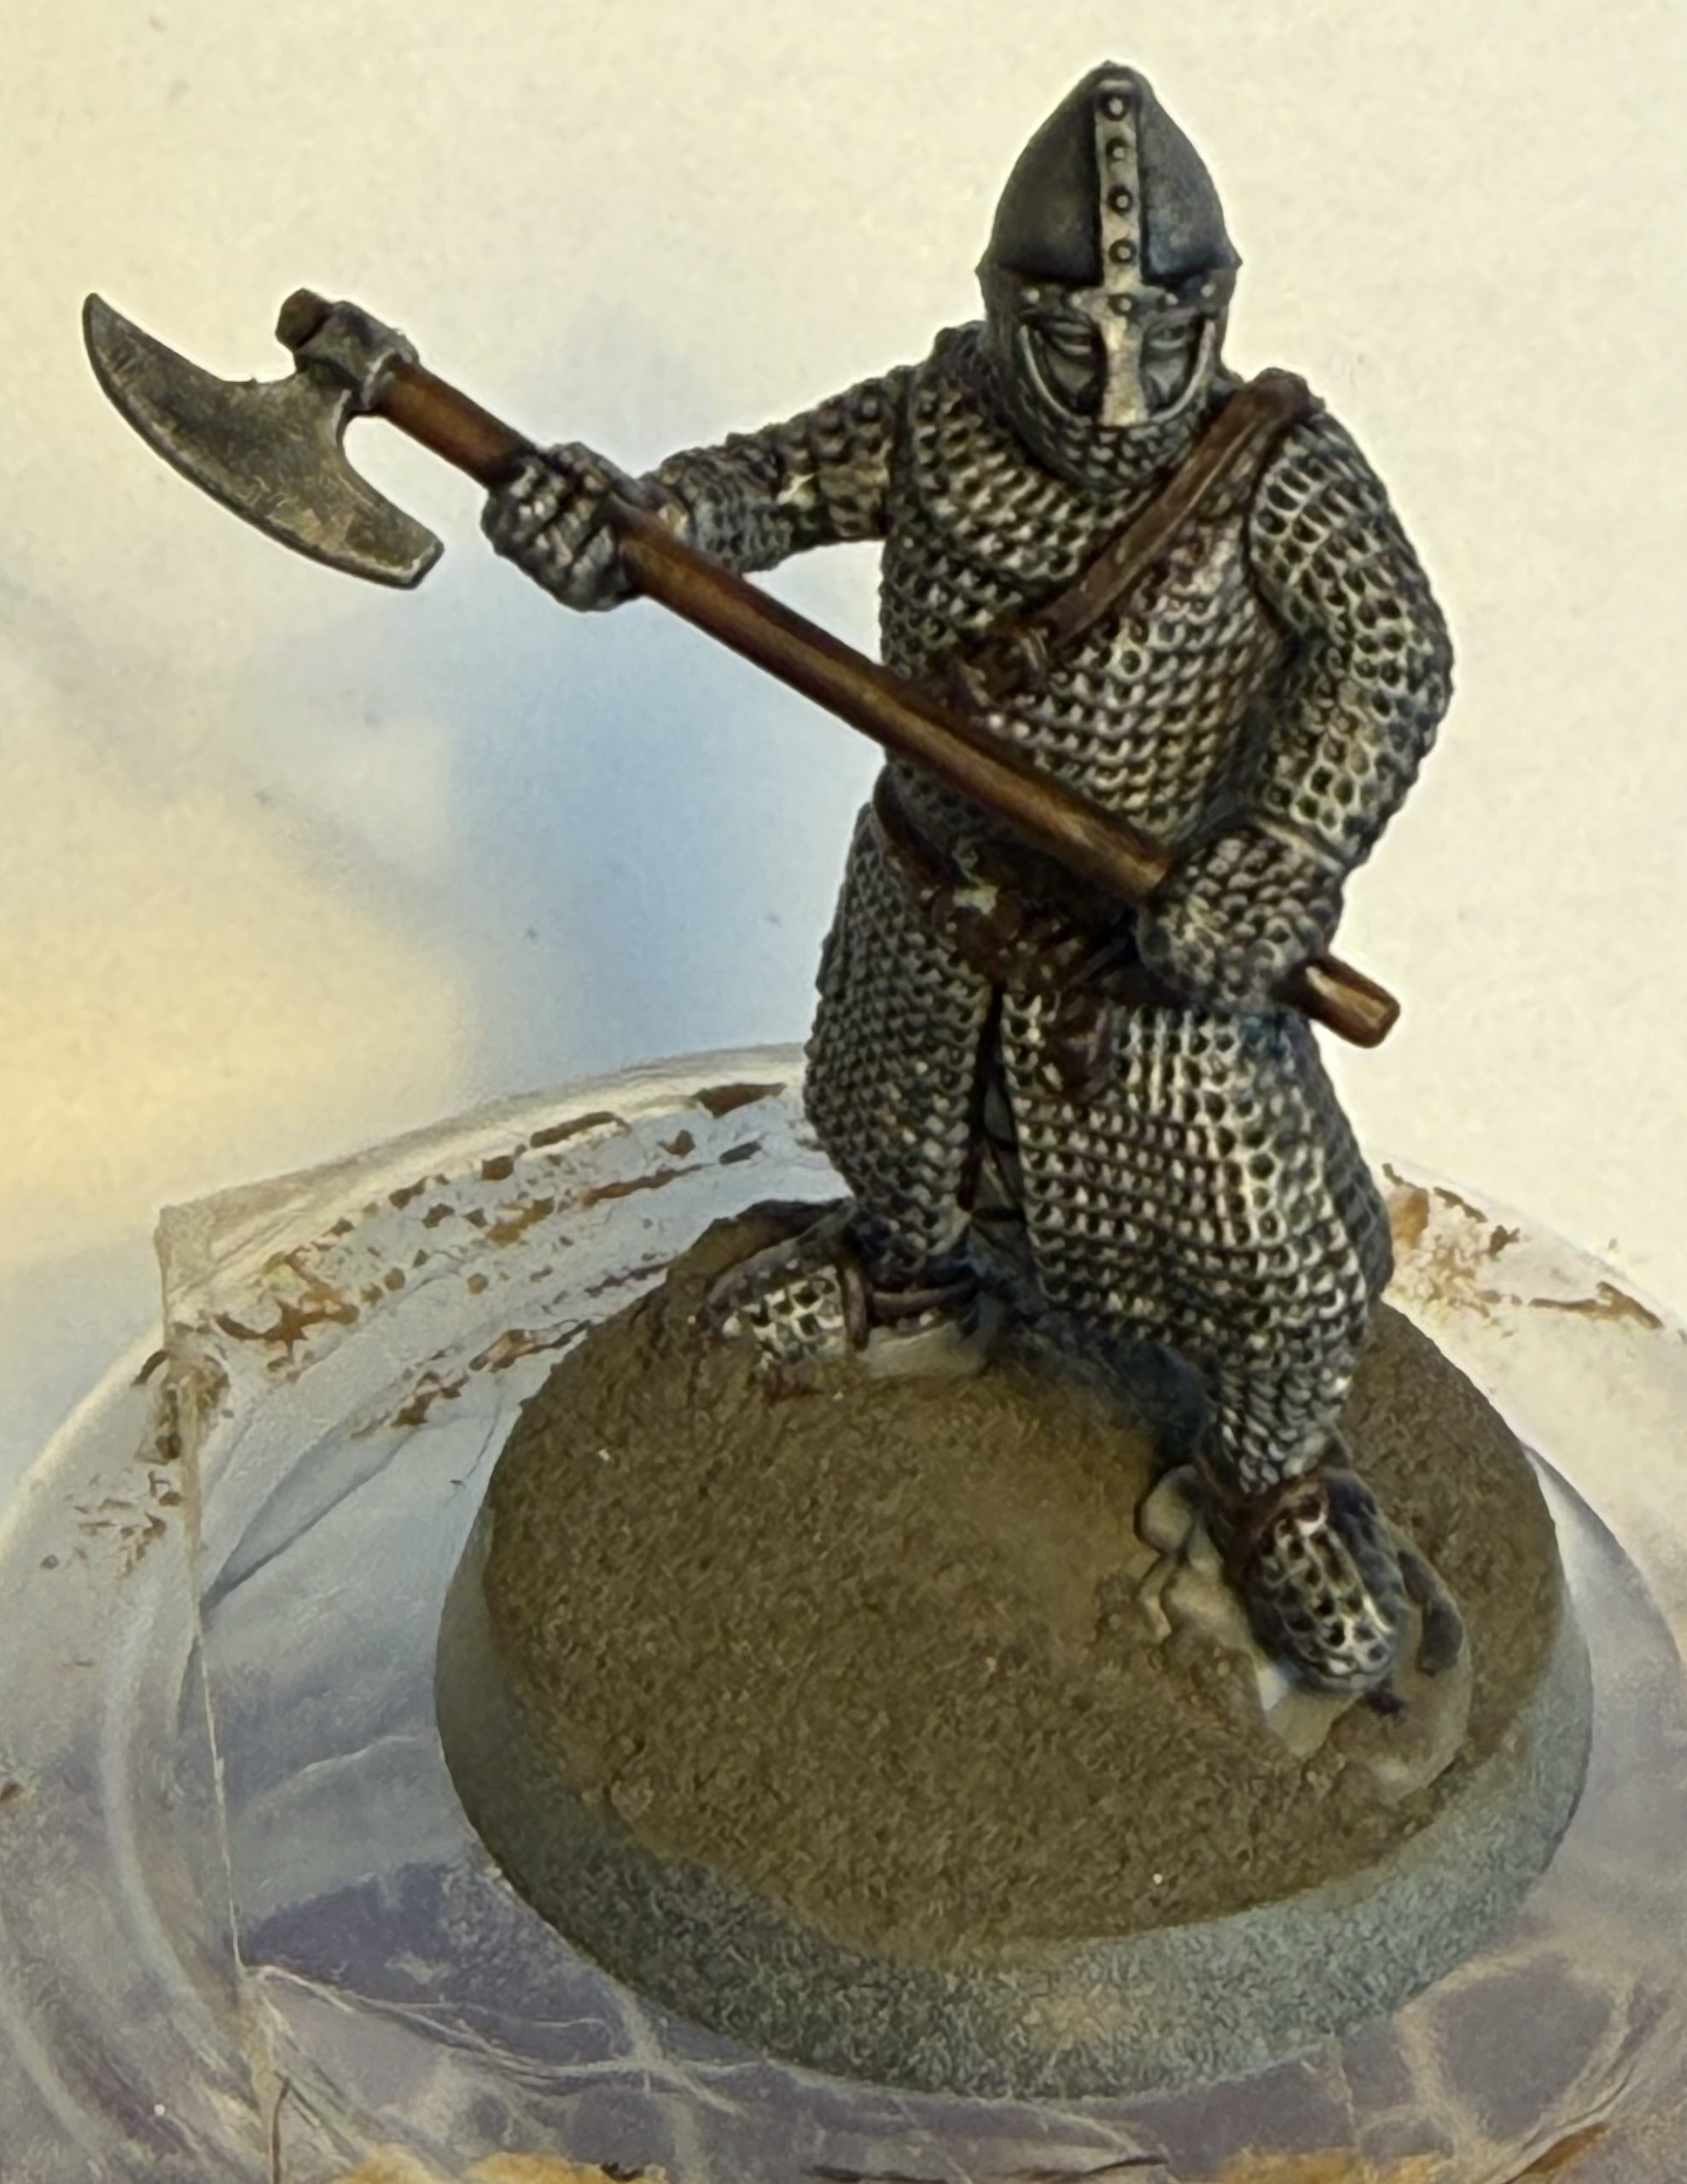
I’ll need to darken the shadows some more, but for now, it gave me an idea of where to go.
As promised, here is the Baron. I have done a bit more painting, blocking in some colours on the cloth areas and fixing some brighter colours on a couple of painted models but that will be for the next update.
 Baron Needs-a-name