
![11th Edition Warhammer 40K Core Rules Now Available & More [Updated]](https://images.beastsofwar.com/2026/06/orks-new-cover-225-127.jpg)


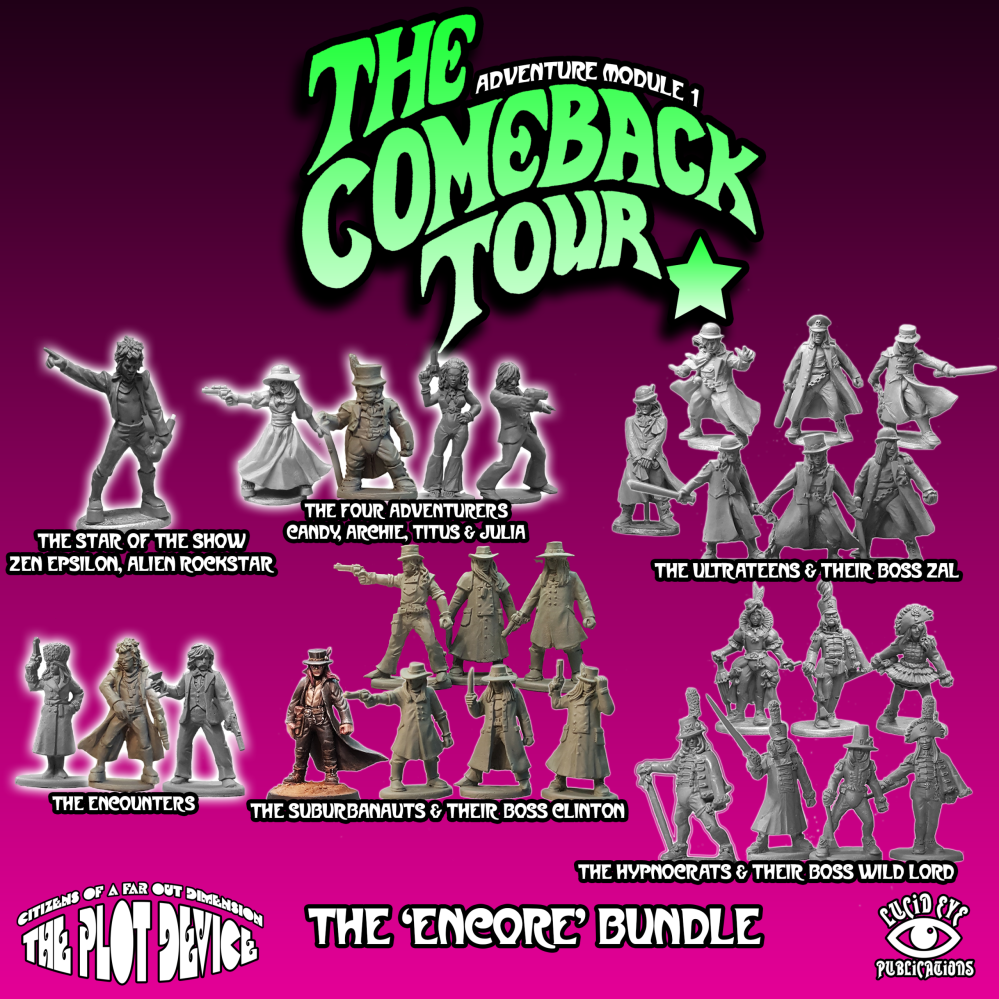
Plot Device.


Painting the Bus
I thought I would share how I repaint diecast toy vehicles for my games.
The process is similar across all vehicle types. Though on some cars I will choose to paint the windscreens rather than do the interior.
This bus is a 1/50th scale model from Solido. Lovely model with decals for most of the signs so made my job of repainting a lot easier.
This particular model was held together with screws so was easy to disassemble. Some models are riveted, in this case you need to gently drill the rivet flange away so the parts can be released and later reassemble with super glue.
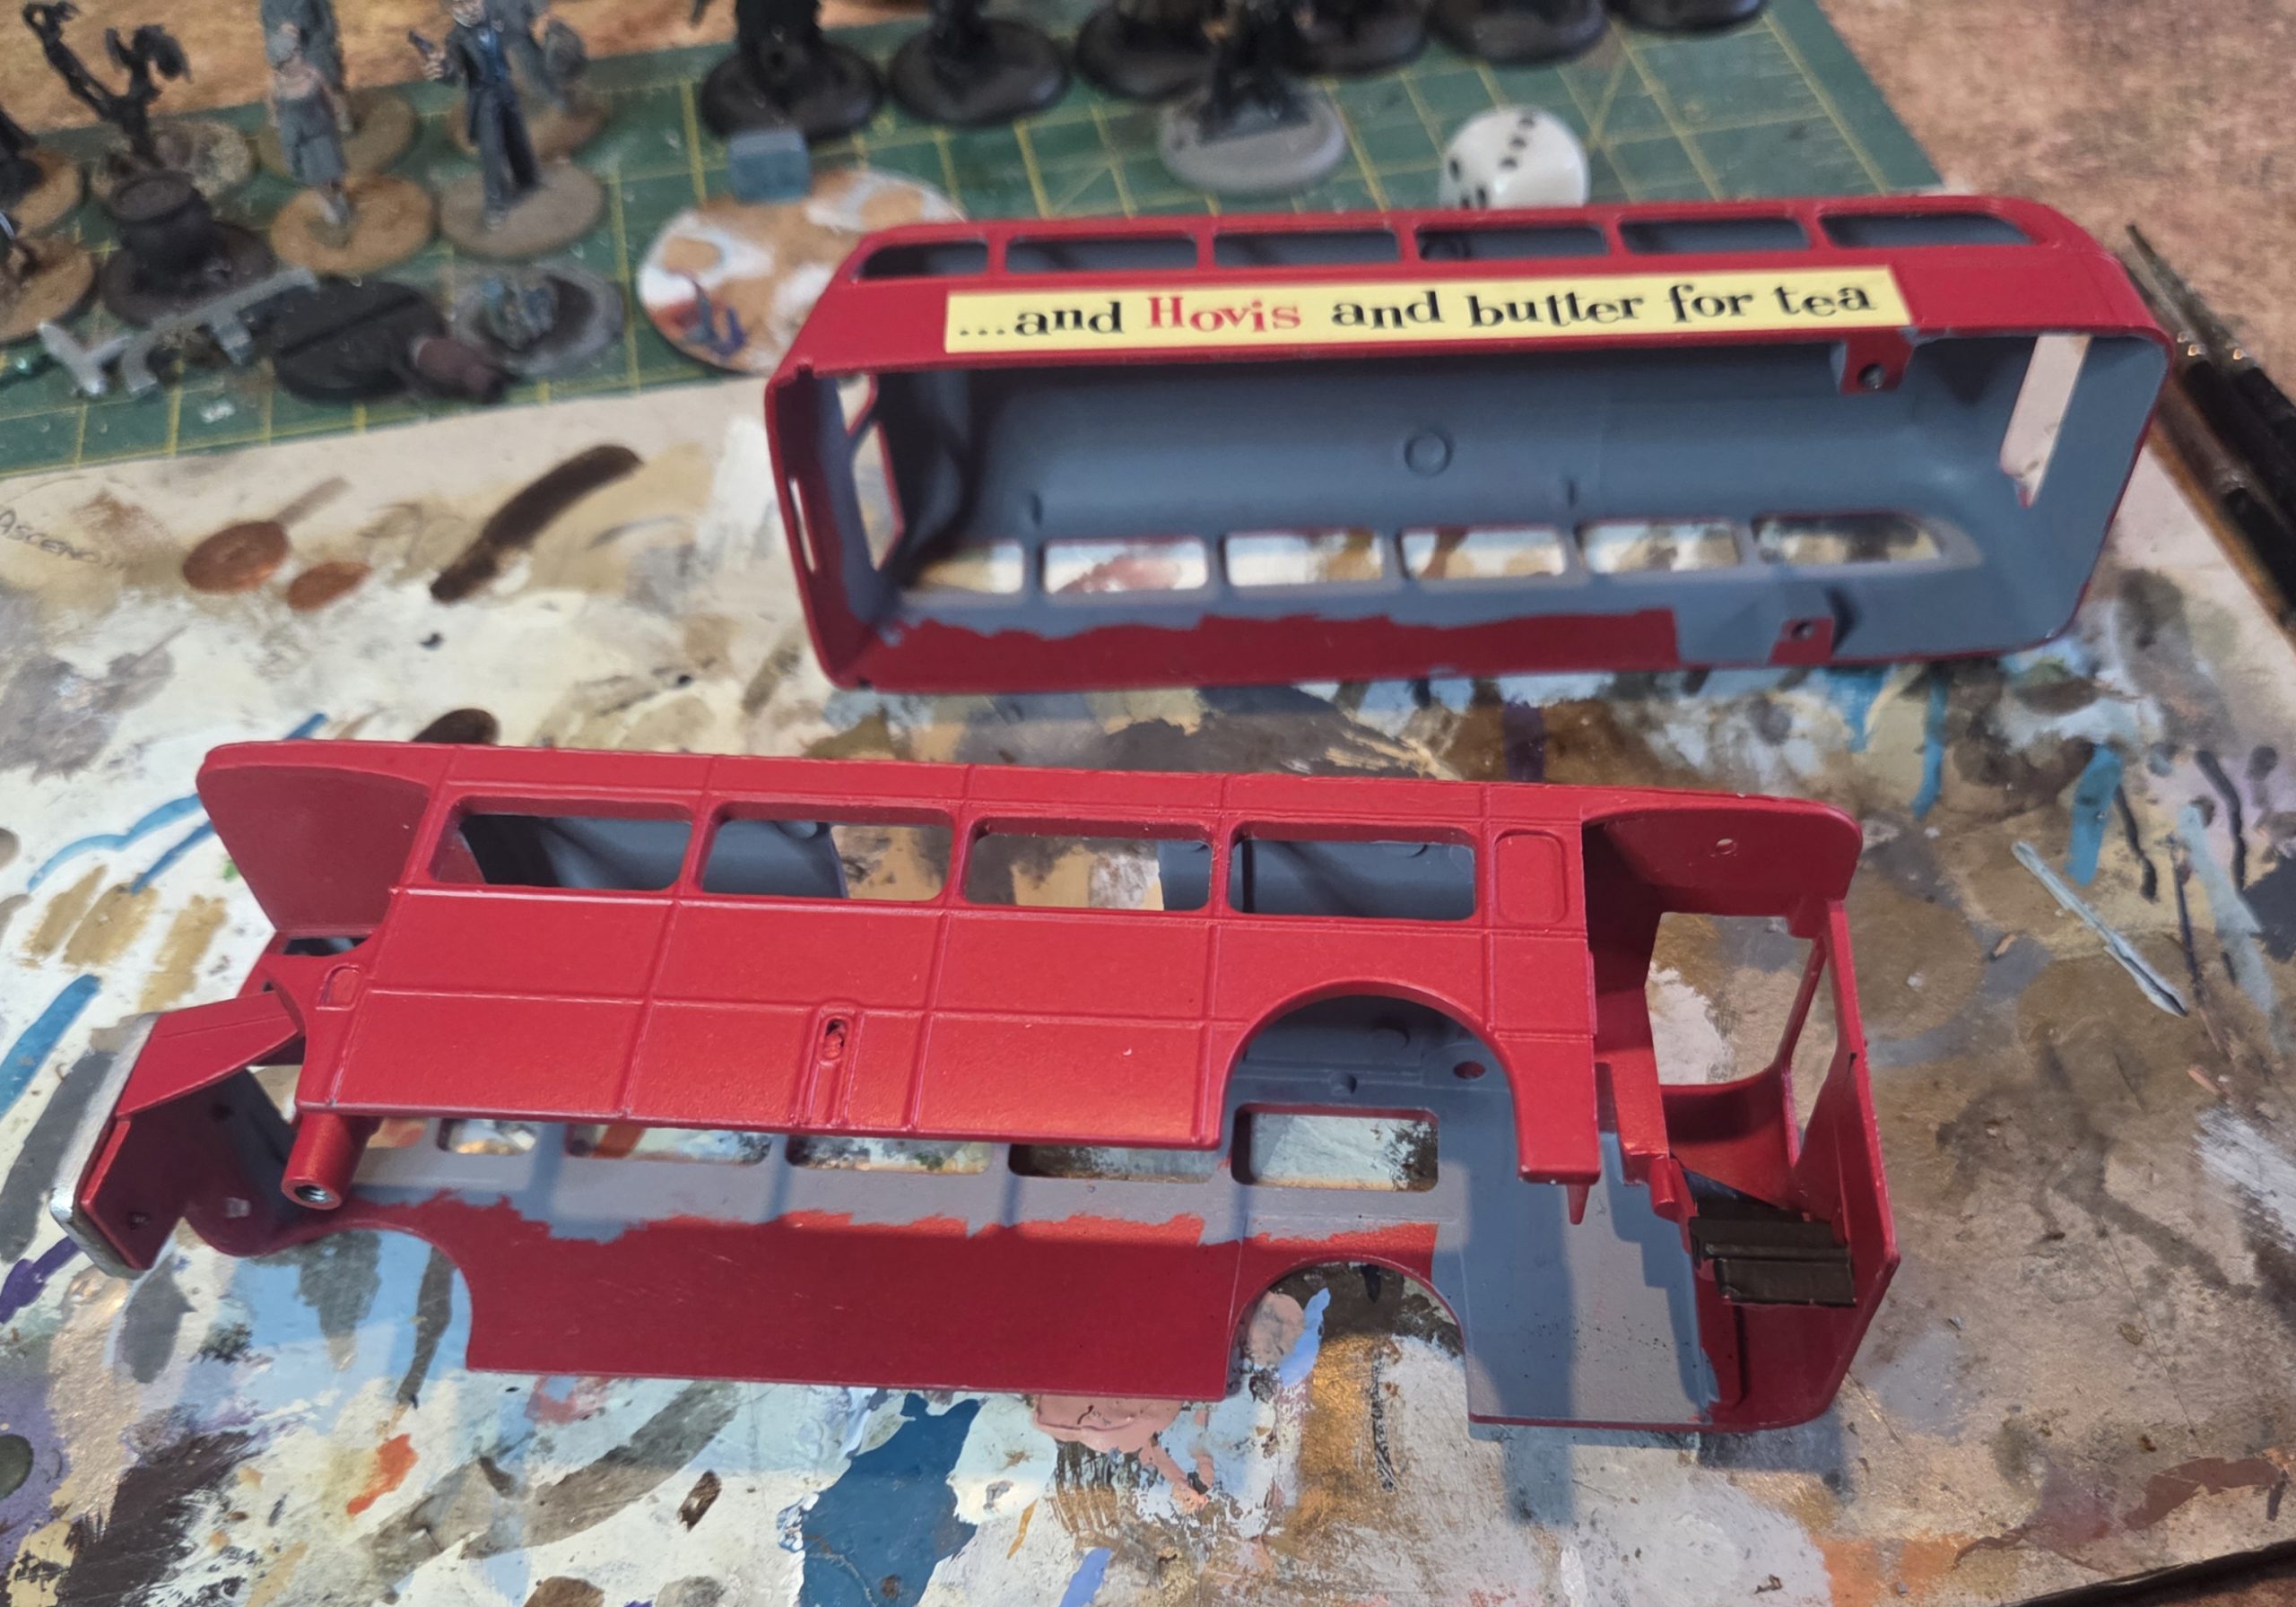 Once disassembled the diecast painted elements are sprayed with a matt varnish. I then painted the interior in AK WW1 French Artillery Grey.
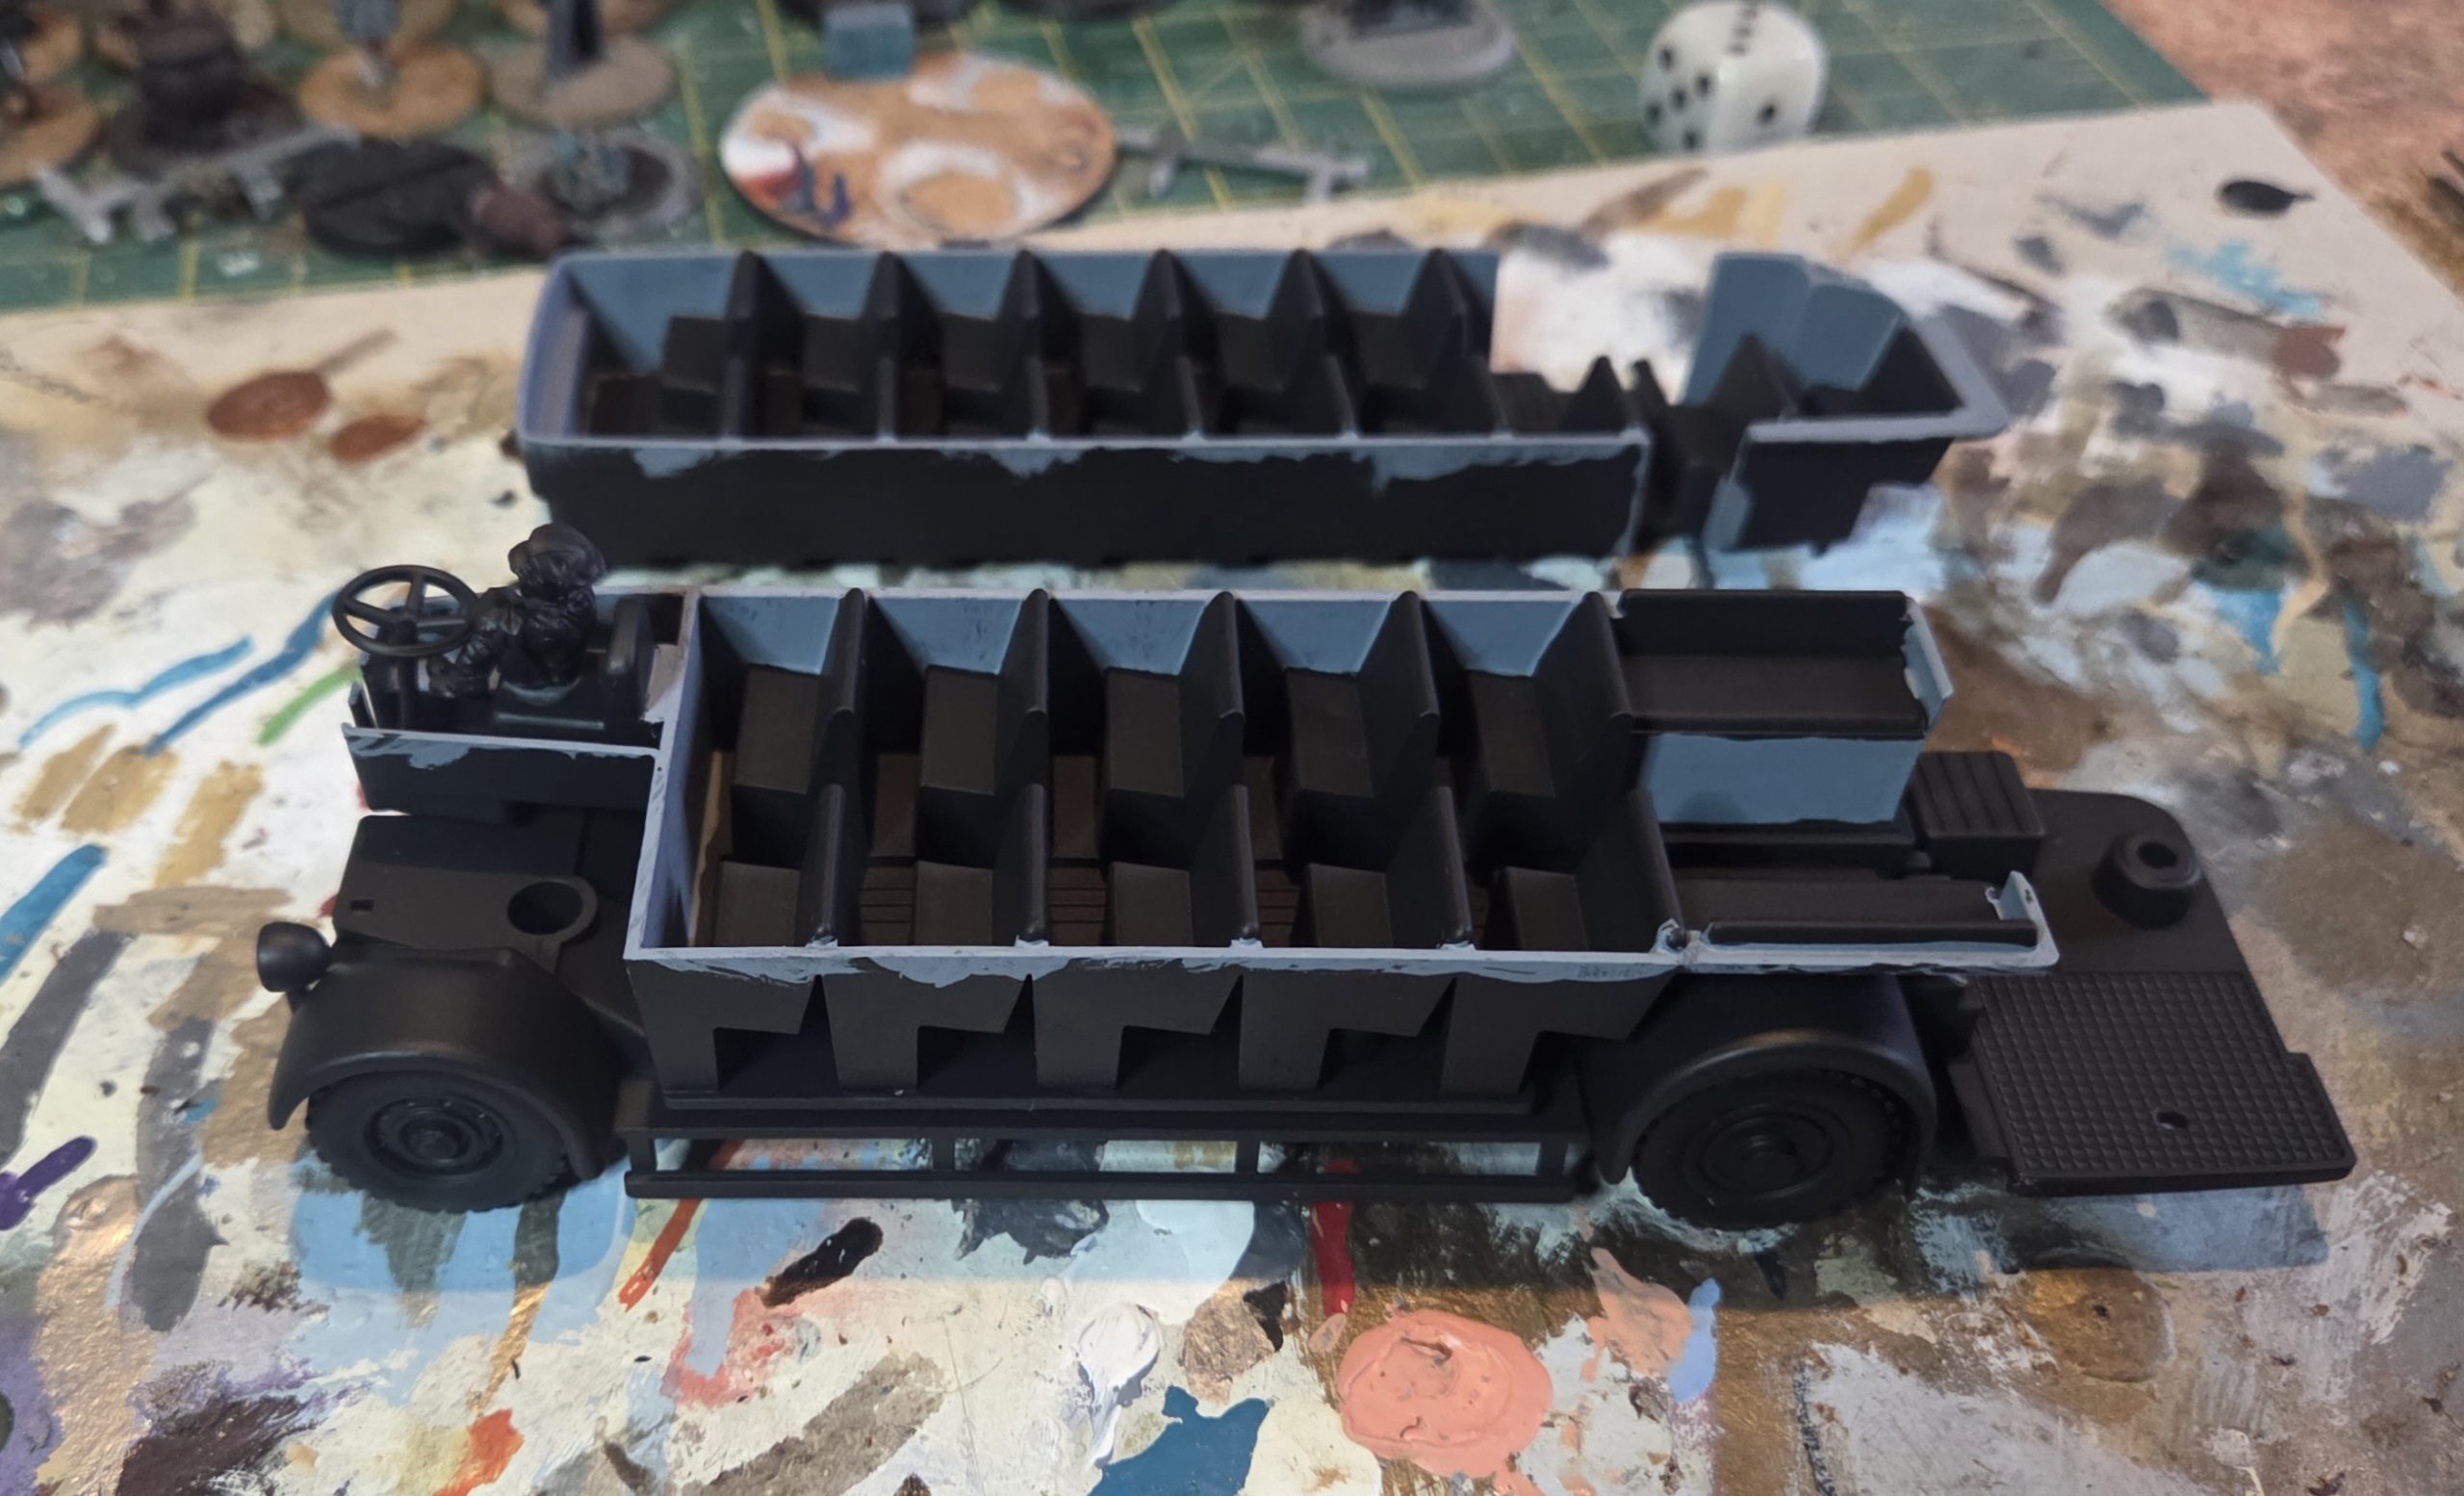 I subassembled the three elements that made up the chassis and lower deck. This and the upper deck were undercoated black. When dried the walls of the interior pieces were painted in the AK grey.
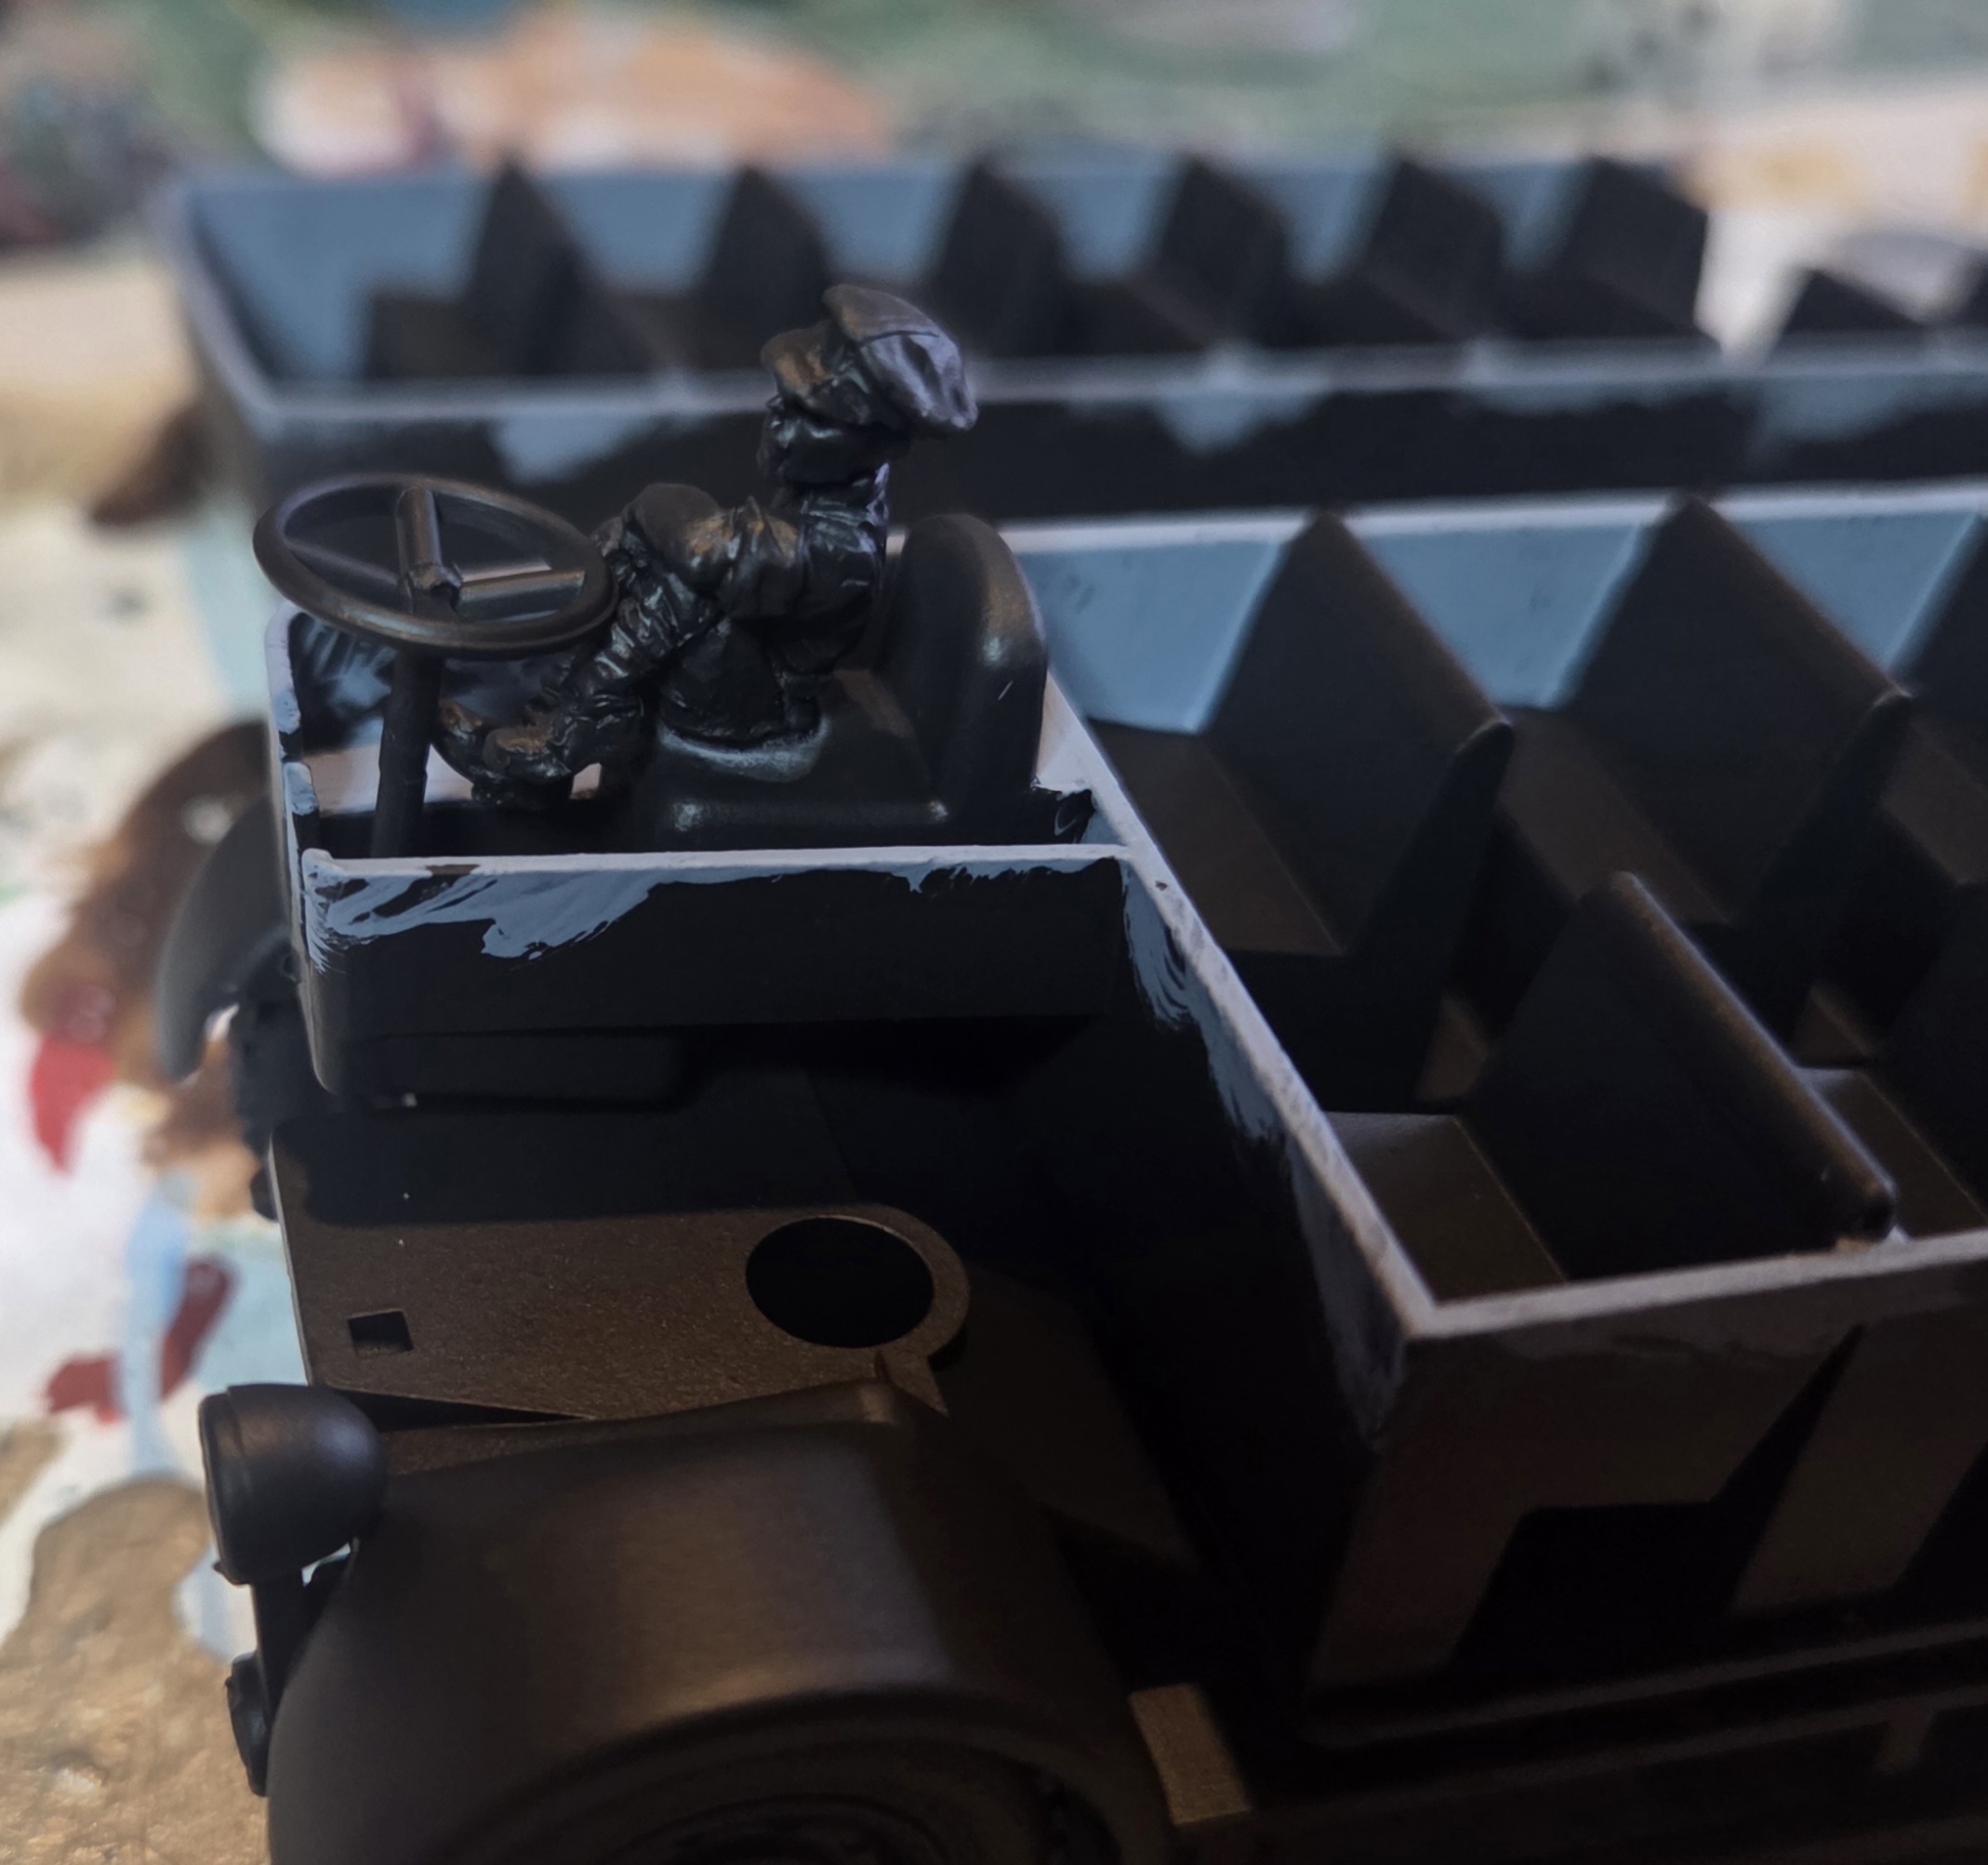 I found this WW1 driver in my bits box, with a bit of trimming and sanding he fitted in nicely.
 The body work was given a dark wash and then the radiator and one sign were masked off.
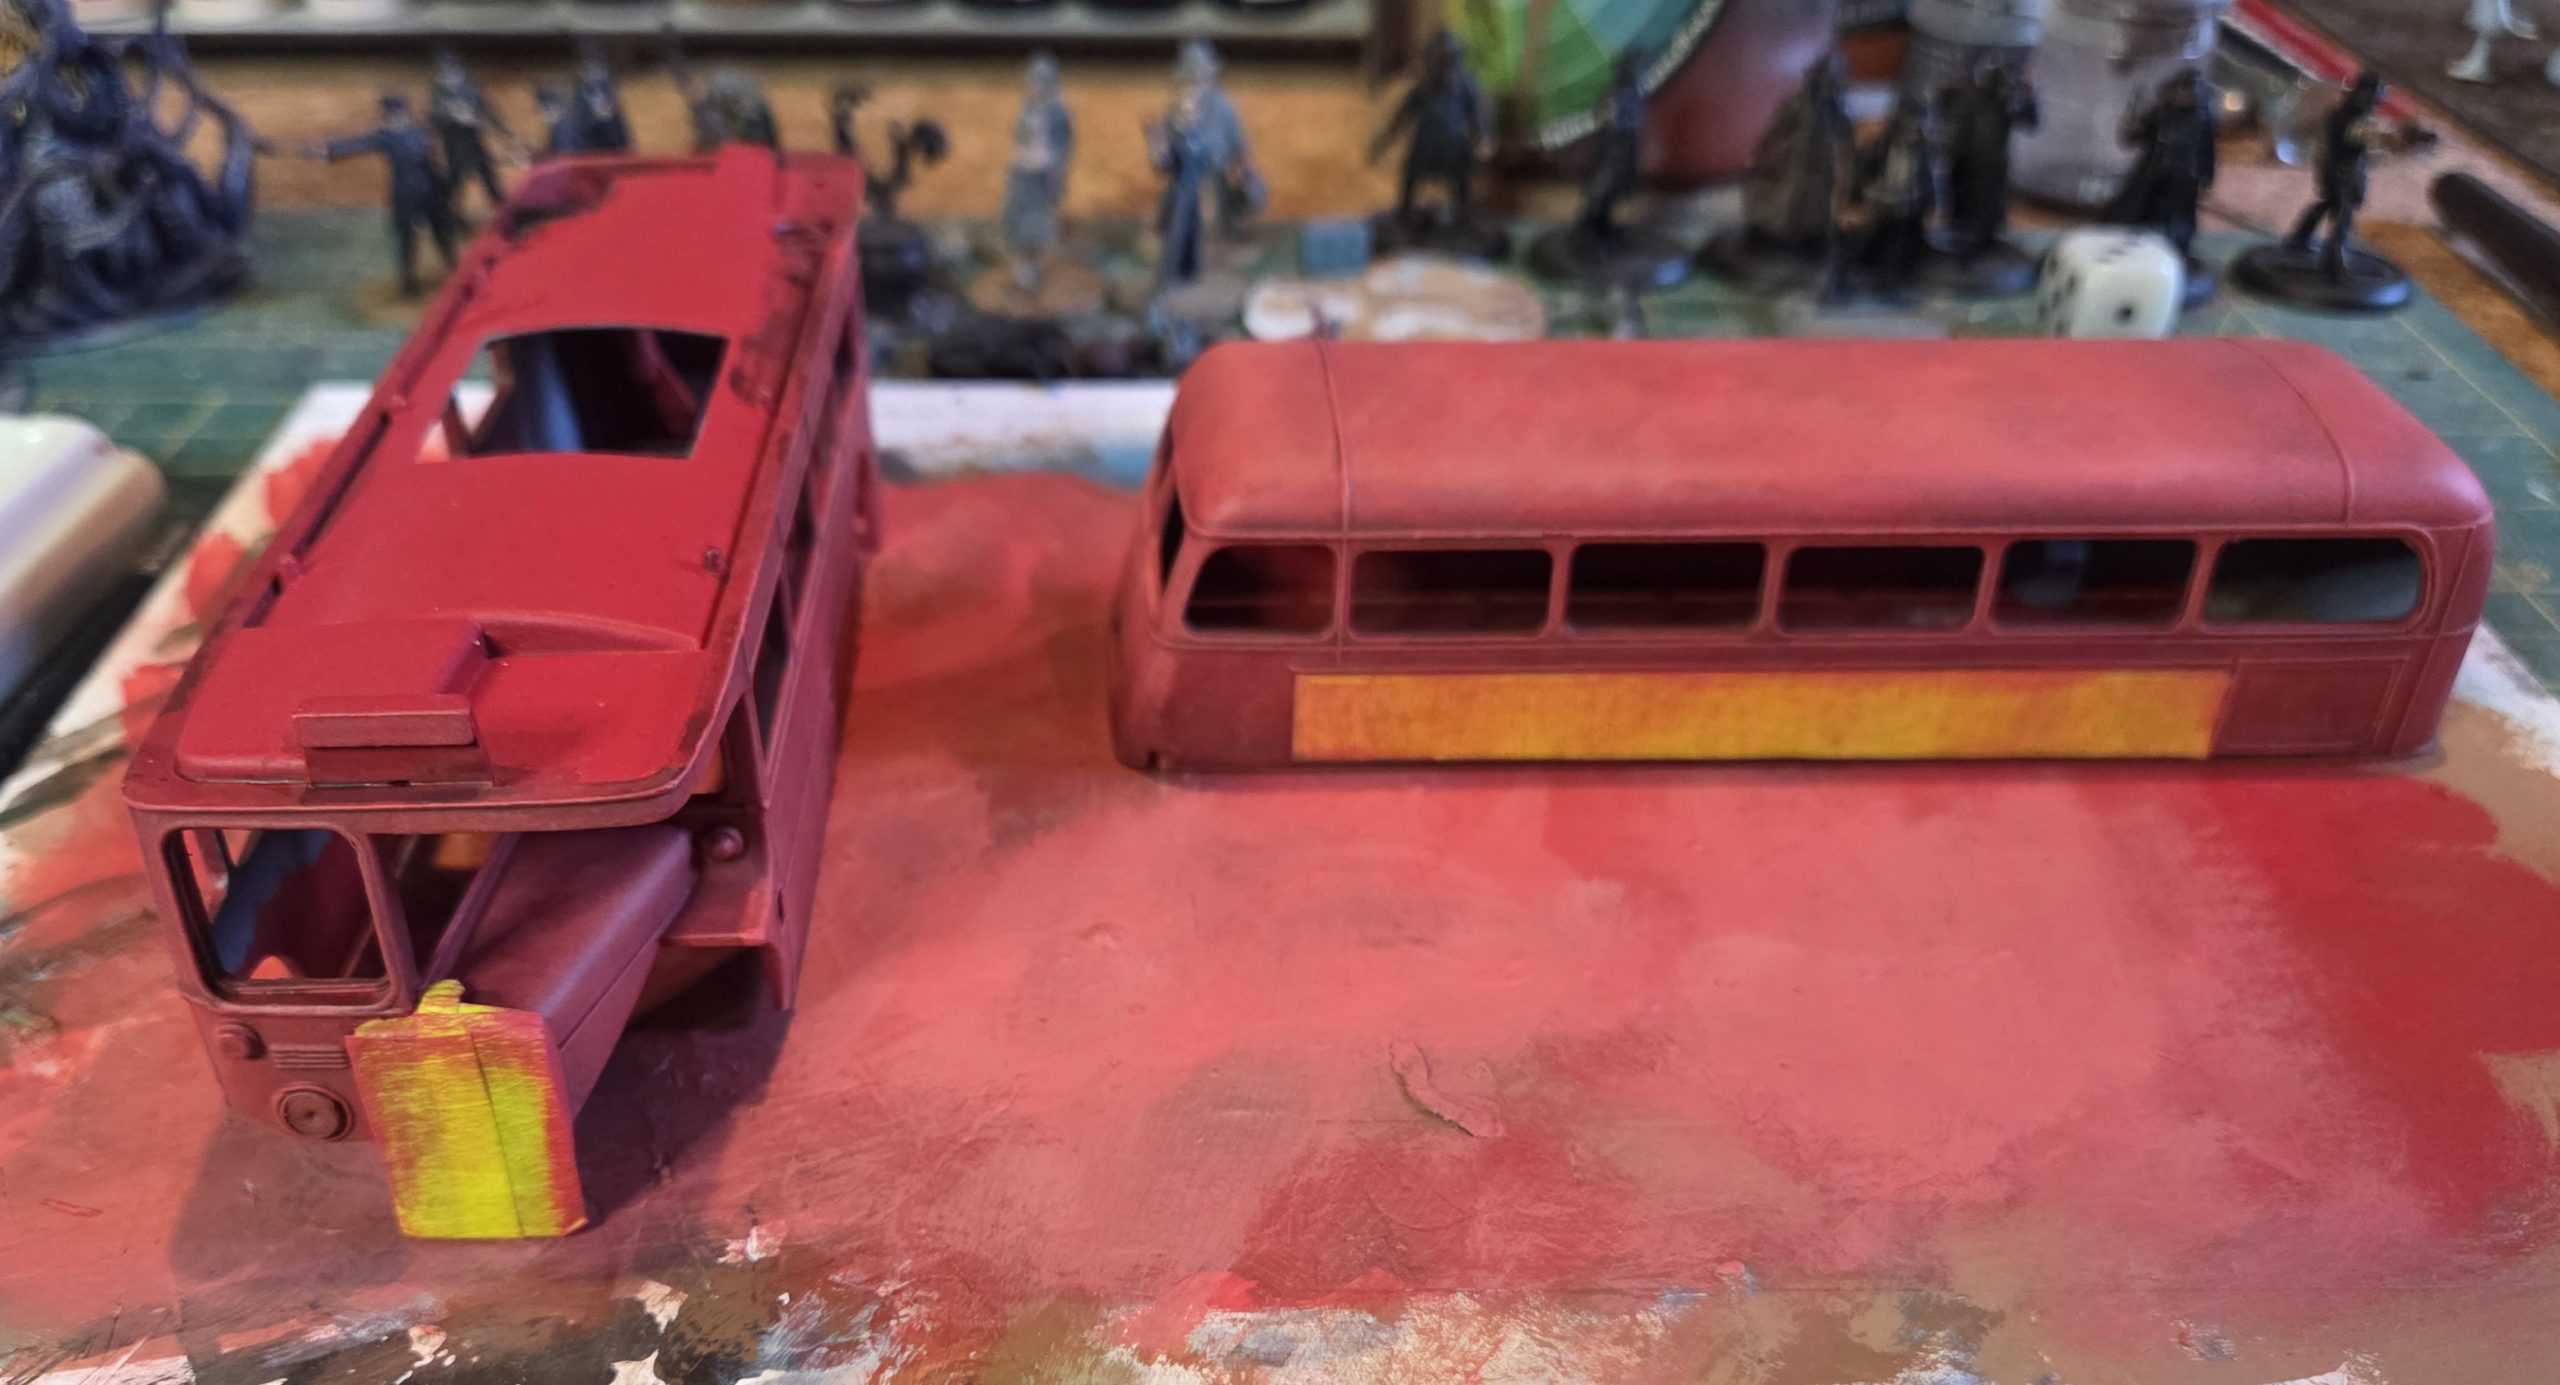 The body work was then drybrushed up with AP Pure Red, AP Fiery Vermillion, then adding AP Barbarian Flesh until i was happy with the contrast.
 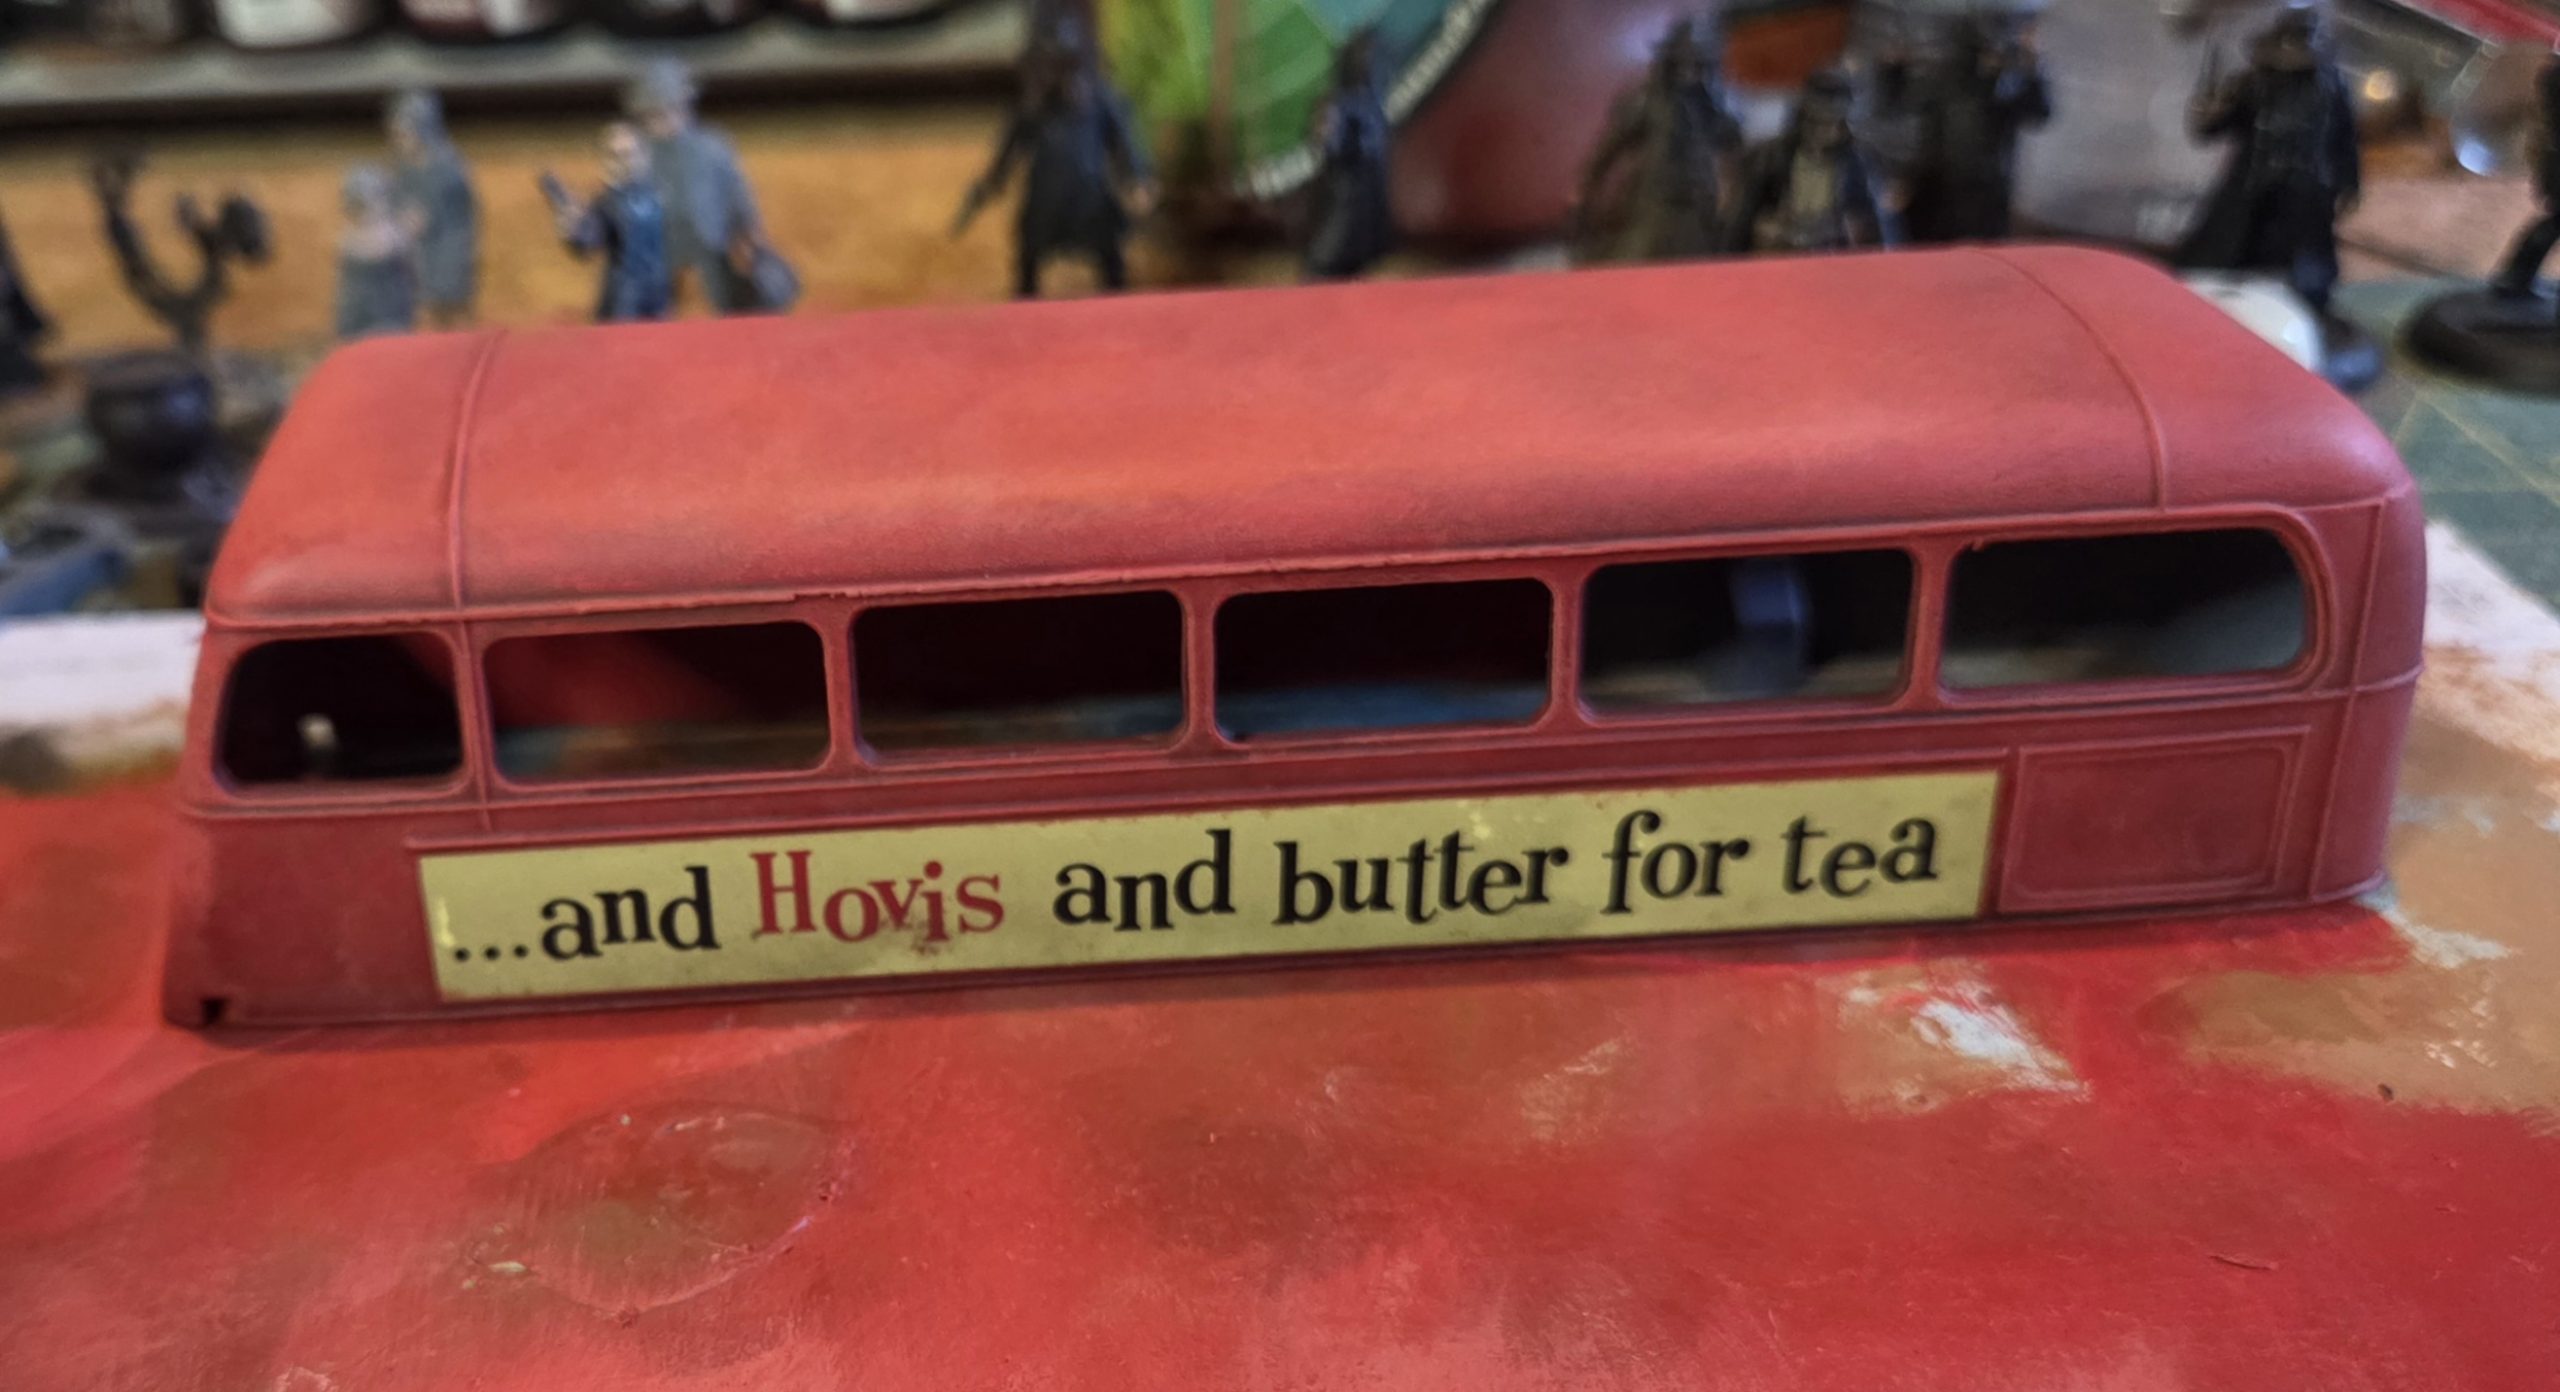 The red paintwork was finally given a glaze of the AP Fiery Vermillion to blend the drybrush together and to return the brightness to the finish.
 The flooring was painted in AP trash metal, the seats in Vallejo Model Colour Turquoise and the driver painted in base colours. This was then given a dark wash.
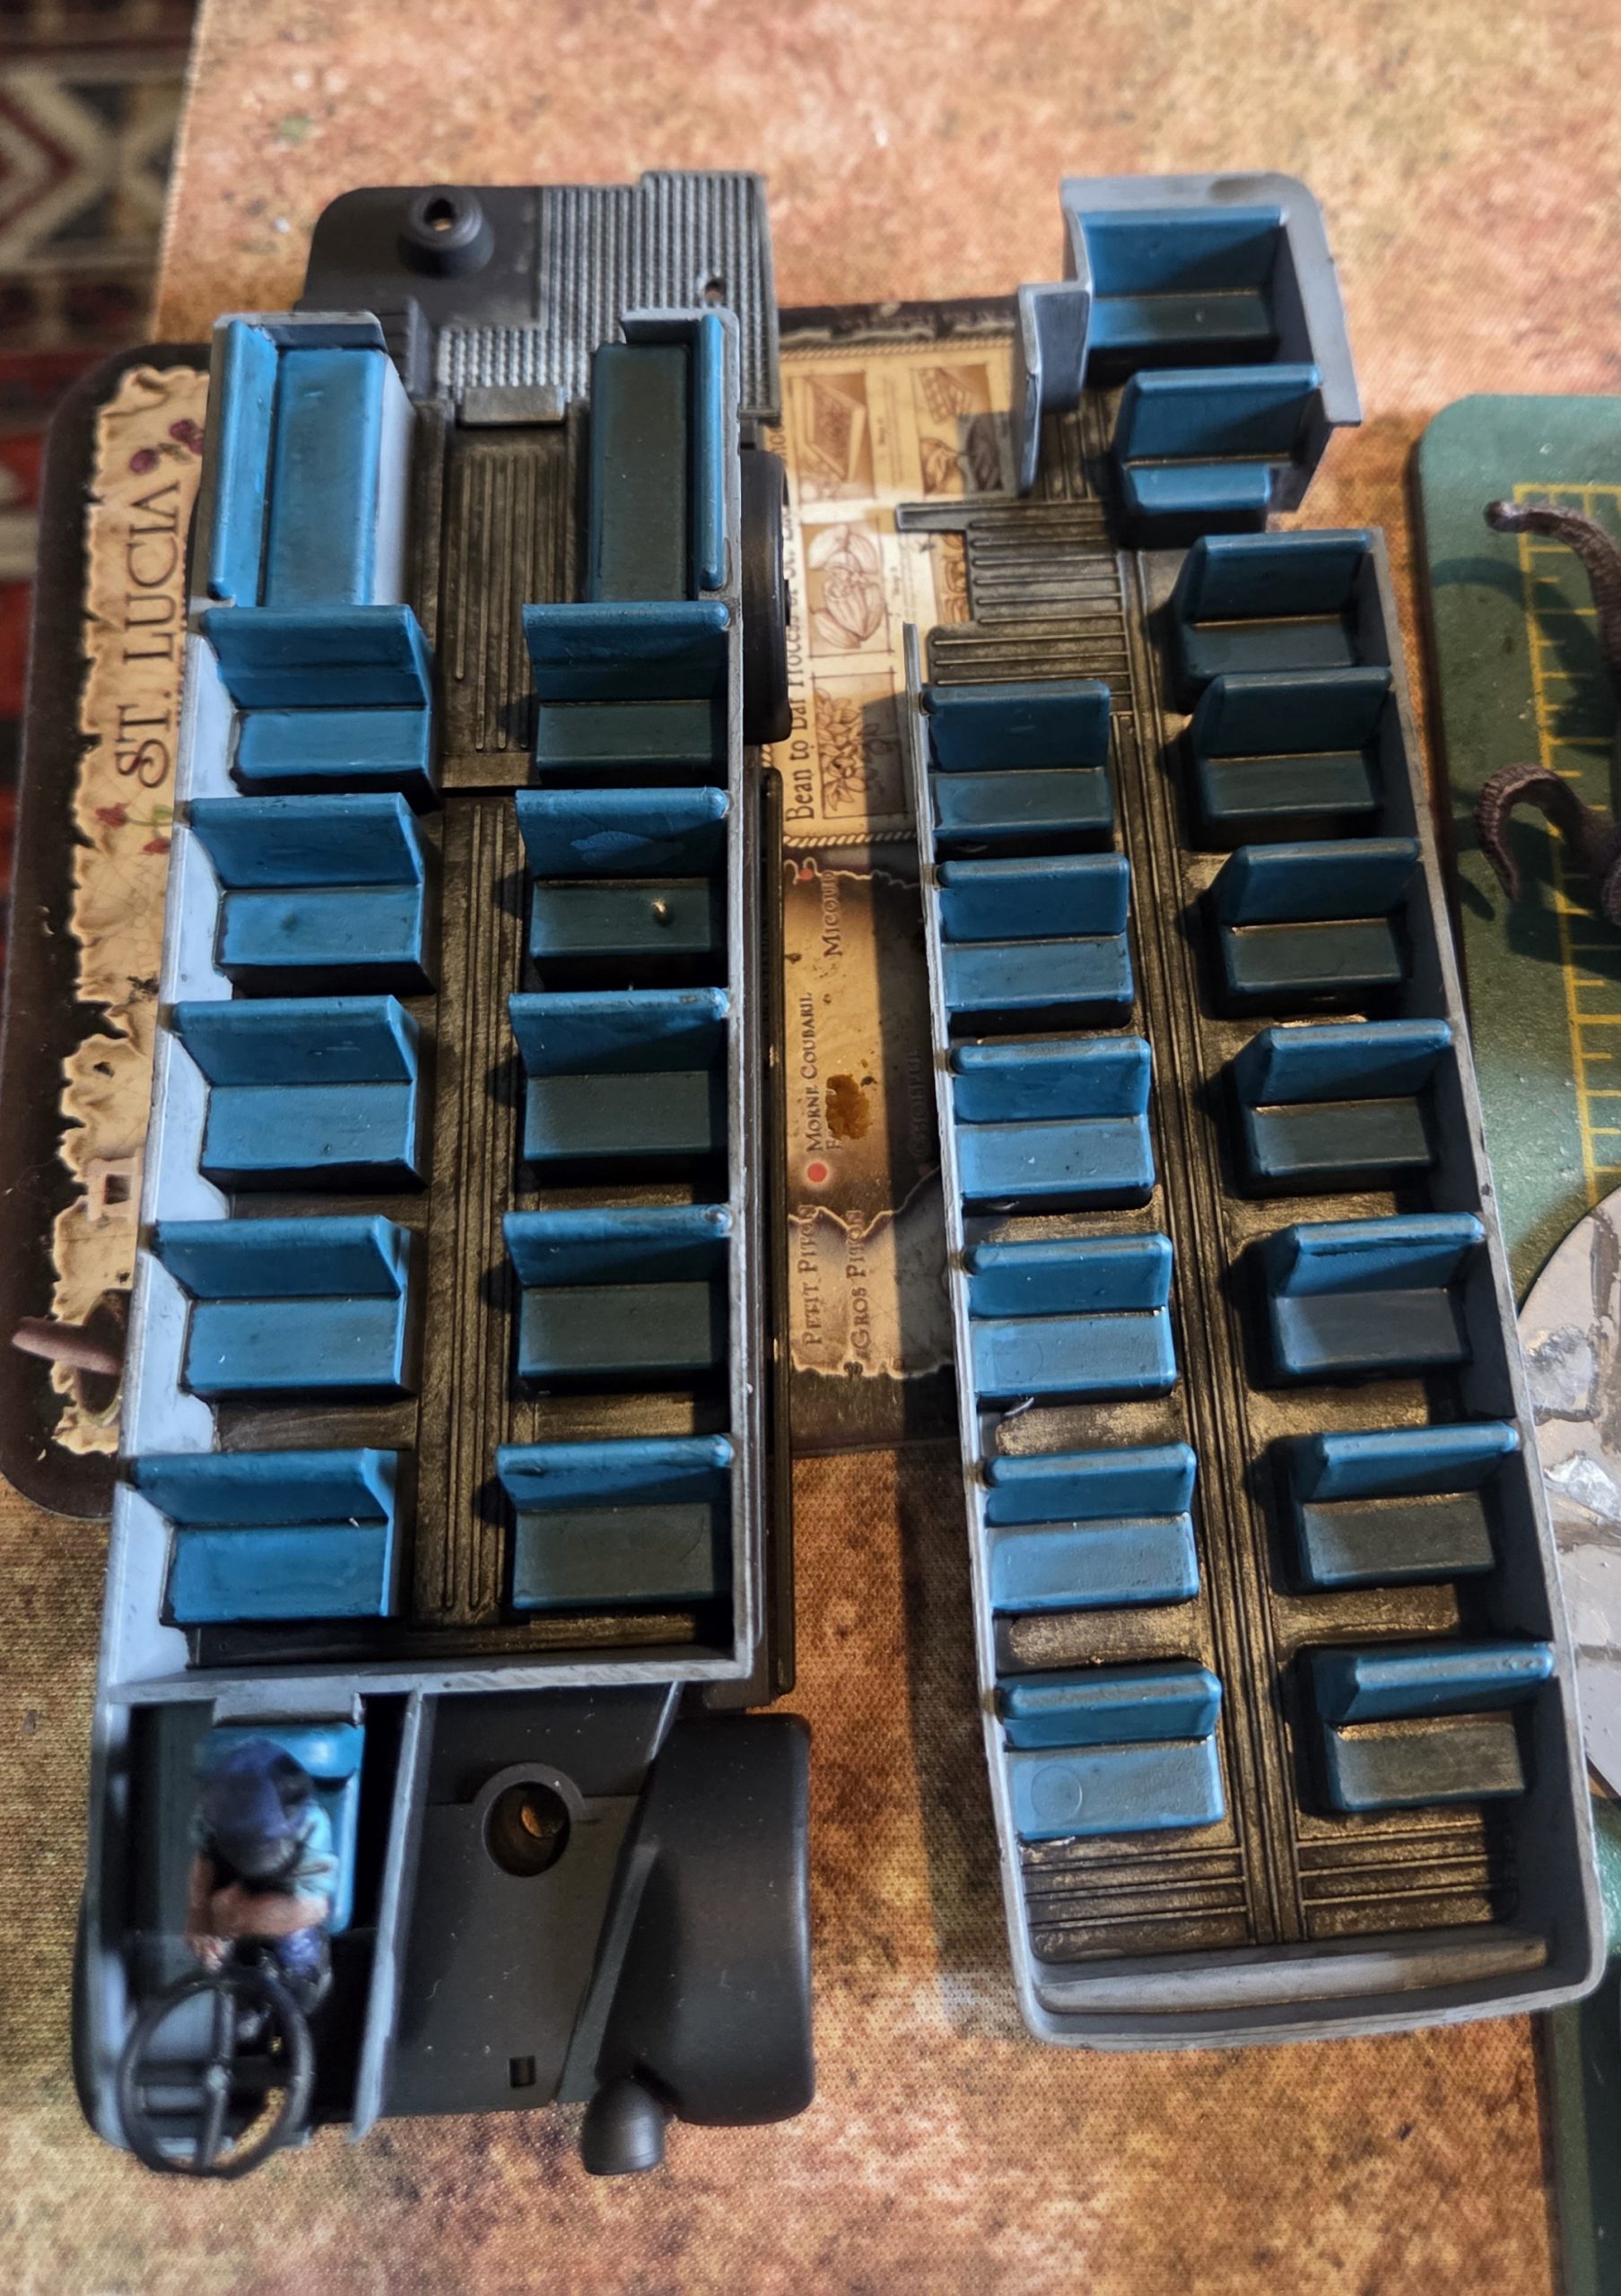 I drybrushed the seats with the turquoise progressively adding white until I was happy. Sorry no photos of this next bit. I drybrushed the walls with the French Grey and again adding white. The driver was also highlighted up. The black paint was drybrushed and the tyres painted.
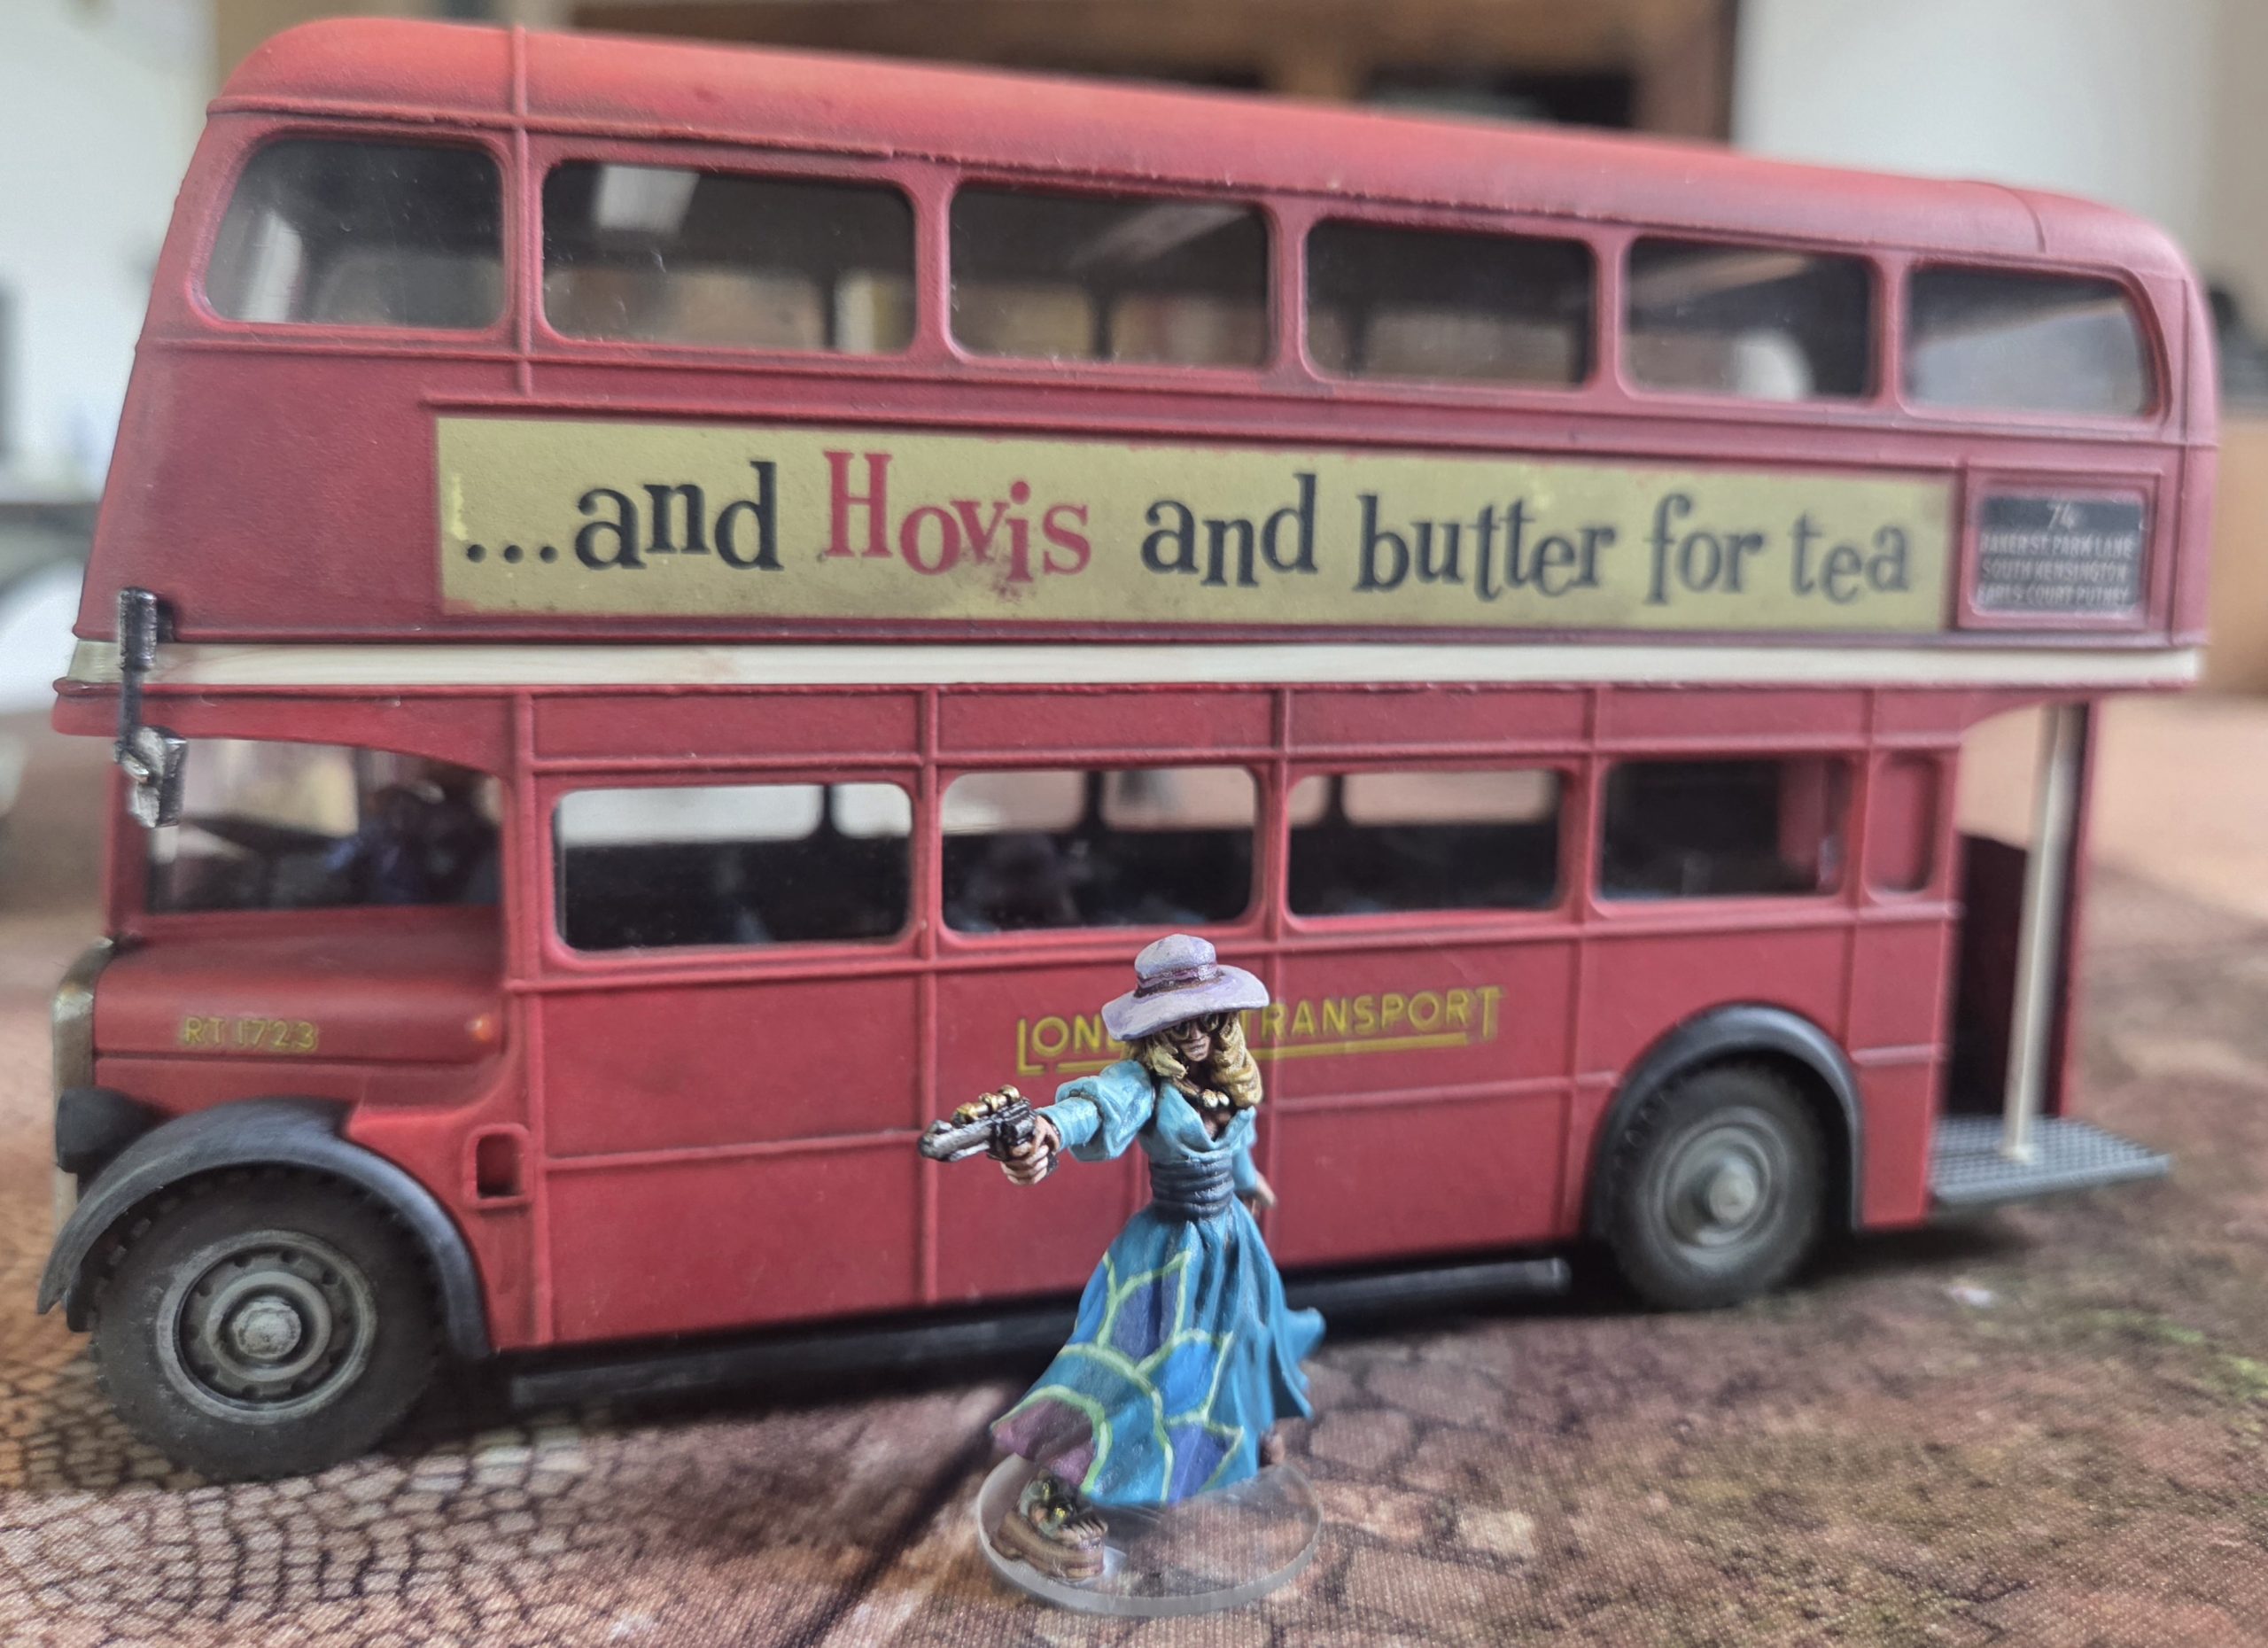 I then added all decals to body work, when dry i used a wash to dirty them down and match the rest of paint job. I then gave a final spray of matt varnish to body work bringing all the elements together. I then reassembled the model
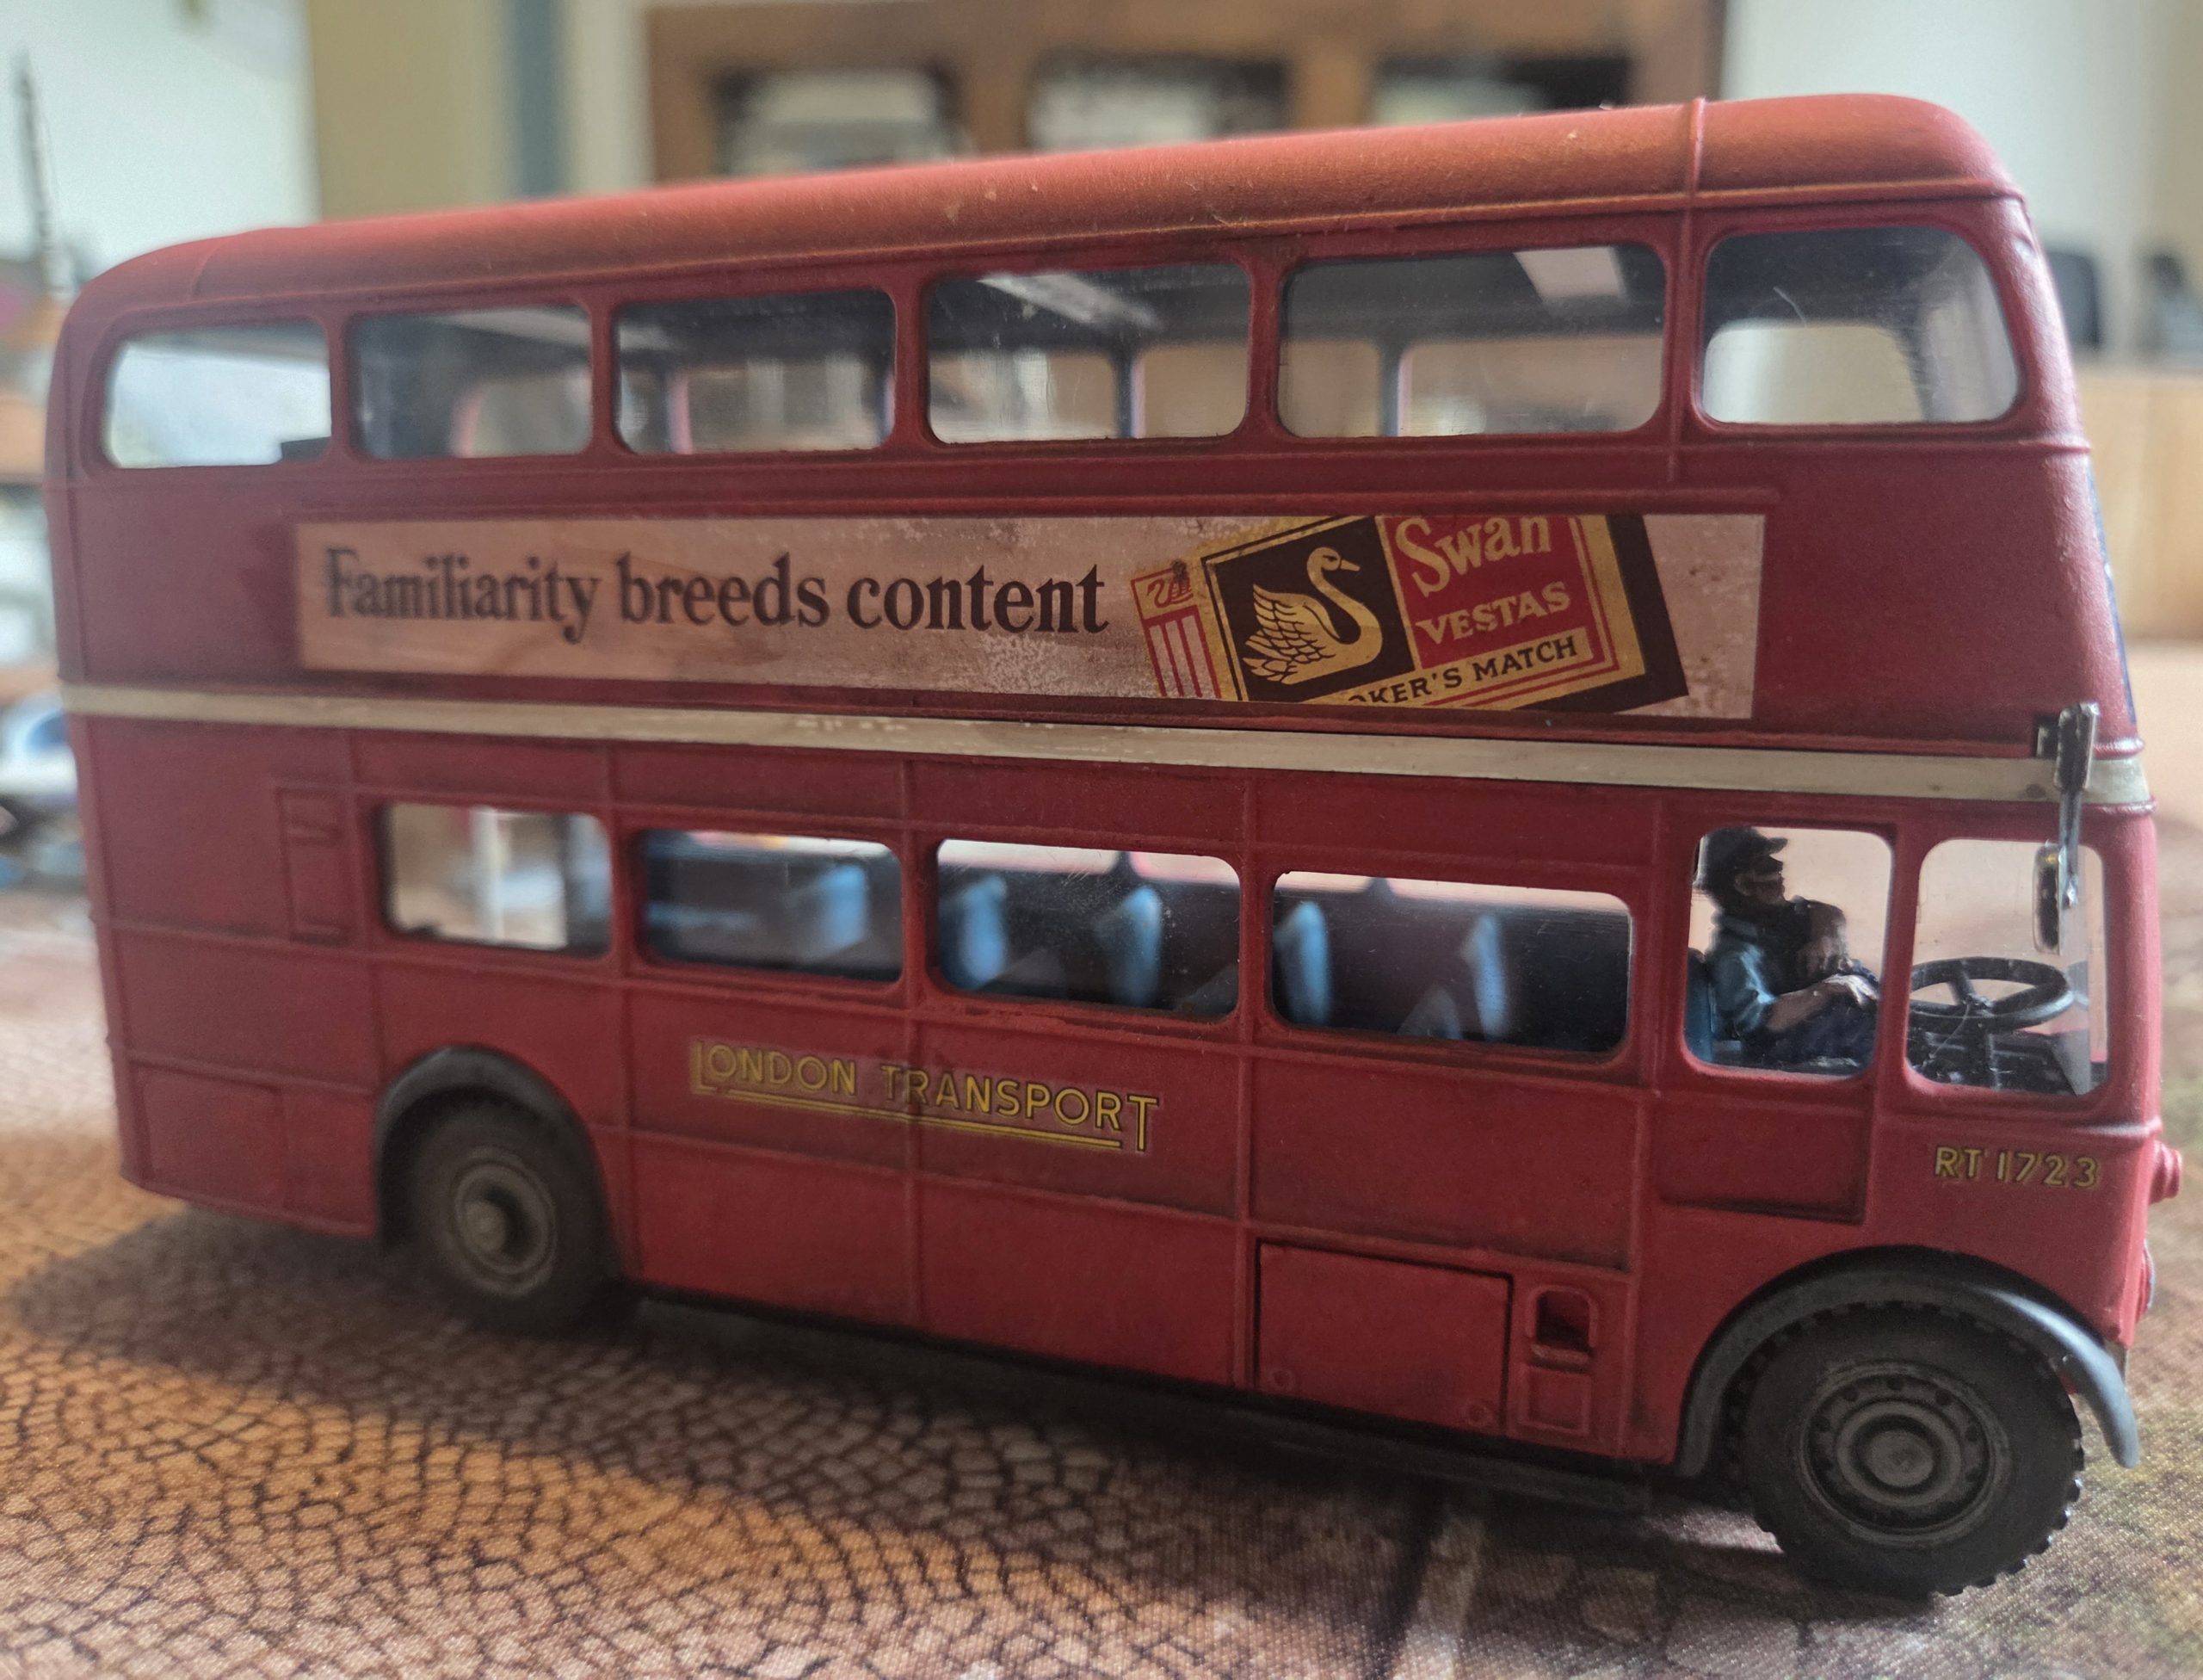 Finally i finished off the little details like the lights etc.

Subscribe
Login
Please login to comment
0 Comments
oldest

![11th Edition Warhammer 40K Core Rules Now Available & More [Updated]](https://images.beastsofwar.com/2026/06/orks-new-cover-600-338.jpg)