

![11th Edition Warhammer 40K Core Rules Now Available & More [Updated]](https://images.beastsofwar.com/2026/06/orks-new-cover-225-127.jpg)


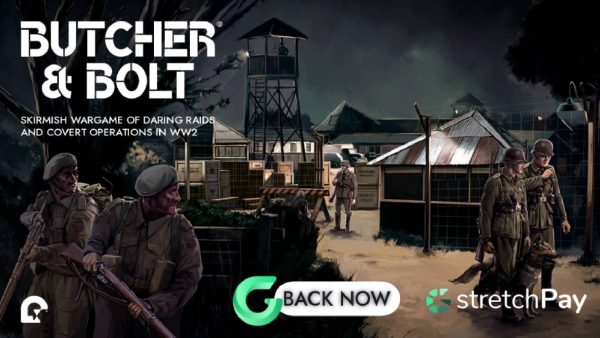
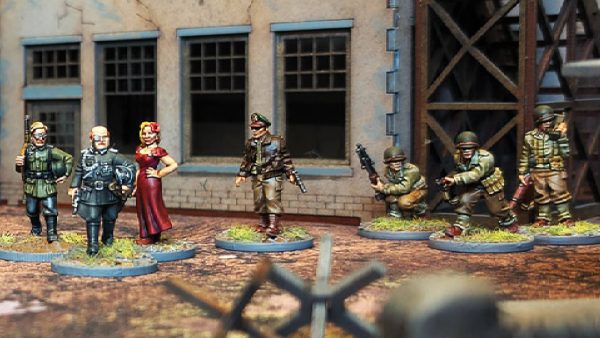
Operation Deadstick 82nd anniversary game


Pegasus Bridge Scenario – Bolt Actio
“Ham and Jam” – The Coup de Main & Hold Until Relieved
Game Size & Duration 7 Turns guaranteed.
Turn 8 is played on a roll of 4+ at the end of Turn 7.
Table size: 4×6 ft or 4×8 ft recommended.
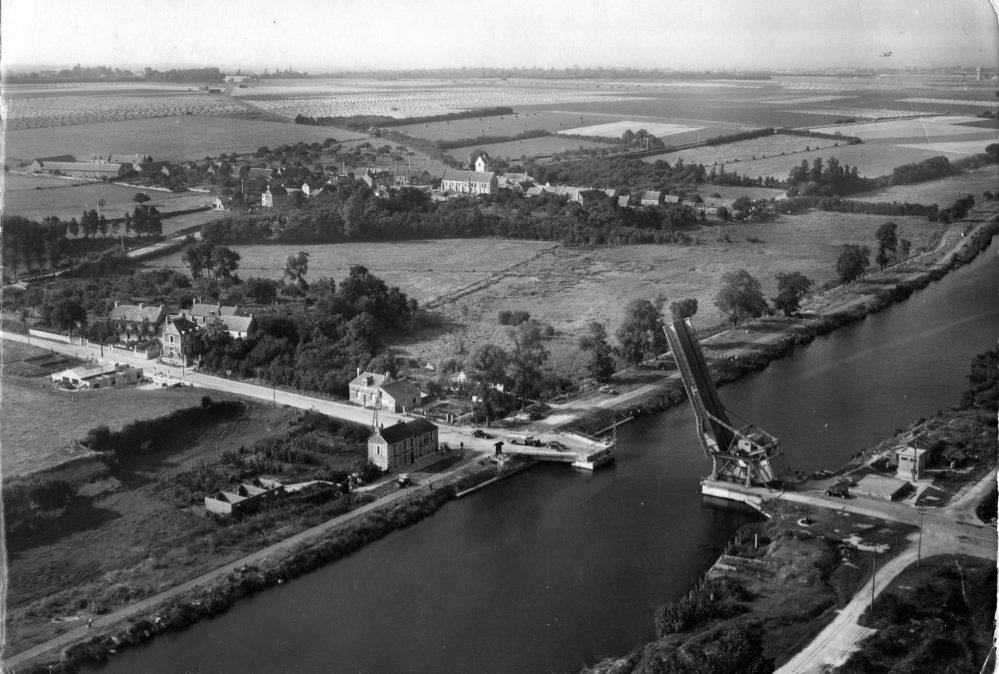
Terrain: A central canal/river with a bridge (the main objective). Use a road or track crossing it.
Café Gondrée and other buildings near the west (Canal) bridge.
Fields, hedges, fences, and some marshy/wet ground near landing zones.
German defenses: trenches, sandbag emplacements, a pillbox or MG bunker near the bridge, and an anti-tank gun position (unmanned at start).
British glider crash sites: wrecked Horsa glider model the east side of the canal (within 12–18″ of the bridge).
British starting forces
Major John Howard (Veteran Officer, SMG) + 1–2 companions (SMG).
Veteran 2nd Lieutenant + 1 companion.
4x Paratrooper/Airlanding Sections (7 men each): NCO + 2 SMGs + 1 LMG + rifles. (Very aggressive close-range loadout.)
Support: 2 PIAT teams, 1 MMG teams, 1 Medium Mortar team.
German starting forces
1x Regular Officer (1st Lt or 2nd Lt, pistol armed) + 1–2 men.
3 x Infantry Sections (mixed sizes, 5–10 men): Mix of rifles, 1–2 SMGs per section, 1 LMG. Some Inexperienced (“shirkers”).
2 x MMG teams (including one in a bunker overlooking the bridge).
1 x fixed light AT gun (unmanned at start of game)
Phase 1 – Ham and Jam (Bridge Assault)
Special Rules – Phase 1
Night Fighting + Flares (use rulebook p.301)
Germans are caught completely off guard: All German units start as Inexperienced.
Germans cannot use “Run” orders on Turn 1.
From Turn 3 onward, all German units upgrade to Regular quality.
British glider troops may use Airborne Assault / Glider Landing rules (deploy near the bridge with possible scatter).
Phase 2 – Hold Until Relieved
Reinforcement Schedule
German Reinforcements
Turn 4: 1x SdKfz 251/1 Half-track carrying 1 Regular Panzergrenadier Squad arrives from the East or South table edge.
British Reinforcements (Commandos) Enter from the West table edge (Sword Beach direction) starting on Turn 5.
Turn 5 onwards: Main German reinforcements begin arriving from the East or South table edge (page 166 style reserves).
They represent elements of the 21st Panzer Division and local reserves (125th/192nd Panzergrenadier Regiments).
1x Regular Panzergrenadier Platoon Commander (Lt with SMG).
2x Panzergrenadier Sections (Regular, 8–10 men each):
– NCO + 2–4 SMGs or Assault Rifles (StG 44 where available)
– 1–2 LMGs per section
1x Marder III M (Veteran) – Excellent anti-tank and HE firepower.
1x Panzer III J/L or Panzer IV G/H (Regular/Veteran).
Victory Conditions
Calculate Victory Points (VPs) at the end of the game.
British Objectives (Attackers)Hold the Bridge – 8 VPs
(At least one British unit in the centre of the bridge and no German unit within 6″ of the centre.)
Control Café Gondrée – 4 VPs
(Unit inside or touching the building with no enemy unit inside.)
Control the East Bank – 3 VPs
Control the West Bank – 3 VPs
Eliminate the German Bunker/Pillbox – 2 VPs
Major John Howard or Lord Lovat still alive – 2 VPs
German Objectives
Clear the Bridge – 8 VPs (No British units on or within 6″ of the bridge at game end.)
Control Café Gondrée – 4 VPs
Inflict heavy casualties – 1 VP per 4 enemy units destroyed (max 6 VPs)
German armour still alive on the board – 3 VPs (at least one tank/SPG survives)


![11th Edition Warhammer 40K Core Rules Now Available & More [Updated]](https://images.beastsofwar.com/2026/06/orks-new-cover-600-338.jpg)