


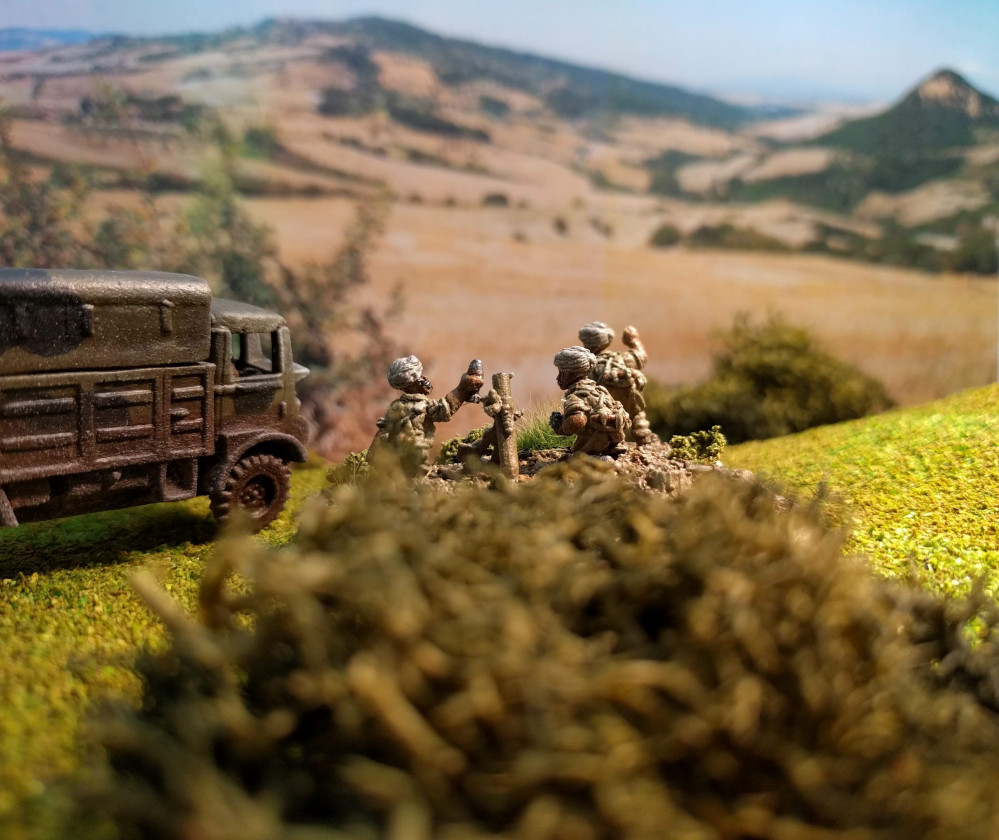
75th Anniversary of Battle of Monte Cassino and Northern Italy (Army Build)



Recommendations: 529
About the Project
This is the parallel project to my Terrain build for the Monte Cassino and Northern Italy. Here I will be painting up the miniatures to represent some of the troops that fought in the battles.
Related Game: Flames of War: The World War II Miniatures Game
Related Company: Battlefront Miniatures
Related Genre: Historical
This Project is Active
Fallshirmjager - Shading
I’ve applied the Army Painter Quickshade strong tone to all of the models. This was put on with a brush rather than dipping as I think this gives a better result. The one problem I have with the dip is the end result has a very high gloss due to the varnish that makes up the product. Once the dip is dry, I prefer to apply some matt varnish as it is easier to see the detail and where to paint next. This is where I have hit a problem.
I used my usual spray matt varnish and, I can only think it was related to the heat/humidity here in Sussex, it has dried leaving a dusty, snowy look on some of the models. Not all are affected as you can see below but some are quite bad.
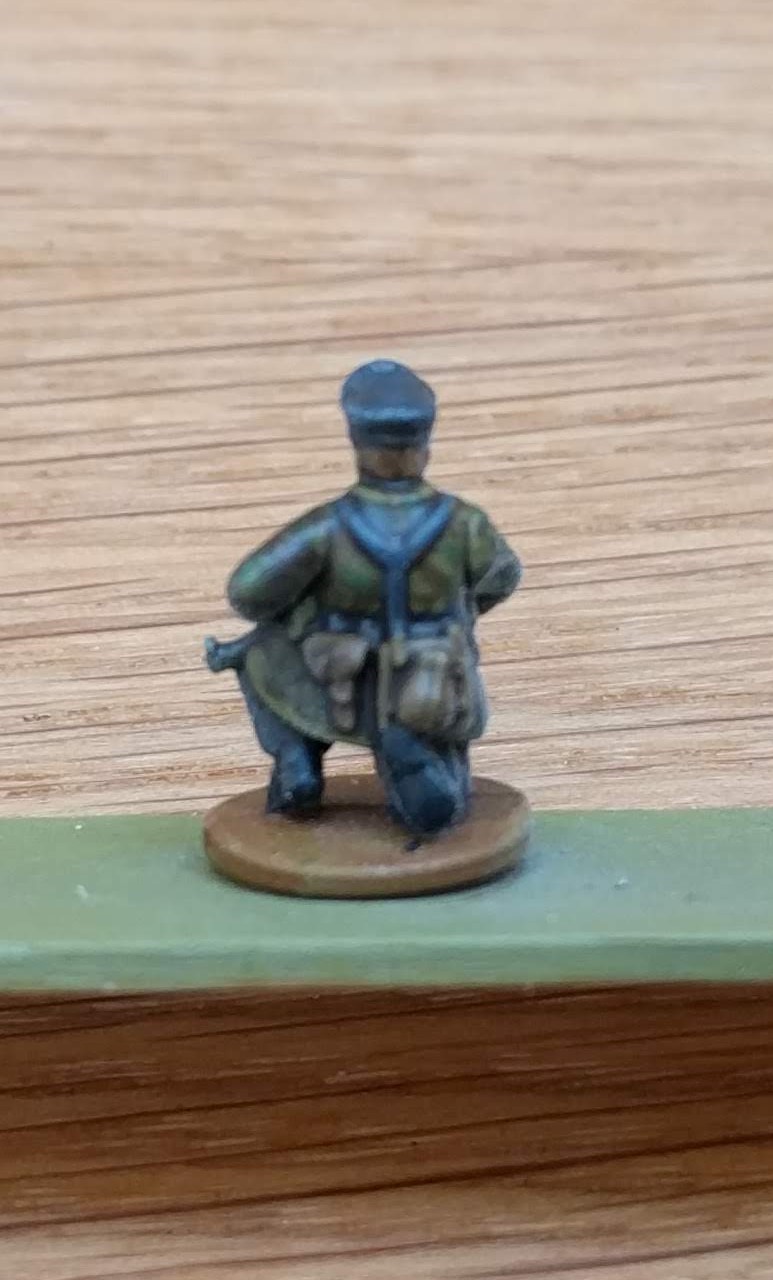 One of the largely unaffected models
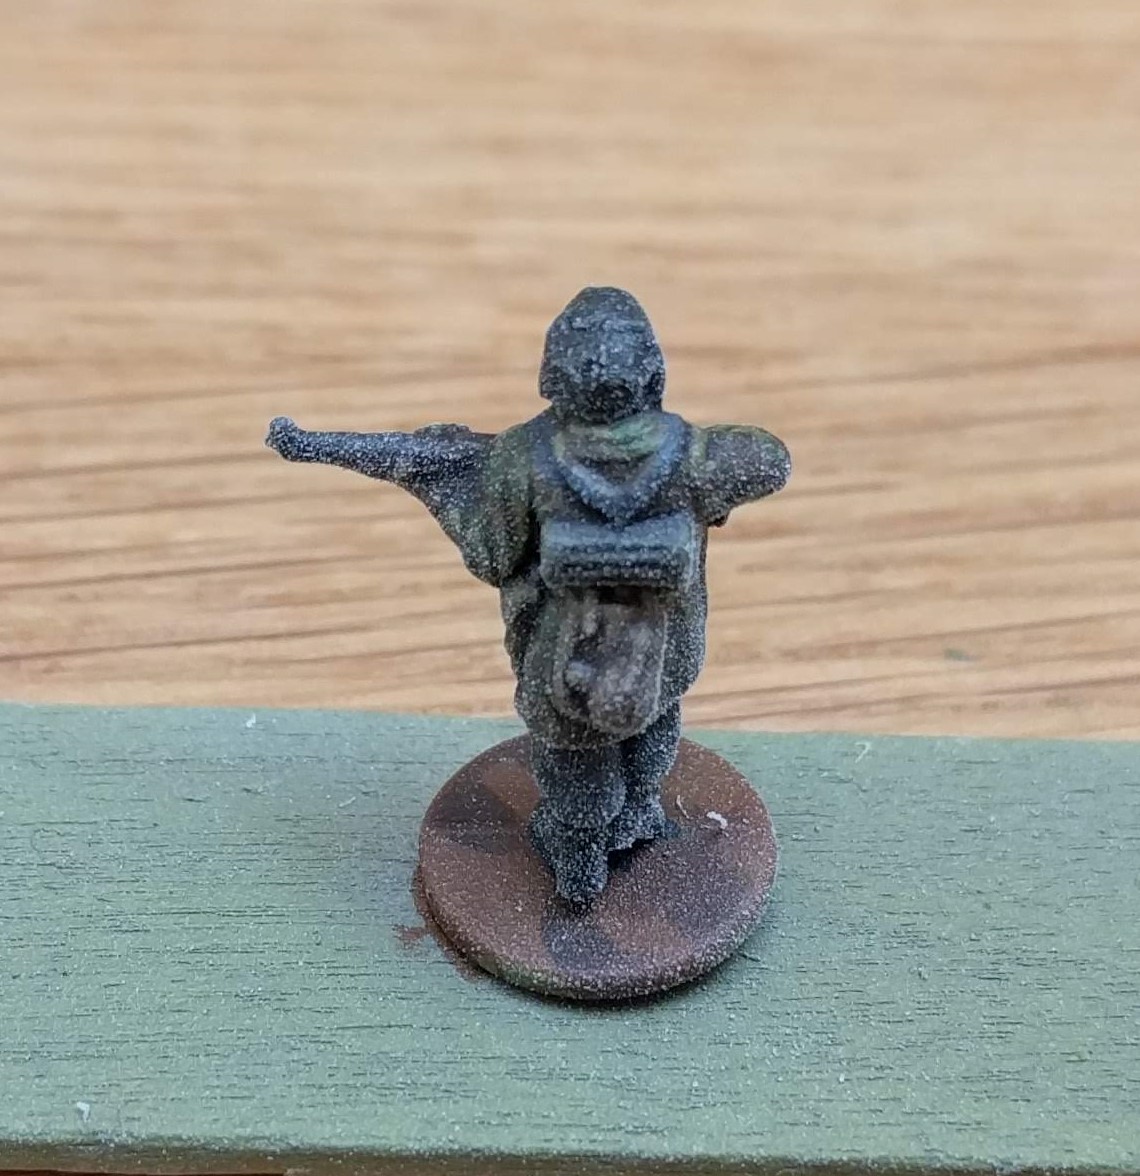 One of the badly affected models
So I now need to figure out what to do – any suggestions welcome.
I don’t want to apply more dip as I think this will shade the miniature too much. I could apply some thin washes of the same colour as the underlying base colour in the hope that this will conceal the speckled varnish? Or I could just repaint them (but would prefer not to). Any other ideas????
Fallschirmjager- Base colours done
I’ve now gone through the entire 4 platoons and applied the base colours. I’ve not taken pictures of each step as it is after all just applying some colour. However, for reference, these are the colours applied,
- Flat flesh for the skin
- Gunmetal for guns, metal canisters and the like
- German Camo Dark Green for the helmets. Apparently leaving them as Dunkelgelb was also valid but I think the green looks better
- Flat earth for all of the leather work
The flat flesh isn’t completely uniform as I had thinned it but given the scale, the need for the shading to be applied later and my lack of enthusiasm to apply another layer, I’ve left it as is. I honestly don’t think it will make much of a difference when completed.
My next step is to apply the shading. I’ll probably go with the quickshade mid tone and paint this on rather than dipping. I’m not a fan of dipping models
 A selection of riflemen
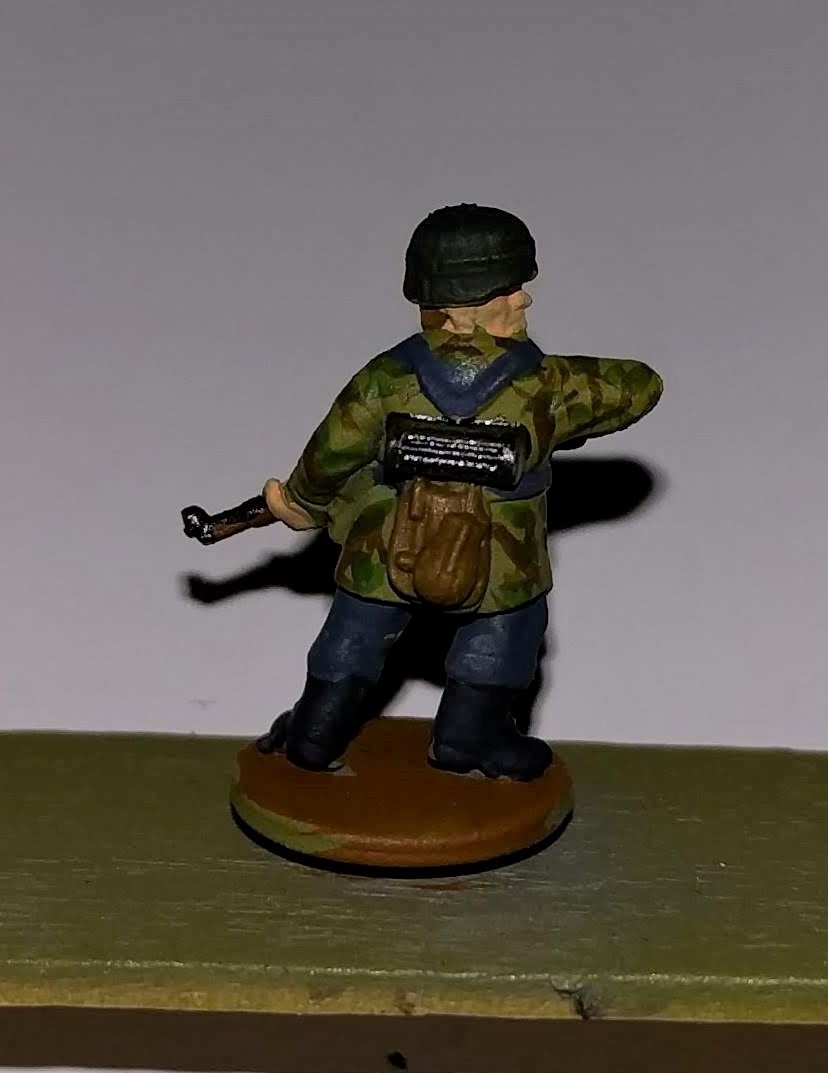 Close up - note the lack of consistent coverage of the flat flesh (I'm sure it won't be an issue!)
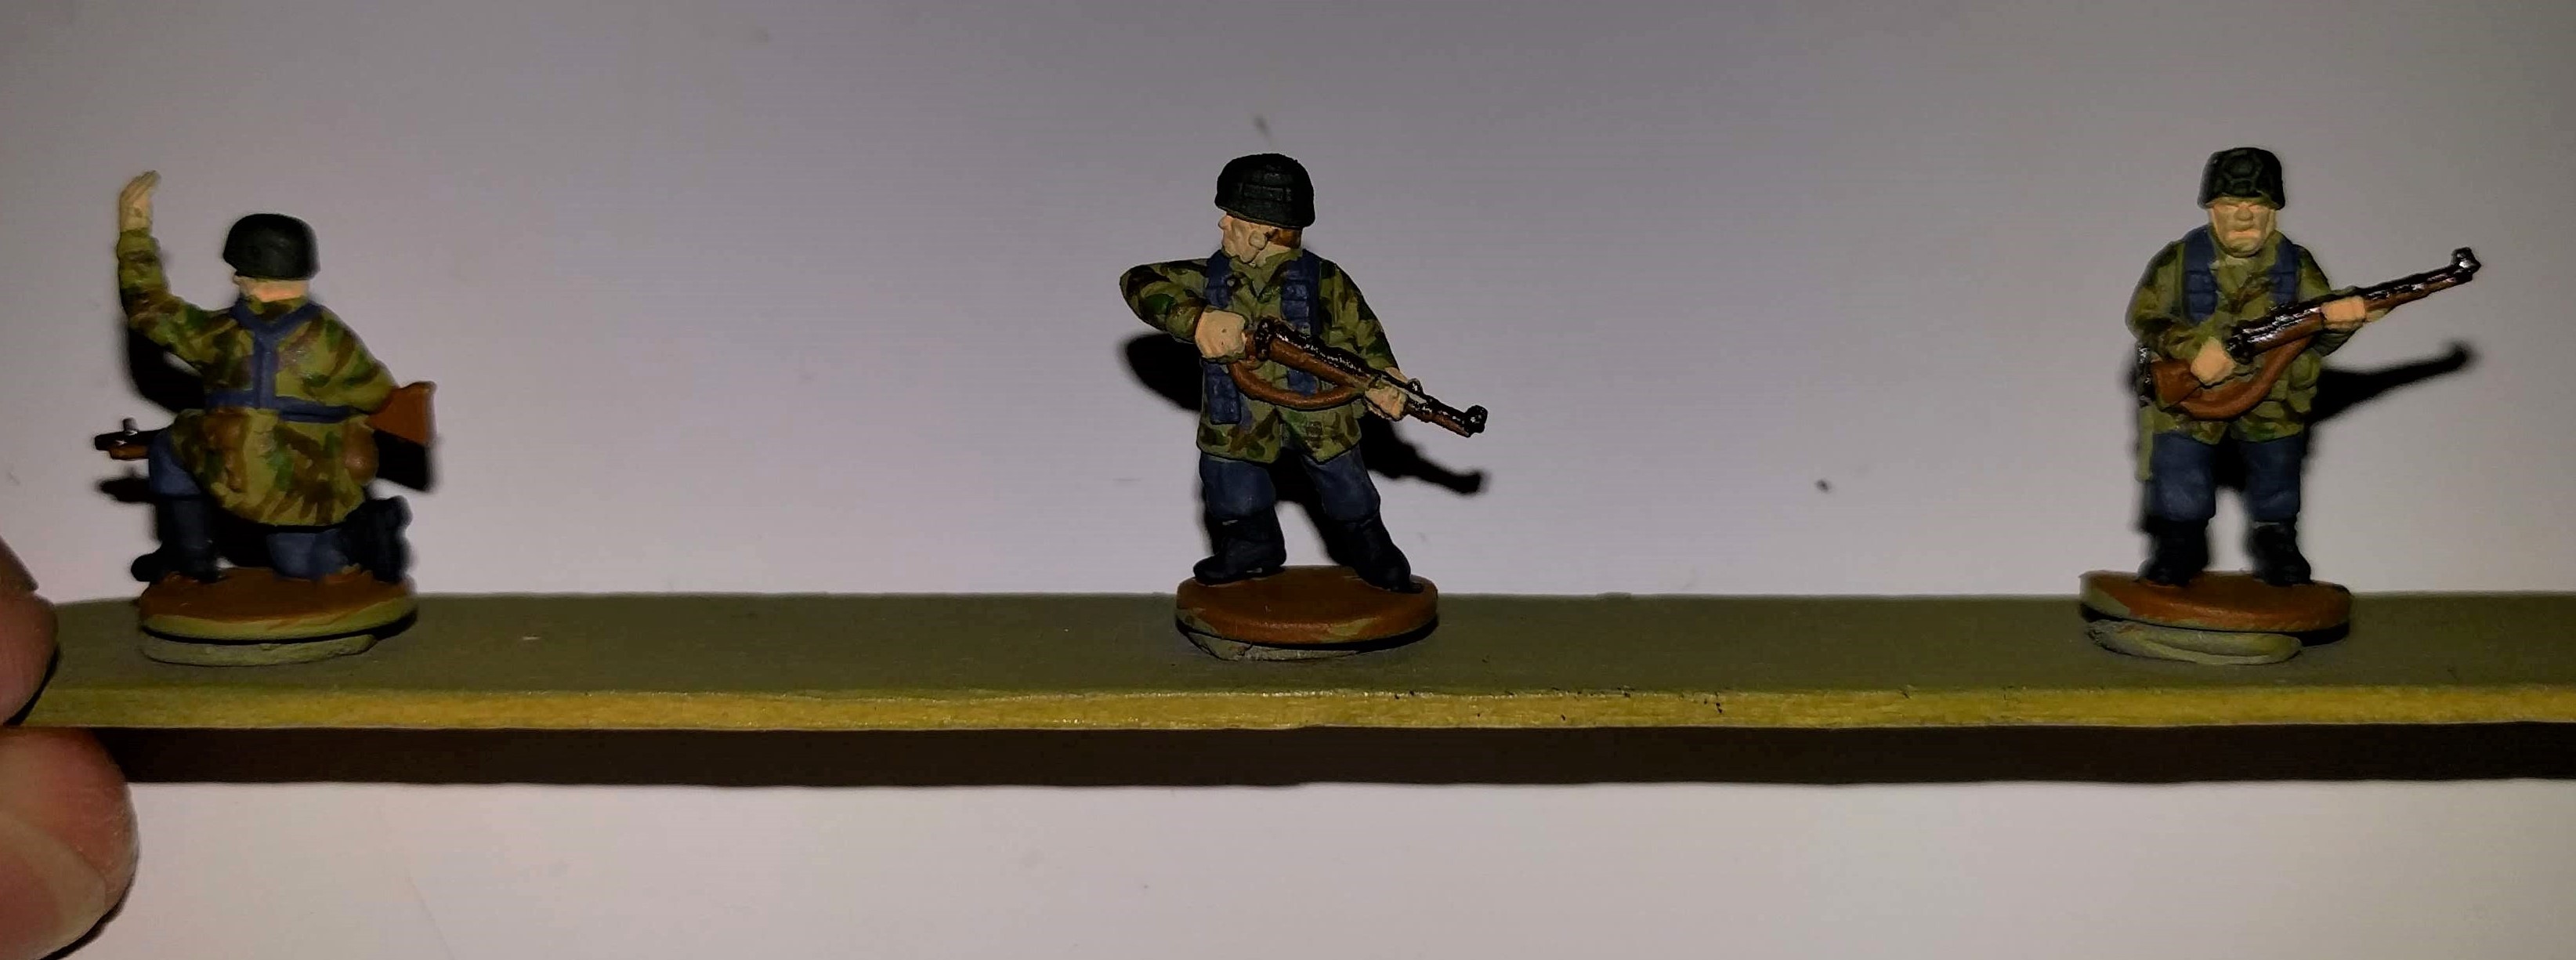 Some more troops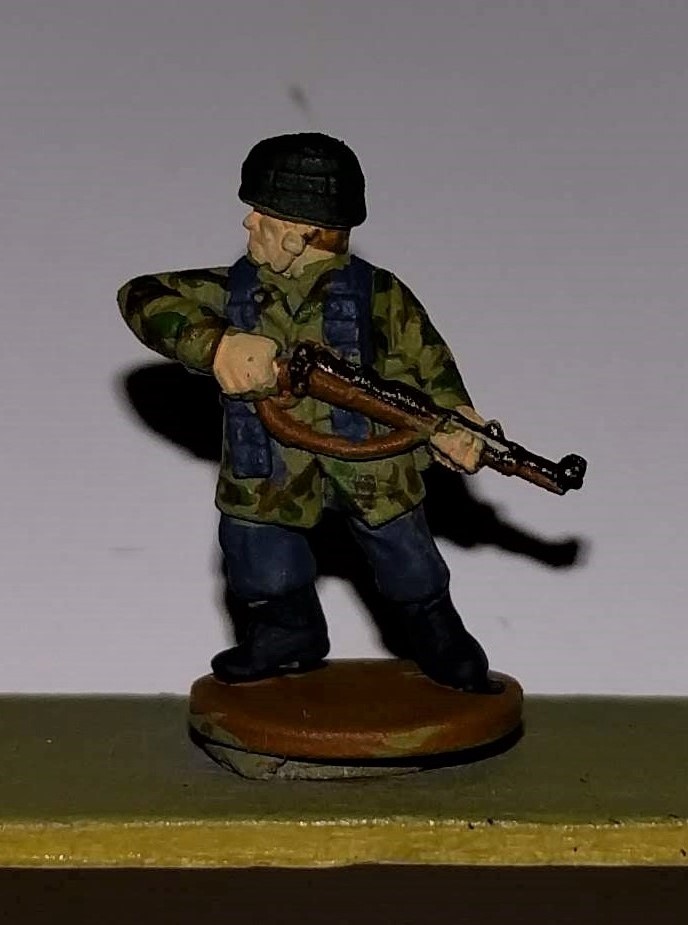
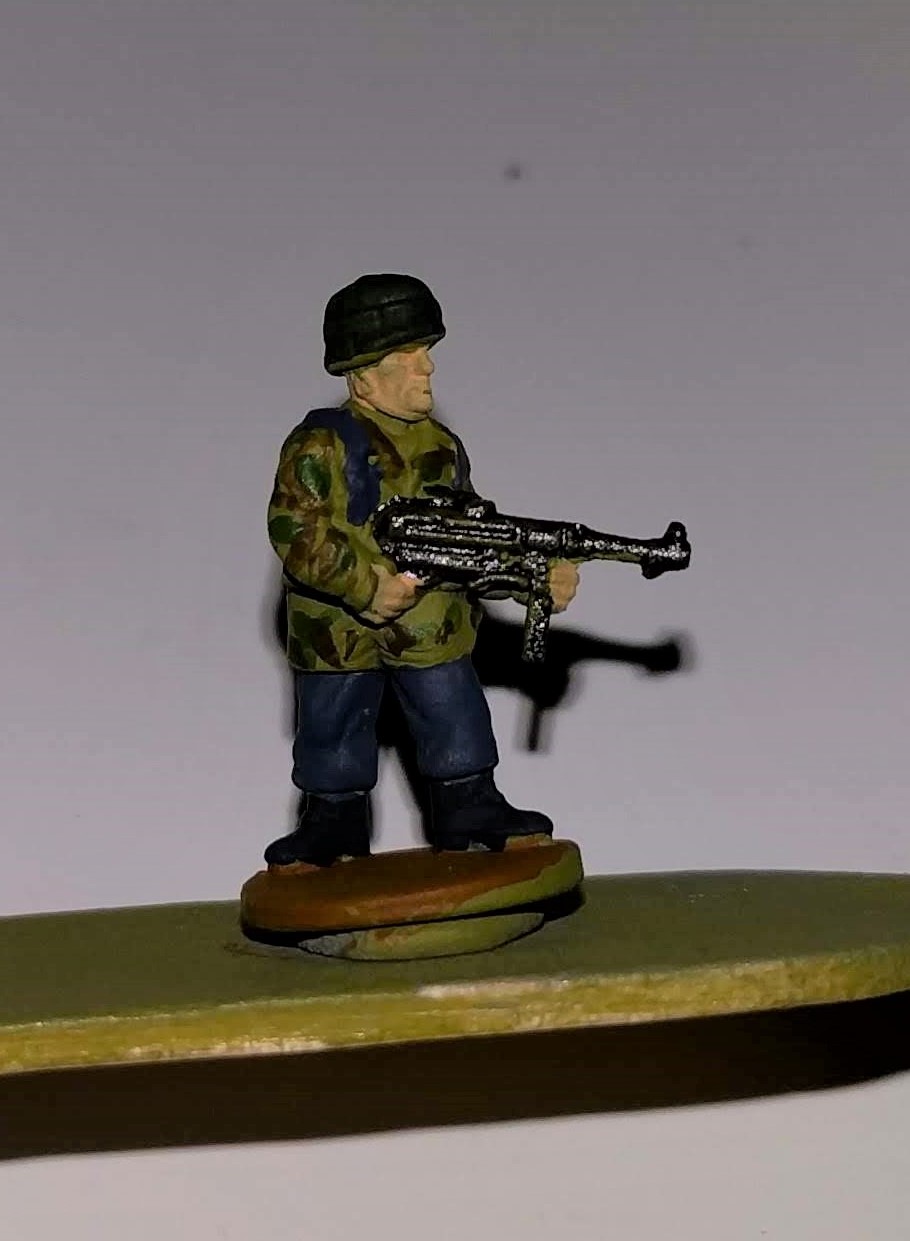 Junior Officer
Fallschirmjager - Brief update
The ammo pouches and shoulder strapping is now complete. These have been painted in Luftwaffe uniform.
I’ve also started on the rest of the base colours for the remainder of the model. I’ll post an update when that’s completed, hopefully very soon!
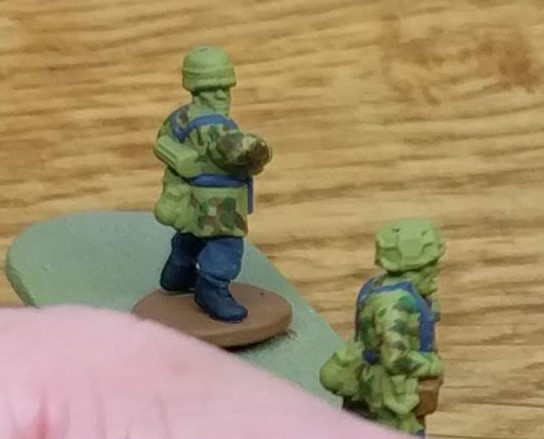 Painted strapping and a close up of my finger
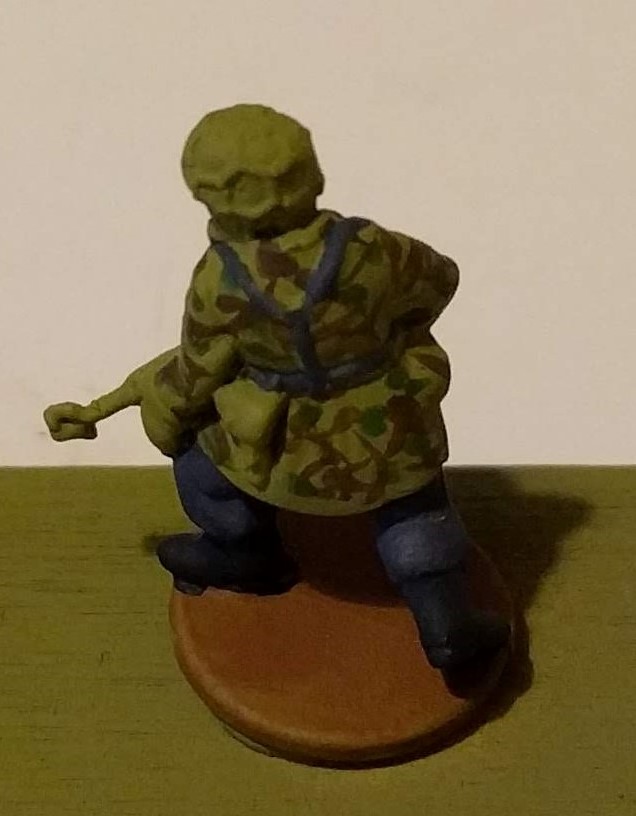 A junior officer
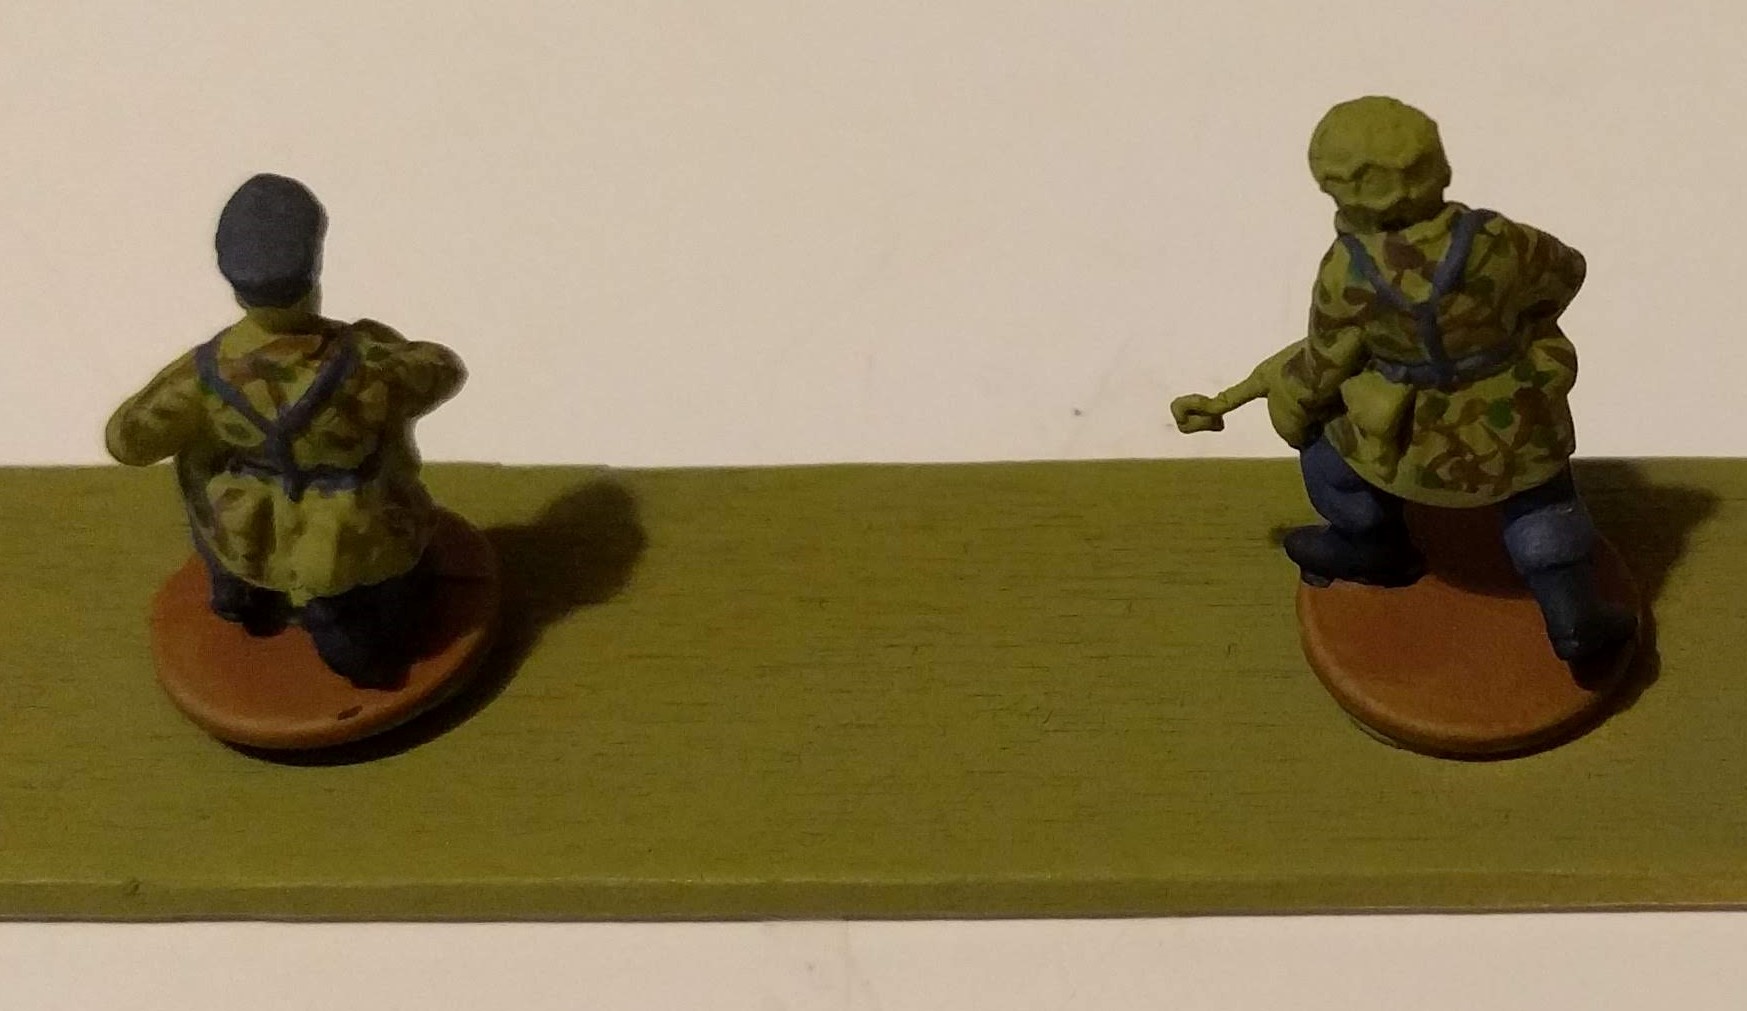 And a senior officer
Fallschirmjager - Camo part 2
Having added the reflective green blobs across all of the tunics, I now need to add the brown. I’ve used Camo Beige for this.
Having looked at a few reference pictures, it appears that the brown in the camo pattern runs more in lines and so I have tried to apply it in short ‘slashes’ with the brush. Given the scale here, it was inevitable that these slashes would cover some of the green, which was why I applied the green first. Again, from the reference images, the green is very much secondary to the brown. I’ve also ignored all of the pouches, belts and ammo packs as these will get painted next so it doesn’t matter if these get camo pattern over them!
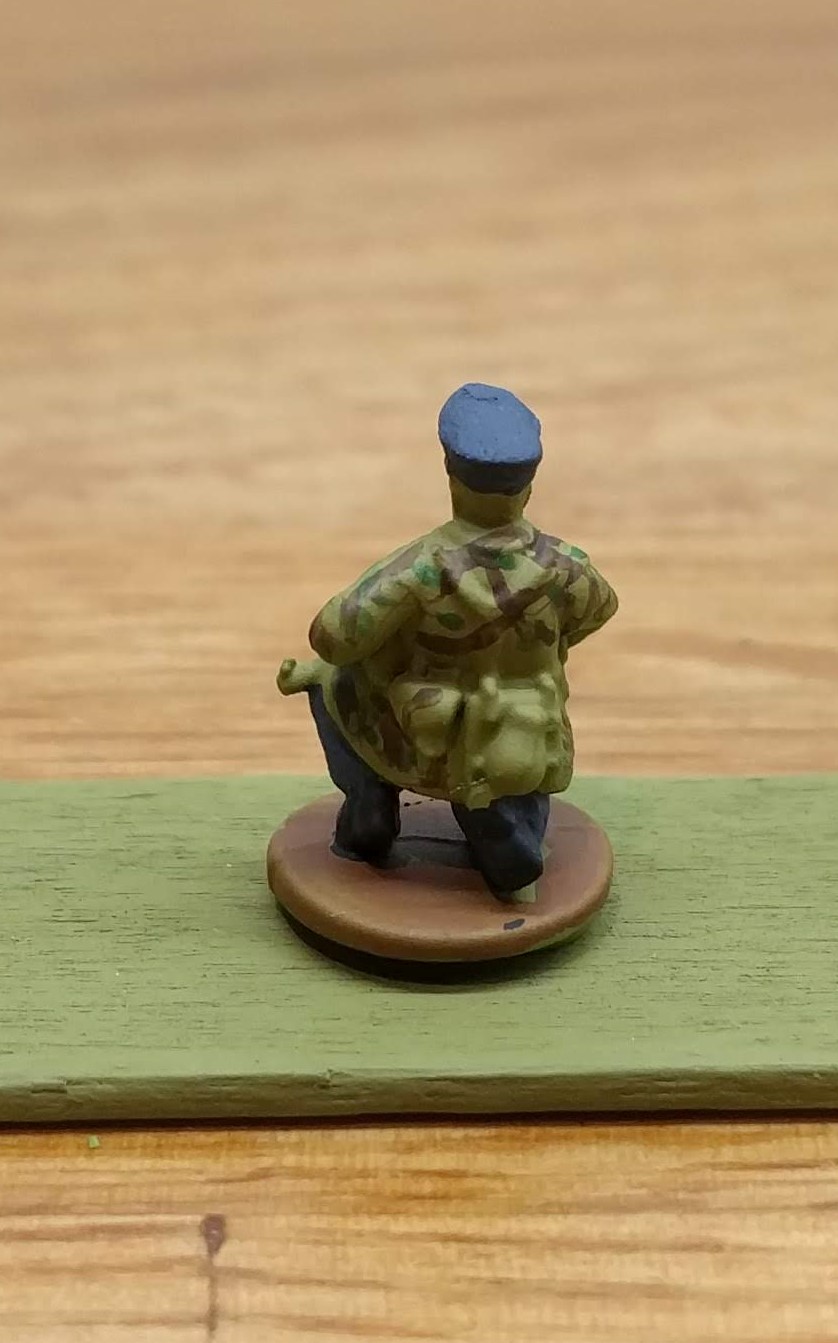 One of the Officers showing the brown 'slash' pattern
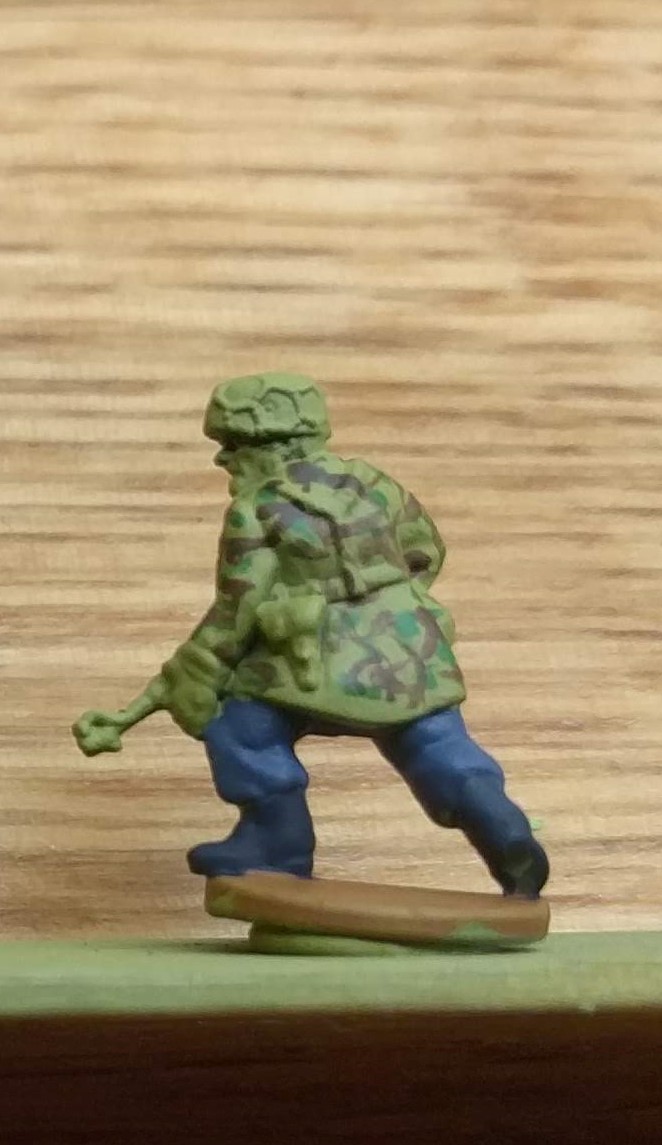 A rifleman
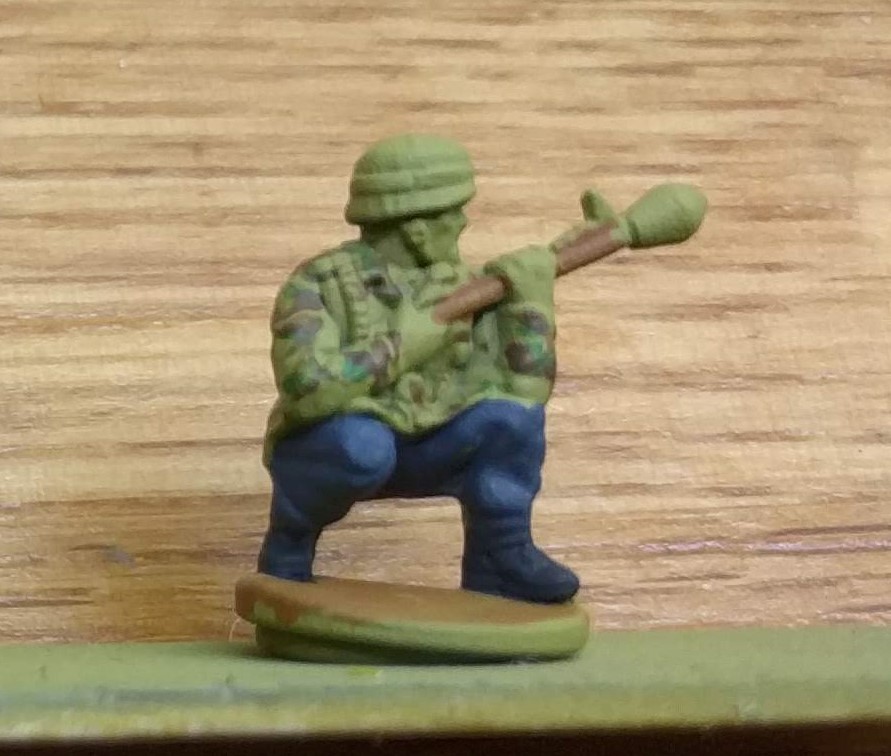 A chap with a toilet plunger
Fallschirmjager- Starting the Camo
Fallschirmjager camouflage is a base of Camo Beige with a Camo Medium Brown splinter pattern over the top, interspersed with patches of Reflective Green. I’ve primed my models with Dunkelgelb which is lighter than Camo Beige but as I plan to put a wash over the top, this should darken it down to roughly the right colour.
In 15mm, I’m going to start with the Reflective Green patches. If I were painting this in 28mm, I would do the green last as, at that scale, it would be easier to get the patches in the right spot. However, as the green in the pattern is the least prevalent colour, I’m going to put it on first and then apply the Camo Beige as this will cover some of the green. In short, given the number I need to paint and my limited skill, carefully applying the green over the brown won’t be an option, hence why green first in this project.
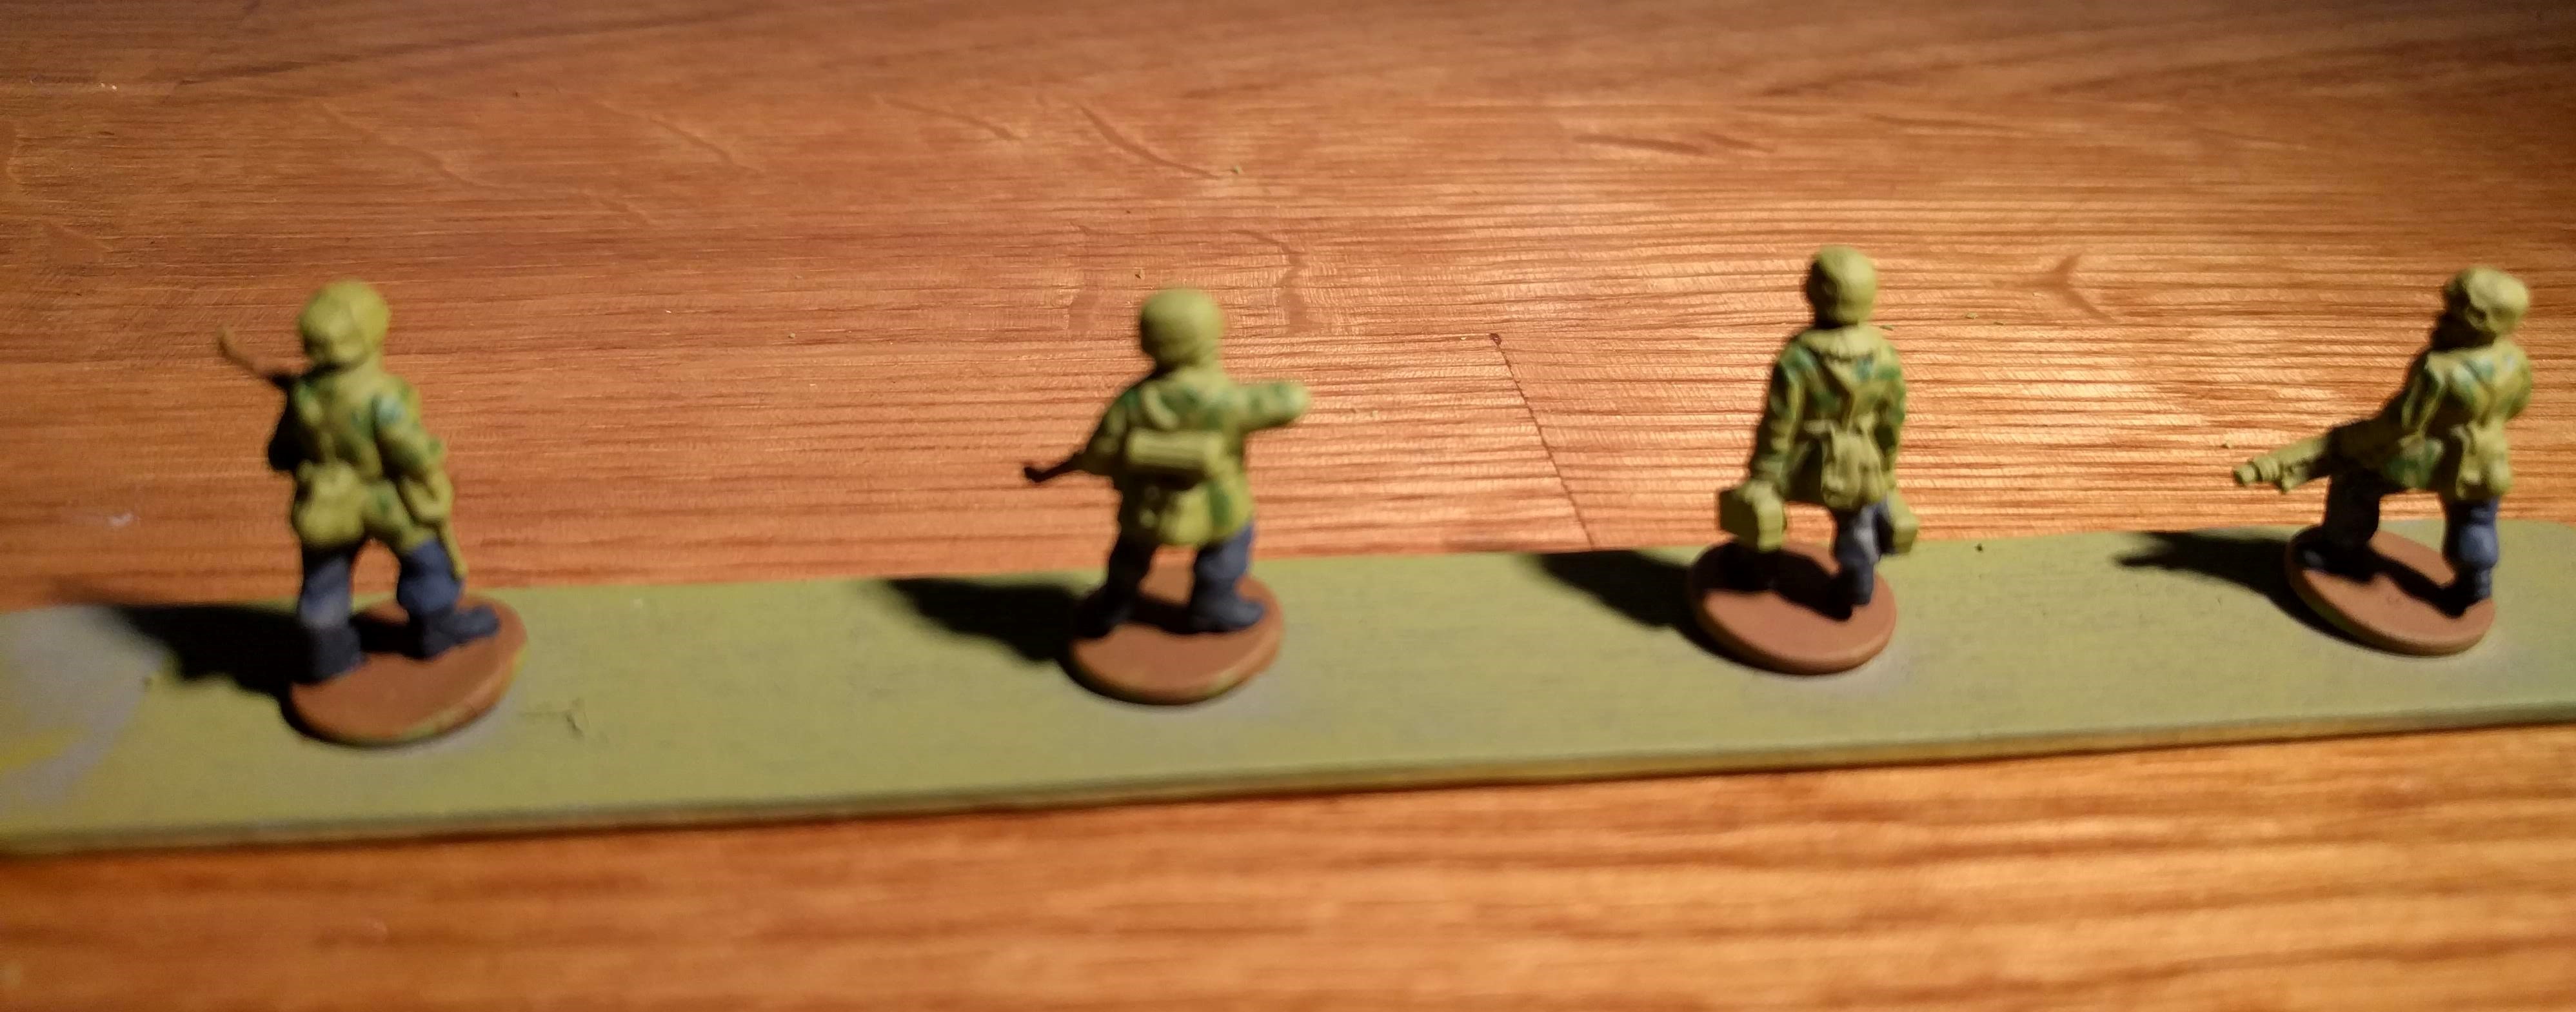
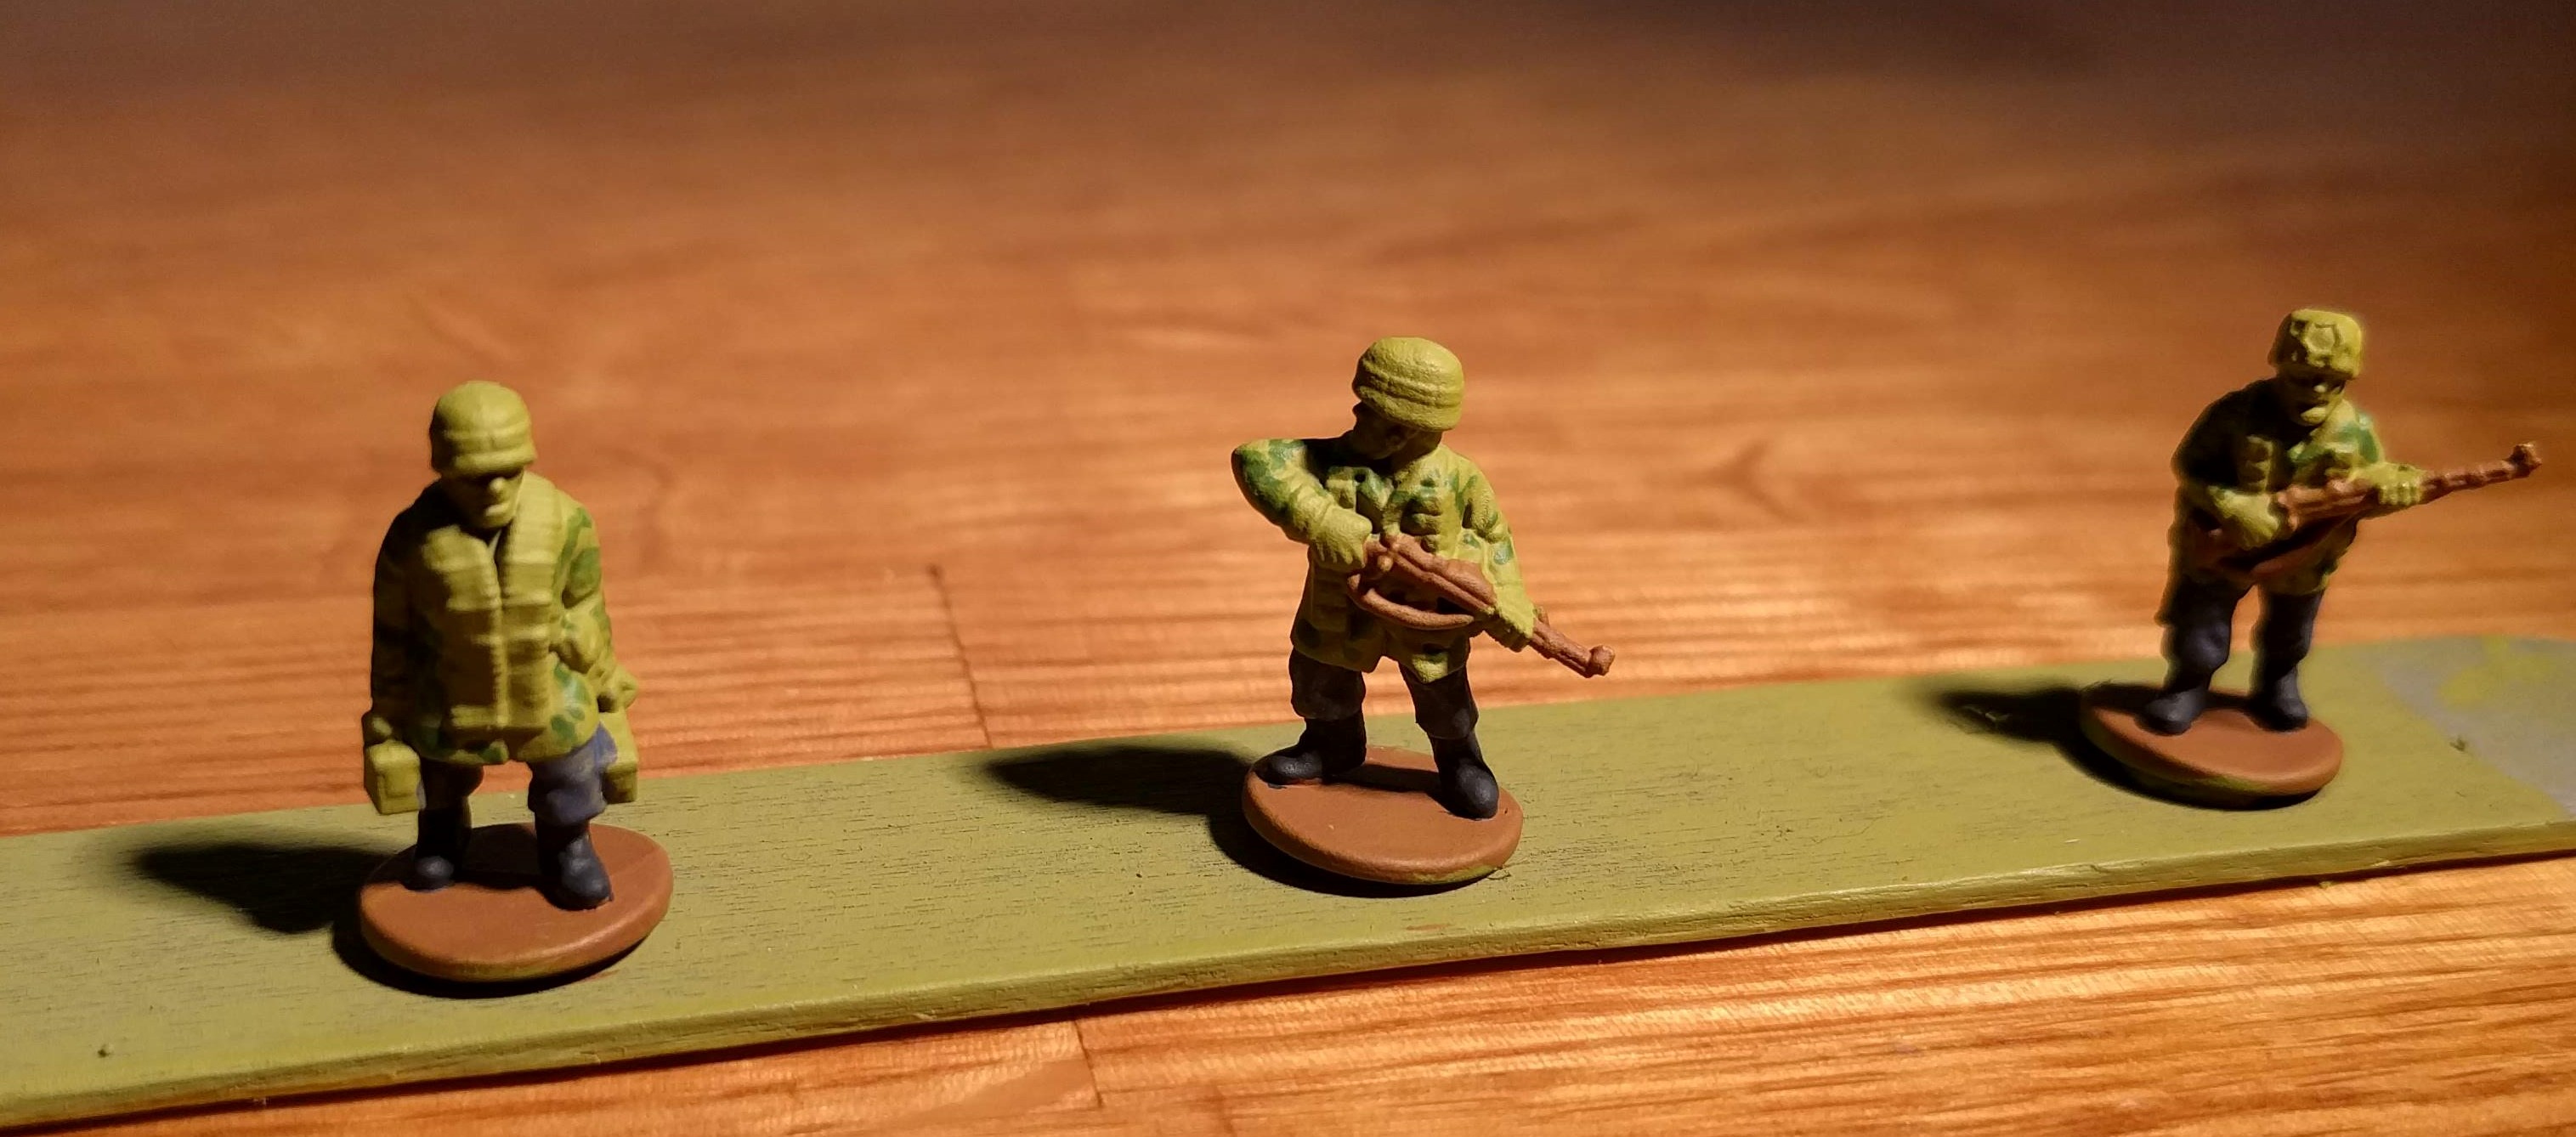
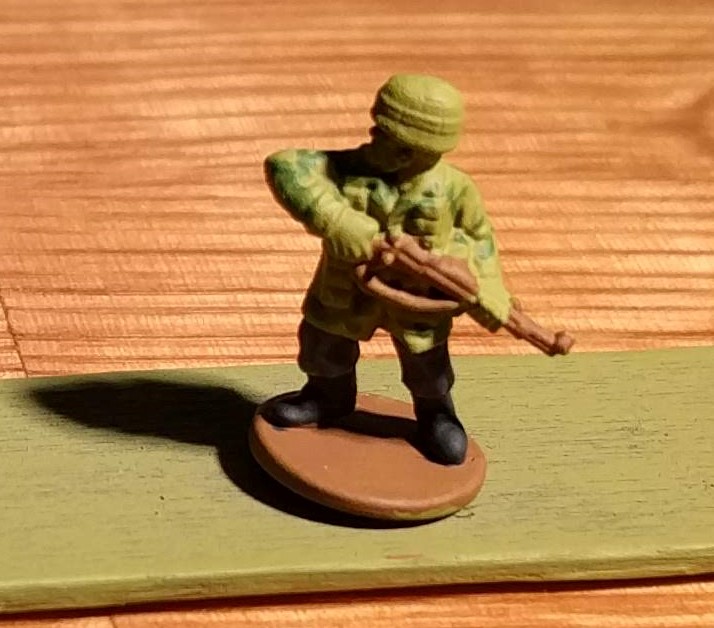
As you can hopefully see in the photos above, I’ve ‘blobbed’ the green over just the tunic. I’m not bothered whether I get it over the ammo pouches or elsewhere as these will get painted over later, so as long as it is only going on the tunic, I should be good here!
Fallschirmjager - First paint
I’ve started with painting the bases beige brown, ready for when they get based. I’ve also painted all of the rifles and other wooden bits the same brown. I then went for the boots using a mix of black and dark grey. This lifts the colour off of the black and, in my view, looks a little more realistic.
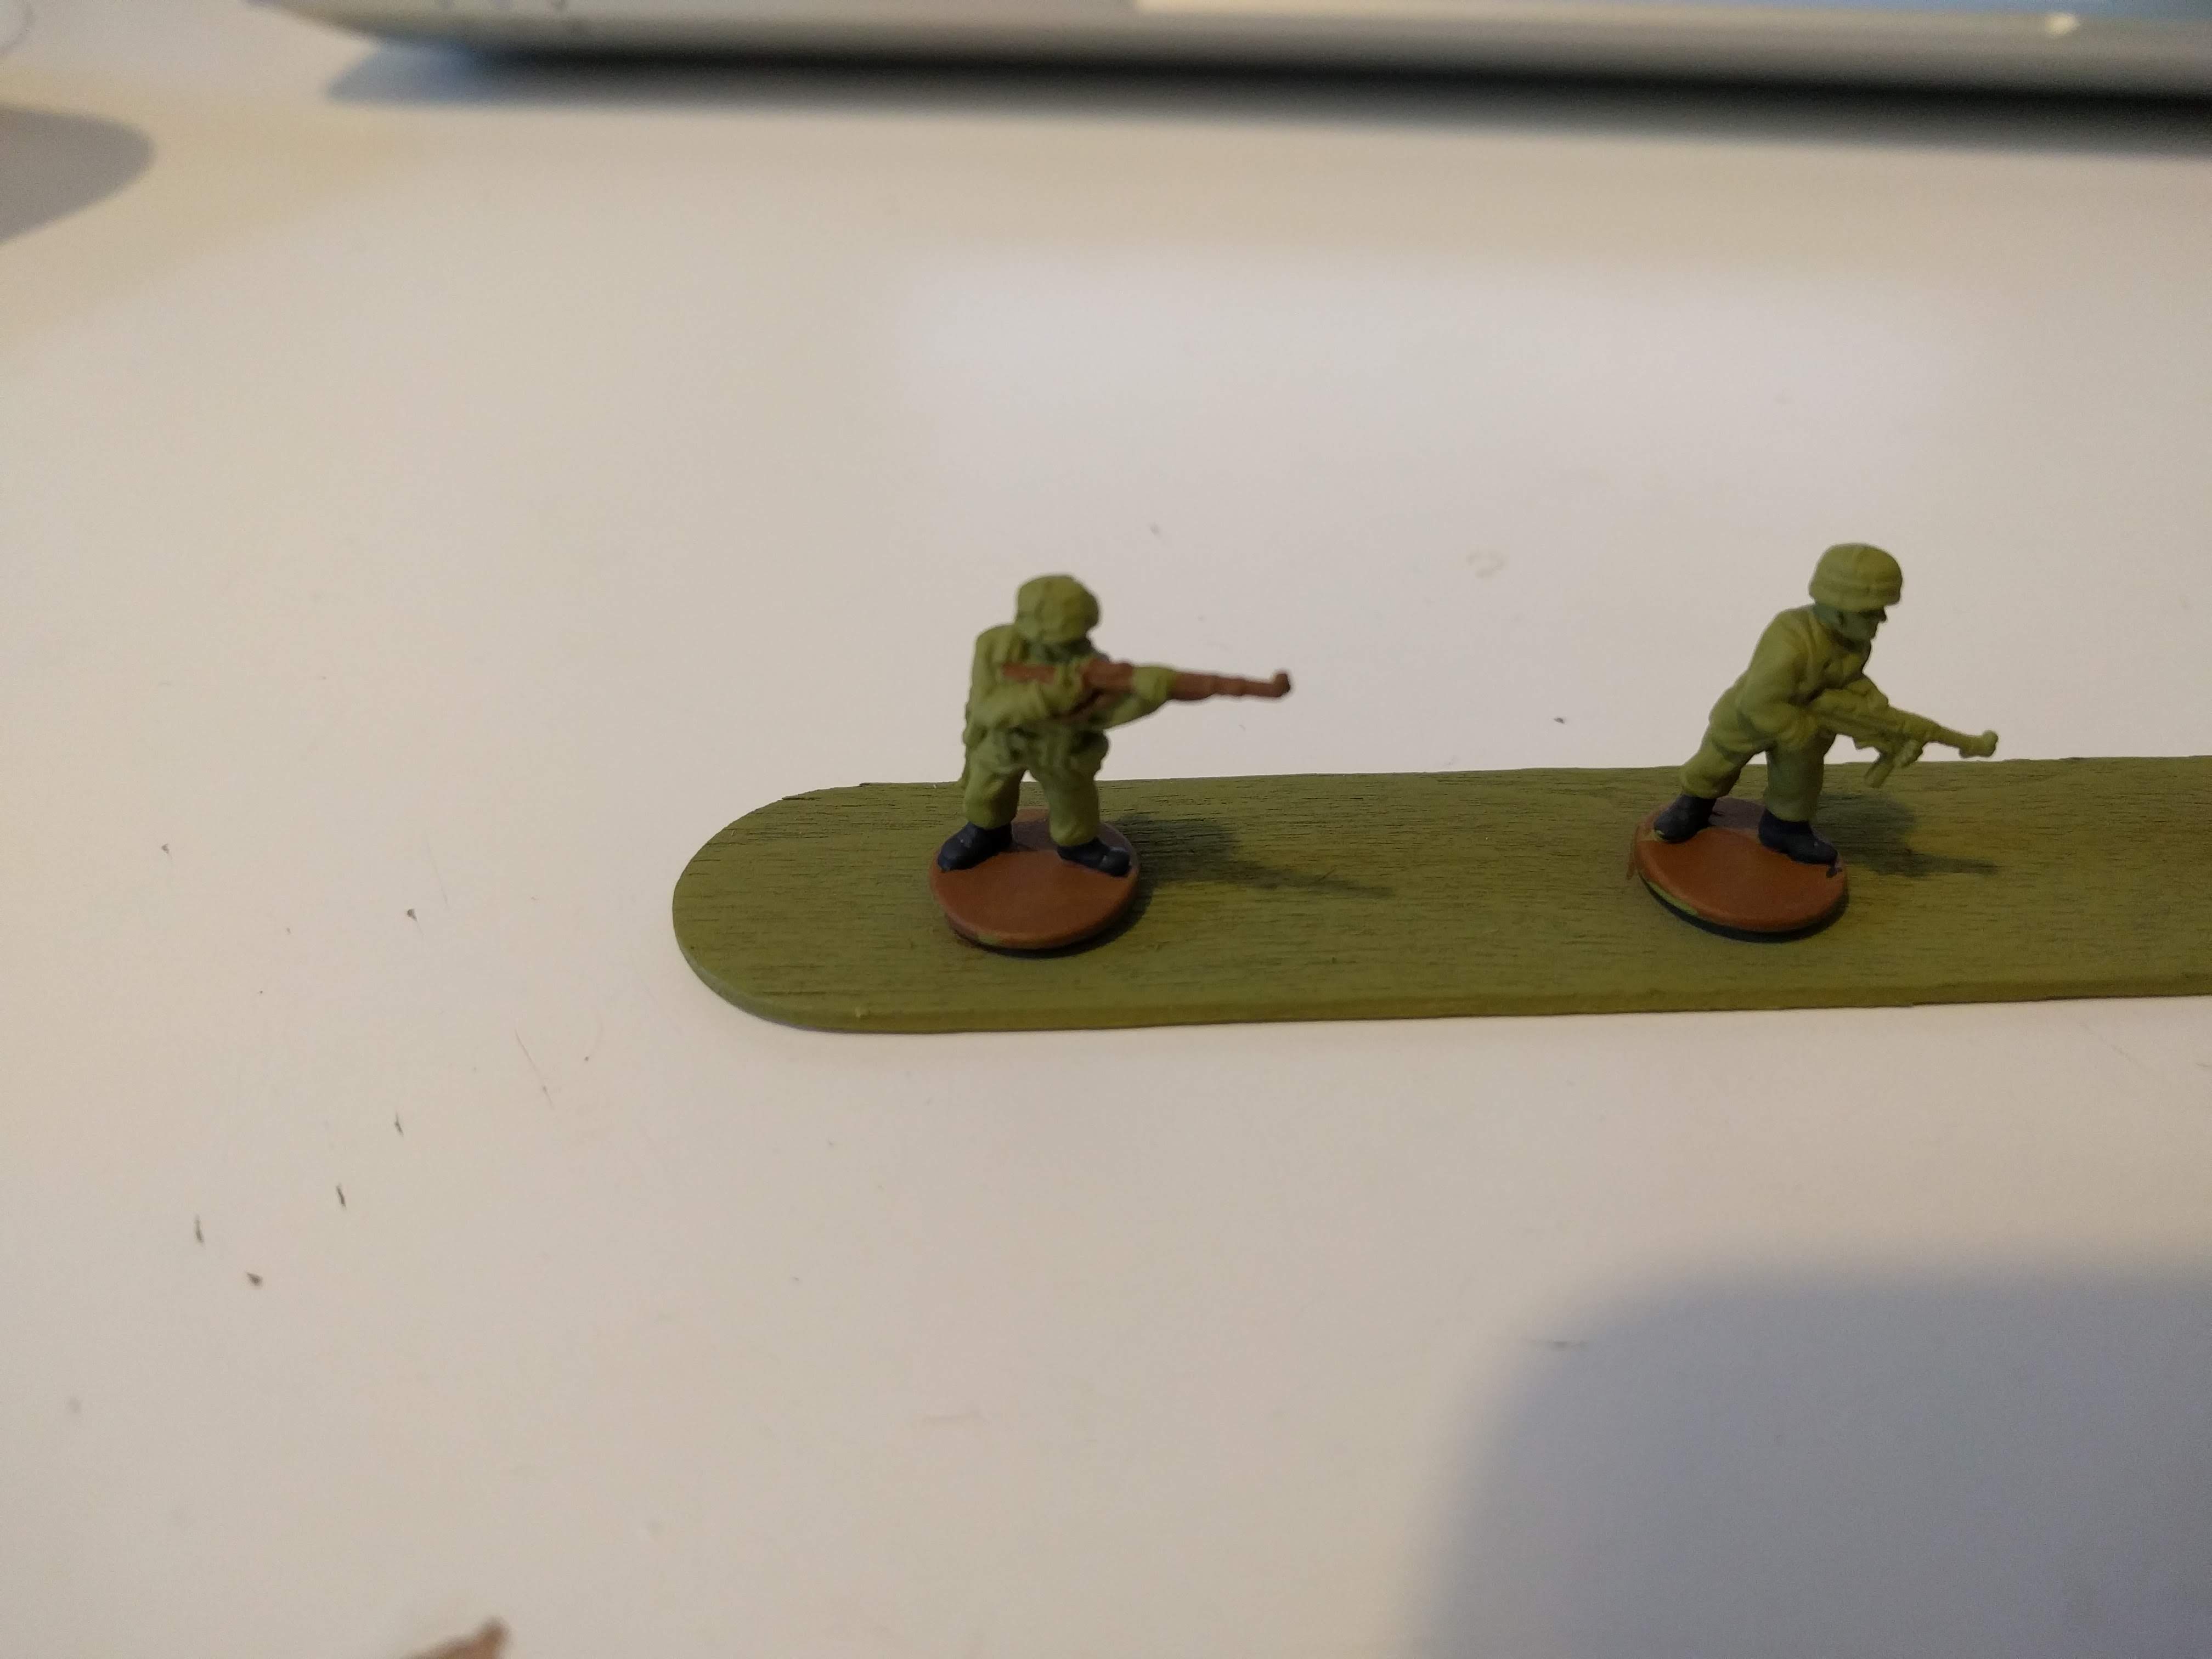
Next step was to apply a Luftwaffe uniform grey to the trousers and the officer’s hats.
My next step will be to start on the camouflage patterns, probably with a reflective green.
Fallschirmjager - Ready to start painting
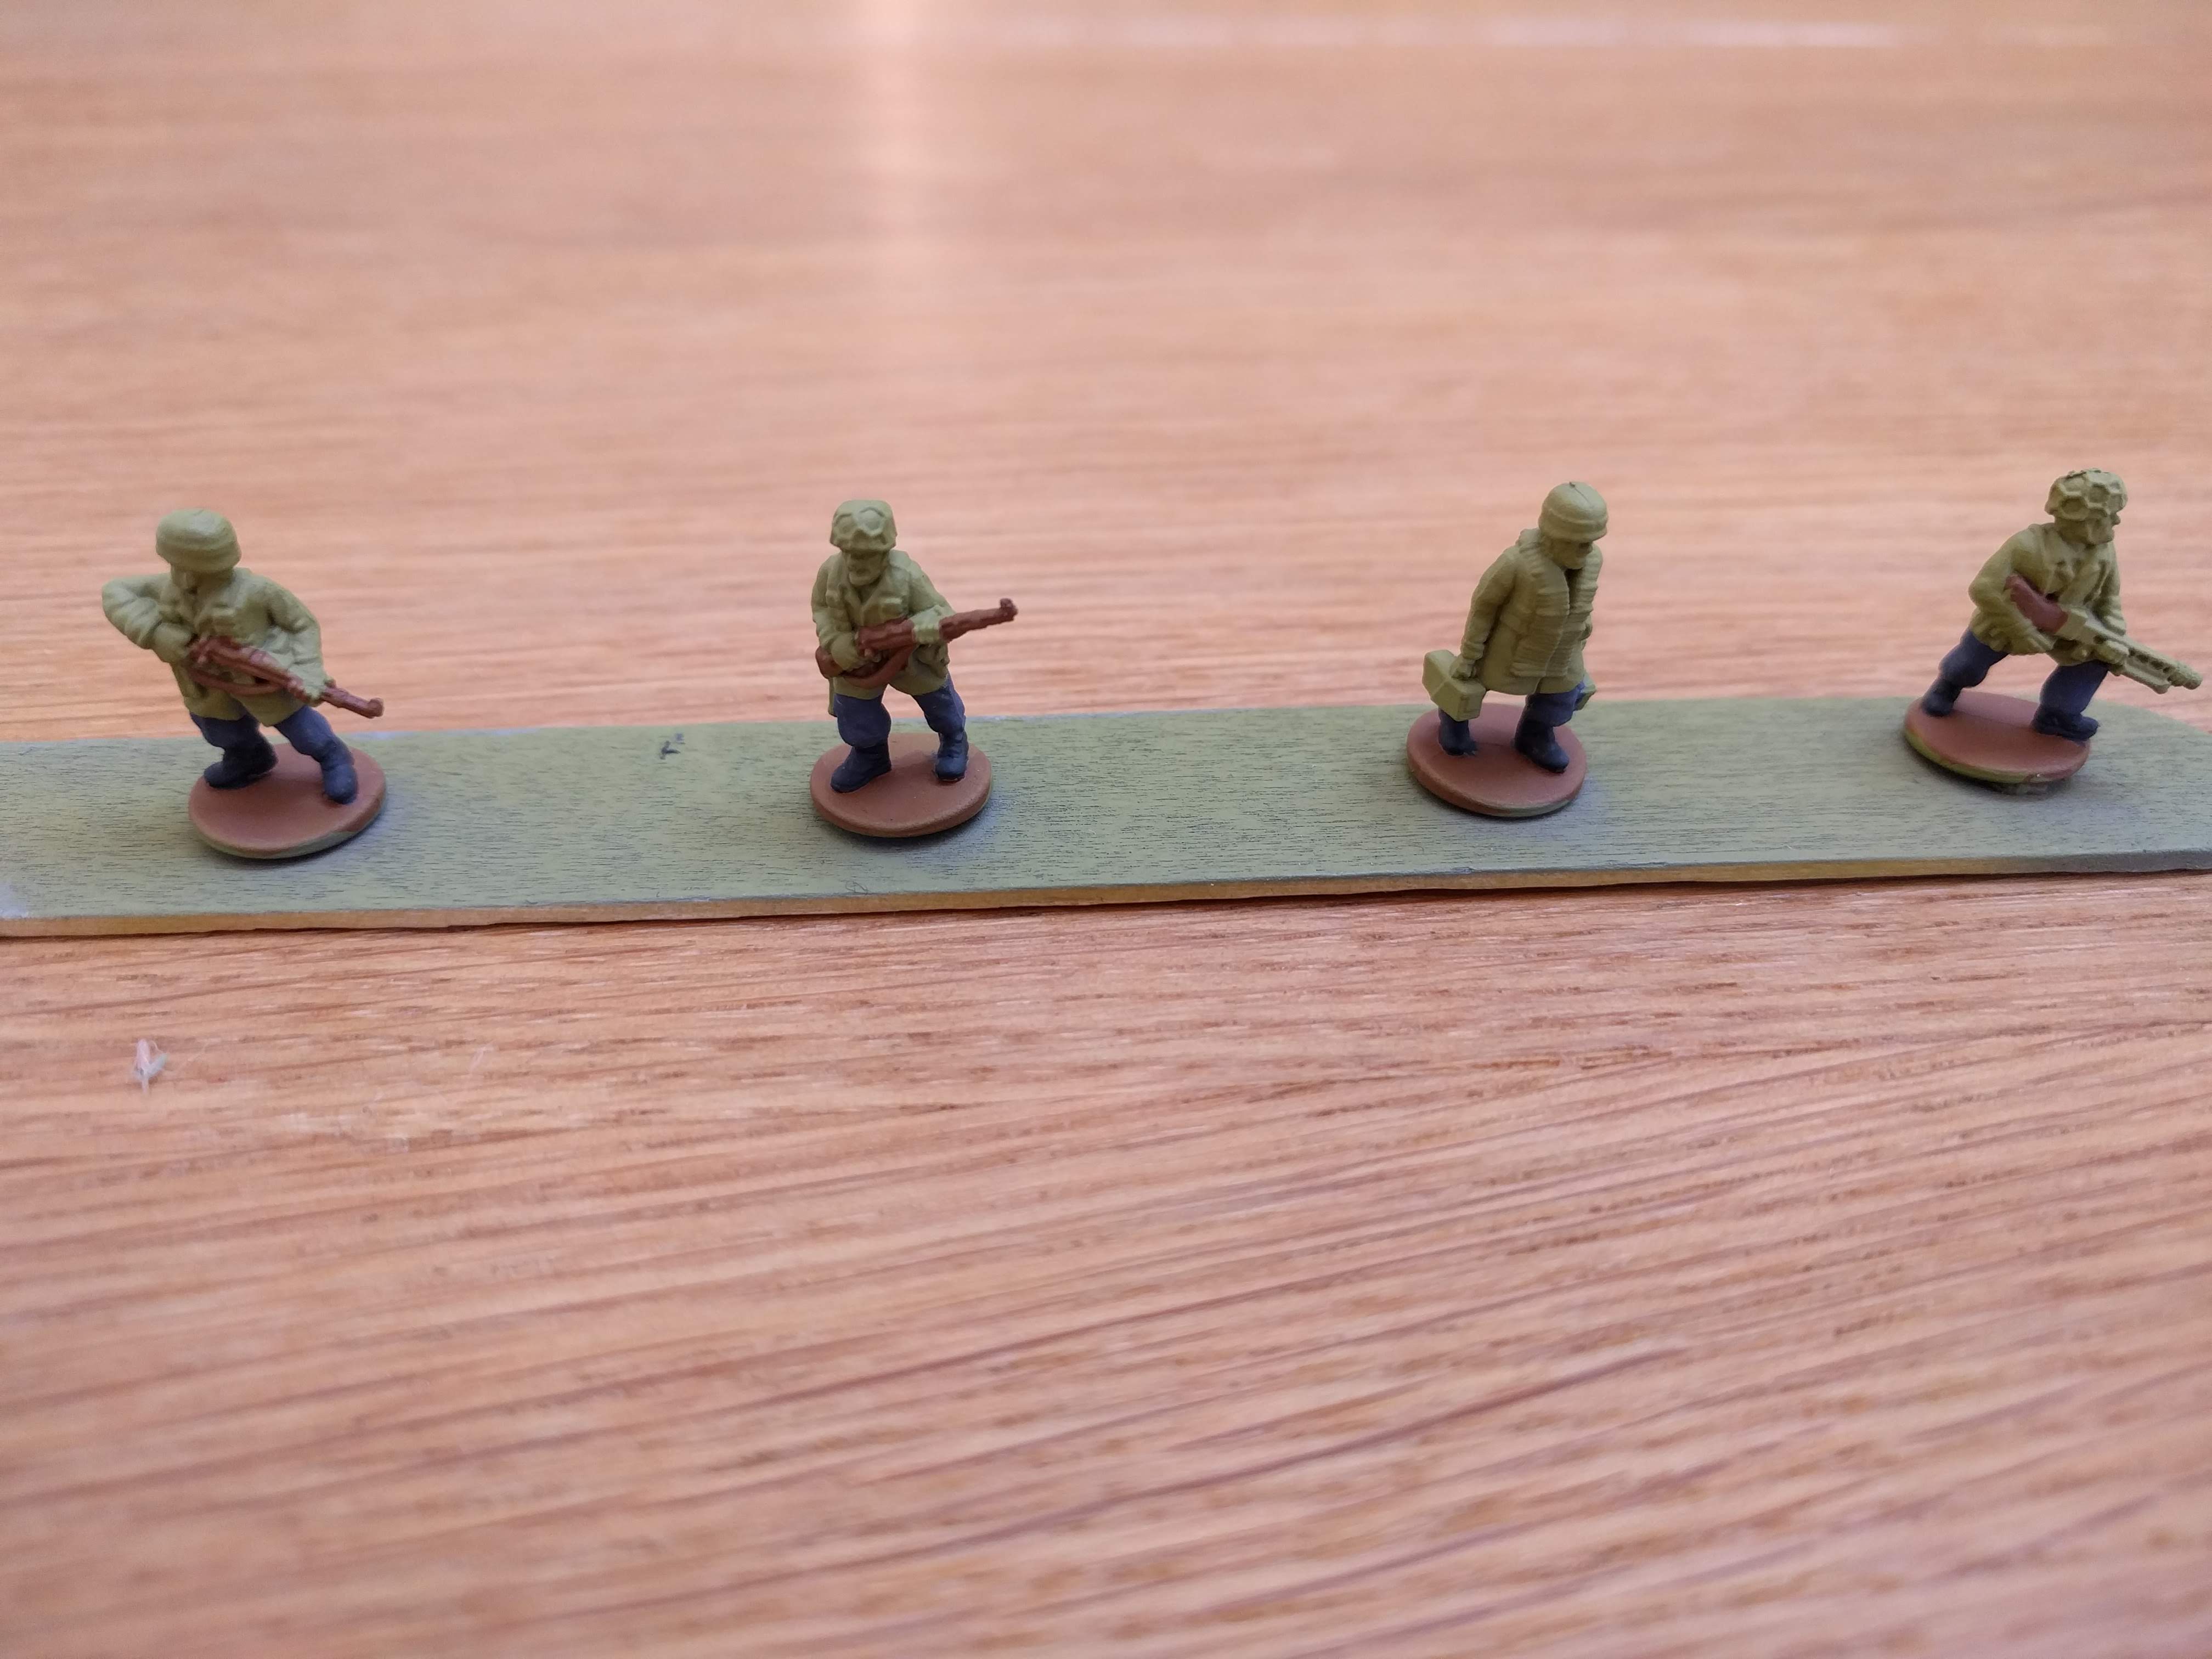
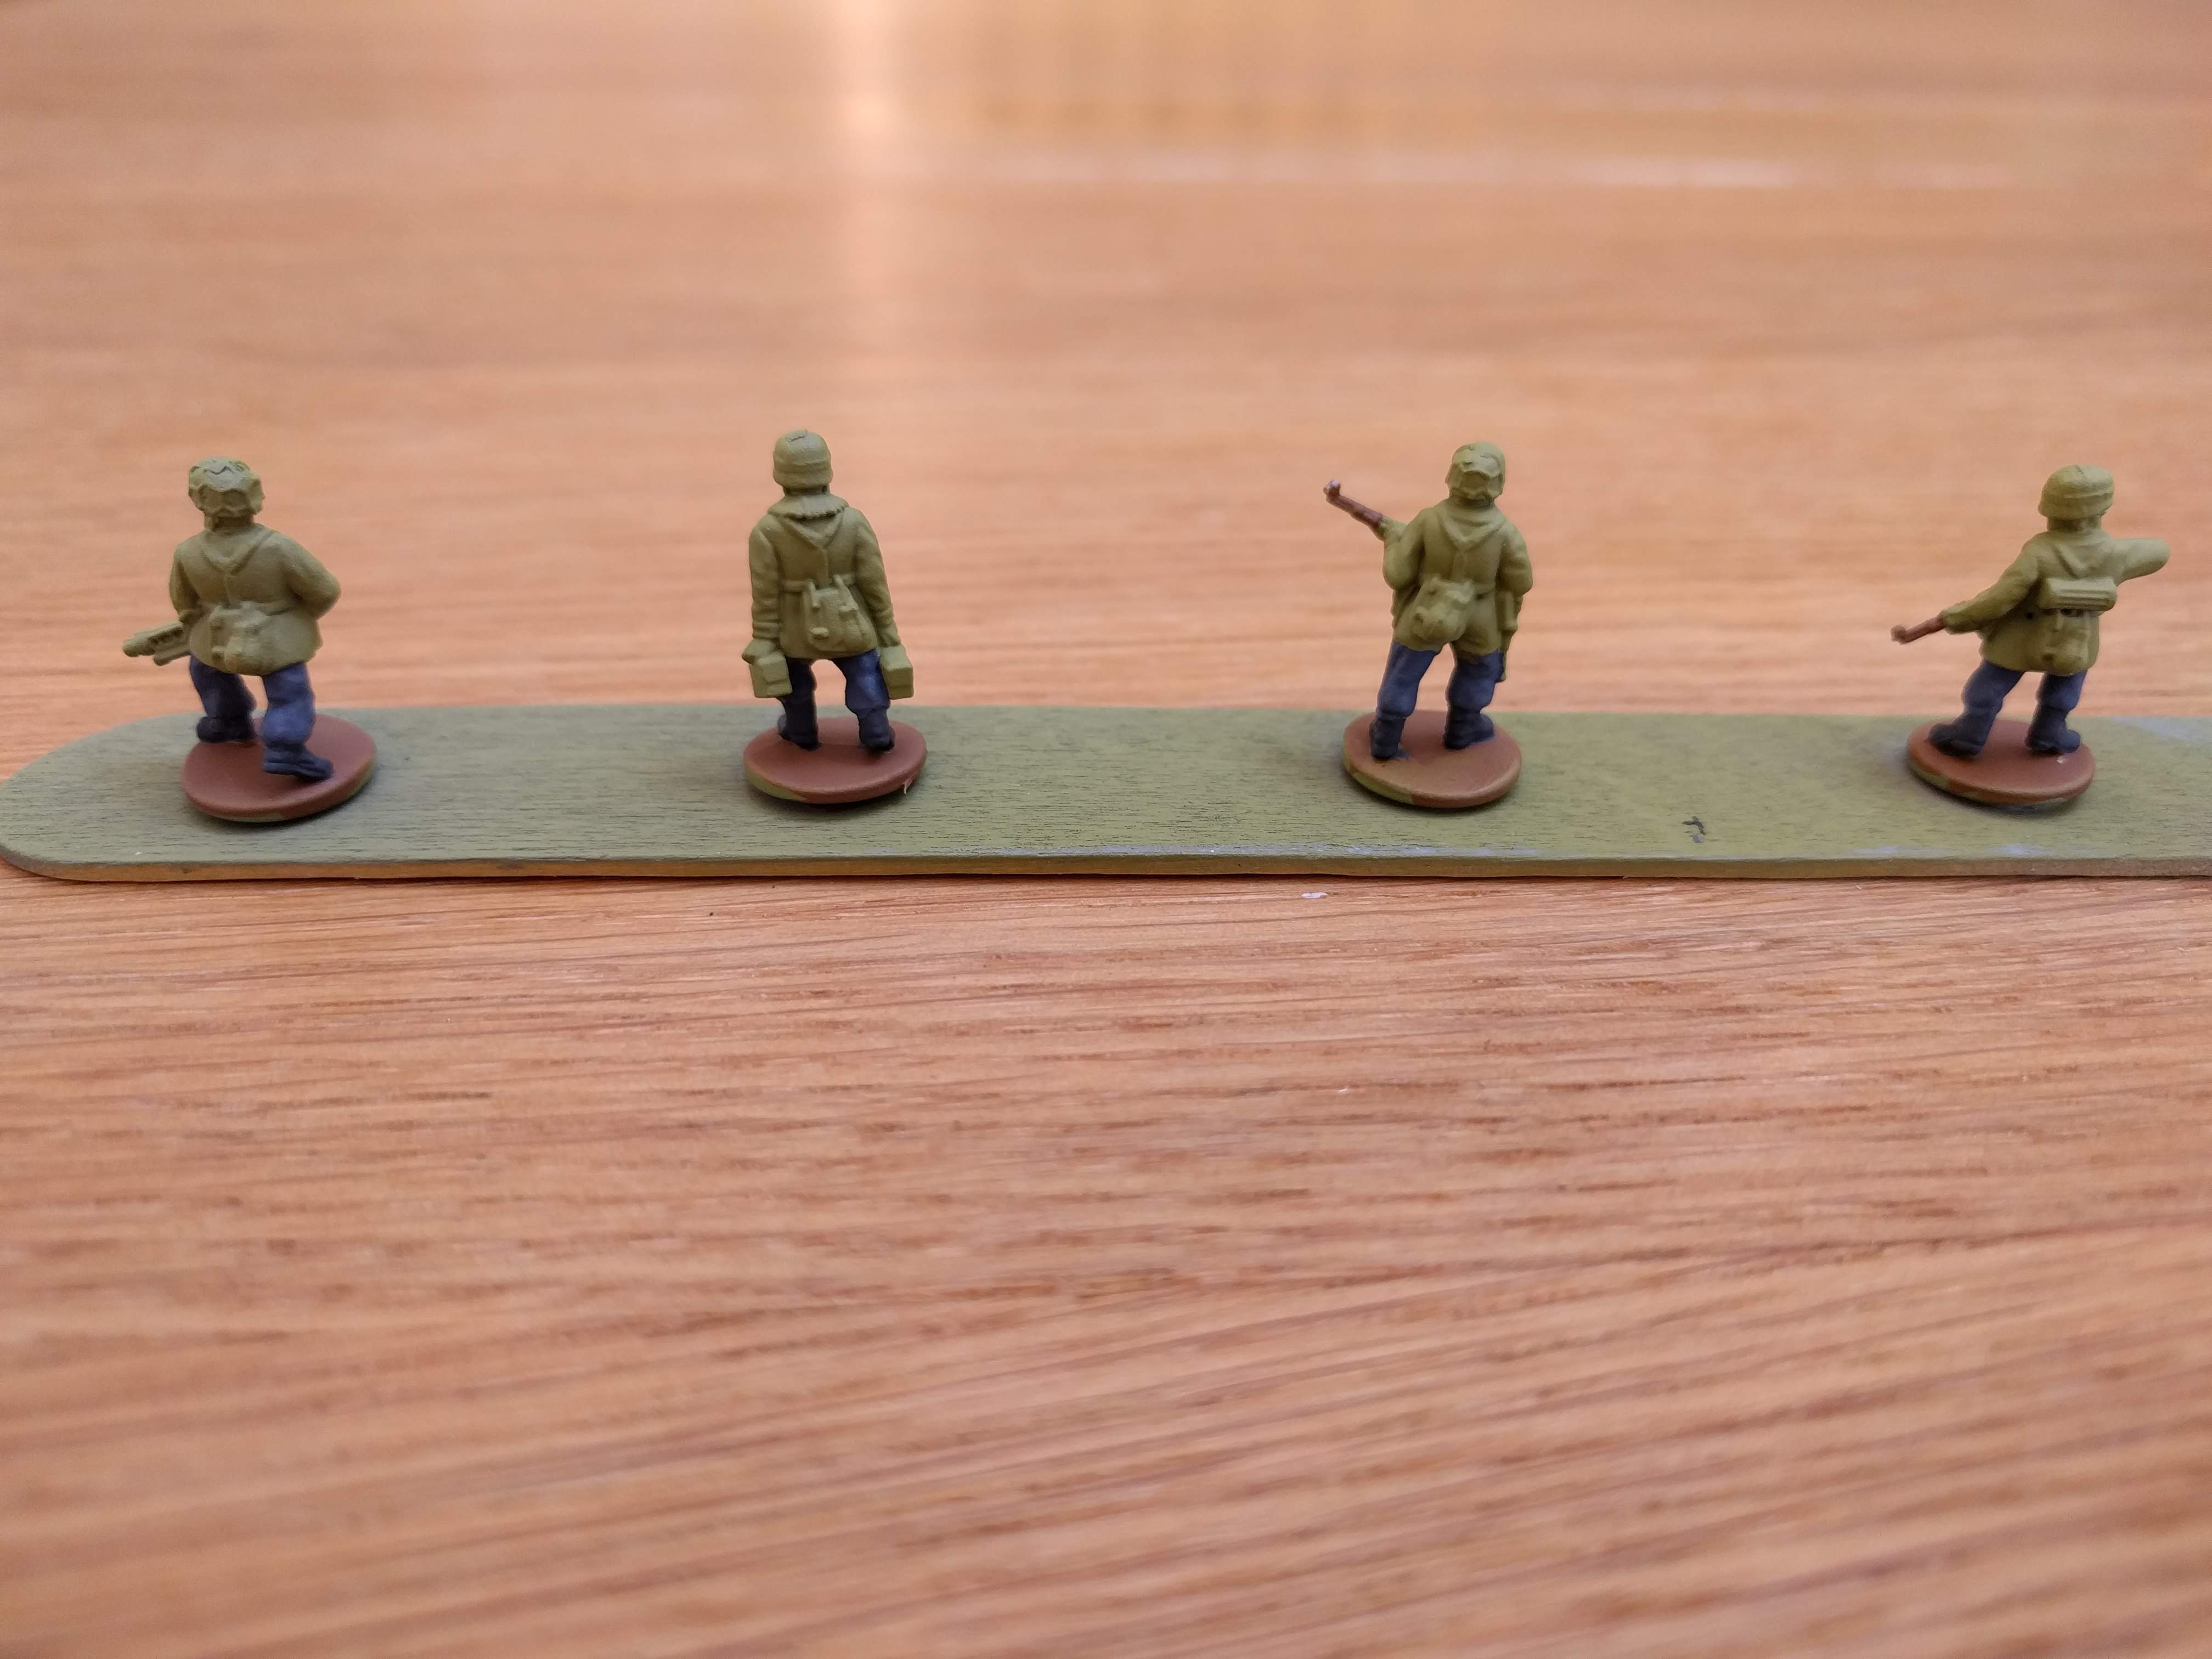
It took the best part of an evening to cut out all of the models from the sprues and stick them to wooden sticks ready for priming. I will use the PSC Dunkelgelb spray primer for getting the first colour down as this should significantly speed up the process. Normally I would have used my airbrush, but I didn’t fancy that.
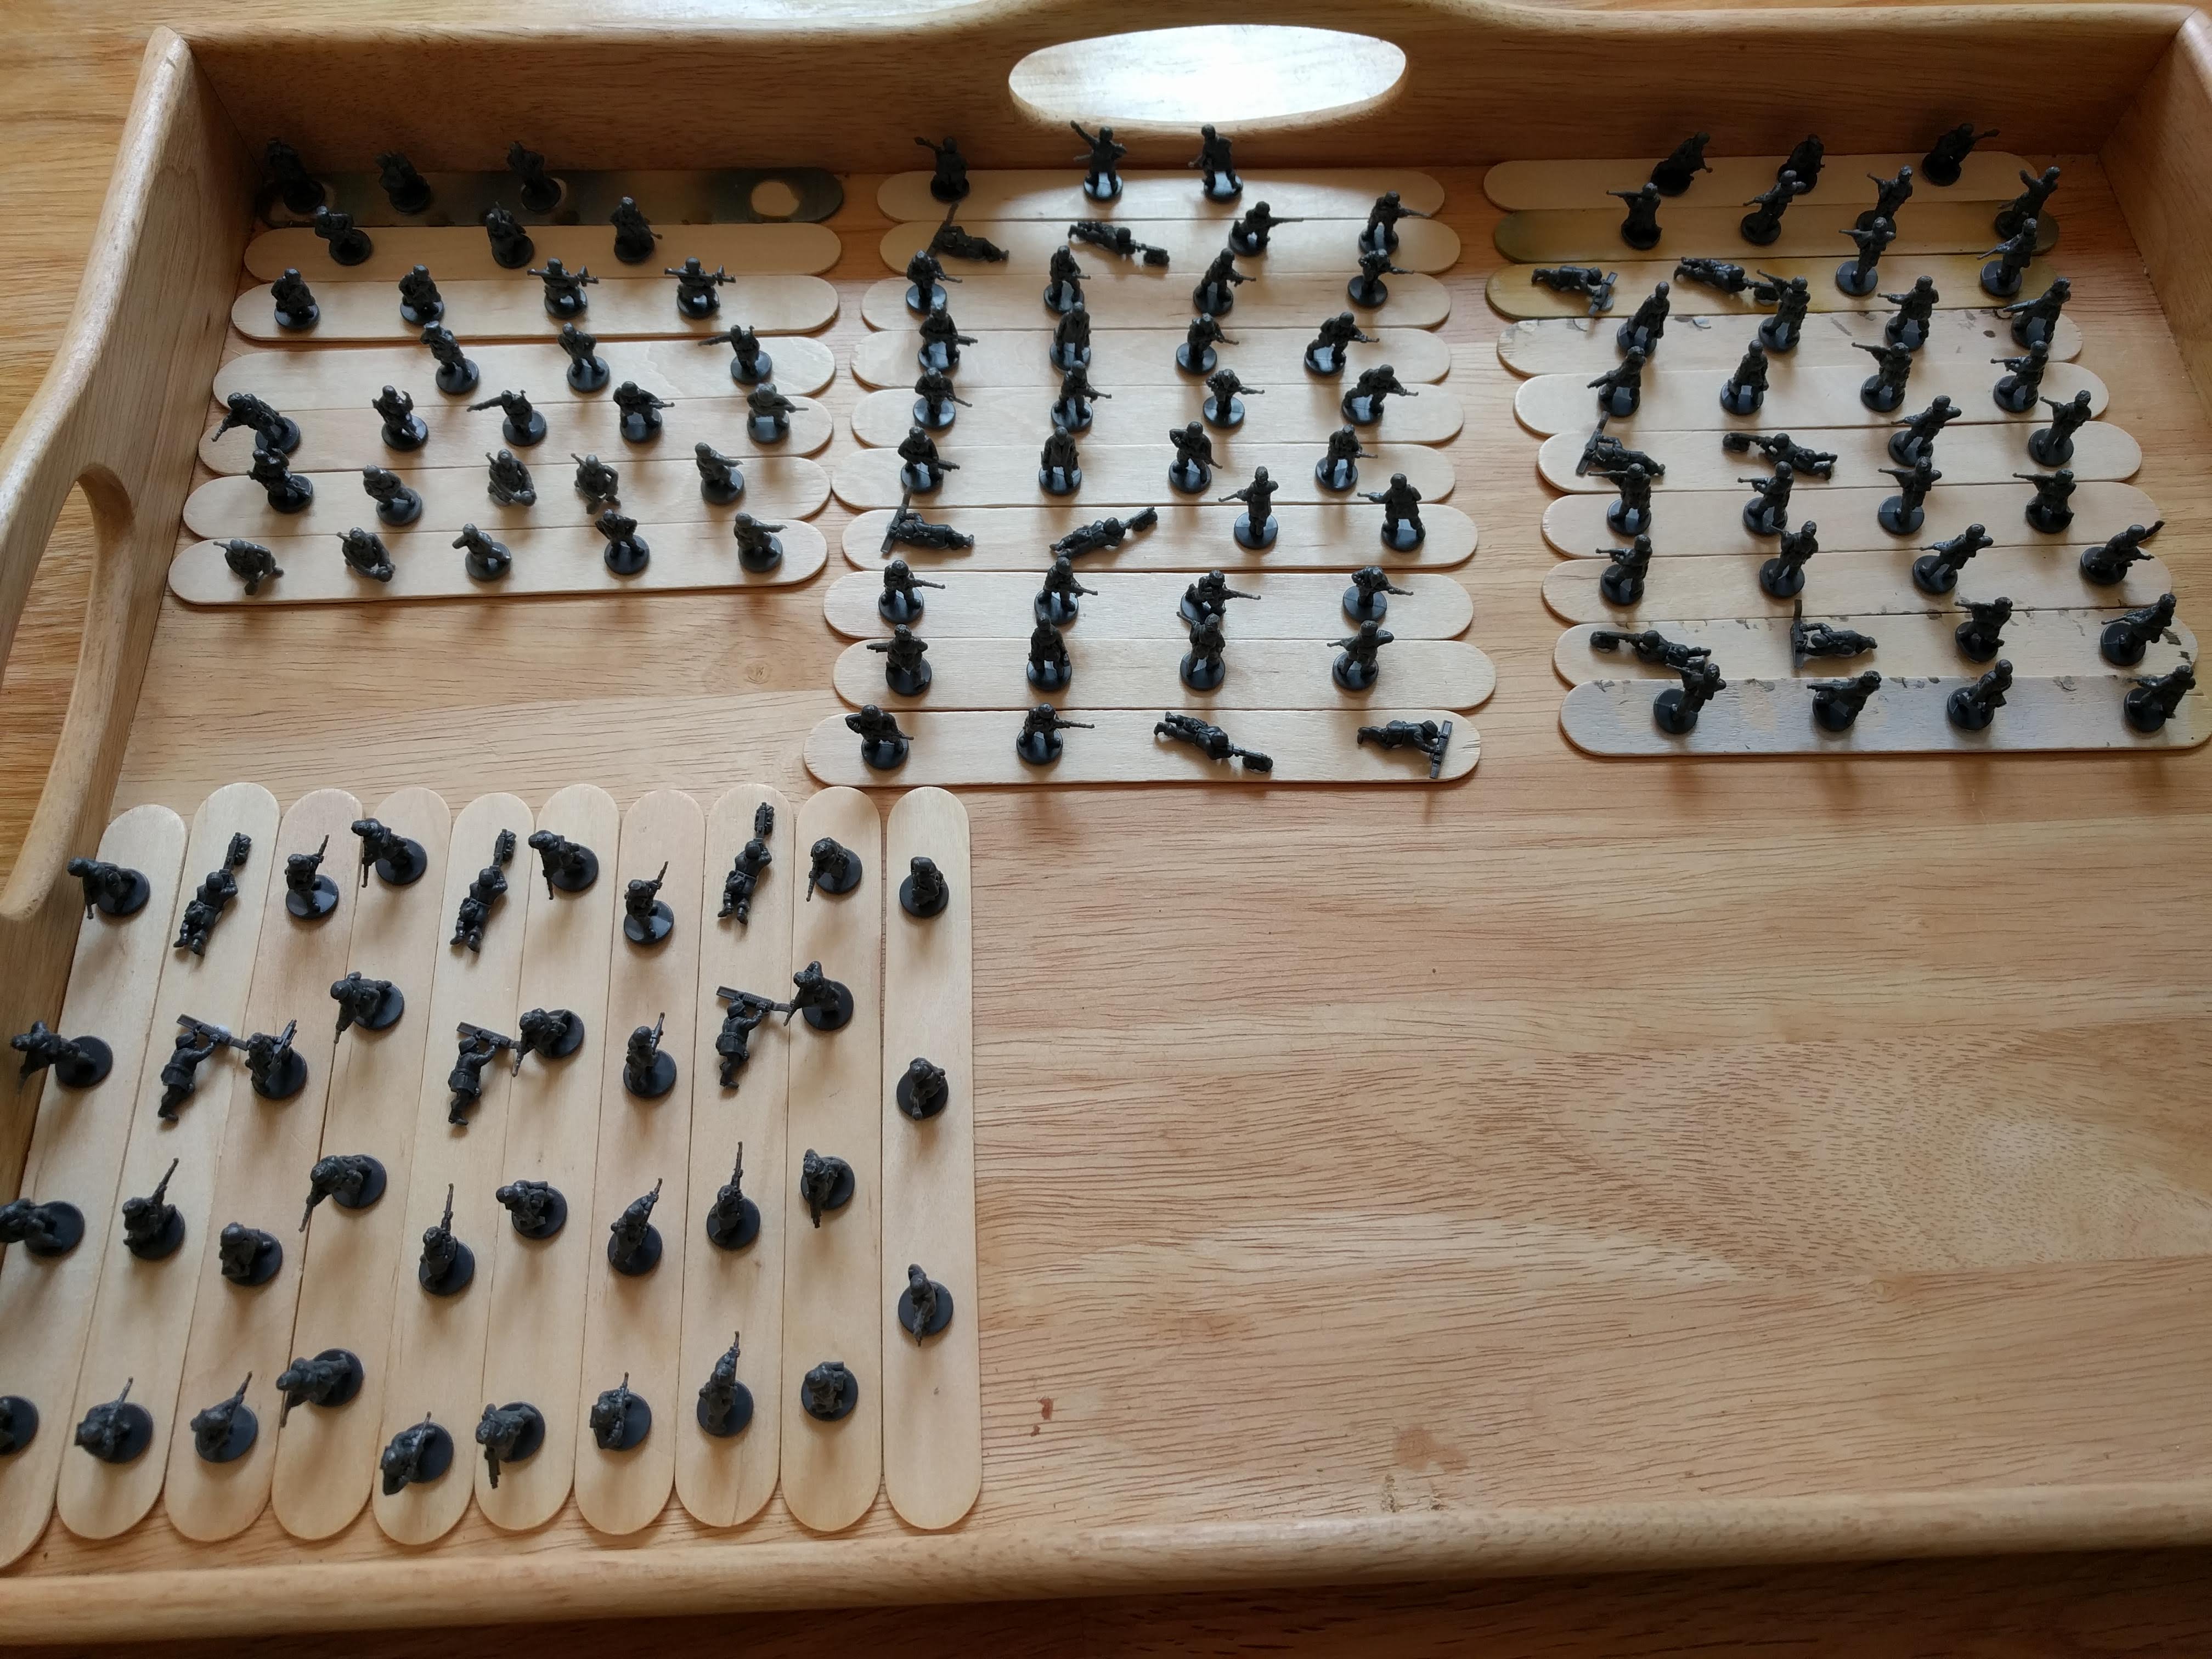
Seeing them all laid out like that, I can see this being a bit of a grind. I thought about taking it a platoon at a time but I think I may just bite the bullet and do them all in one go in a production line approach.
Fallschirmjager - Starting the marathon
I need an HQ and a number of rifle platoons to flesh out my 1st Fall. army. To this end, I’ve picked up the Fallschirmjager platoon box and the heavy weapon box from Plastic Soldier Company. I’ll start with the rifle platoons.
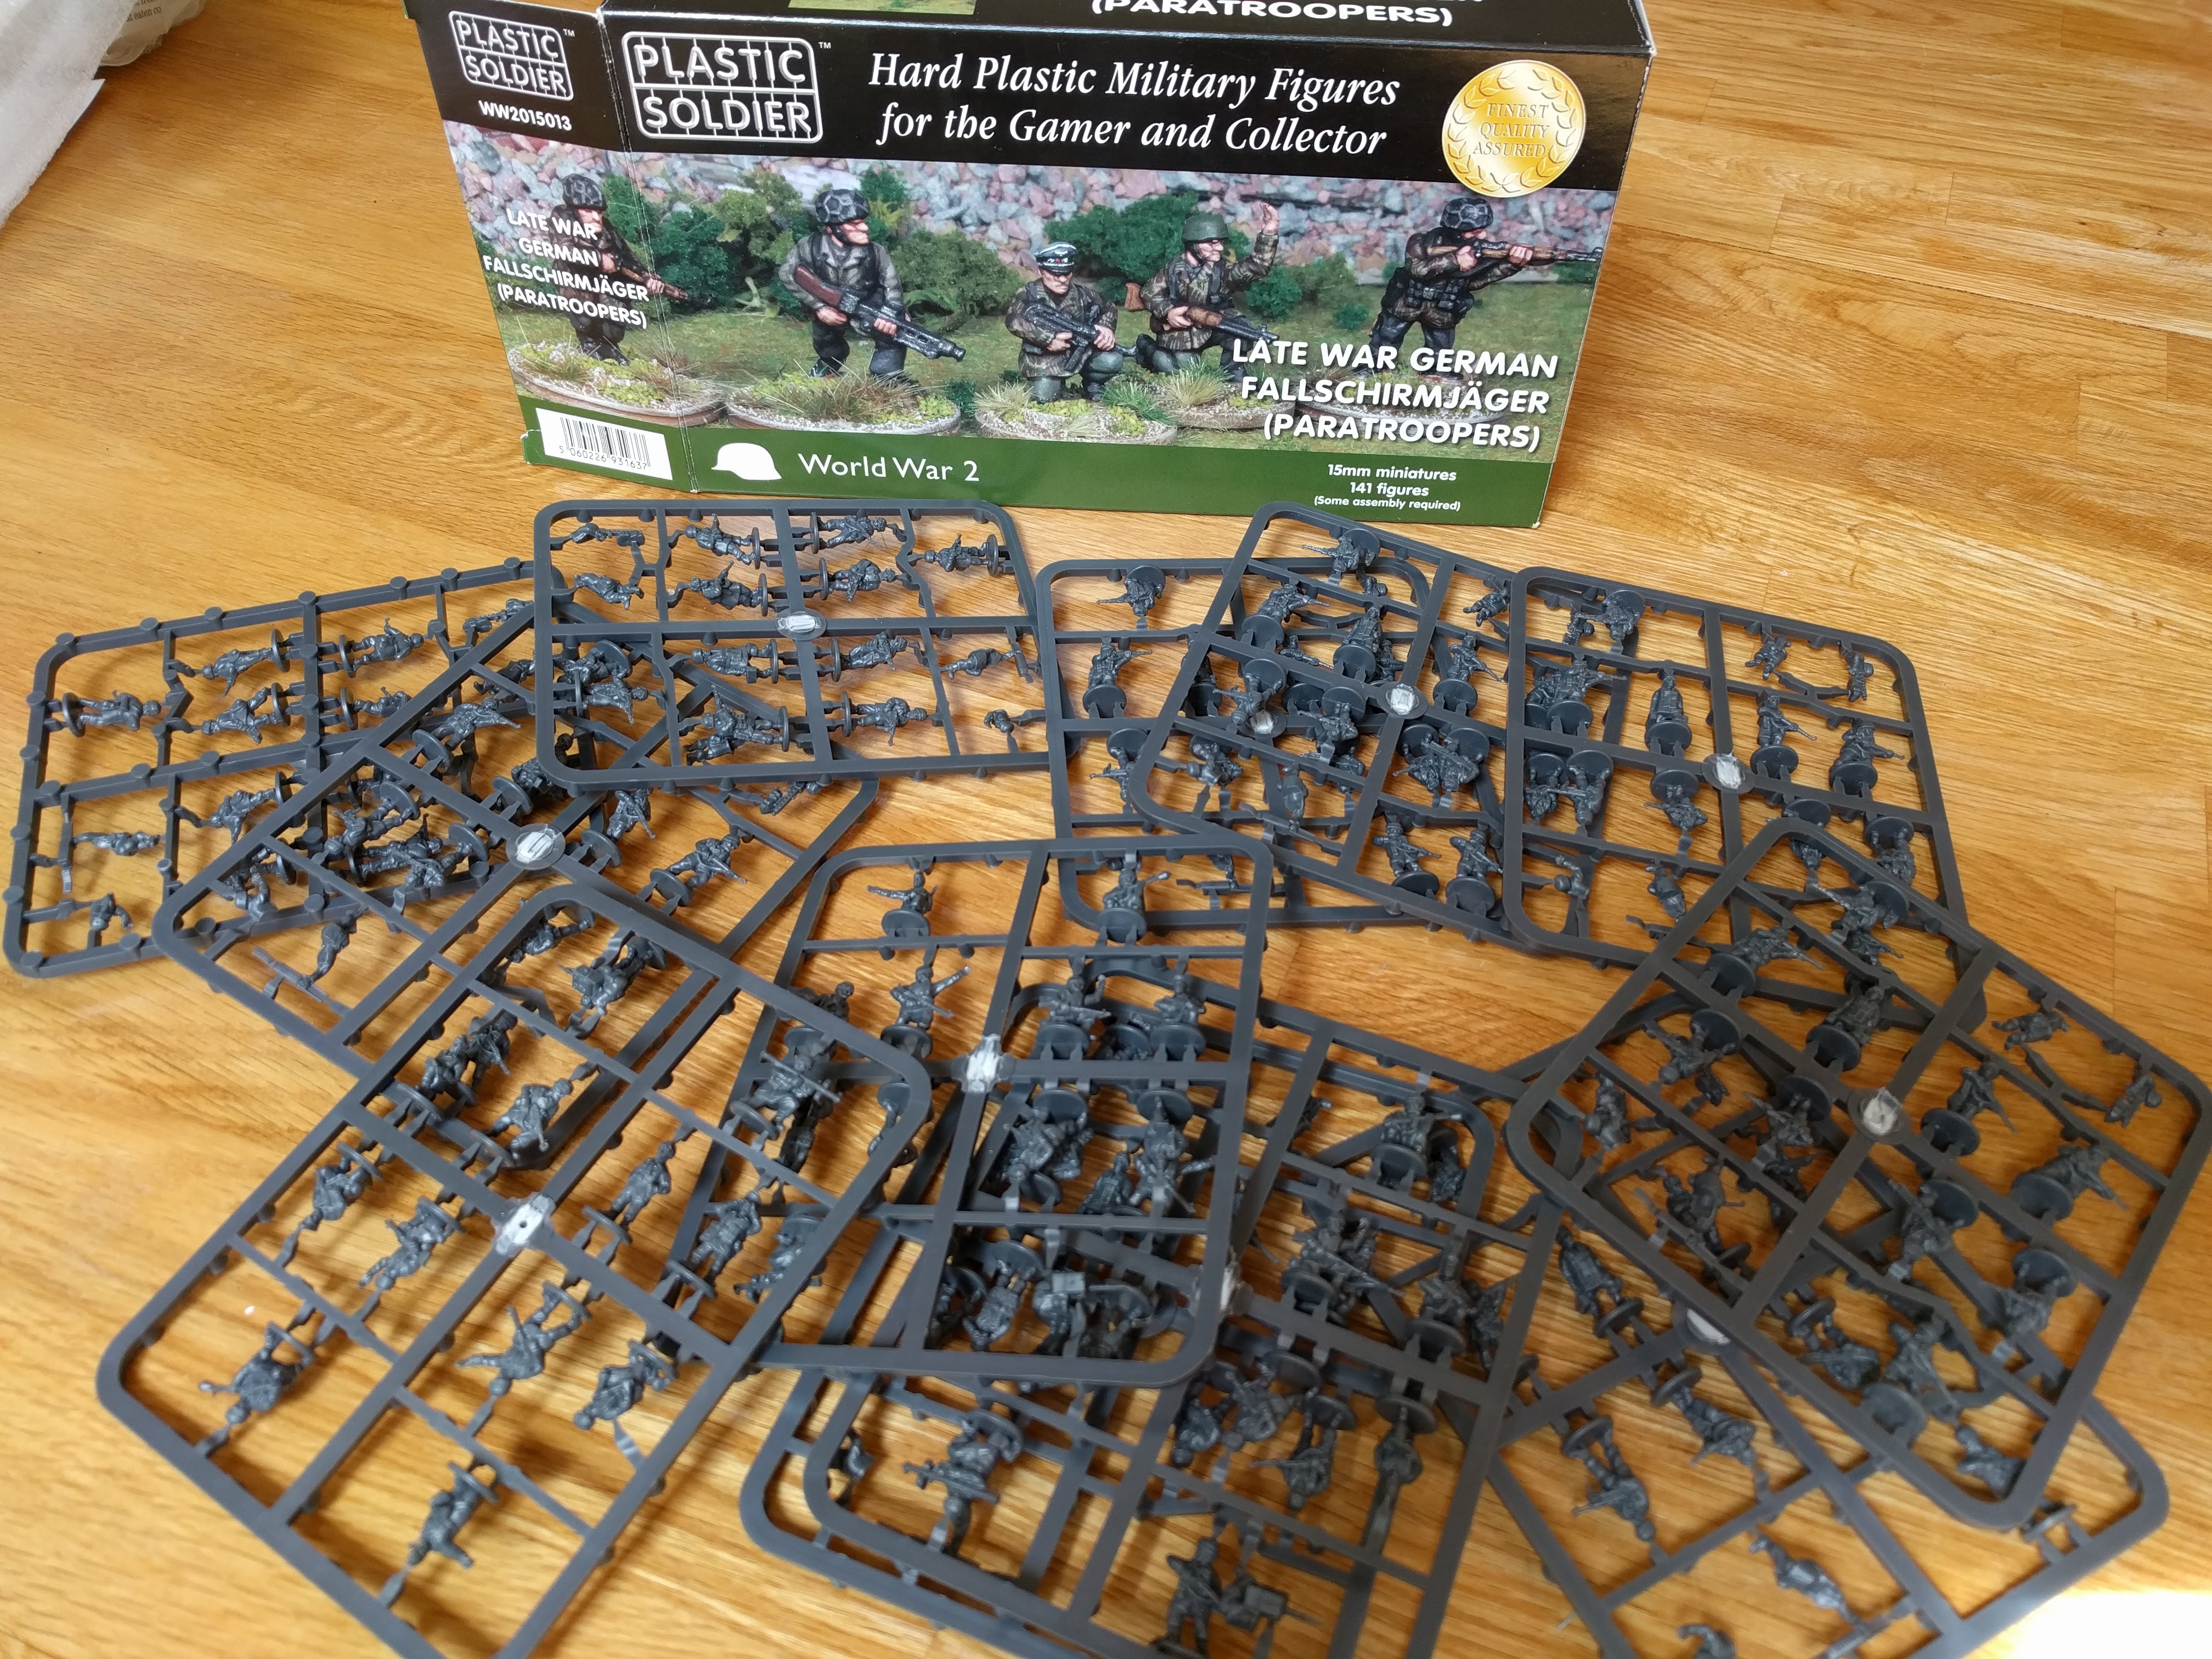
This box has enough for an HQ, Panzerschreck team and then three full platoons of Command base and 9 bases of 4 men each. I’ve also gone through the heavy weapon box and there are some spare models that I can make into a small pioneer platoon as well. In total, I’ve got around 145 models to paint up.

![Sneak About With Star Wars: Legion’s Guerilla Troopers & More [UPDATED]](https://images.beastsofwar.com/2026/09/g-troops-star-wars-cover-600-338.jpg)