


Gorram’s Grand Army Project


Recommendations: 753
About the Project
One dog's quest to have more painted armies than unpainted
Related Genre: General
This Project is Active
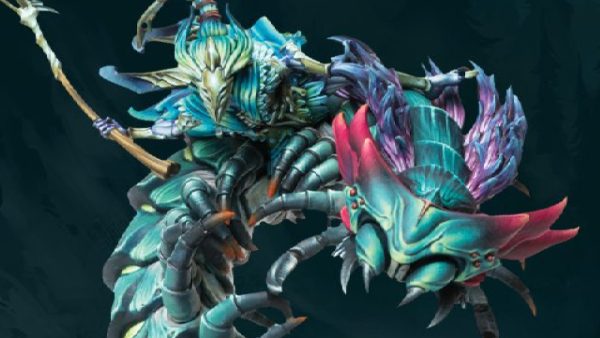
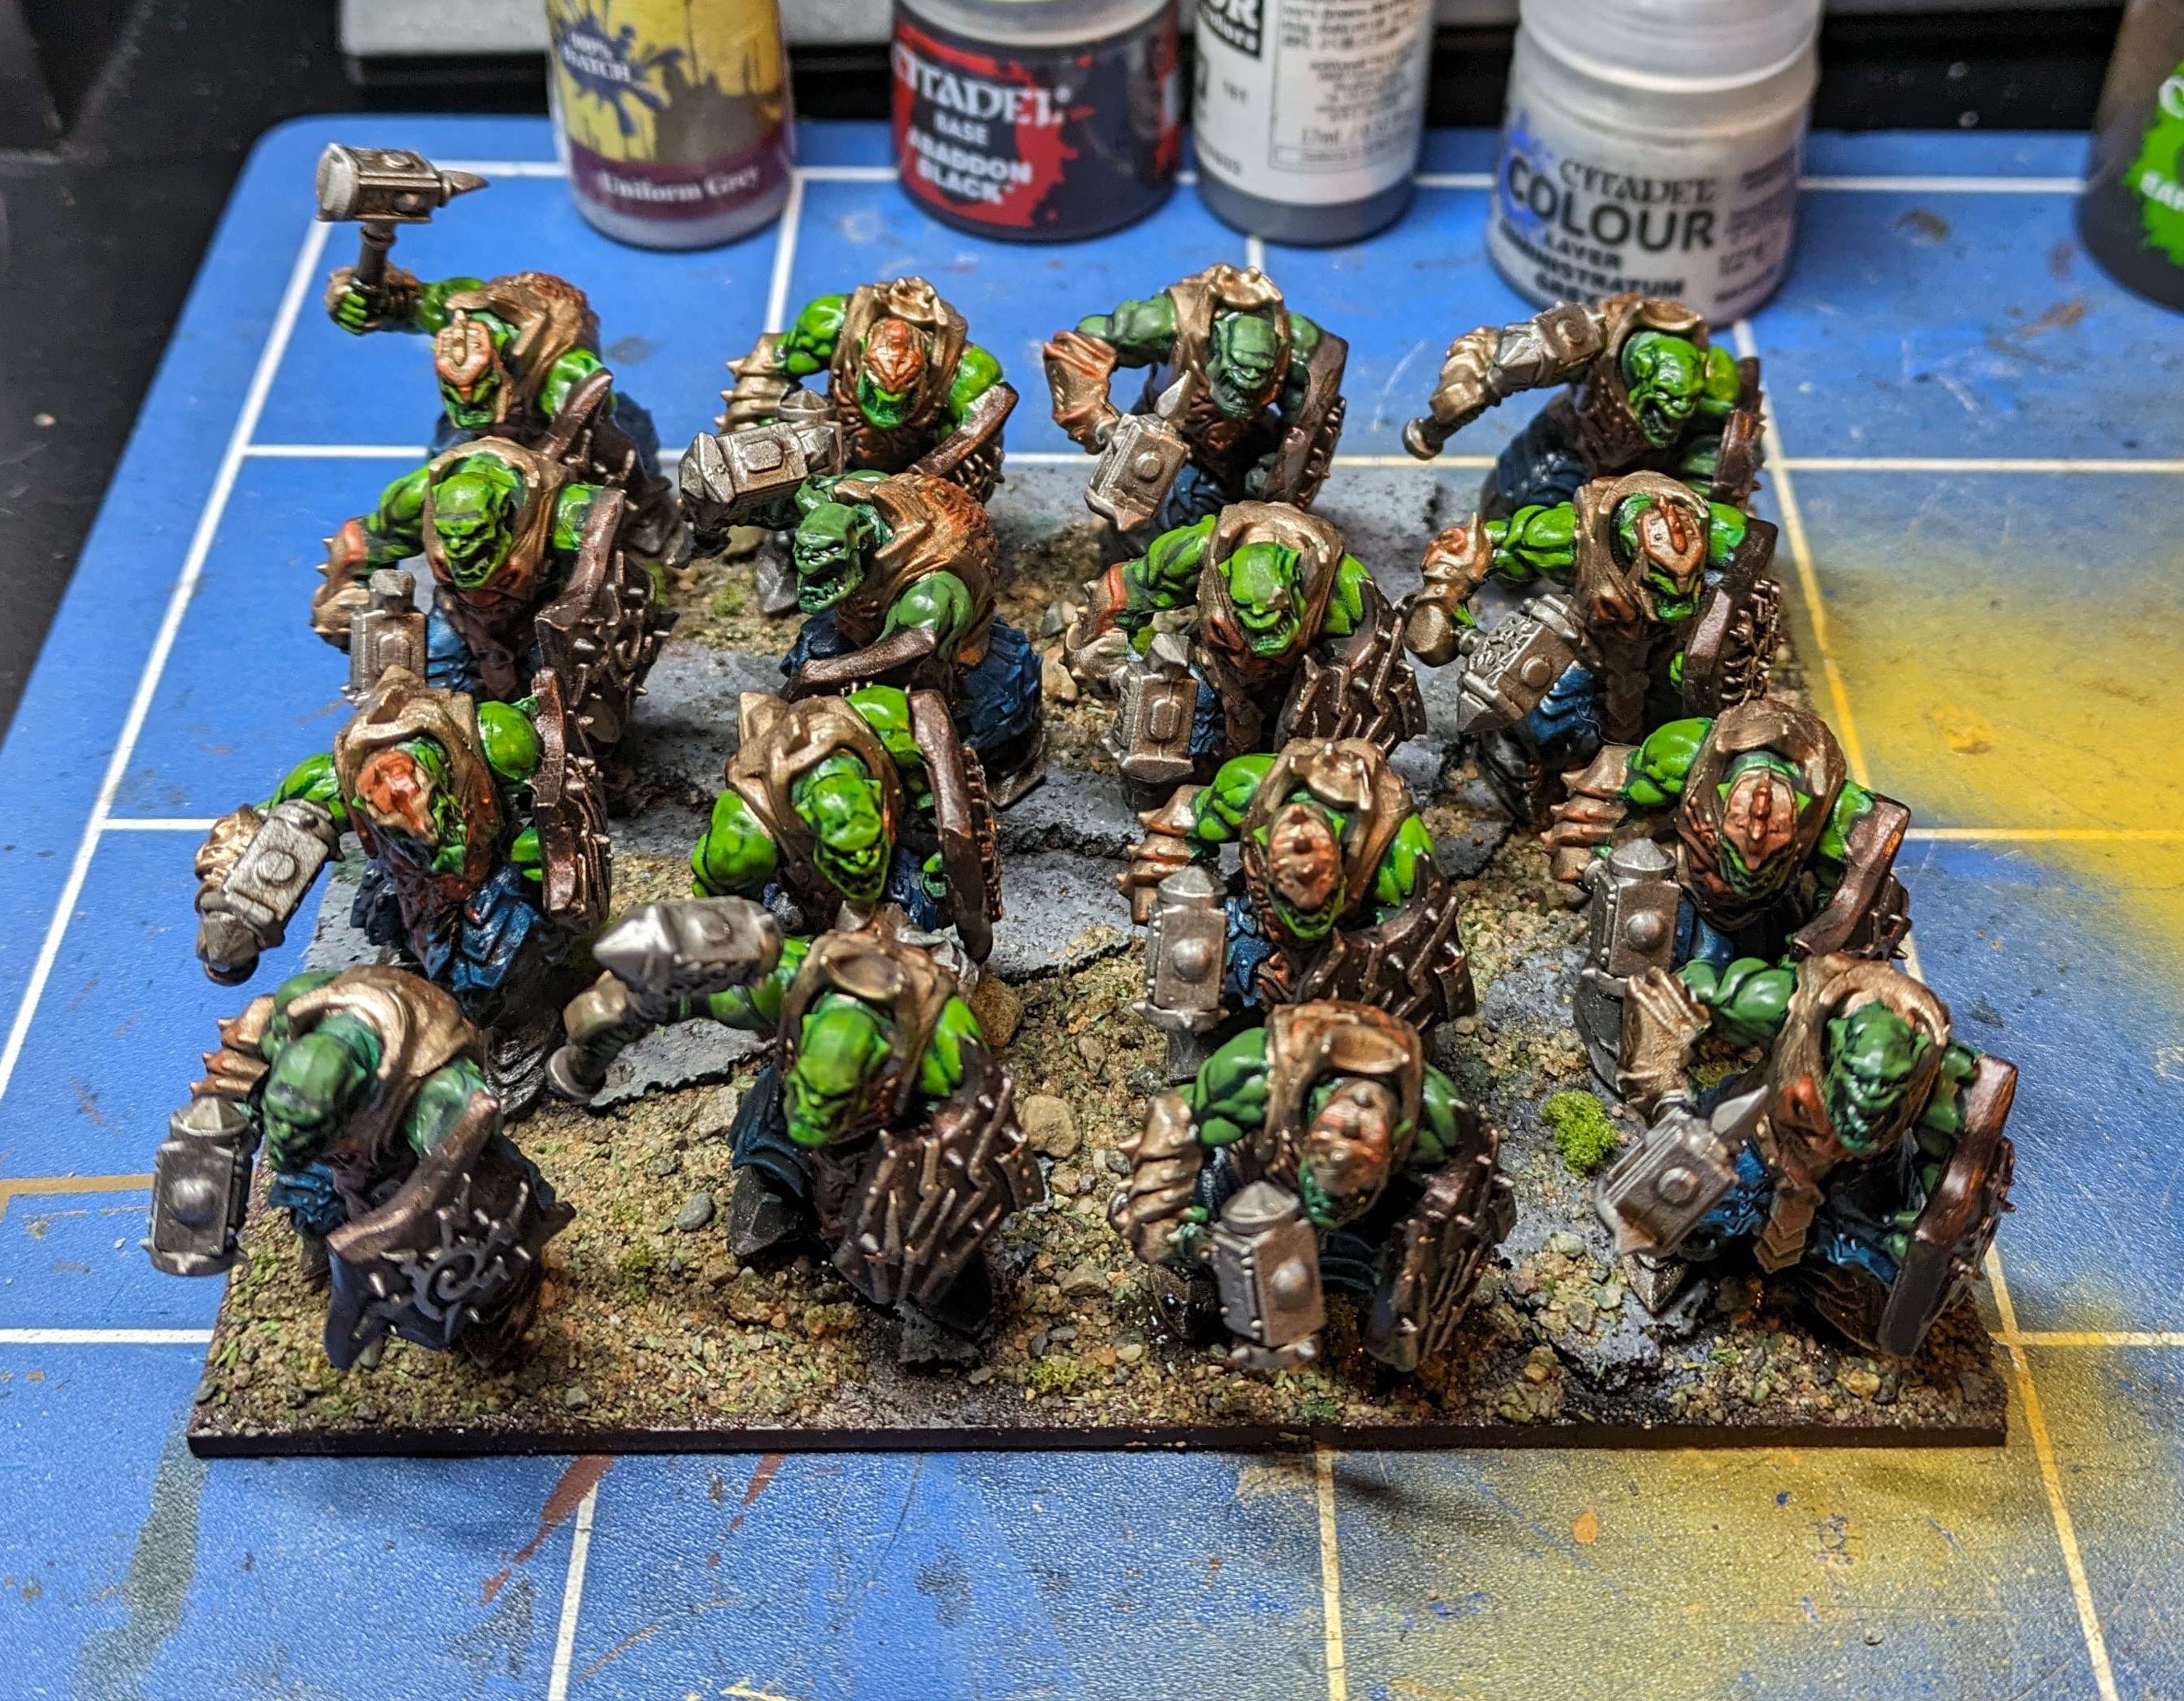
Riftforged Orcs (KoW) Part 3
The final part of my basing came in today, a whole load of tufts from Tajima 1 Miniatures. For this scheme, I used a mixture of sizes of brown grass tufts and it just finishes these bases wonderfully.
The base rims were finished with Vallejo Chocolate Brown and, other than a varnish once the weather clears up a bit, I’m very content to say they are done.
Riftforged Orcs (KoW) Part 2
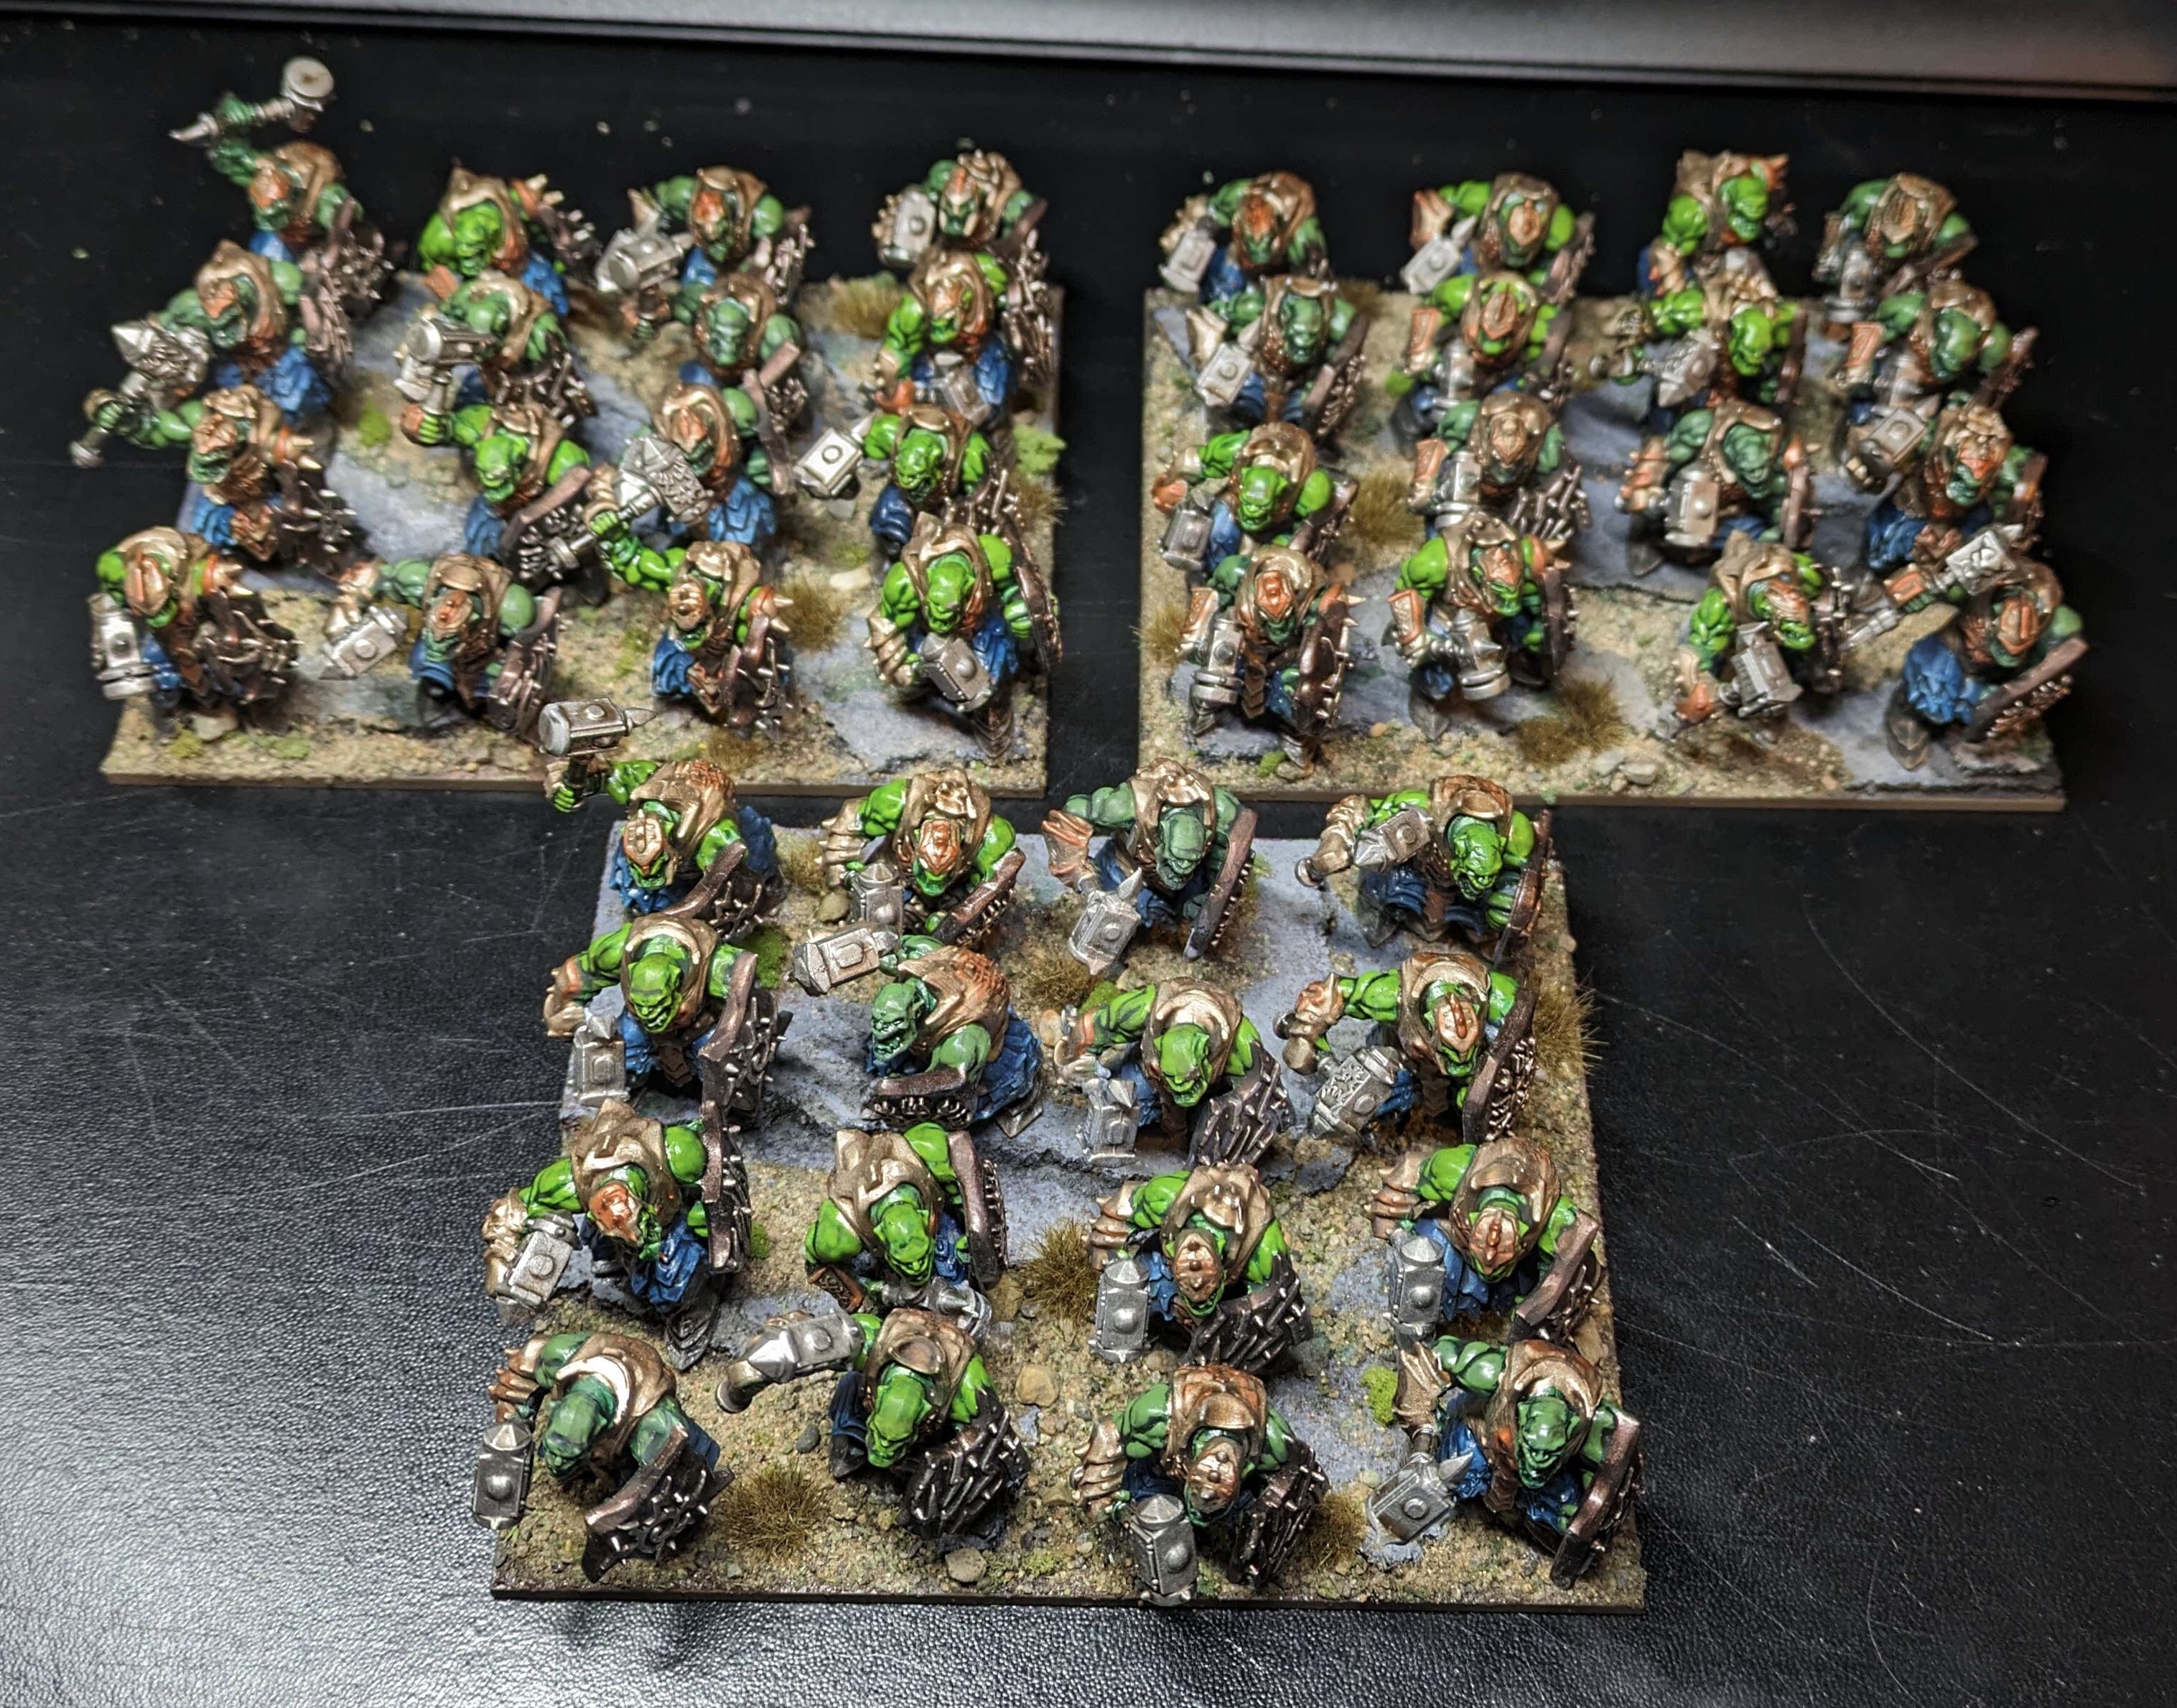
I got through another twenty Riftforged Legionaries this week so I should now have enough for my three starting regiments. This post is about how I have based them but mistakes were made so this is a cautionary tale; don’t be like me.
As usual, I started with an MDF base from Warbases. The orcs are heavy infantry so based on 25mm so the regiment is 125mmx100mm. I forgot to drill bases and putting magnets in them so we were already teetering on making life harder than necessary.
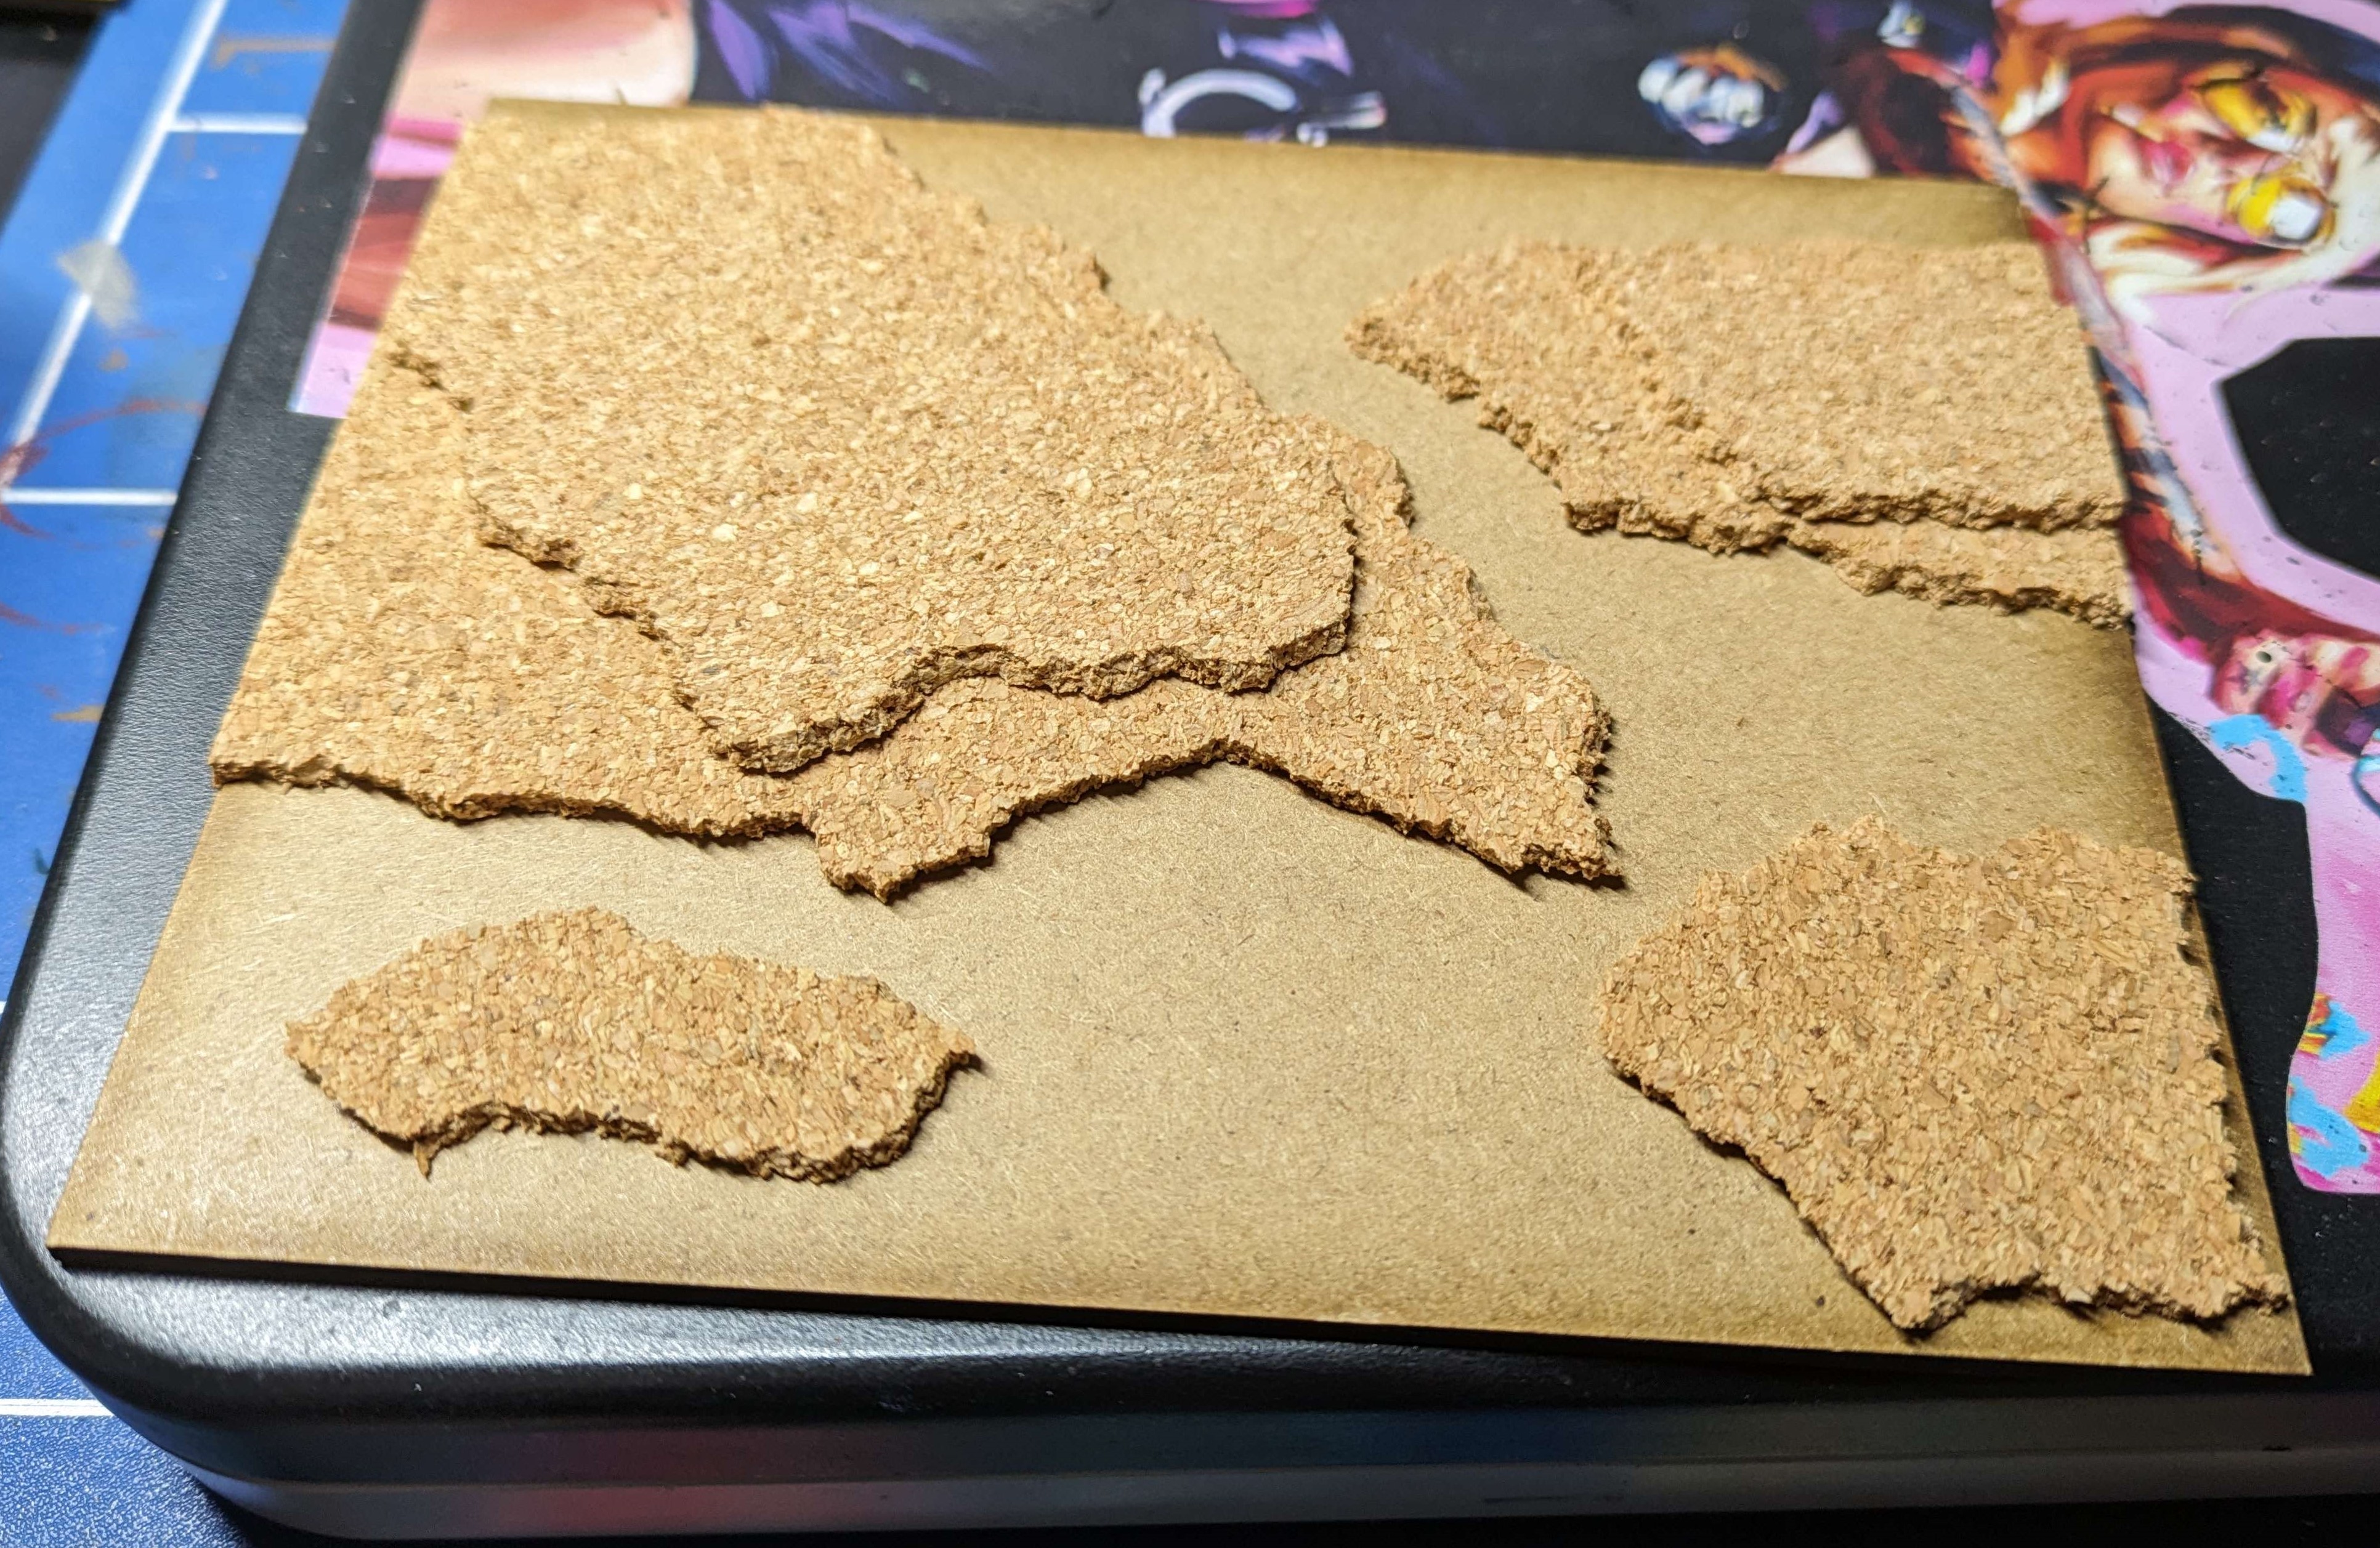
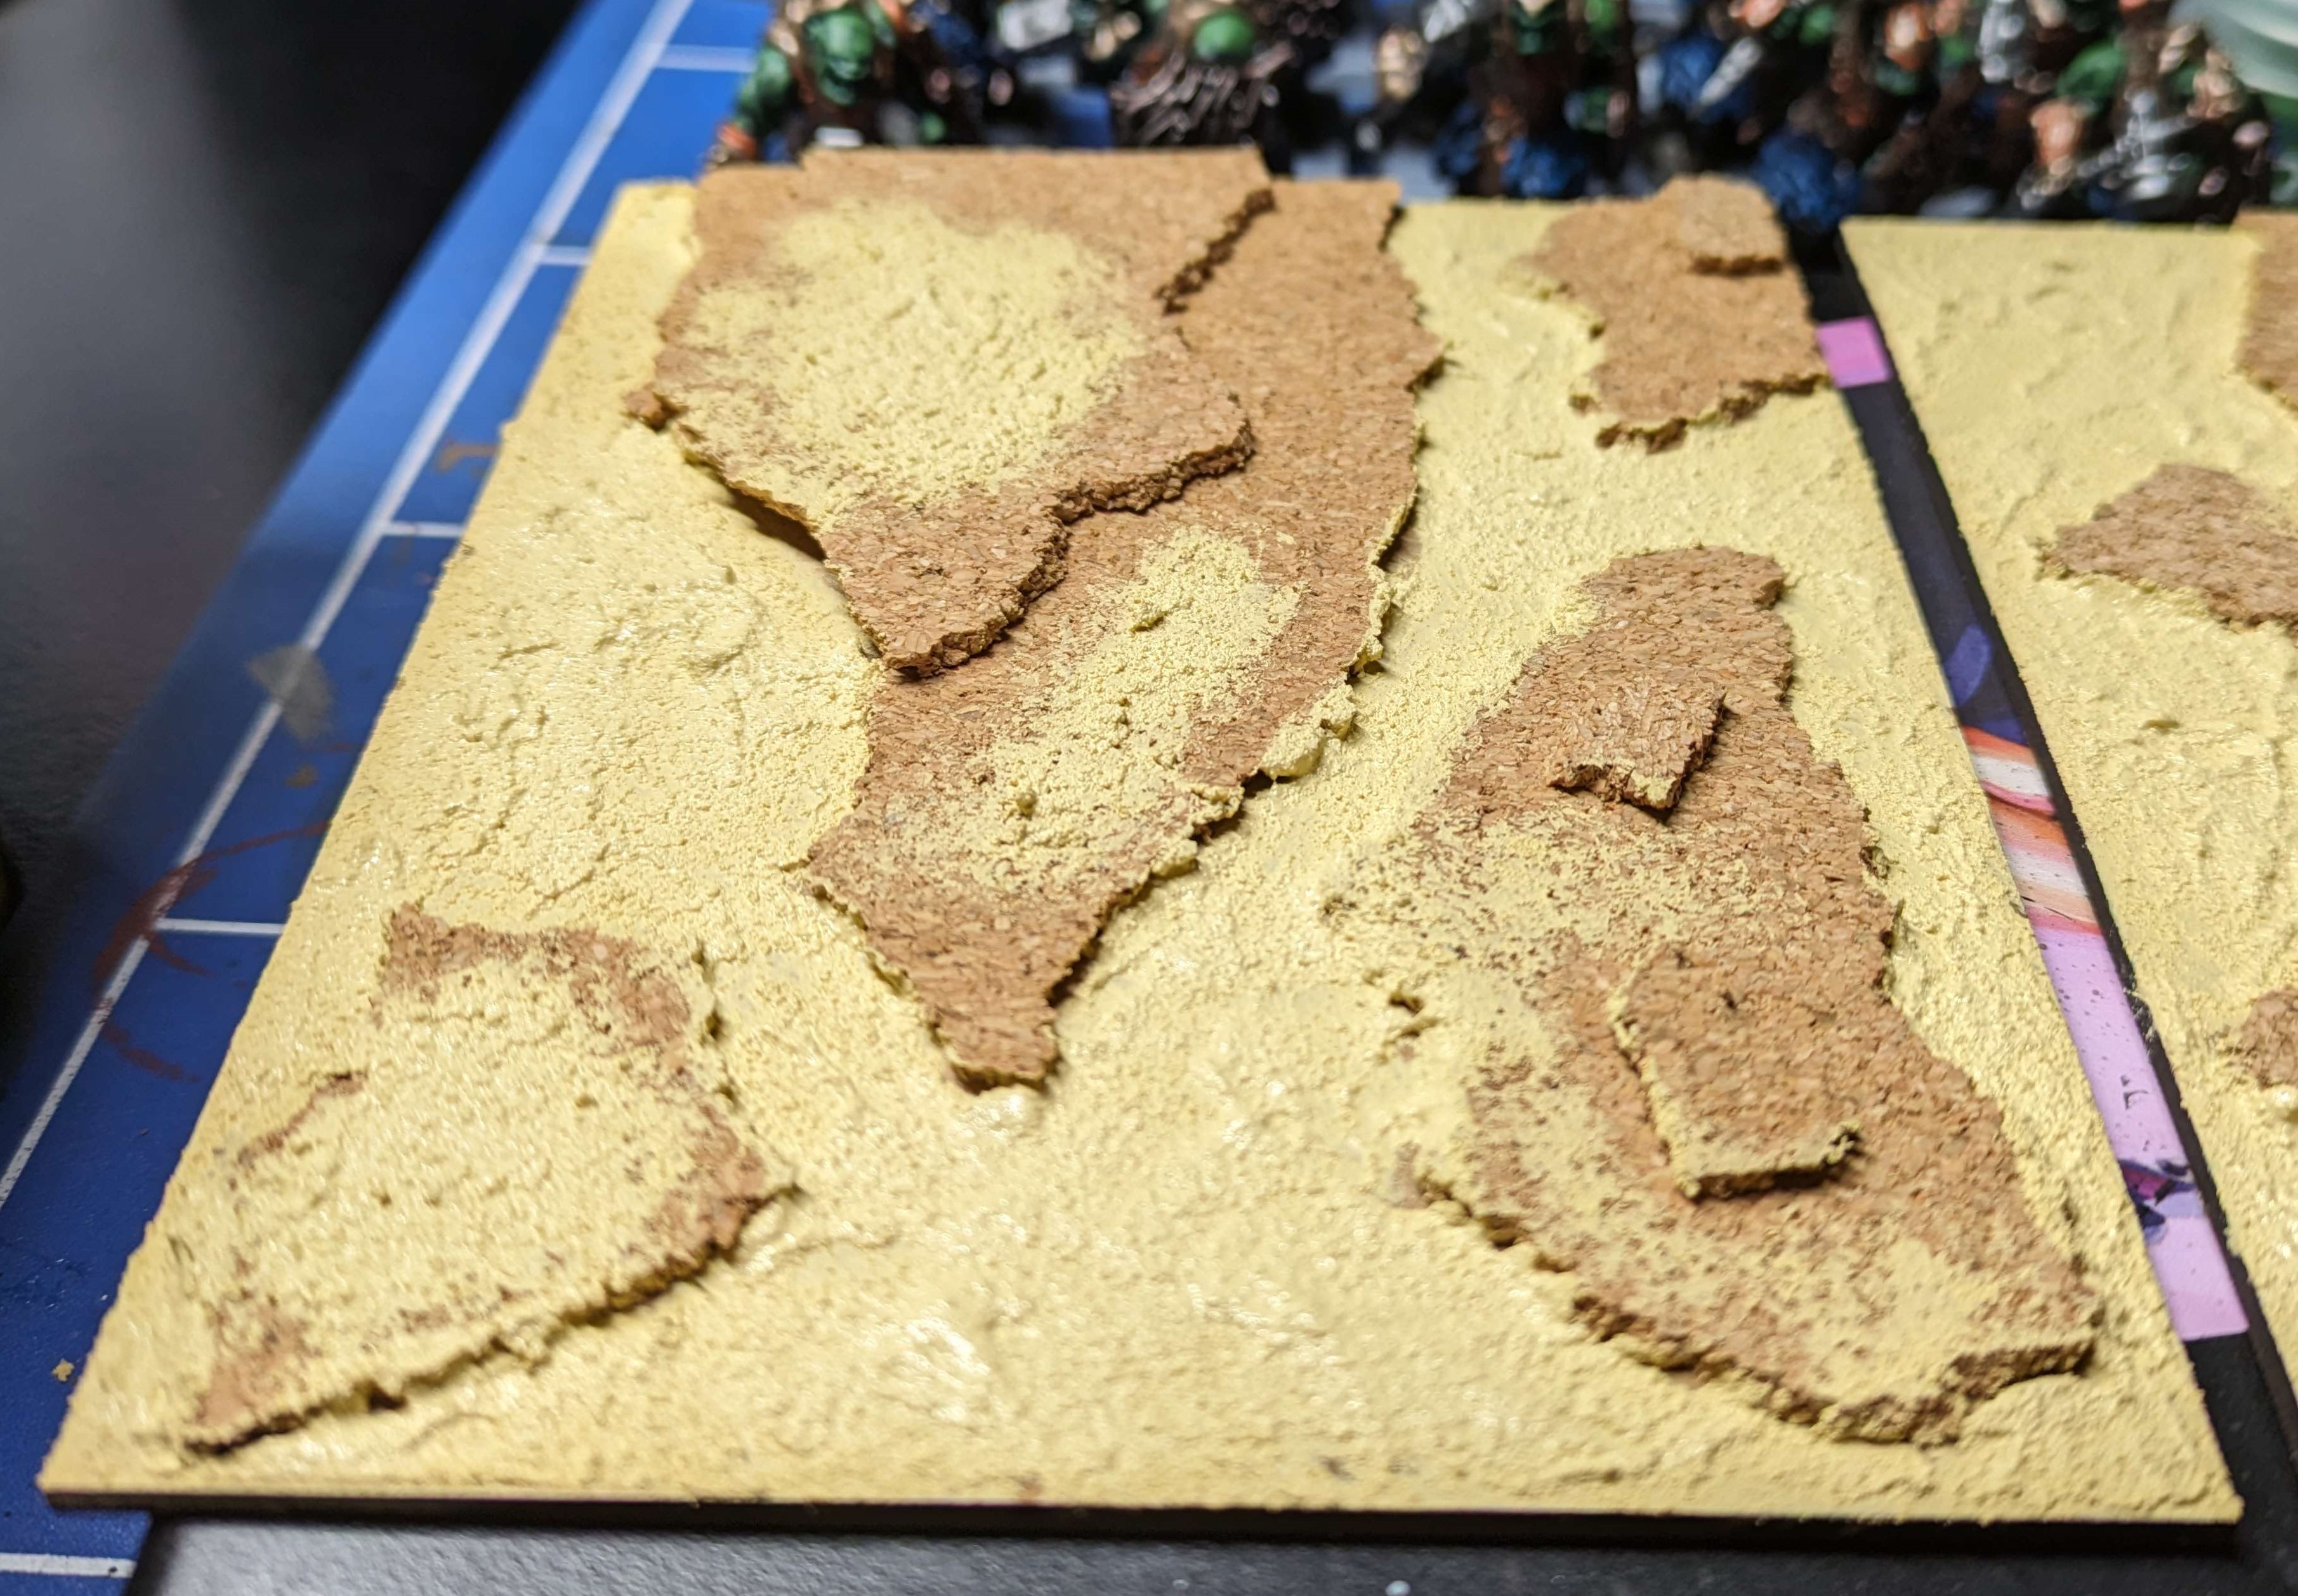
- Some torn up 2mm cork sheeting to give a bit of height.
- Then a layer of AK Terrain Desert Sand
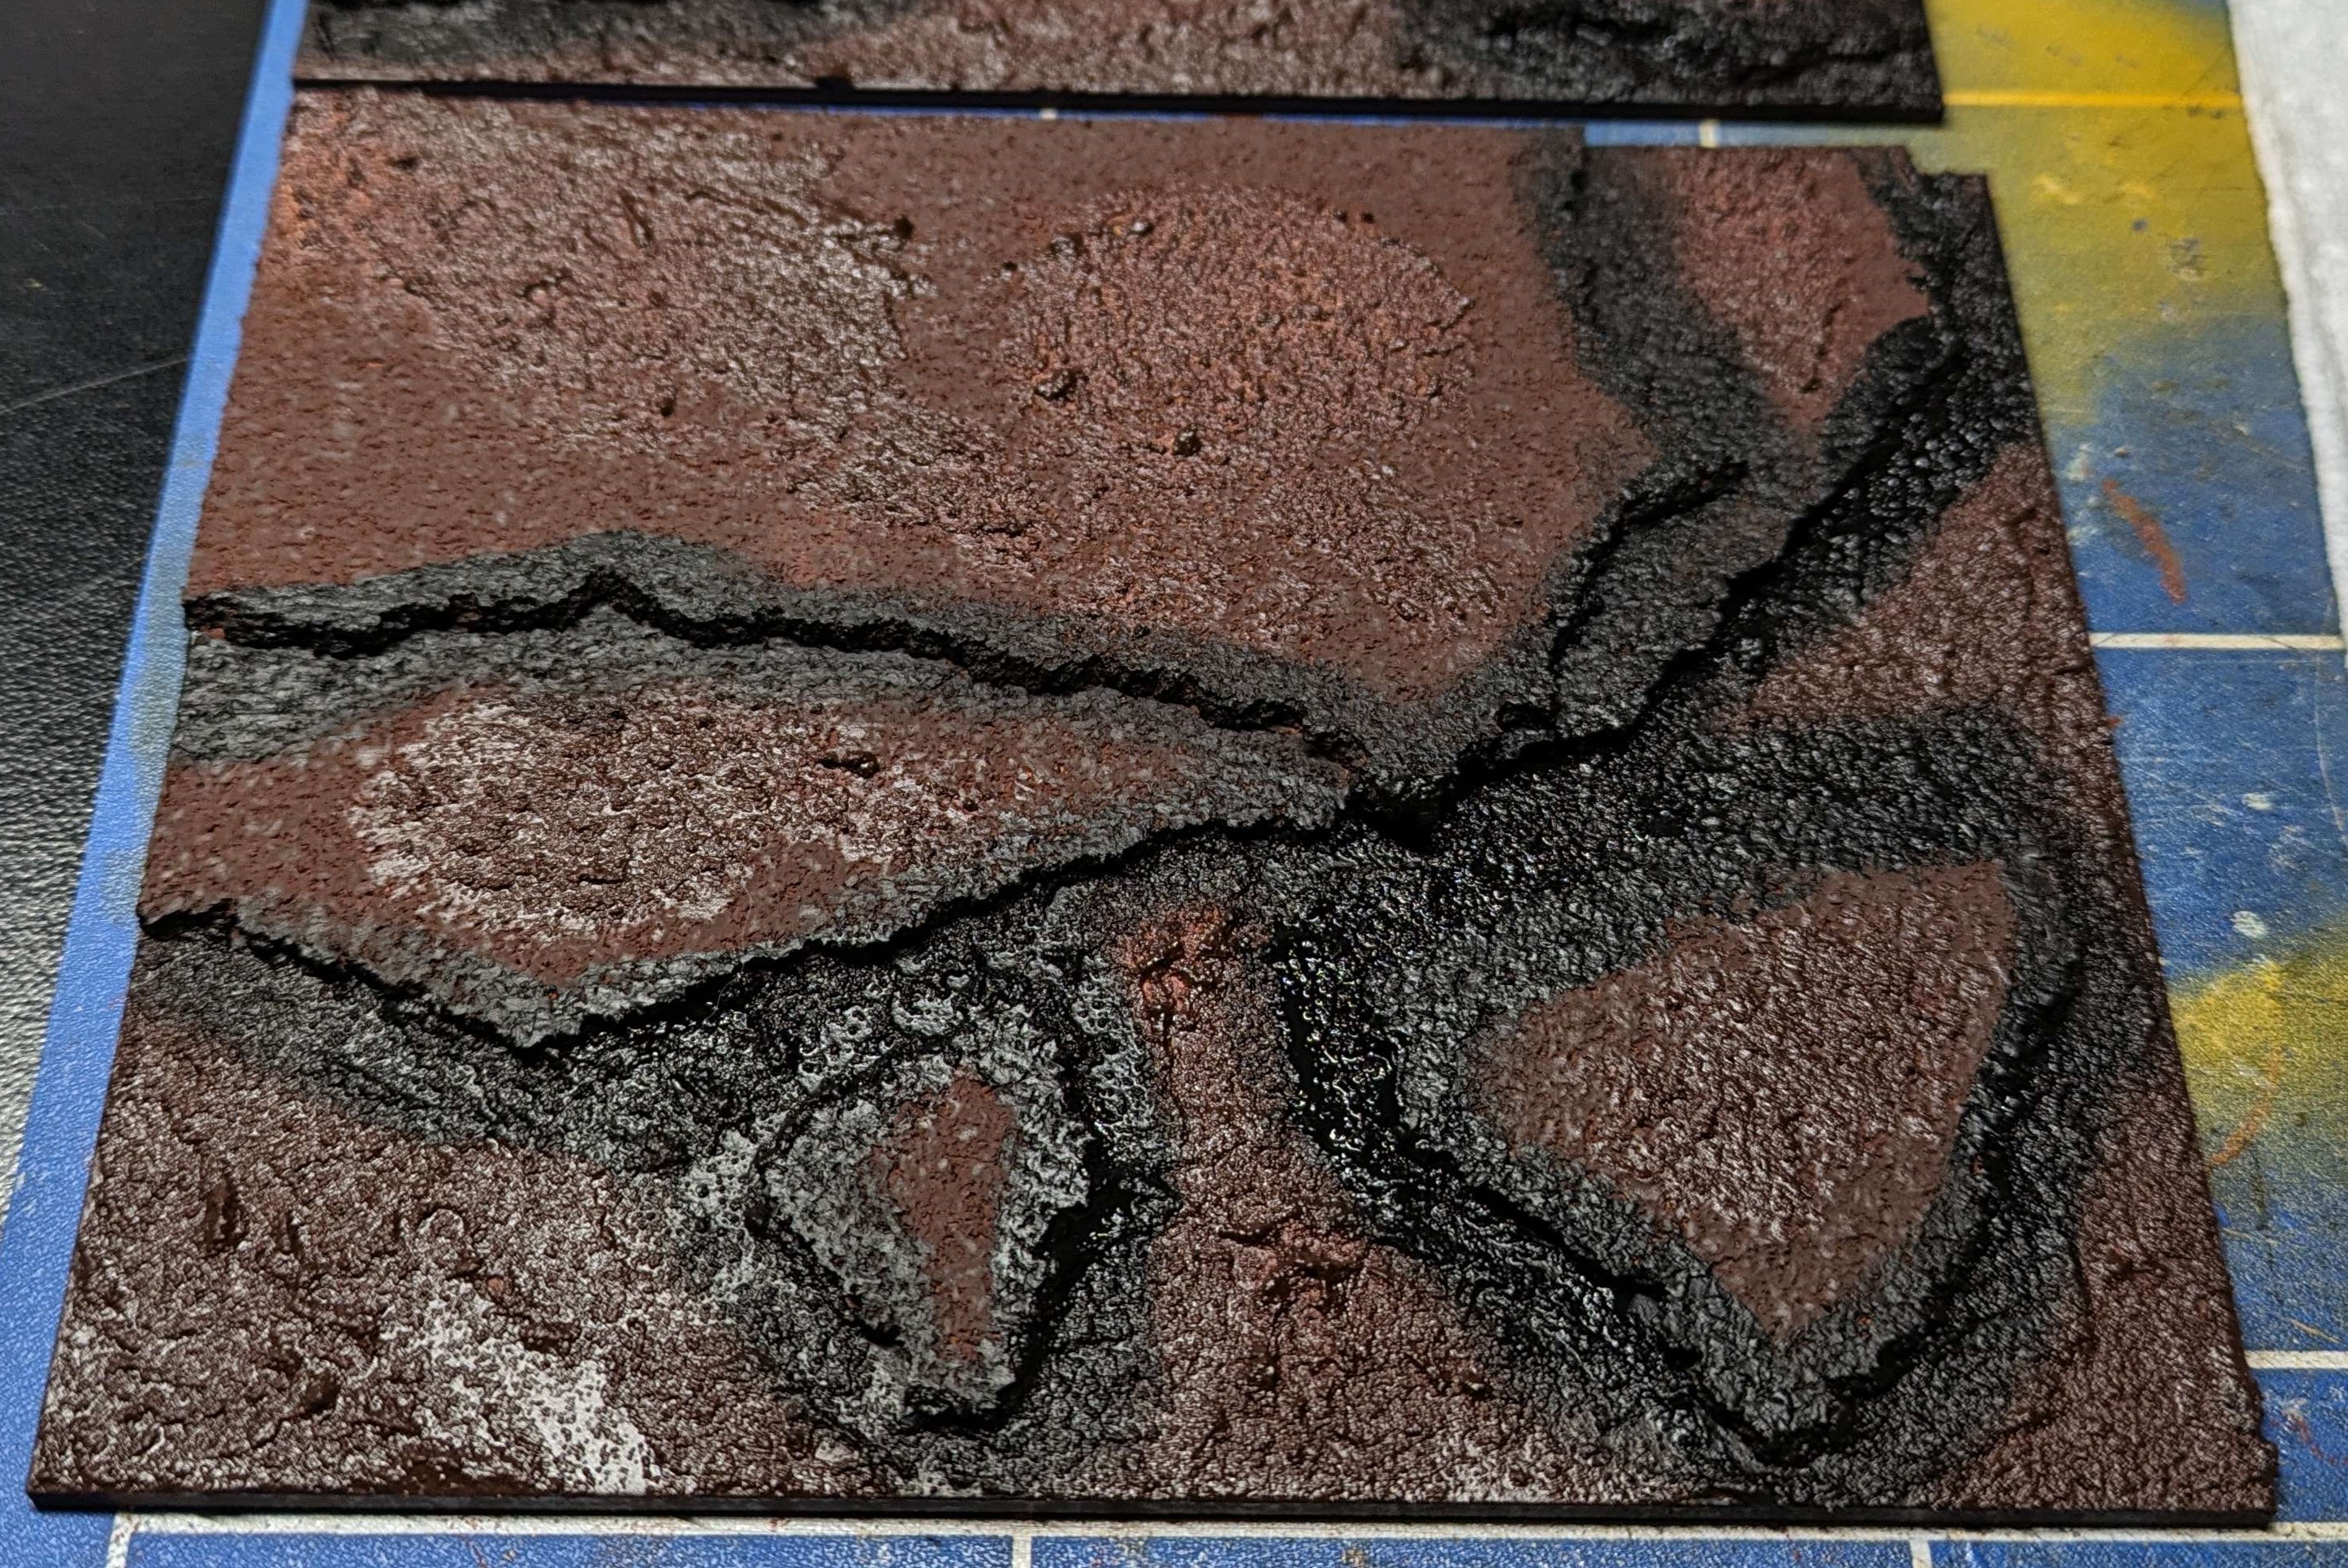
- Primed with dark brown
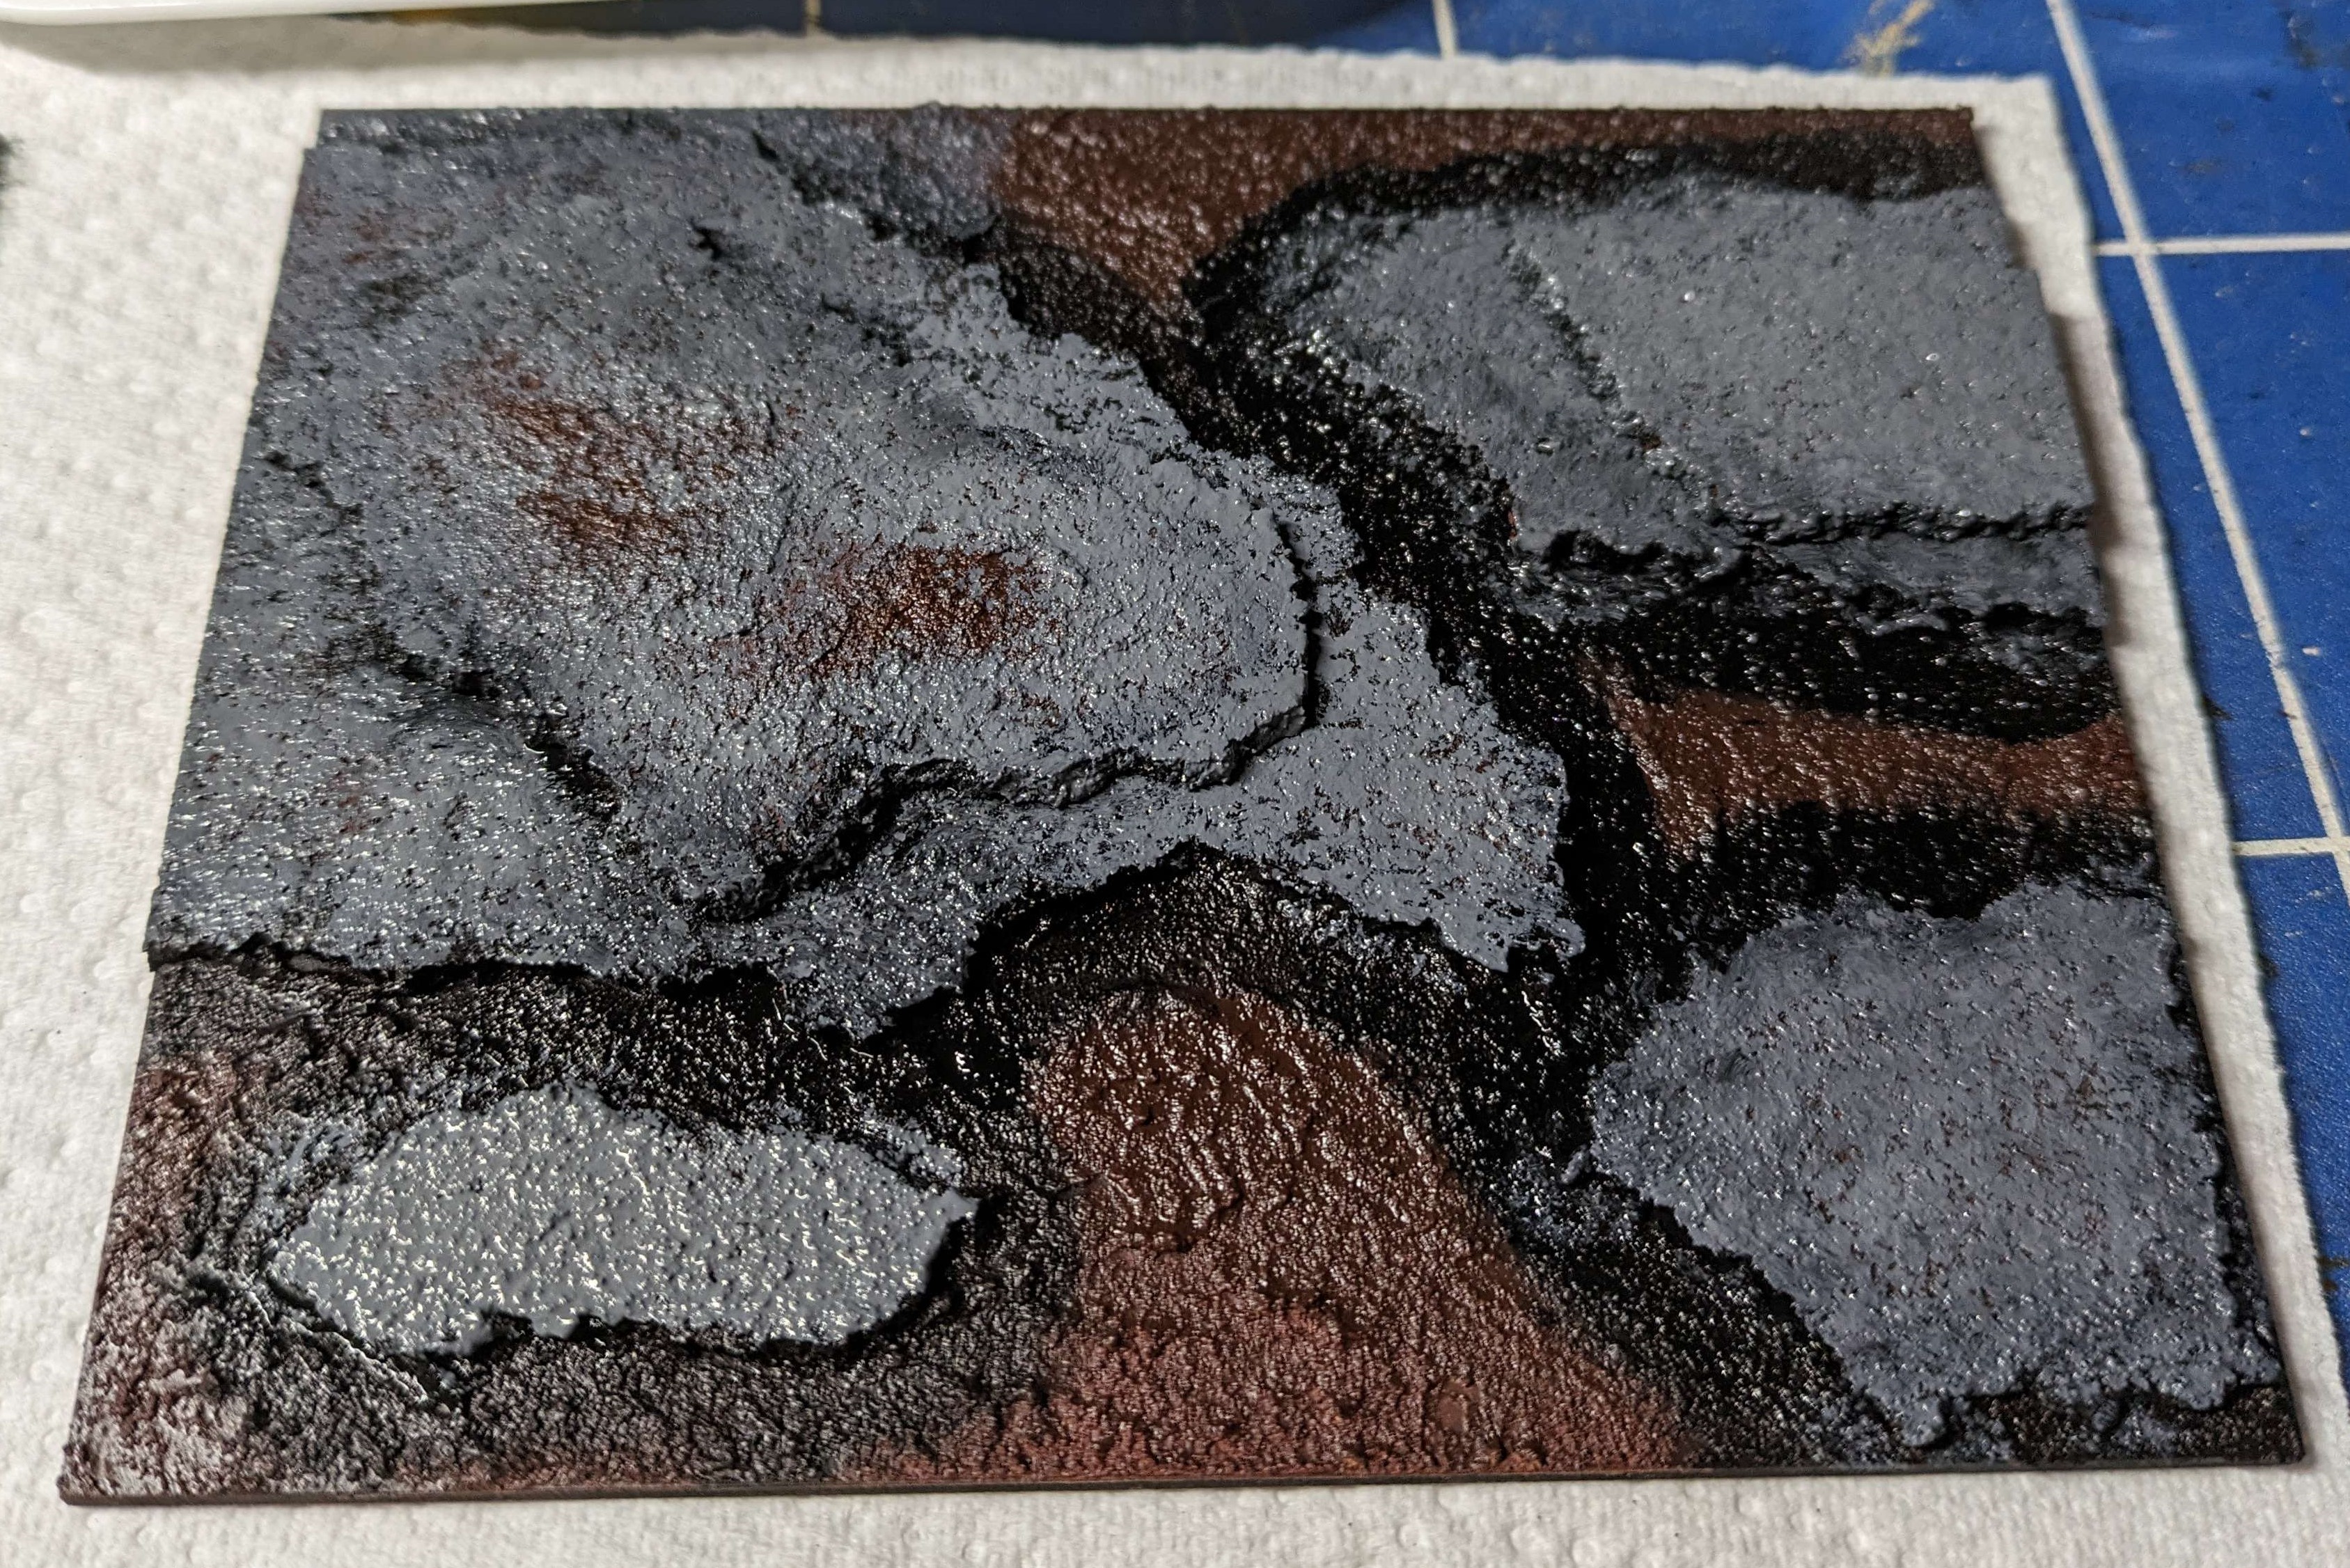
- Black used to edge the rock layers to give an extra level of depth
- Stippled Vallejo London Grey and then GW Administratum Grey
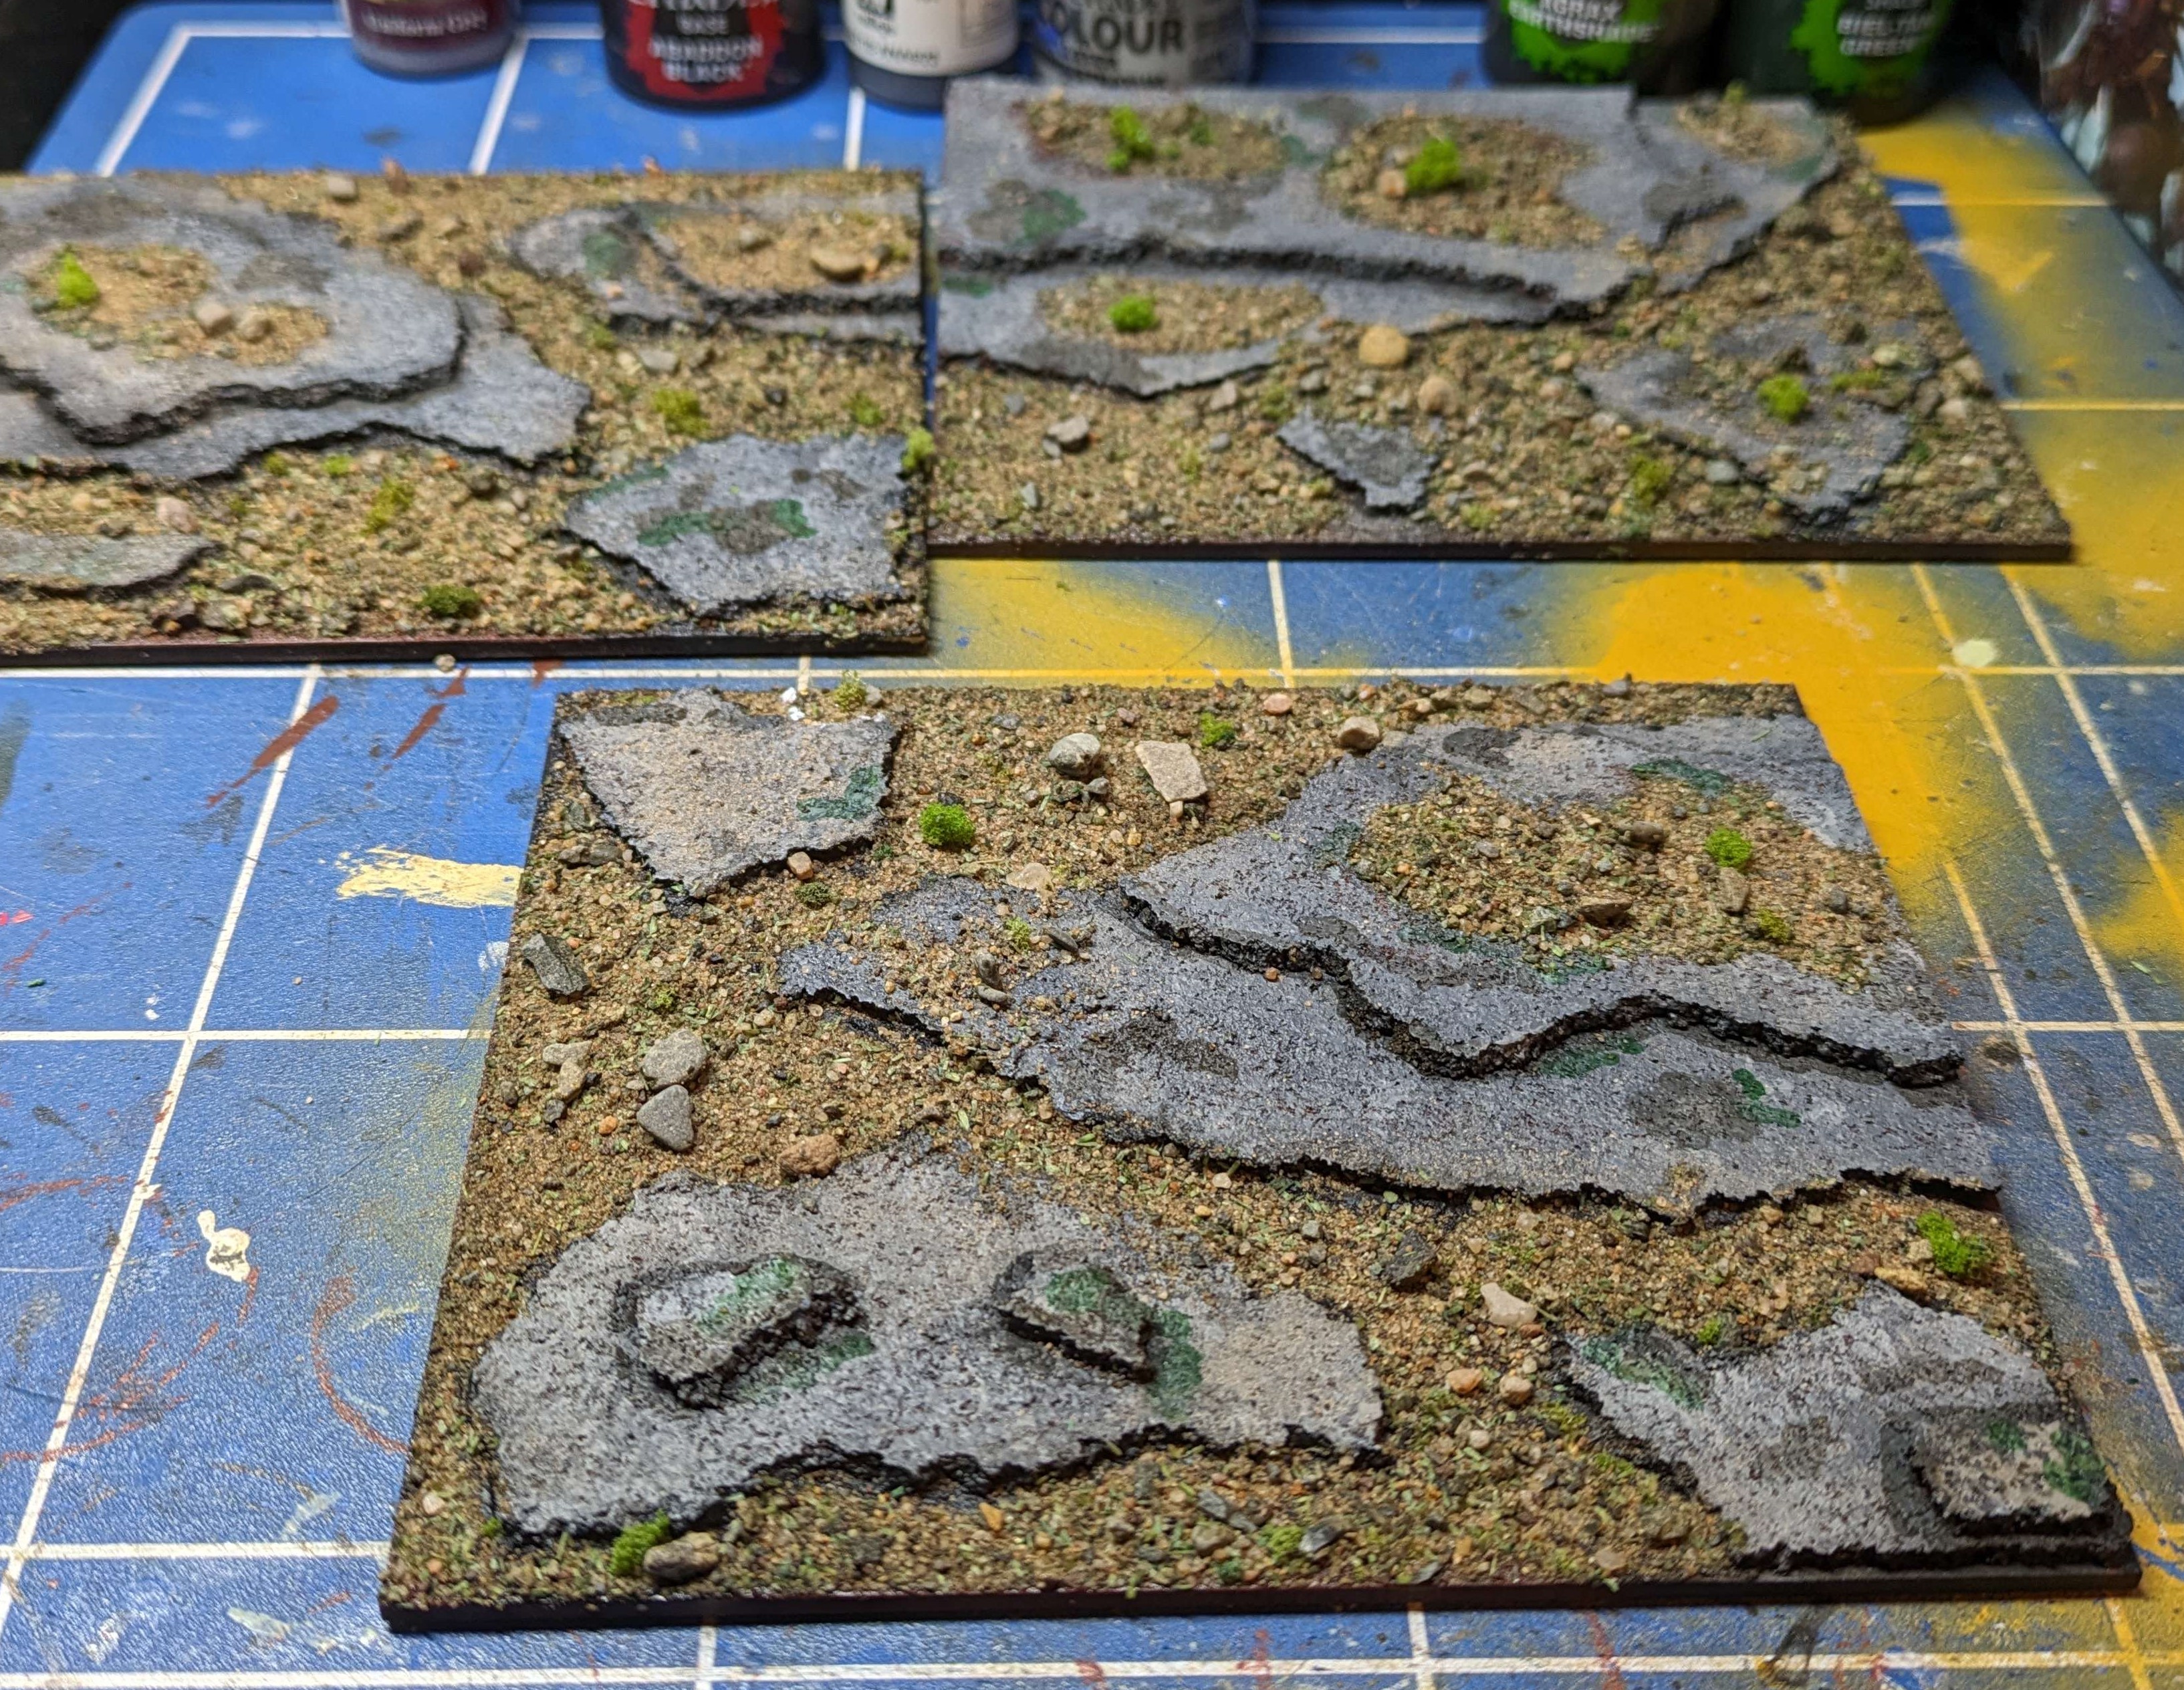
- This is when I should have glued down the models… I was too busy “doing” to be “thinking” and instead put down a layer of Geek Gaming Scrublands Base Ready mix
- Some random wee patches of washes to add more interest to the rocks
- Glued down the models, or tried to at least ? Some of them are definitely going to come off on their first trip to the table. The mix of particulates is too big to get a good foothold once the glue is dry.
These three bases will be the main part of my first 750 points which are meant to be playable for February. I need to paint up two other solo minis and then hopefully they can get to the table.
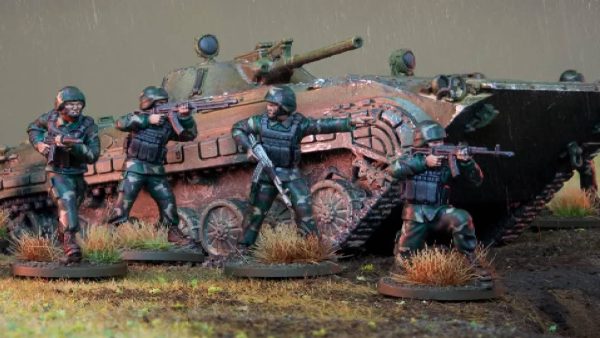
Sons of Horus (Epic) Part 3
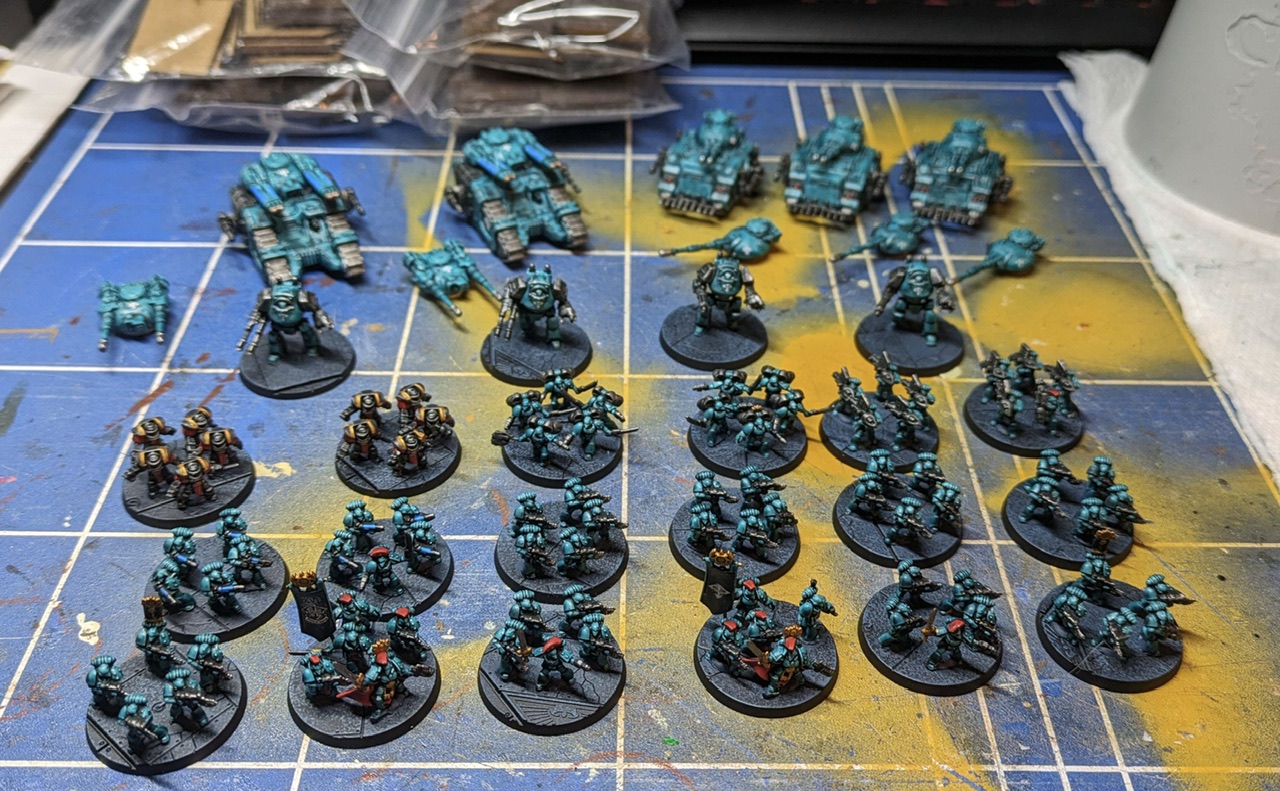
Another week down and this time I was focusing on getting the marine half of the starter box painted. Getting everything to a tabletop standard isn’t hard at this scale but I have every intention of coming back in the future and weathering the vehicles. Right now they have just rolled off the production line so that I can try and get a game in over the next few weeks.
I am mindful of burning out if I keep painting the same thing but this week isn’t going to have much hobby time anyway so it’ll mostly just be a building week. More epic? Yeah, but also more KoW Orcs.
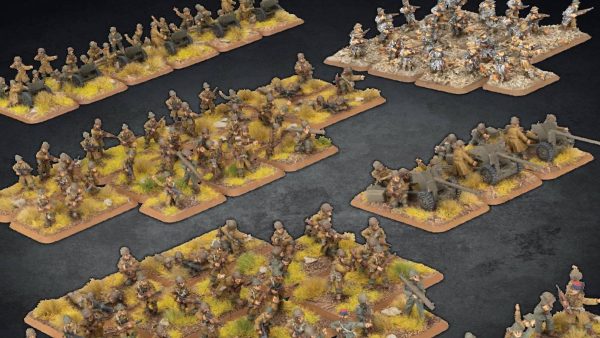
Here’s everything that I’ve painted so far. I have no idea what this is in points (probably not very much though) but looking at it all gathered together, it is starting to feel like Epic should.

Sons of Horus (Epic) Part 2
Delivery/Deliverance
I’ve known since GW announced Epic’s return that I was going to go hard into it. I love the idea of really big battles of tiny models in a sci fi universe that I really enjoy reading about. I said in my first post about this army that I had managed to scrape two infantry boxes and one box of rhinos while the rest of my pre-order was held up. I painted up half of the infantry and built the rhinos. Then I moved on to some of the many, many other projects I have with only a little envy for the other people in my local gaming community who had got some games in.
Last Sunday, I finally got a dispatch email for my Epic pre-order from Business Daddy. On Tuesday I came home from work to some expensive boxes of wee tiny mens. Knowing I wouldn’t have time to crack into them until the weekend but being a child who gets easily excited, I grabbed the other bits I had primed and worked on them during the week.
 Step one: place everything together so you feel good about painting things
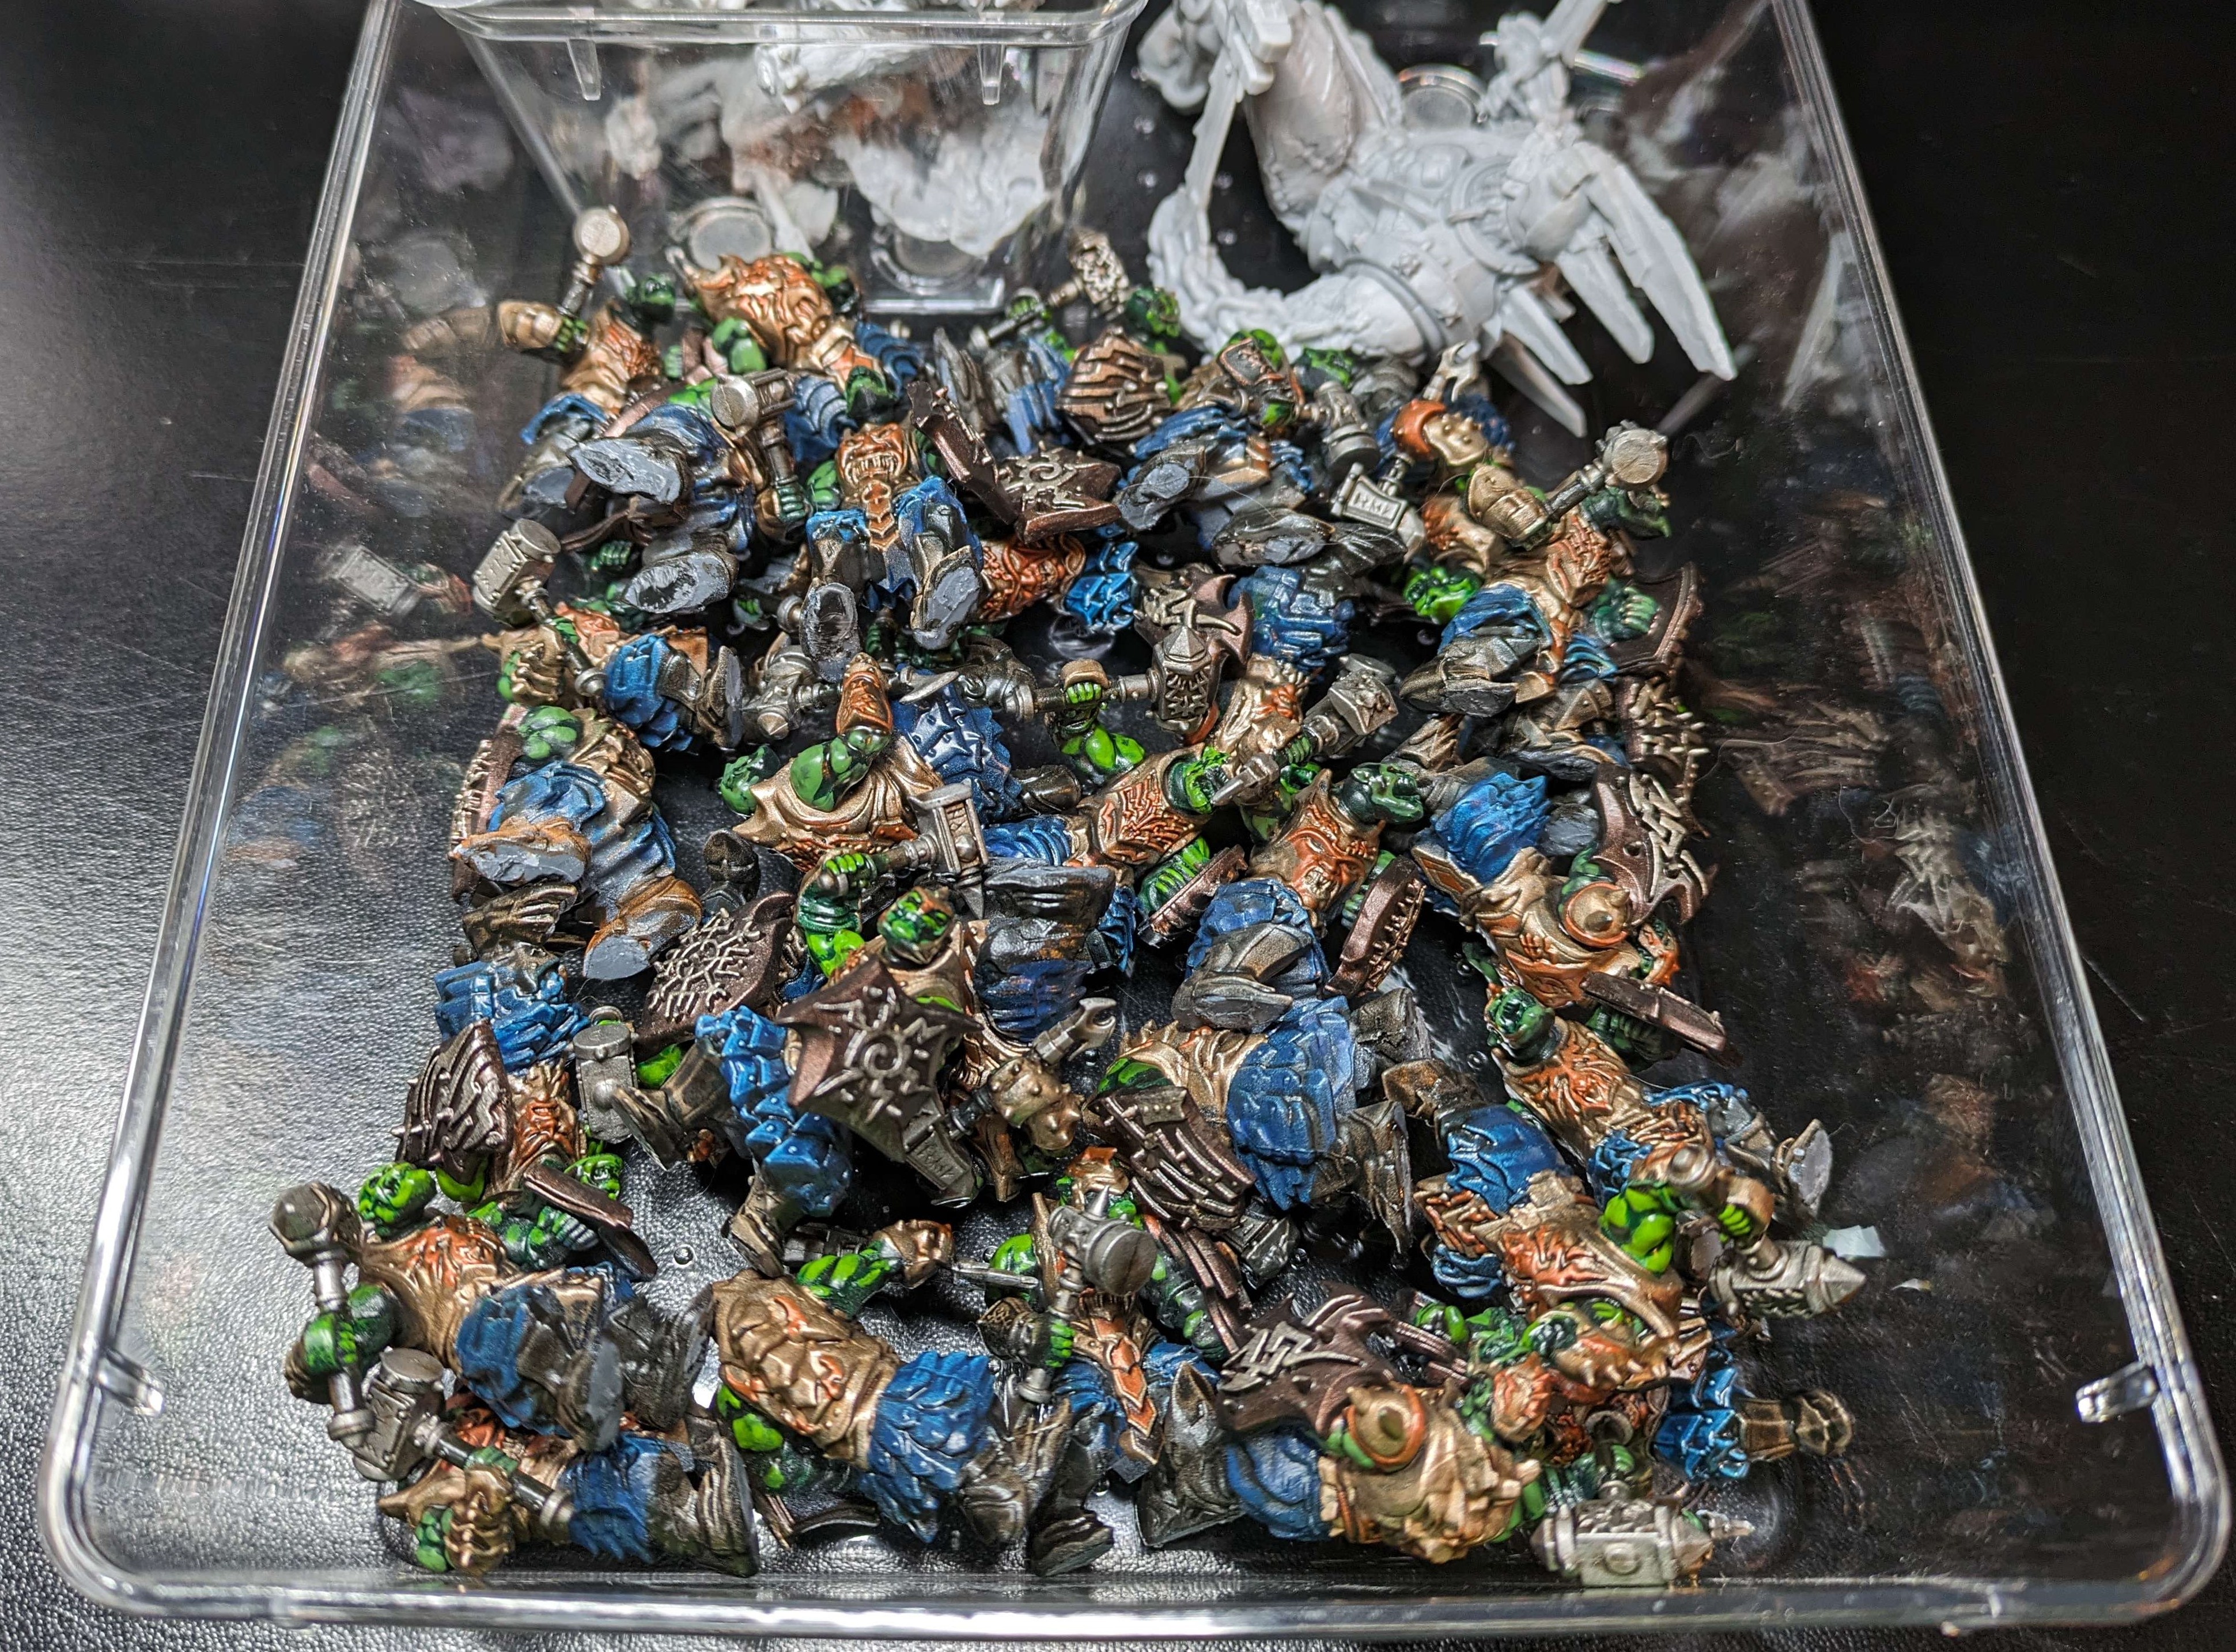
 Step two: place painted things on a tray on top of the pile of plastic that arrived this week to prove you are in fact a moron. Sense of hubris threatening to overwhelm.
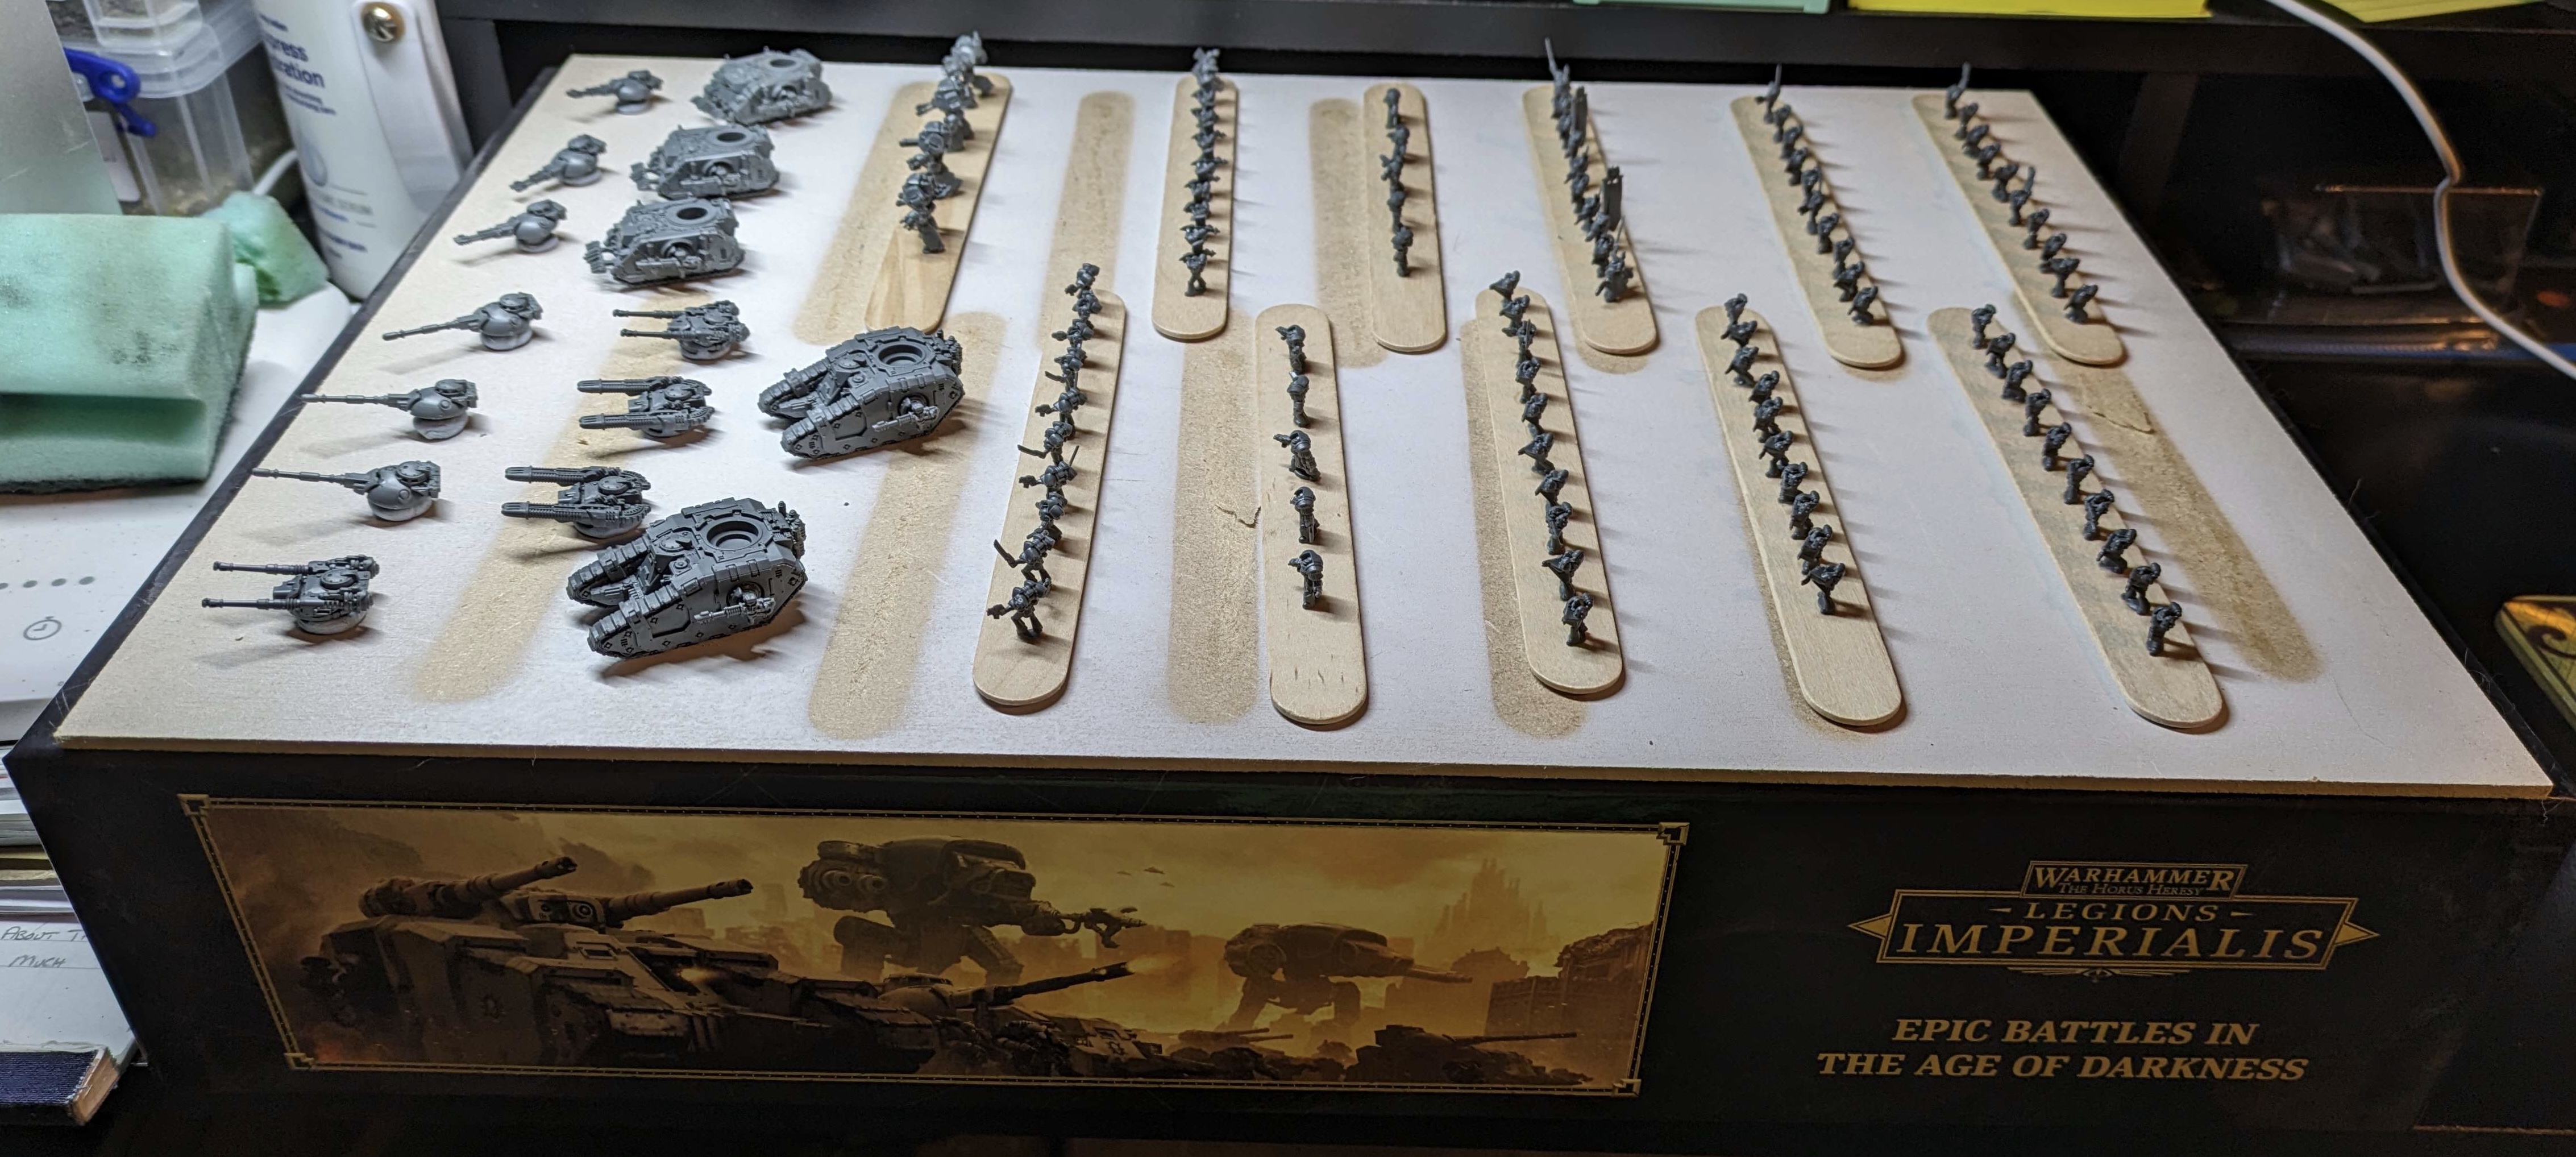 Step three: take out all the models you are going to sell and then merge everything else so it fits in one reasonable size box. Sense of hubris back within tolerable levels
All those sprues in one large box feels more manageable. I know it is the same amount but my brain is suitably tricked… for now at least. I grabbed one of the starter boxes worth of models and got them ready for priming in the morning so that this week’s painting is good to go
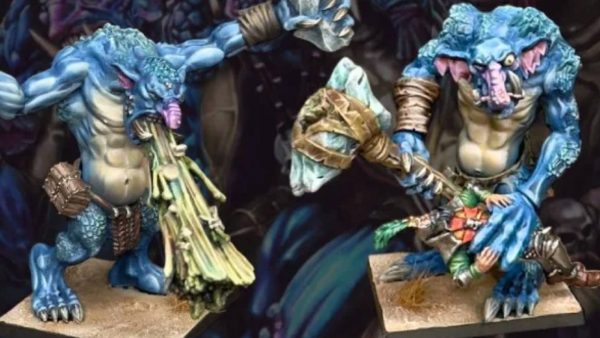
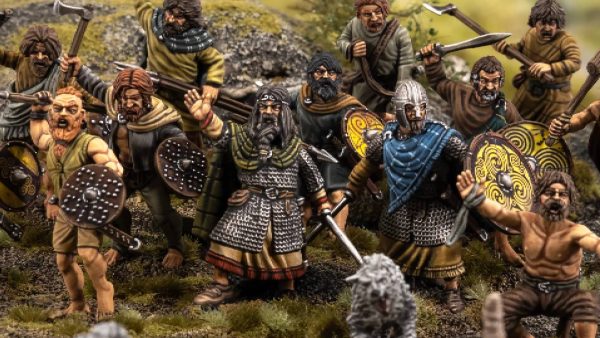
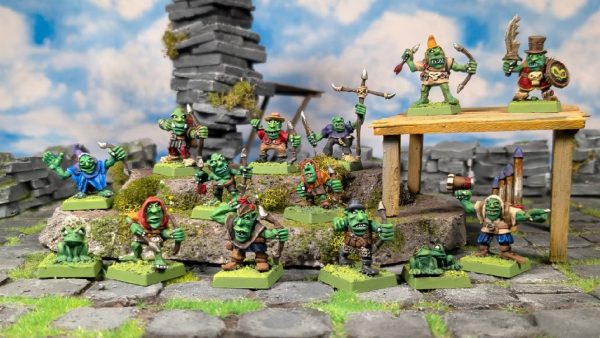
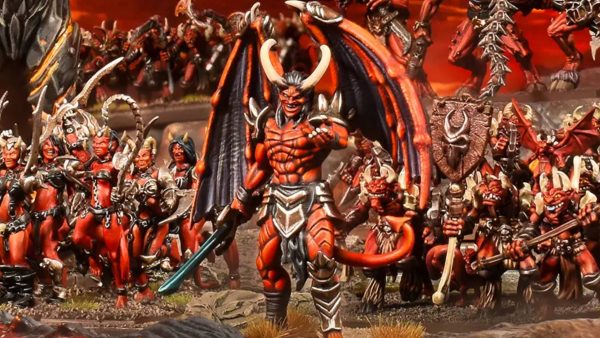
Riftforged Orcs (KoW) Part 1
Basic Infantry
We’ve managed to arrange some people for a Kings of War slow grow to start out the new year. Some people will be expanding existing Ambush armies but not being one to make things easy for myself, I decided to start fresh with one of the several armies I have models for already. Looking for something that is a little more of a beatstick, I’ve decided to go for Riftforged Orcs.
I currently have the small army box and the models from the two player starter set Storm in the Shire. This gives me plenty of the basic troops to get started with.
The kit is one of the dual ones that Mantic has started using for core units. They can be built with shield and hand weapon (Riftforged Legionaries) or two handed weapons (Reborn Legionaries). The Reborn have a better stats like but they aren’t unlocking for the purposes of army building.
As this month is about building the core 800 points, I figured now was a good time to break the back of the infantry so let’s get to building models.
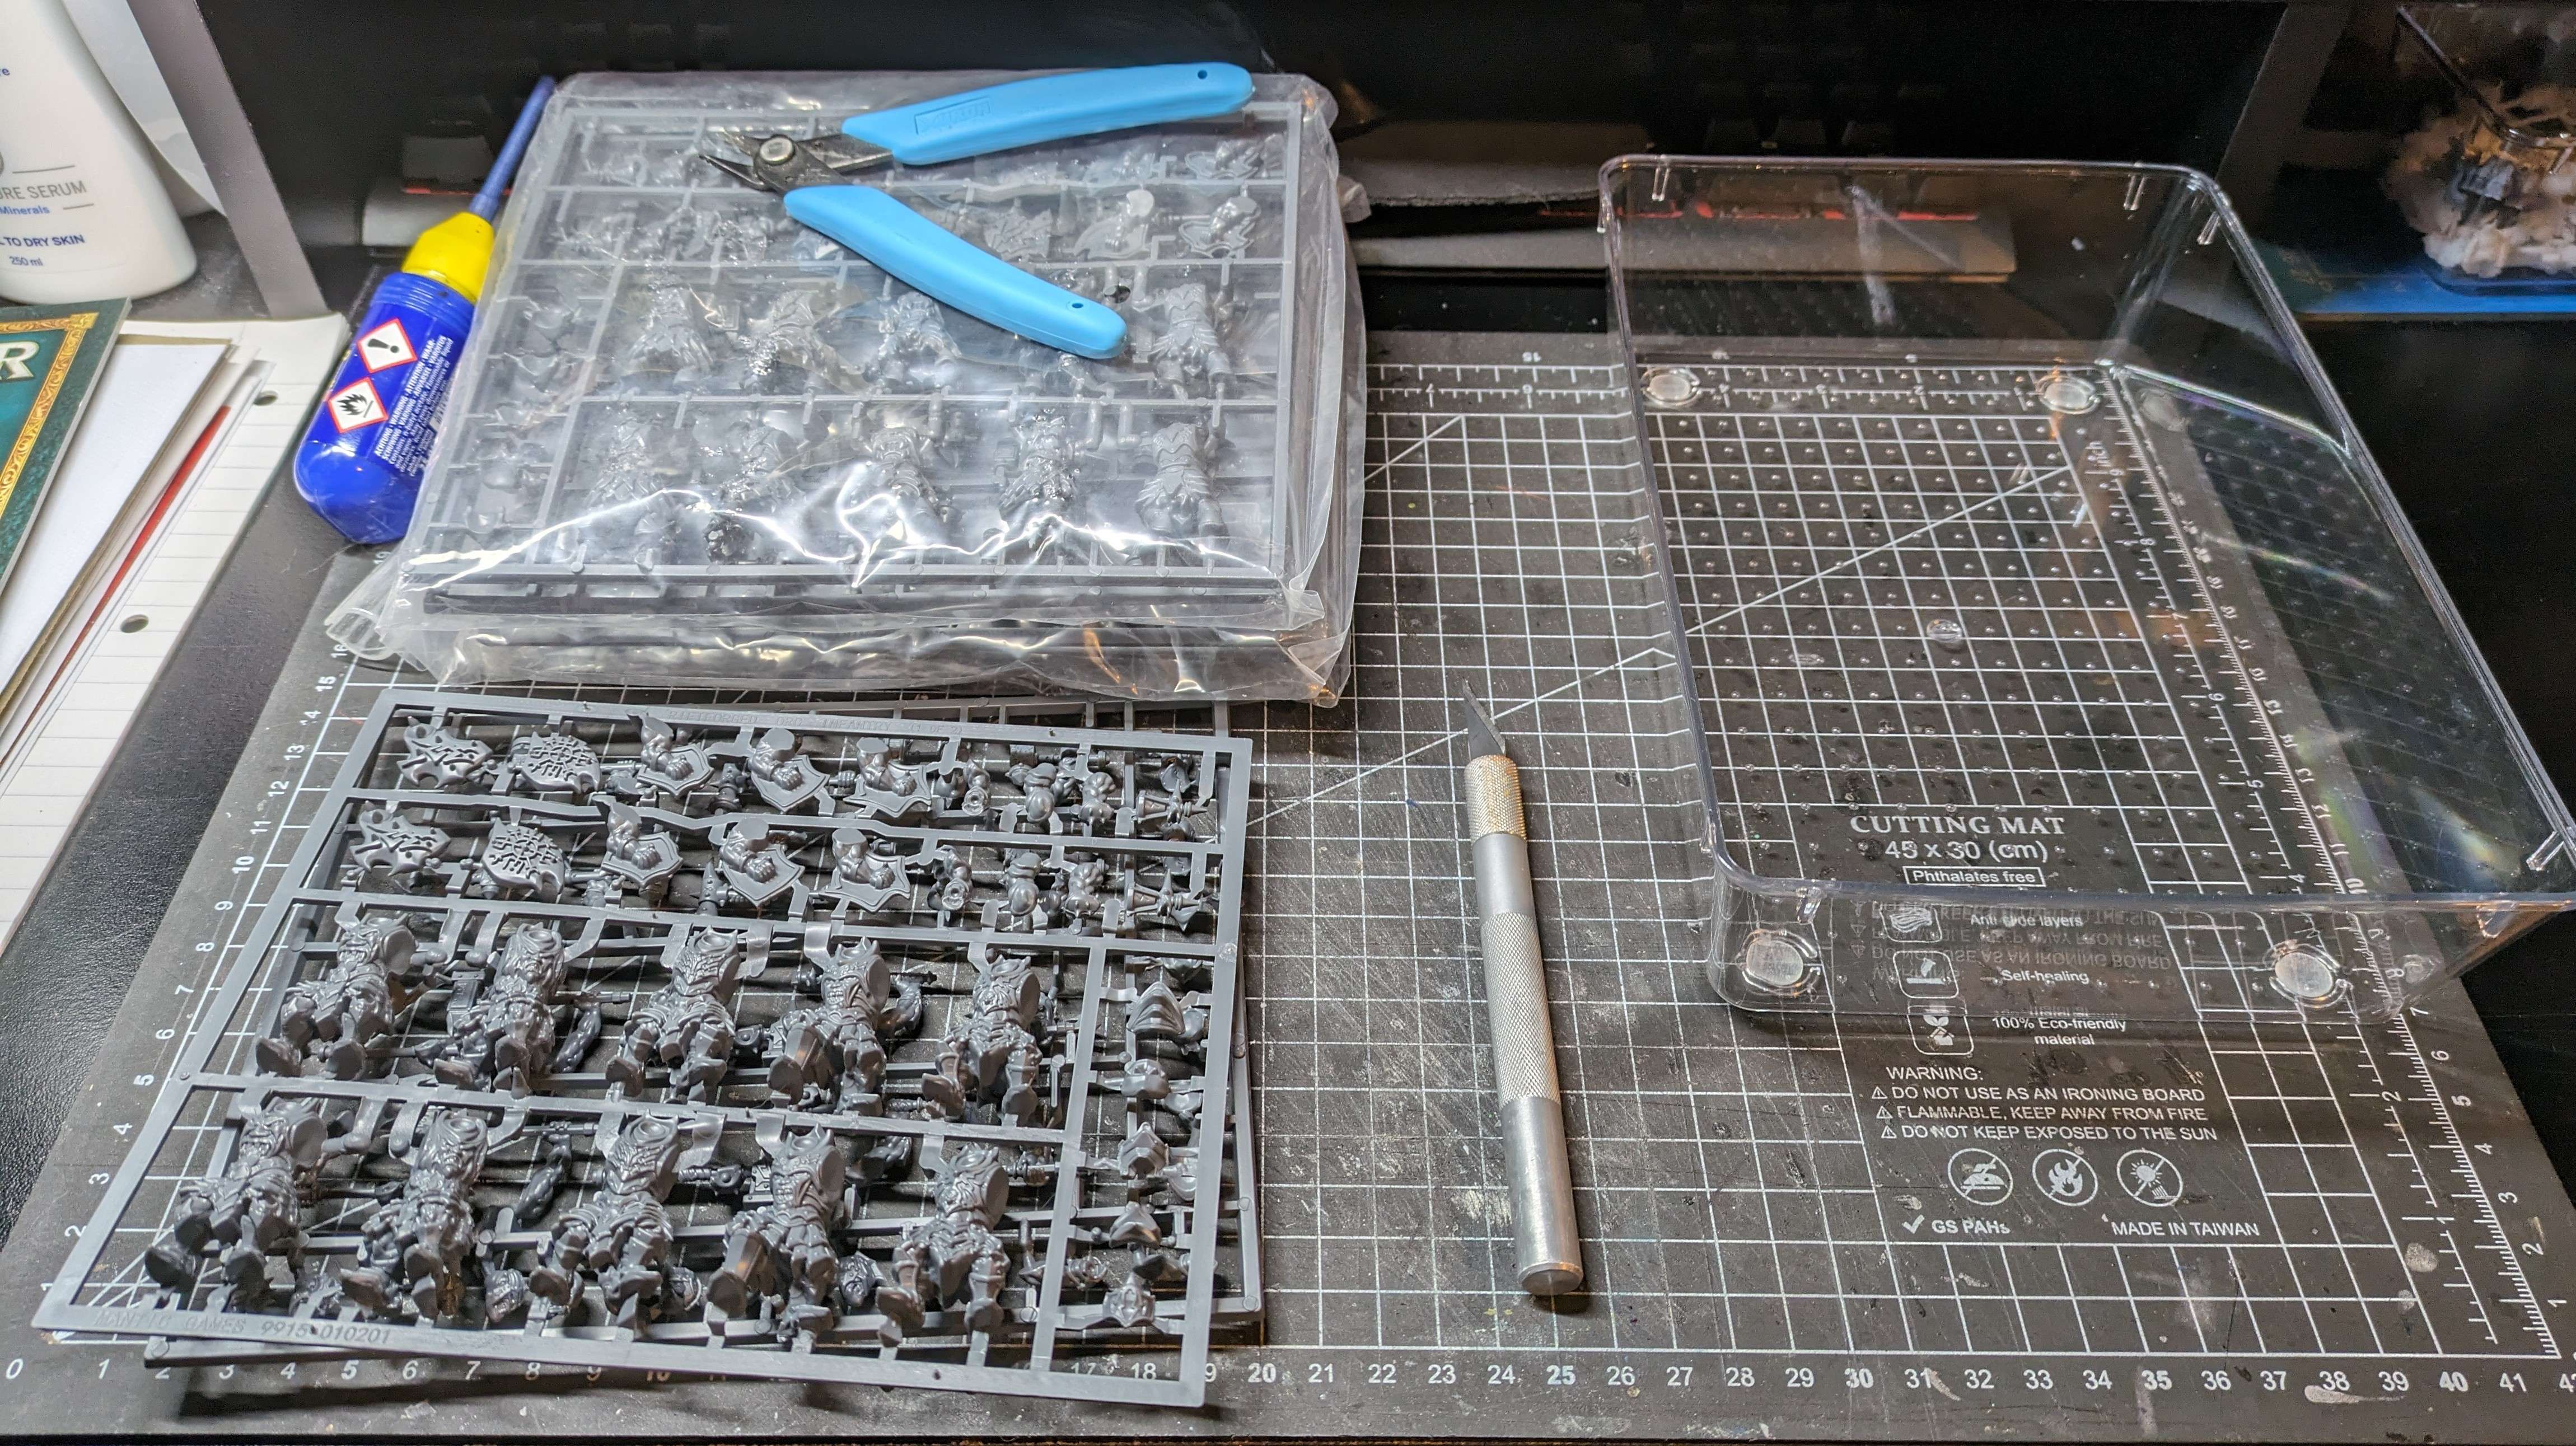
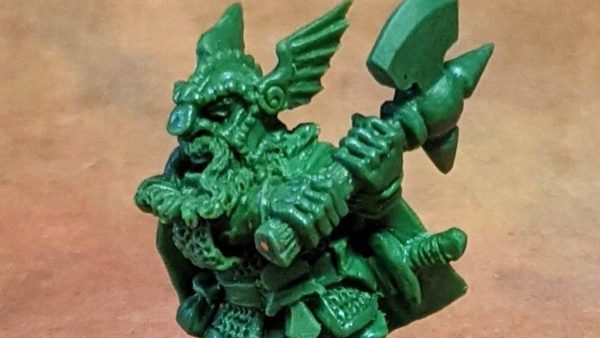
The models are that strange Mantic style – some really nice detail and some stretching that you saw on plastic kits 20 years ago. It’s clearly a compromise to show them to have bodies as one piece so all you have to do is pick a head and your arms. Very few mould lines so clipping and prepping was quick. Being a newer kit, they can be glued with plastic cement. Over all, a few hours of casual work, watching a movie, and the first 40 are built.
When I rummaged around for some painting bases to get them primed, I could only find 36 of the ones I wanted. I’m not painting in odd numbers like that so 30 got glued onto bases. A black and white zenithal prime for everyone to start with and then:
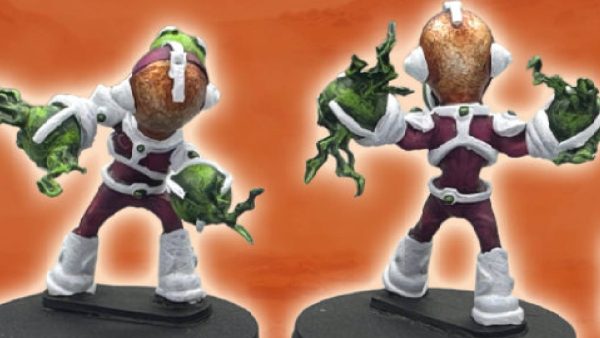
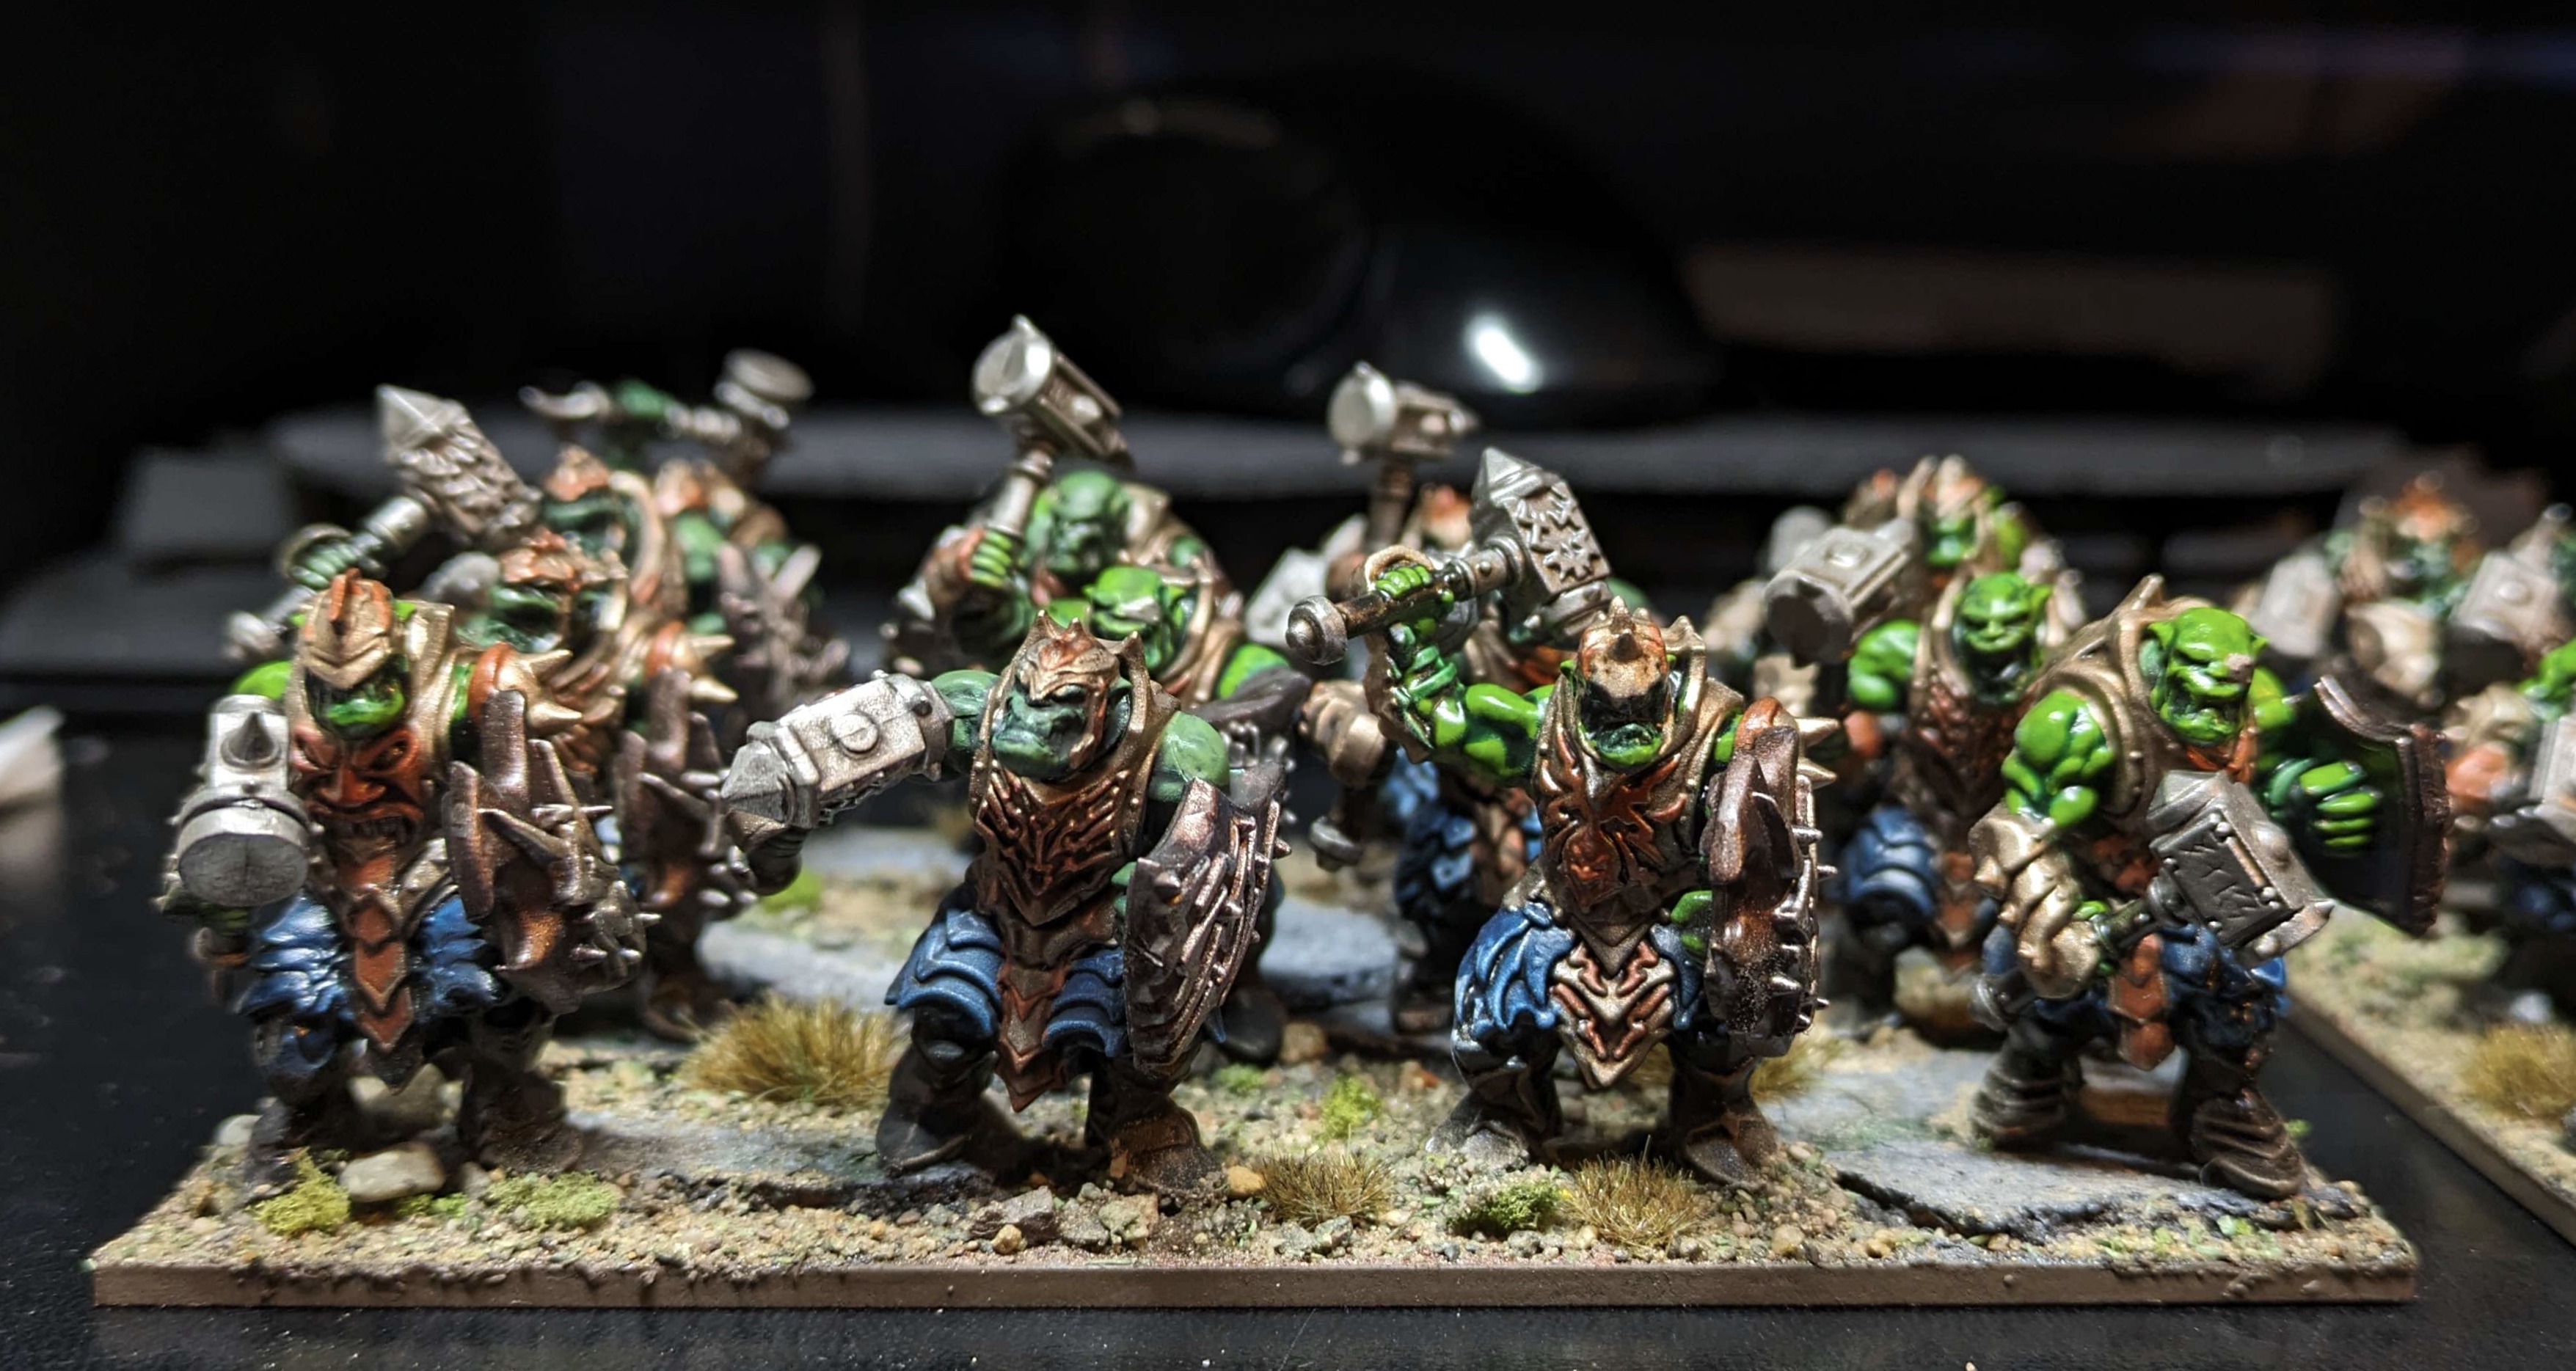
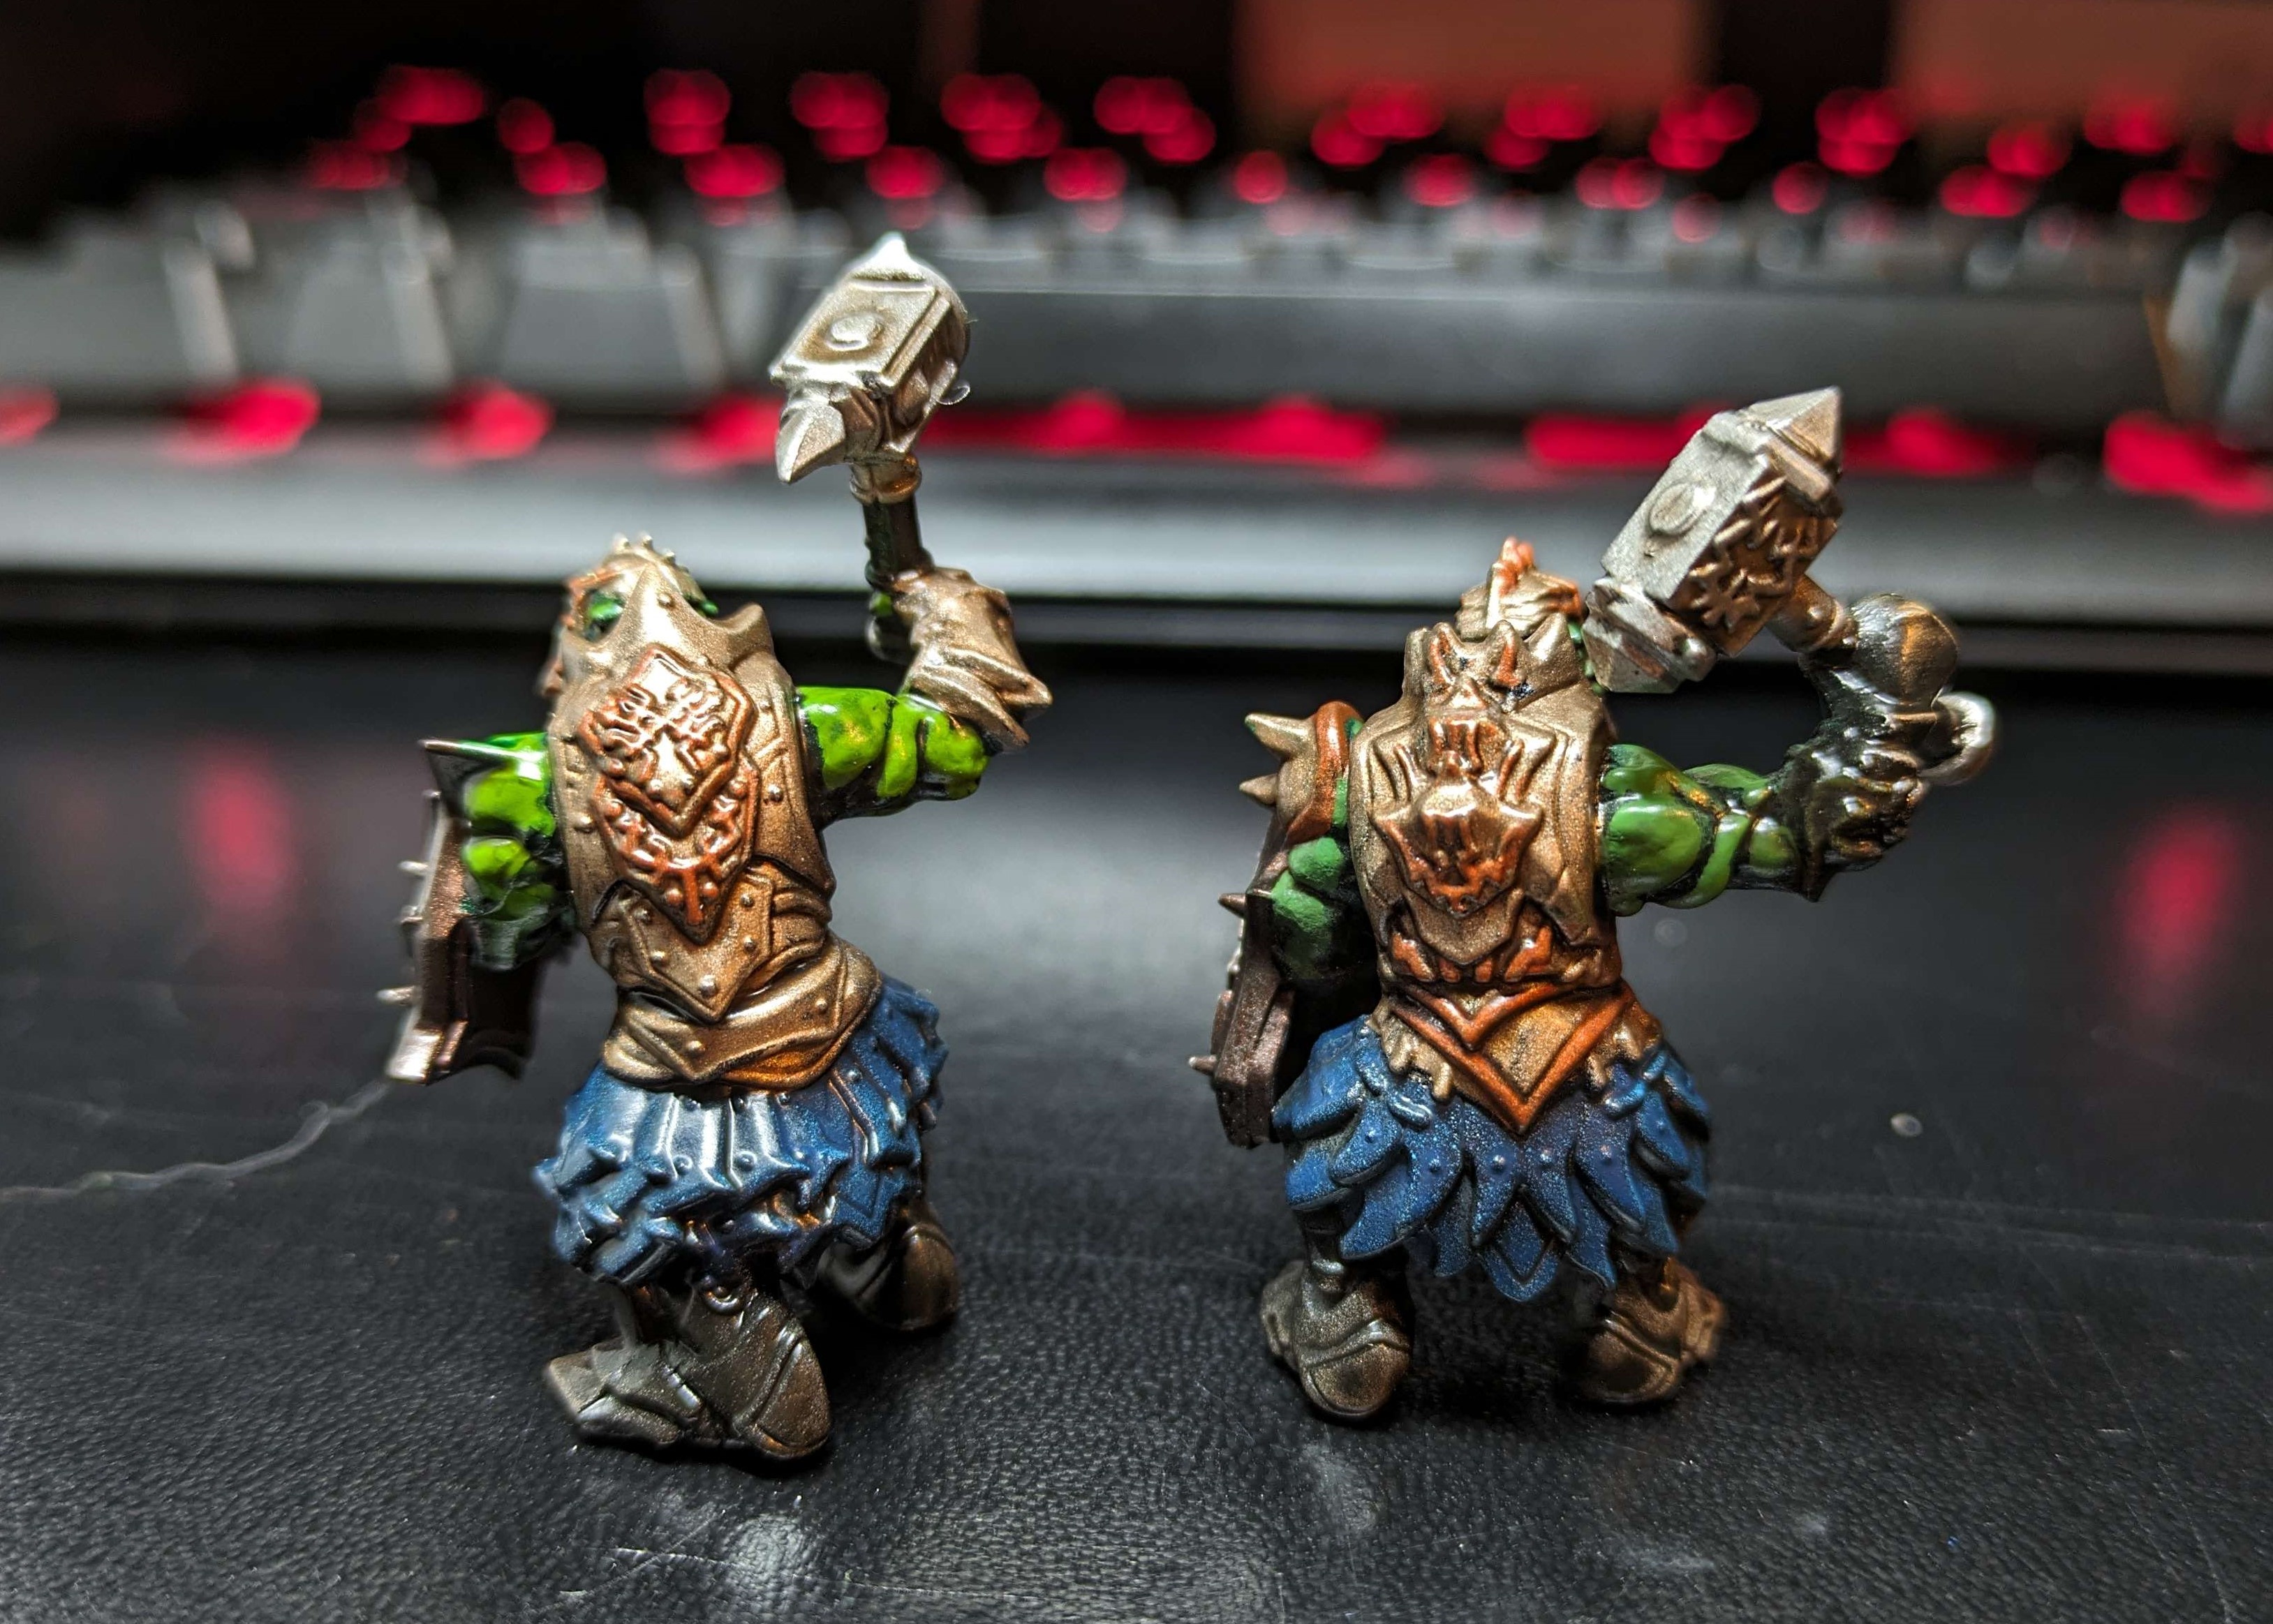
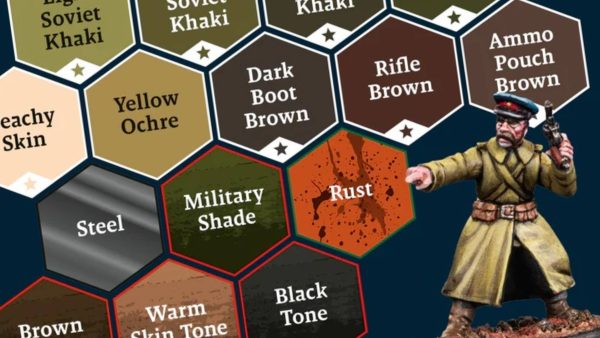
- I didn’t want all the skin to be the same so I used two different pairs of paints. Base was a Contrast paint (Dark Angels Green of Ork Flesh) and then one pass of highlights (Warboss Flesh and Moot Green respectively).
- Lore says that they have very nice gear, these are a cut above your scummy normal orcs. I find the studio paint job on these models a little off – all the armour and shields are the same colours and it just turns them into an indistinguishable mass with my eyesight so instead I broke them down into different sections
- Boots are no longer metal, they are heavy leather… or just a single coat of Wyldwood Contrast
- Kilts are also no longer metal, they are a single coat of Stormfiend Contrast
- The metal armour is Runelord Brass base with Screaming Bell to pick out some of the detailing
- Shields were Warplock Bronze with details picked out by an over brush of Canoptek Alloy
- Hand weapons are just Gunmetal for the heads and Wyldwood for the hafts
- The entire model got a coat of Marine Juice – equal parts Nuln Oil, Reikland Fleshshade and Lamian Medium – to knock back the colours and tie everything together.
- Being that these are basic infantry in a large army, that’s as far as I’m willing to go on them for now. I need them to go into a box until I base them later in the month so I gave them a coat of Matt varnish. I debated using a satin varnish given that there is still a lot of metal and it feels weird to Matt that down but then I realised I’ve run out and the decision was taken out of my hands. Then I used it and remembered that this matt spray is actually kind of shiny… some days you just can’t win.
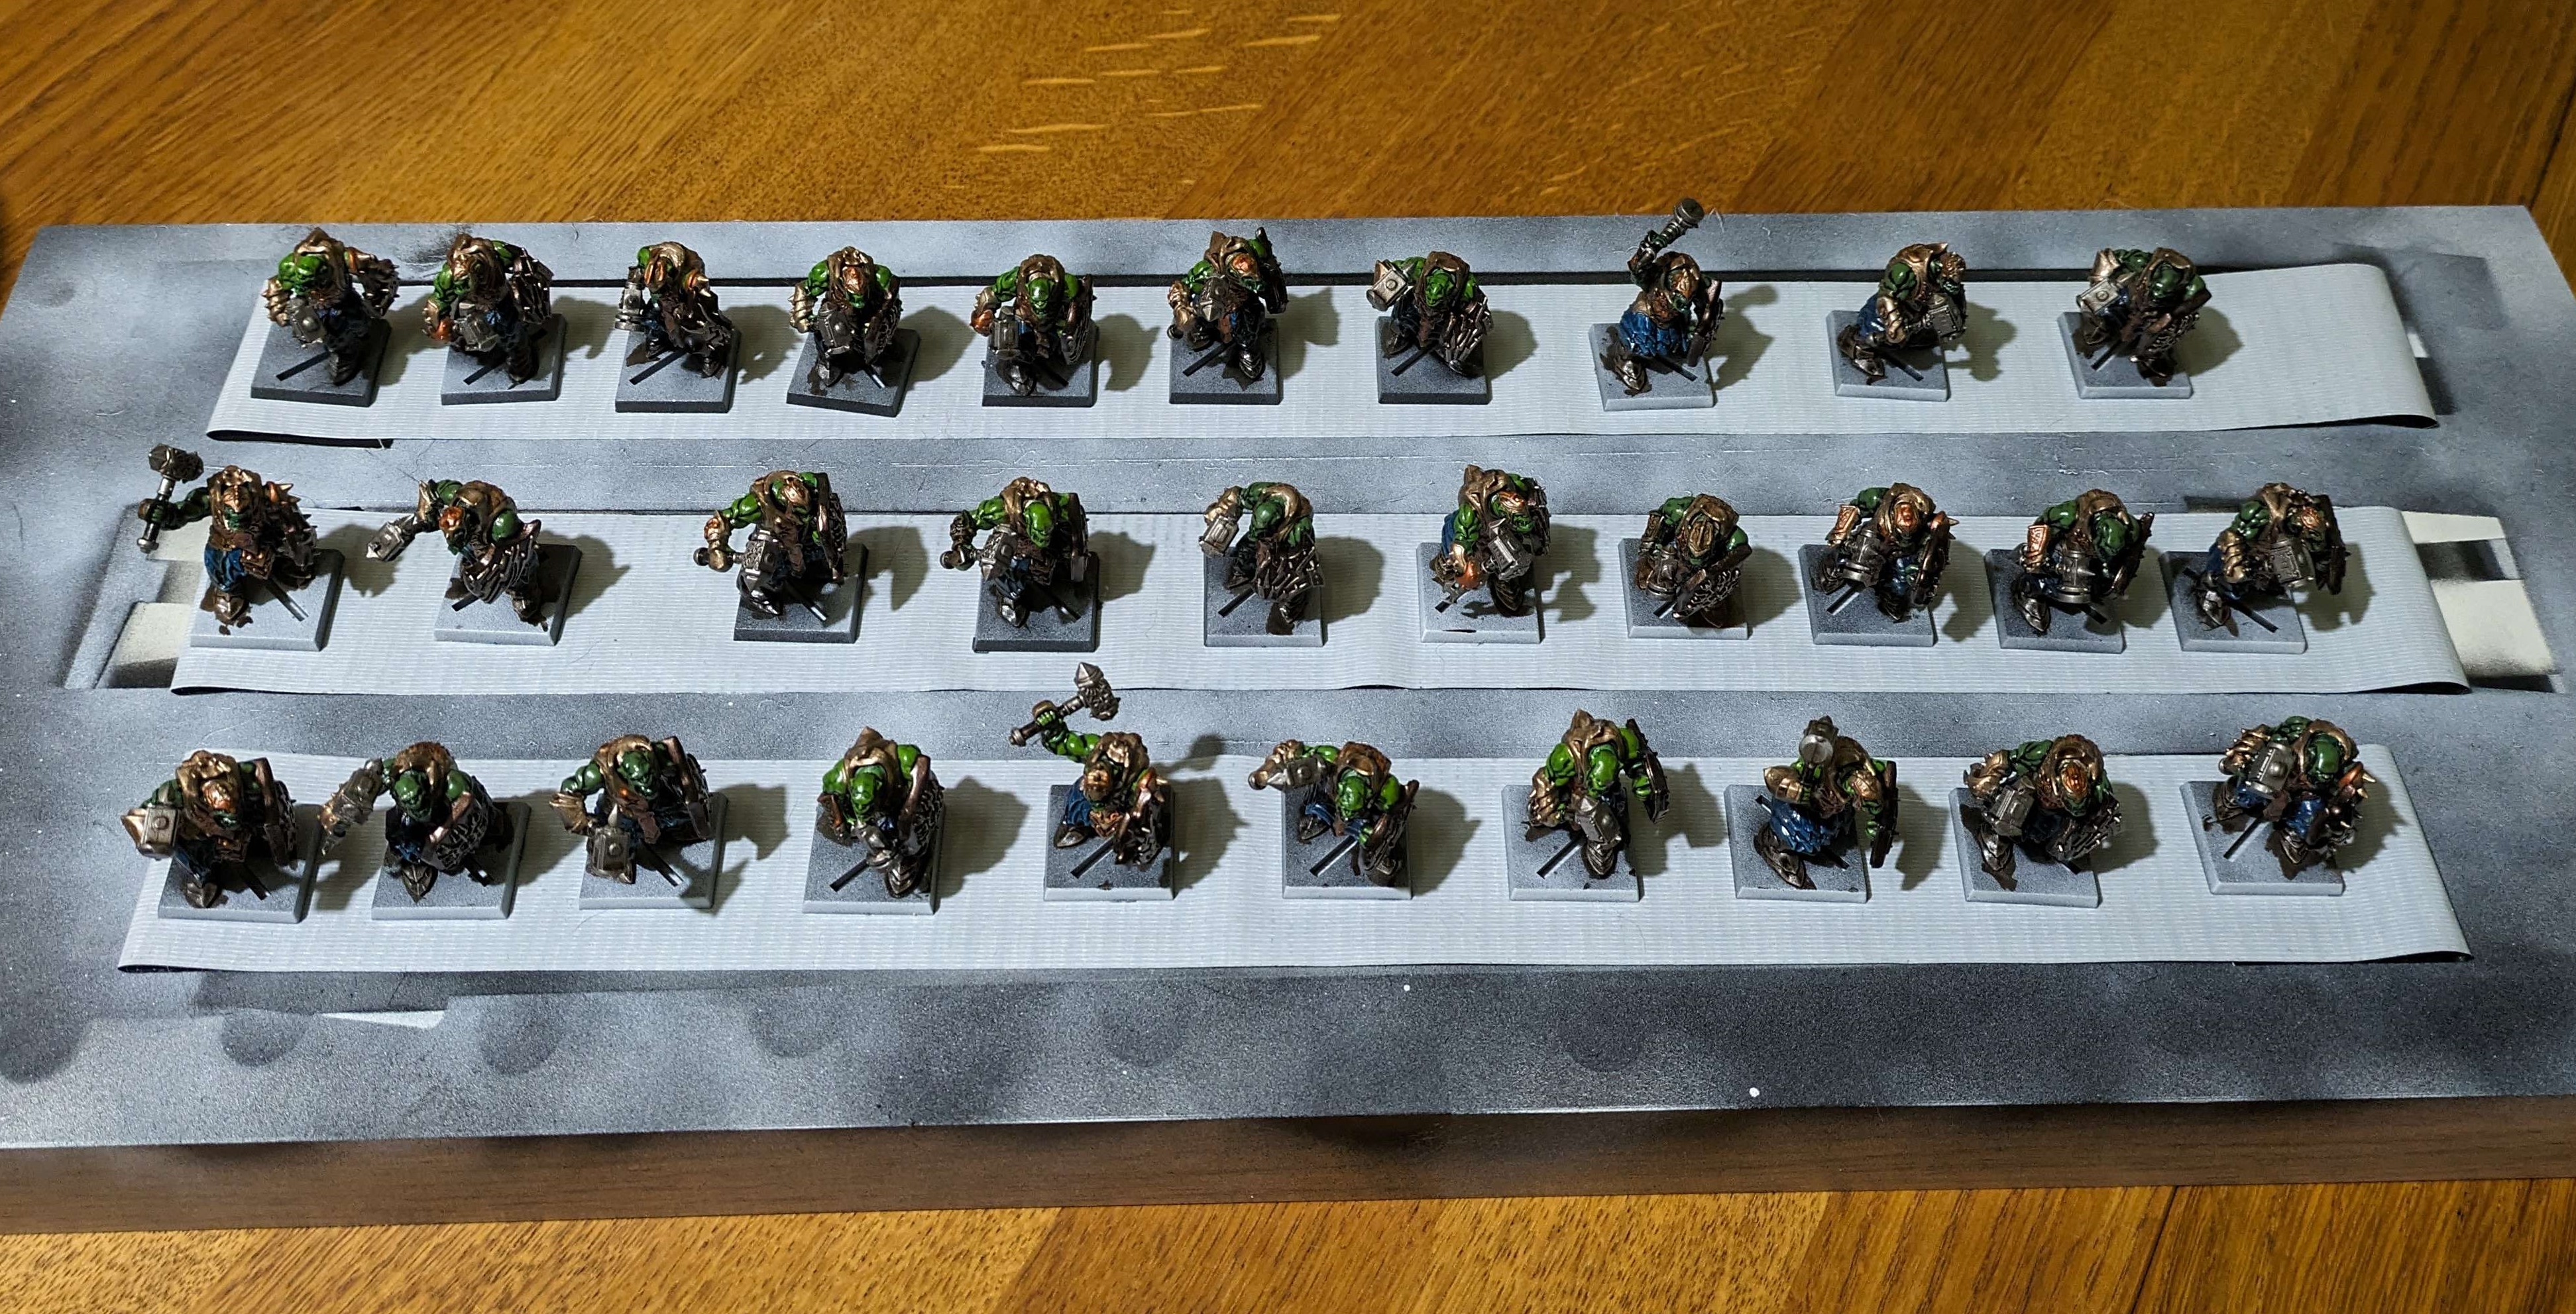

As a batch, it was a lot but because it was mostly mindless base coating, it was relatively painless. Is 30 in a week realistic? No, I was on a short week at work so managed a couple of longer hobby sessions. Still, rather than dive straight into the next batch, I’m giving myself something else to paint for a few days. I also realised after I took the photos that I want to go back and do the mouths. I just forgot about them.
On multibases they will look good – I might go in and do a little more work on the front rows but that’s a future me decision to take.
And that’s the first 30 done. Good start but there’s a long way to go.
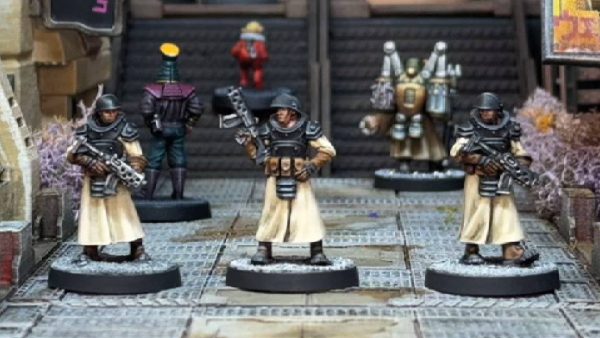
Sons of Horus (Epic) Part 1
Given how much I like painting small minis and enjoy the novels from the Warhammer sci fi wing, it shouldn’t be a surprise that Legions Imperialis turned my head. The fact that there are 12-15 other people at the club also picking it up made it an easy purchase.
As for the legion, no hesitation, it is Sons of Horus. I love the colours and I like the novels around them. I had to do some wiki-crawling to decide on a Knight House for future expansion. So I know this is SoH as they were on the novel Vengeful Spirit. That’s as far as I’m going at this point in terms of tying into the lore. My research phase caps out at “yeah I’ve read that book, I like those colours, they’d be fun to paint”.
Made the mistake of going with Business Daddy for my pre-order who didn’t get their full allocation and then failed to bother saying anything for six days. I’m not mad, just disappointed. There’s no point in cancelling because no one has the full order in stock so I’d be waiting regardless. I went over to another online shop and picked up a box of infantry and rhinos (safe to say there will never be too many of those in my army) because it has been a very bad week and I make poor financial decisions when emotionally ruined.
I’m not going to write screeds about the models. Let’s be honest, other people’s opinions are boring. You’ll know what you think, nothing I say is going to influence that at this point.
I did what I would usually do working at this scale and mounted them all on tongue depressors and primed them black. I like working from black because it cheats the recesses. I did a couple of test models and found that the colour of paint I had to hand for Sons of Horus wasn’t going to cover in one coat. This army is potentially going to run to thousands of models – I’m not doing two coats.
A quick trawl on YouTube, a re-prime and a trip to GW for one Contrast paint and this is what I’ve got:
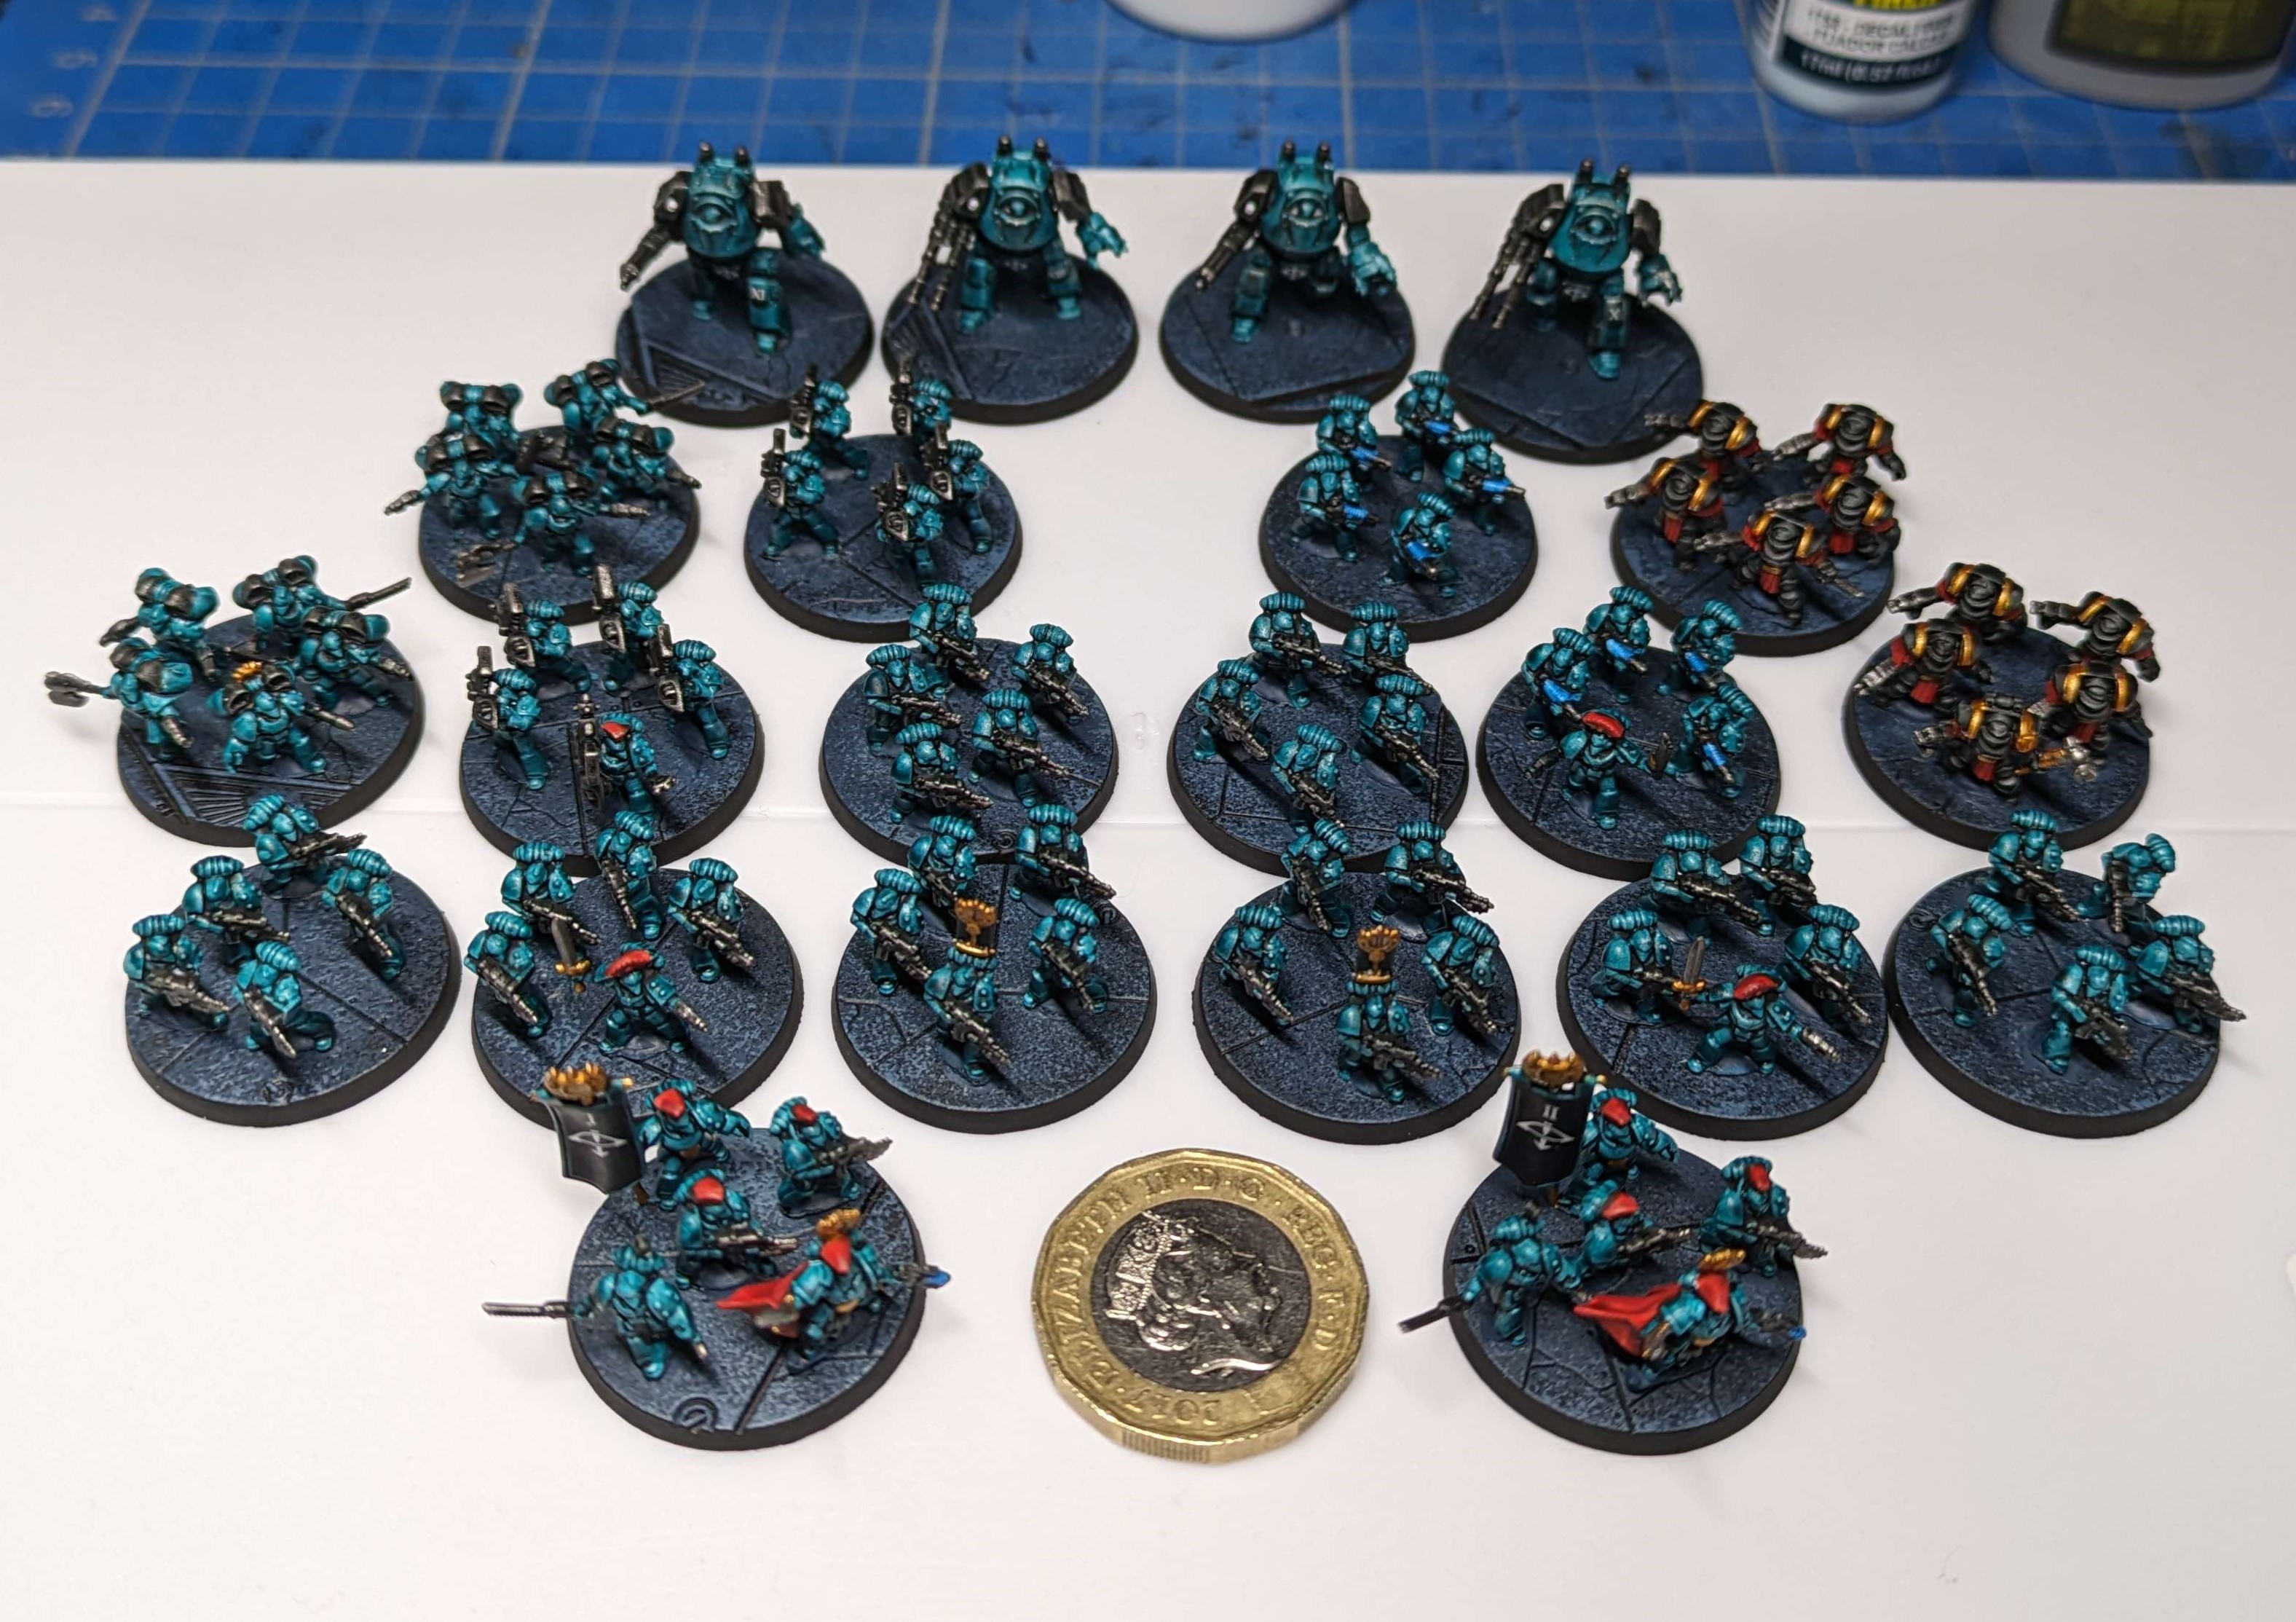
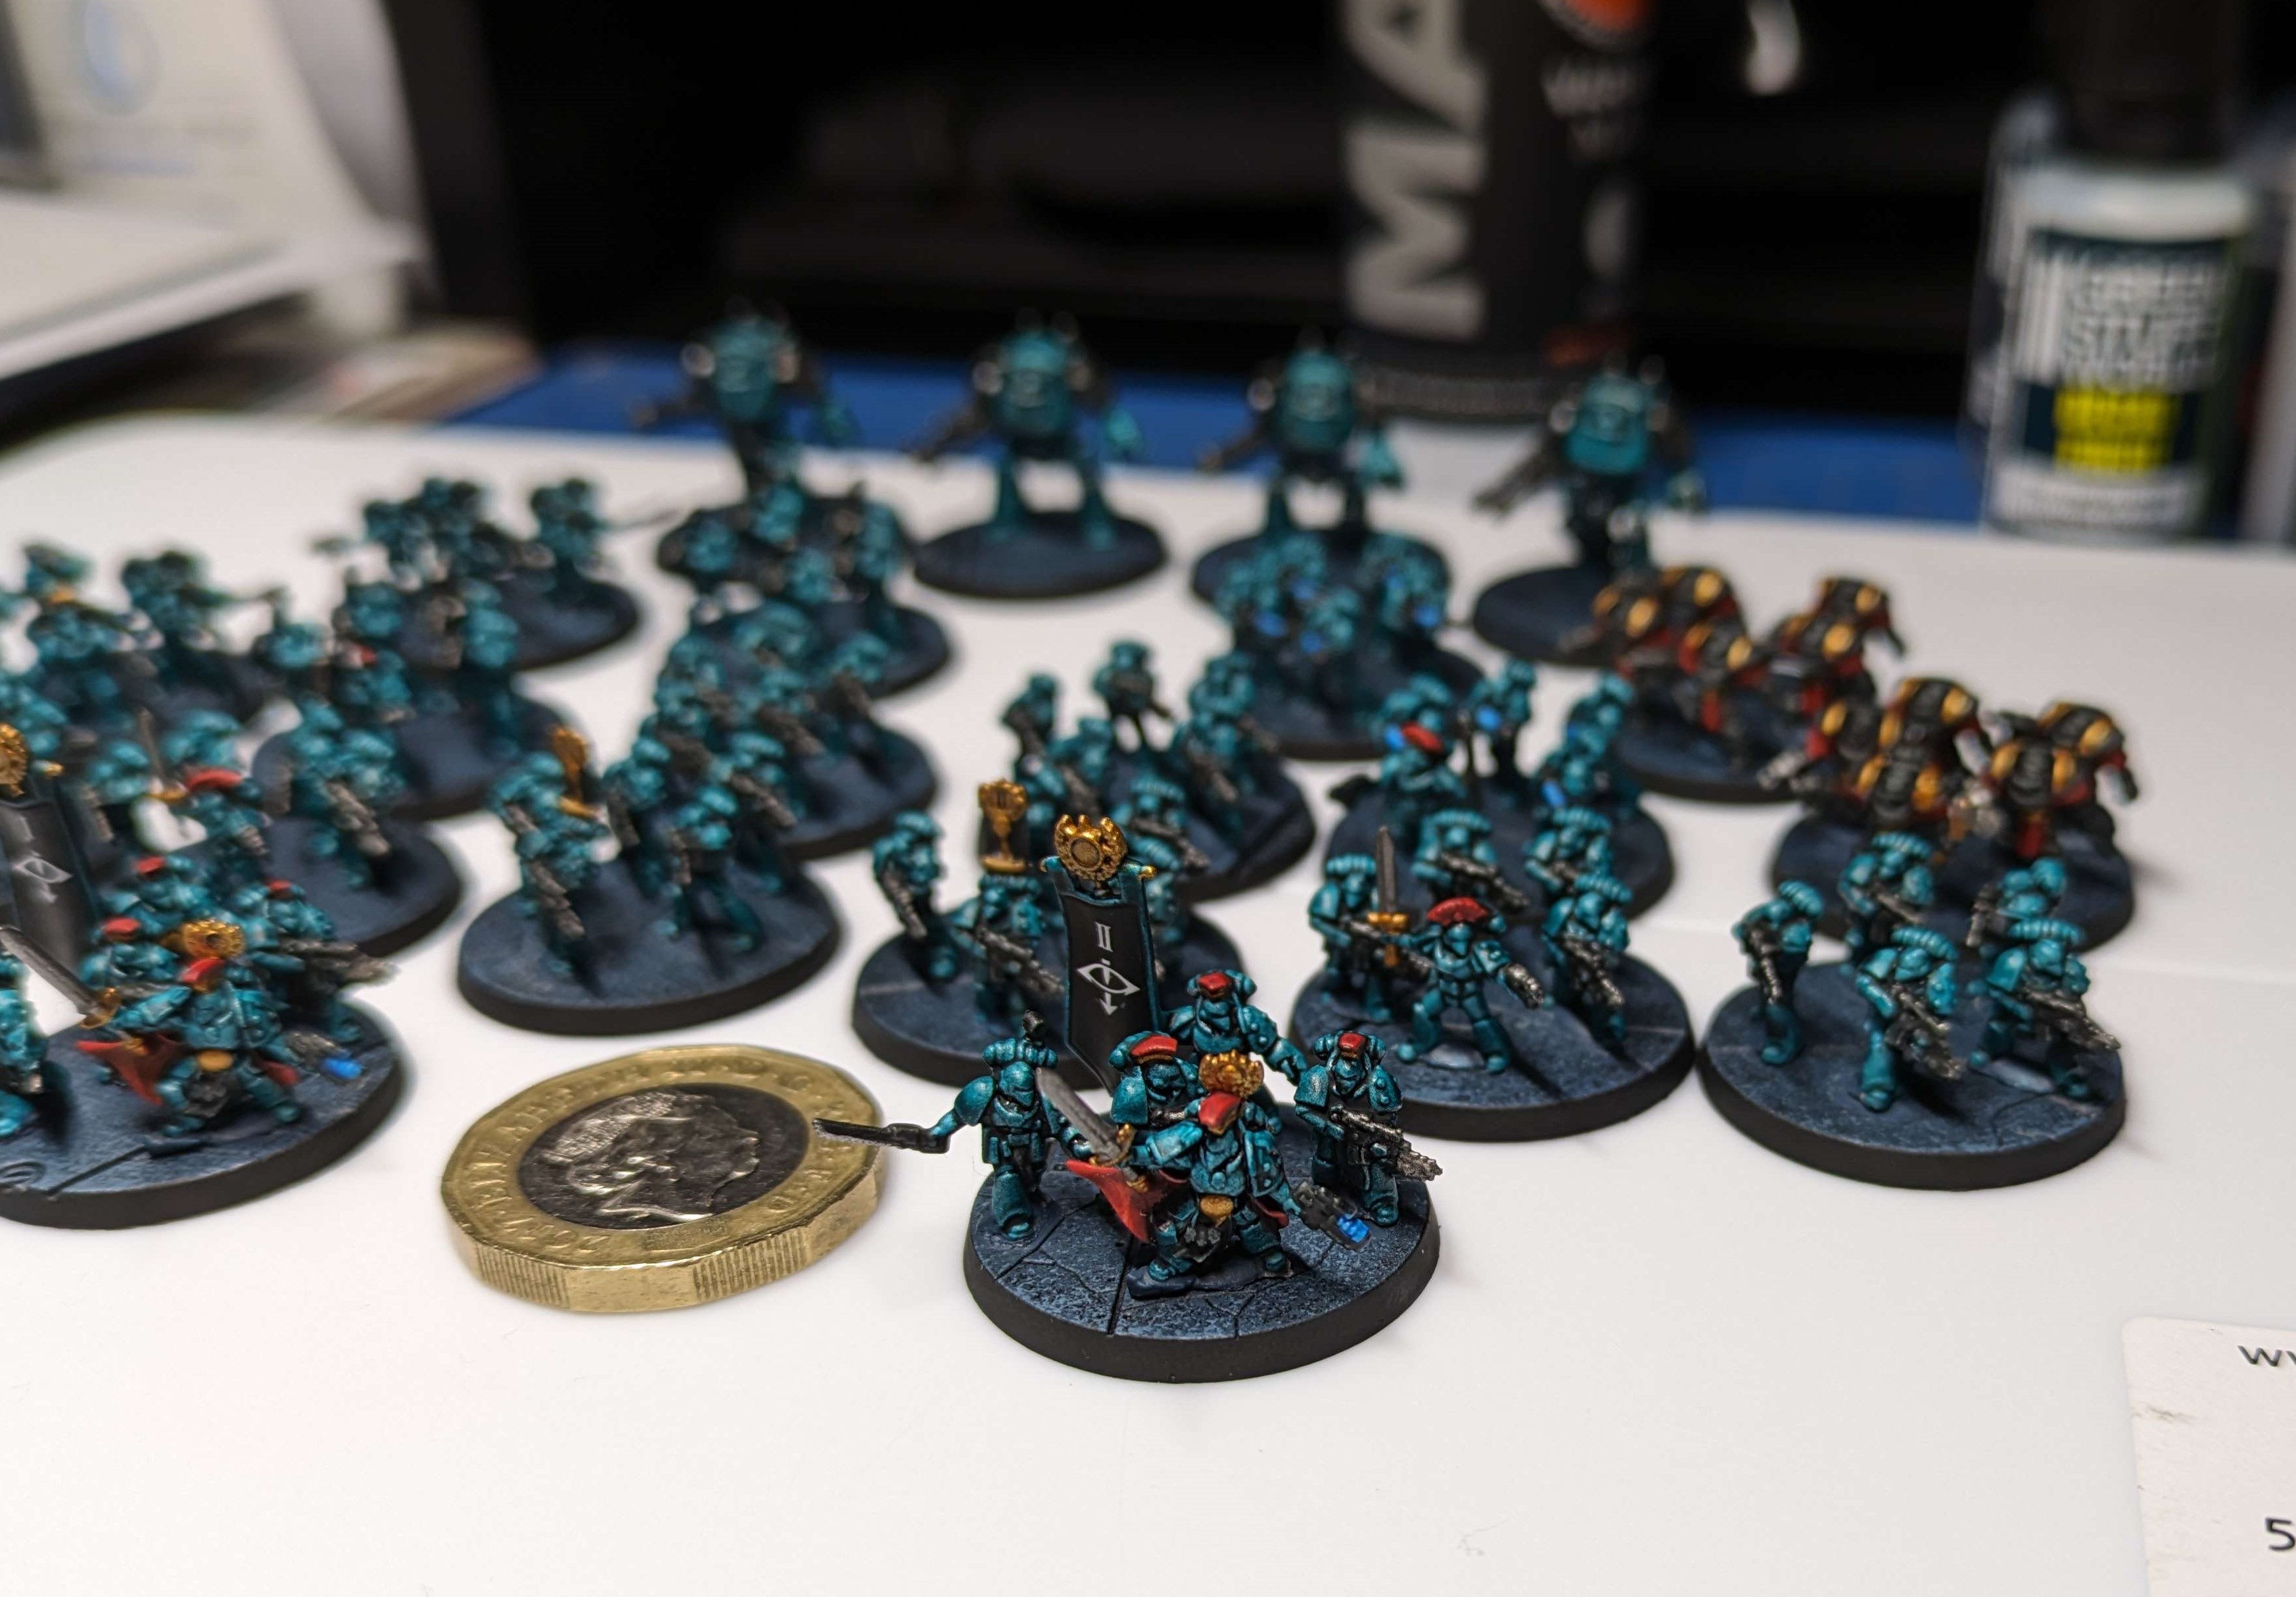
- Prime white/wraithbone
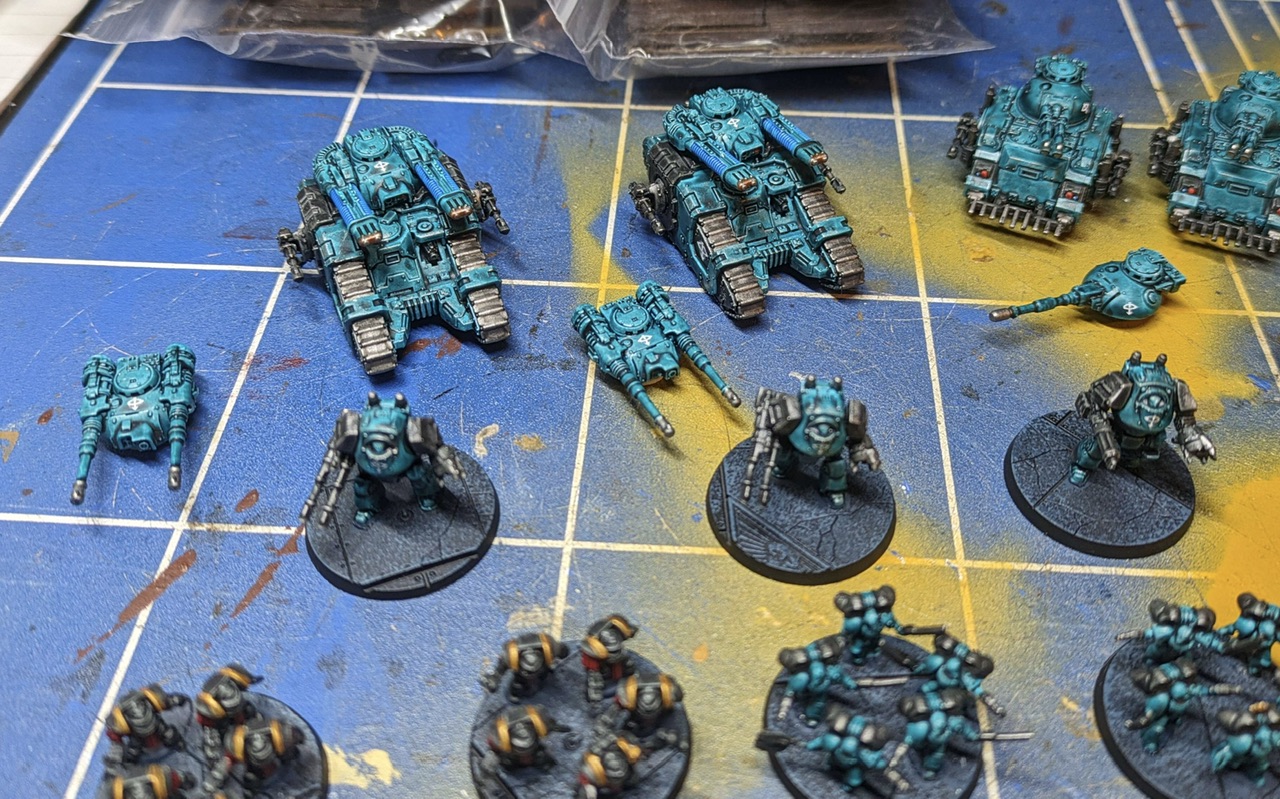
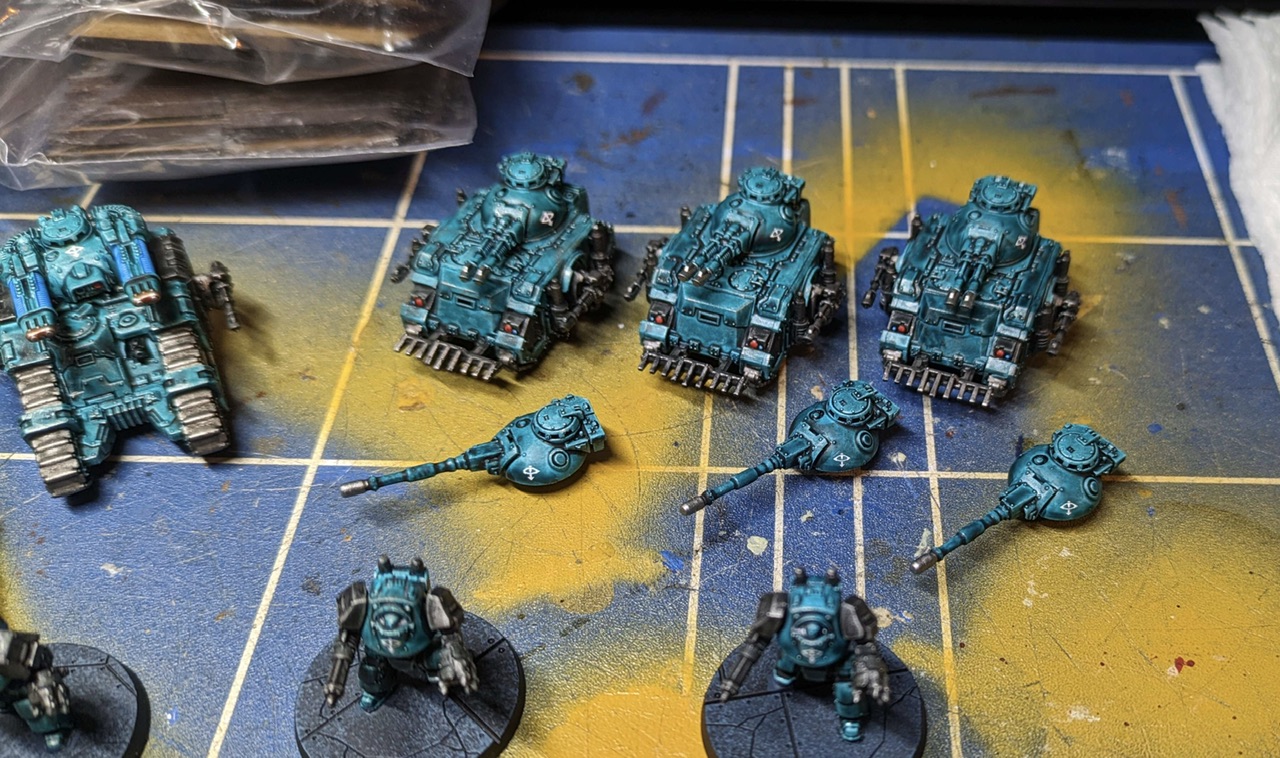
- Terradon Turquoise contrast for the armour
- Black Templar for the weapons and to break up the armour on the larger models. The Terminators are also all Black Templar to be Abbadon’s Justicarum.
- Blood Angels red contrast for plumes, etc
- Retributor Gold for sword hilts, termie shoulder trim and some banner pole details
- Gentle dry brush of Leadbelcher over weapons and Contemptors for weathering
- Nuln Oil 50/50 with water as an all over wash to just tone down a tiny bit
- Bases are sponged with three paints (Incubi Darkness, Stegadon Scale Green and Thunderhawk Blue) to add texture without actually adding to the thin bases. Rim with Black.
- Transfers
That’s it.
All told, the whole box took around 3 hours to paint to this stage but another two hours to do the transfers, bases and gluing it all together. The scheme comes with only one minor change from this *video here*
I’m really happy with the armour colour, it’s going to look great across a whole army. It was also just delightful getting back to smaller scale minis after a few months of painting 28mm.
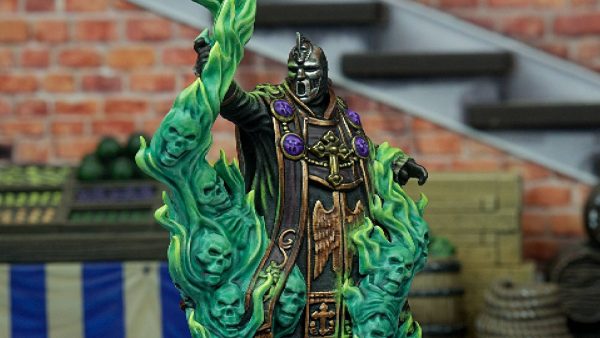
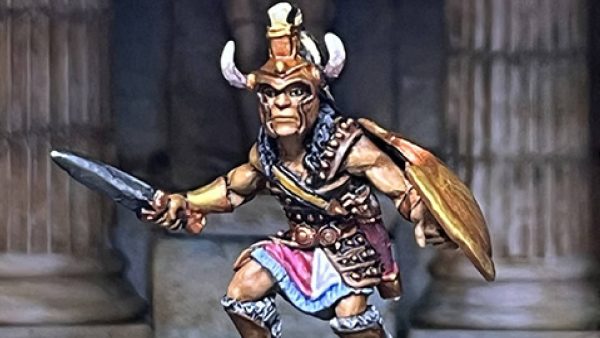
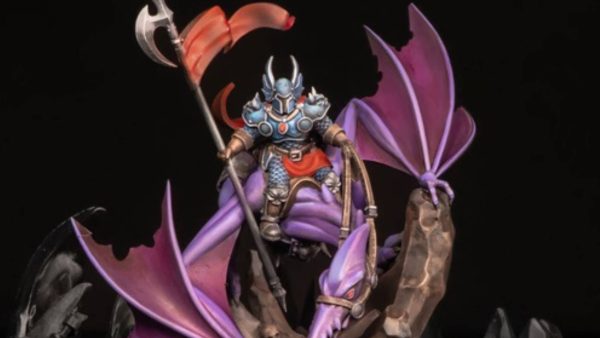
Prep Work – Part 1
Failure to prepare is to prepare to fail as they are fond of saying. Knowing that batch painting is going to become a bigger part of my hobby, I need to make a couple of adjustments to give myself fewer hurdles. It might seem silly but one of the first ones I need to fix is my painting handle situations.
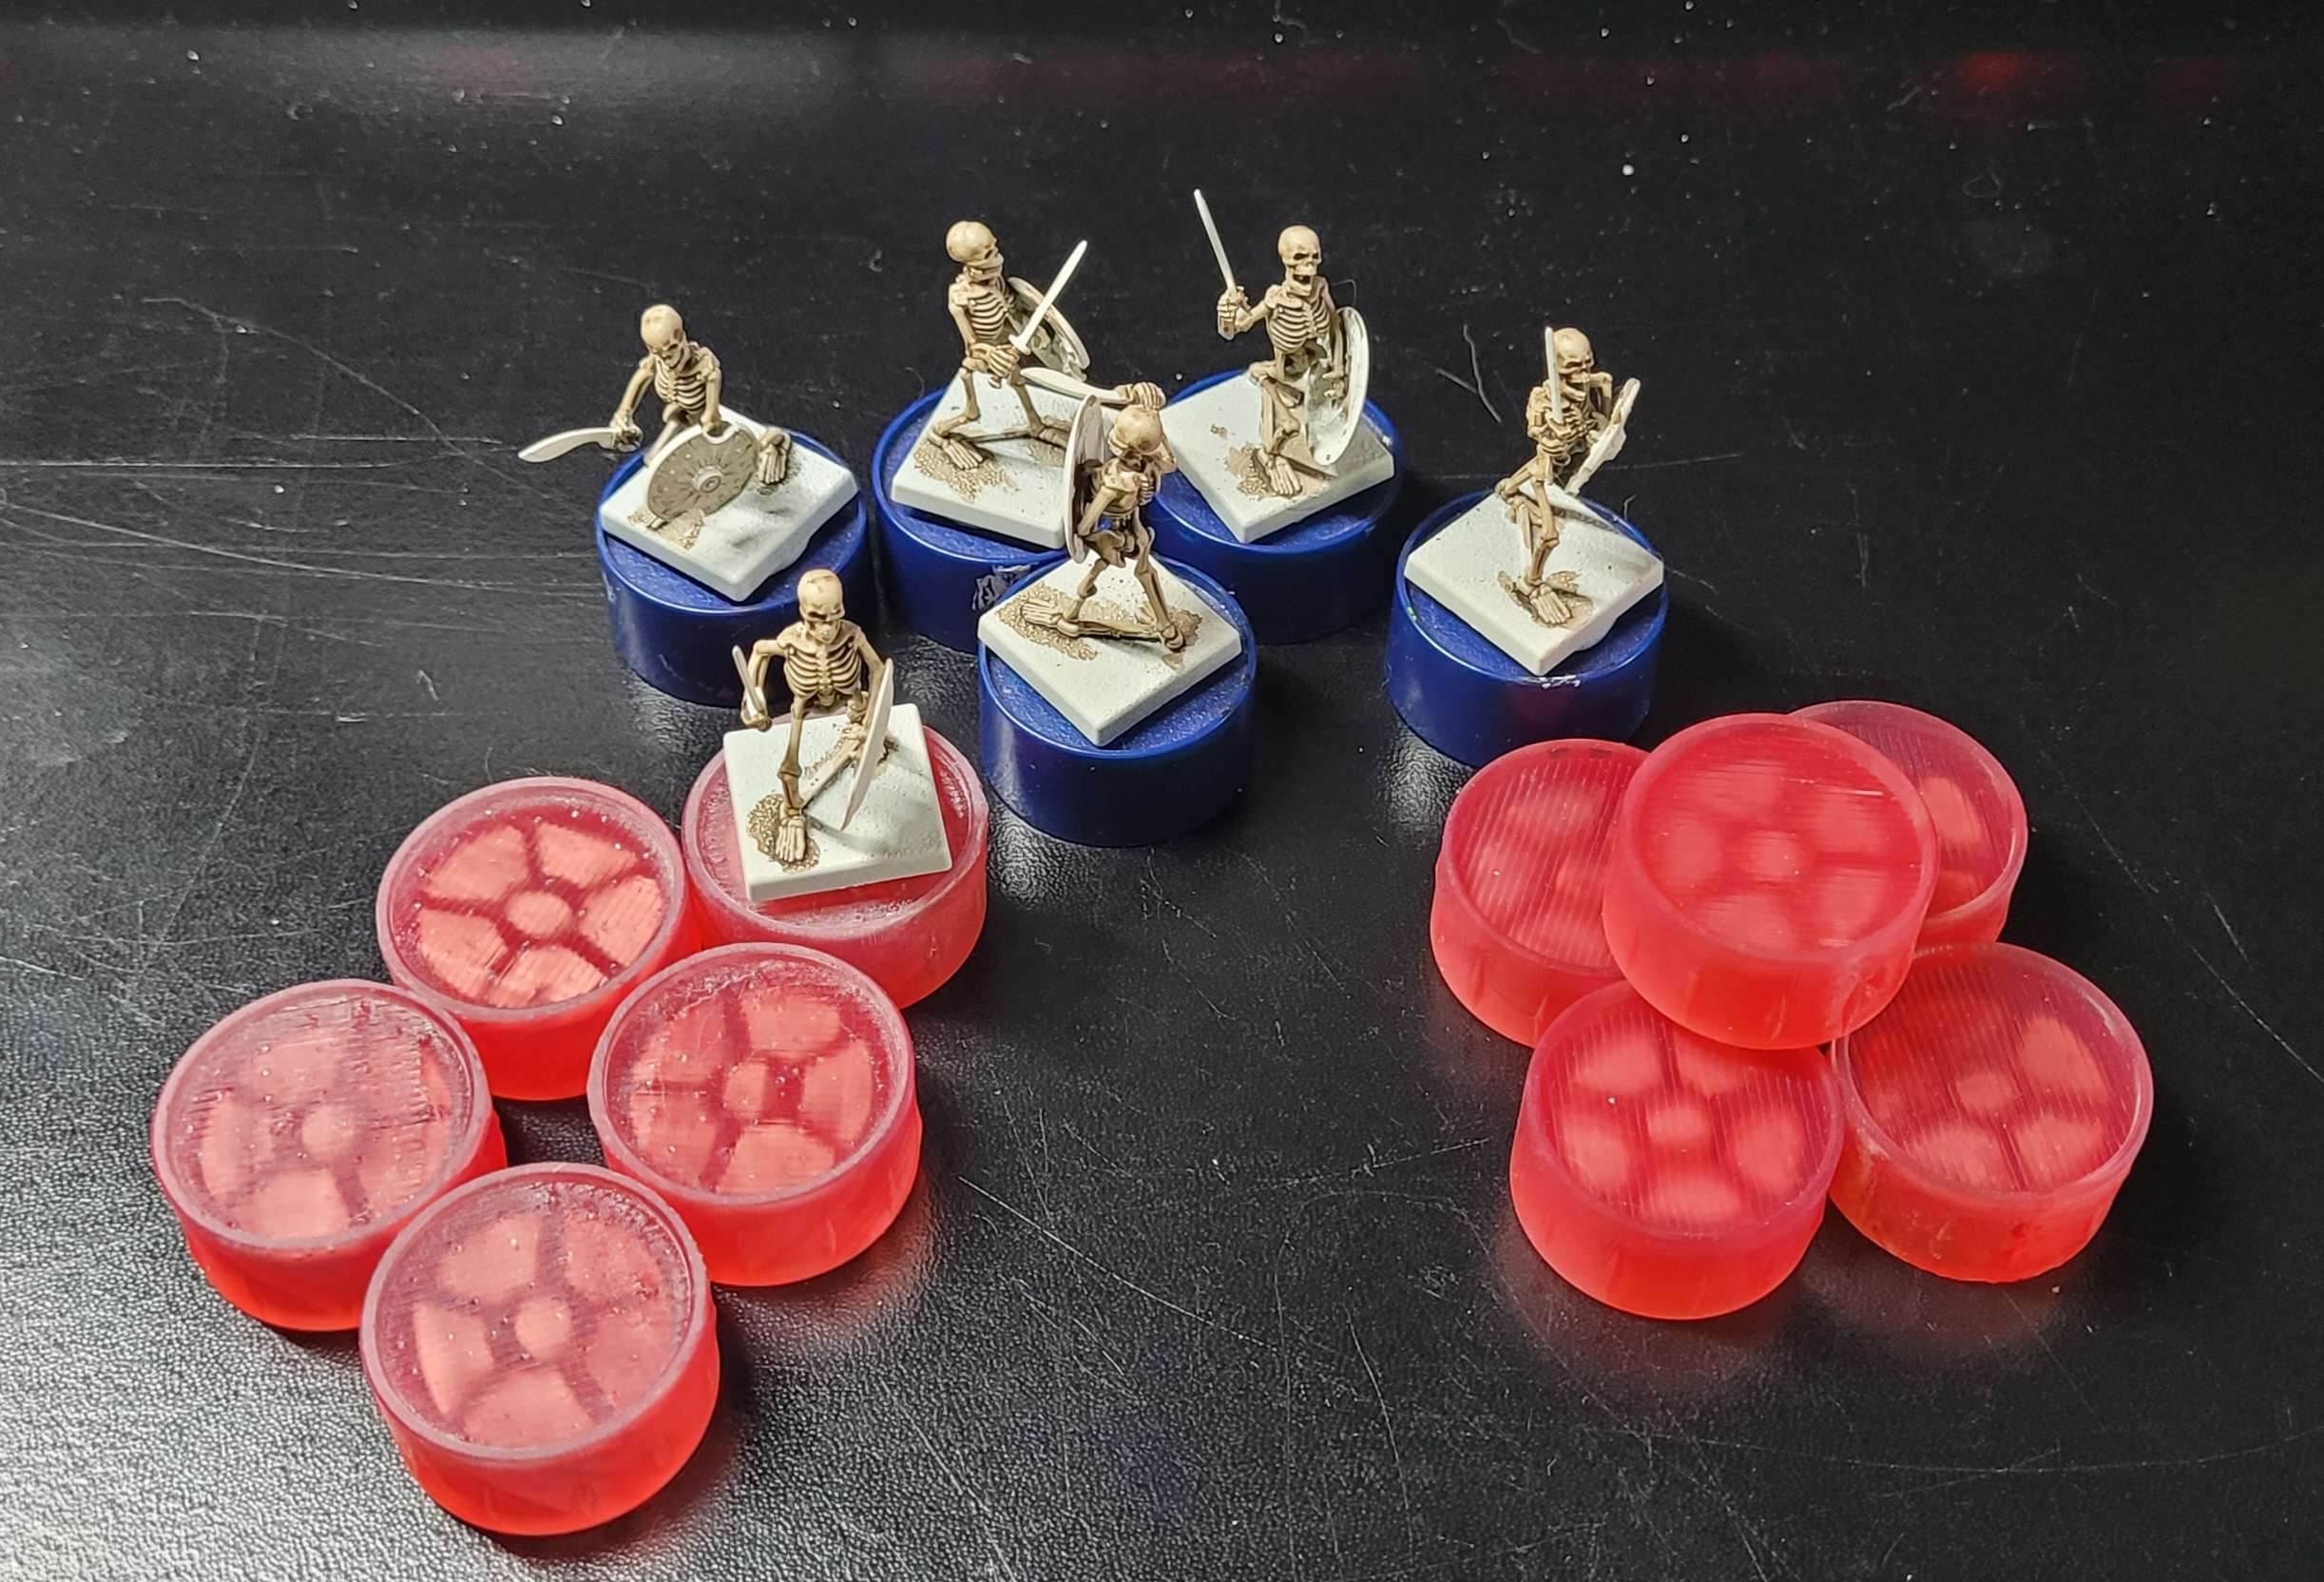
Working on my depression-friendly project Children of the Hydra’s Teeth, I bumped up against an old, very minor issue. For working on 28mm miniatures,I have a Redgrass Games painting handle and have bought extra tops for it. They are very expensive for what they are so I only have five. When I batch paint I tend to work in 10s so it bugs me every time that I don’t own enough. The skeletons I’m painted in batches of six because that is what comes on a sprue and that’s even more annoying because it is just one that was left out.
I’m still early on in my 3d printing journey but I’ve started to develop the “oh I wonder if I could 3d print one” mentality. Not yet at the “I wonder if I could 3d model that” stage. Thankfully nerds are nerds the world over and someone has already done the hard work for me.
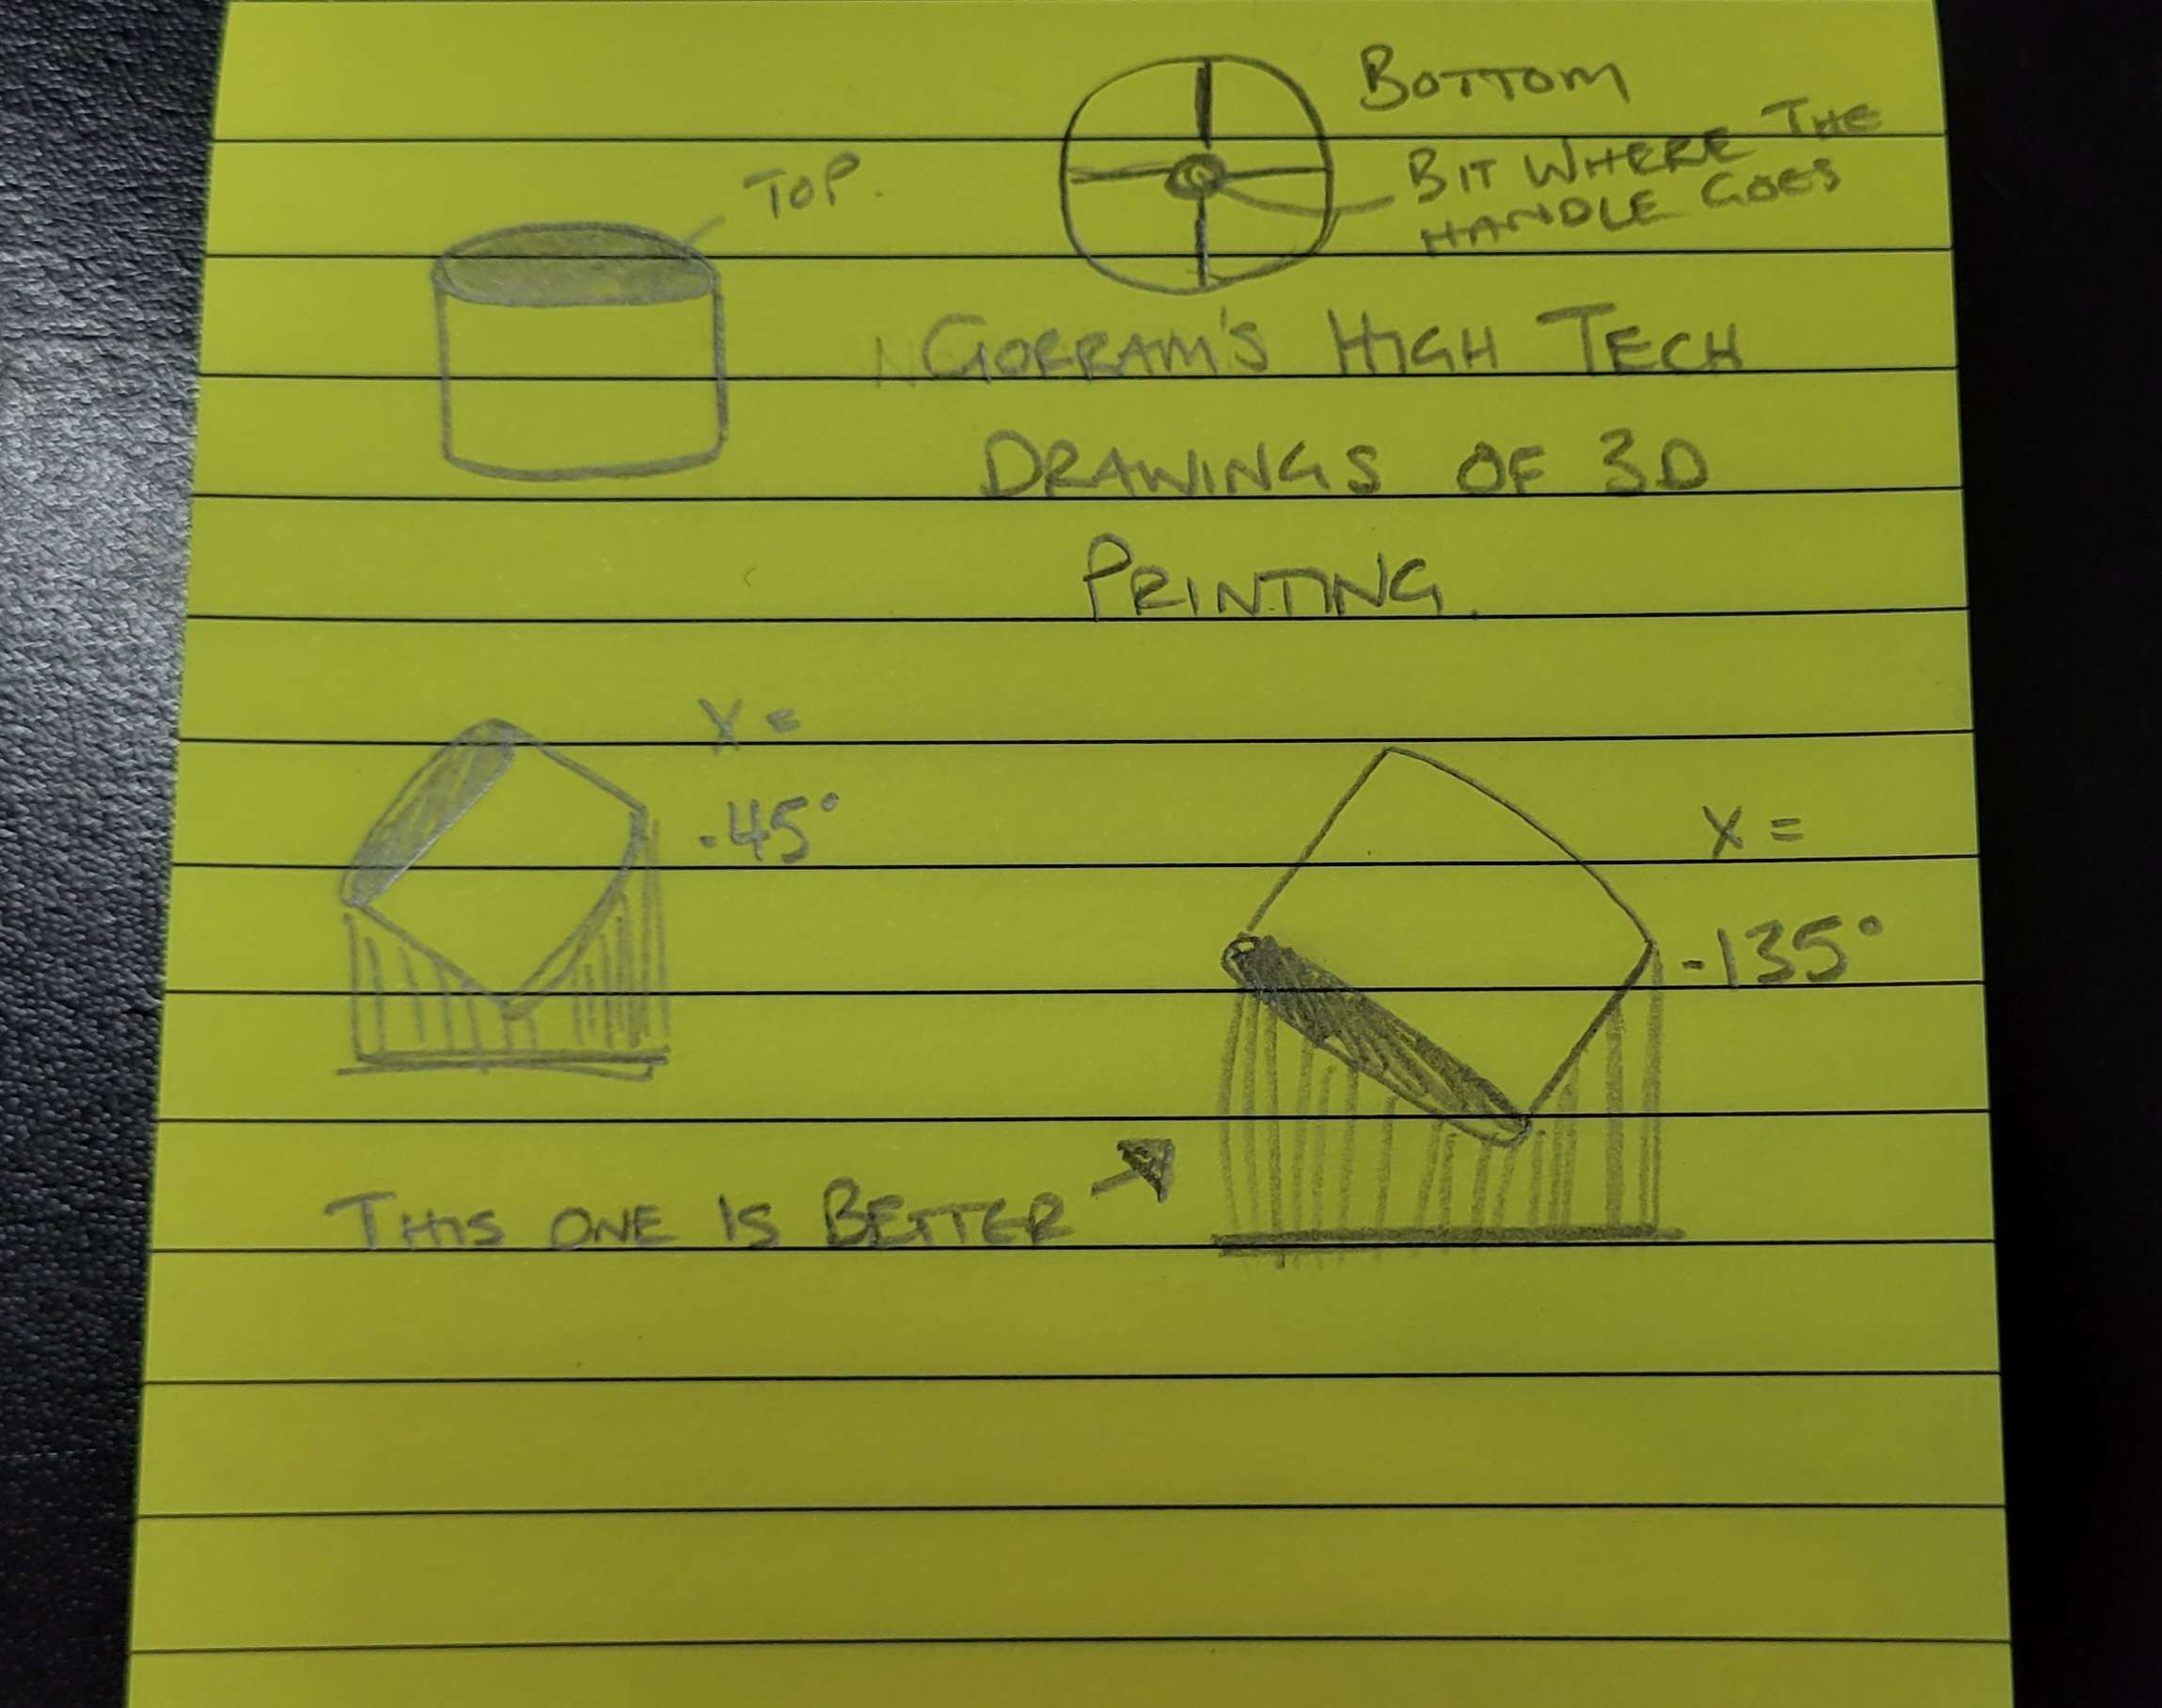
I’m still working on the best way to set things up for supports (which I also just use the automatically generated ones) so I prepared two options. I tried to put words in here explaining it but my brain can’t so here is a highly technical drawing instead.
As my brain is a broken piece of poop at the moment, instead of printing one of each as a test model, I did a bed of each. Sigh. Don’t be like me, engage brain better.
The first bed was fine. The caps needed a little sanding on the bottom edge but they looked good. The only issue was that the supports to make the underside included one in the hole that the handle goes into. It was a pest to try and get the support out. The caps fit but they are ever so slightly squint. Not in a way that will affect usage but I’m a particular type of fusspot and this is enough to annoy me.
So the second batch got printed and was better. There was virtually no clean up, no supports in awkward places, though the cap was a little tight but I’m sure that will wear with usage. So I know have 20(plus five spares that are slightly wobbly).
I paint my smaller scale models while they are glued to tongue depressors and I just grabbed another 60 of those. I guess that removes one major of the barriers to batch painting.

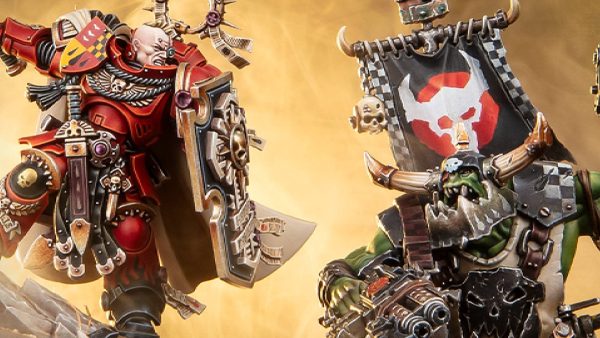
![Games Workshop Kick Off Grot Week For Warhammer 40,000 [Updated]](https://images.beastsofwar.com/2026/04/grot-new-40k-news-cover-600-338.jpg)