


Hero Quest Classic by Lawnor


Recommendations: 163
About the Project
I caved and picked up a cheap copy of the original printing of Hero Quest. Time to do the small repairs and get it painted. I am 12 again, but this time I'm armed with a paint brush and I know how to use it!
Related Game: HeroQuest
Related Company: Games Workshop
Related Genre: Fantasy
Related Contest: Spring Clean Hobby Challenge 2025
This Project is Completed
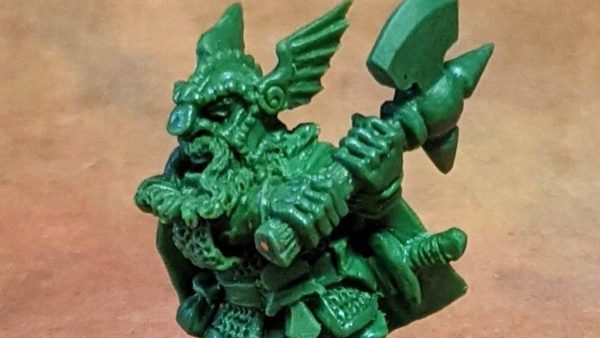
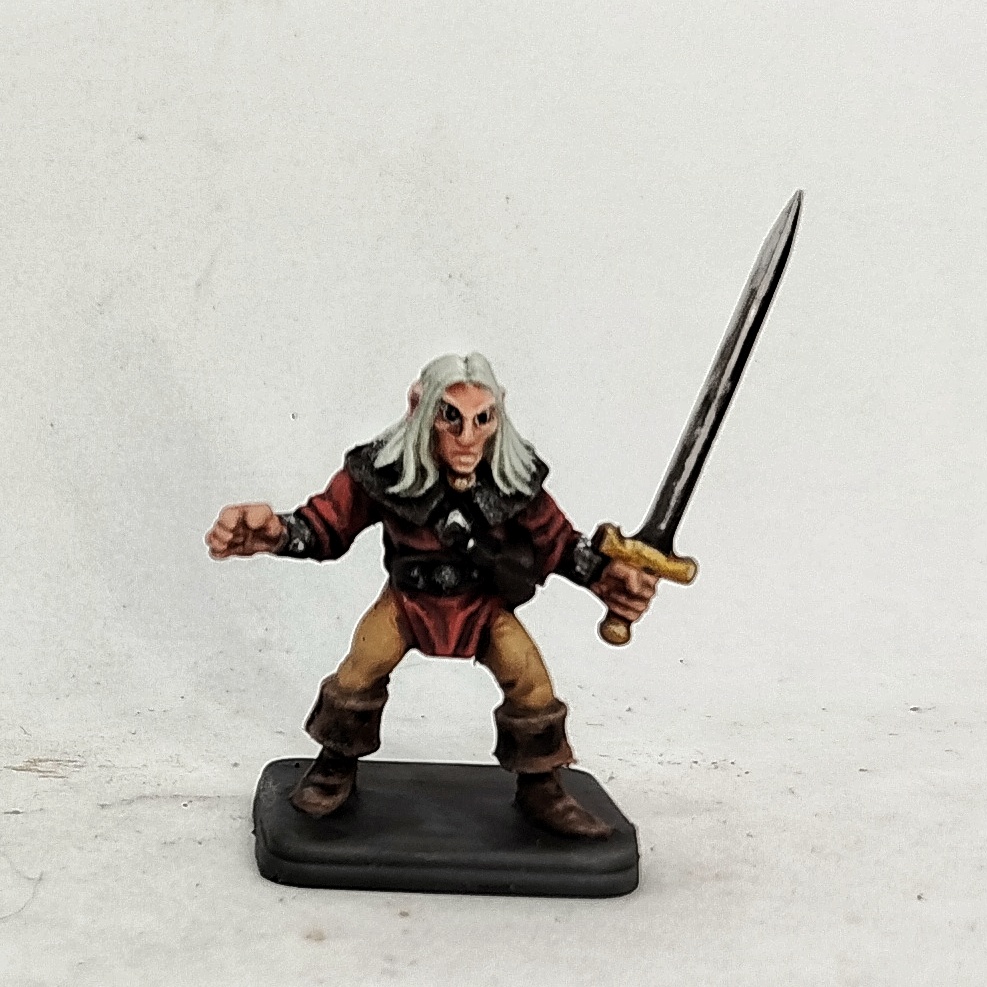
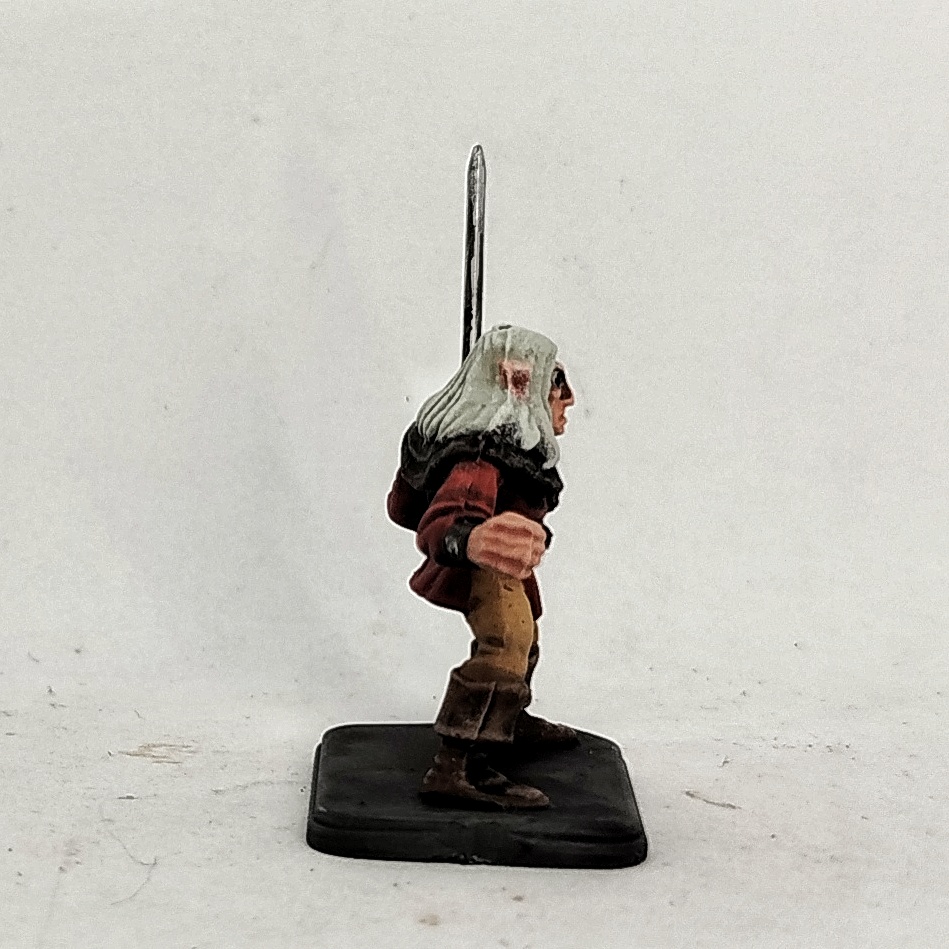
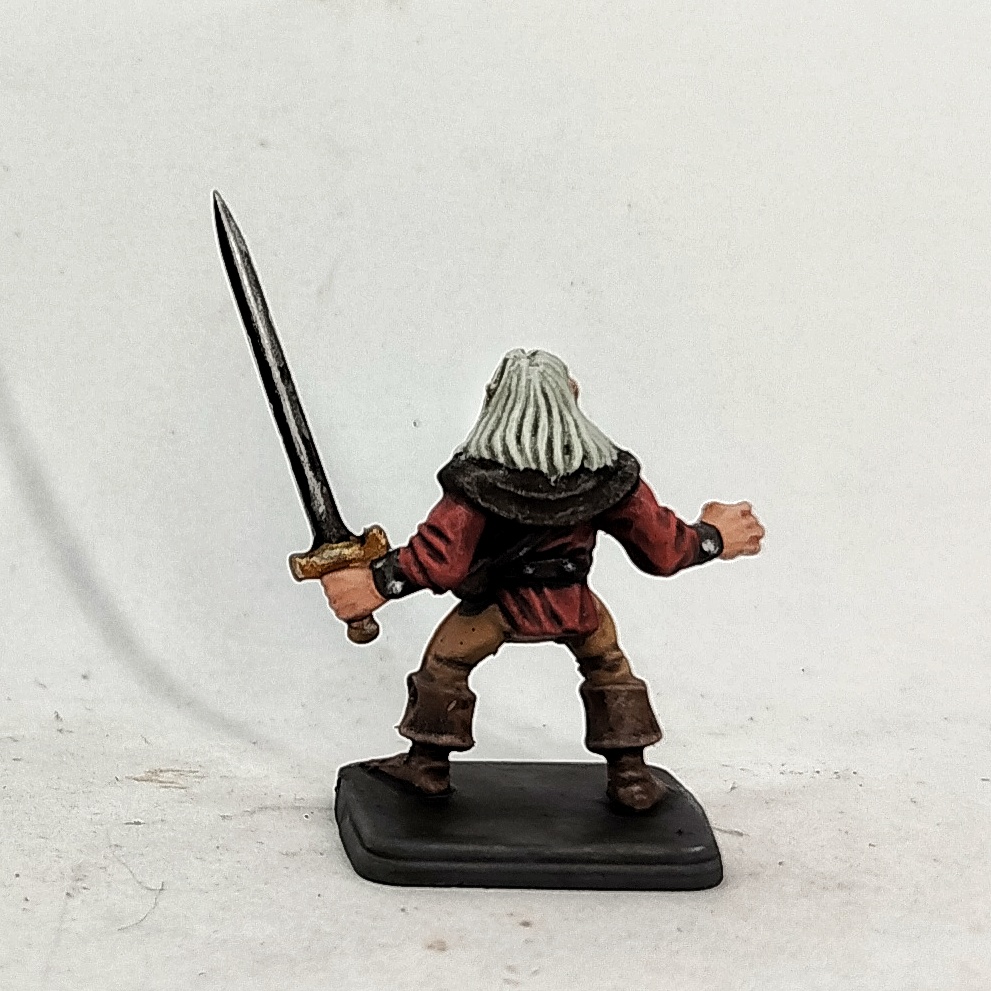
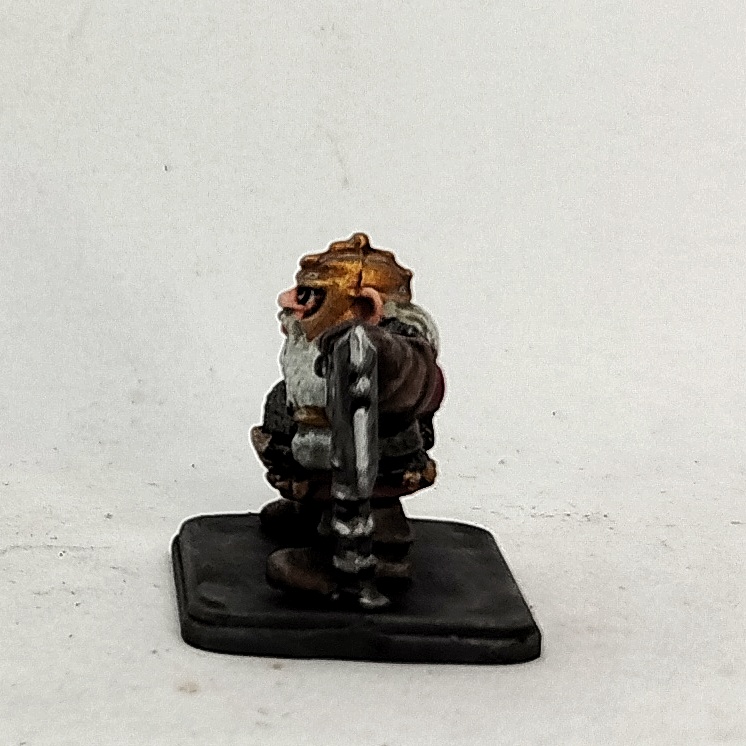
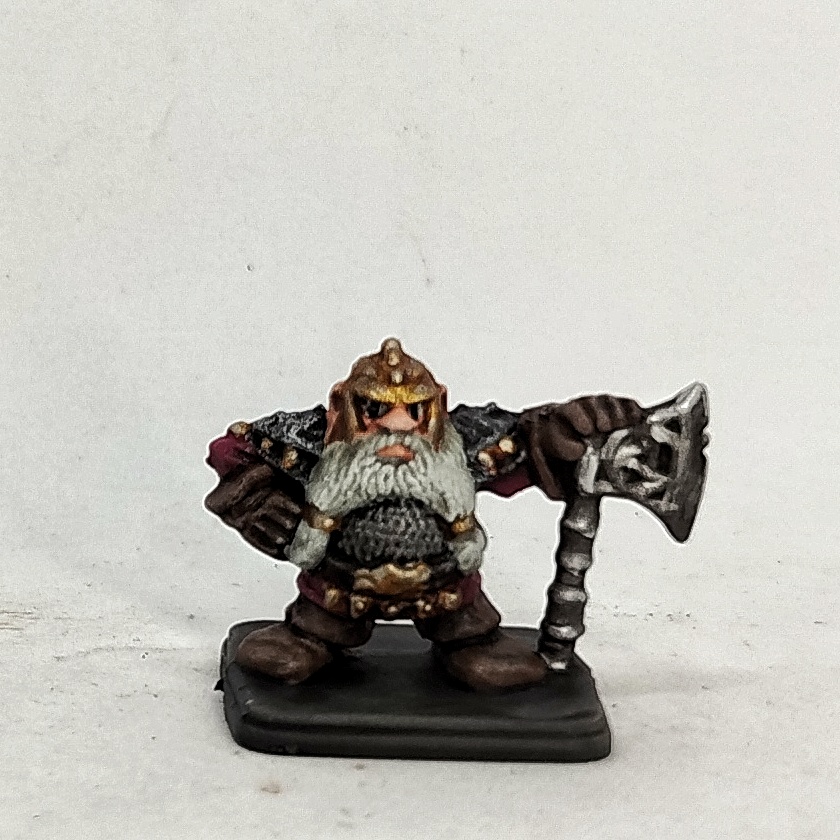
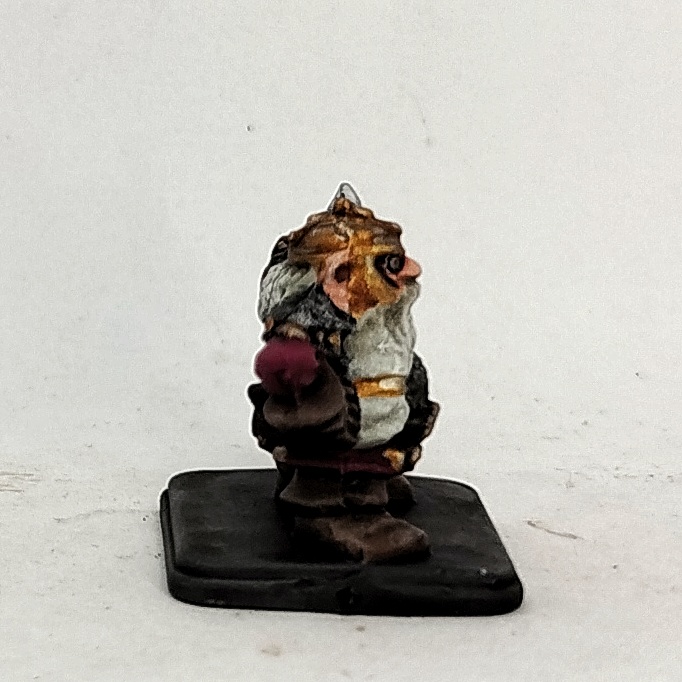
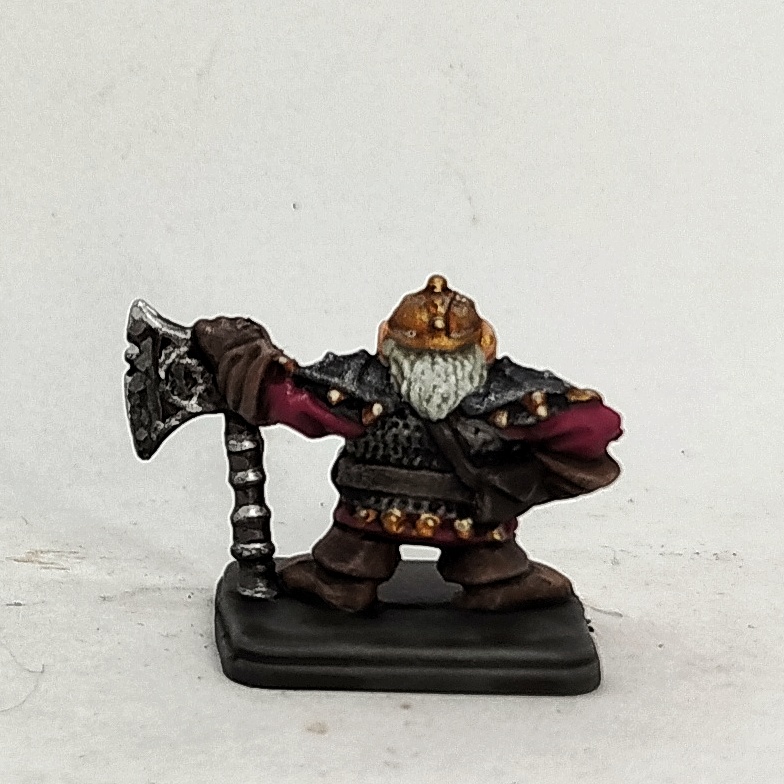
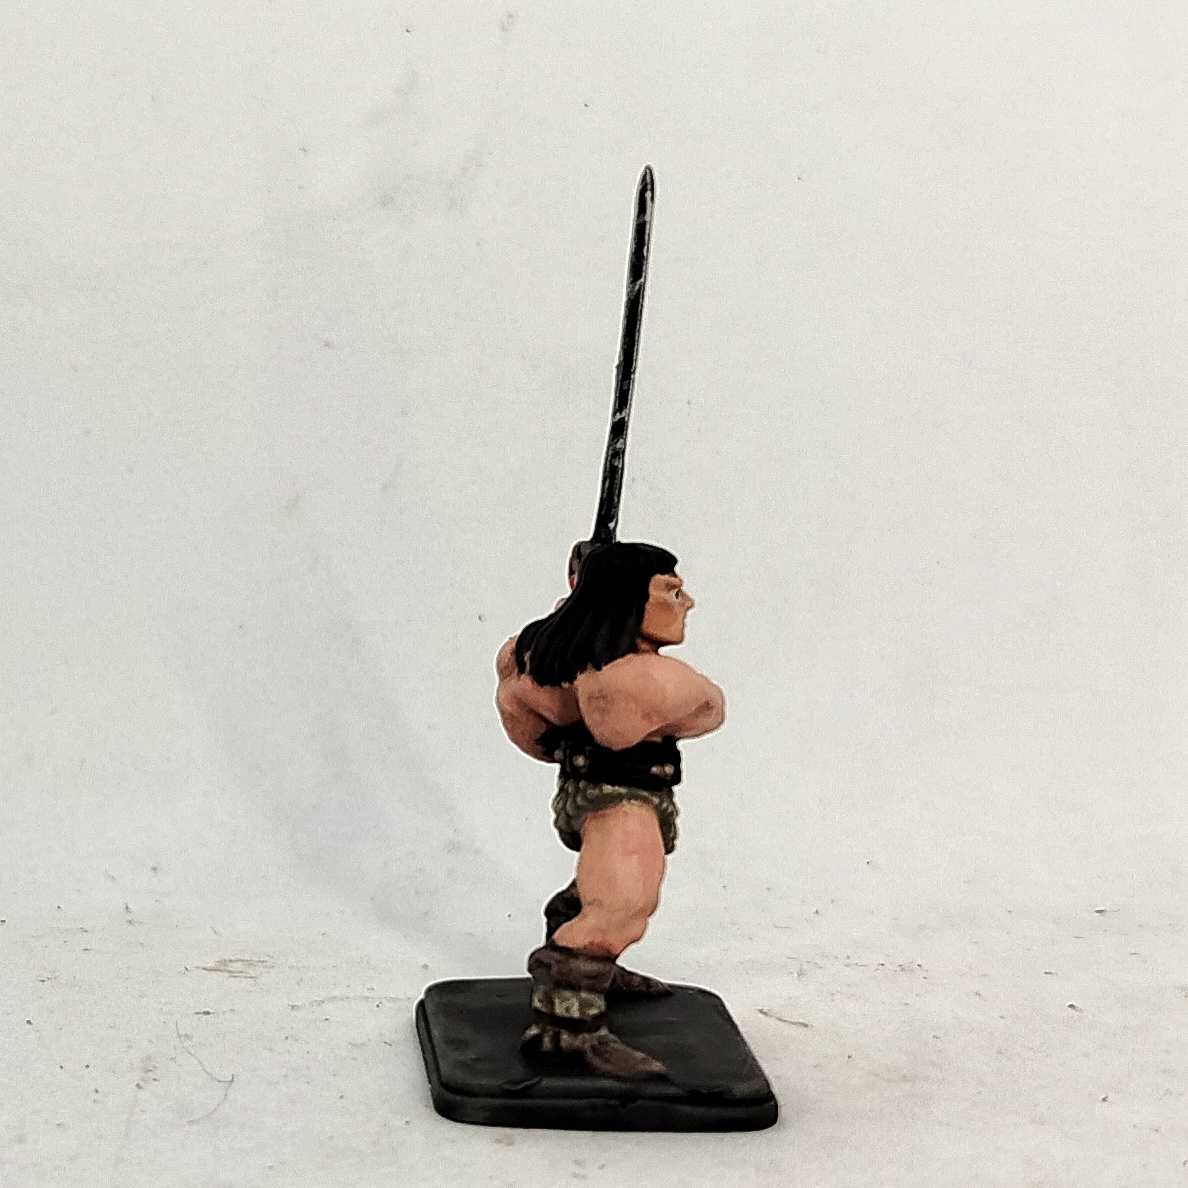
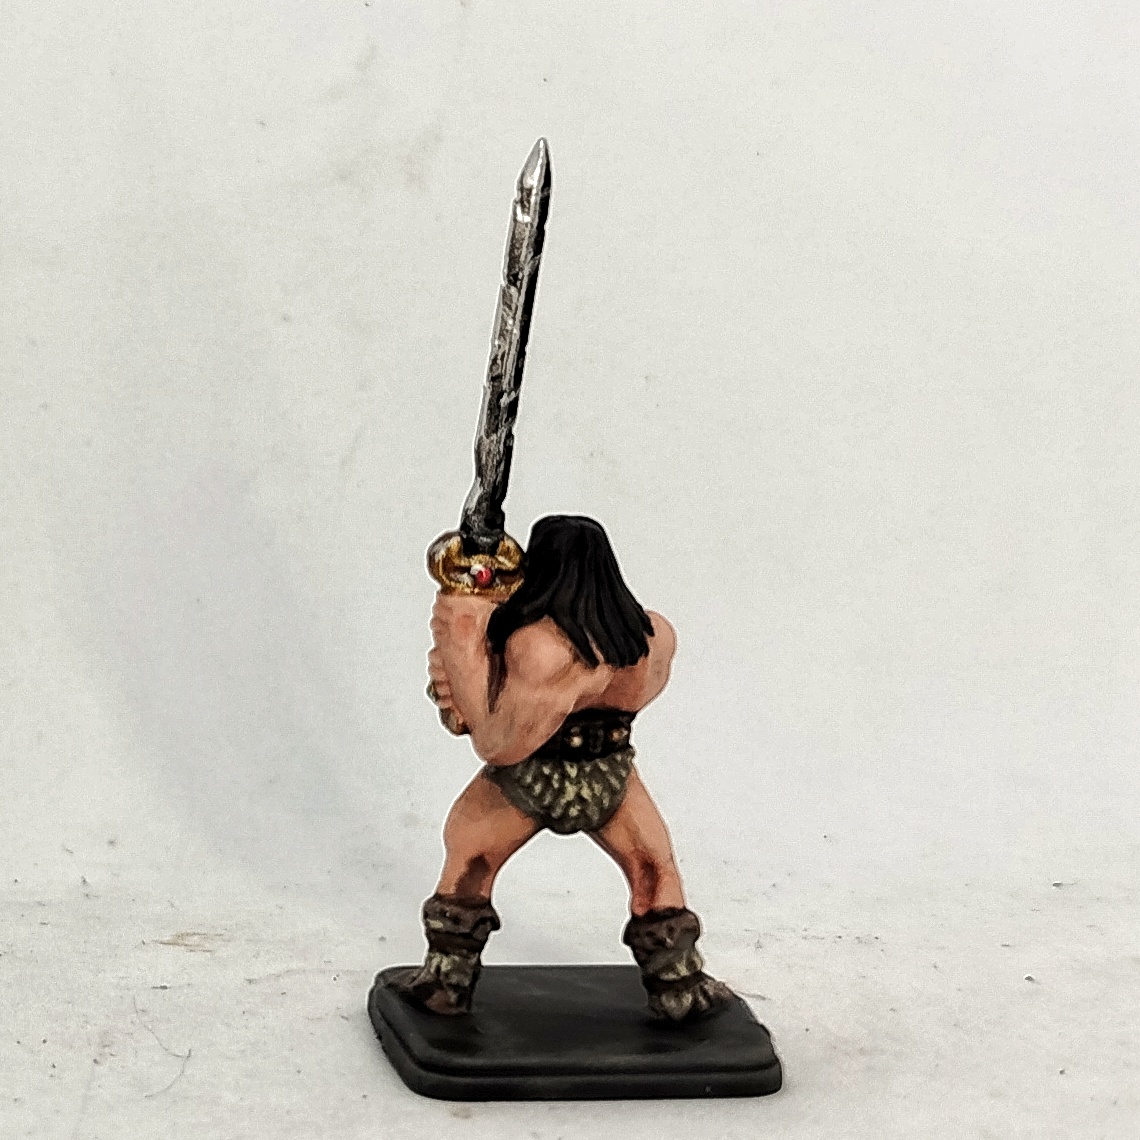
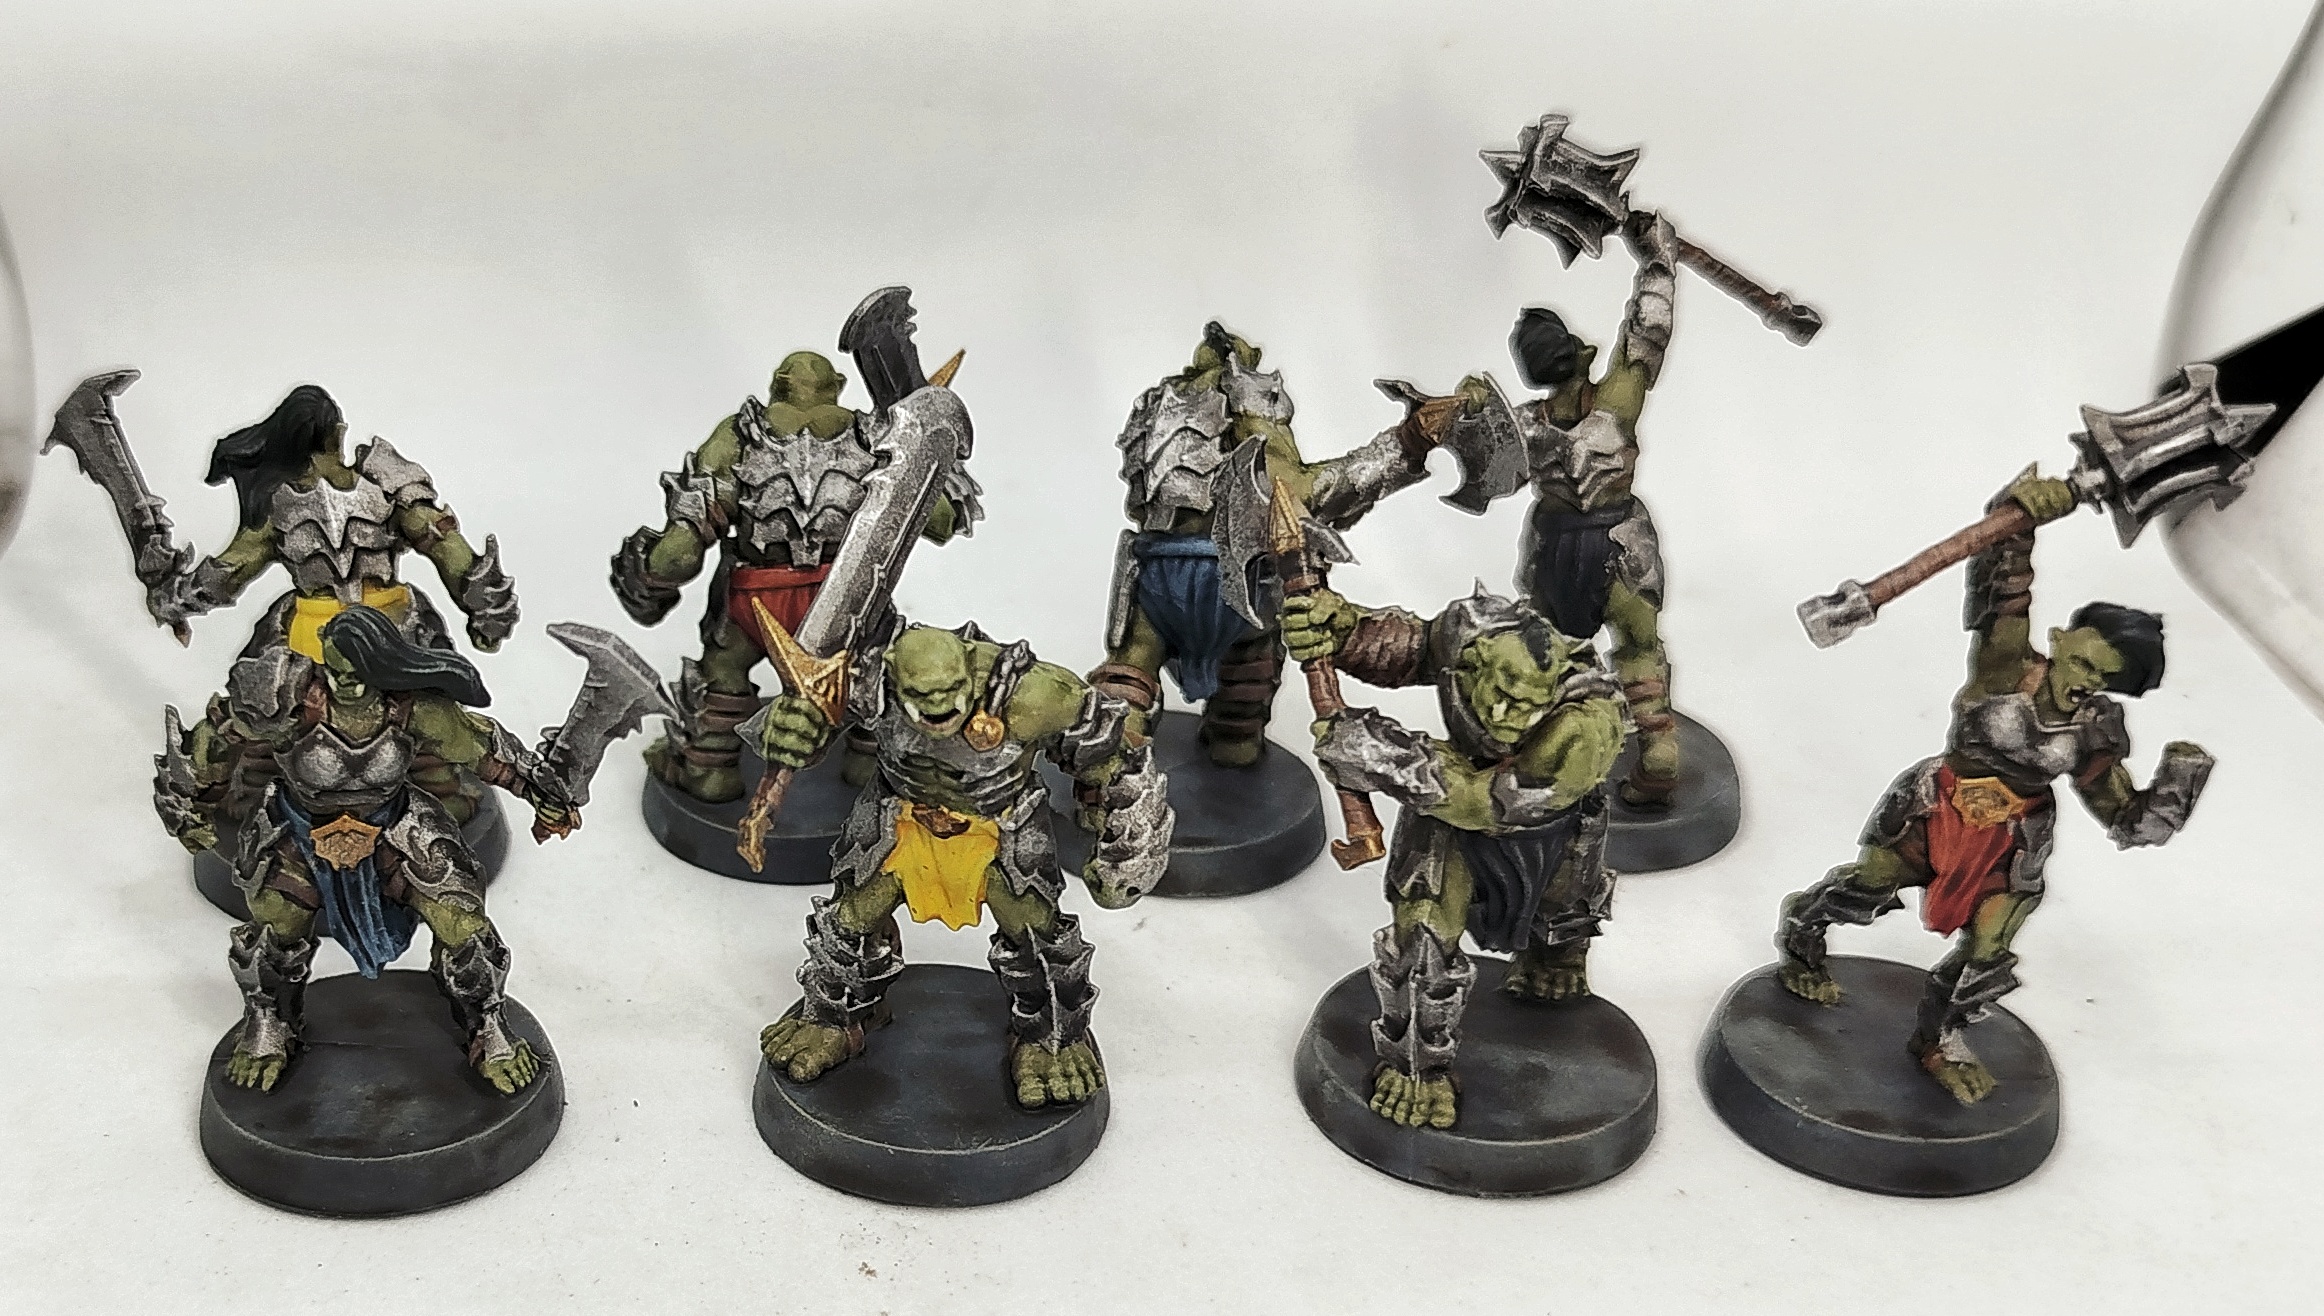
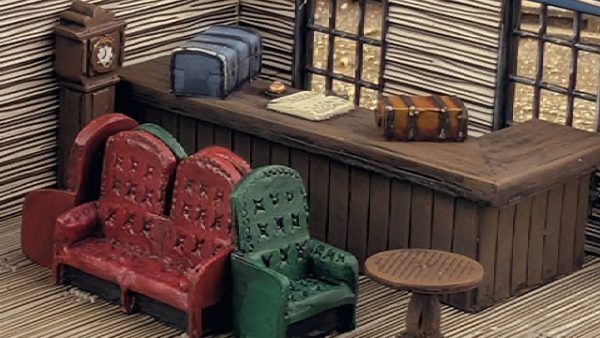
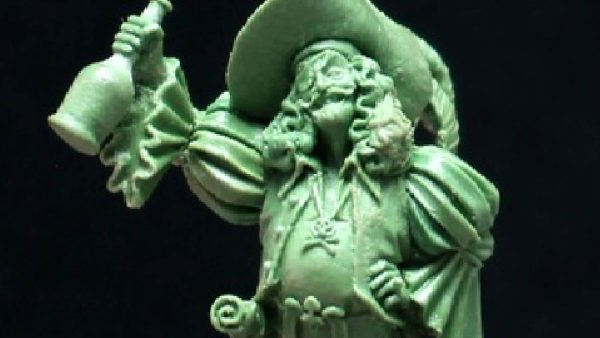
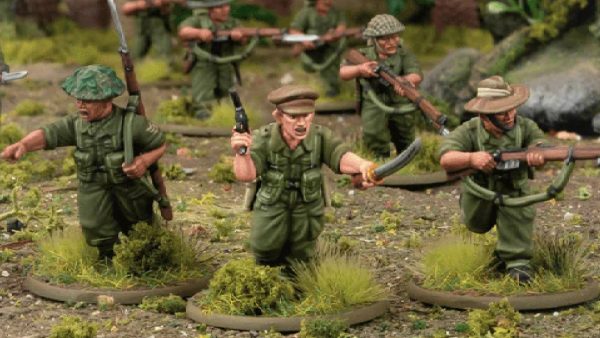
Week 8: Heroes Finished Part 1
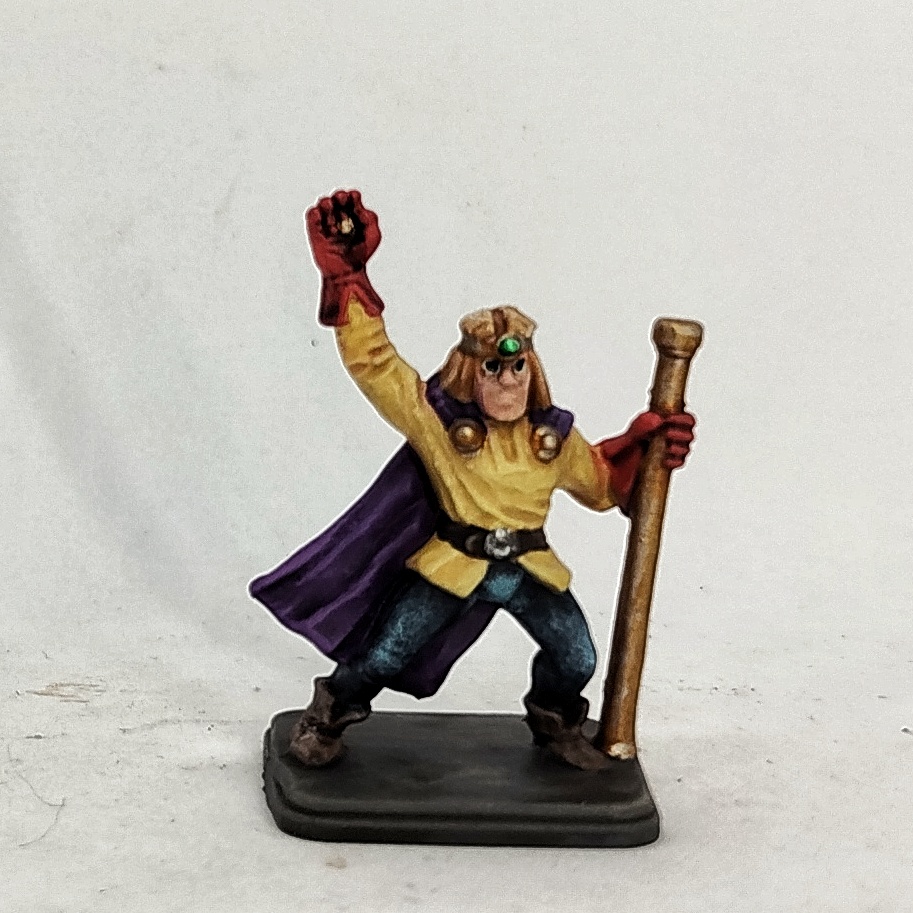
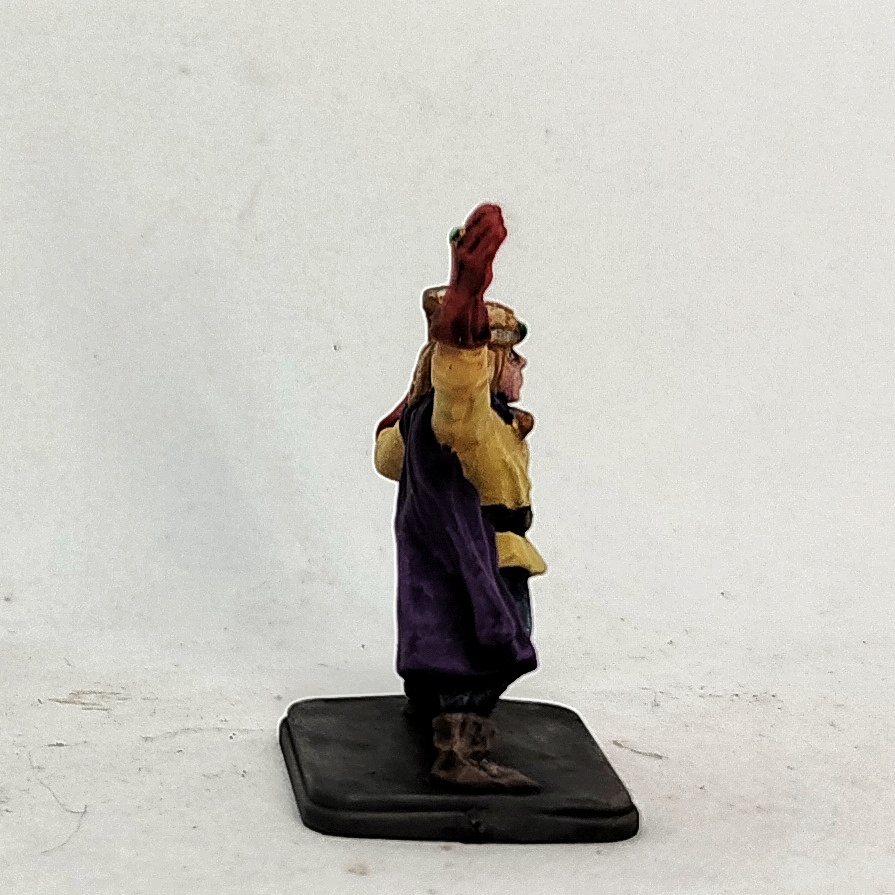
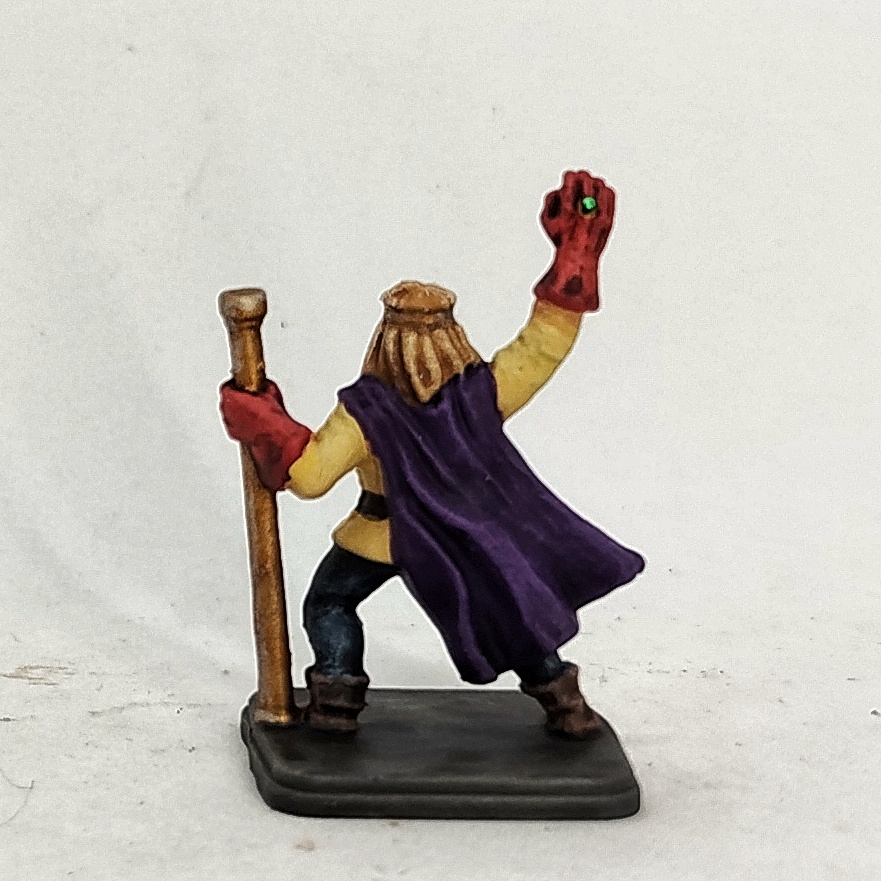
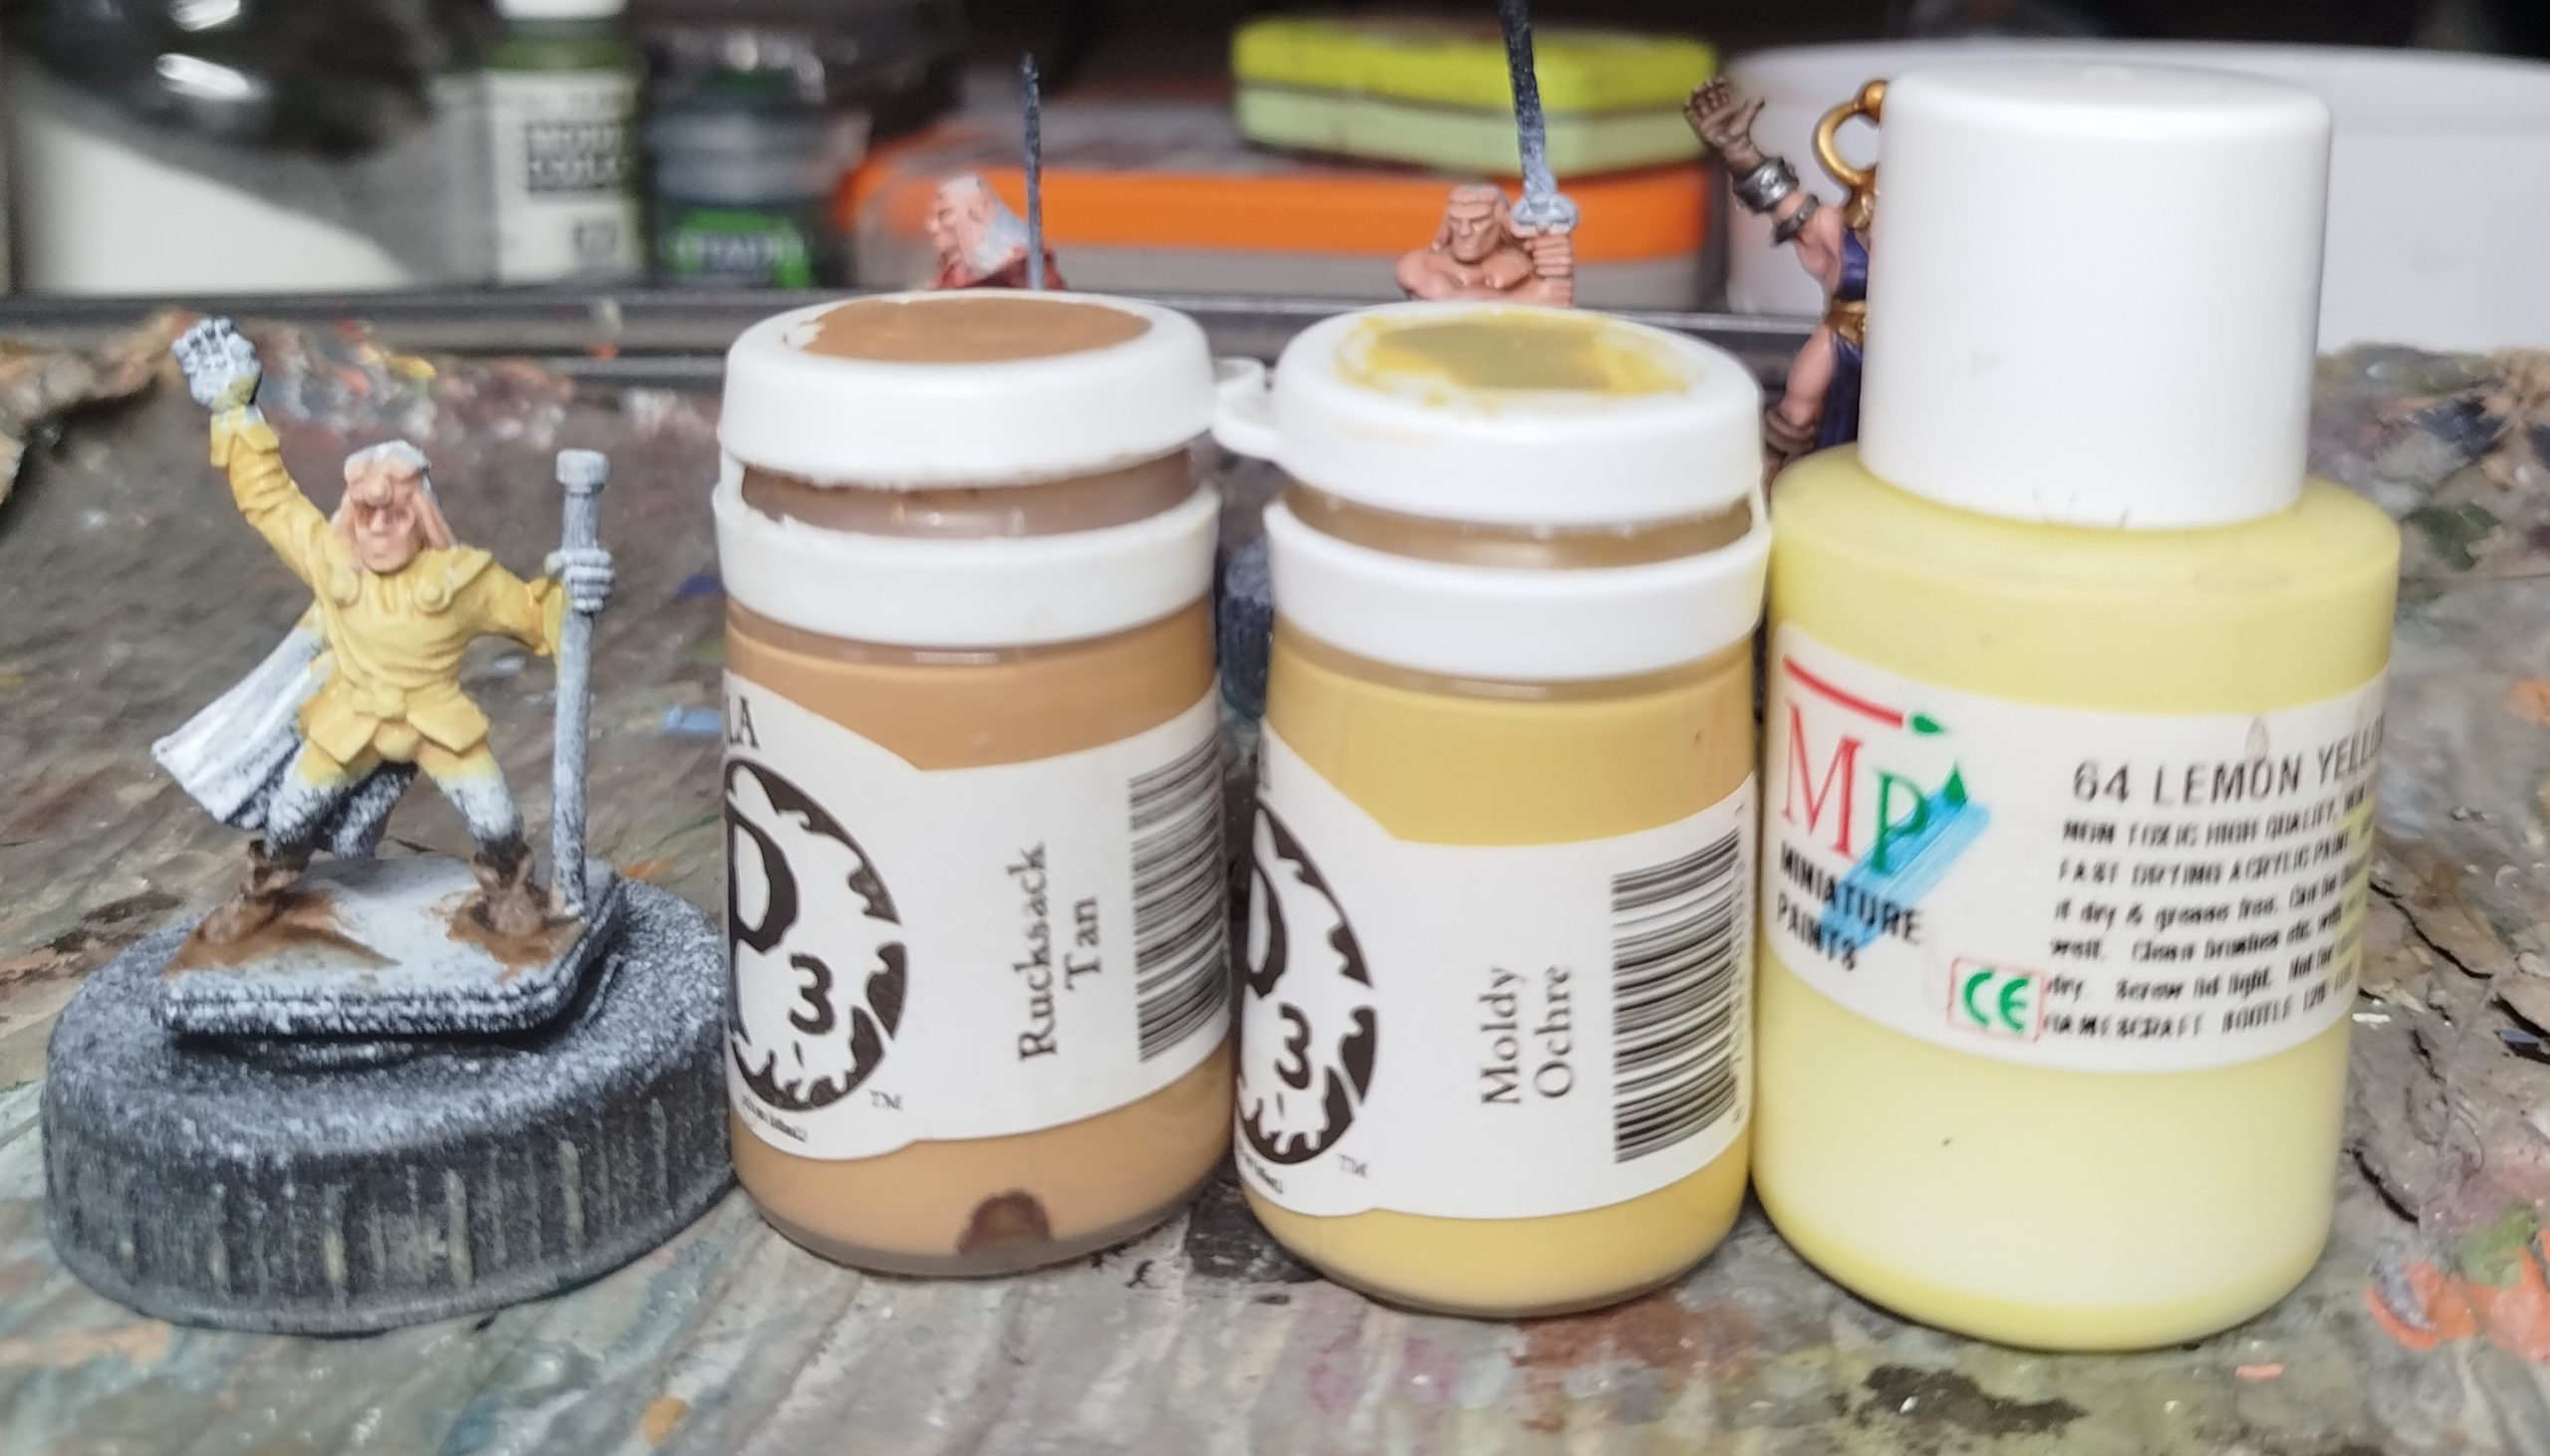 Base coat with P3 Mouldy Ochre, Wash with P3 Rucksack Tan, then drybrush with Miniature Paints 64 Lemon Yellow
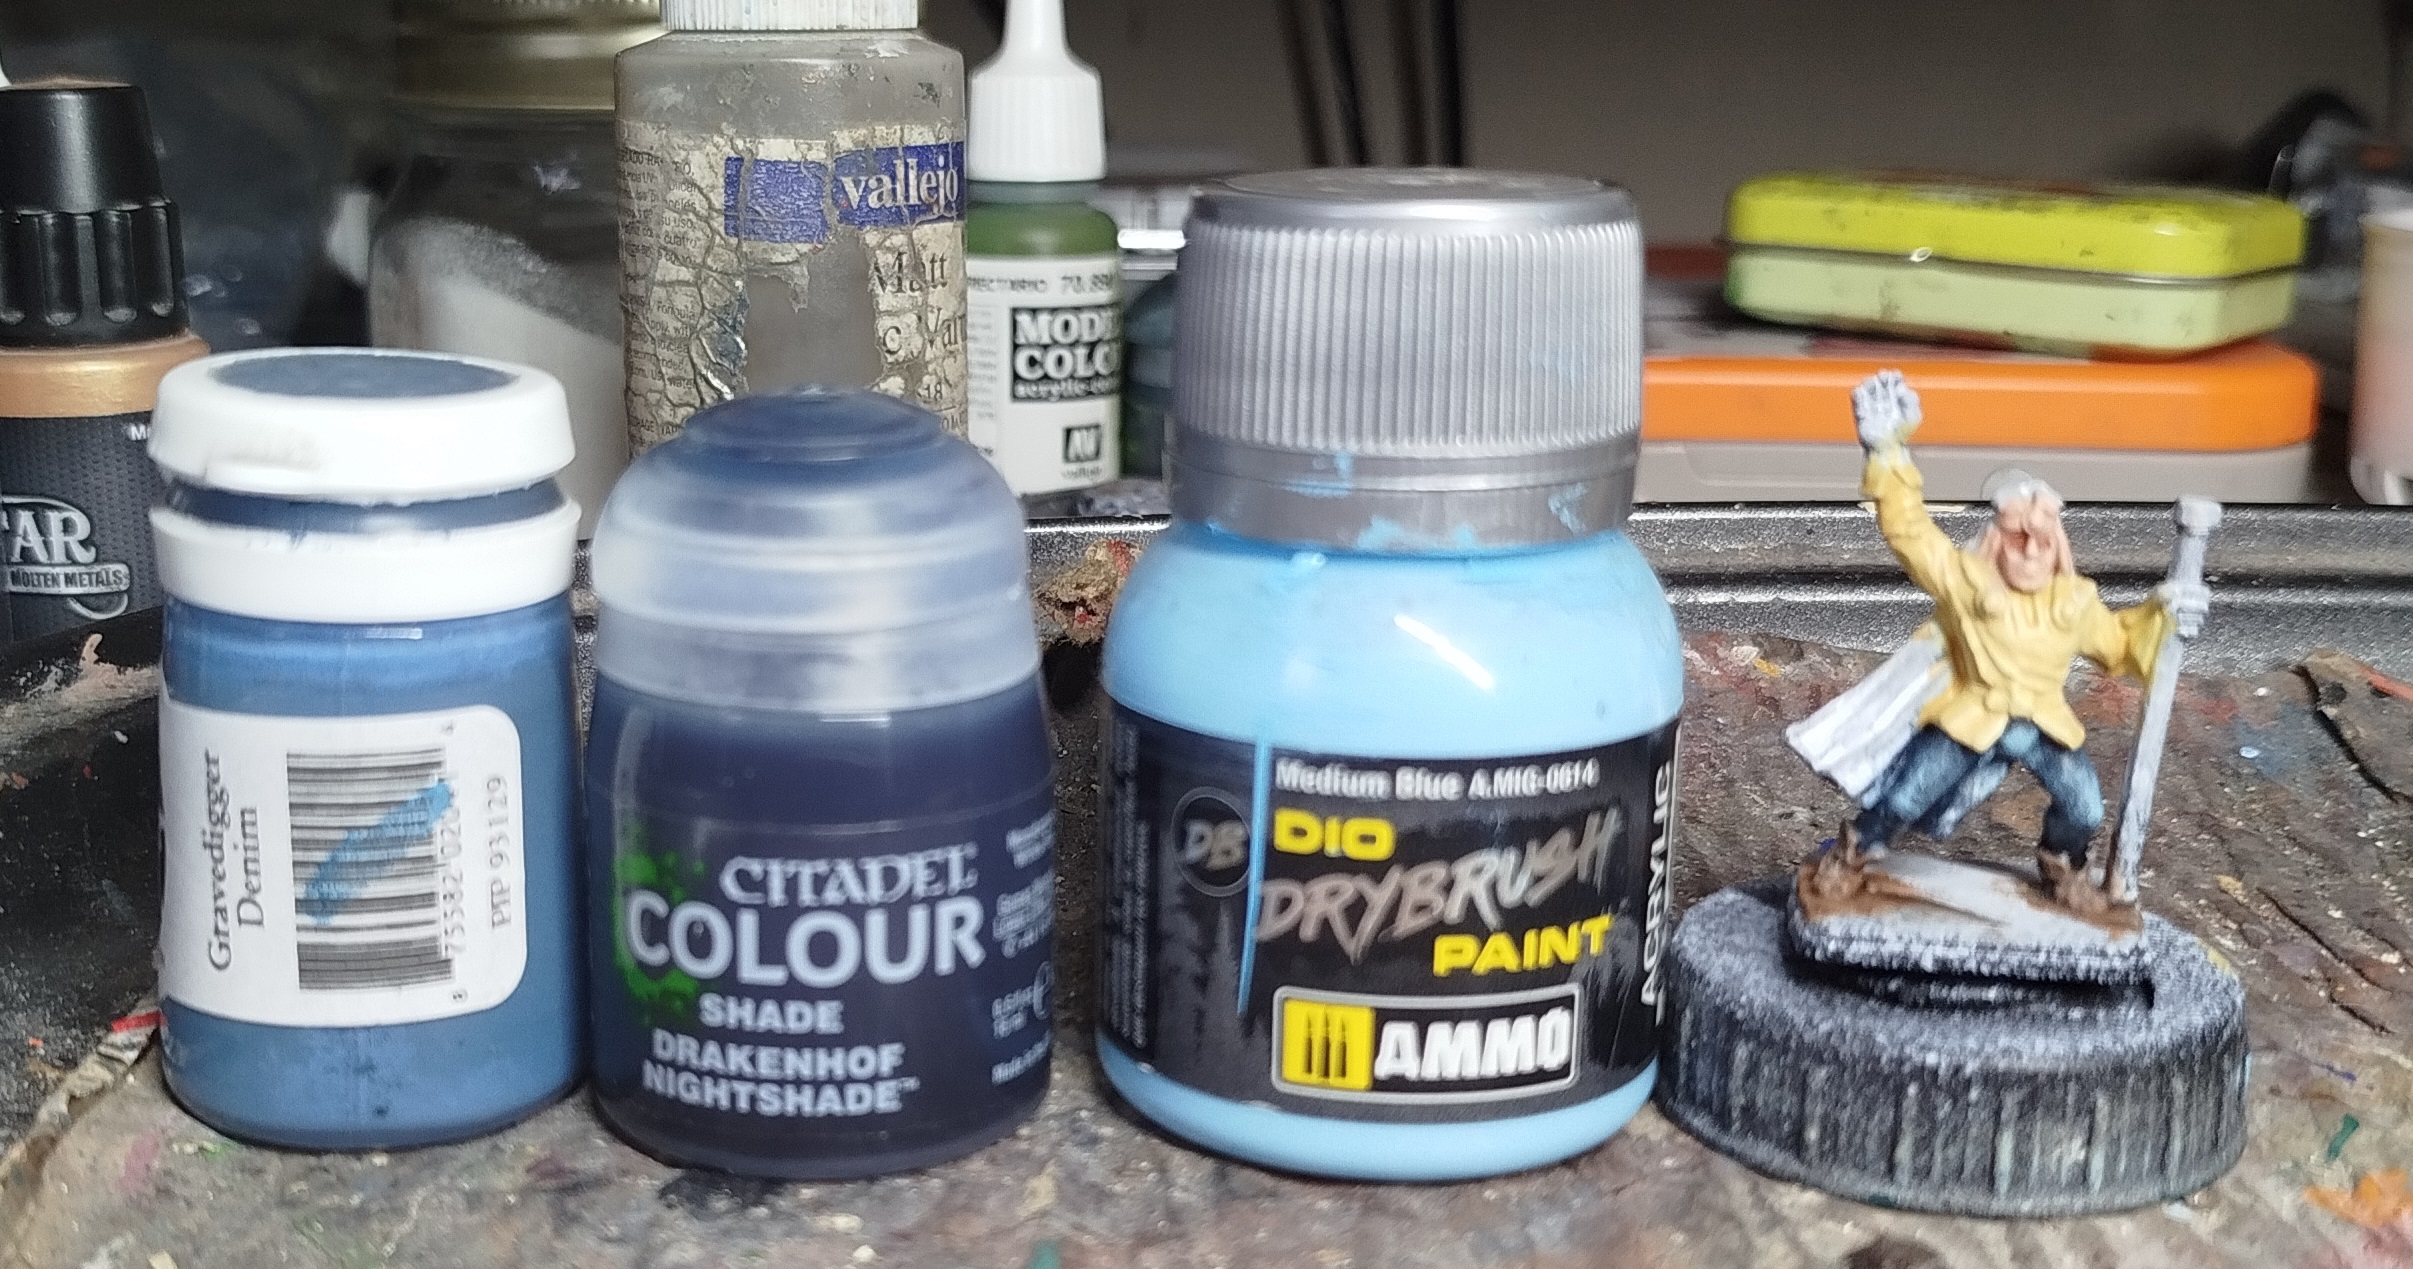 Base with P3 Gravedigger Denim, wash with GW Drakenhof Nightshade, then drybrush with A.Mig-0614 Medium Blue. Then, if you're like me, redo the wash and drybrush because you put the first drybrush on too heavy. Still think its a bit much, but accept it rather than rish making things progressively worse, layer after layer.
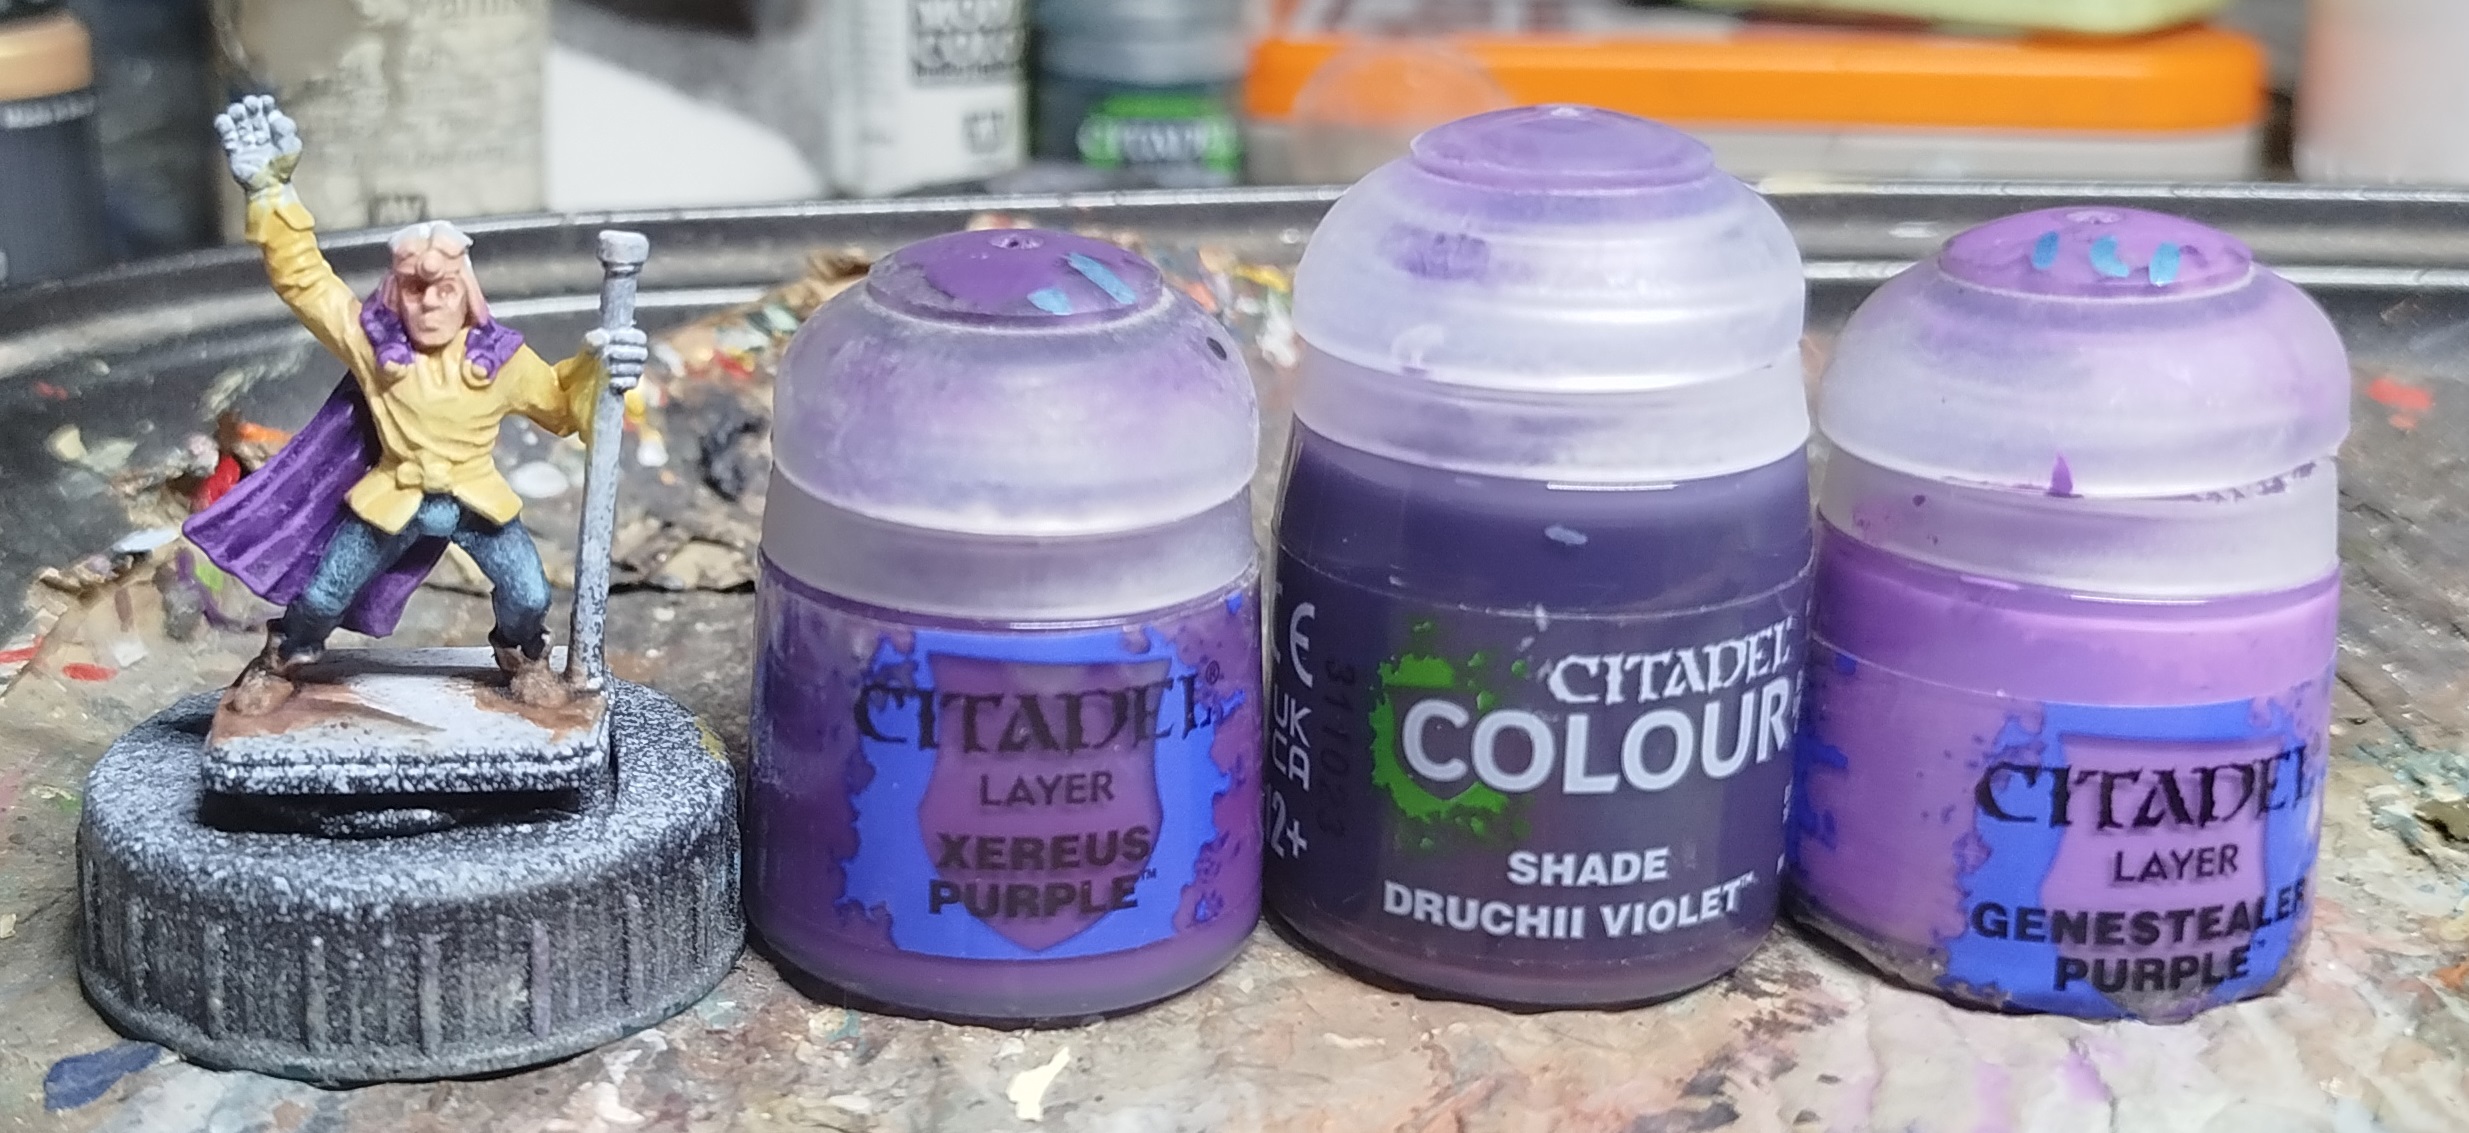 Base with GW Xeres Purple, wash with GW Druchii Violet, then drybrush with GW Genestealer Purple
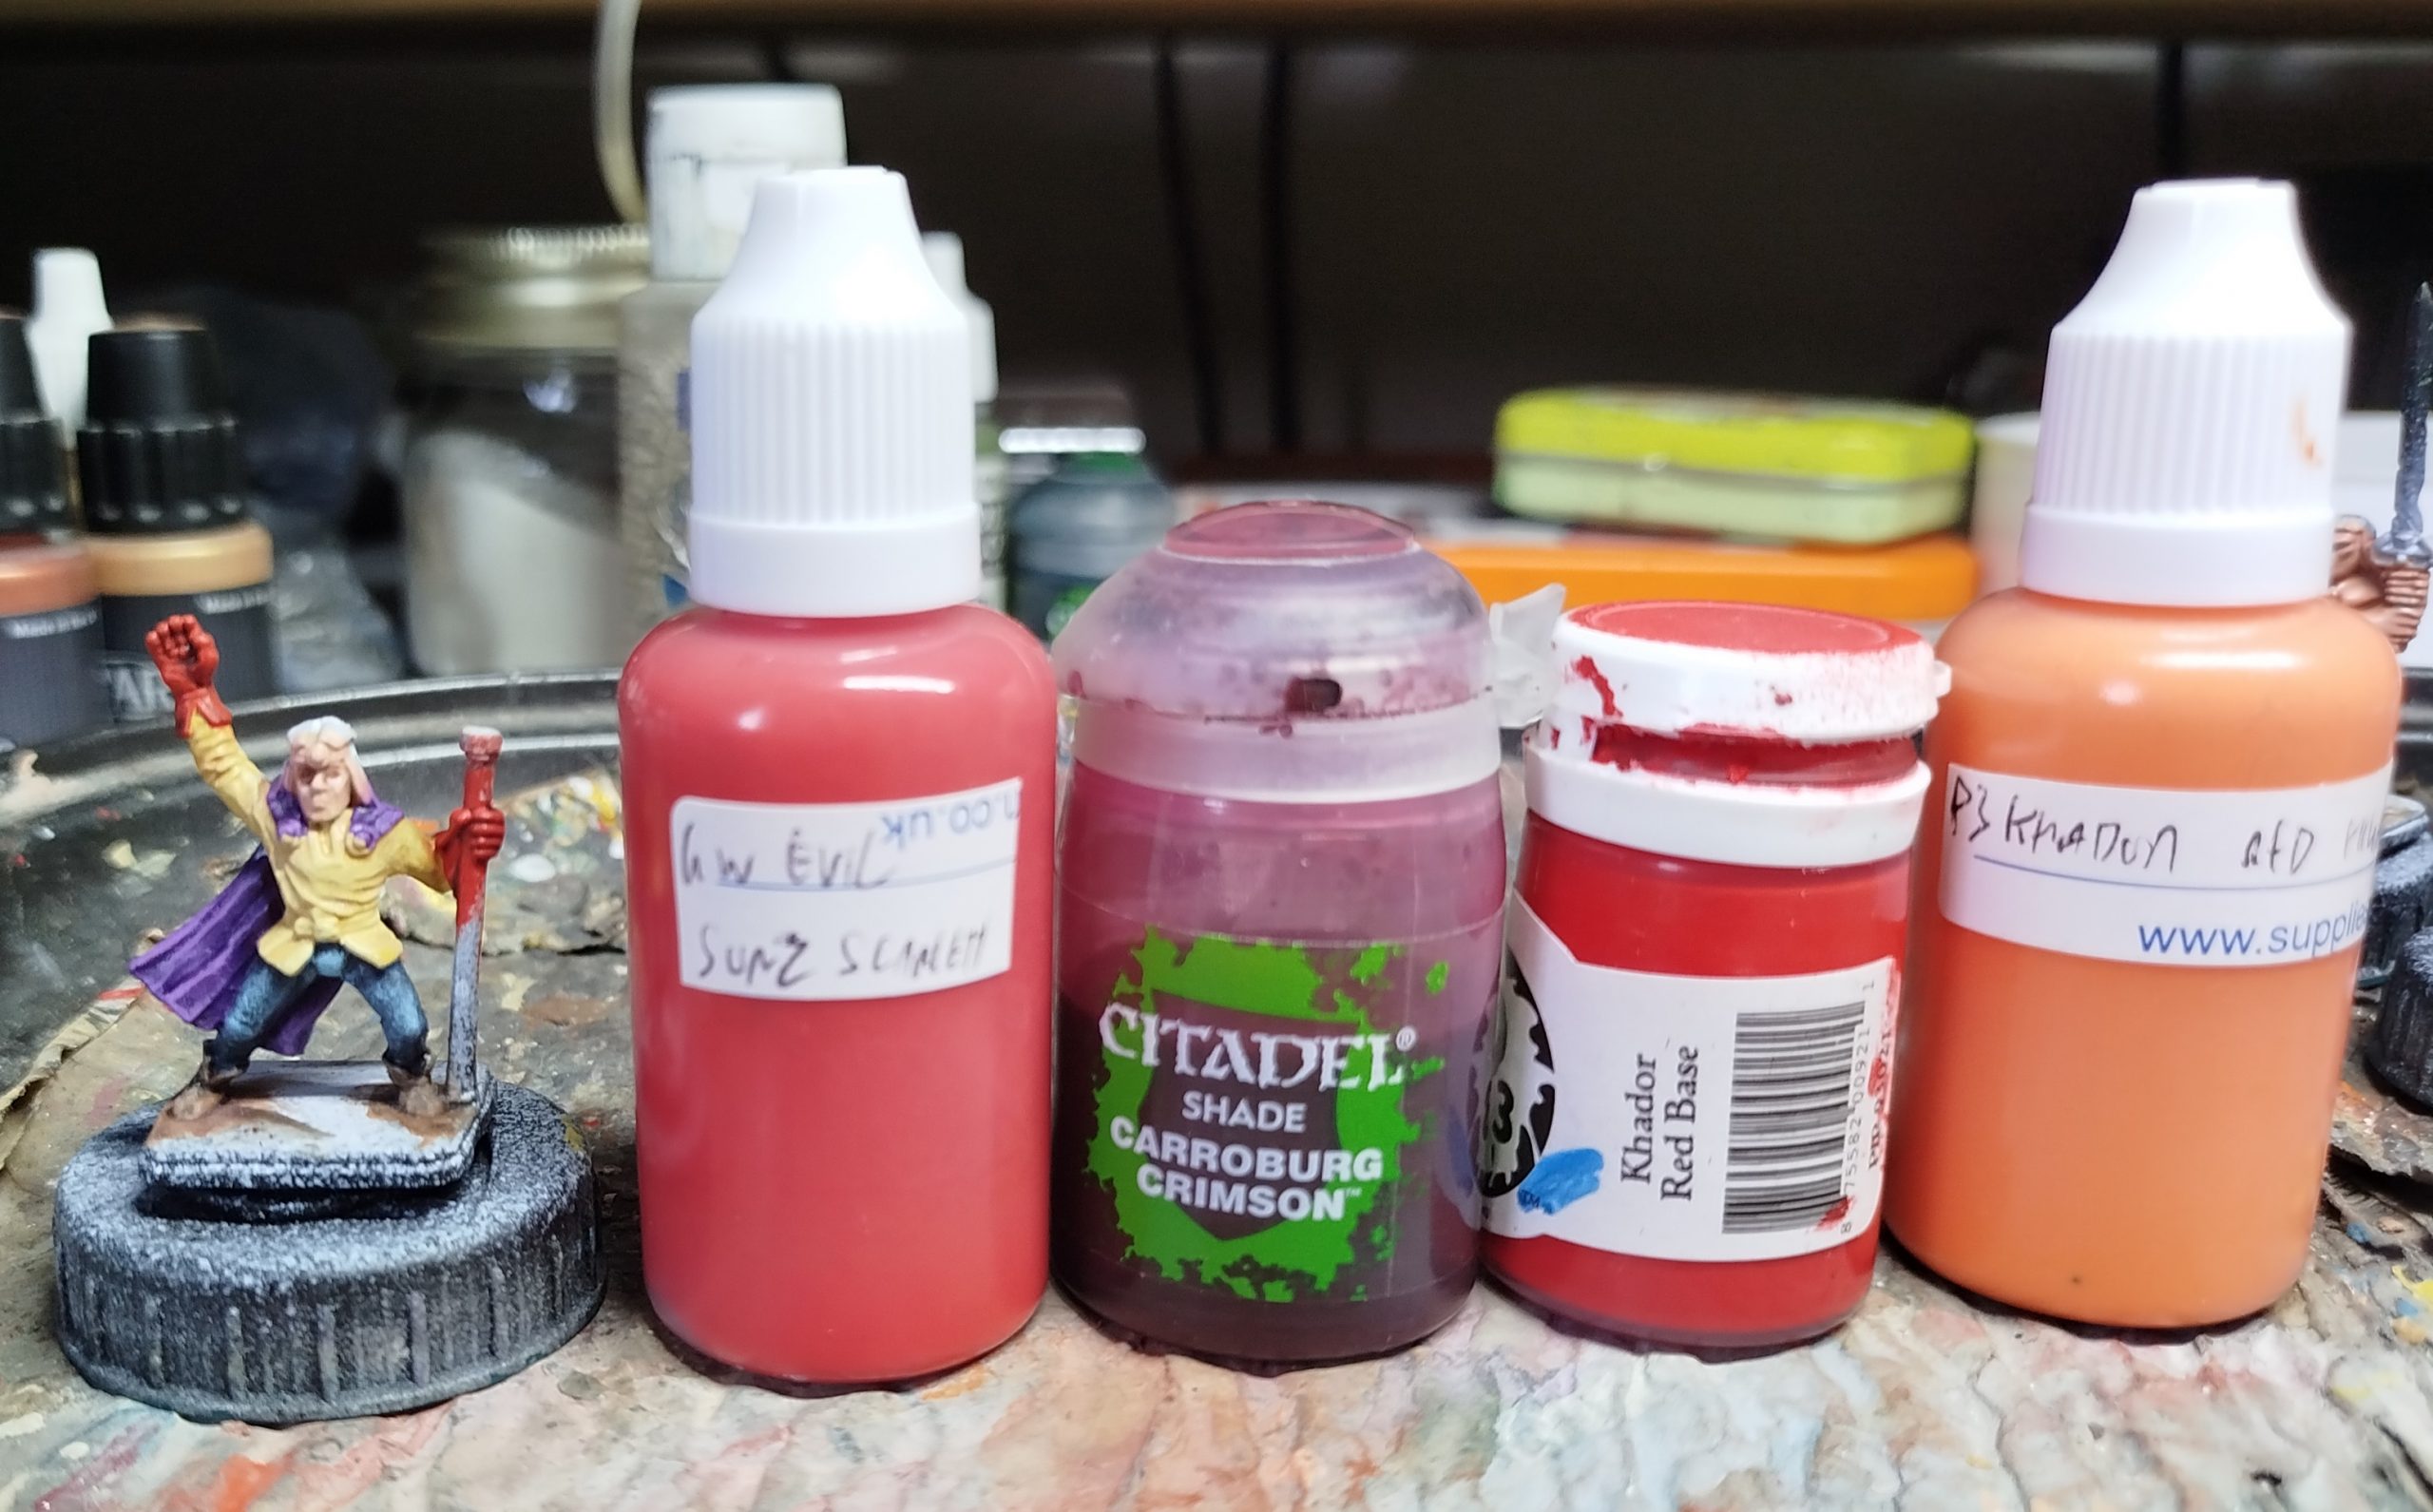 Base with GW Evil Sunz Scarlet, wash with GW Carroburg Crimson, then drybrush with P3 Khador Red Base, and finally with P3 Khador Red Highlight
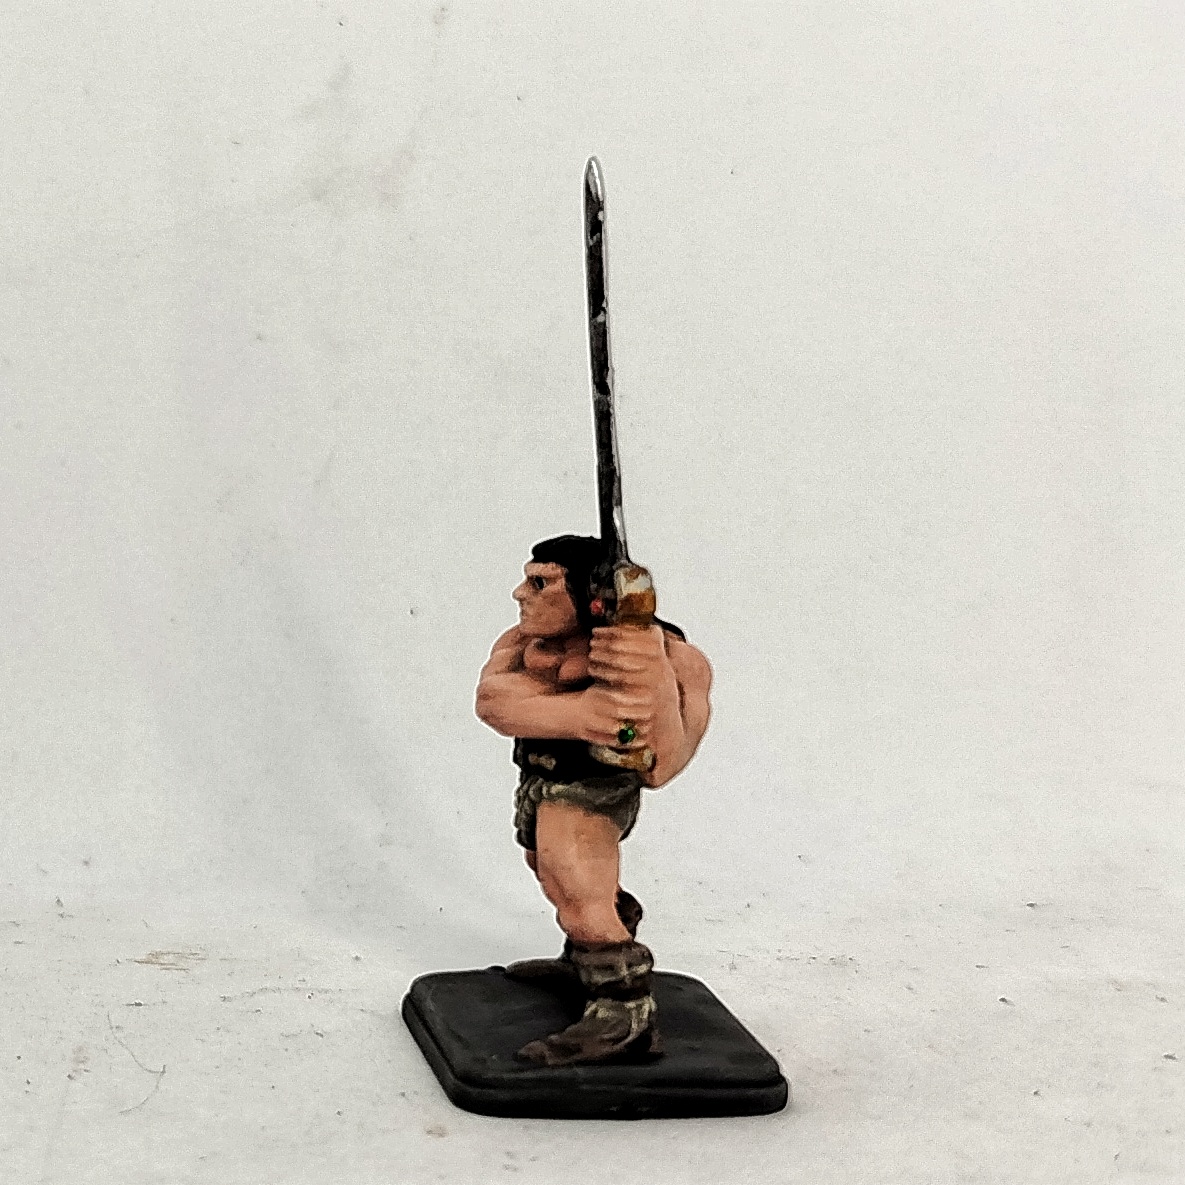
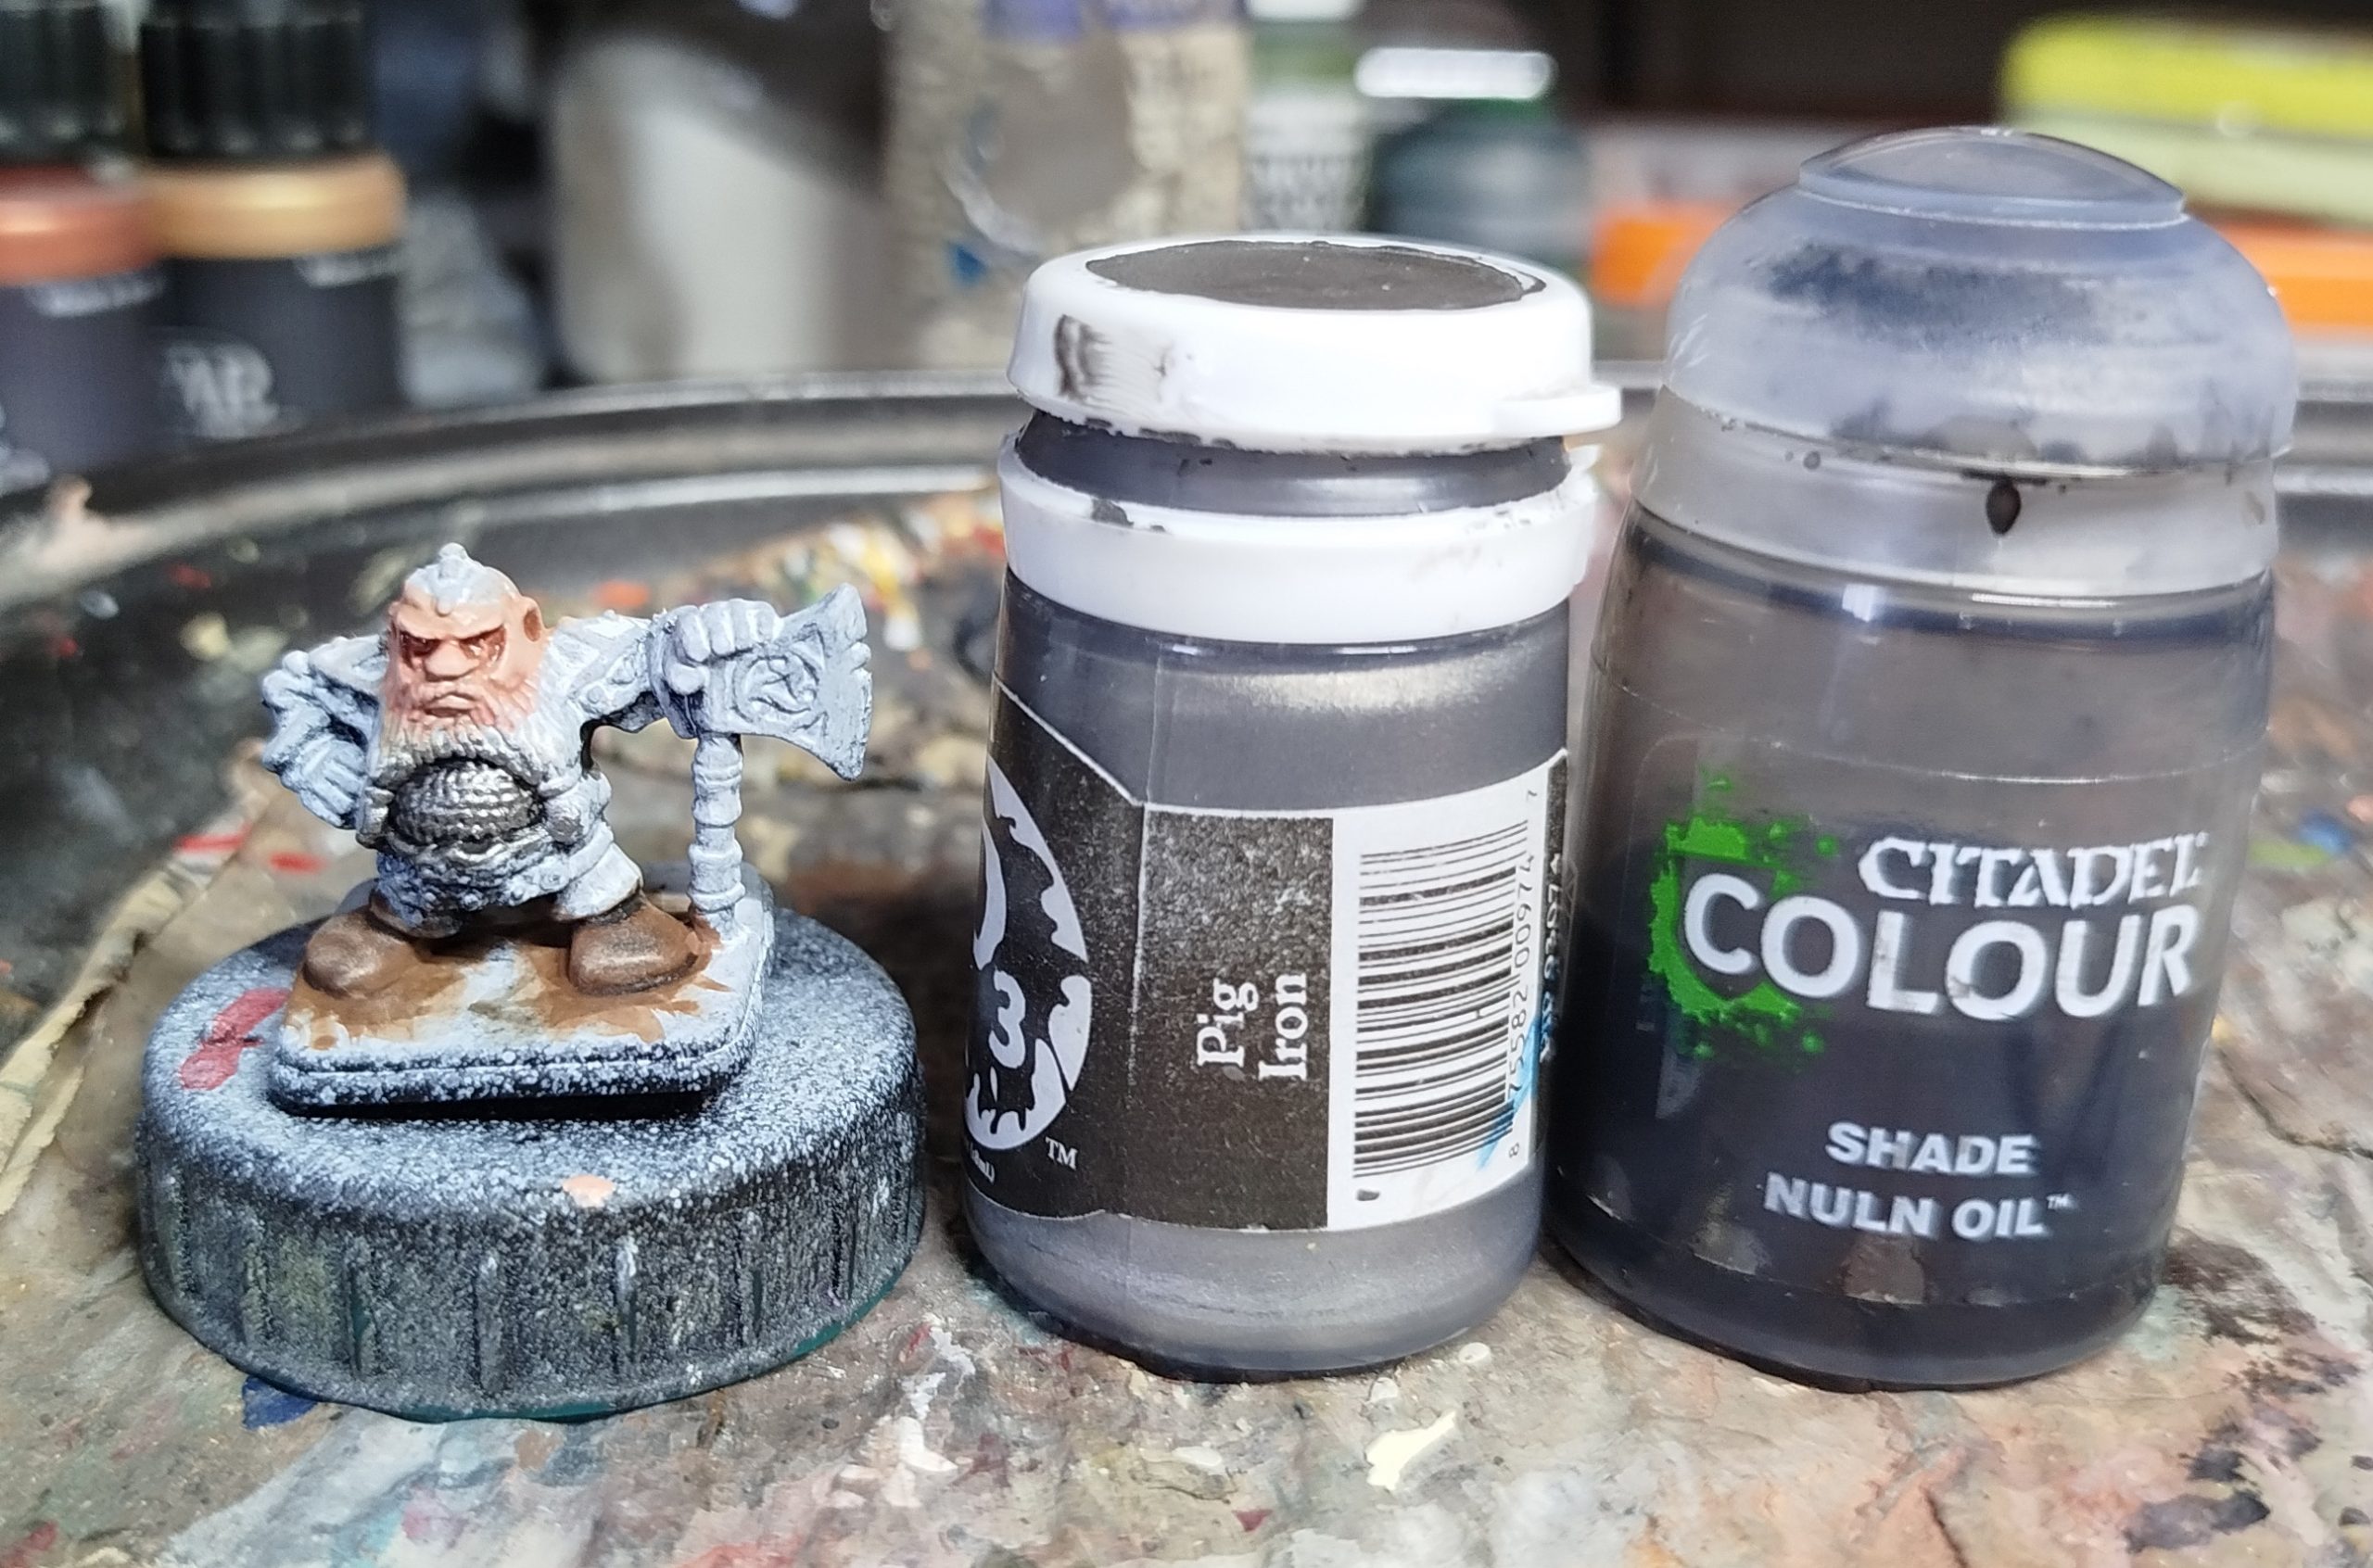 What I tried to do: Undercoat Black and then drybrush P3 Pig Iron and call it done. What I did: Drybrush too heavy and lose all the black. Apply a wash of GW Nuln Oil, then use the edge of a brush to highlight with P3 Pig Iron.
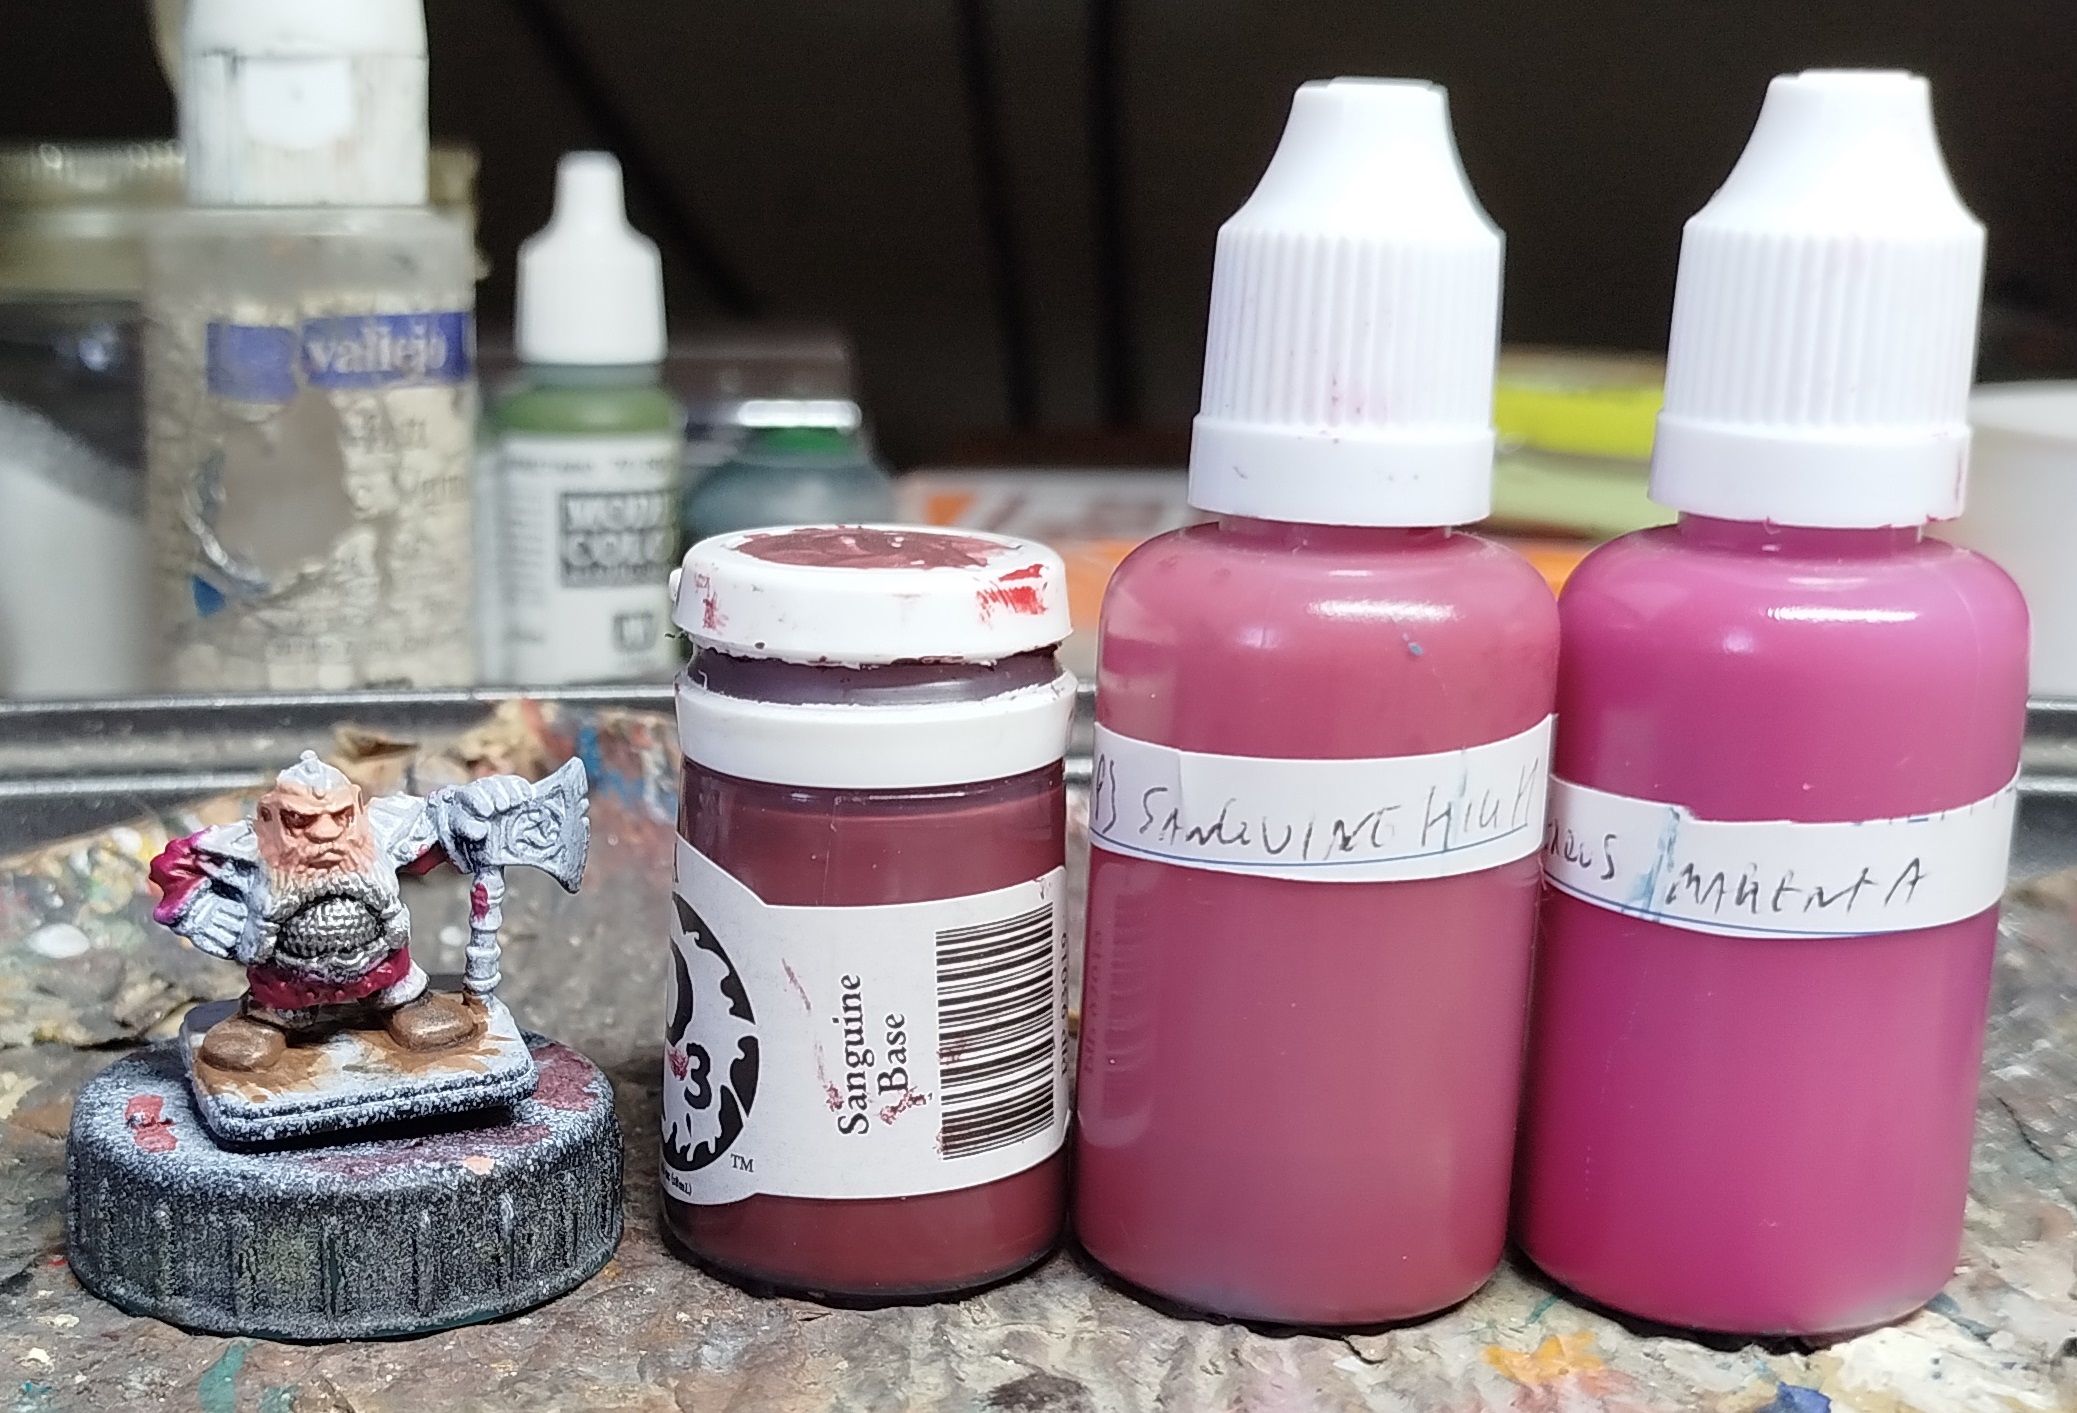 Base coat P3 Sanguine Highlight. Wash with P3 Sanguine base, then drybrush and edge highlight with P3 Murderous Magenta
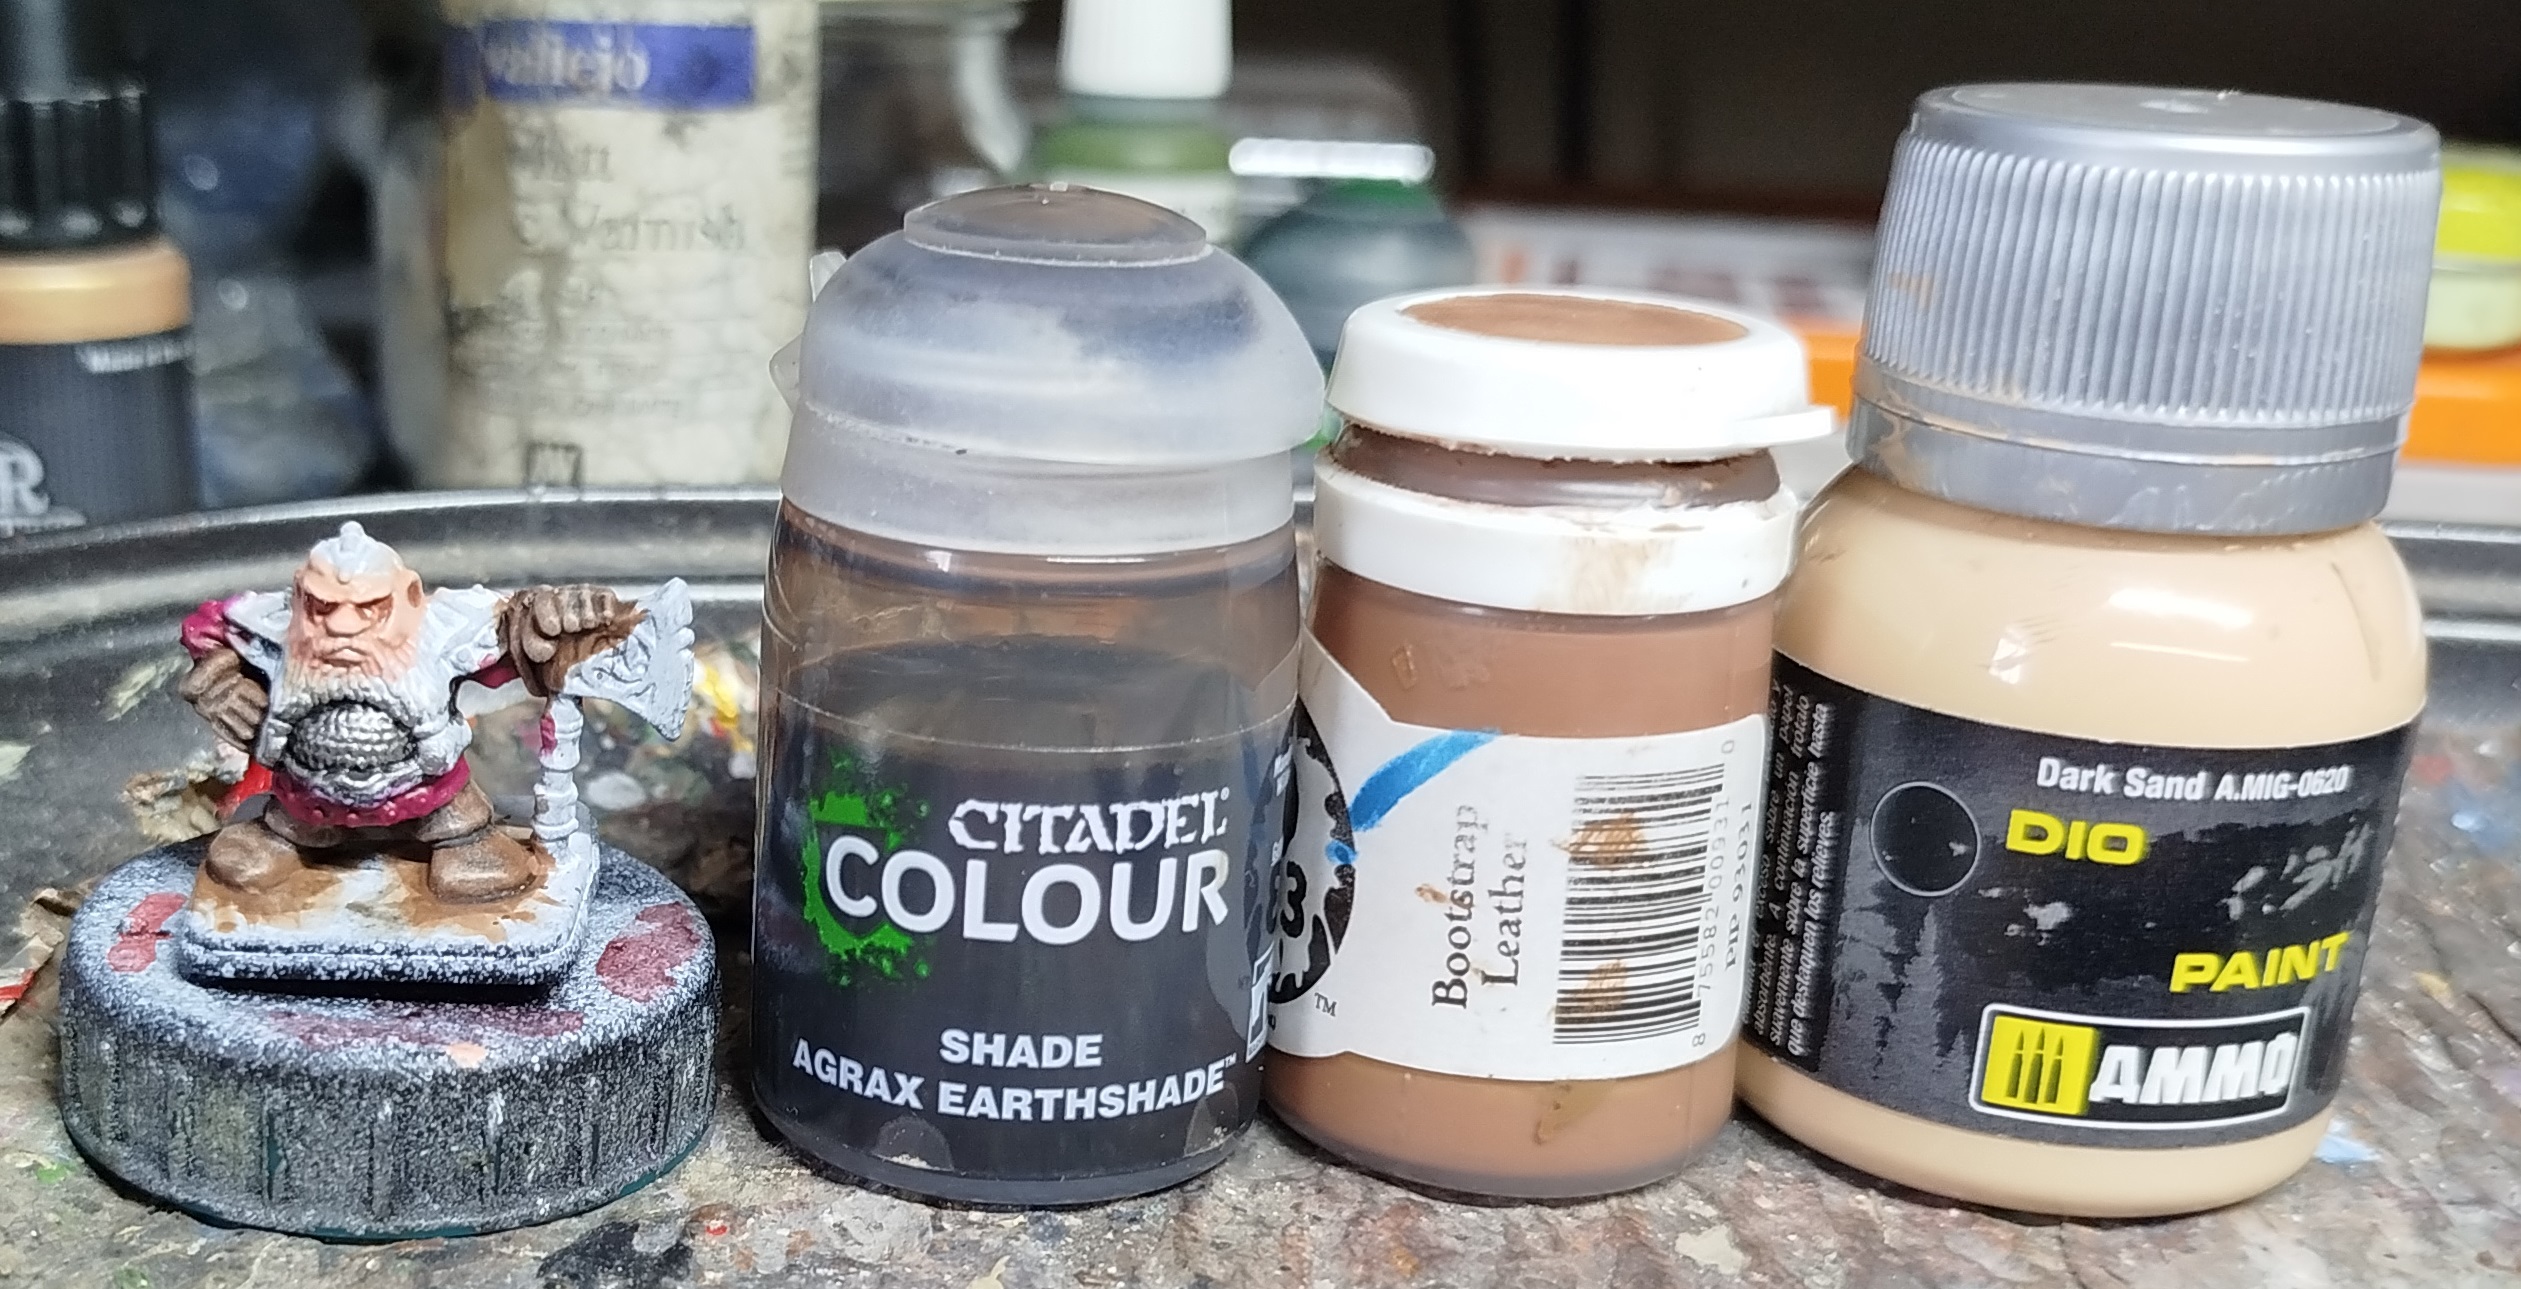 Base with P3 Bootstrap Leather, wash with GW Agrax Earthshade, then drybrush with A.Mig-0620 Dark Sand
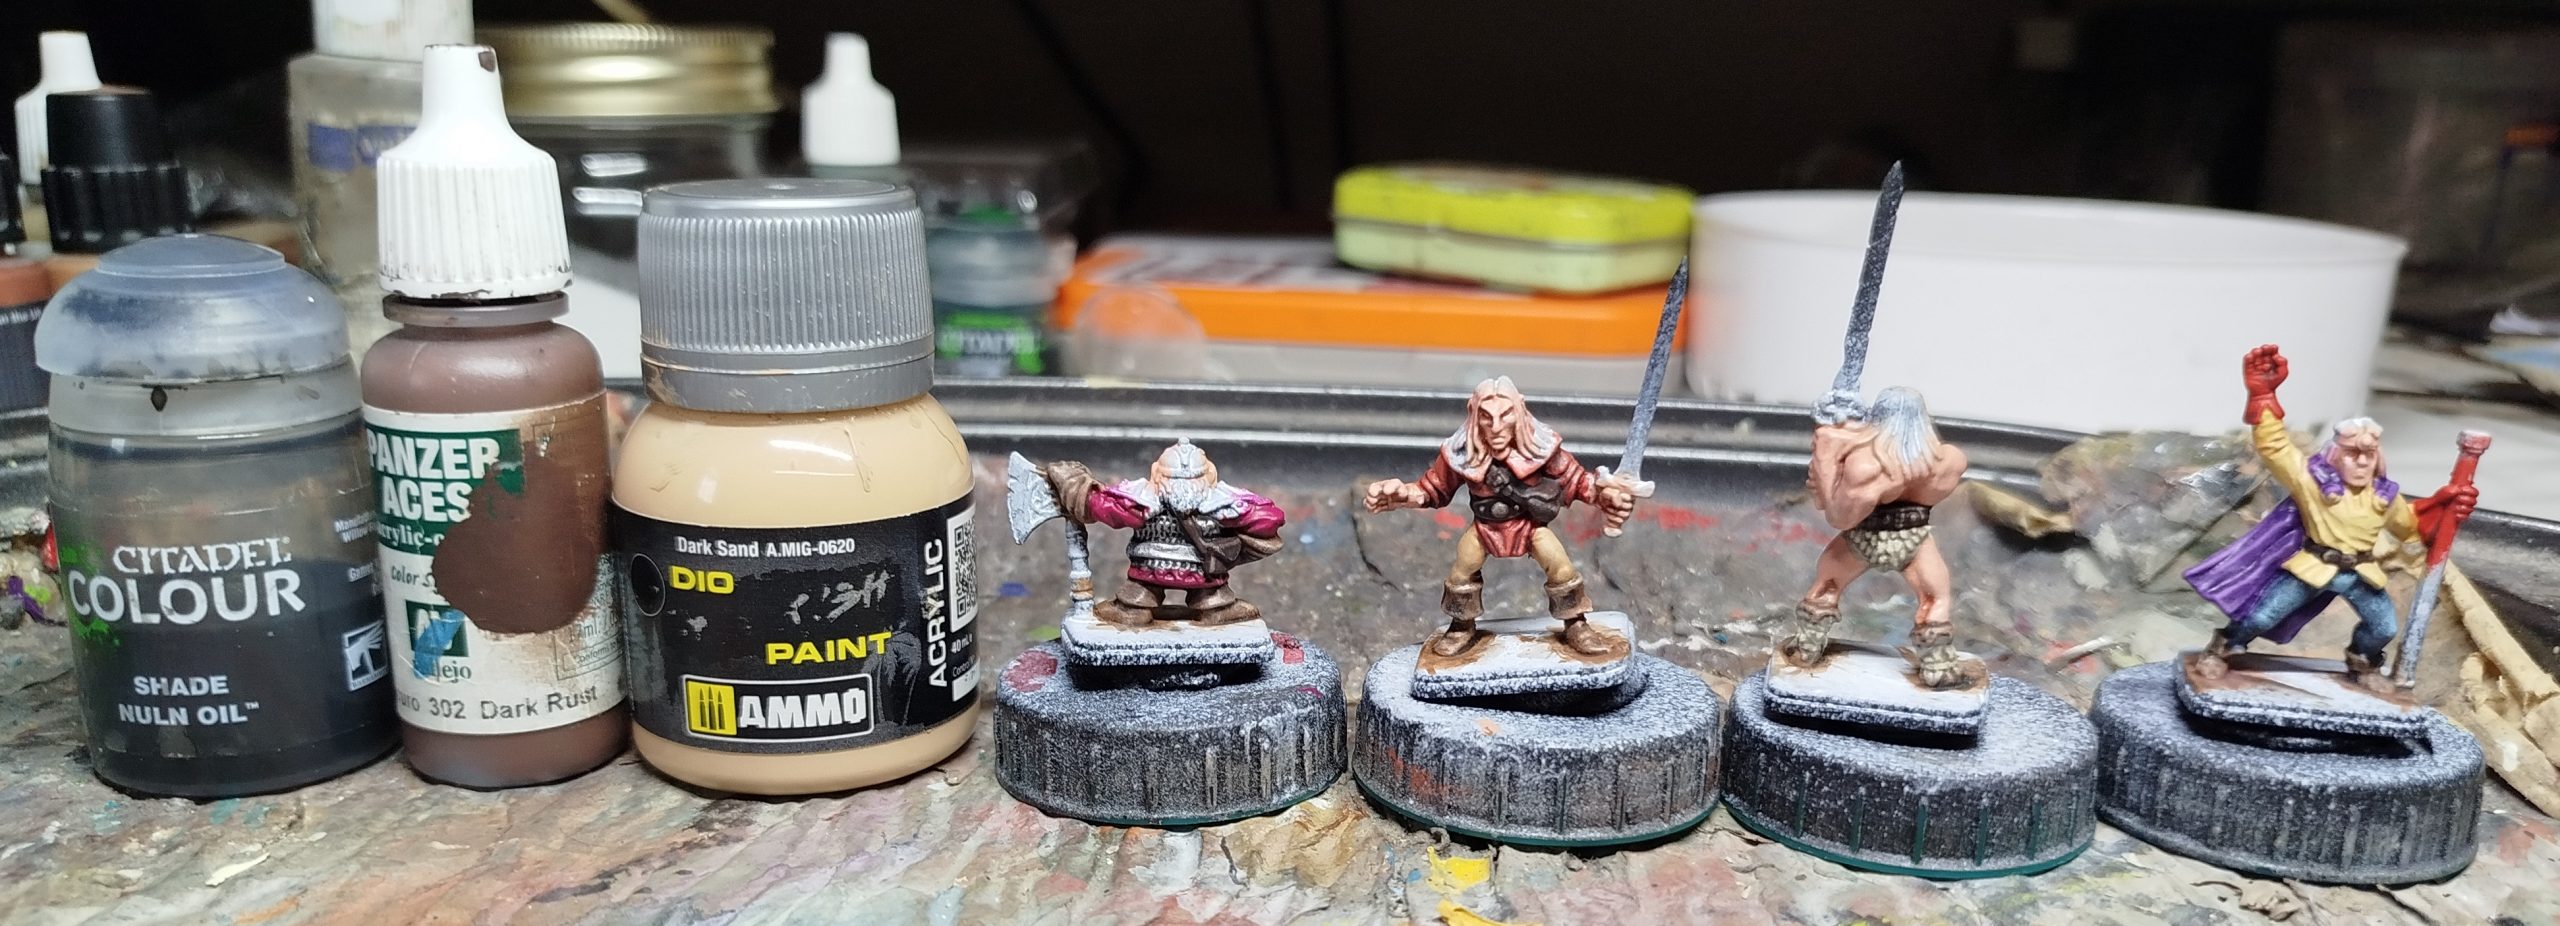 Base VMC 302 Dark Rust, wash with GW Agrax Earthshade, then drybrush with A.Mig-0620 Dark Sand
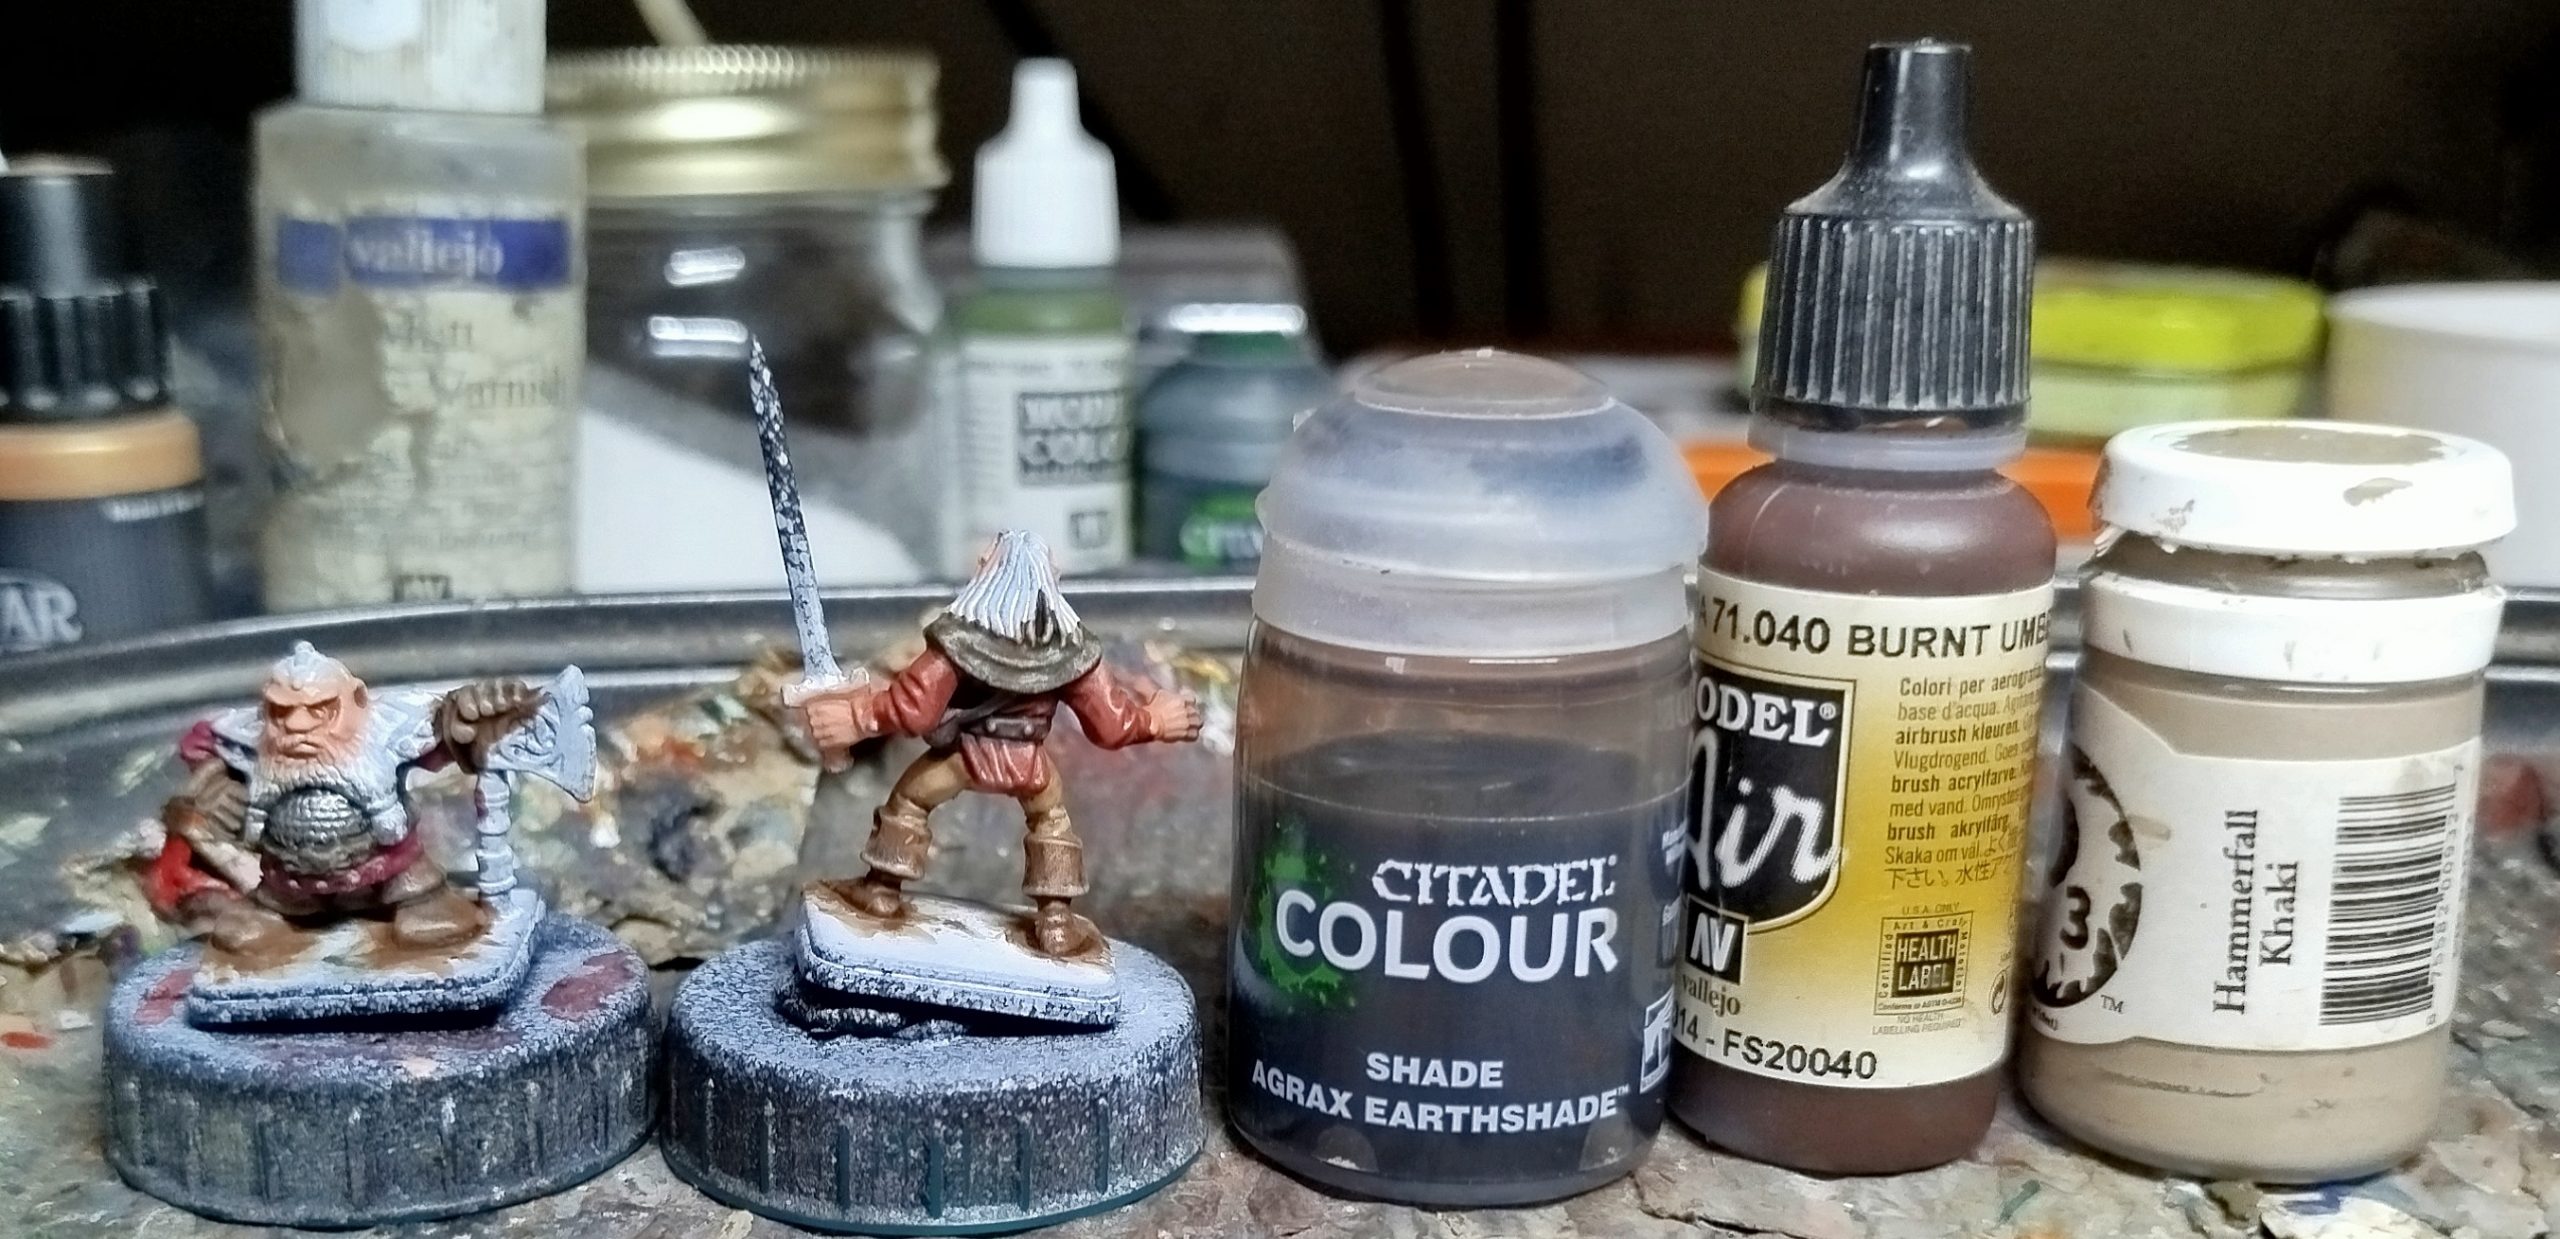 base with VMA 71.040 Burnt Umber, wash with GW Agrax Earthshade, then drybrush with P3 Hammerfall Khaki
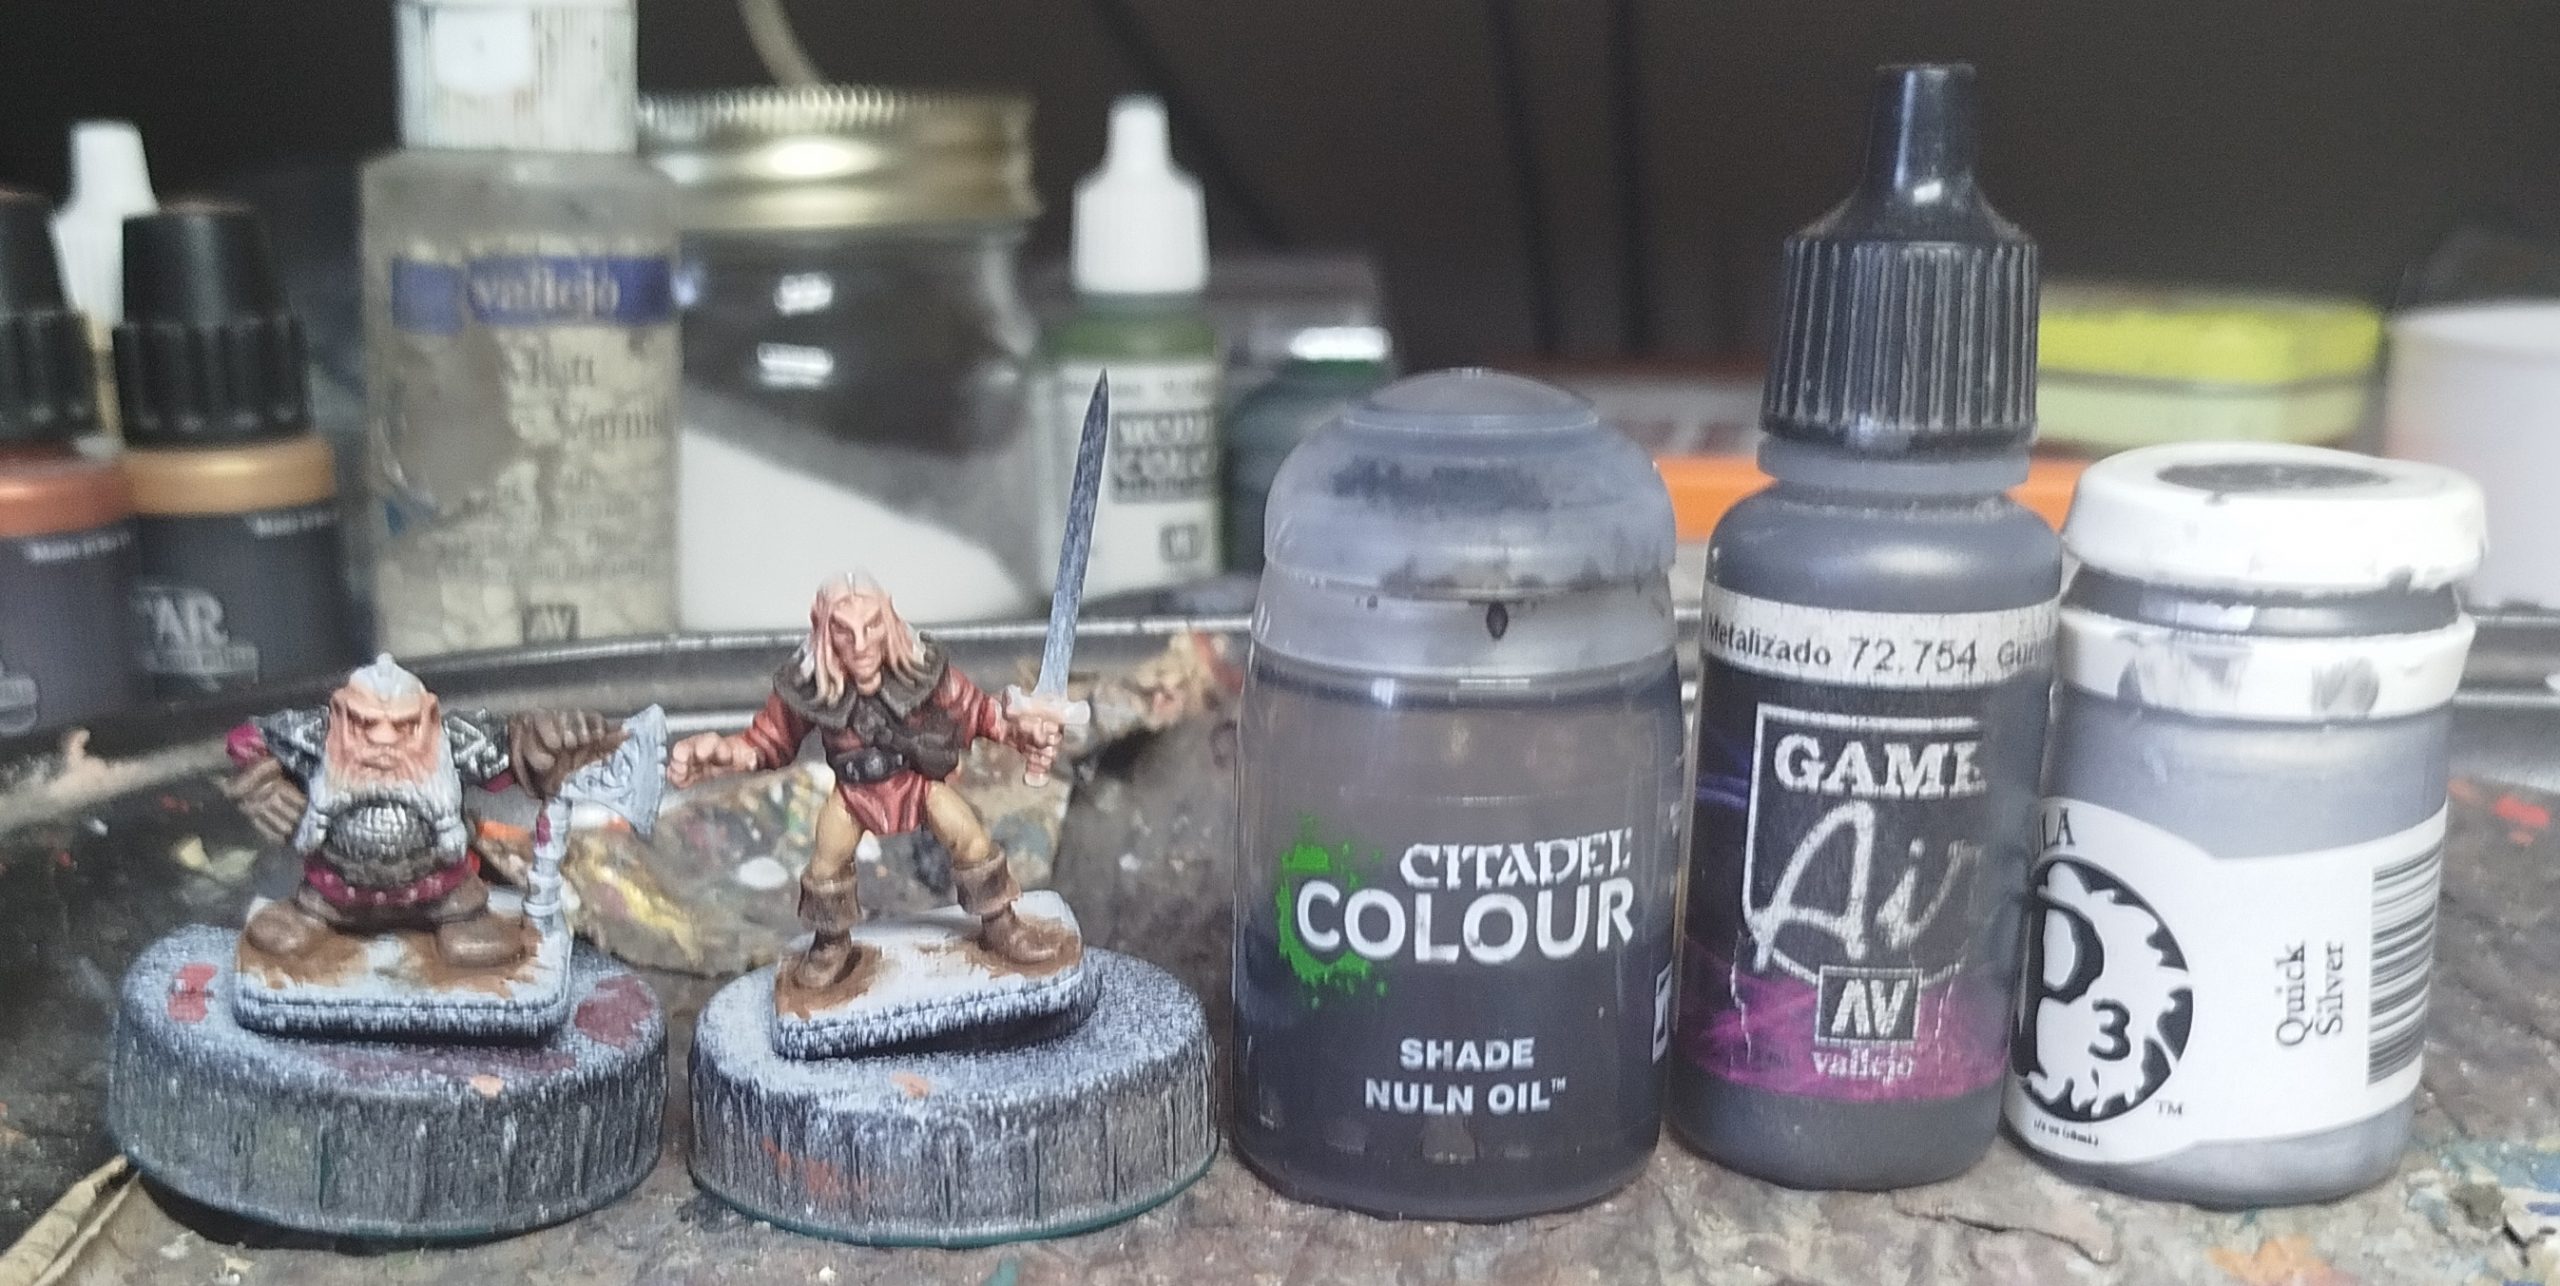 Base coat VGA 72.754 Gunmetal, wash with GW Nuln Oil, drybrush and edge highlight with P3 Quick Silver
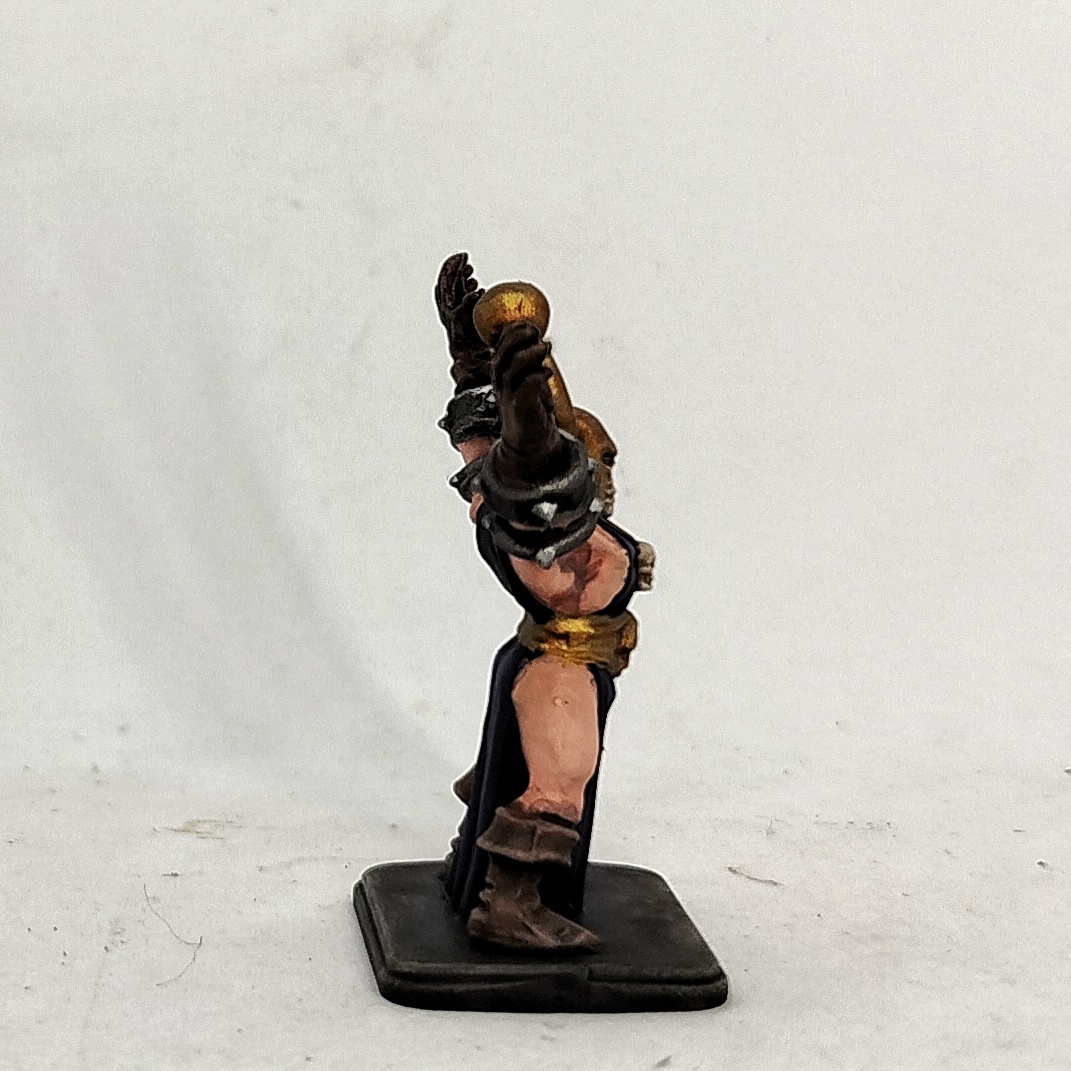
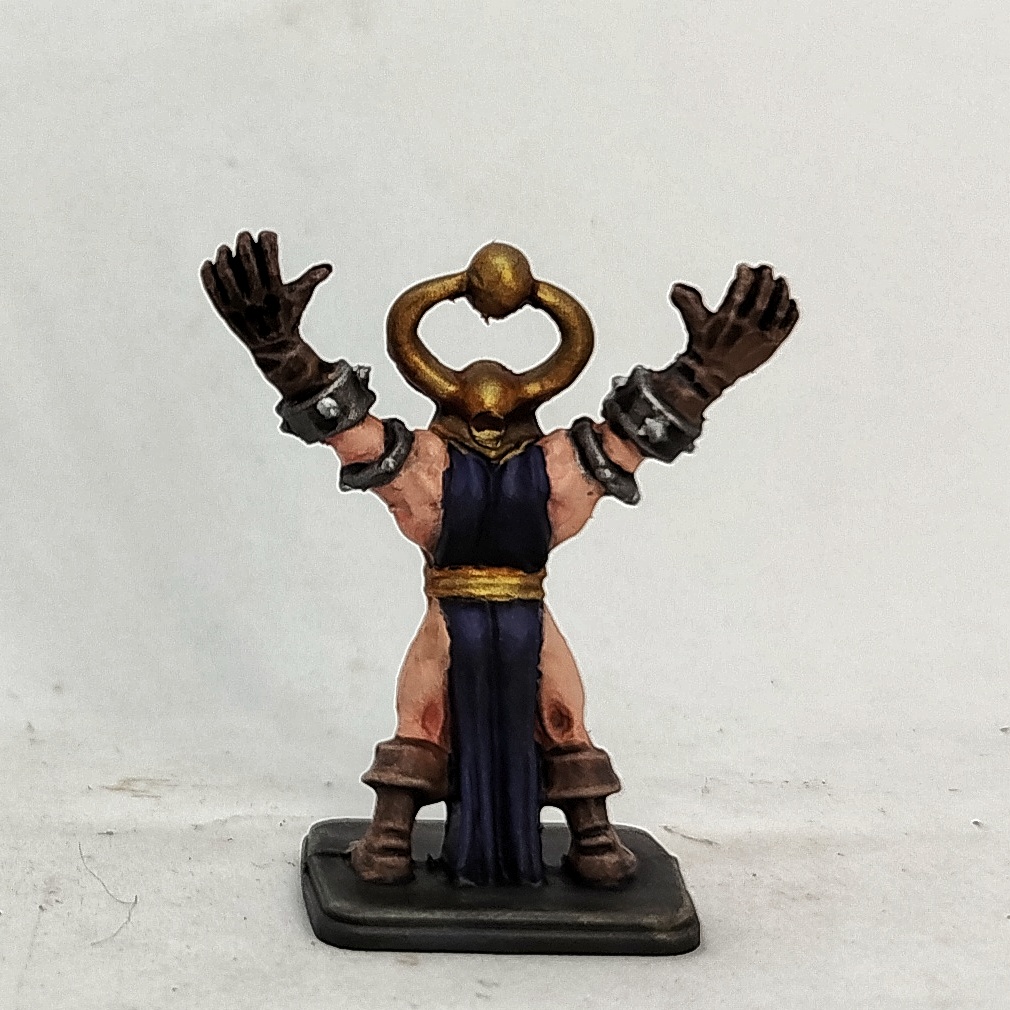
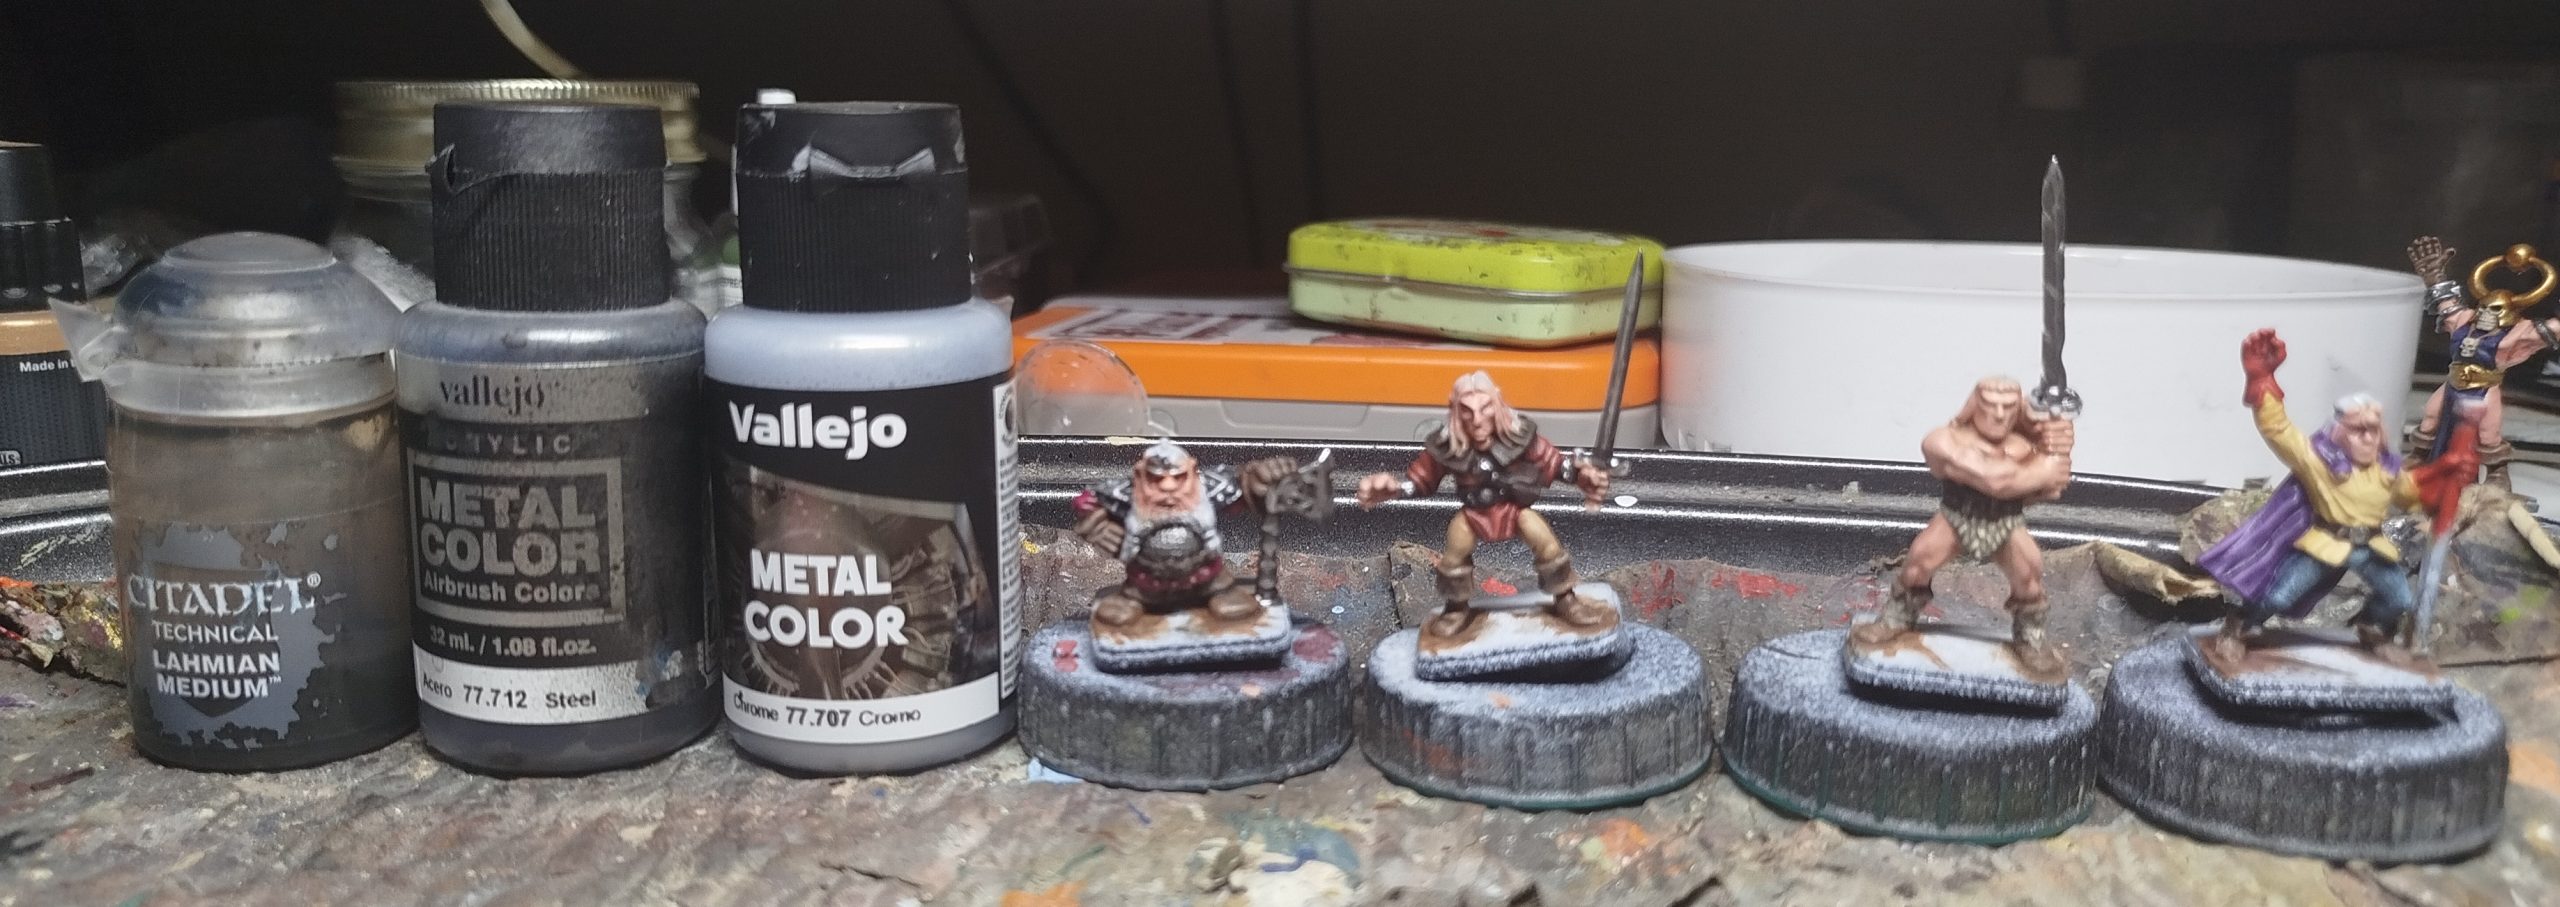 Base with VMC 77.712 Stee, wash with Jan’s Magimix, around just the base of the horn (6-8 Parts GW Nuln Oil, 6-8 Parts GW Agrax Earthshade, 5-6 Parts Lahmium Medium, 2 parts Athonian Camoshade. Thanks, Januinevision), then layer/edge highlight with a mix of the steel and VMC 77.707 Chrome, then just Chrome
 Base with GW Retributor Gold, wash with GW Seraphim Sepia, layer highlight with VMA 71.066 Gold, and finally with that gold mixed with a little VMC 77.707 Chrome. The gems were then undercoated with Chrome, and glazed with 1-2 coats of VGC 72086 Red Ink or VGC 72.089 Green Ink
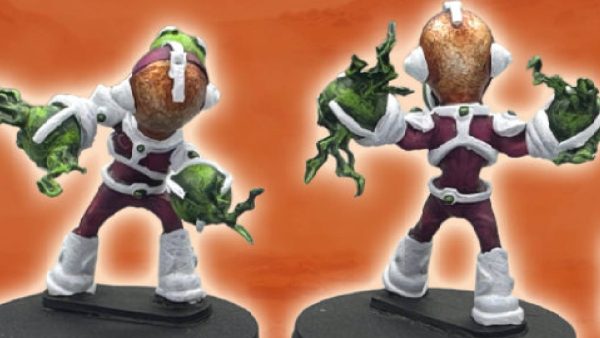
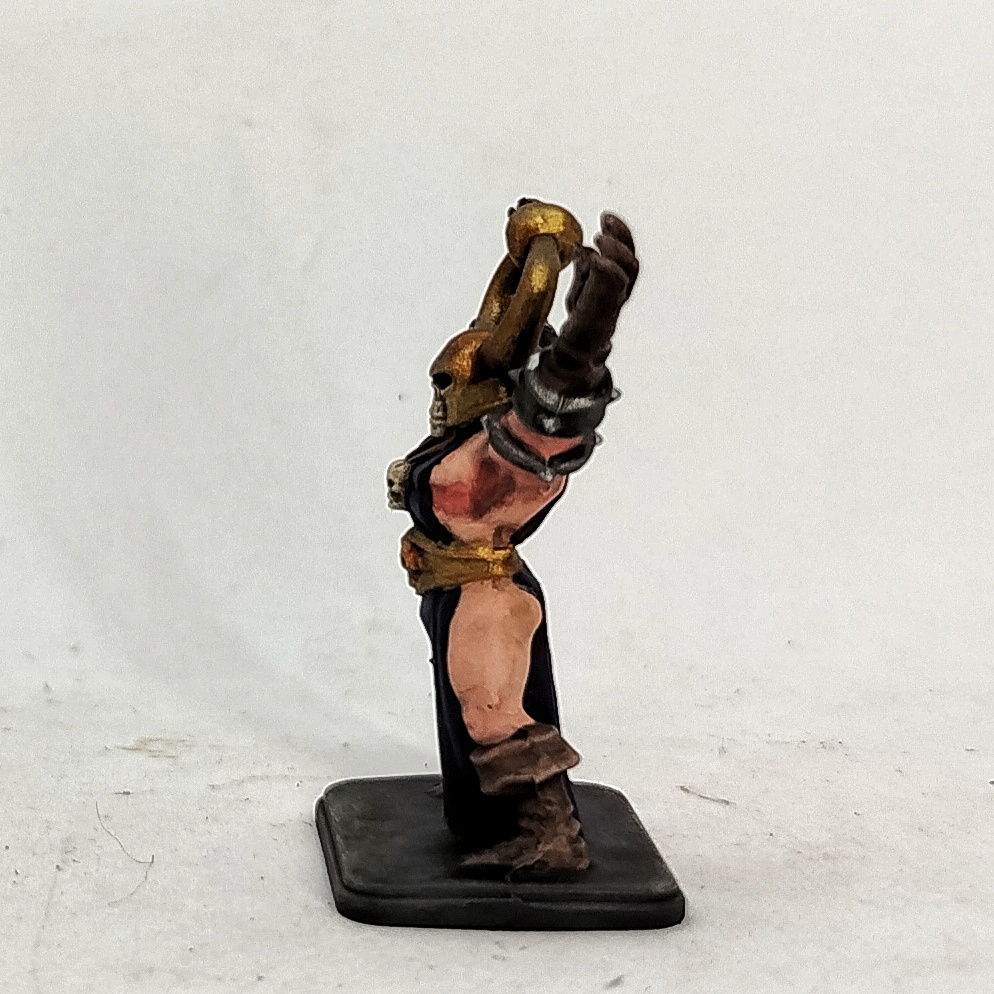
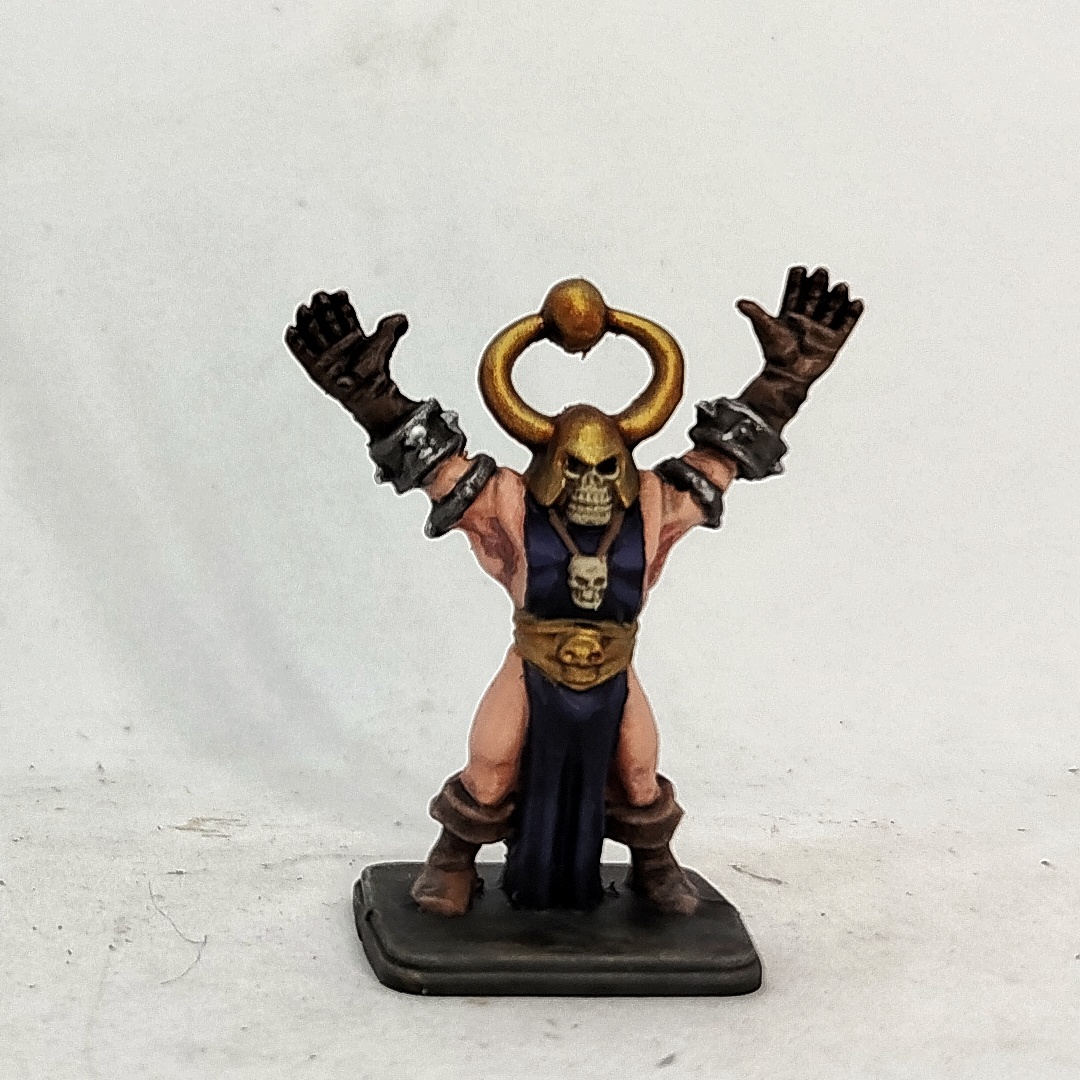
Week 8: Heroes Finished Part 2: The Endening
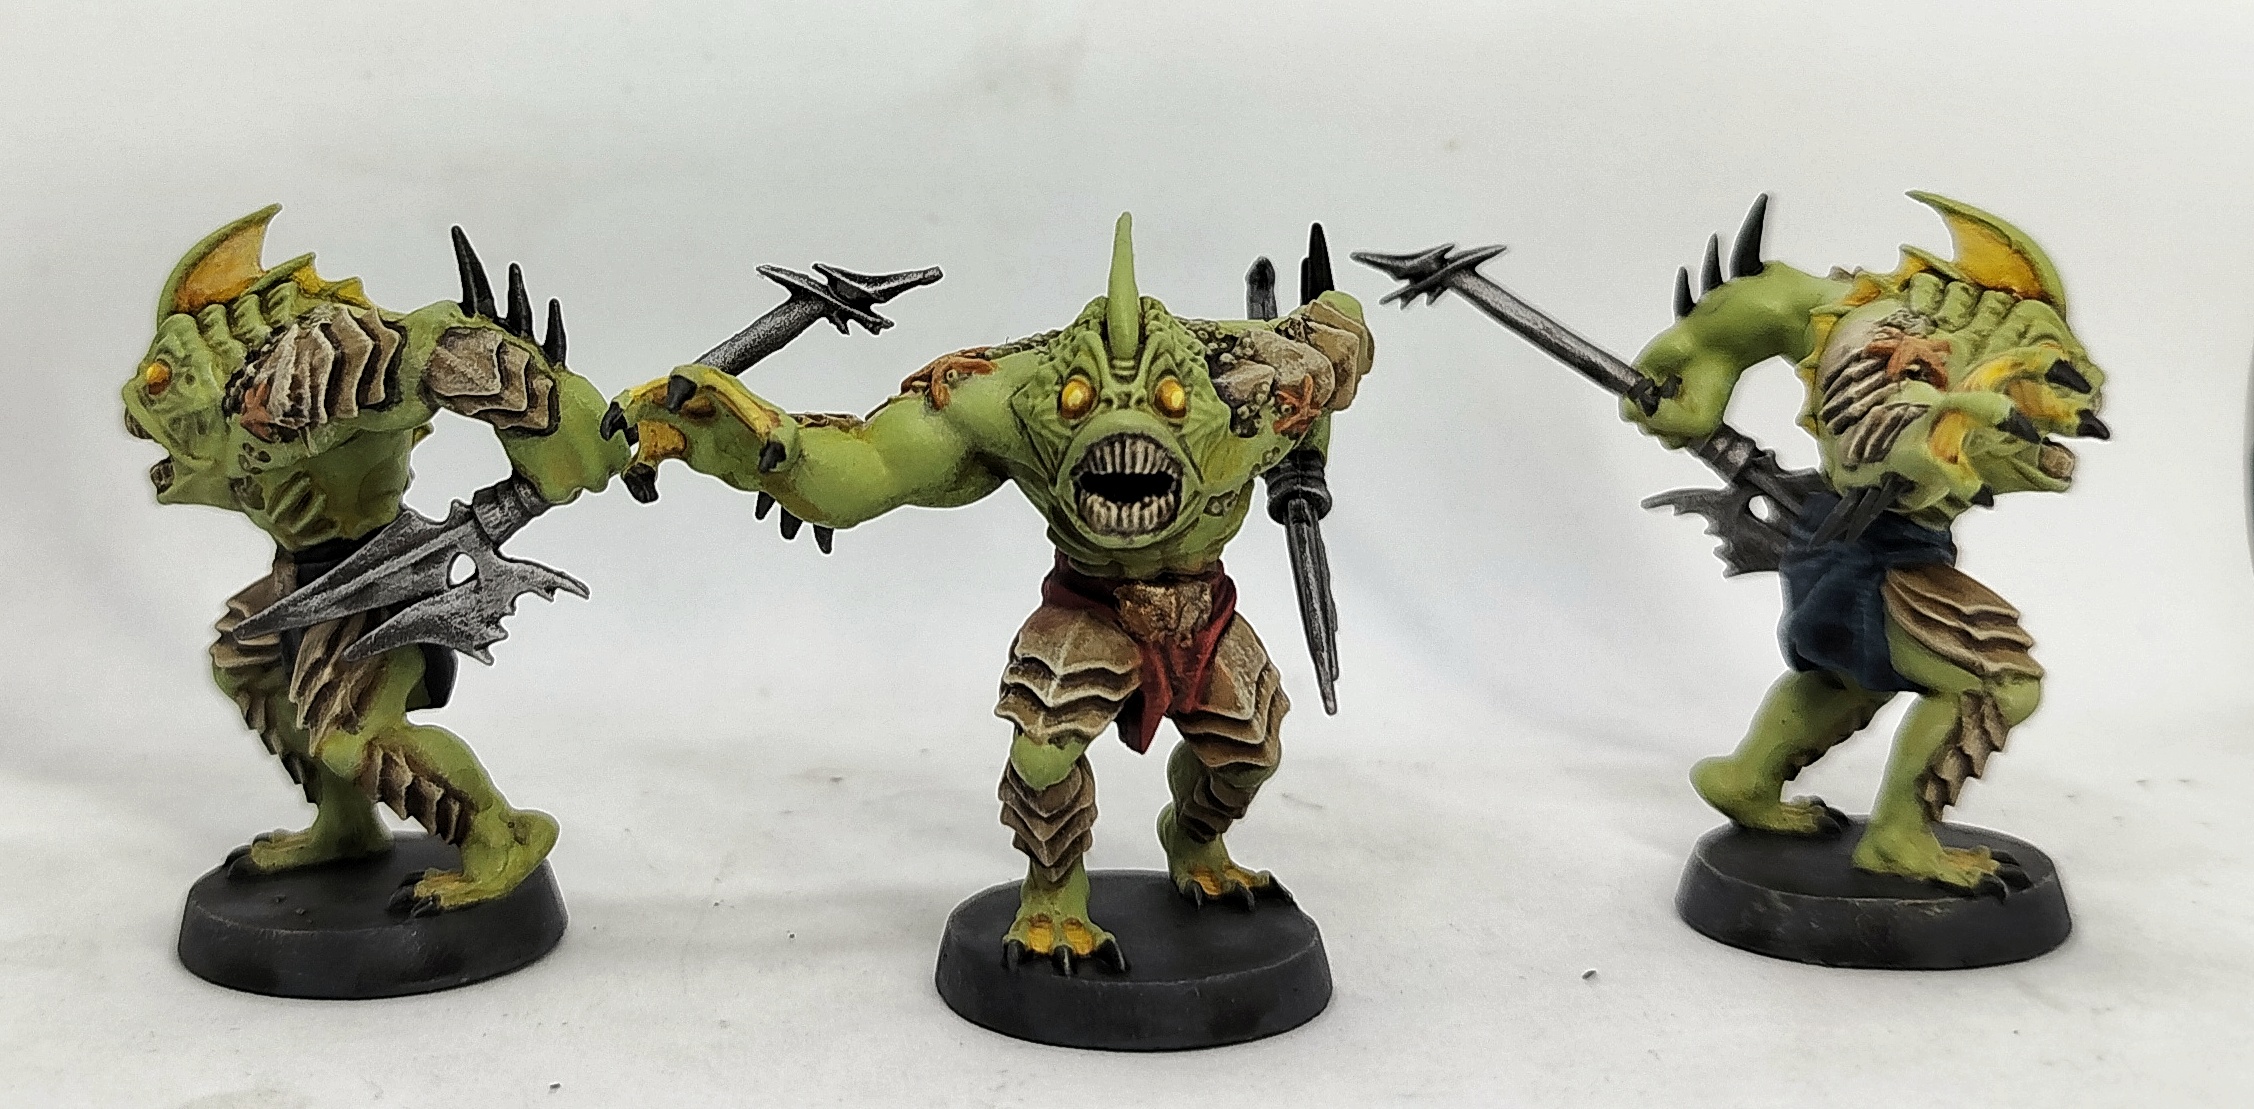
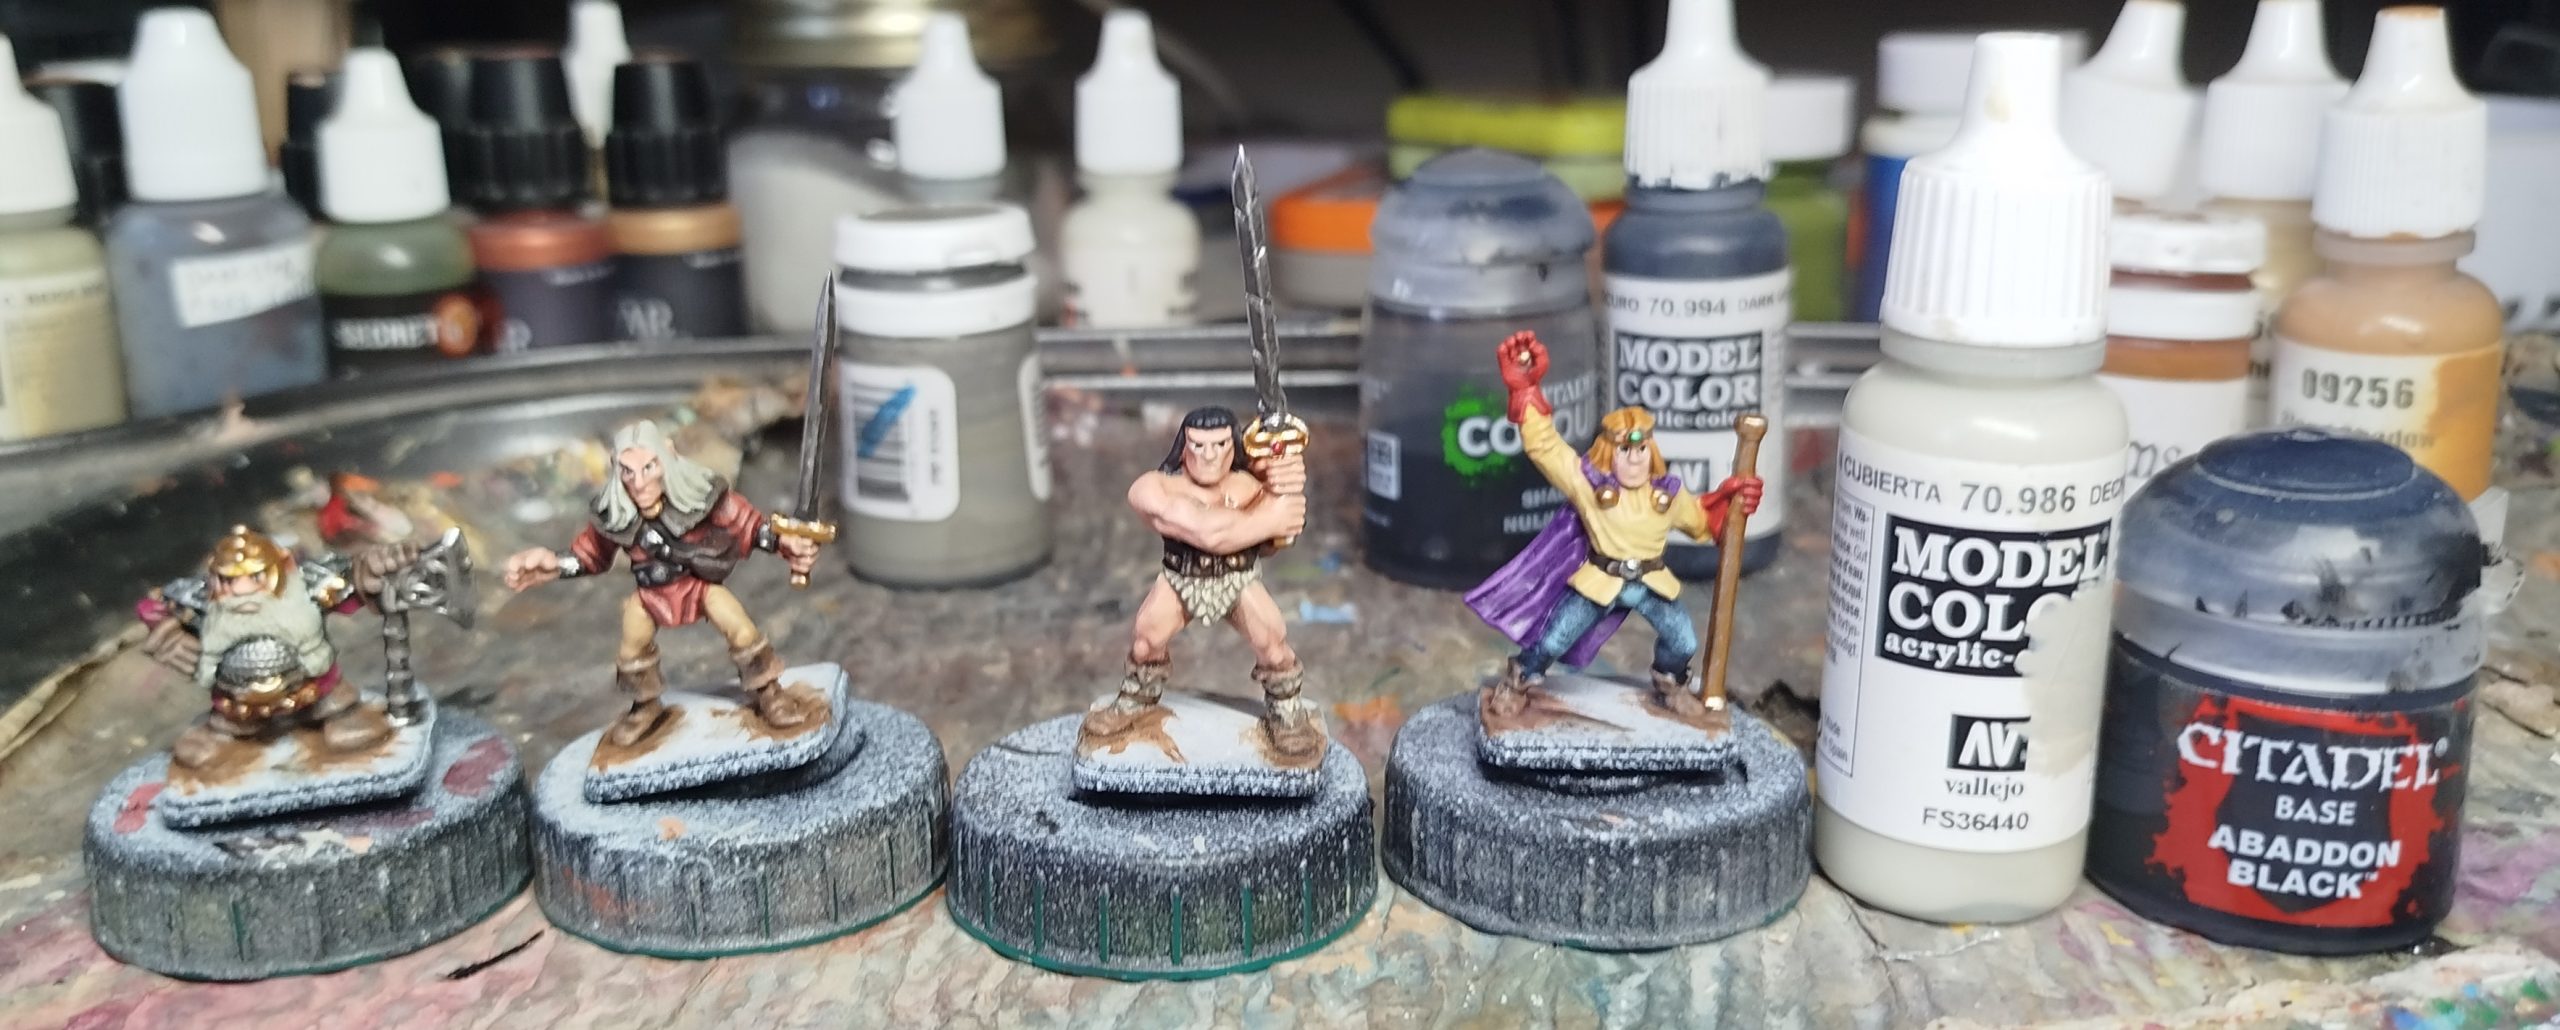 The eyes were painted with VMC 70.986 Deck tan and dotted with any Black for the pupils
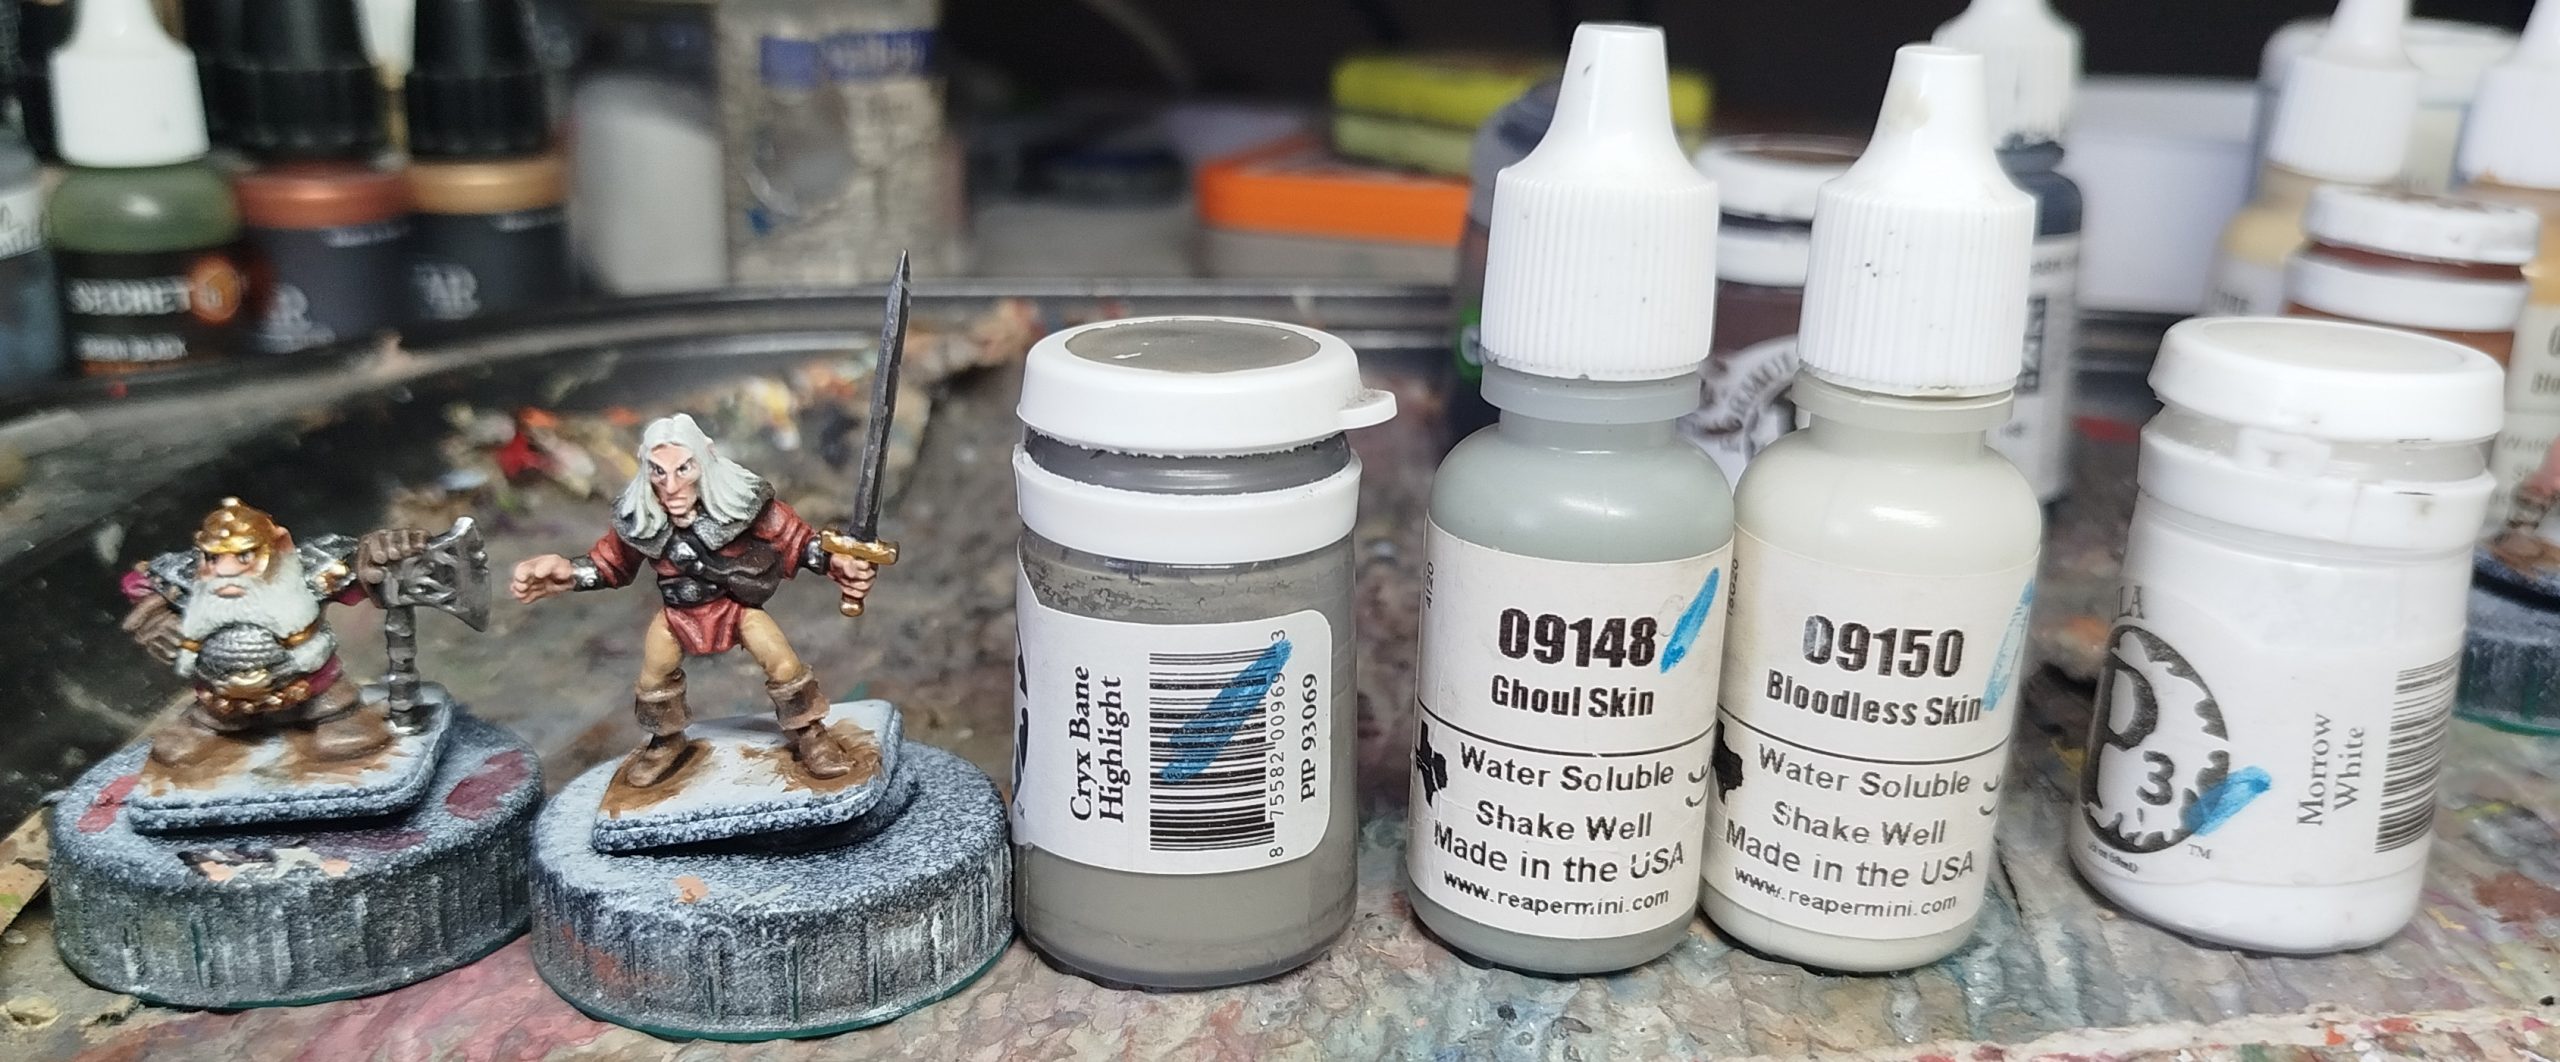 Base coat the white hair with a mix of Reaper MSP 09148 Ghoul Skin and Reaper MPS 09150 Bloodless Skin. Wash with P3 Cryx Bane Highlight. Drybrush with some Bloodless Skin, then add some white and repeat. Lightly drybrush with just white on select areas only.
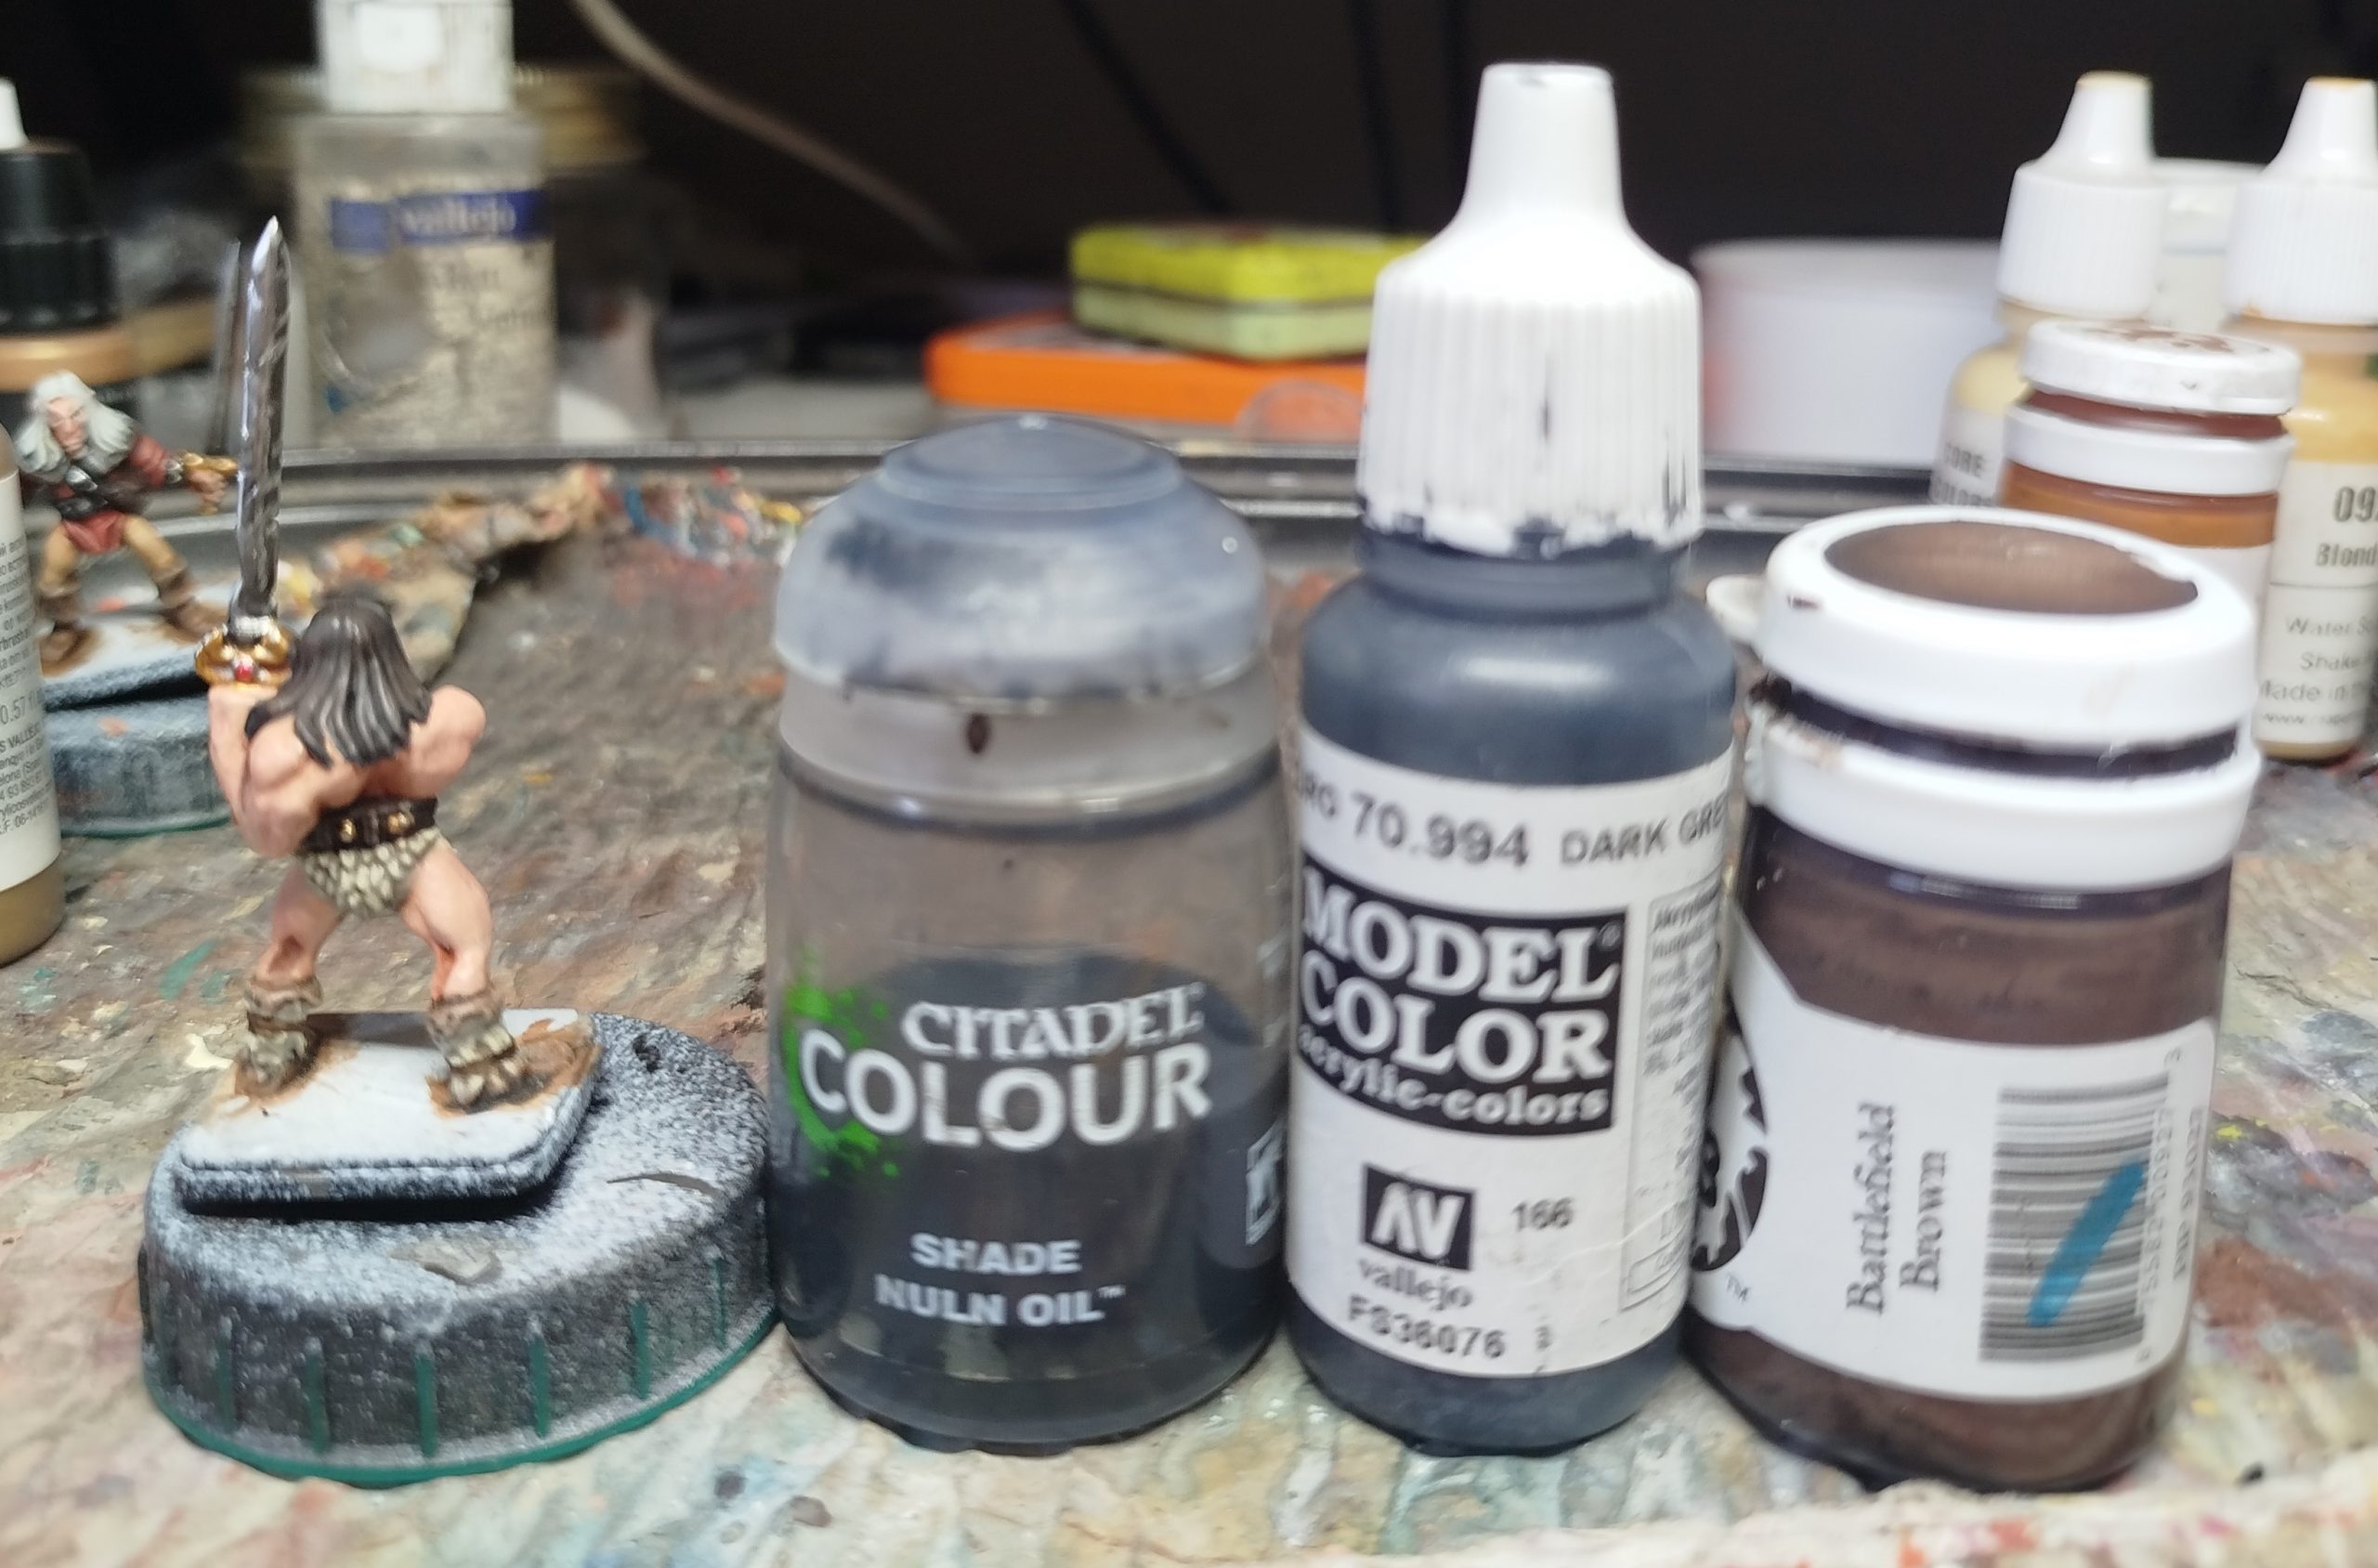 Base the black hair with VMC 70.994 Dark Grey. Drybrush with Battlefield Brown, then wash with GW Nuln Oil. Drybursh again, but lighter, if needed.
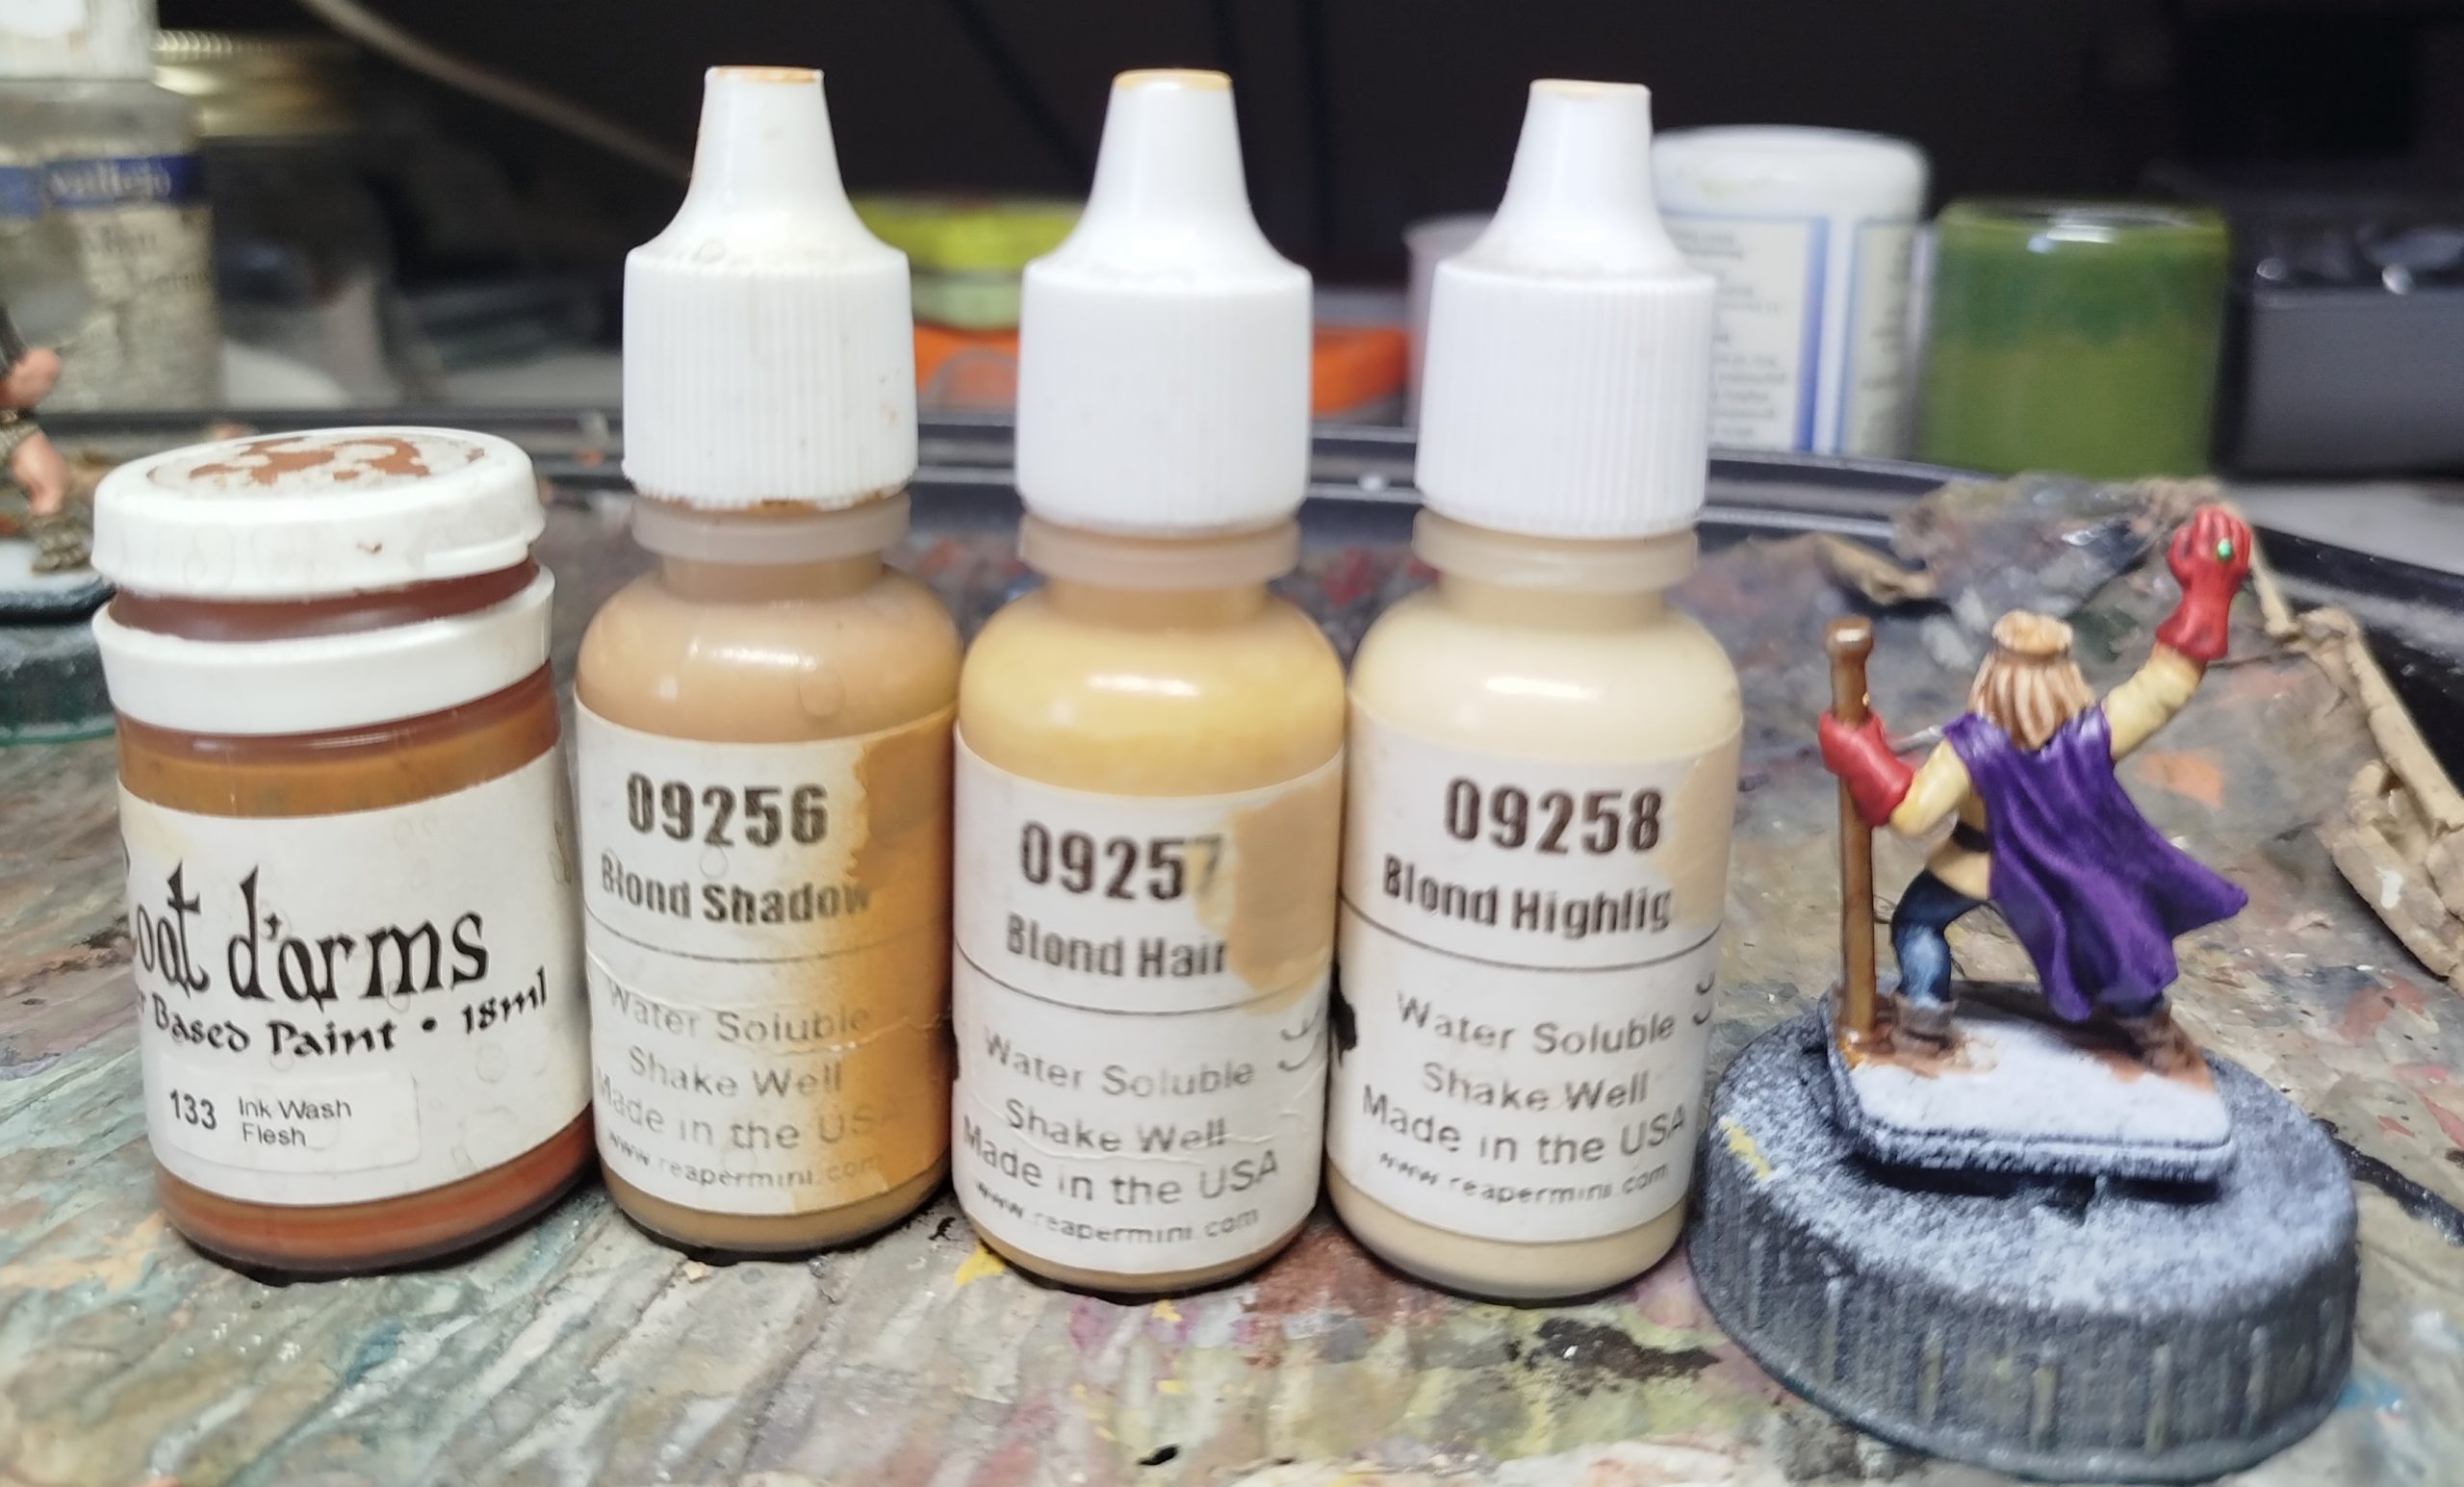 Base with Reaper MSP 09256 Blond Shadow, and wash with thinned Coat d'arms 133 Ink Flesh Wash. Allow to dry and pin wash a thicker mix of the wash to the darkest areas only. Drybrush with Reaper MPS 09257 Blond Hair, and finally with Reaper MSP 09258 Blind Highlight to targeted areas only.
They were all then bases coated as before, and varnished. And that’s the last model in the box finished.
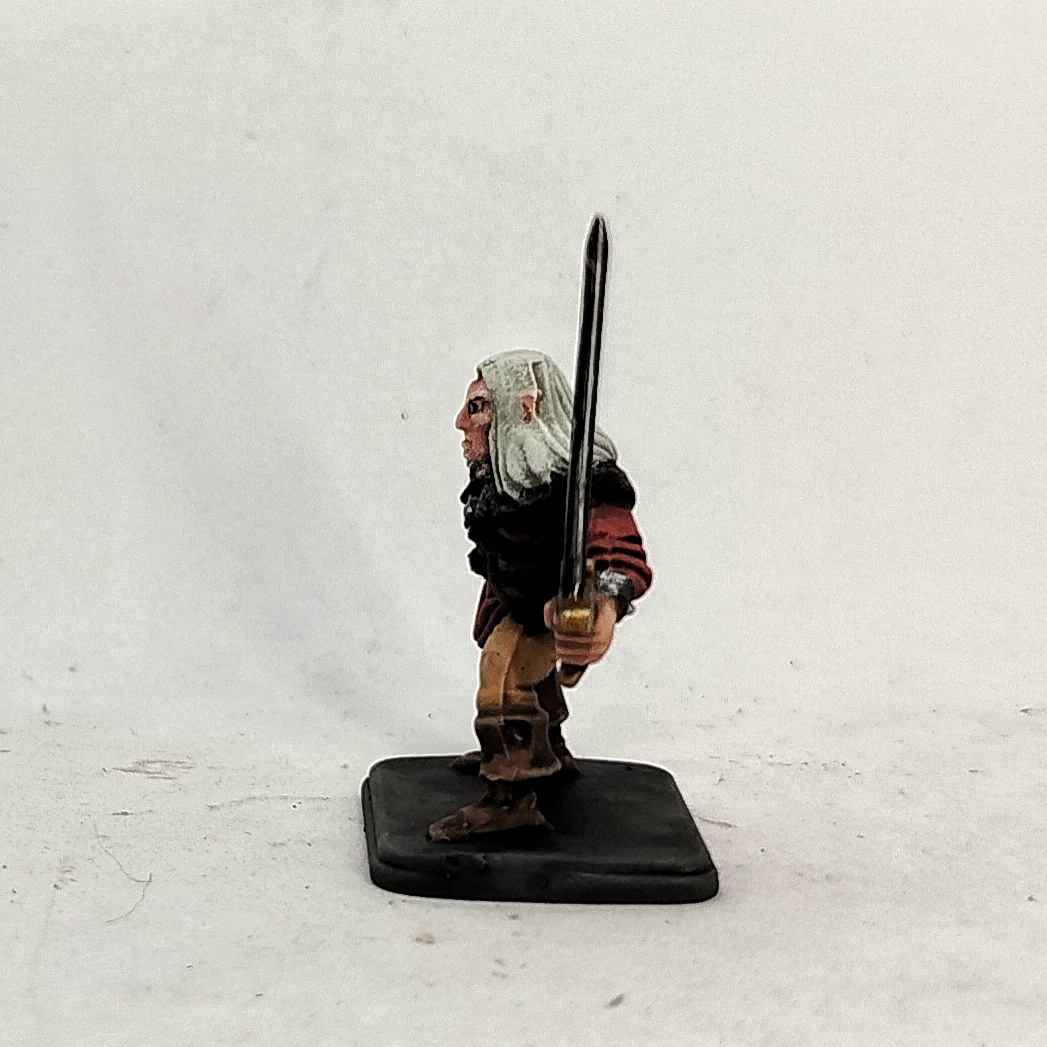
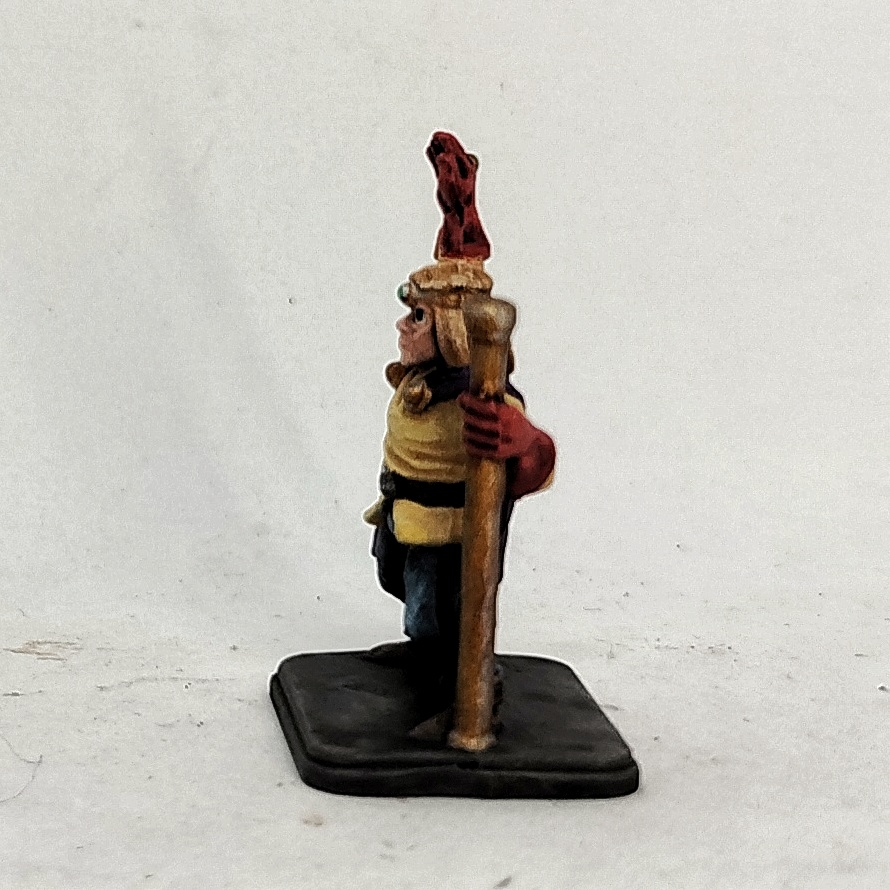

Week 8: All Done
I don’t own a fancy motorised turntable, but what I do have is a manual painters turntable and very shaky hands. I like to call this piece, “I’ll take the 100 on the right, you take the 100 on the left”
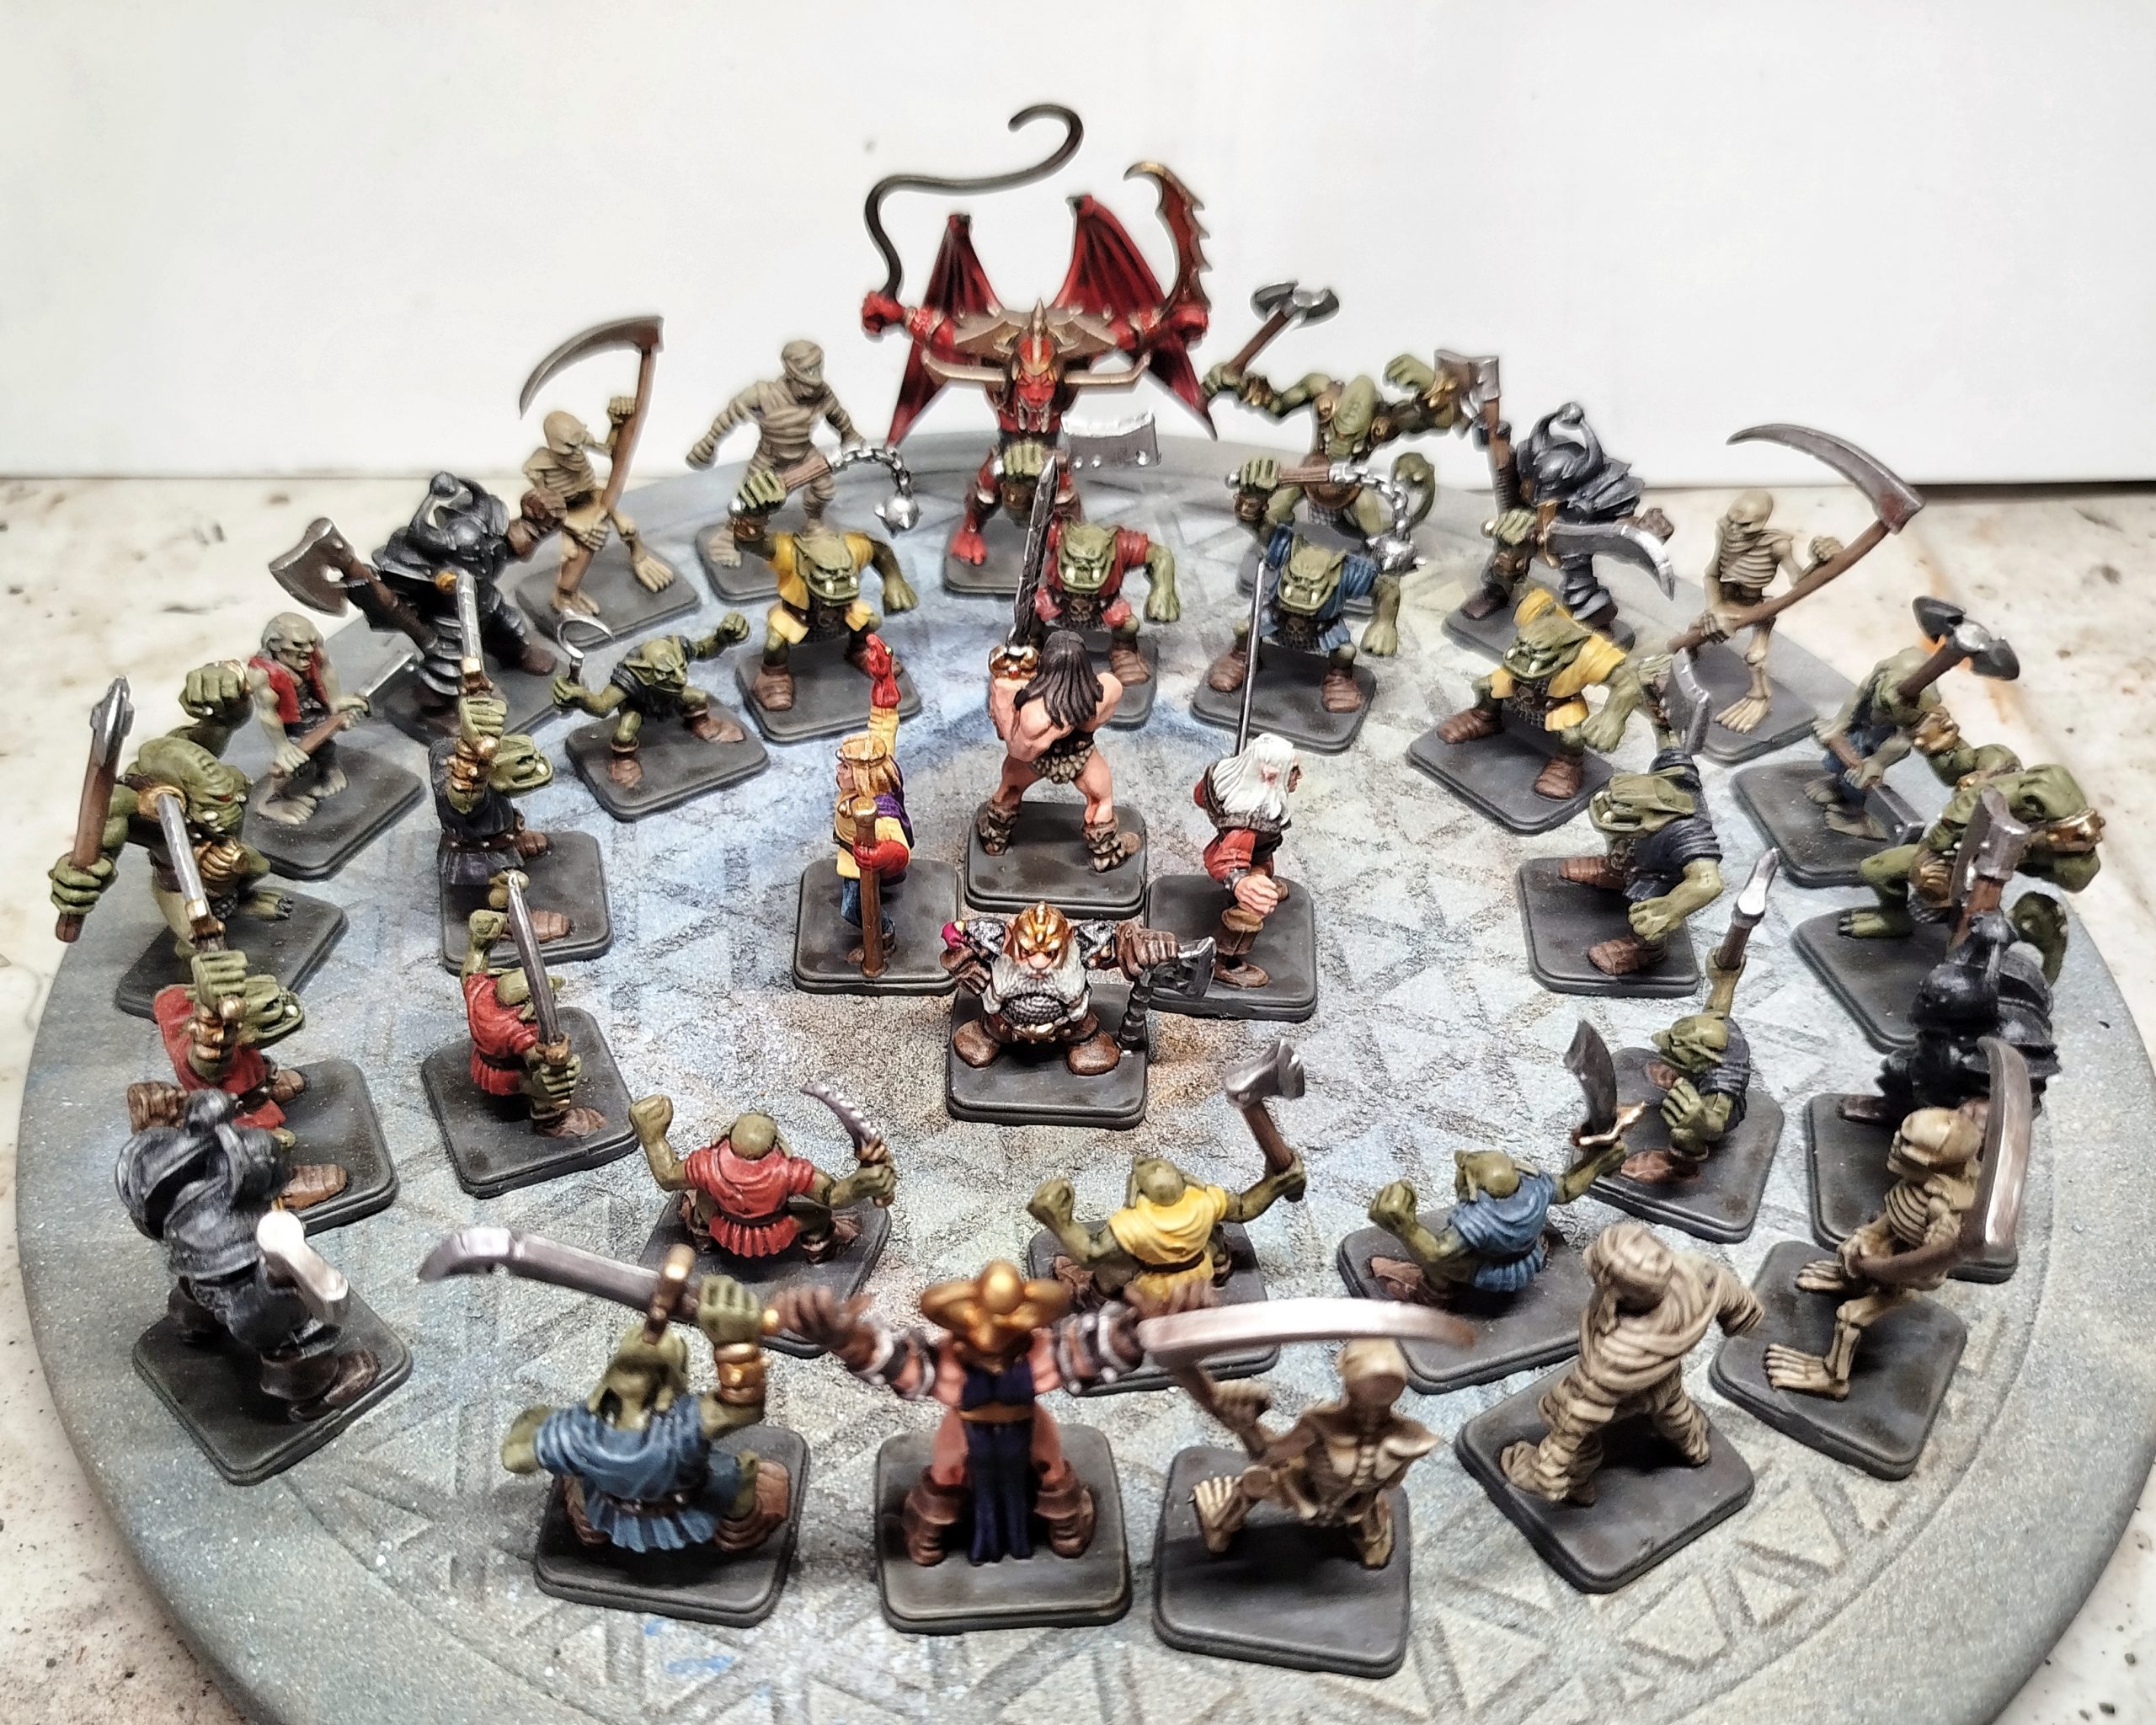
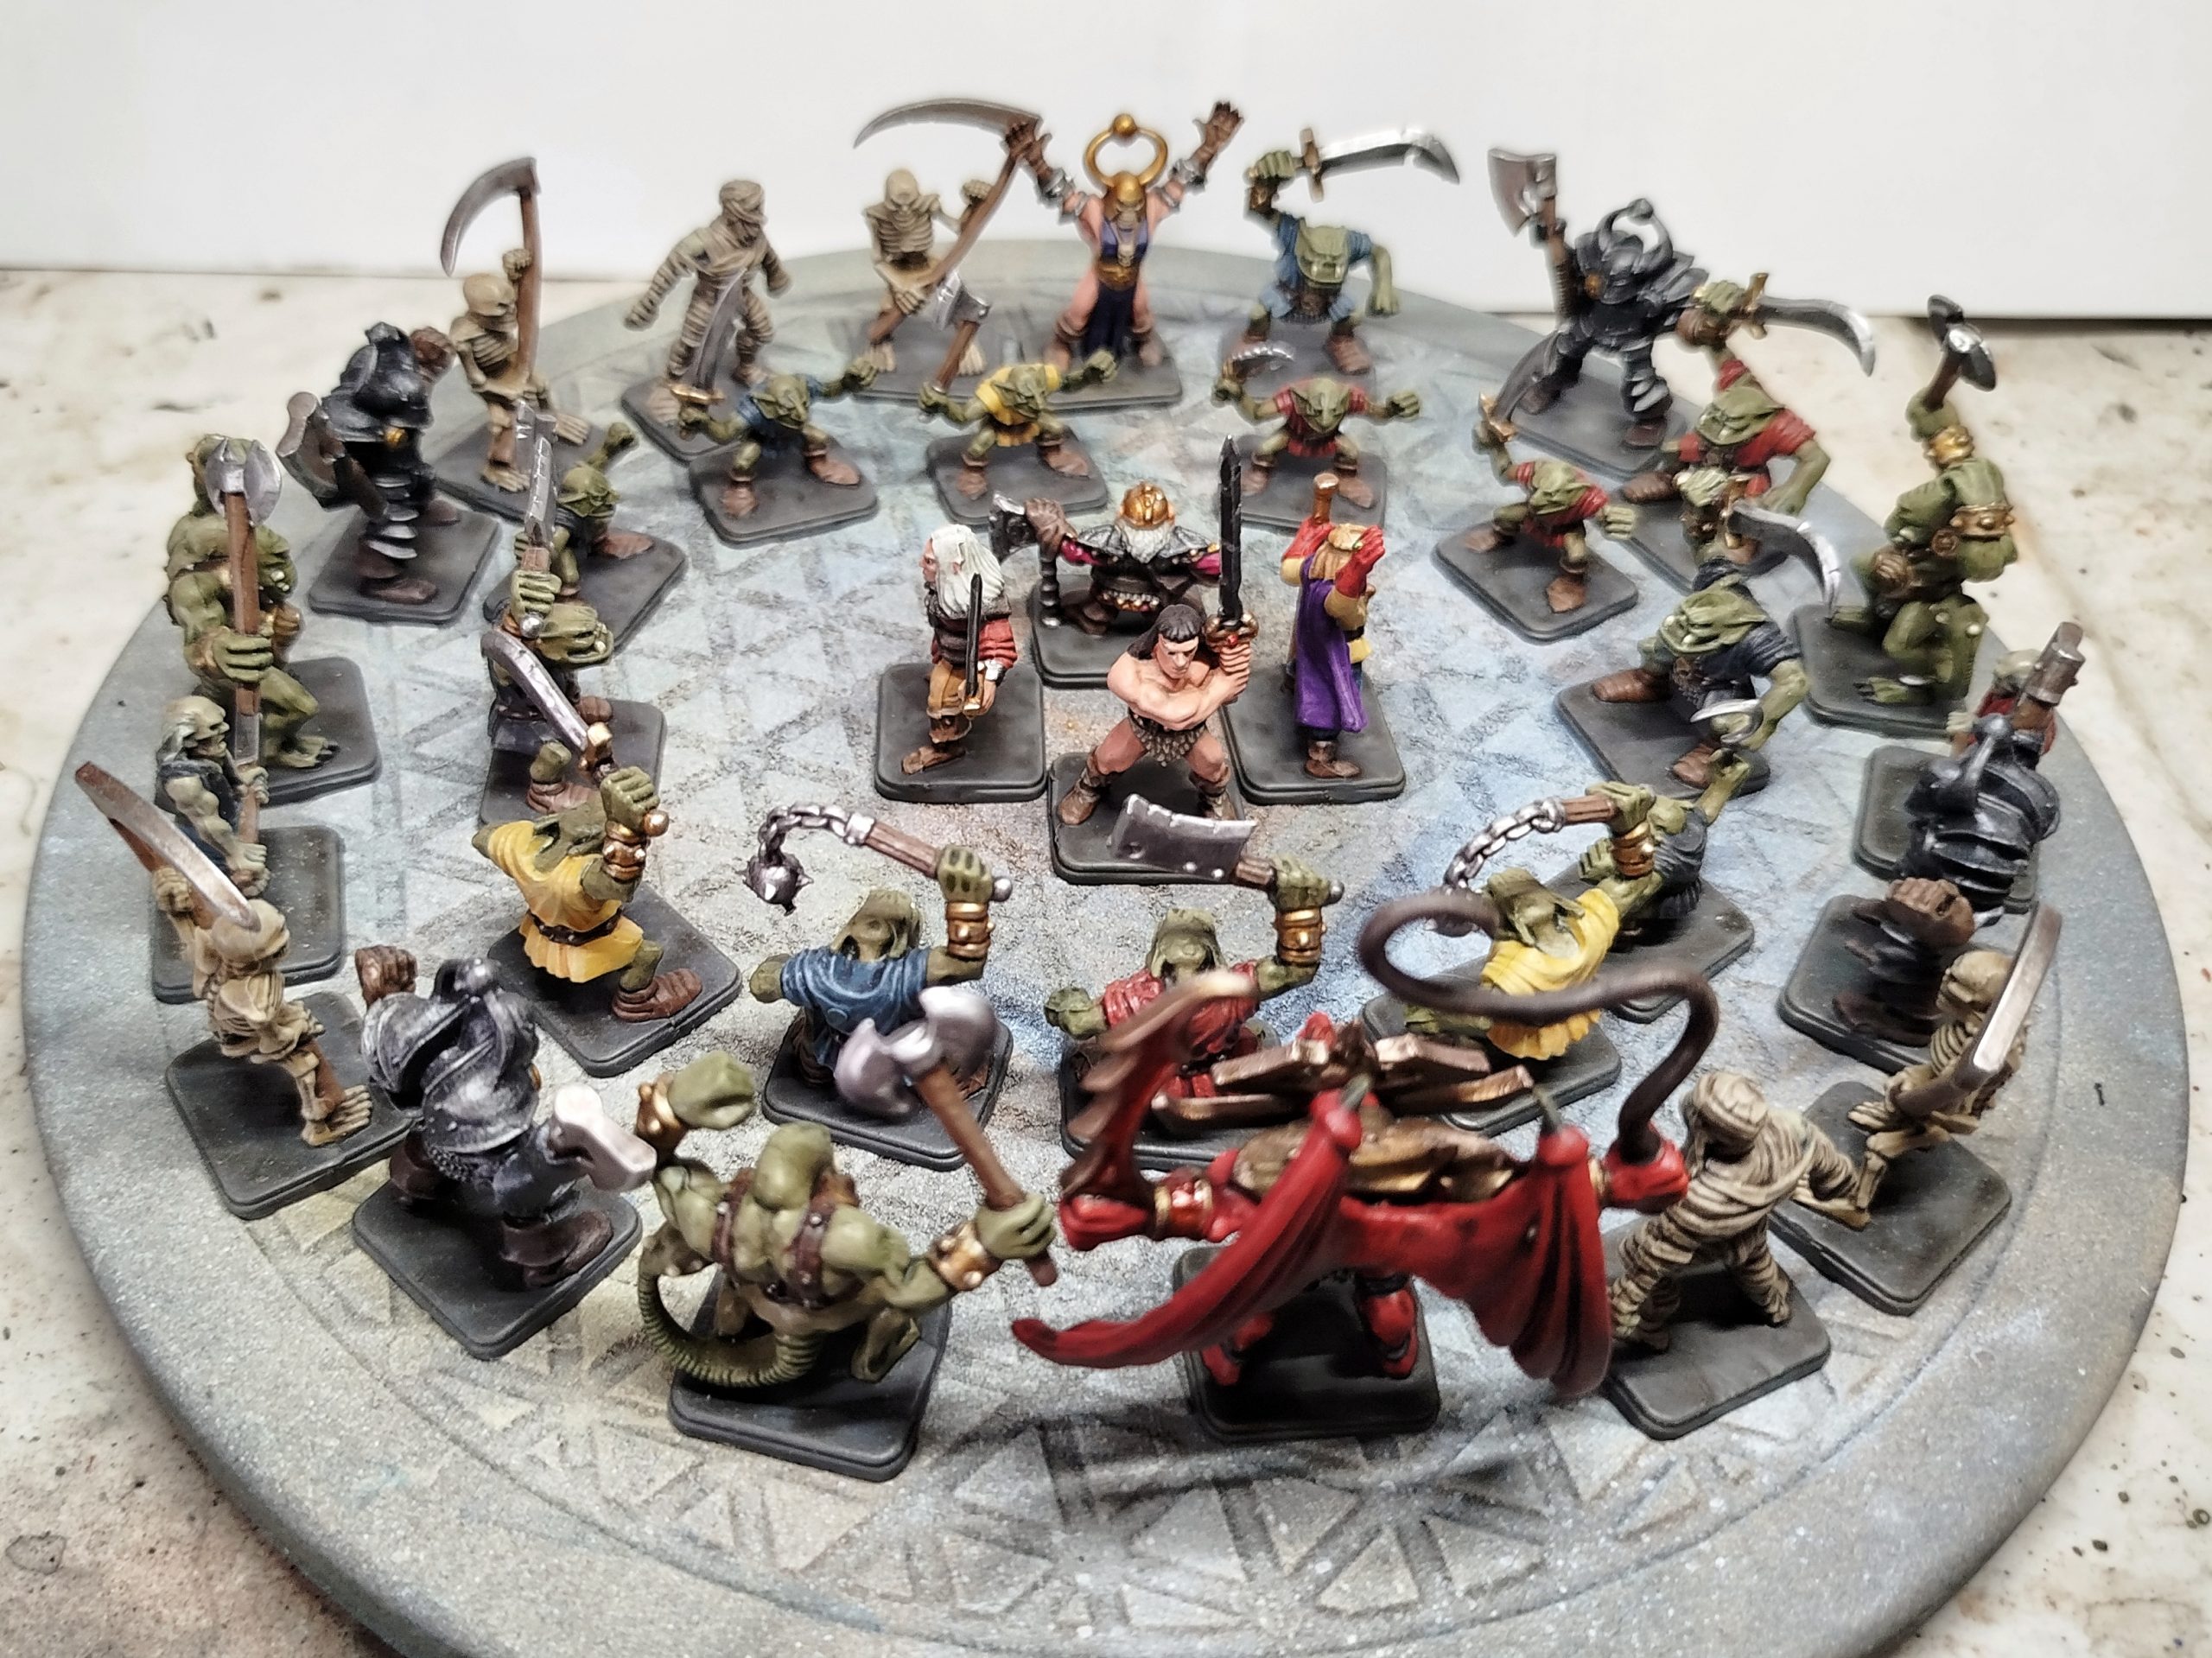
And that’s this project all finished, unless someone wants to send me any of the expansions, or maybe even a copy of Space Crusade?
Every couple of months I get together with friends for a weekend of Frosthaven. Saturday morning one of us has a class and another just cant get out of bed. I’m thinking I may use this time for the remaining 2 of us to sit down with one, perhaps both, of his kids and play this, one game a session.
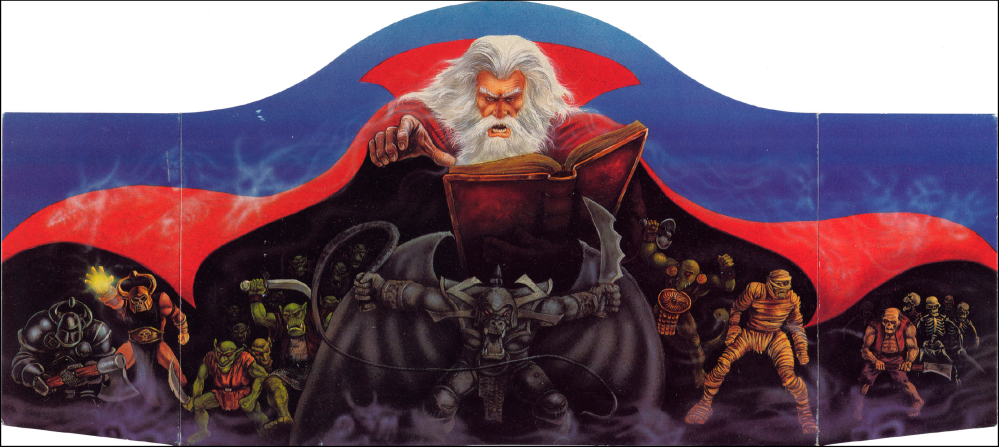
Kellars Keep and Return of the Witch Lord
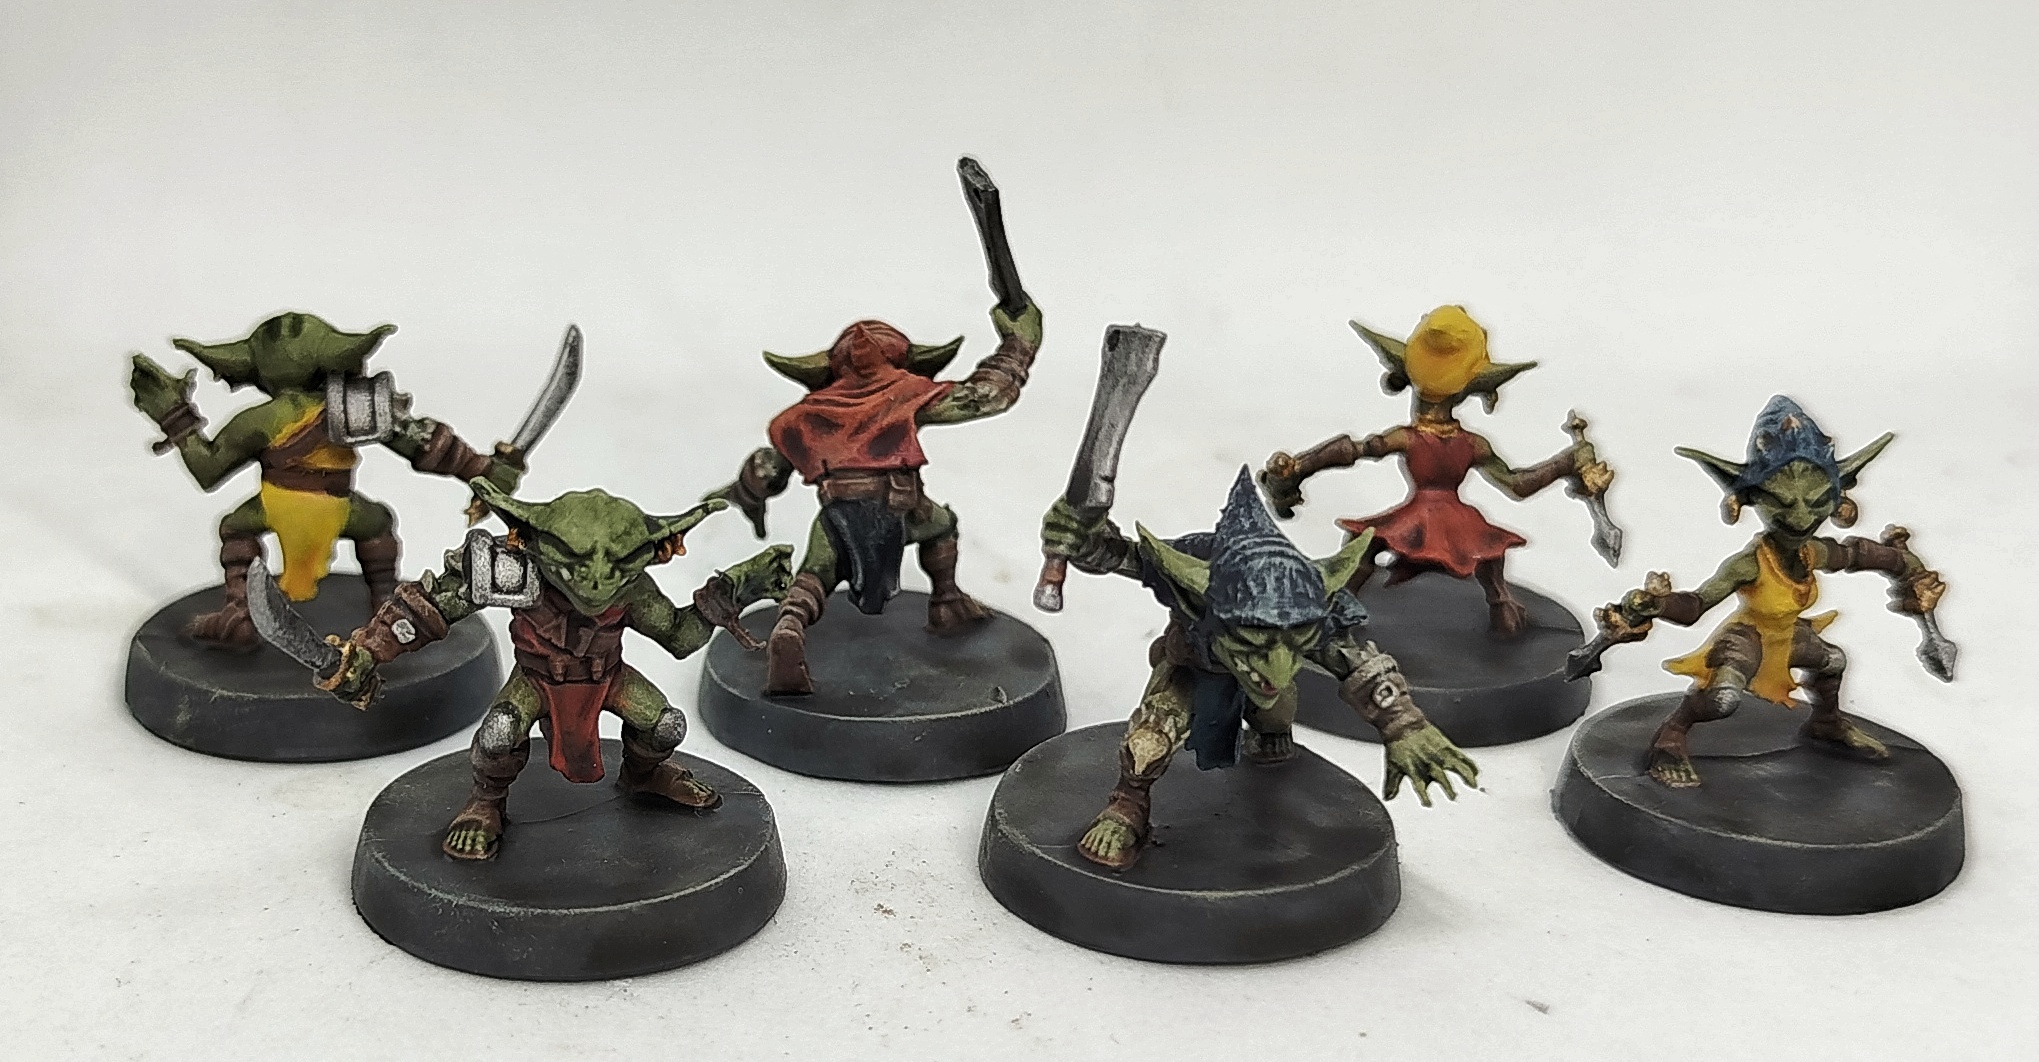
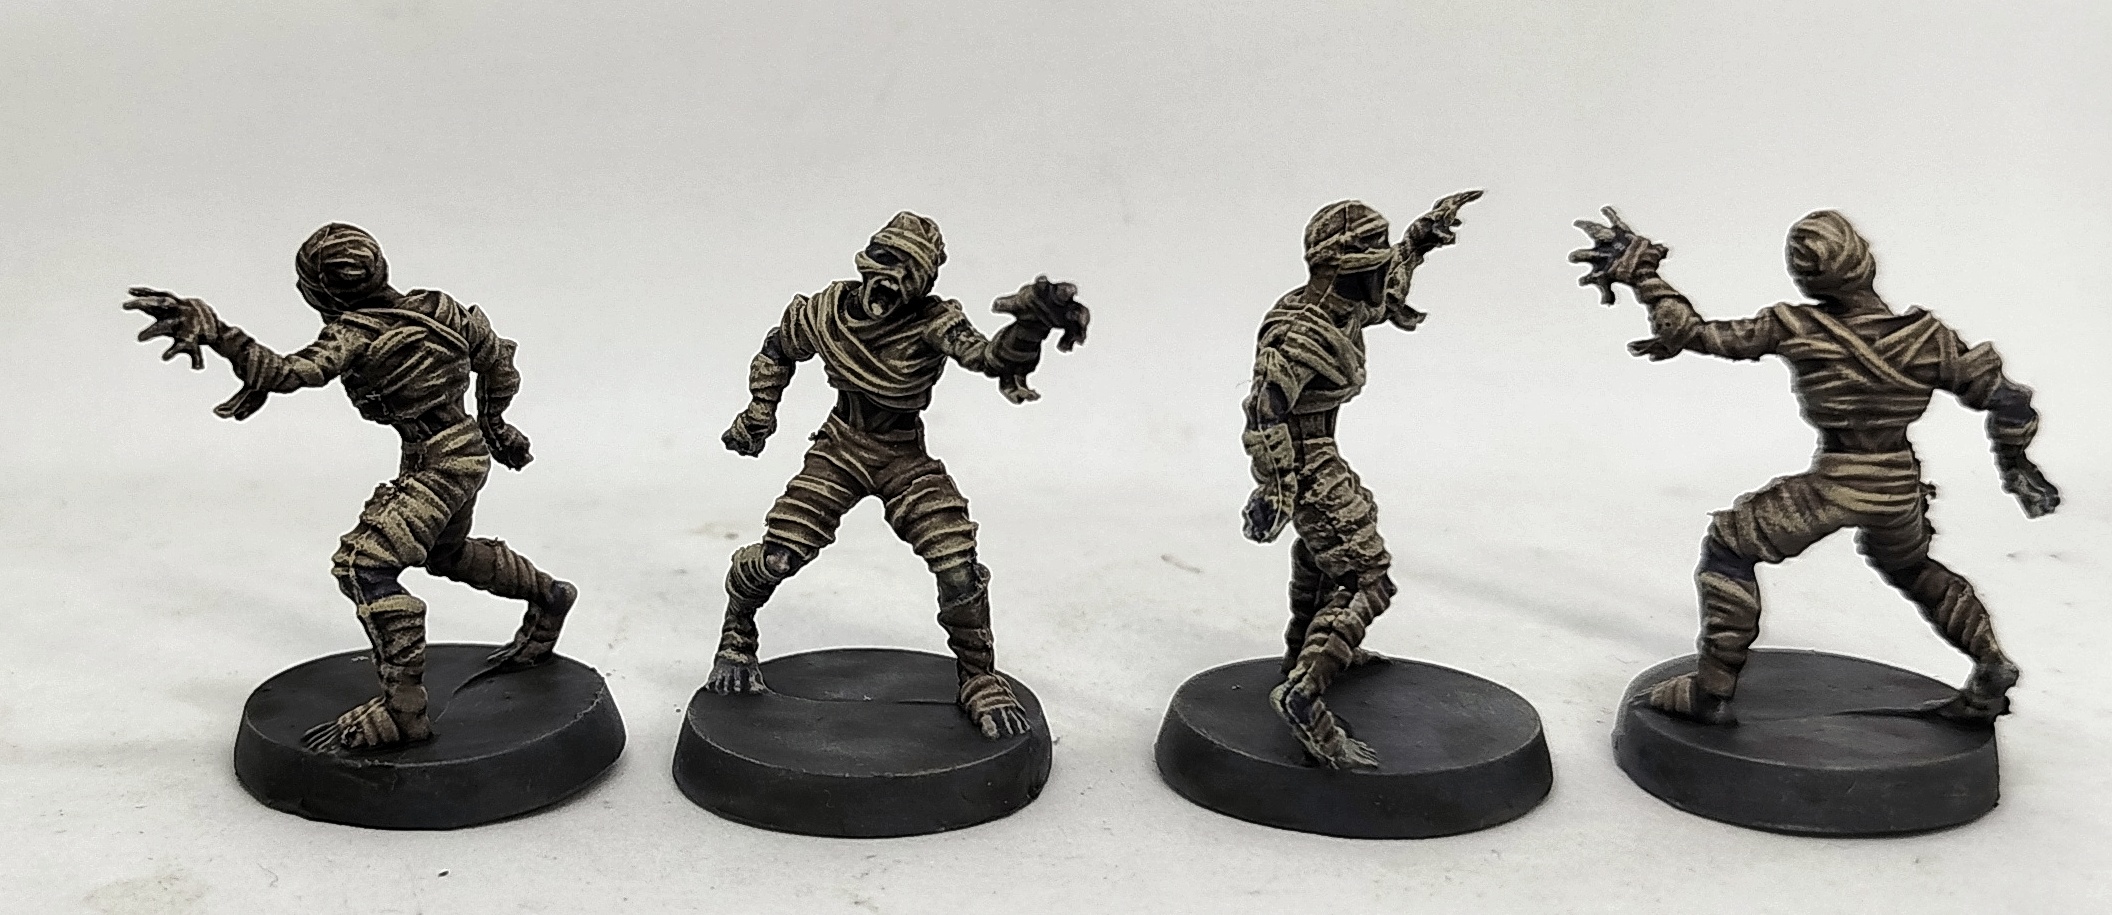
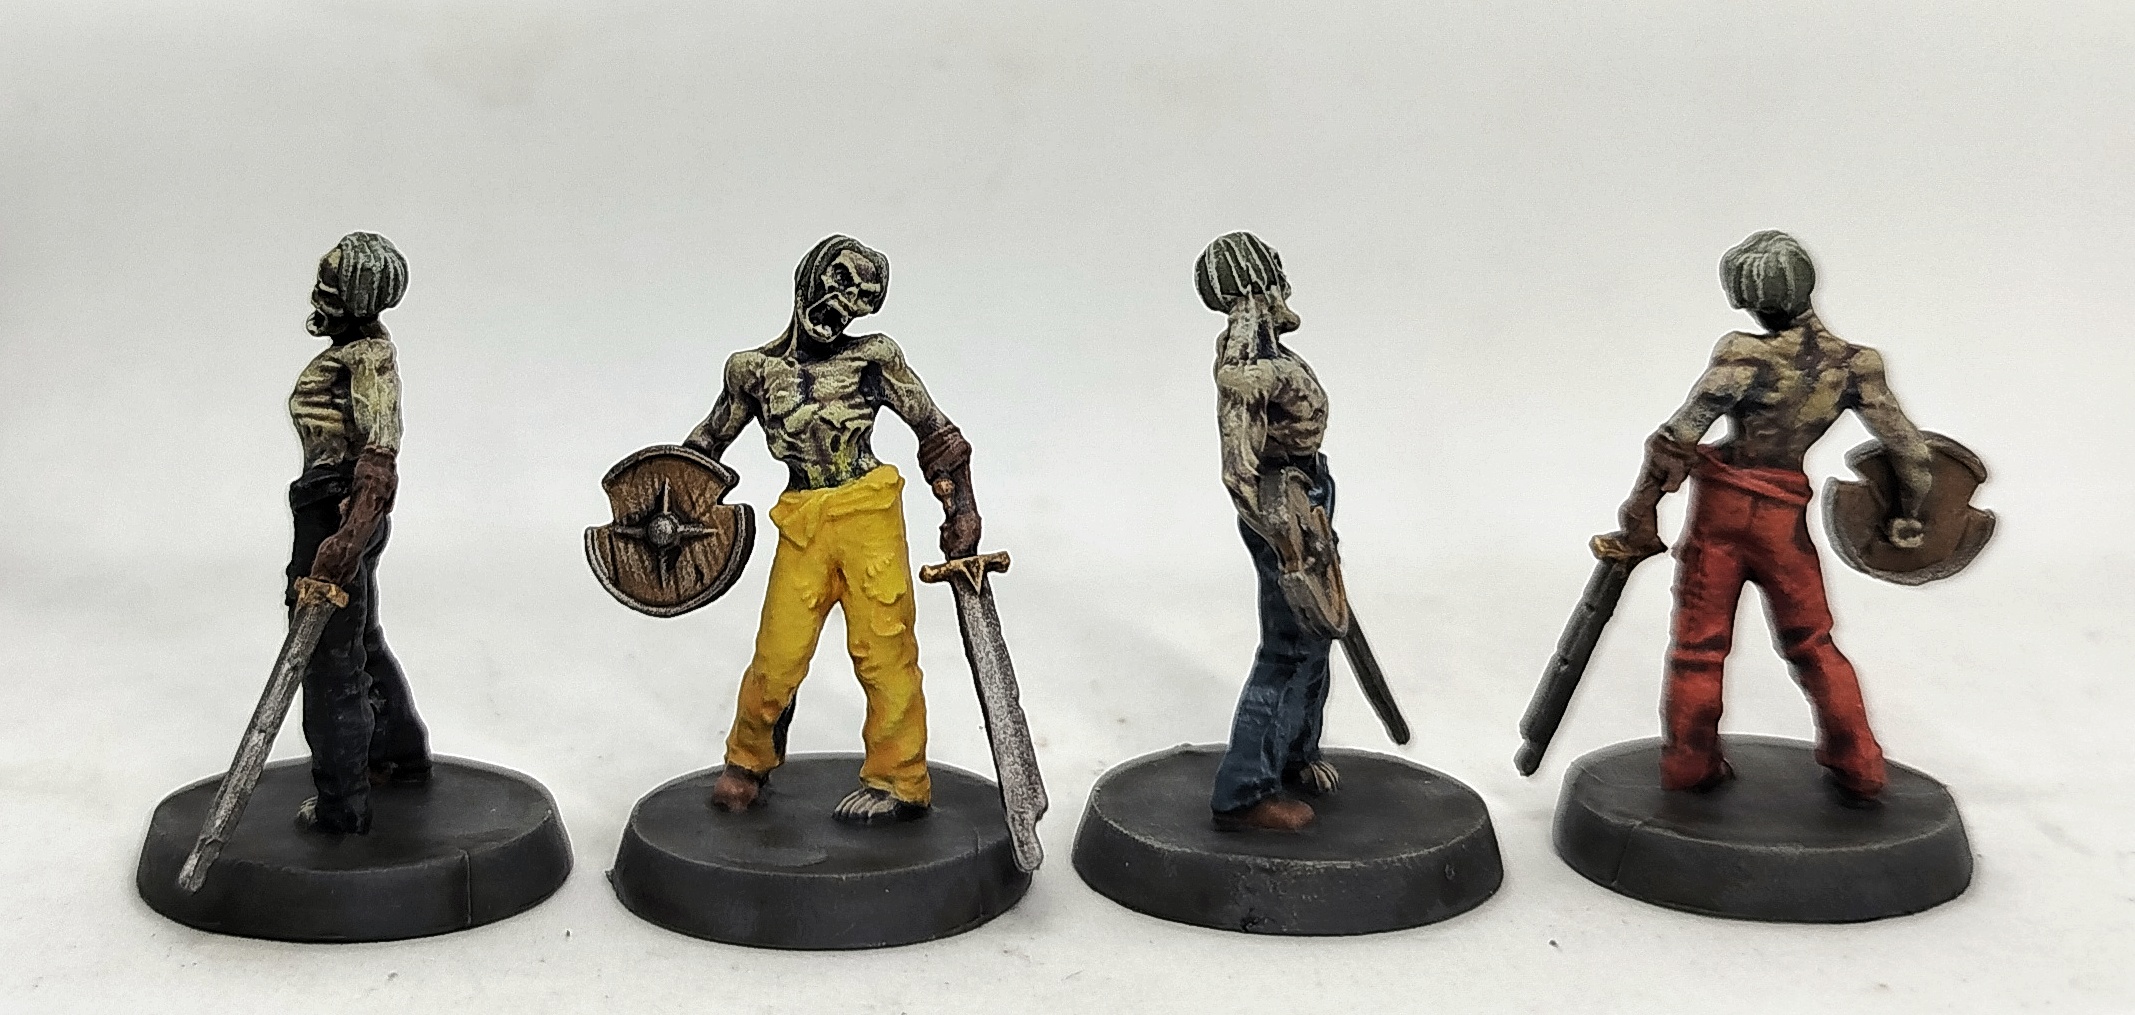
I’ve been slowly playing through HeroQuest with my friend and his kid, so I snapped up the first 2 expansions (Return of the Witch Lord, and Kellar’s Keep) when I found them cheap. While the model designs are probably better, I’d have to say they are worse, for what the product is. They have a lot more detail, which would be nice, but it makes them more difficult to clean up and the plastic does not respond well to tools. it also means they take a lot more time and effort to paint up. Take the skeletons for example. The classic prints were basecoat, wash, drybrush, paint the scythe and you’re done and have cool models. Now there’s layers of clothing and armour fragments. Not just more colours and more layers, but they’re more awkward to paint. They should have been designed with the mindset that this will be a lot of peoples first hobby experience and kept simple. Instead they made the hobby side demanding and not fun.
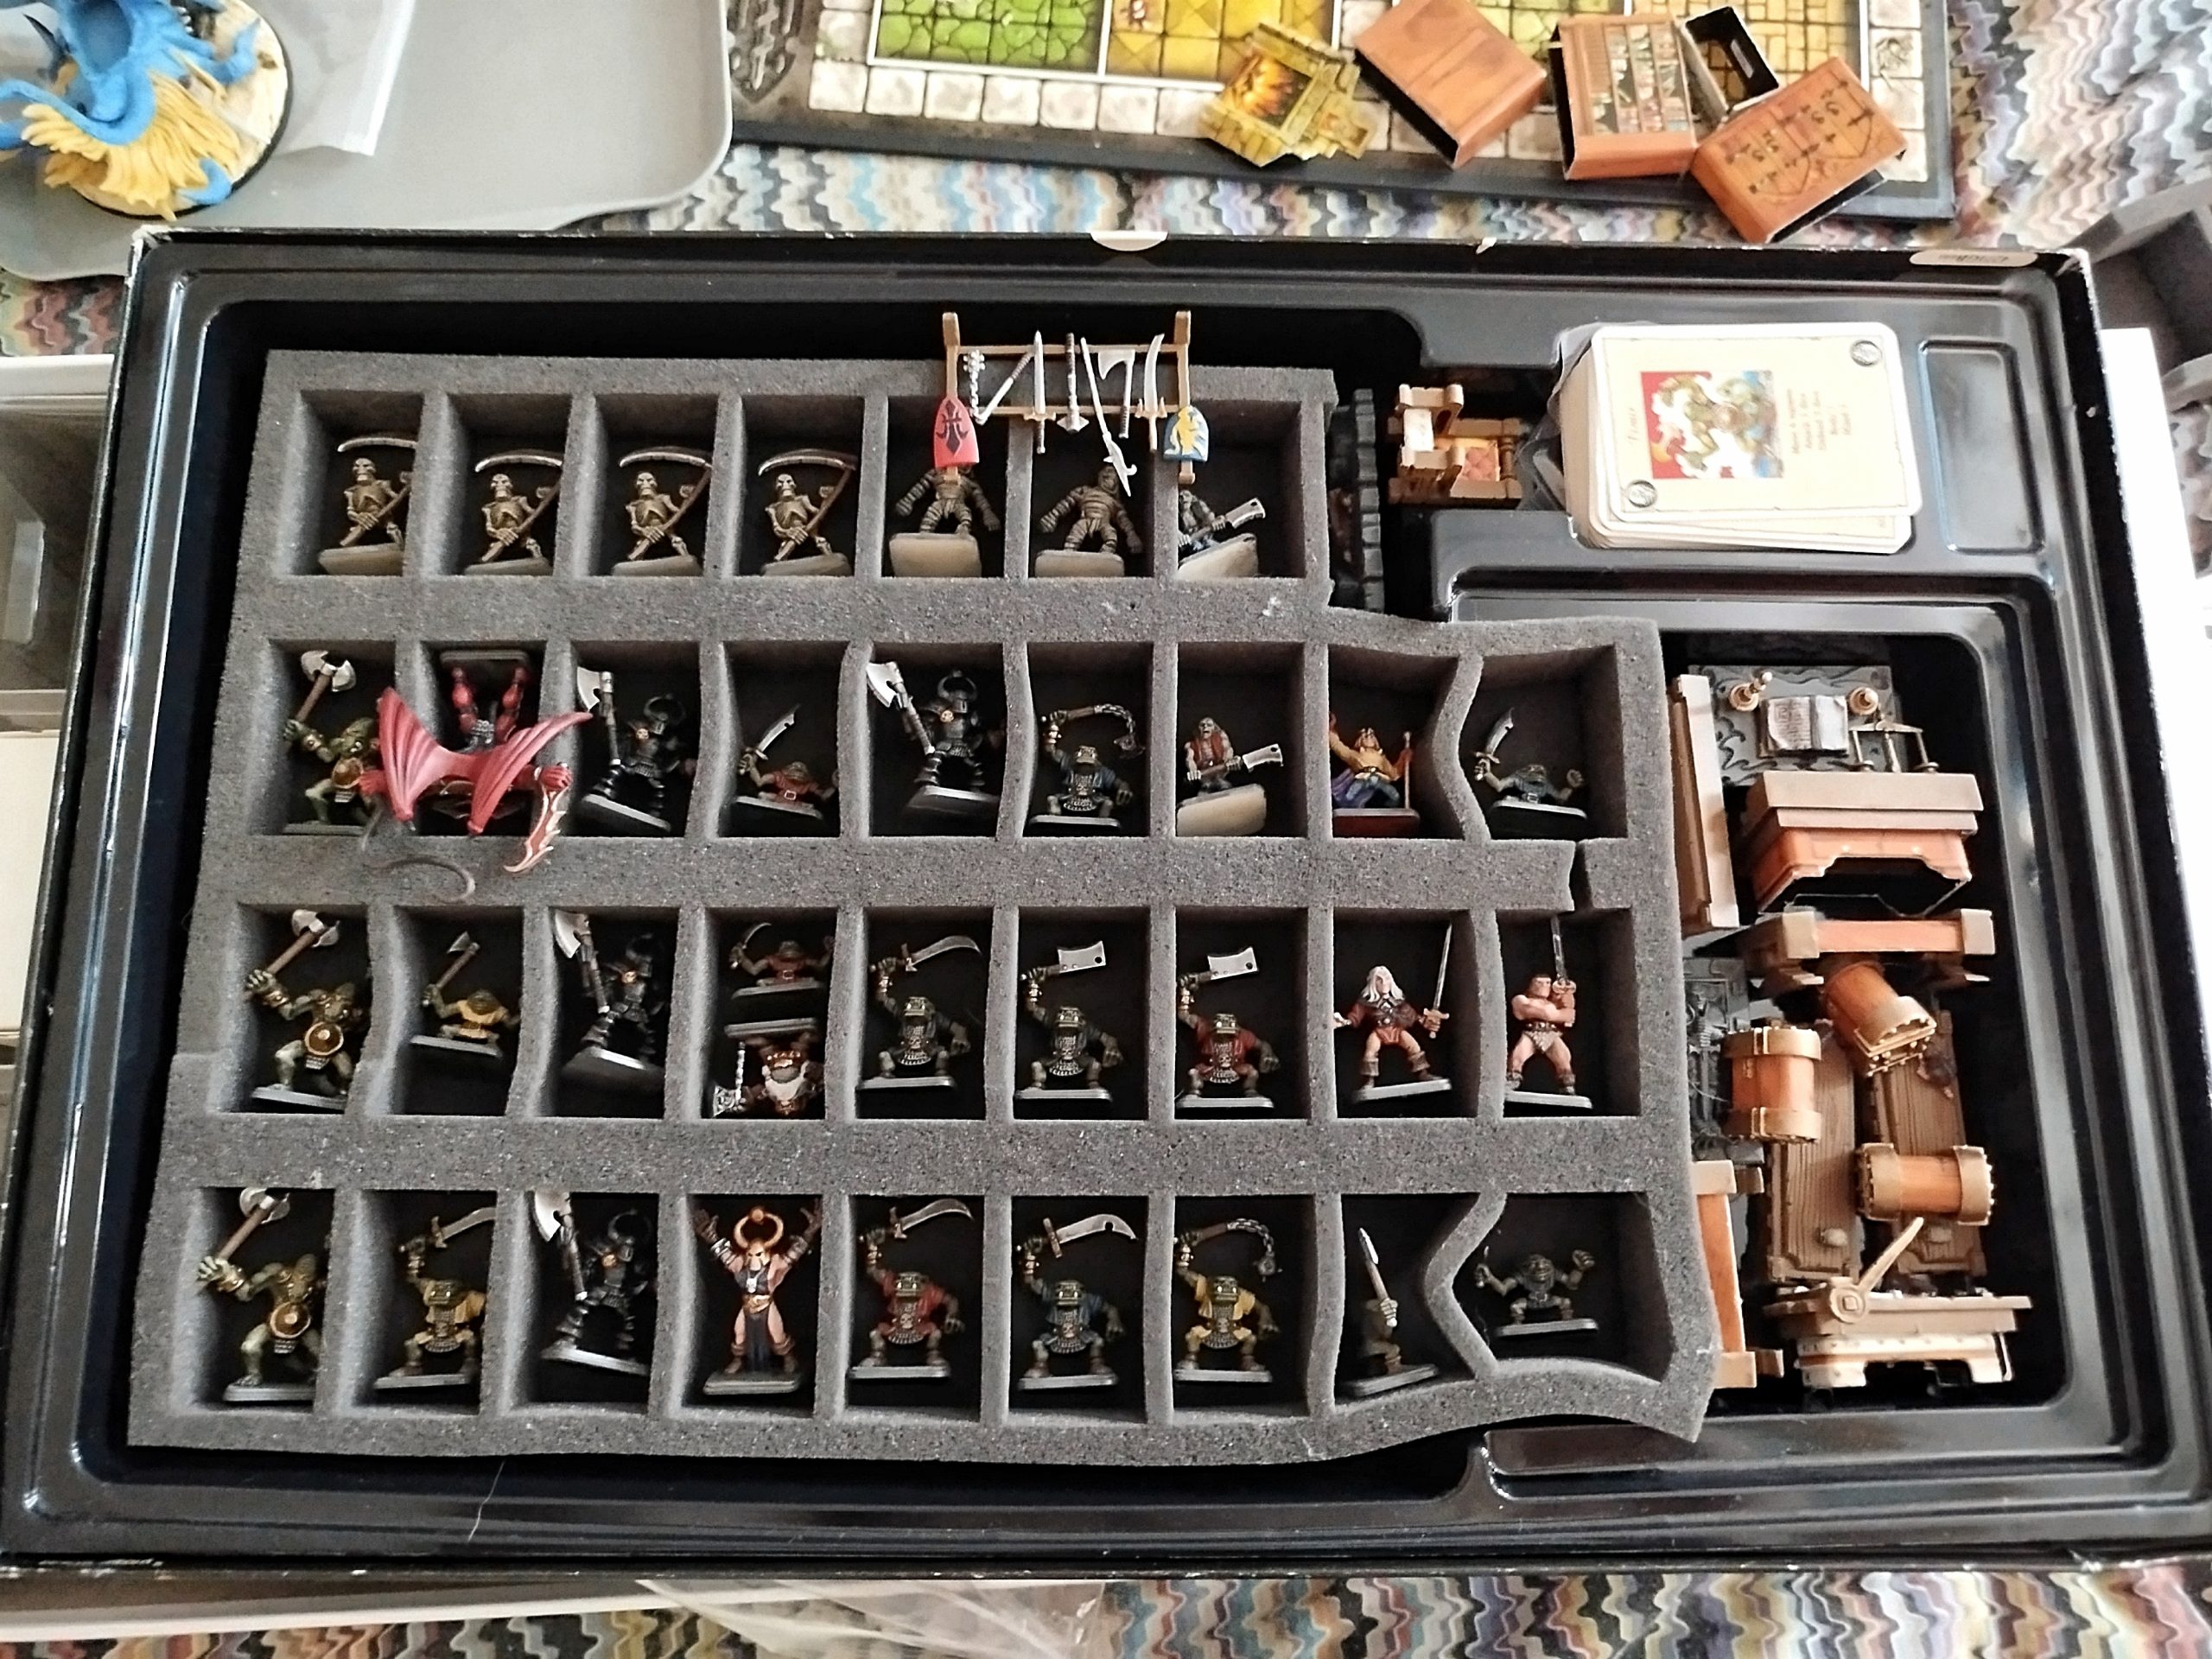
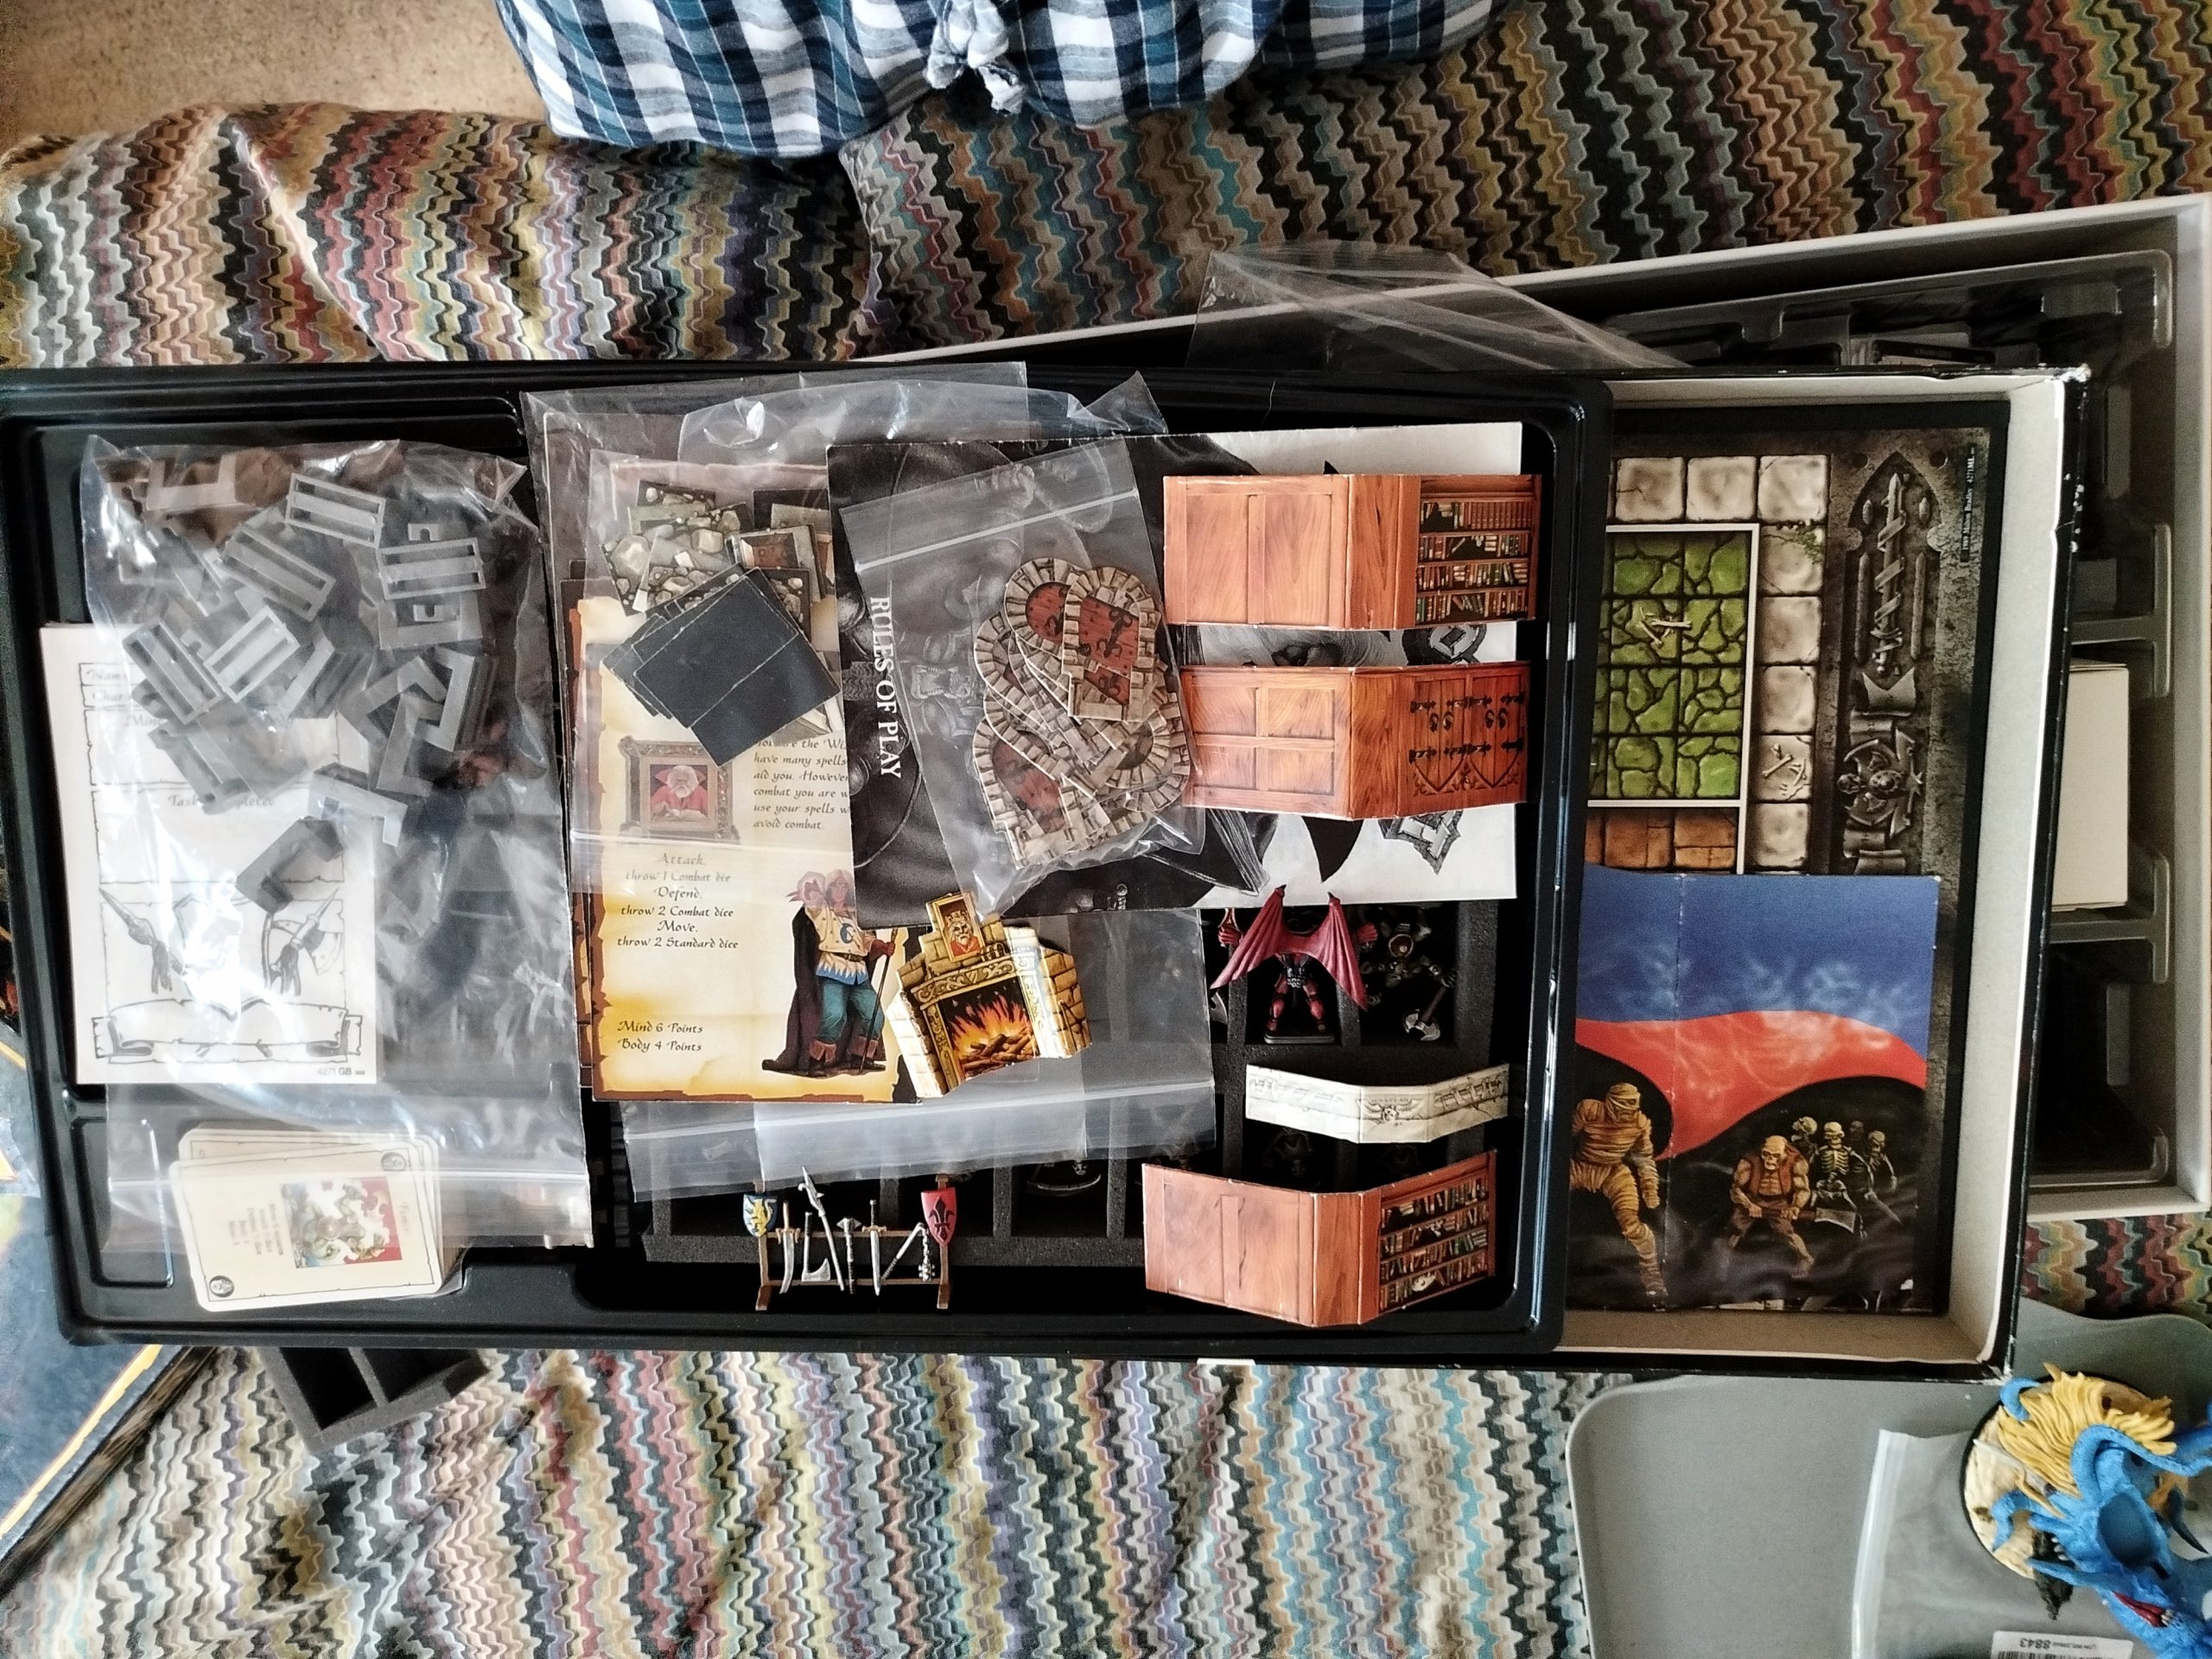
Also, I’d like to complain about the plastic inserts. The don’t just hold the models. They clamp them in place. just getting them out I was afraid I was going to break them. There’s no way I’m putting painted models back in those boxes. I’ll remove the paint. It’s a horrible design. I need some foam inserts designed to fit those boxes and models.


![Games Workshop Kick Off Grot Week For Warhammer 40,000 [Updated]](https://images.beastsofwar.com/2026/04/grot-new-40k-news-cover-600-338.jpg)