


Hero Quest Classic by Lawnor


Recommendations: 163
About the Project
I caved and picked up a cheap copy of the original printing of Hero Quest. Time to do the small repairs and get it painted. I am 12 again, but this time I'm armed with a paint brush and I know how to use it!
Related Game: HeroQuest
Related Company: Games Workshop
Related Genre: Fantasy
Related Contest: Spring Clean Hobby Challenge 2025
This Project is Completed
MB Games isn't in the list of game companies for projects. Has no one painted up their monopoly pieces yet?
This project will likely be just a stream of WIP shots with little to no text. That may change though. Gonna try and take pics at every step with every paint pot used. I am going for high end tabletop batch painted. I may focus more on individuals, but a swarm of identical greenskin trash are not getting display level paint jobs.
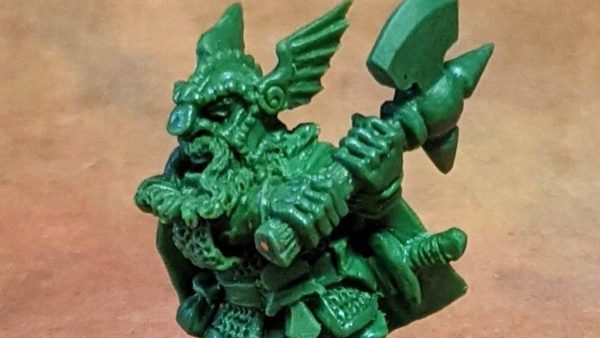
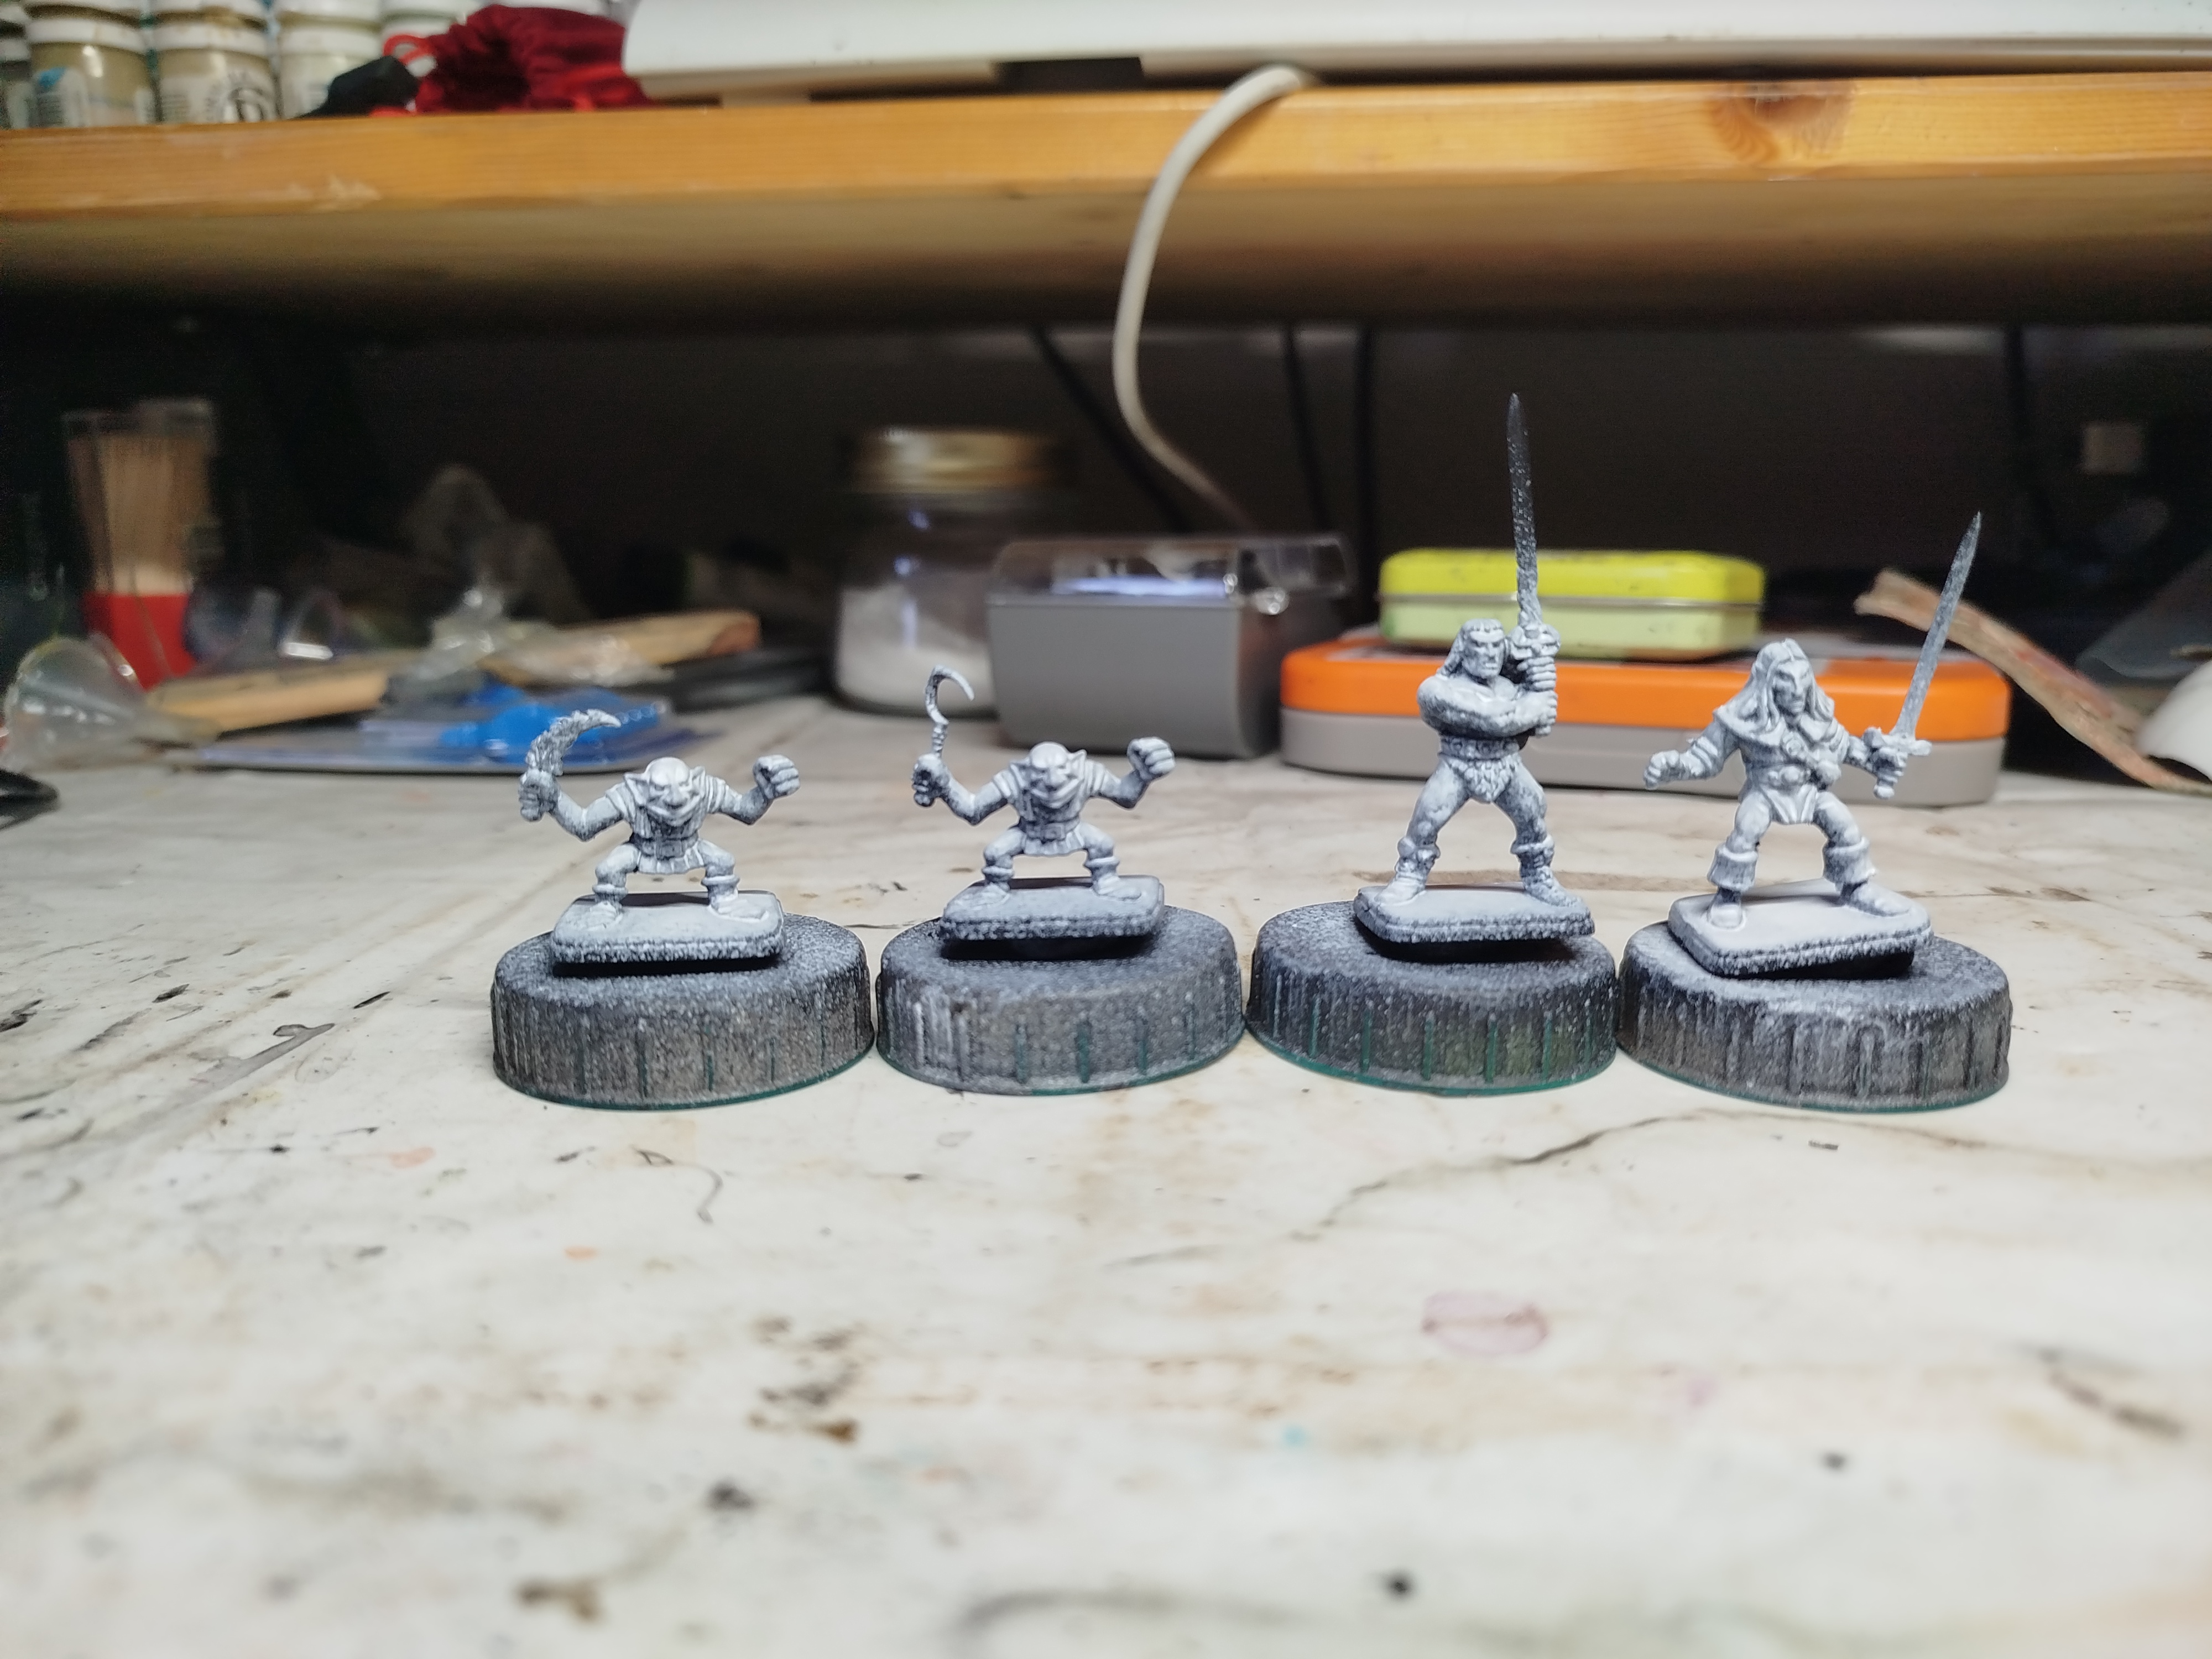
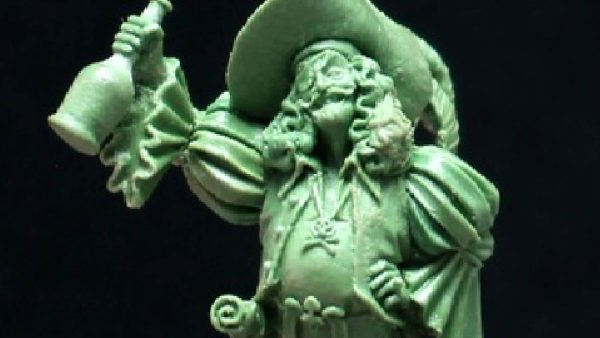
I was pleasantly surprised by the quality of the sculpts. I feared my love would be unjustified nostalgia, but they’re actually quite detailed and quite nice, for 30ish year old single piece board game plastics. Heck, I’m sure I’ve bought worse in recent years.
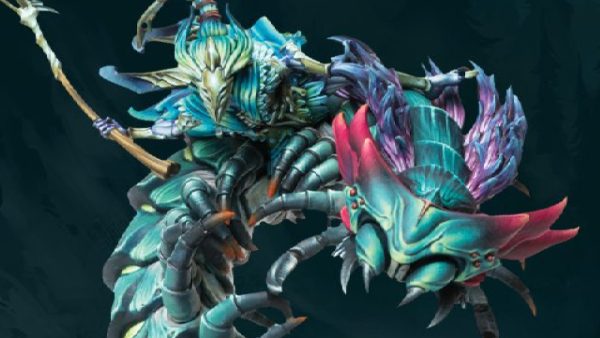
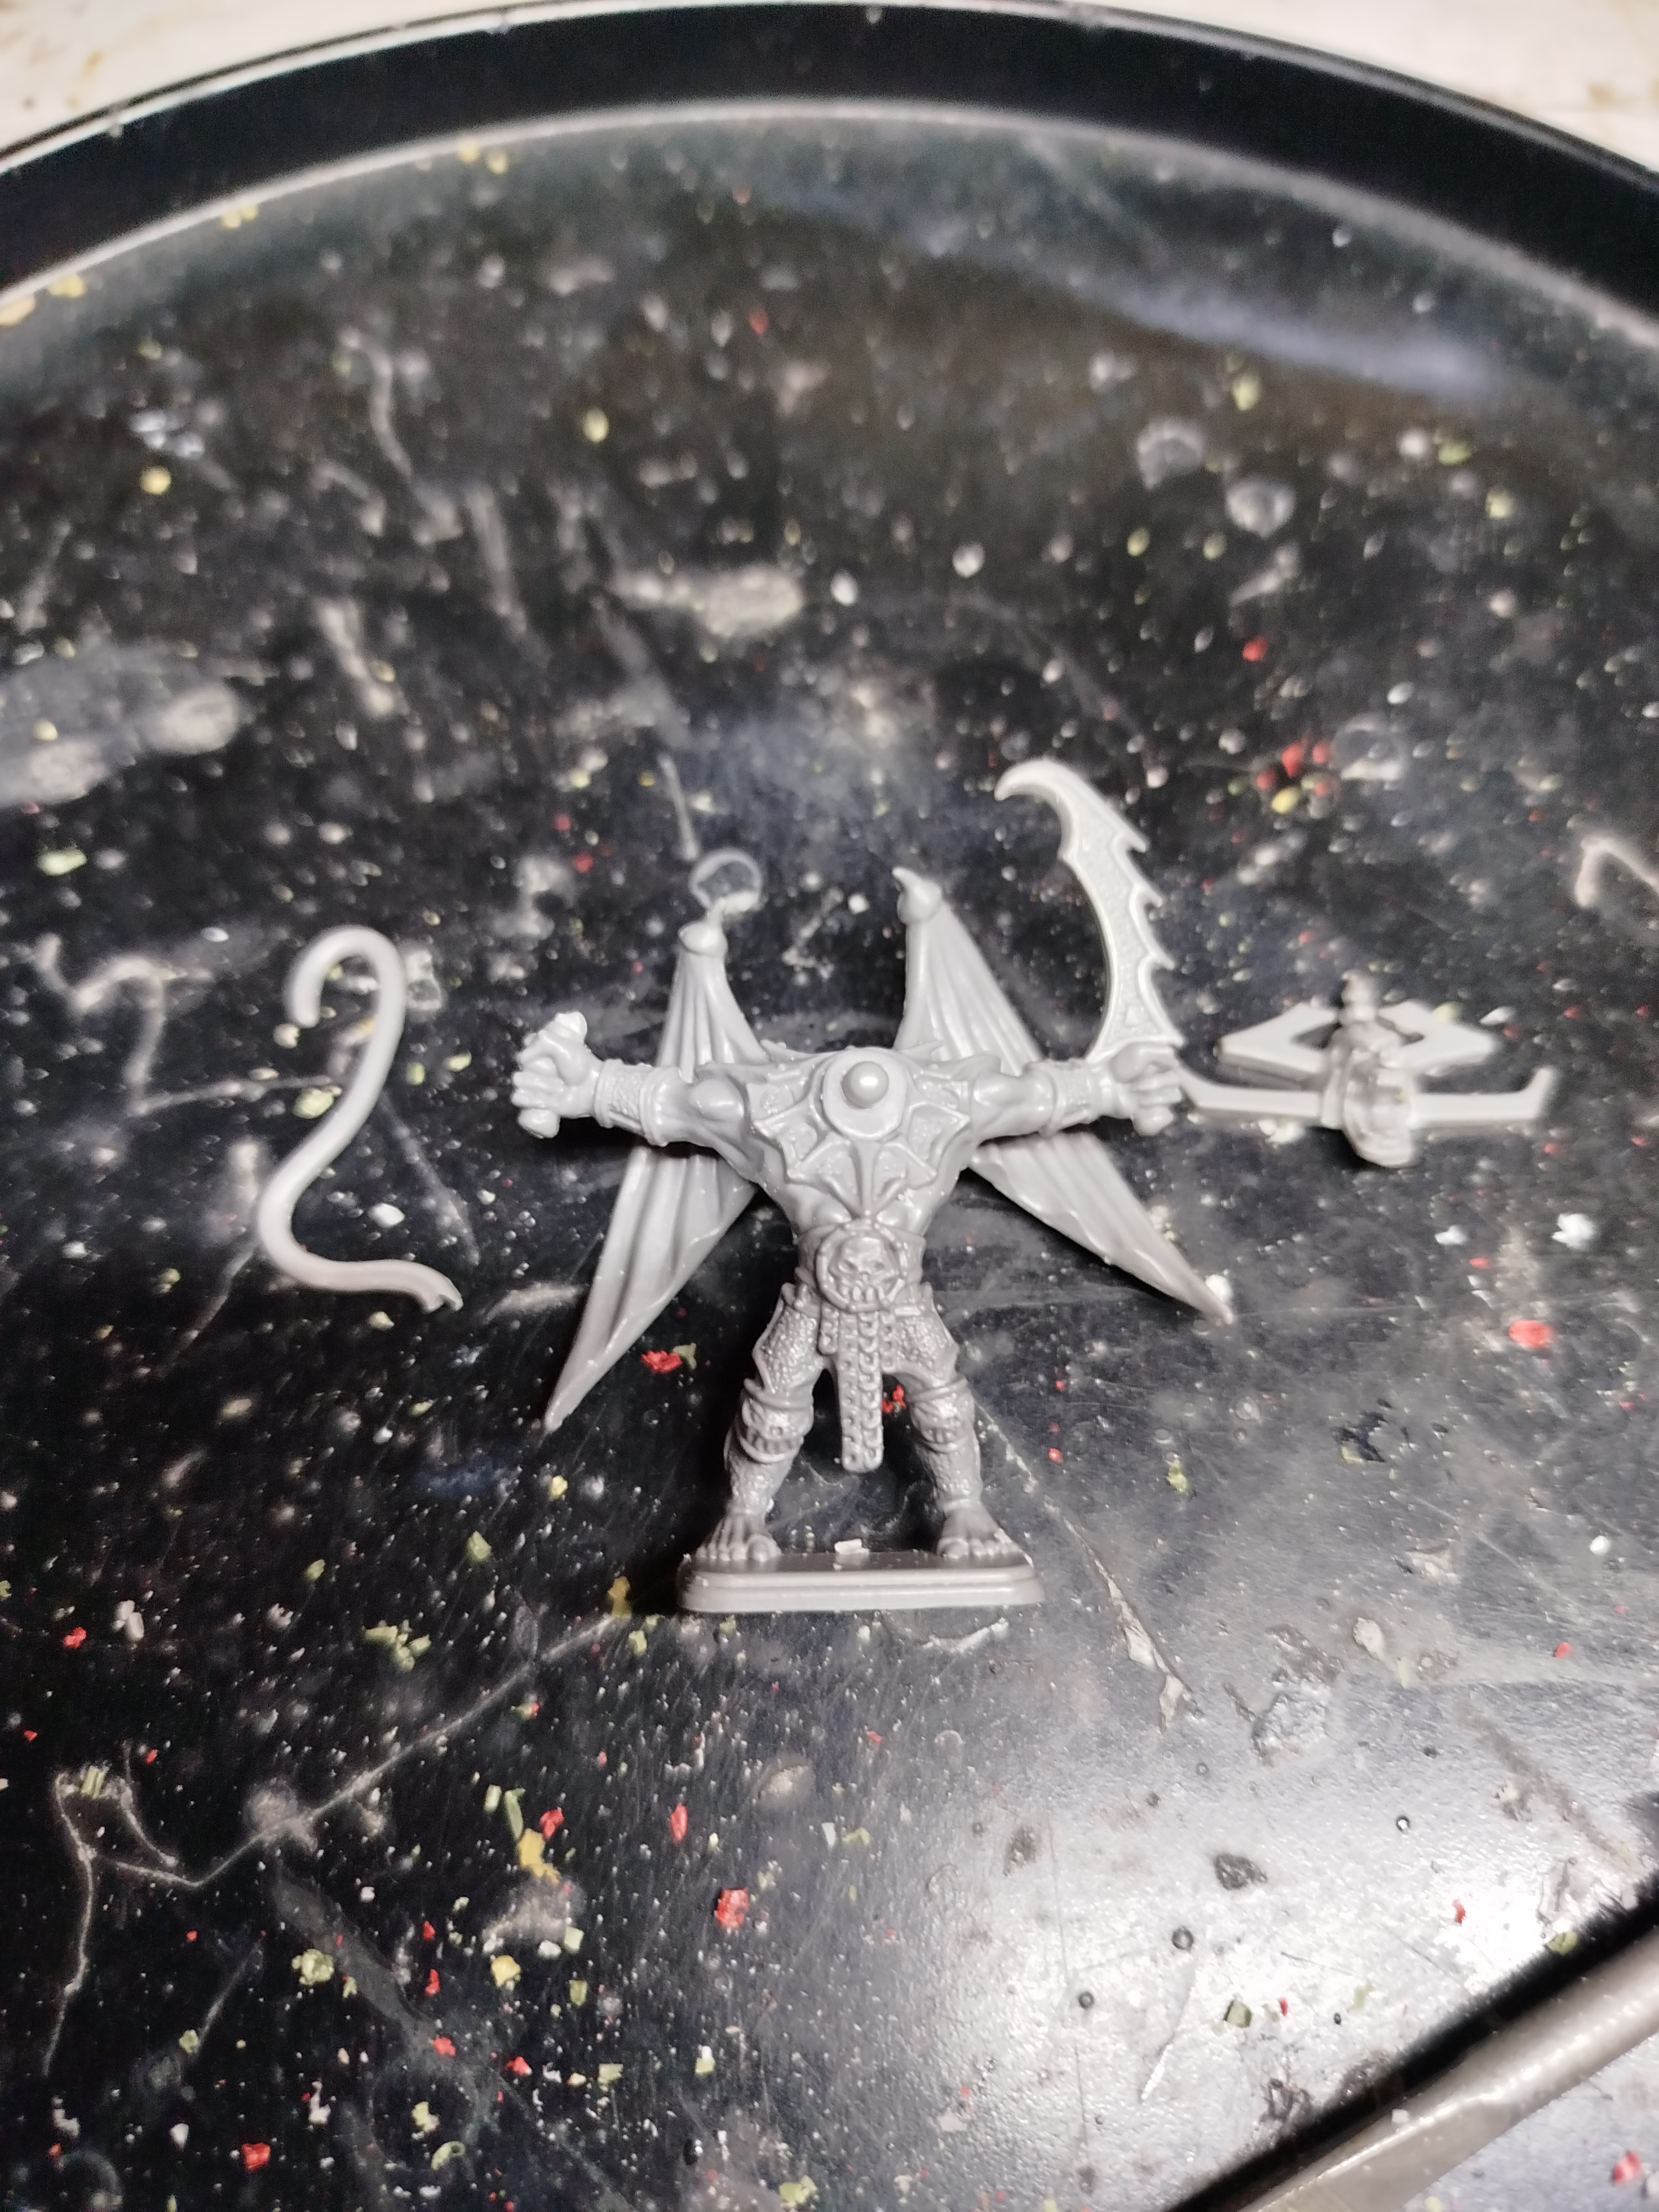
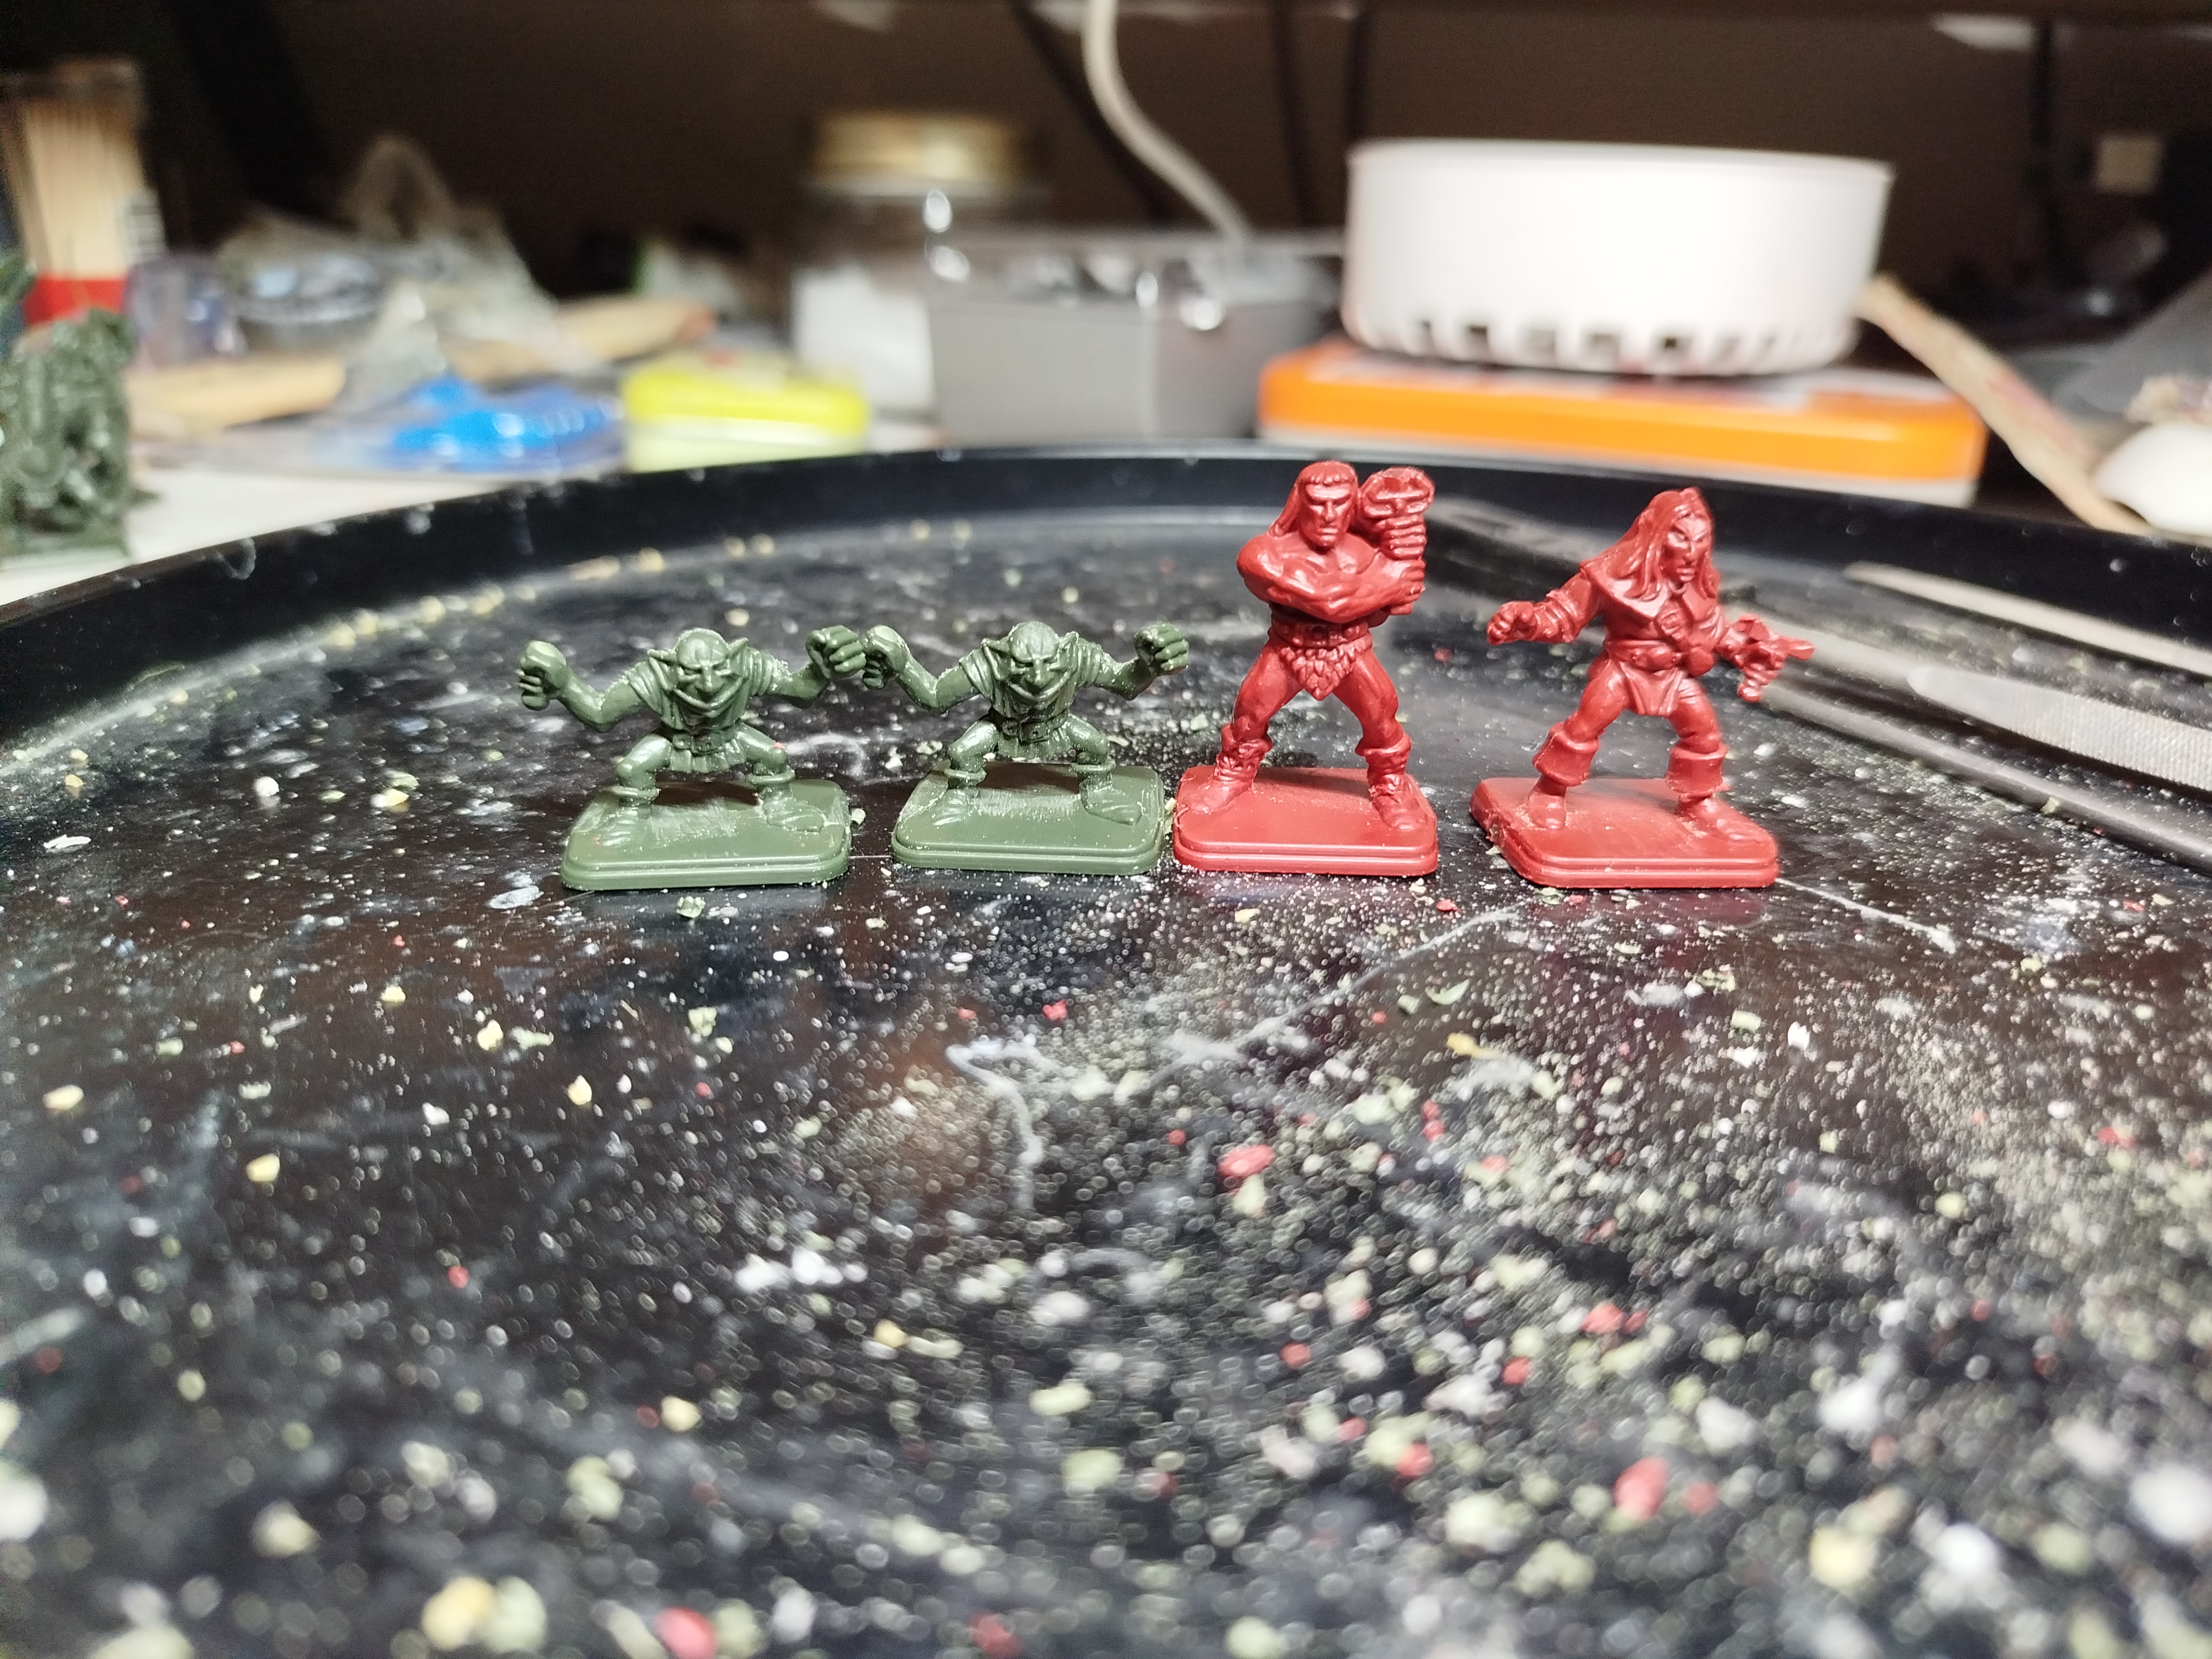
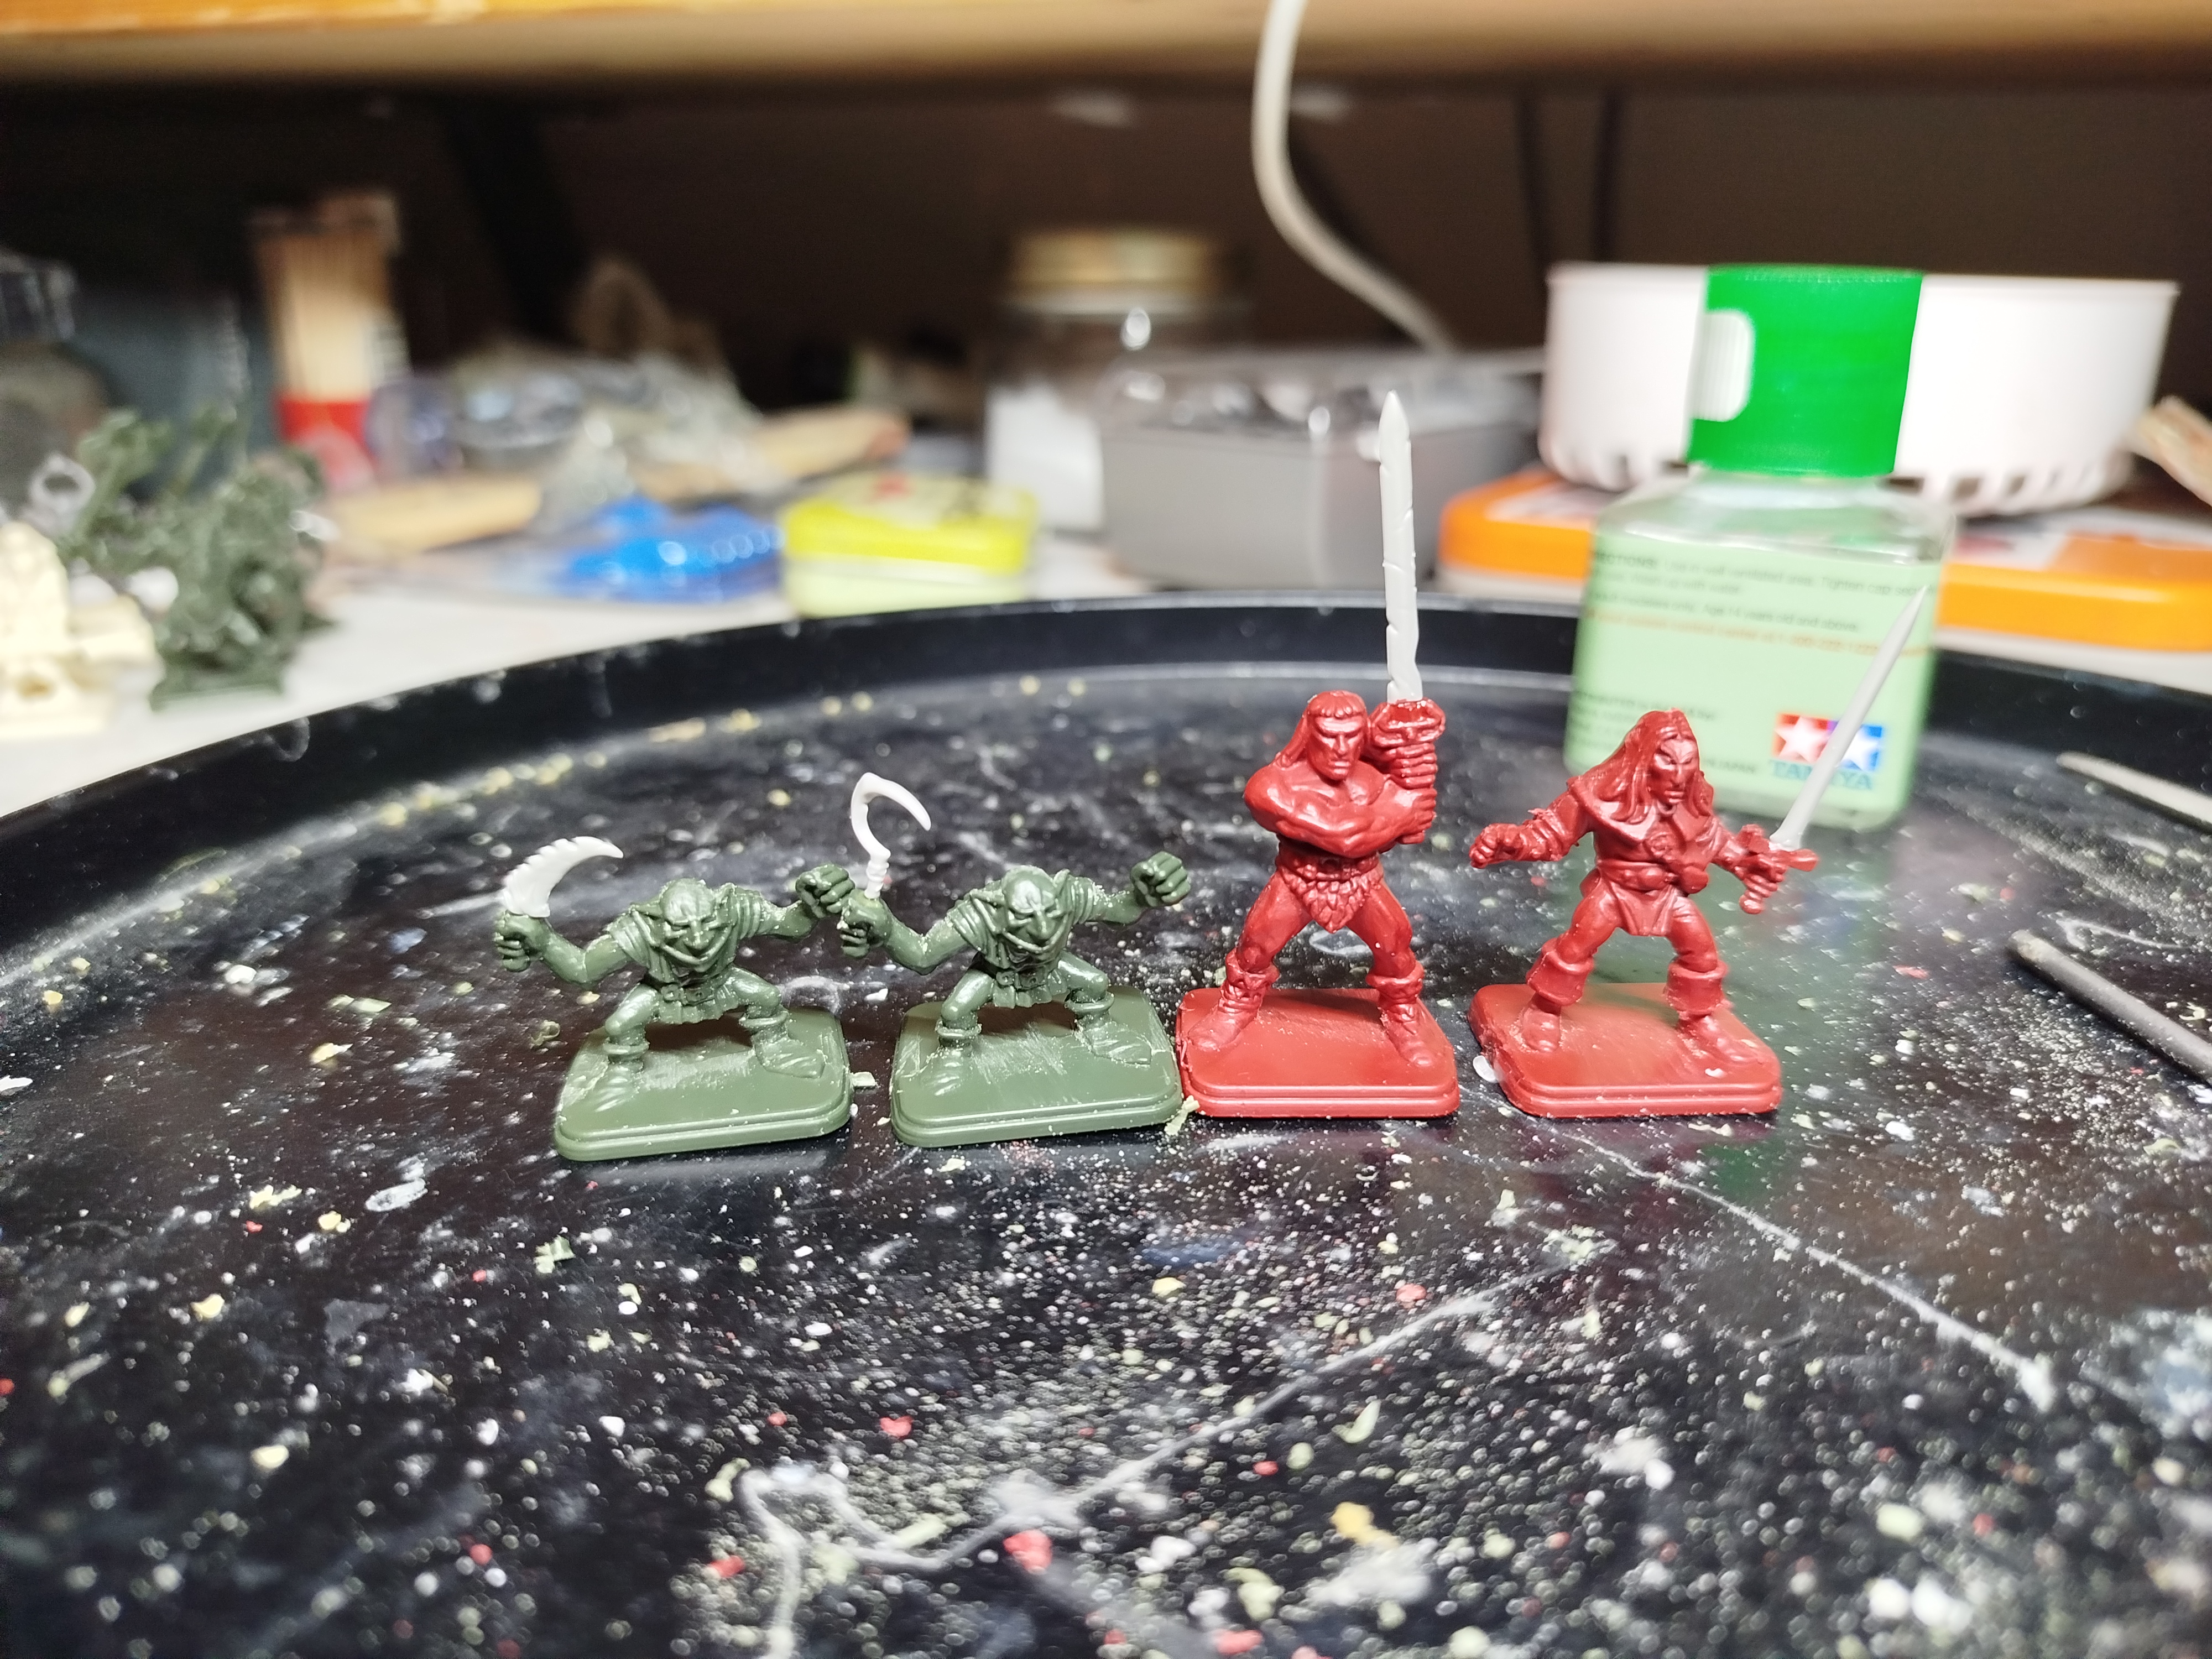
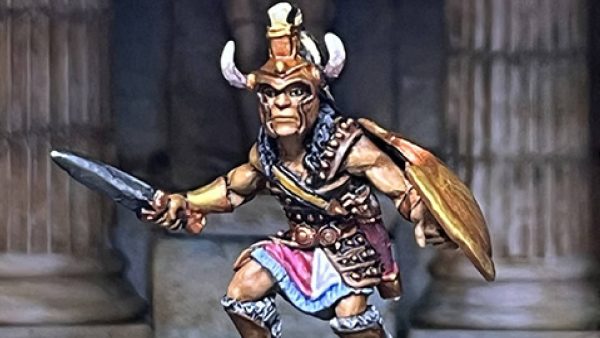
I got this box cheap off Ebay. The seller said the corner of the box was damaged, but it had barely been played. He thought everything was there, but had not checked. I’ve had a look and the card count matches, there’s one extra dice. The gargoyle need his whip gluing back on. Two goblins, the barbarian and elf were all missing their weapons. Otherwise everything appears present and as new. Nice!
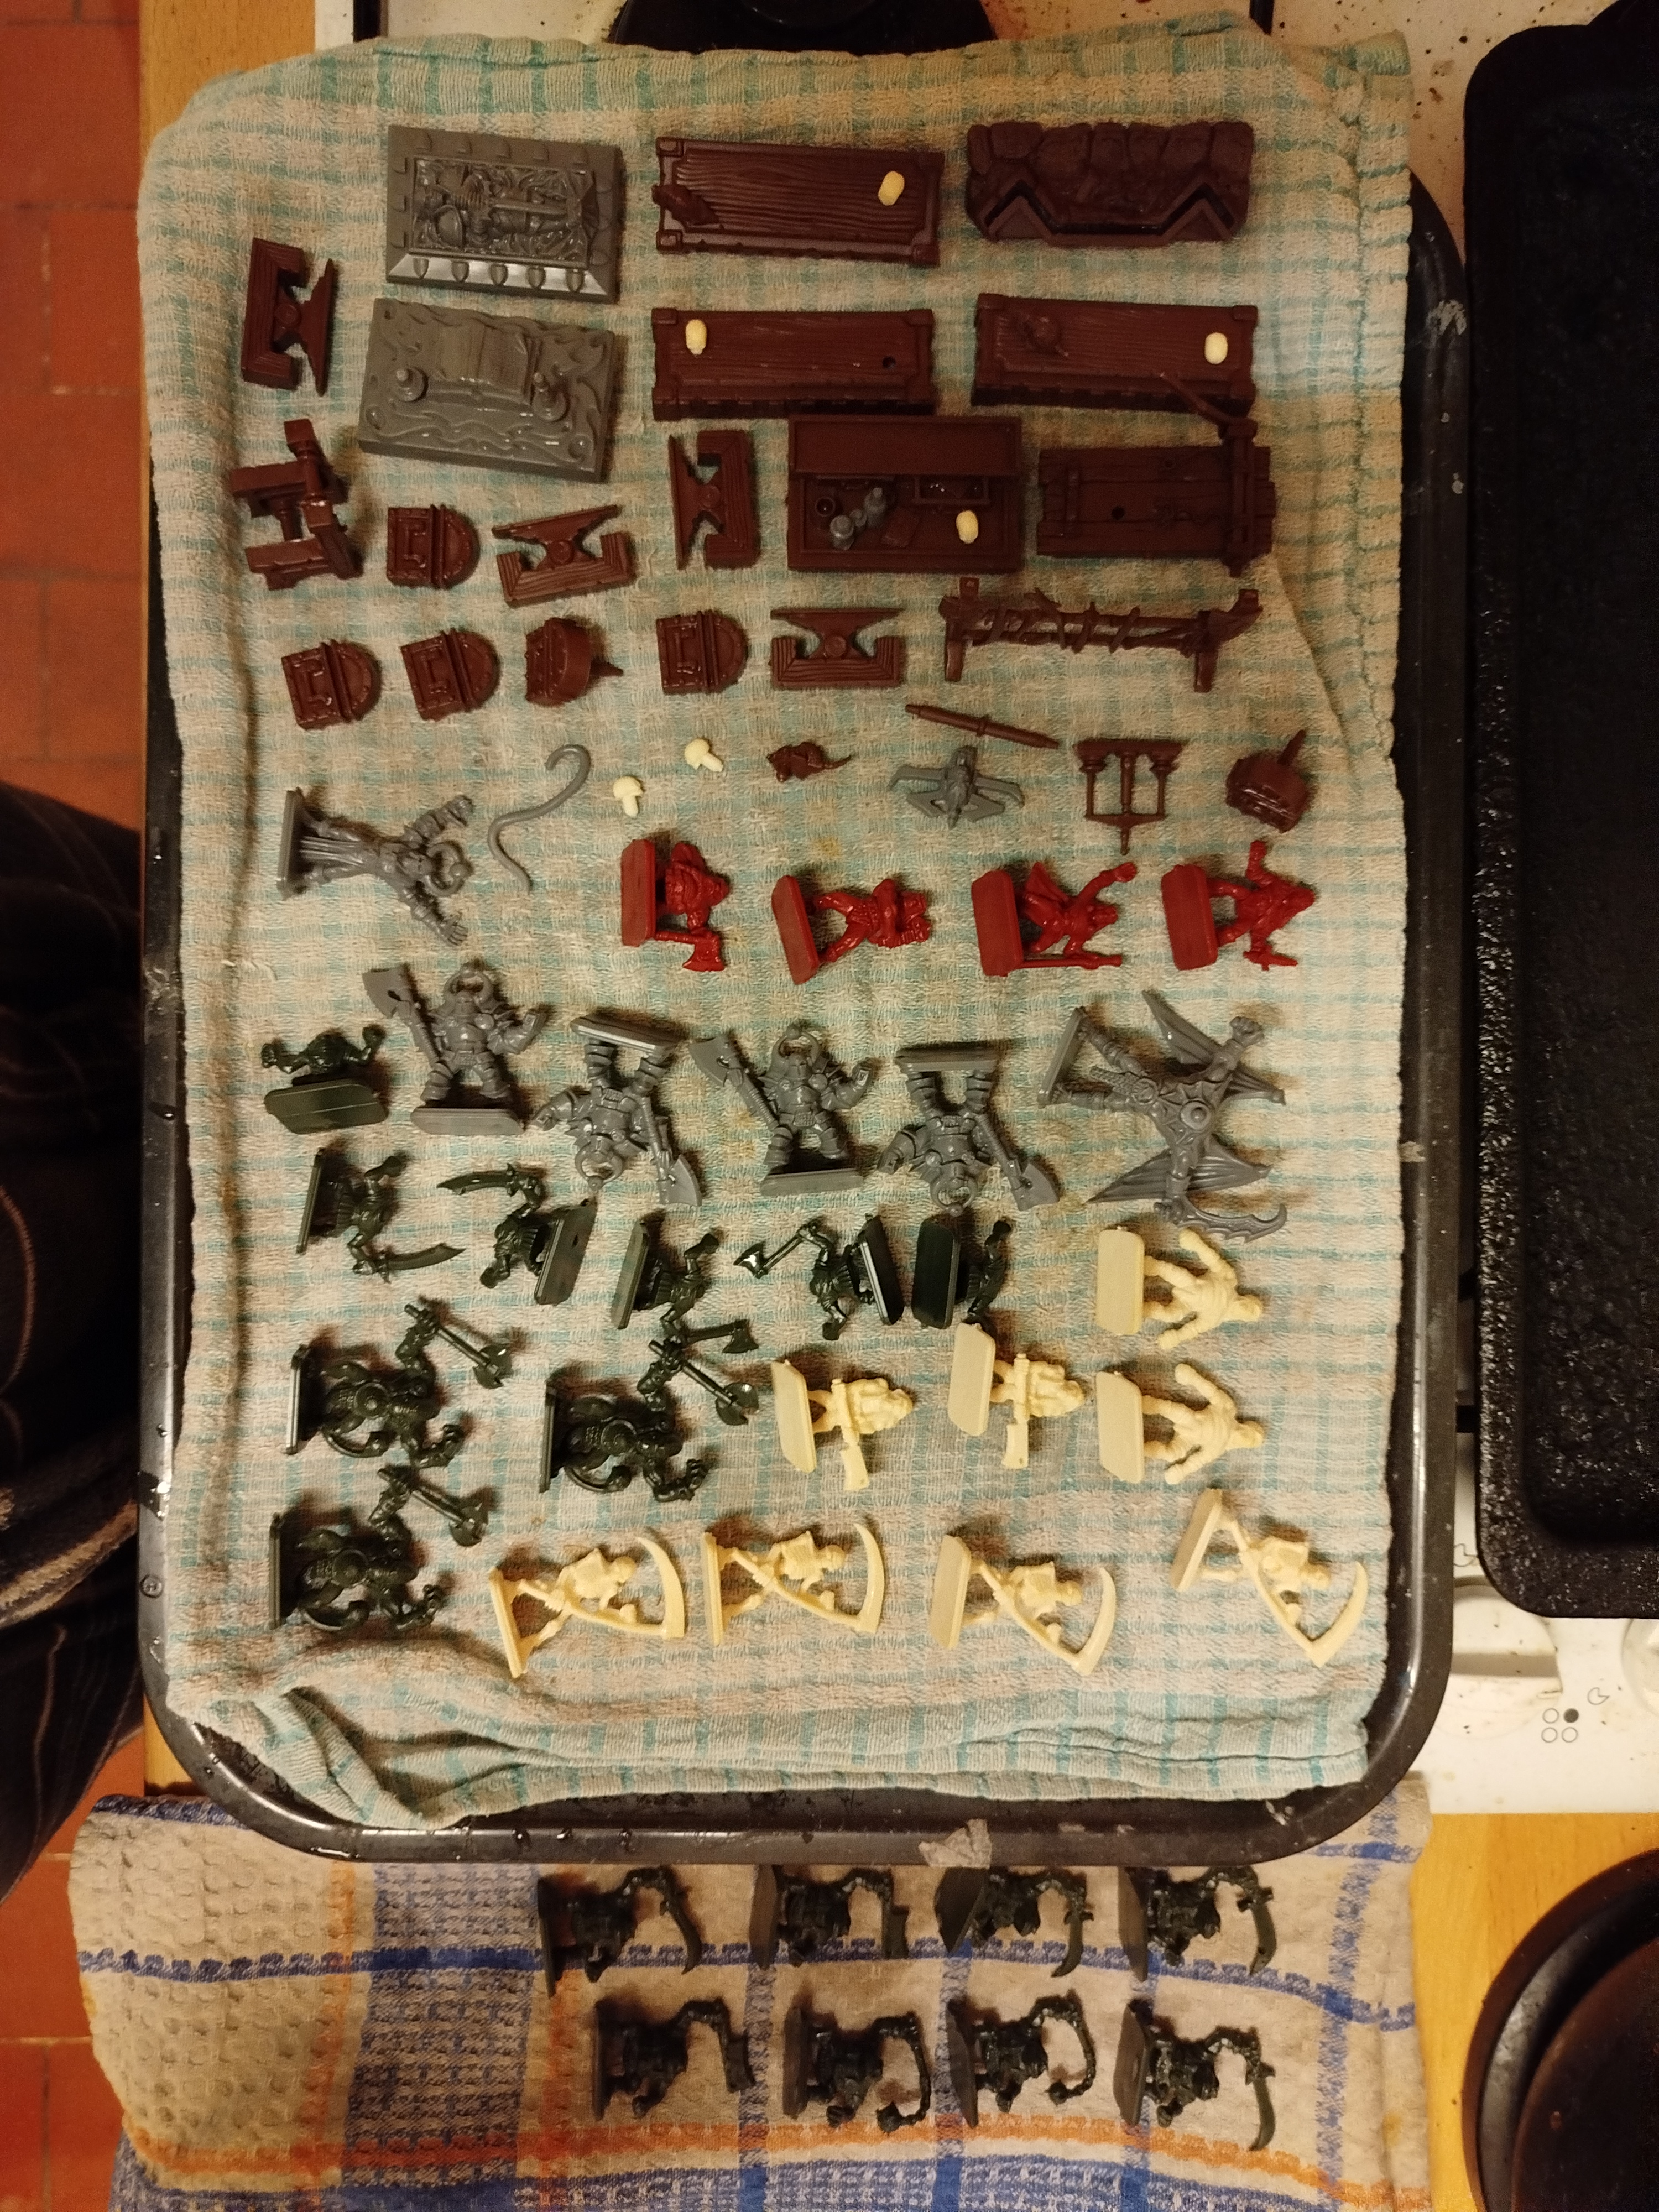
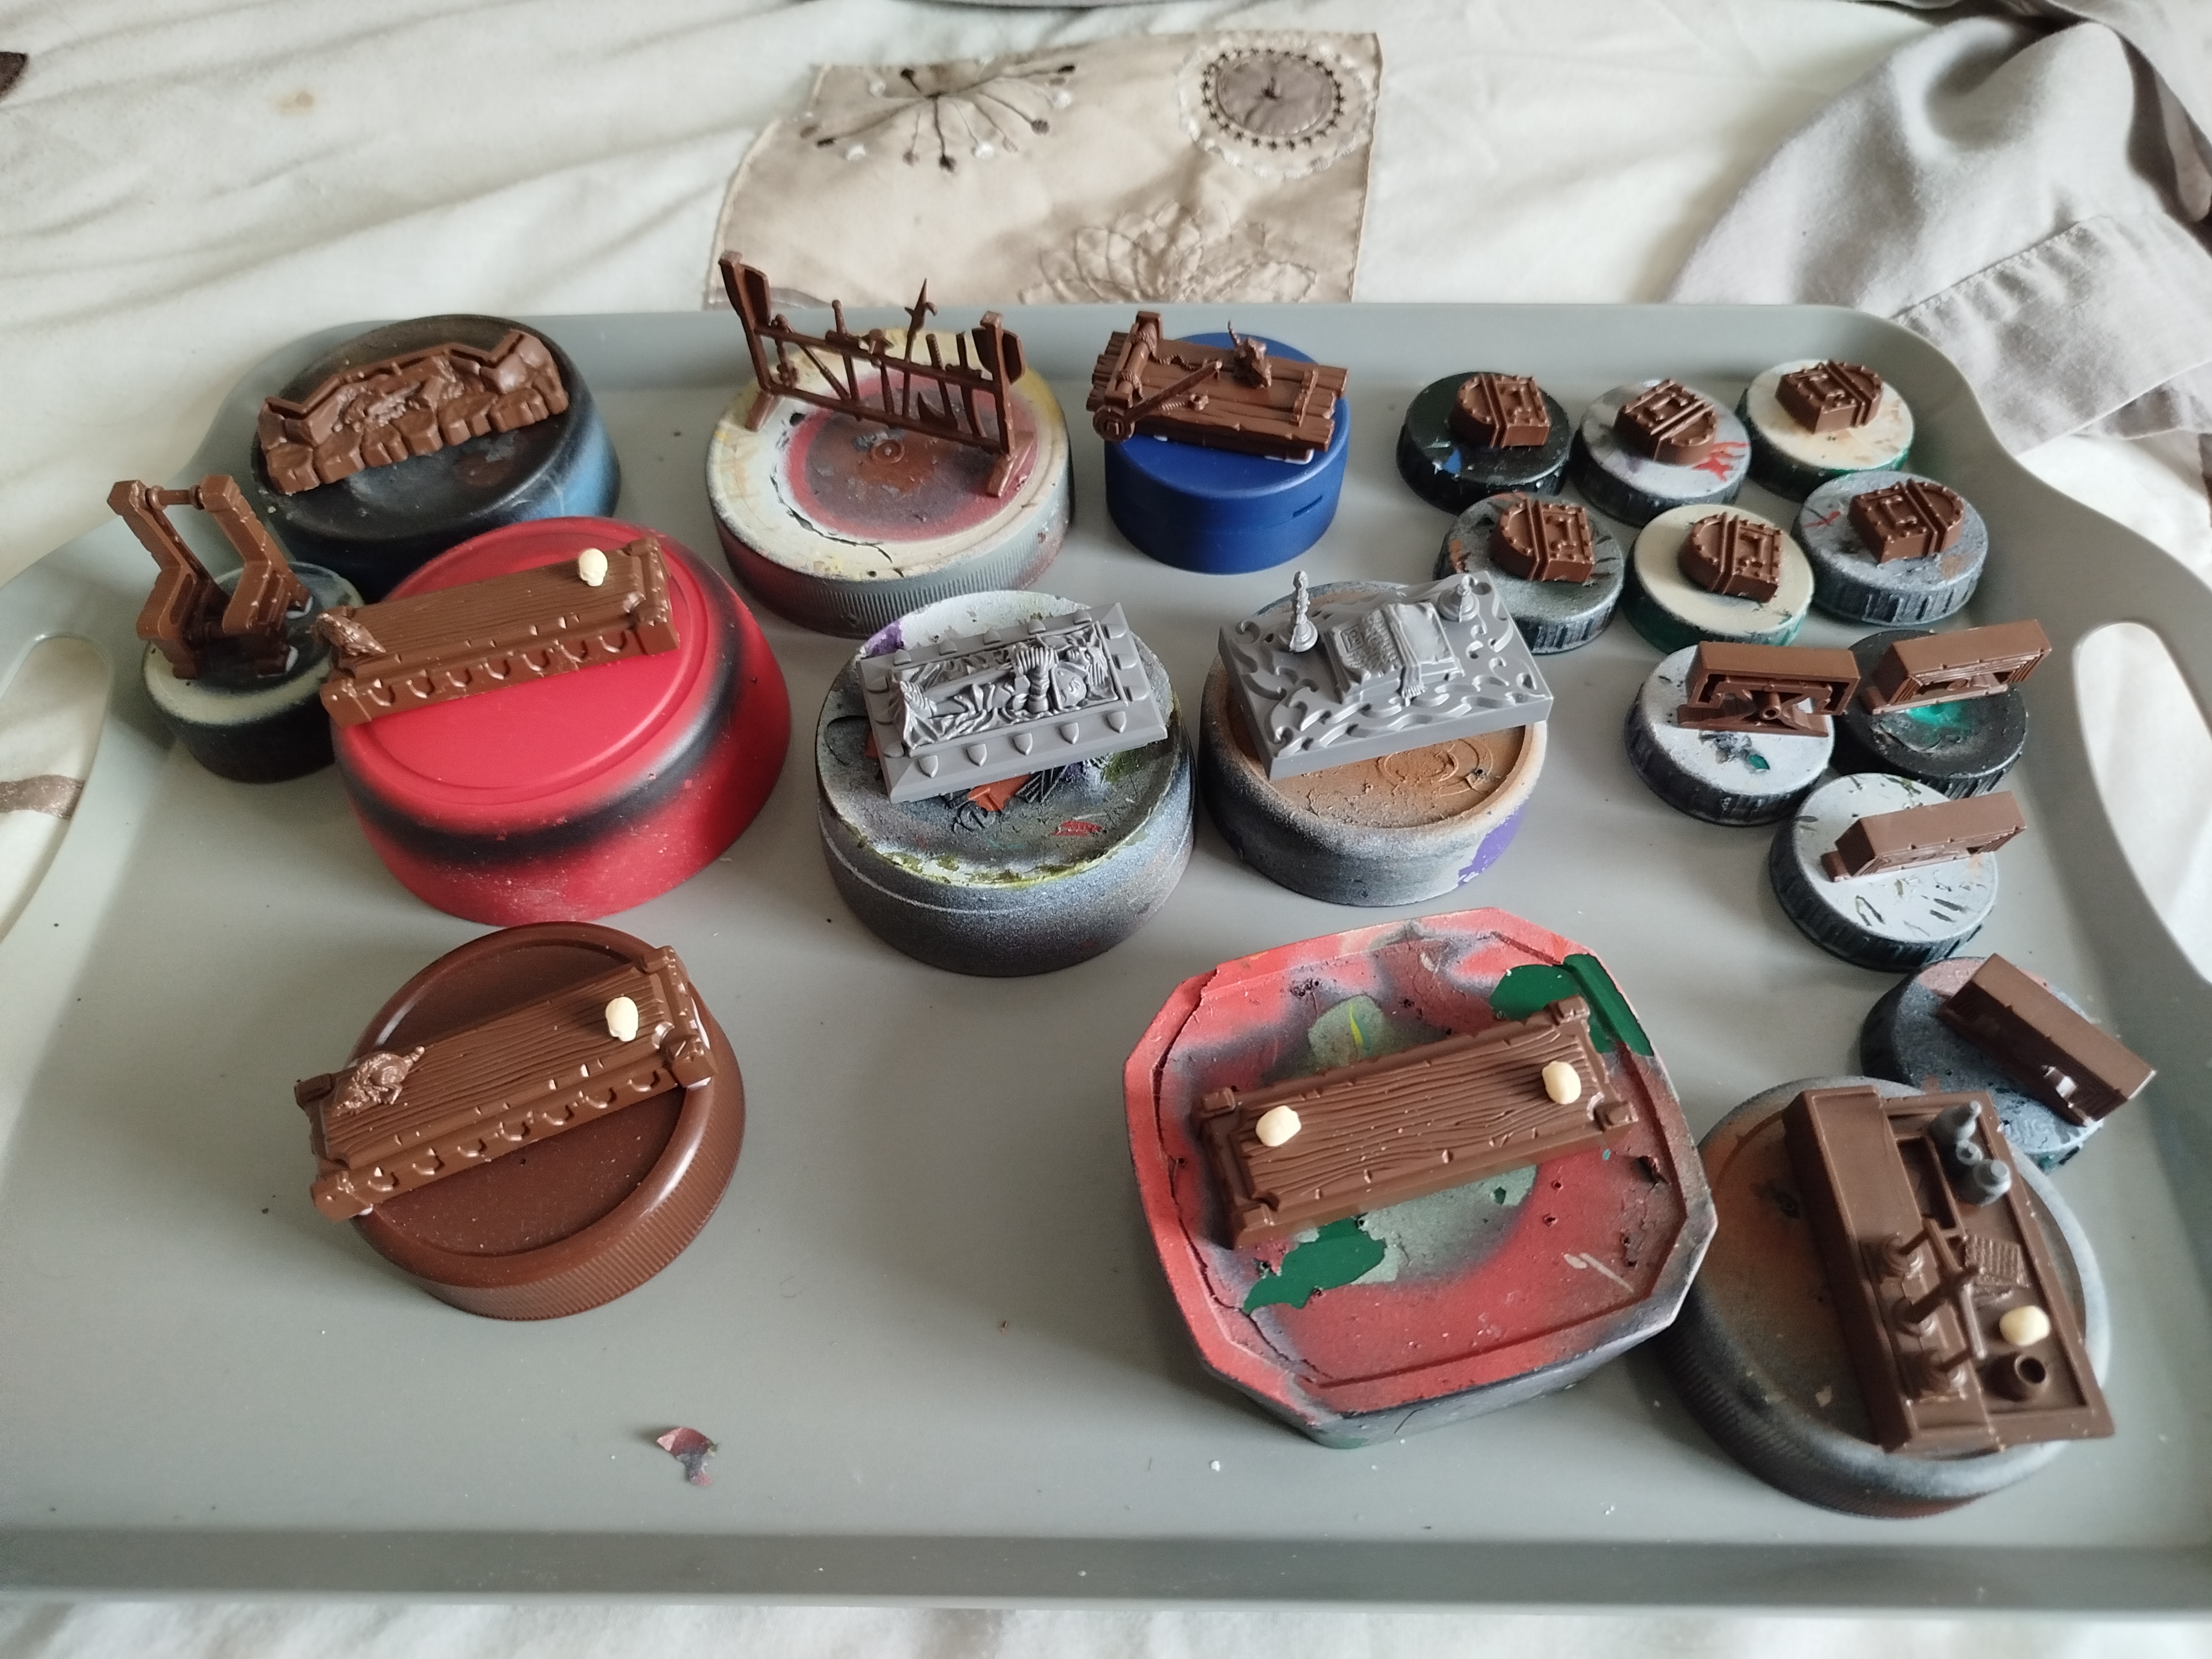
The terrain pieces below are being PVA glued to bottle tops and jar lids as I don’t think Blu tak will hold them in place while also not accidentally masking parts I want to paint.
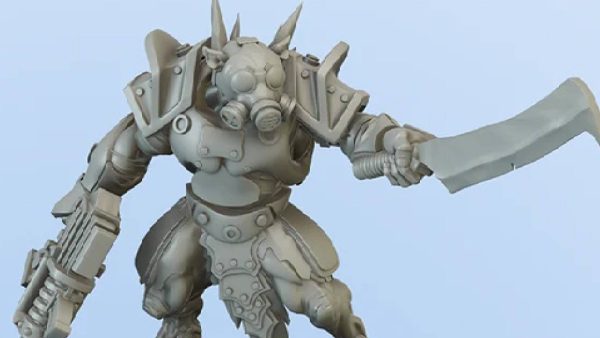
The replacement weapons are coming from left over Kingdom Death armour kit sprues.
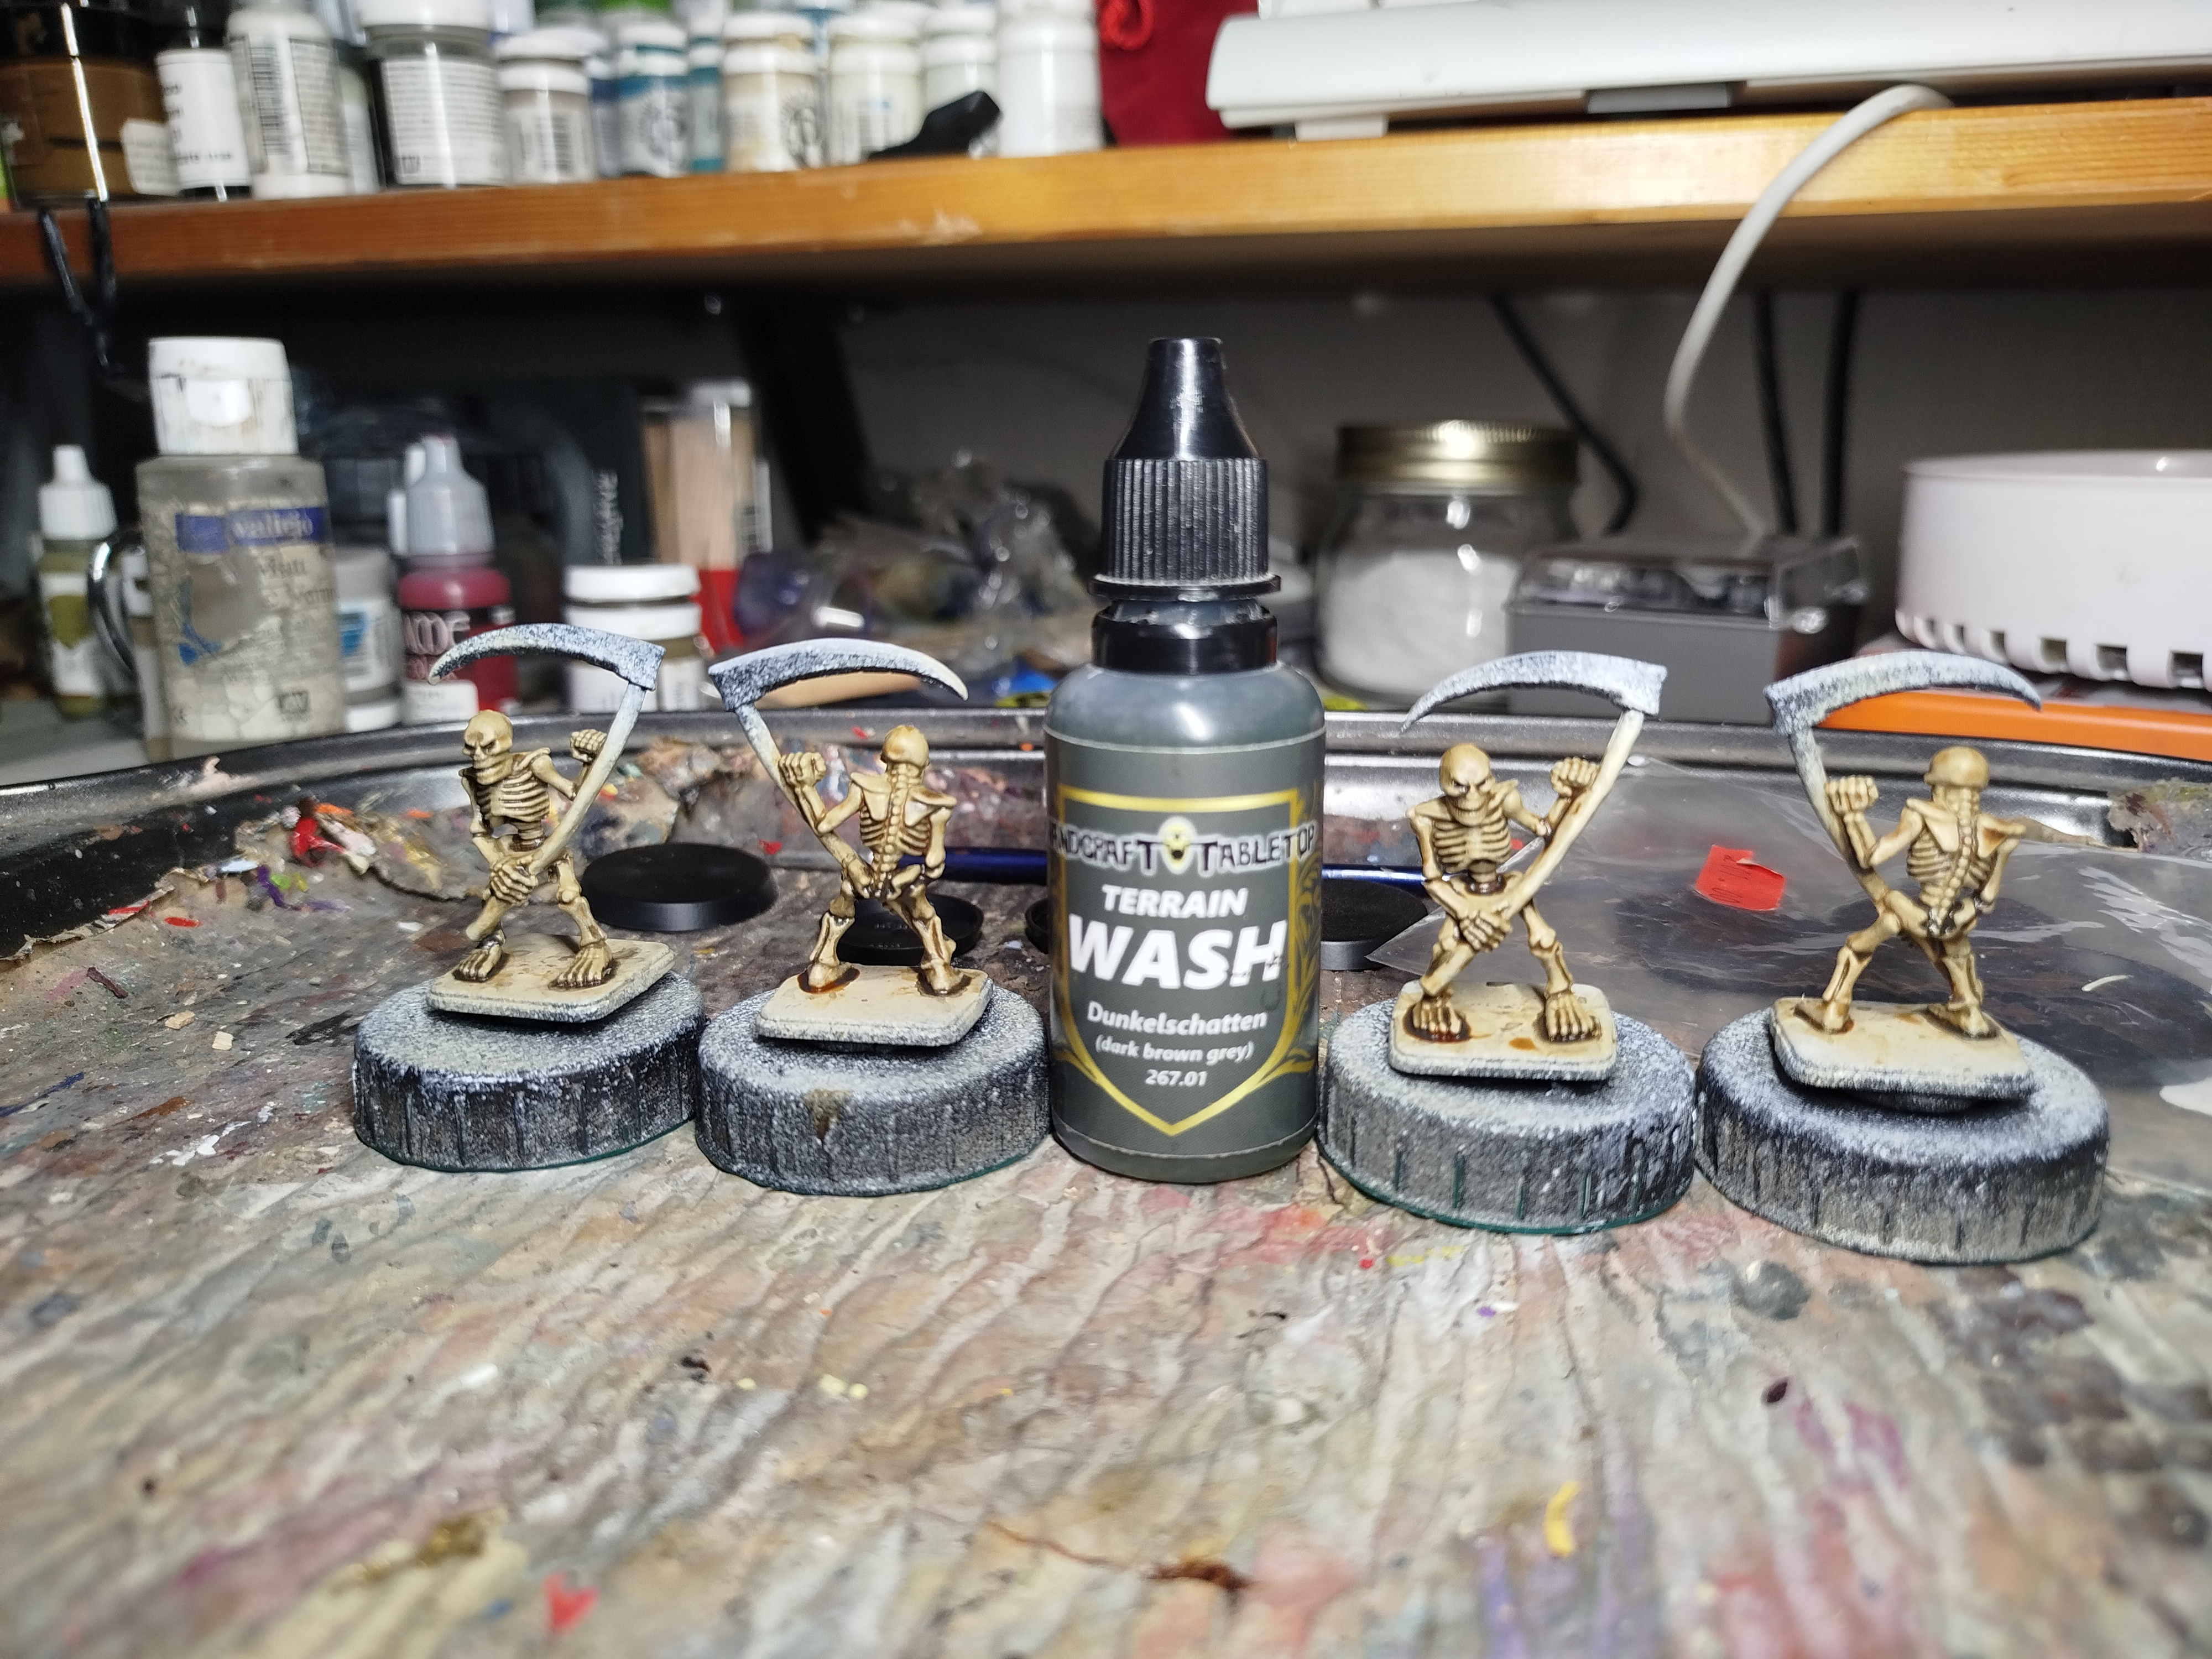
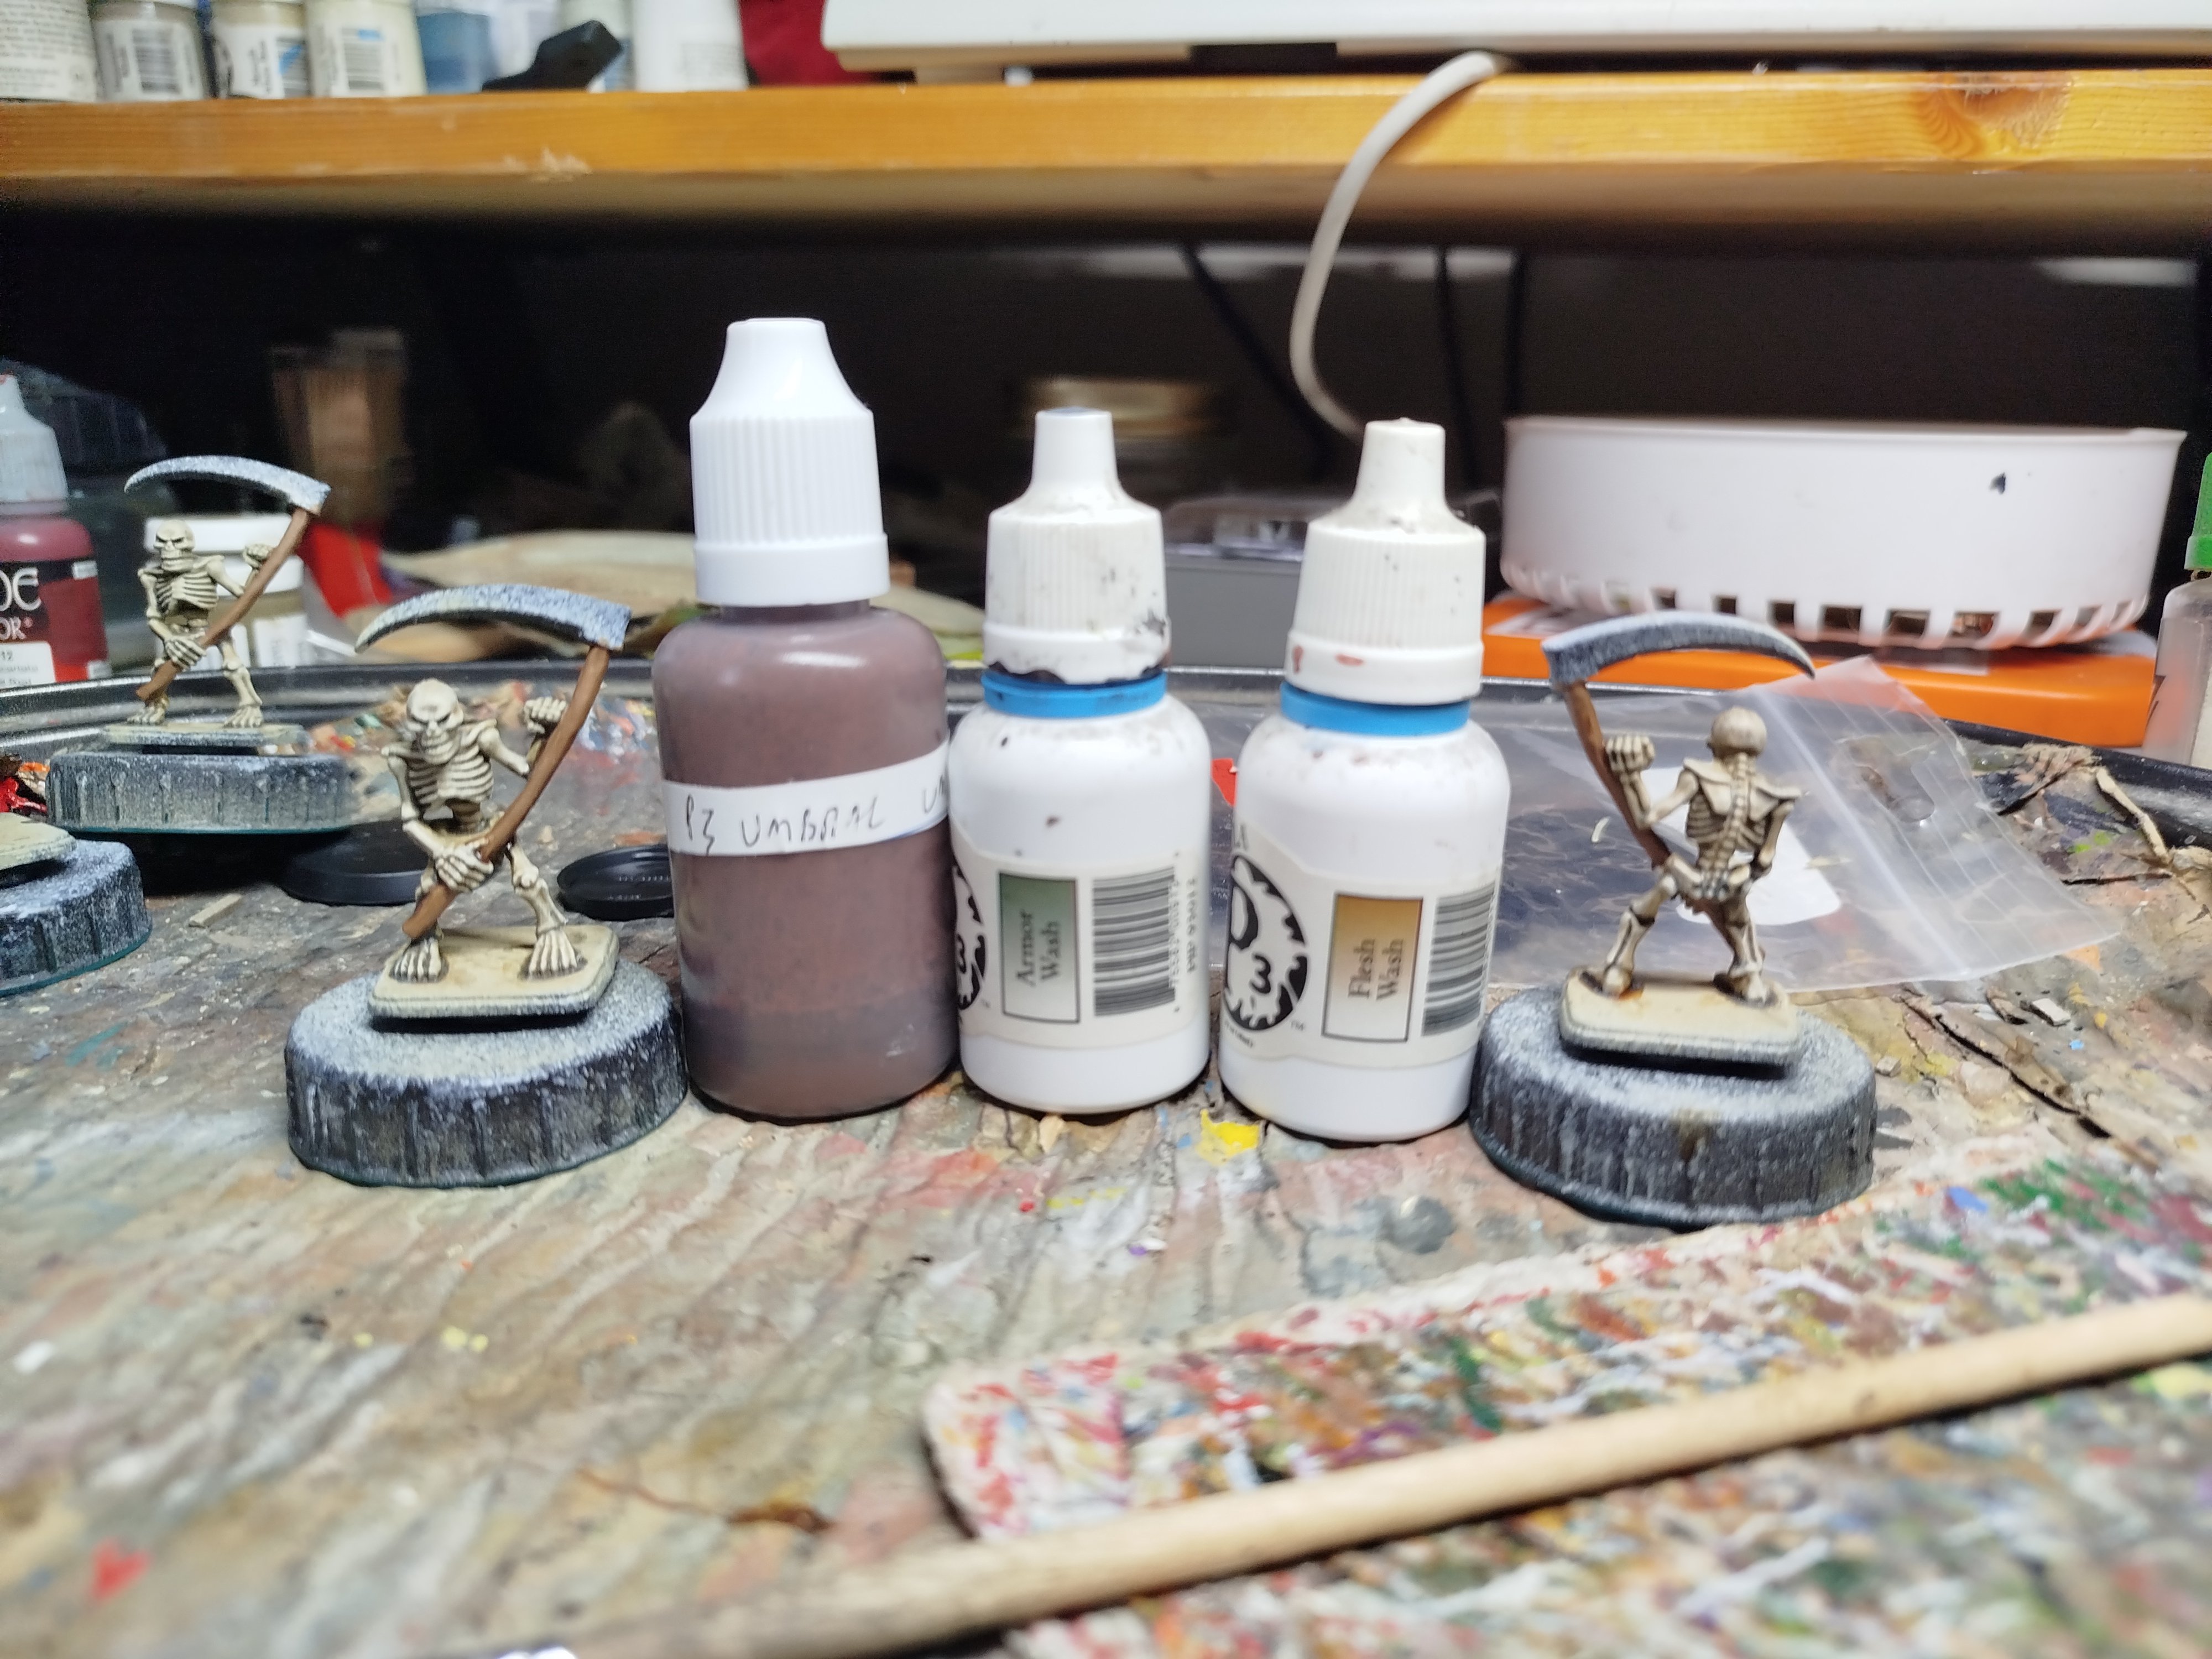 A wash was made from 3 parts P3 Armour Wash, 1 part P3 Flesh Wash, 1 part P3 umbral Umber, and some water and medium
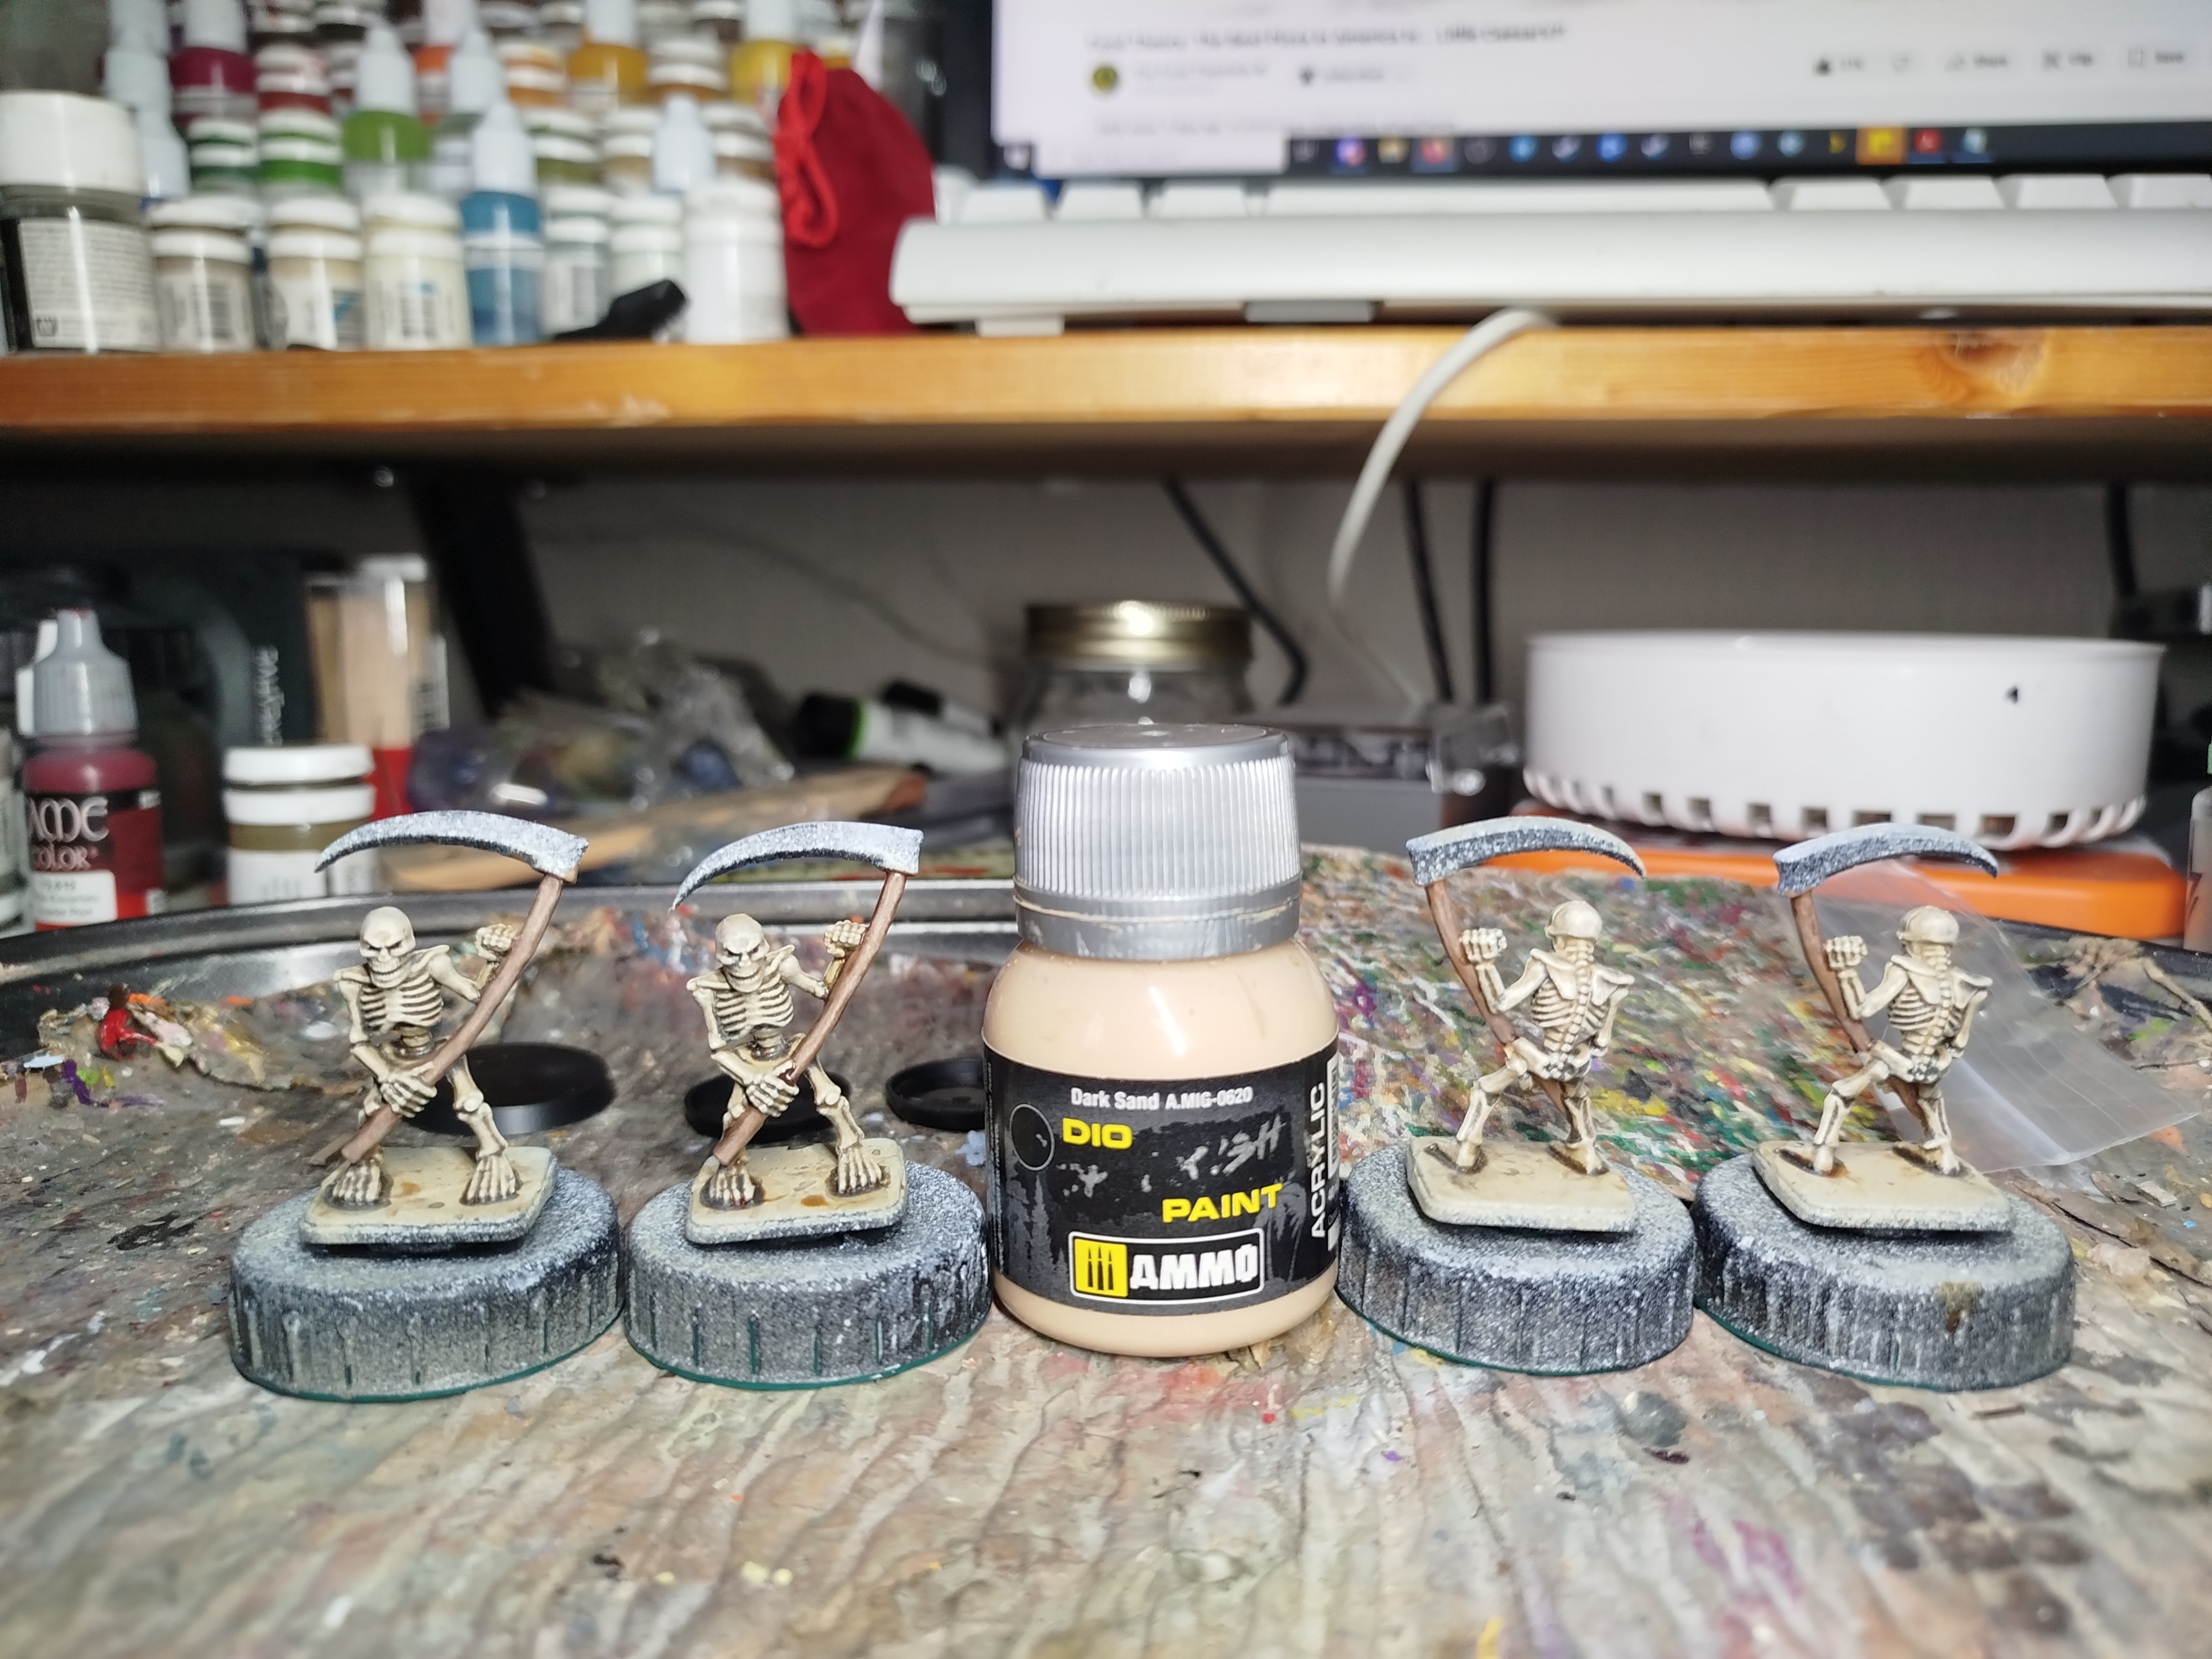 The wood was then drybrushed with Ammo Mig Dark Sand
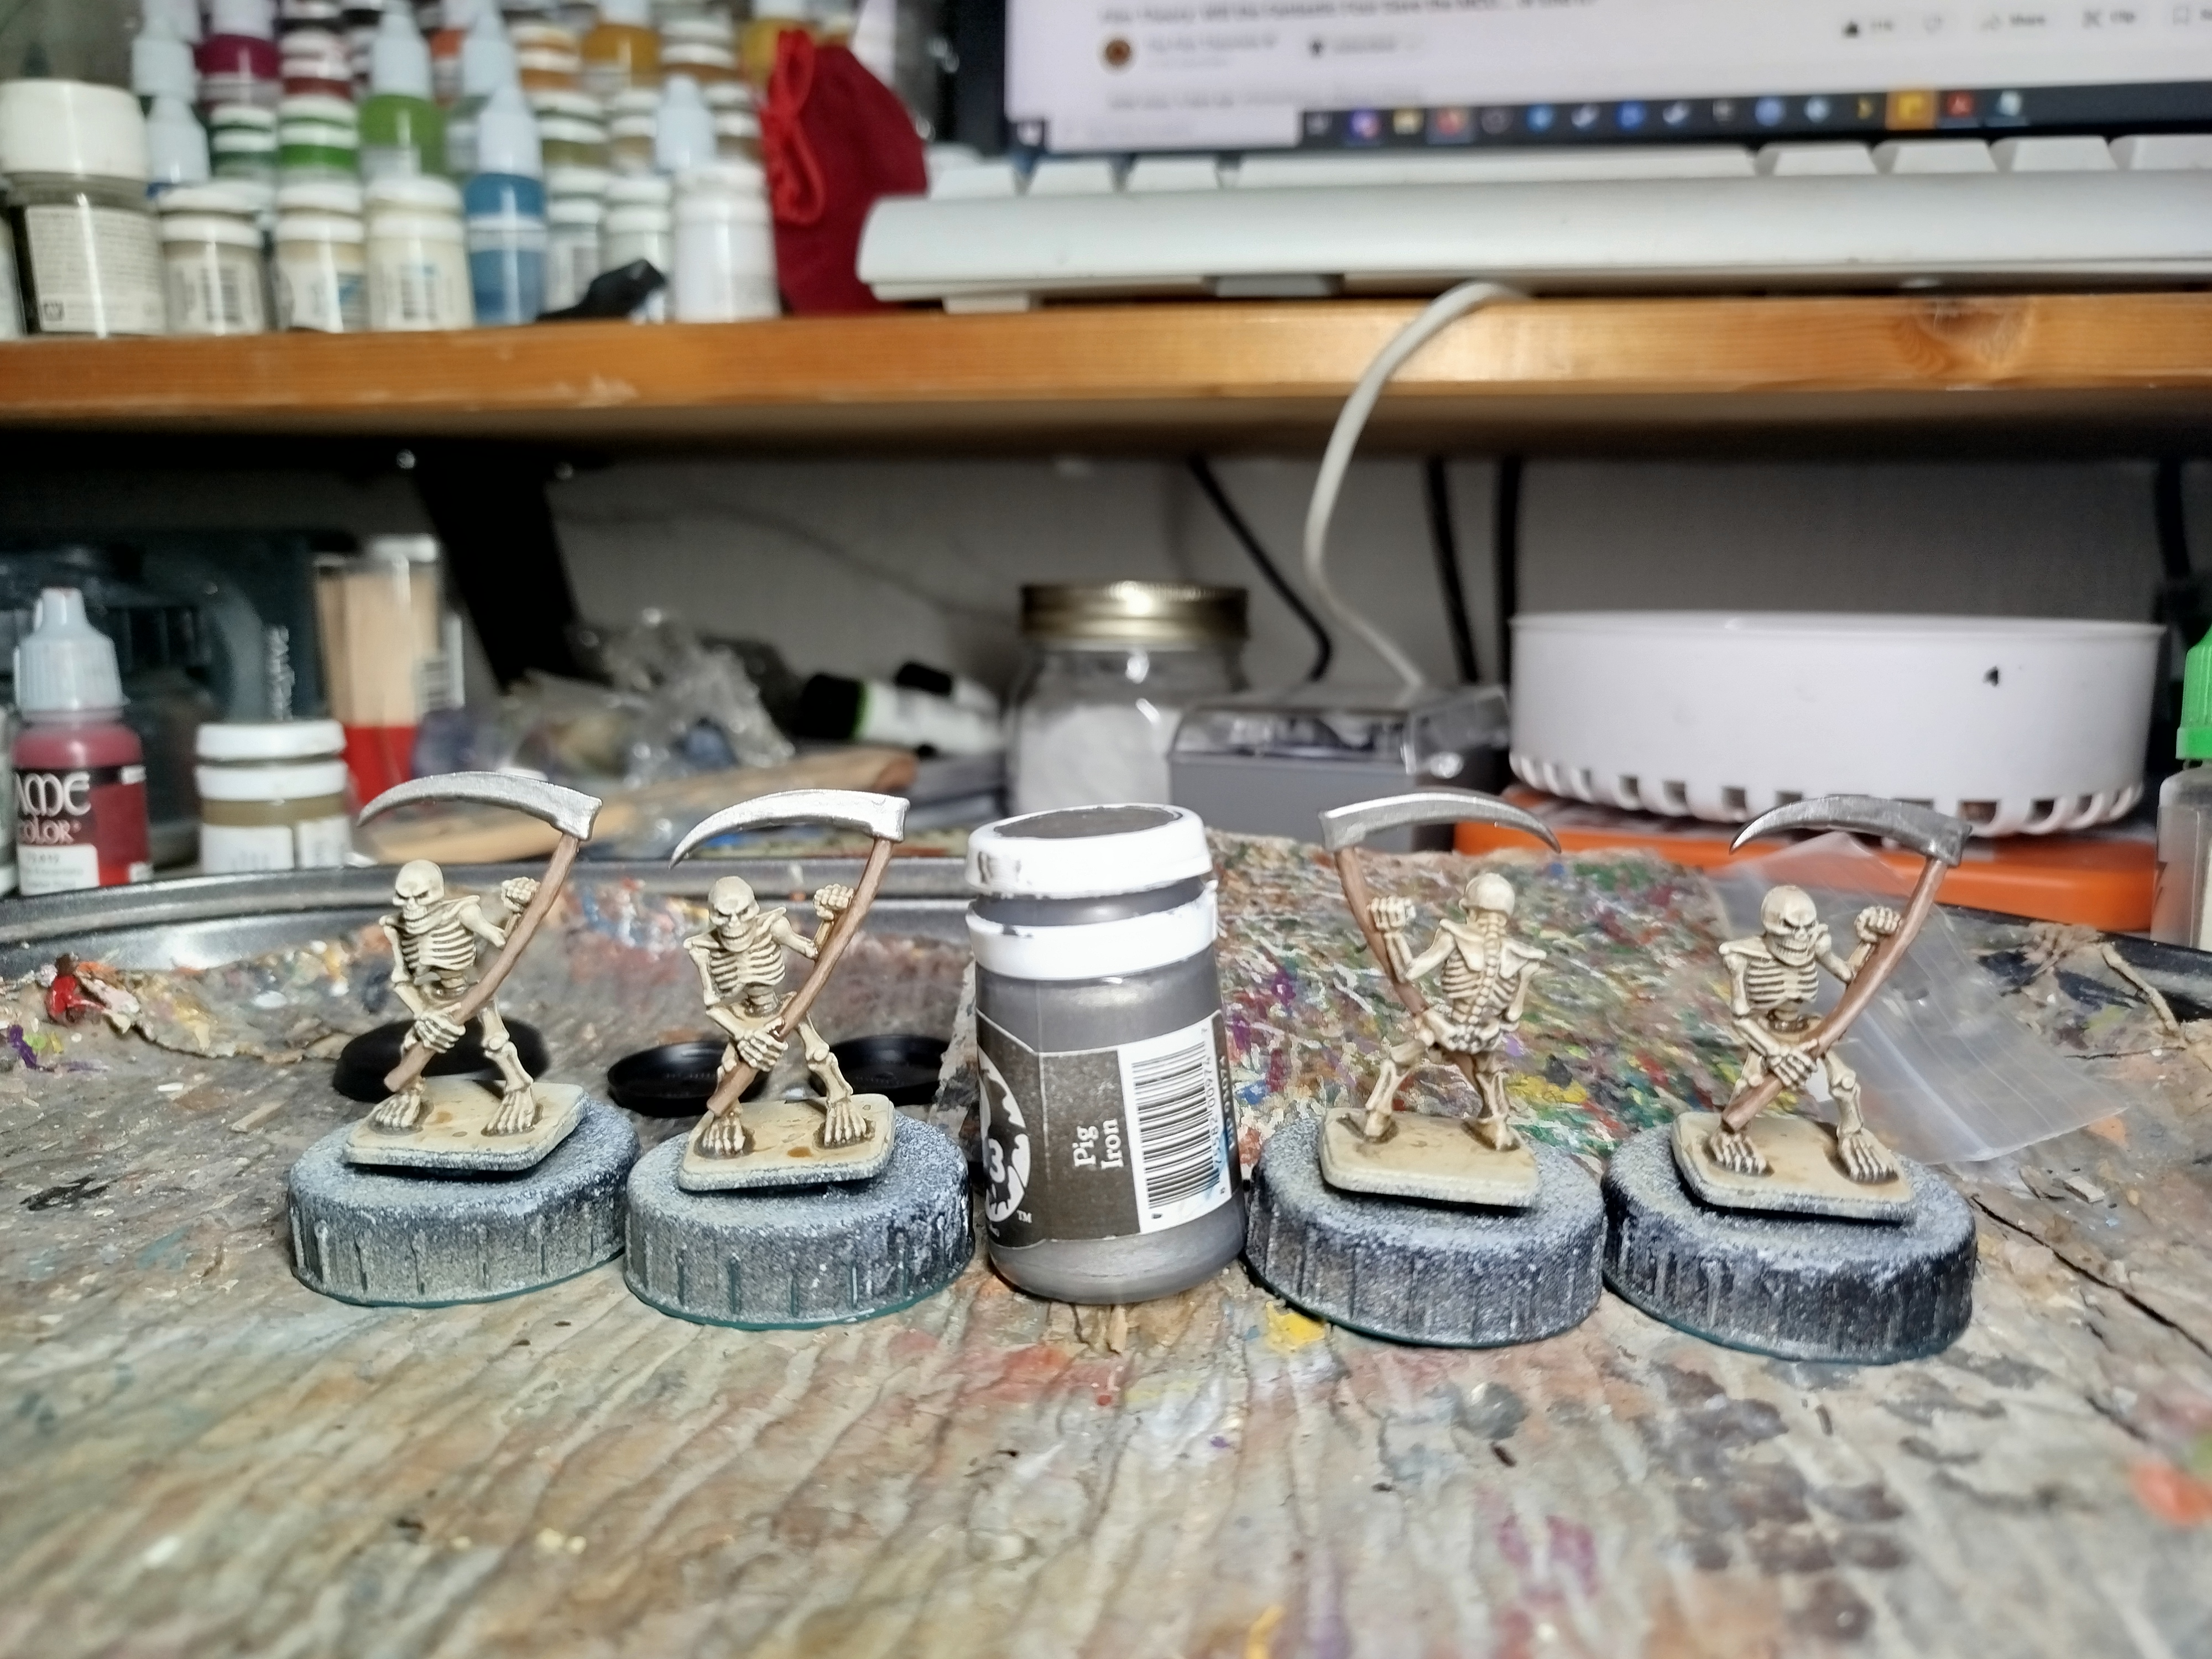
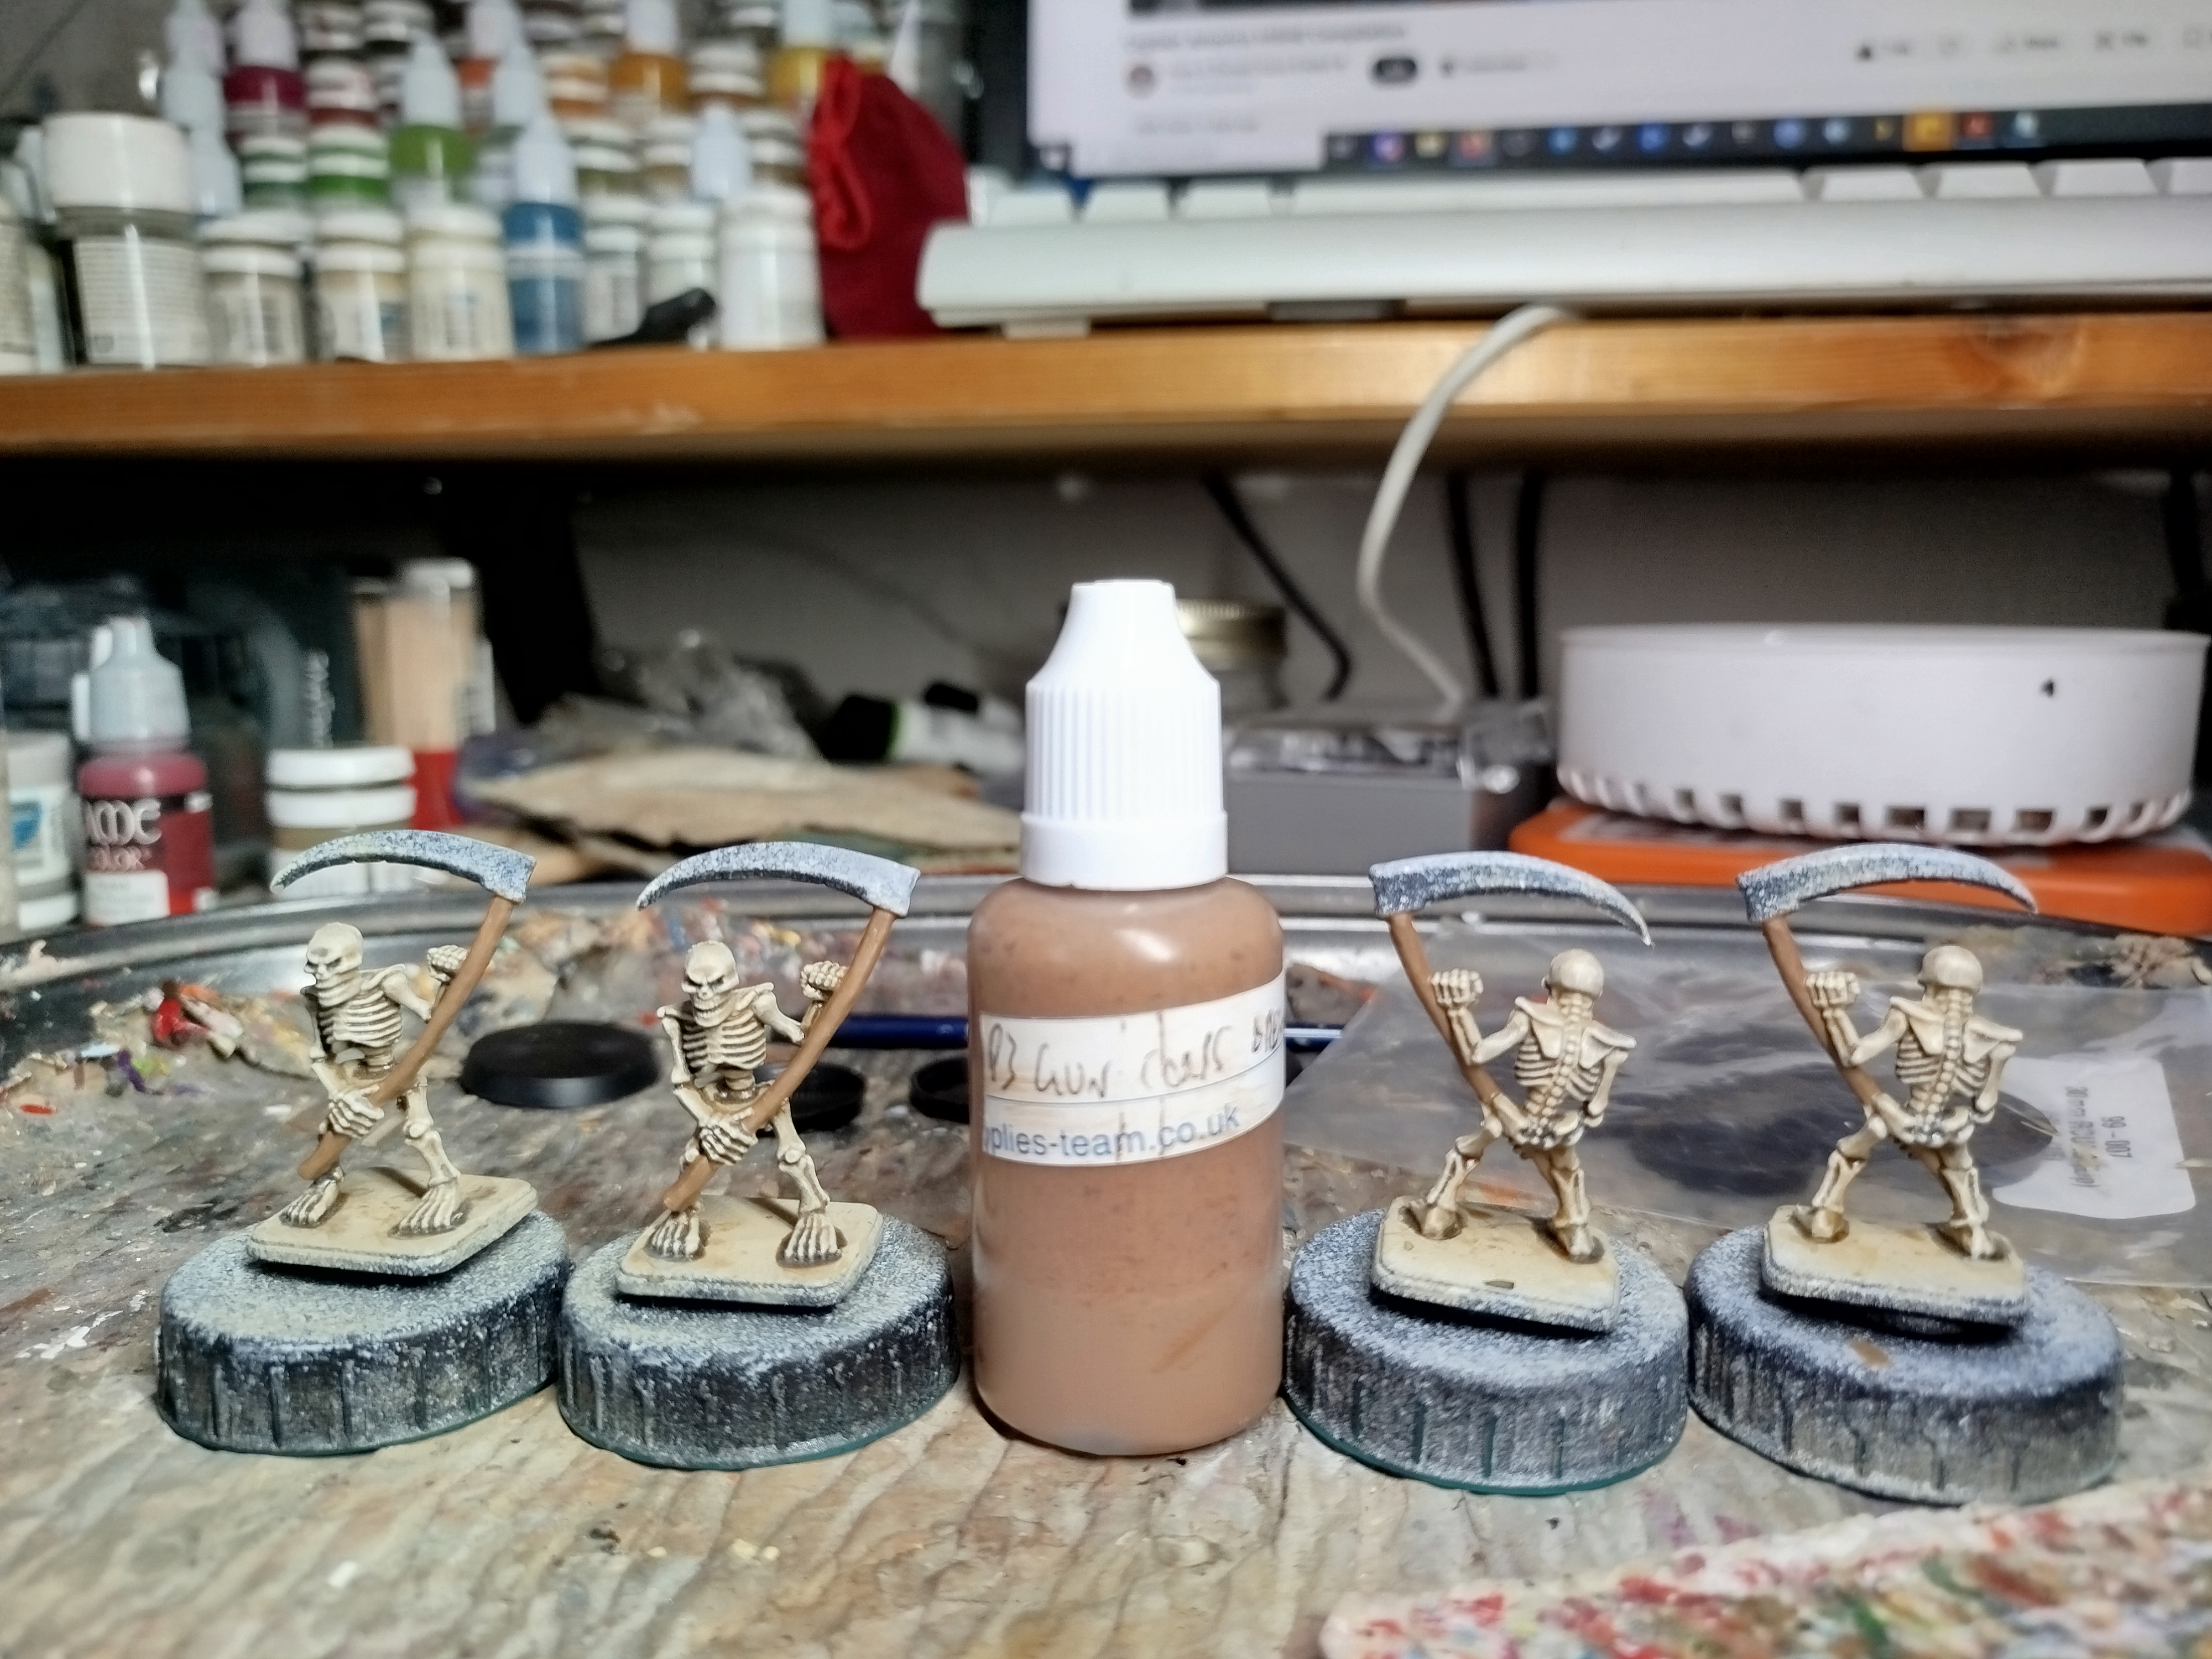
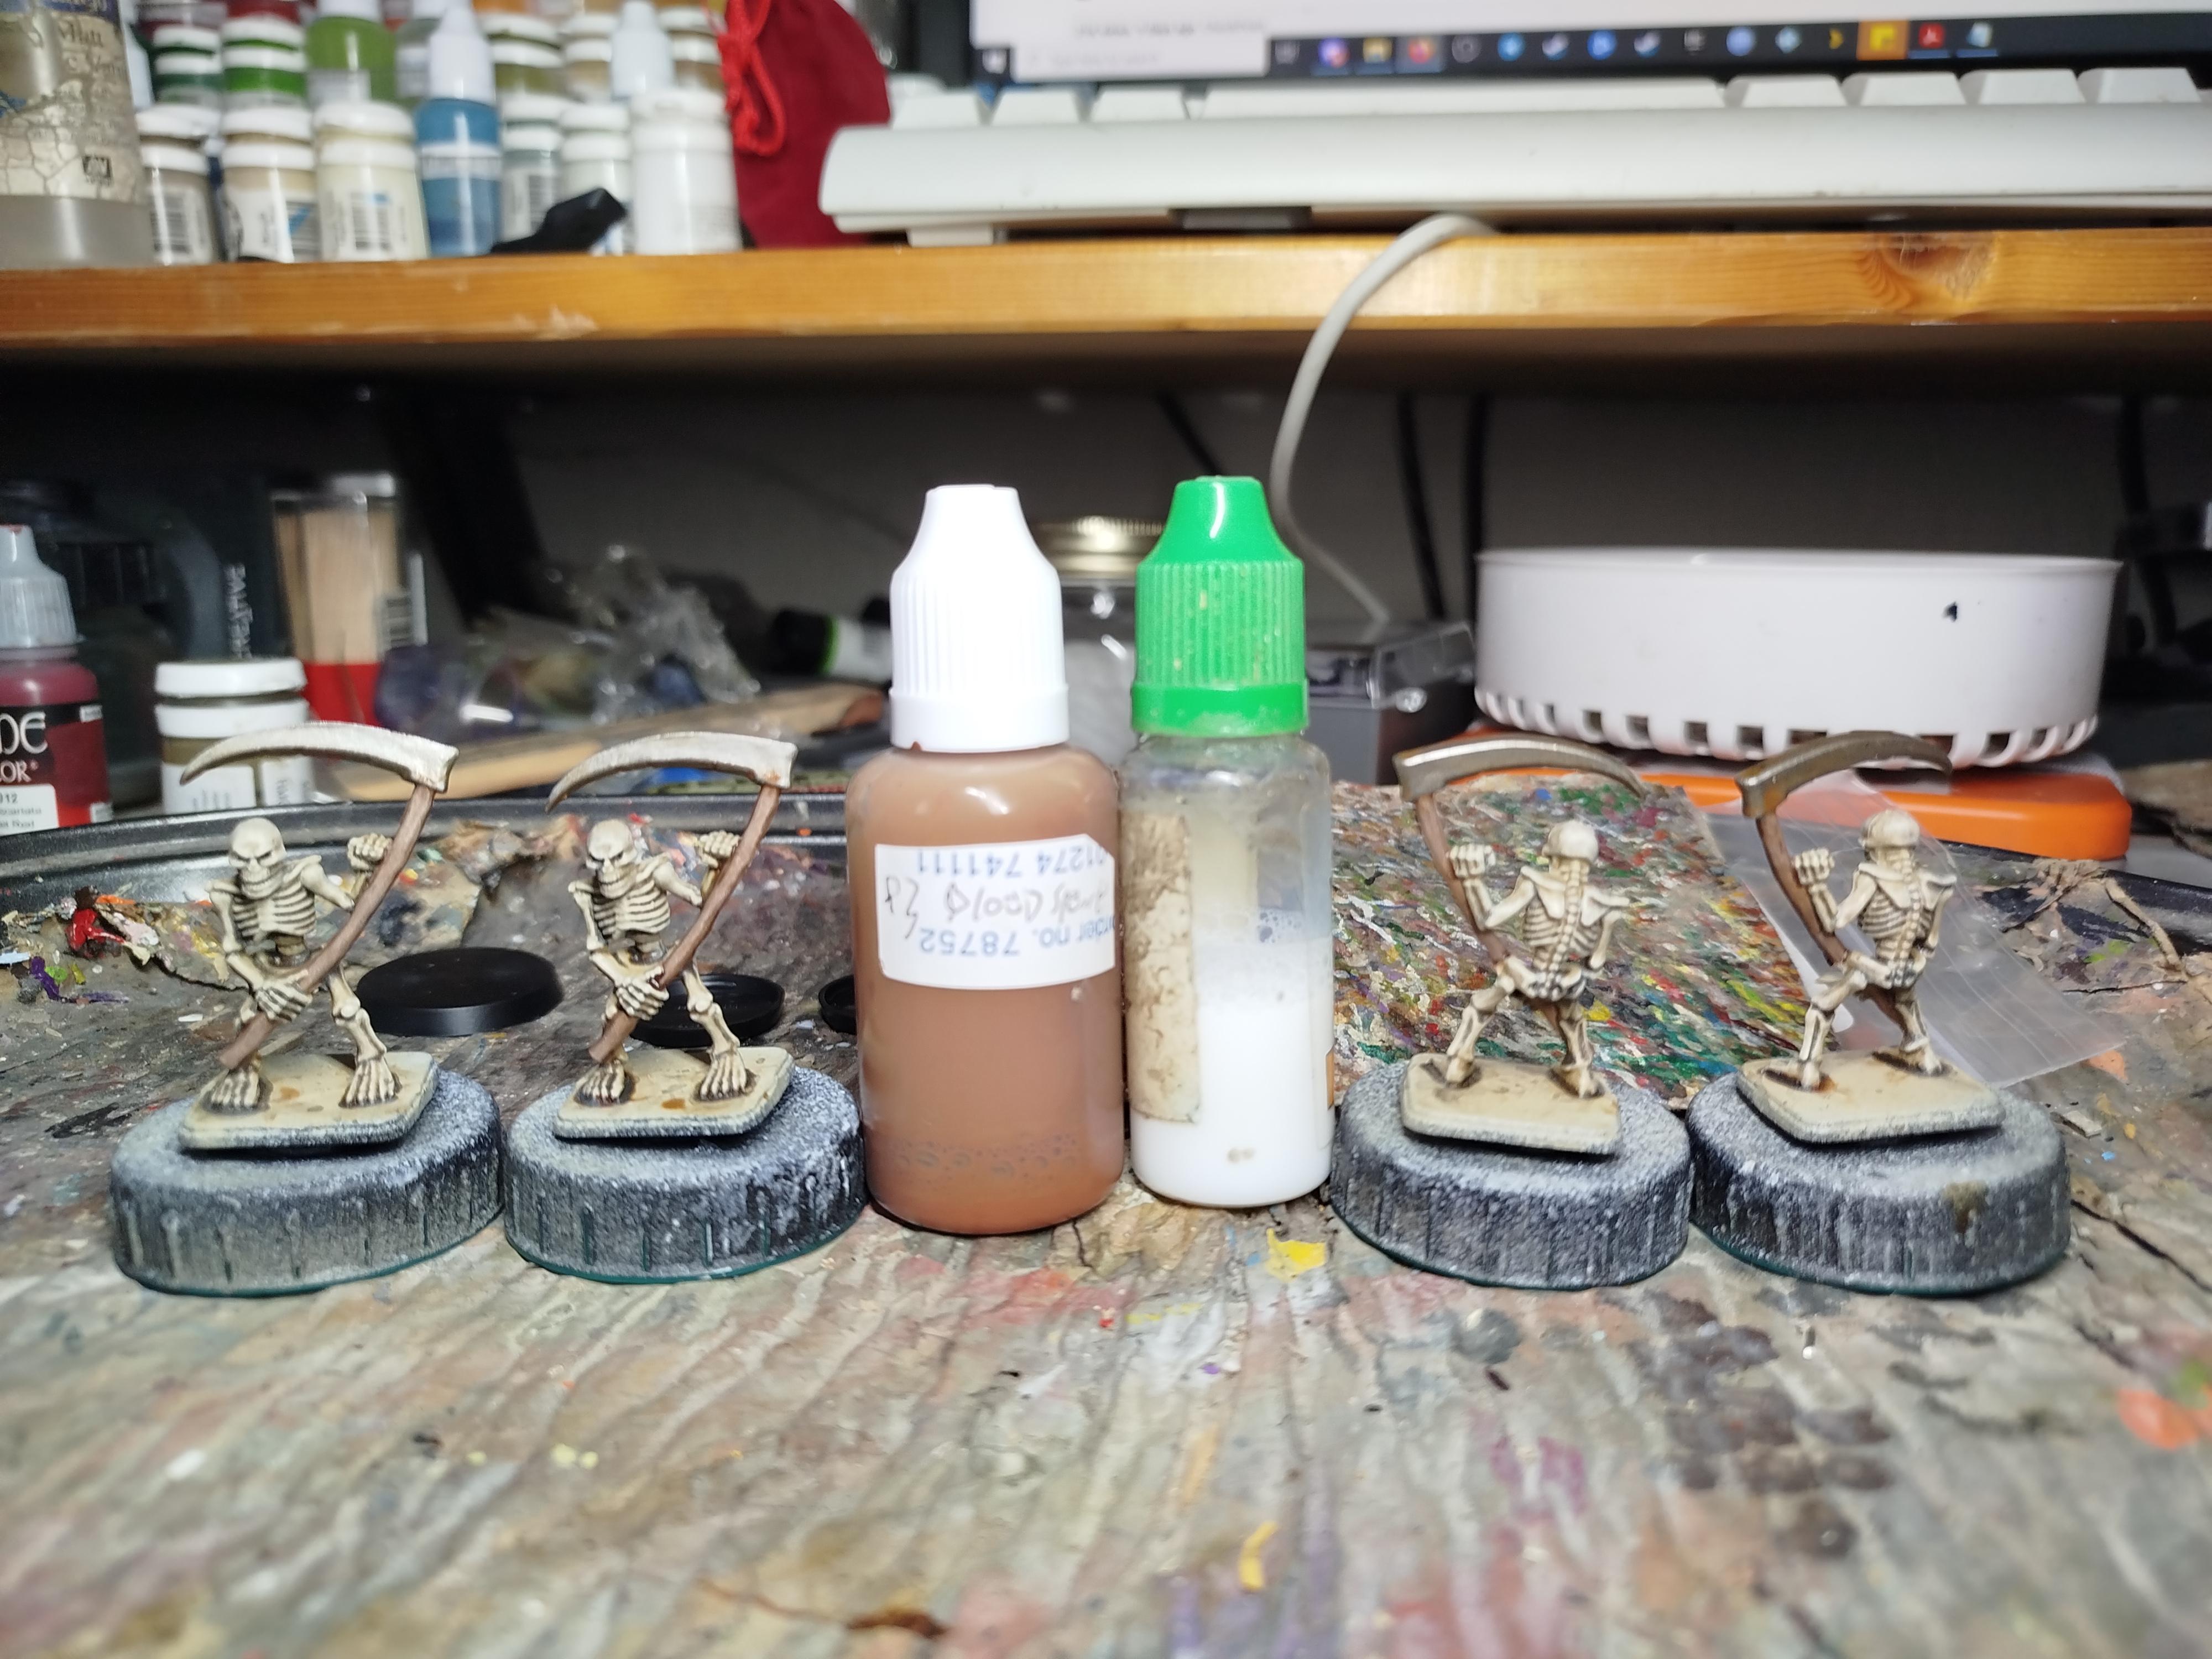 The blade was washed with p3 Bloodstone mixed with water and mixing medium
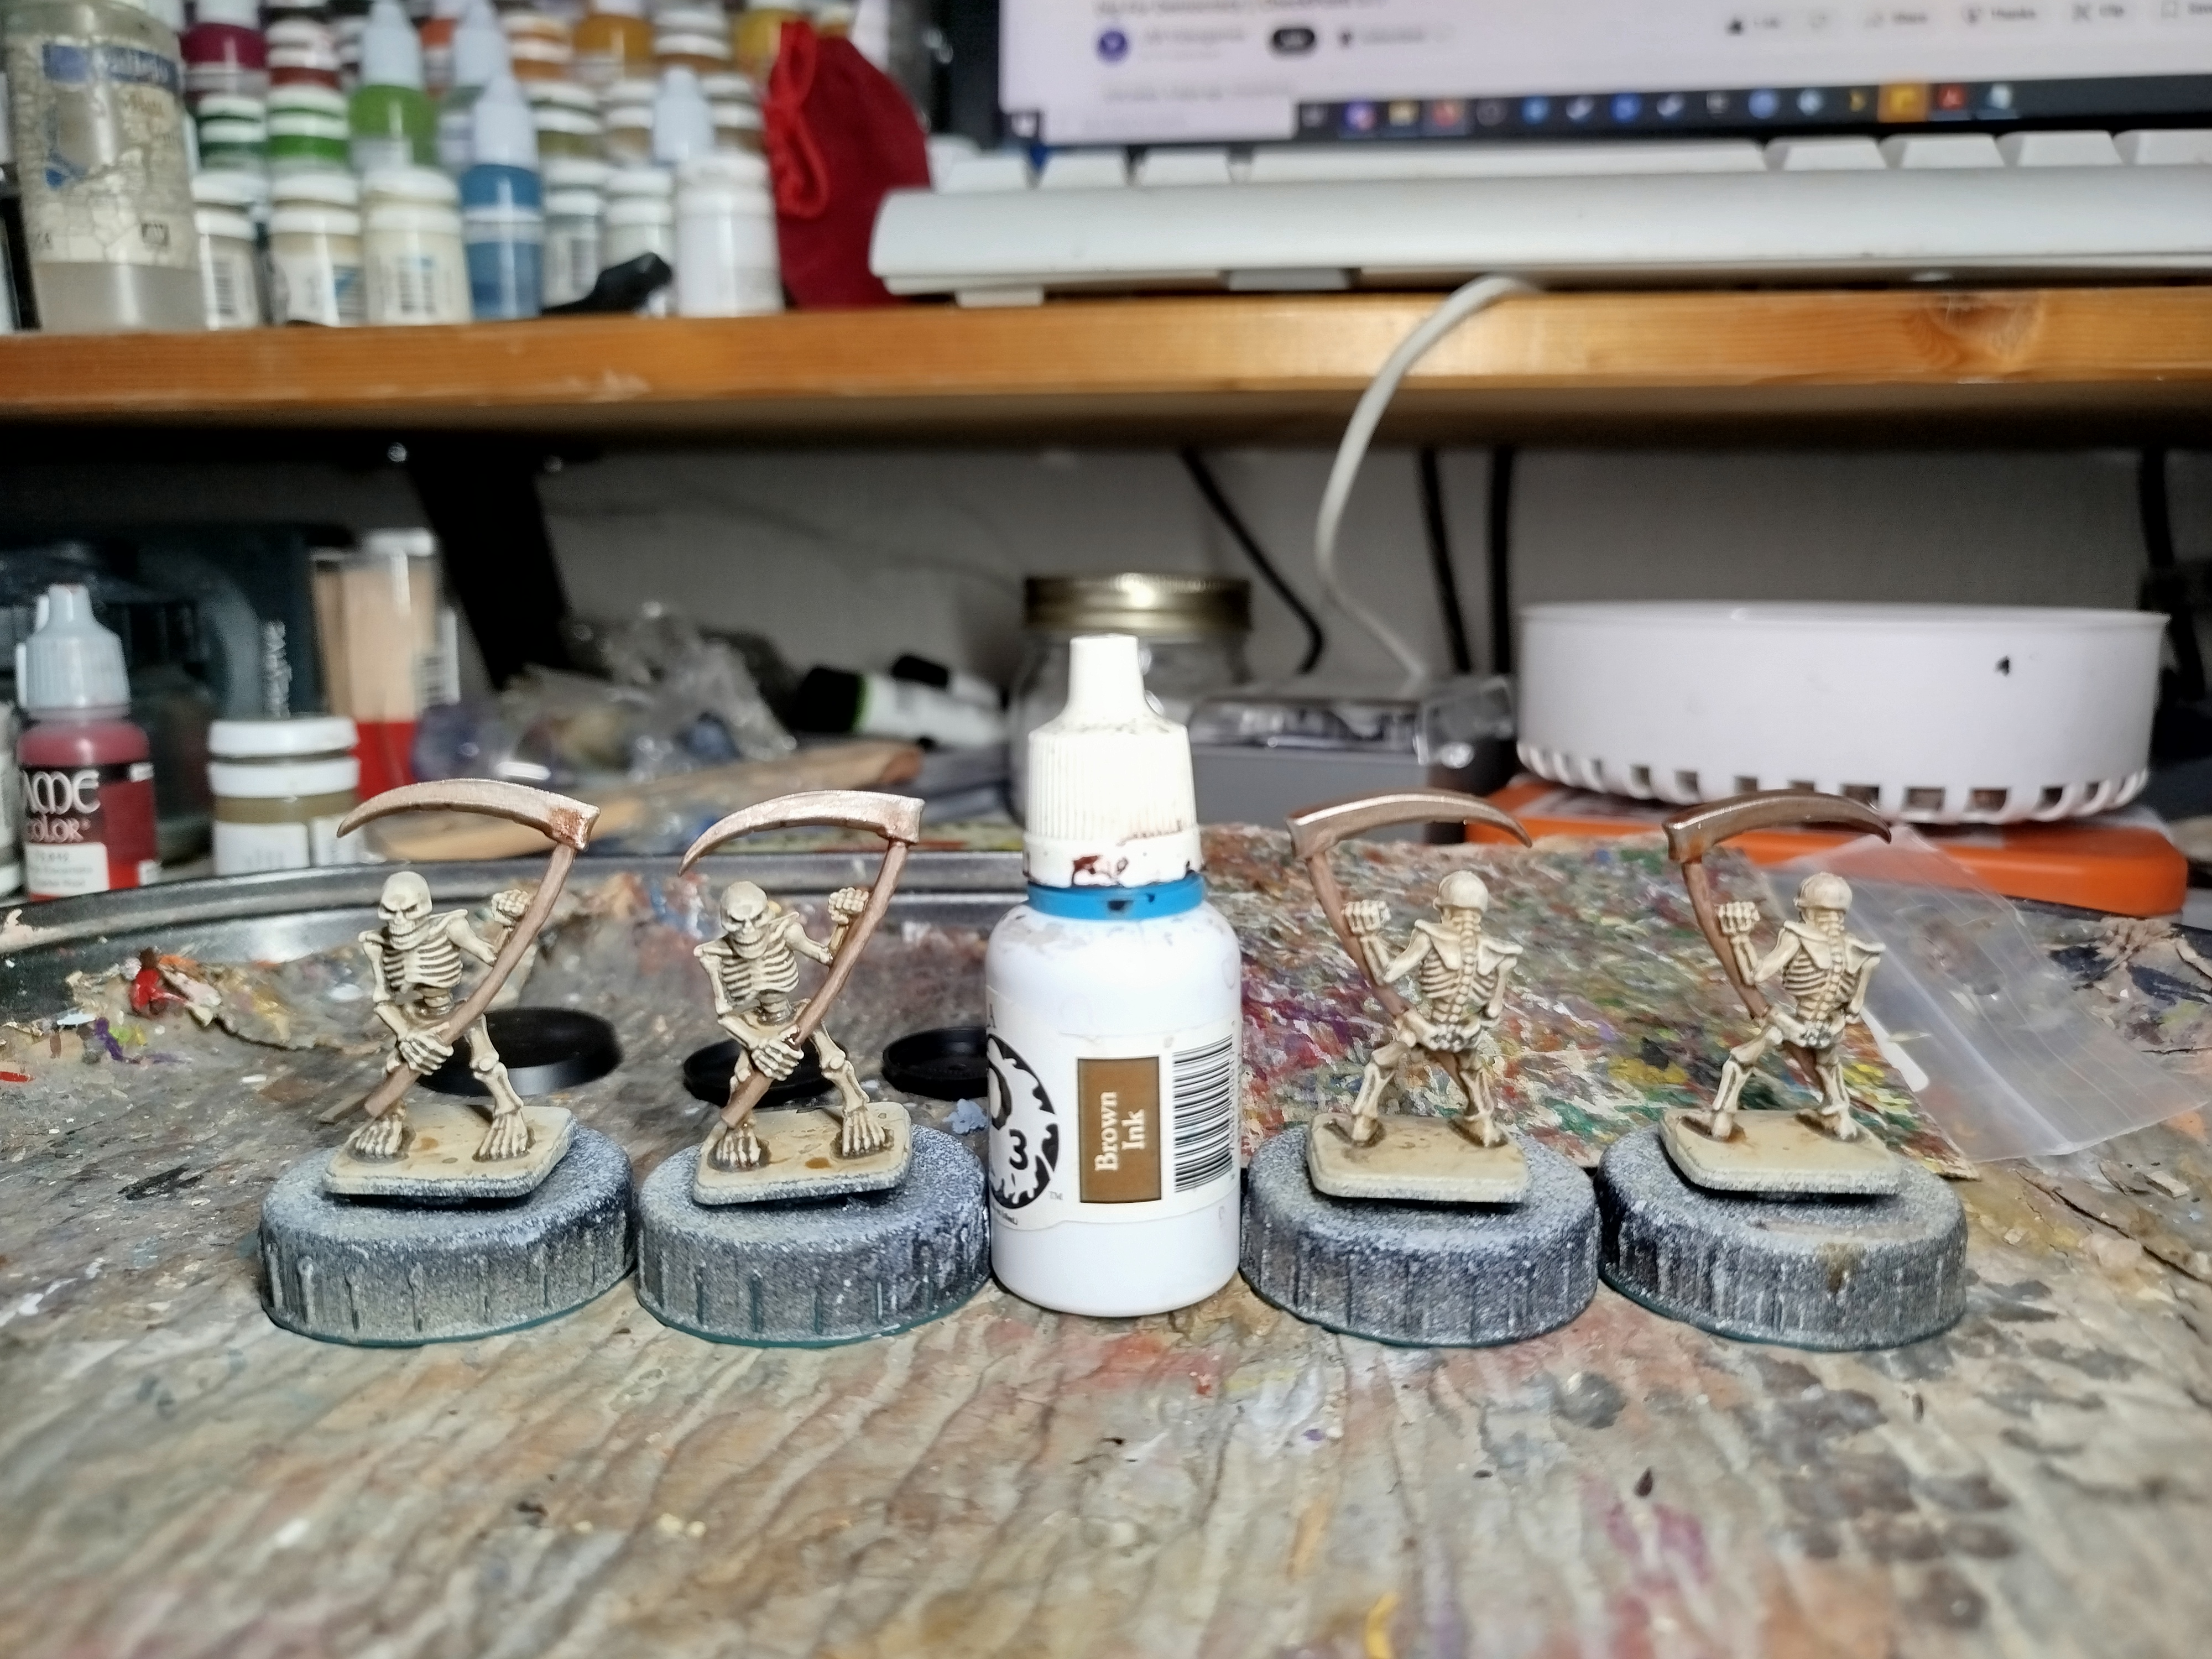 It was then washed again with watered down P3 Brown Ink
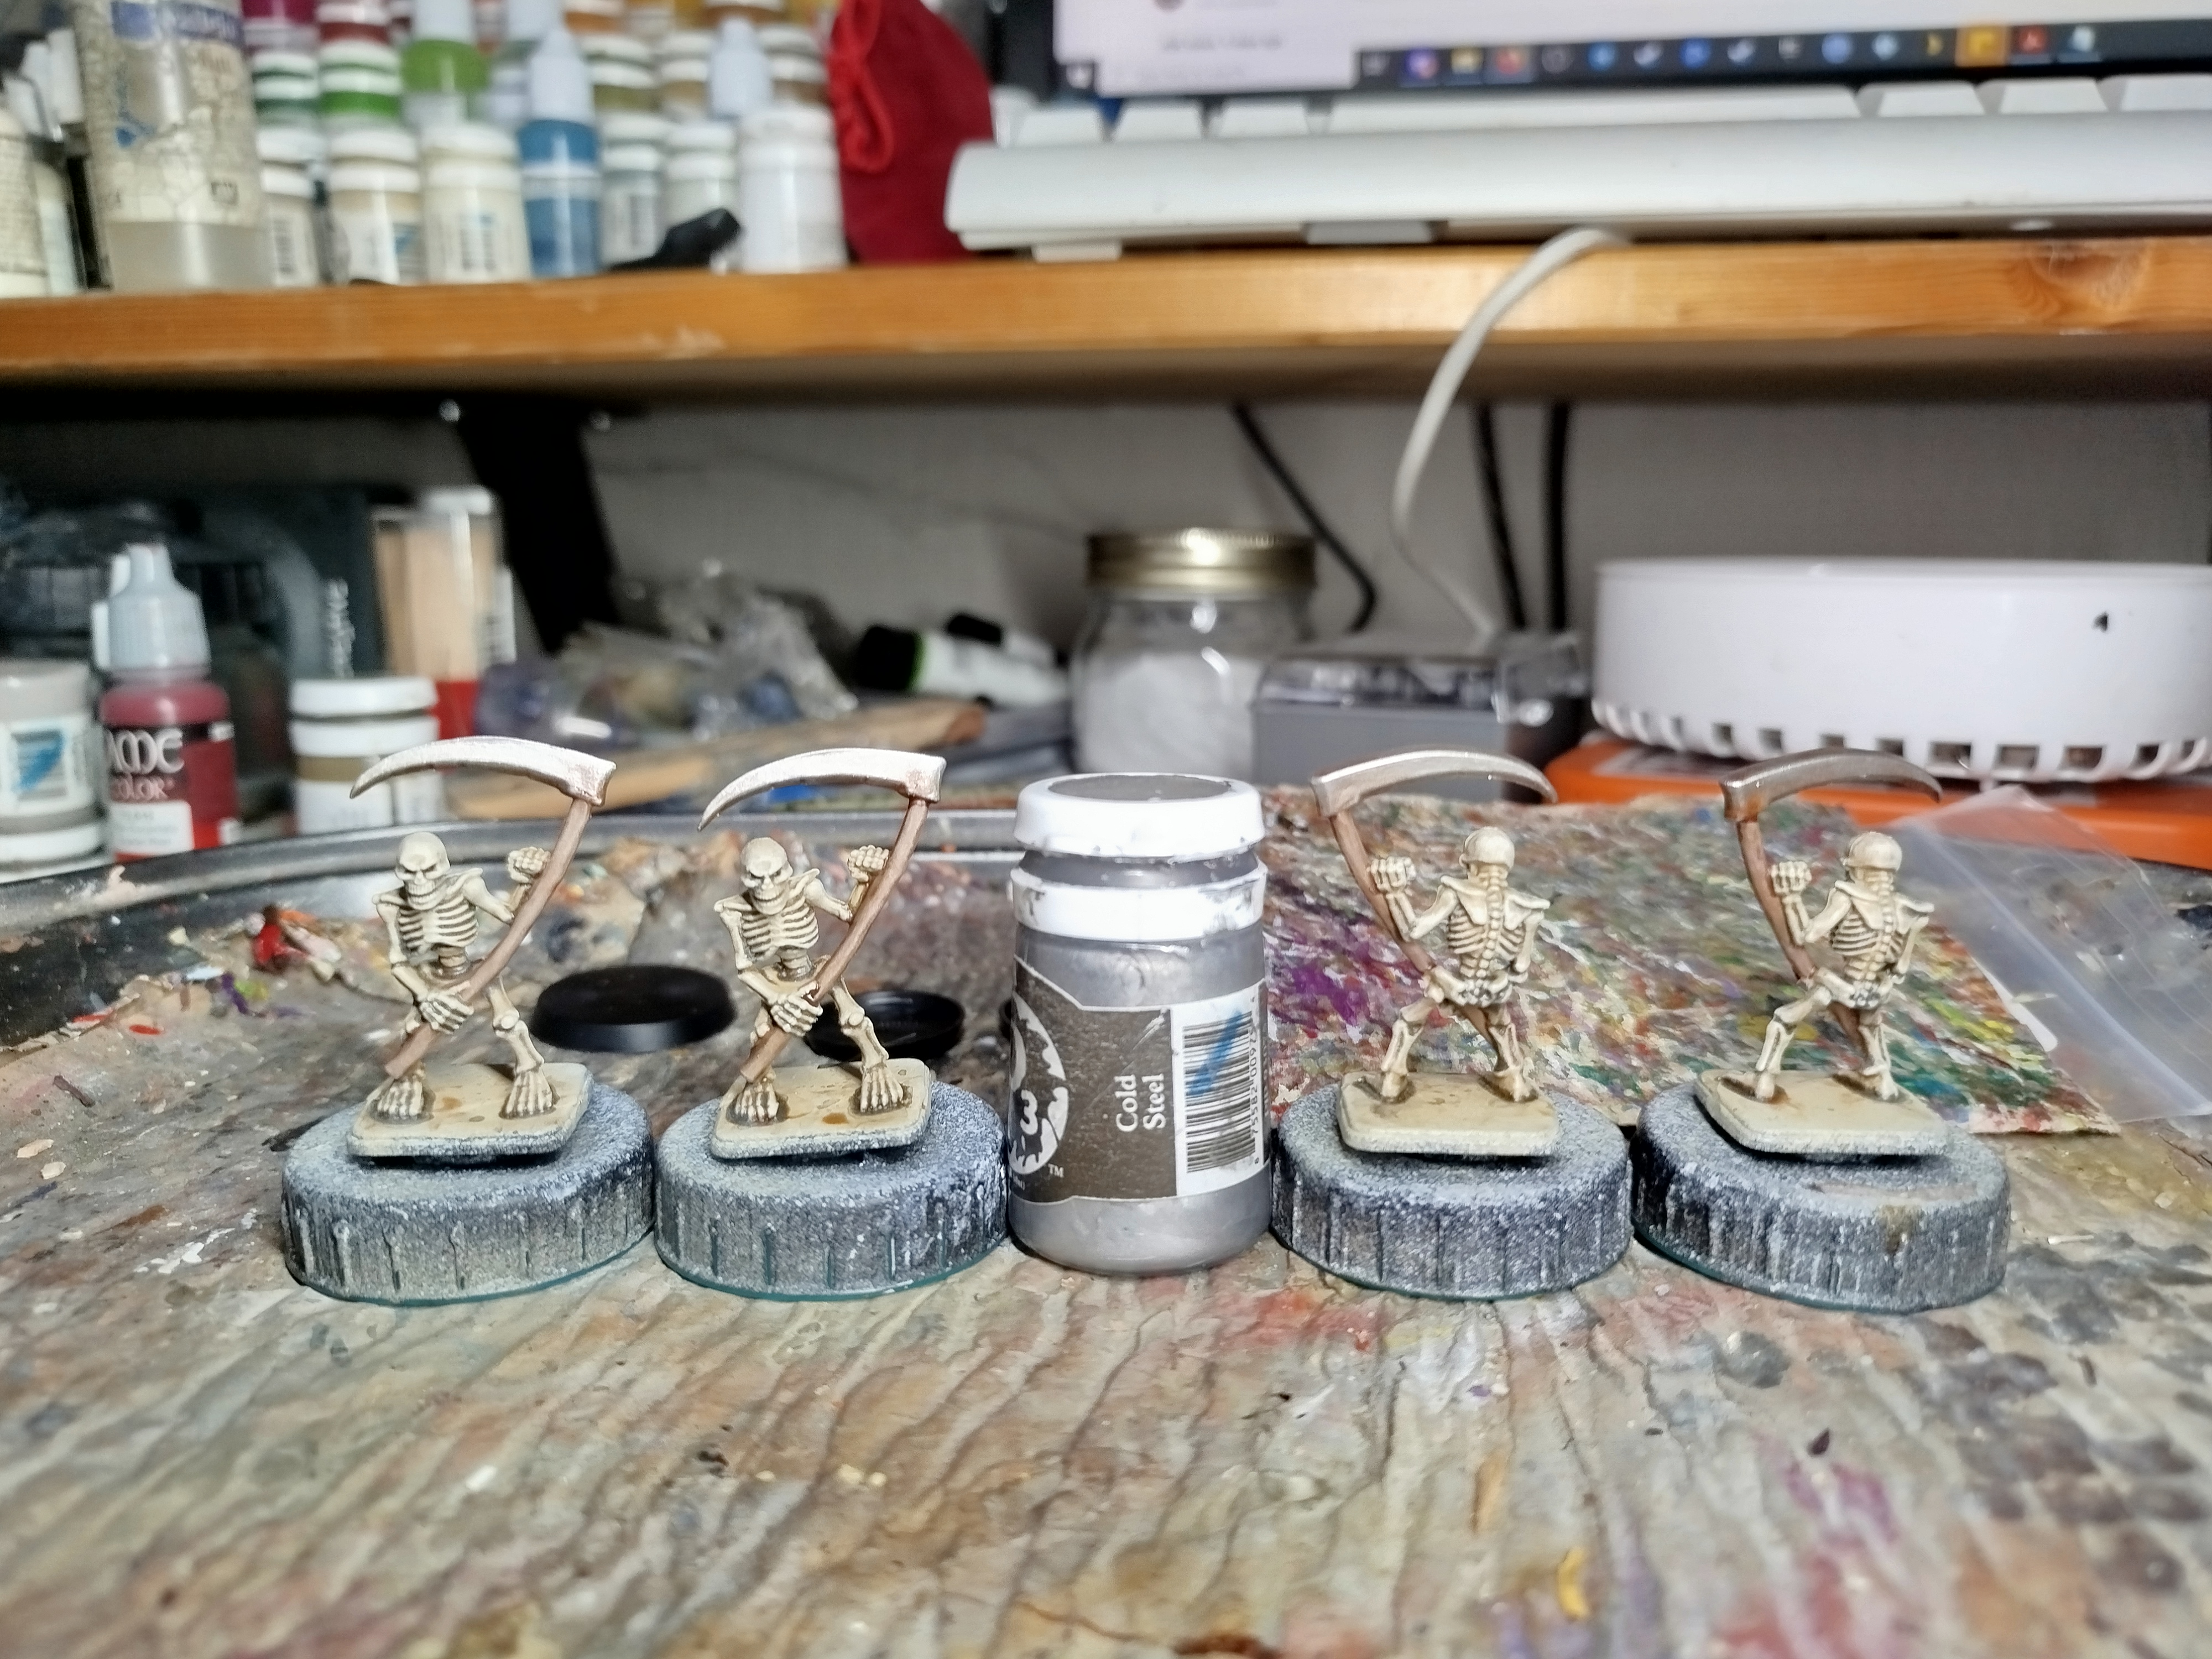 A quick drybrush to highlight and blur the staining
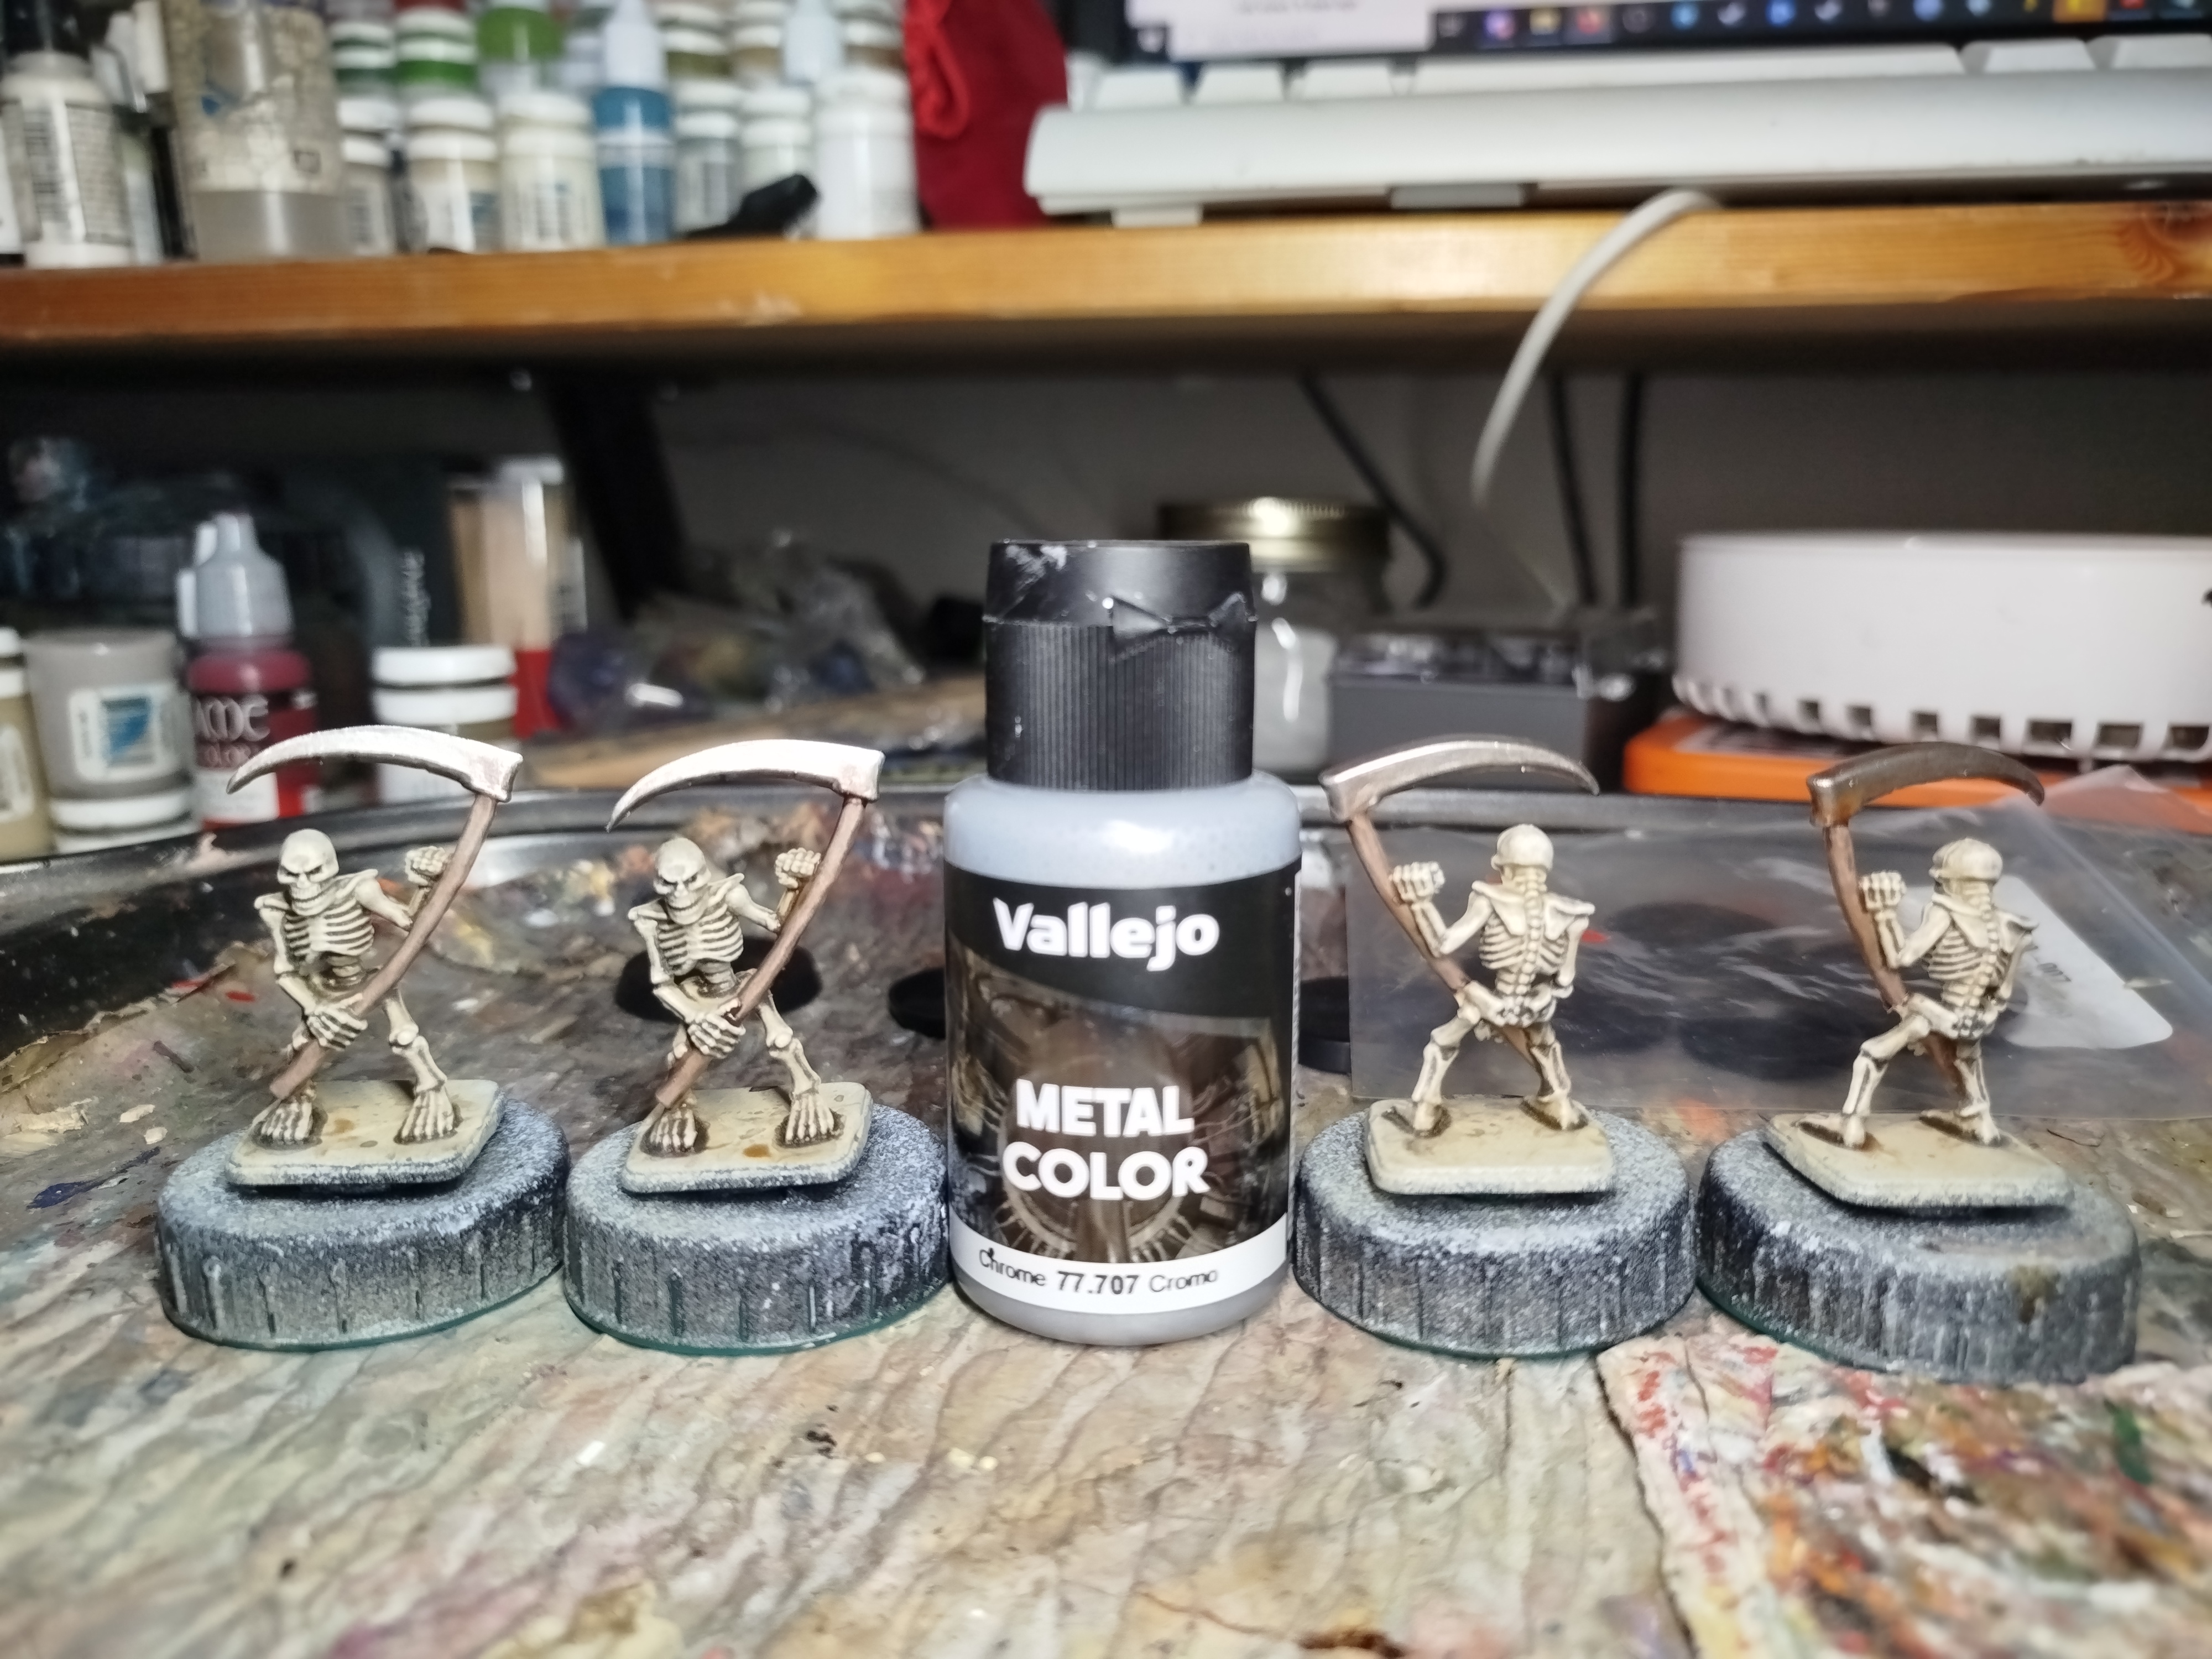 Make the edges shiny where appropriate
That’s the skeletons done. Now on to the next entry, and back to the mummies.
My first weekends worth of progress
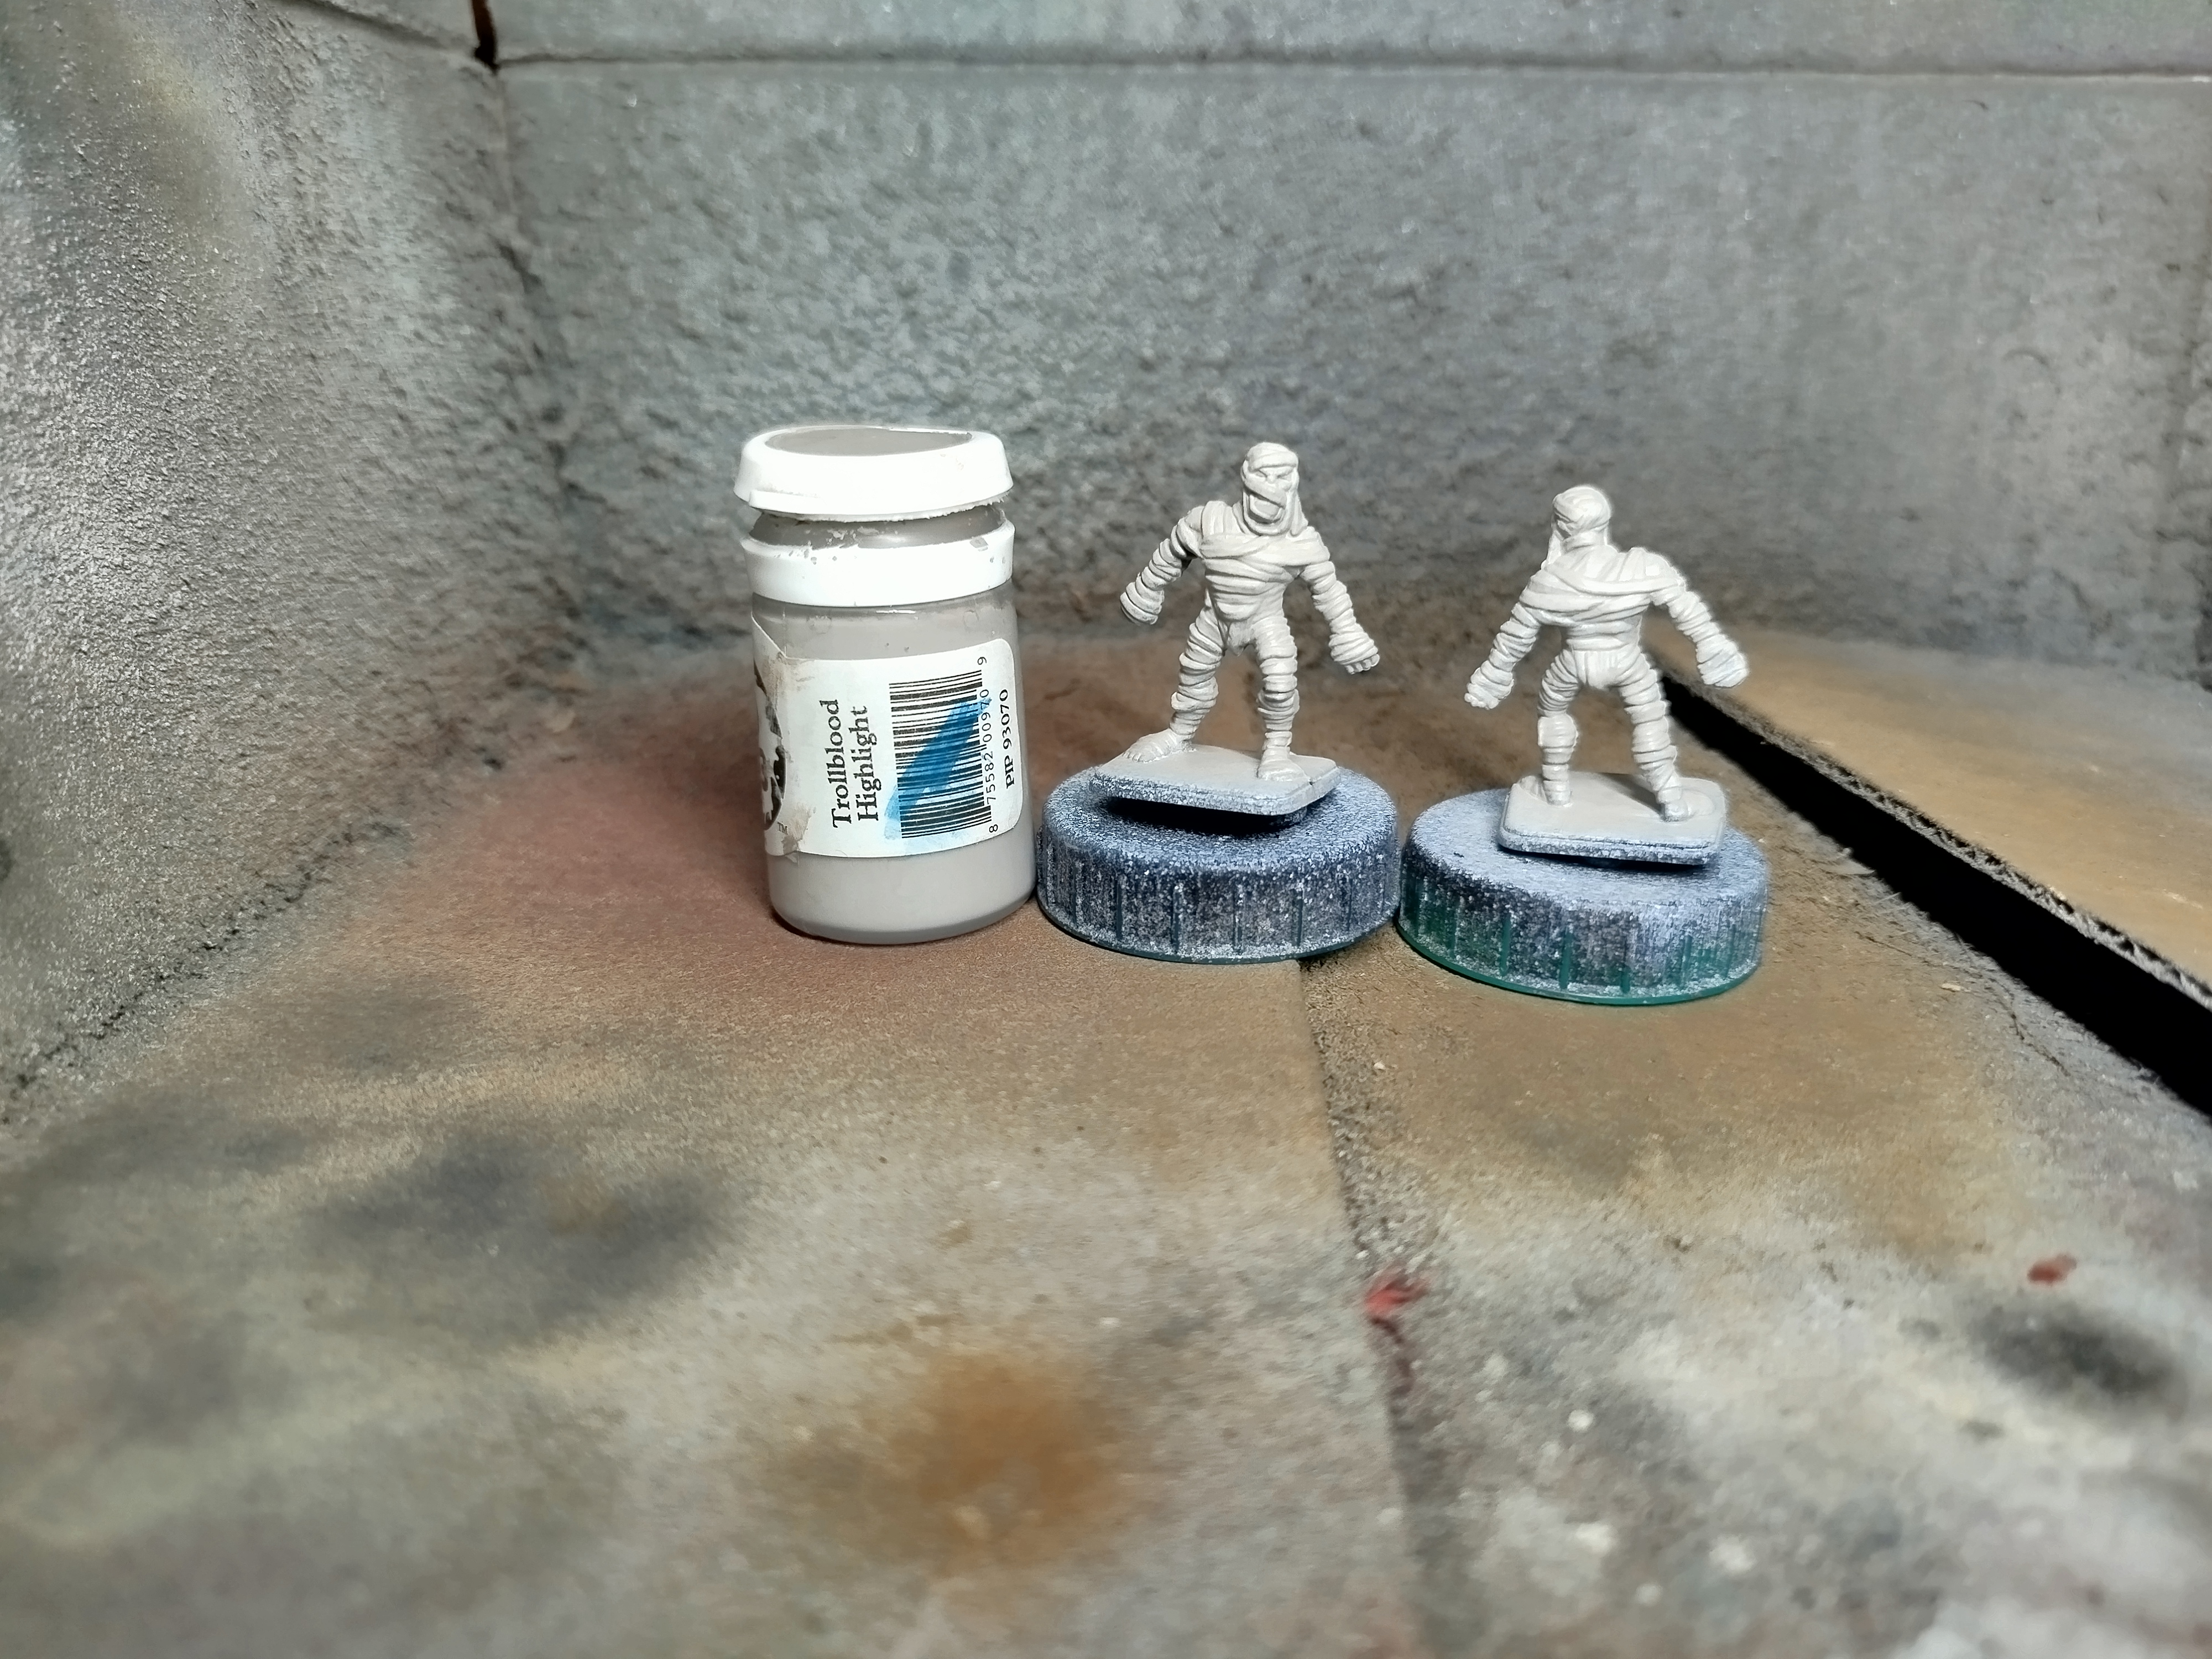
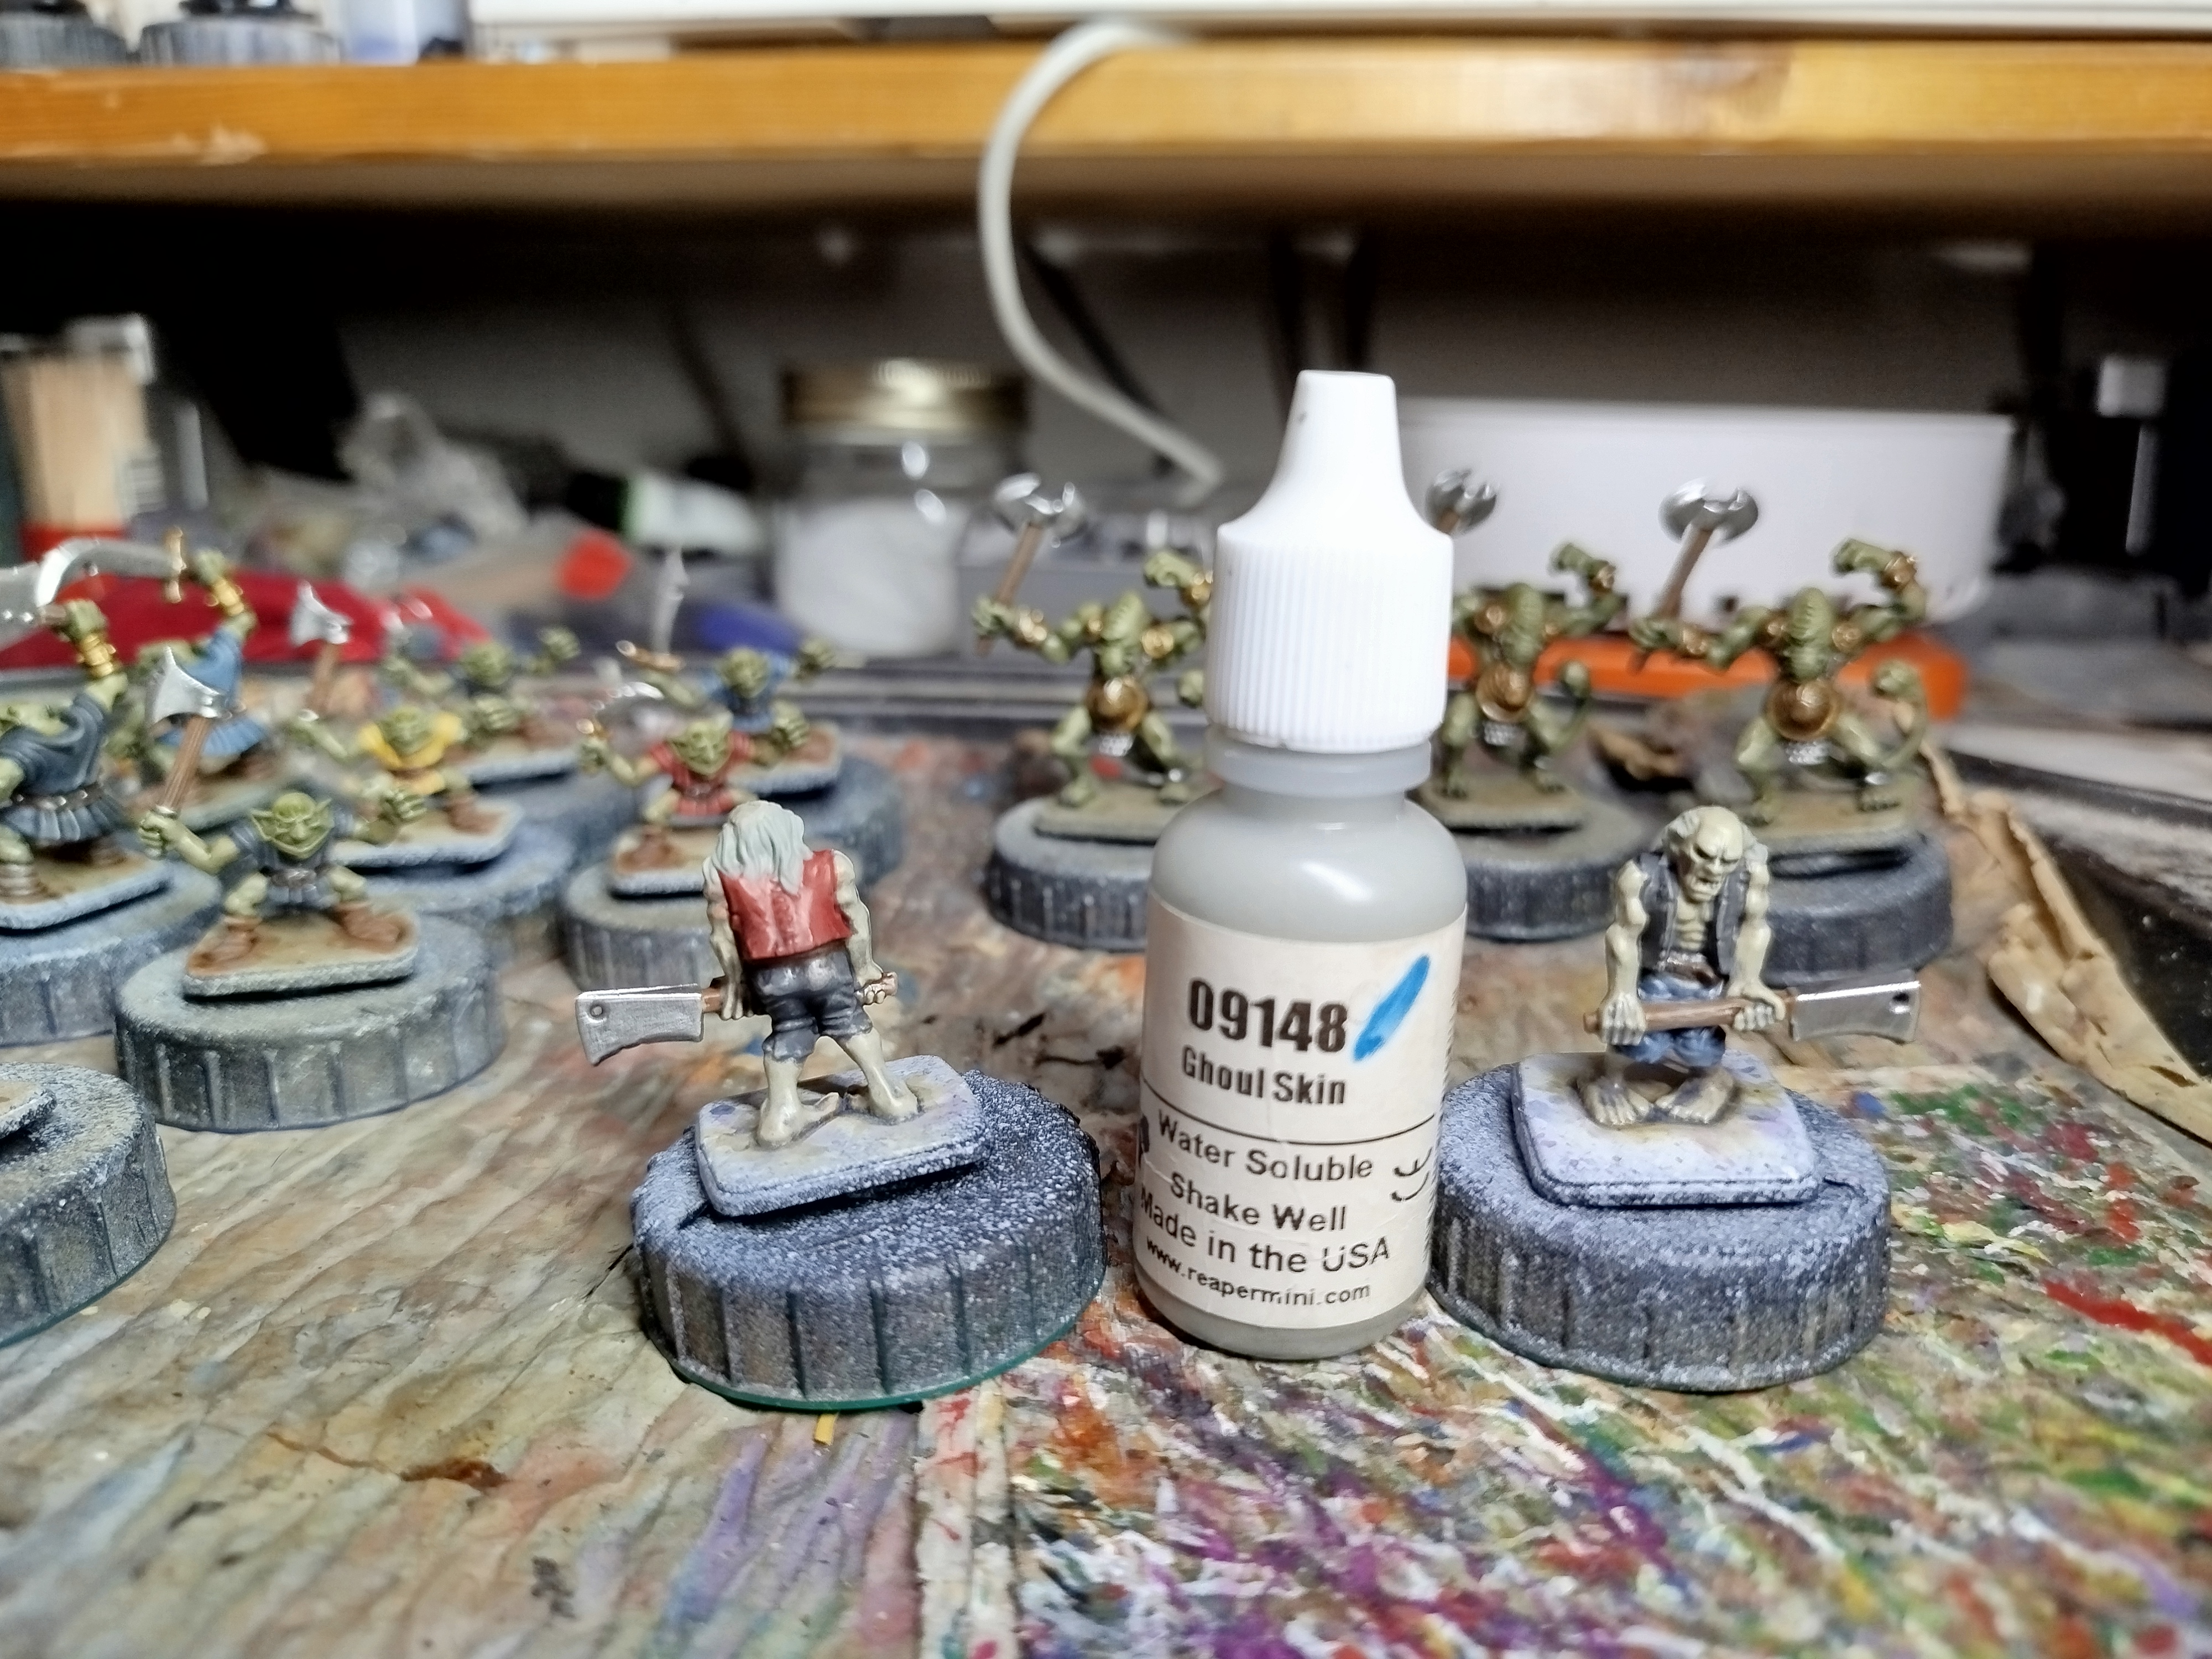
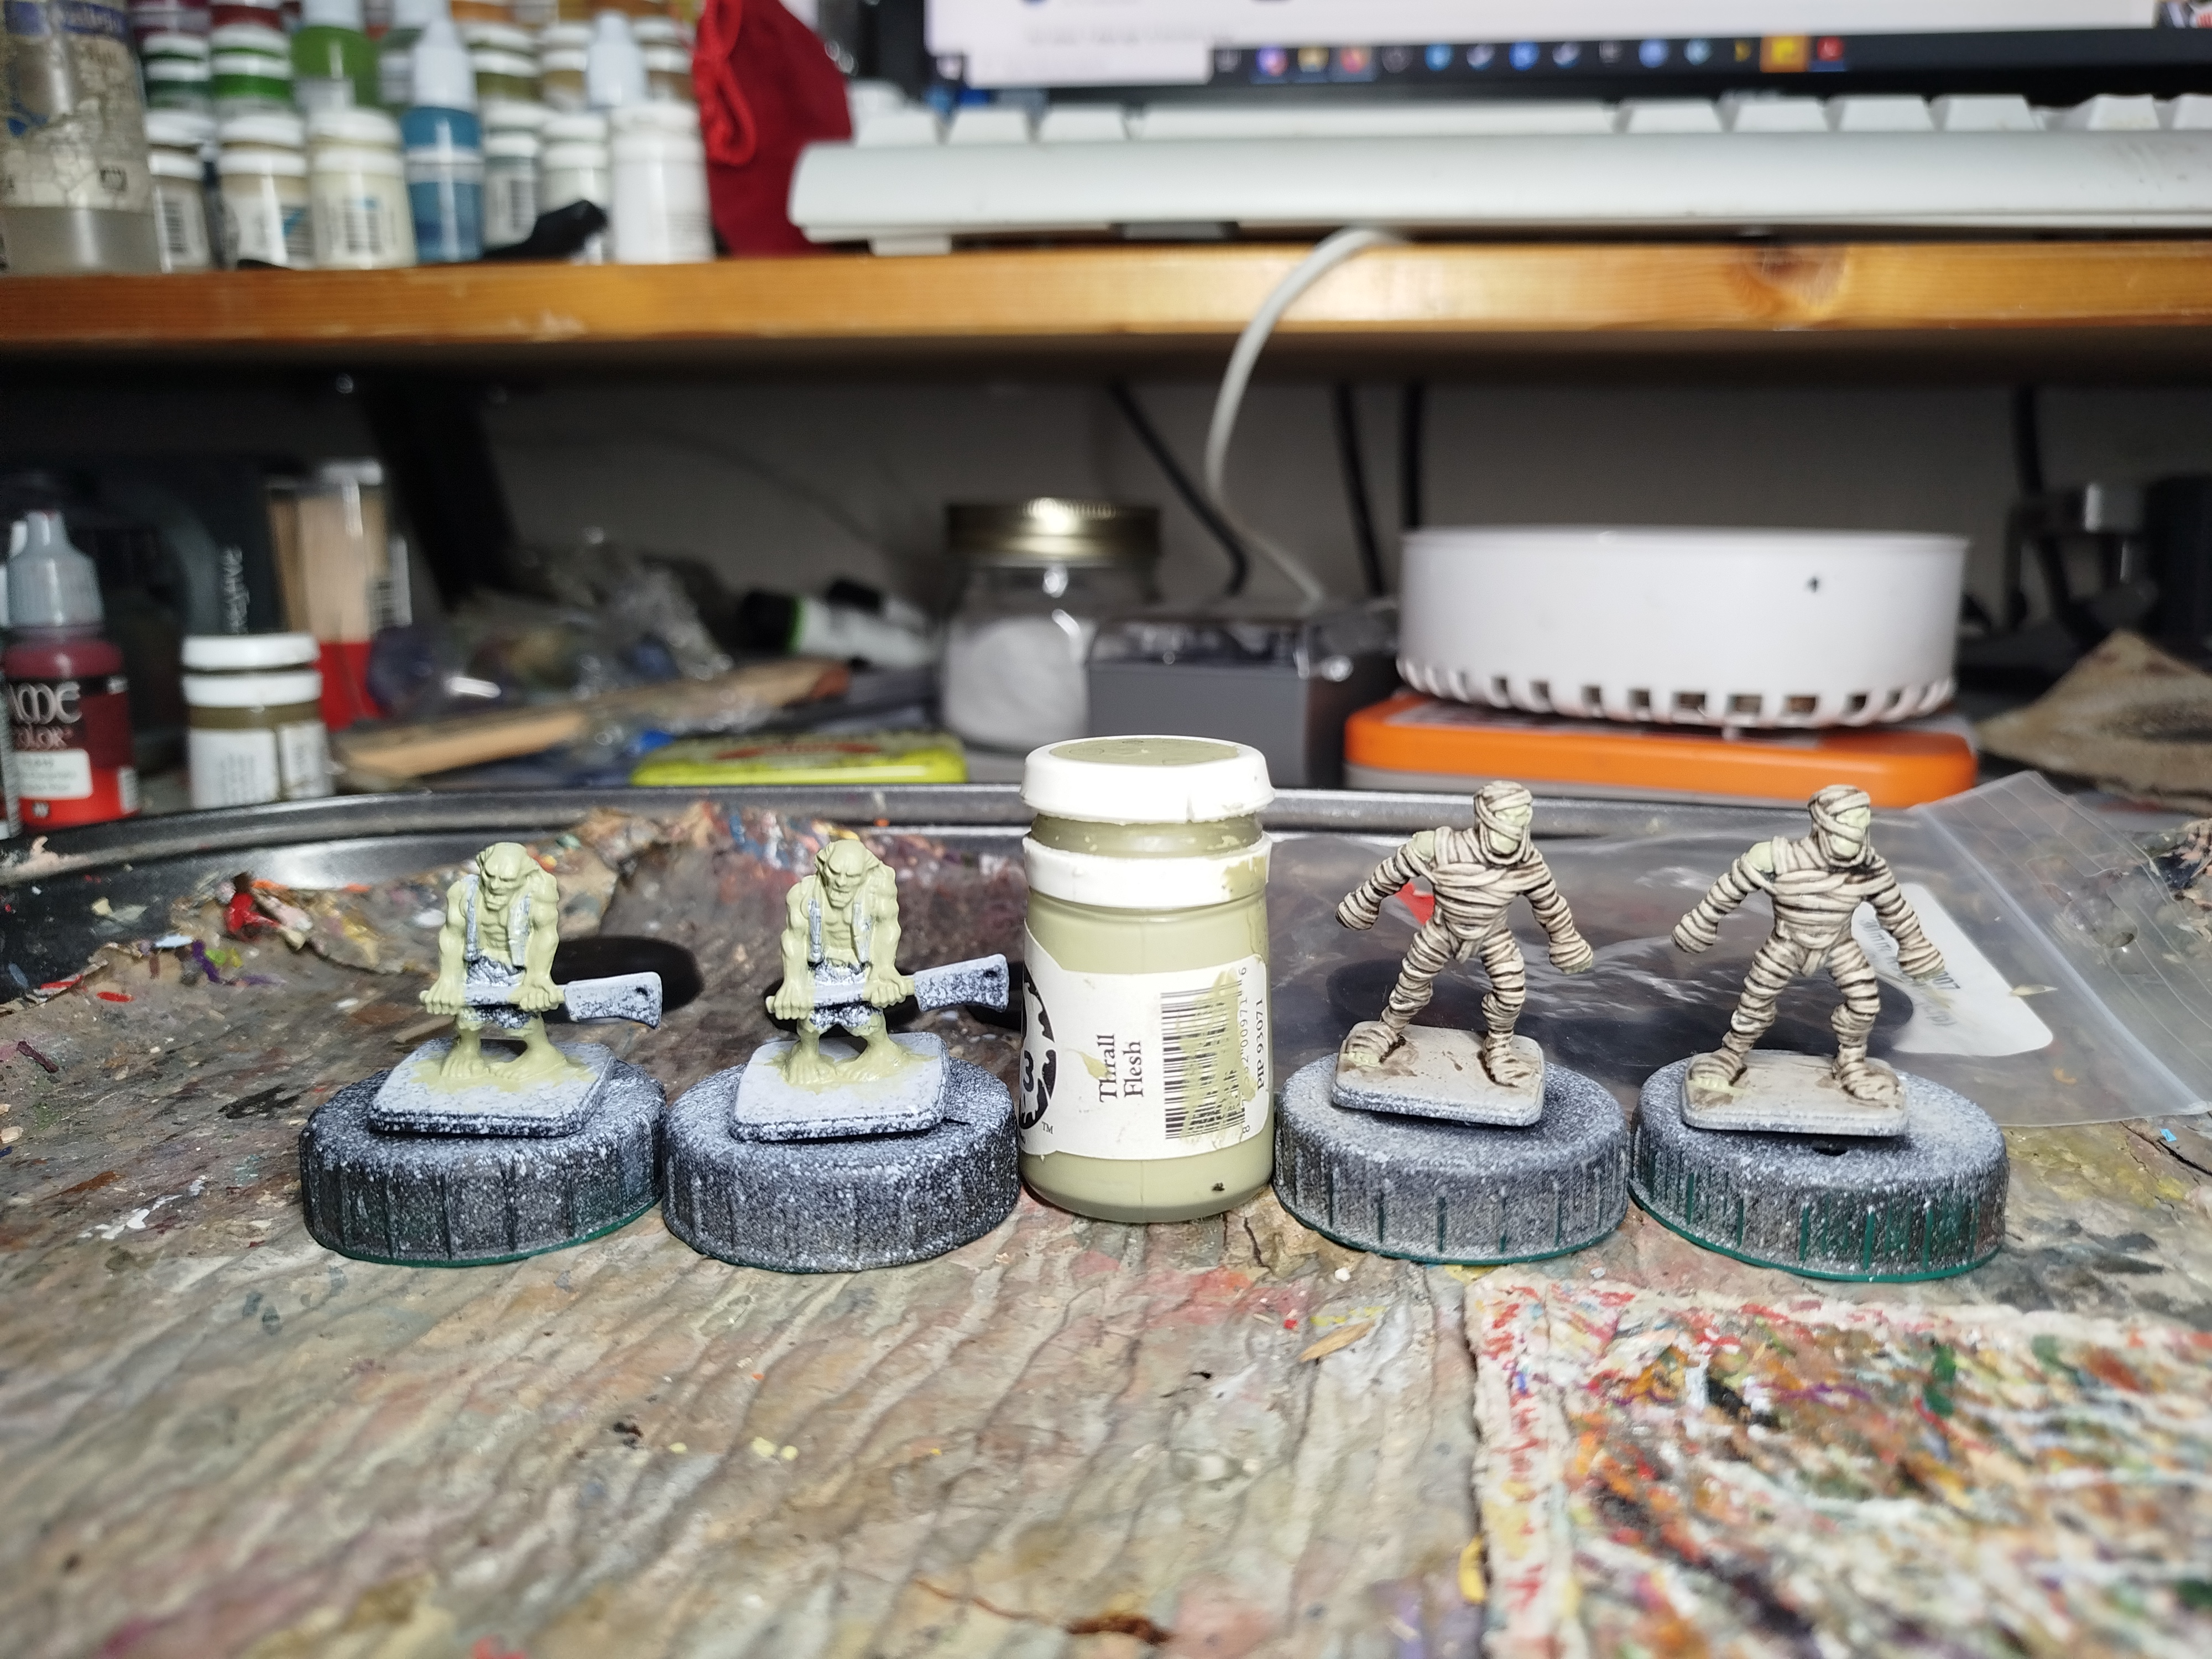 I base coated the undead flesh on the mummies and the zombies with P3 Thrall Flesh
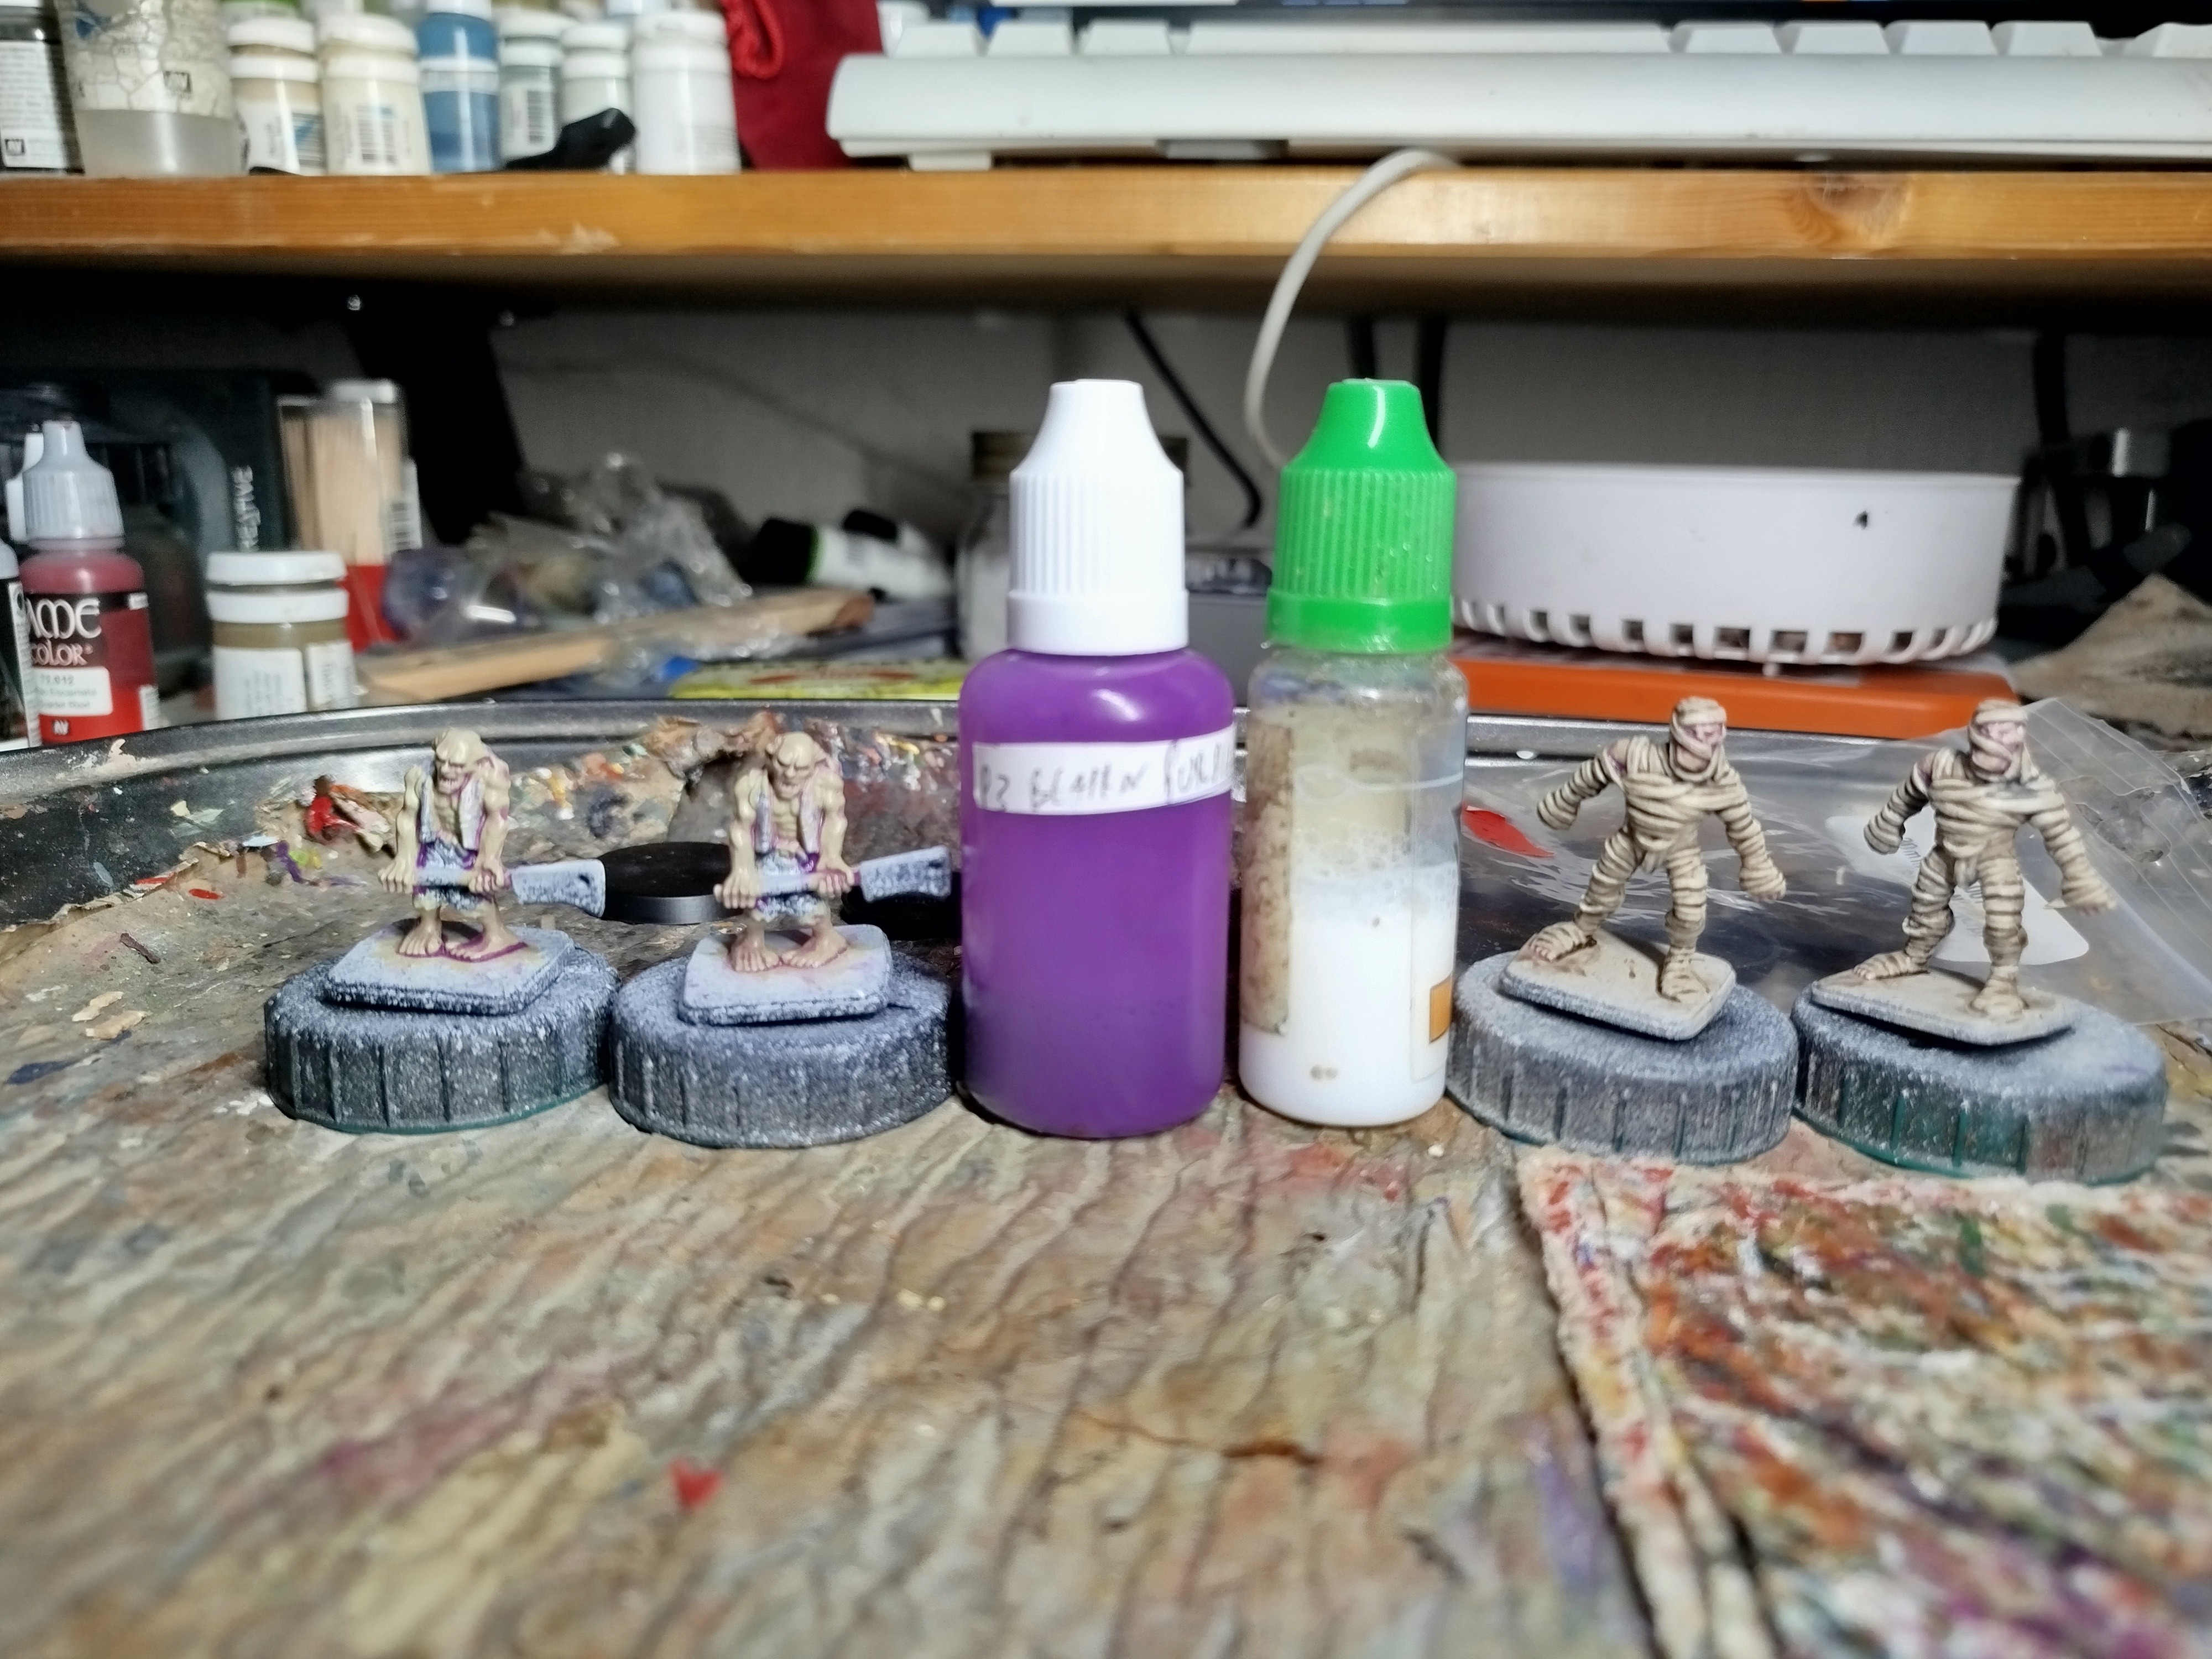 It was washed with P3 Beaten Purple mixed with water and mixing medium
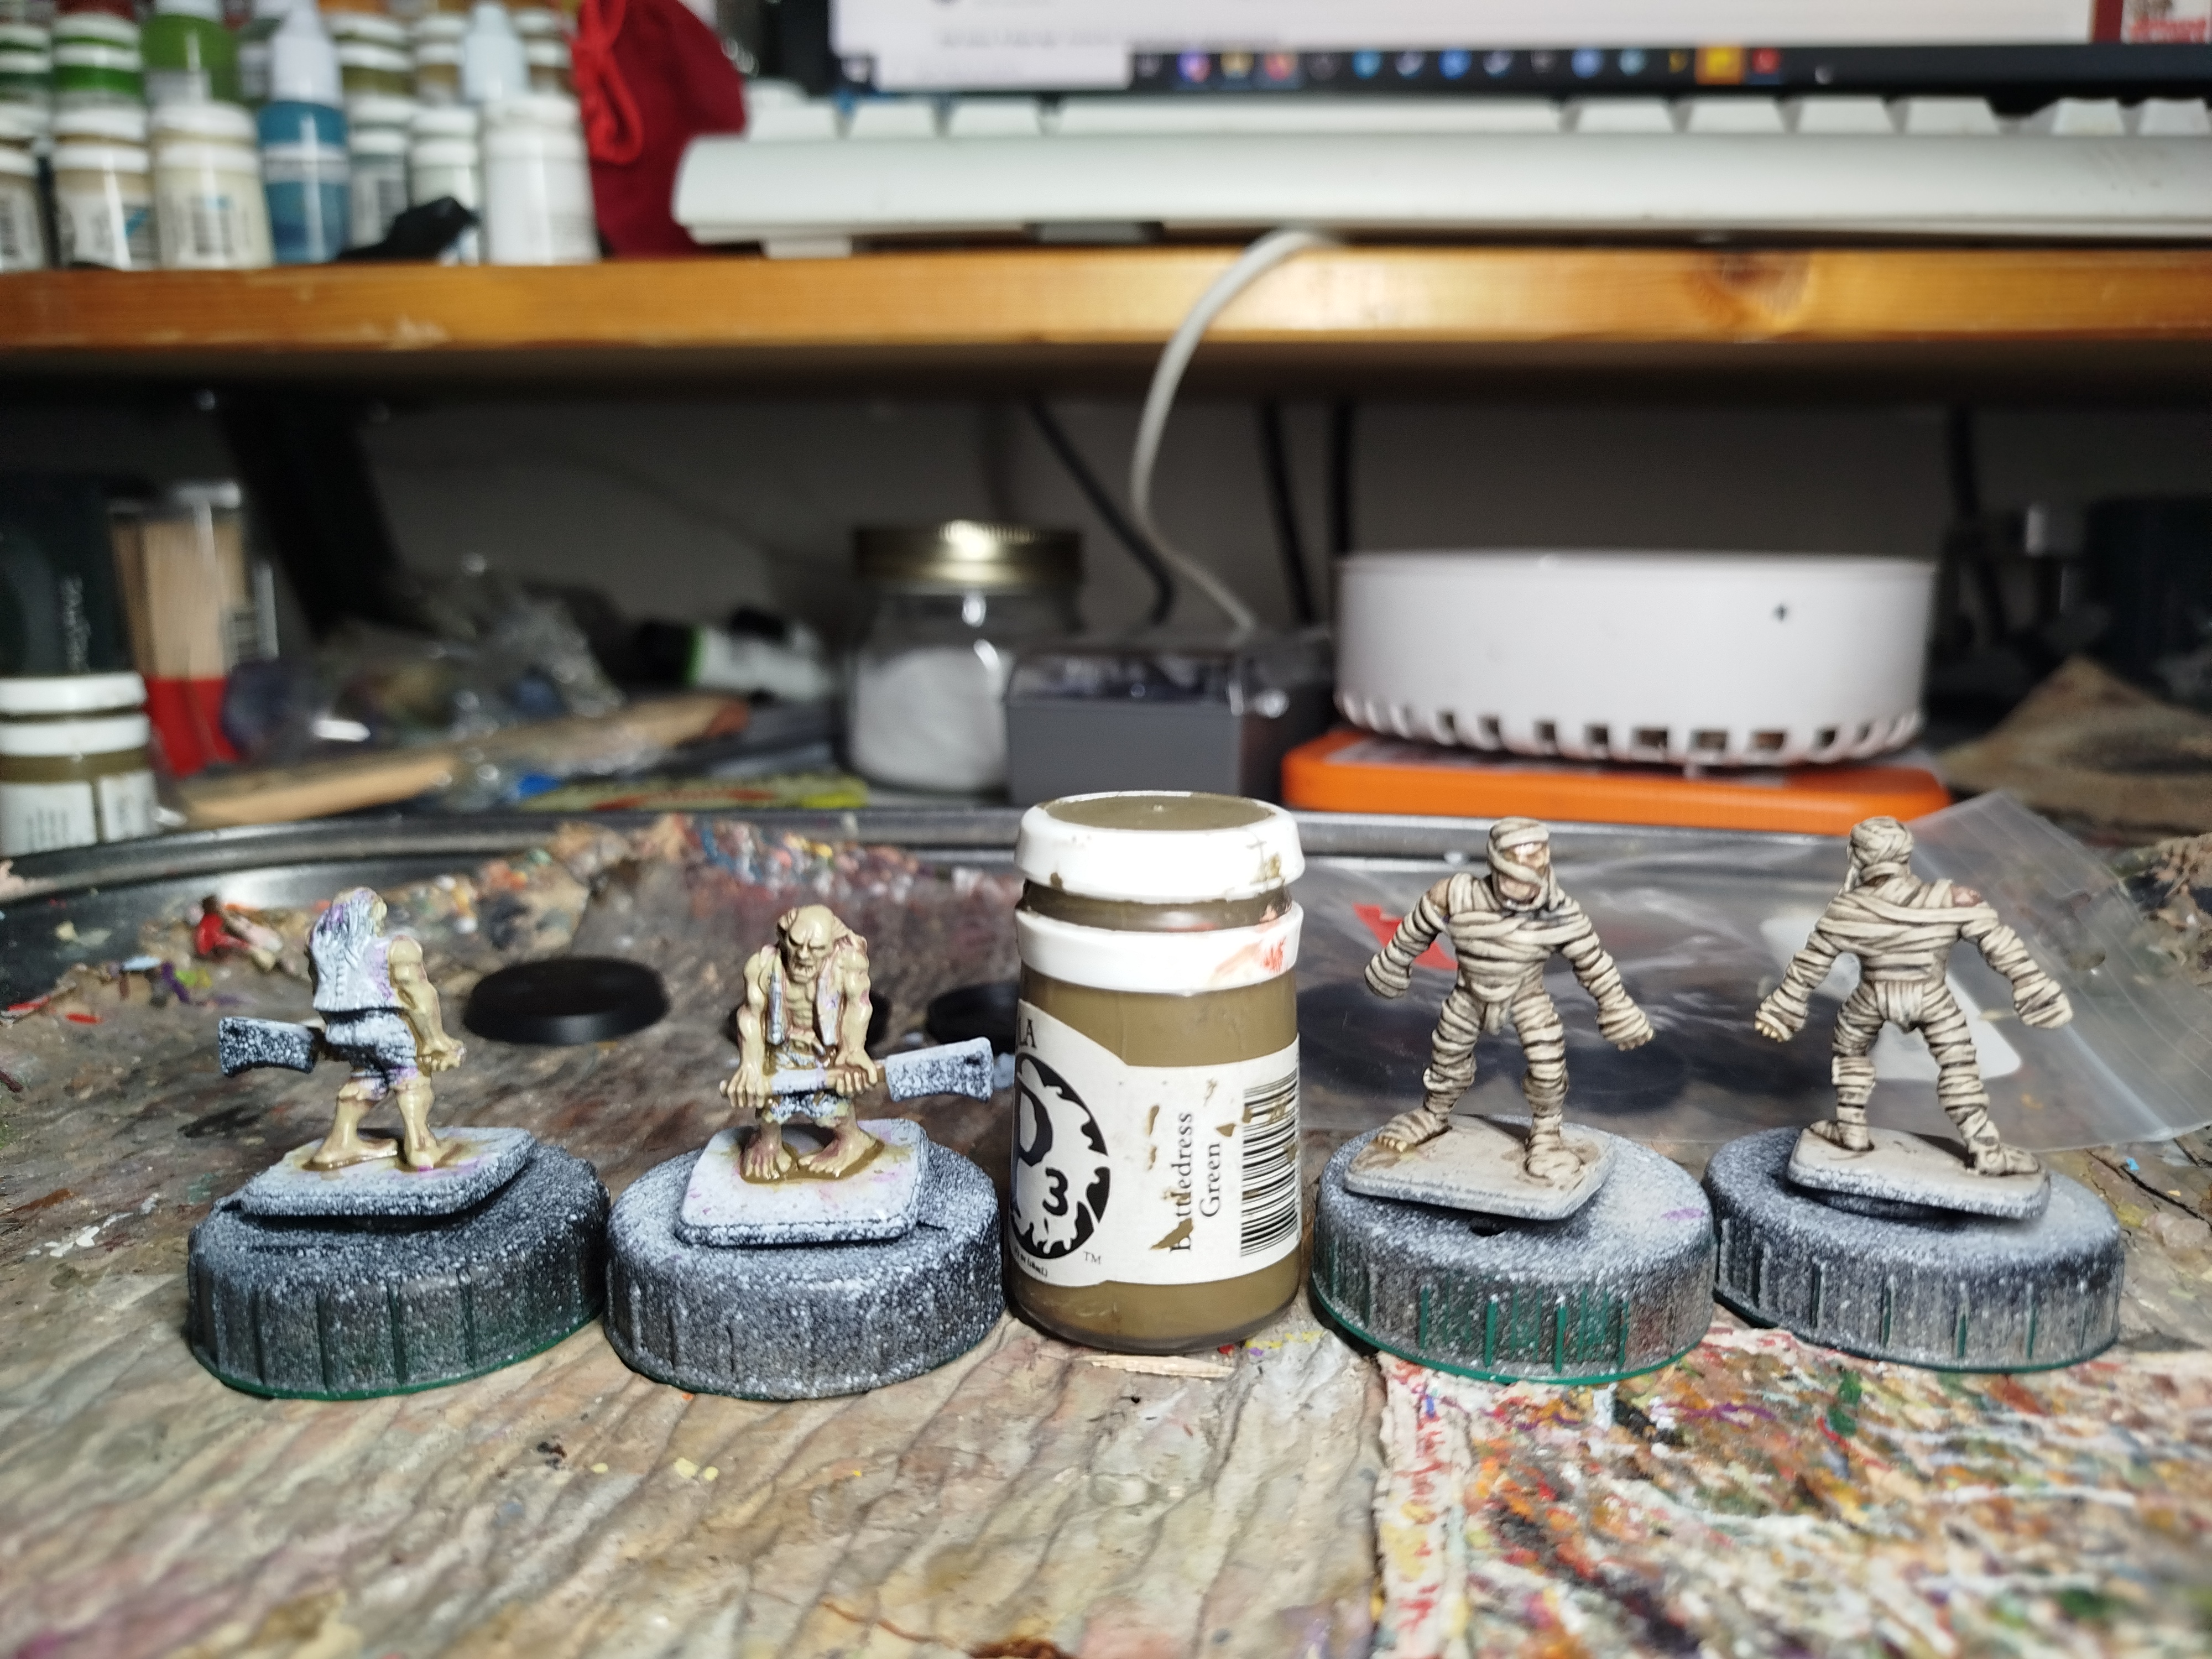 It was washed with P3 Battledress Greene mixed with water and mixing medium
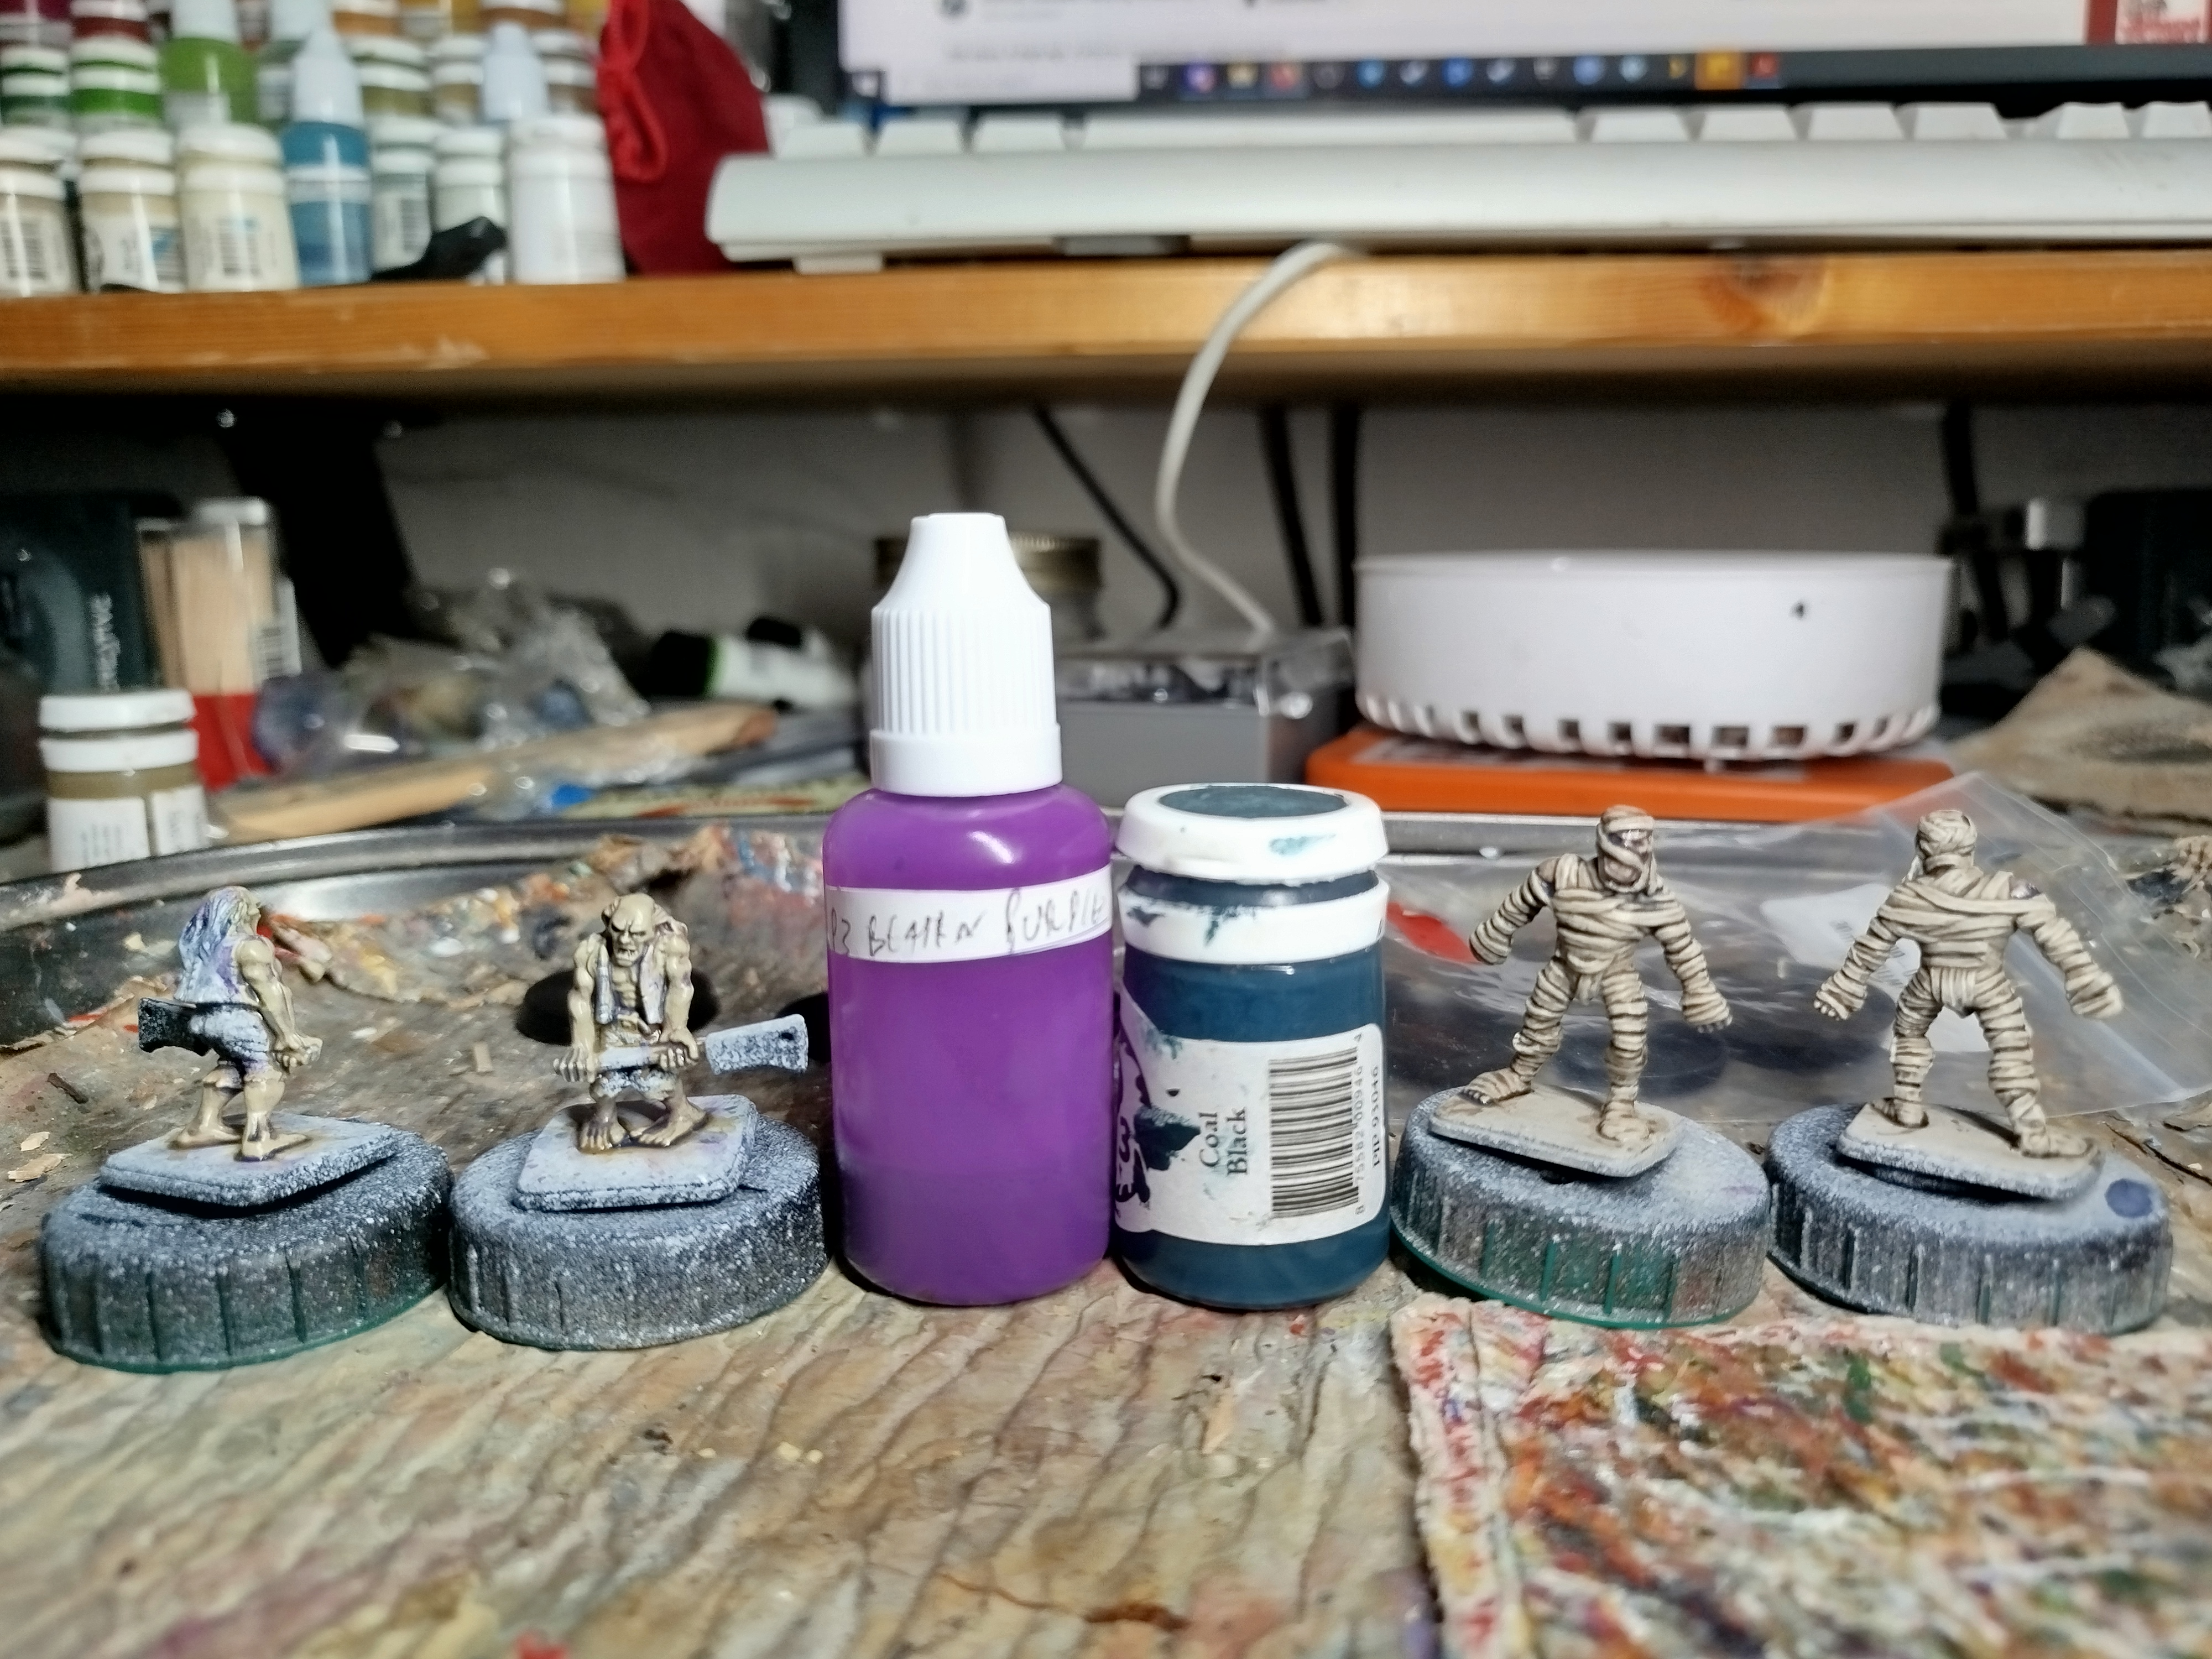 It was washed with a 50/50 mix of P3 Coal Black &P3 Beaten Purple, mixed with water and mixing medium
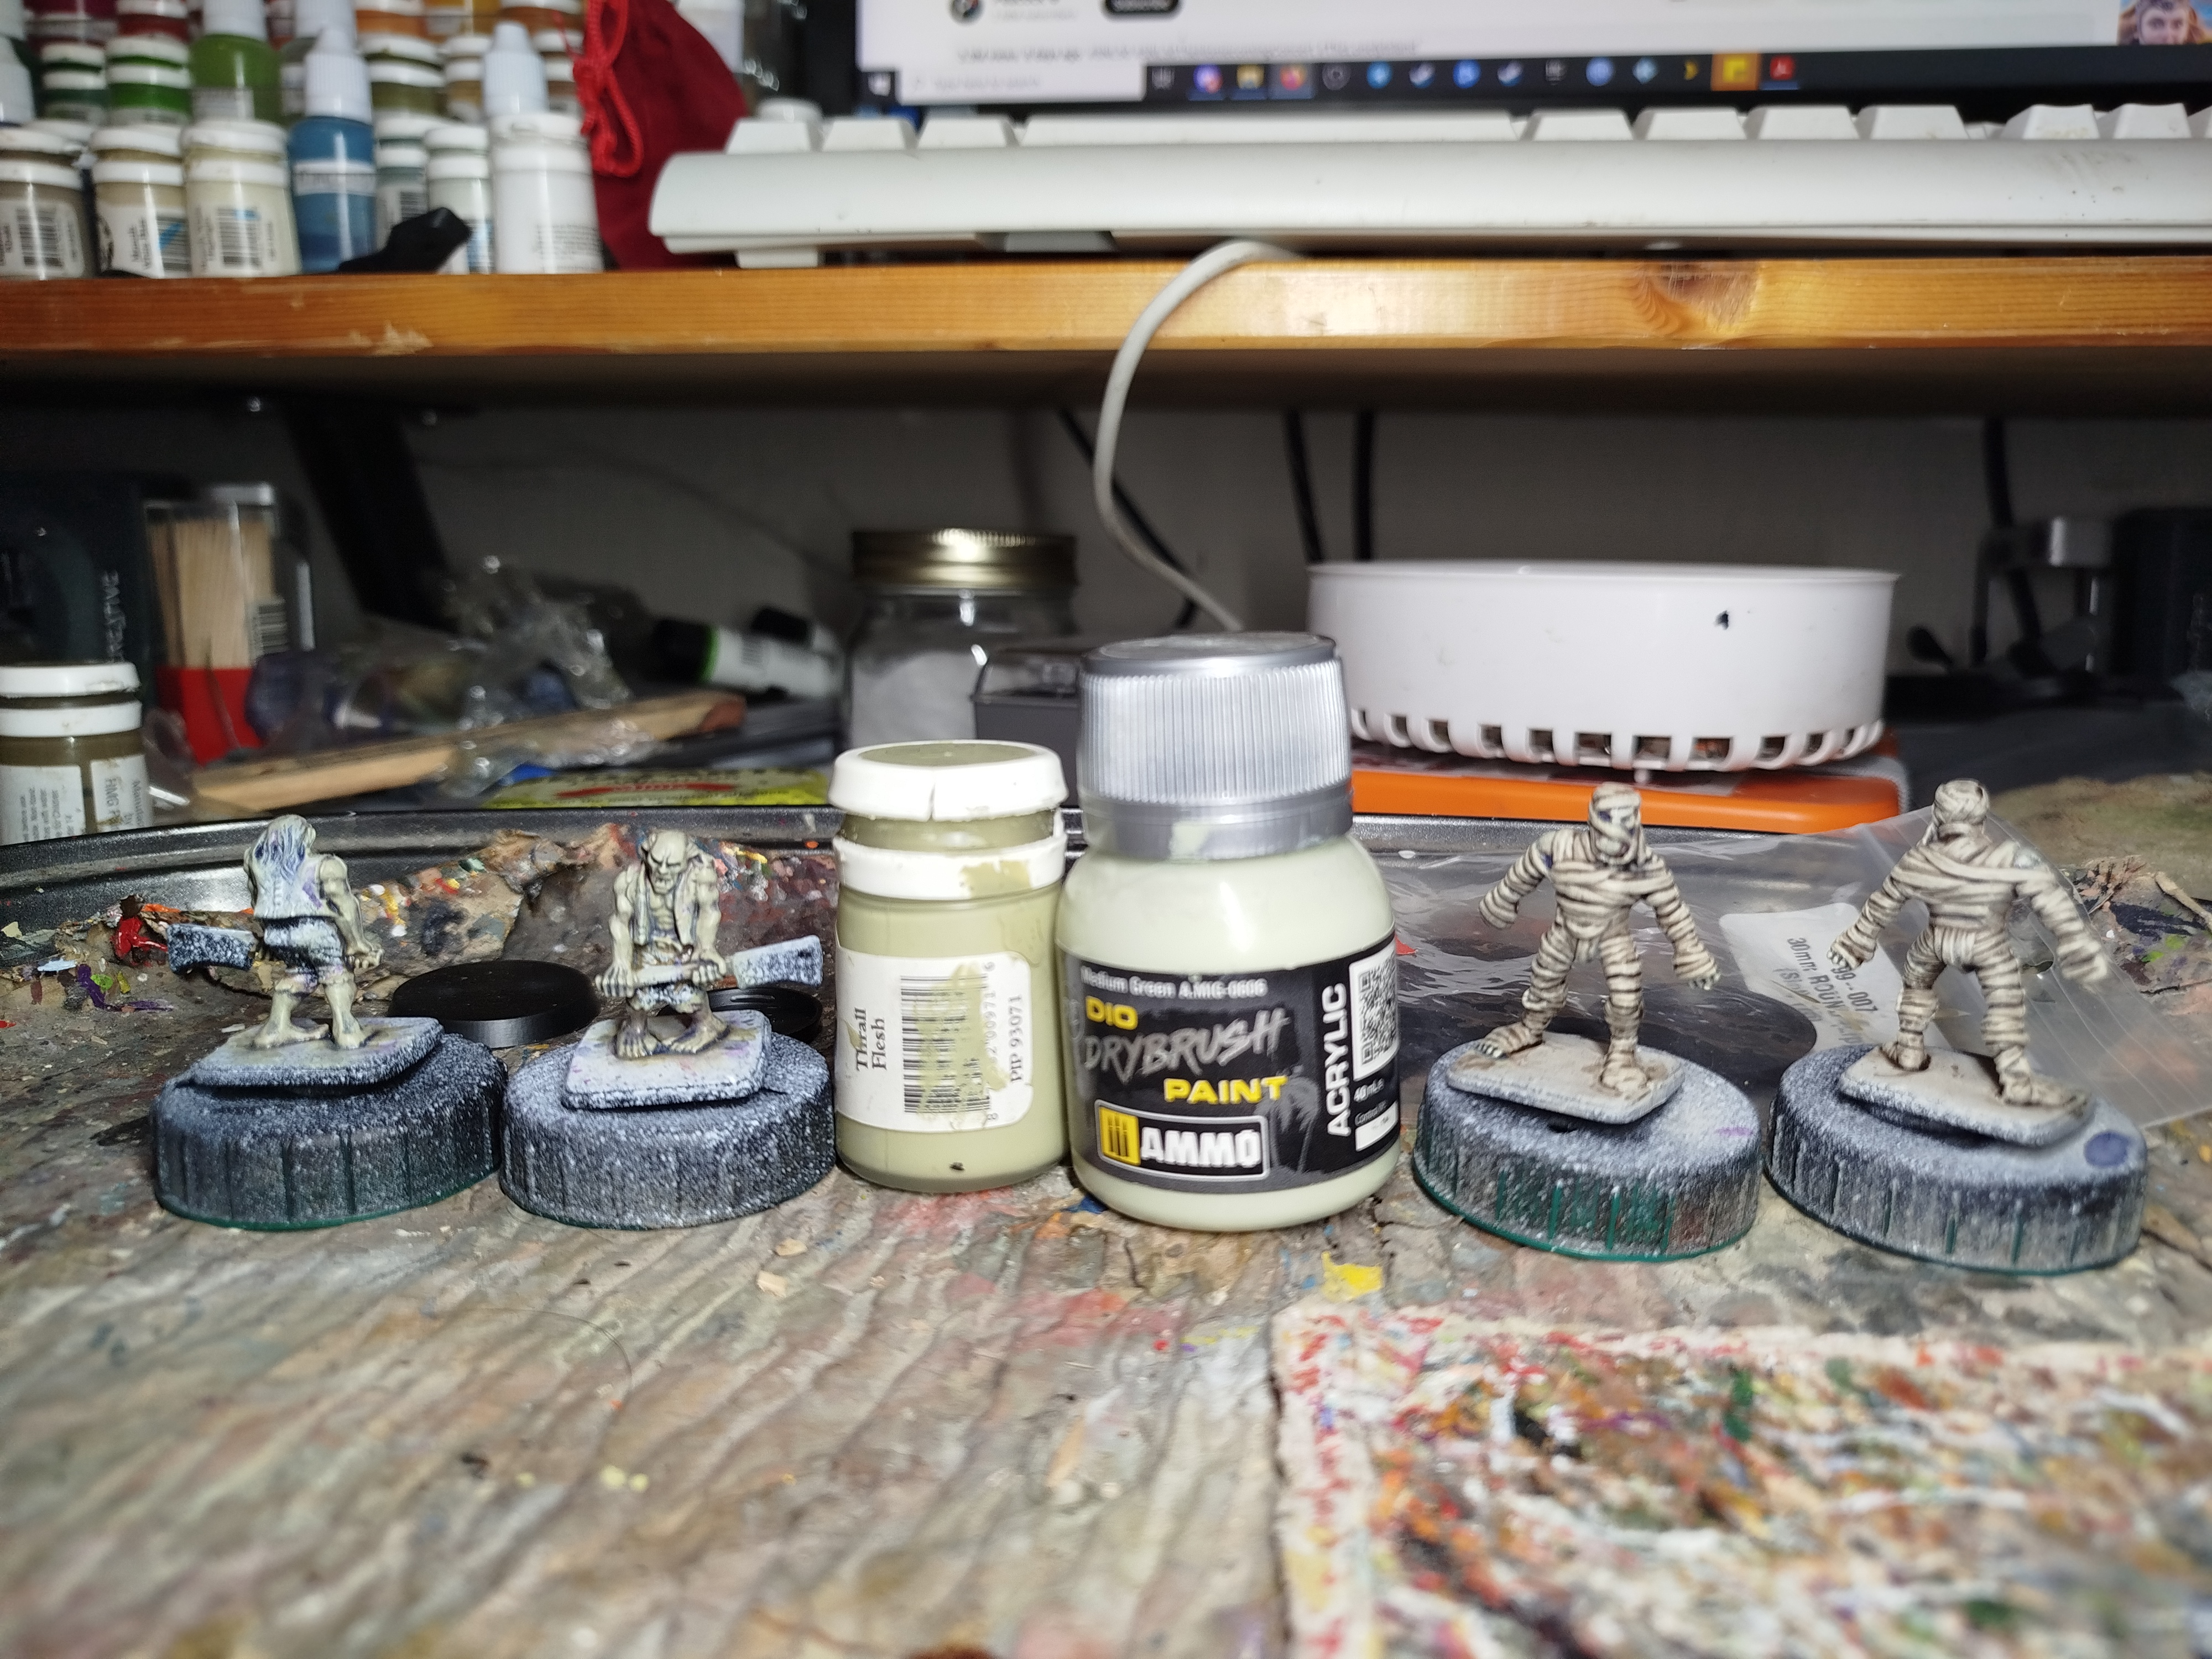 It was drybrushed up with more P3 Thrall Flesh, and then Ammo Mig Medium Green. Thats the mummies finished. I may or may not revisit to do the eyes. Googling suggest they had their eyes removed and replaced with shells or some such so they don't really need to be there.
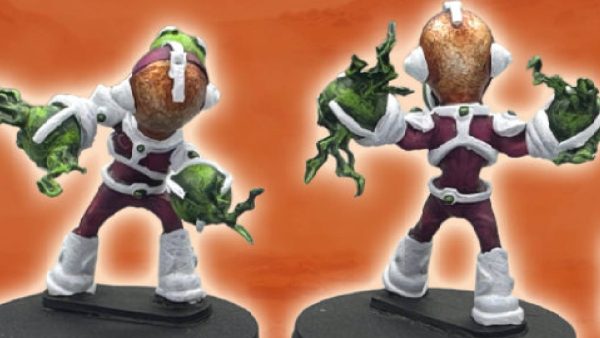
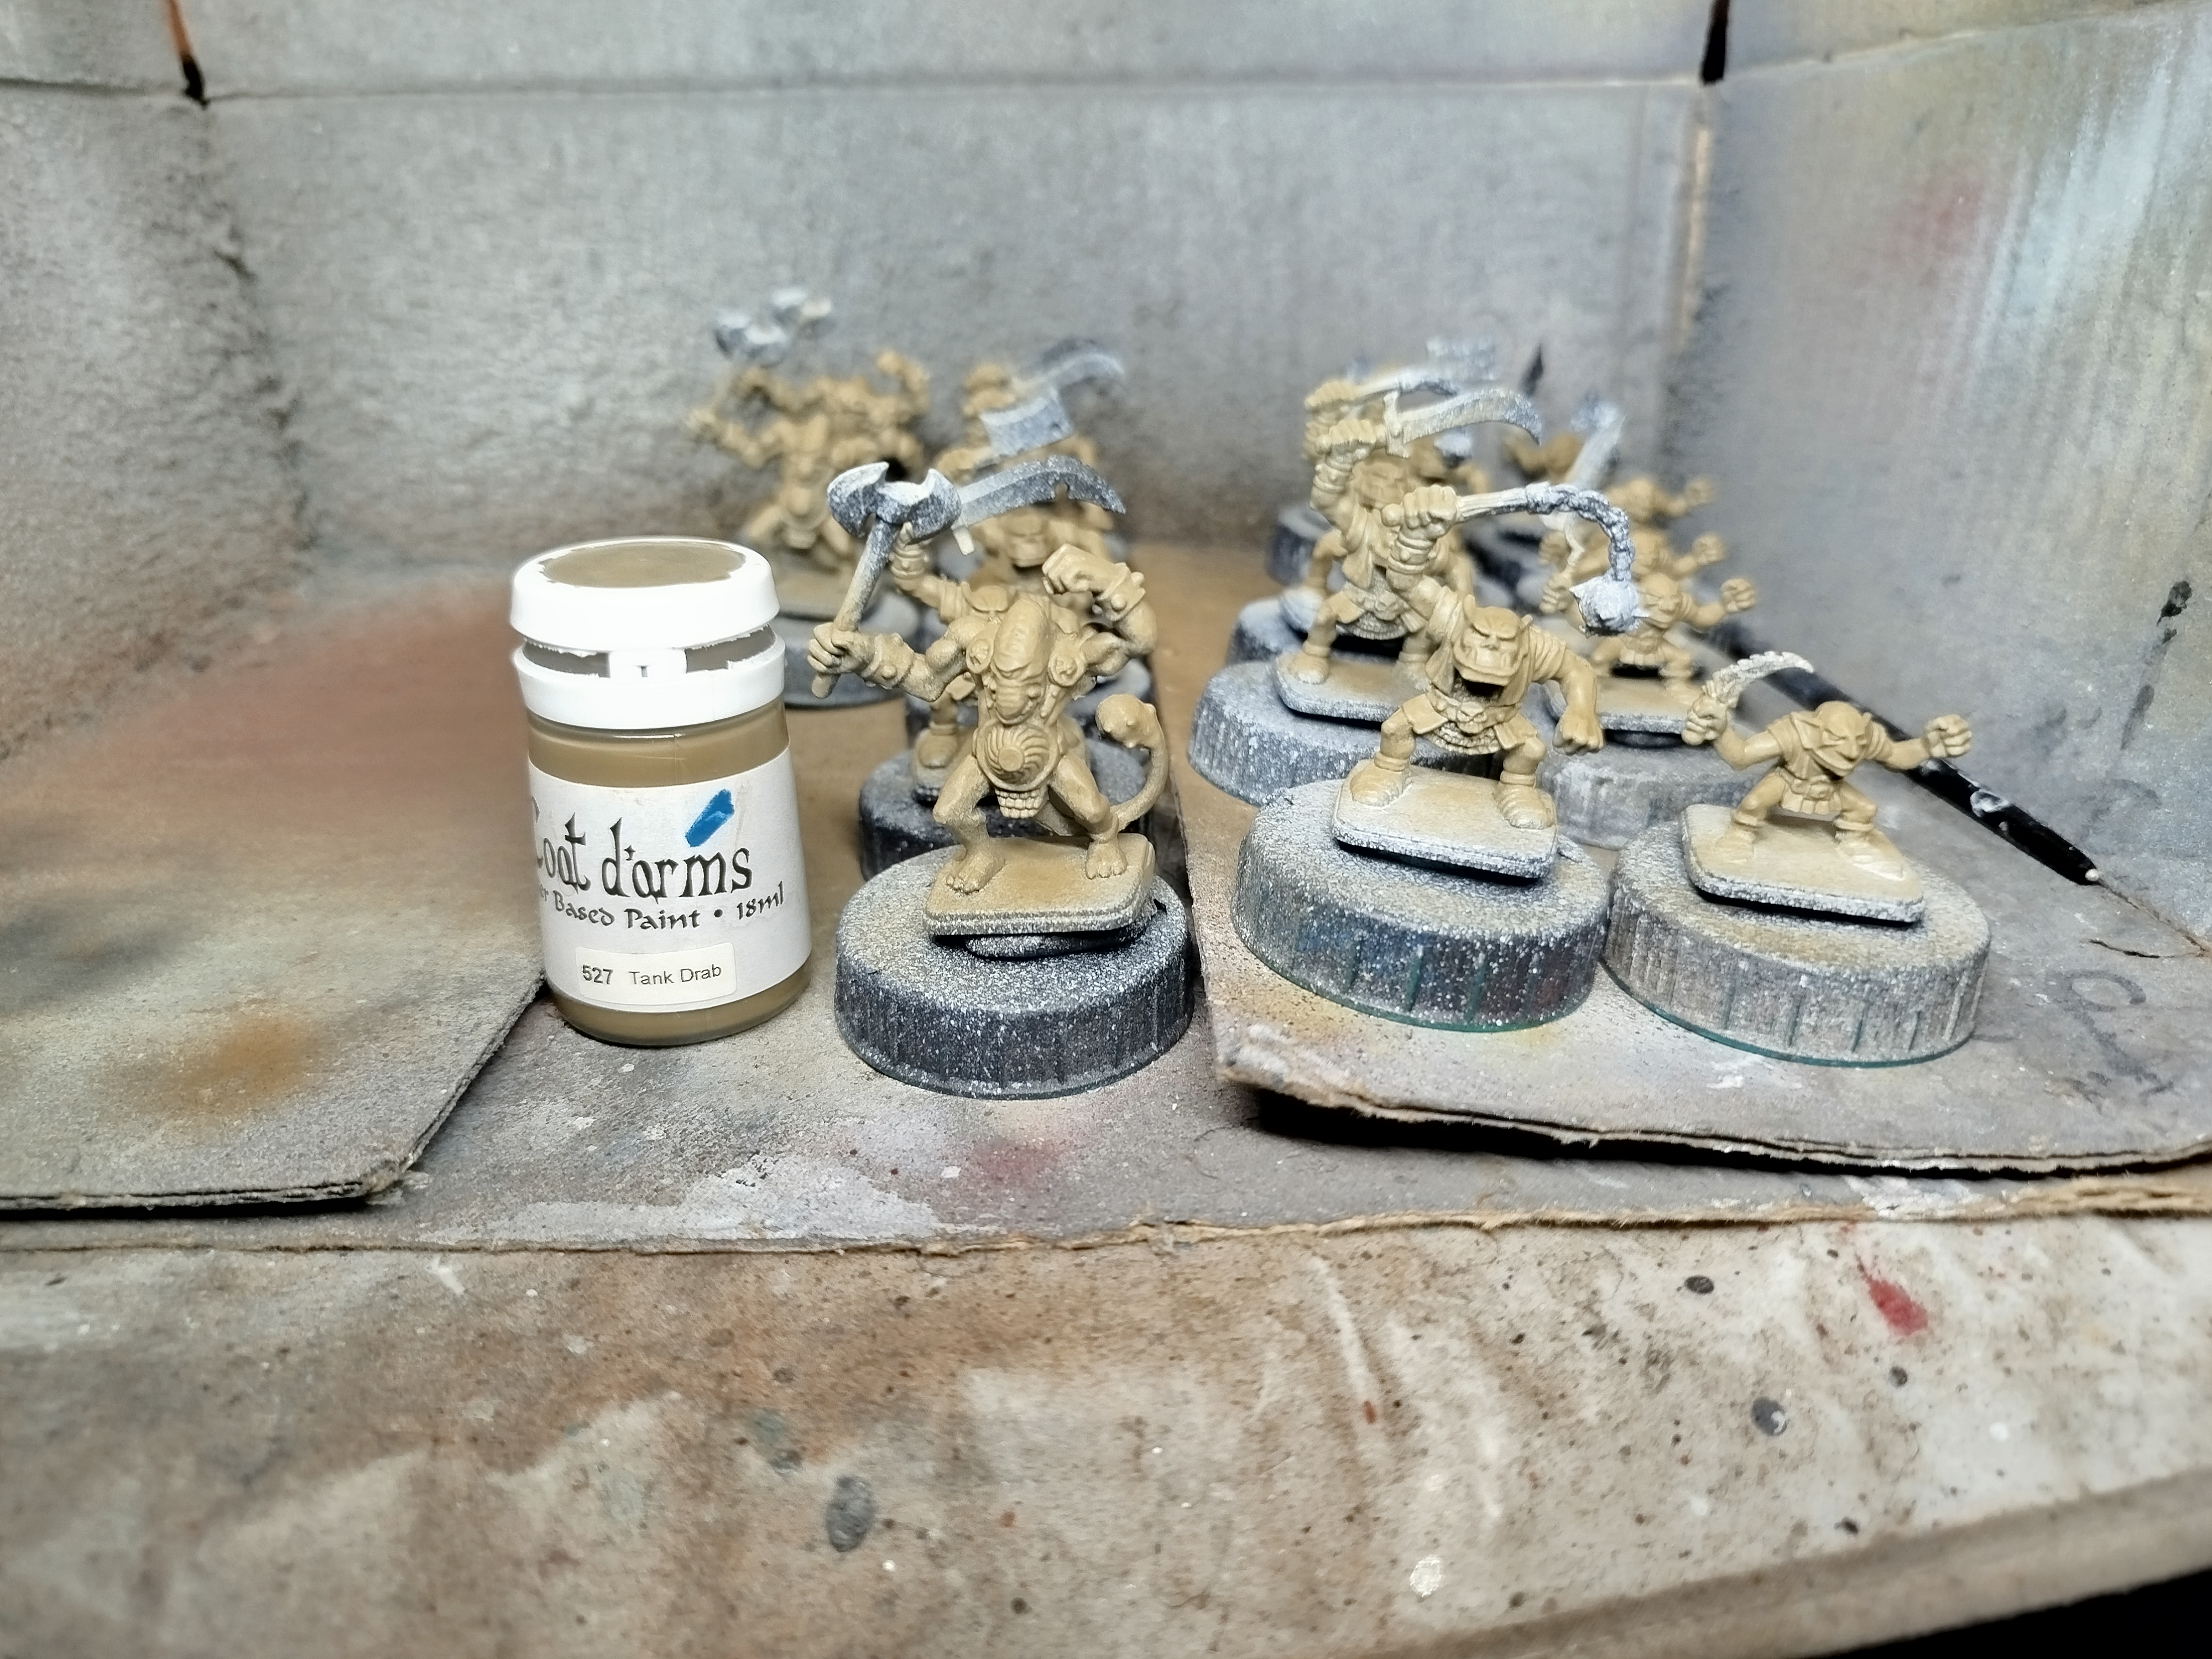
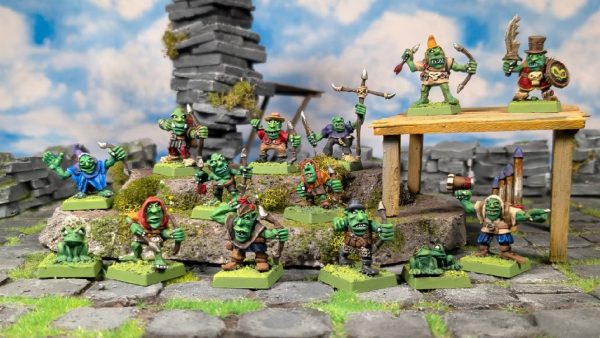
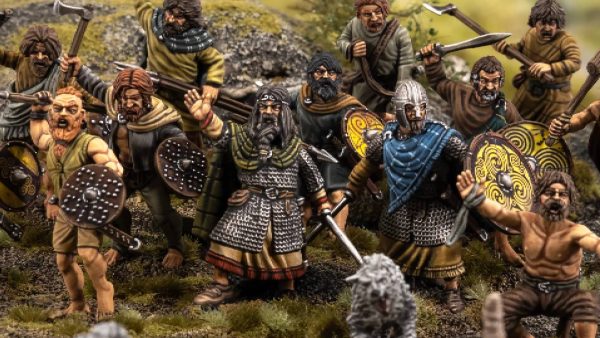
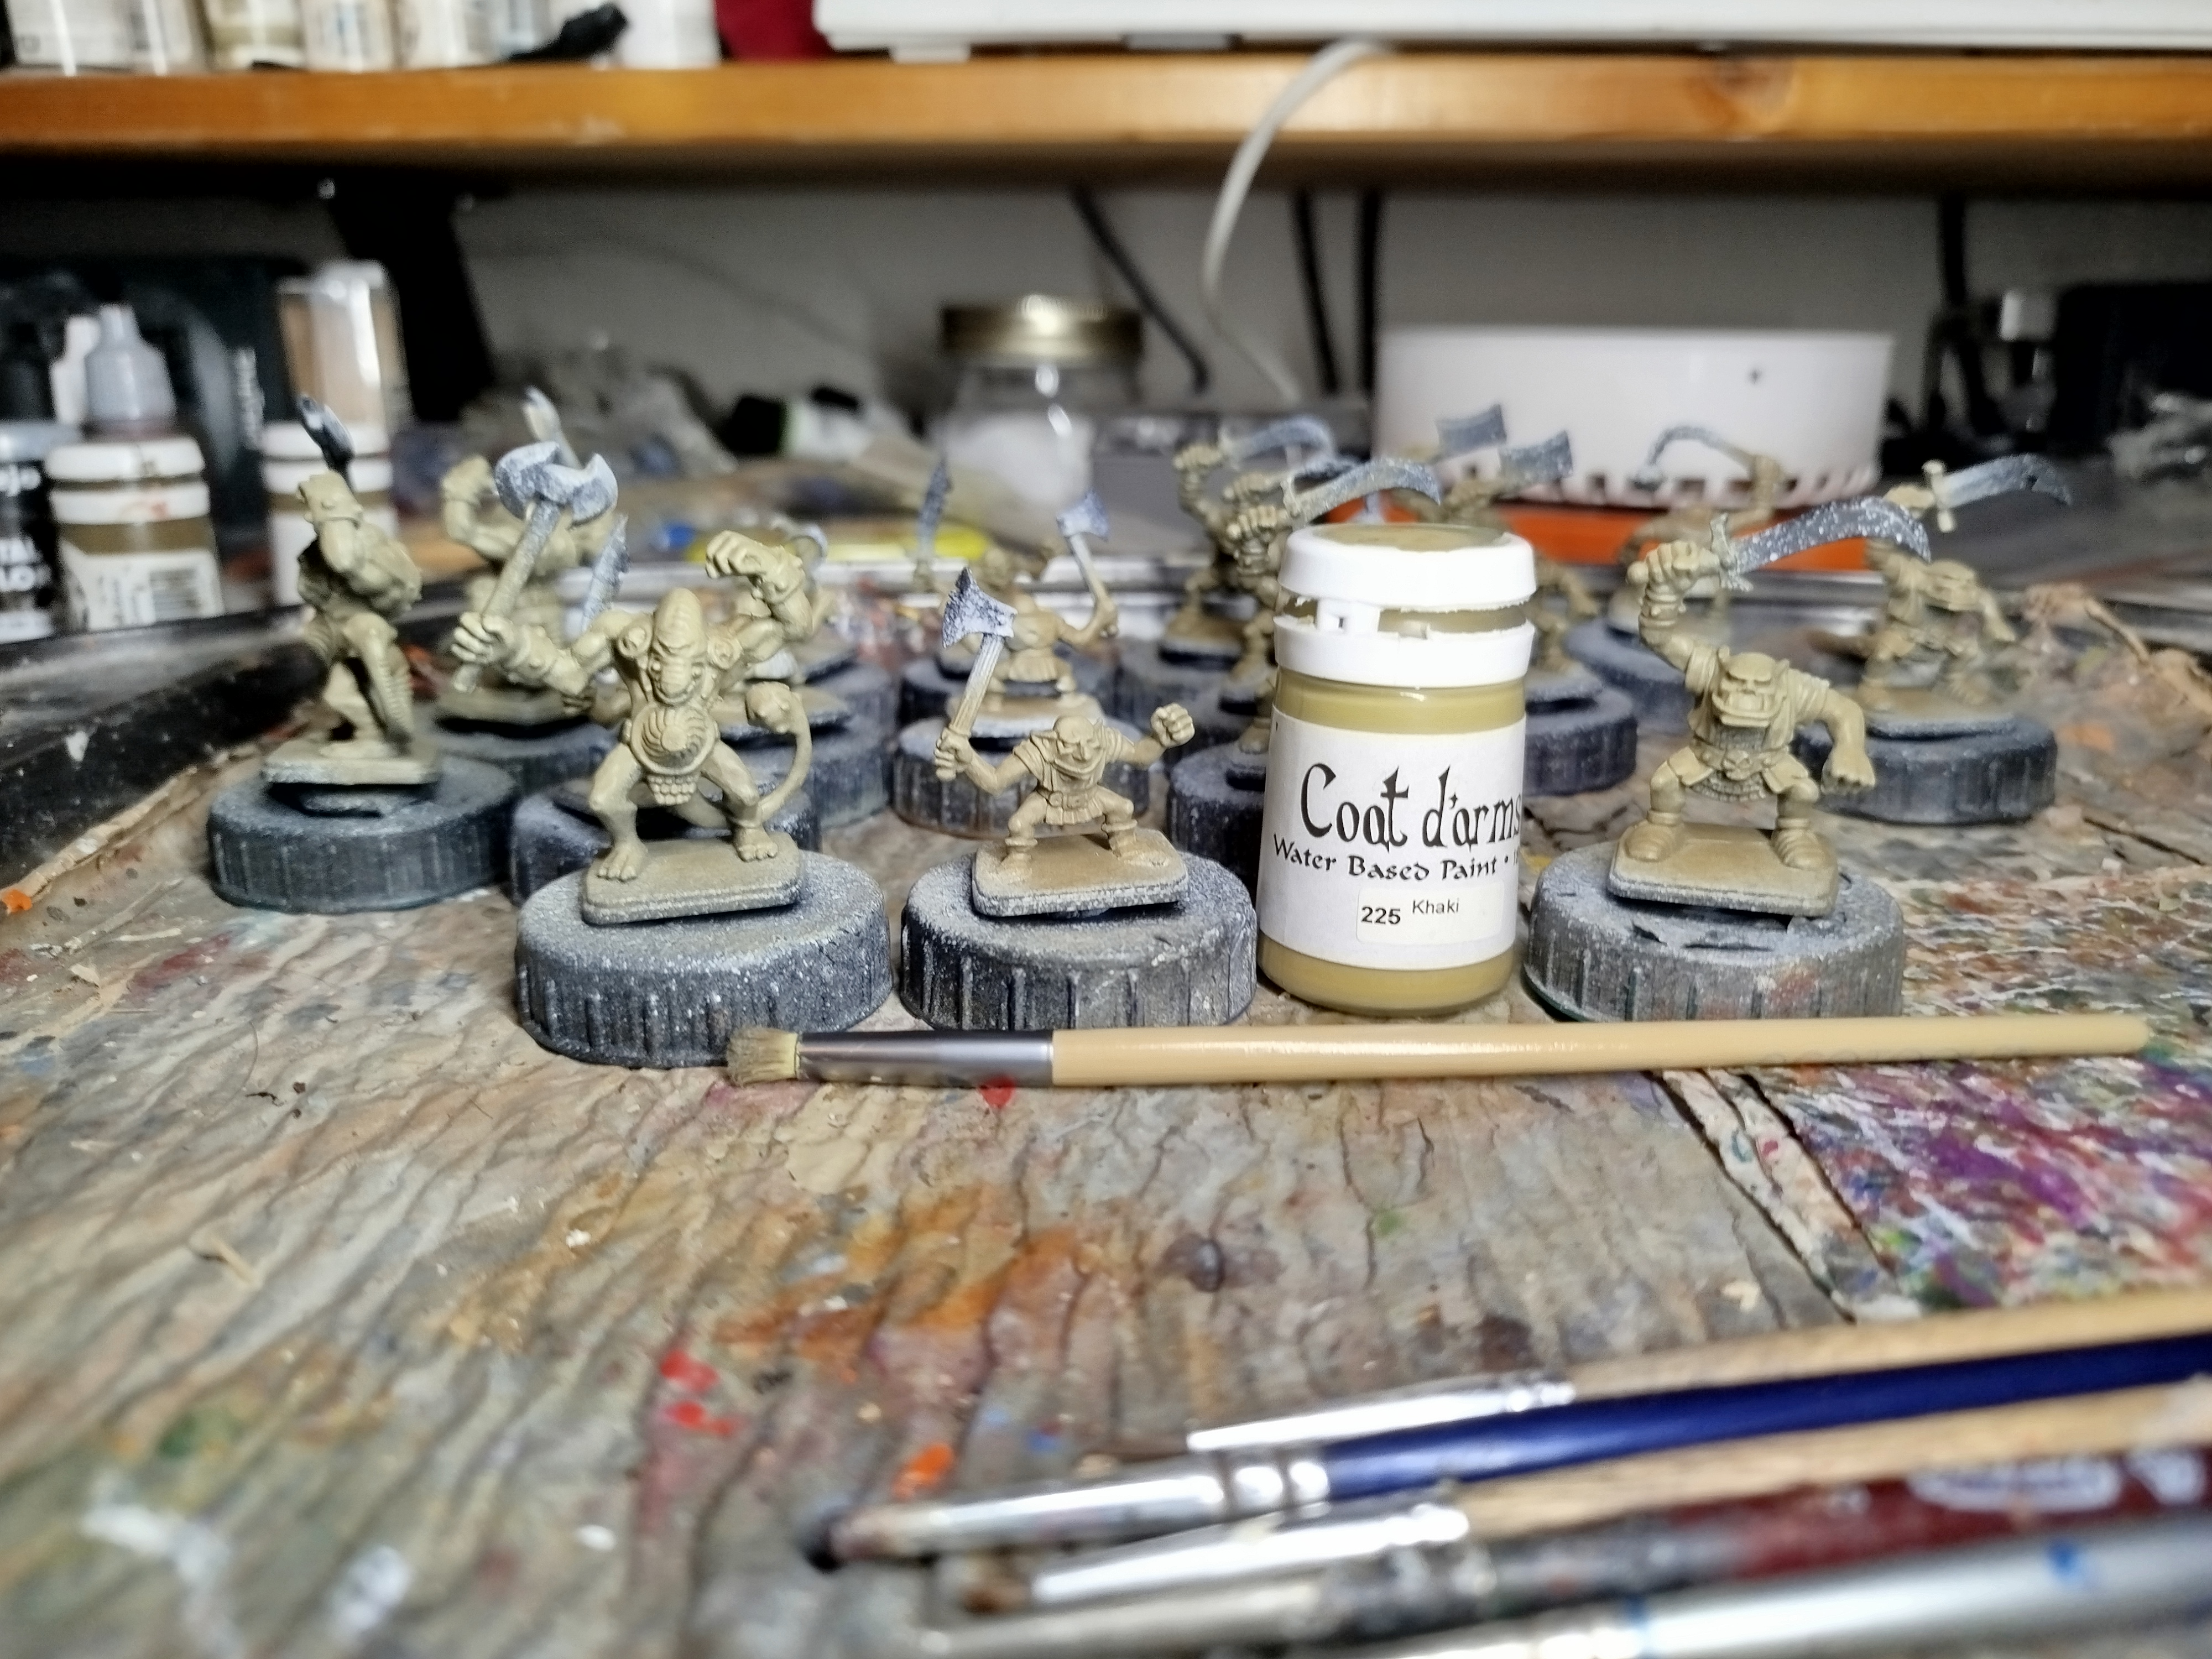 Back to the Green Skins. Normally I'd carefully build up layers with this recipe, but there's too many of them and they're too repetitive. Time to drybrush everything and hope for the best. First drybrush highlight is with Coat d'Arms Khaki
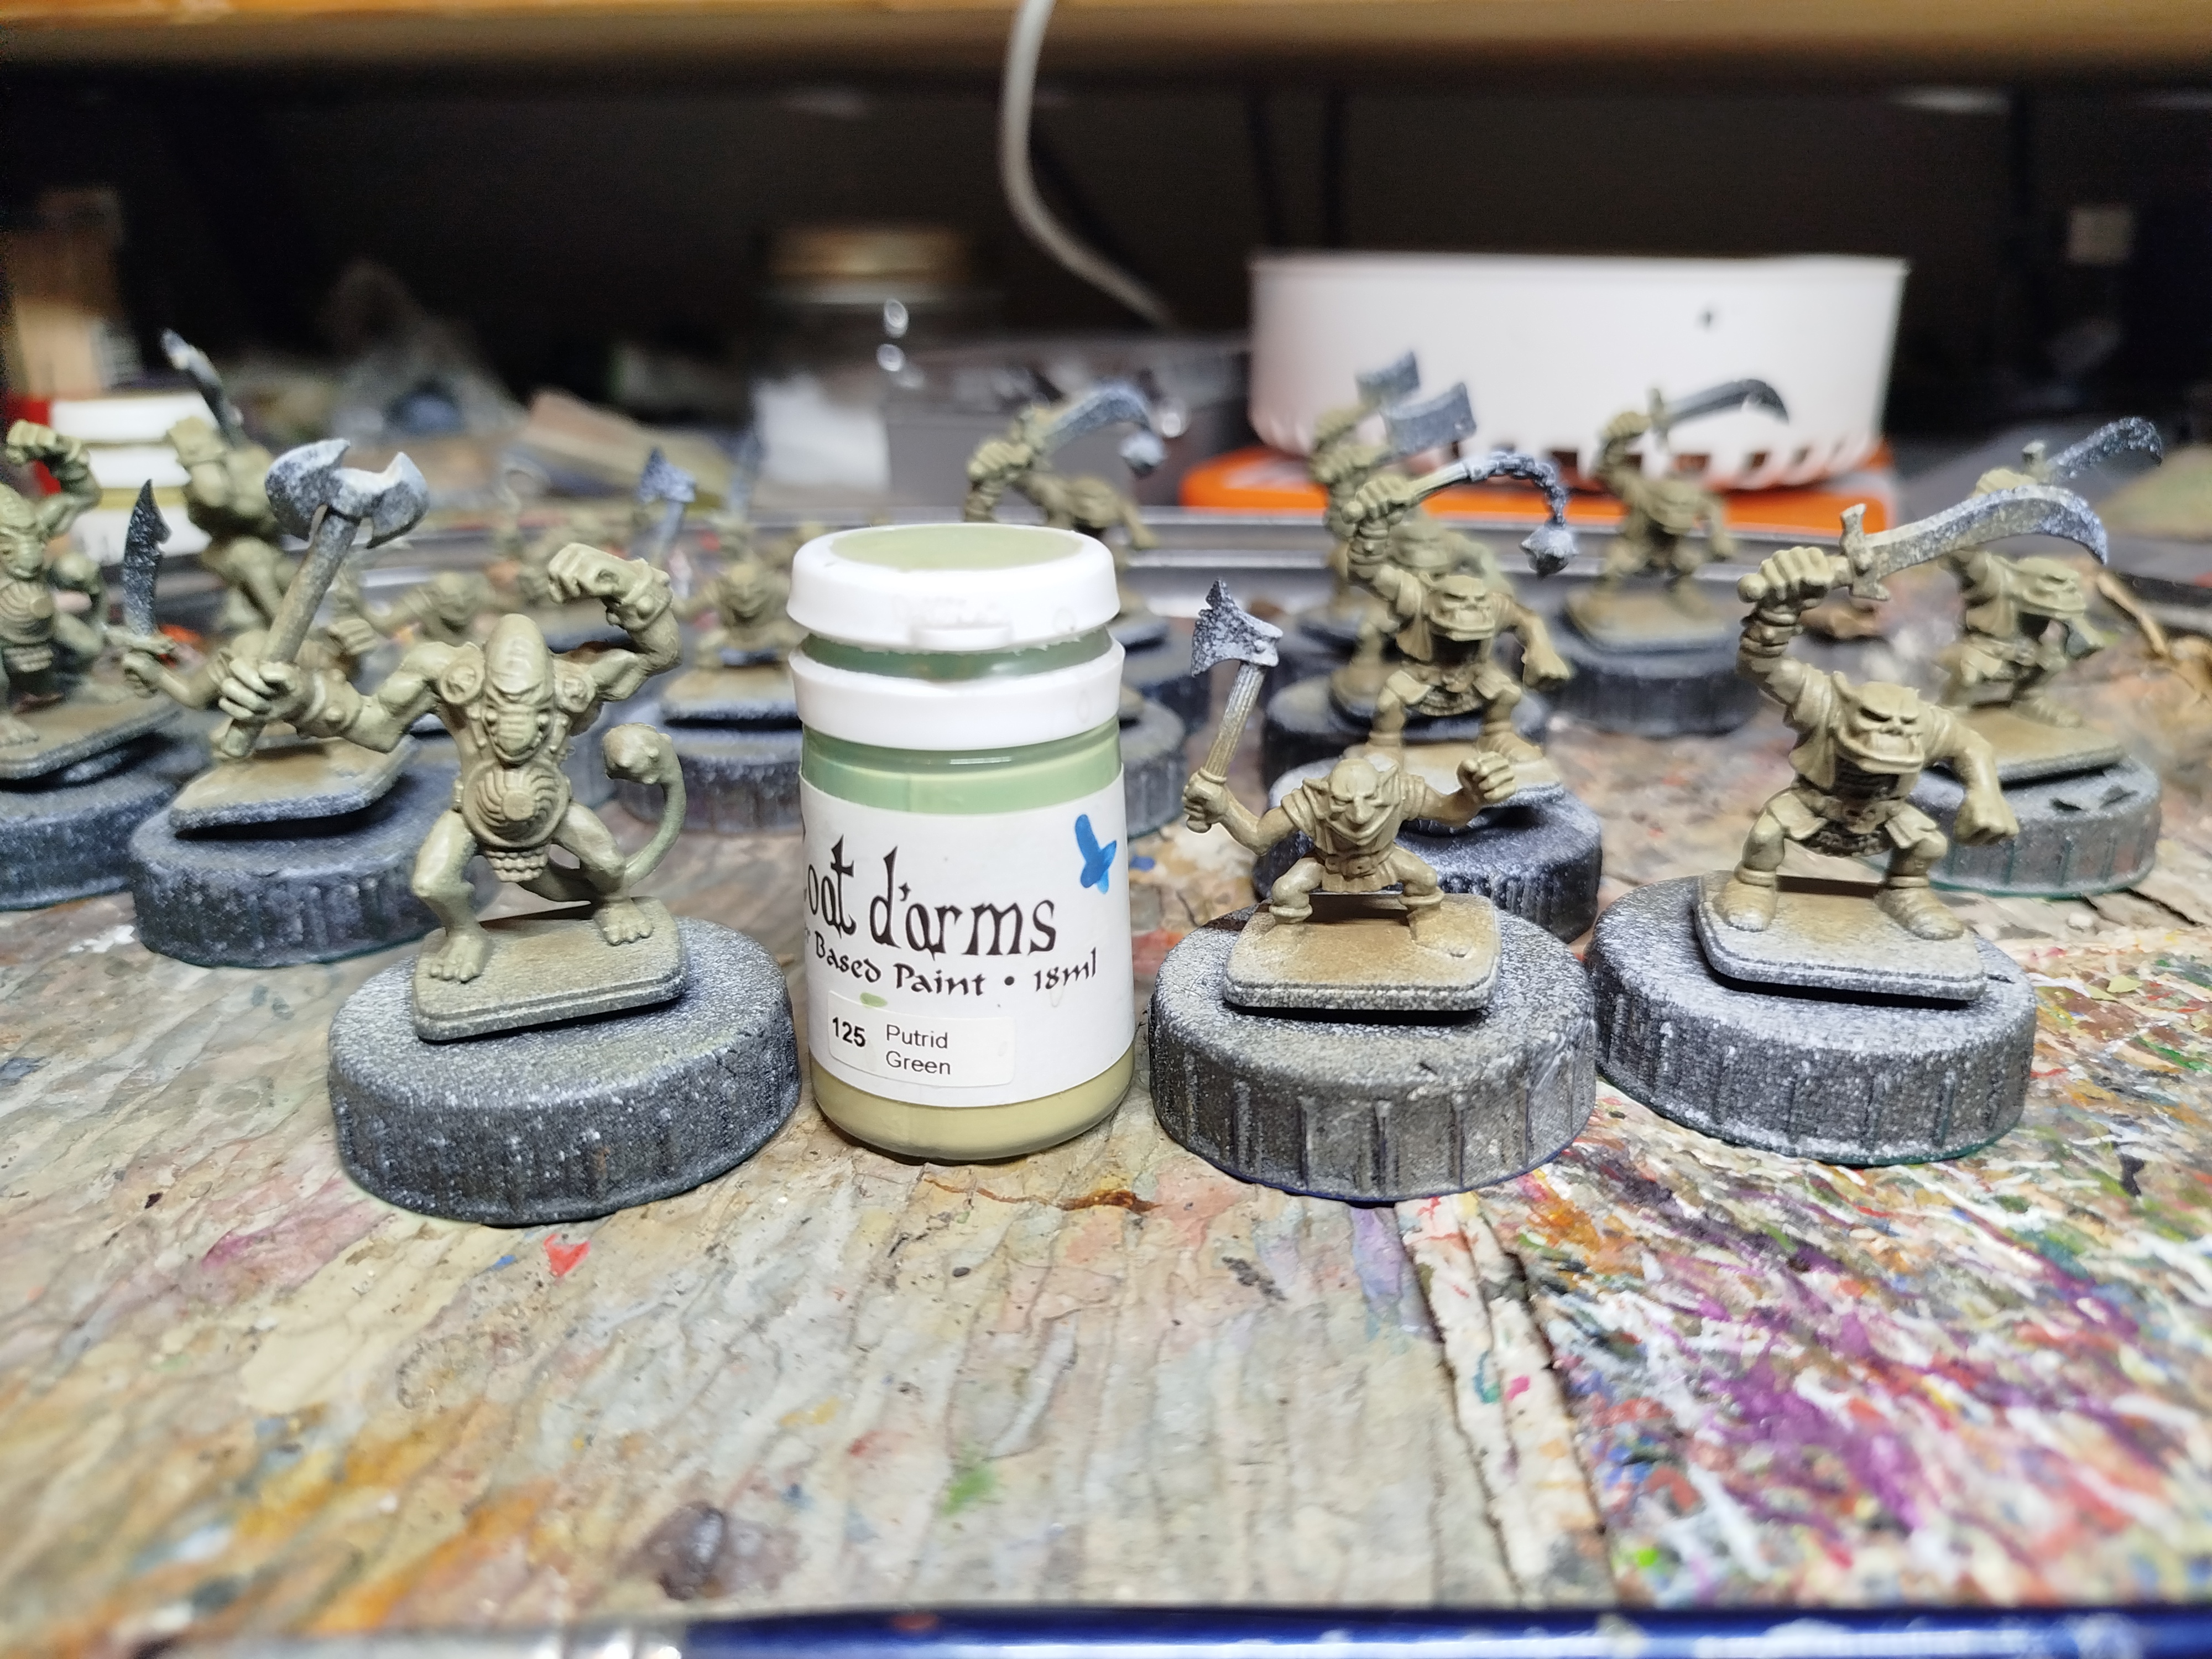 Second drybrush highlight is with Coat d'Arms Putrid Green
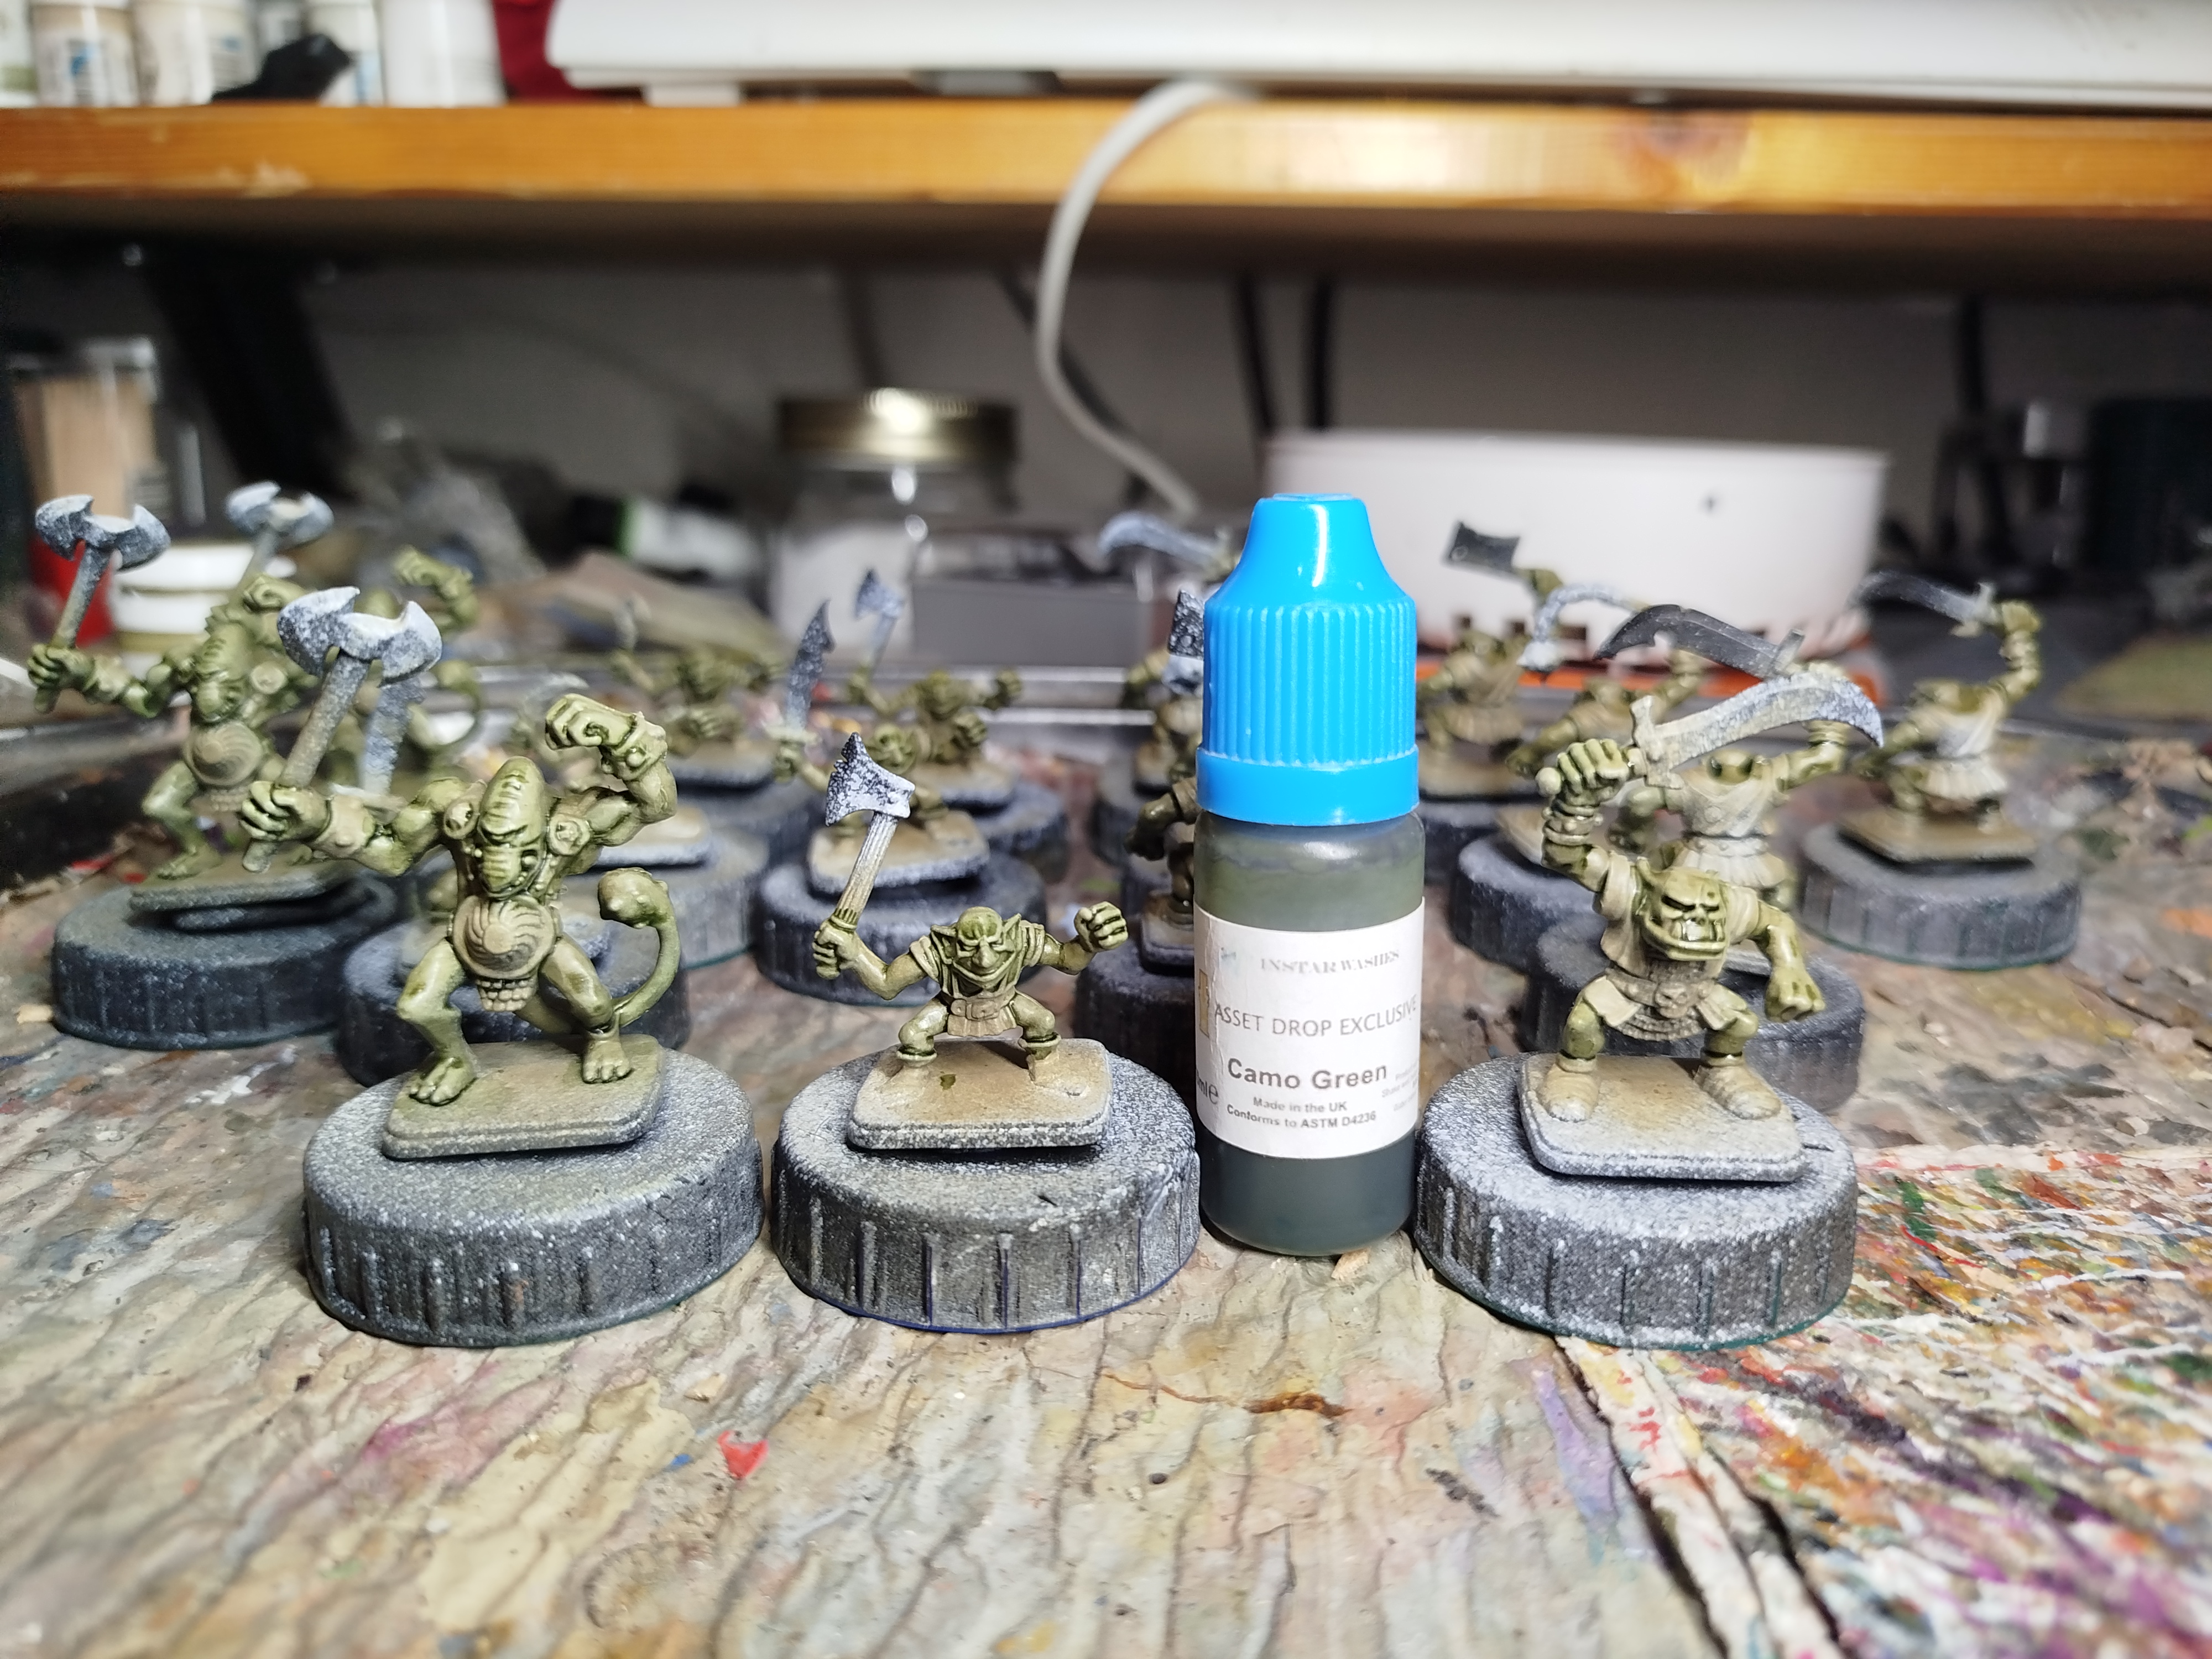 Finally, everything gets a wash with this pot of Instar Camo Green, which they made especially to go with these paints in an AssetDrop box that had a big orc in it. It was never for sale and I don't know what I'm going to use when it runs out. I like this scheme.
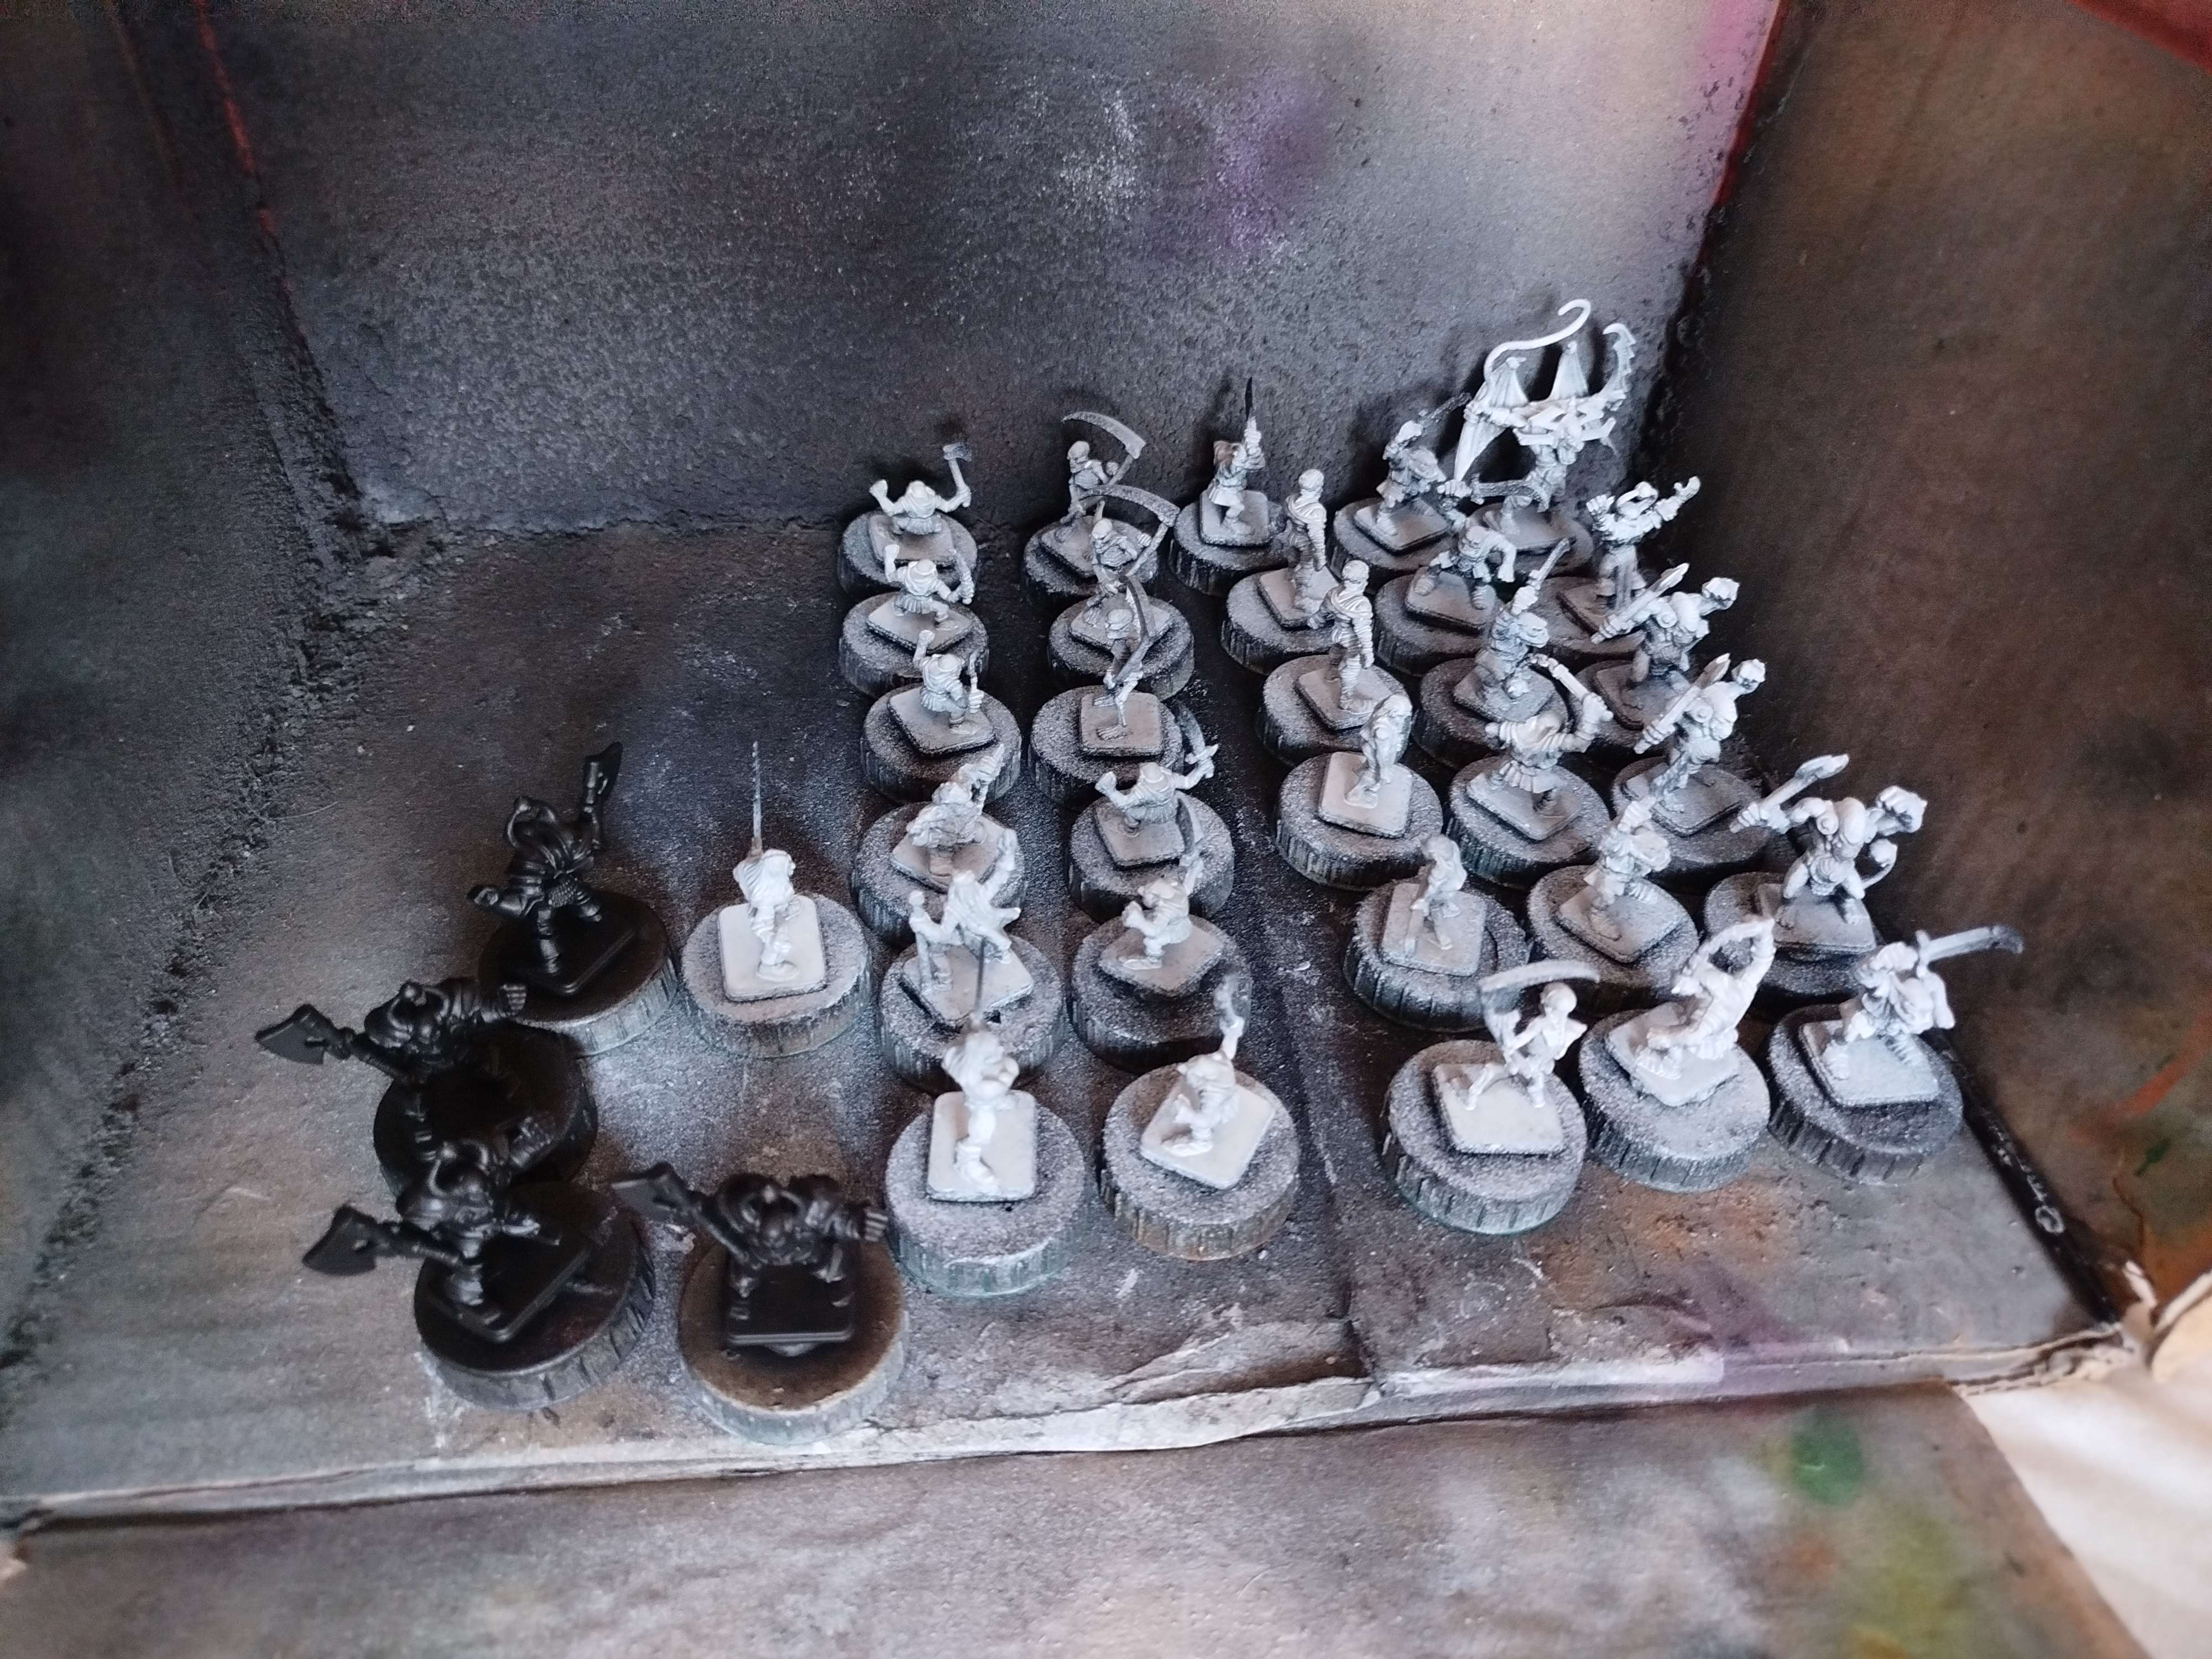
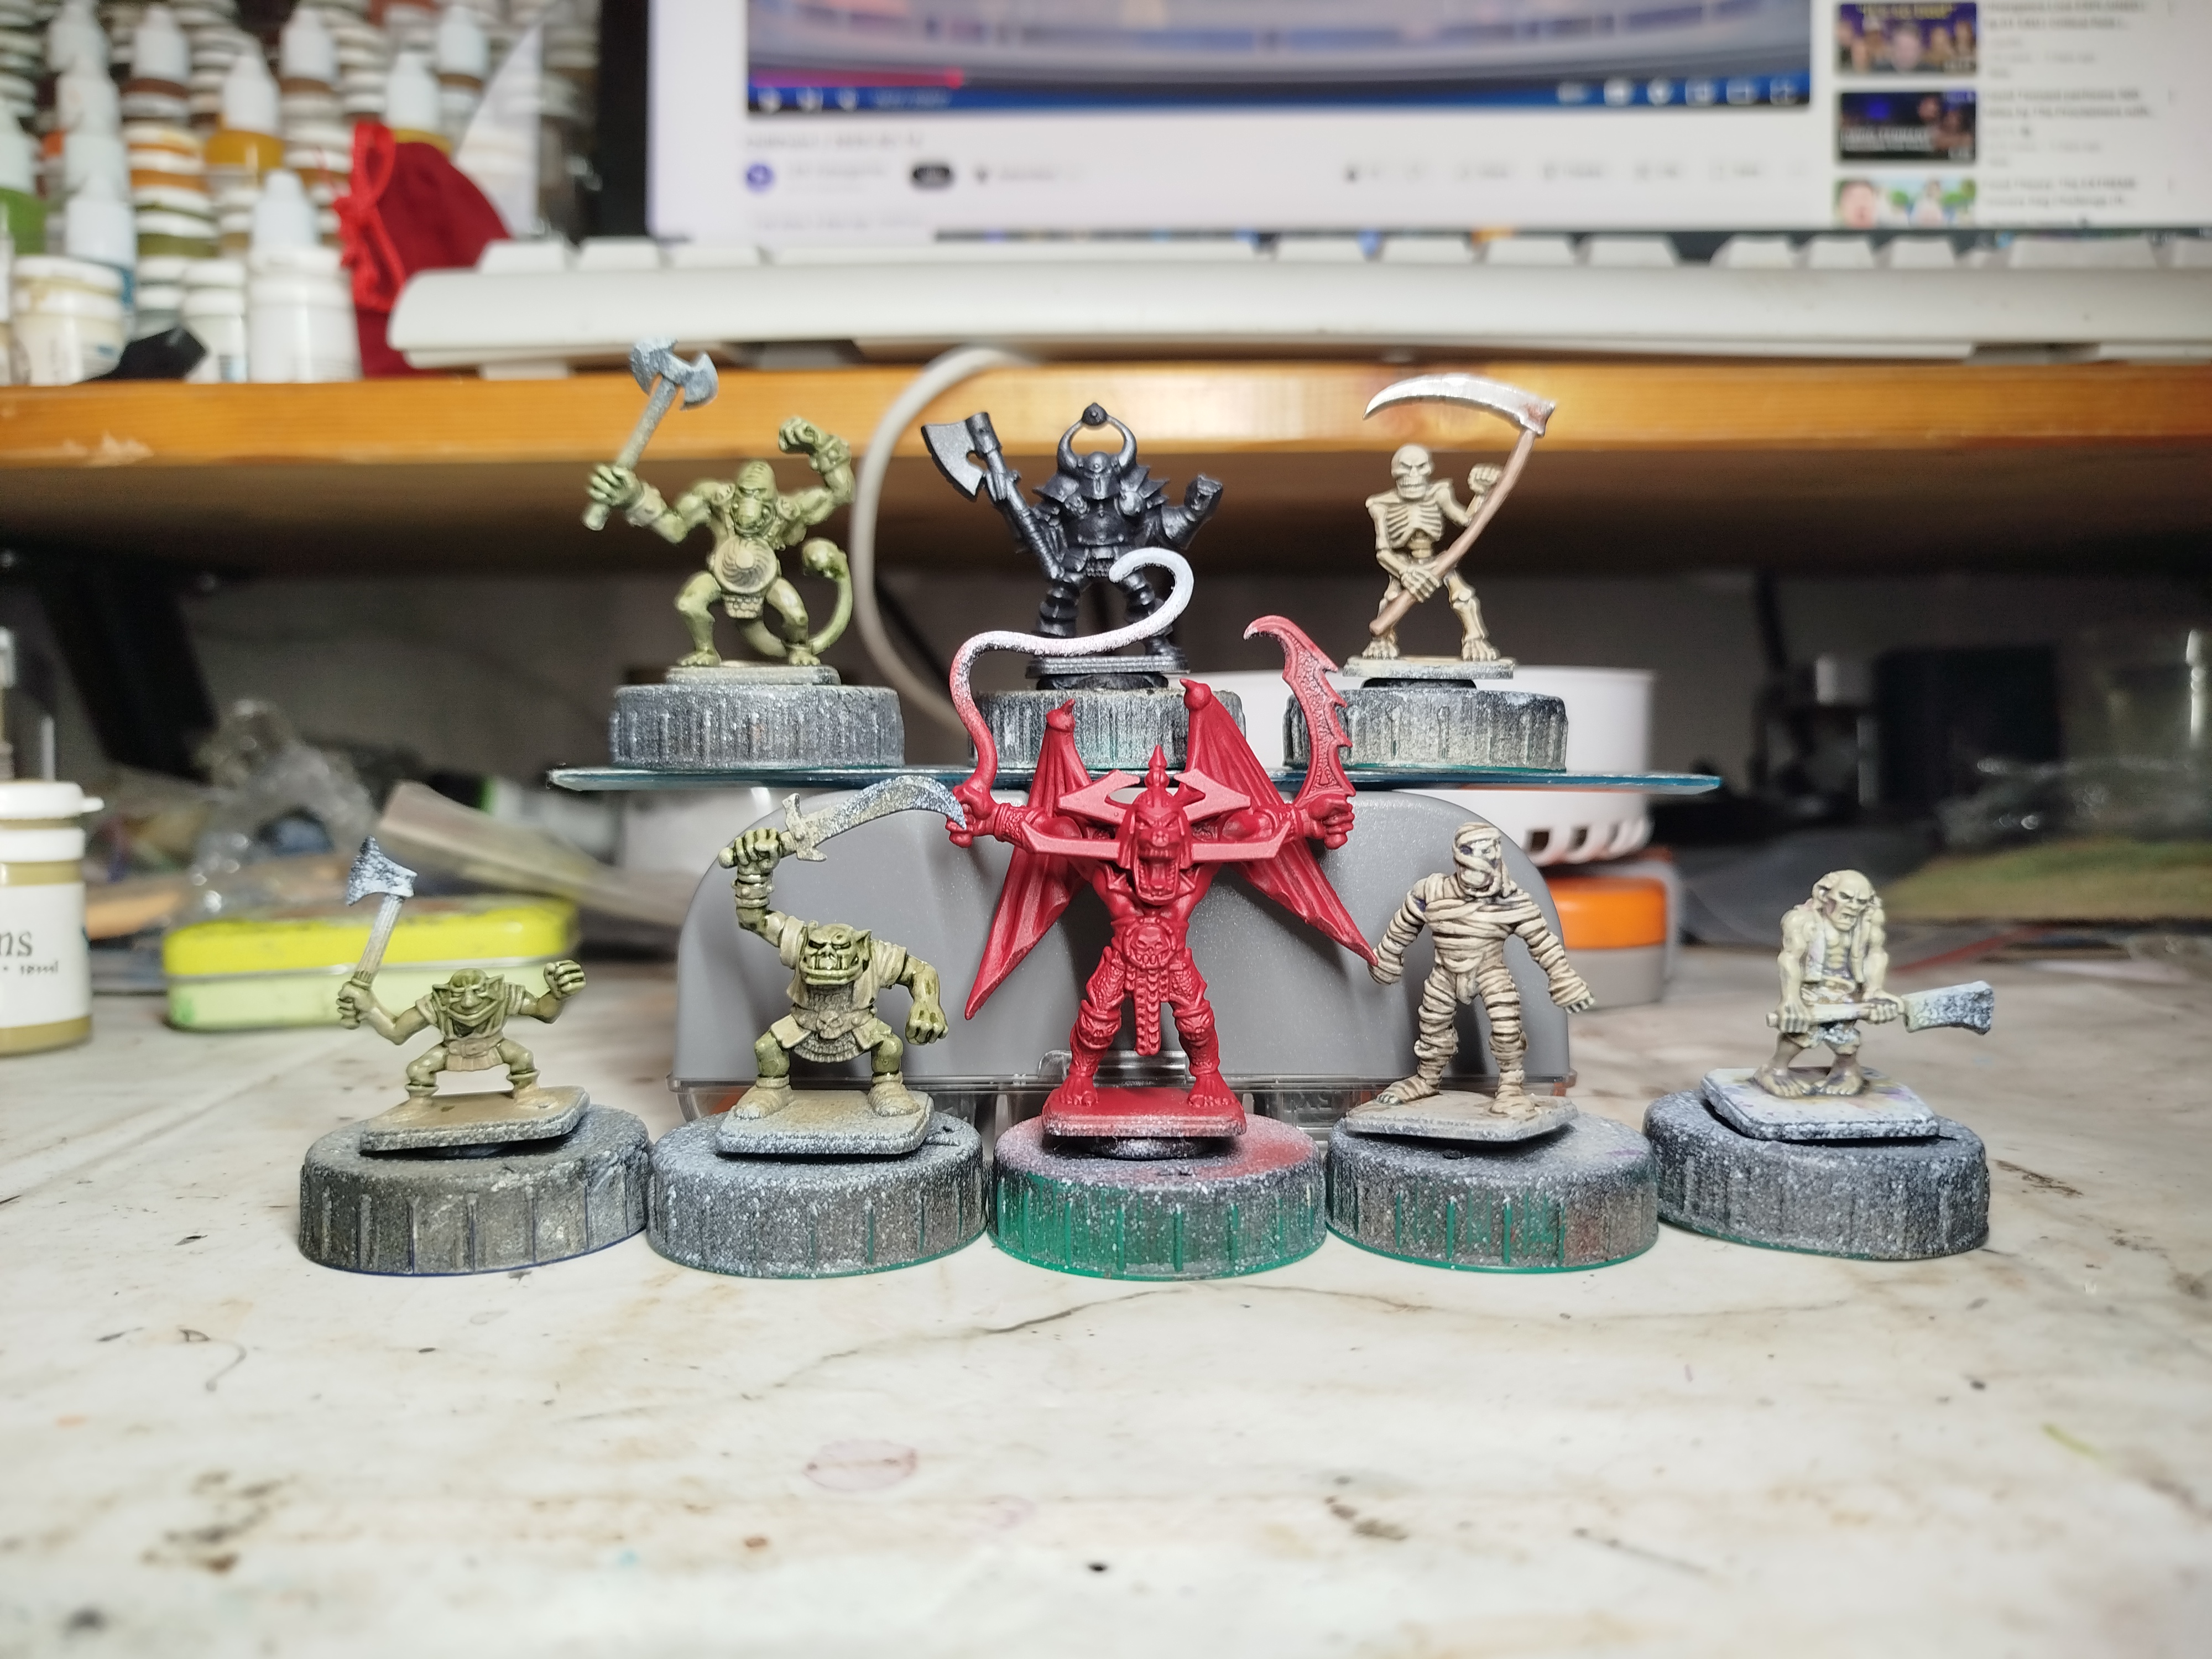 Here's the summarised state of play at the end of my first weekend of work.
Second Weekends Update Part 1
 Base coat
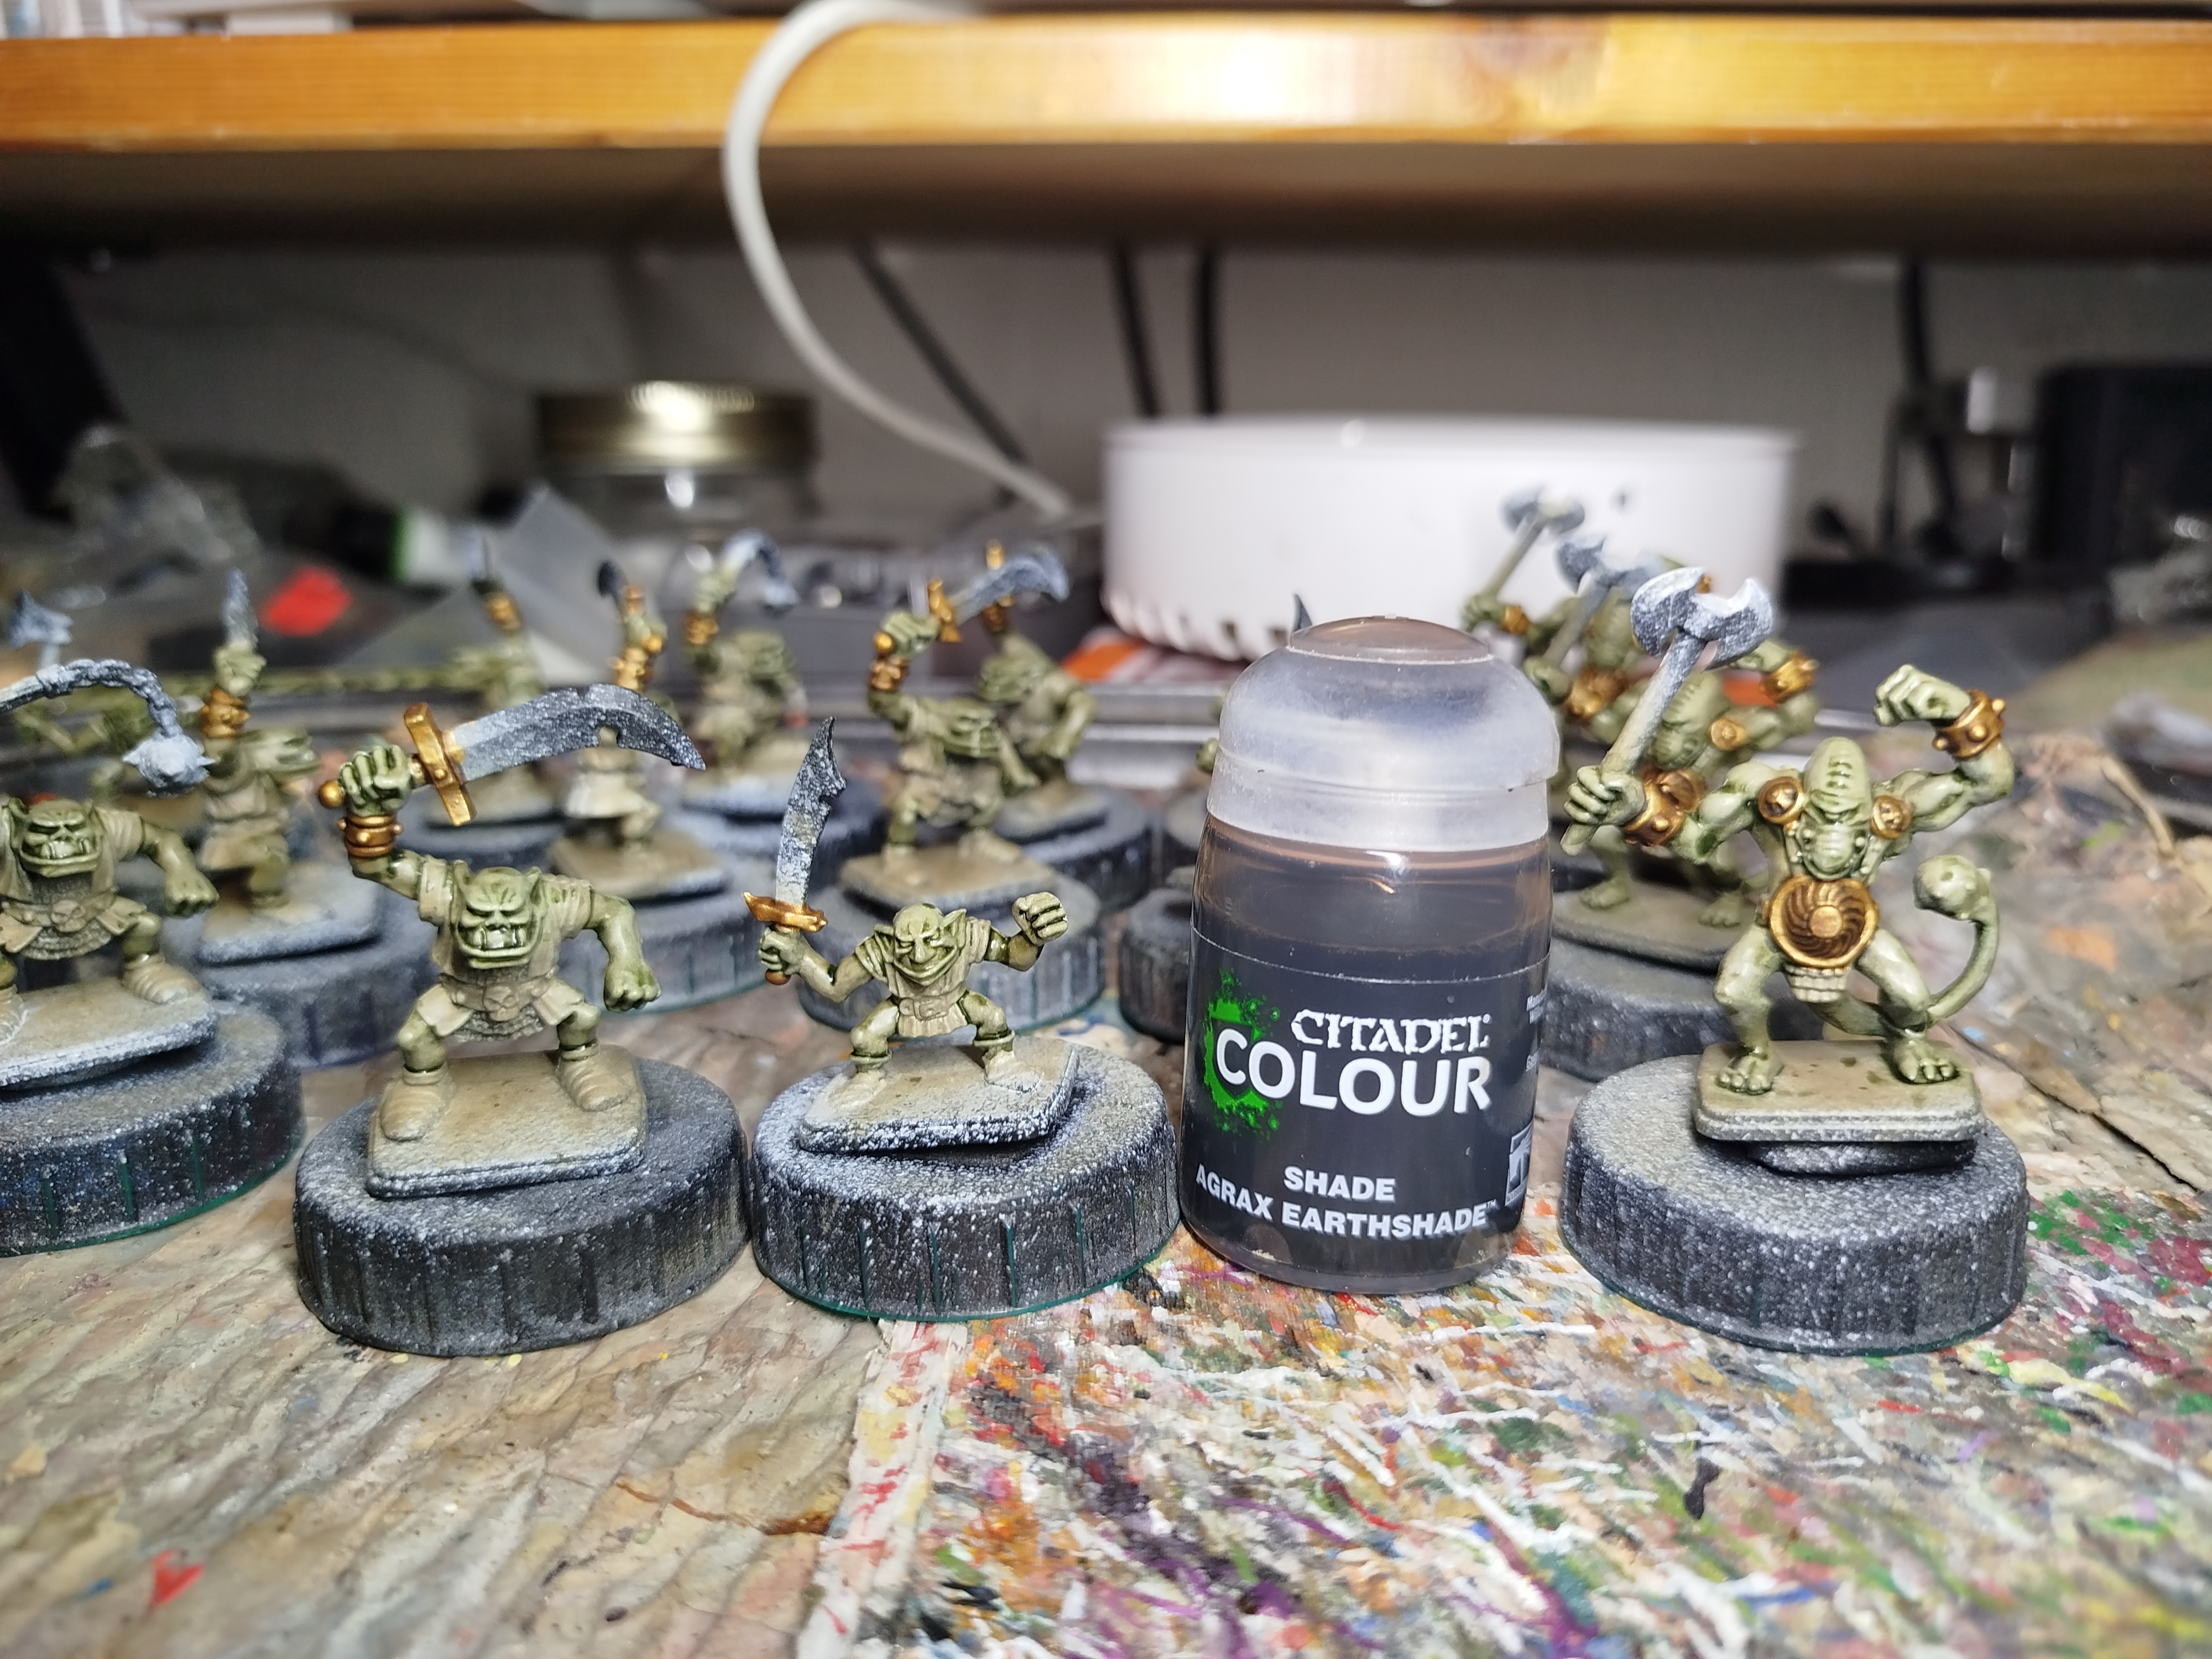 Wash
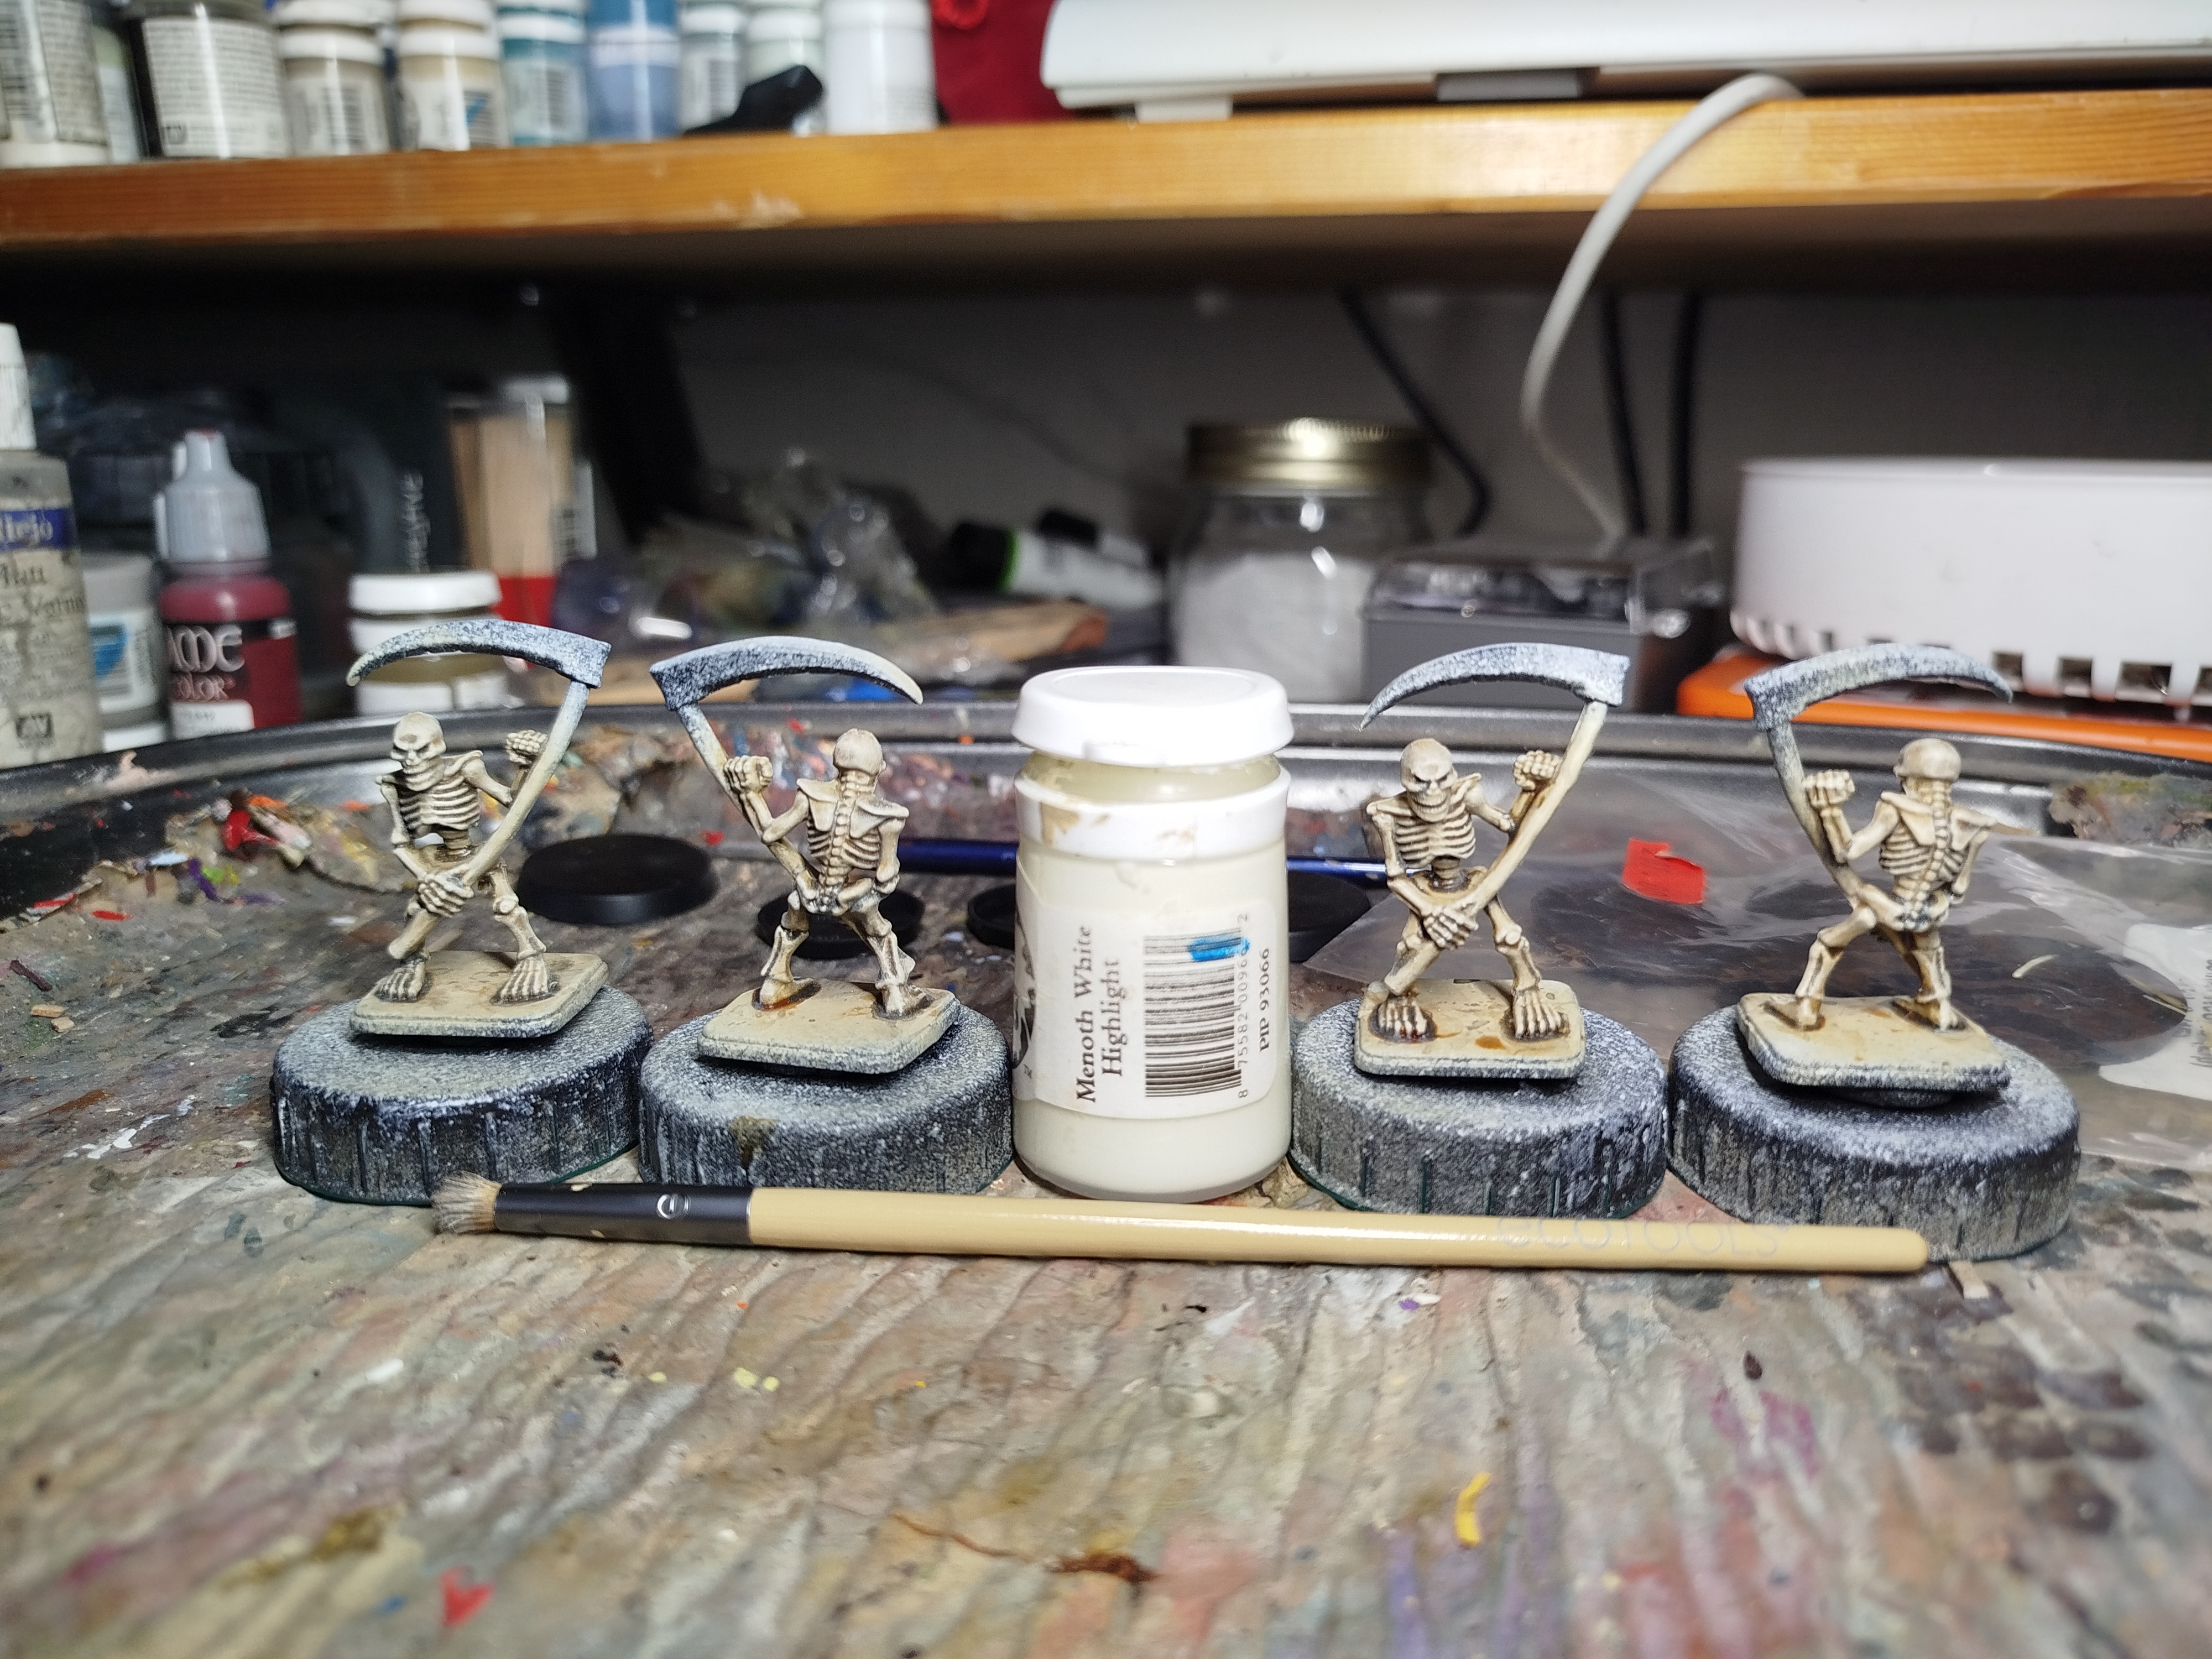
Wash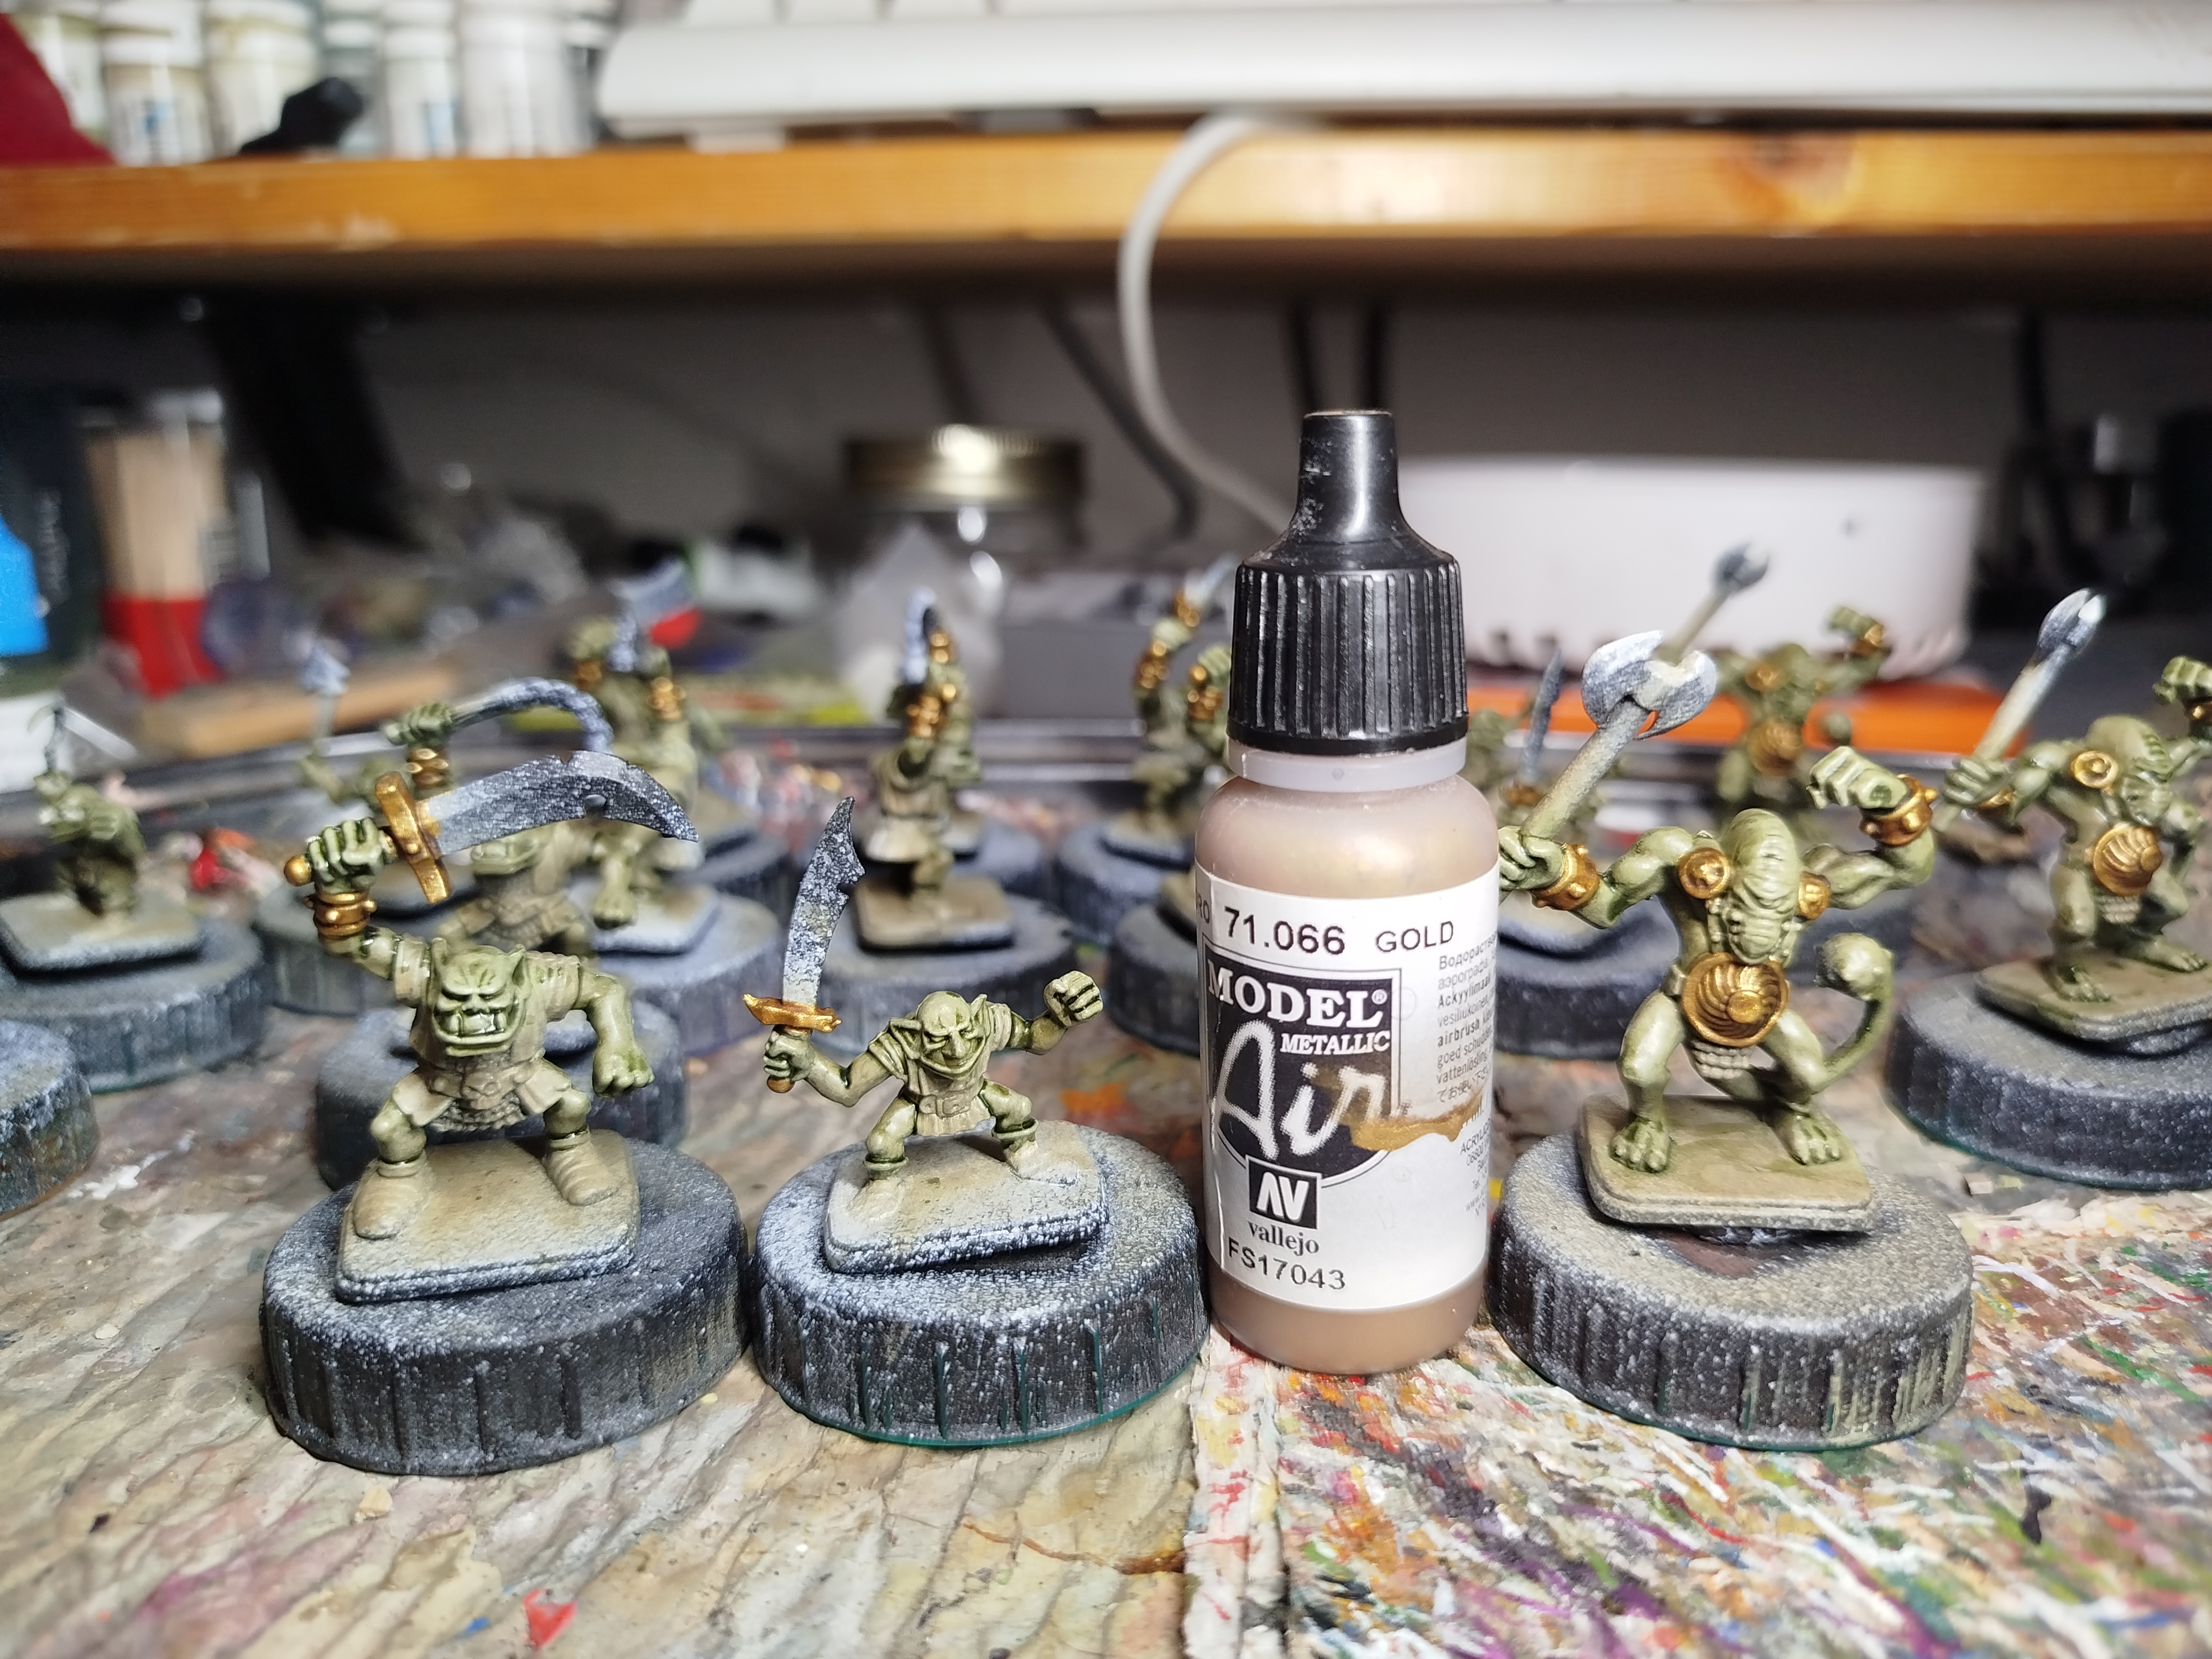 First highlight
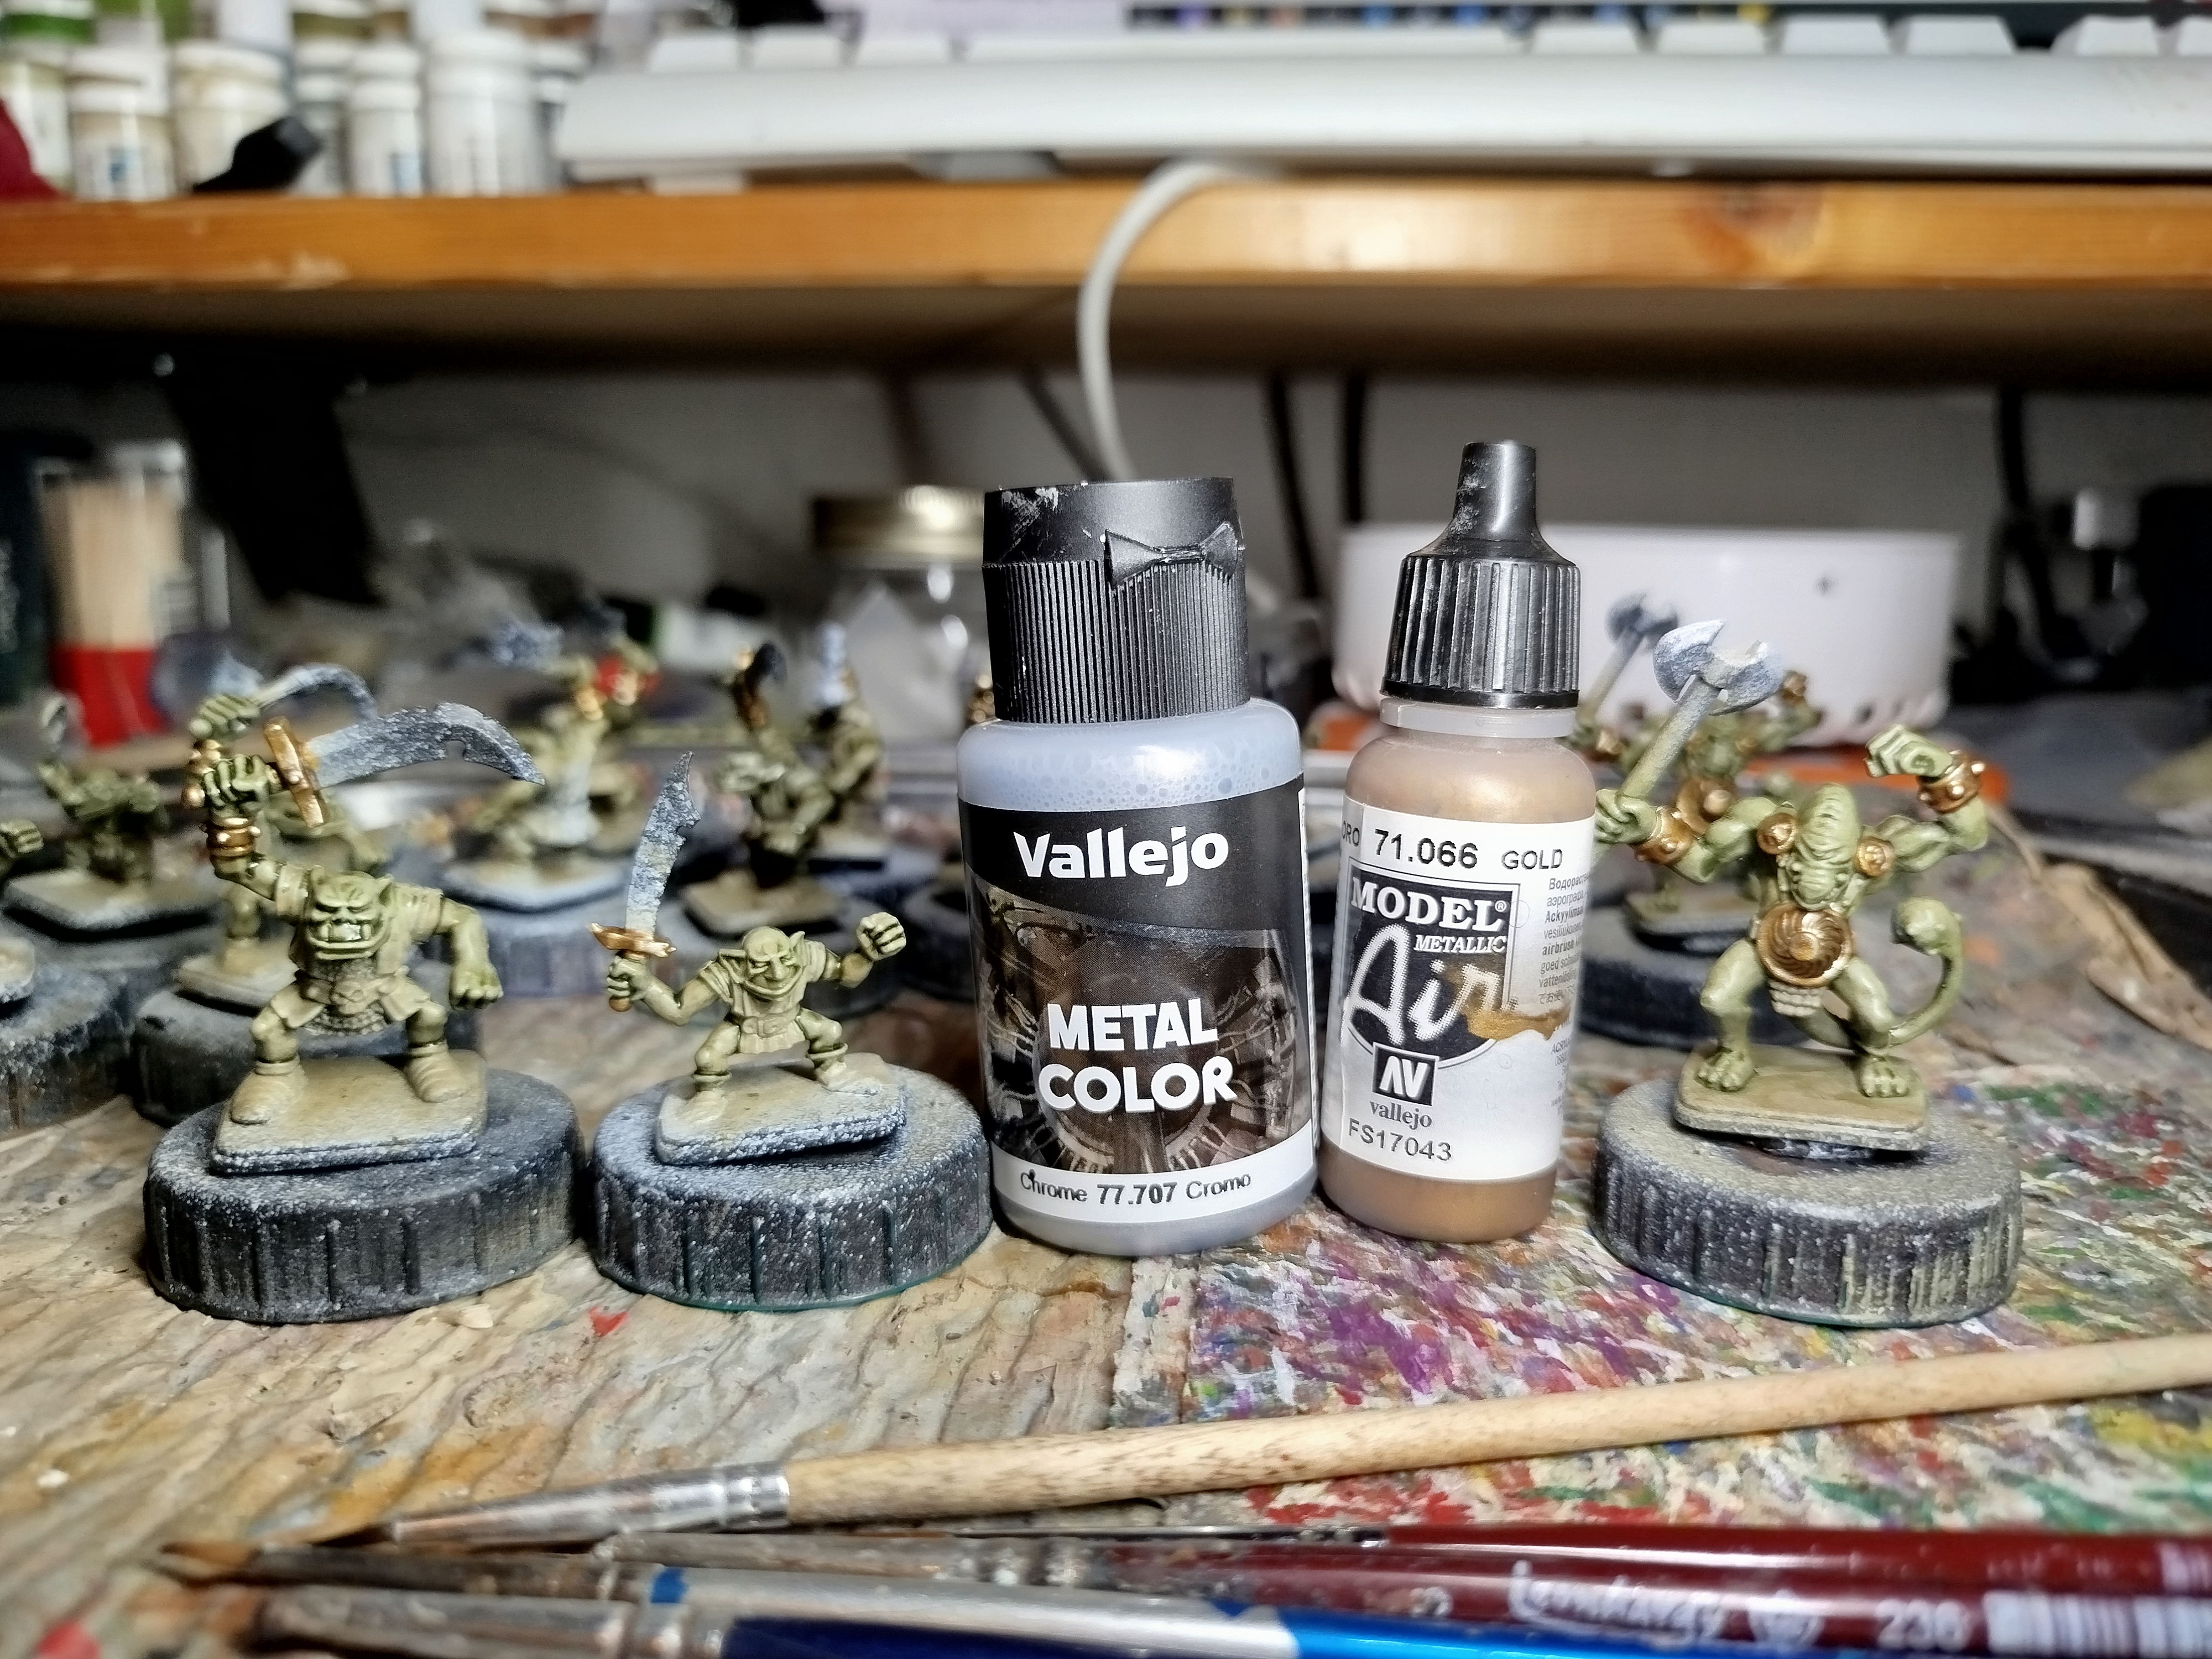 Second highlight
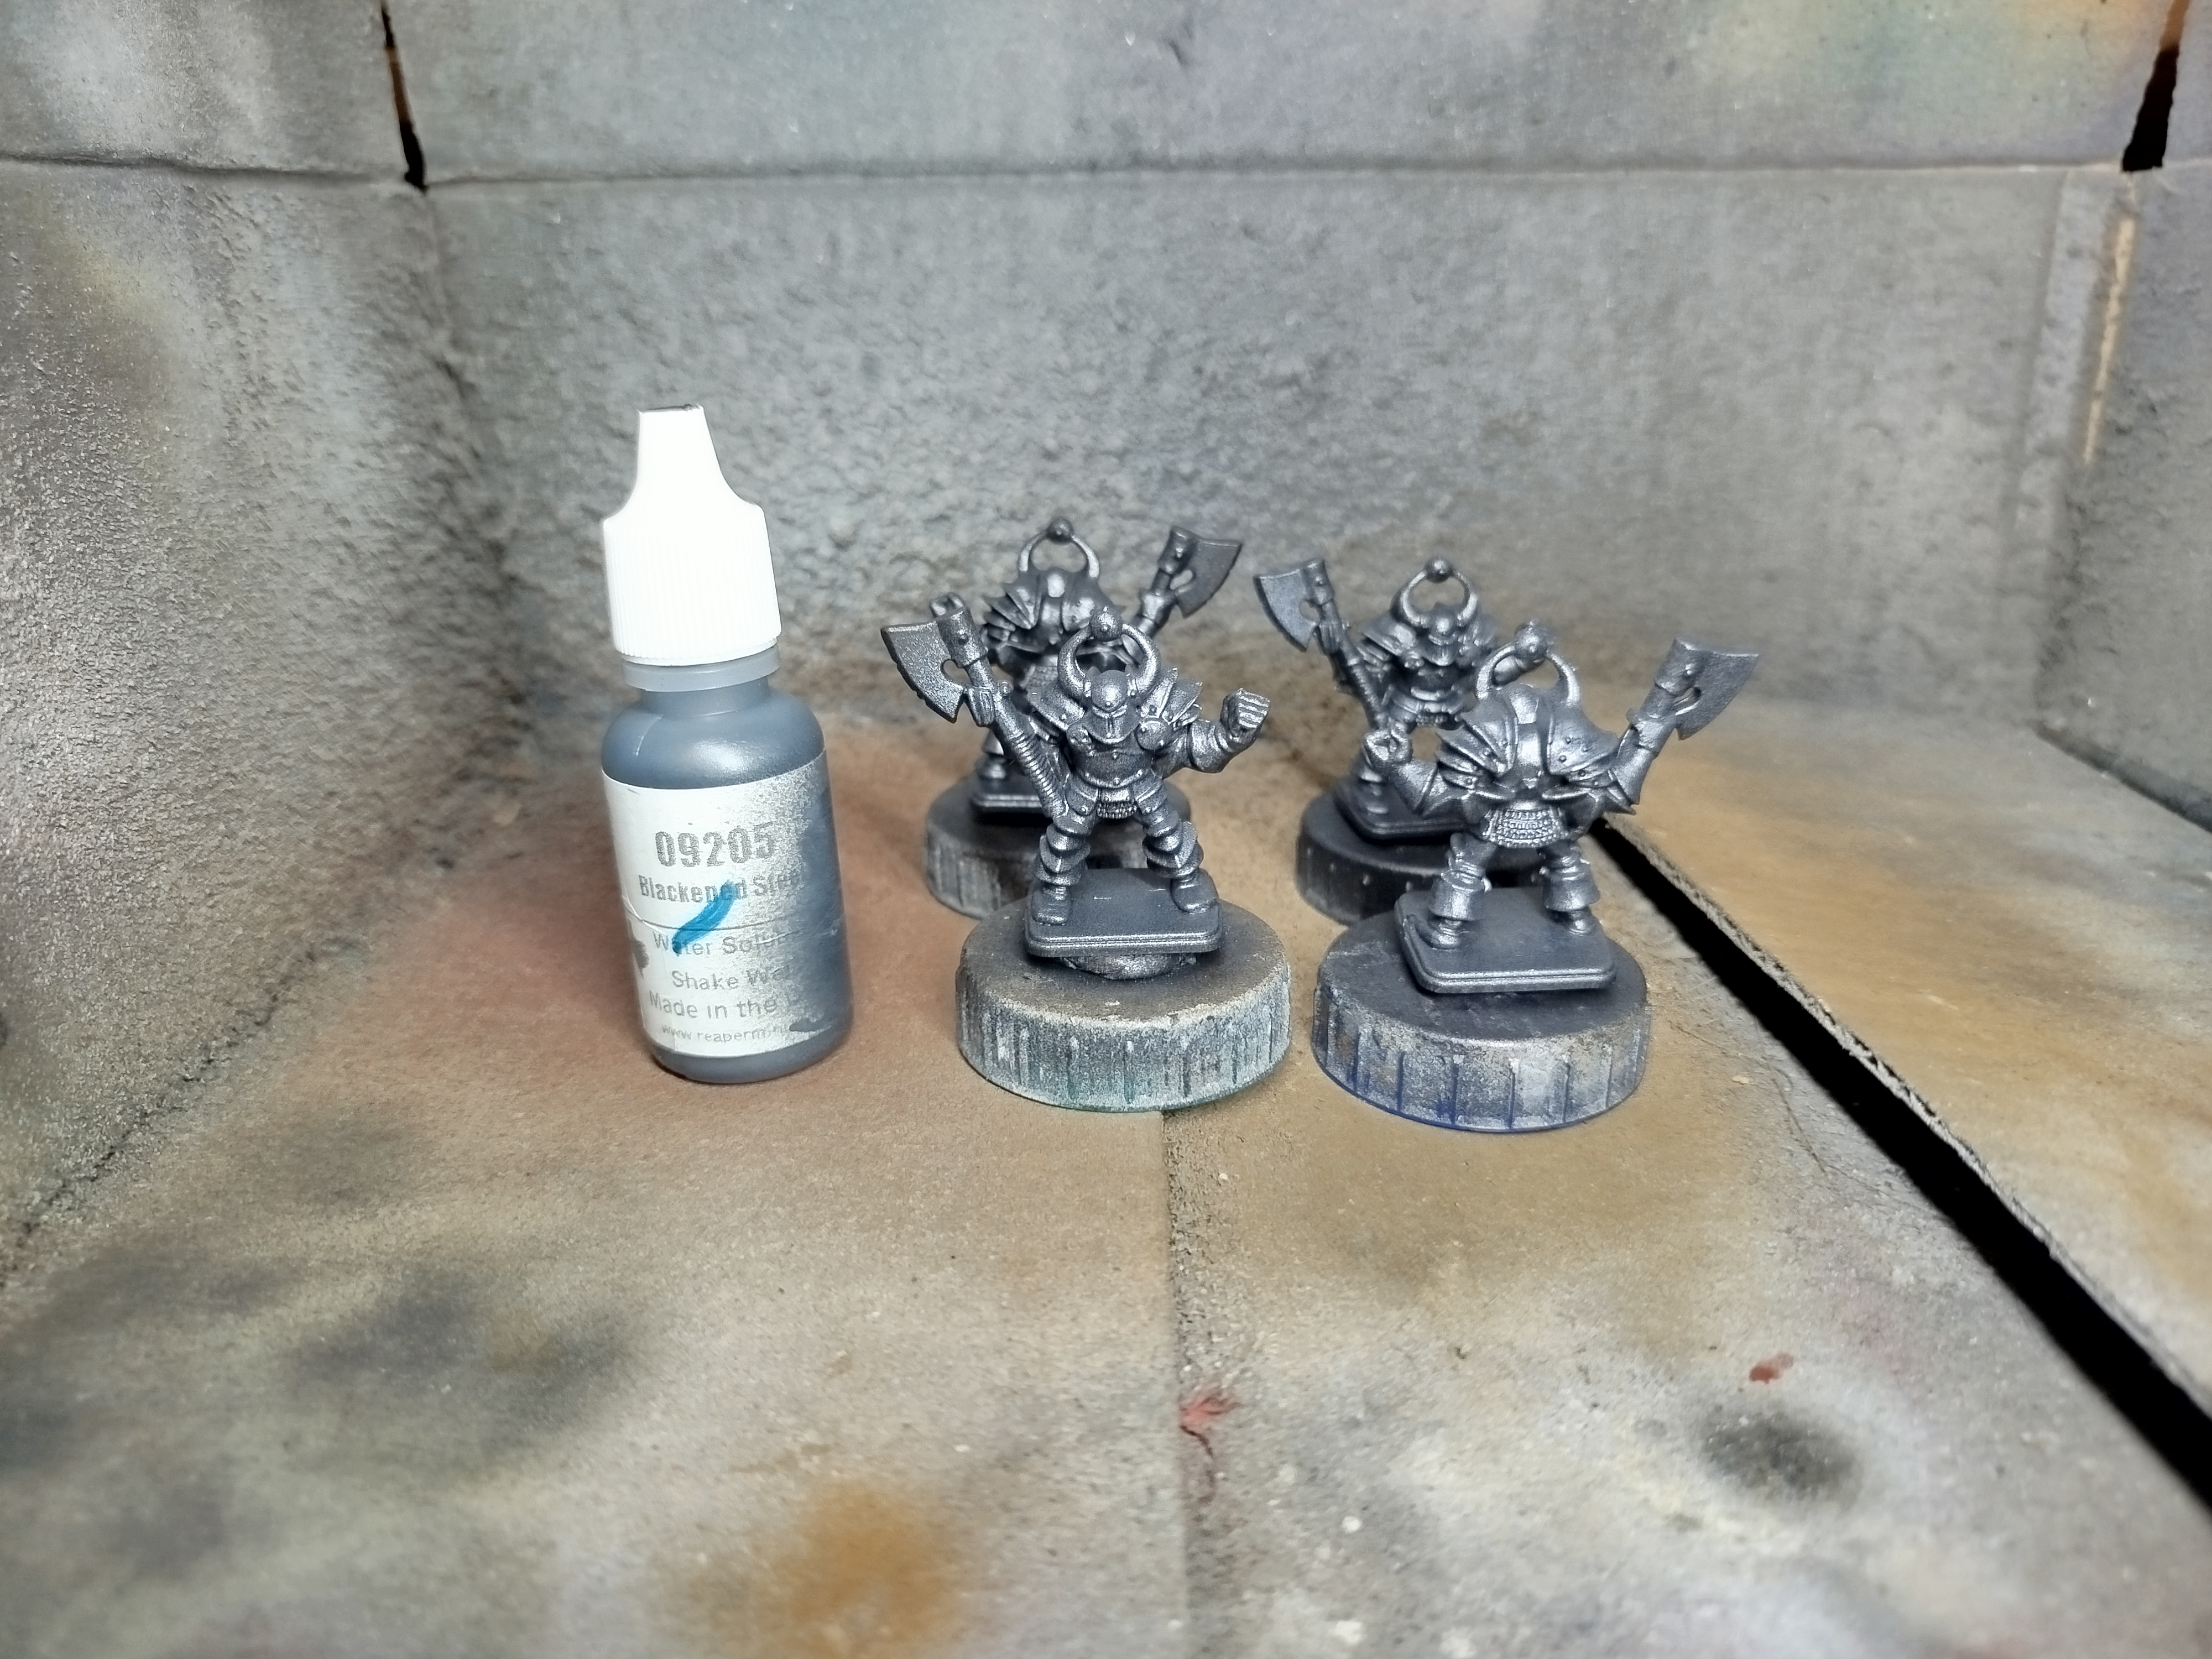
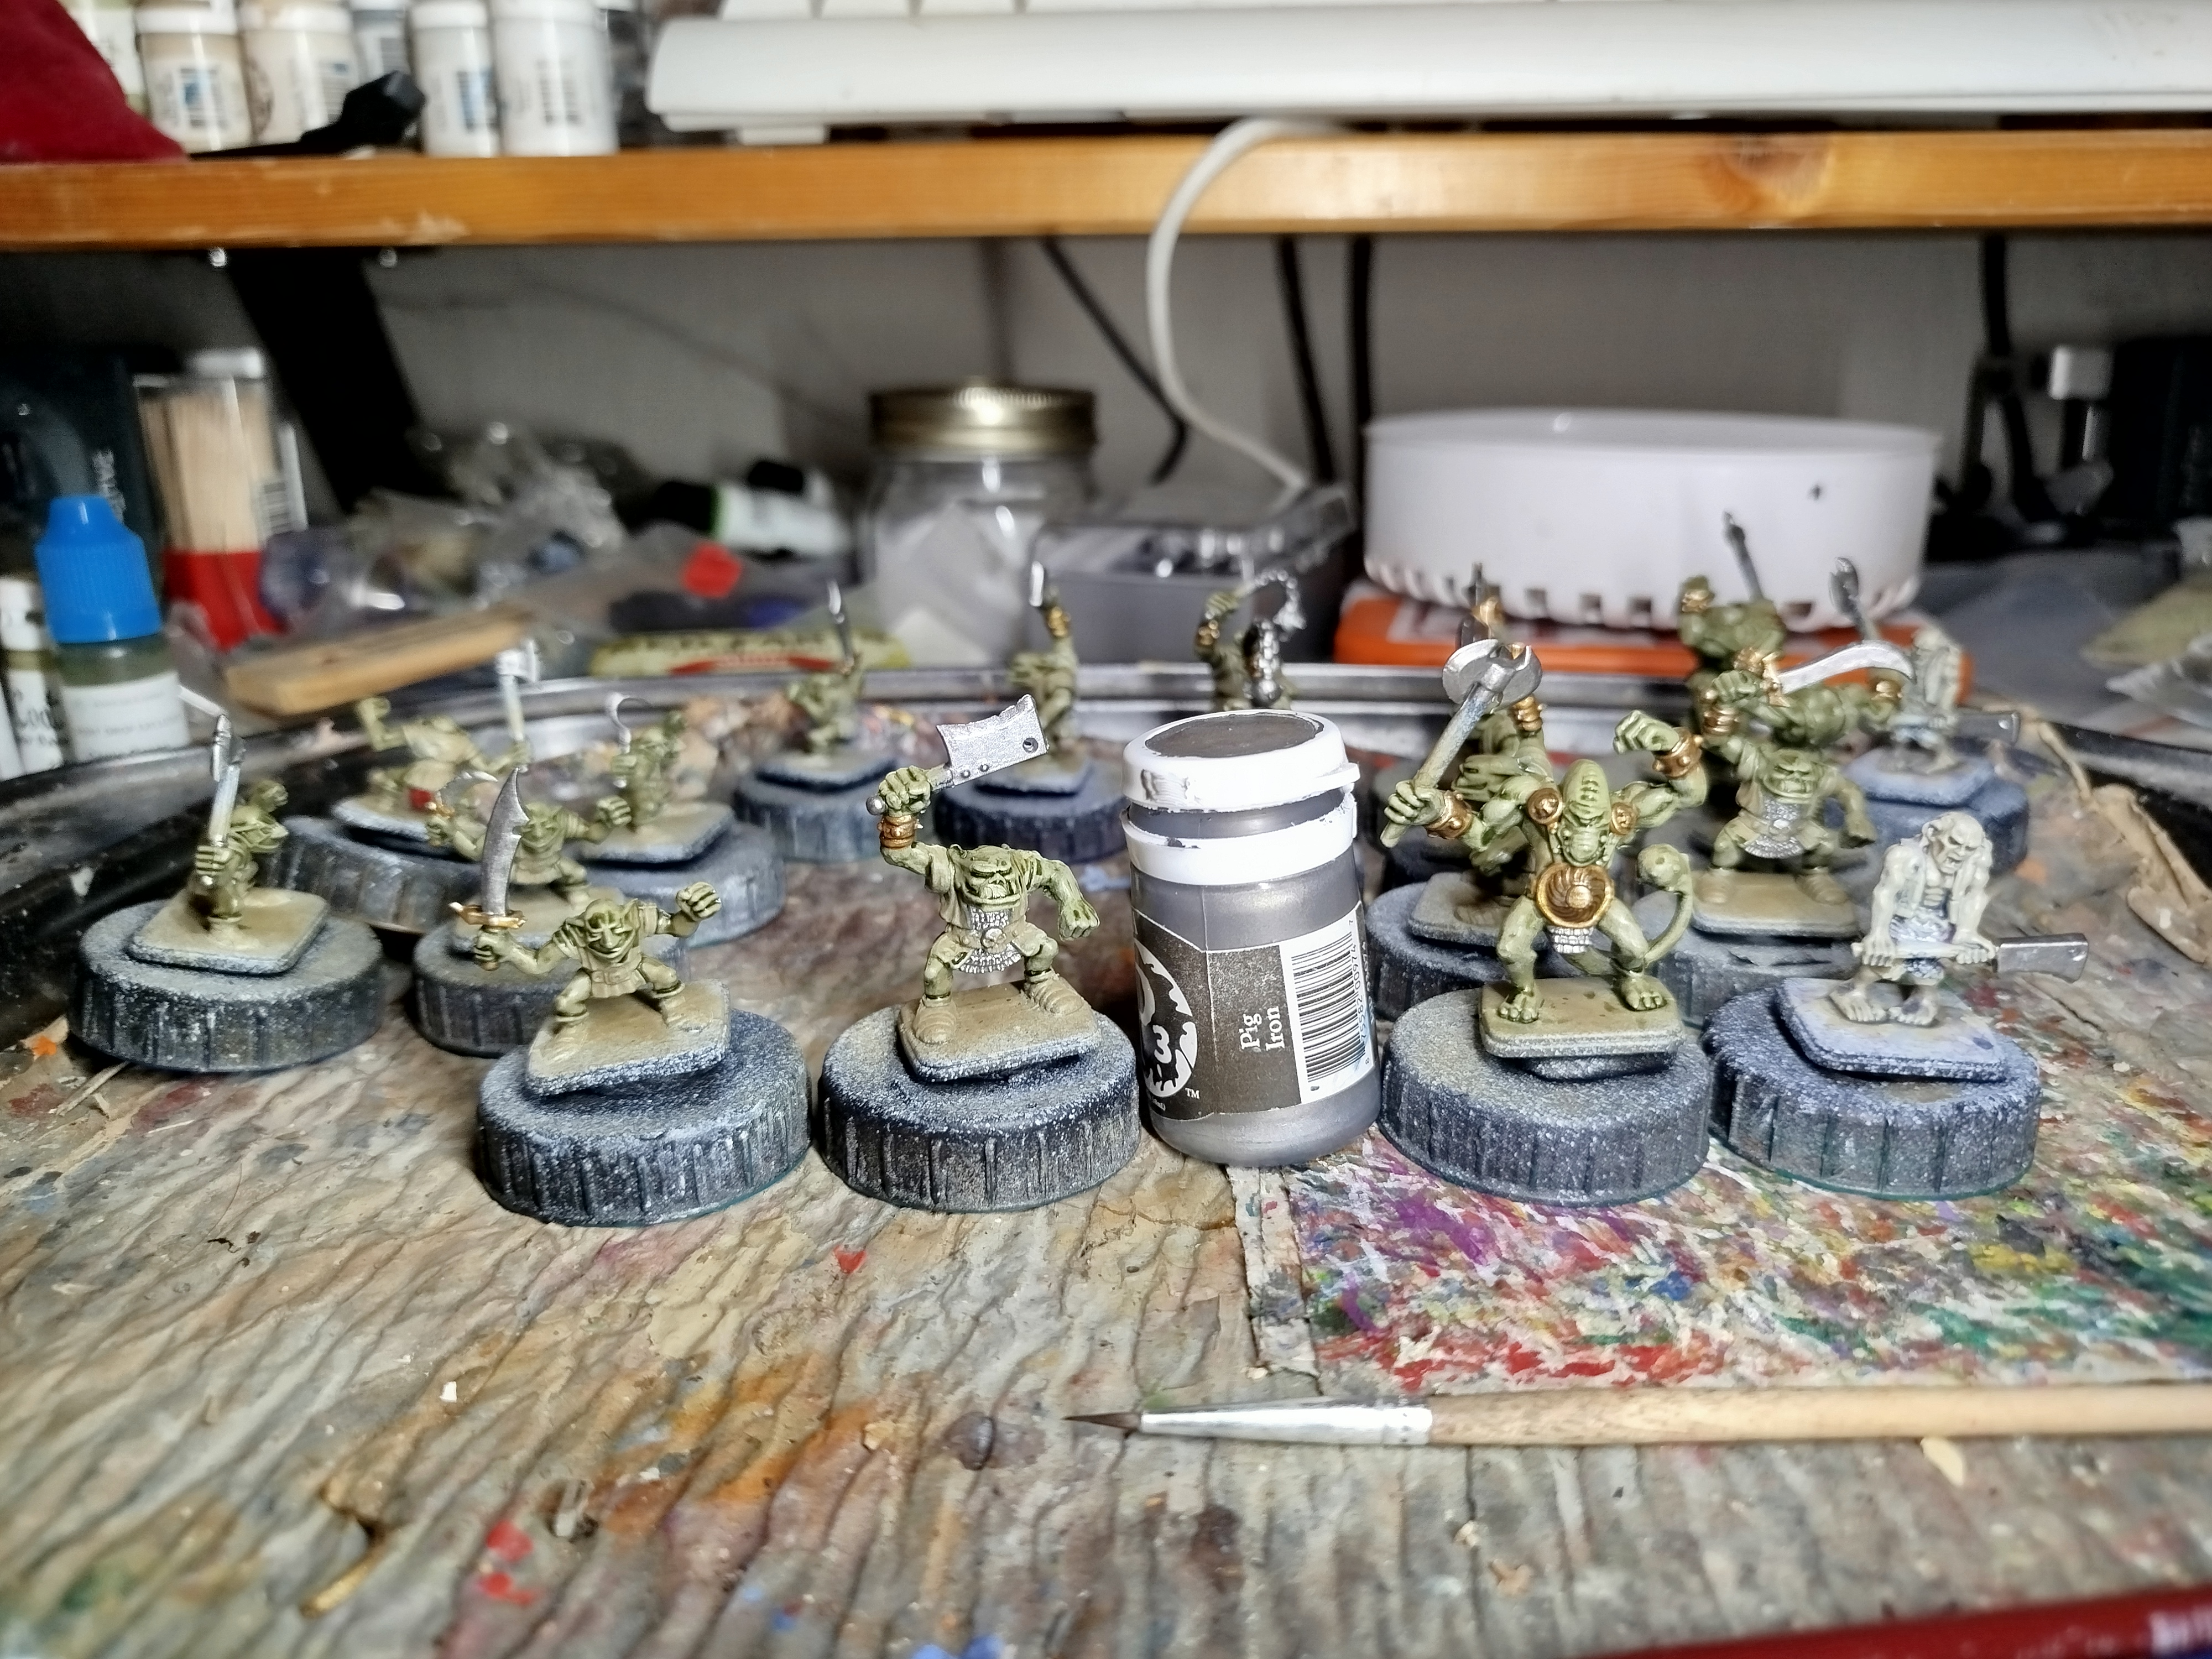 Iron base coat
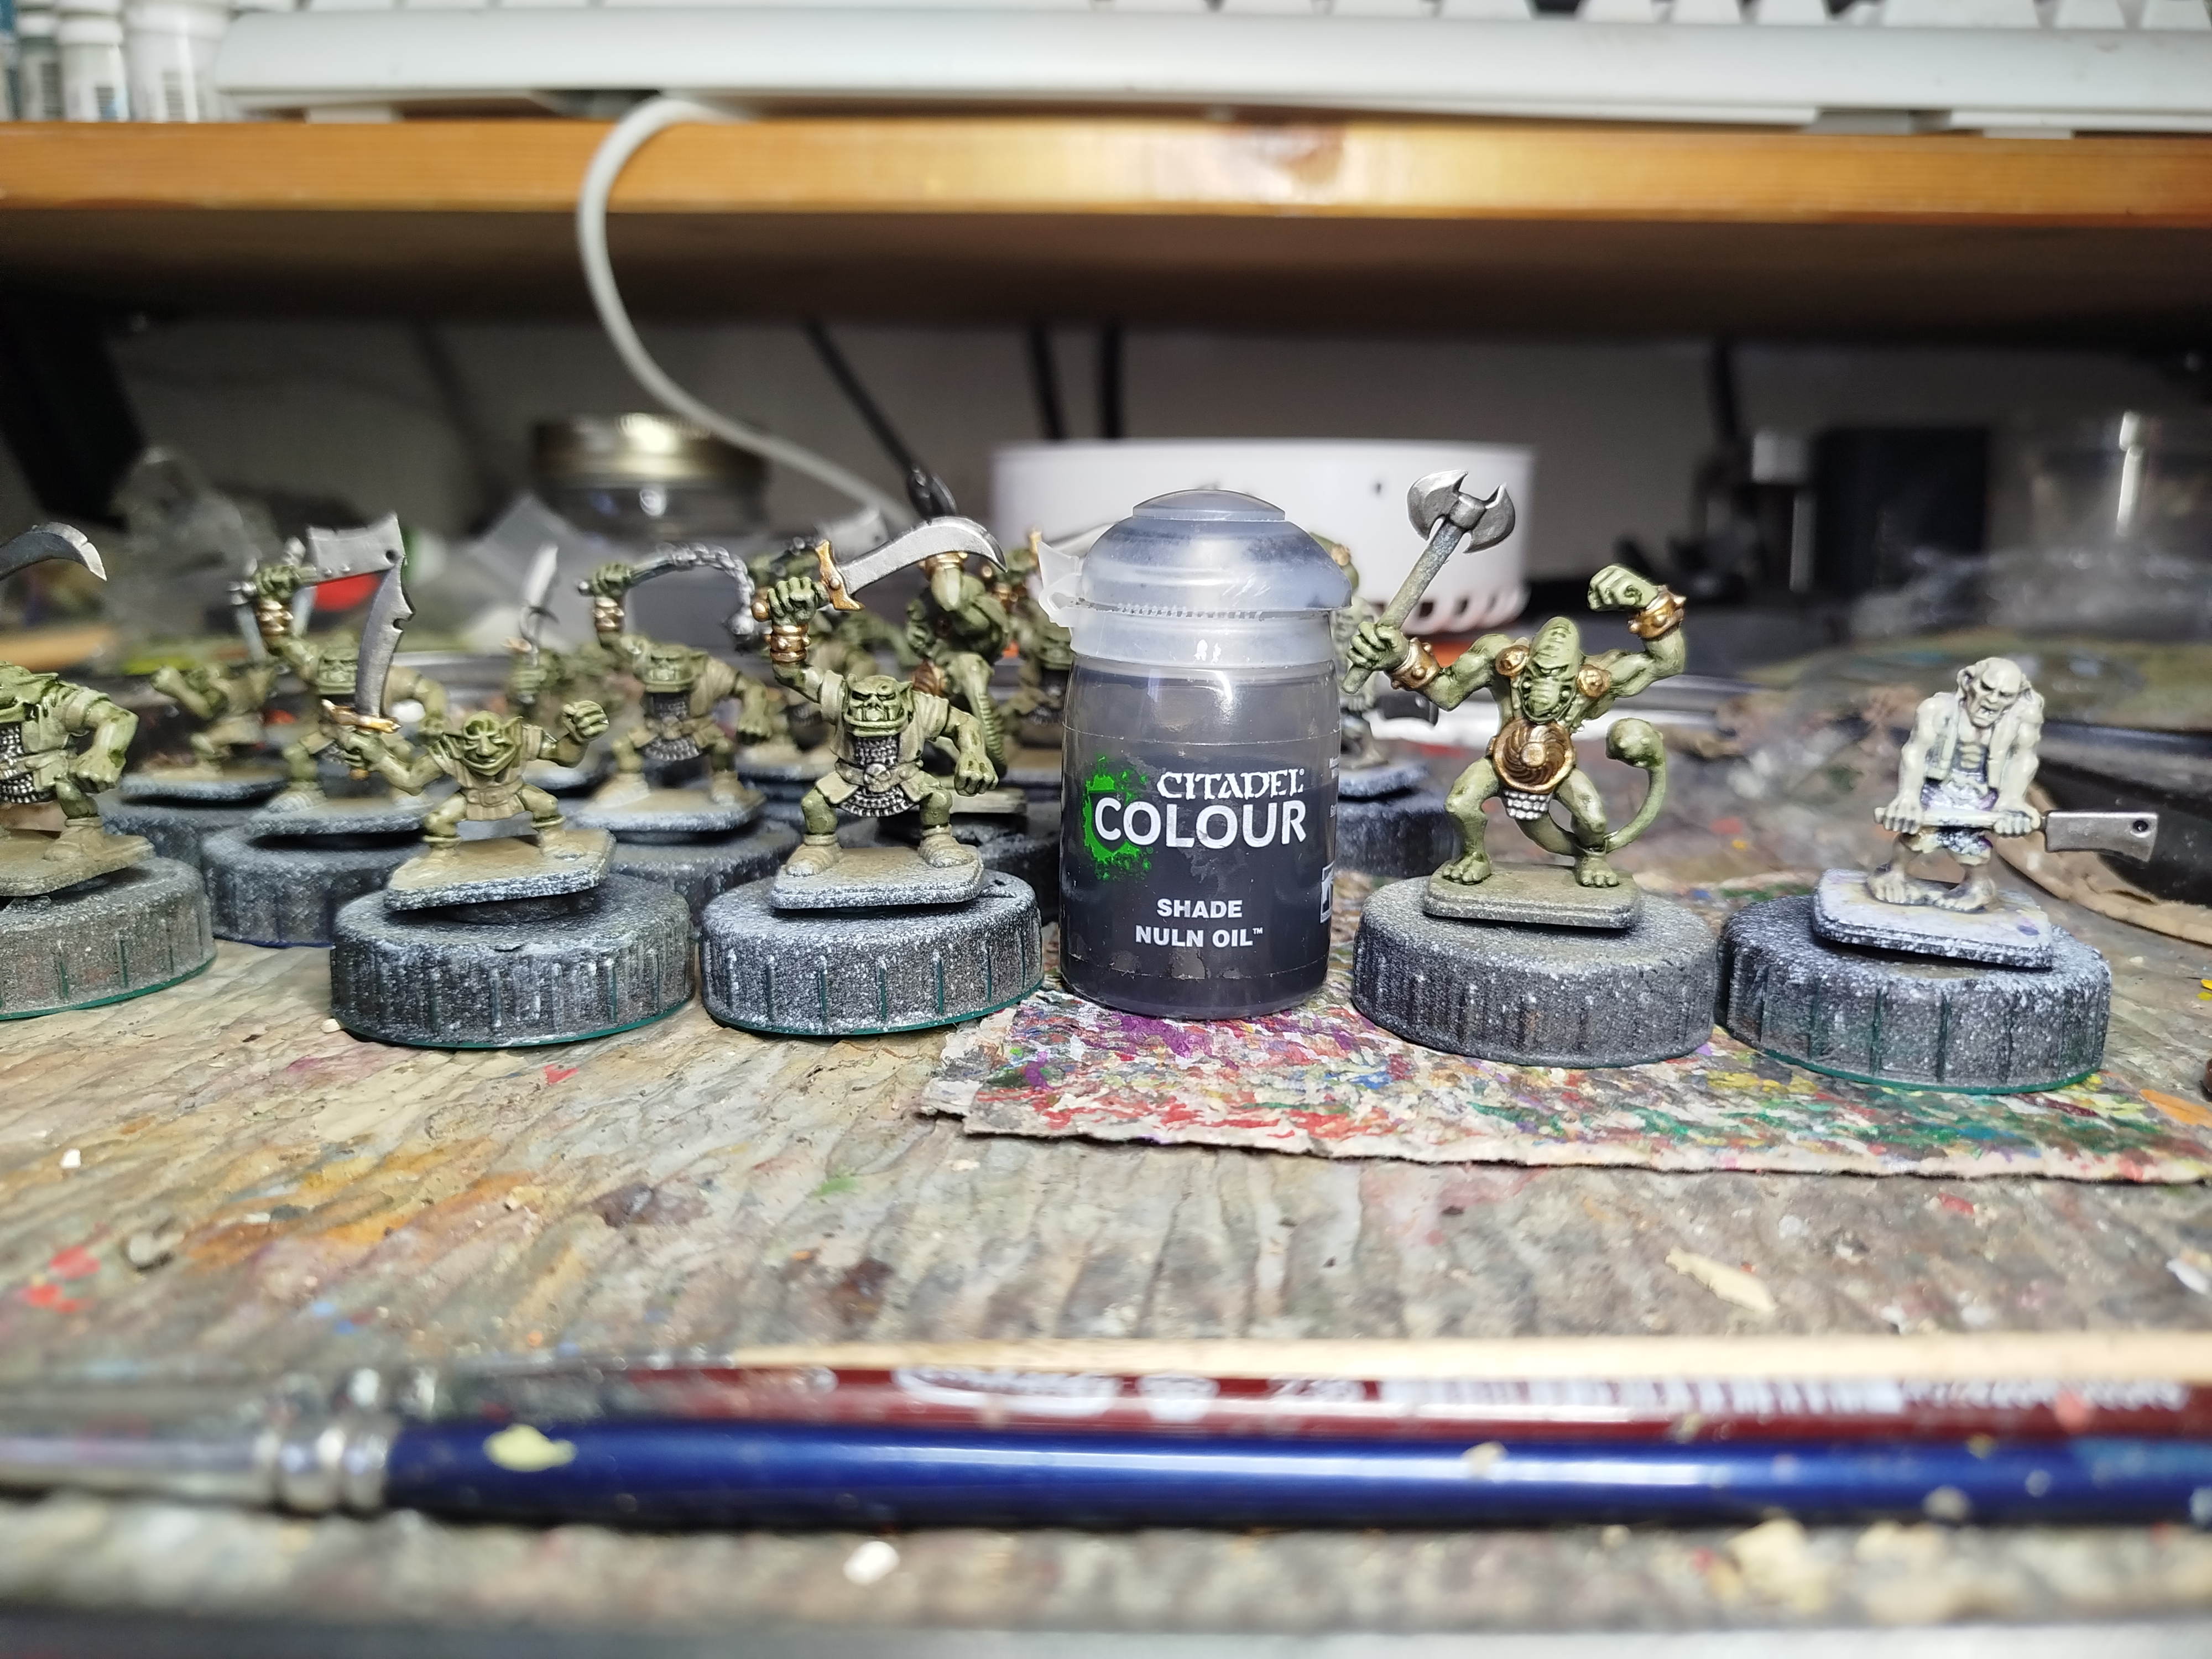 Wash
Wash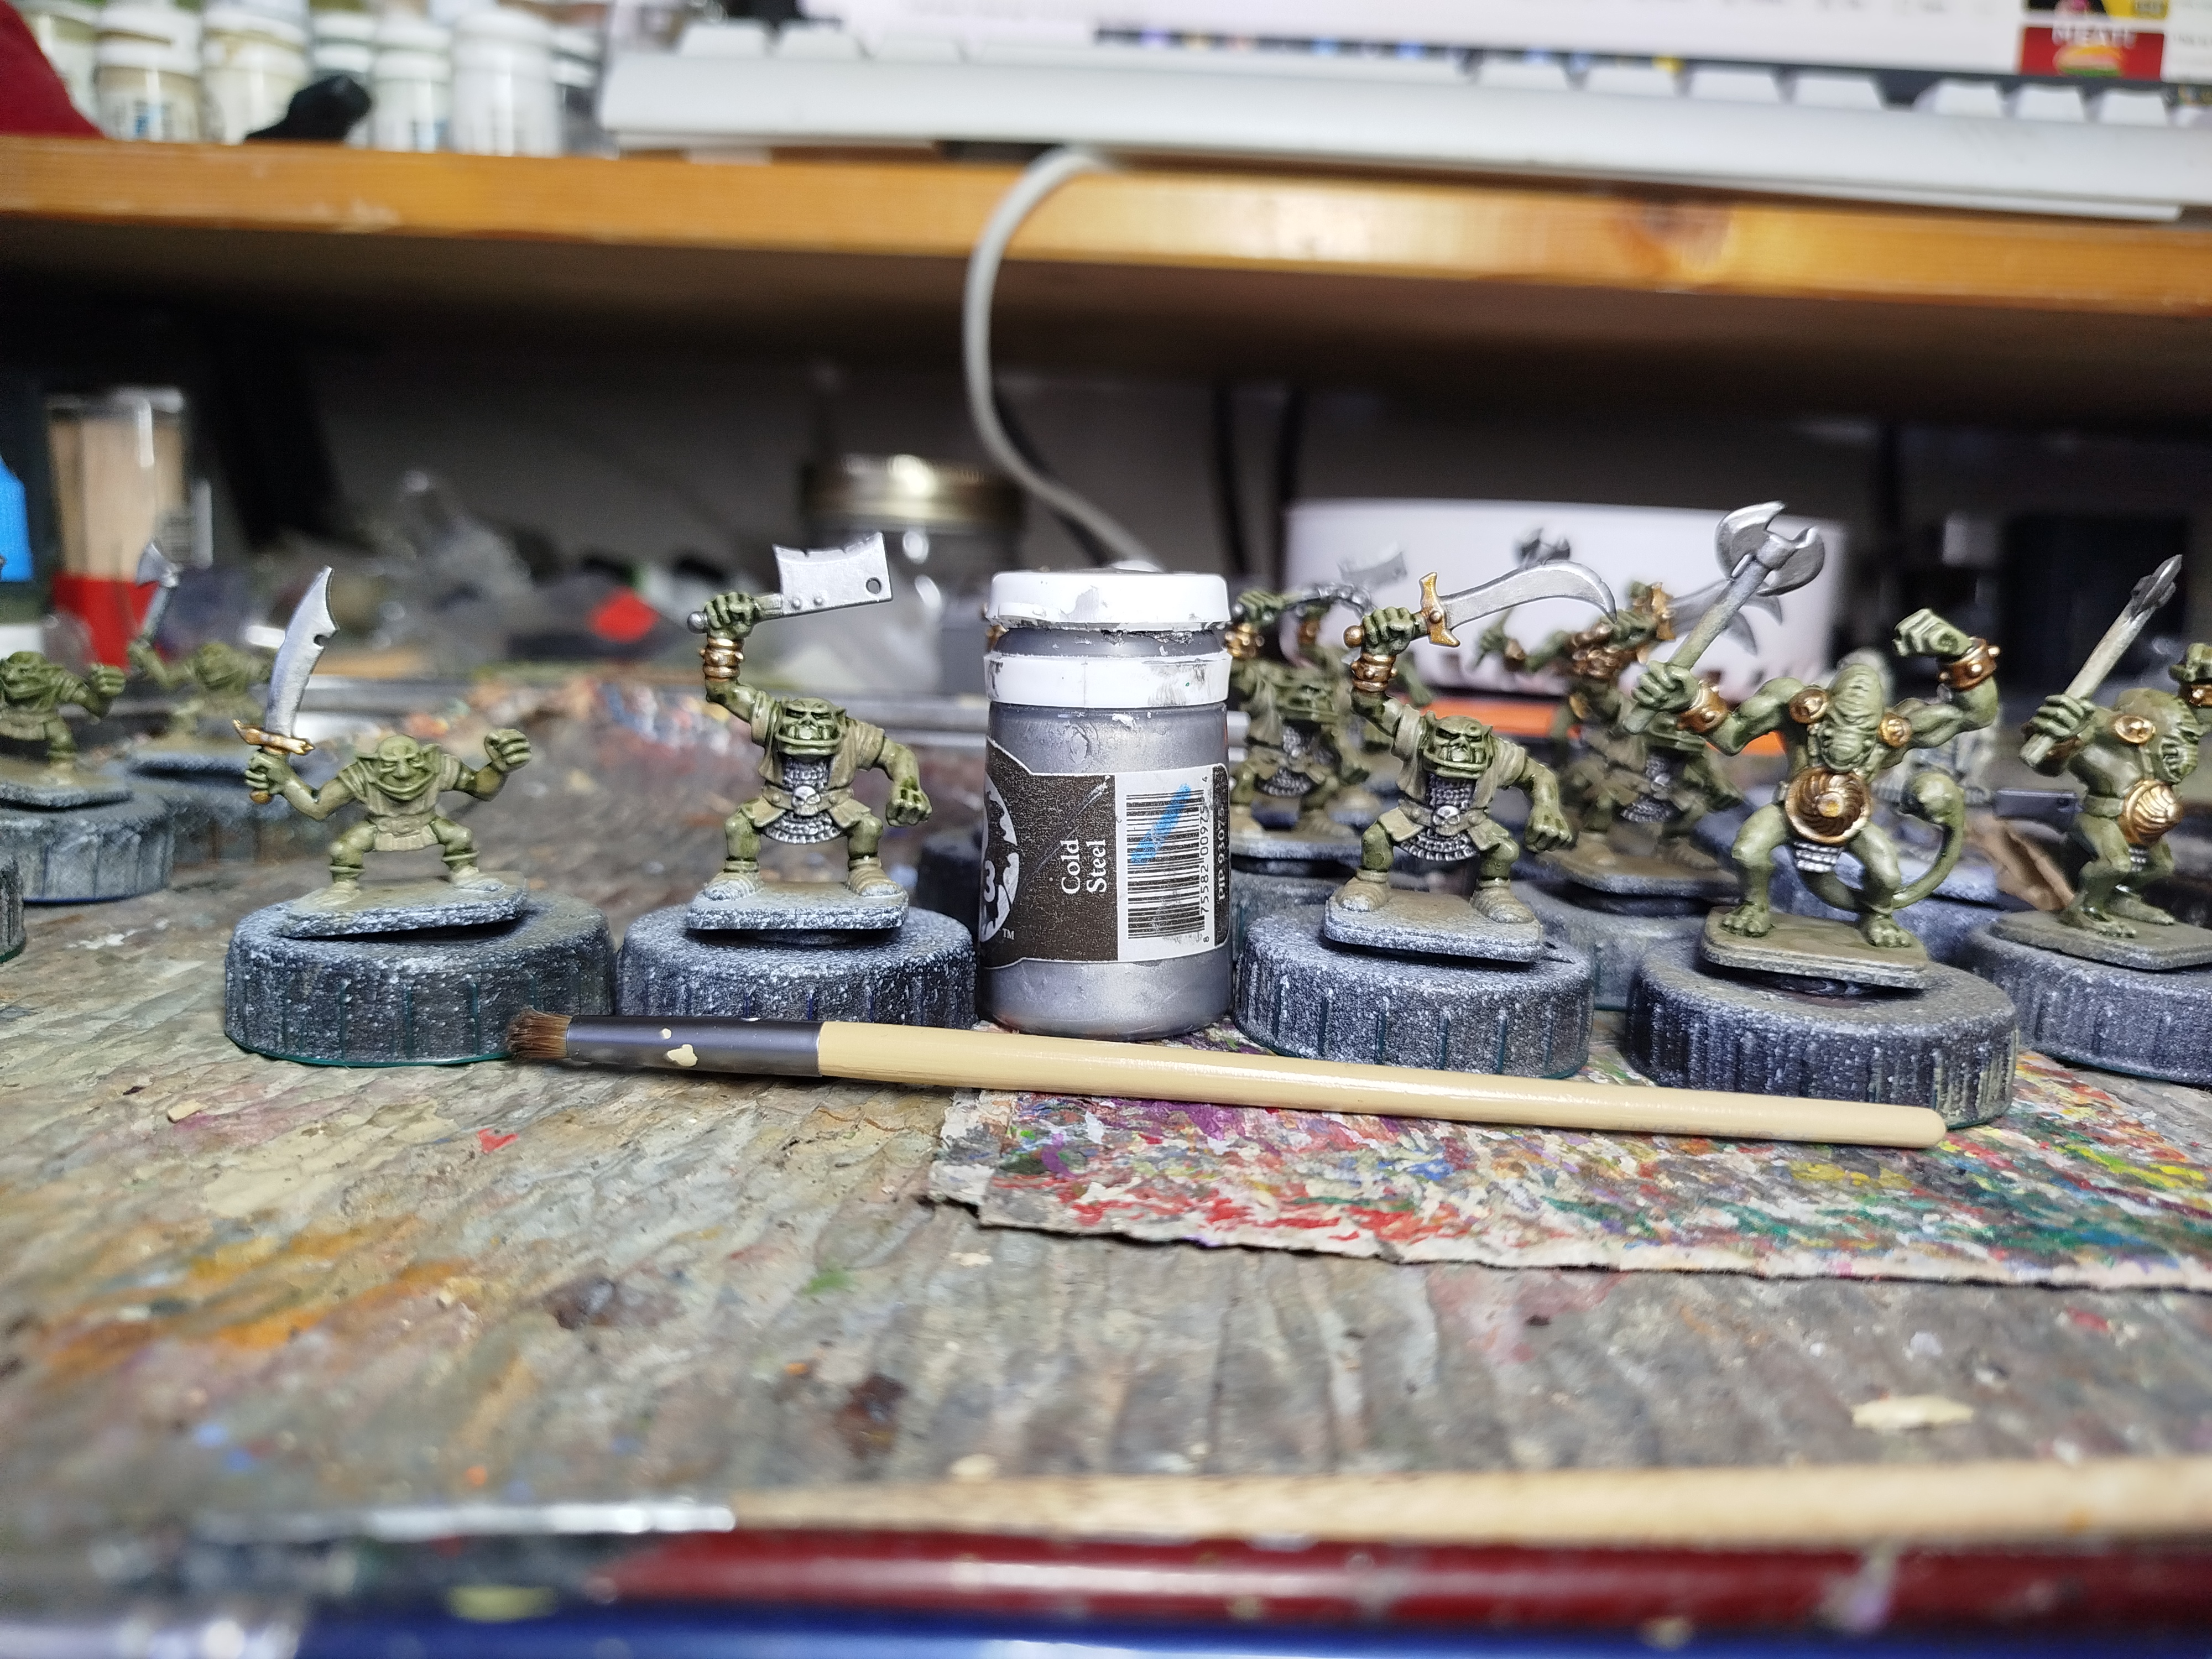 Drybrush highlight
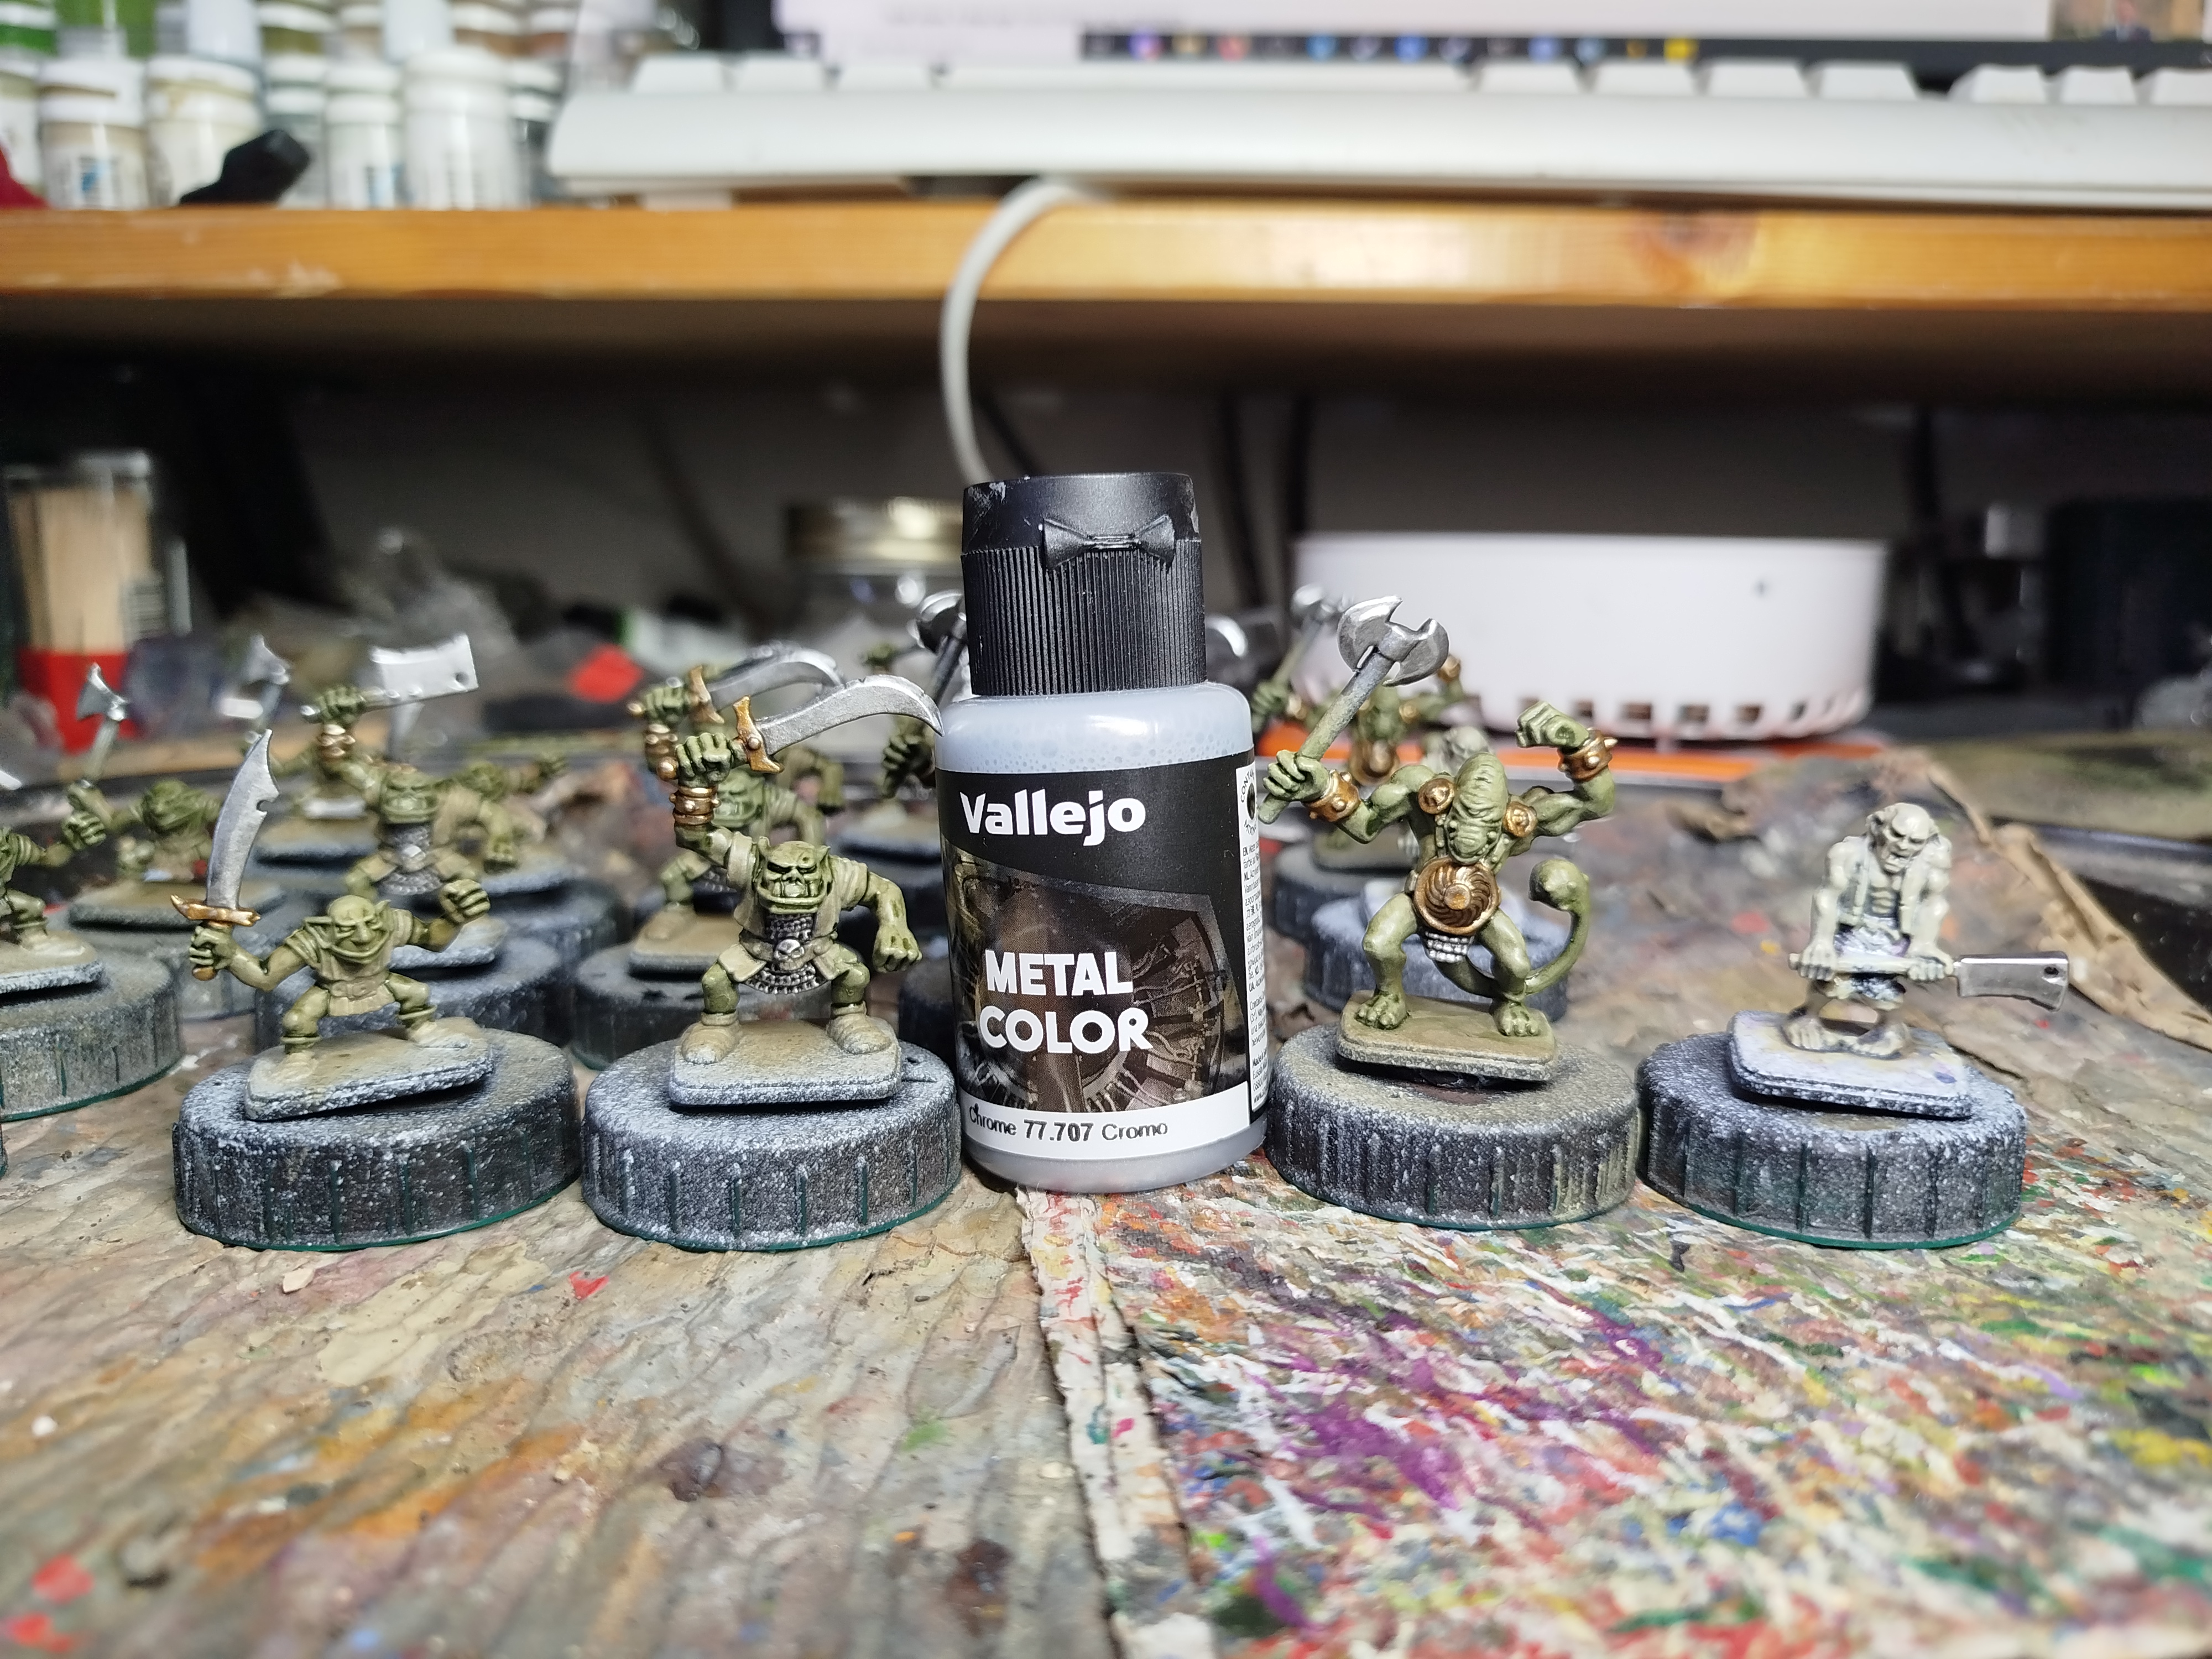 Highlight 2
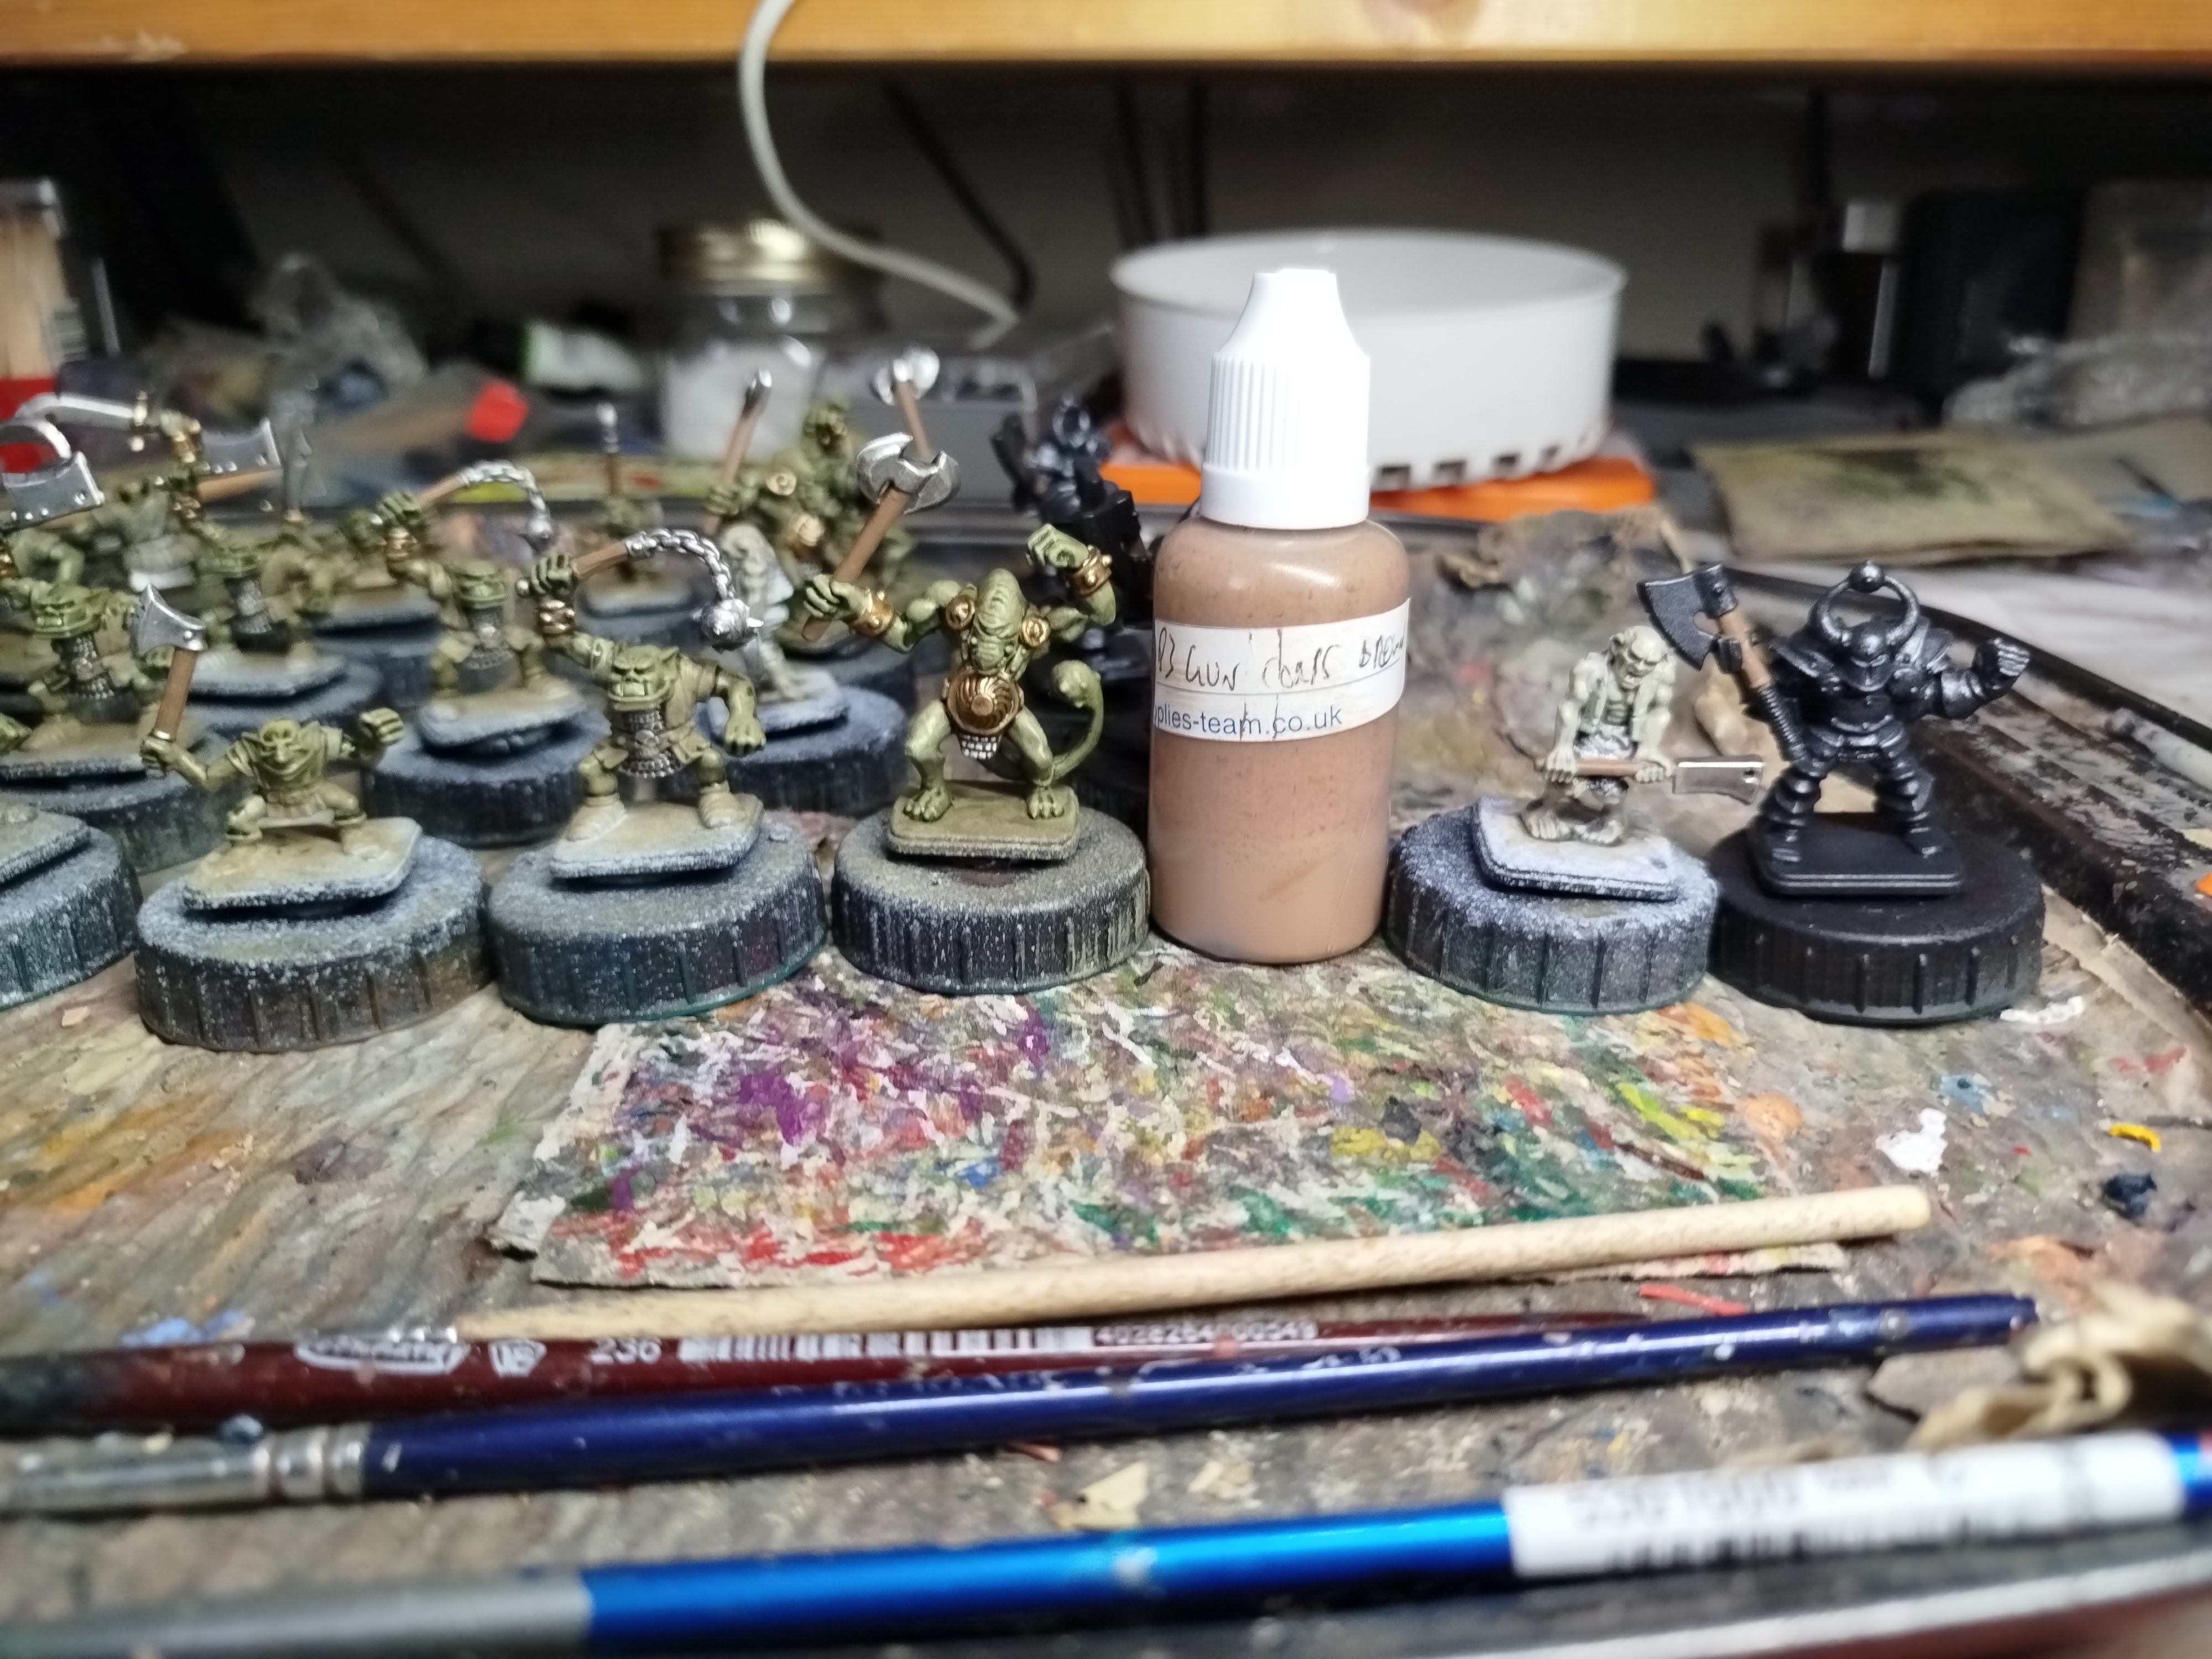 Wood base coat
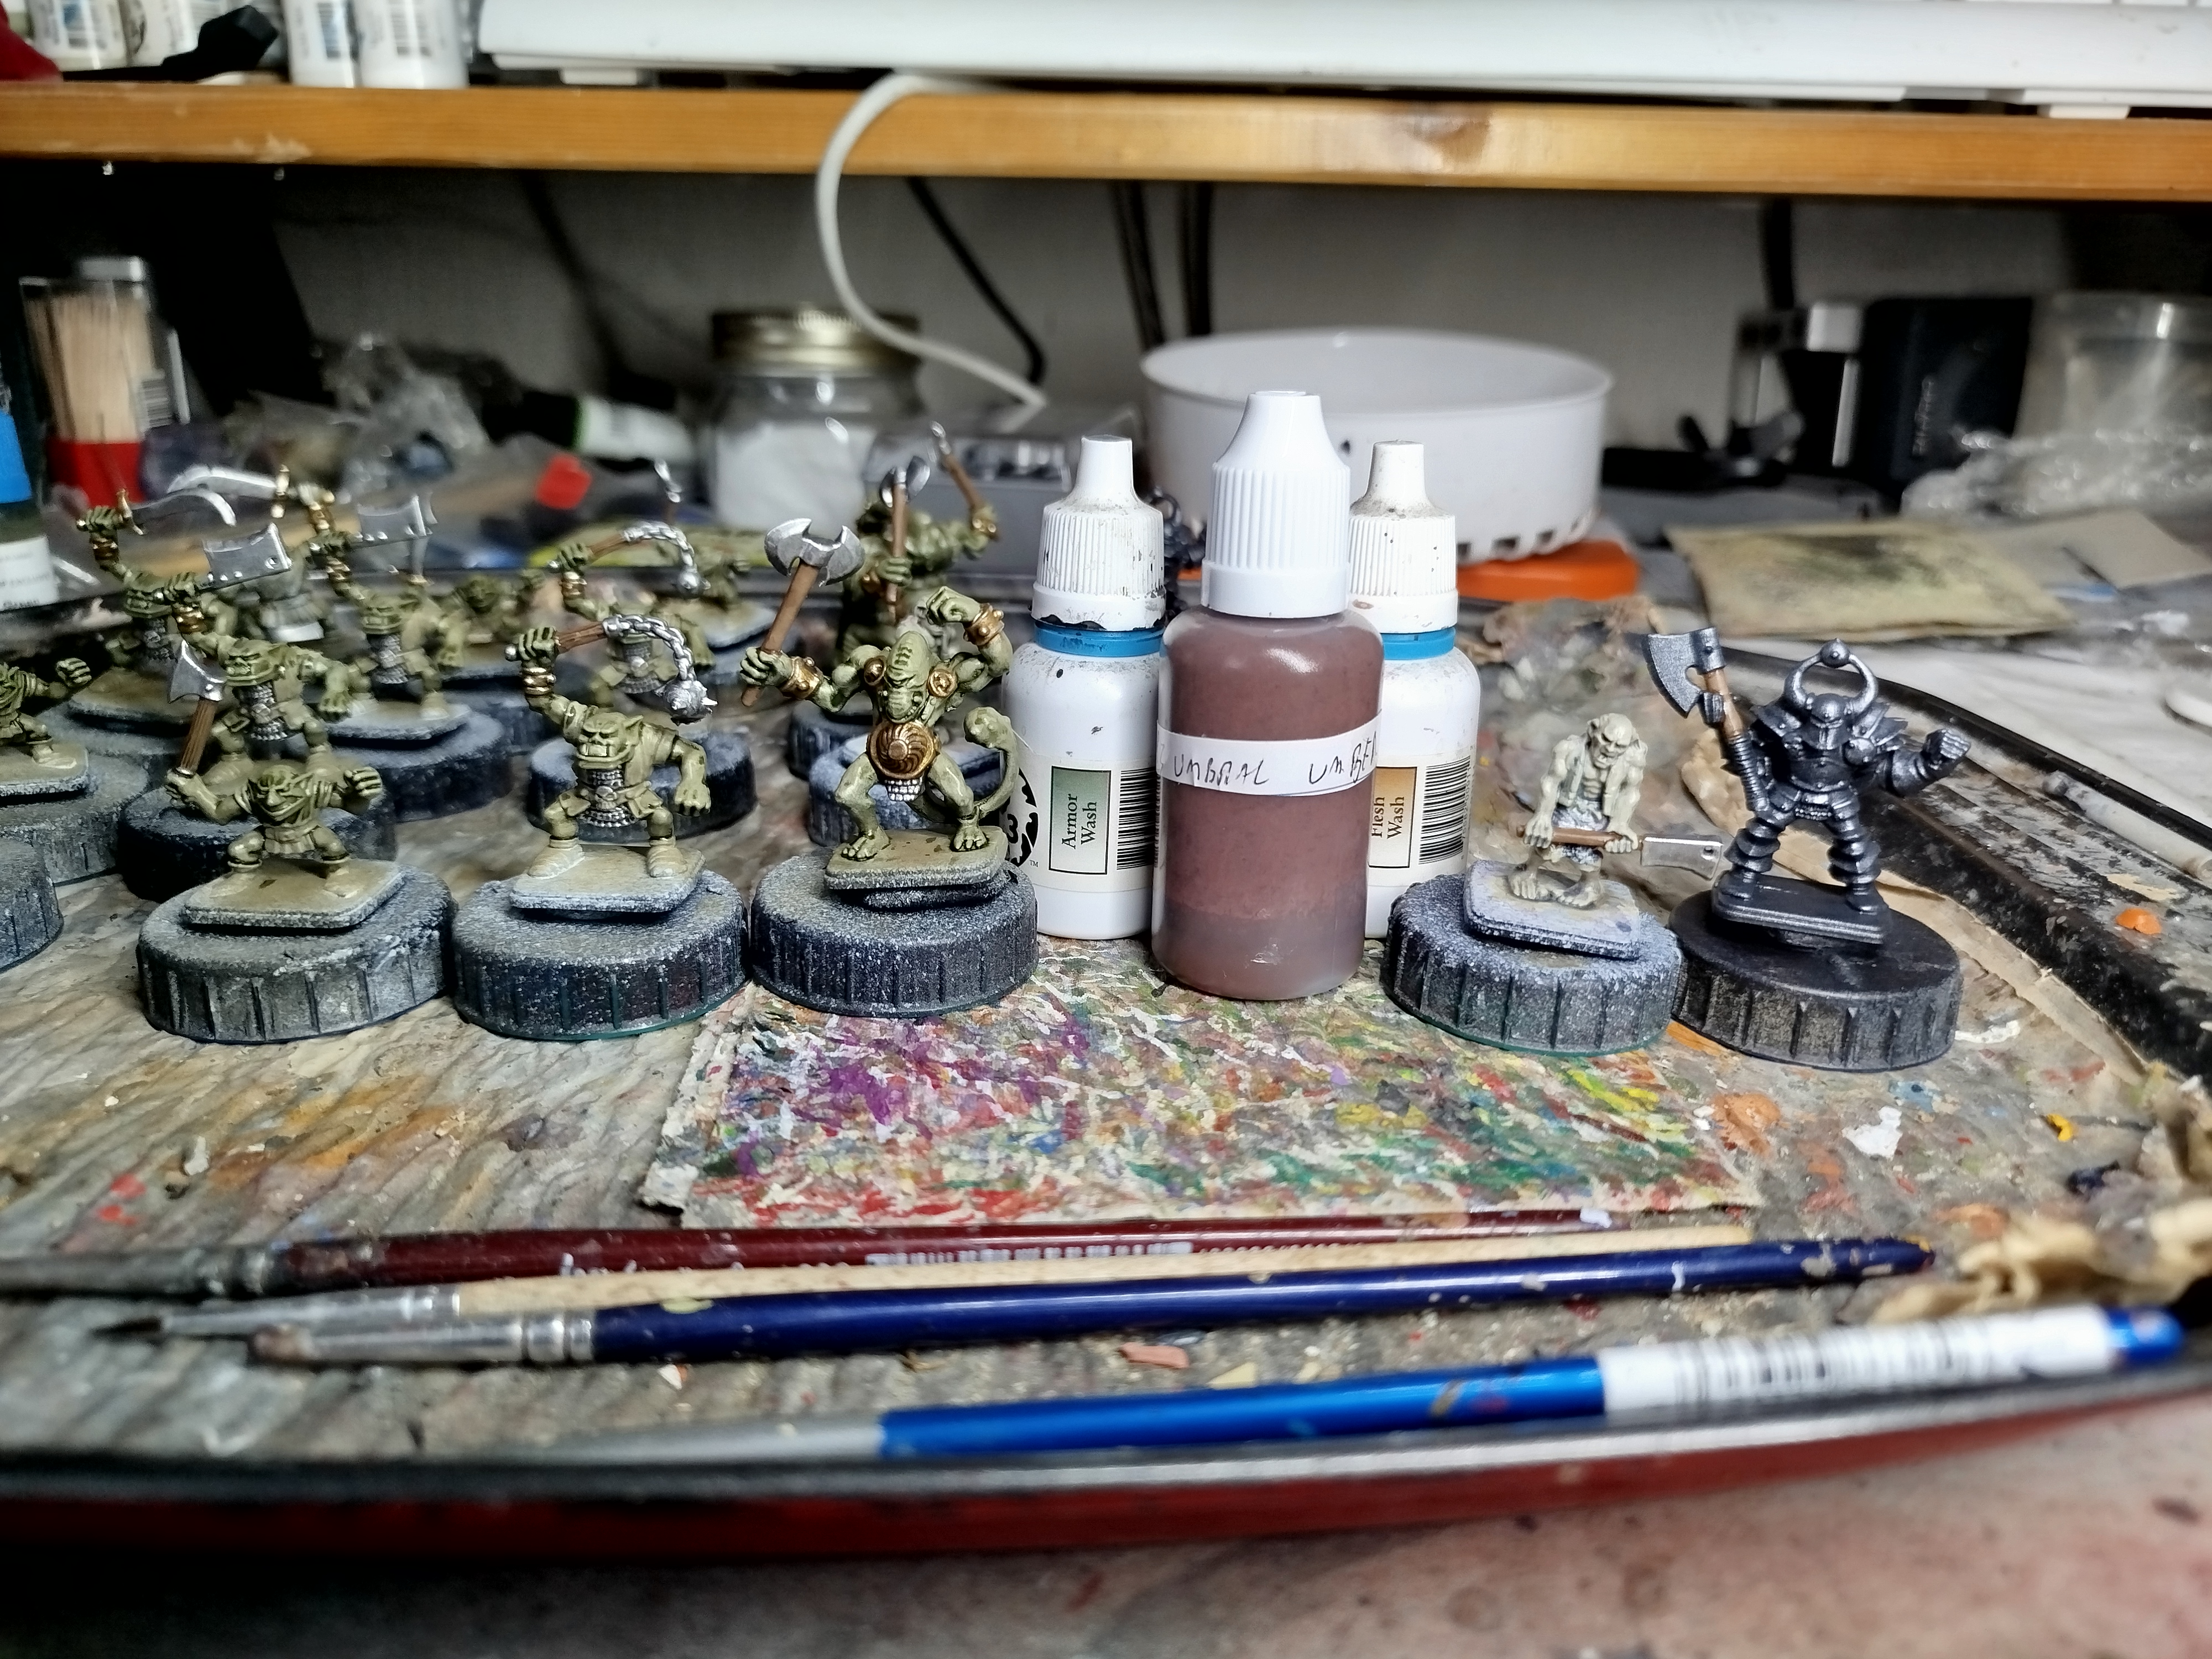 Wood wash: See skeletons for ratio
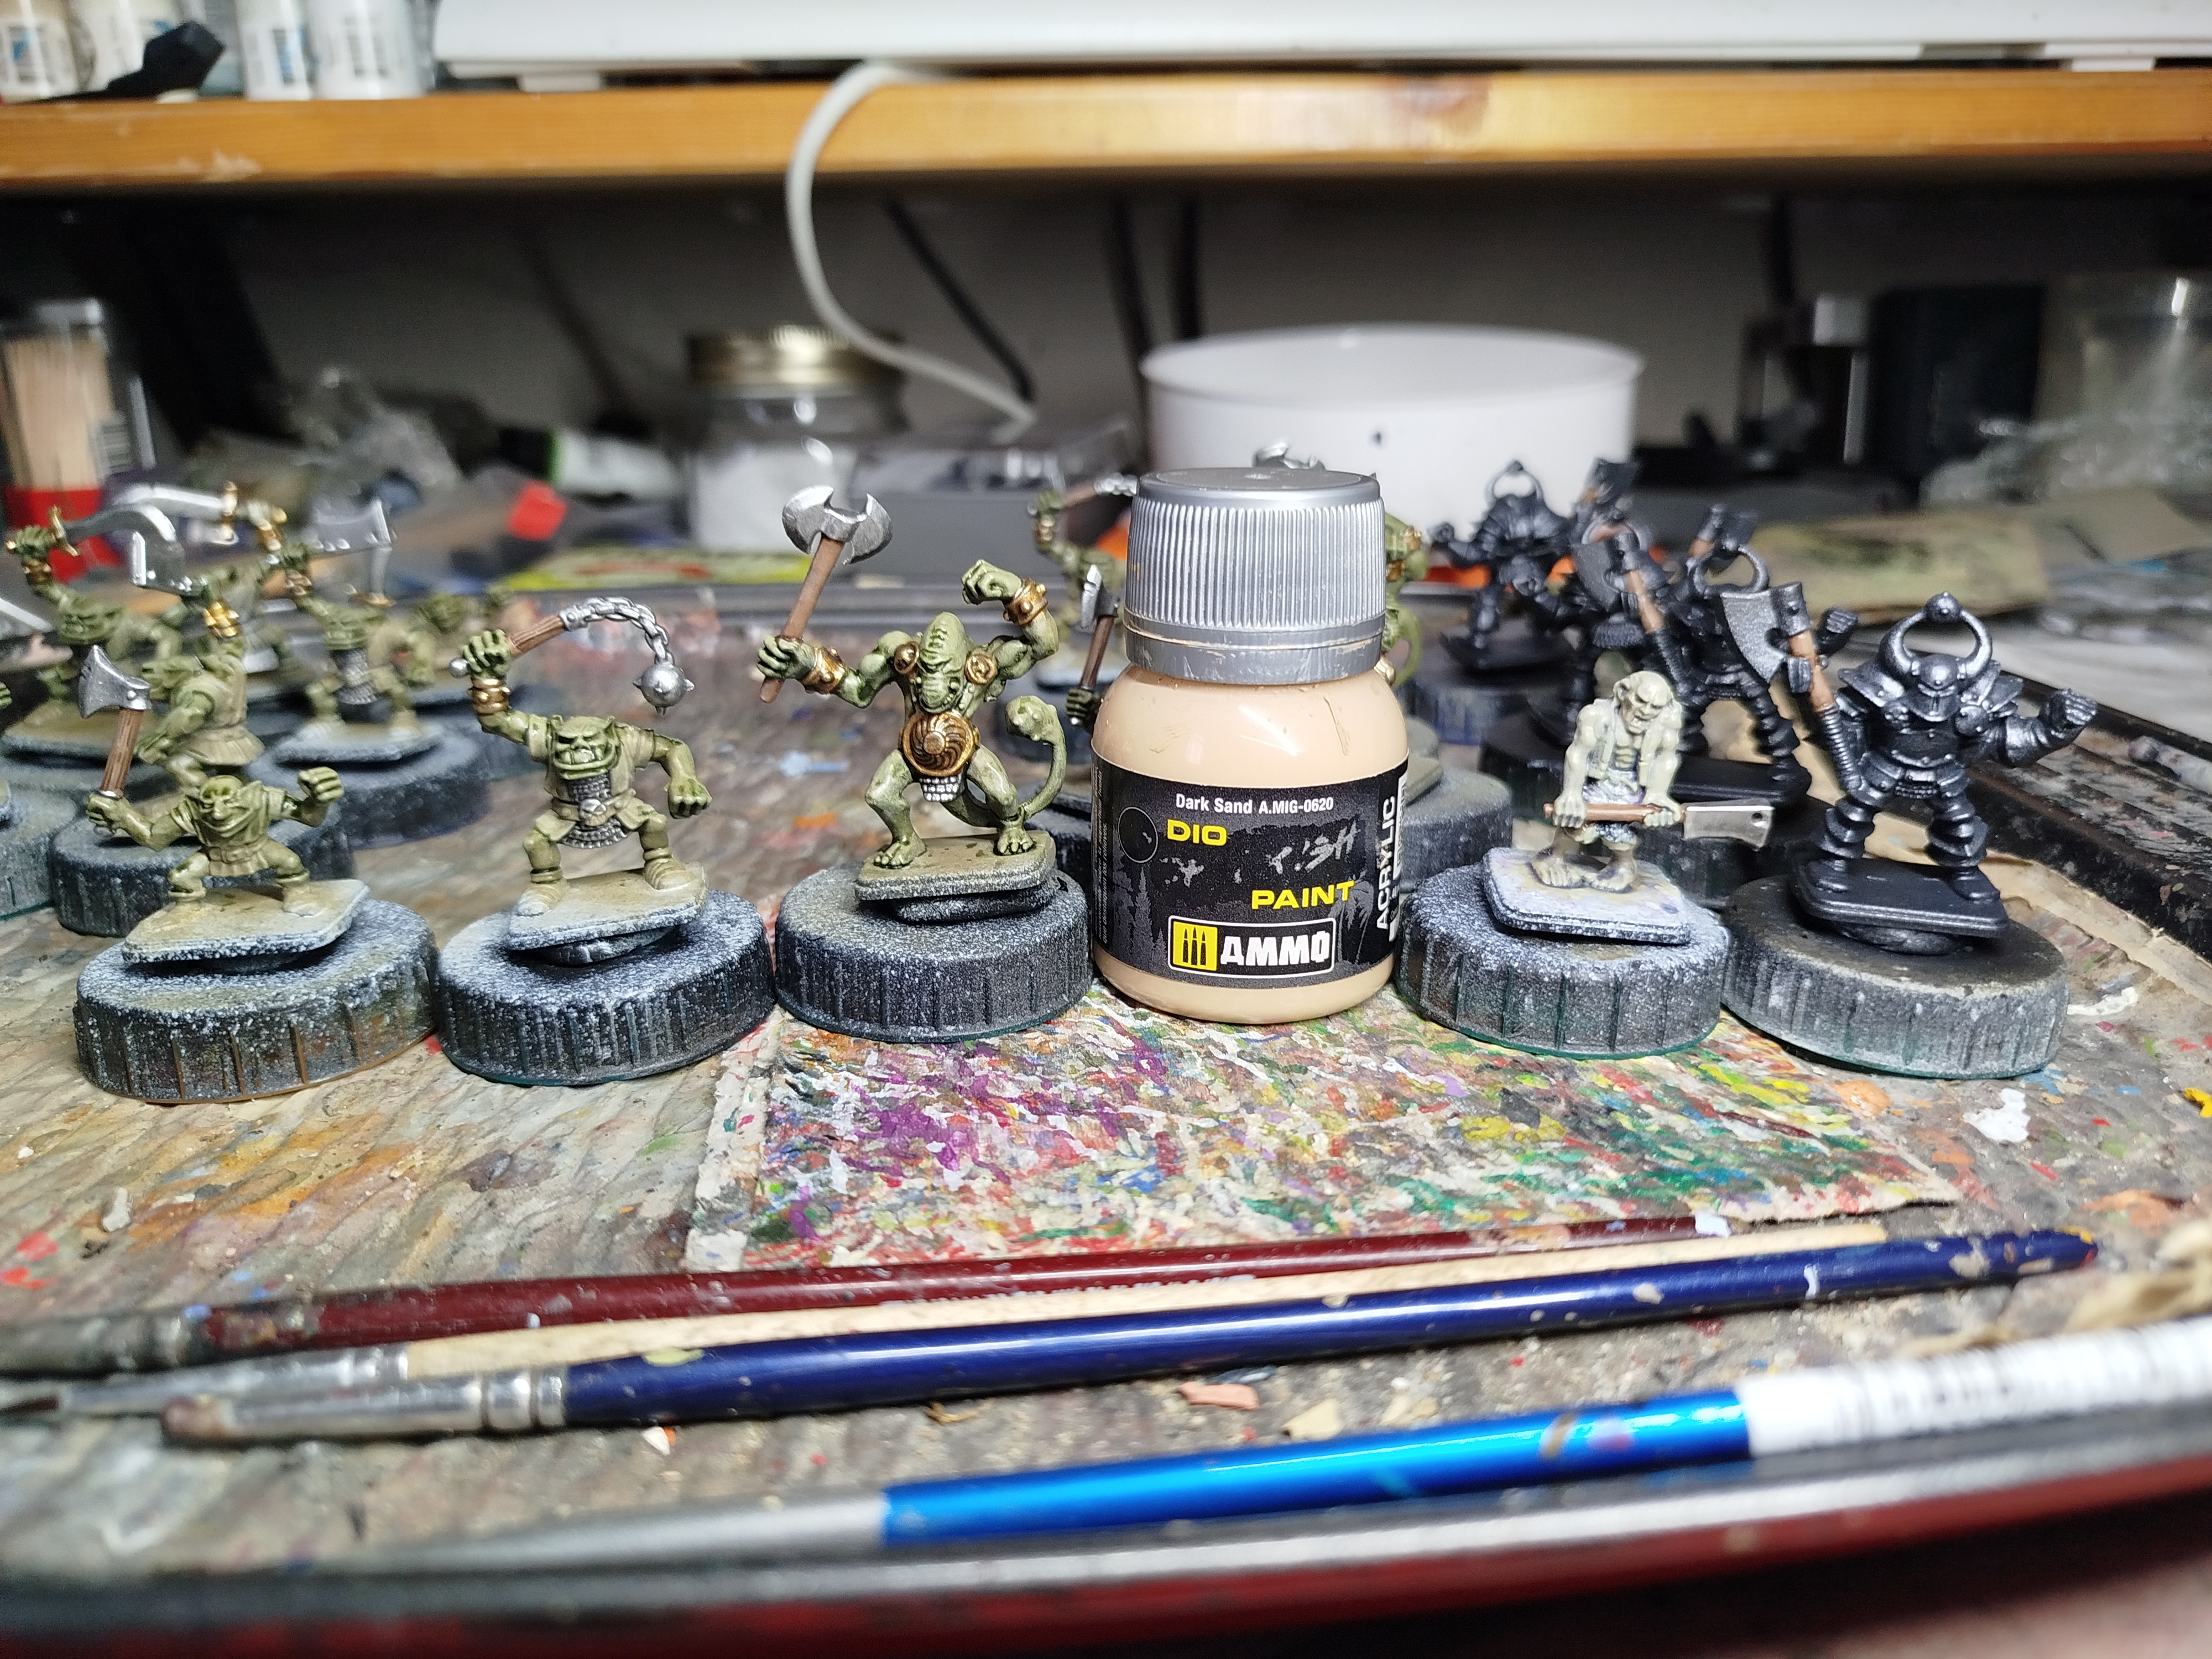 Wood drybrush highlight
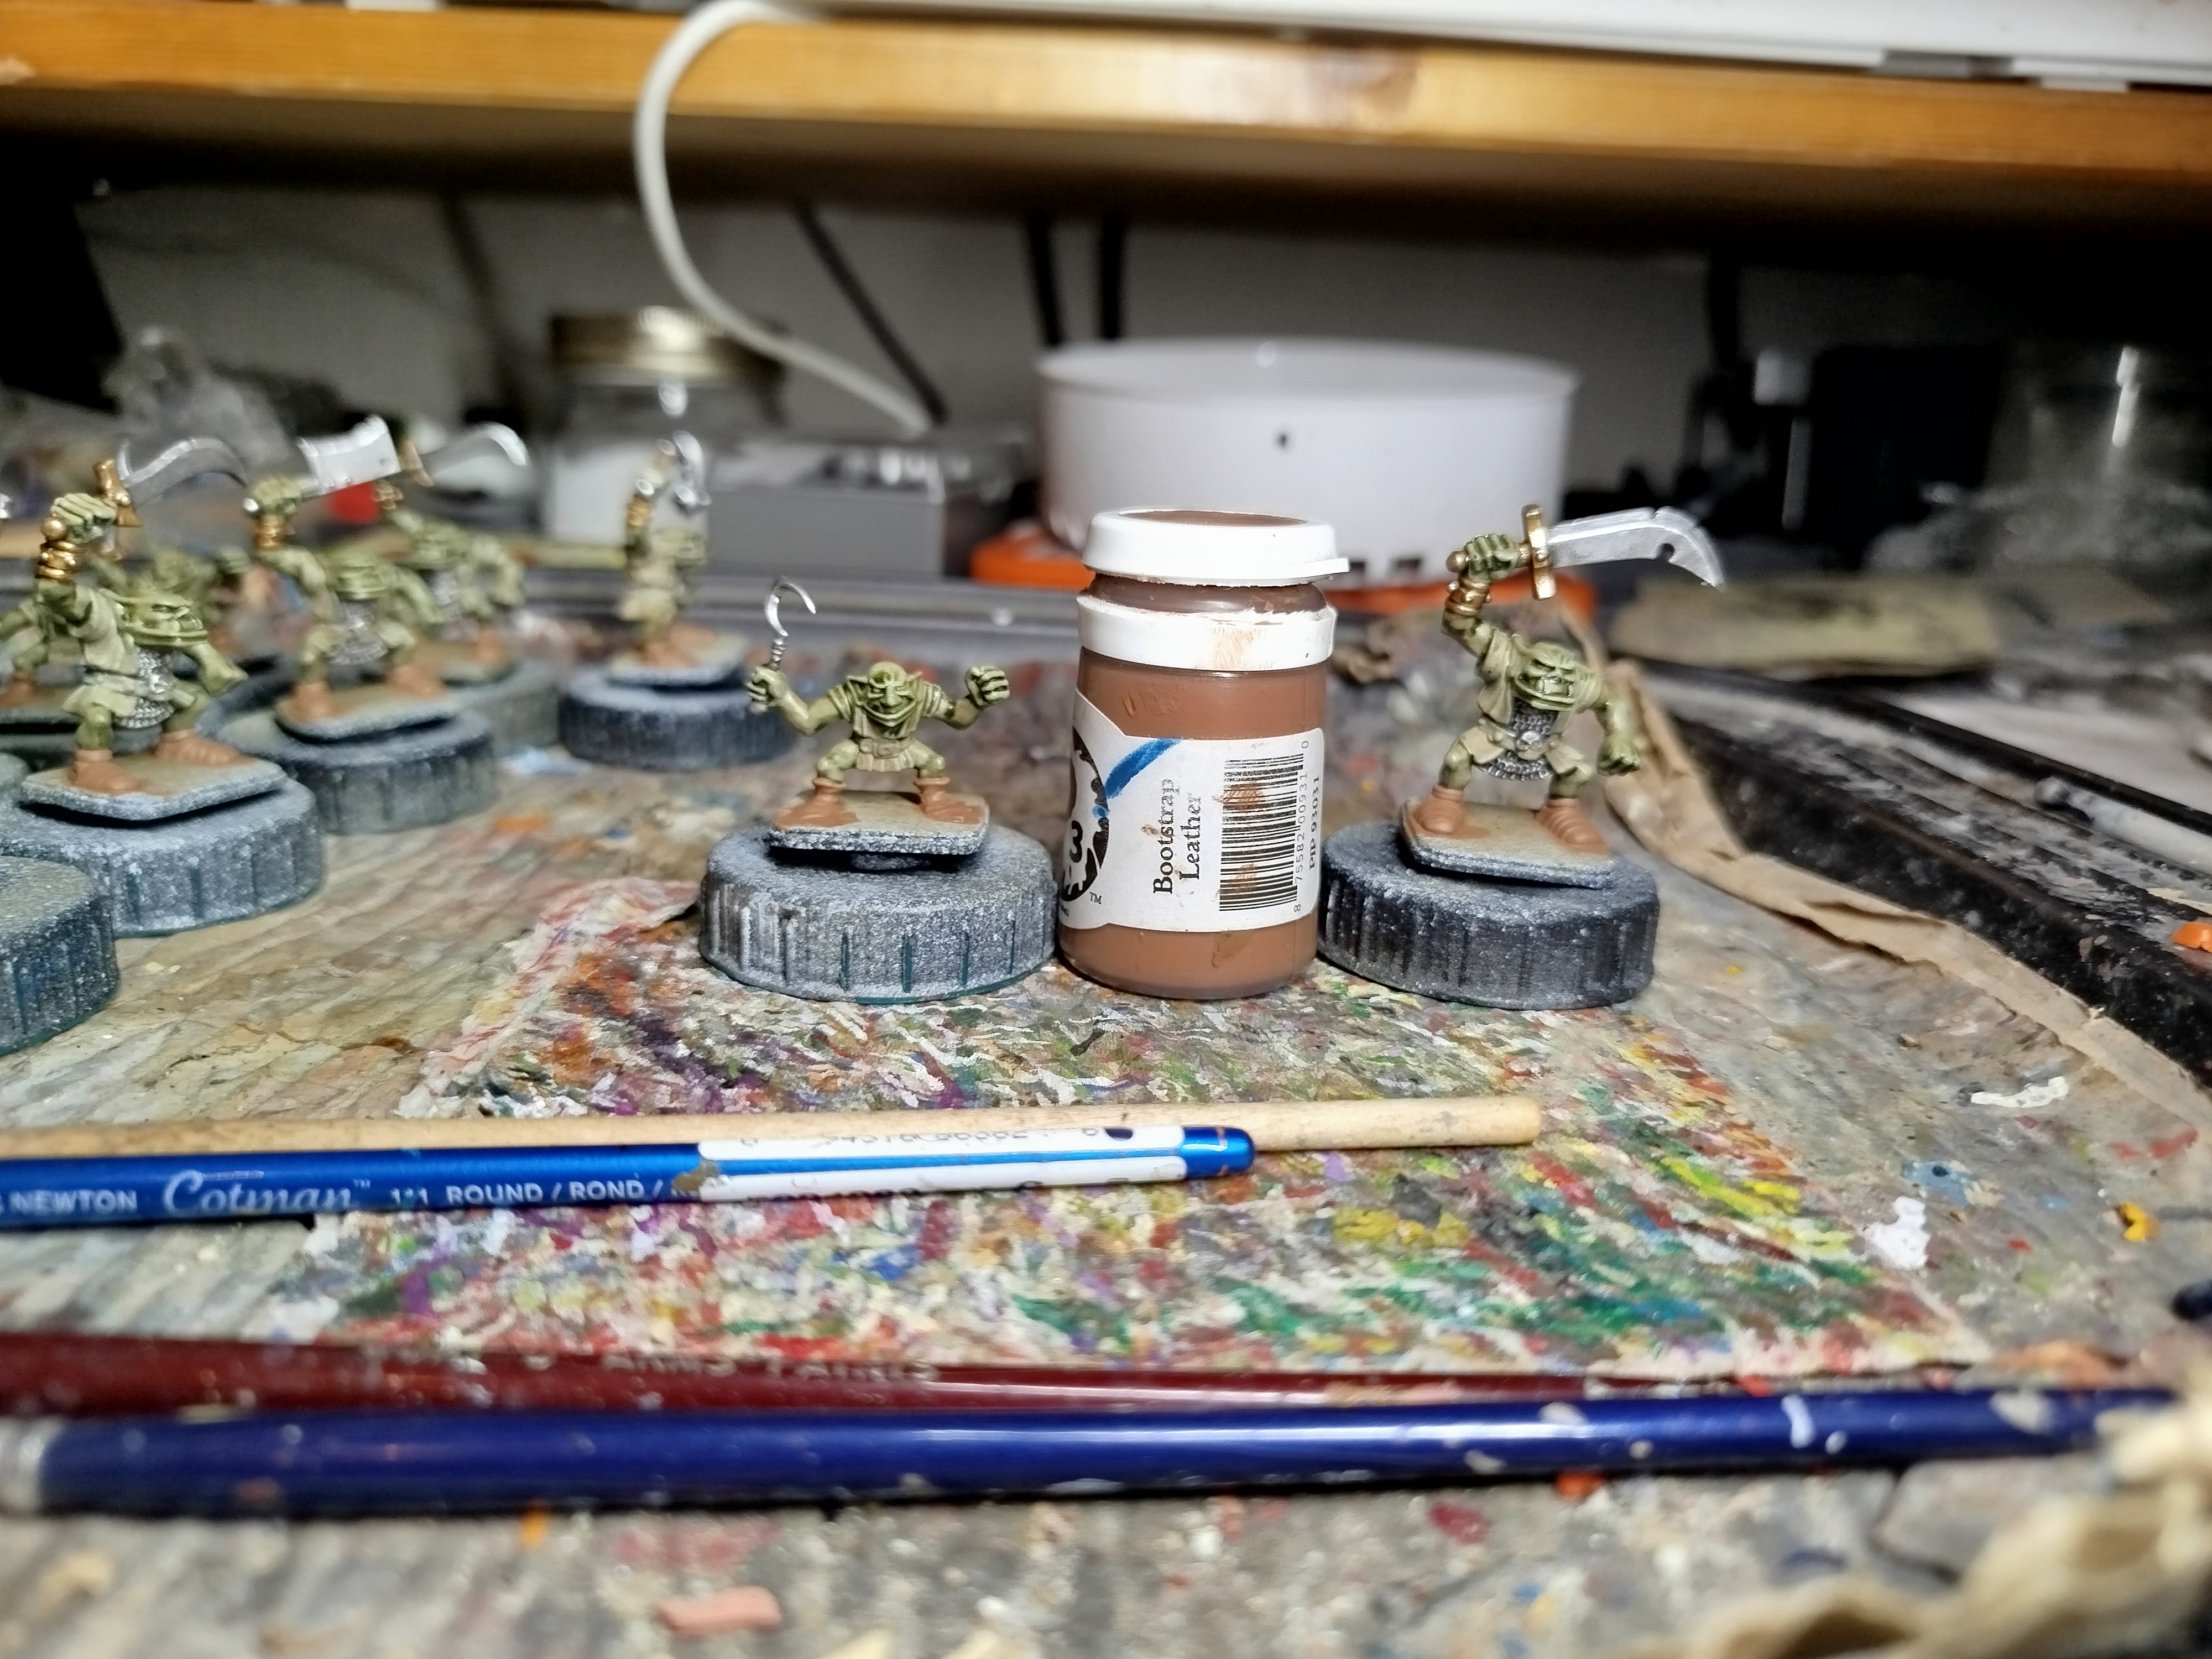 Leather boots base coat
Second Weekends Update Part 2
 Leather wash
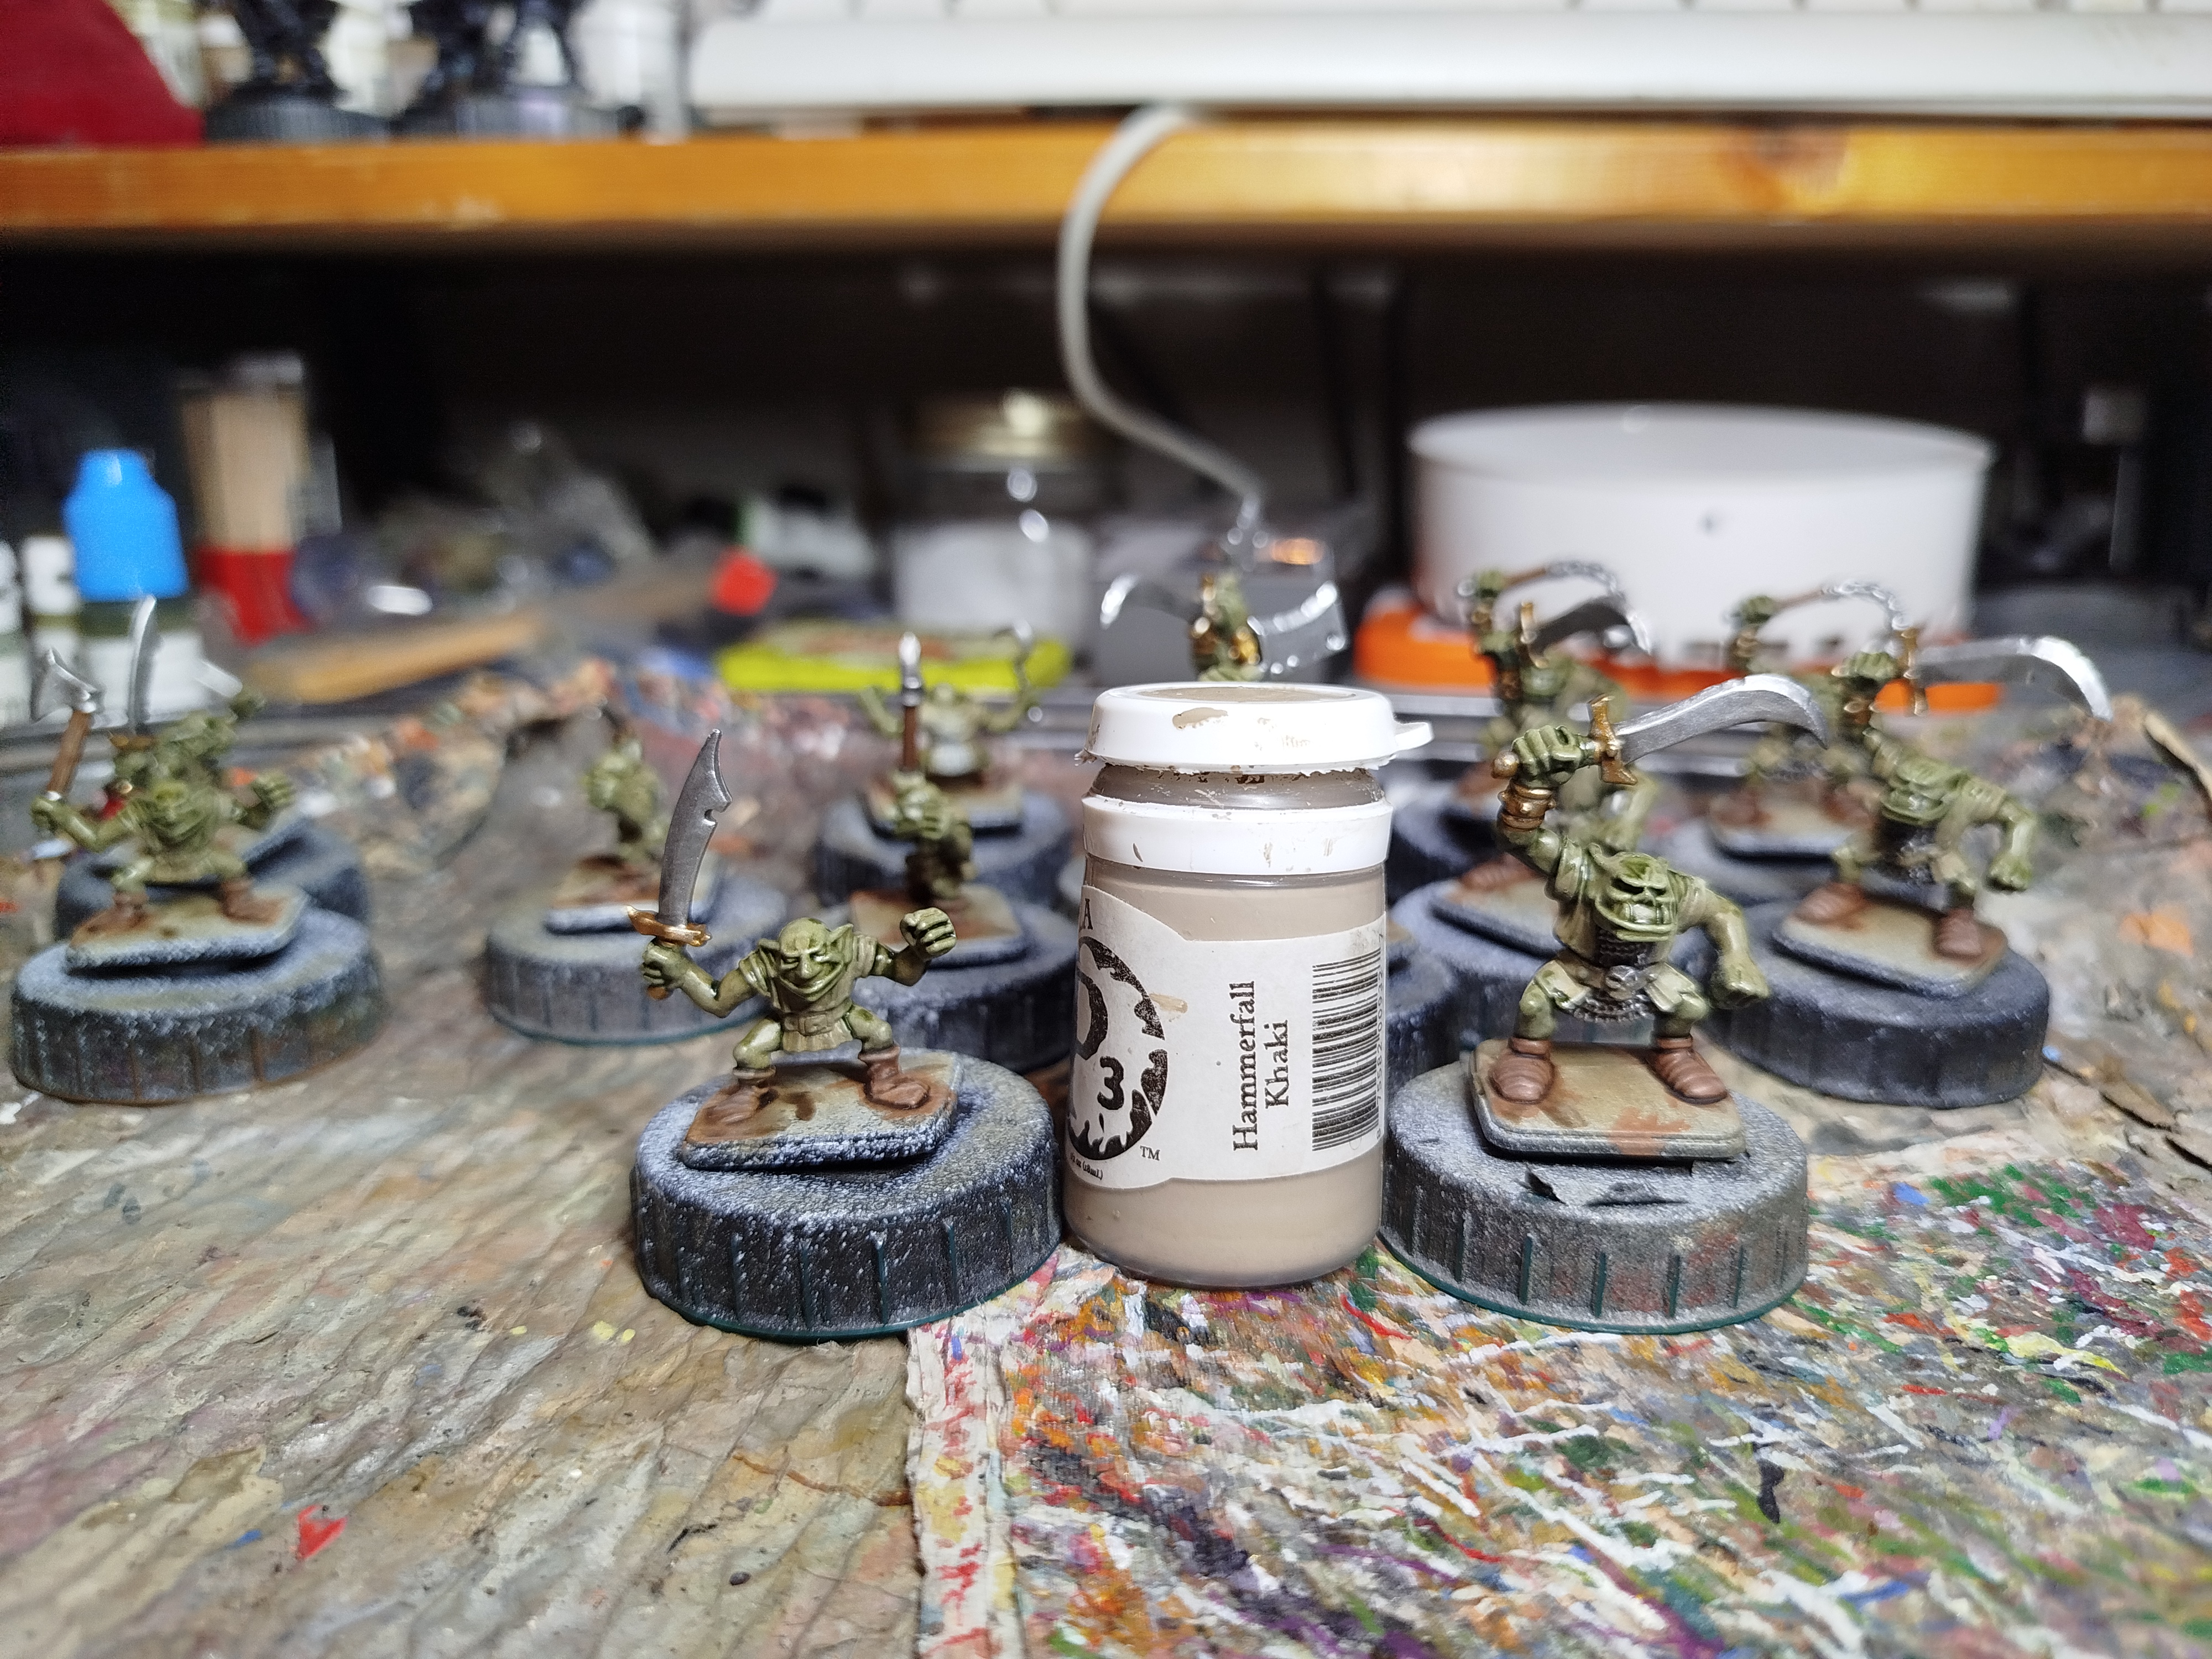 Drybrush
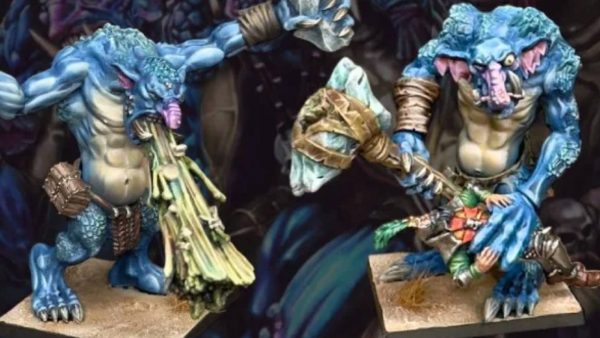
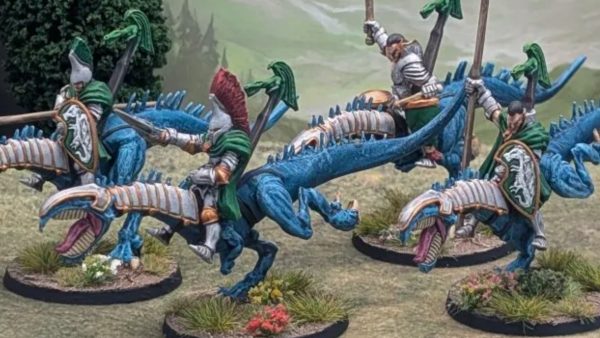
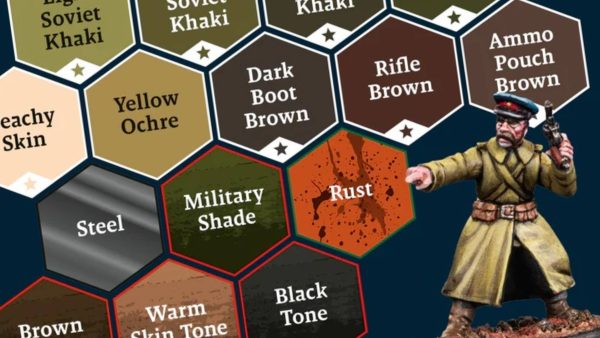
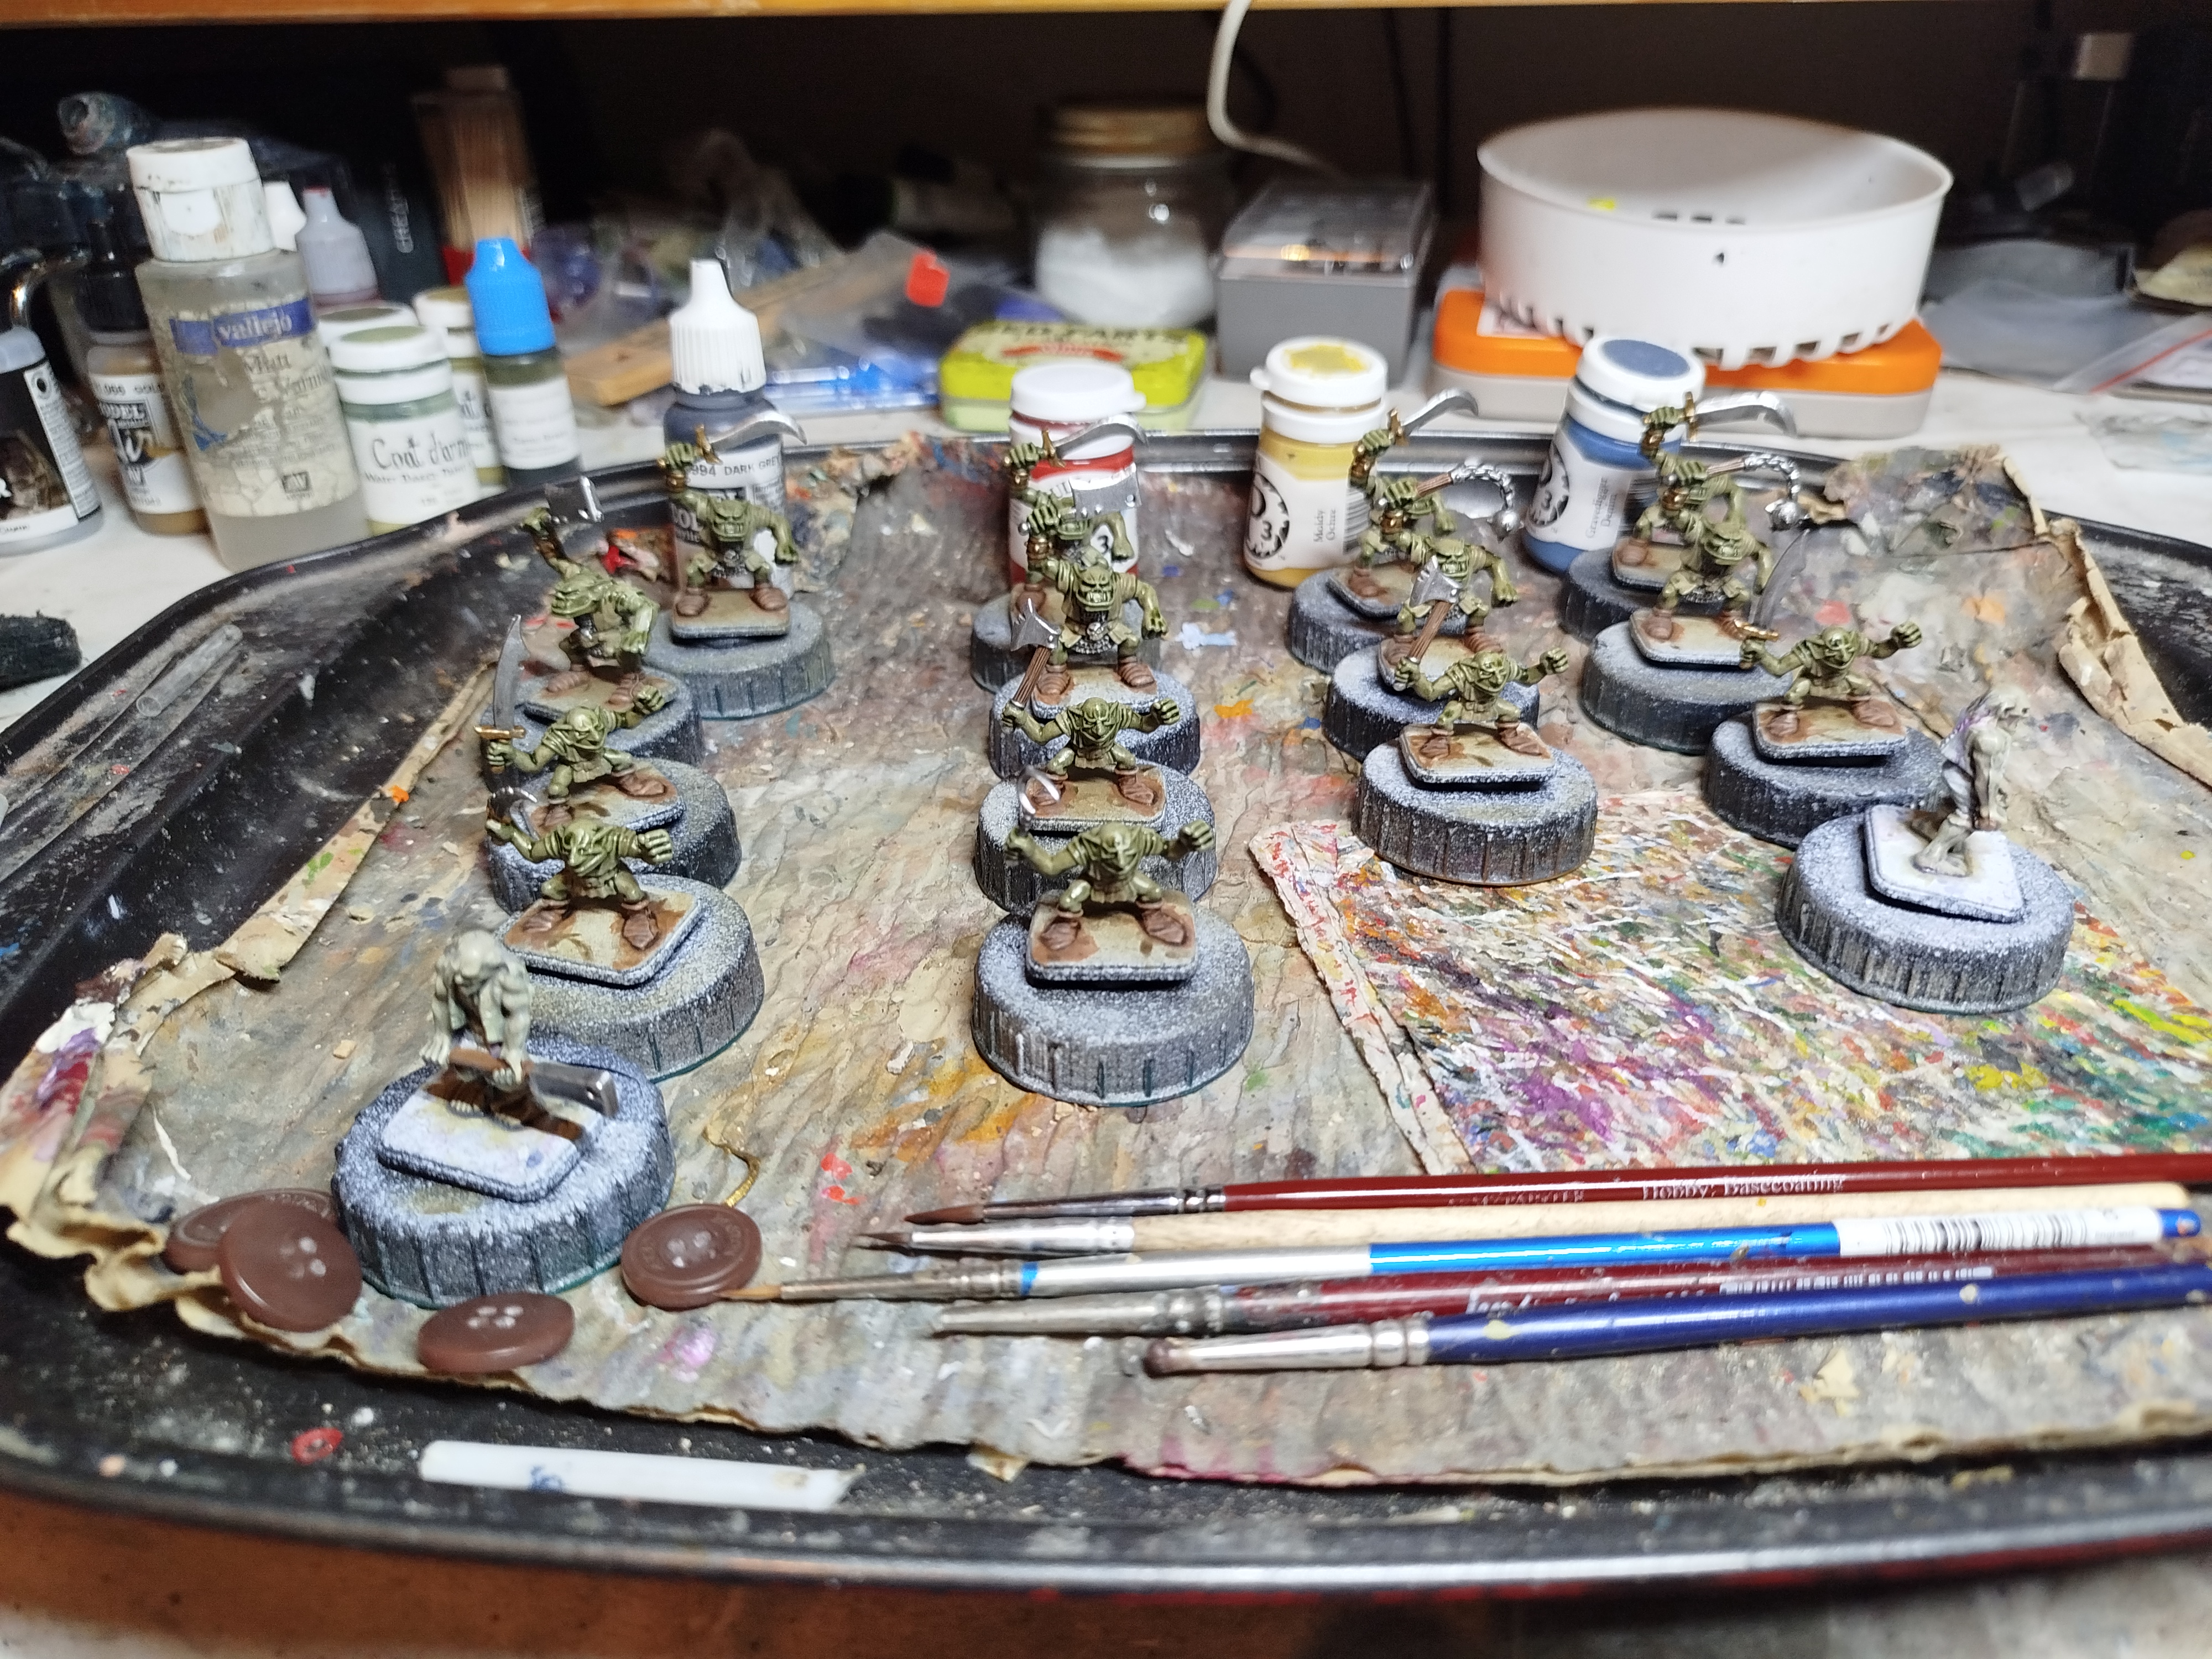 Through a thorough and detailed computational analysis, studies have shown that I need only 4 colours to have no identical orcs or goblins for the minimum amount of effort.
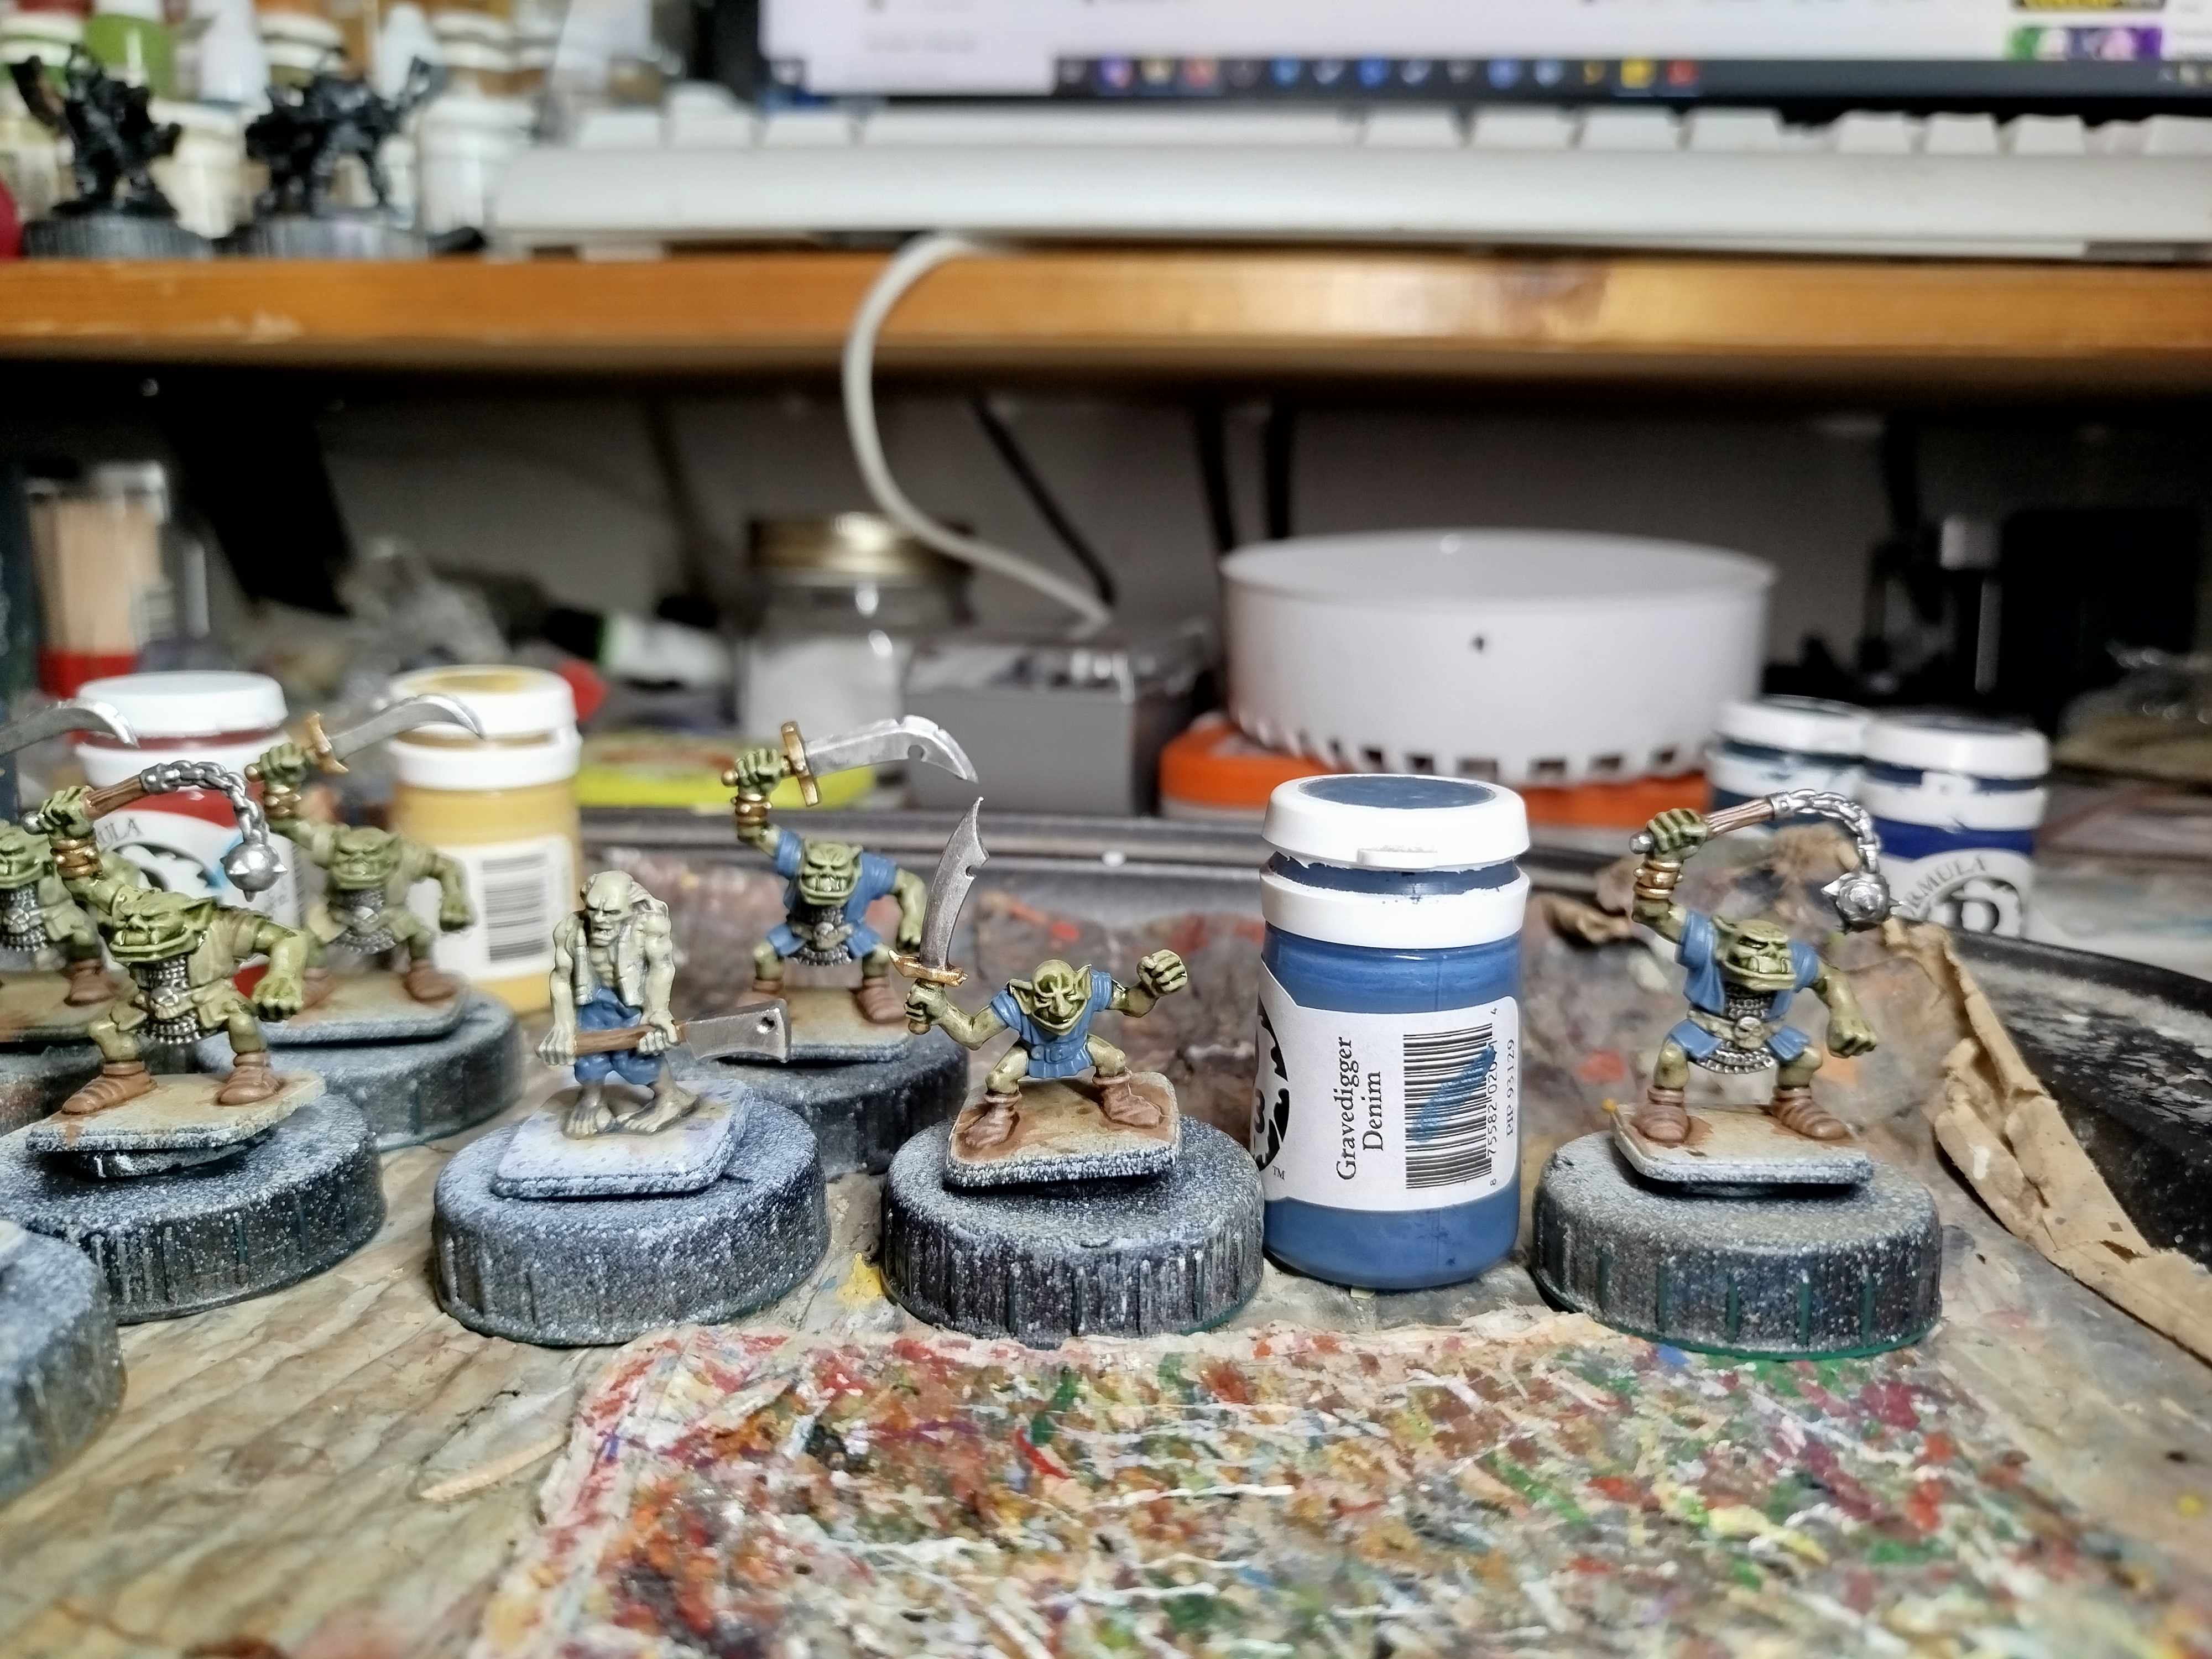 Blue base coat
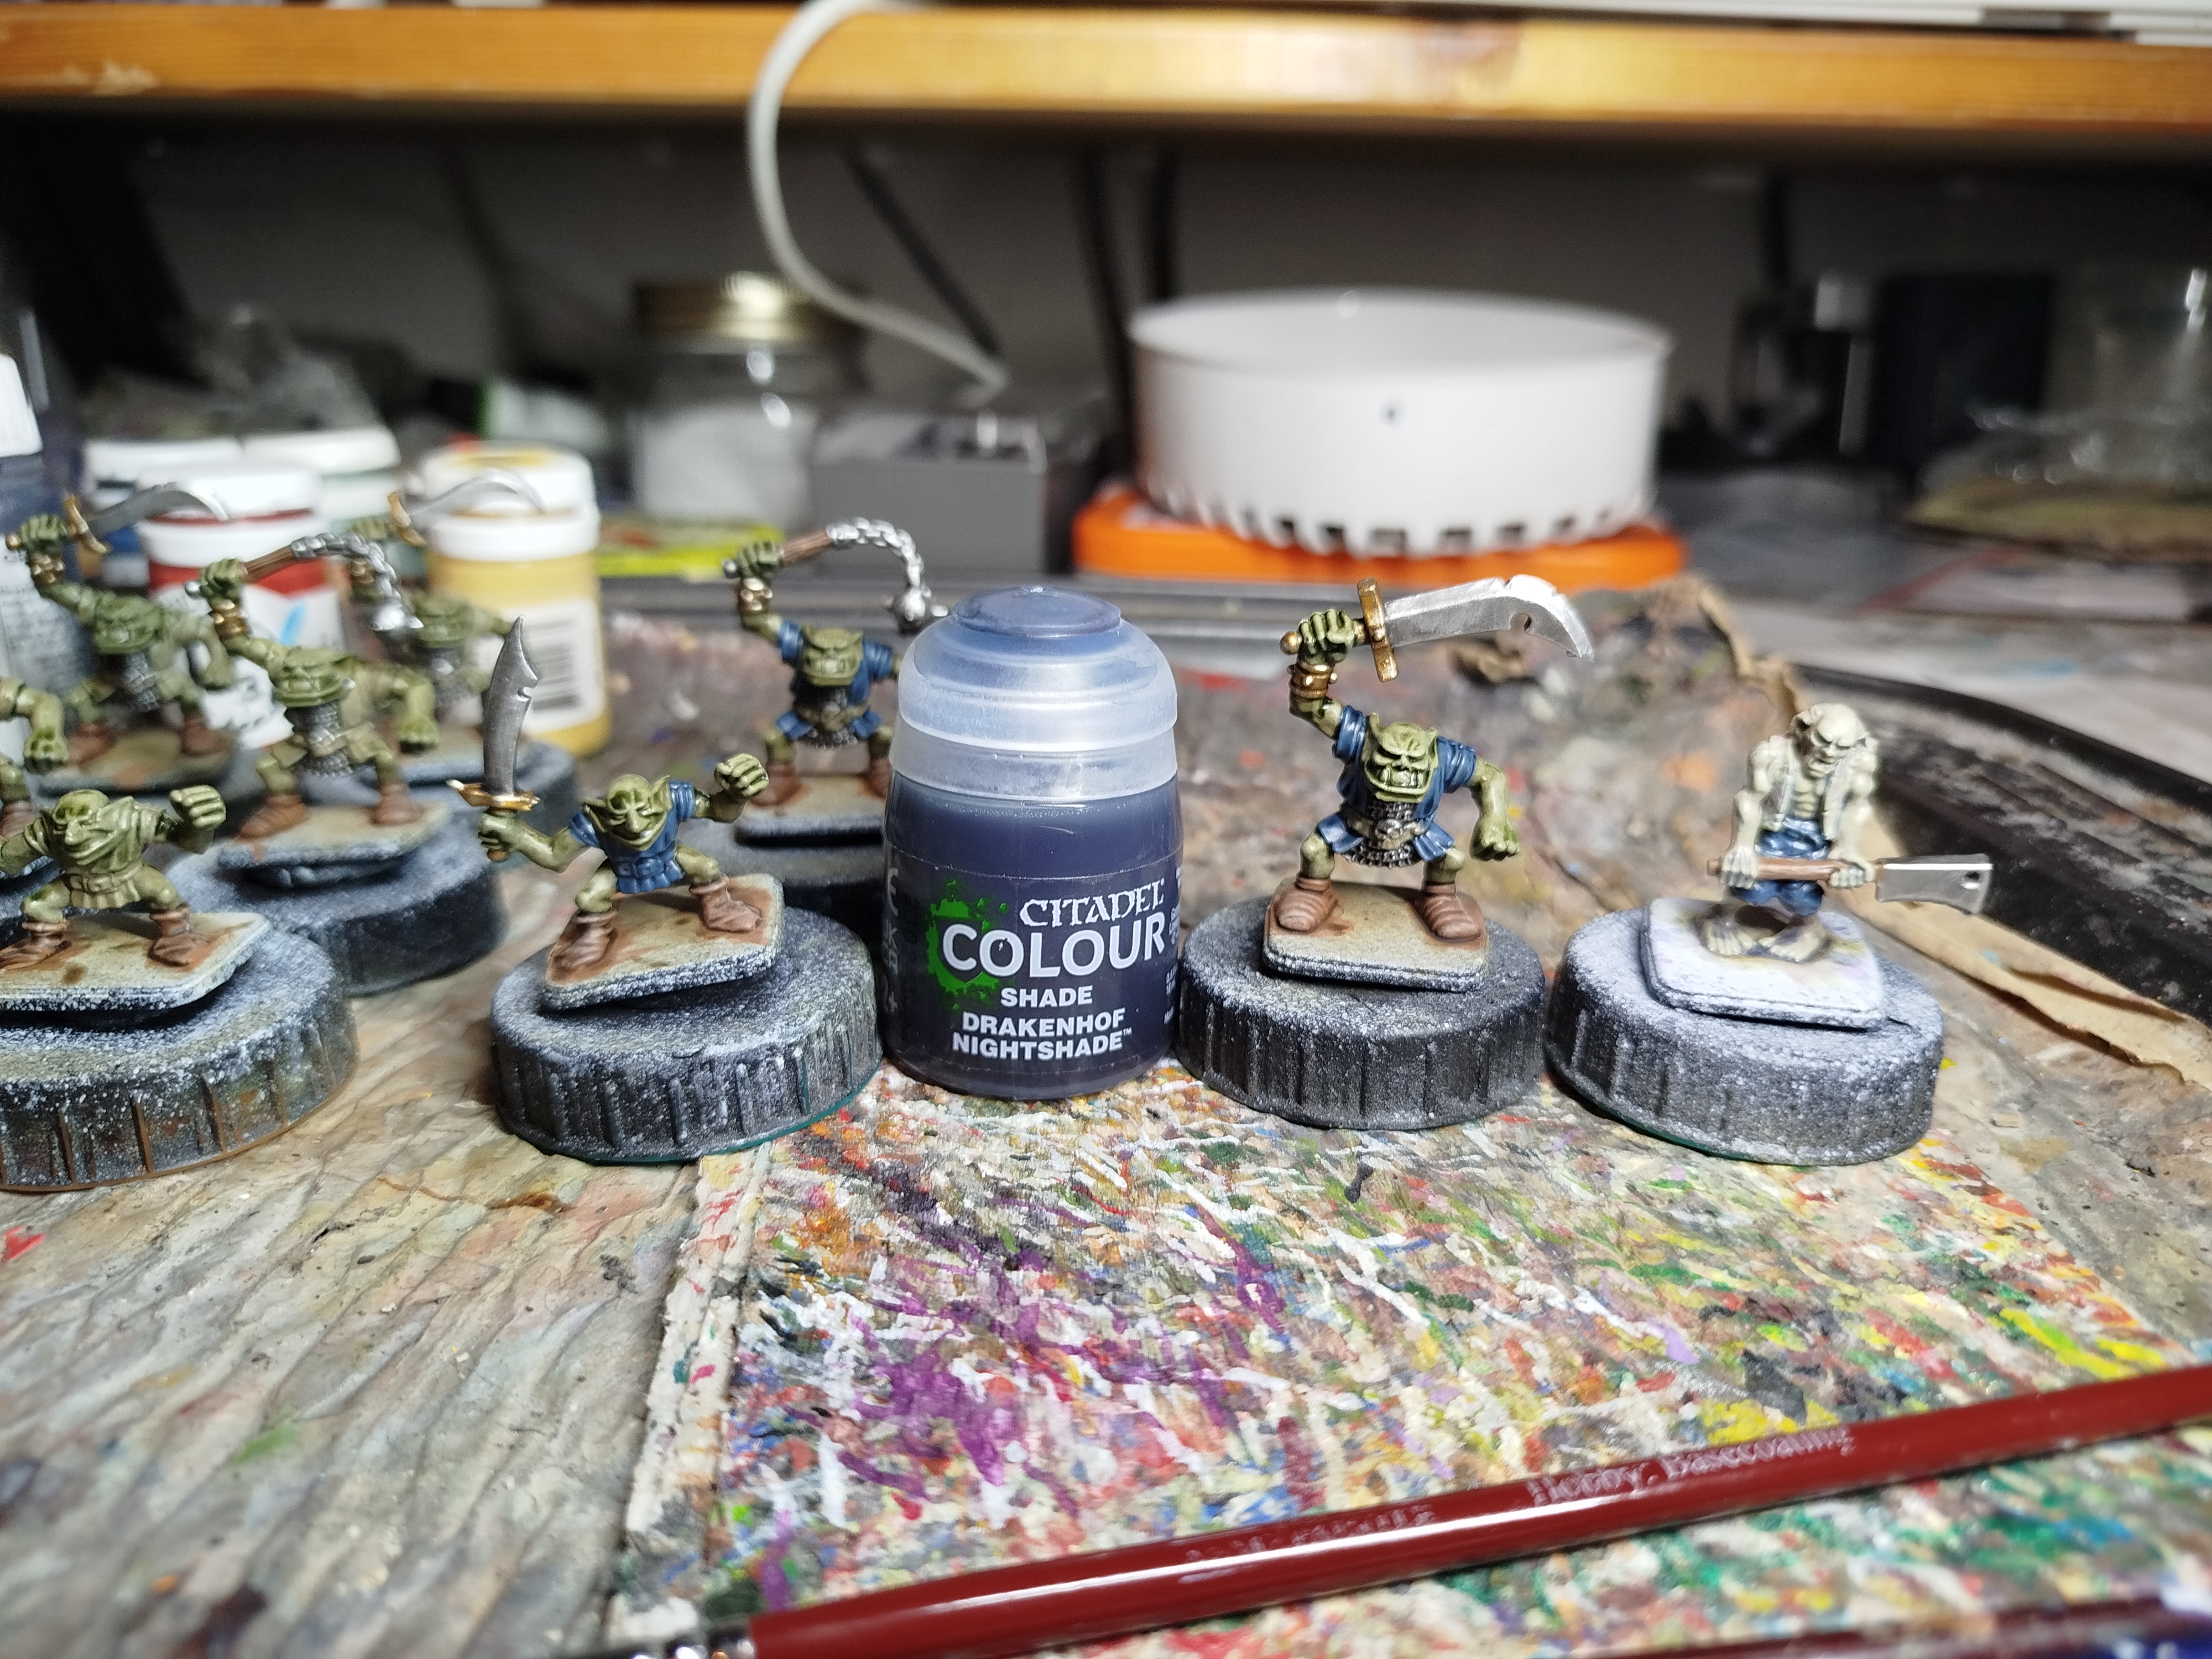 Wash
Wash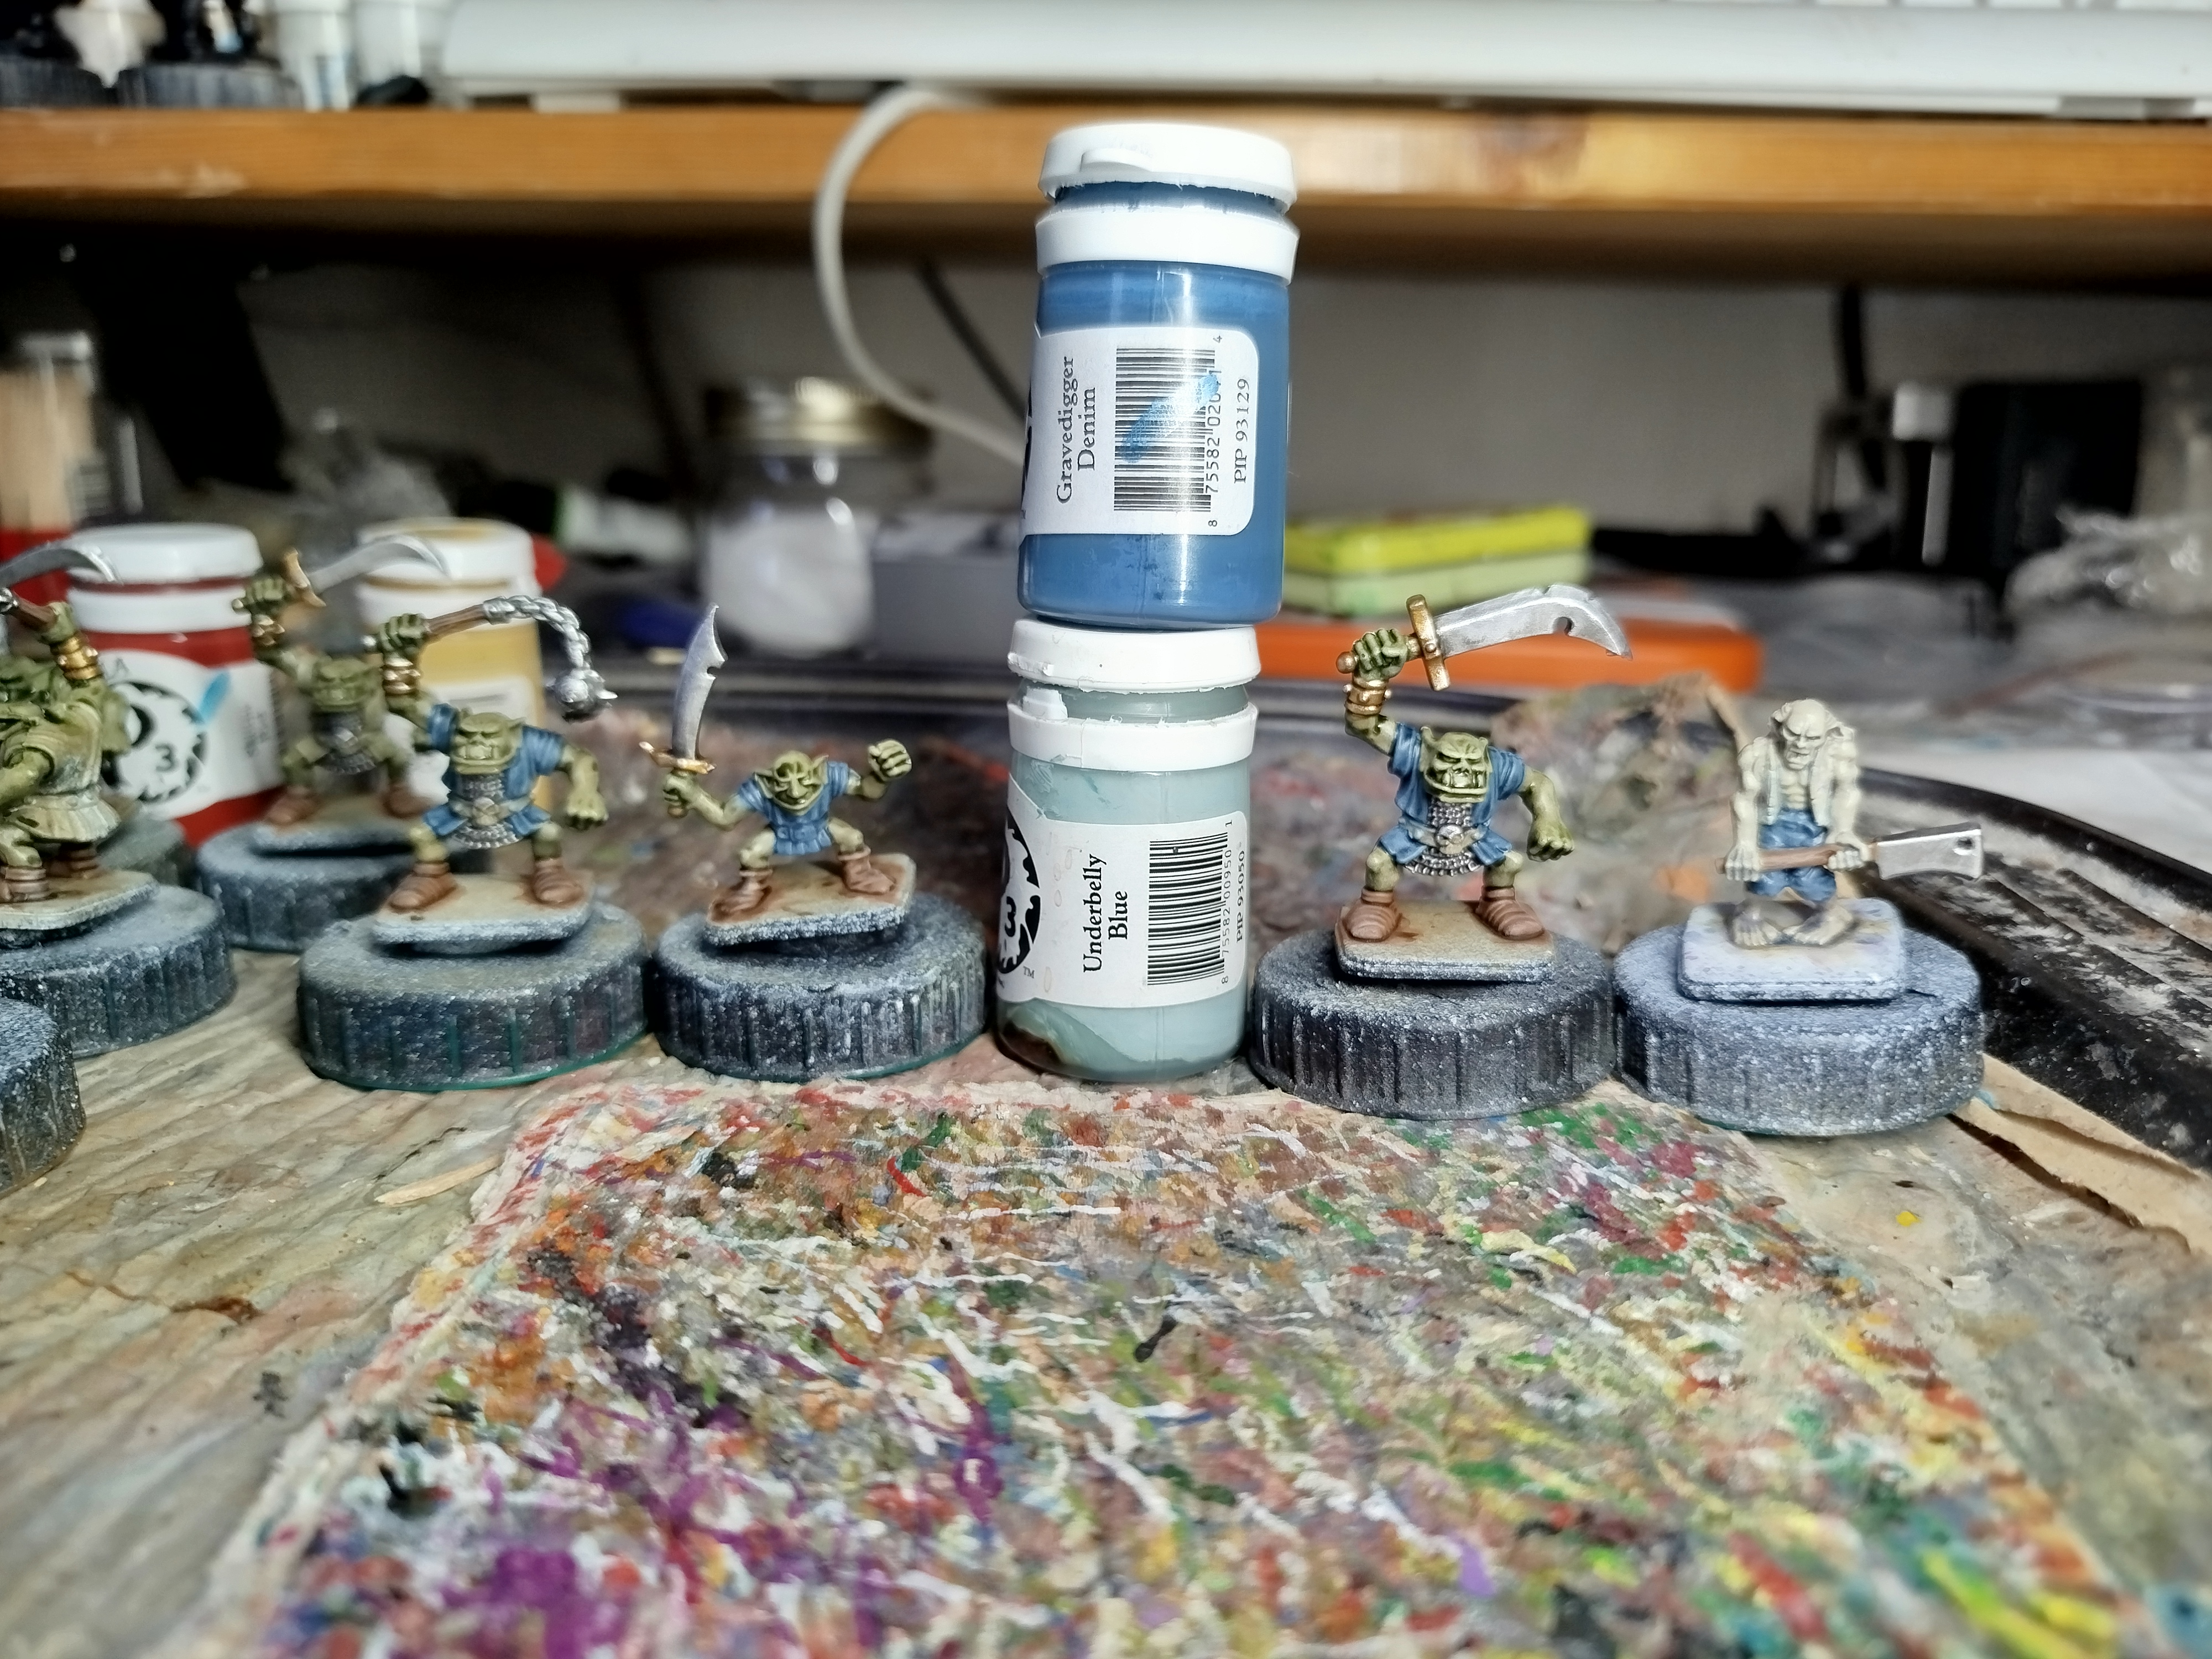 50/50 mix for first drybrush highlight
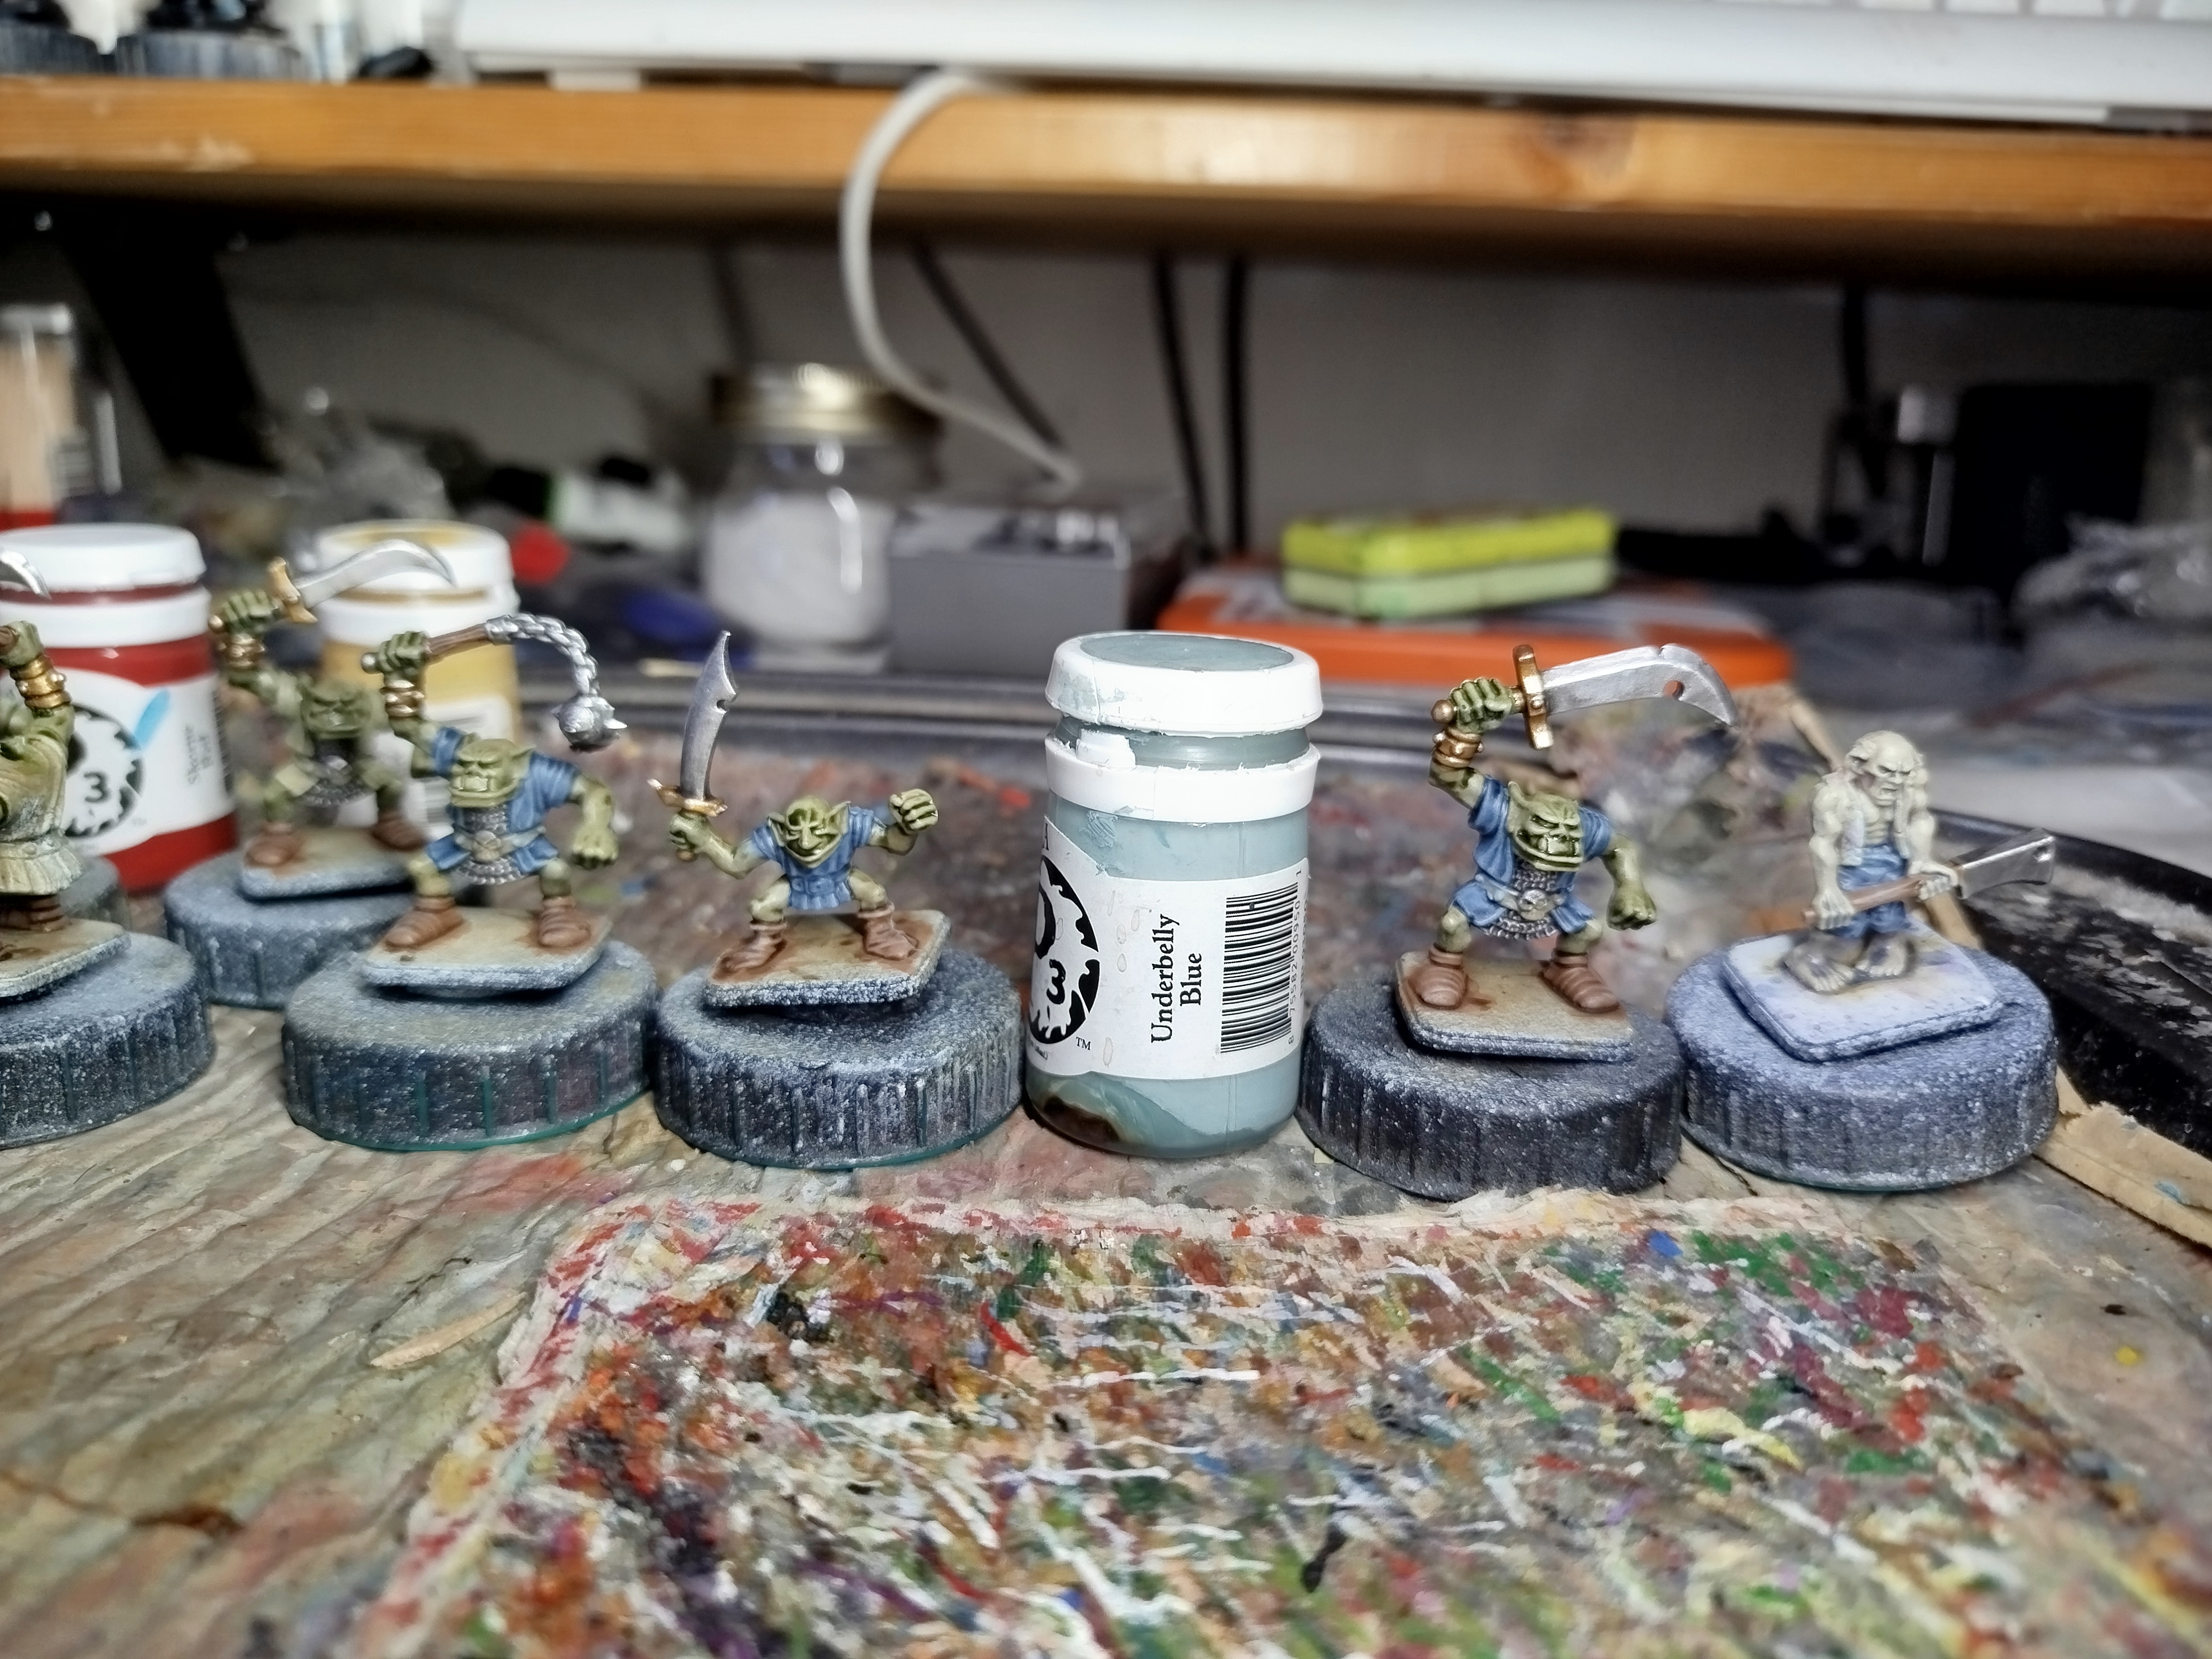 Second drybrush highlight
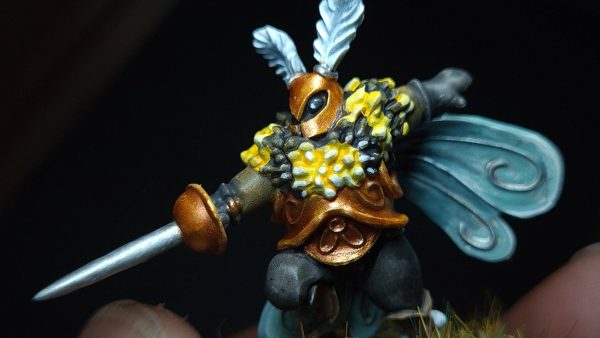
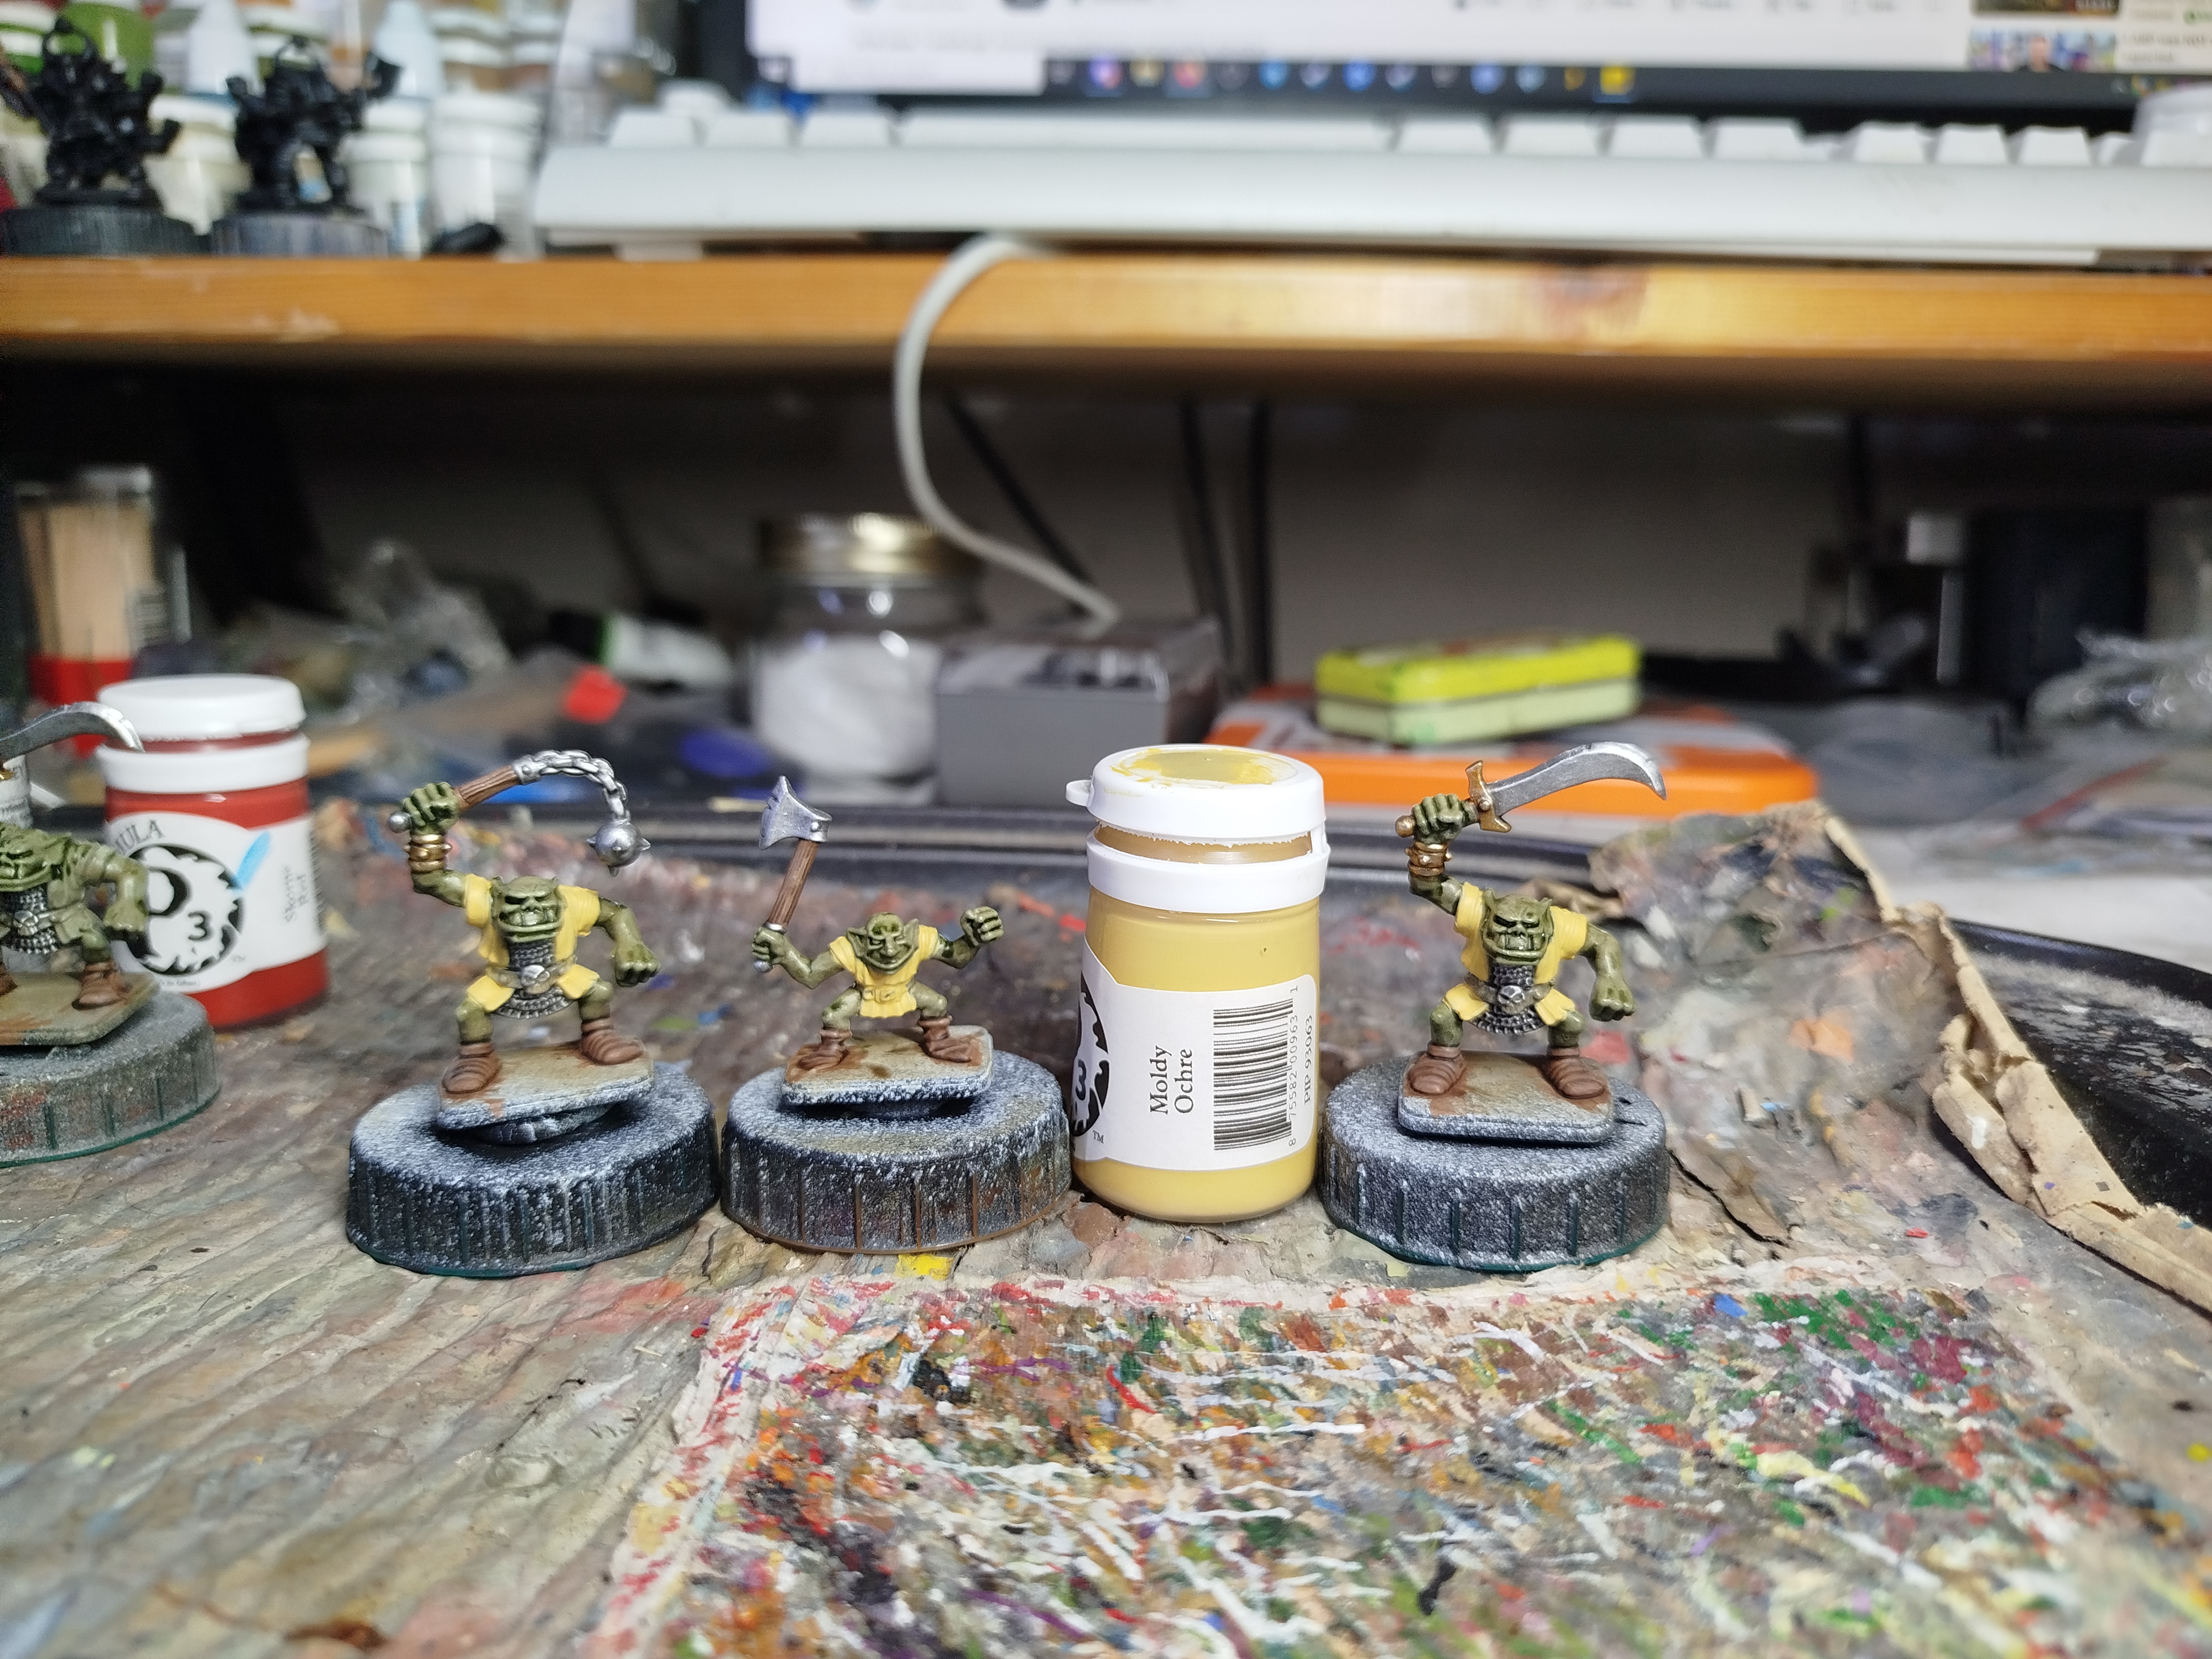 Yellow base coat
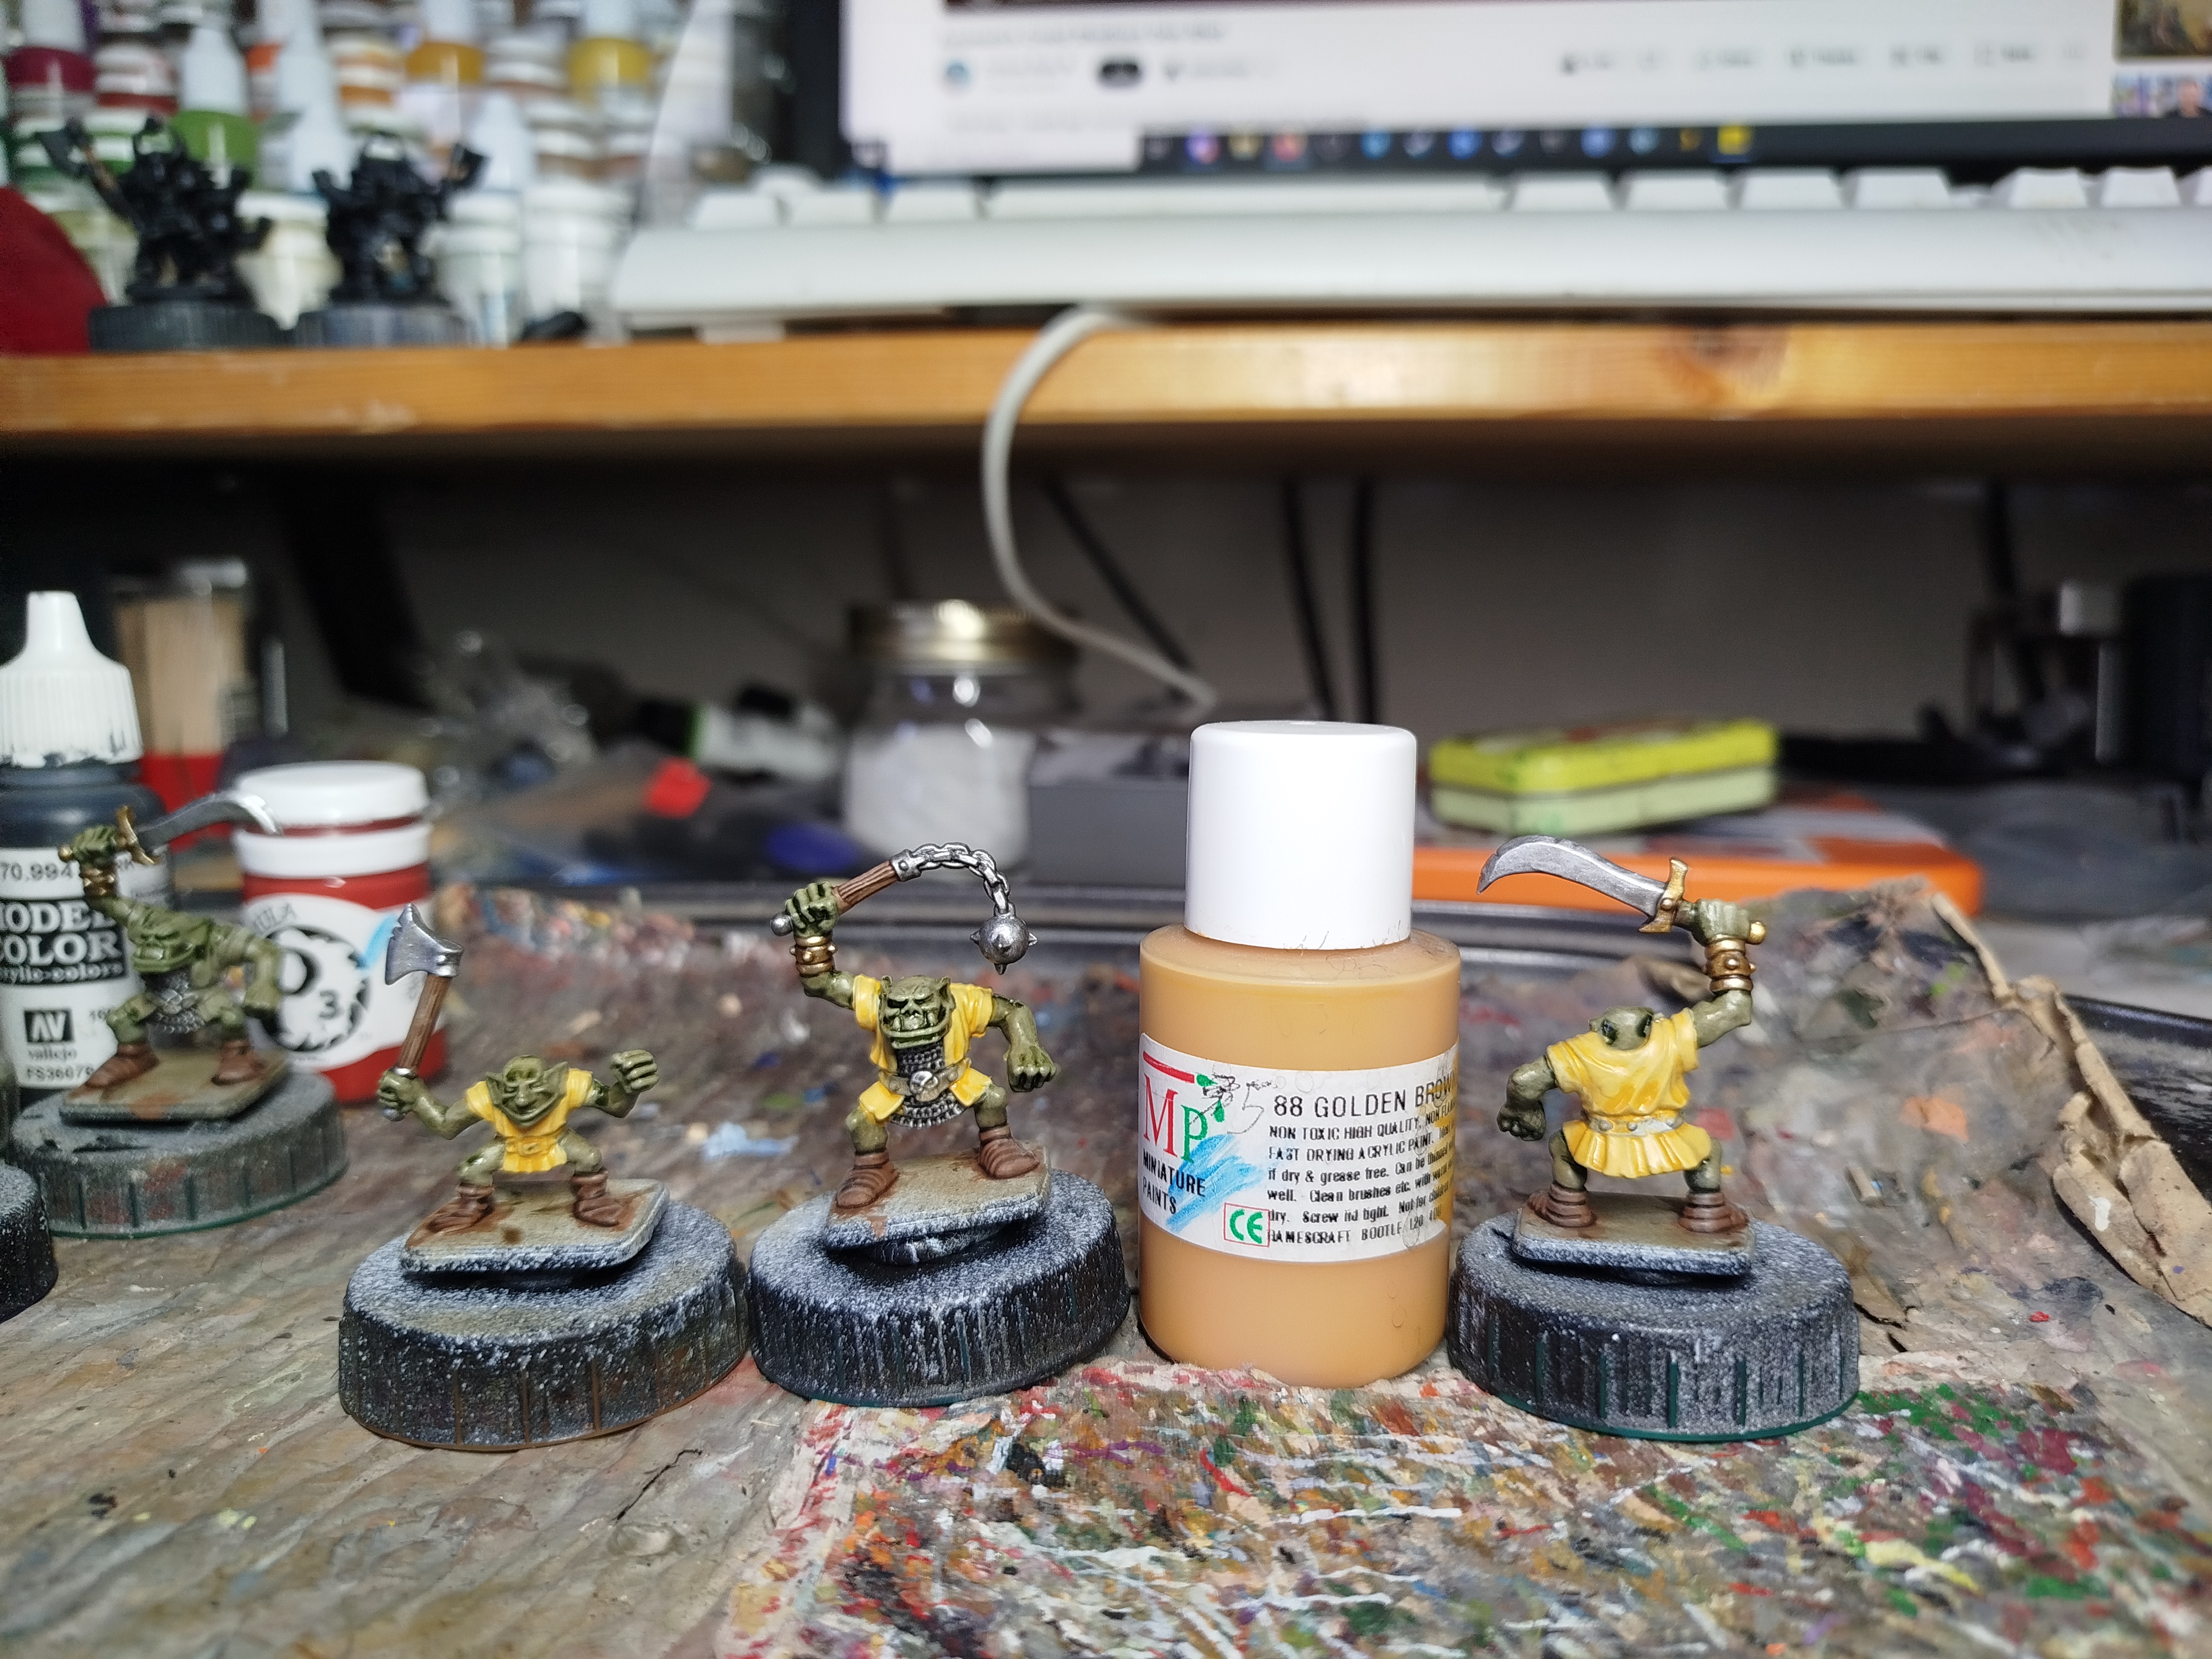 A wash was made from this paint, some water, and some mixing medium (1:3:3-ish)
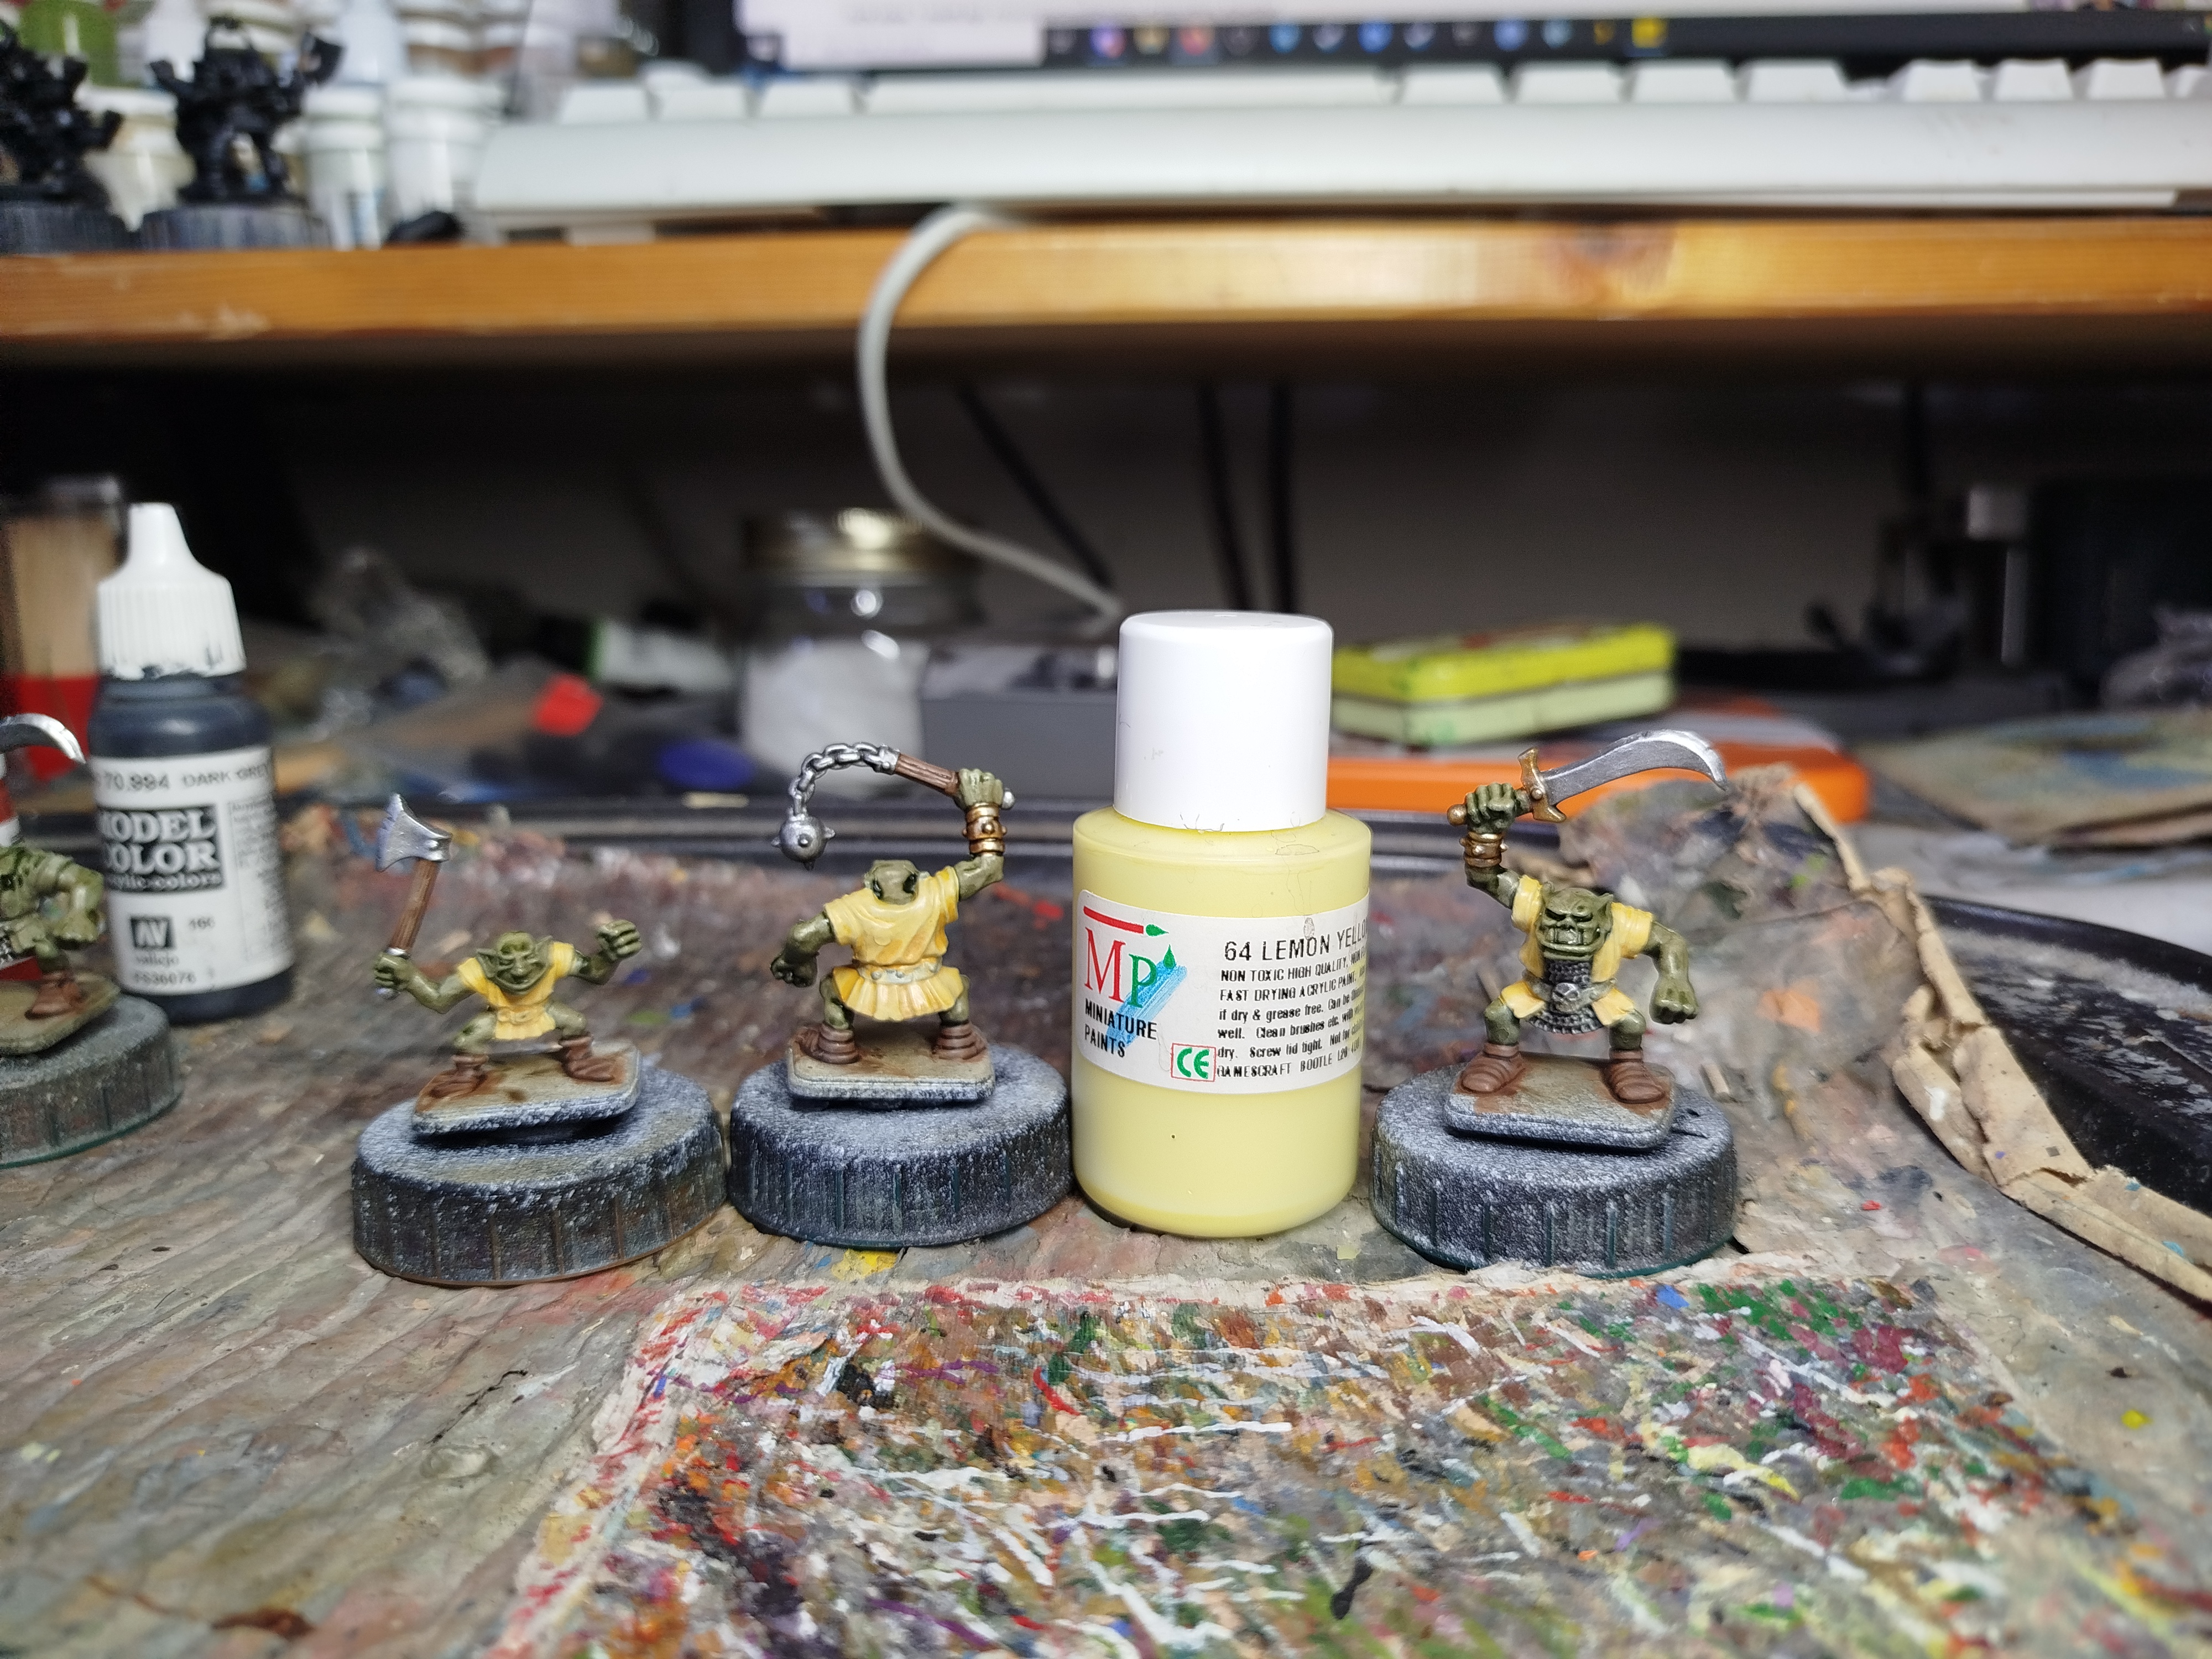 Drybrush highlight
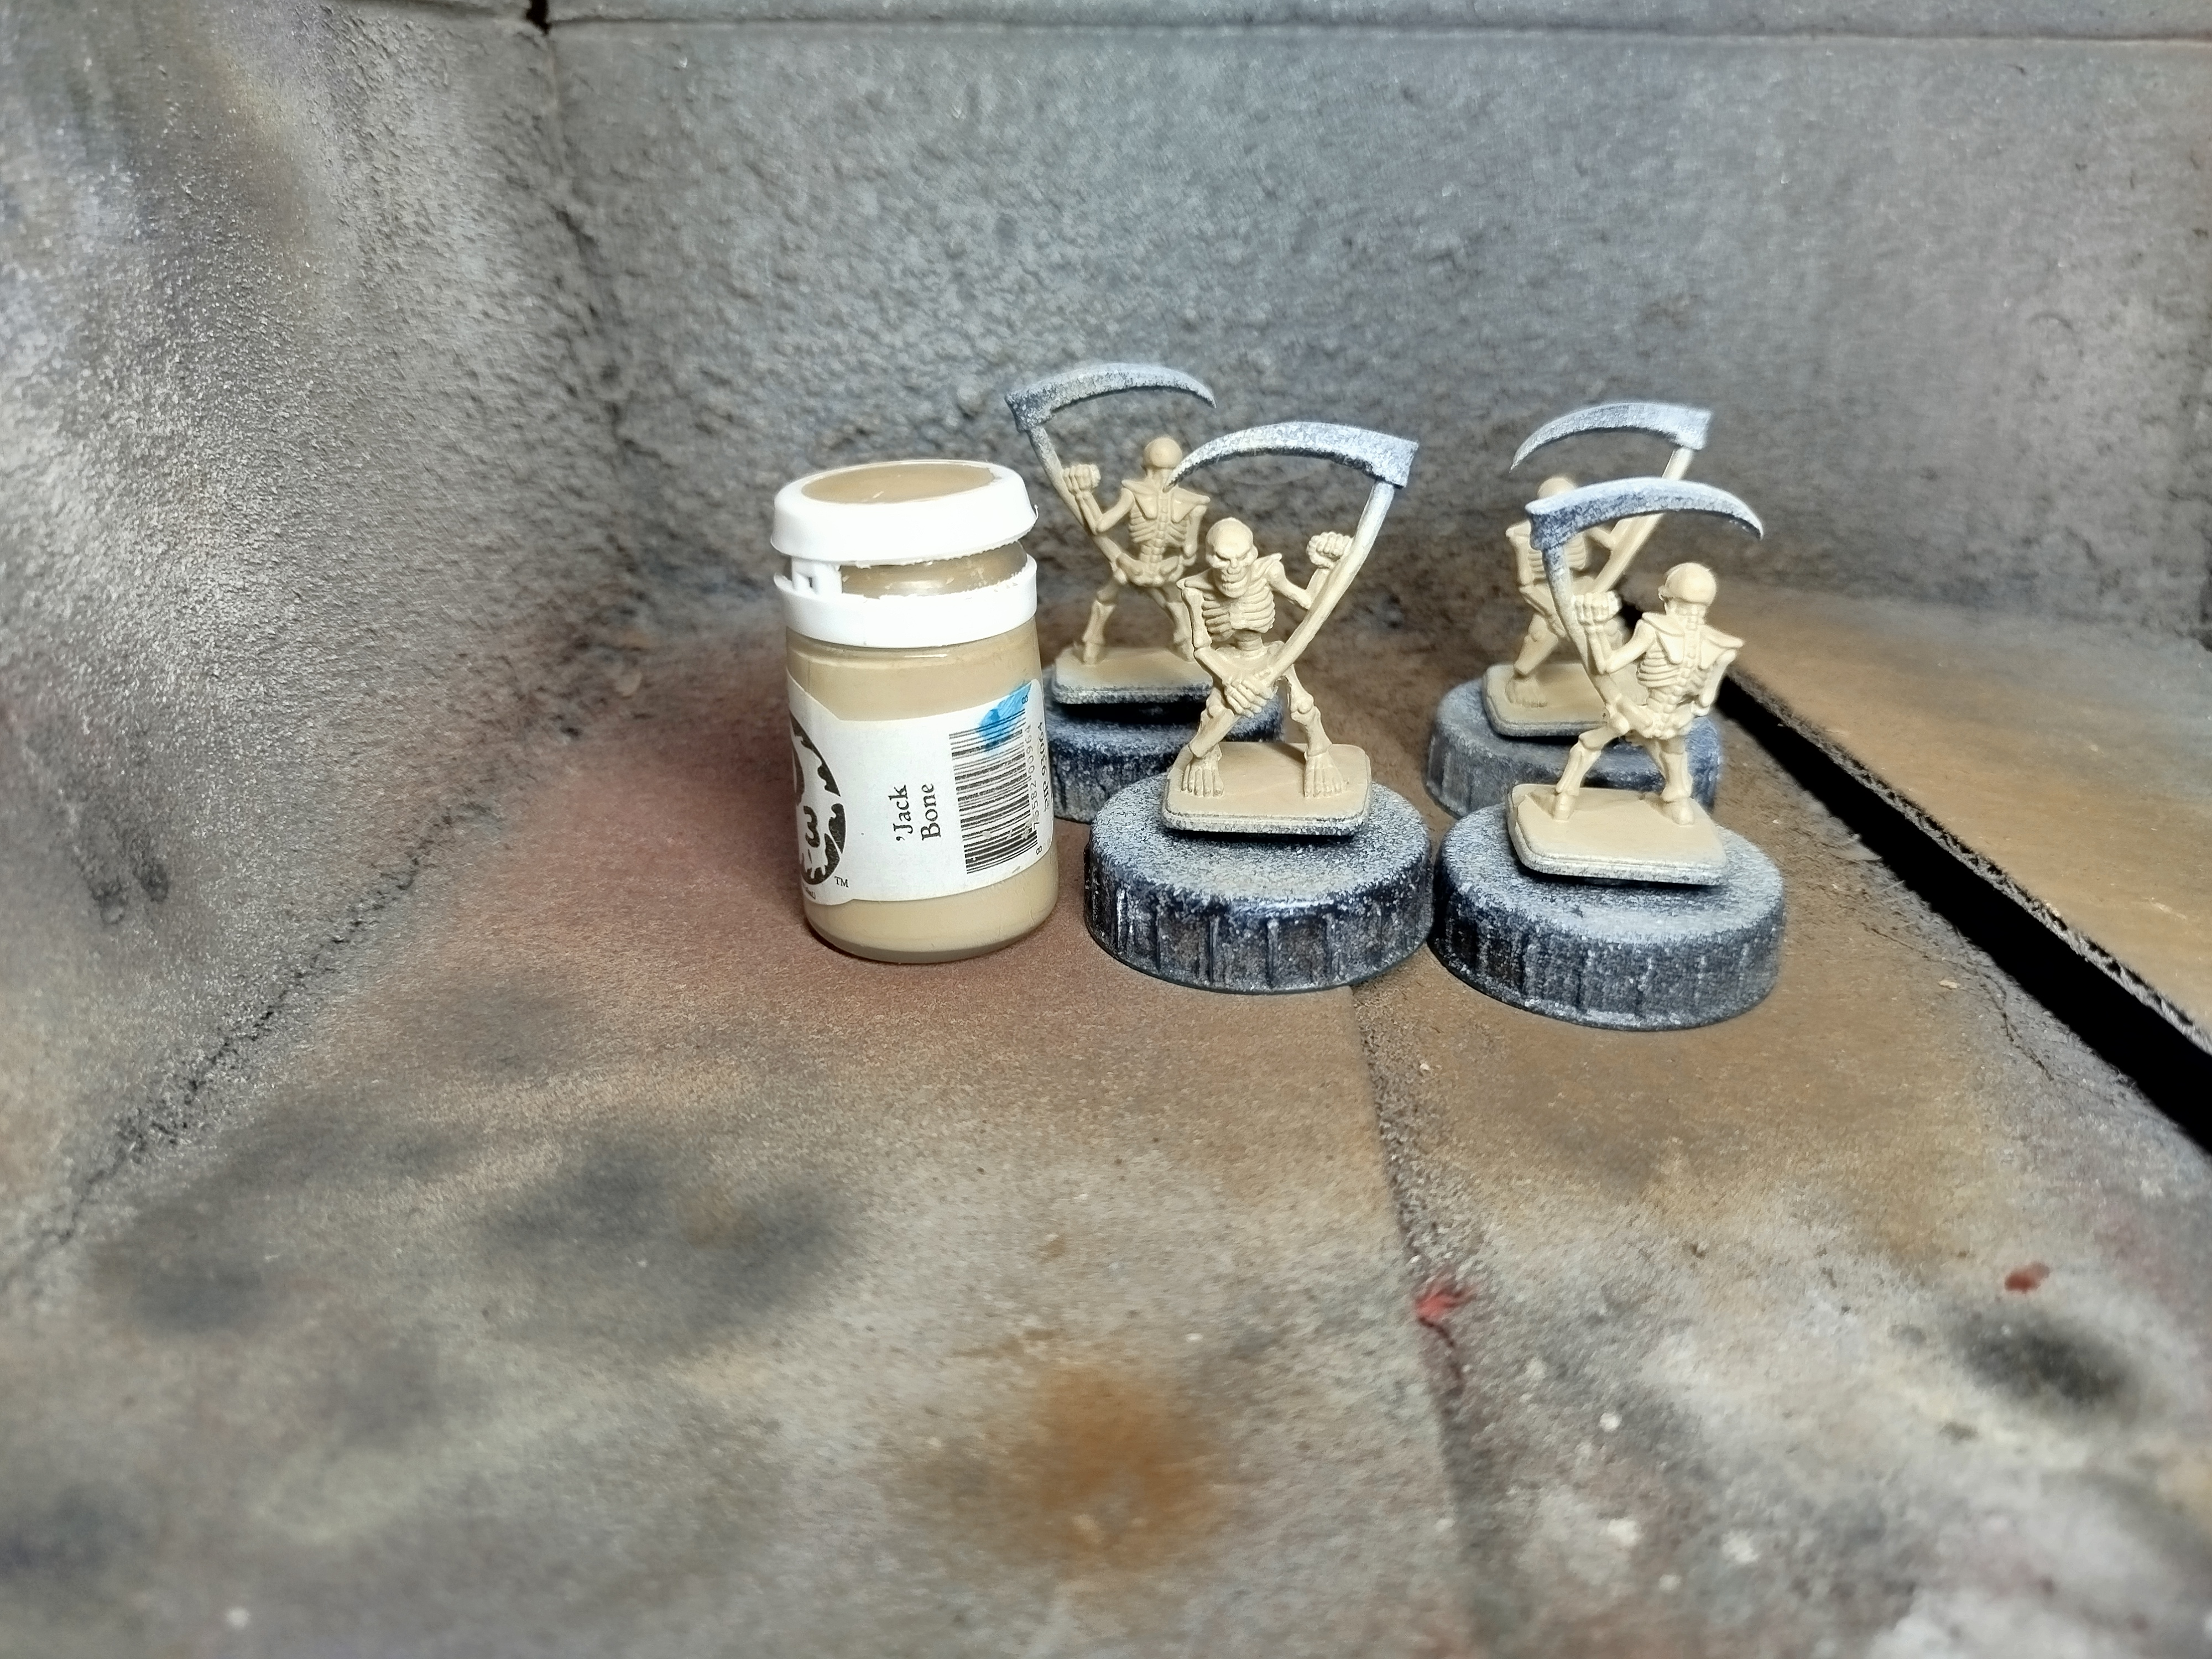
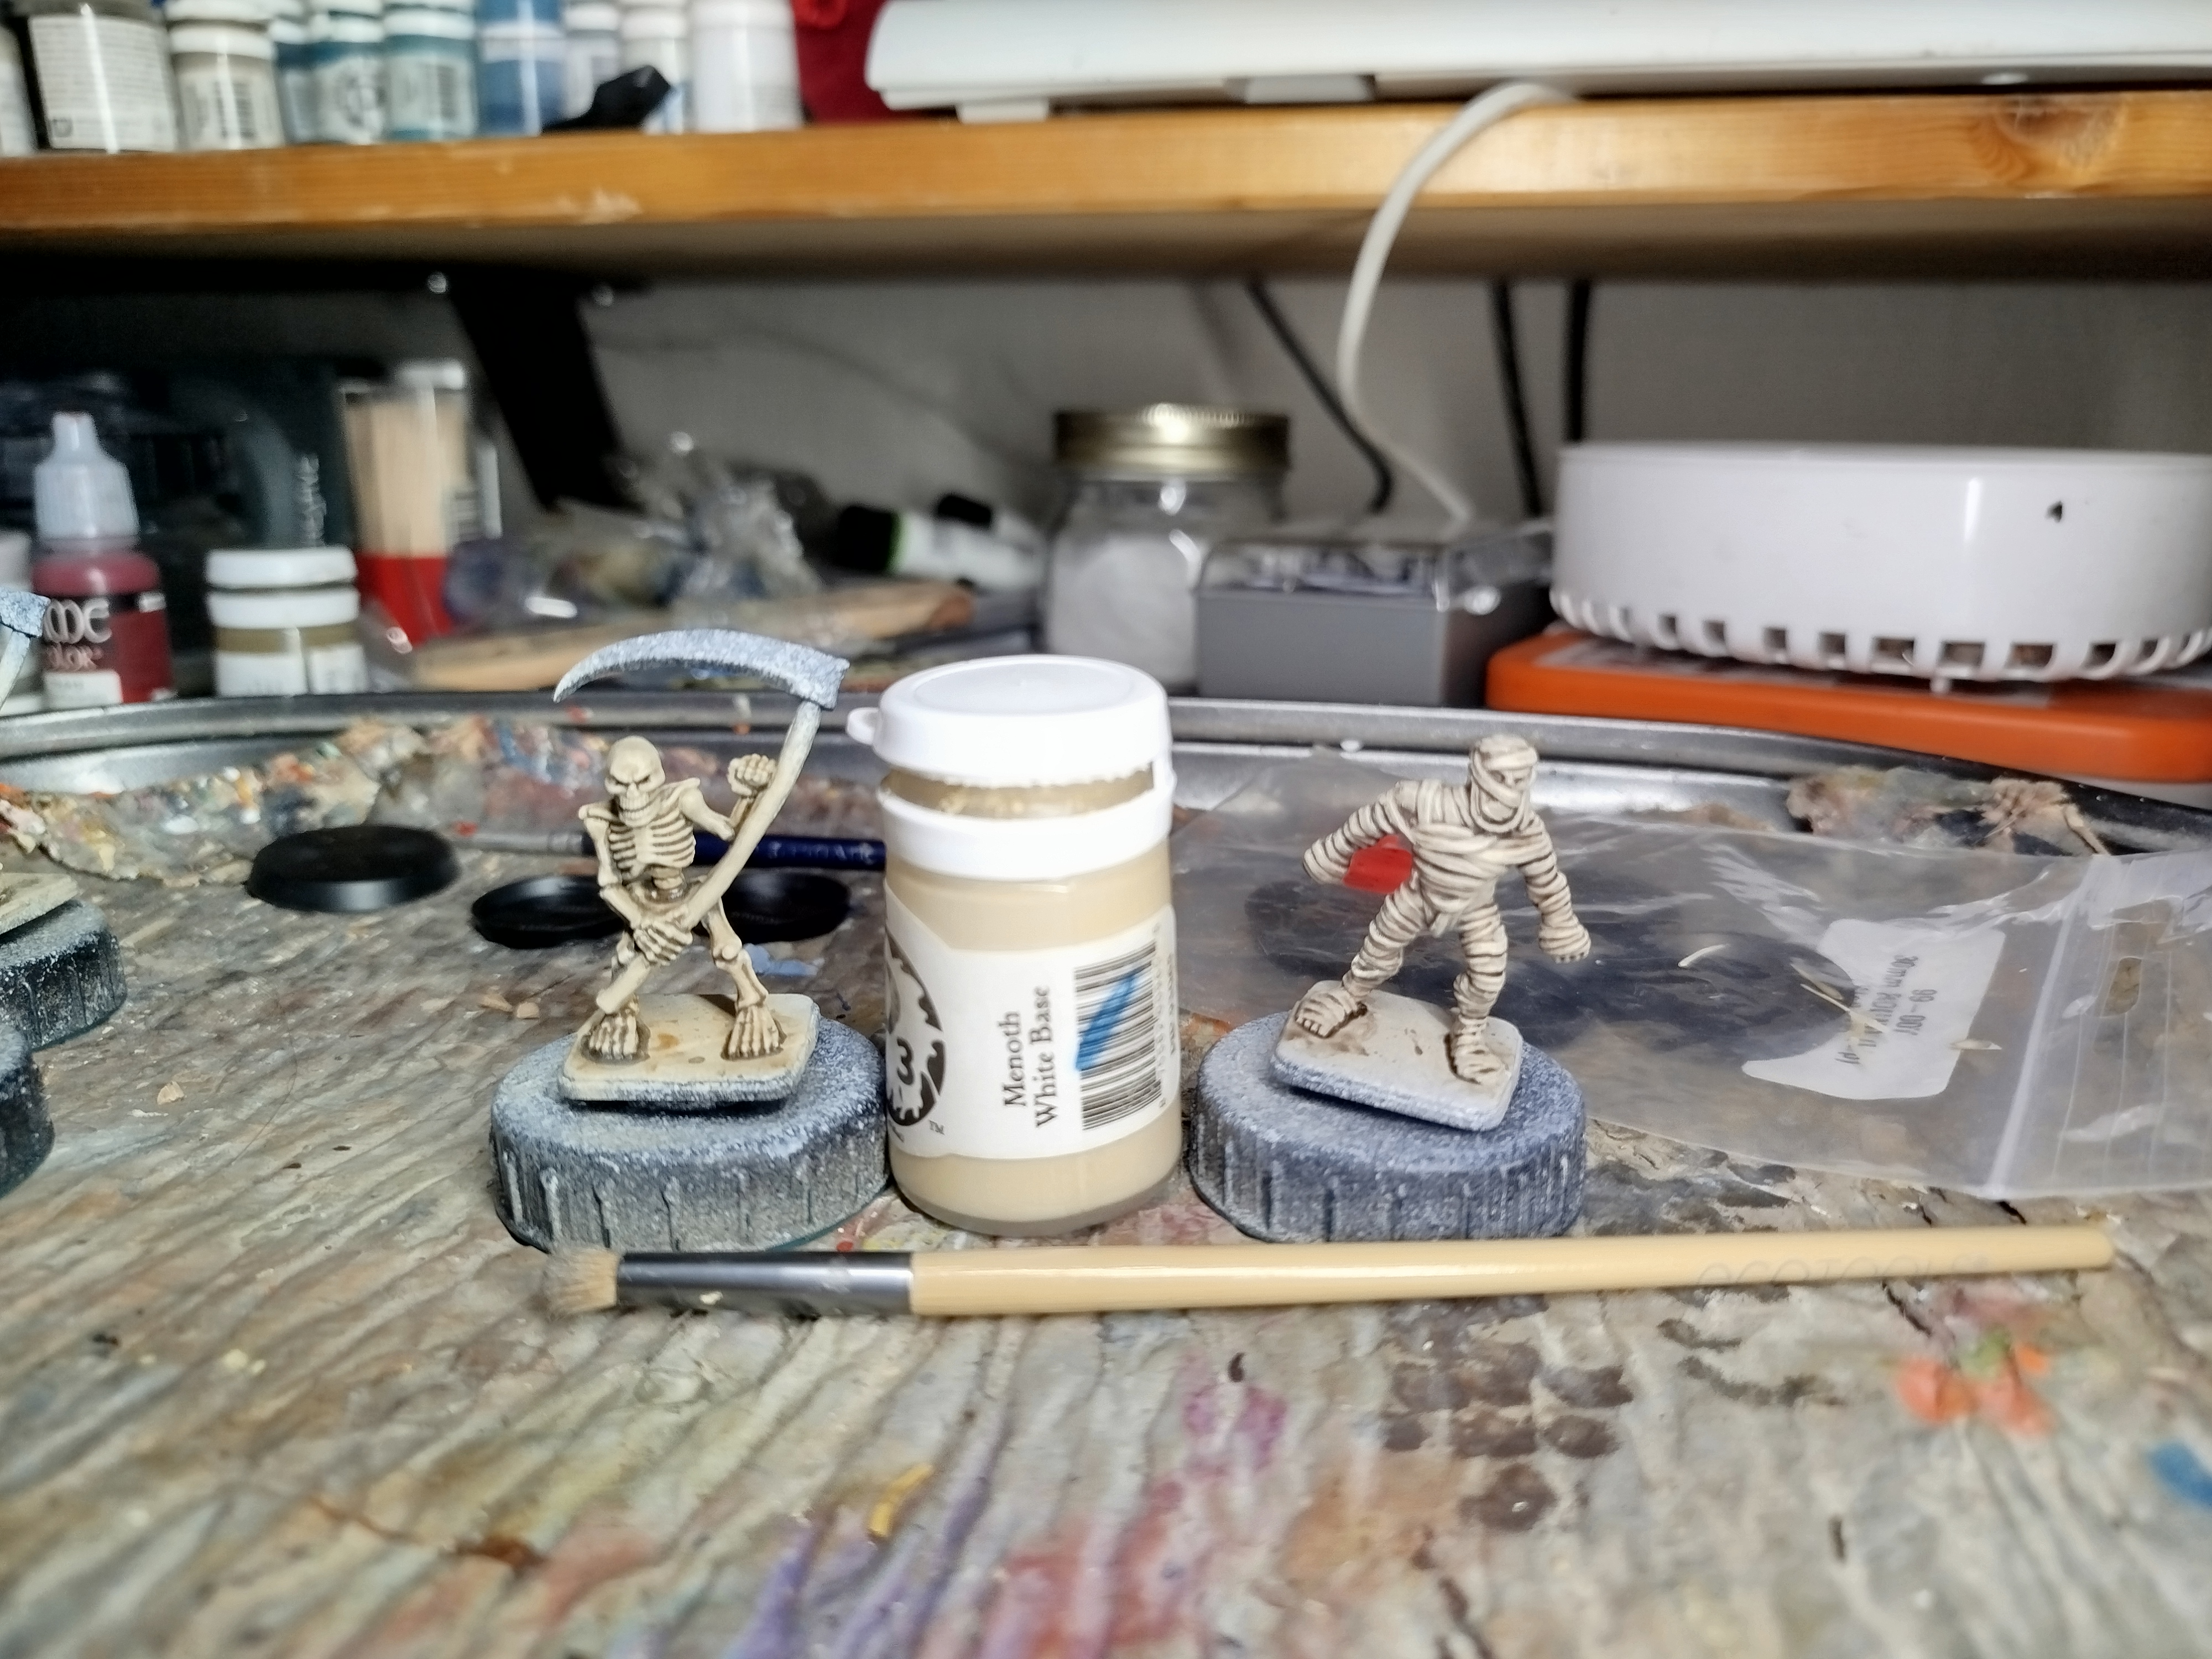
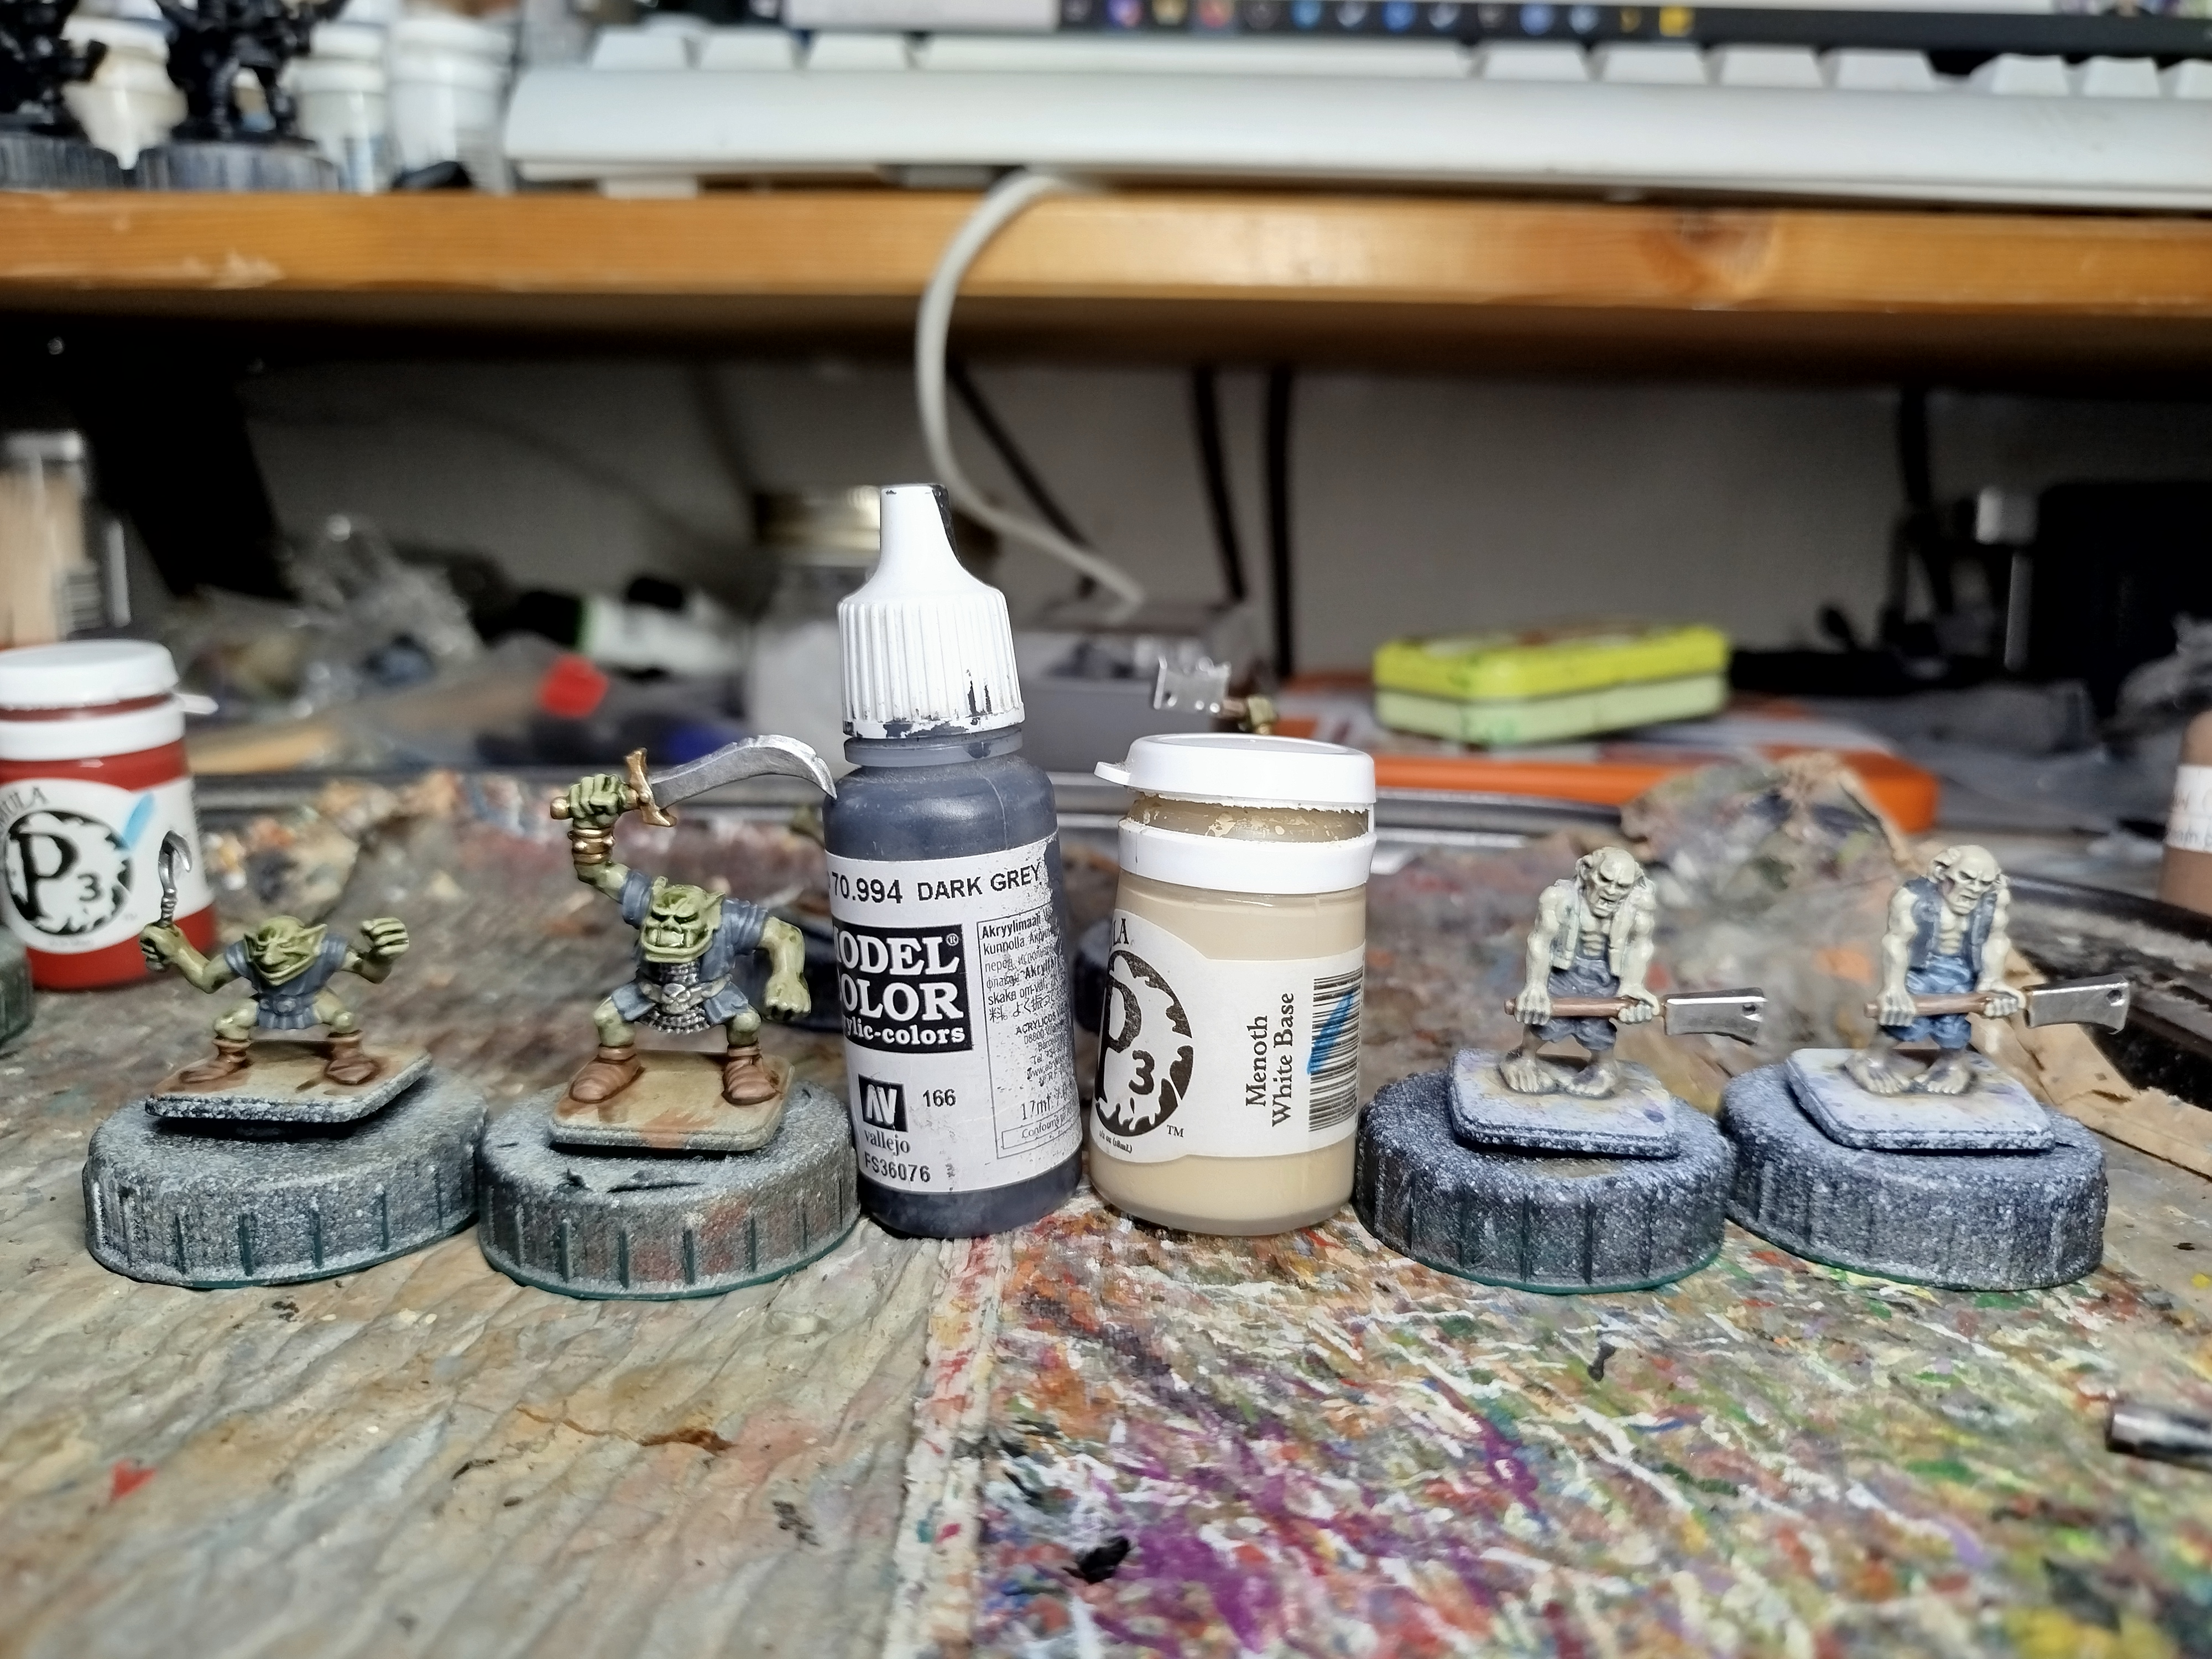 Base coat in dark grey, forget to take a photo, drybrush in Menoth White Base (Dark Ivory/light bone?)
 Wash
WashSecond Weekends Update Part 3
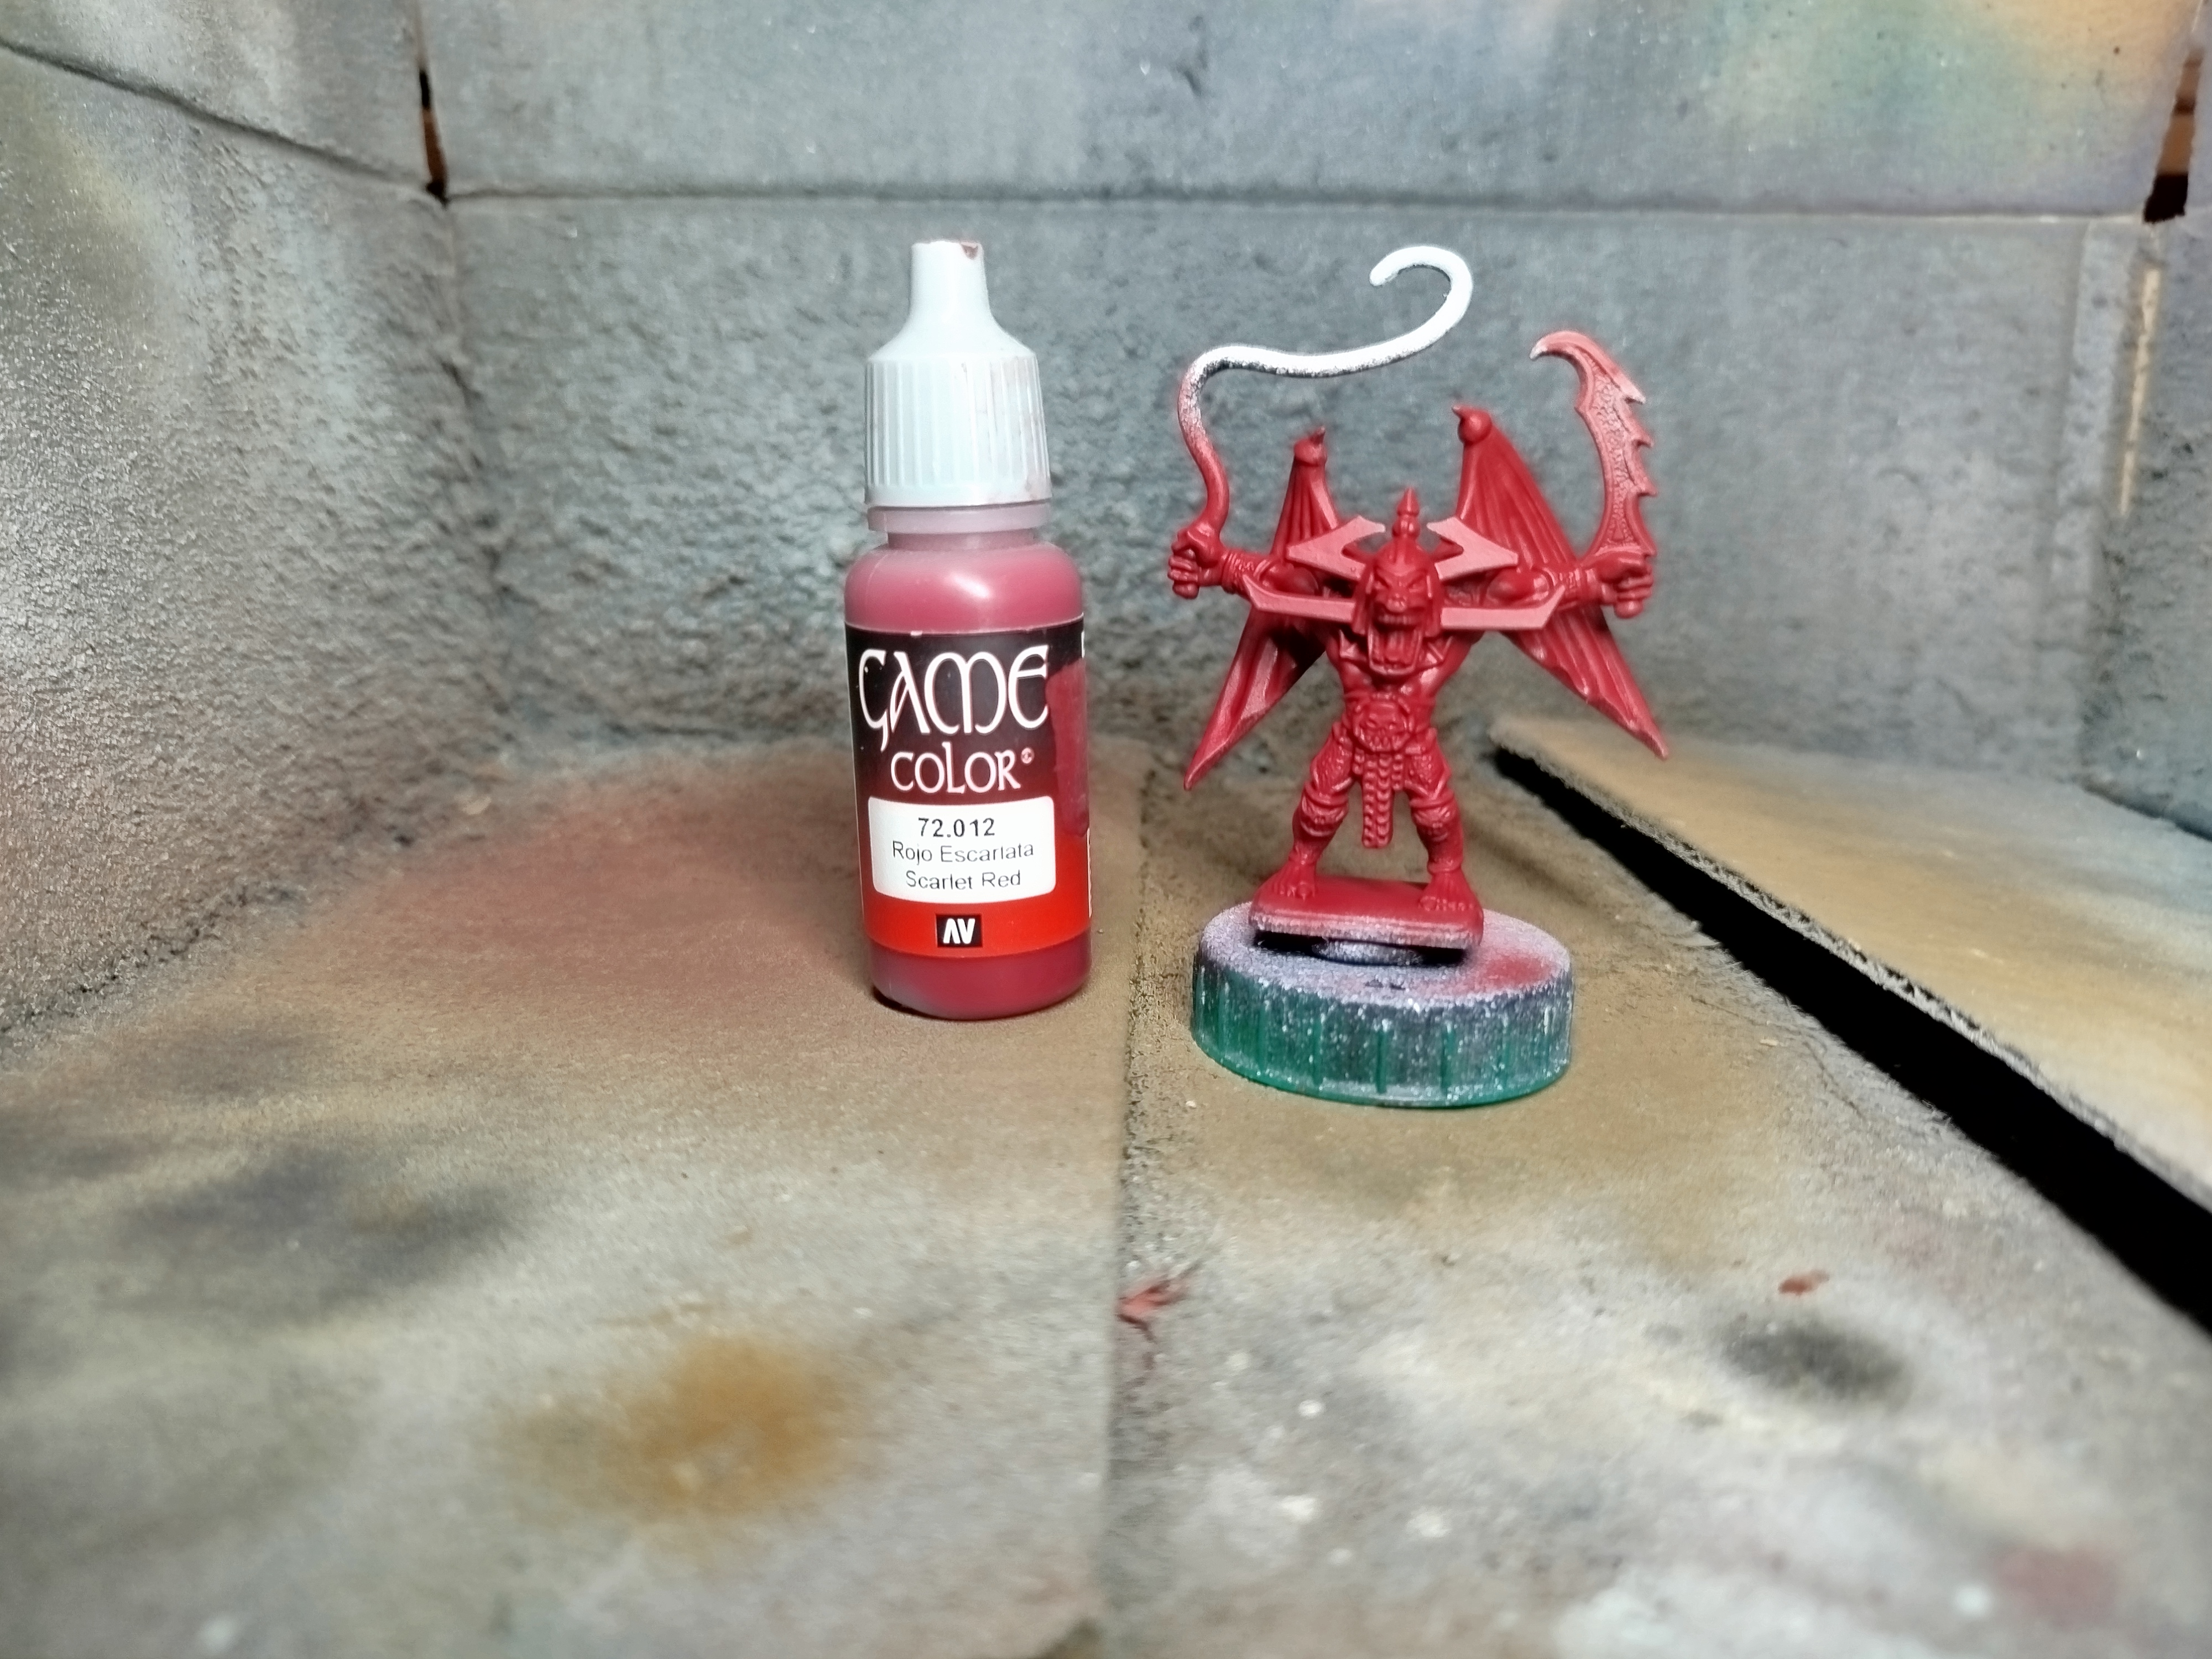
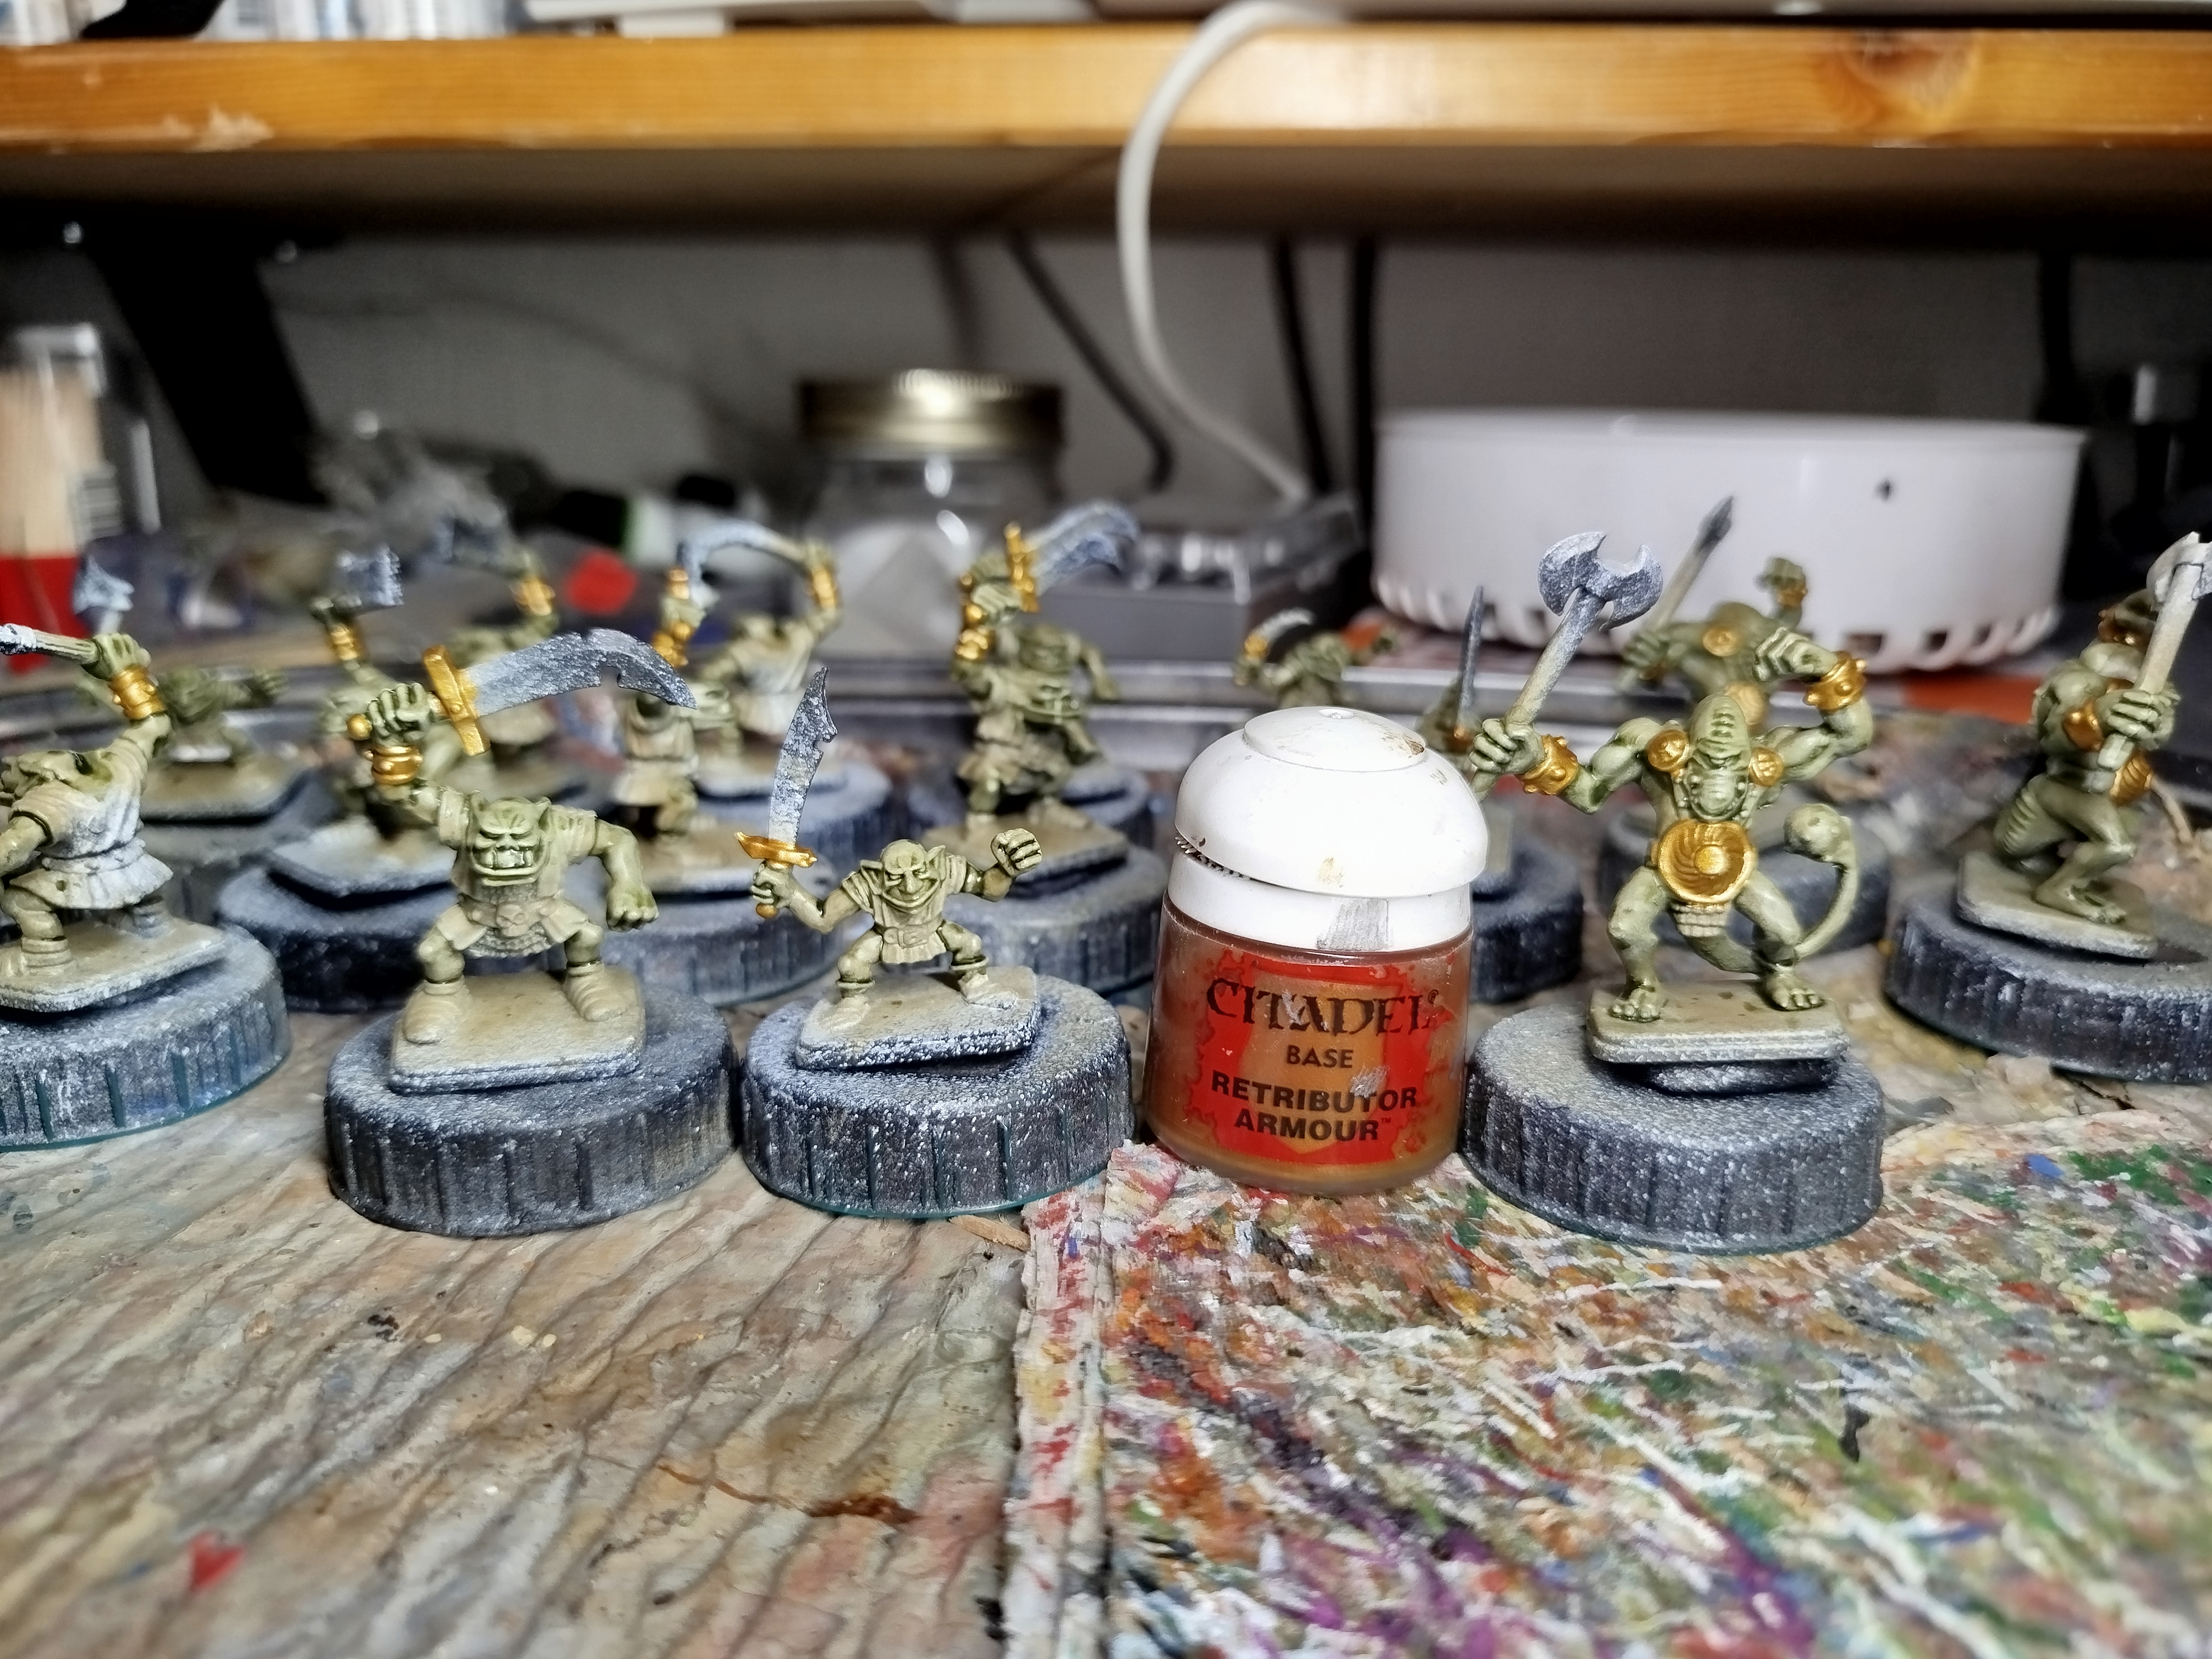
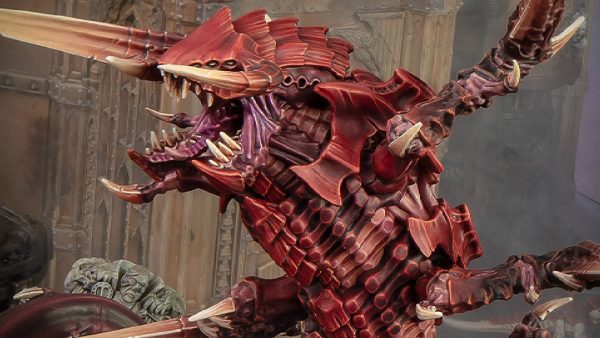
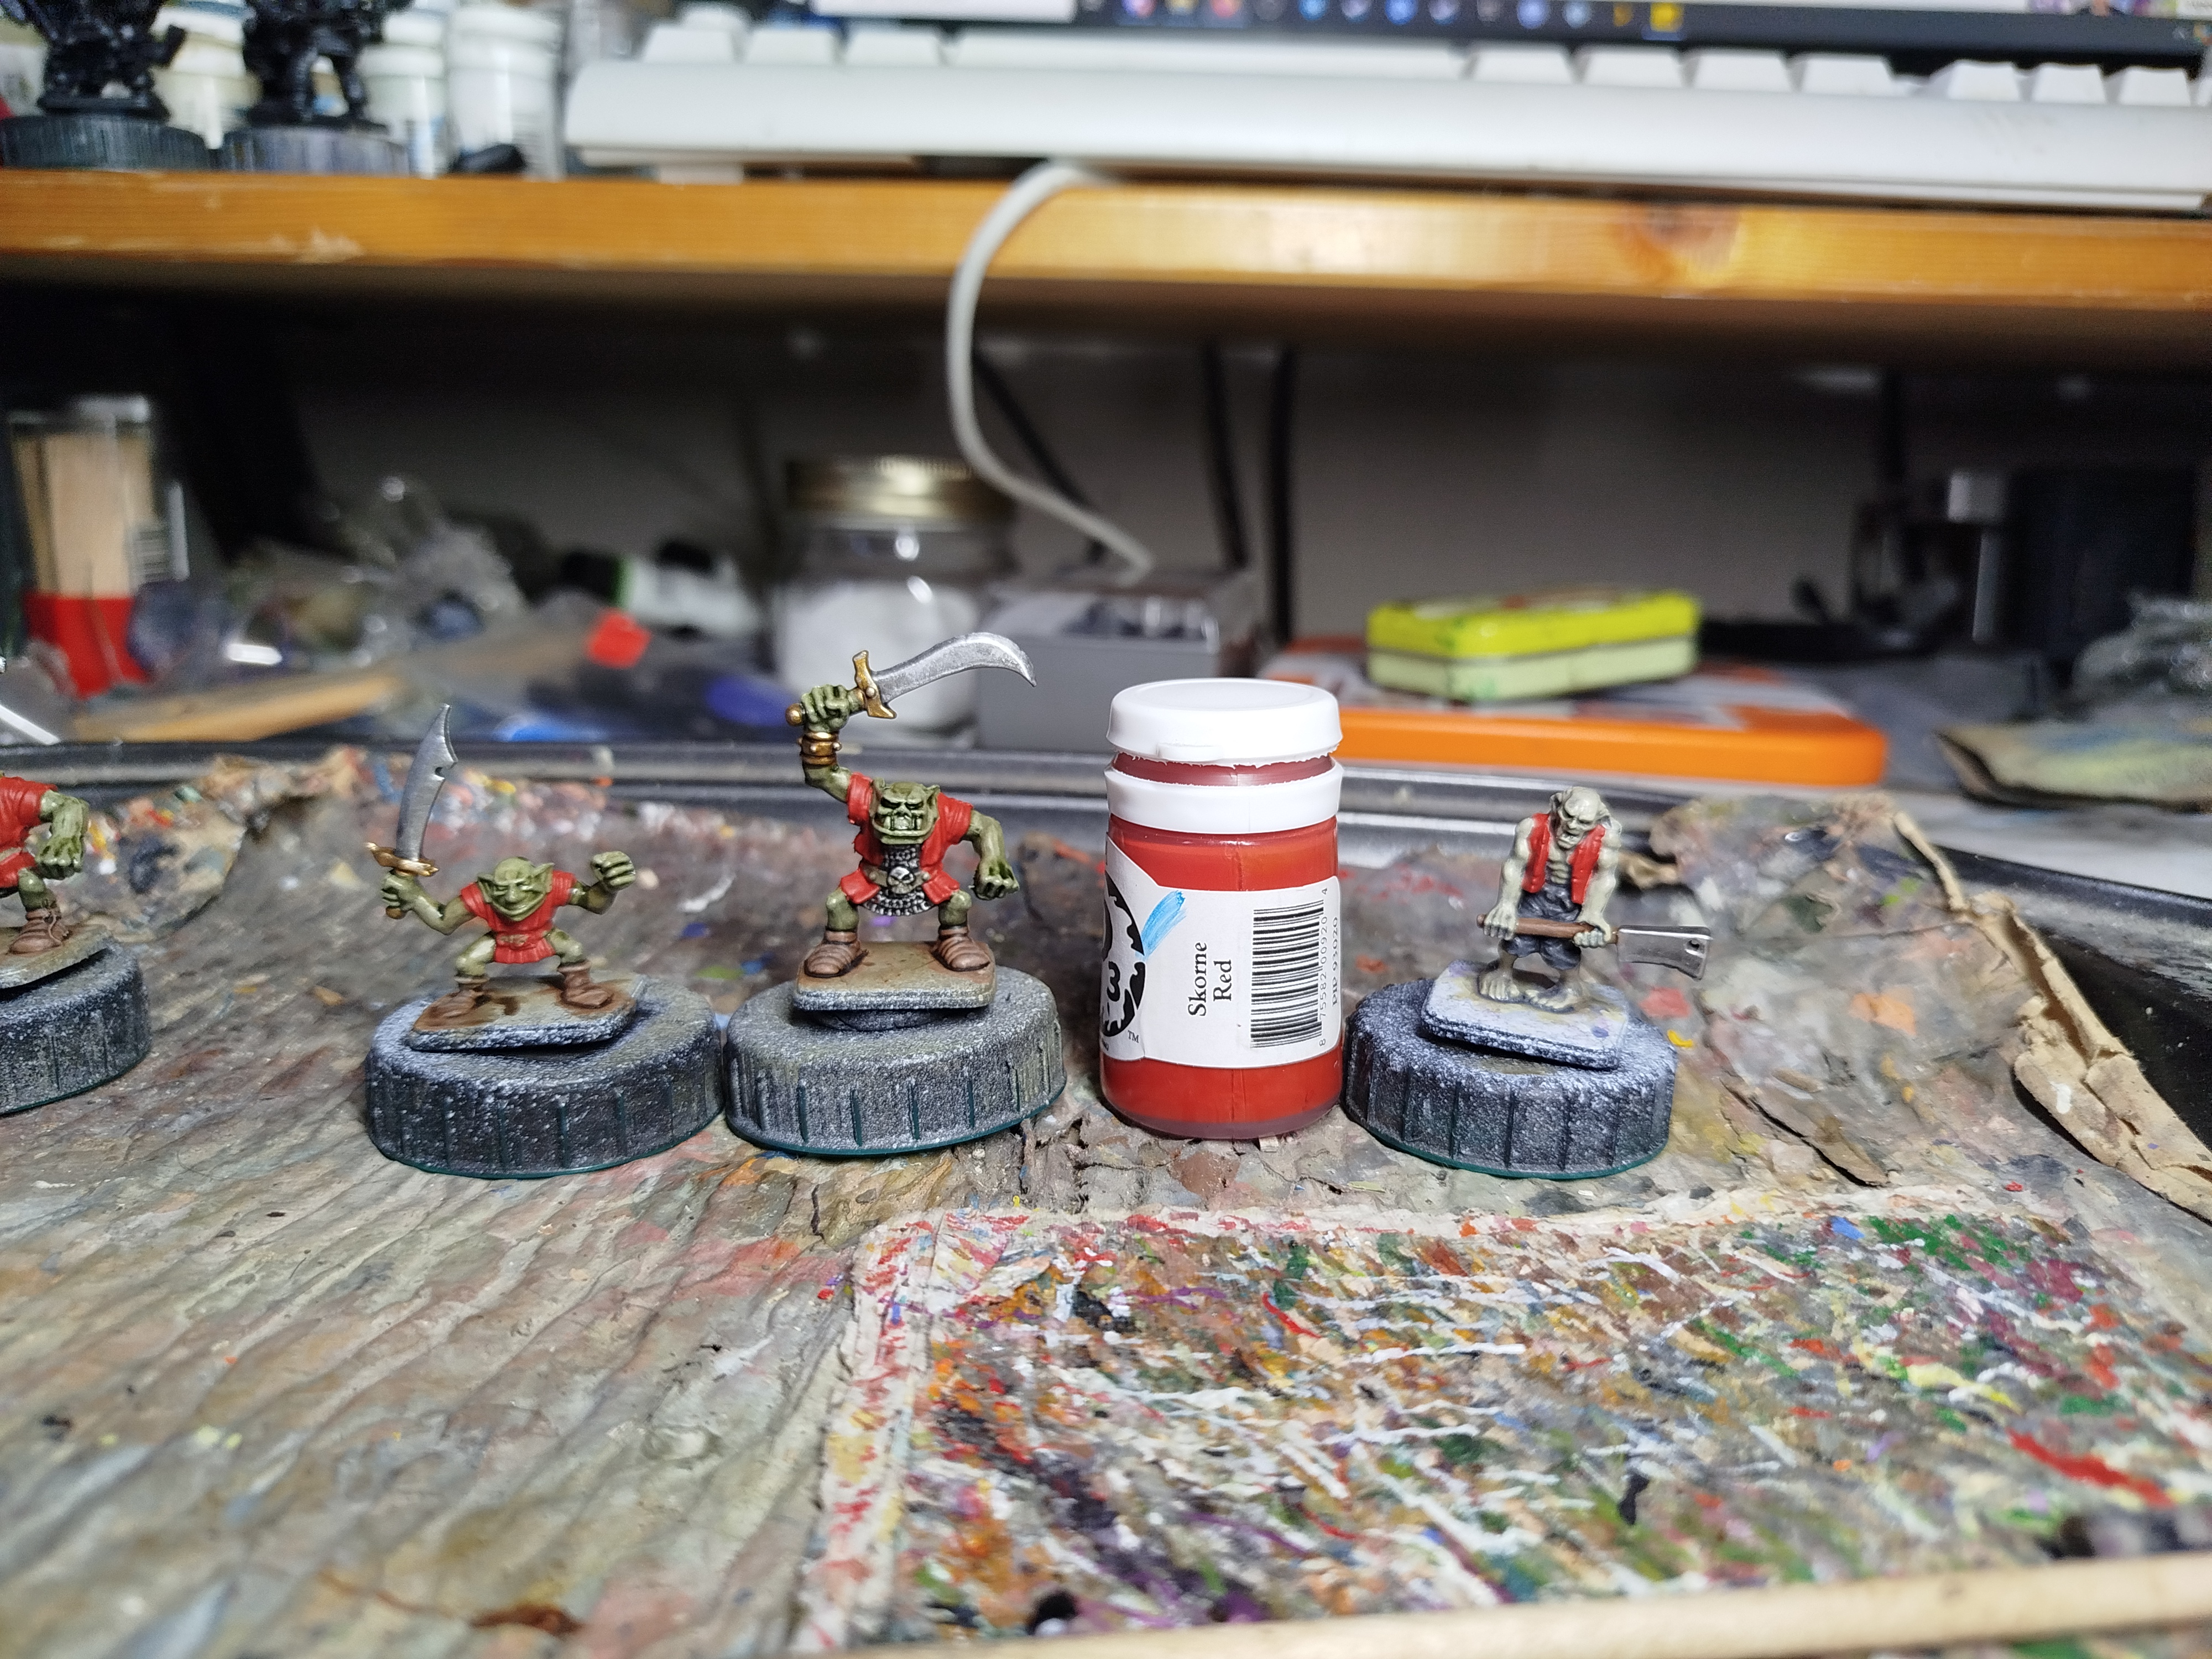 Red base coat
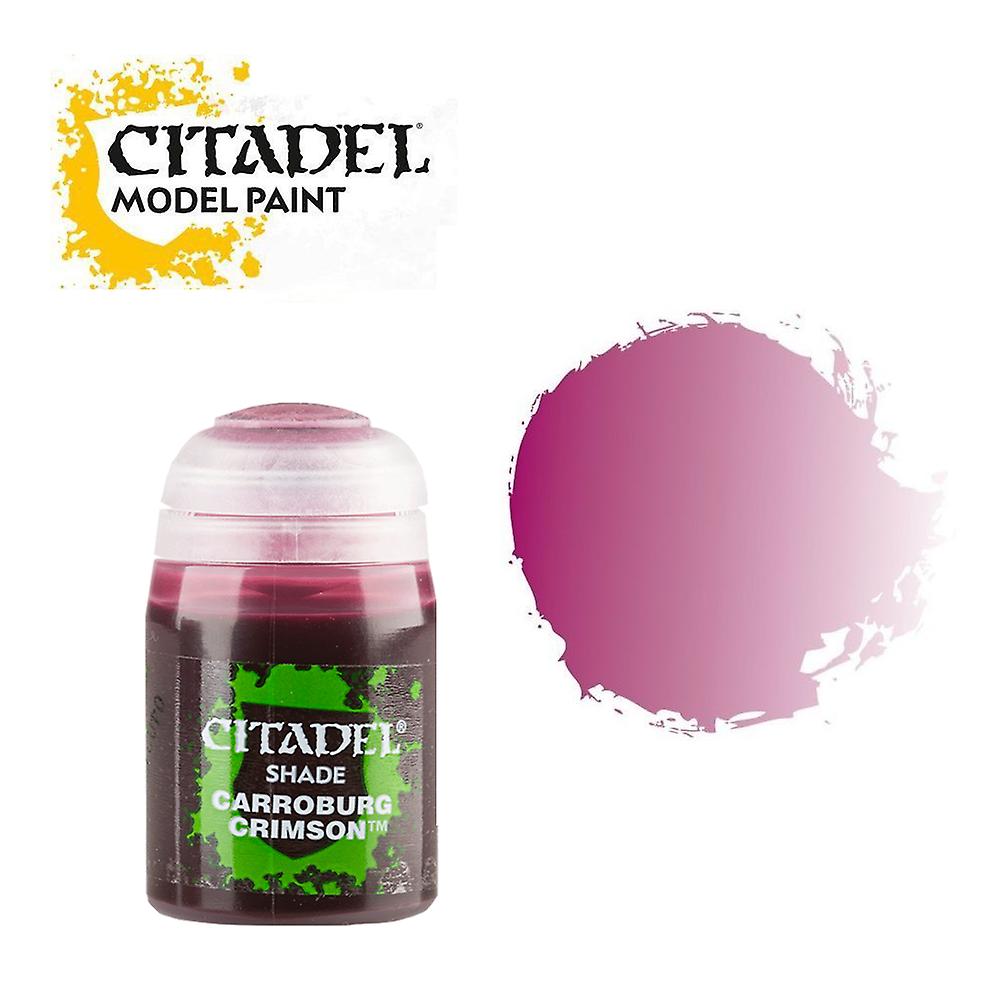 Wash and then forget to take a pic
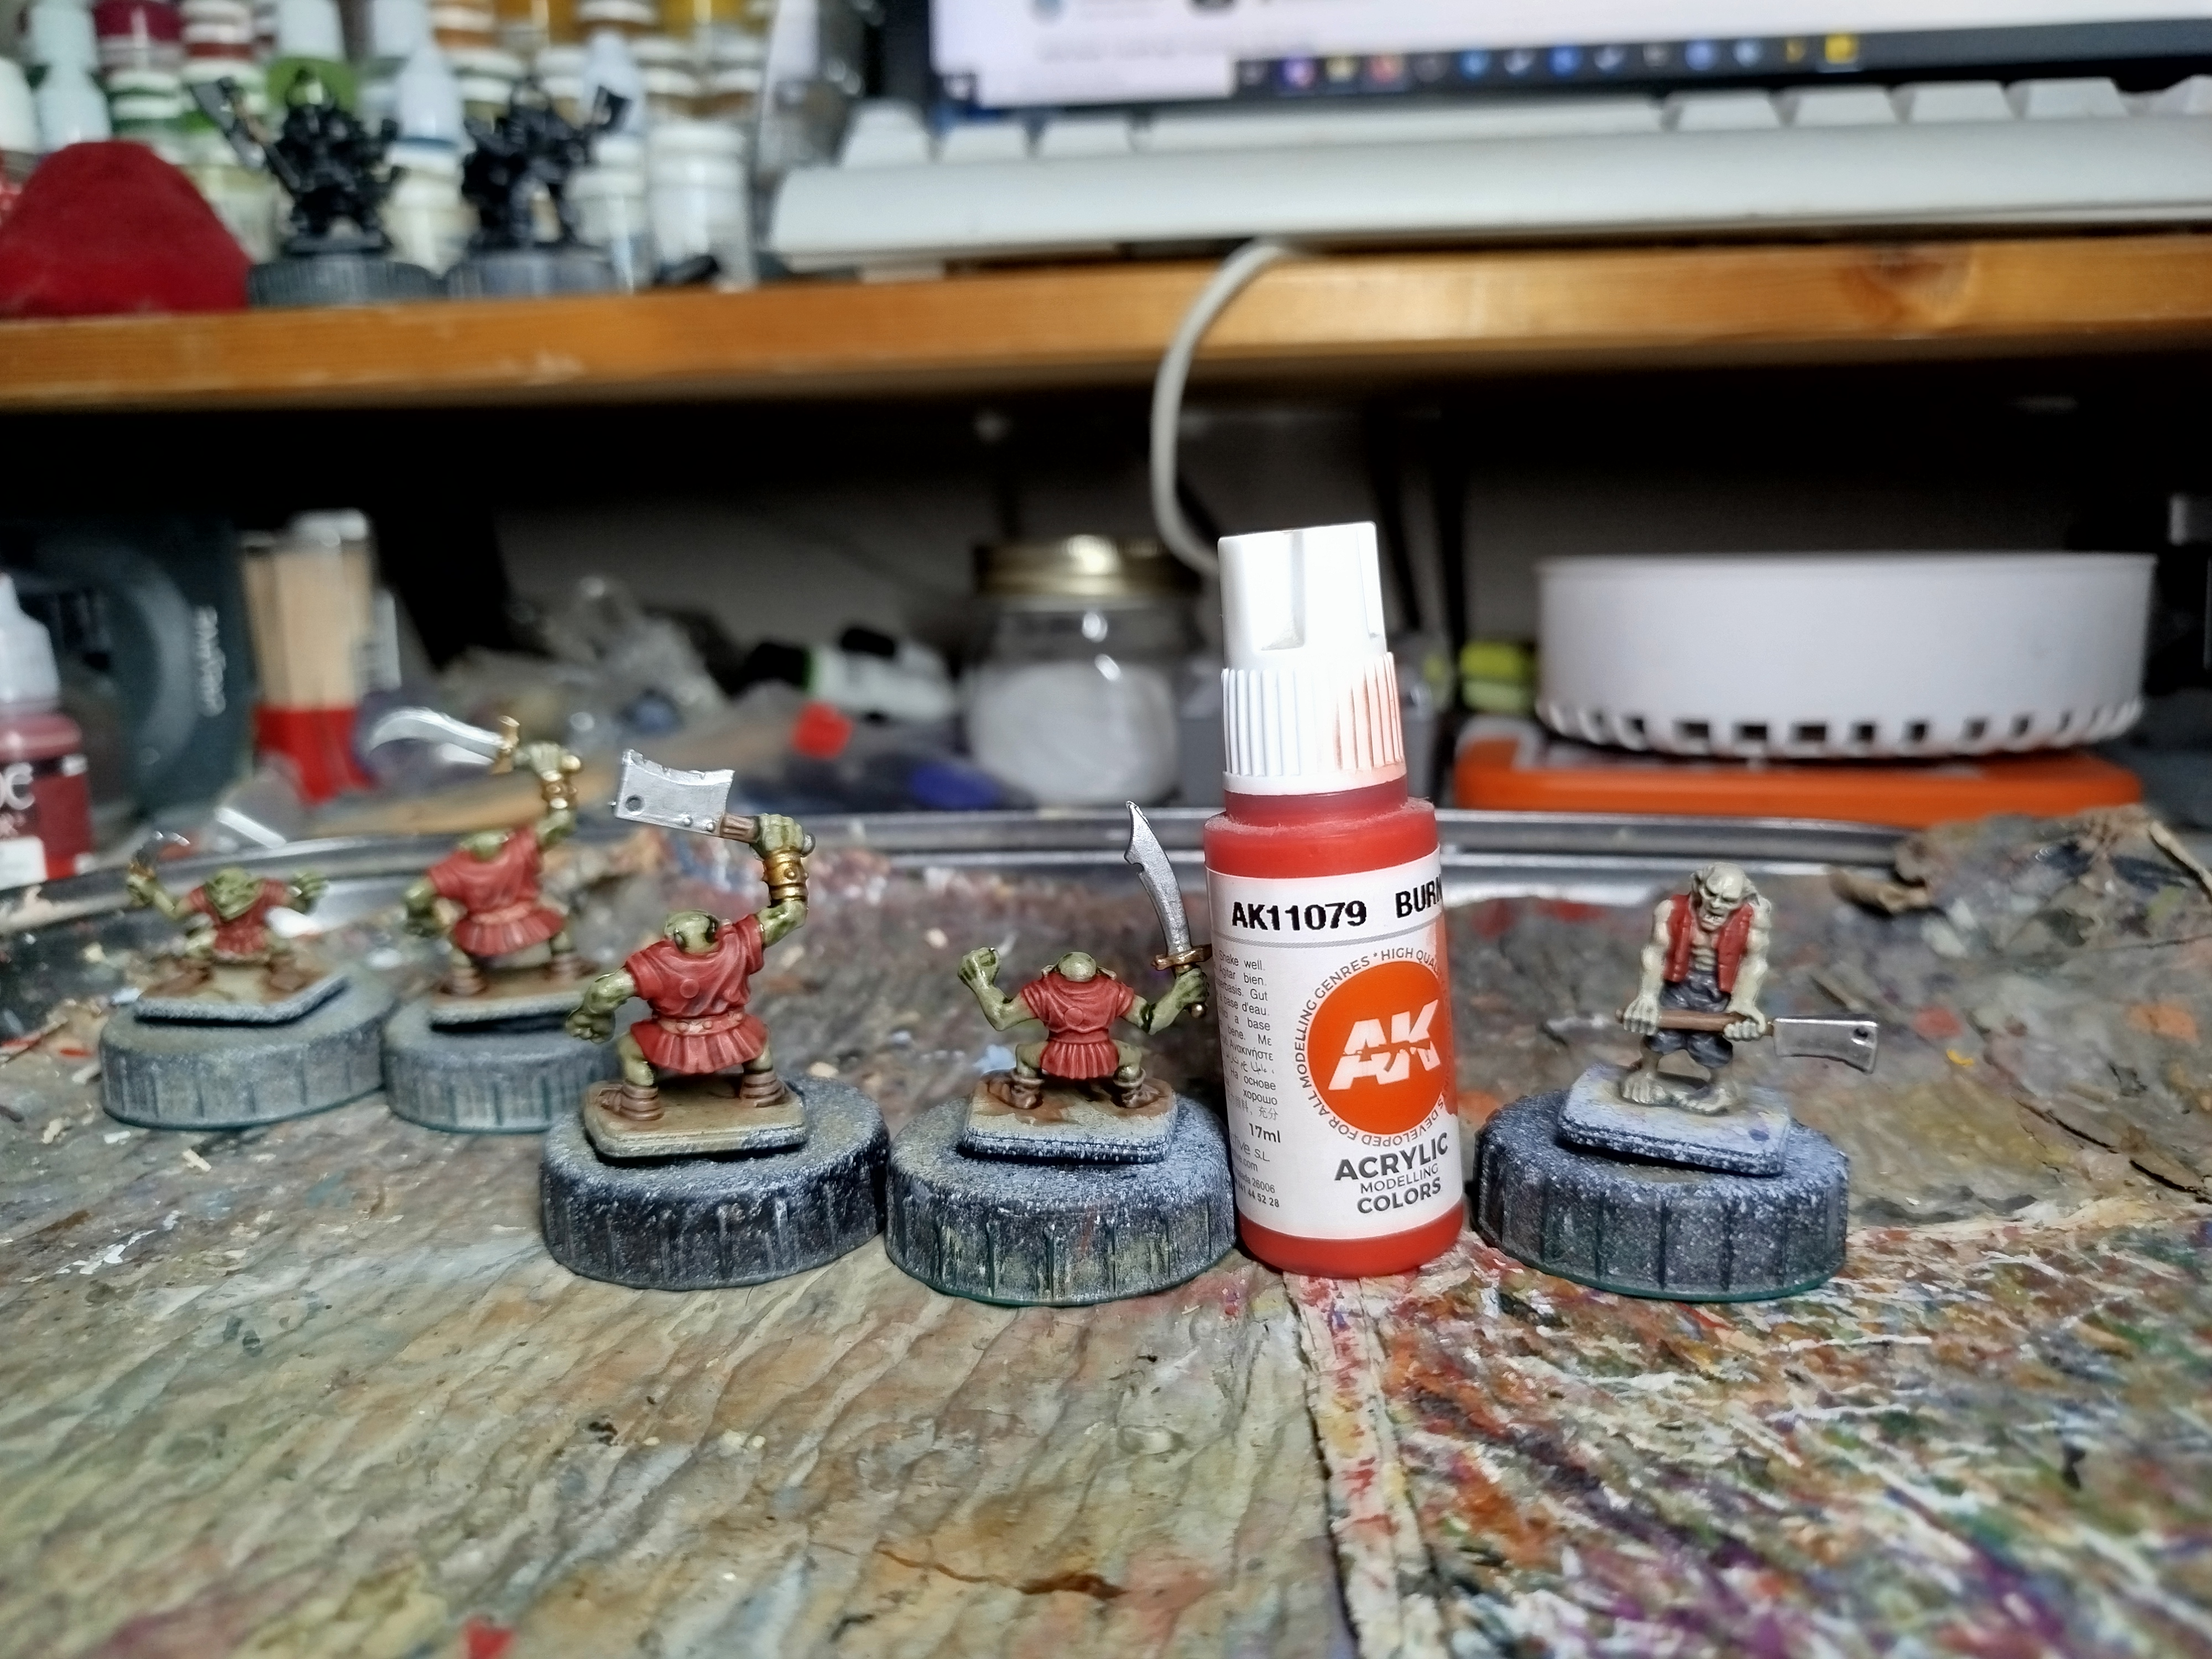 First drybrush highlight
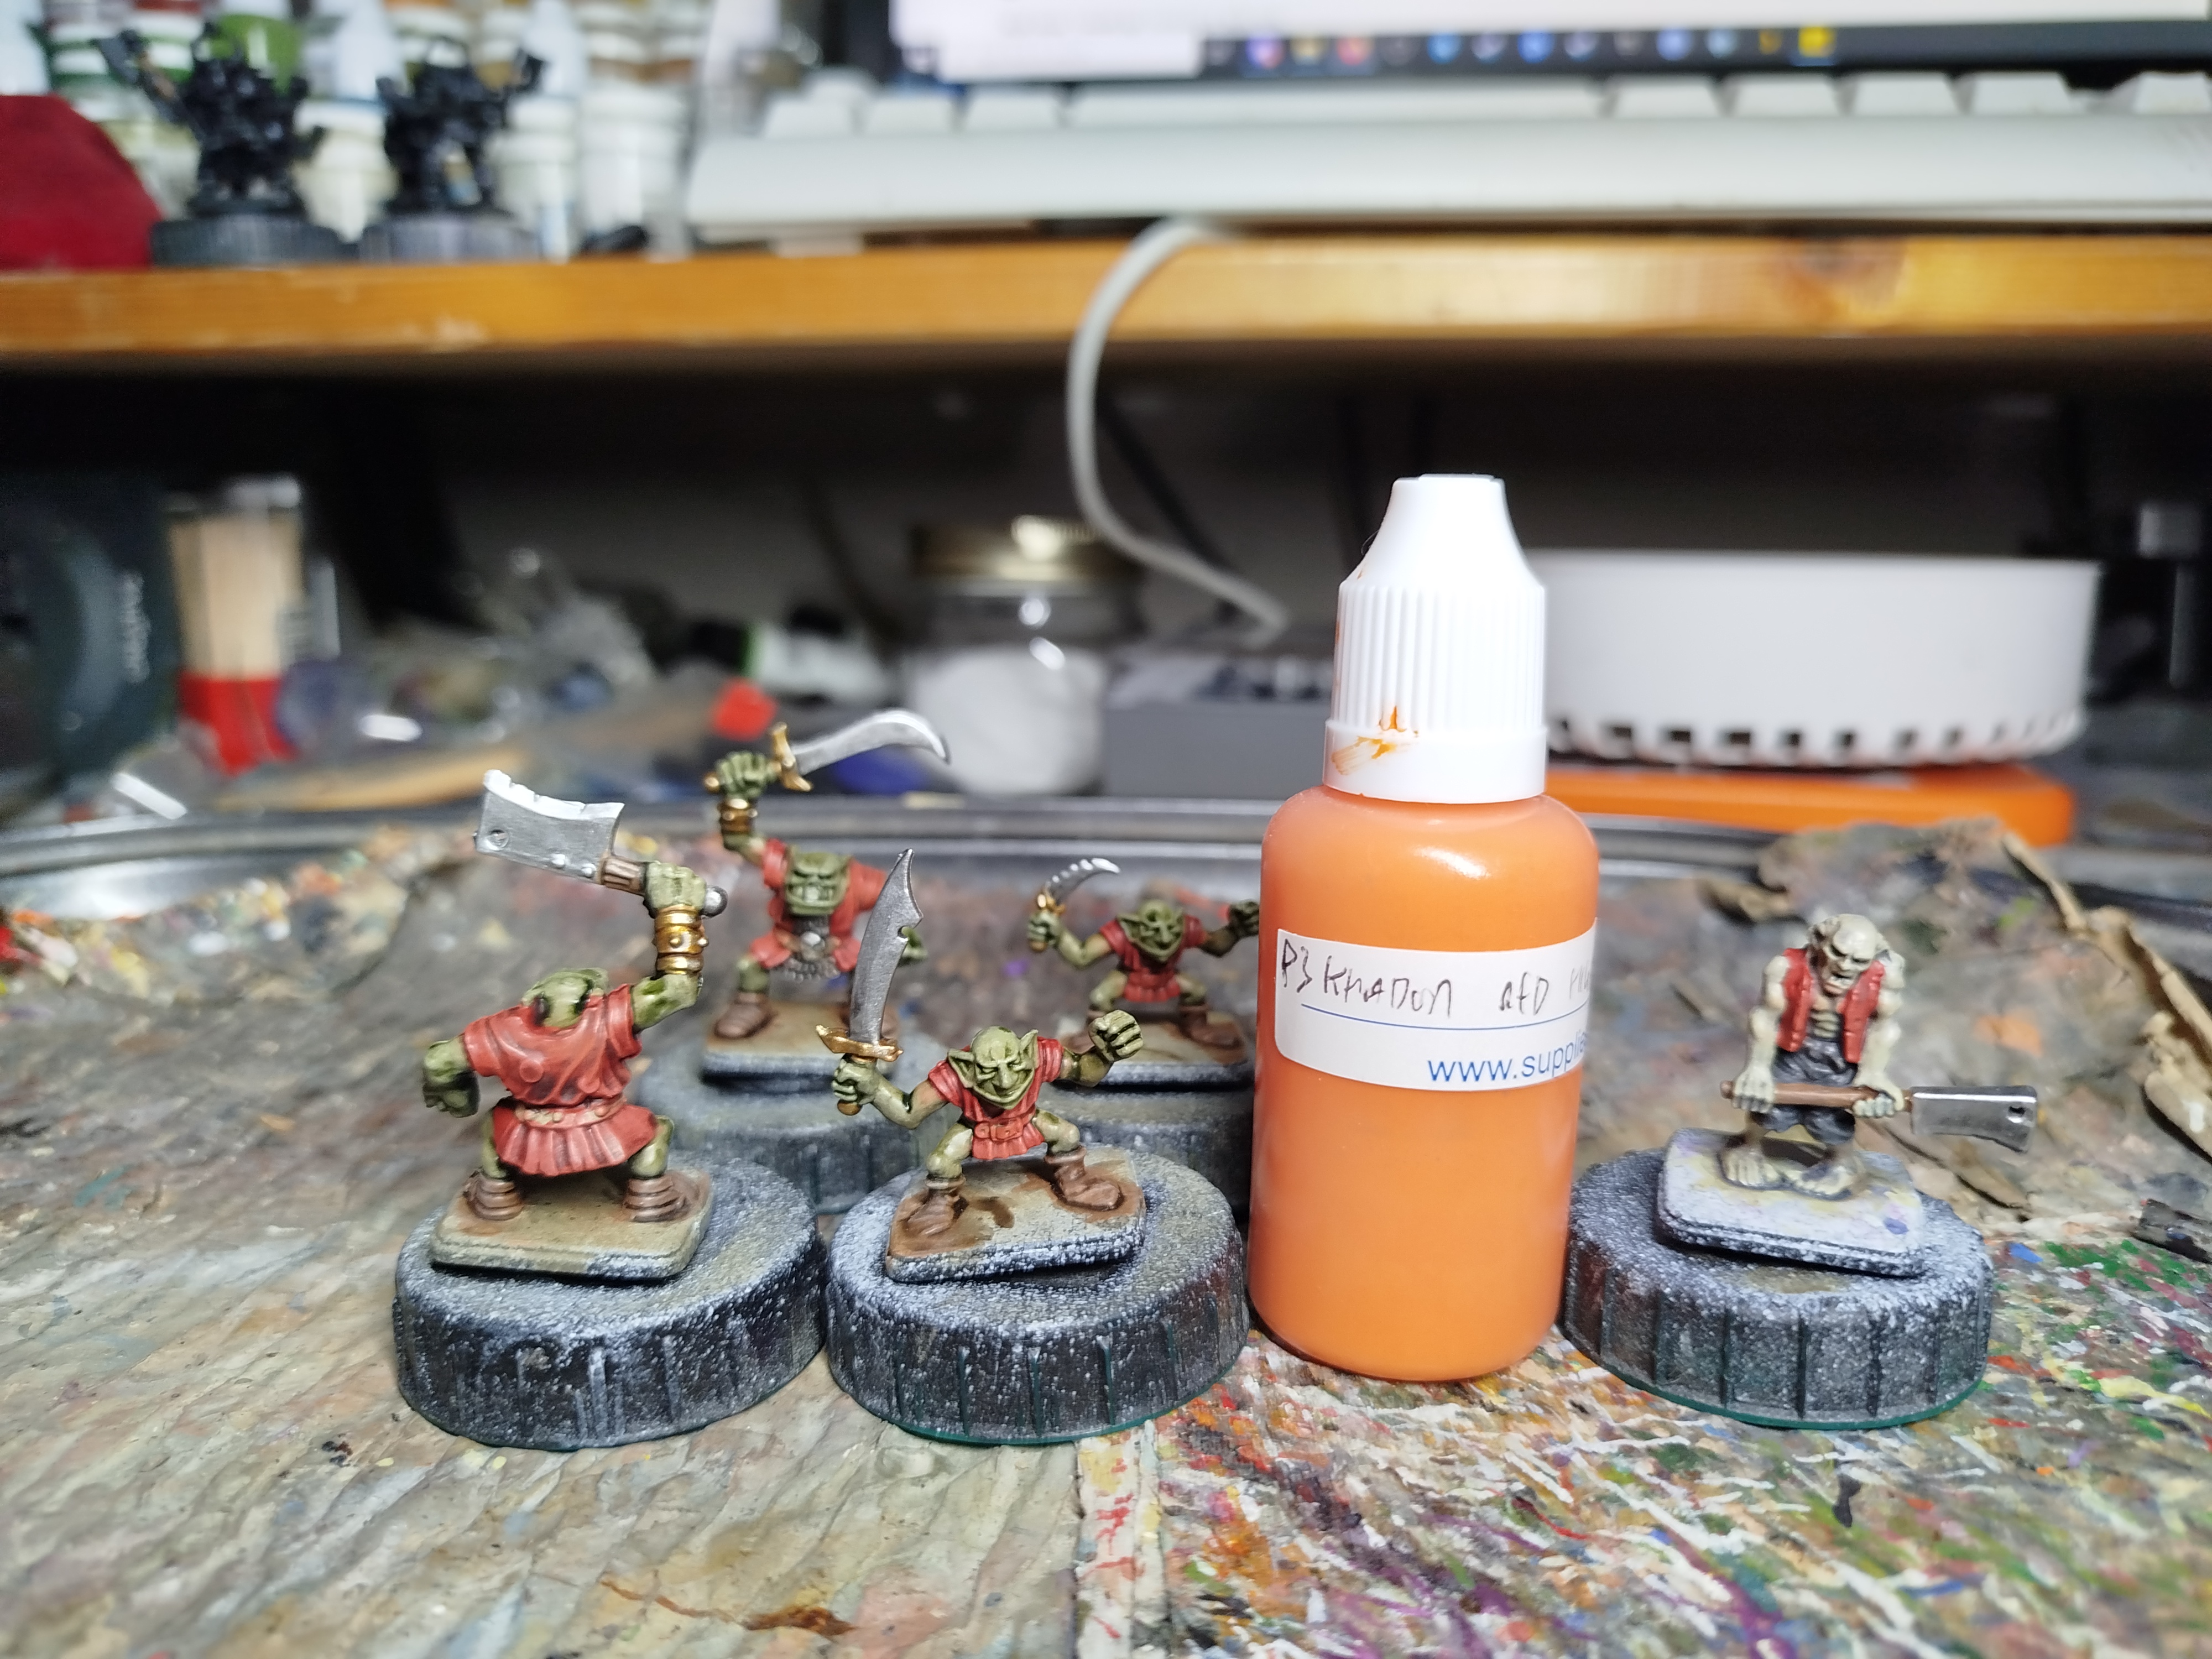 Second drybrush highlight, P3 Khador Red highlight
 All the furniture has now been primed.
I’ve tried to pick colours that will end up flat. Vibrant colours would pop more, but I feel like orcs that live in a dungeon would not be wearing bright, clean clothes.
This just leaves the eyes and teeth, and the zombie hear and all those minions are done. Next time I get a day to myself I think I’ll focus on the terrain. That should be relatively quick to get done as it’s mostly just textured wood, or stone. Sadly, friends expect me to be sociable this weekend so no progress will be made for a while. See you in two weeks.
Week 3 Update
I’ve been real bad about updating this project, but I have been working on it! I didn’t have much free time in week 3 as I was dragged away all weekend to play games with friends. We tried Resident Evil 2 as our next campaign game. We played 2 missions to give it a fair shot, but we just didn’t like it. There’s some major design flaws, like all the art is so dark you’re just playing on a black grid. It also feels like the dice are too in charge and there’s no mechanic to let you try and swing things your way. I know its a horror game and things should always be hard, but it feels too hard because the dice are too swingy. When you can make all the right decisions and still lose, a game can stop feeling fun. Also, we had a long stretch where people weren’t doing anything but walking as they were too far away from the action, and they got bored. It definitely feels like a writers first board game.
Next time we start Frosthaven. If anyone still wants to buy a Kickstarter RE2 bundle let me know. I have a friend who probably wants to sell his barely touched copy.
Anyway, on to the painting.
 Belts and straps base coated
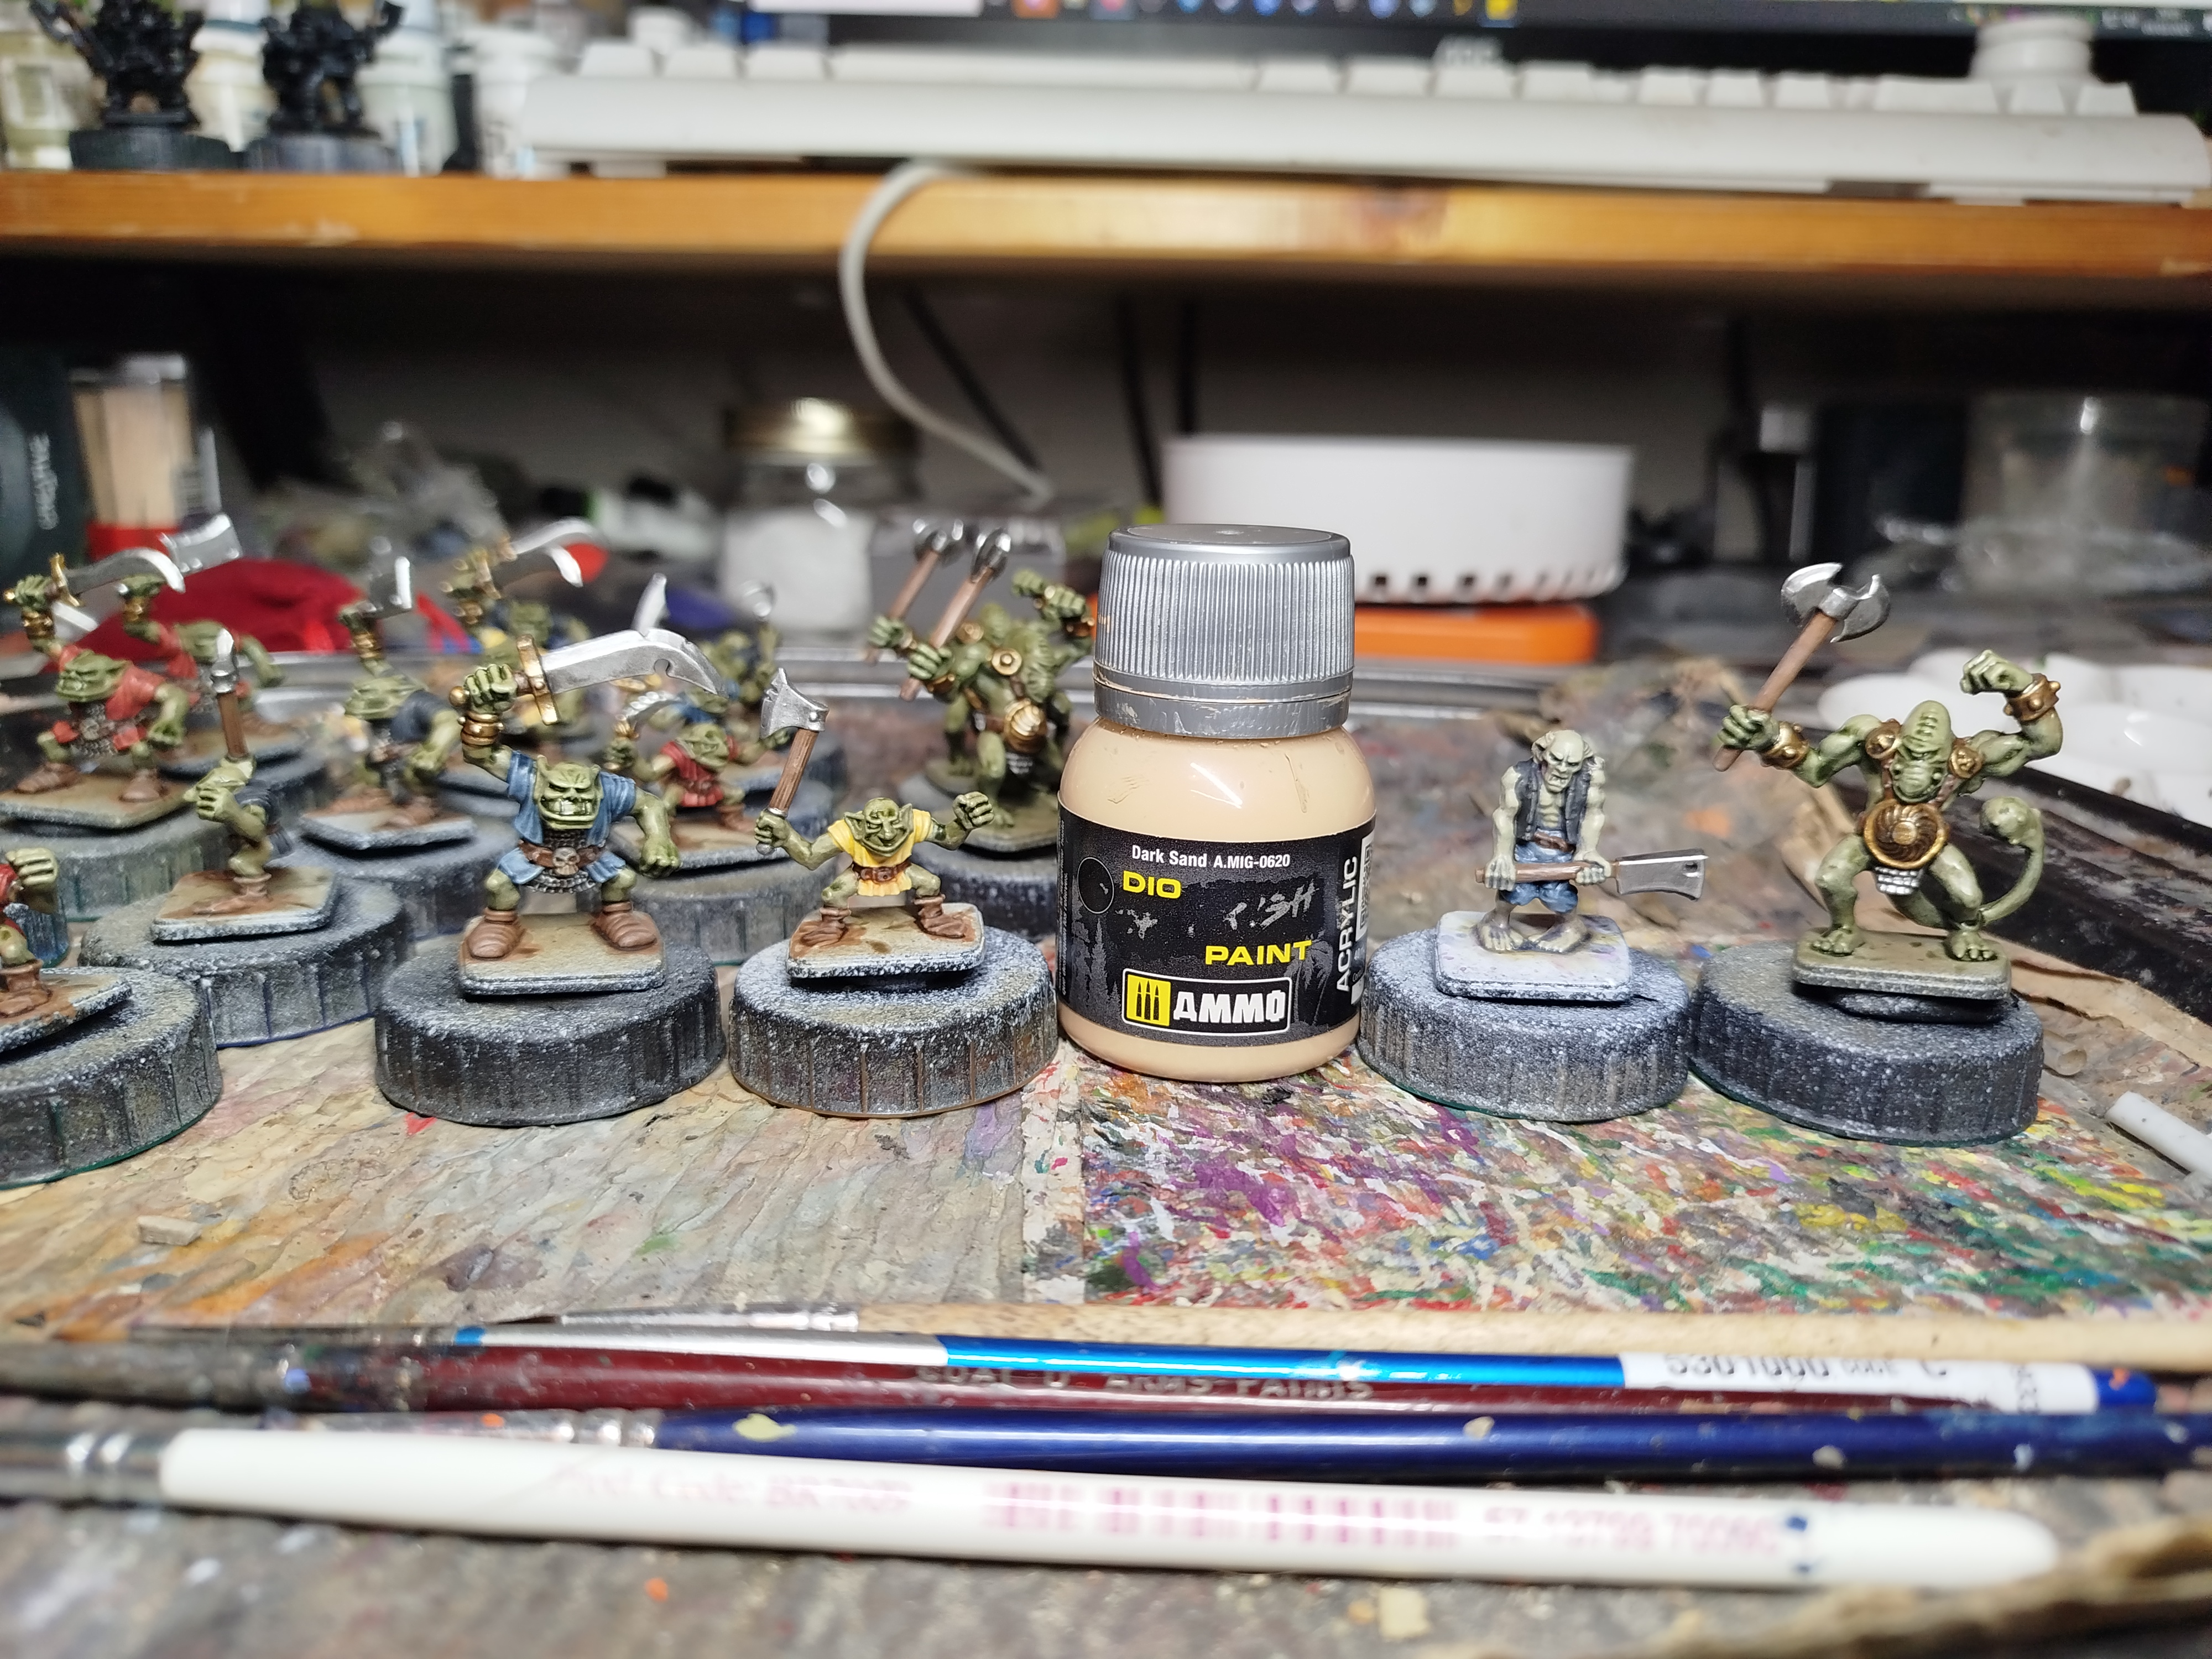 Drybrushed carefully
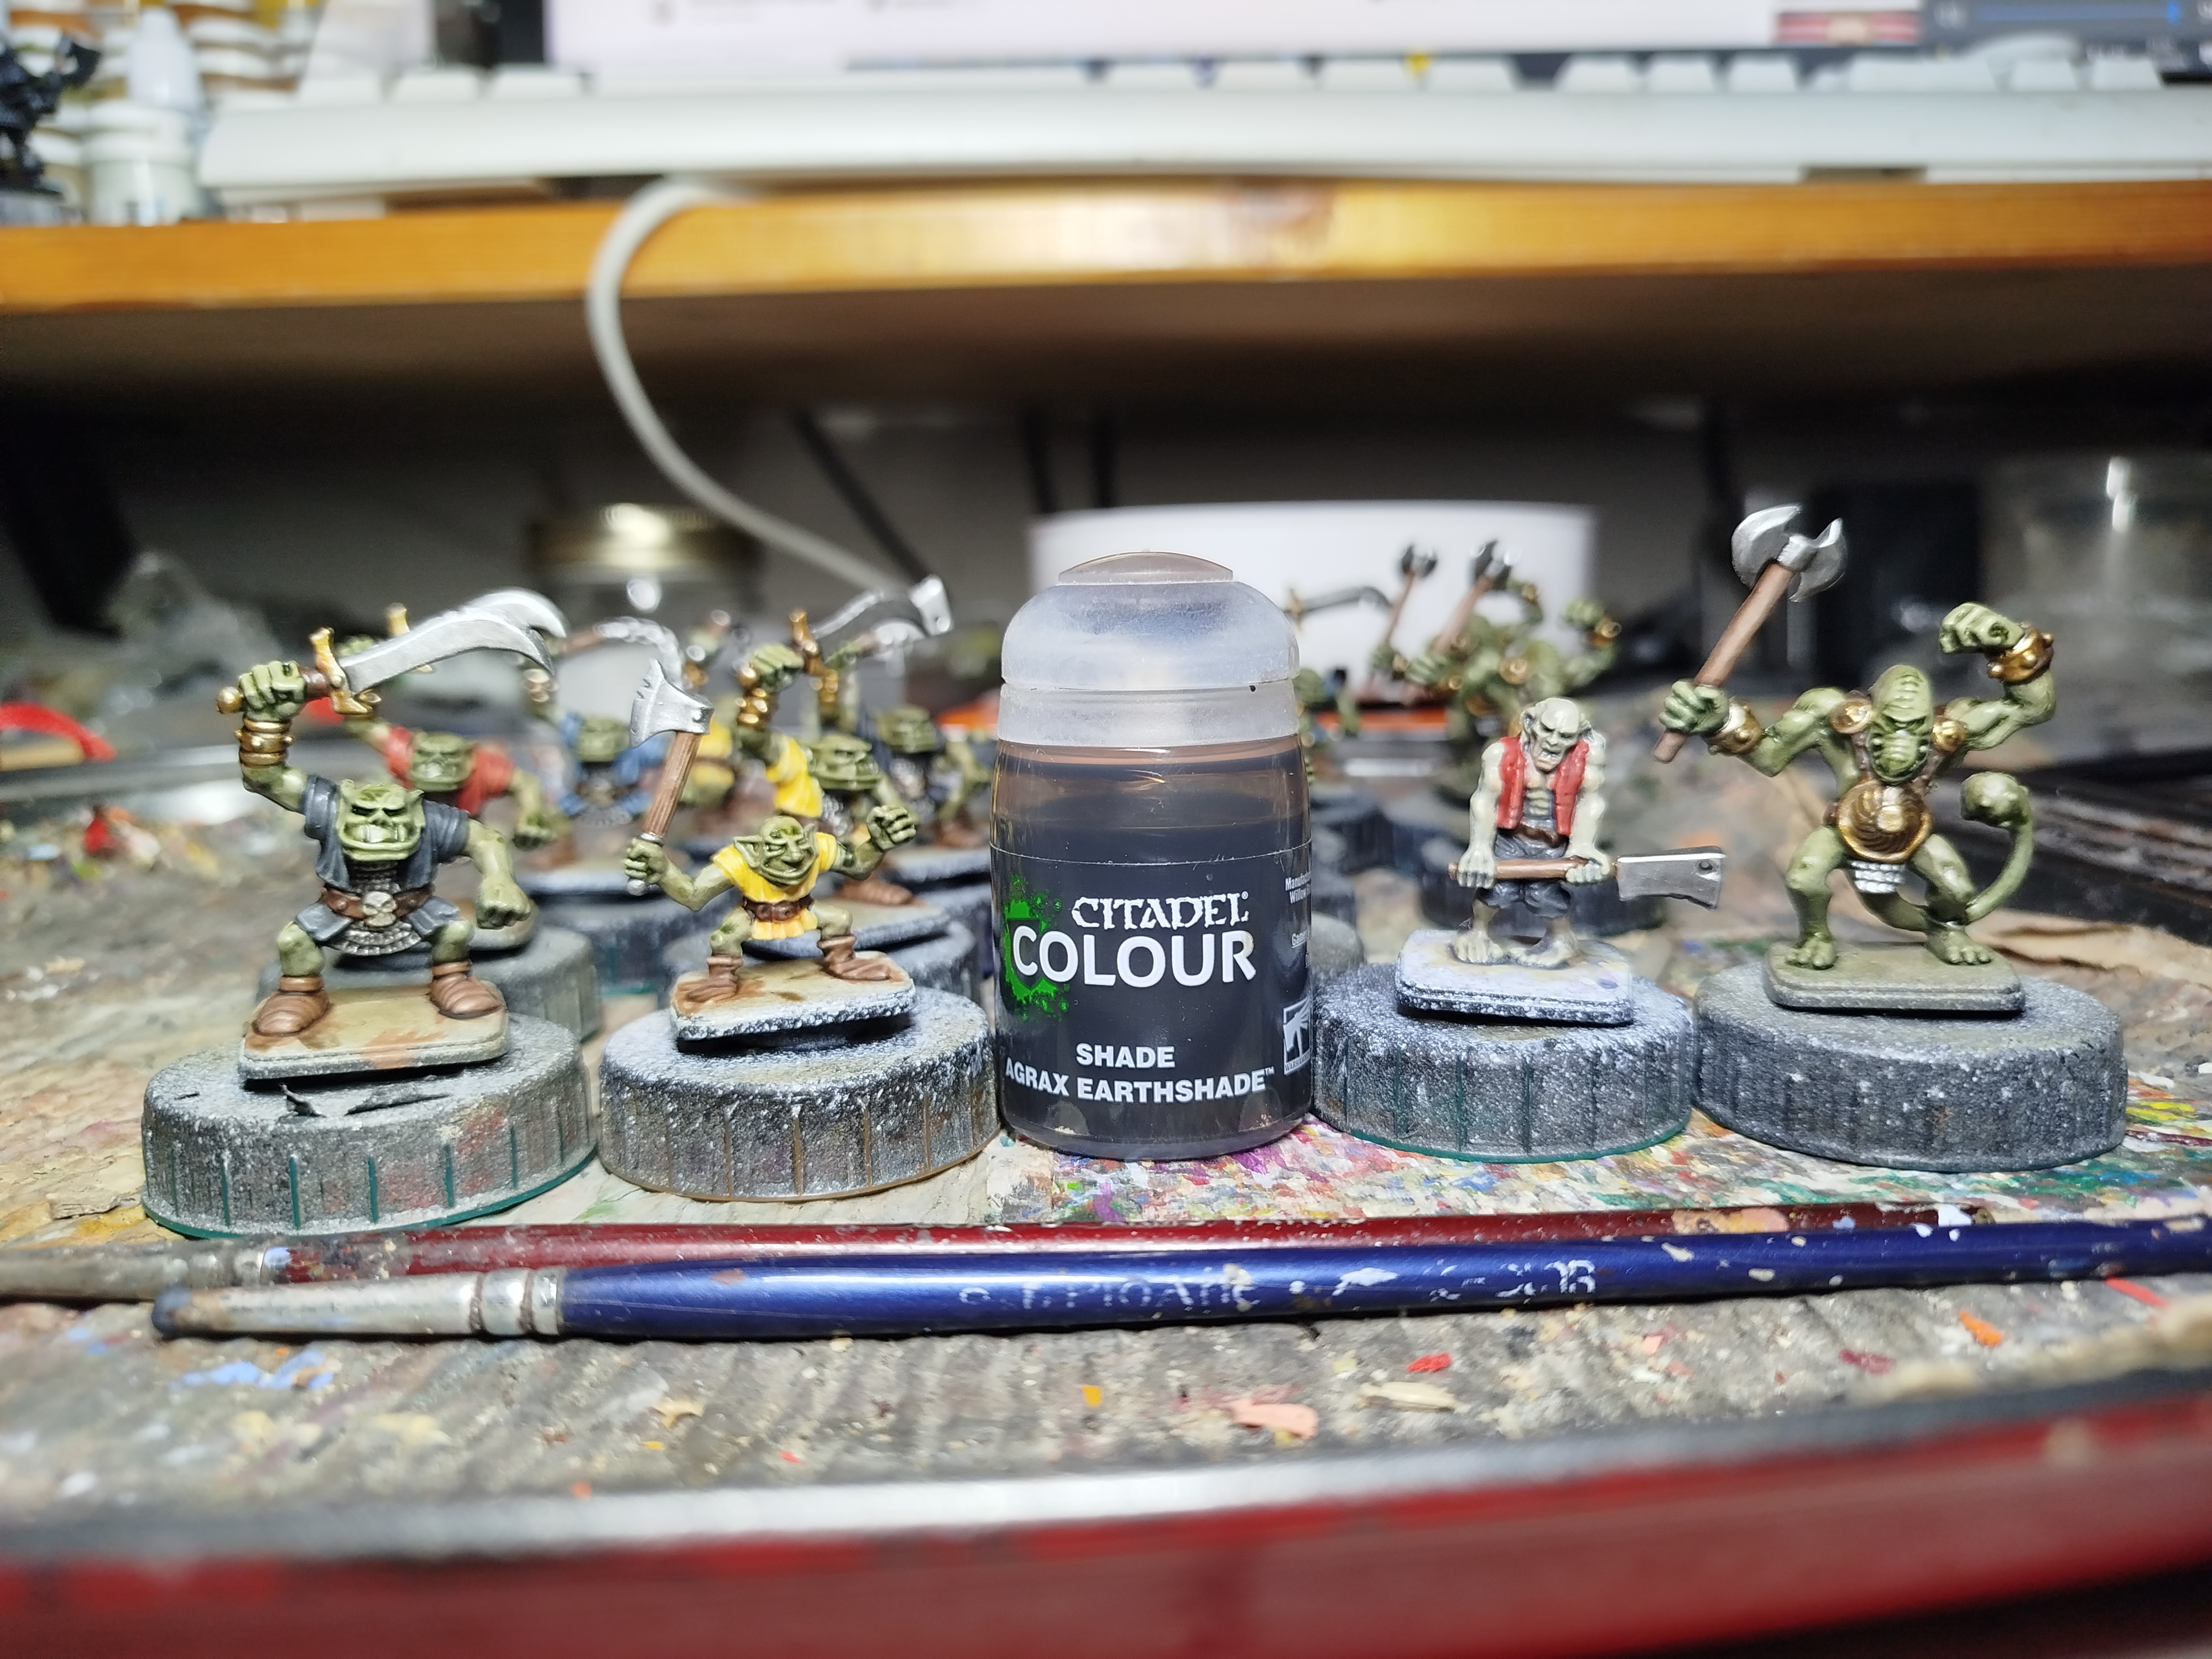 Washed
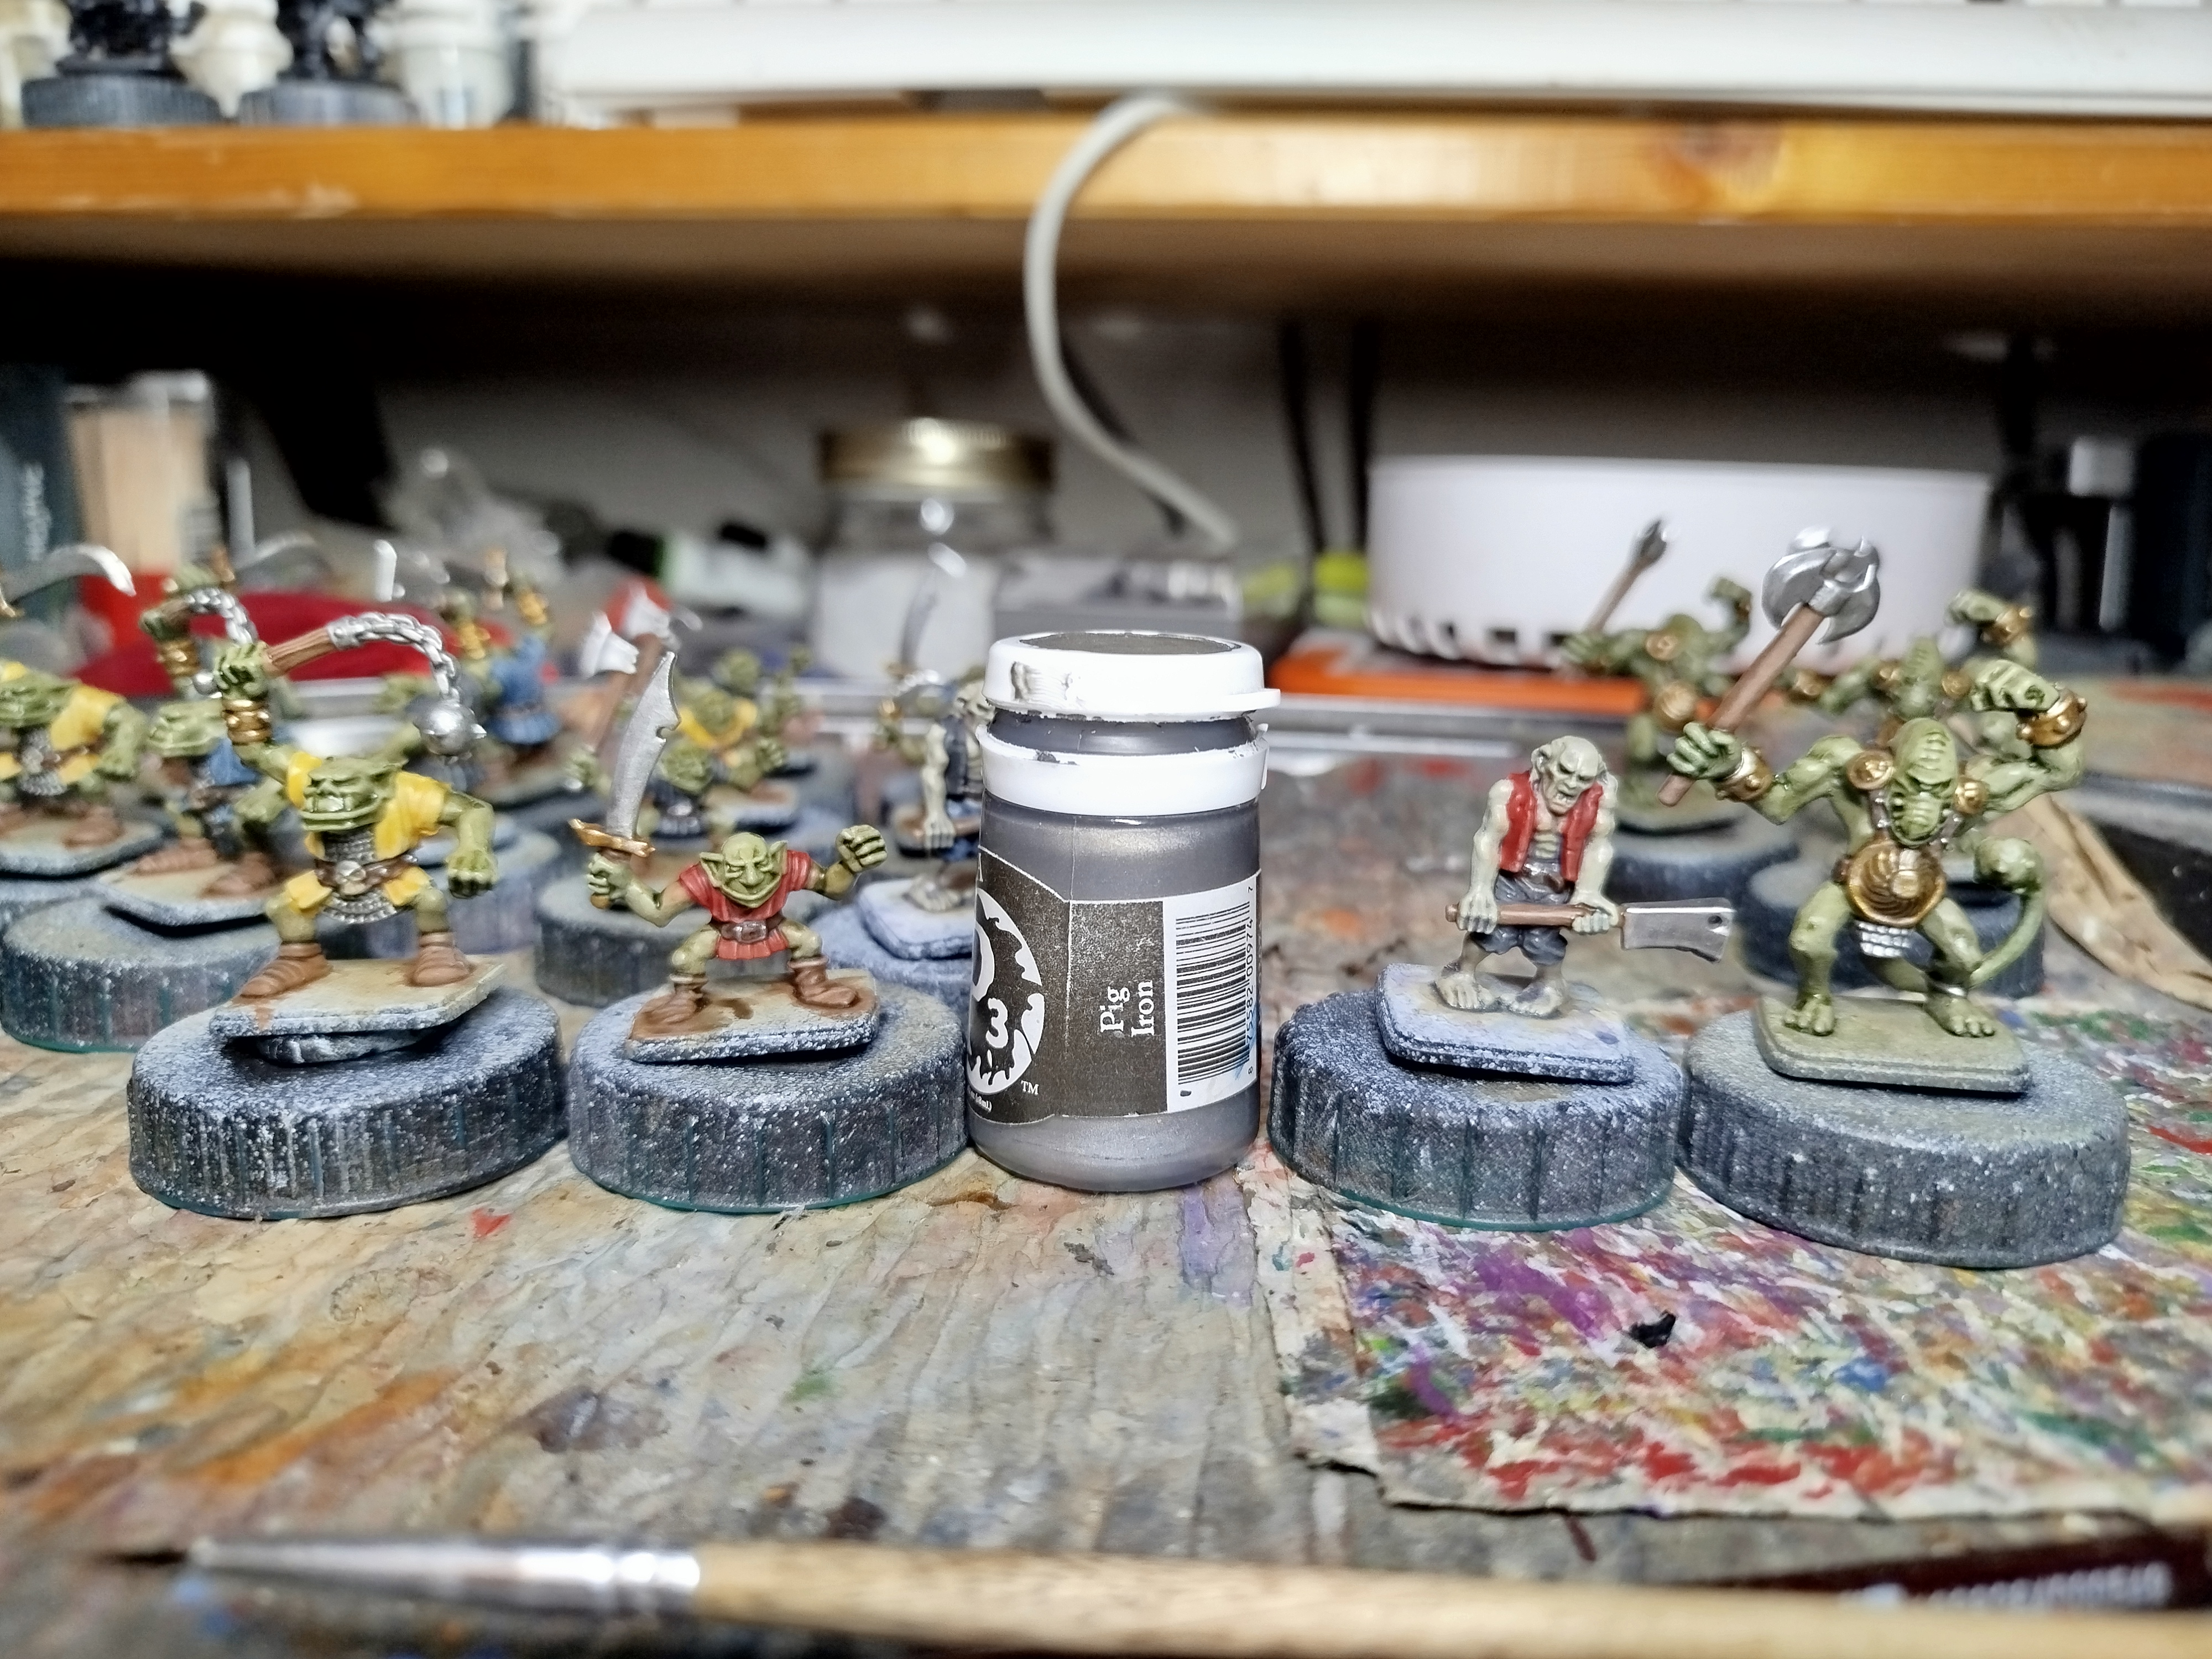 Buckles and studs base coated
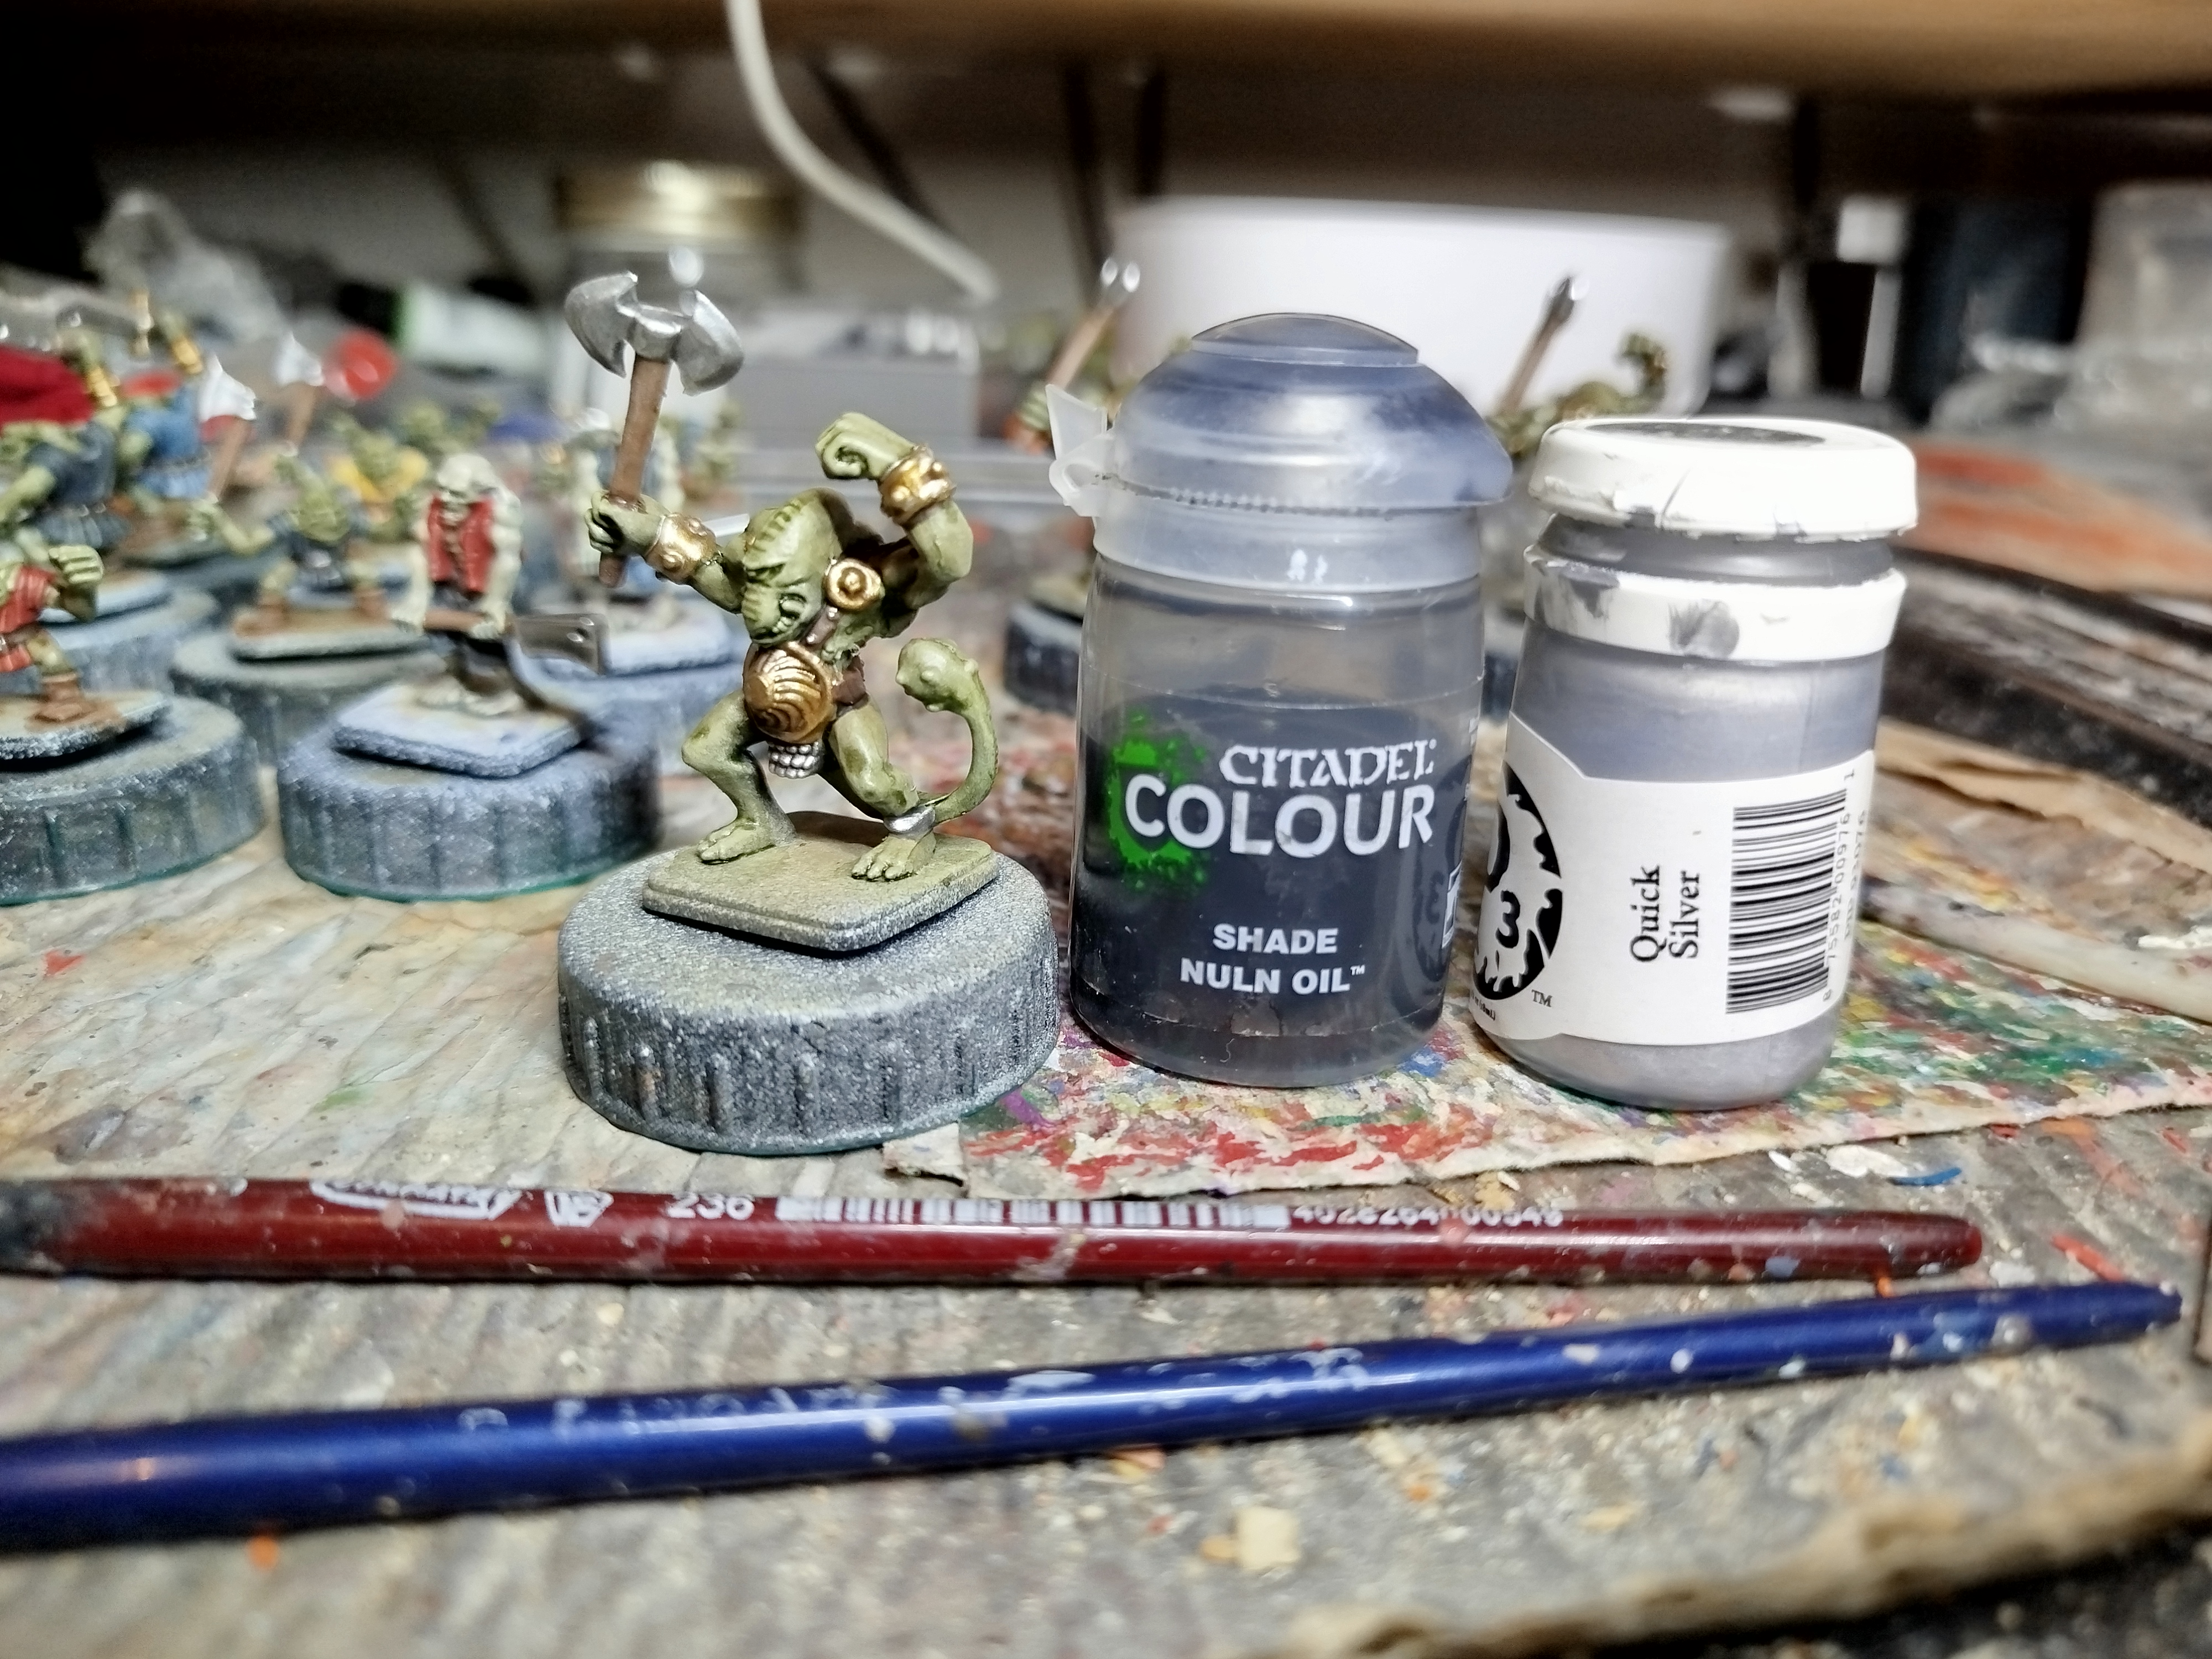 Washed, then highlighted.
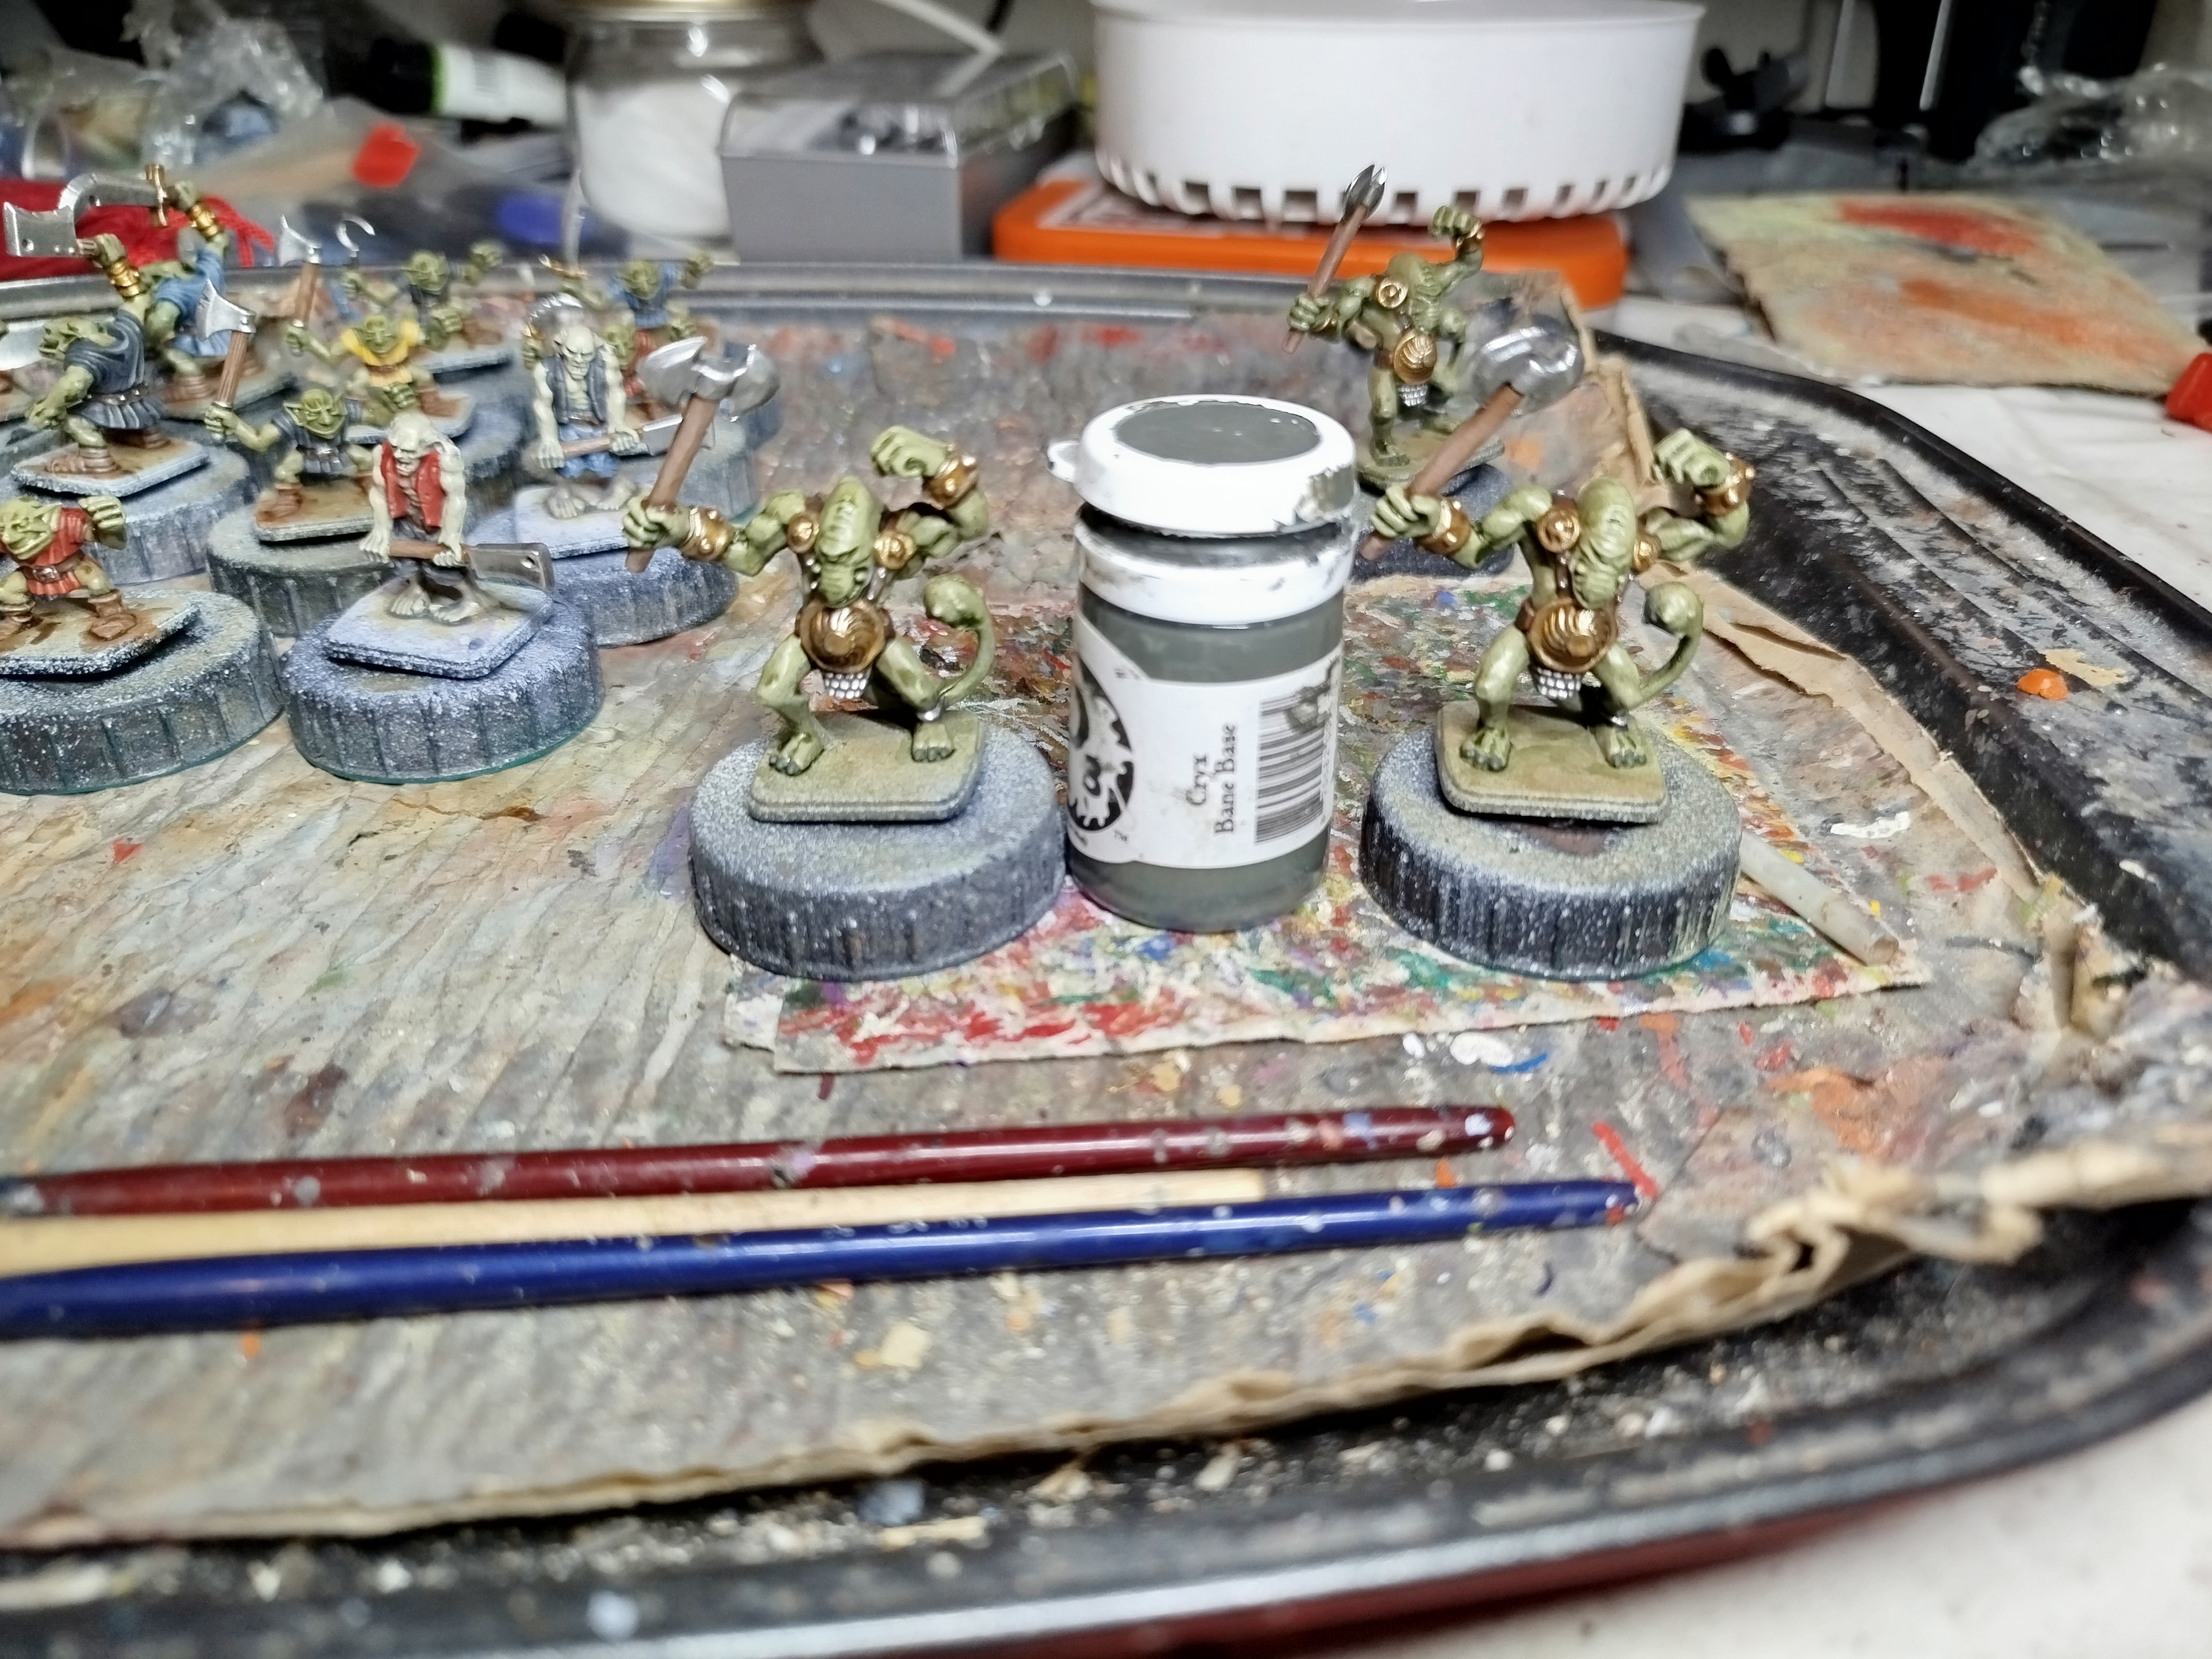 Base coat toenails and claws
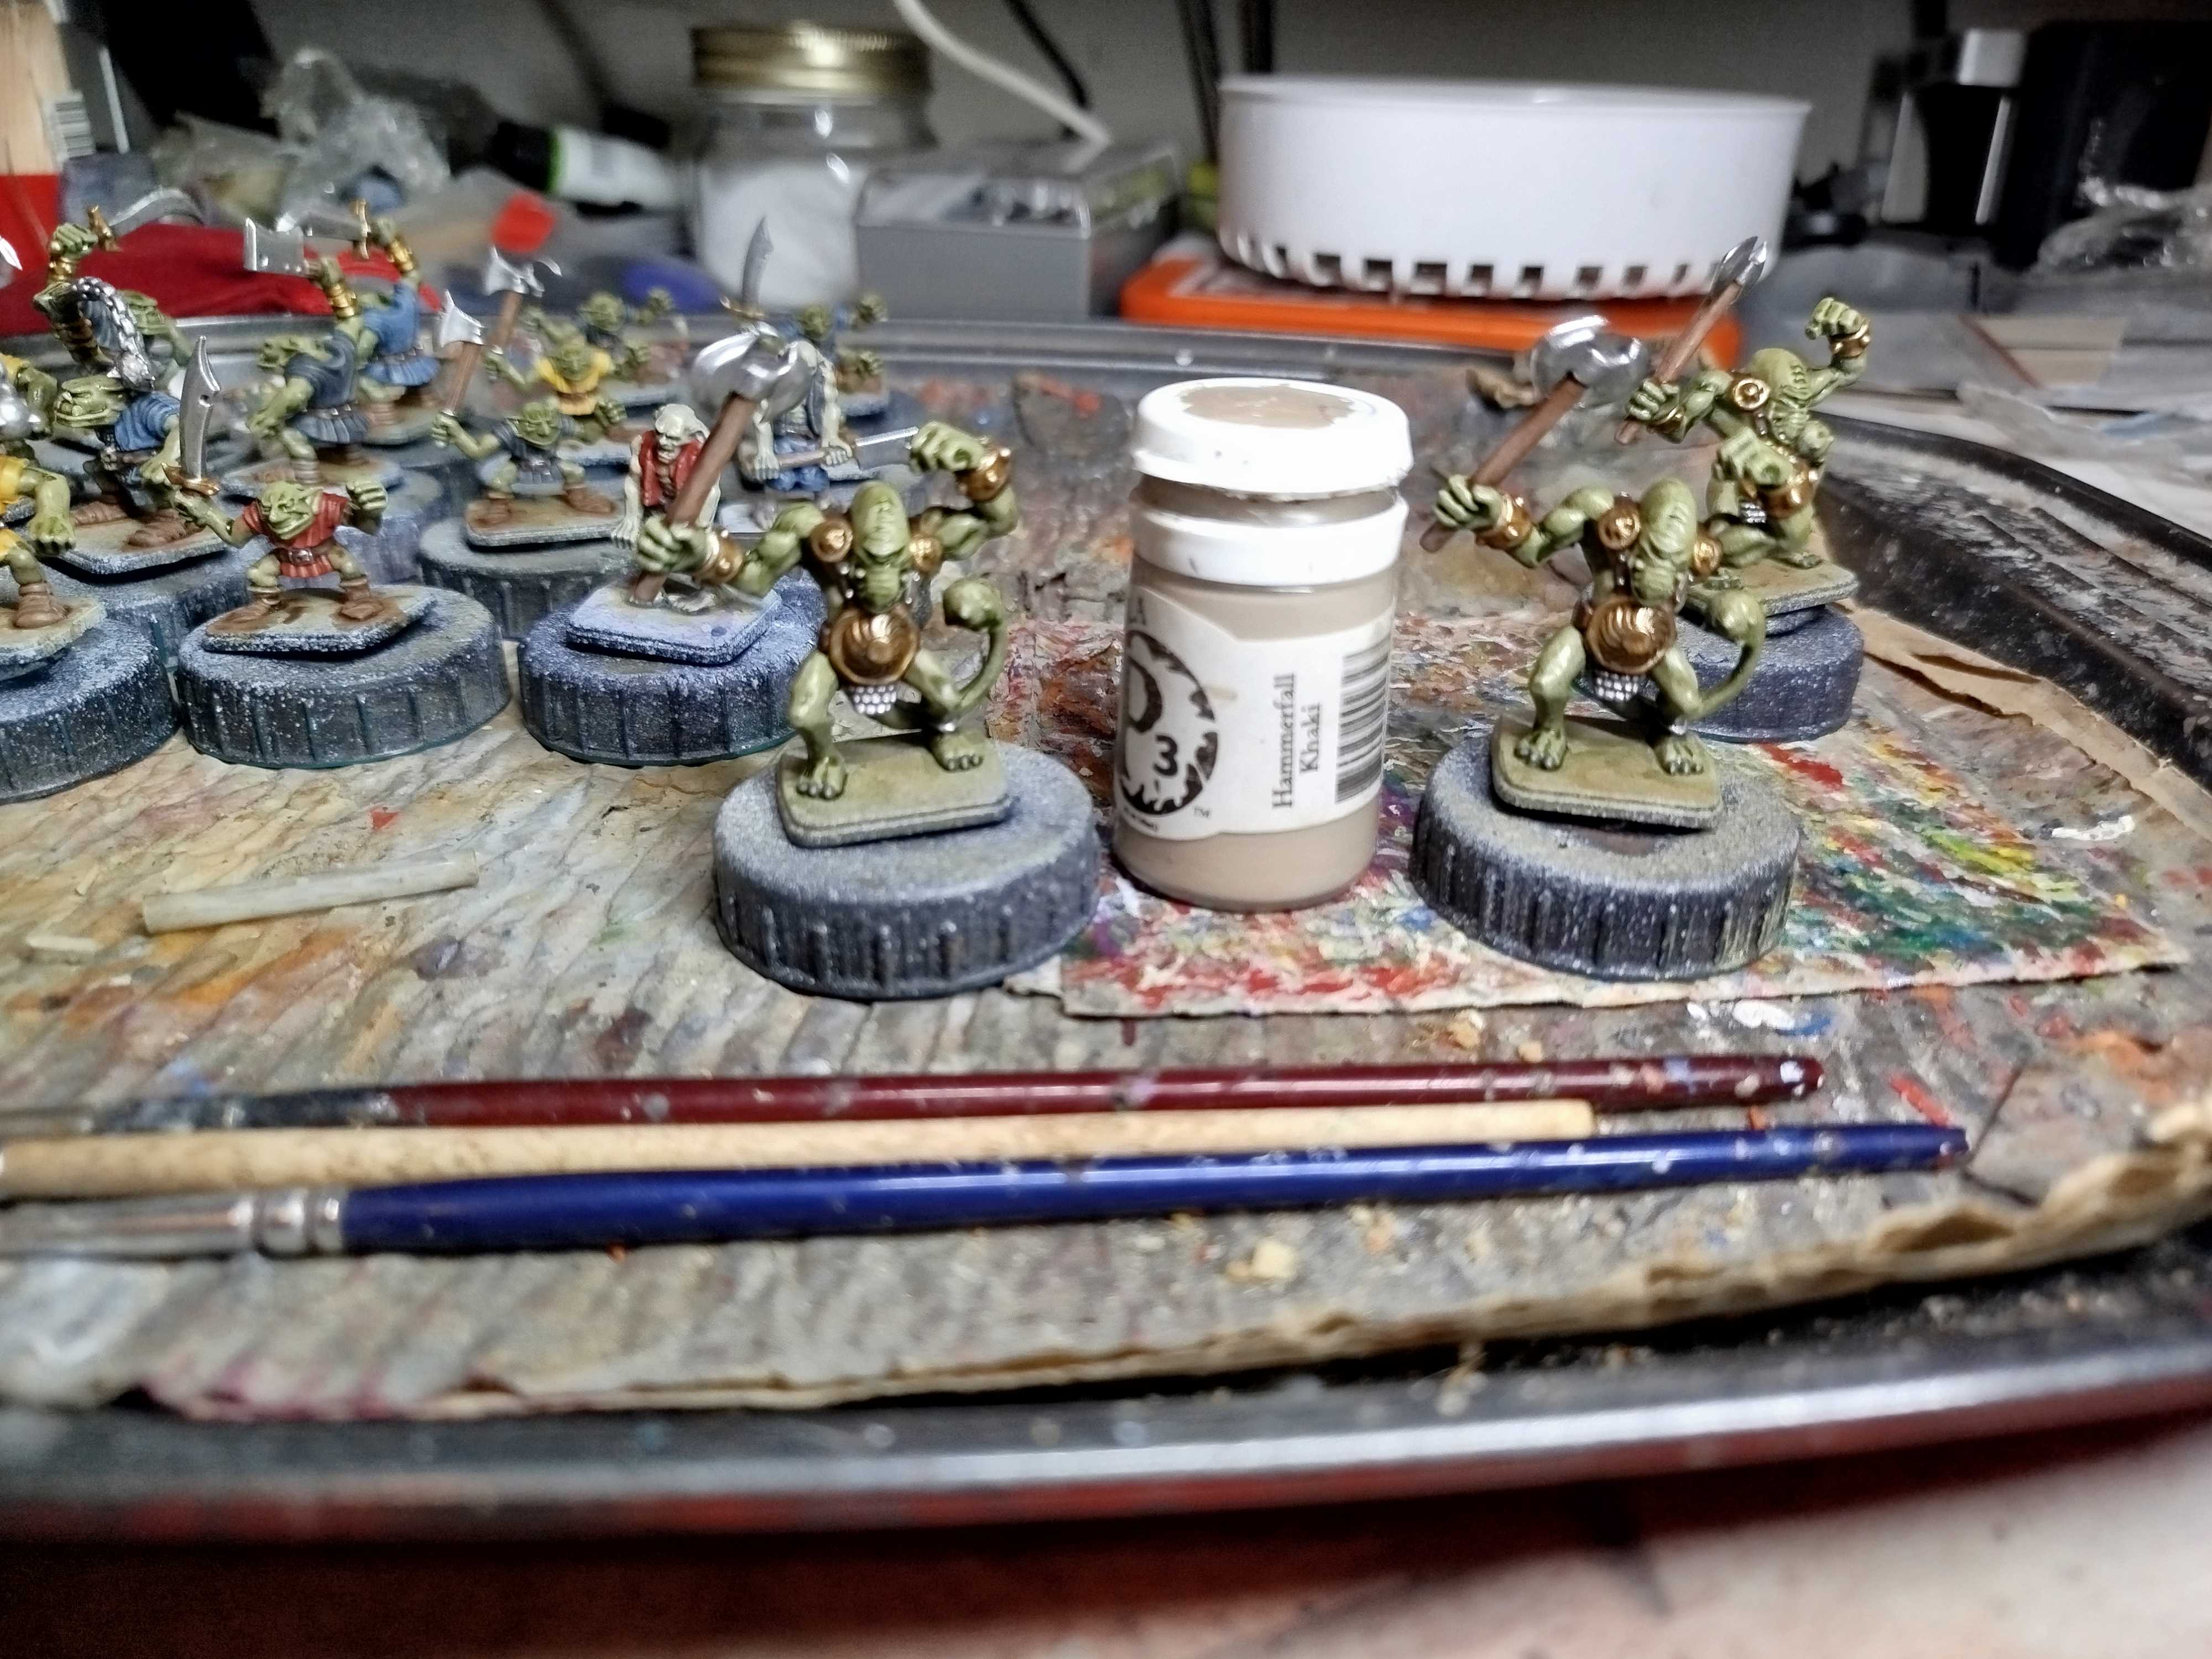 Drybrush
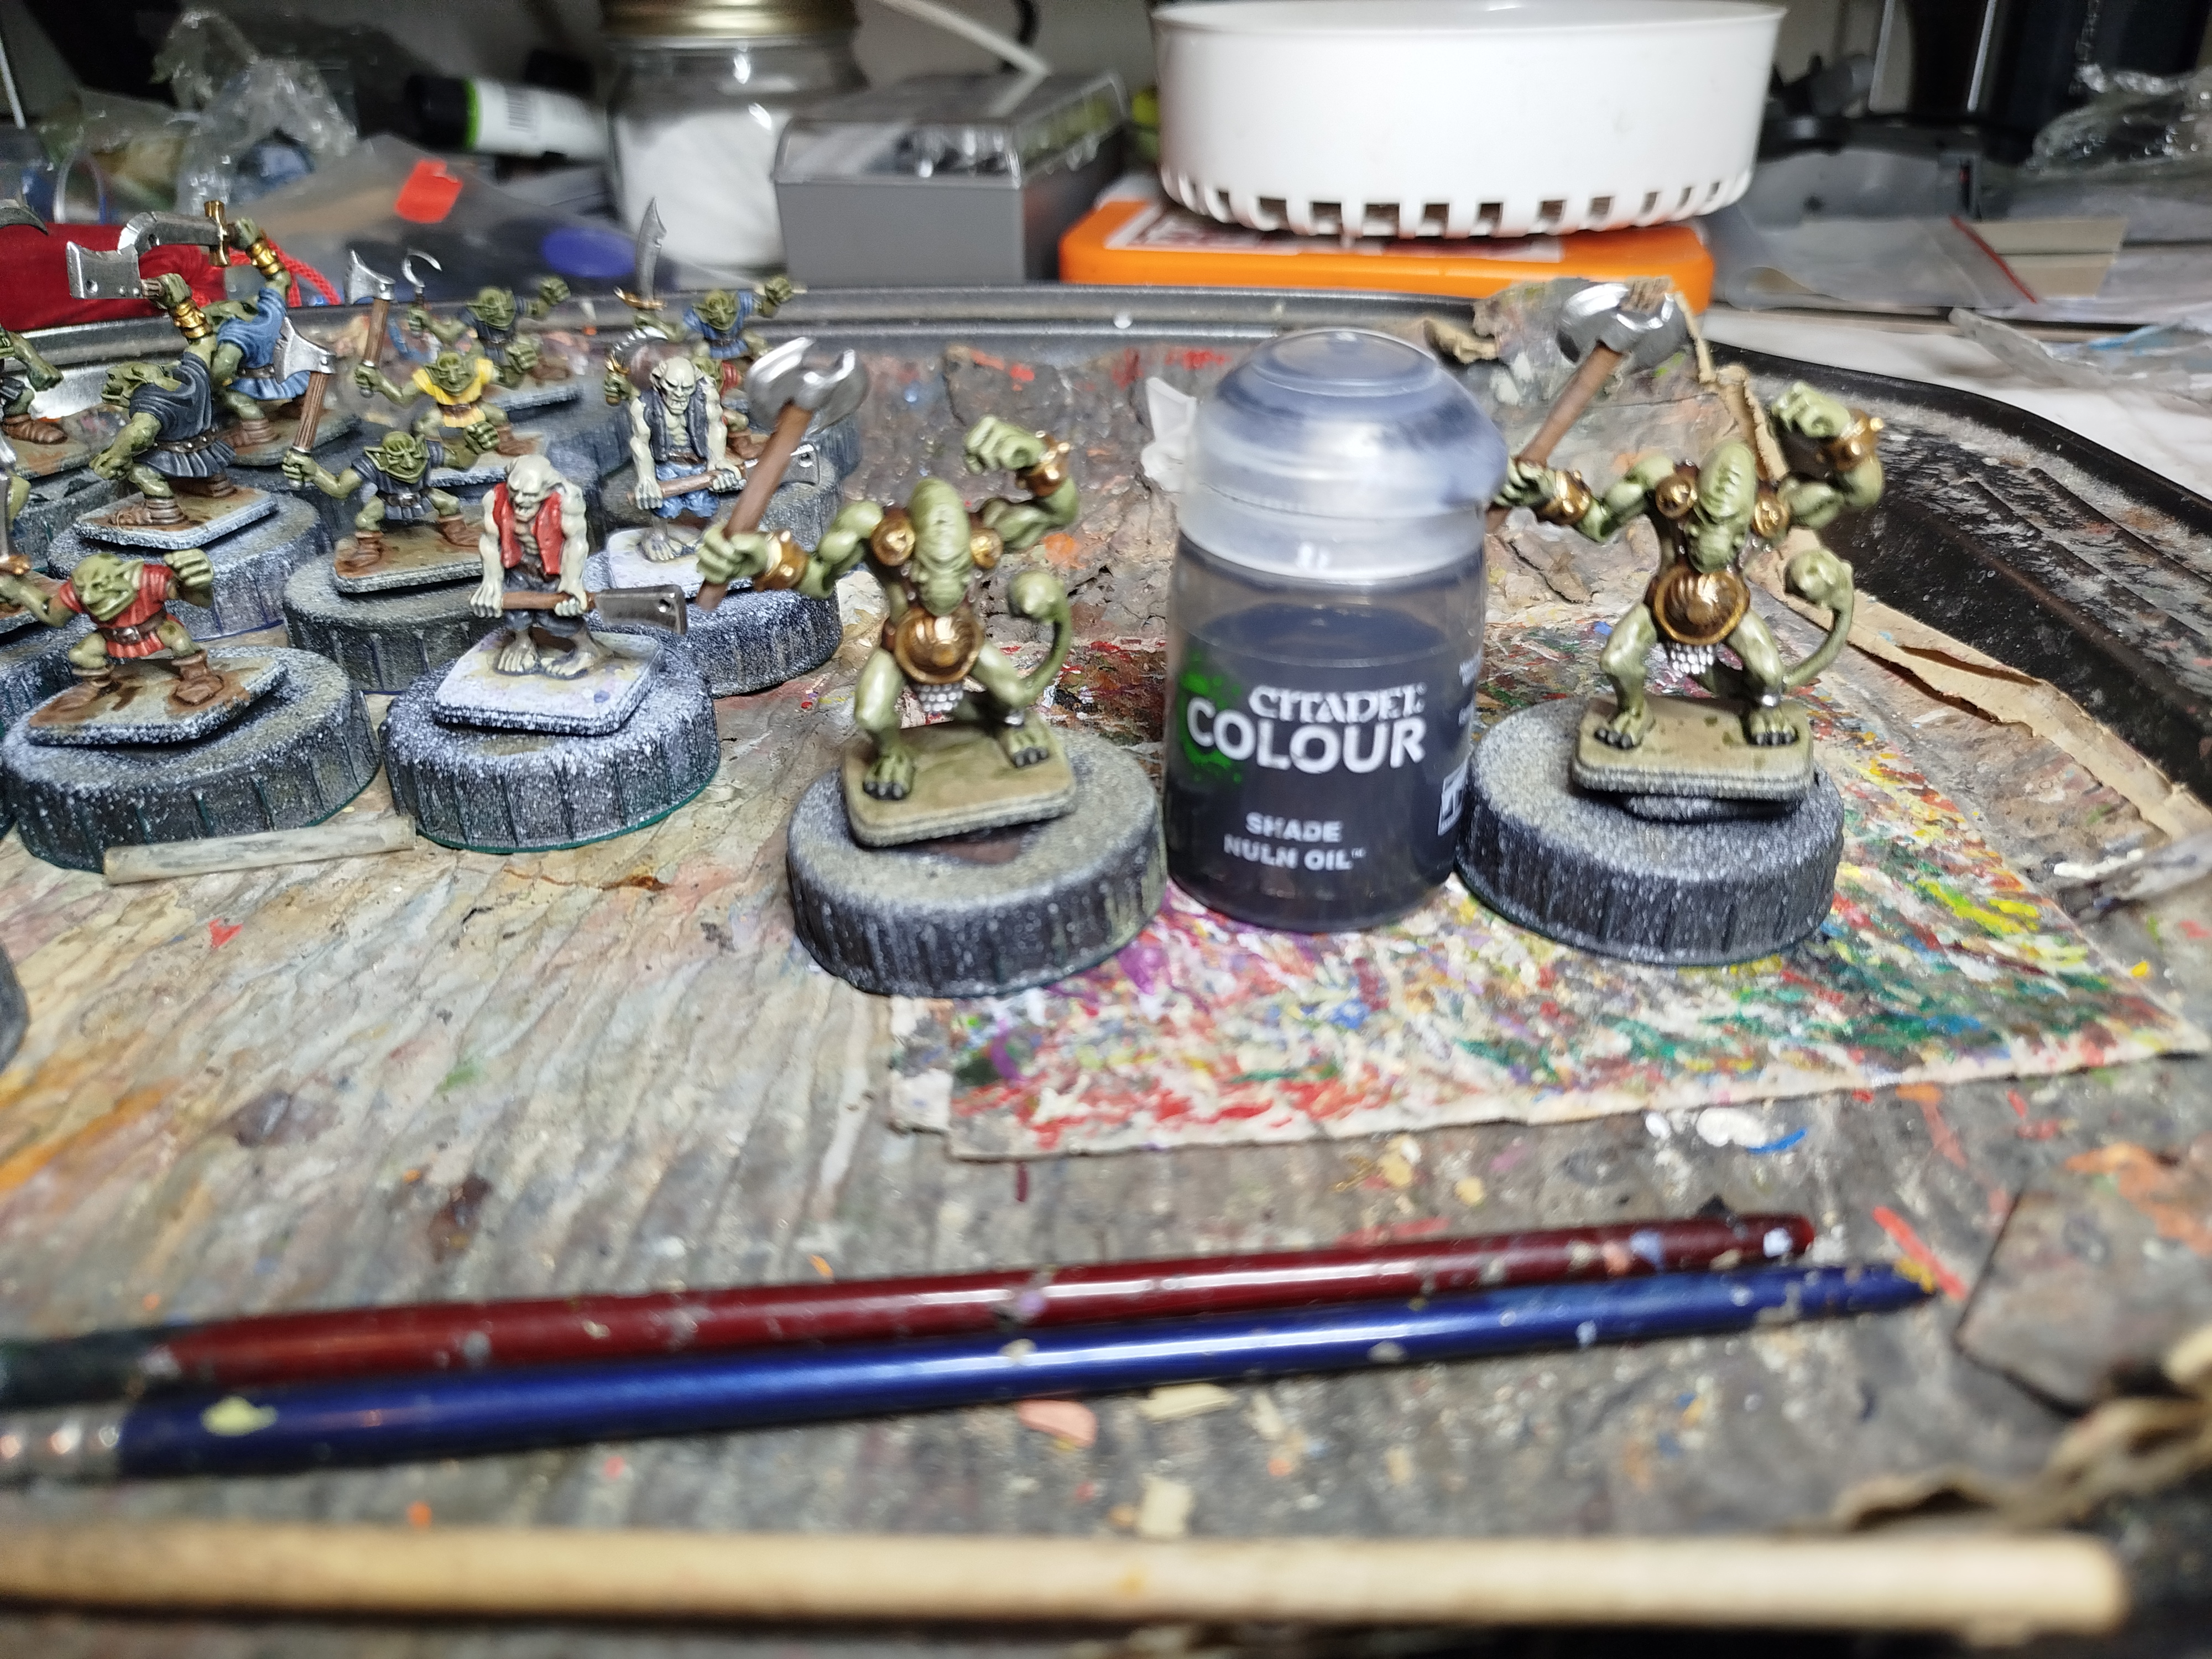 Wash
WashWeek 4 Part 1: A More Productive Week!
 Base coat the hair
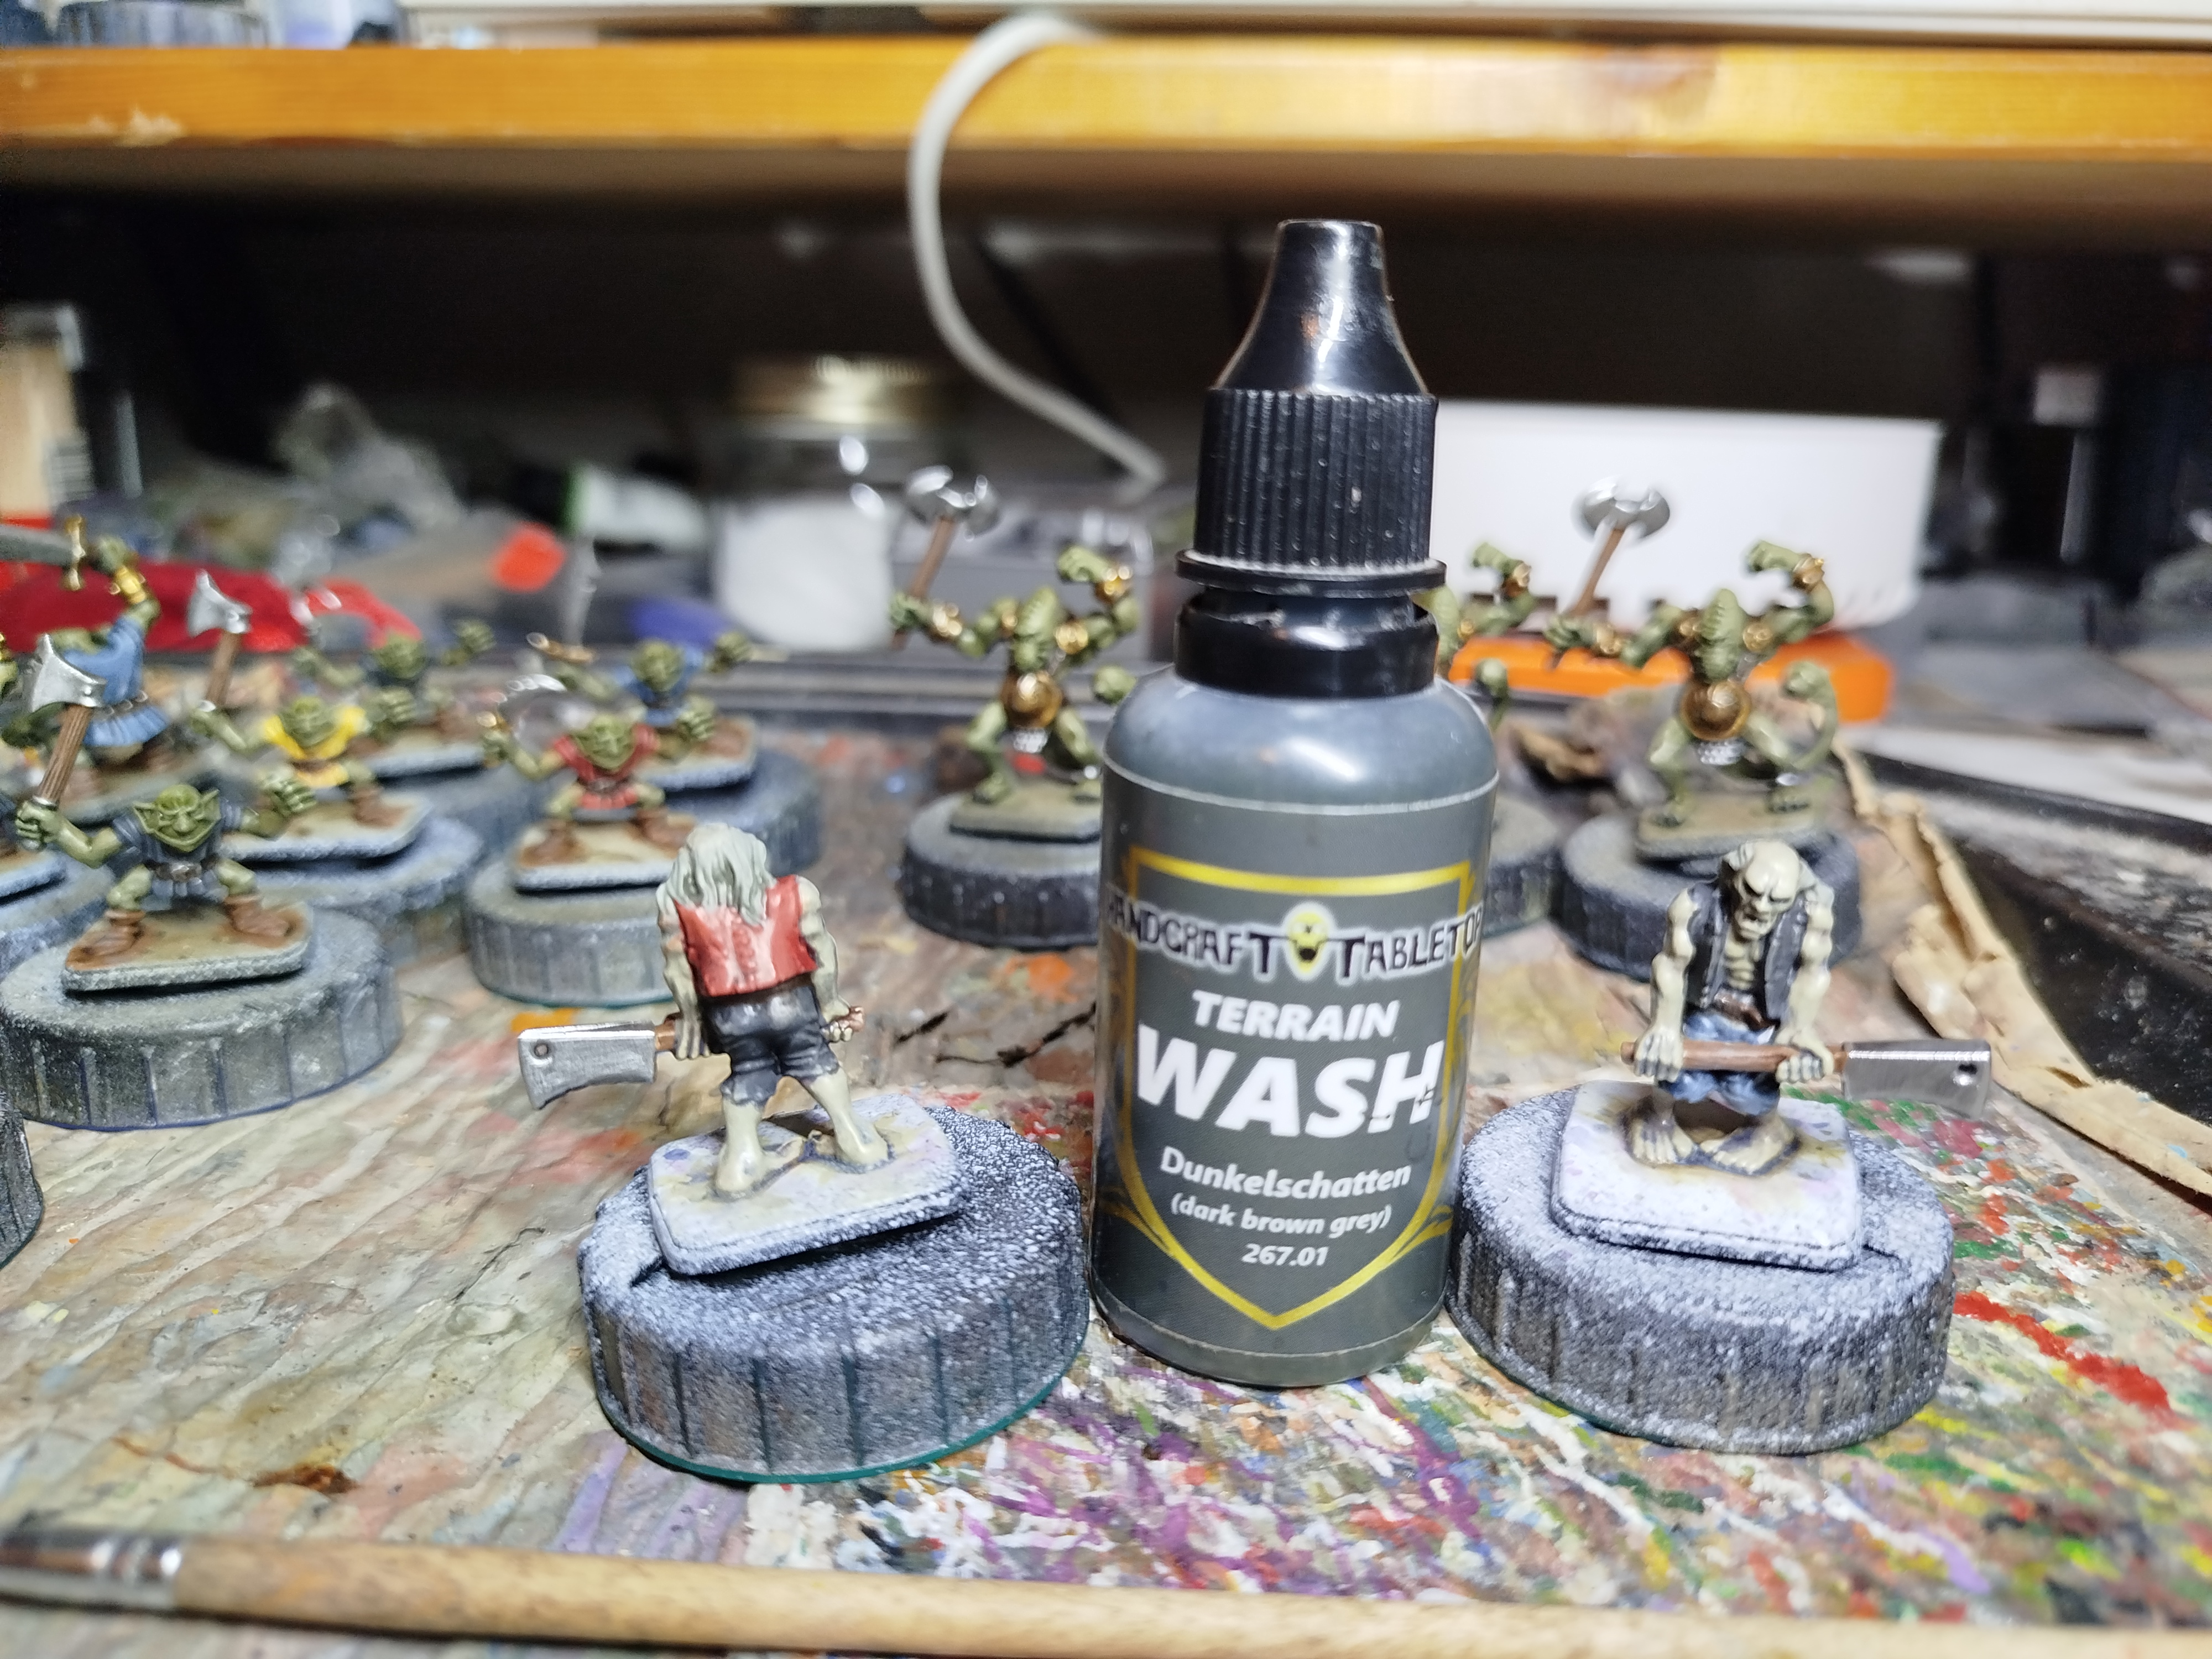 Wash
Wash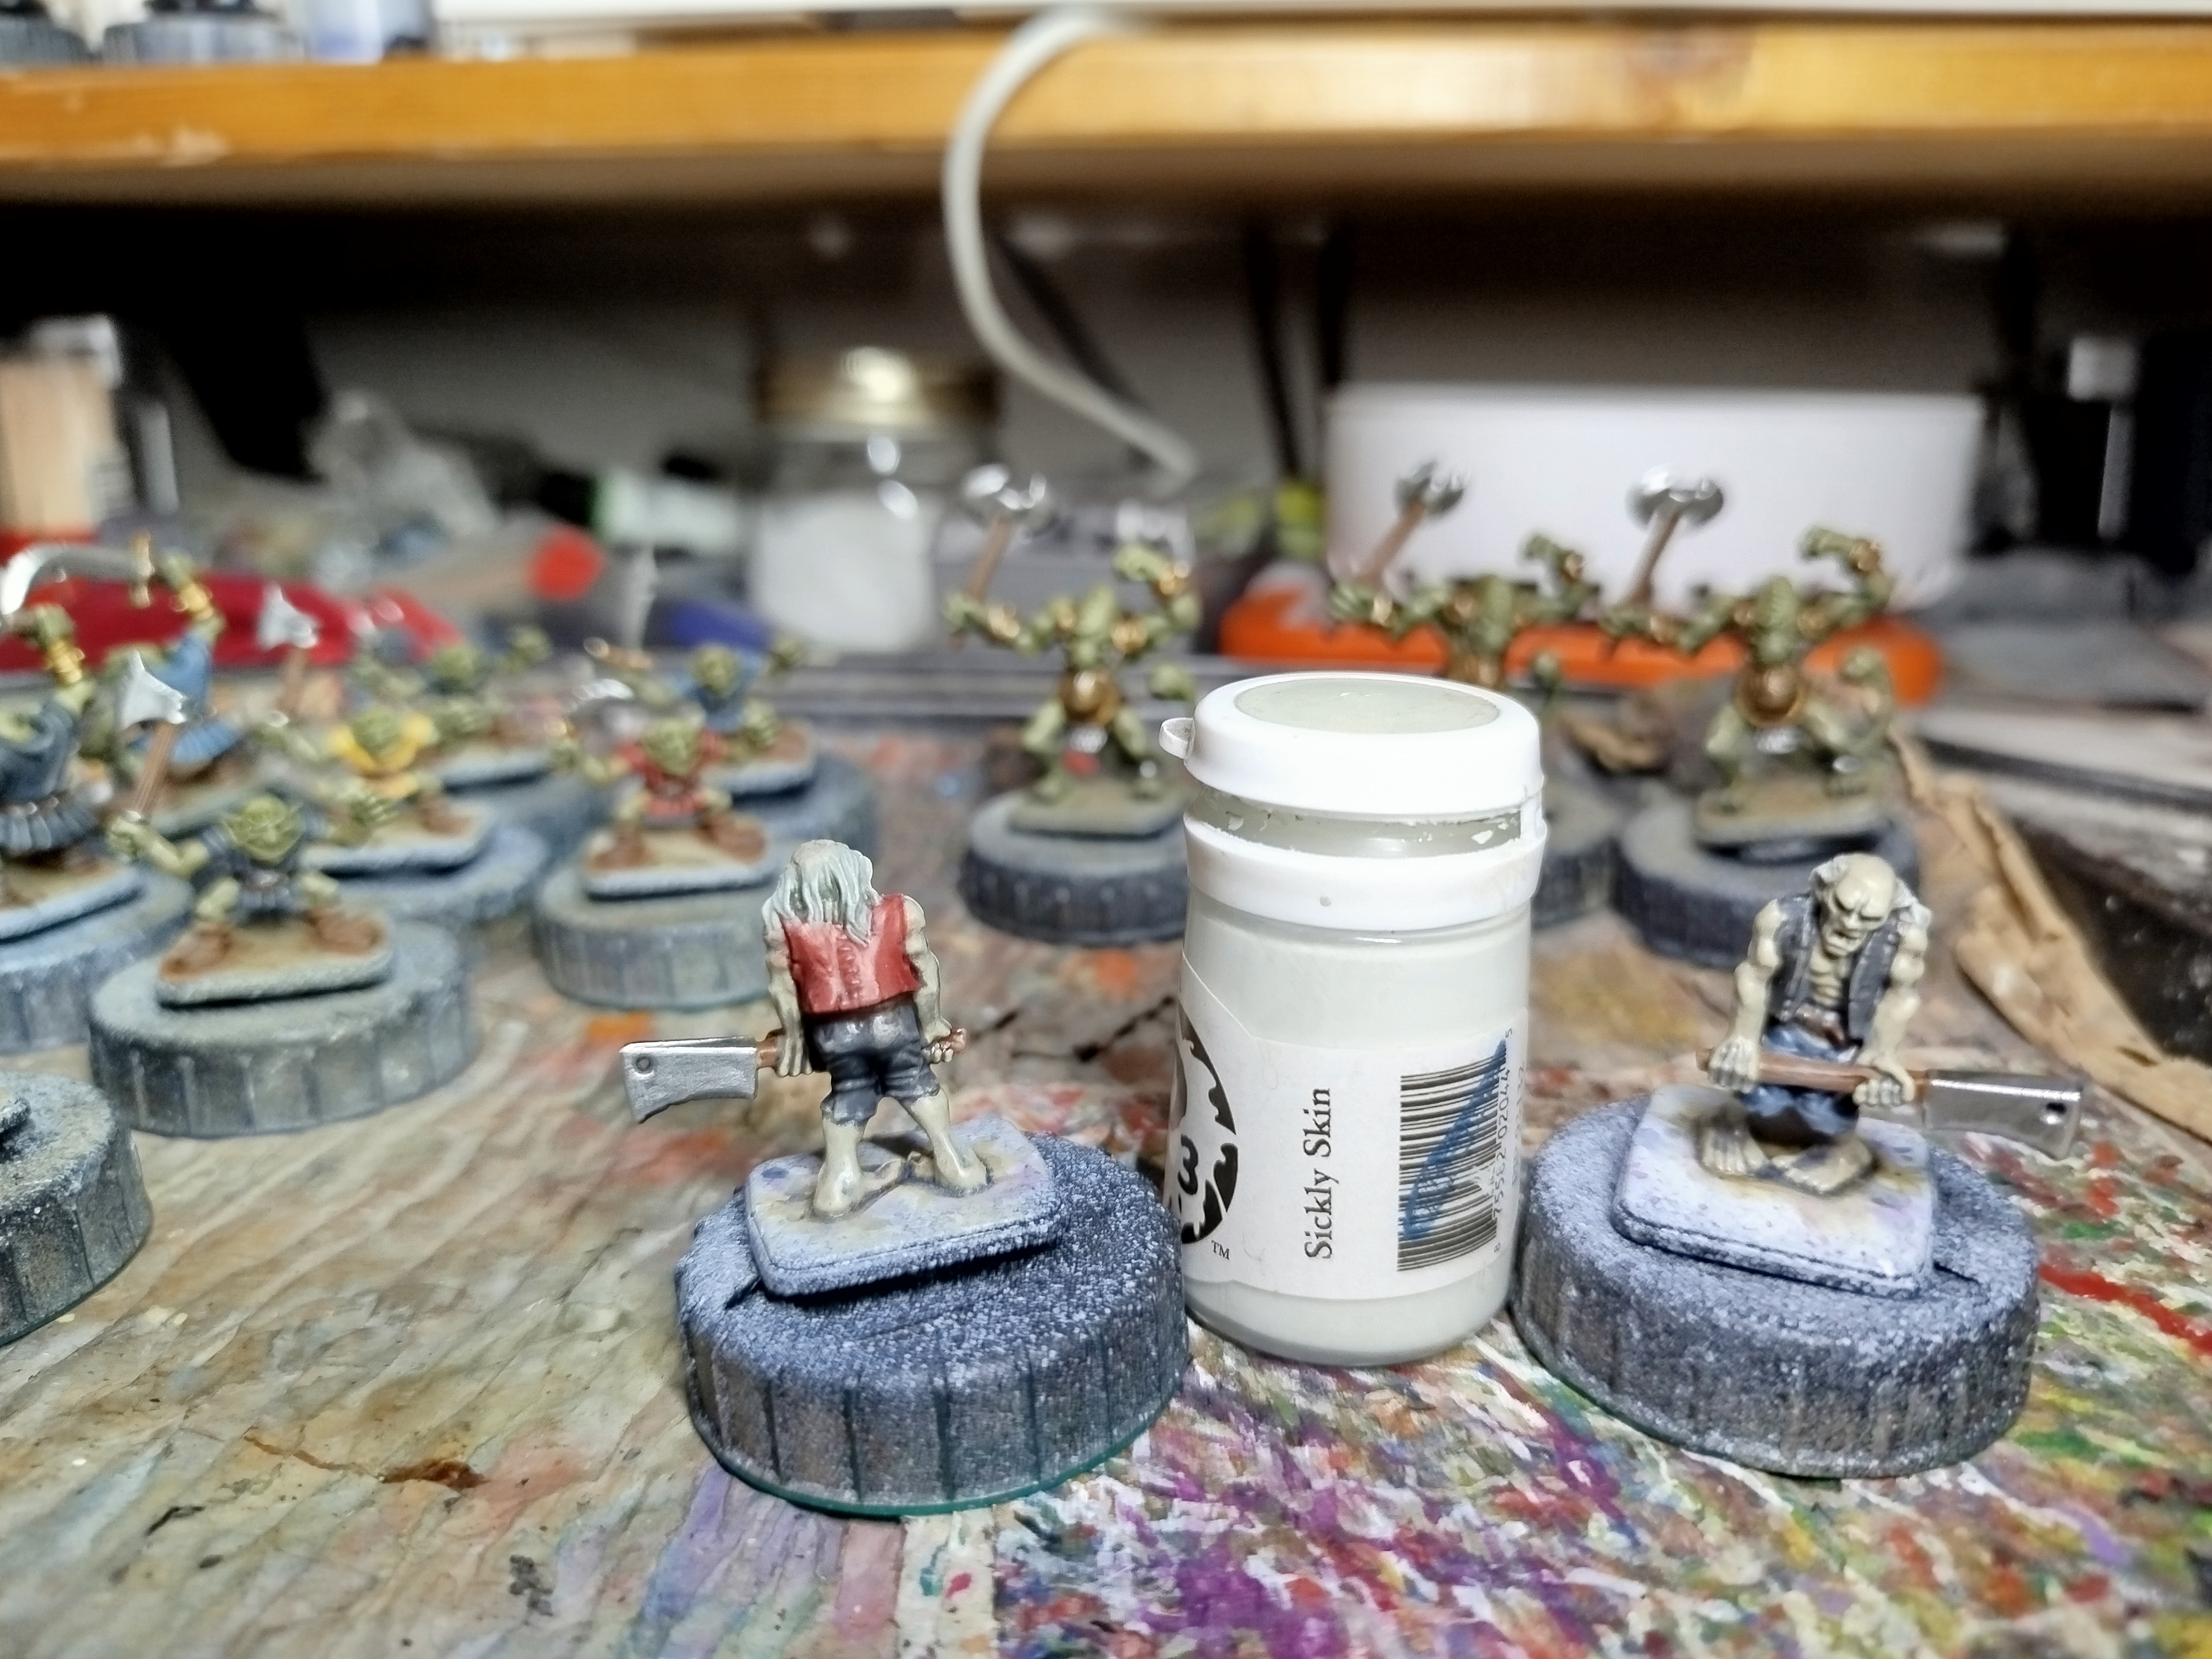 Drybrush
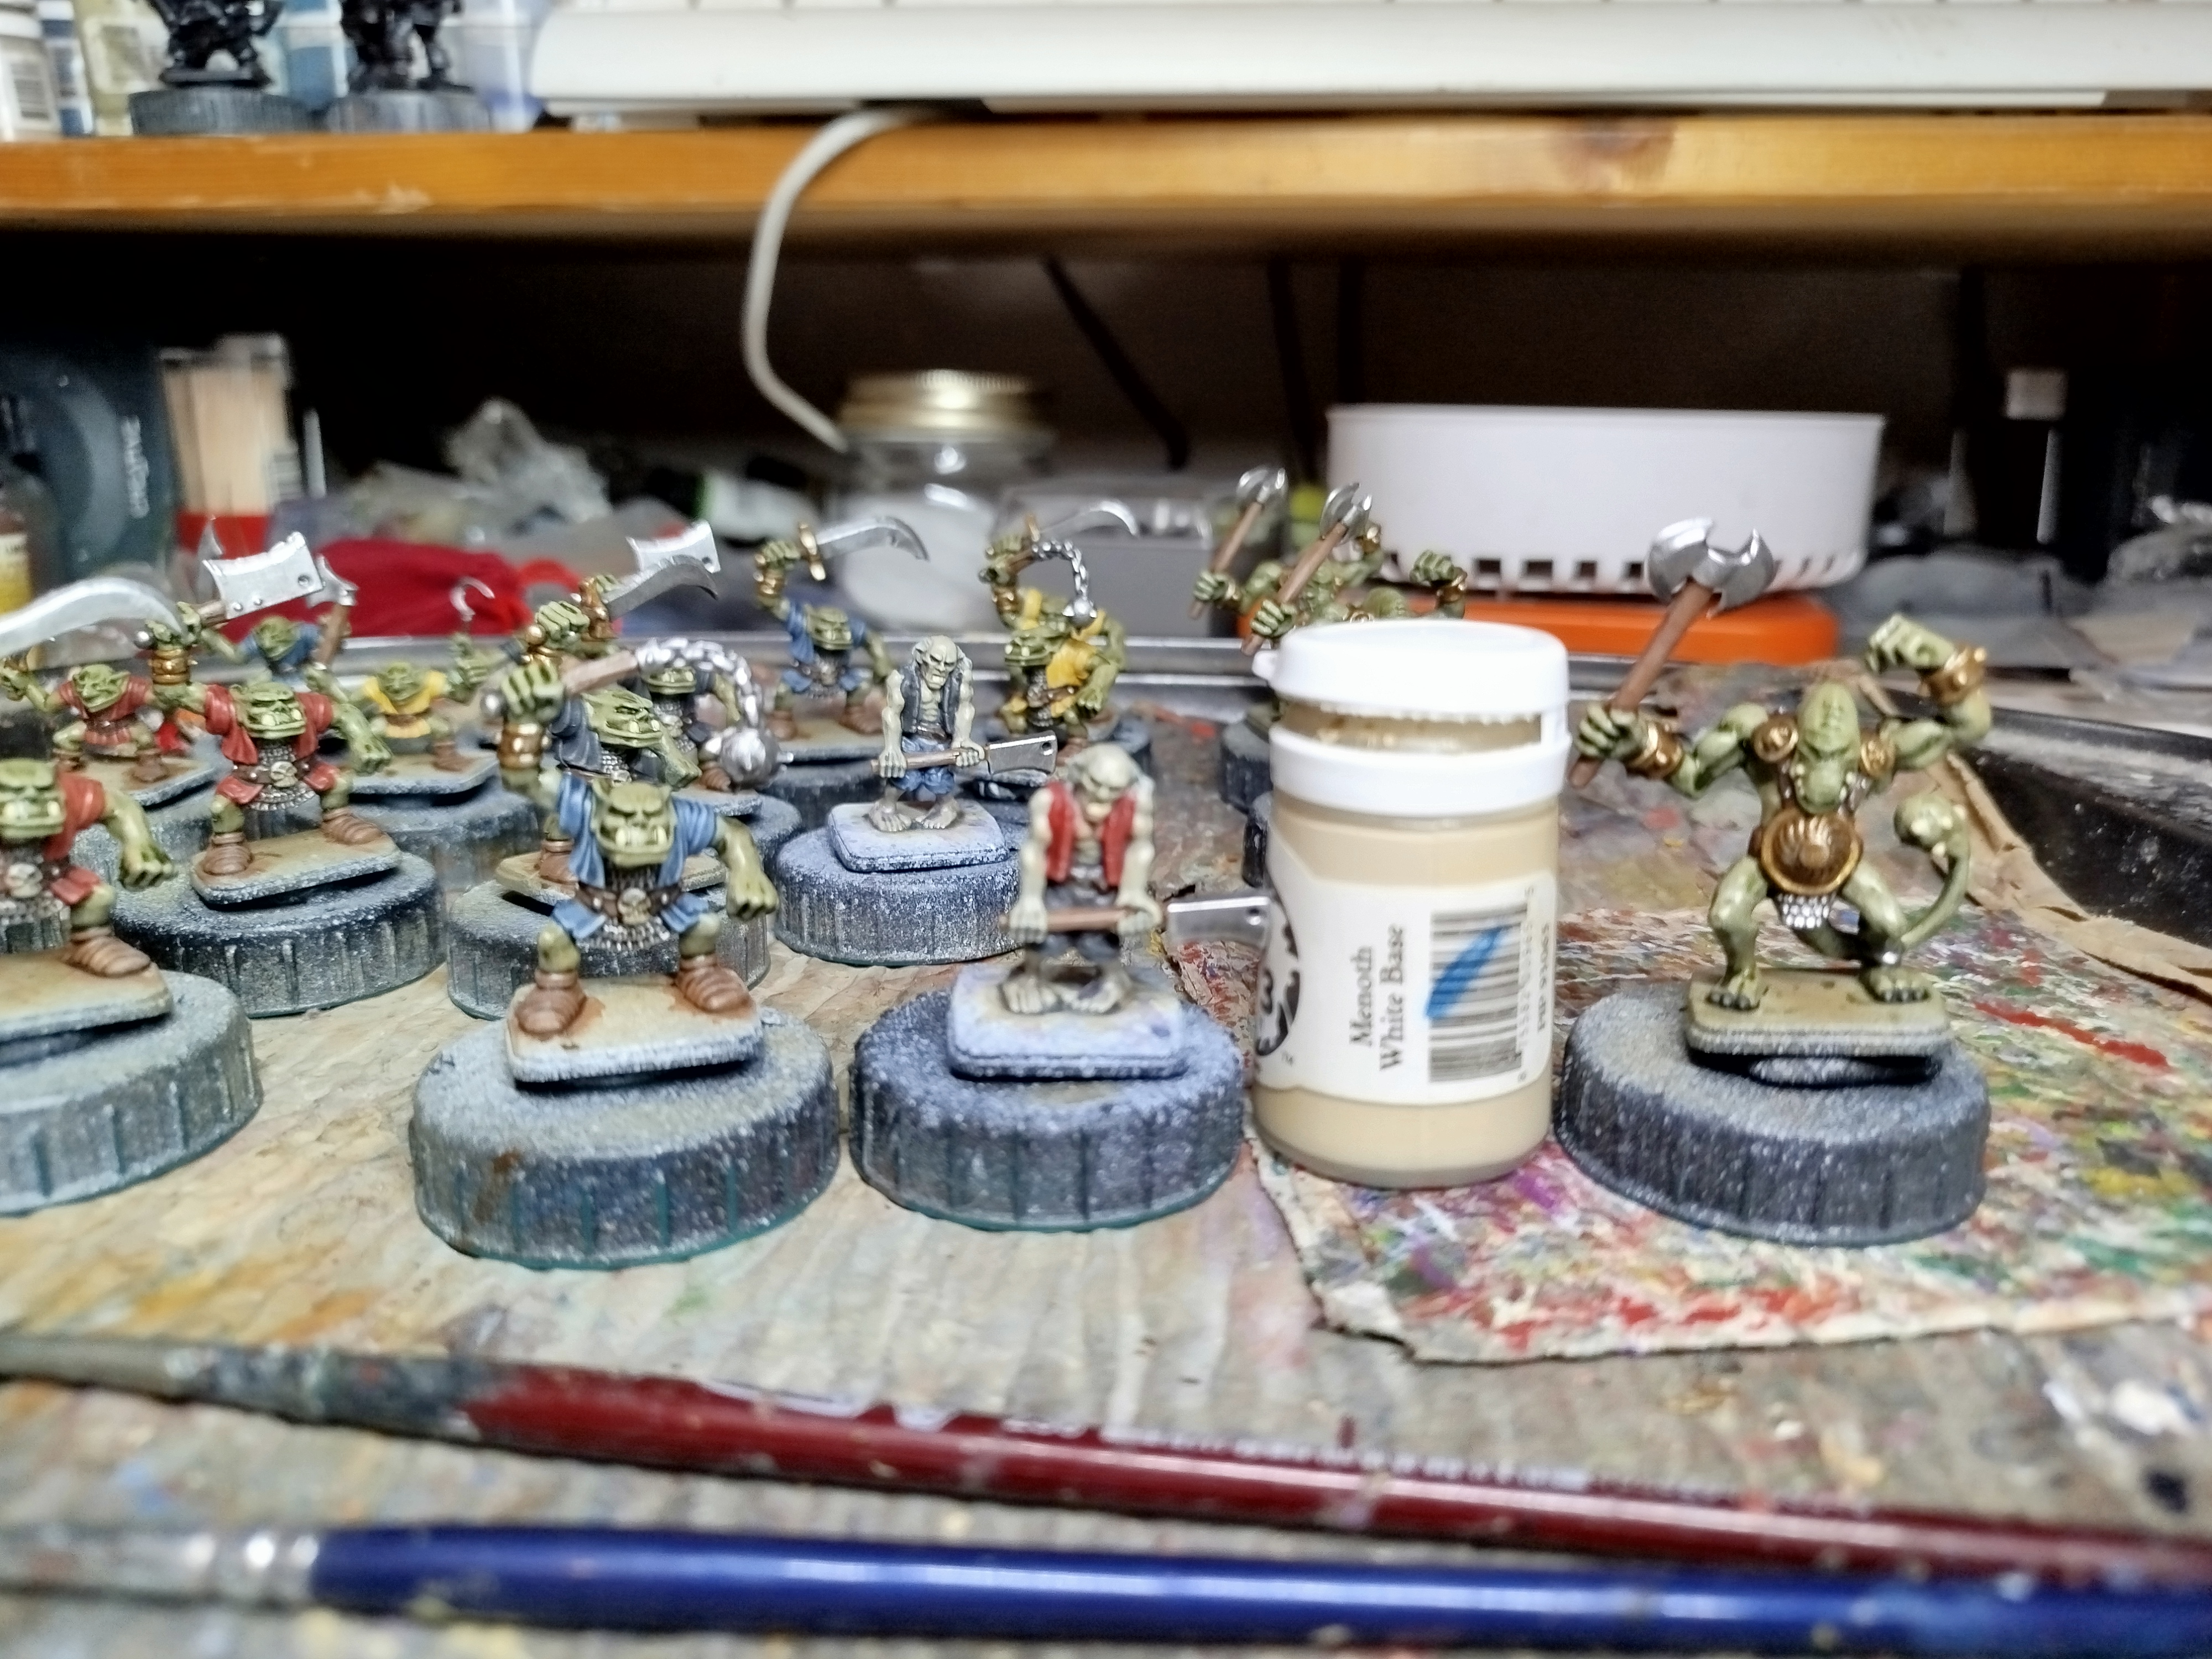 Basecoat teeth
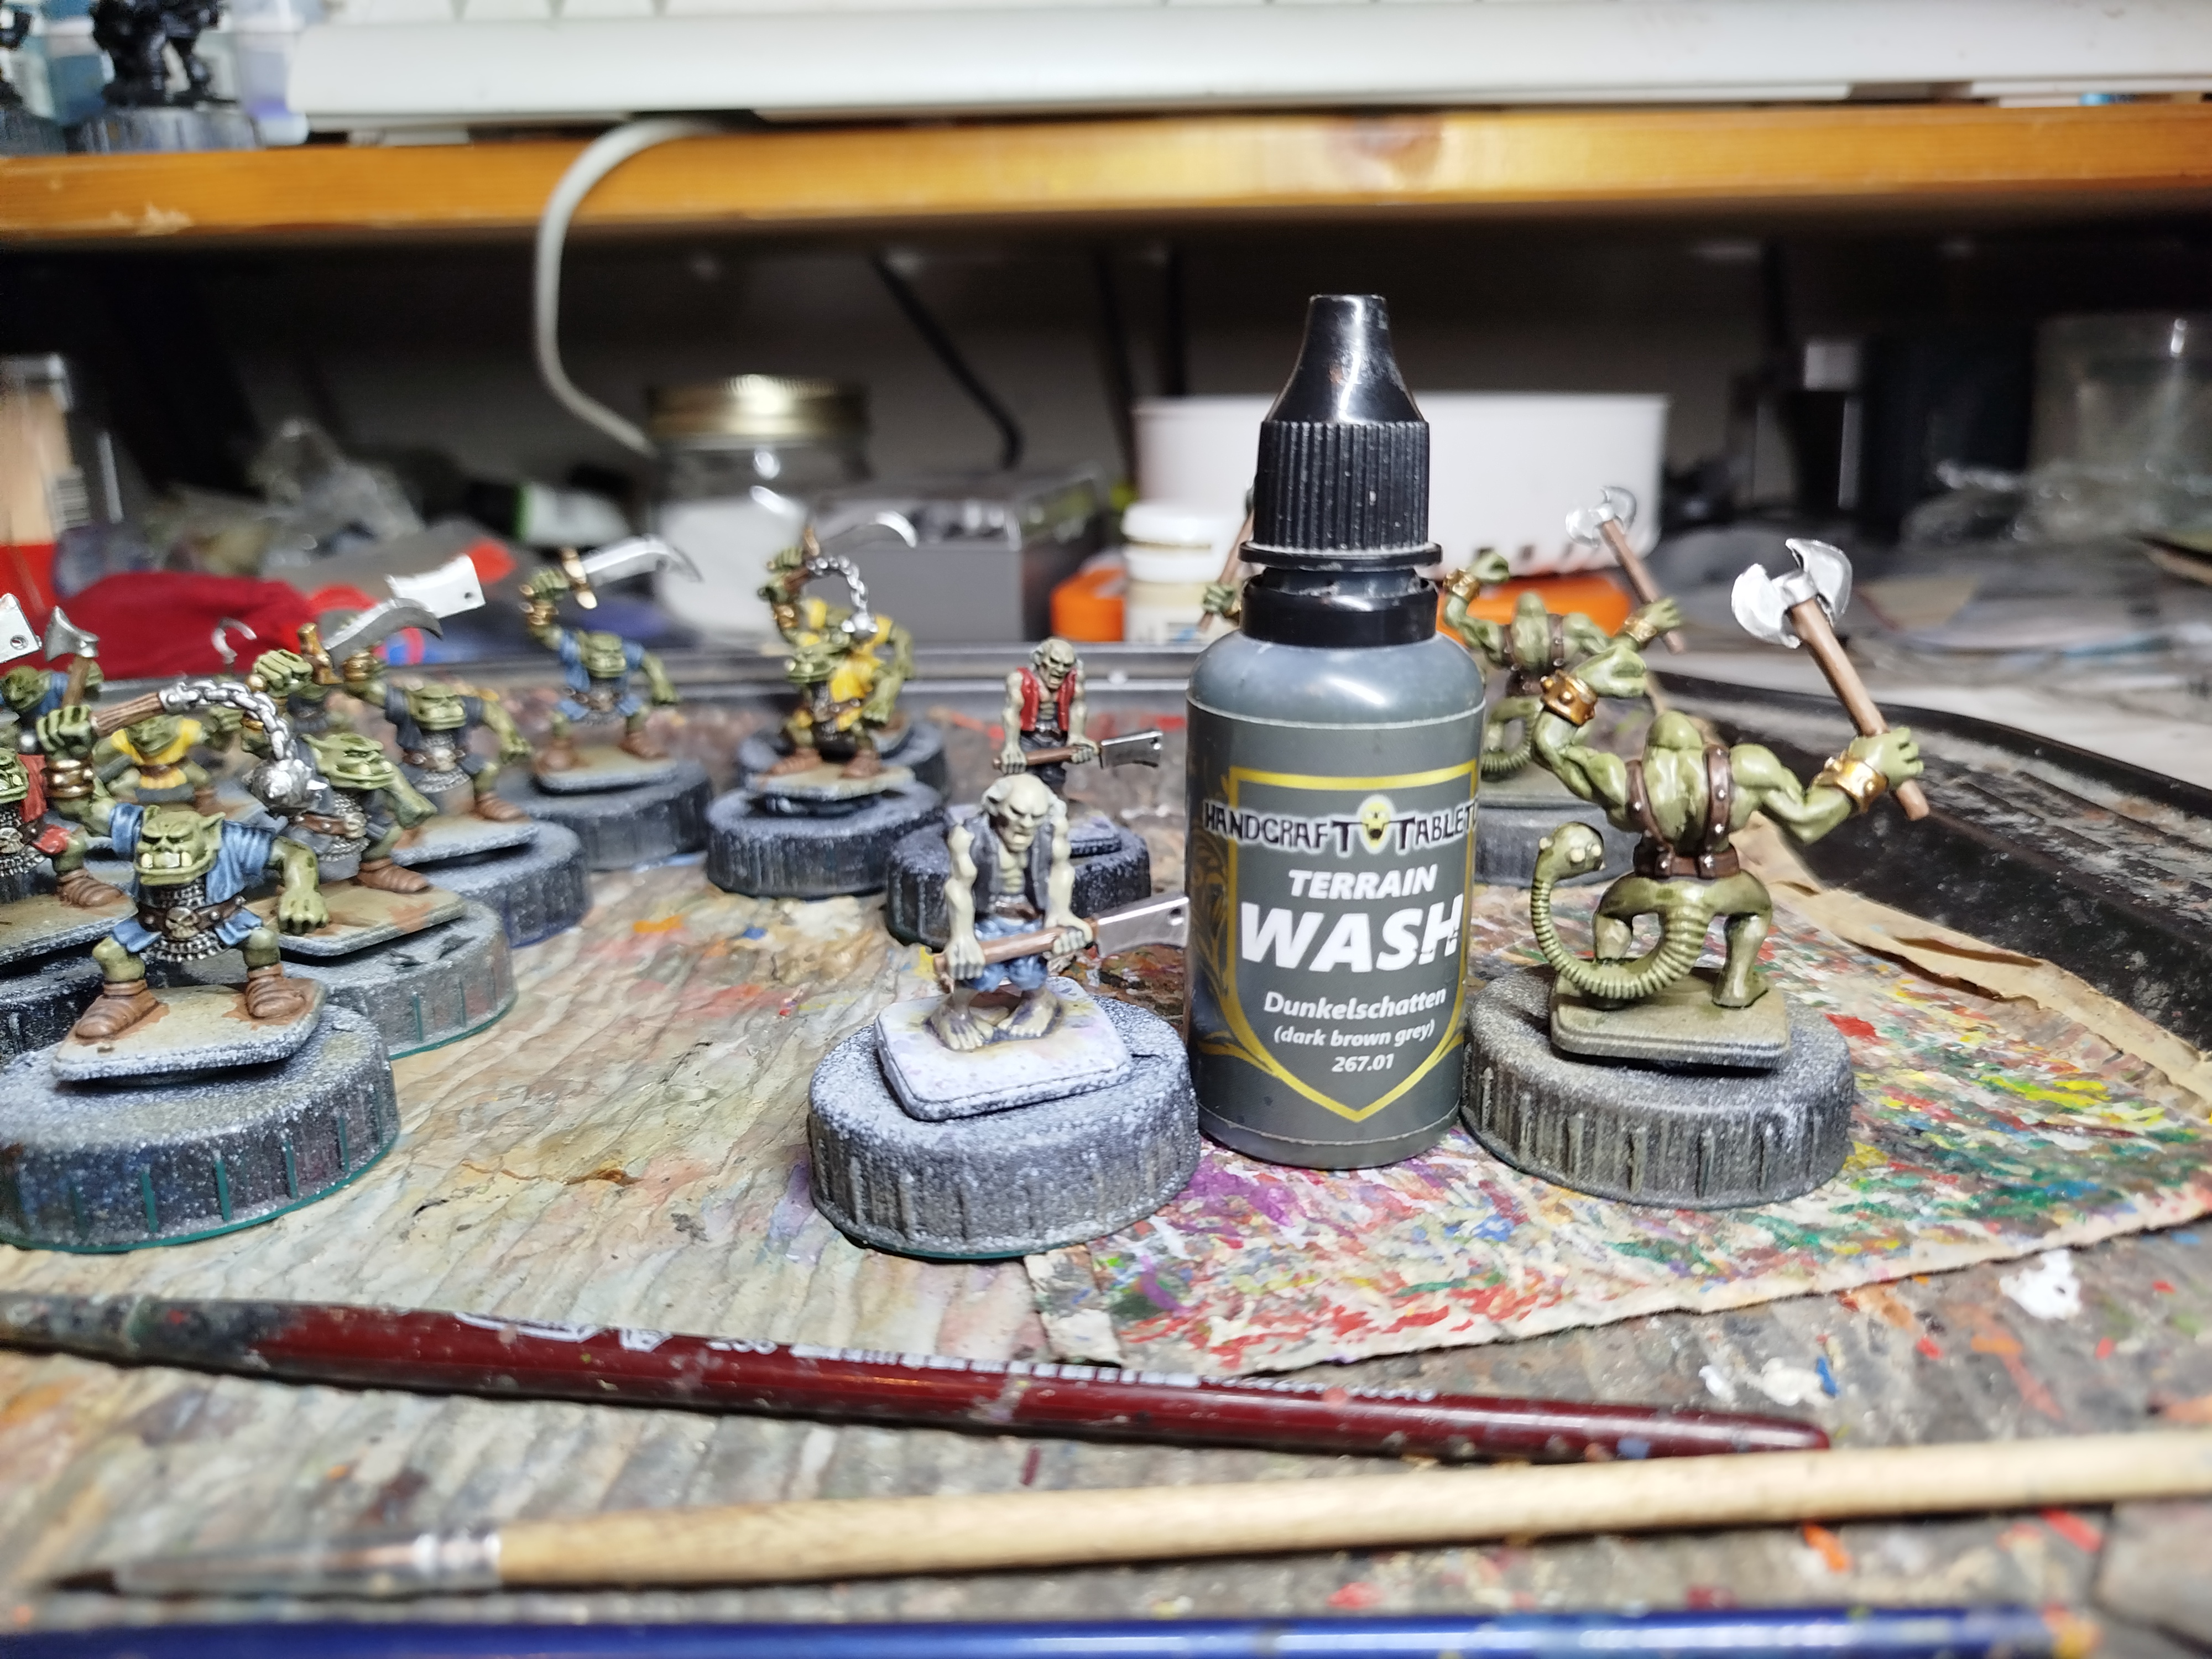 Wash
Wash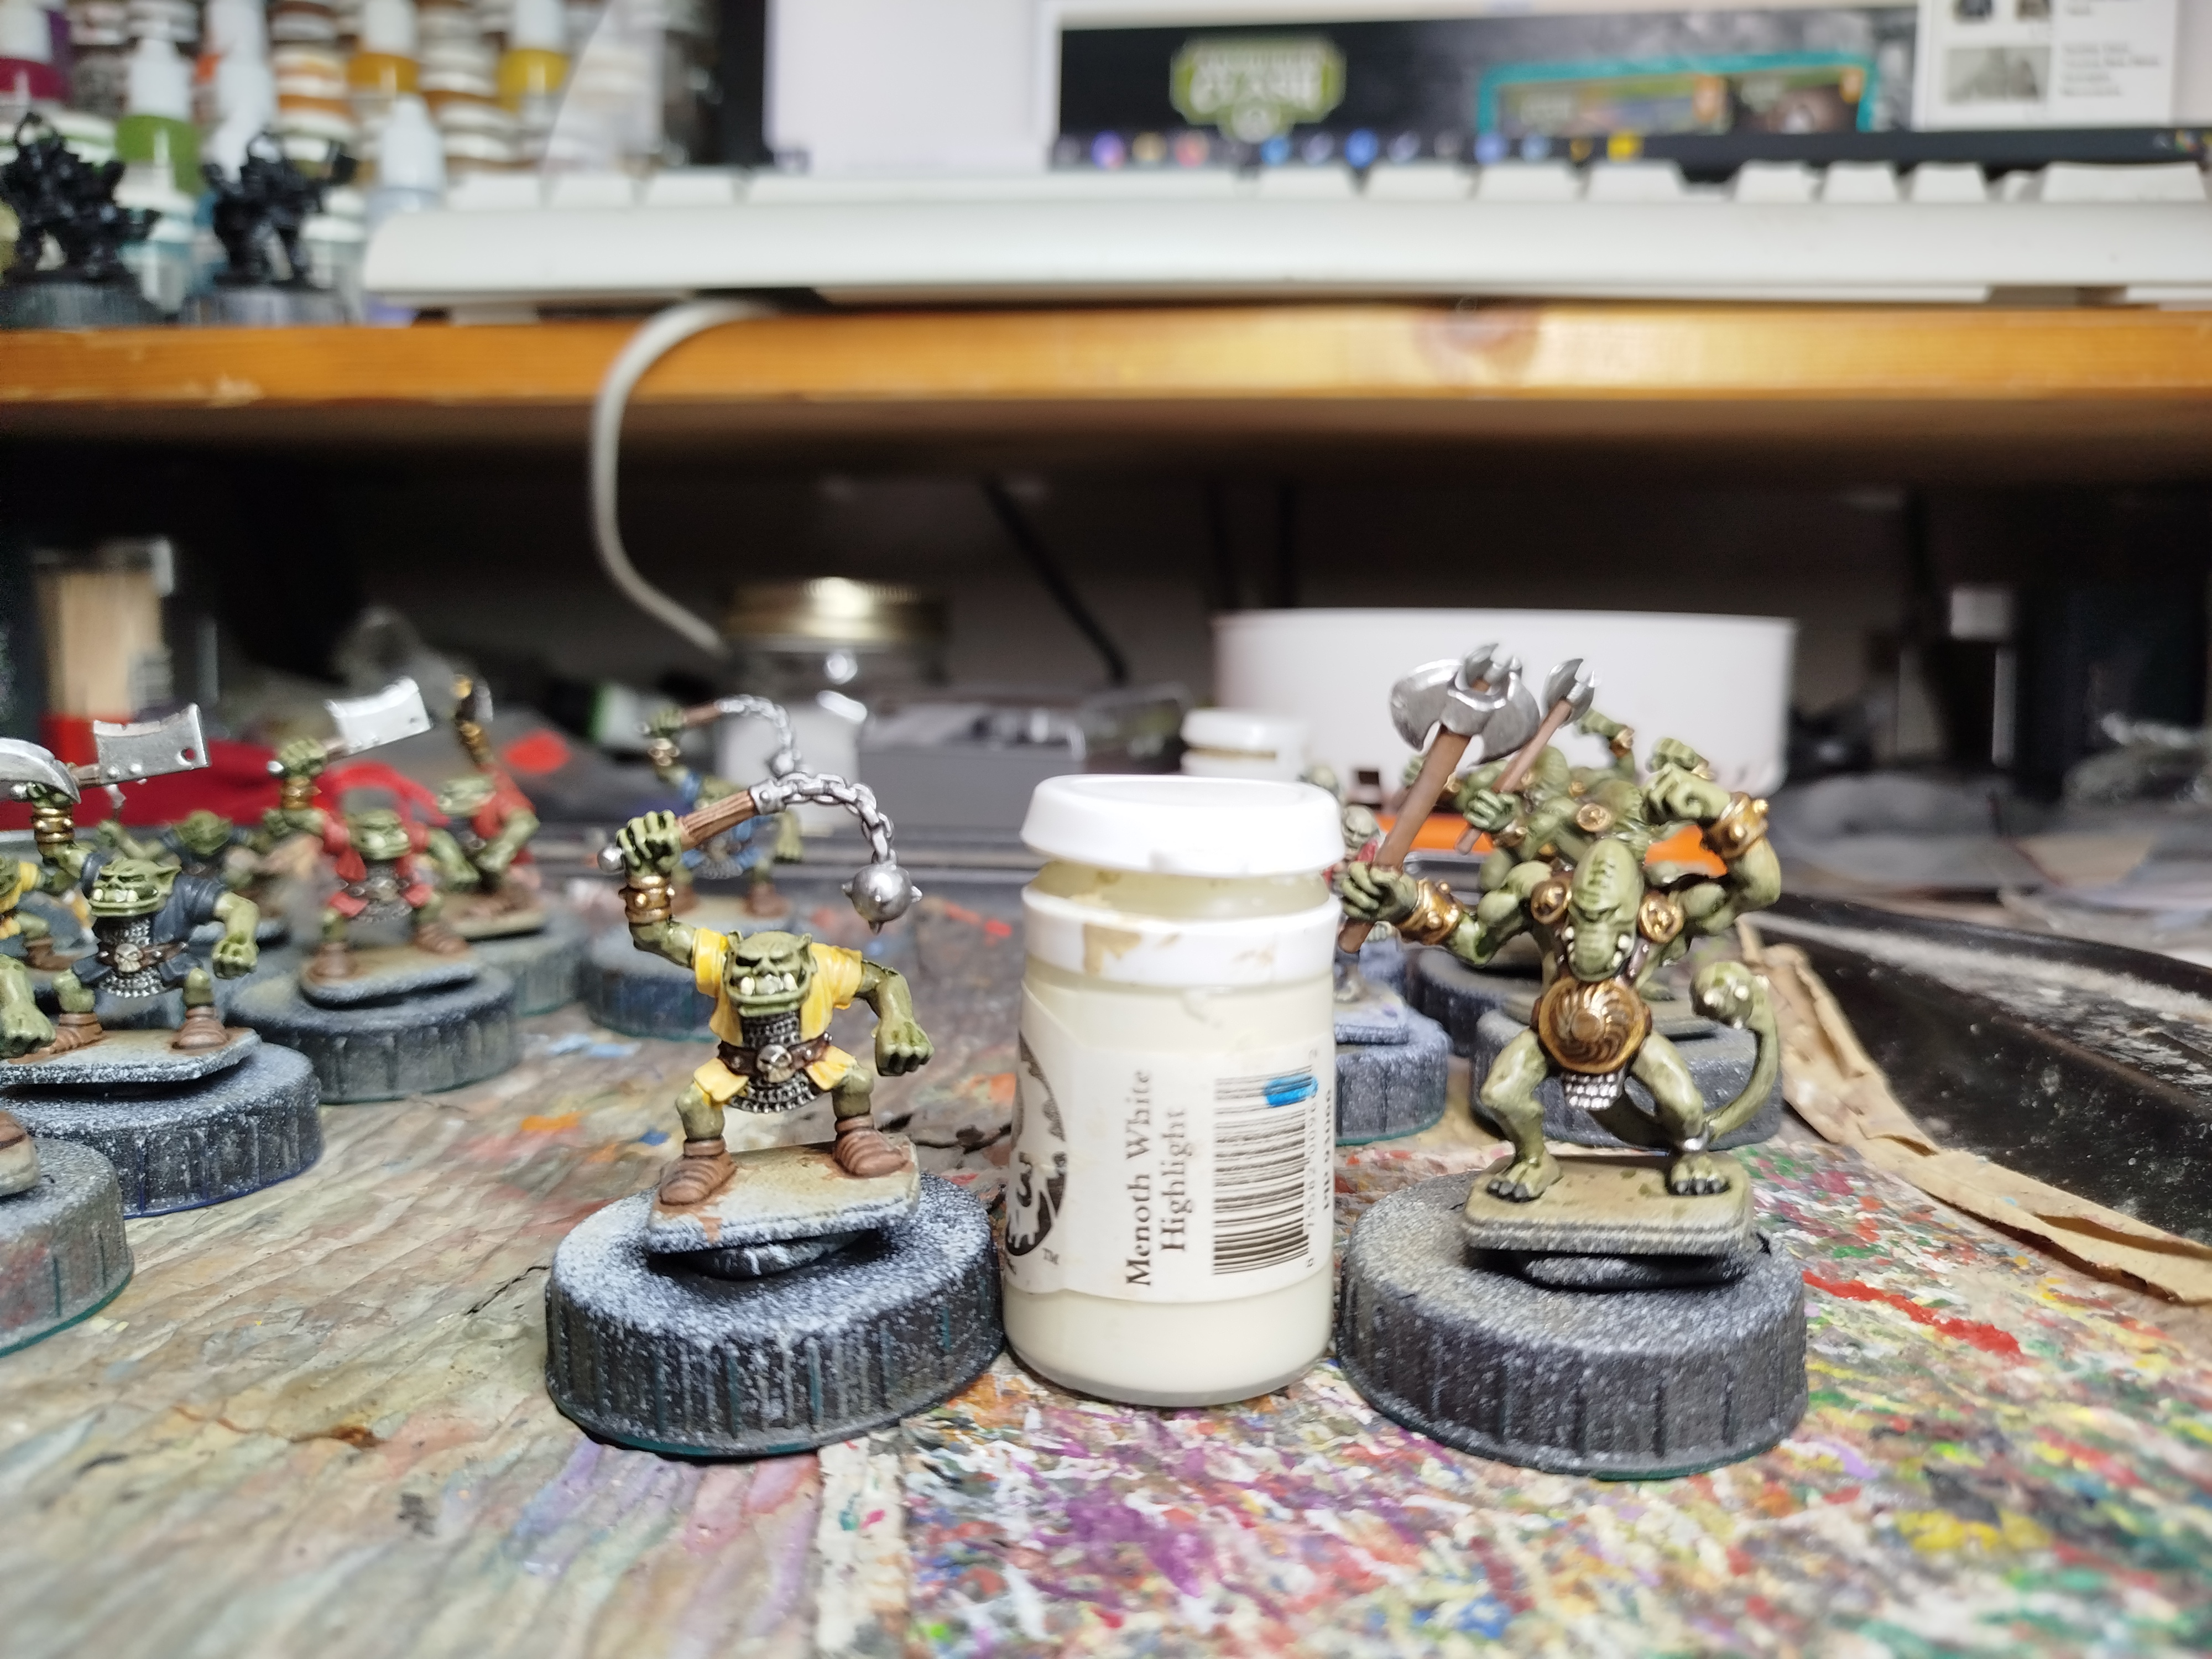 Highlight
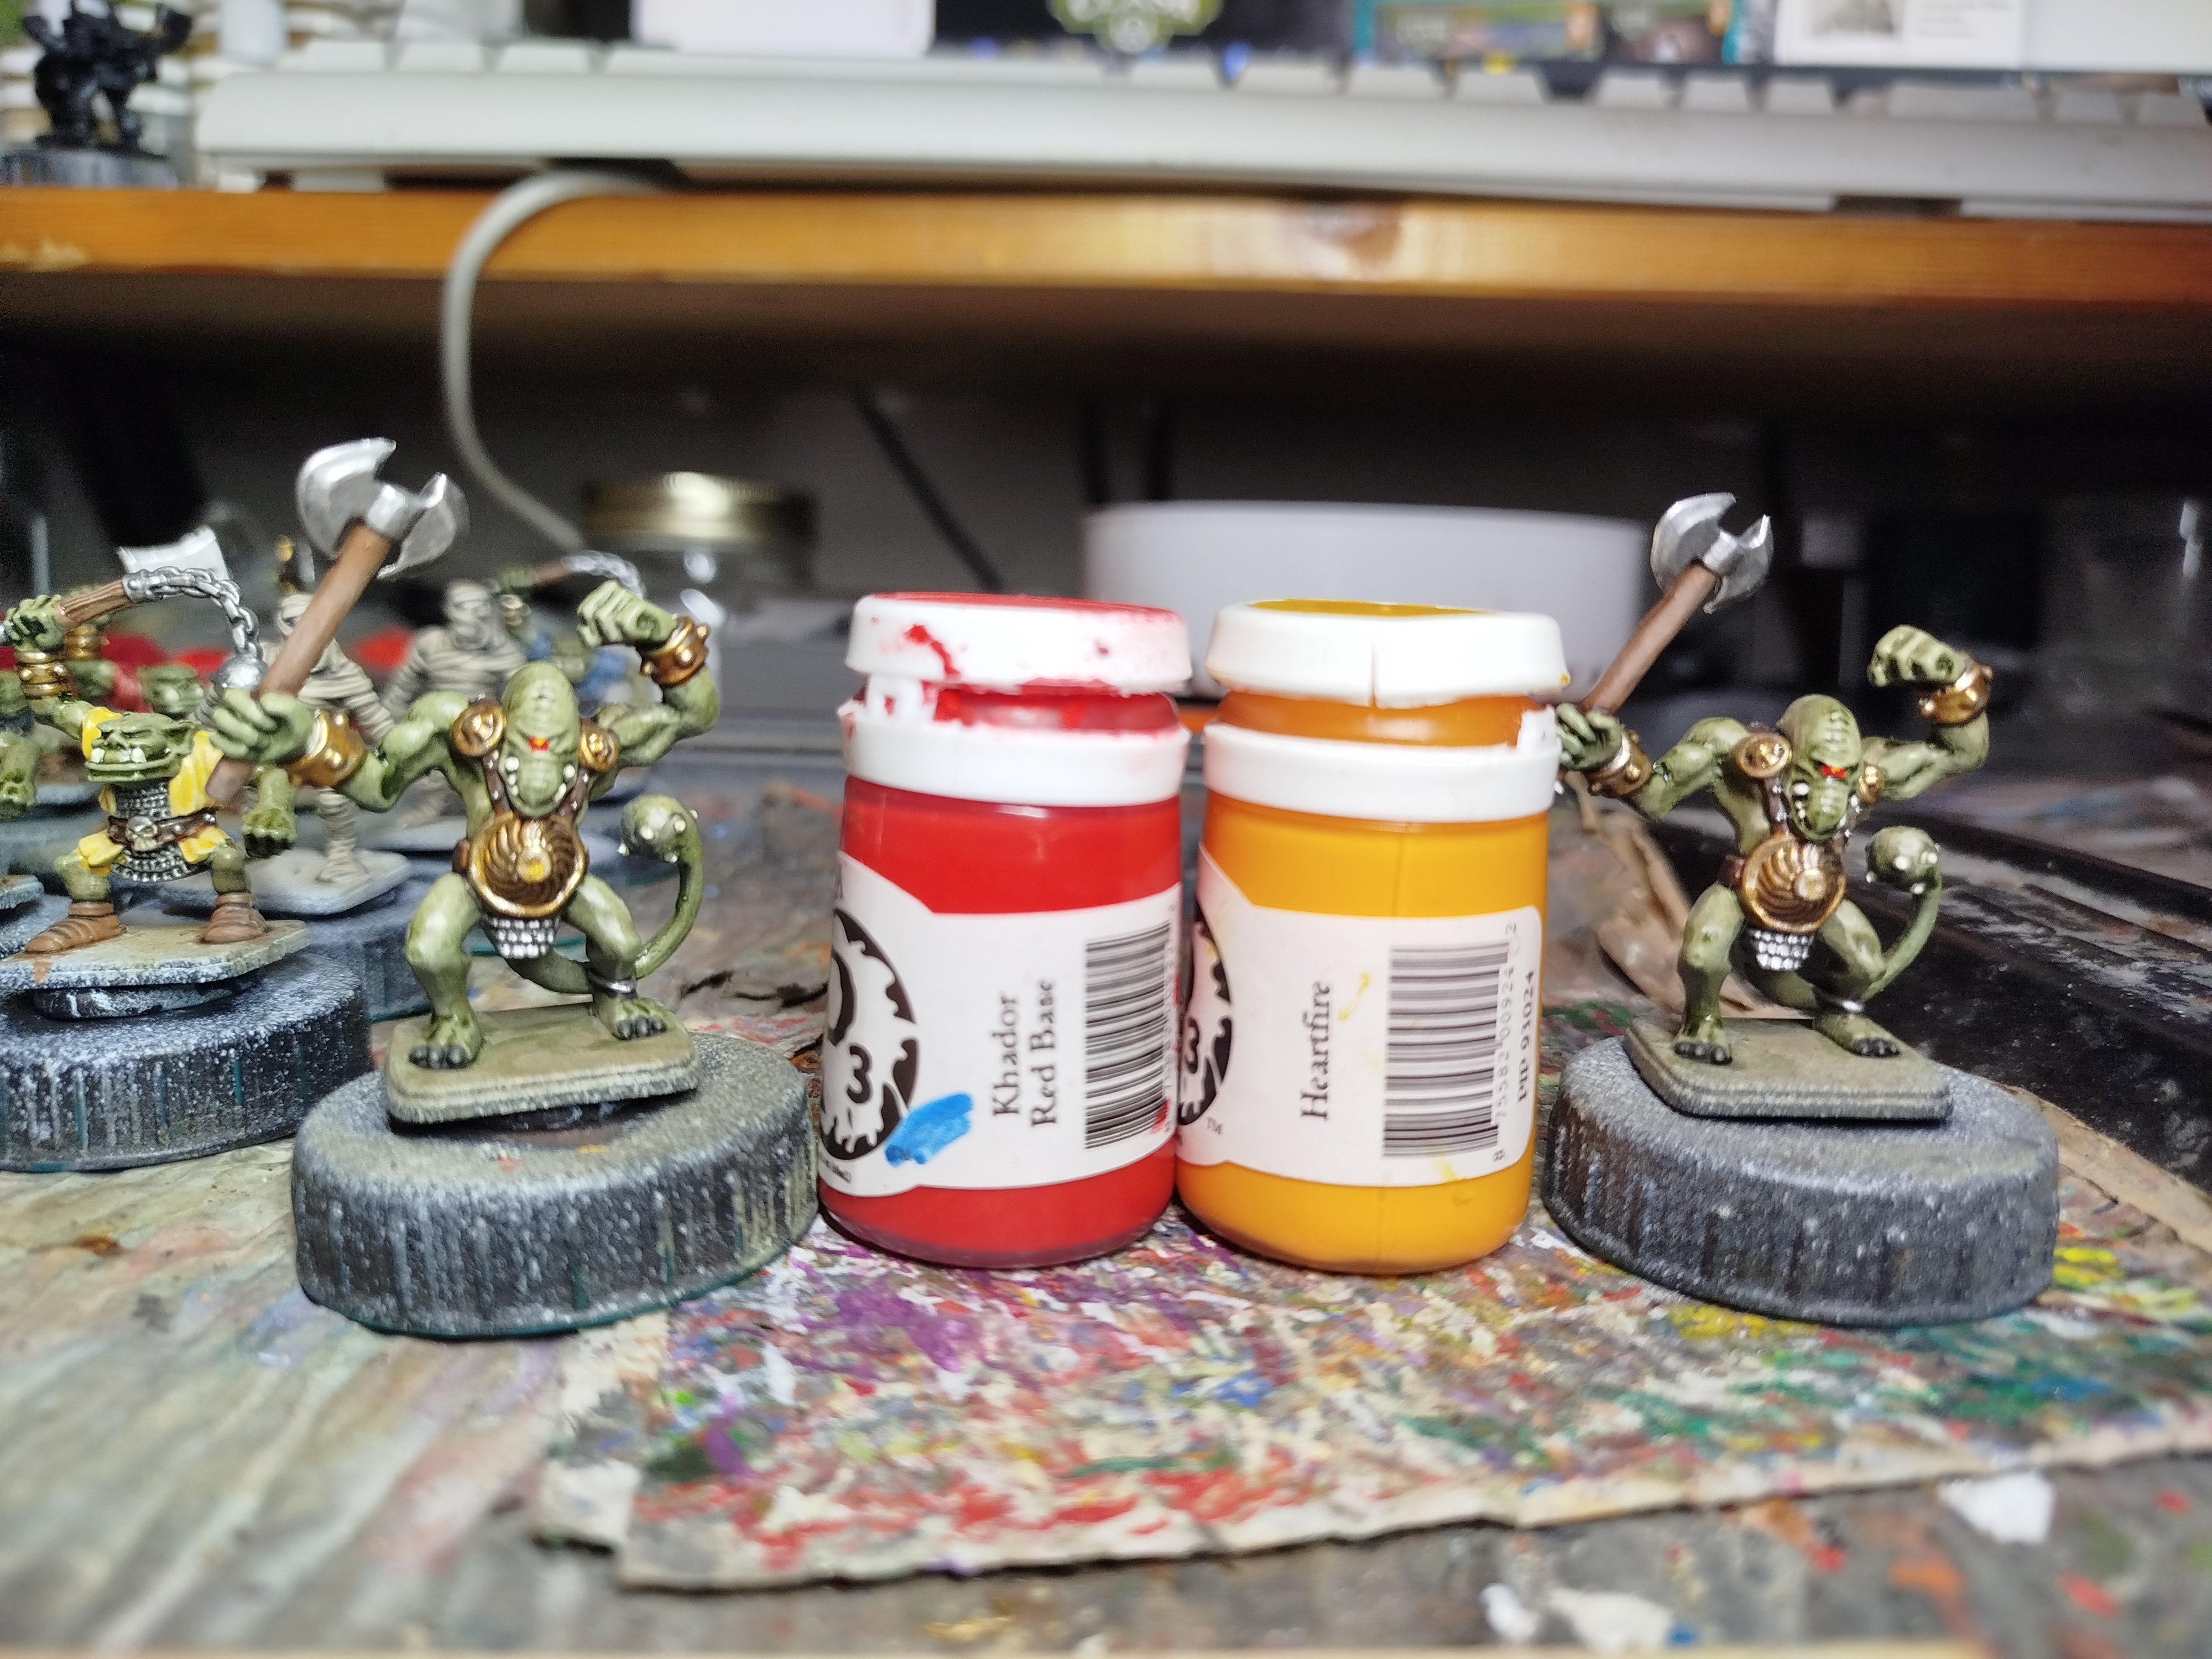 Paint the eyes red, and then add a dot of orangey-yellow to them while the red is still wet.
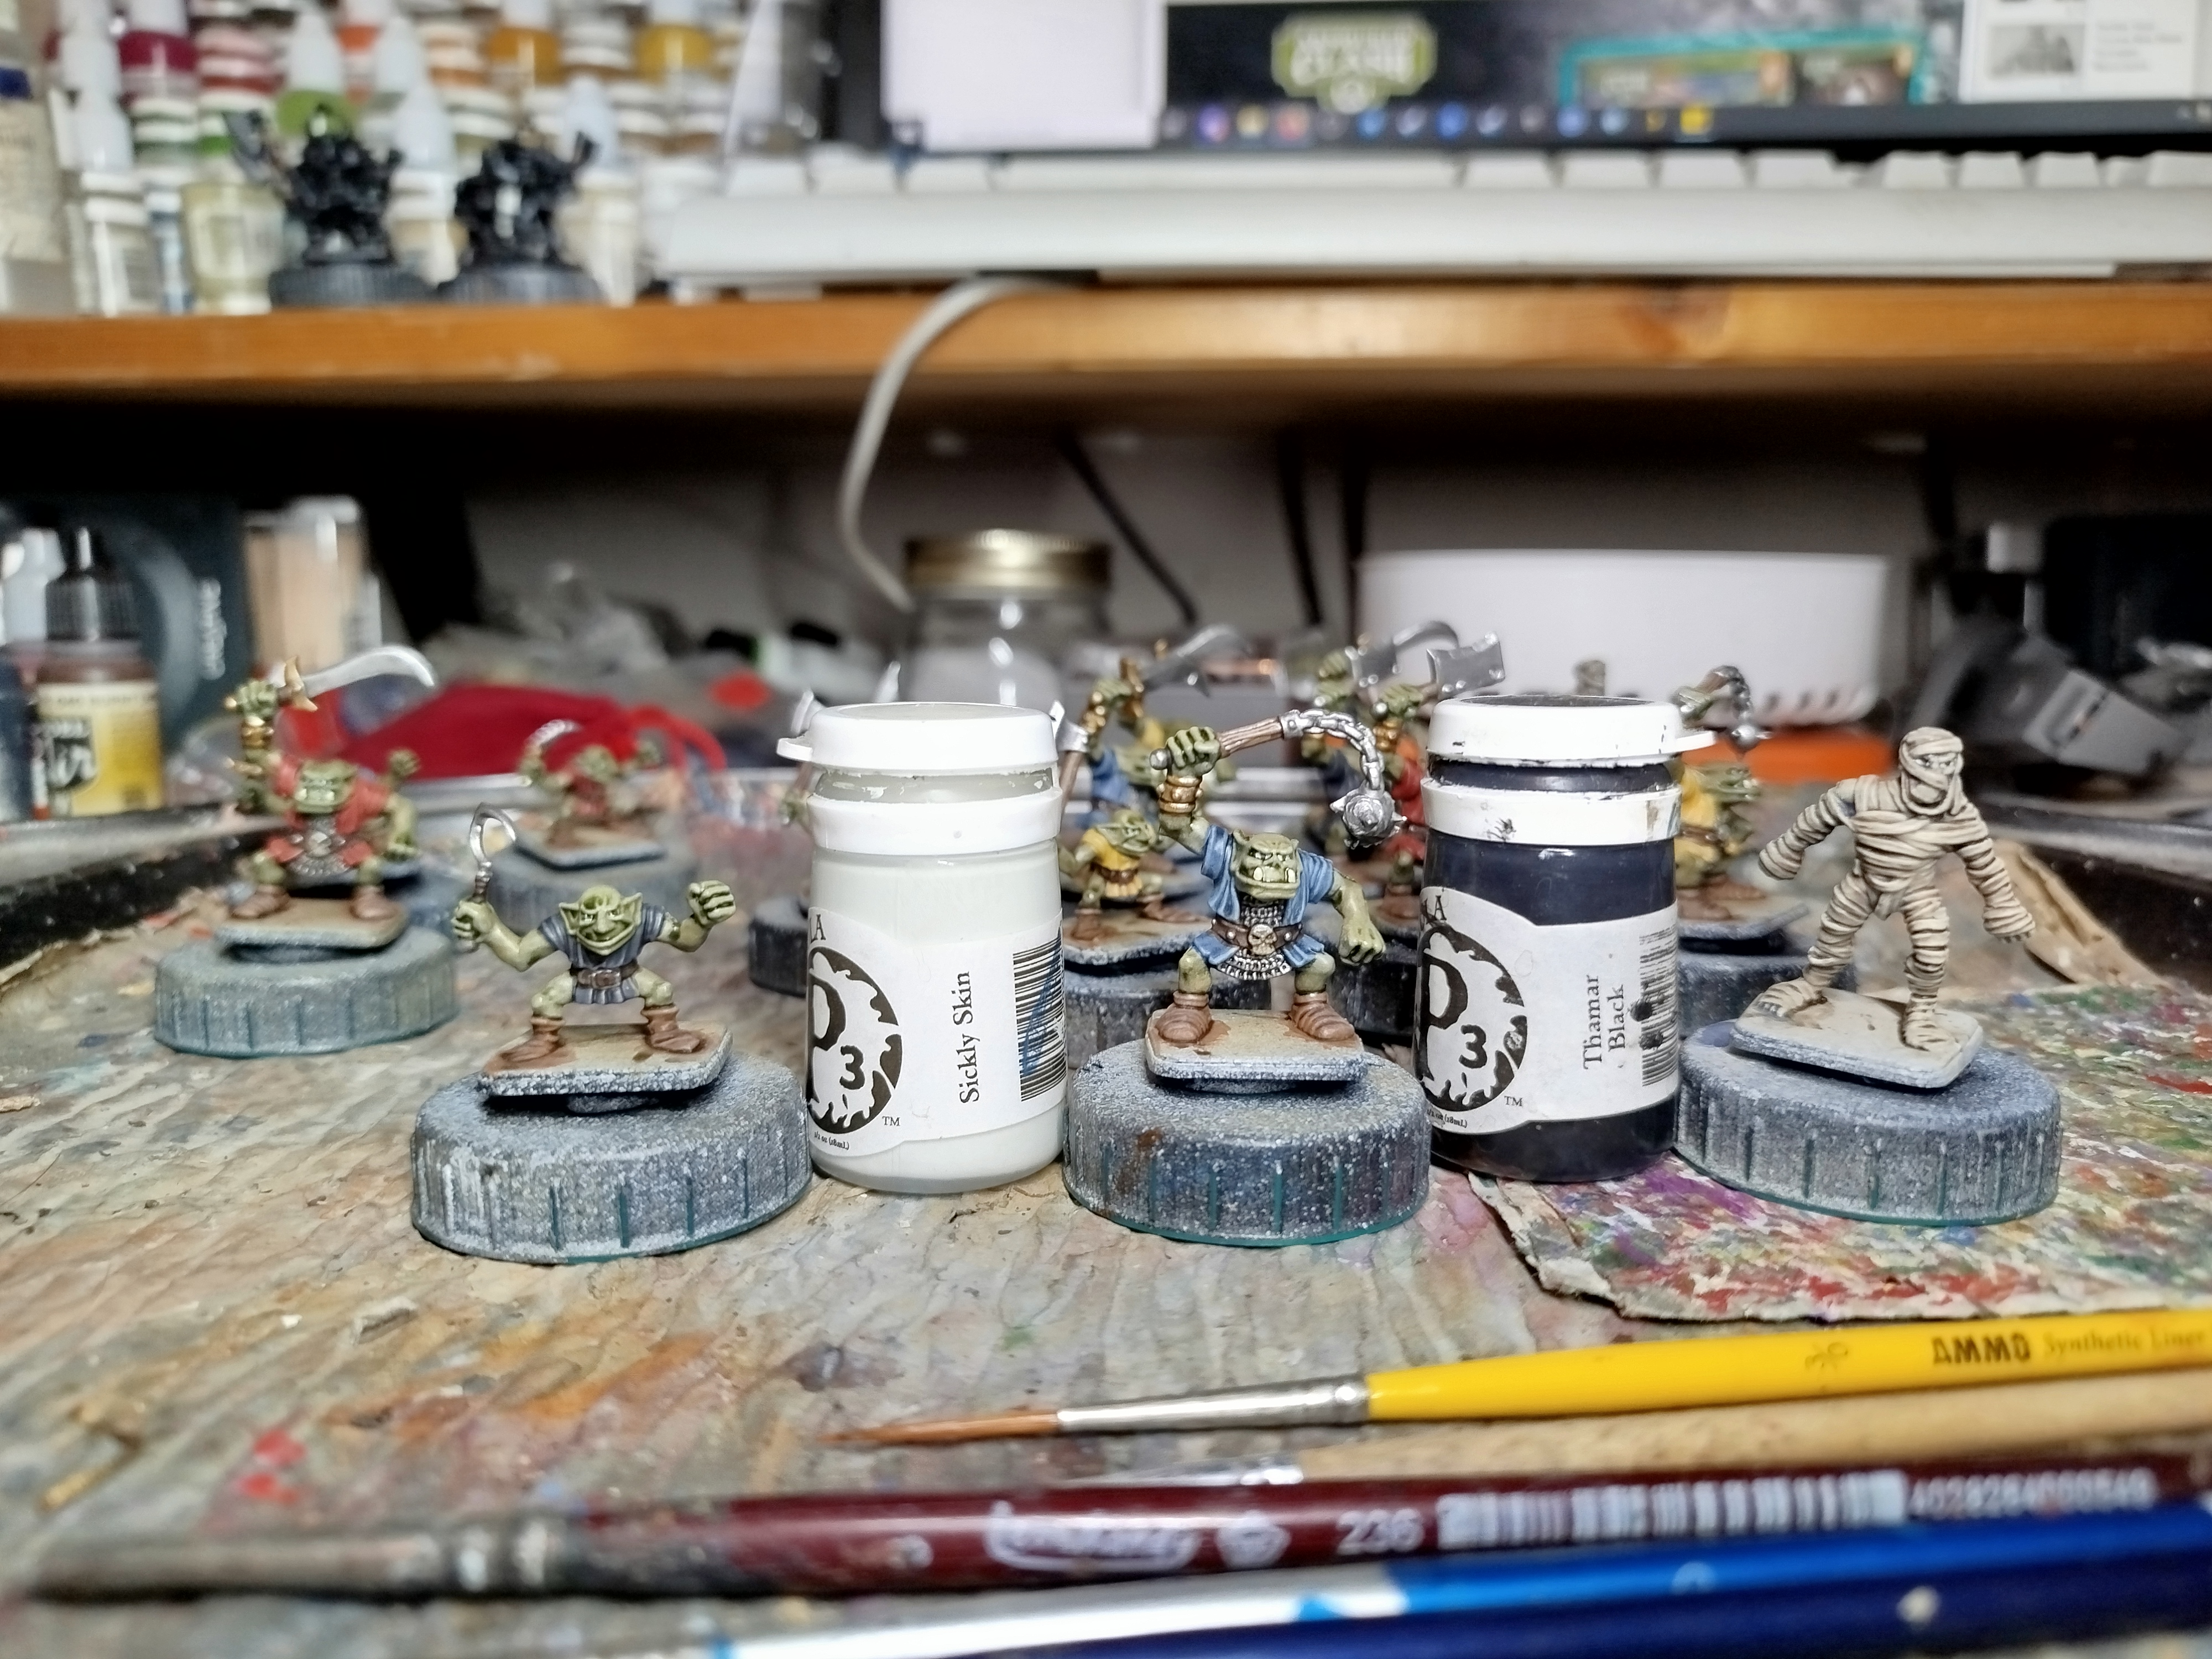 Paint the other eyes. The skeletons and zombies did not get eyes.
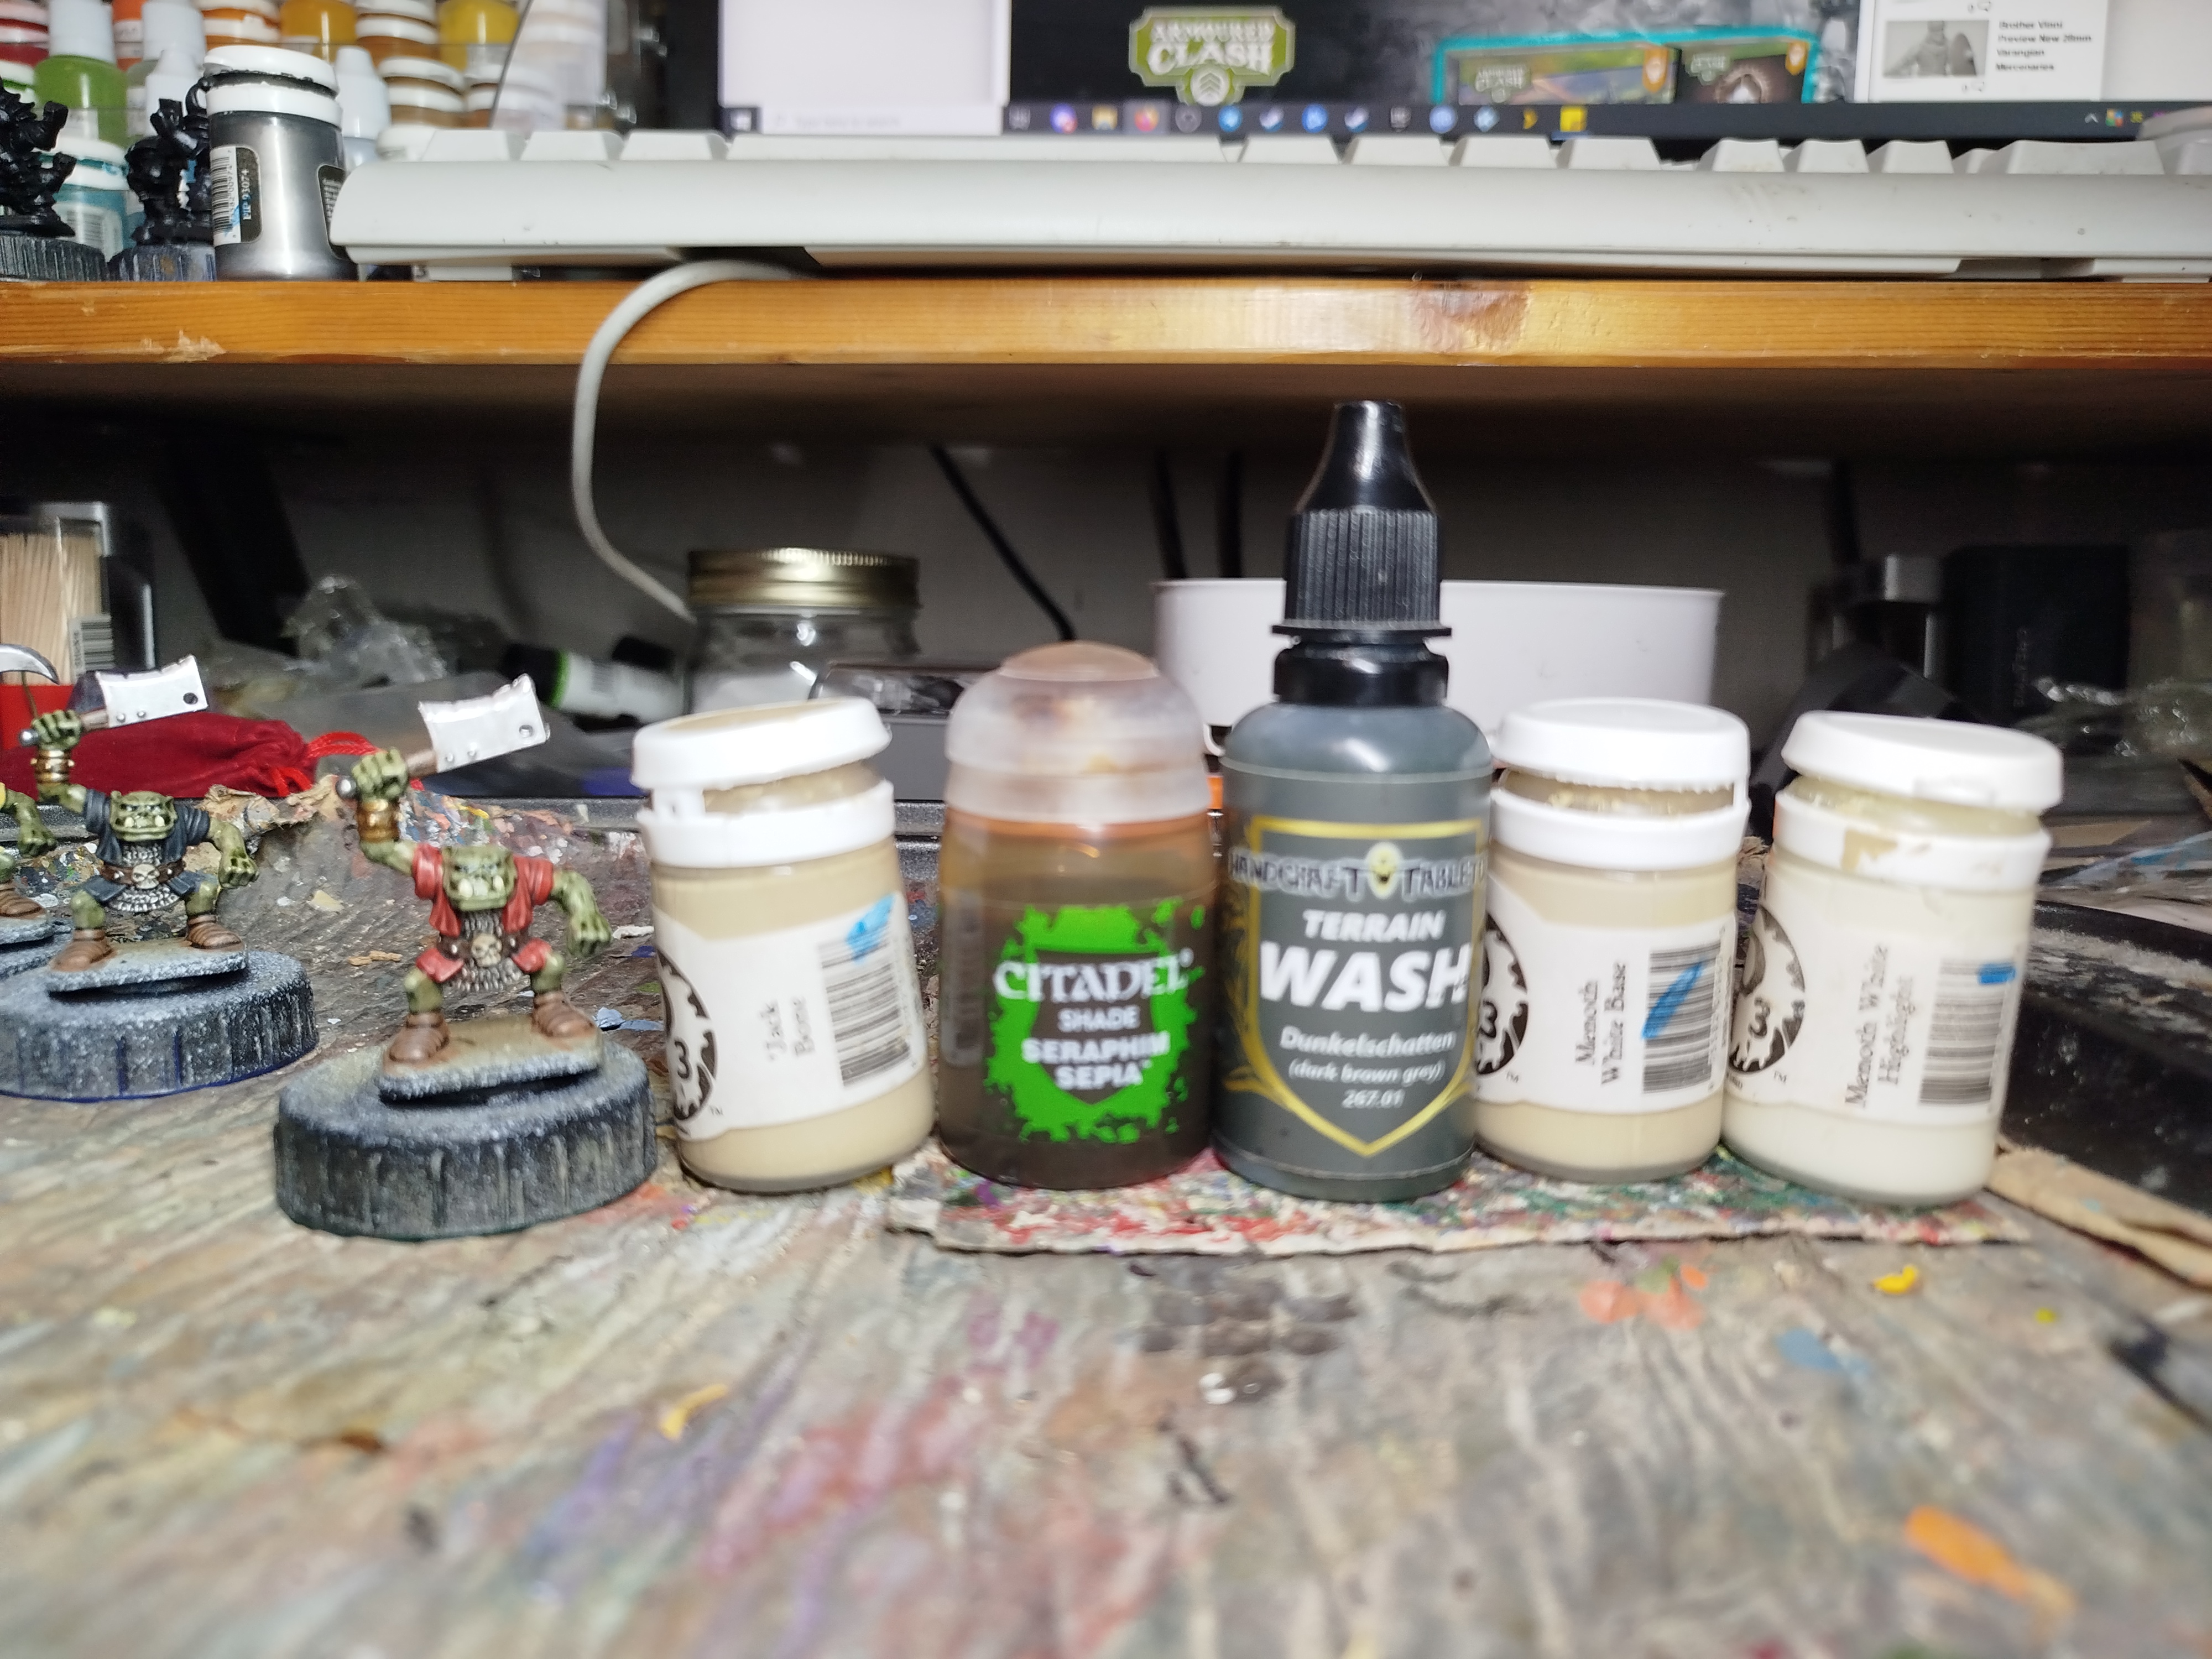 The skull belt buckles of the Orks were painted the same as the skeletons were.
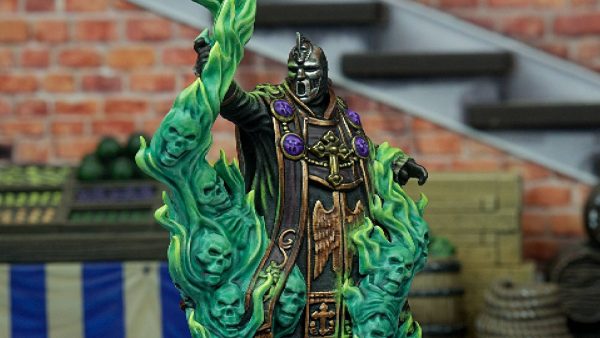
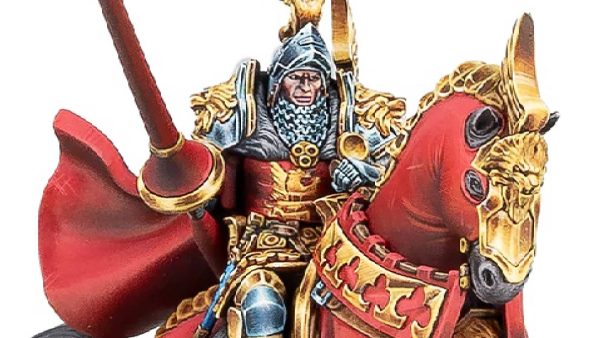
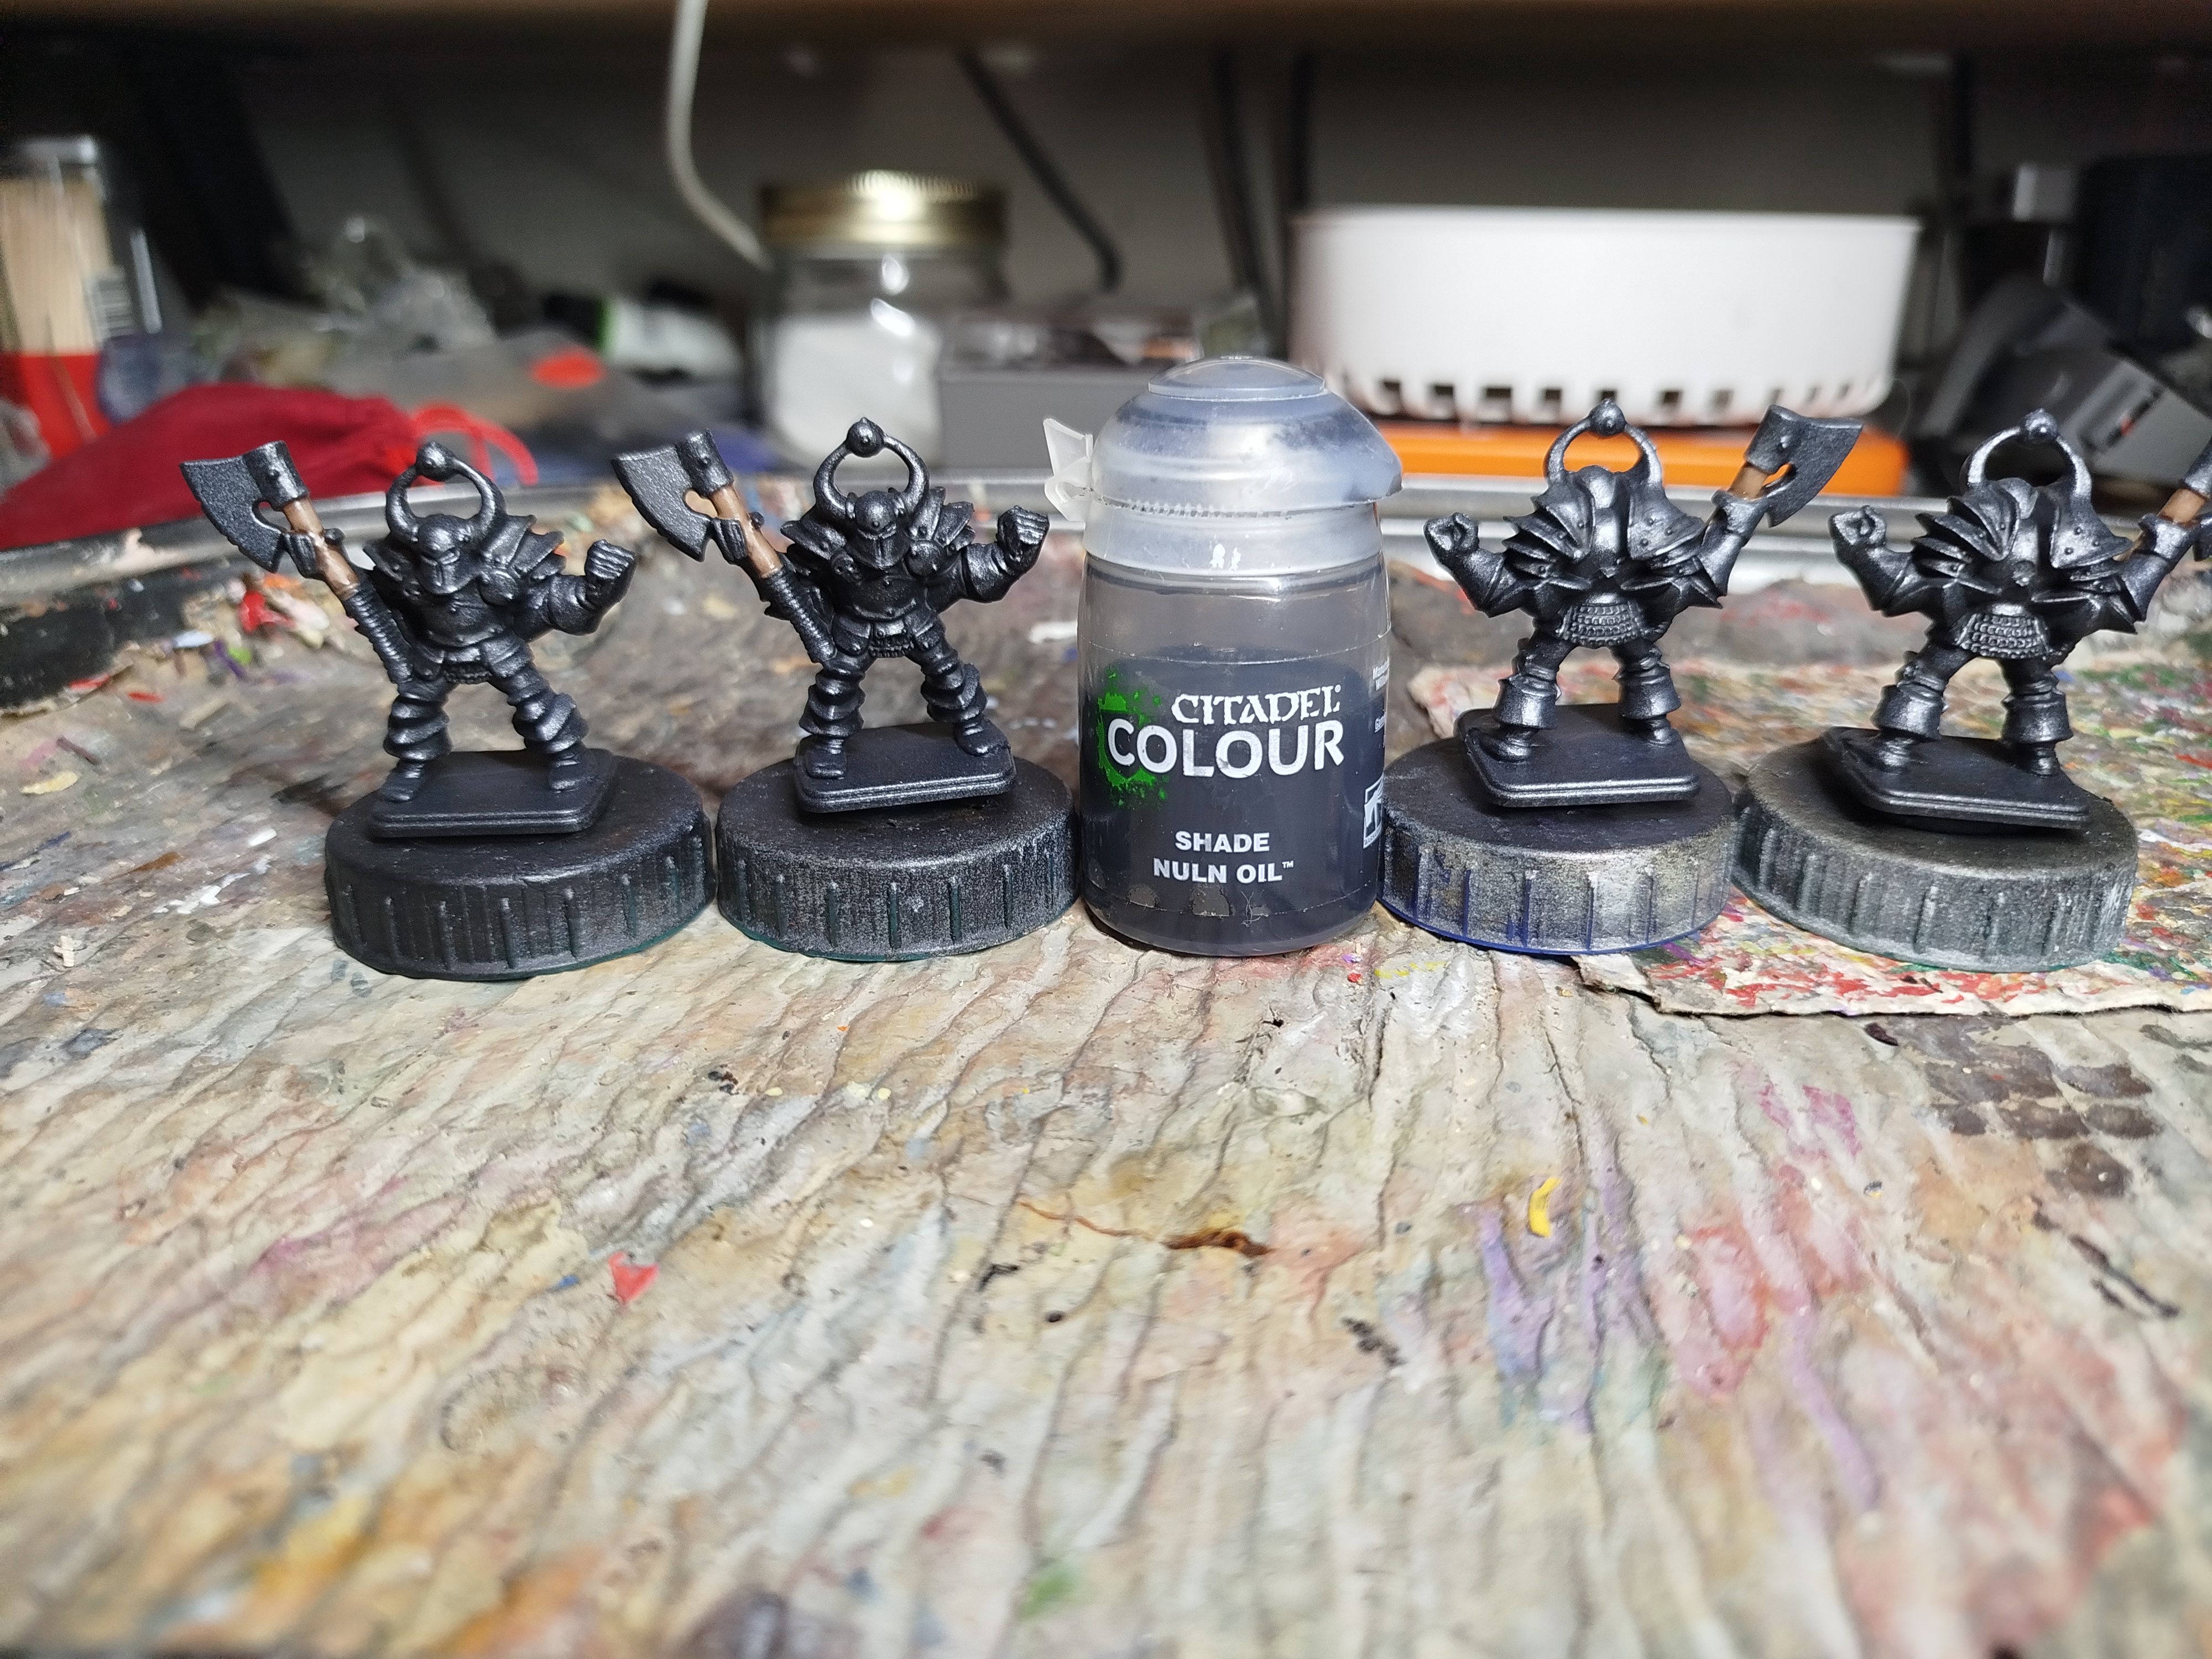 The Chaos Warriors were pin washed to add extra shadow and depth
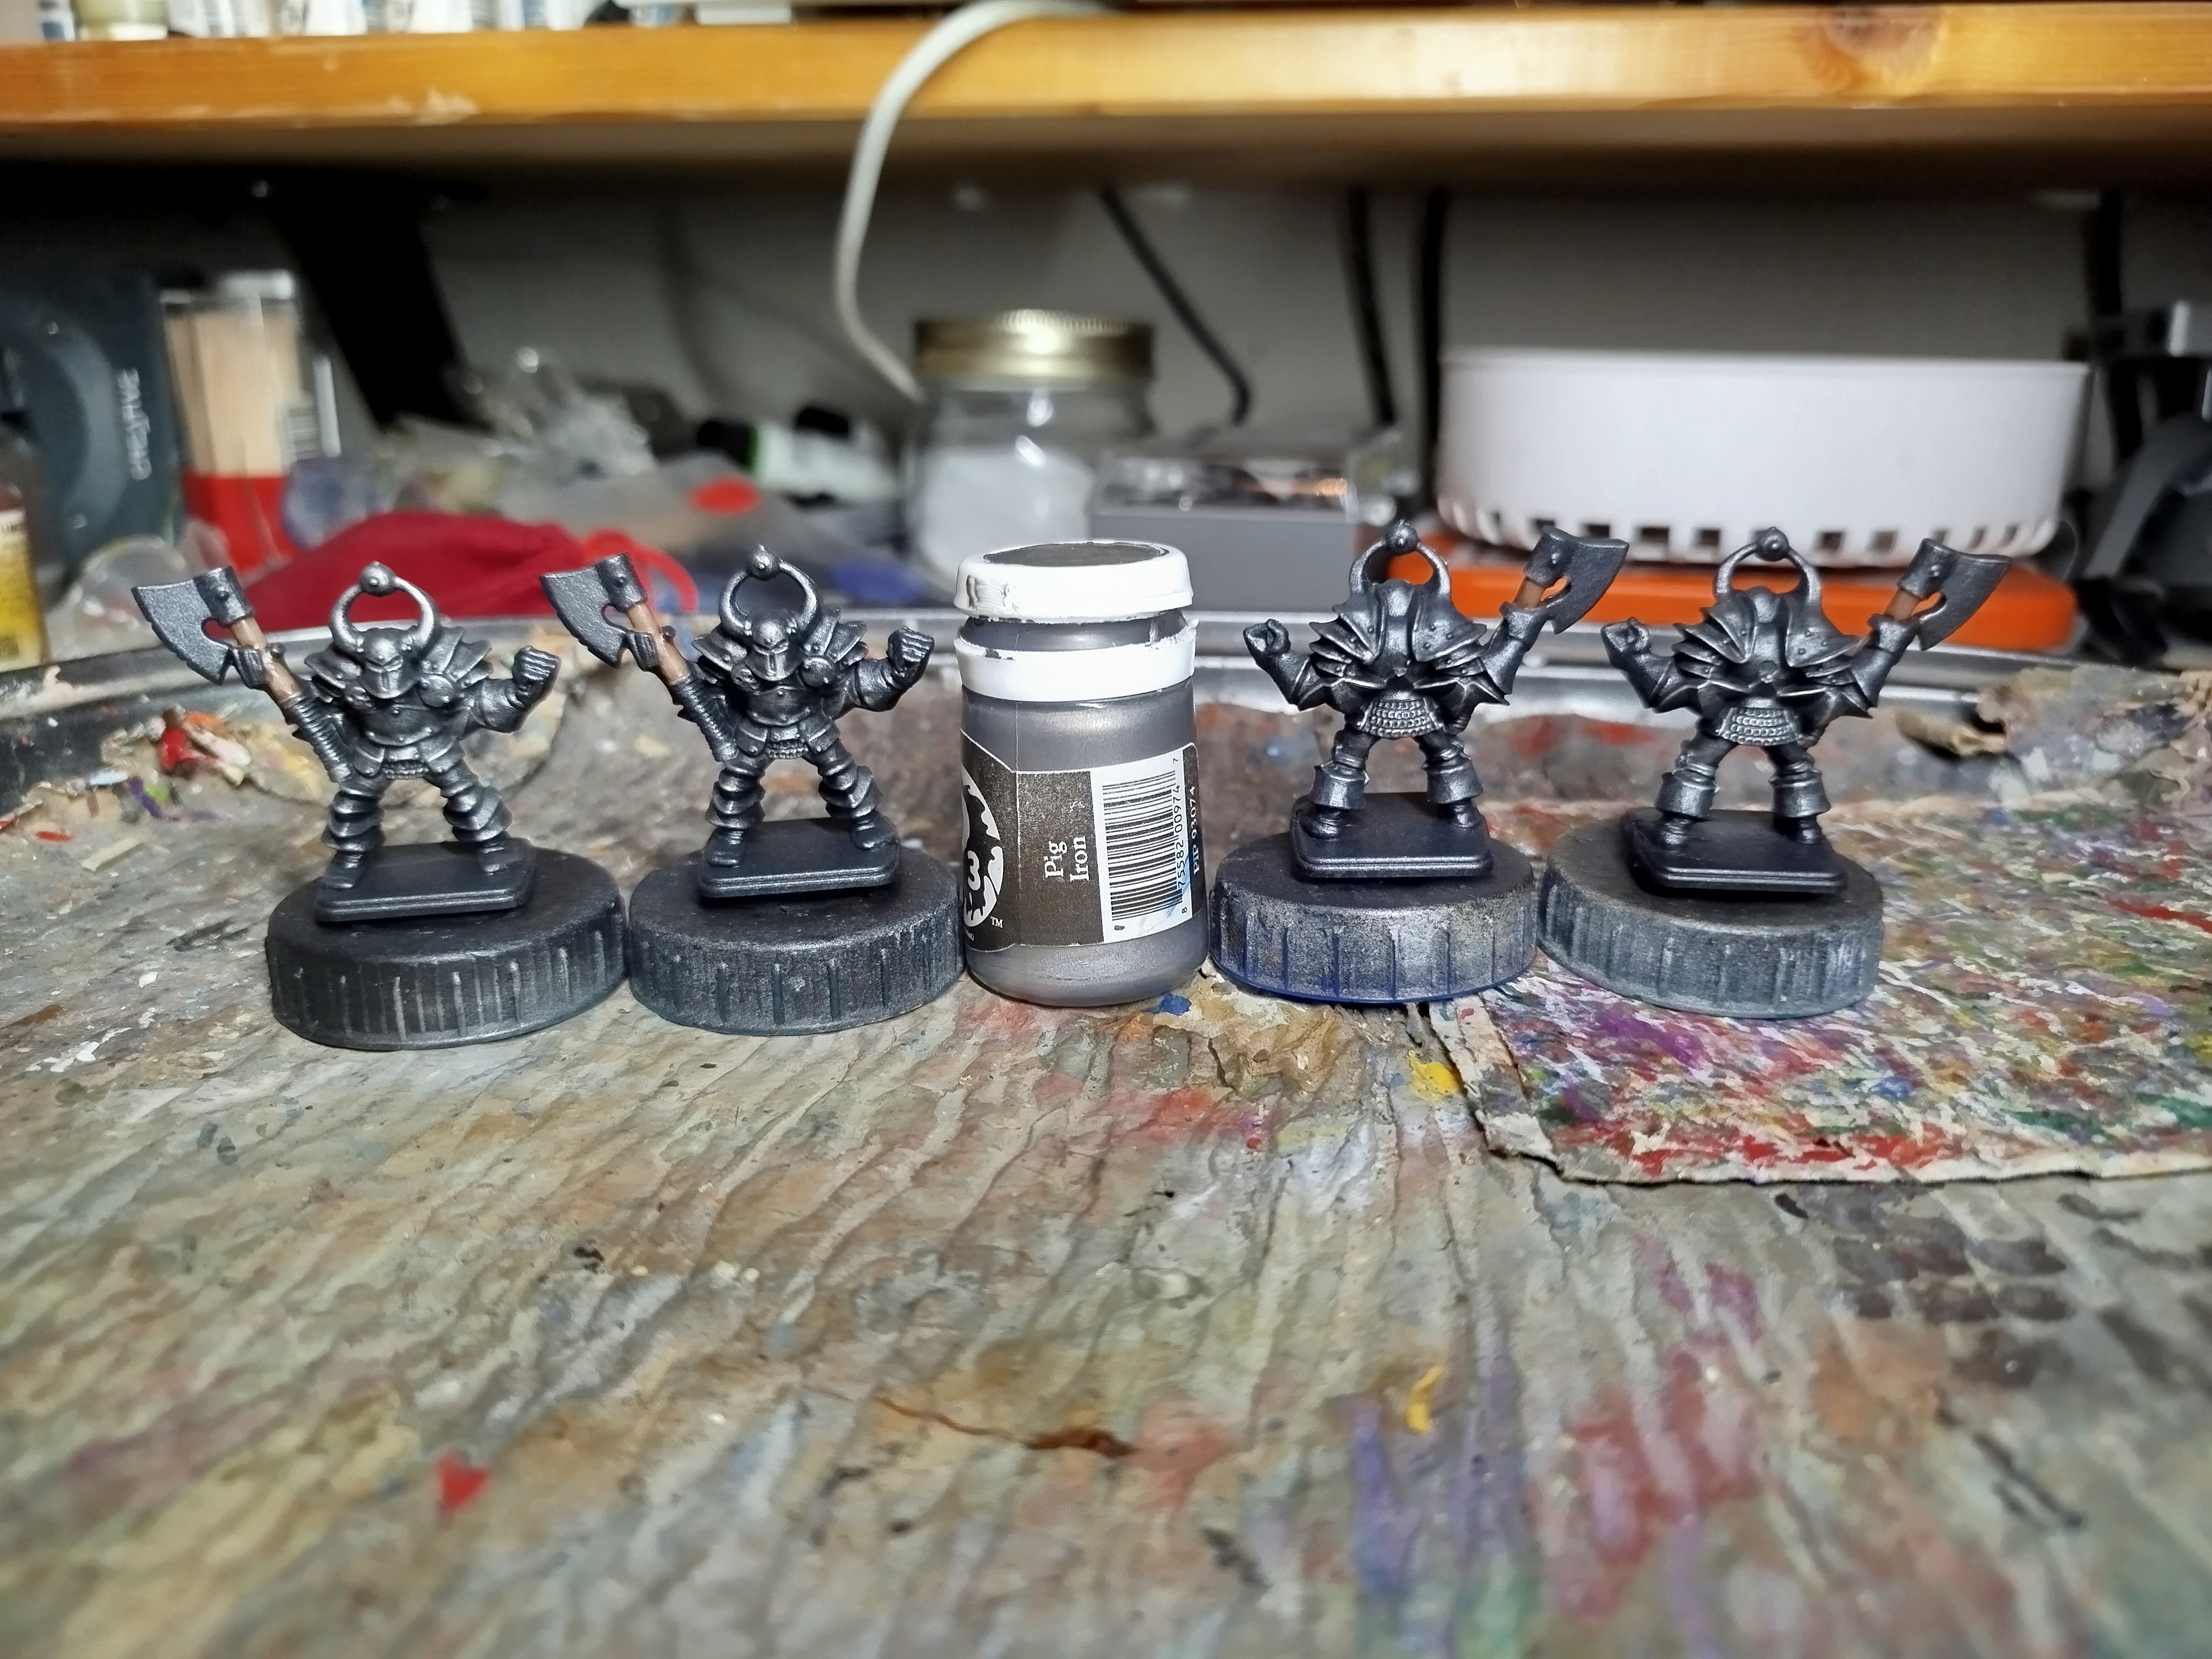 They were lightly drybrushed to add highlights, only where aprpriate
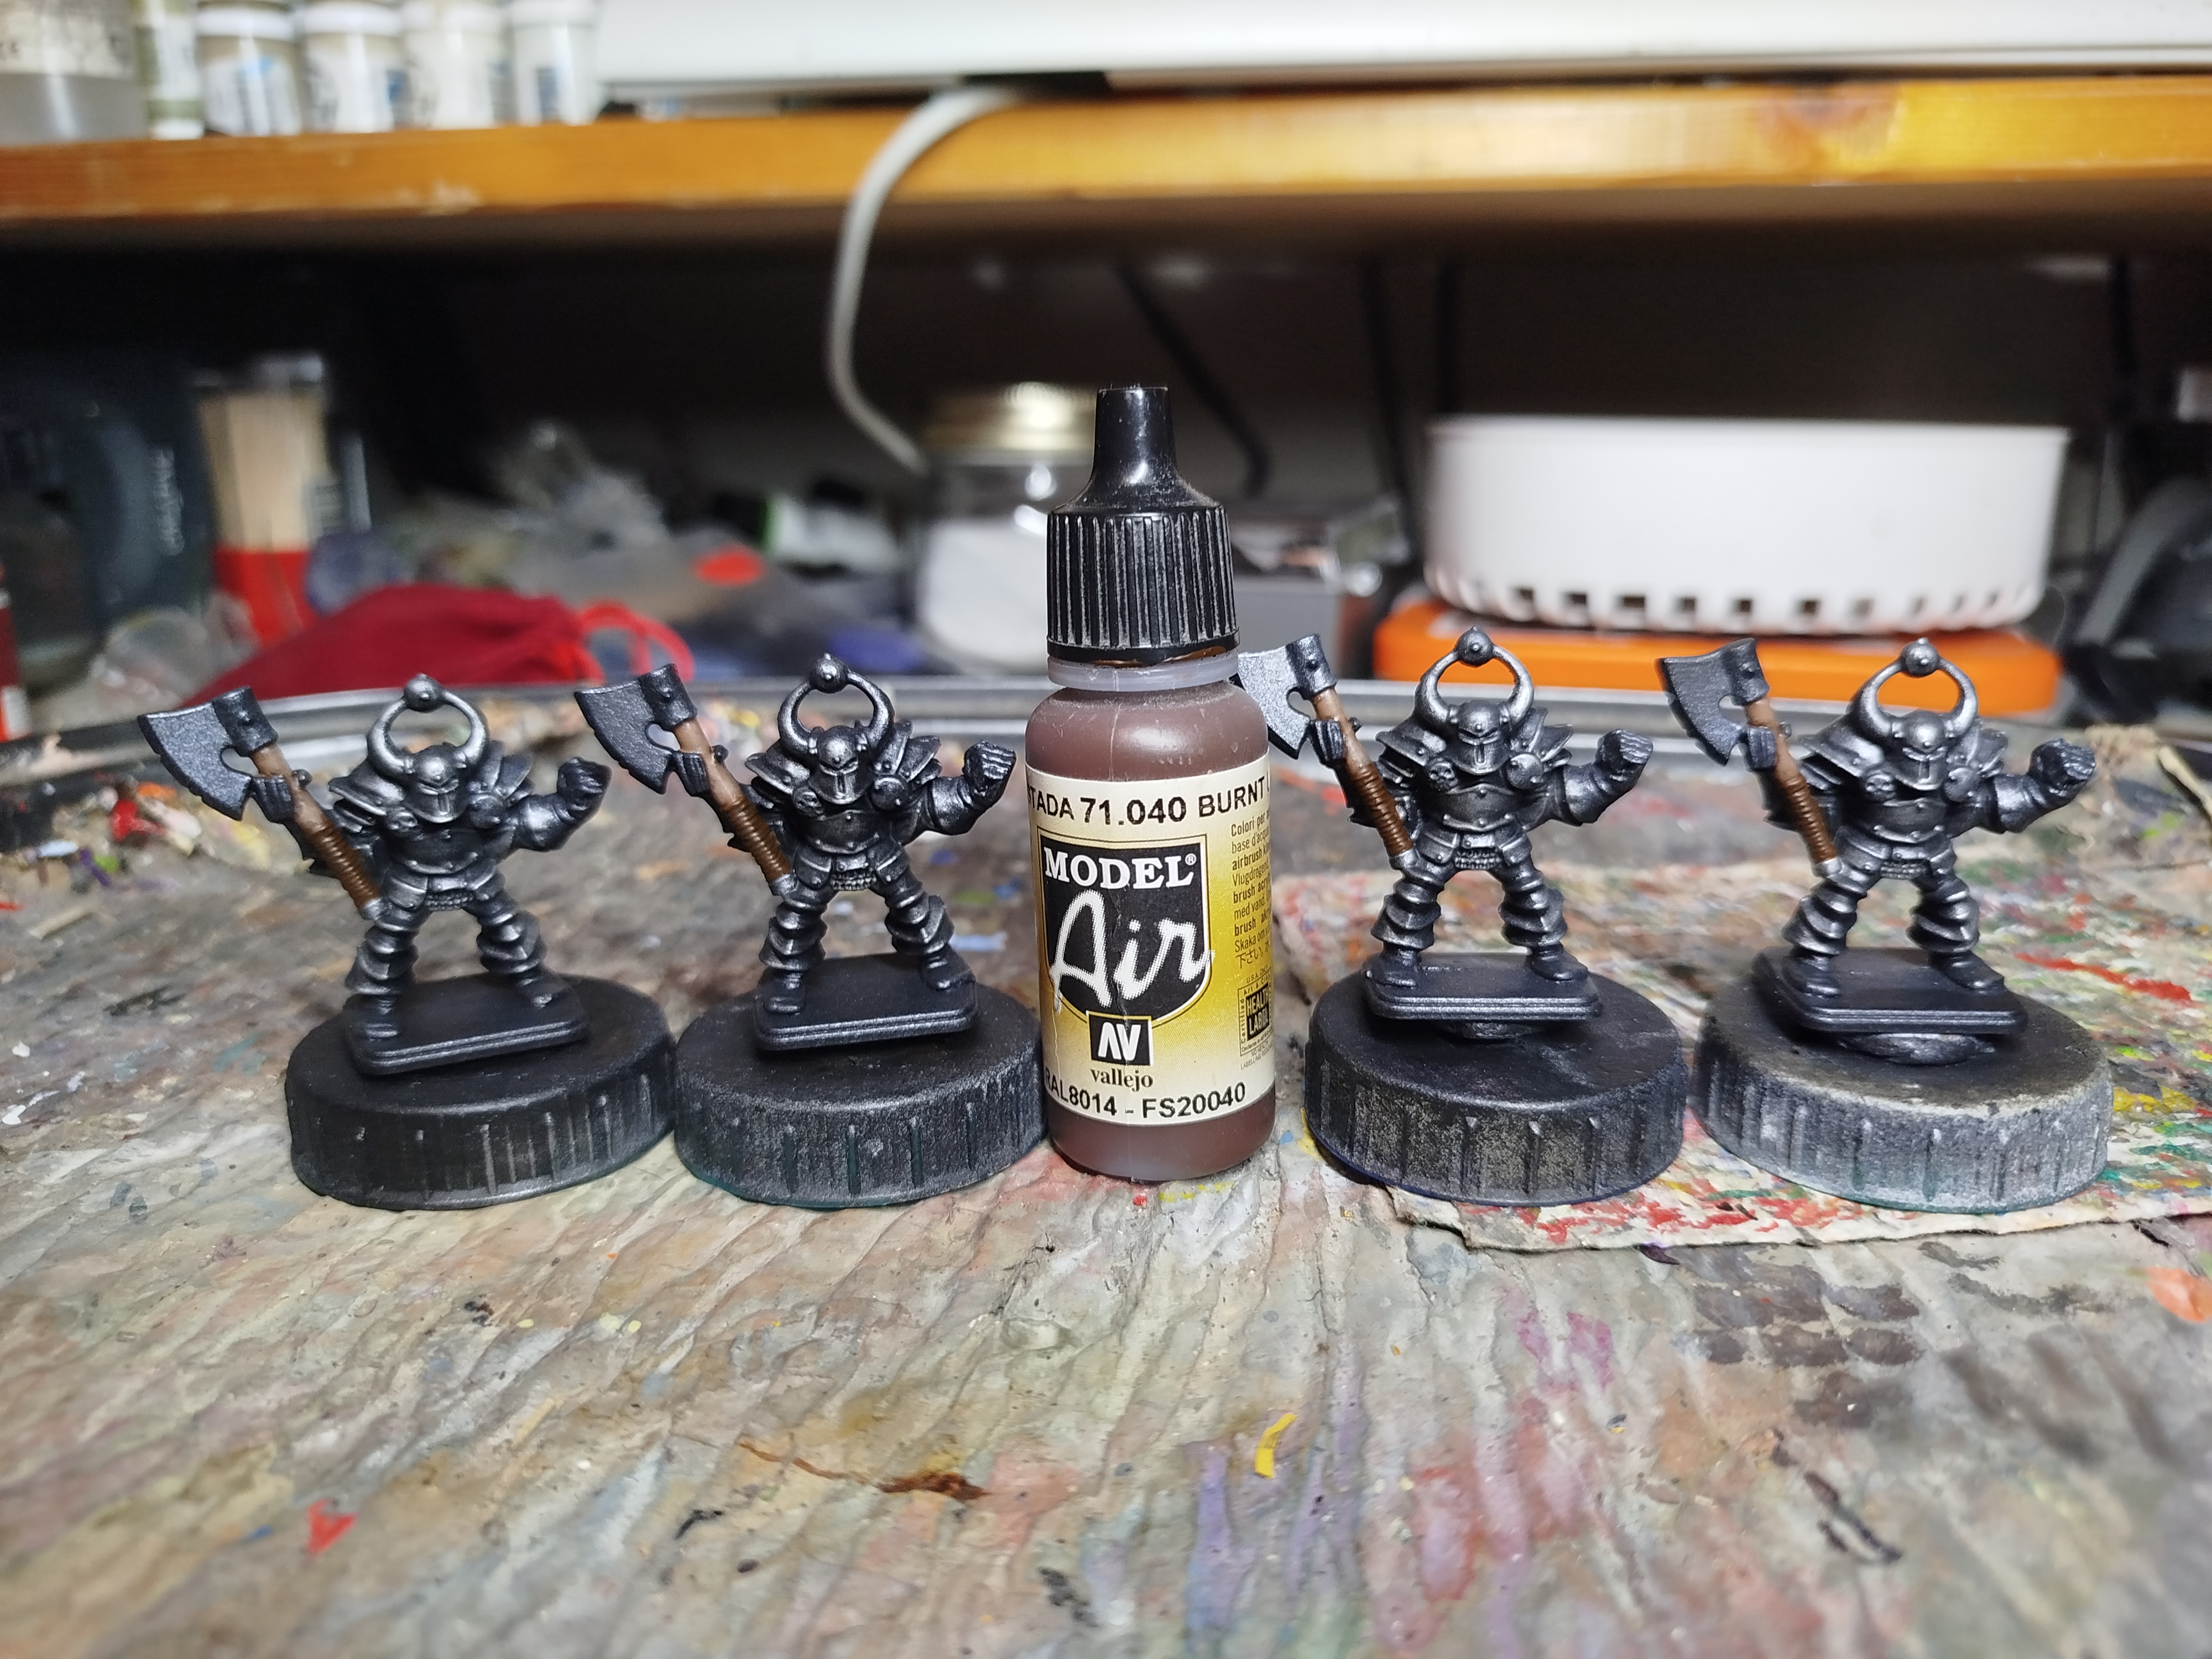 The Axe handle wraps were base coated
Week 4 Part 2: Still Going
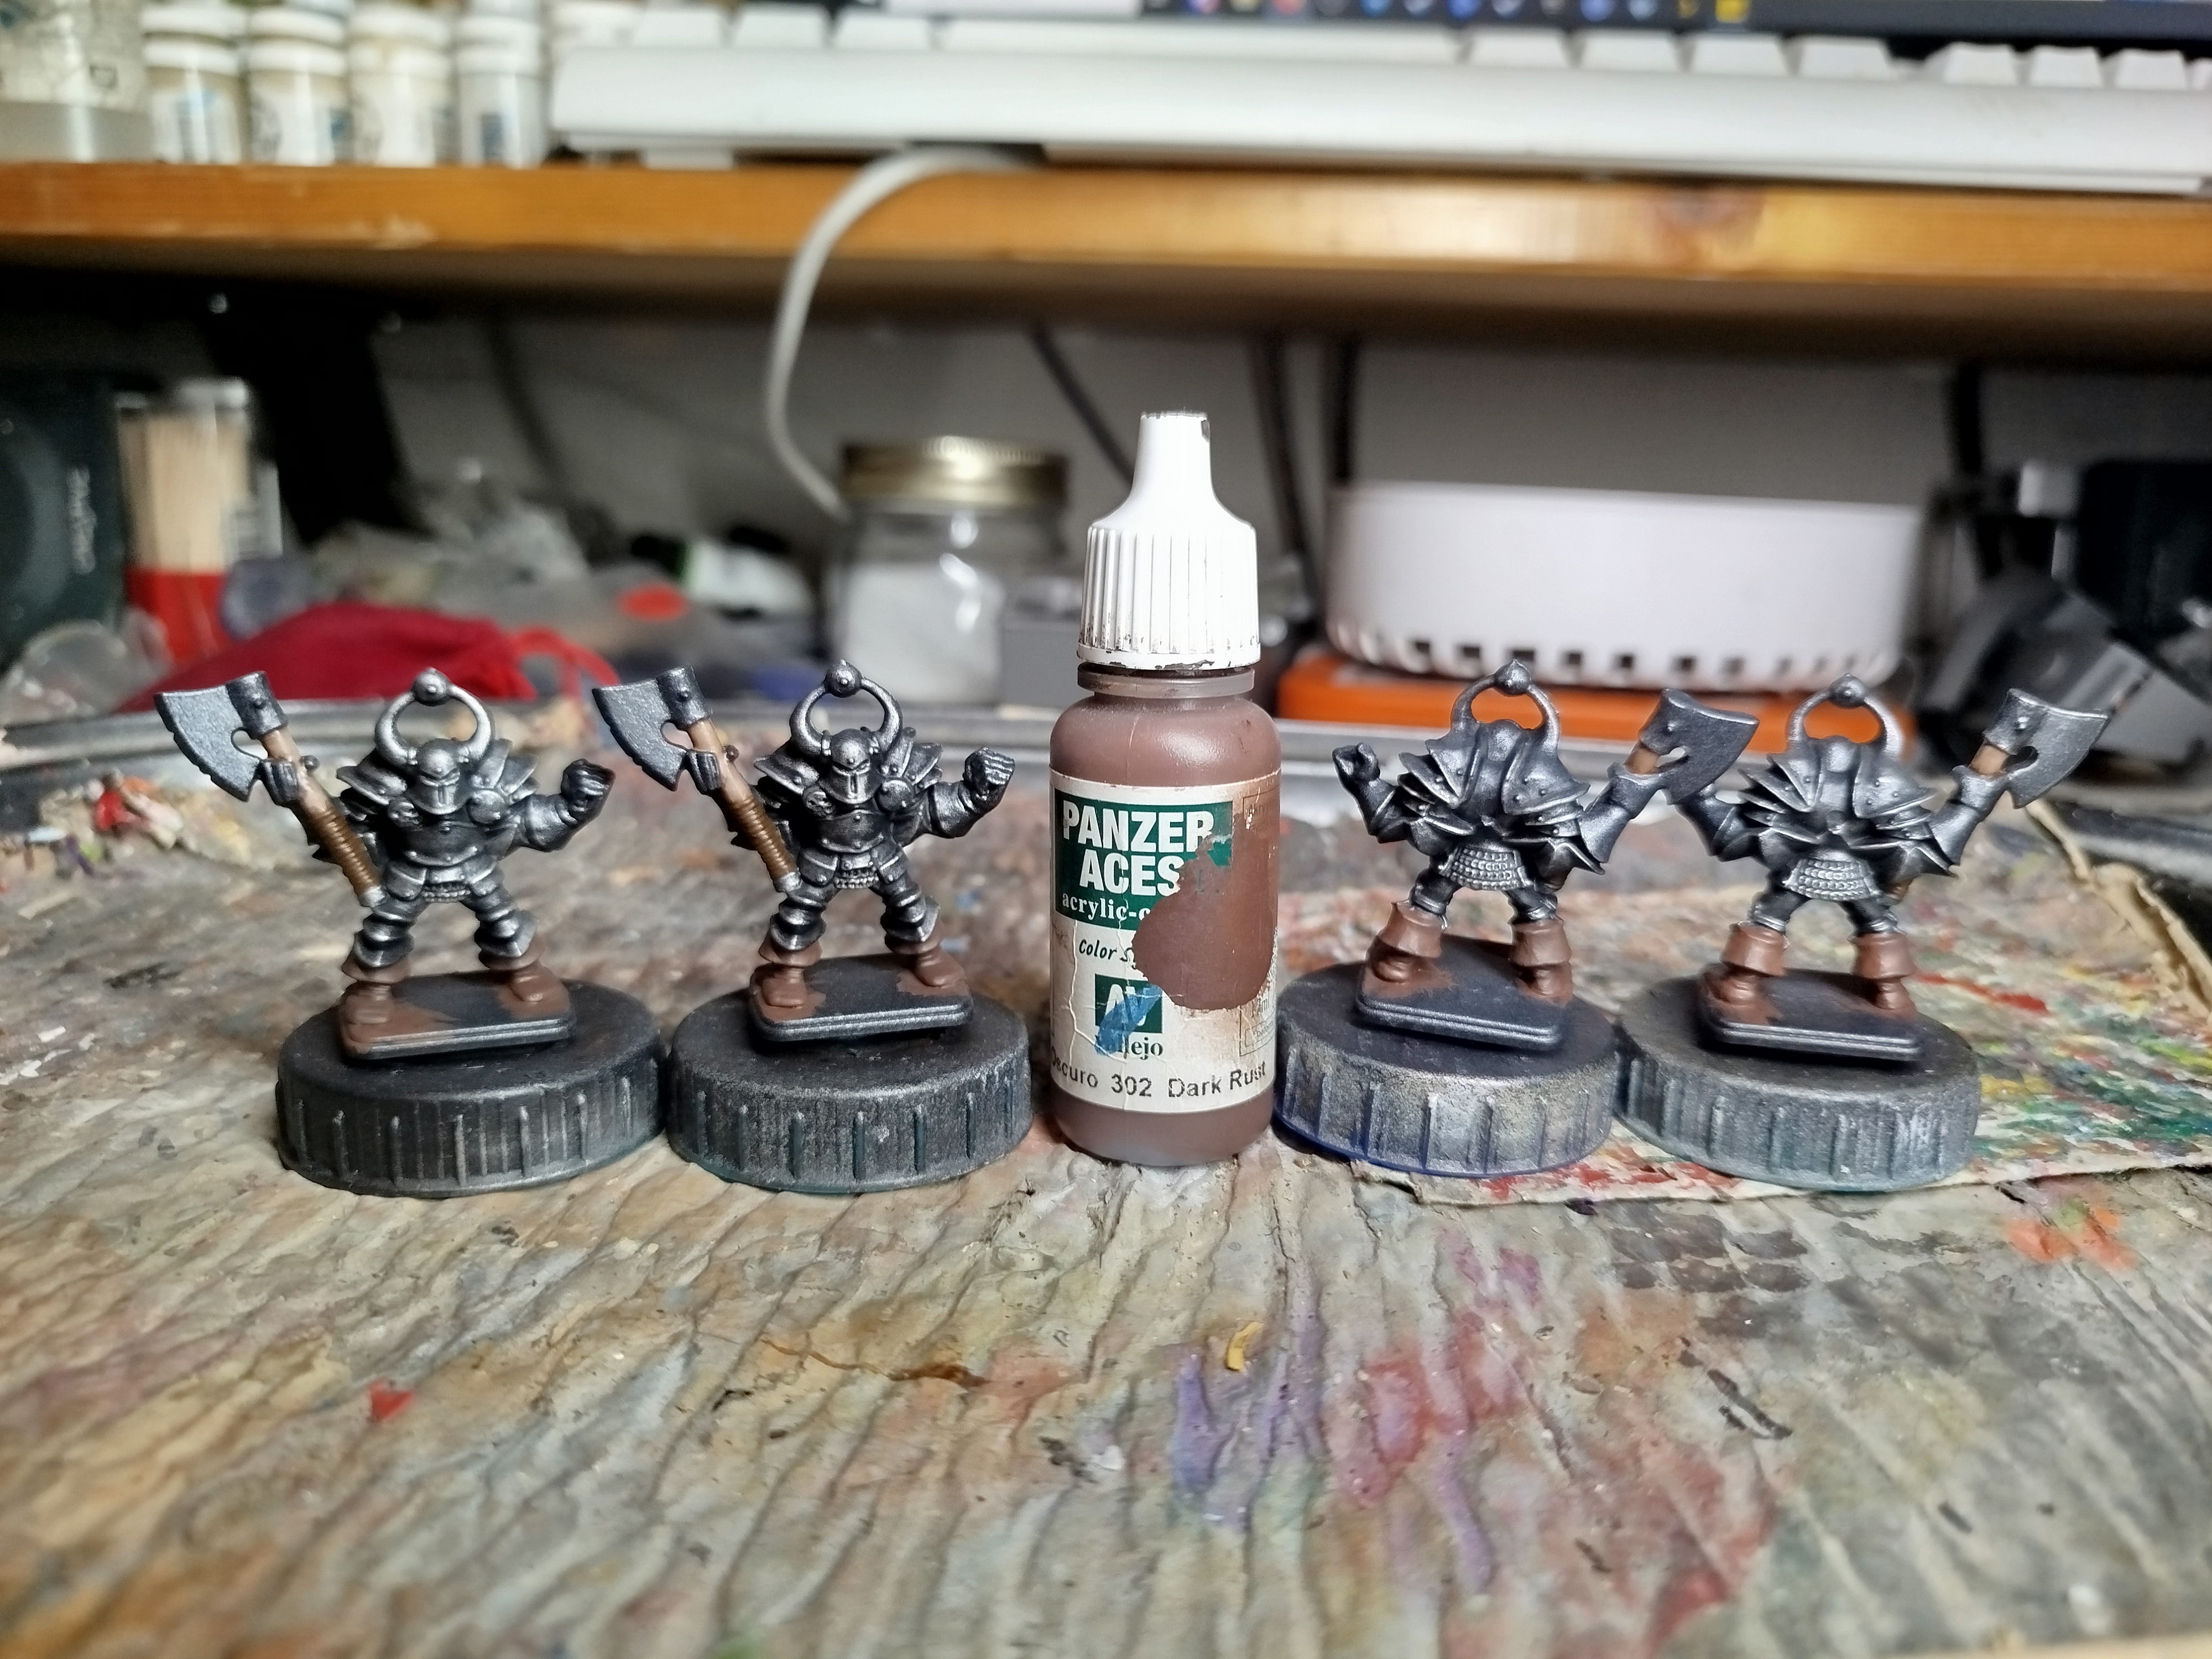 The boots were base coated
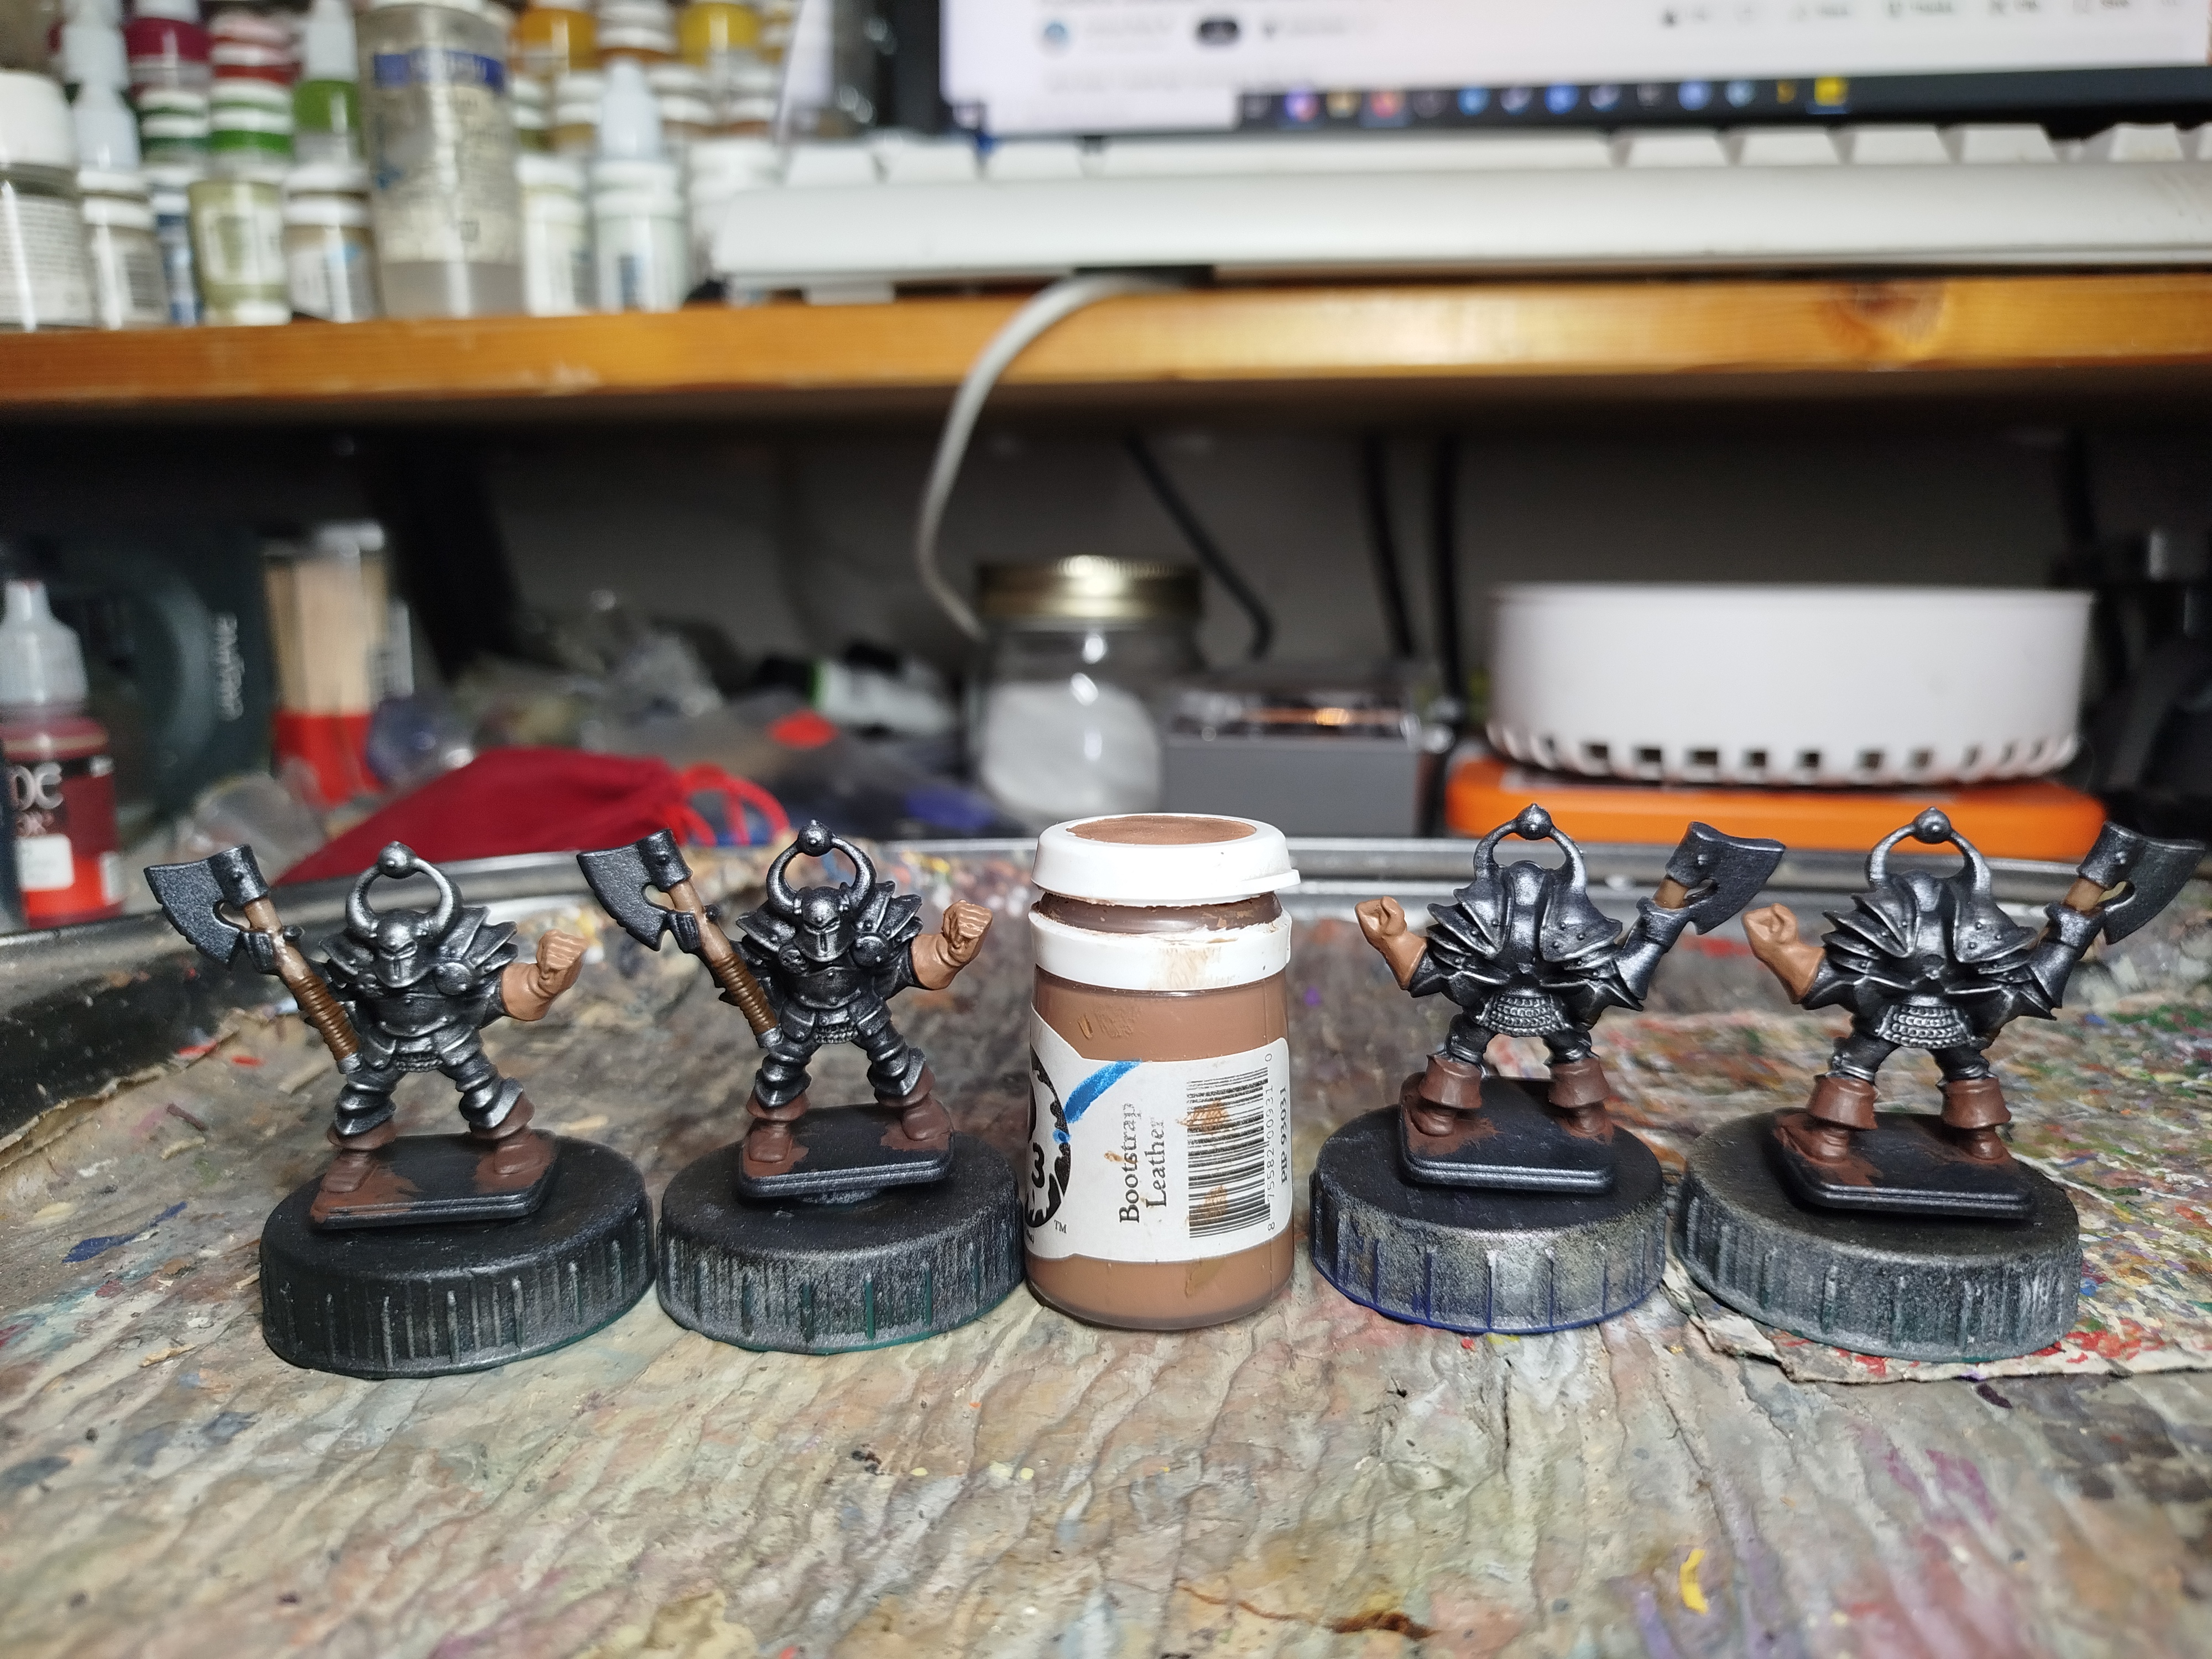 The gloves were base coated
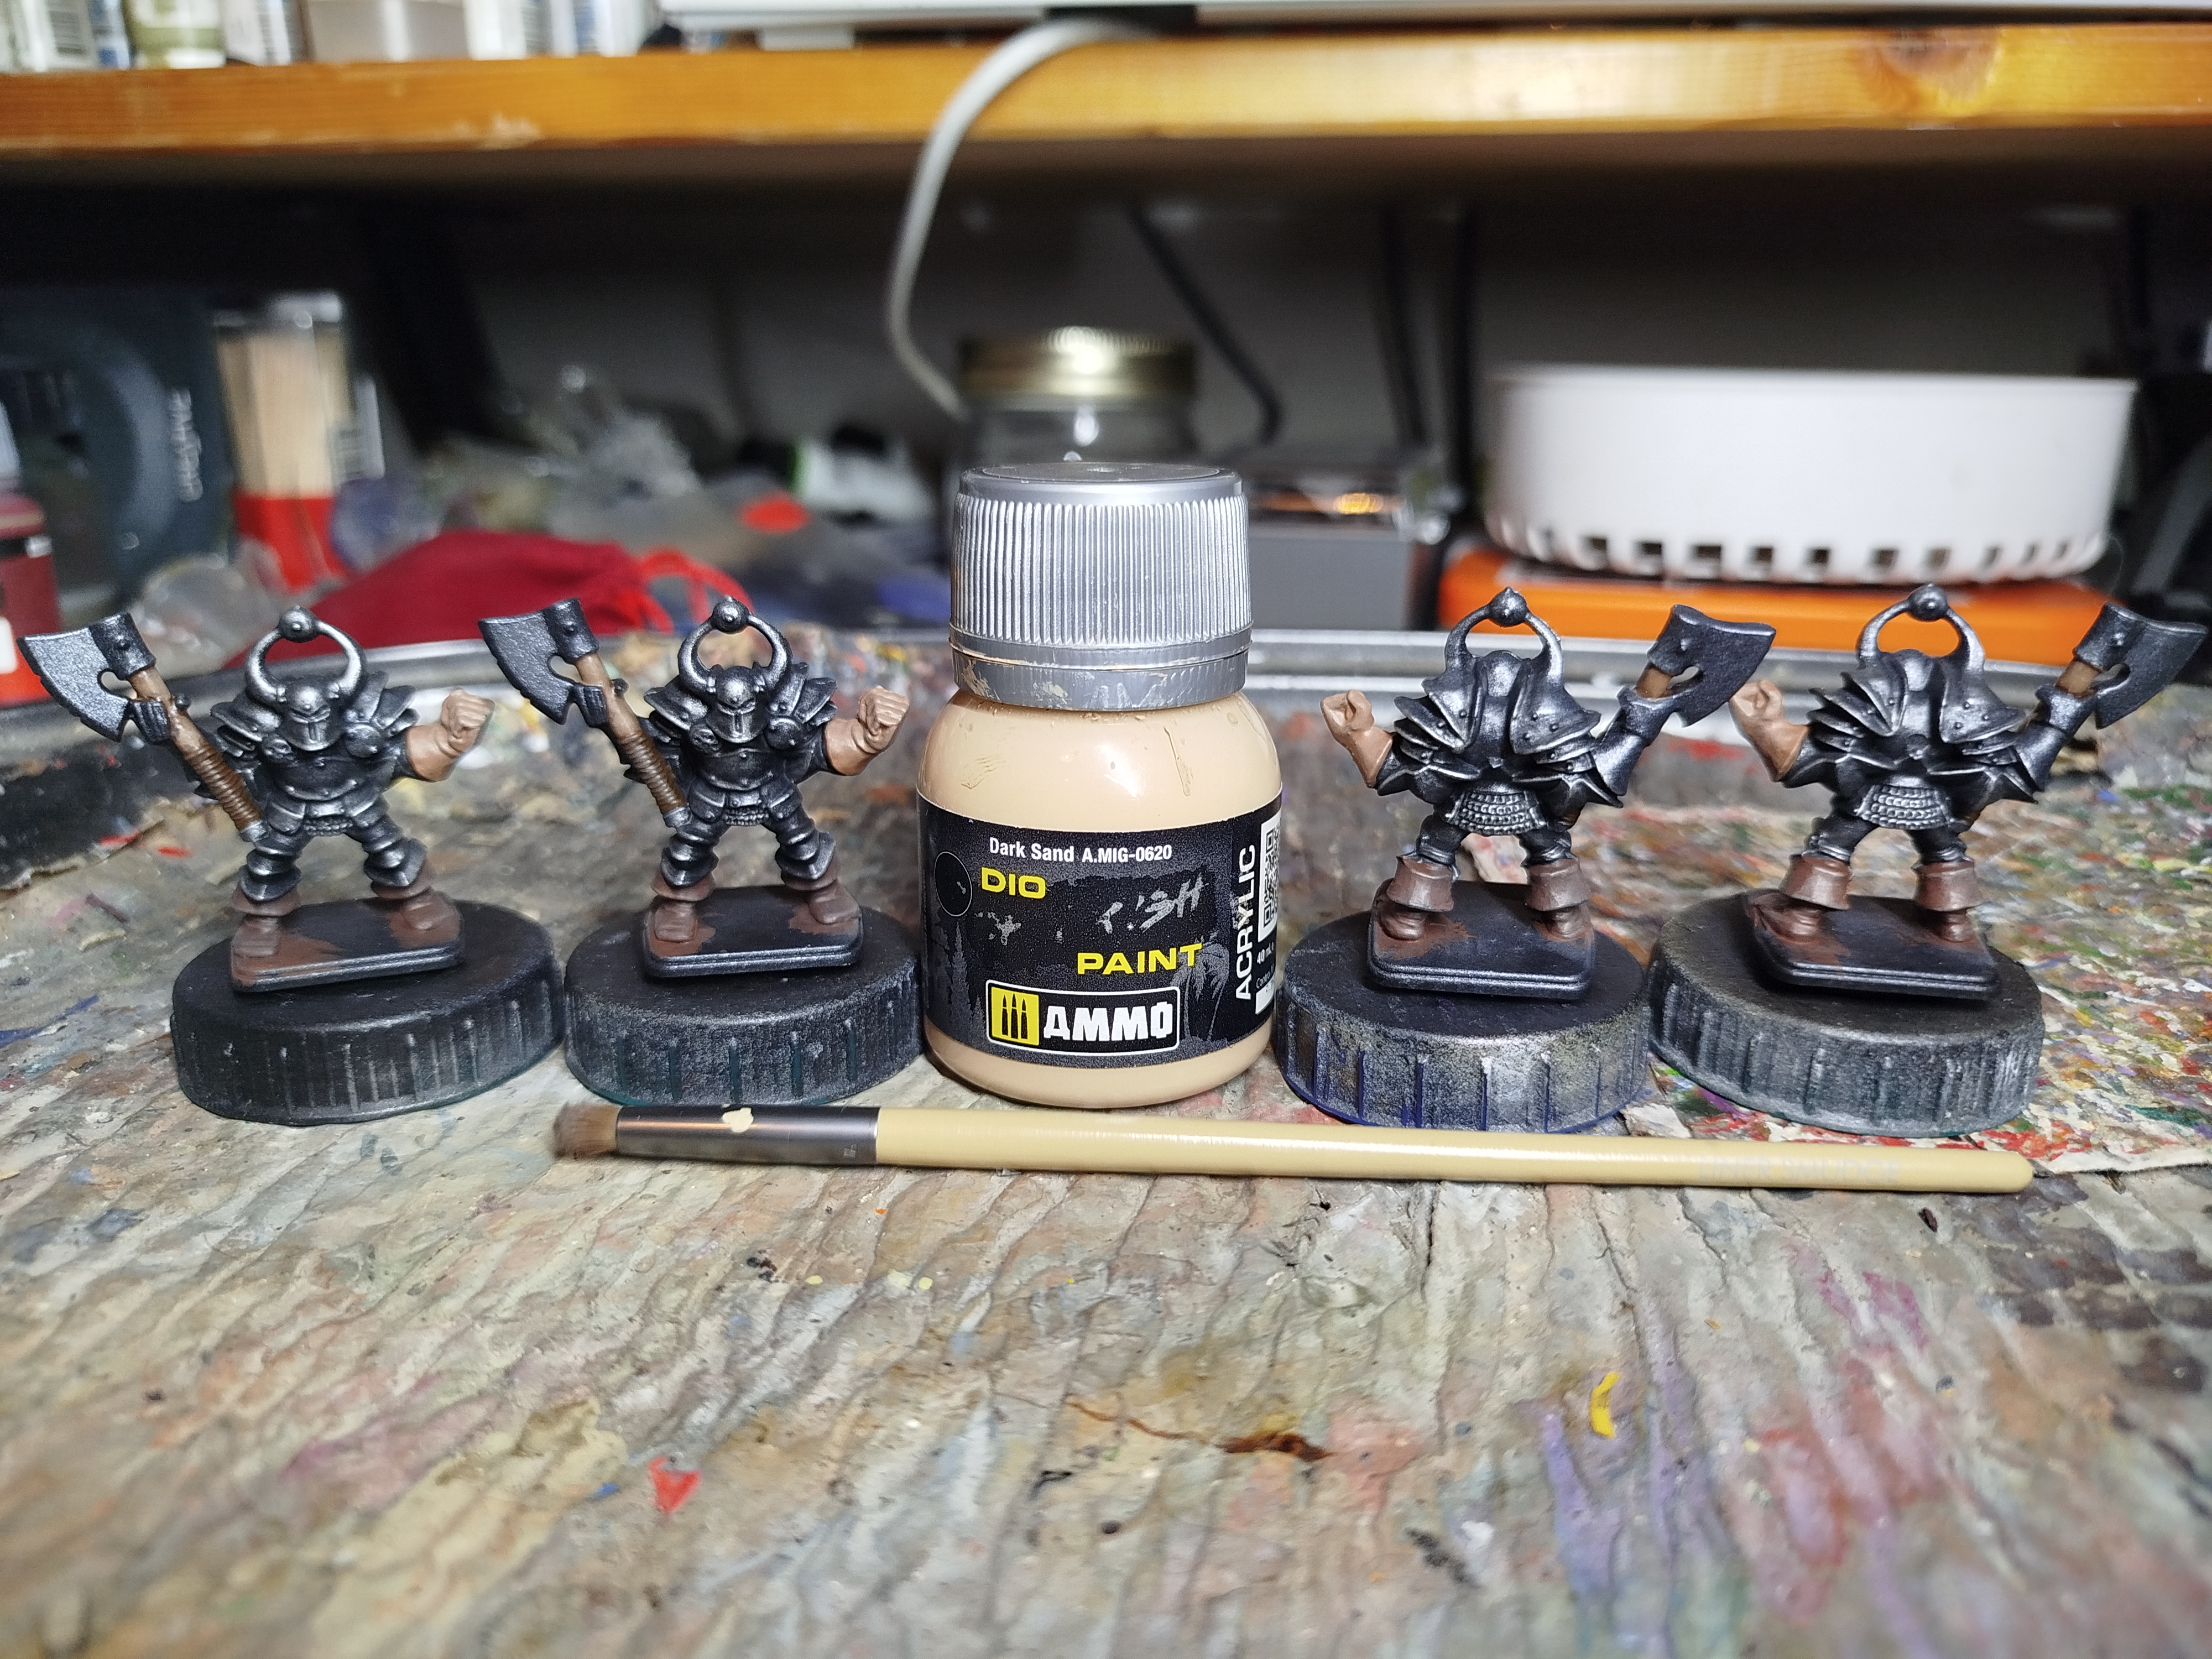 The boots, gloves, and axe wraps were dryushed.
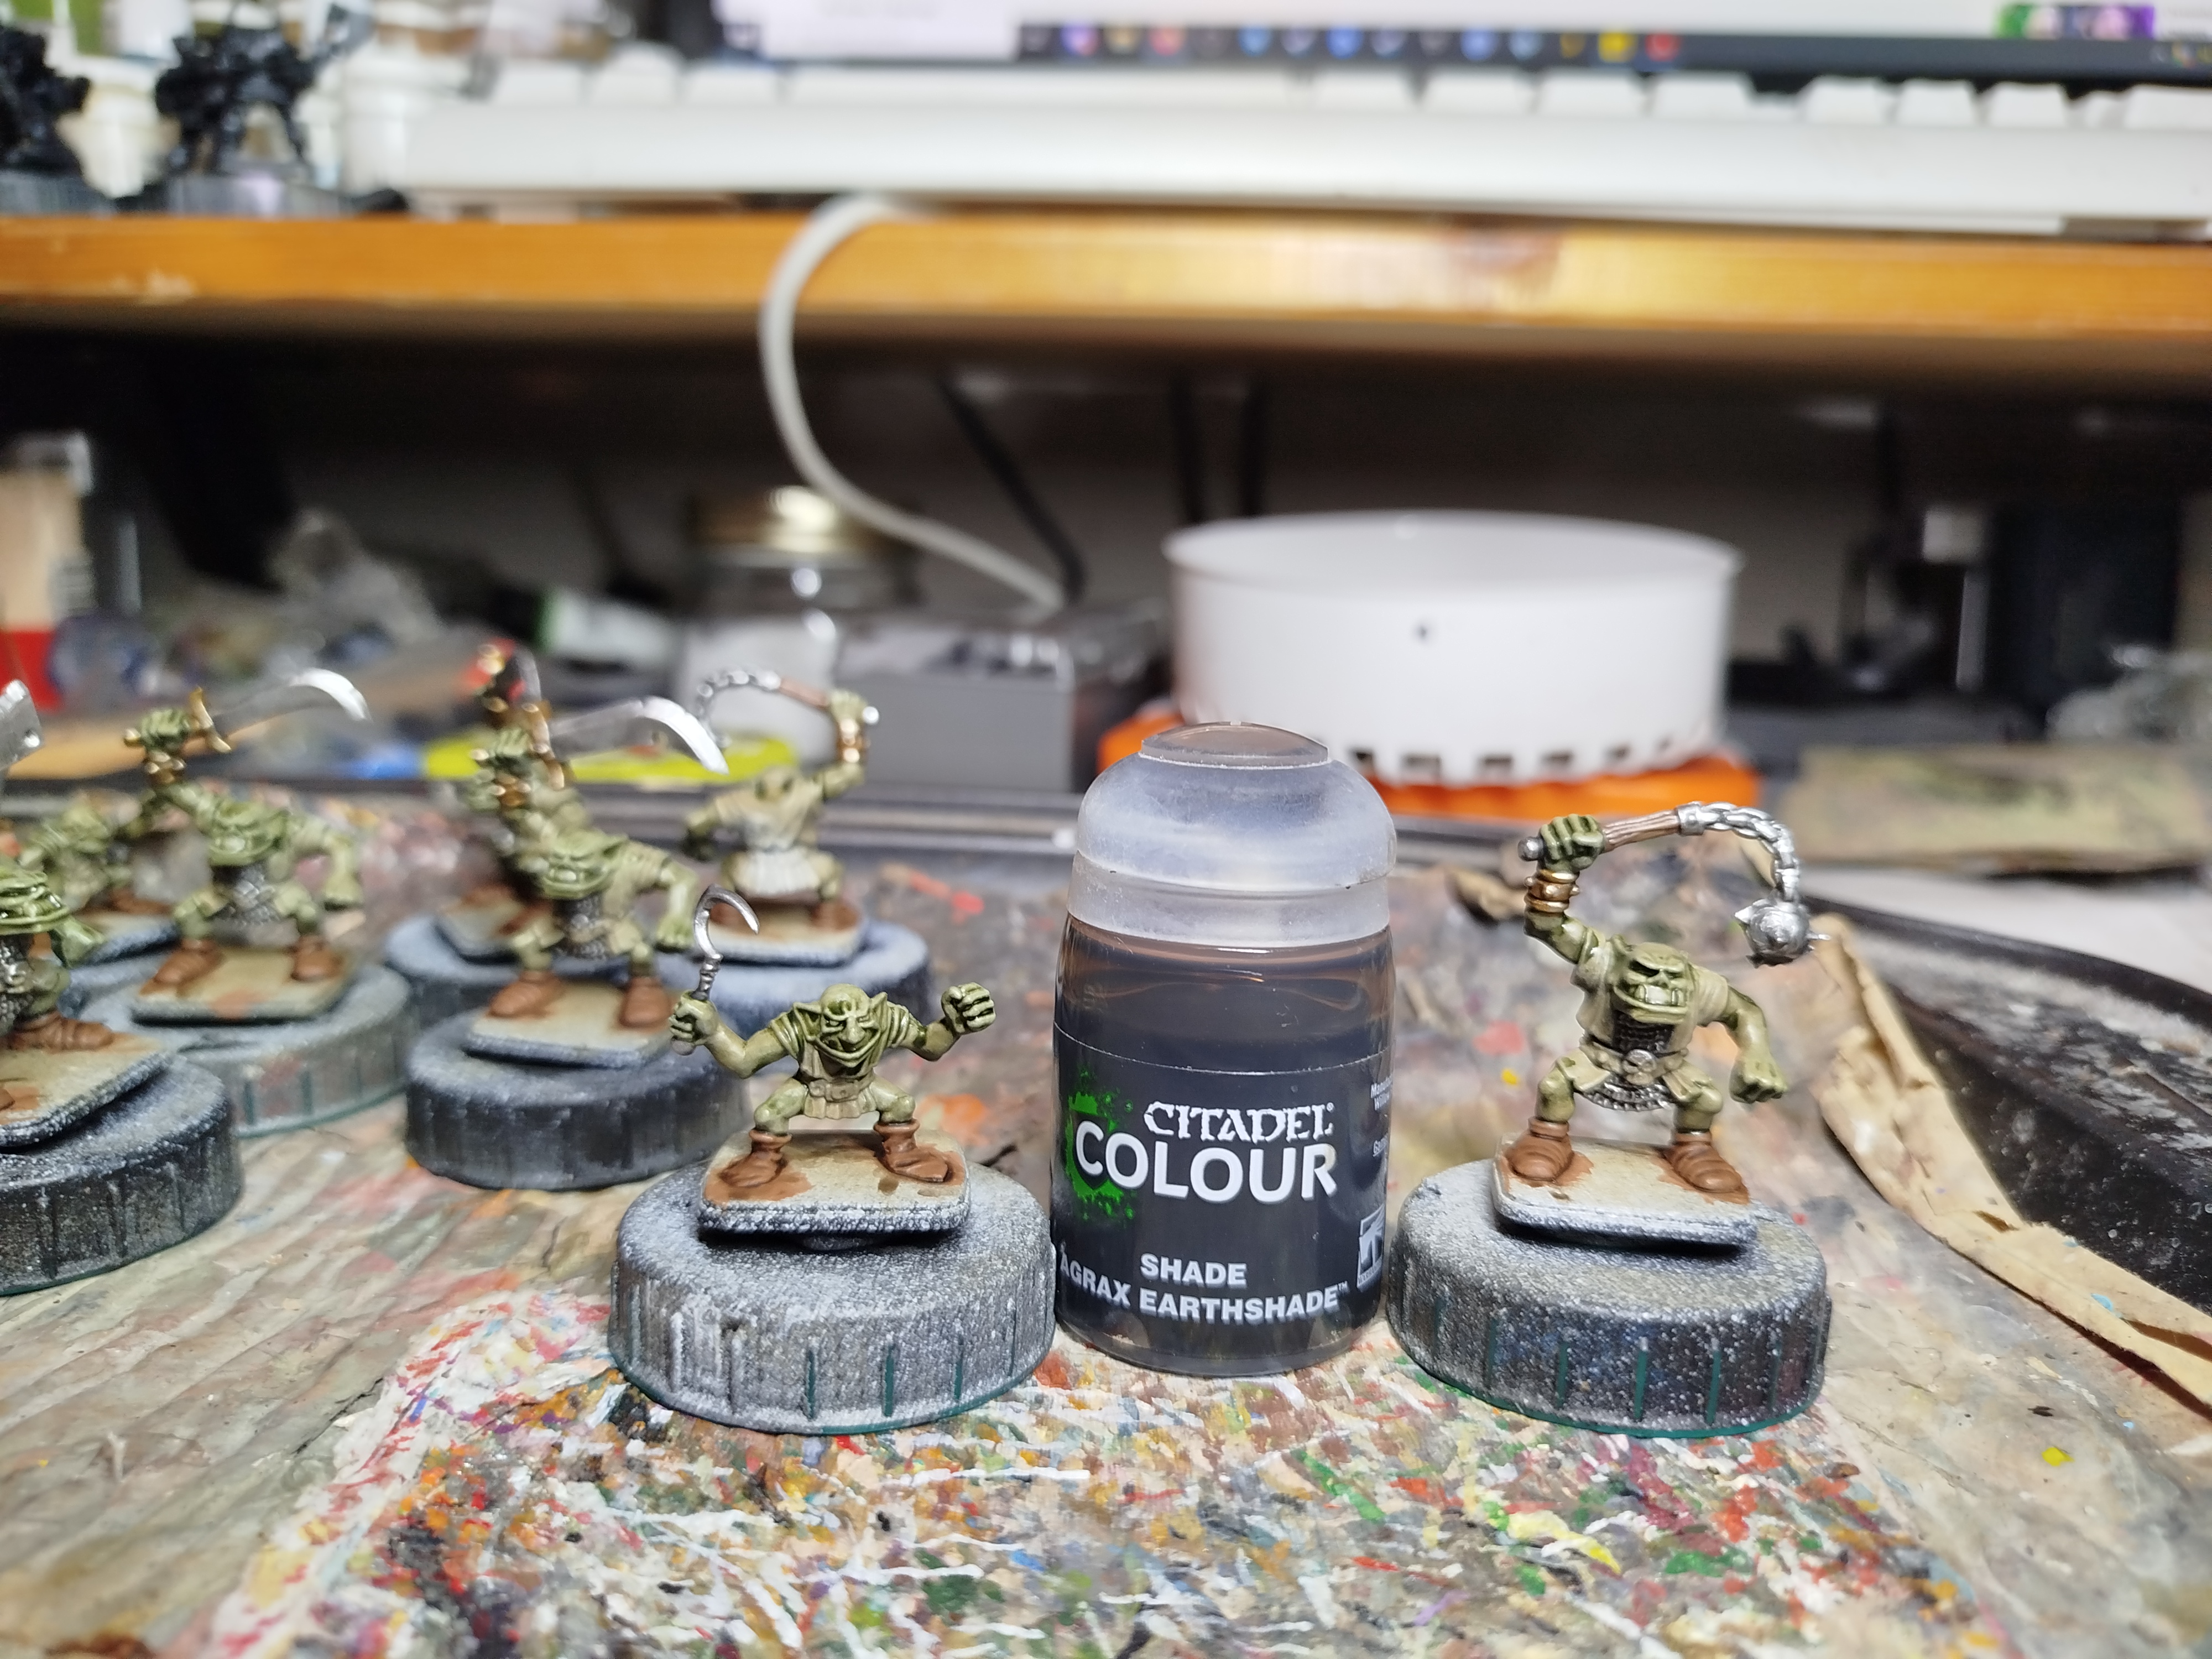
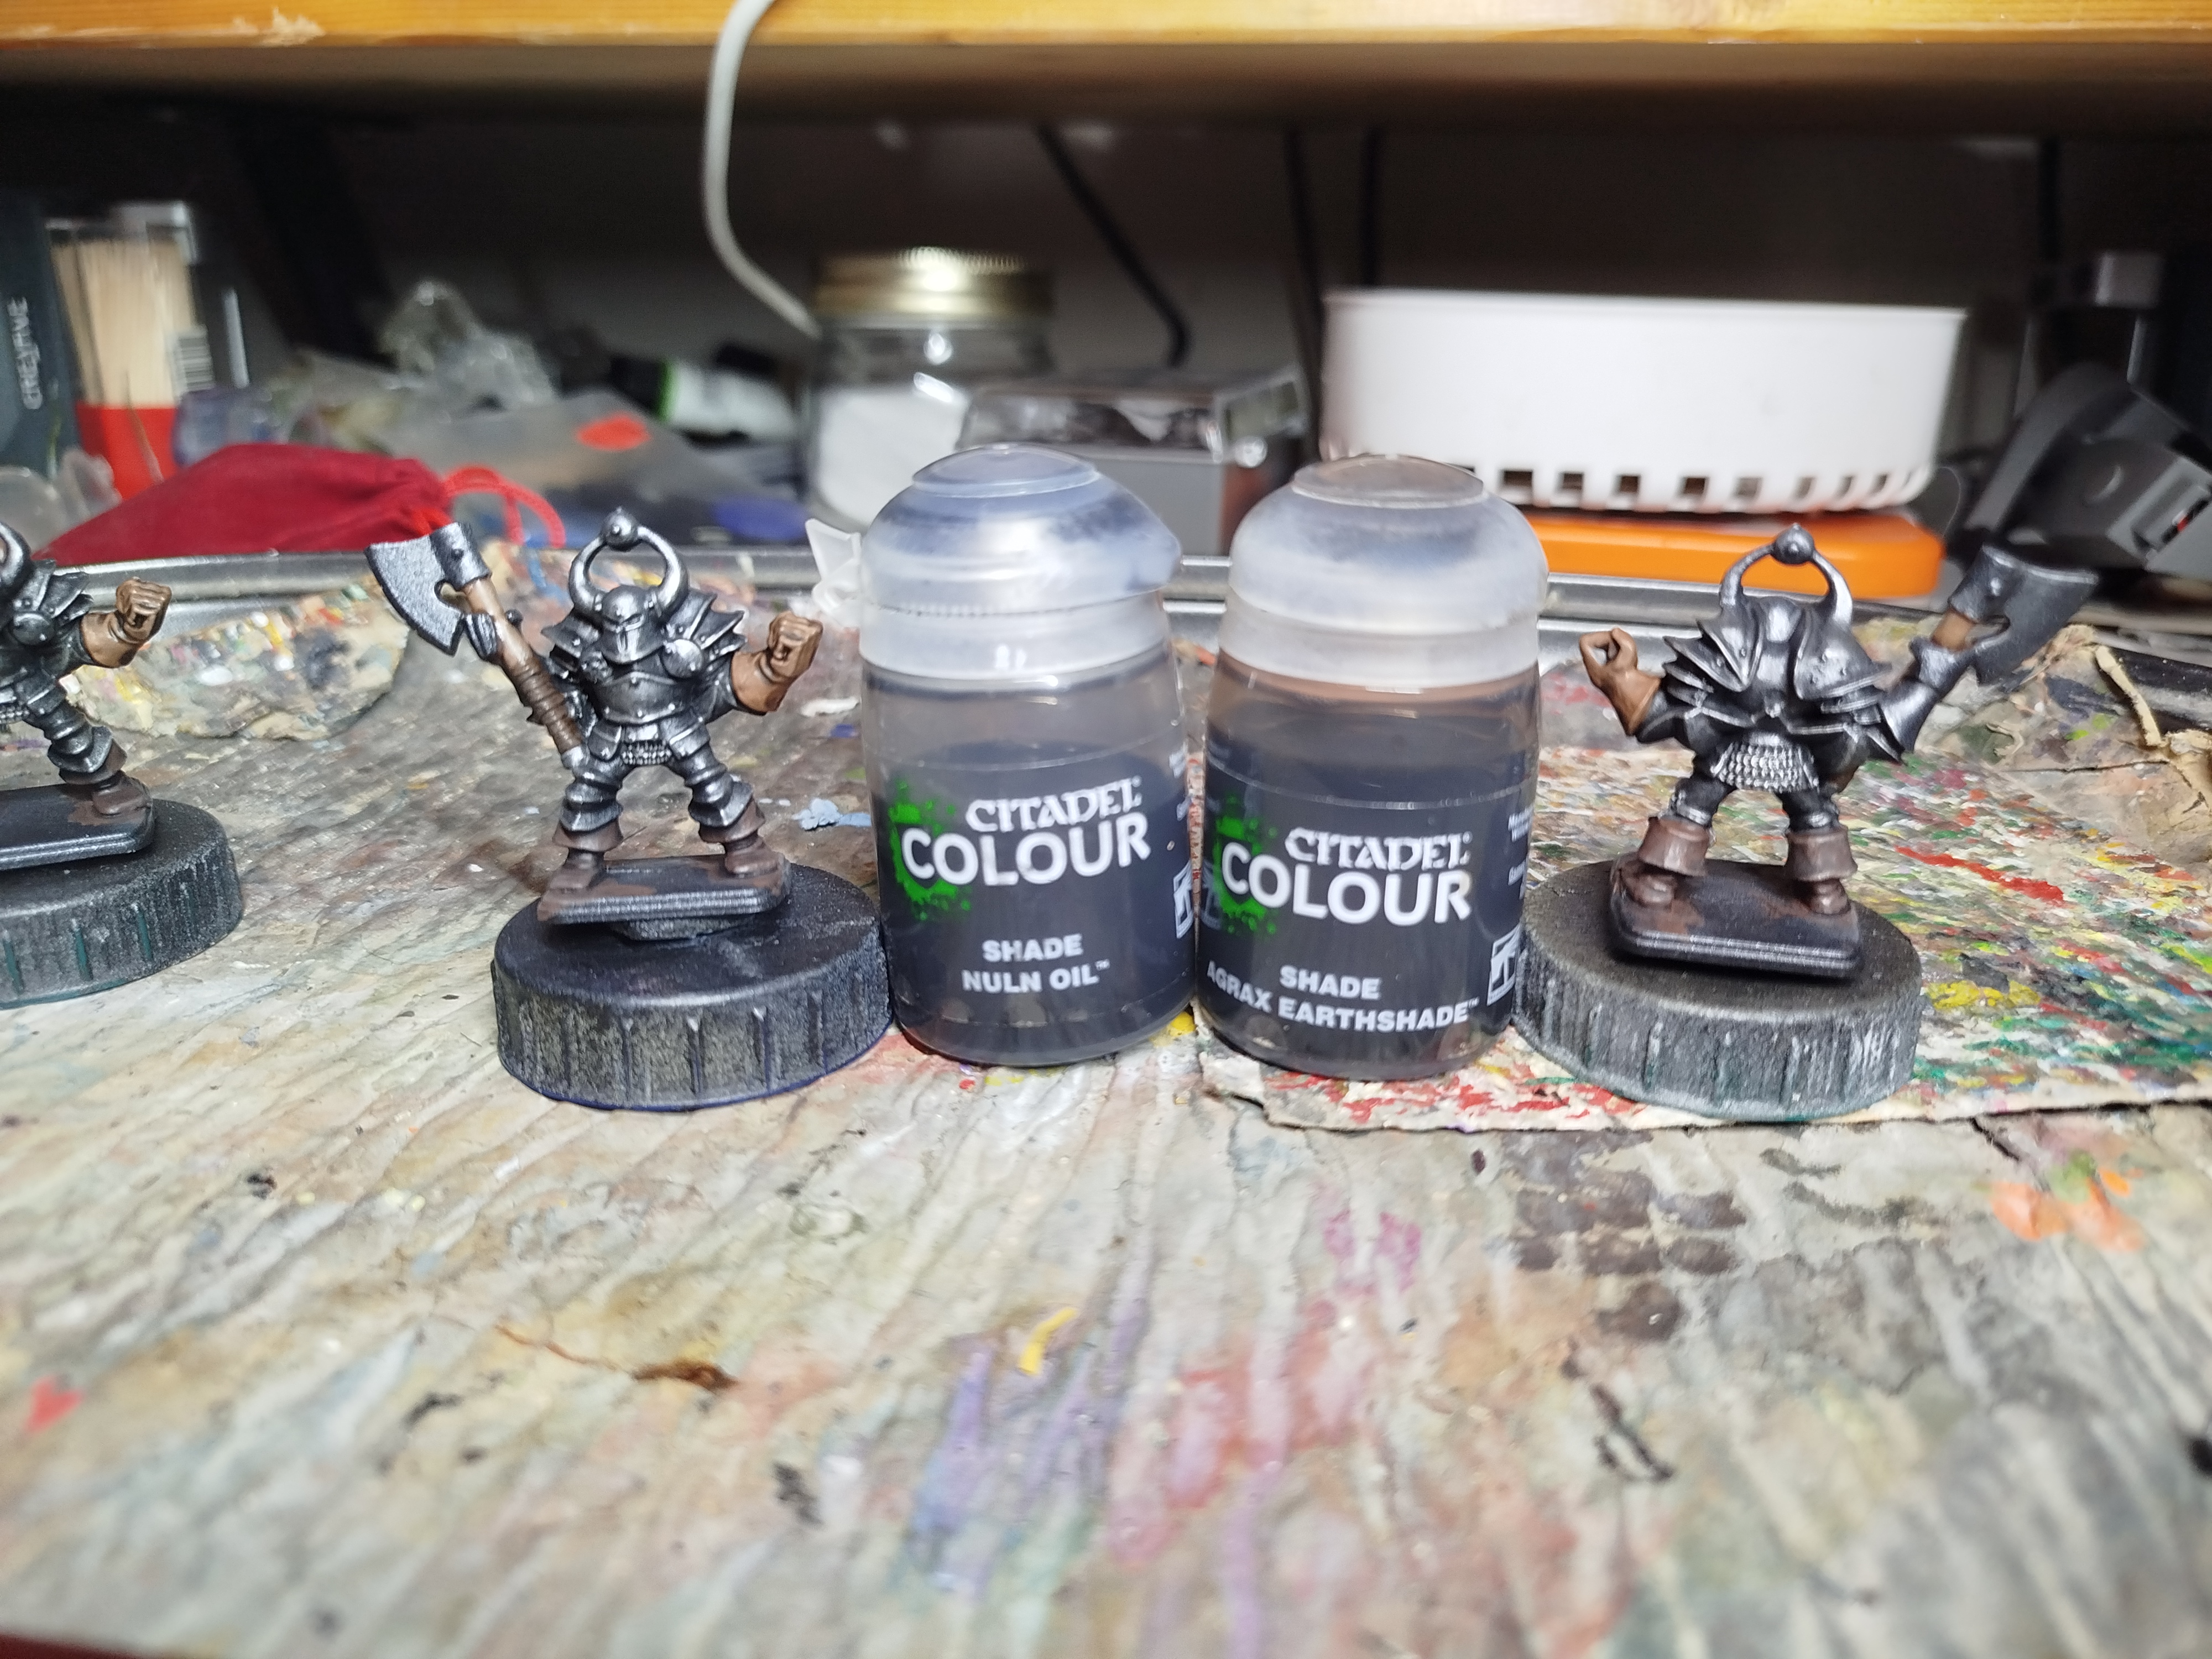 The boots were washed with Nuln Oil and the other leathers were washed with Agrax Earthshade
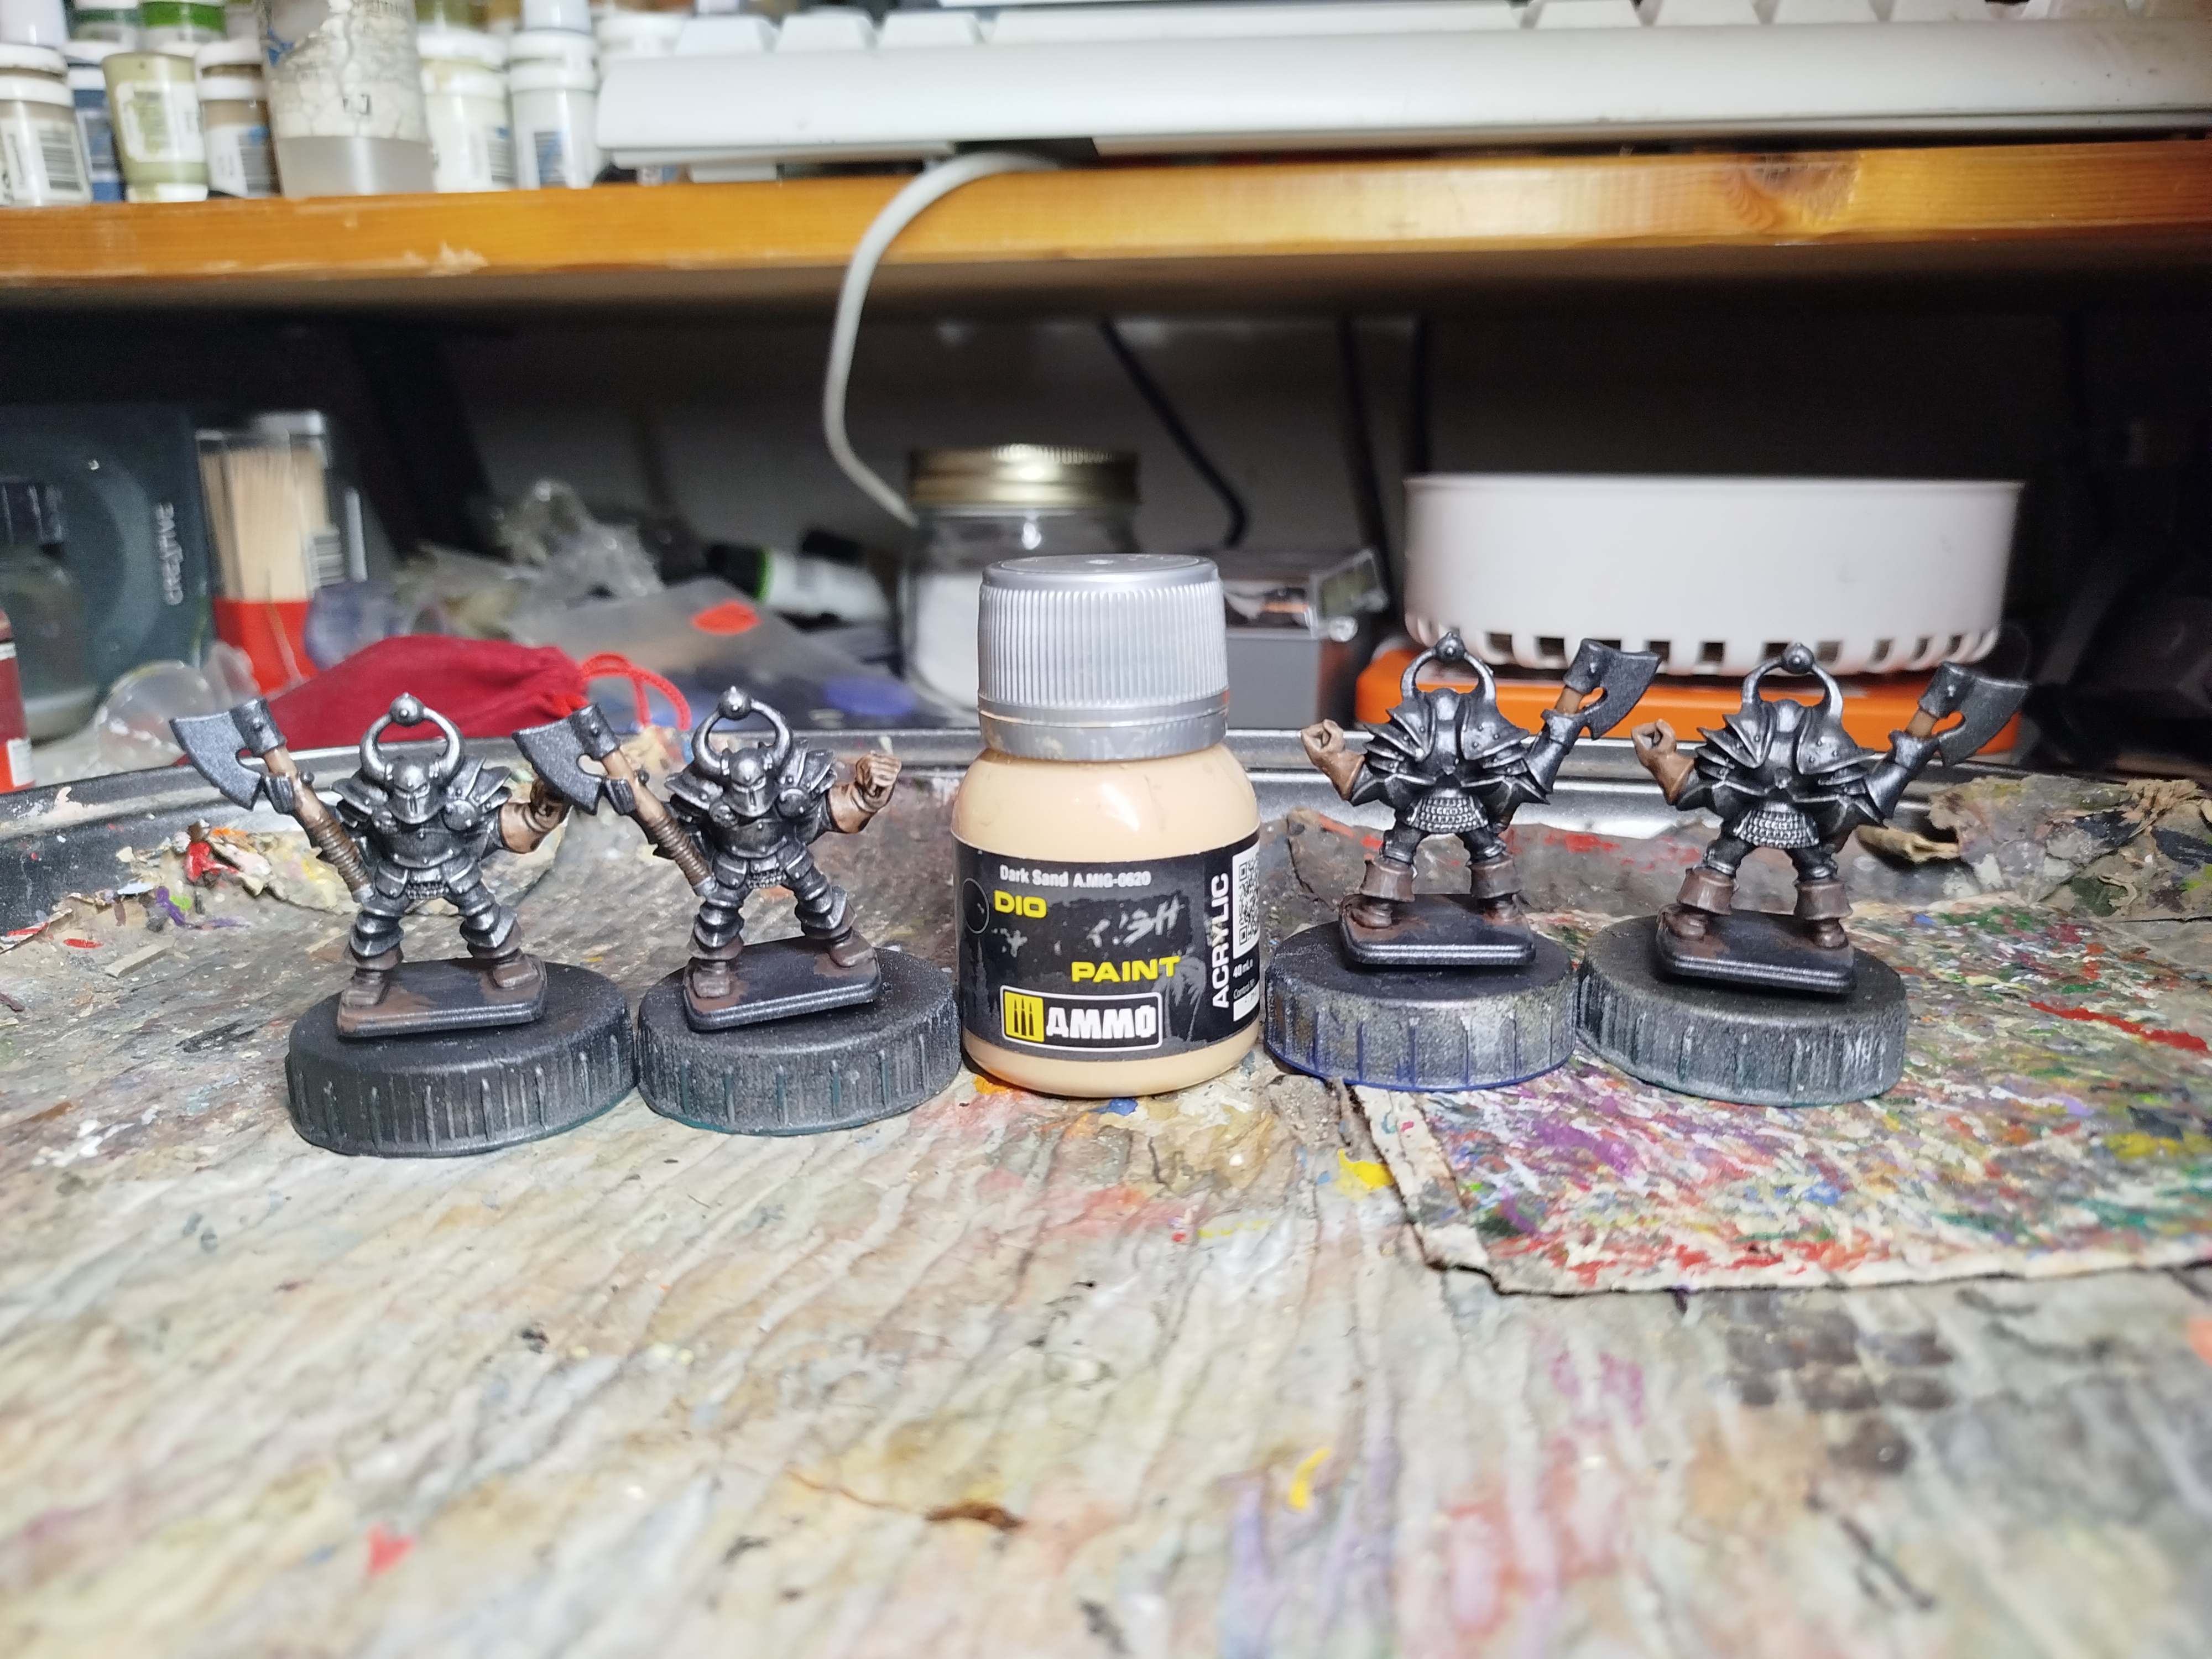 Selective drybrush highlights were reapplied
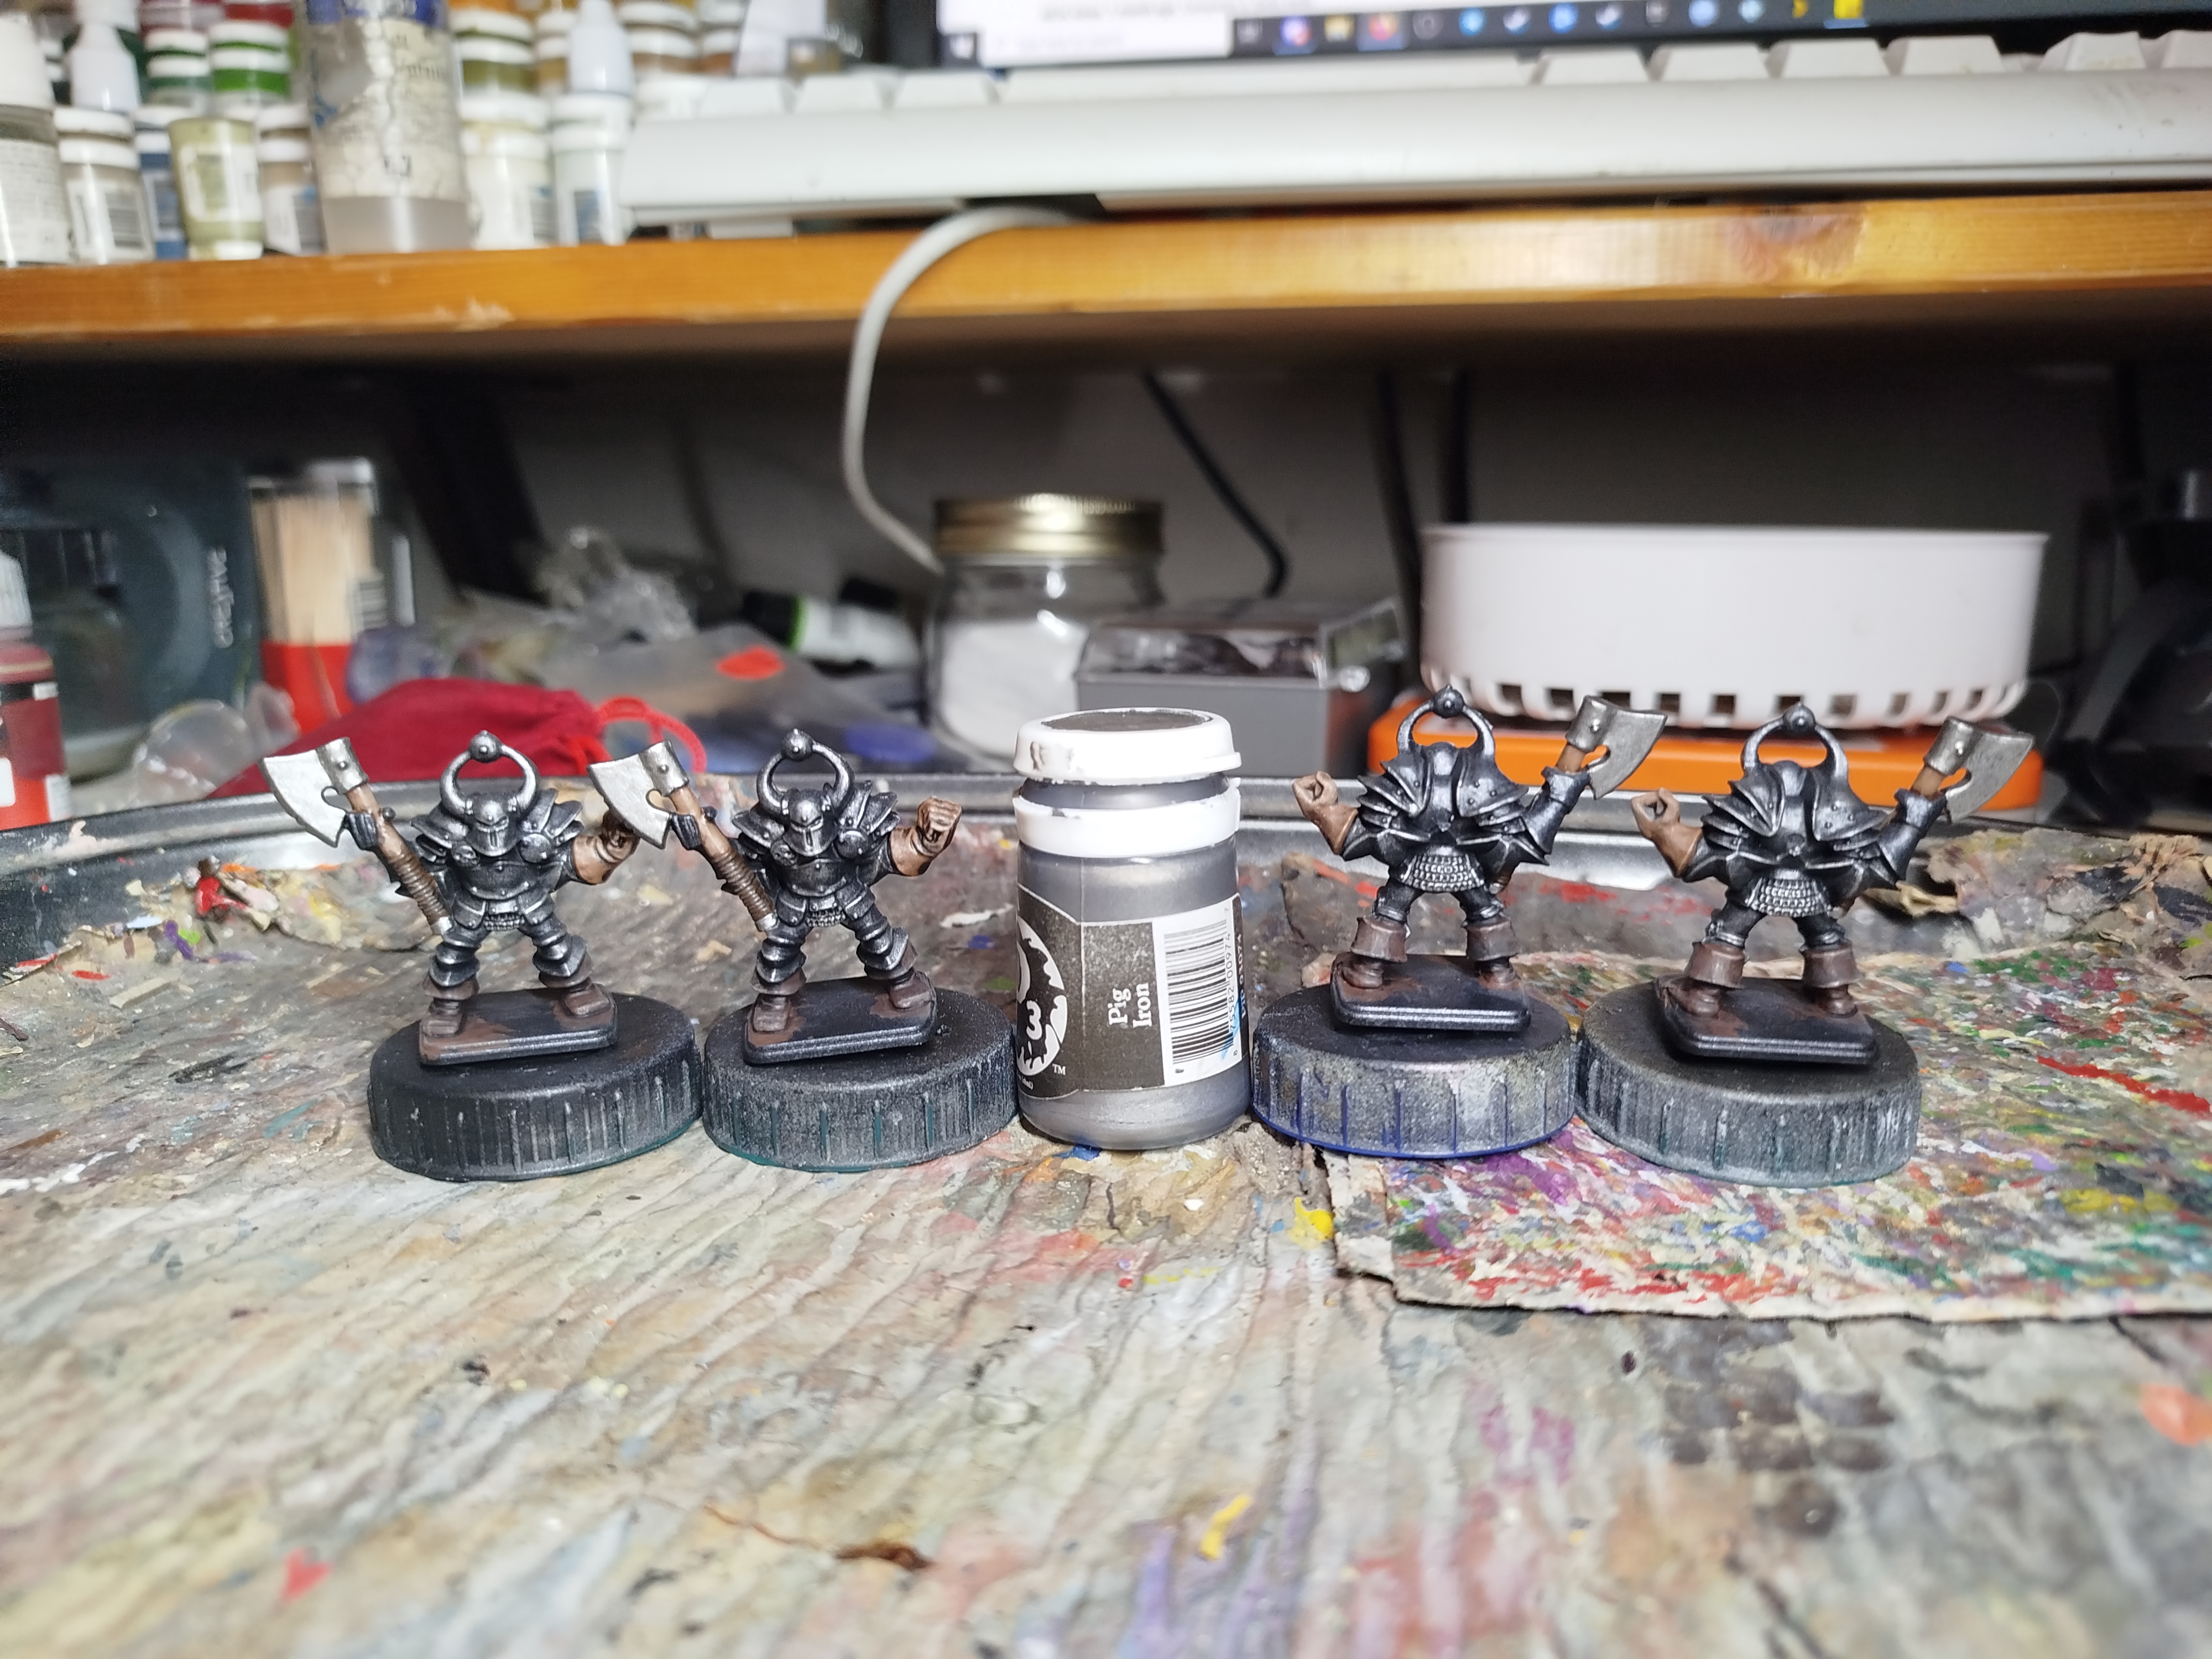 The axe was base coated to make it look different to the metal of the armour. Also, by making it look brighter, it tricks your eye in to seeing the armour as darker
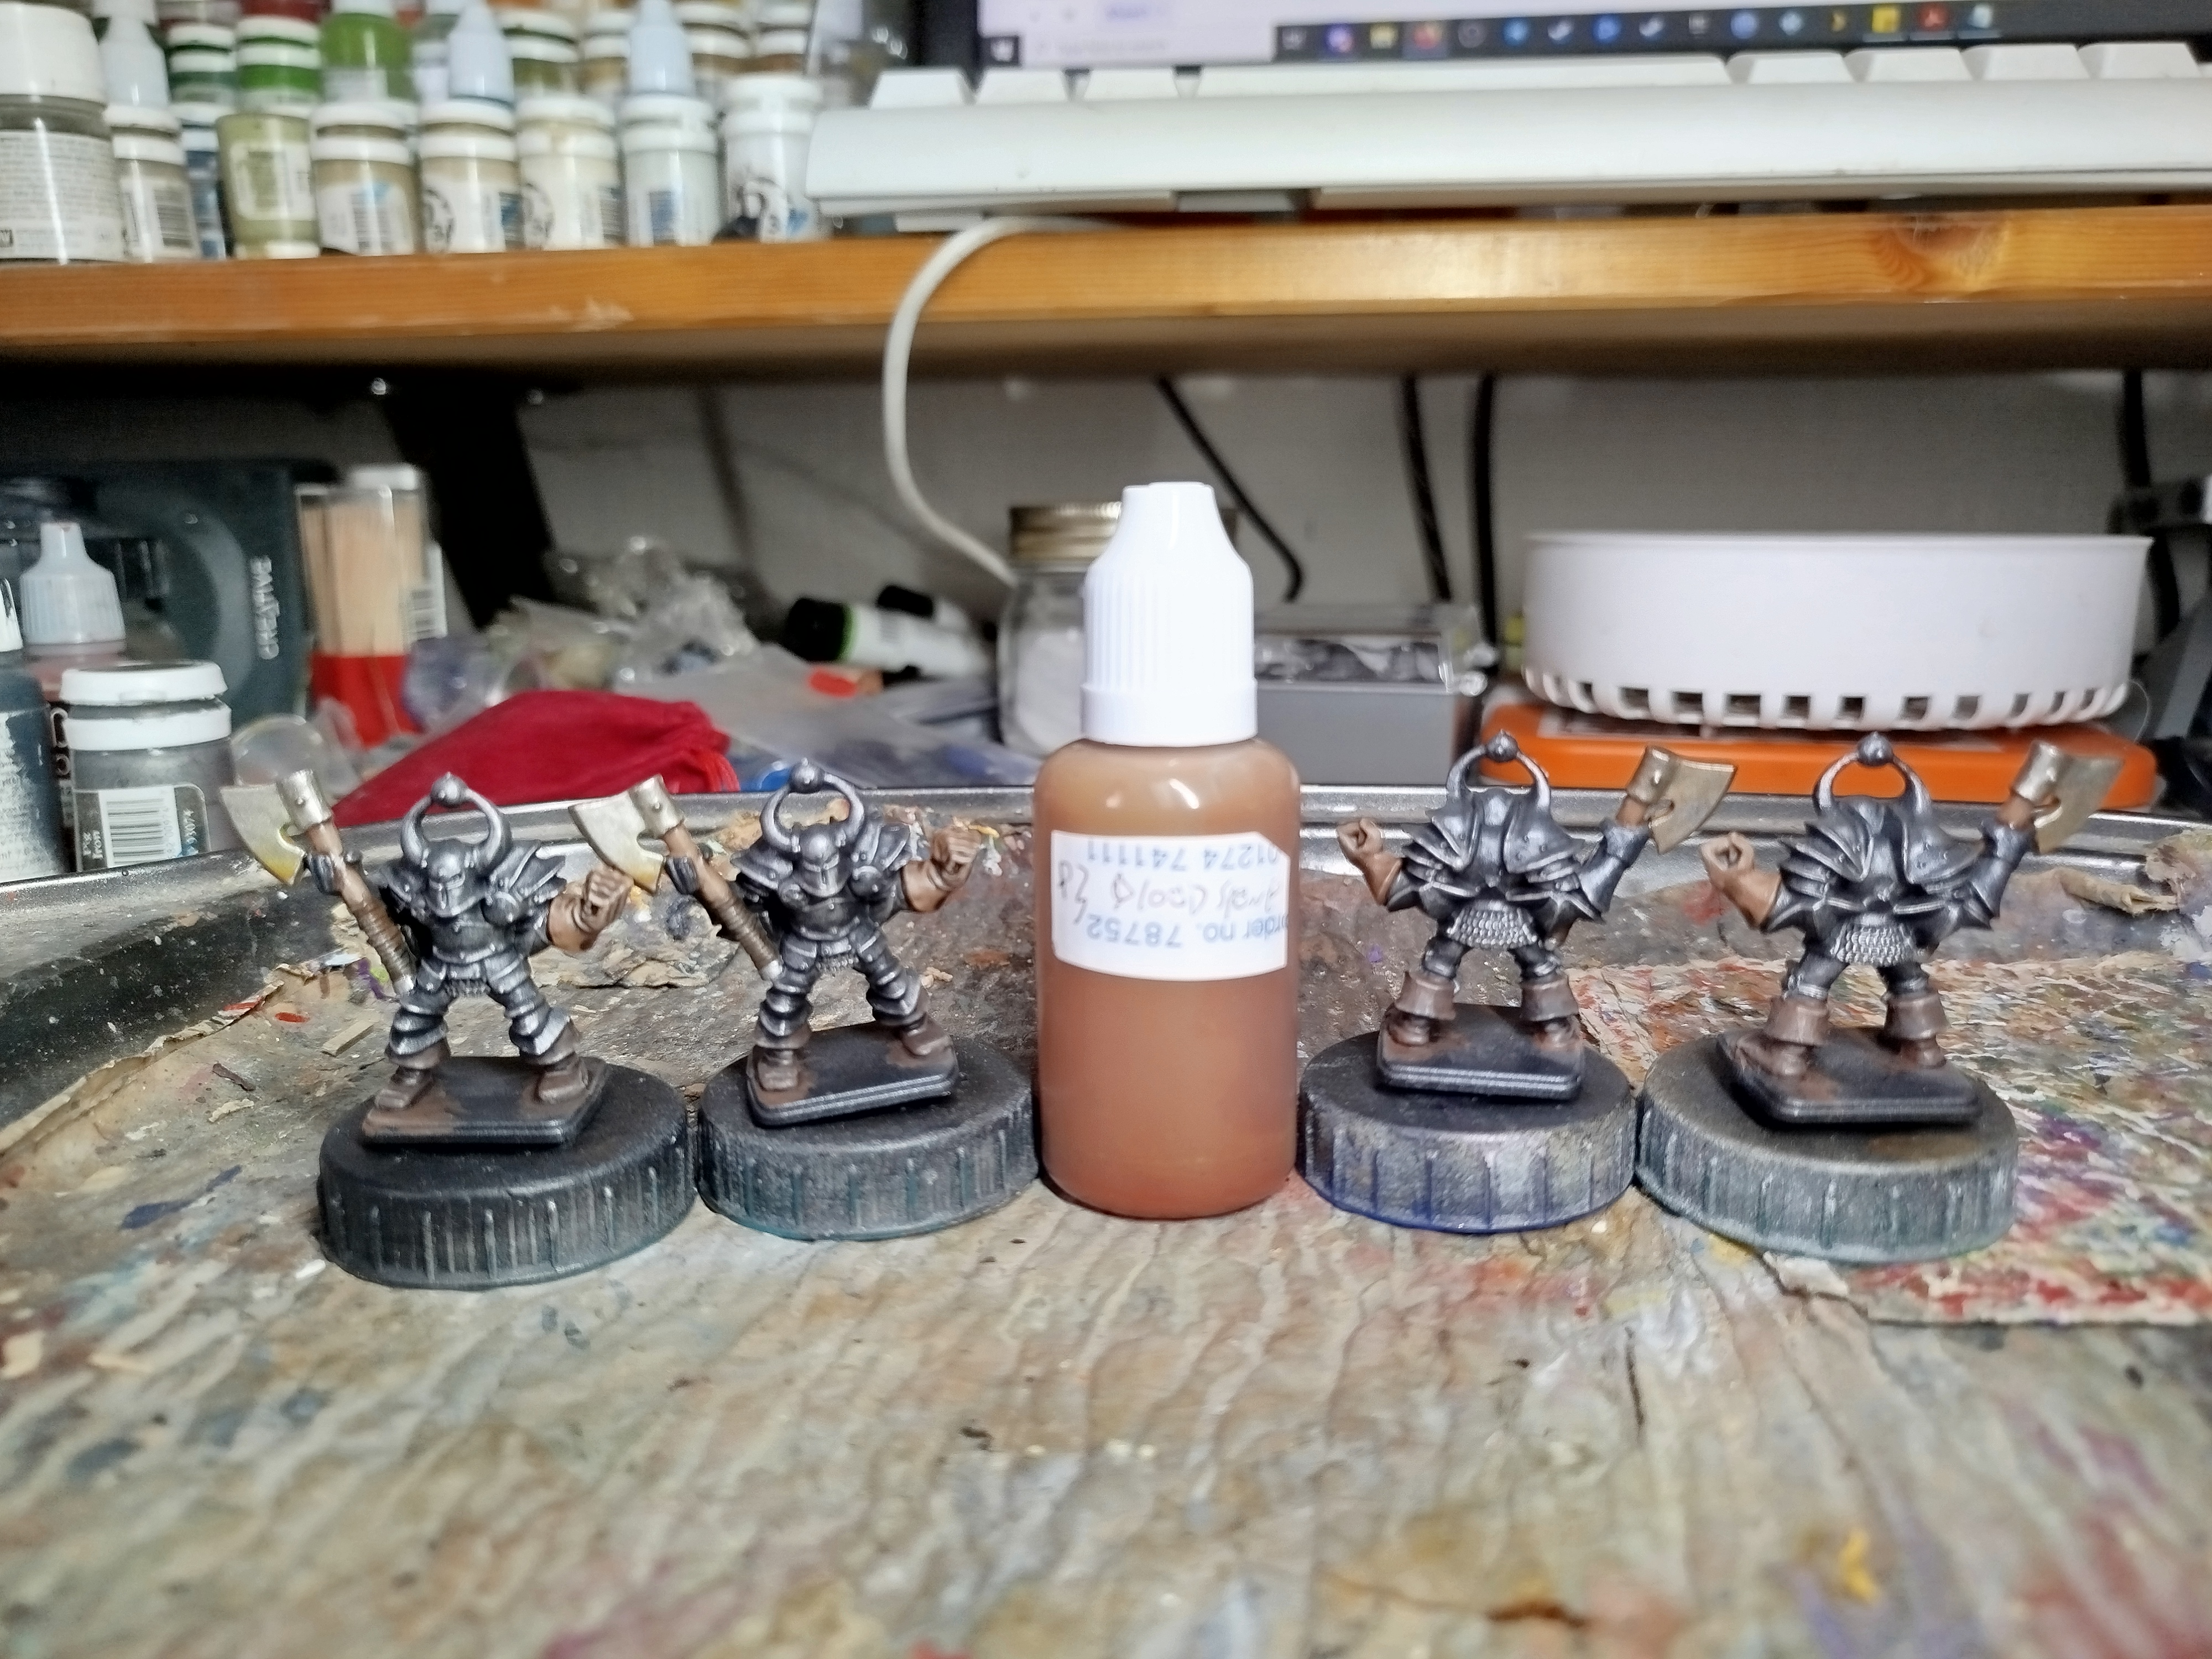 Wash. See Skeleton scythes for full info on this recipe
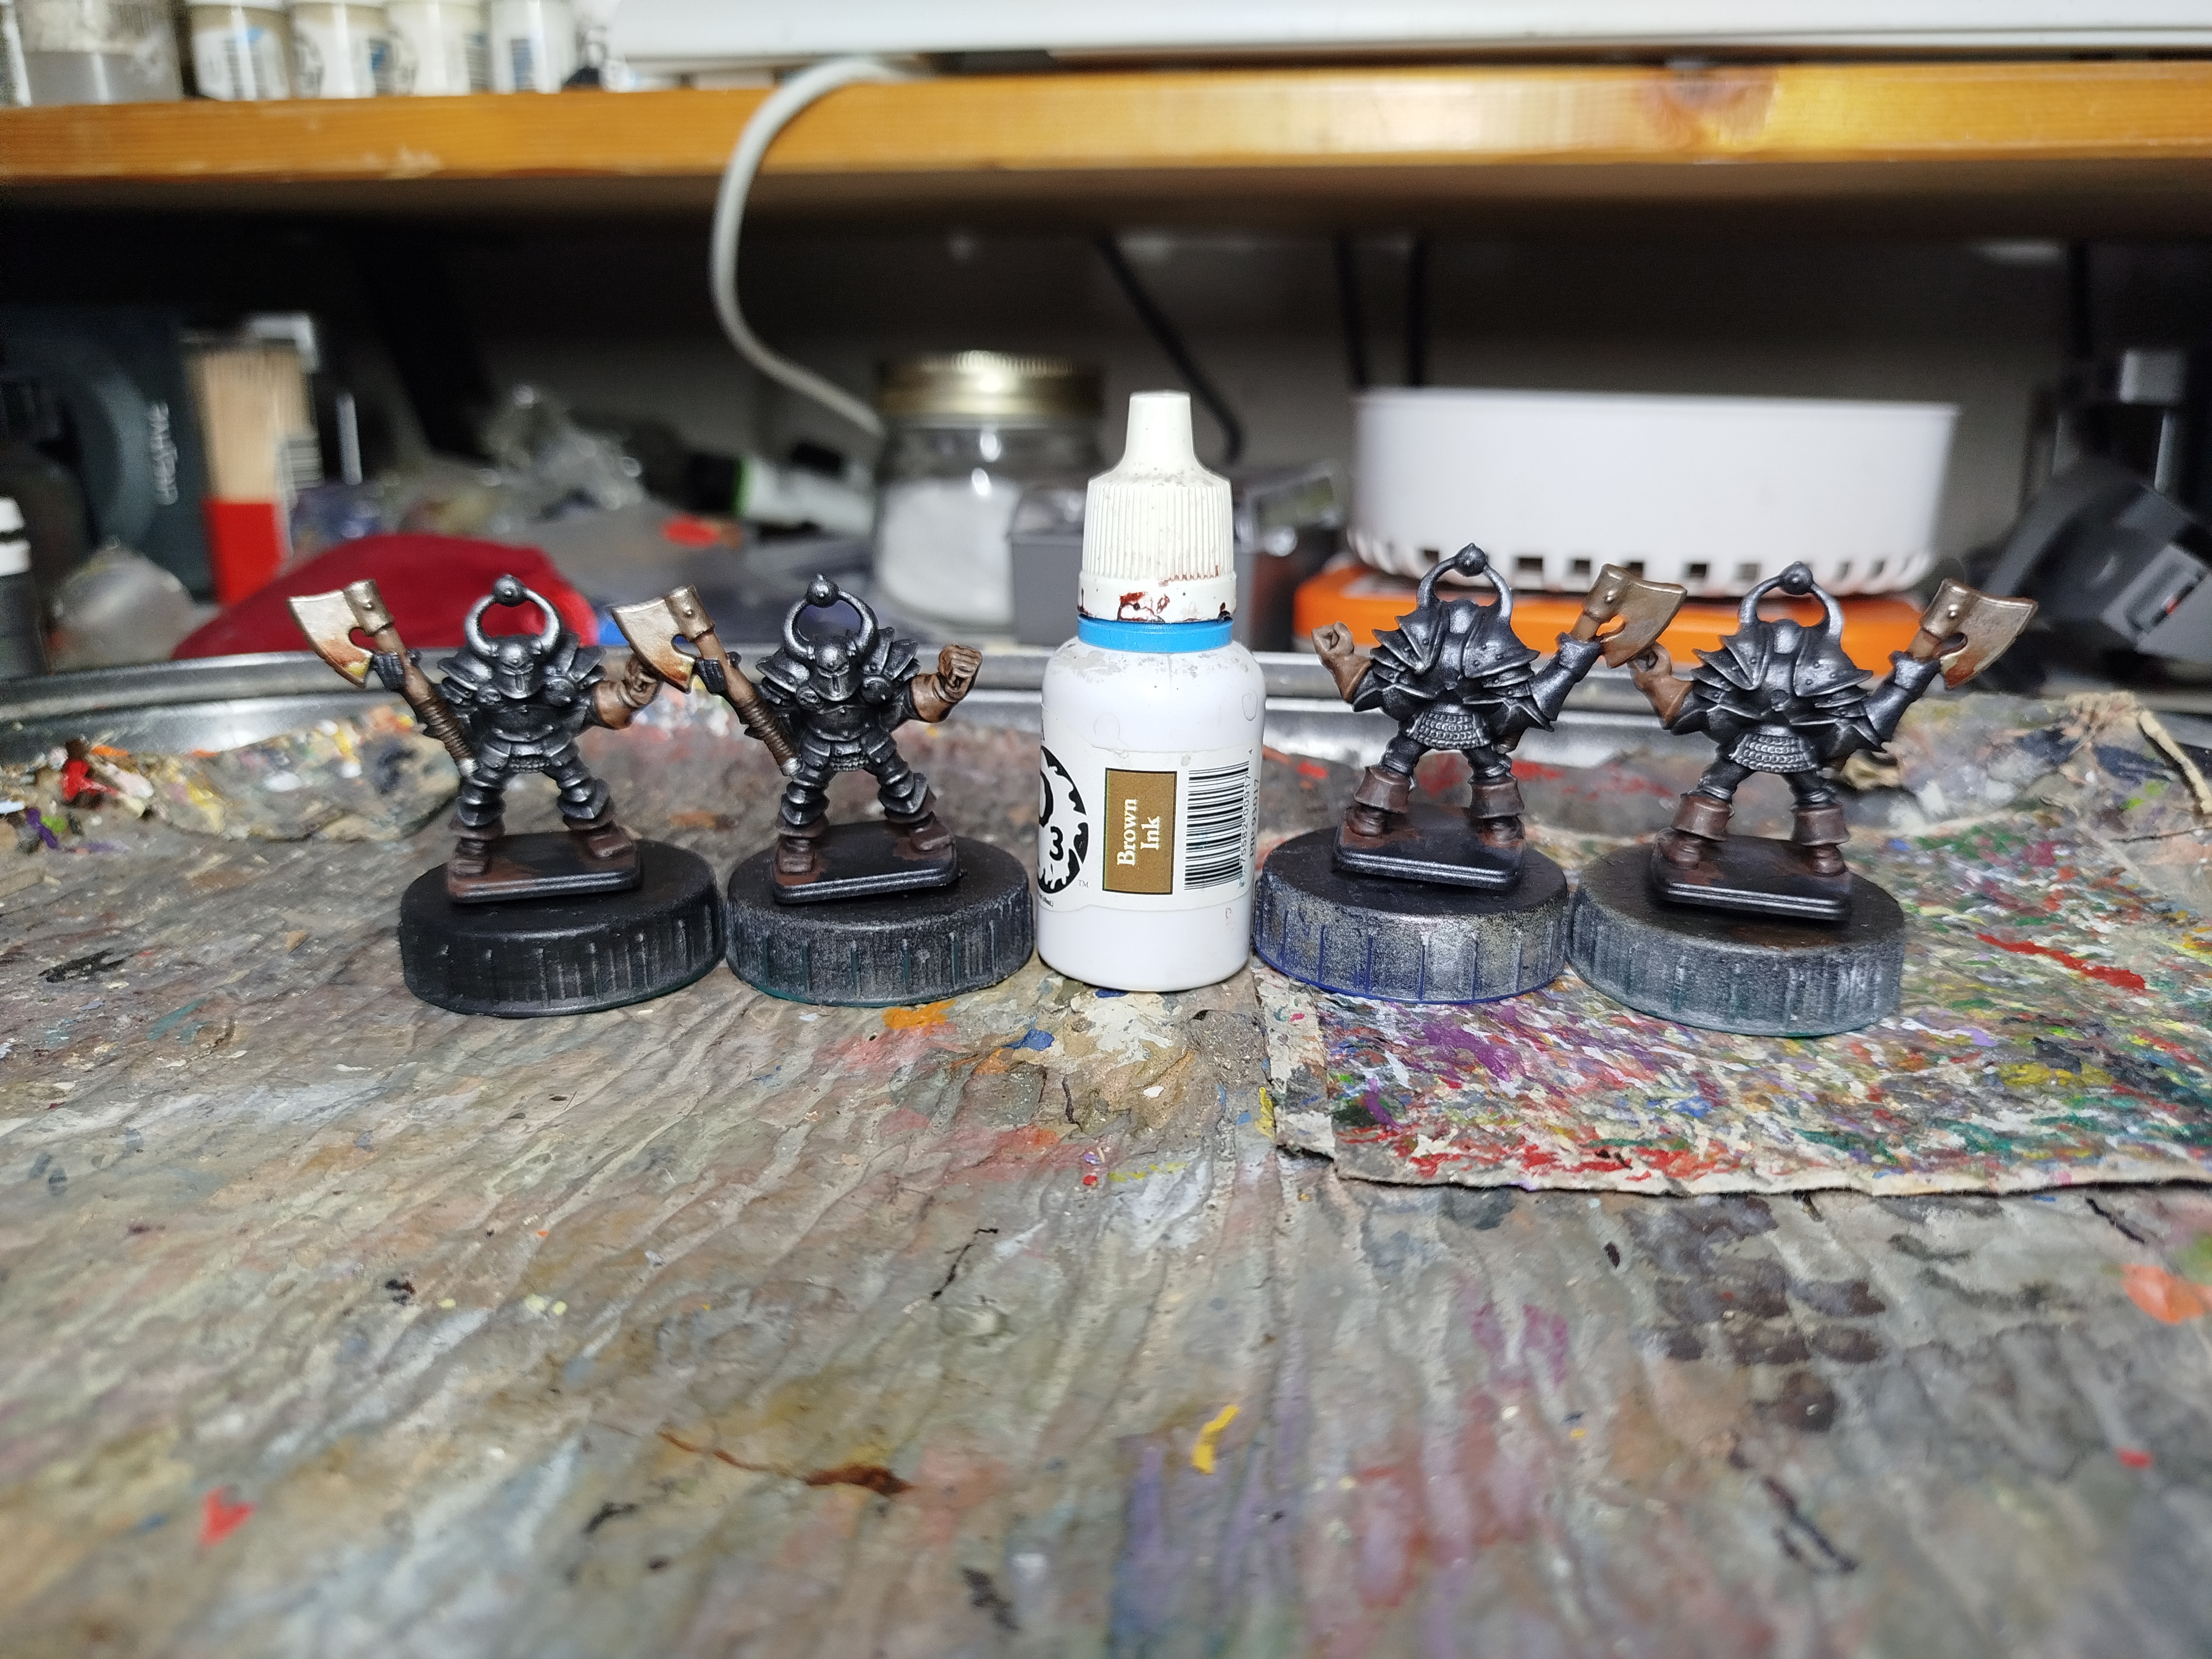 Wash with ink mixed with water and medium. See Skeleton scythes for full info on this recipe
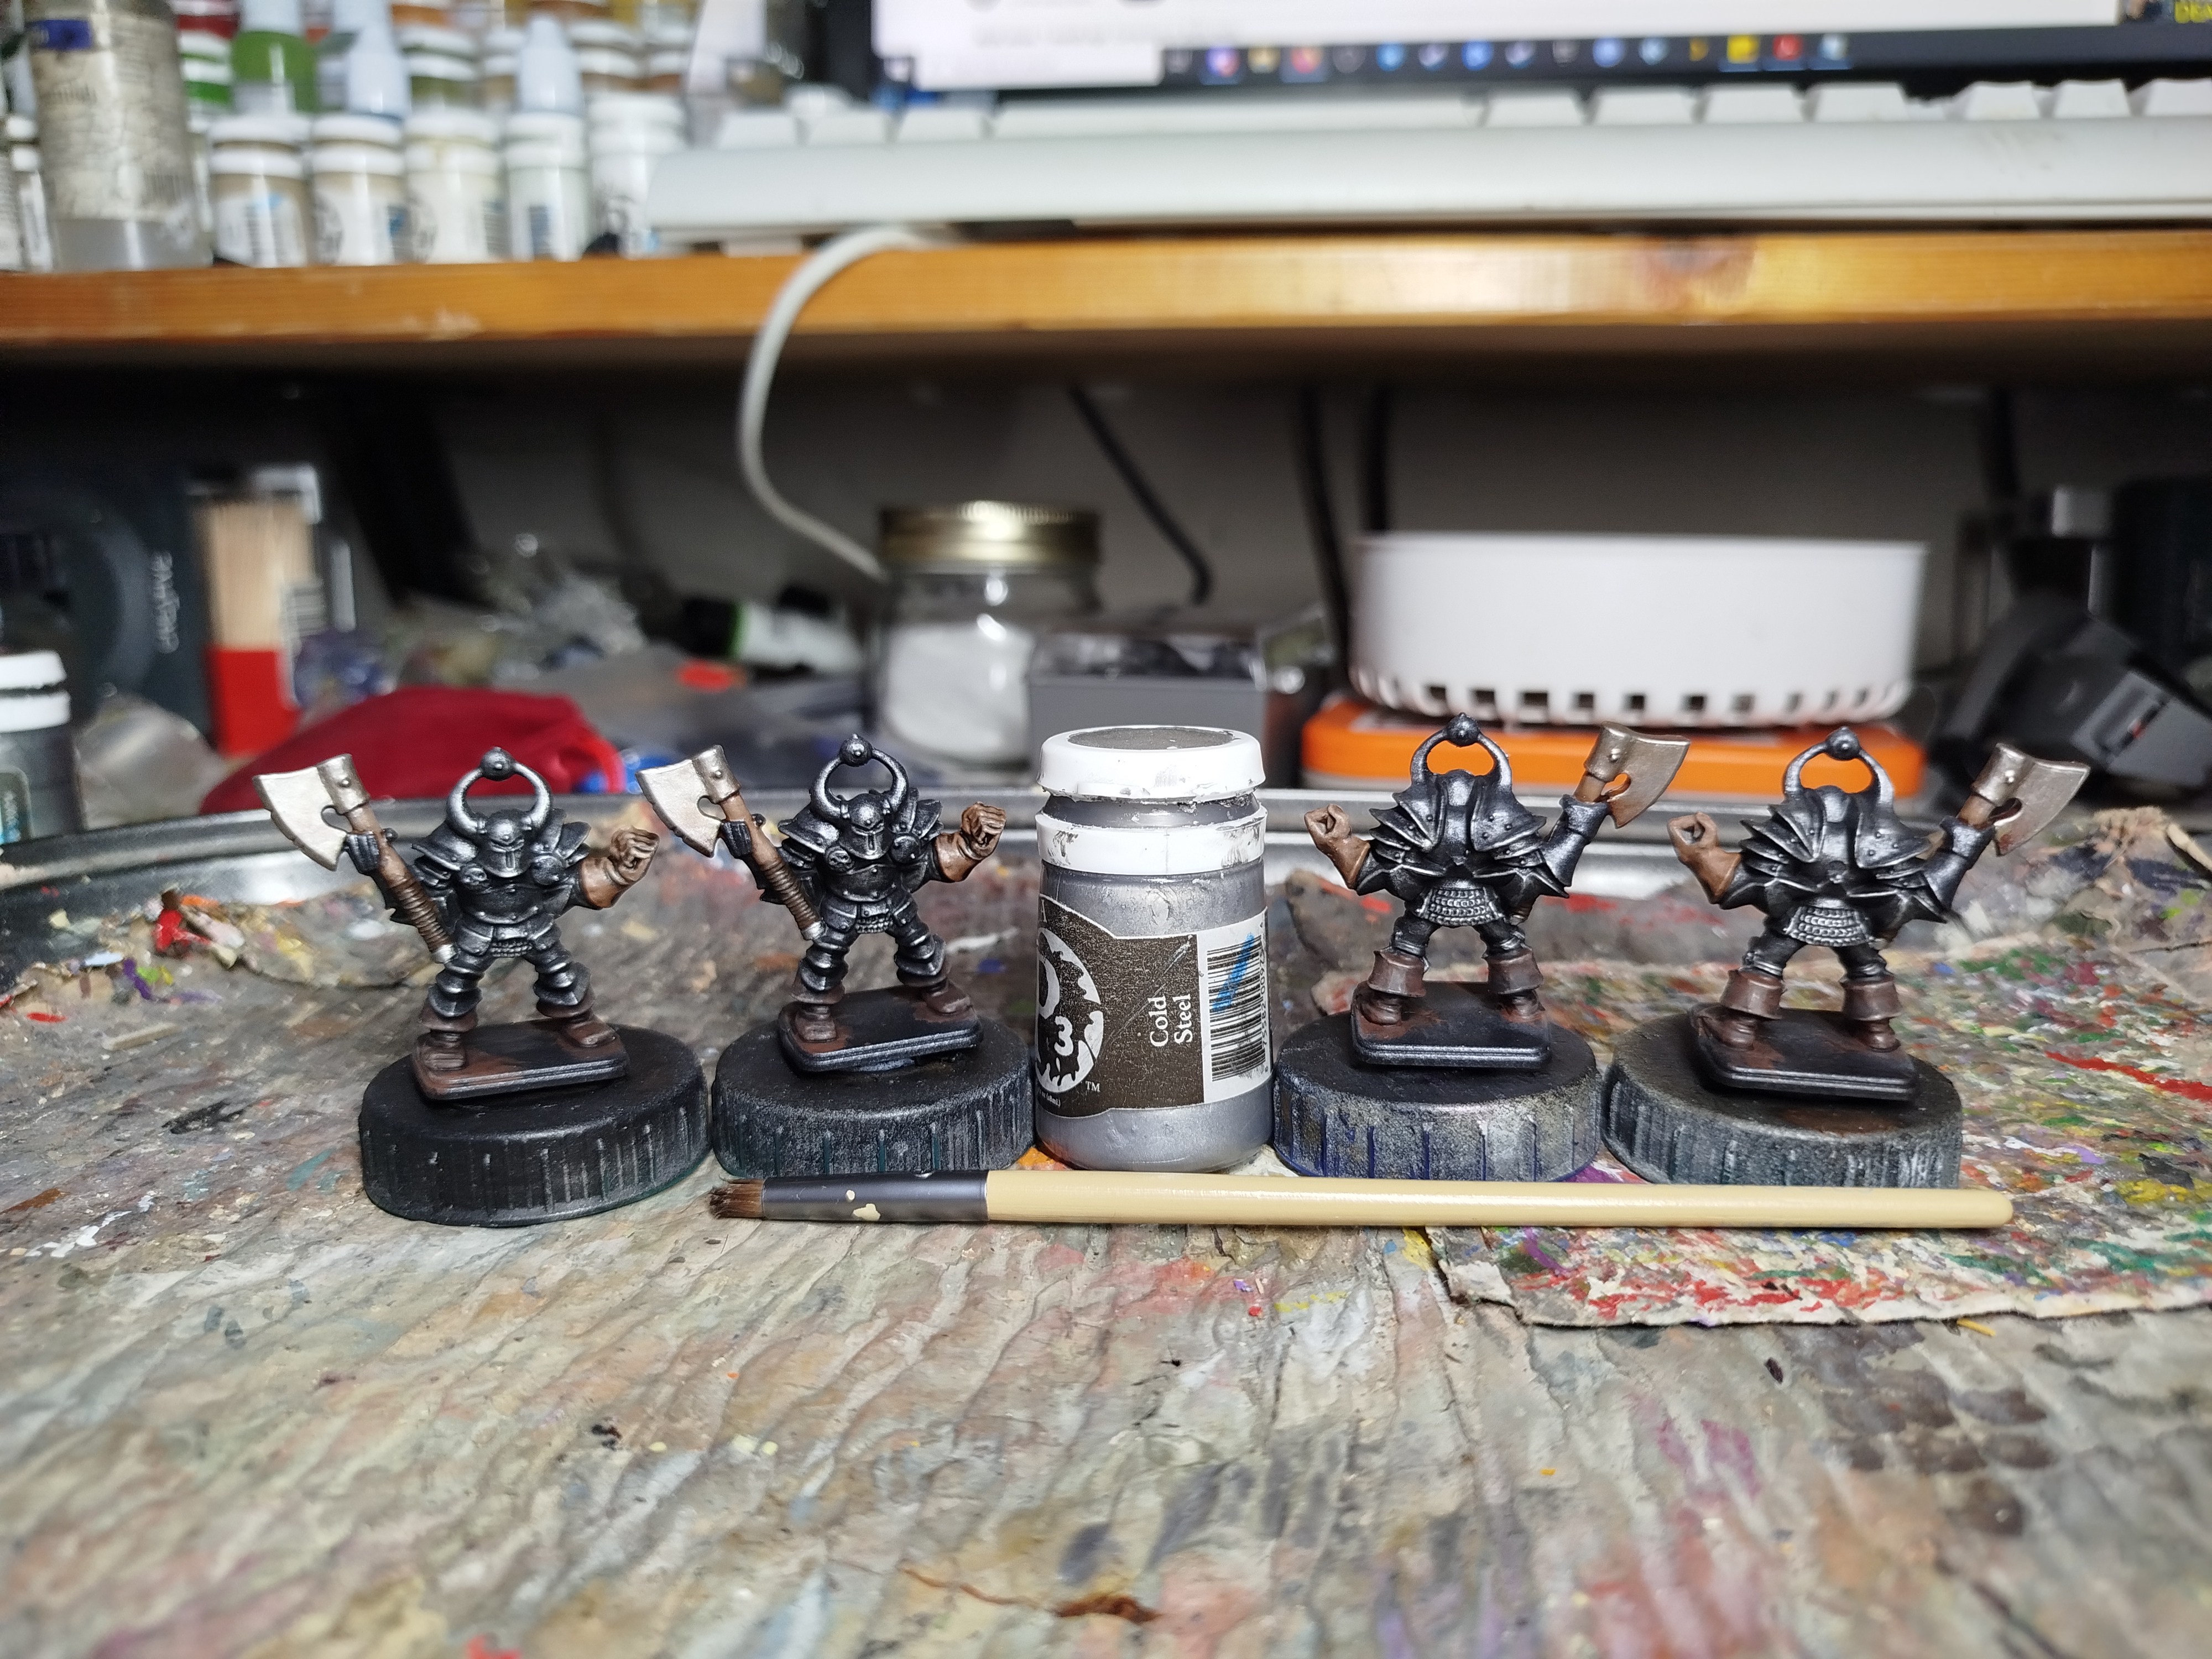 Drybrush and paint highlight
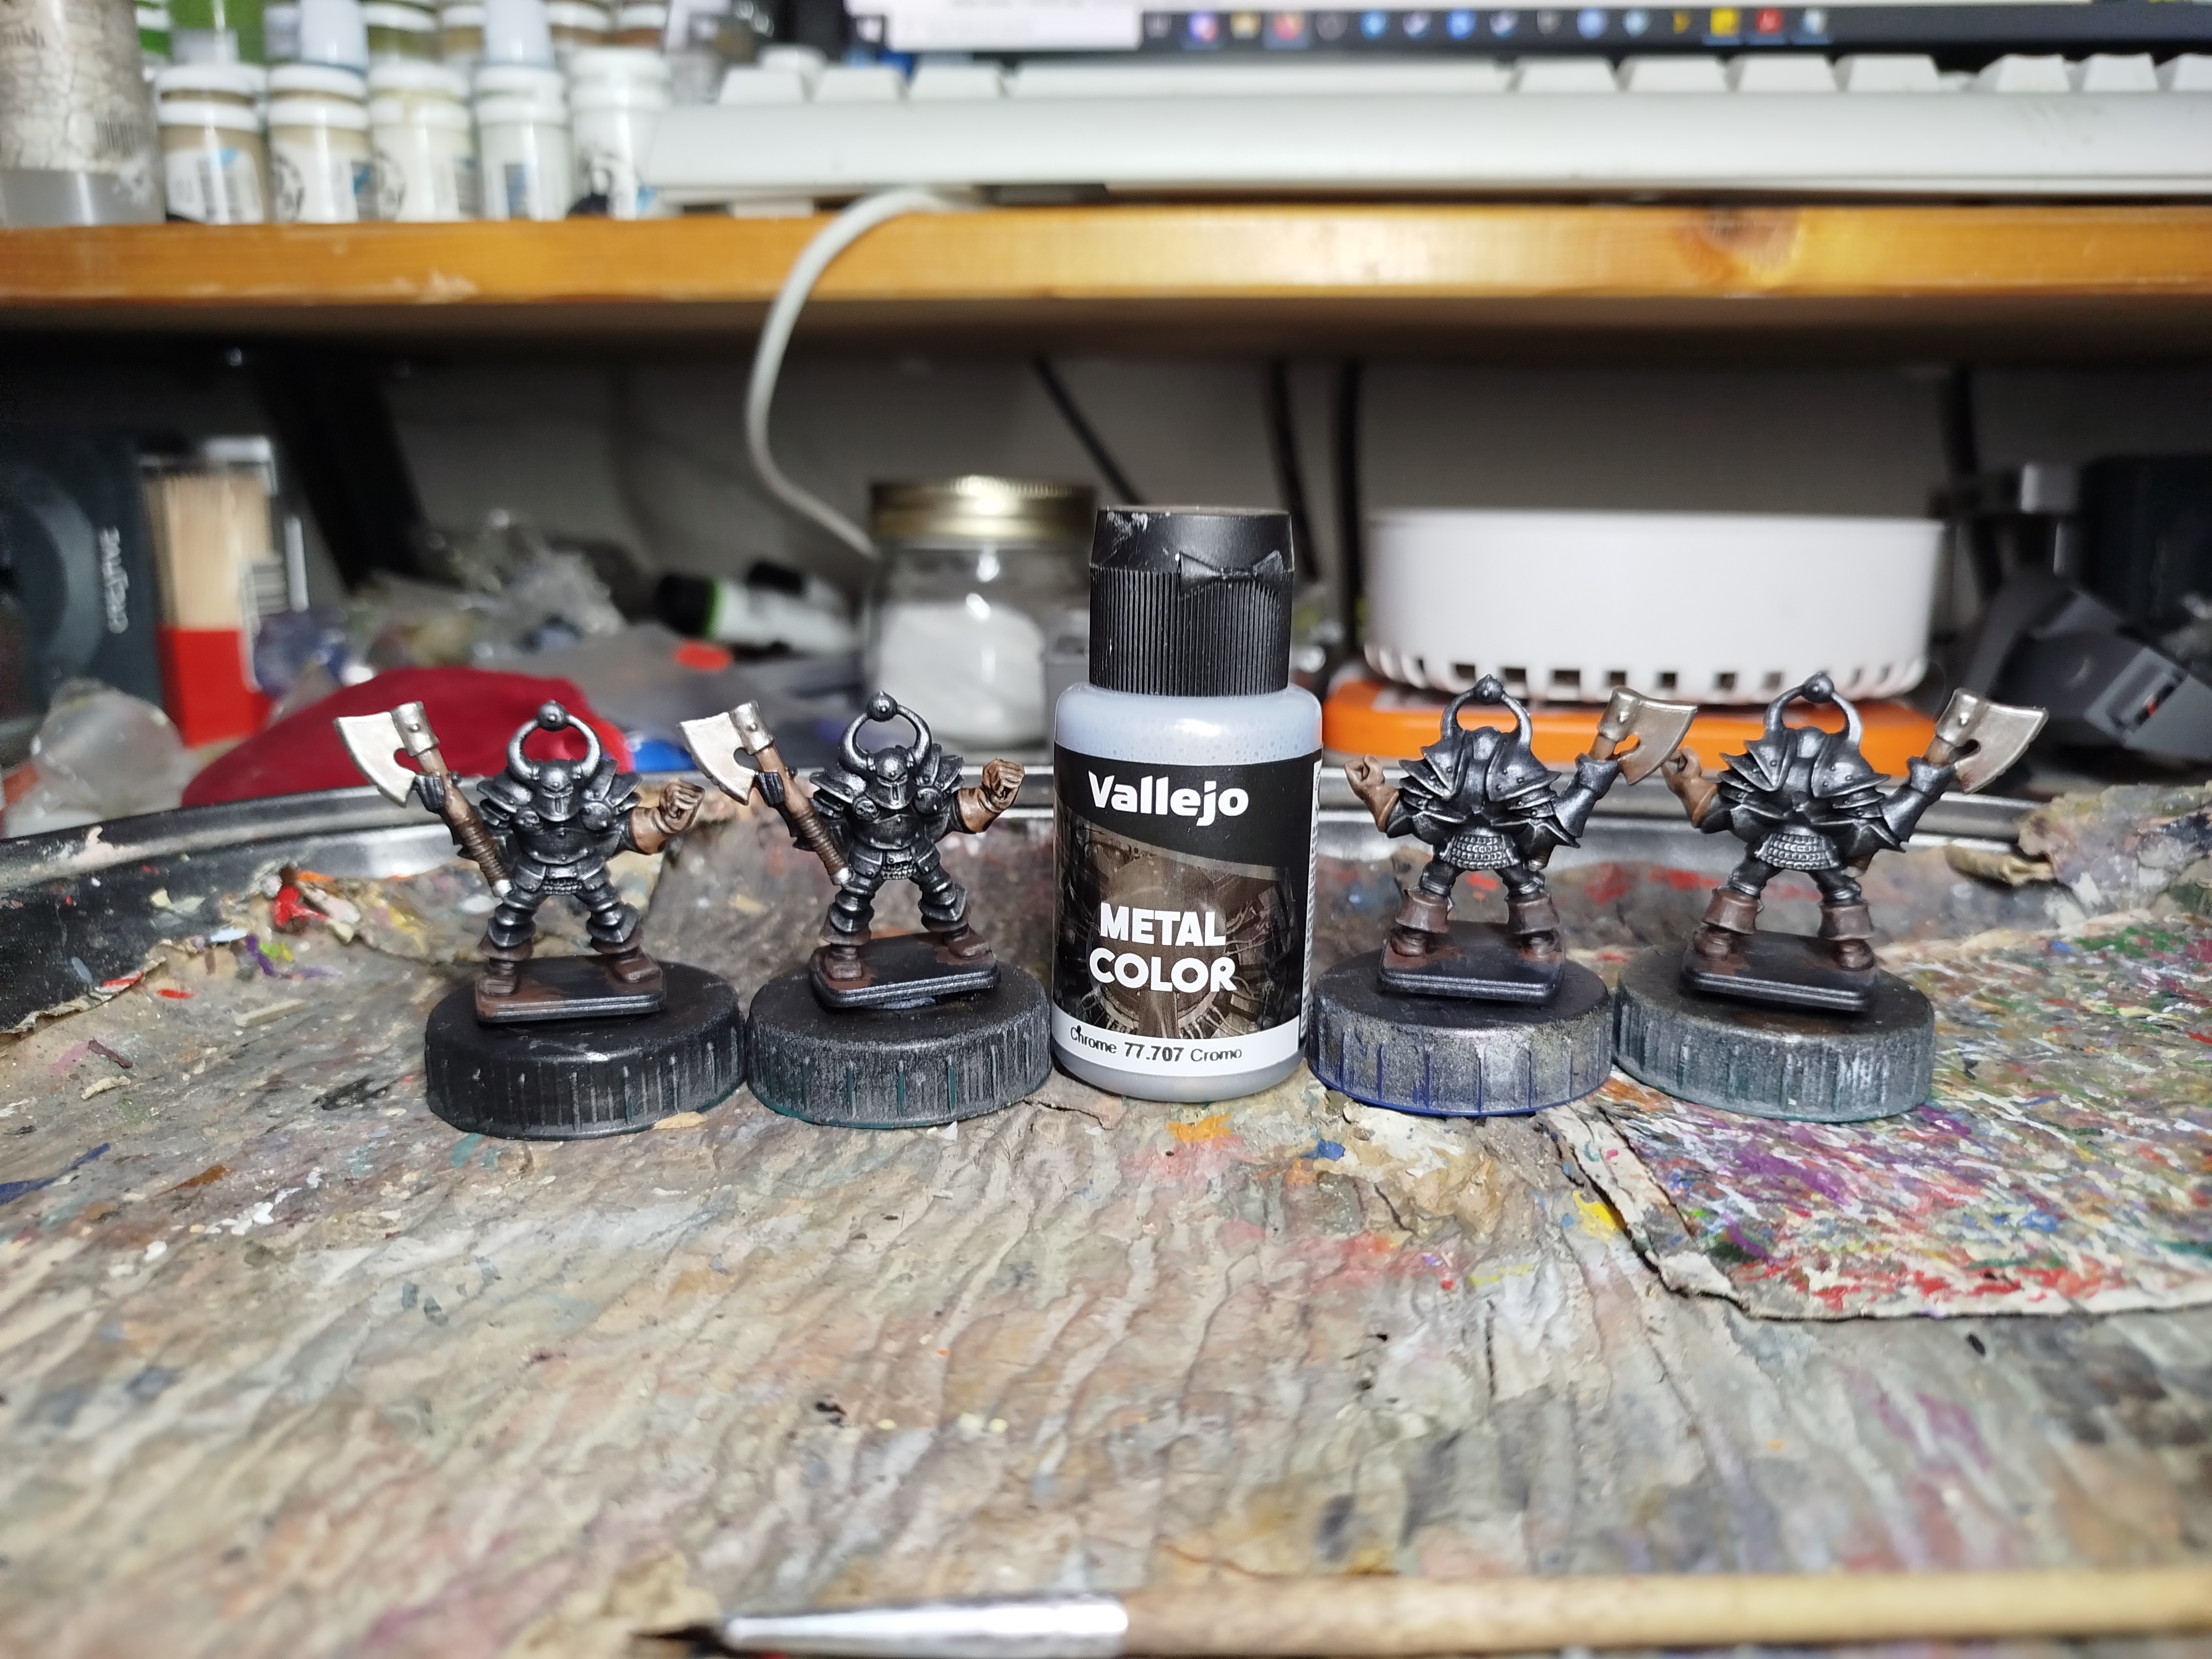 Final edge highlights
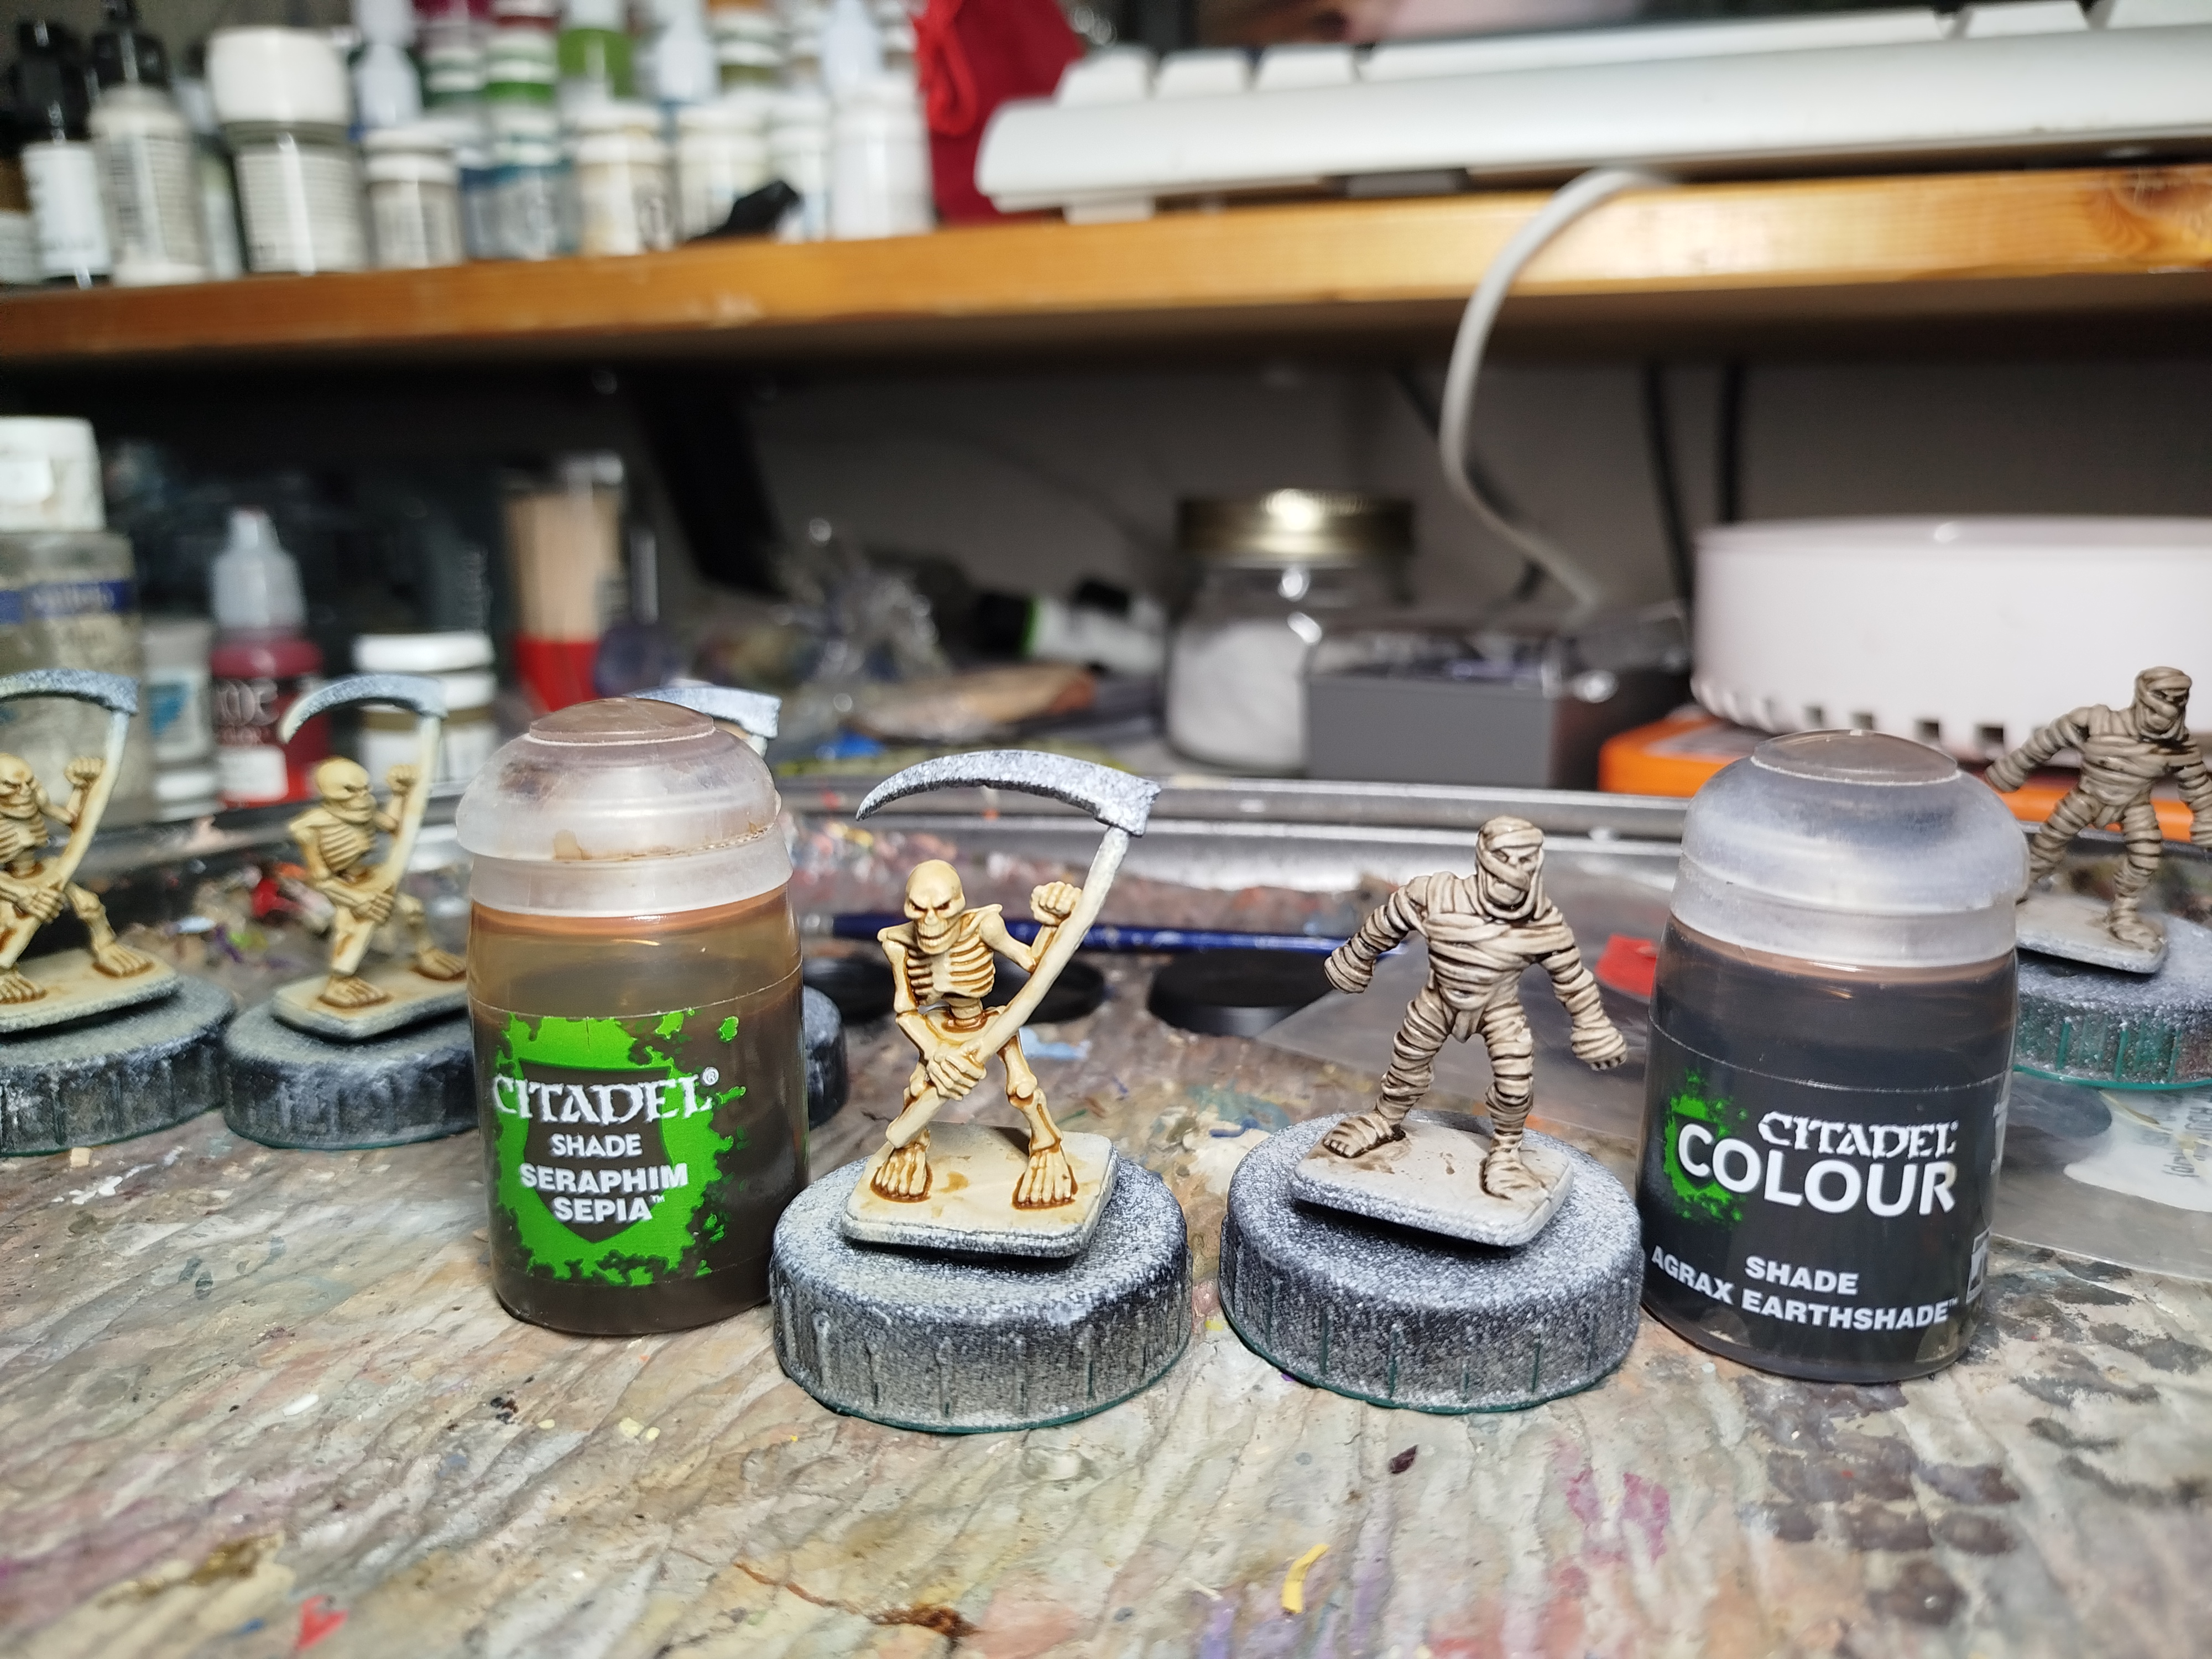
 Base coat the medallion thing?
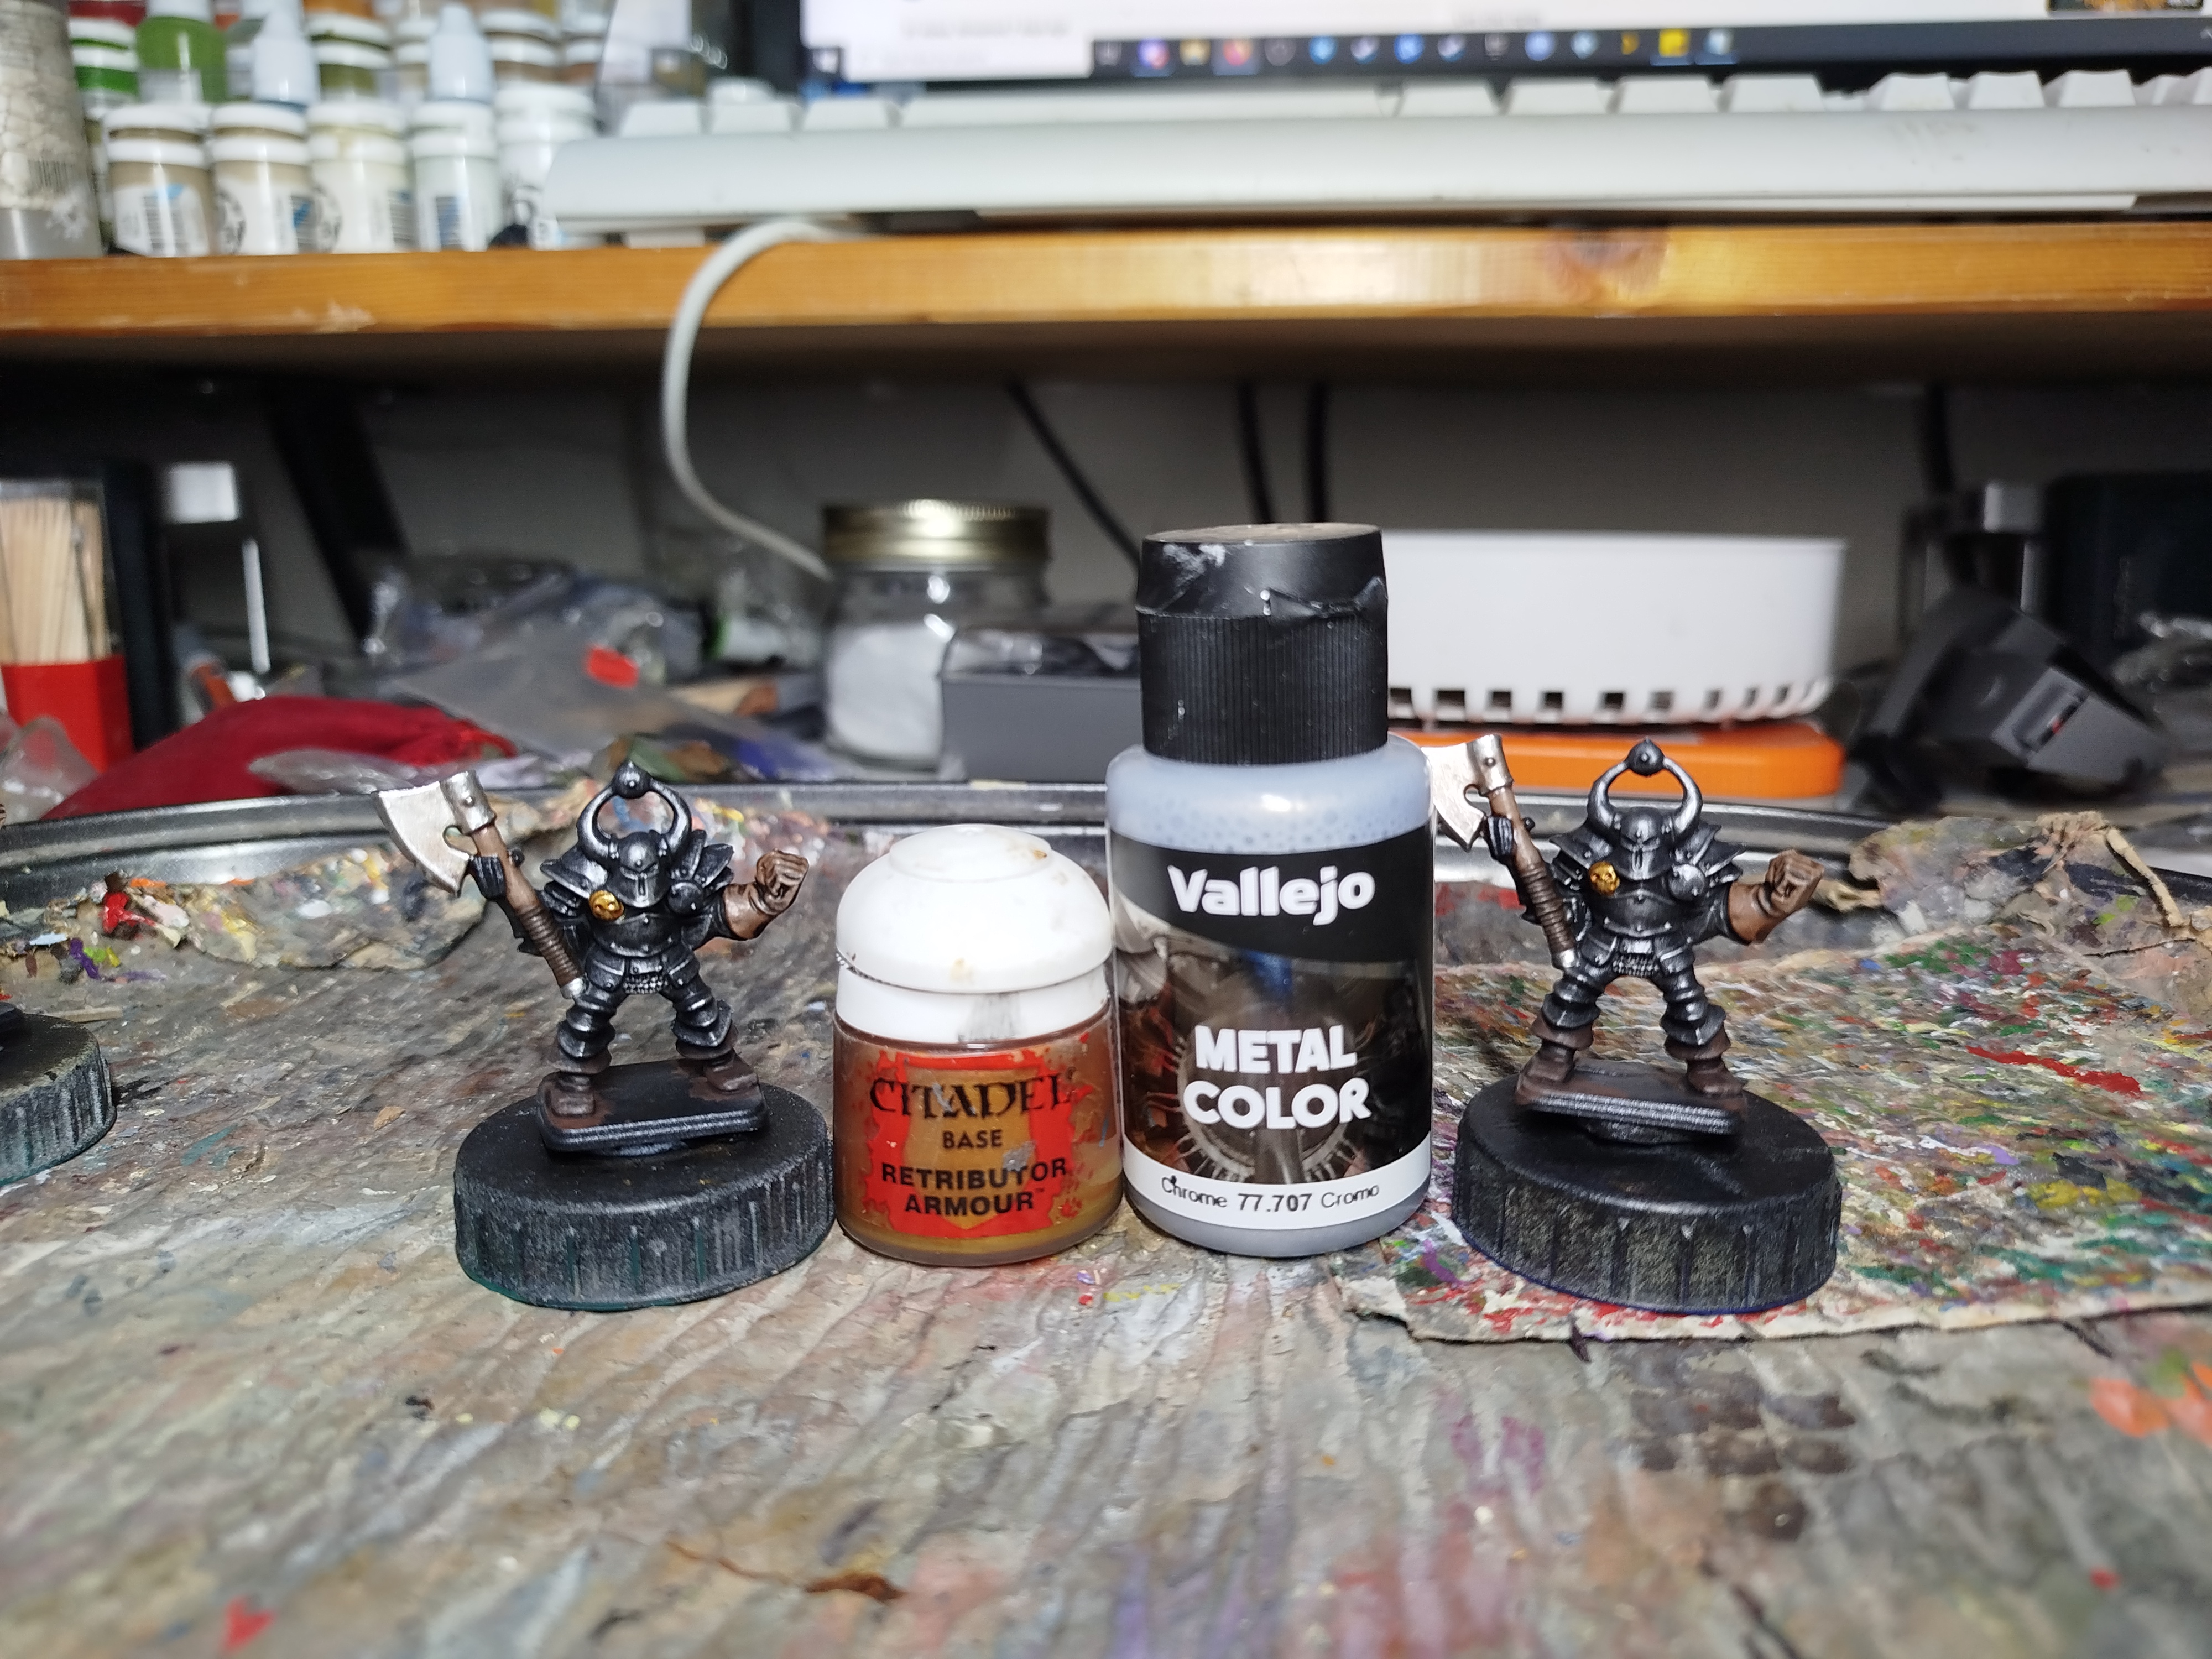 Wash with Seraphim Sepia, then drybrush and edge highlight with a mix
![Games Workshop Kick Off Grot Week For Warhammer 40,000 [Updated]](https://images.beastsofwar.com/2026/04/grot-new-40k-news-cover-600-338.jpg)