


The Tower of Prin’gl


Recommendations: 396
About the Project
Recording a project I completed in October to build a terrain piece using entirely scratch built elements - no kits or pre-formed parts of any kind.
Related Genre: Fantasy
This Project is Completed
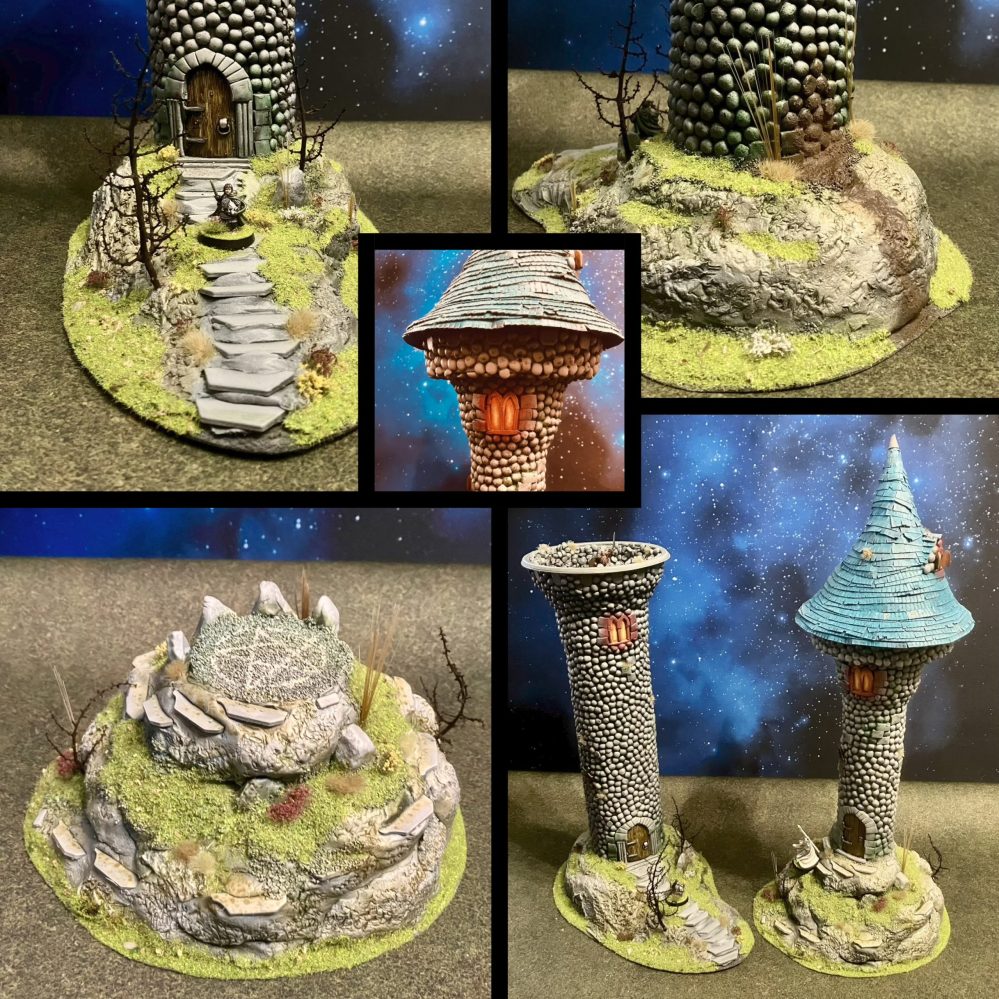
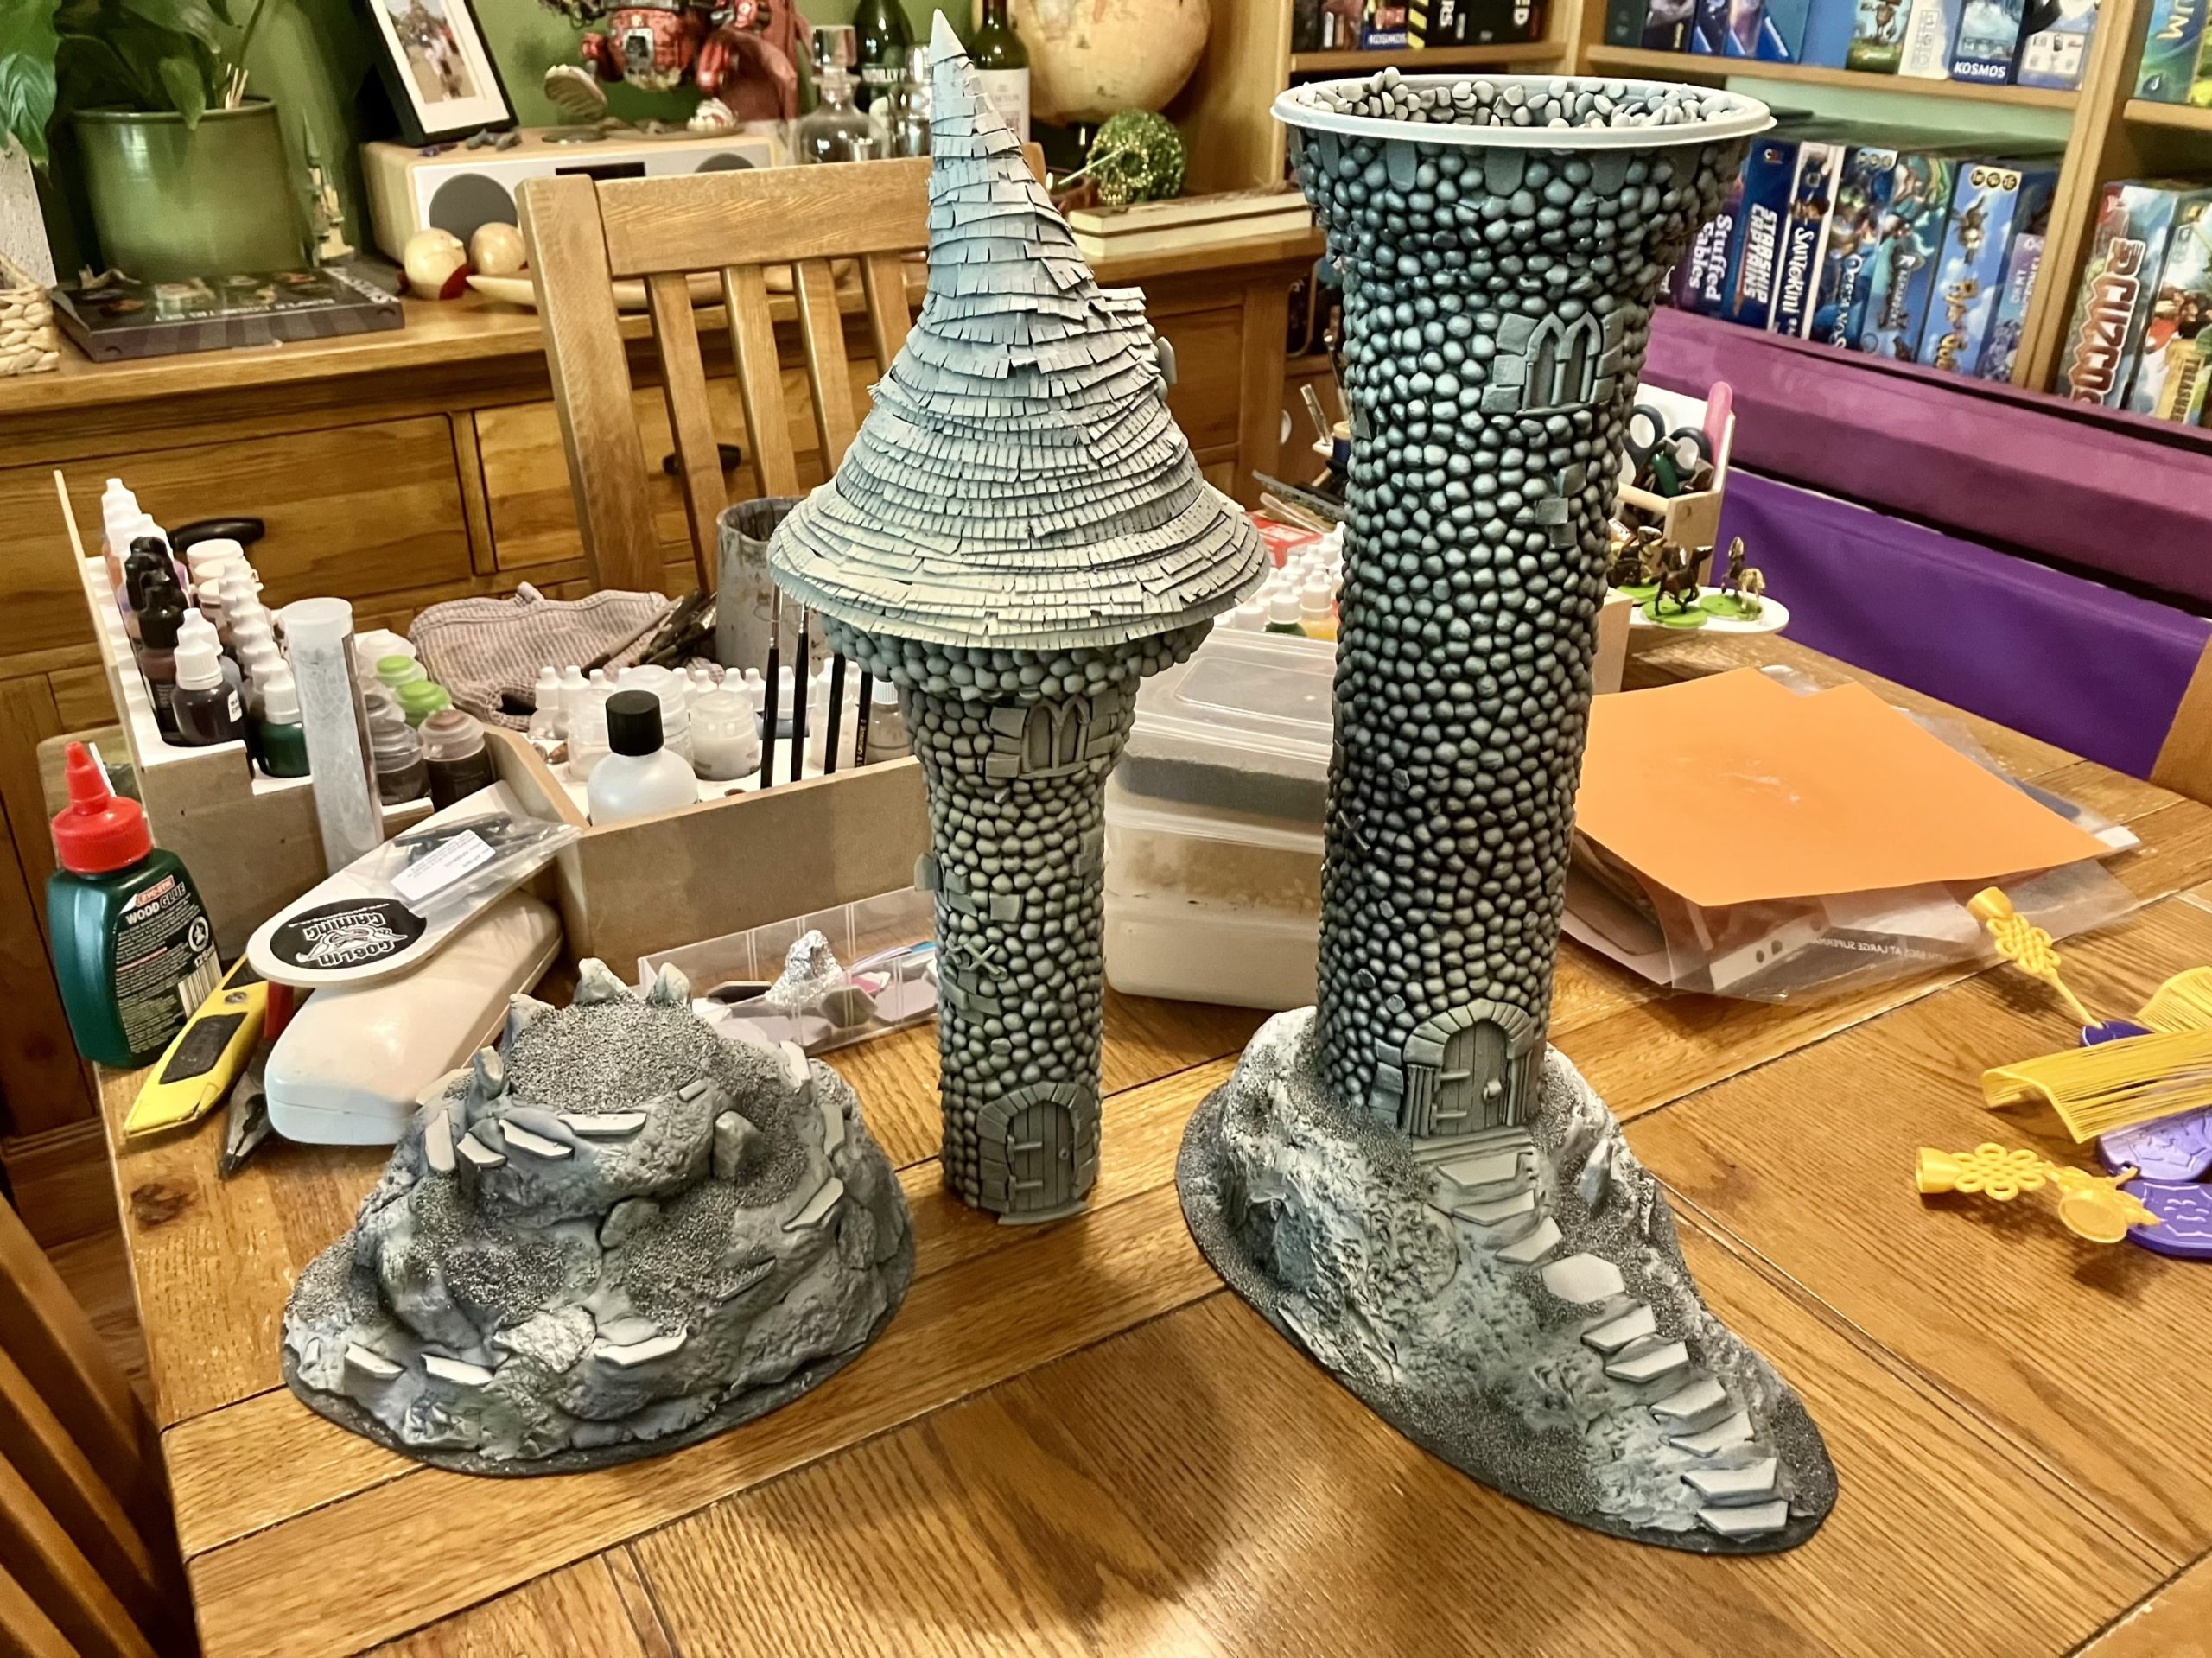
All dried out
Once it had dried, it all looked a lot better, and the smaller tower seated on it looks really good too.
I decide that I’ll do some work on this little hill so it can be usable even when on its own.

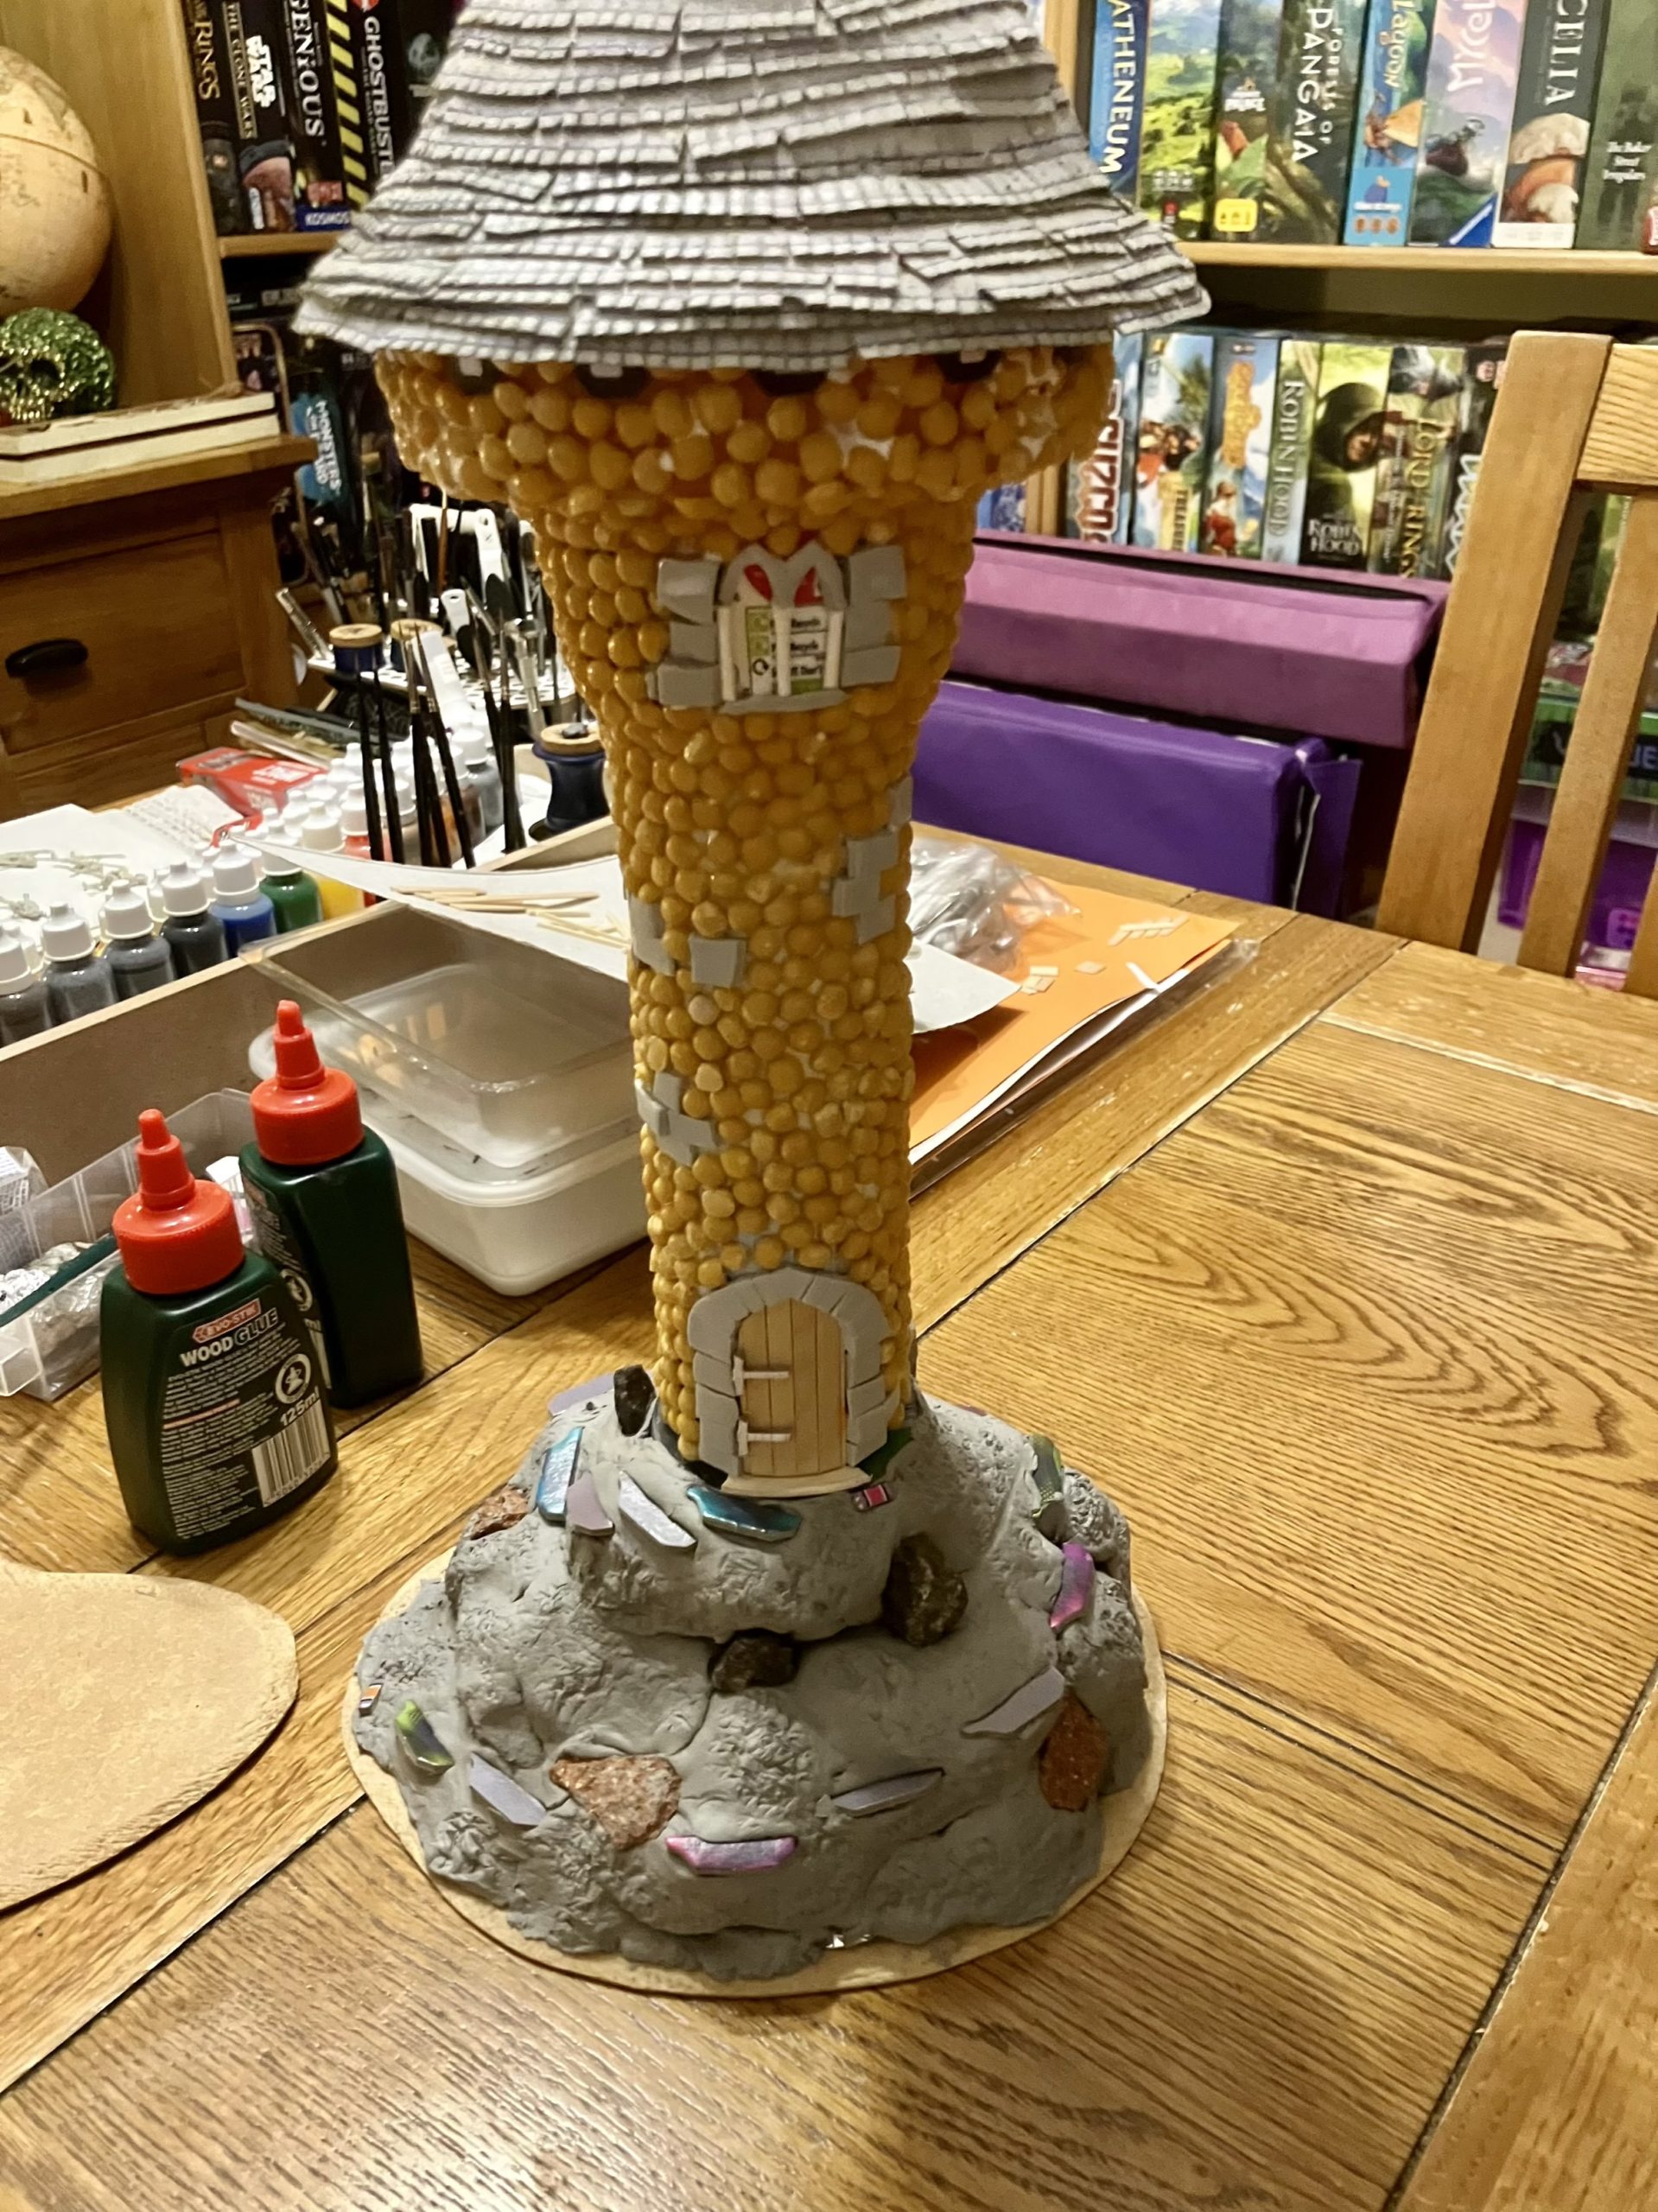
The main tower
With the small tower progressing well, I turn back to the big tower. I’d used masking tape to help smooth some of the transition between the packaging shapes, and then coated with dilute PVA.
One thing I decided to build was a small garderobe/privy to help break up the shape and add a bit of fun. It’s just a matchbox with coffee stirrer planking.
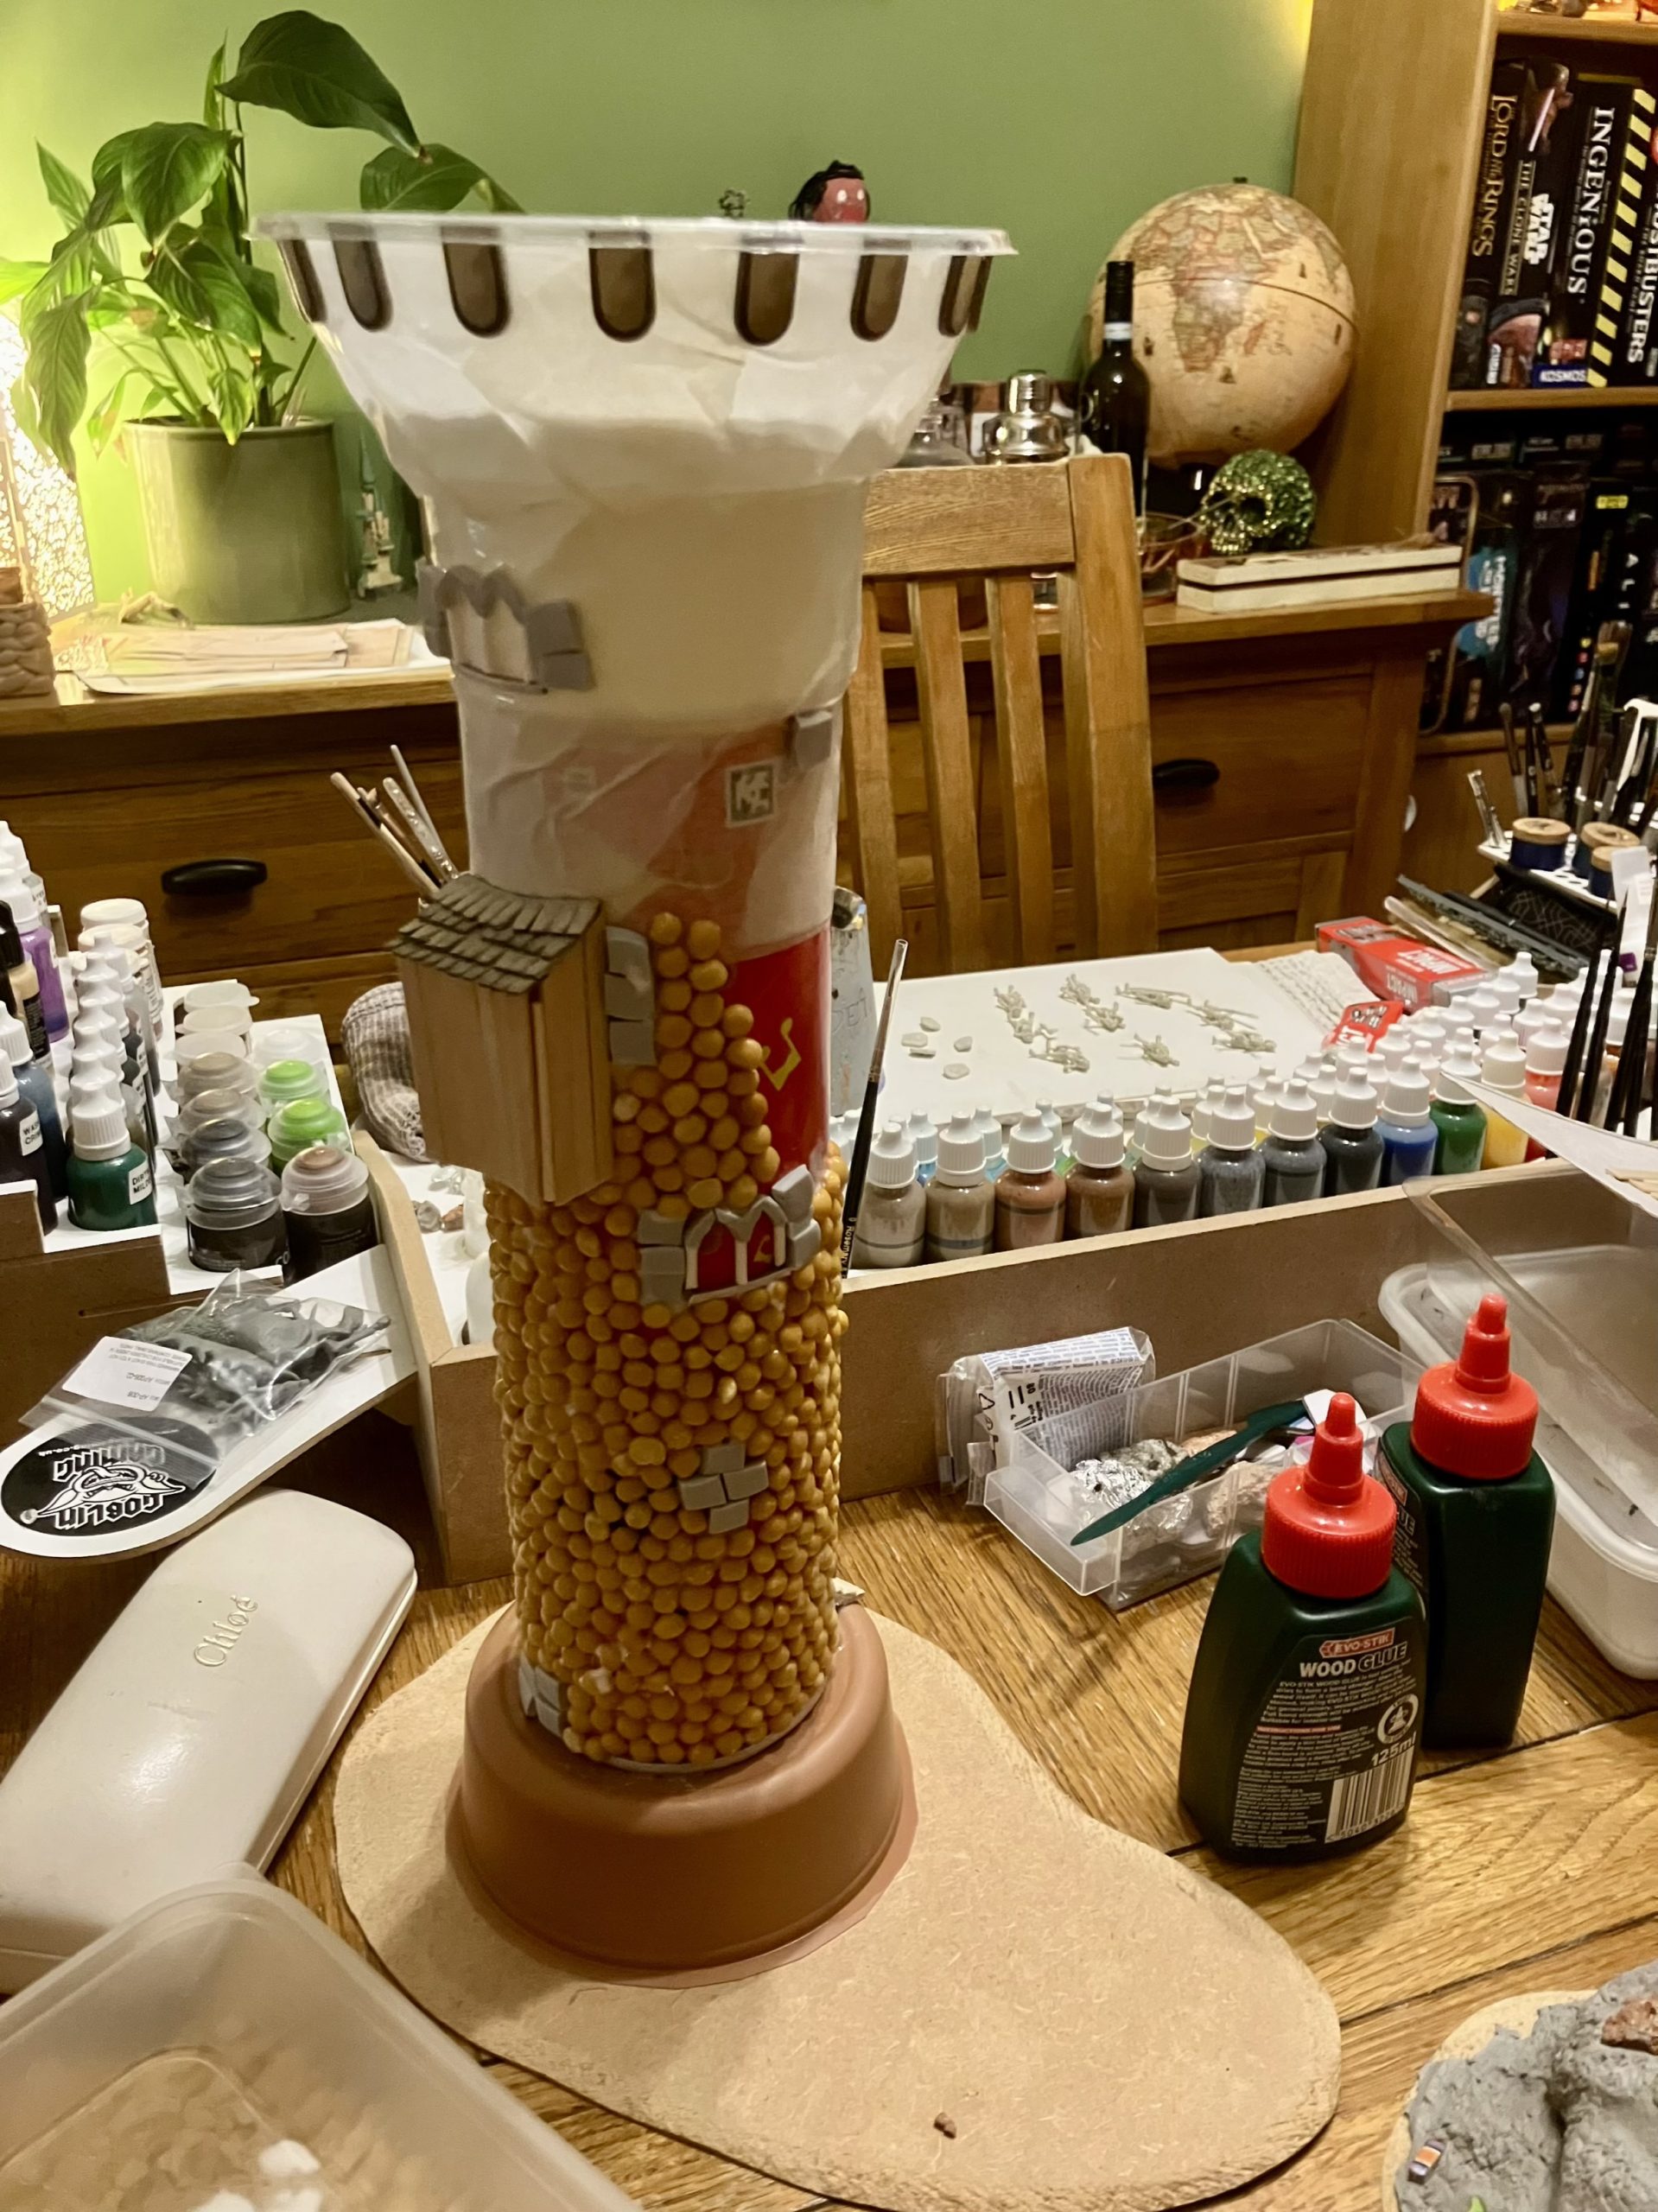 The main tower in progress.
The balcony
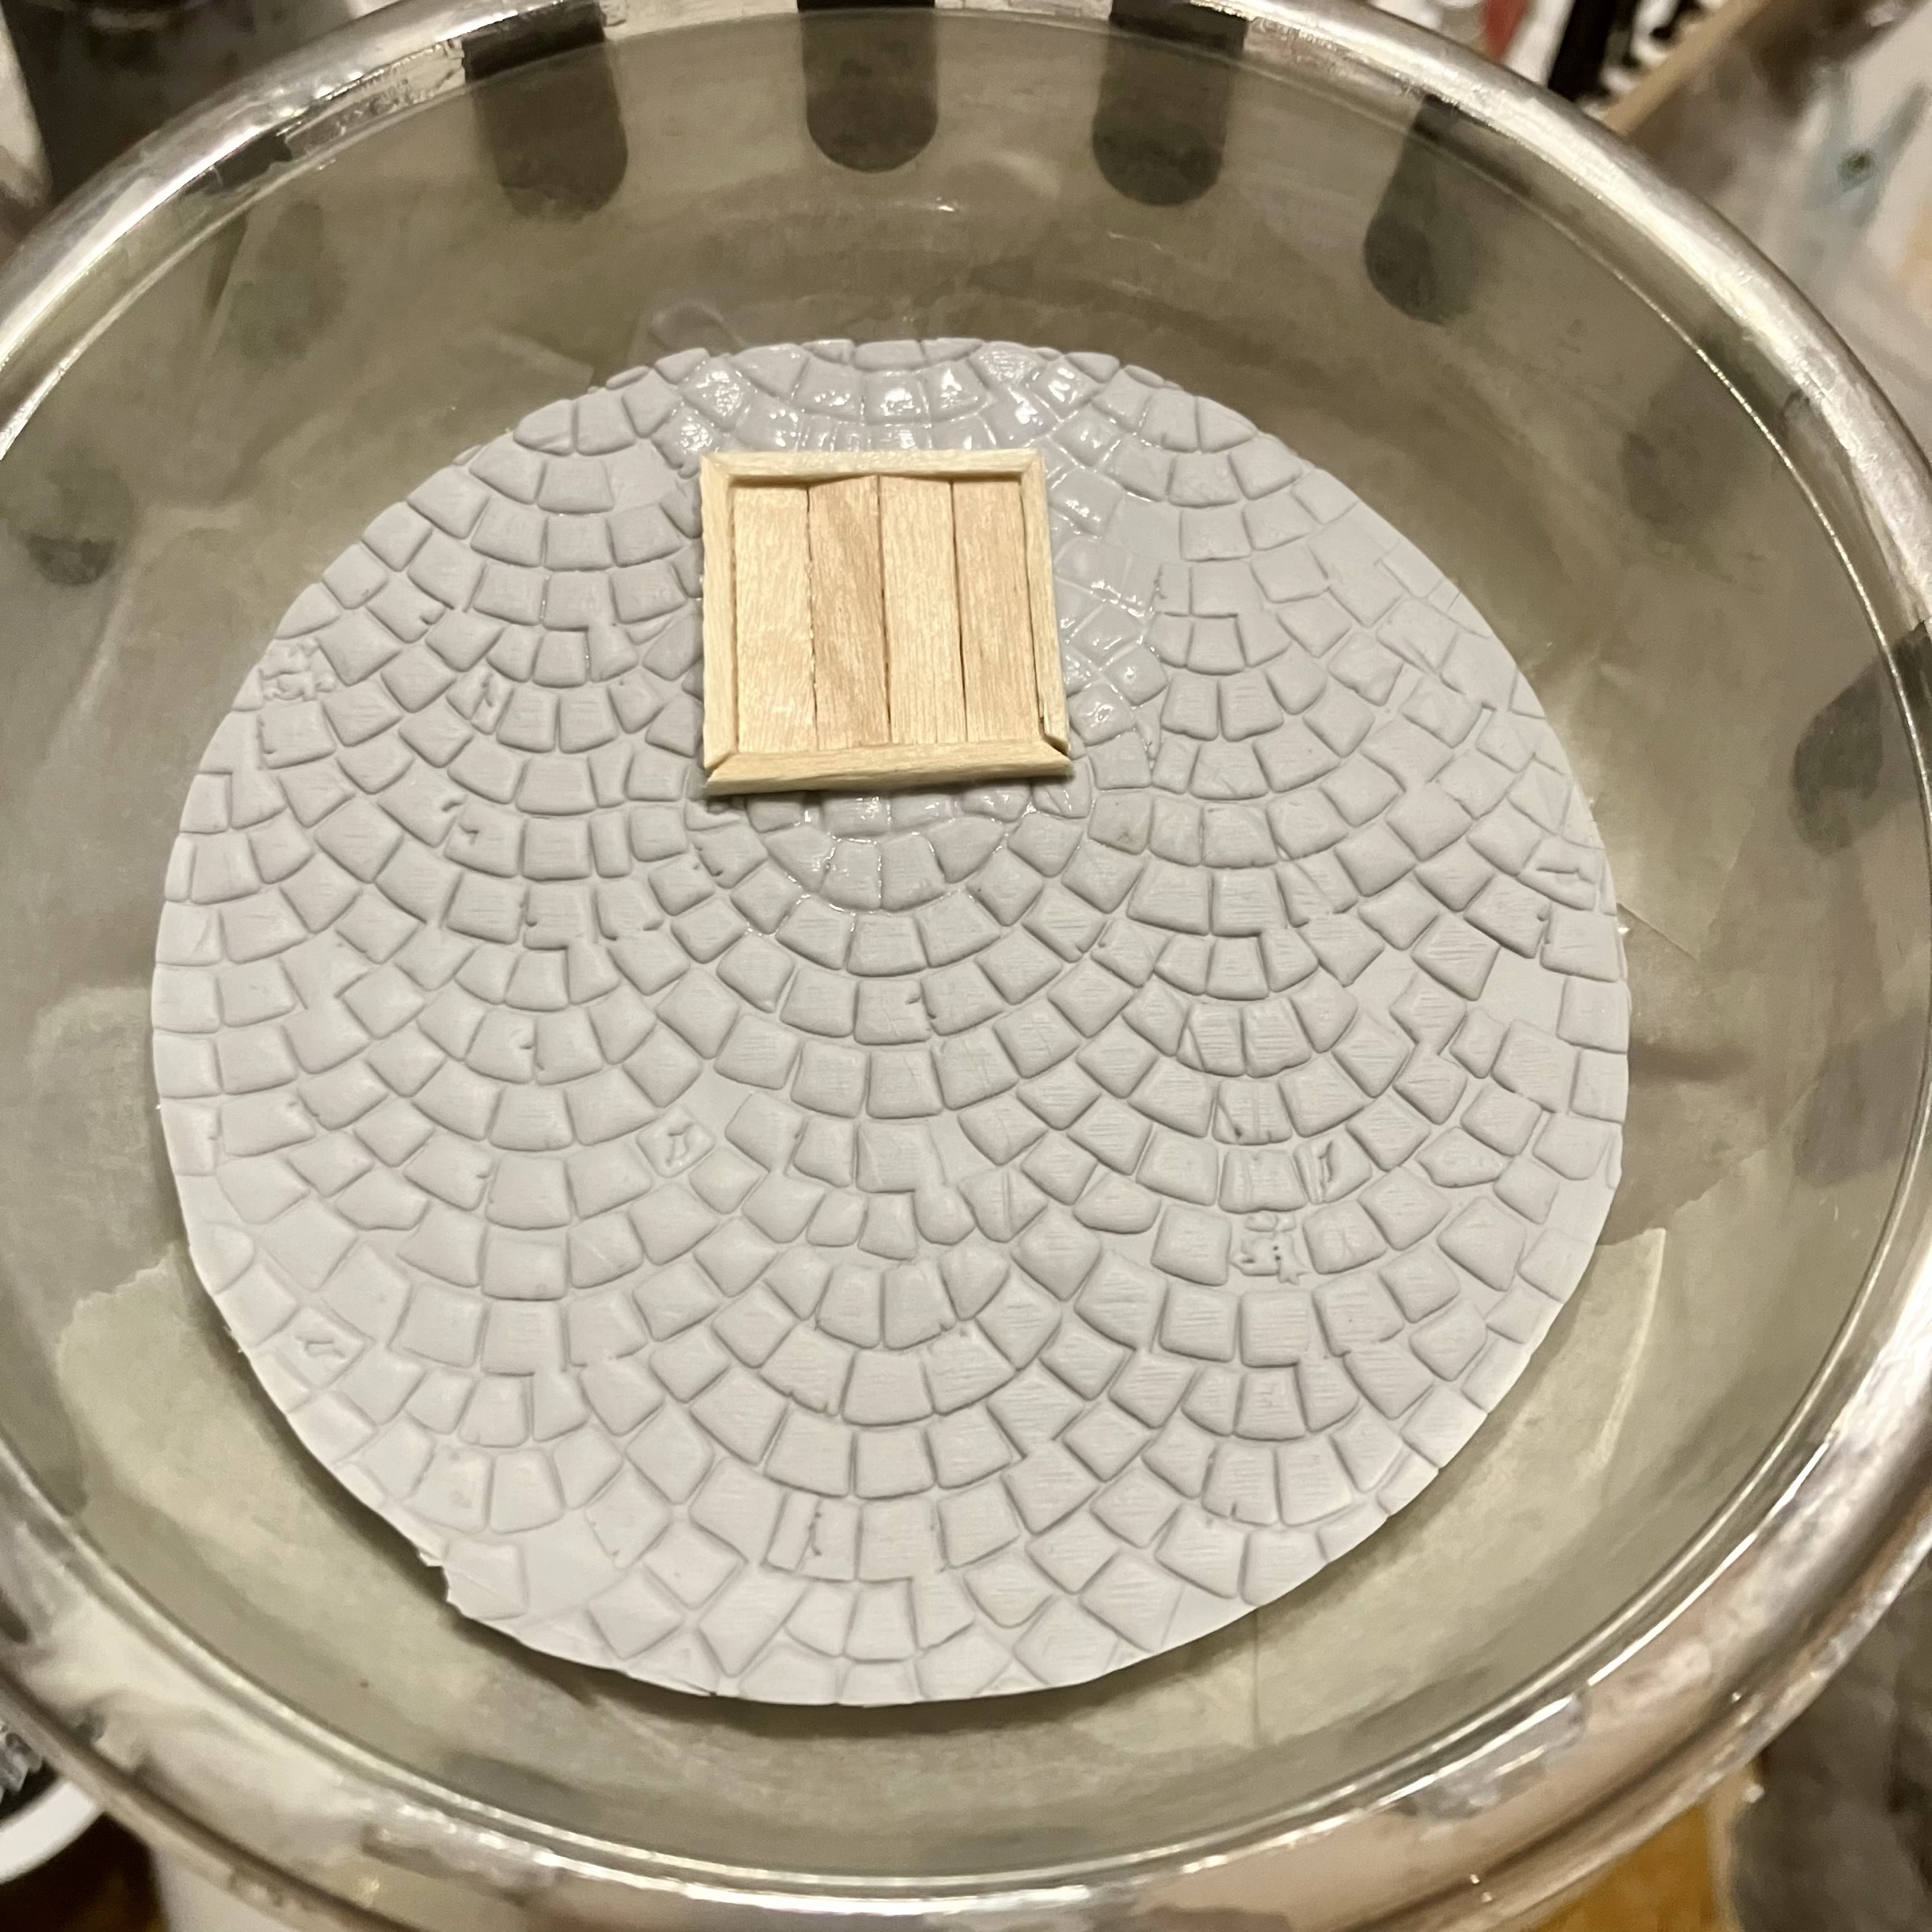
Working my way up the tower with all those peas, I also tackled the balcony floor itself. Rolling out FIMO and then using a green stuff world paving stones roller over the top gave a very pleasing effect. I also made a small hatch/trap door out of coffee stirrers and match sticks. This will be covered by the second tower when used, and then otherwise explains how people get up to the tower top.
The main tower completes
With all the peas and details added, I then made a stepped hill up to the main door. Similar to the other hill, crumpled foil, DAS modelling clay and cardboard leftovers pushed into to make steps.
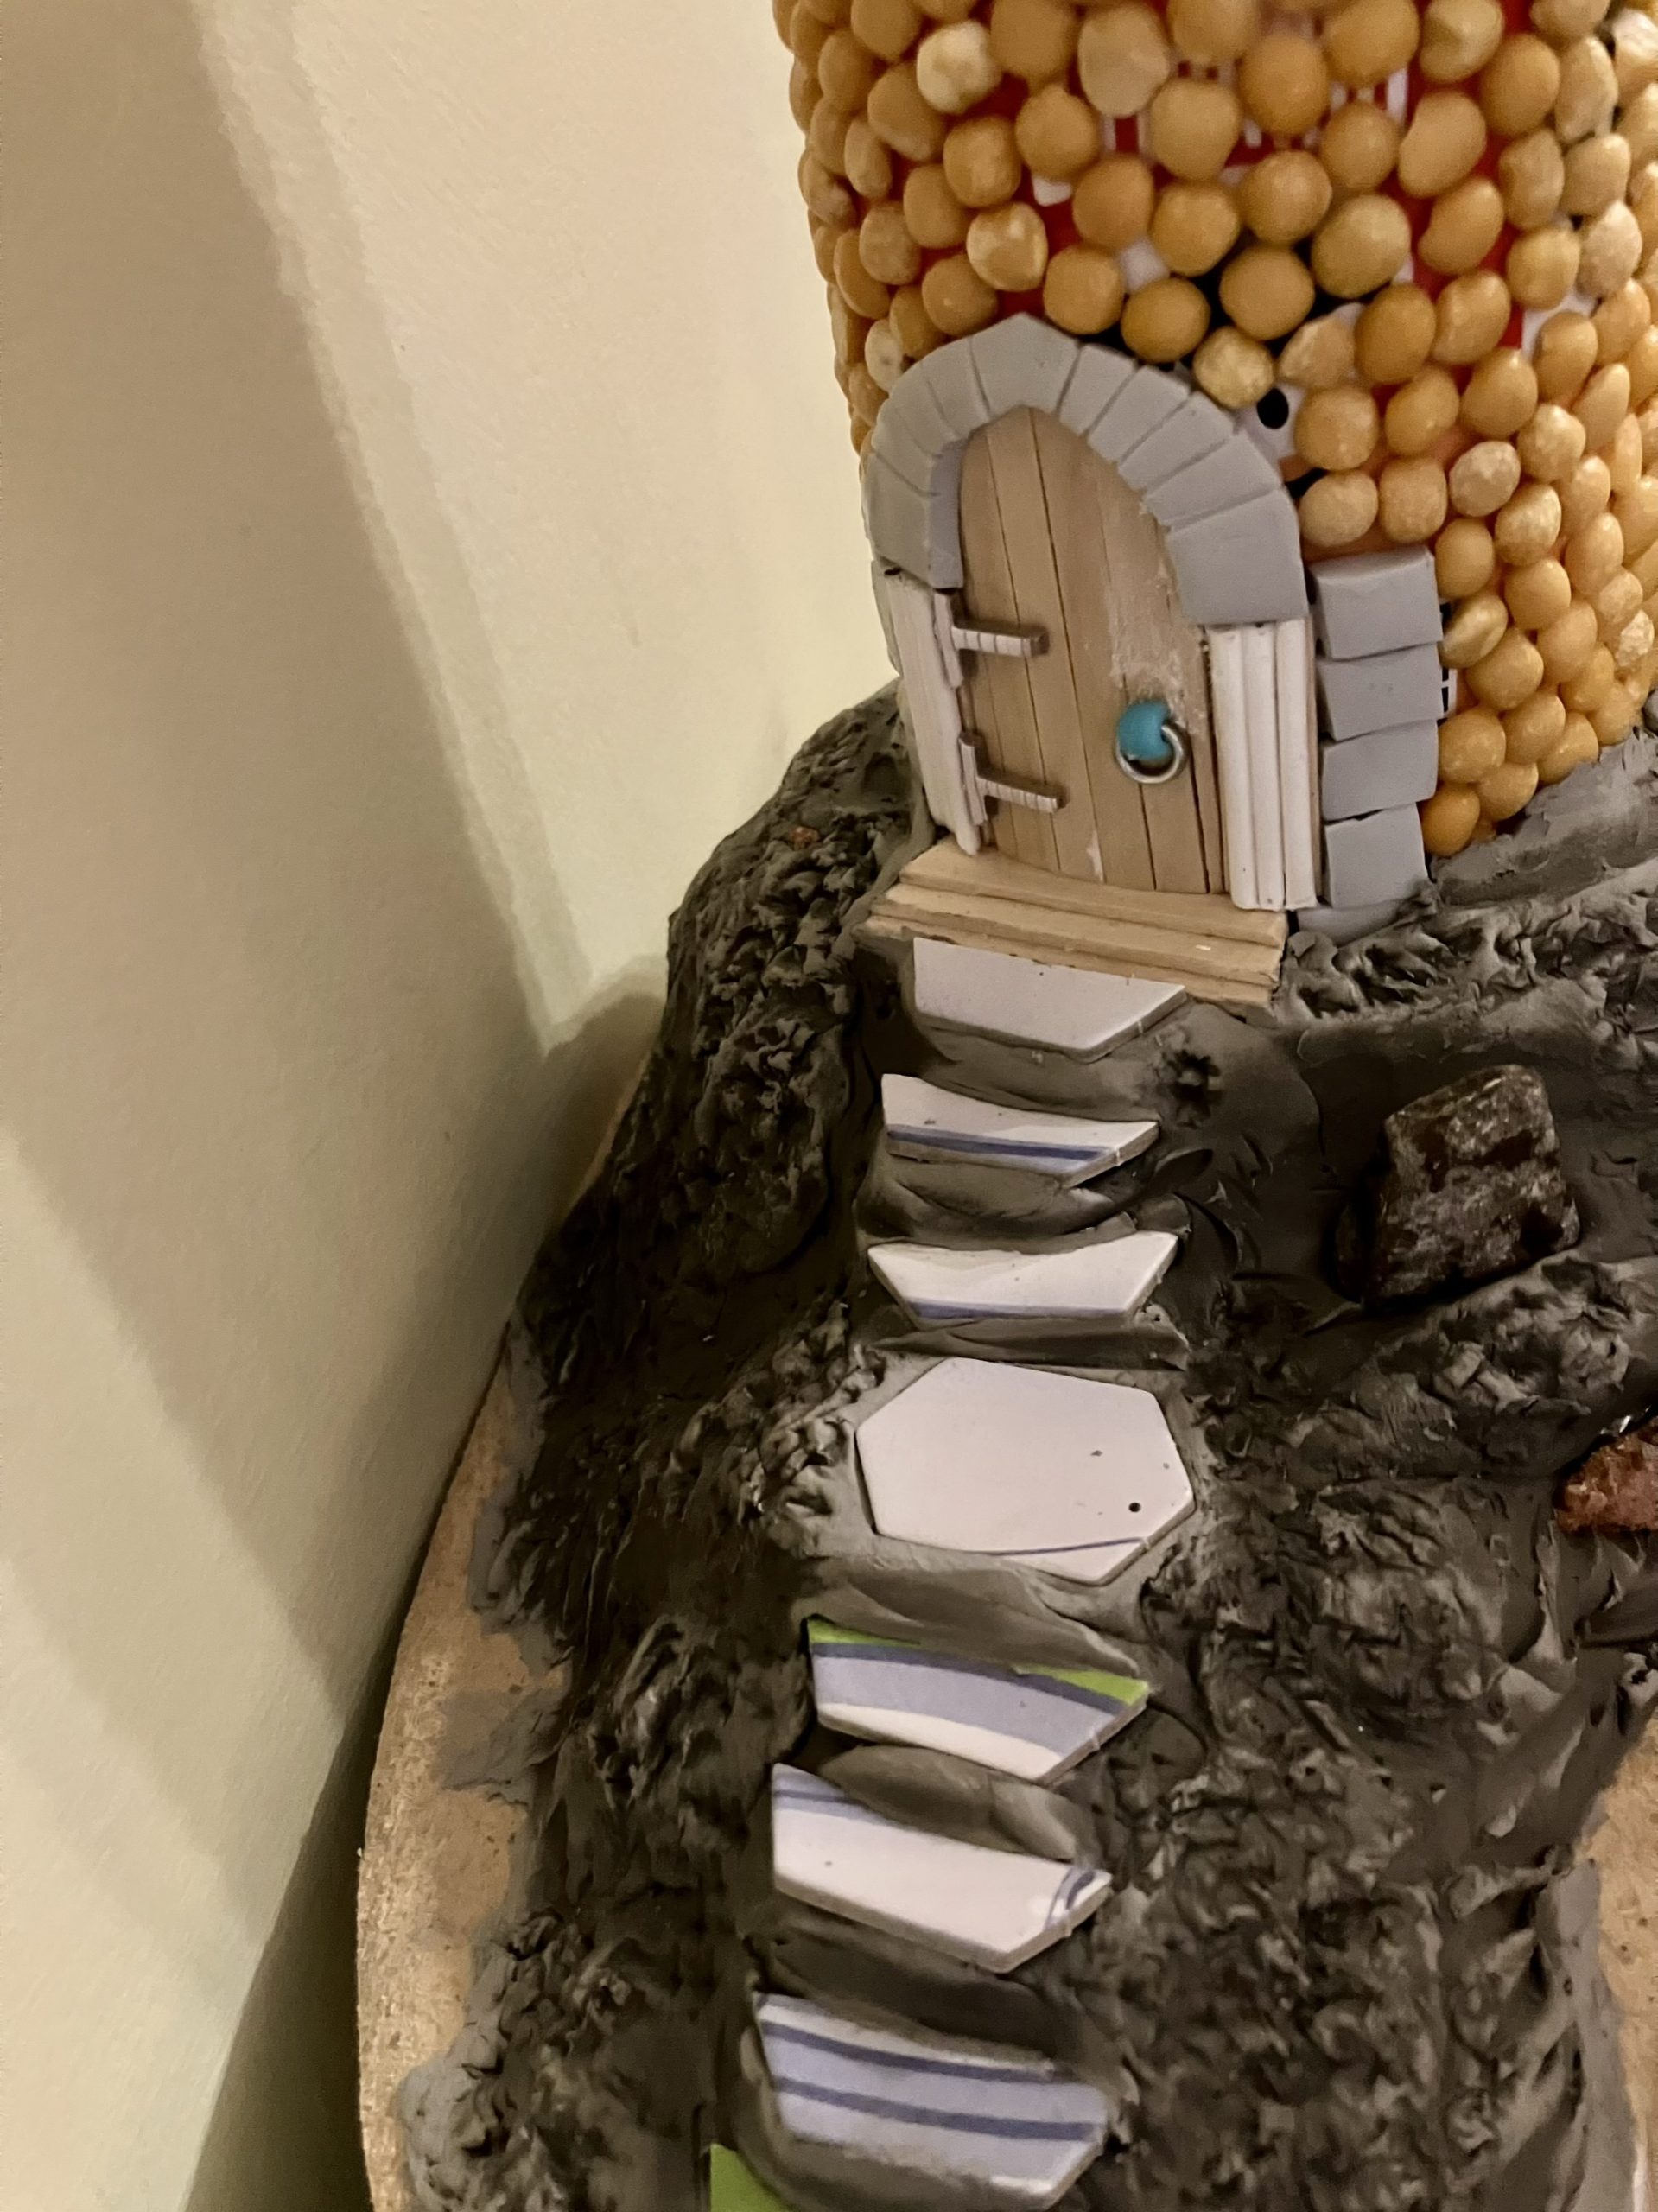 Steps up to main door
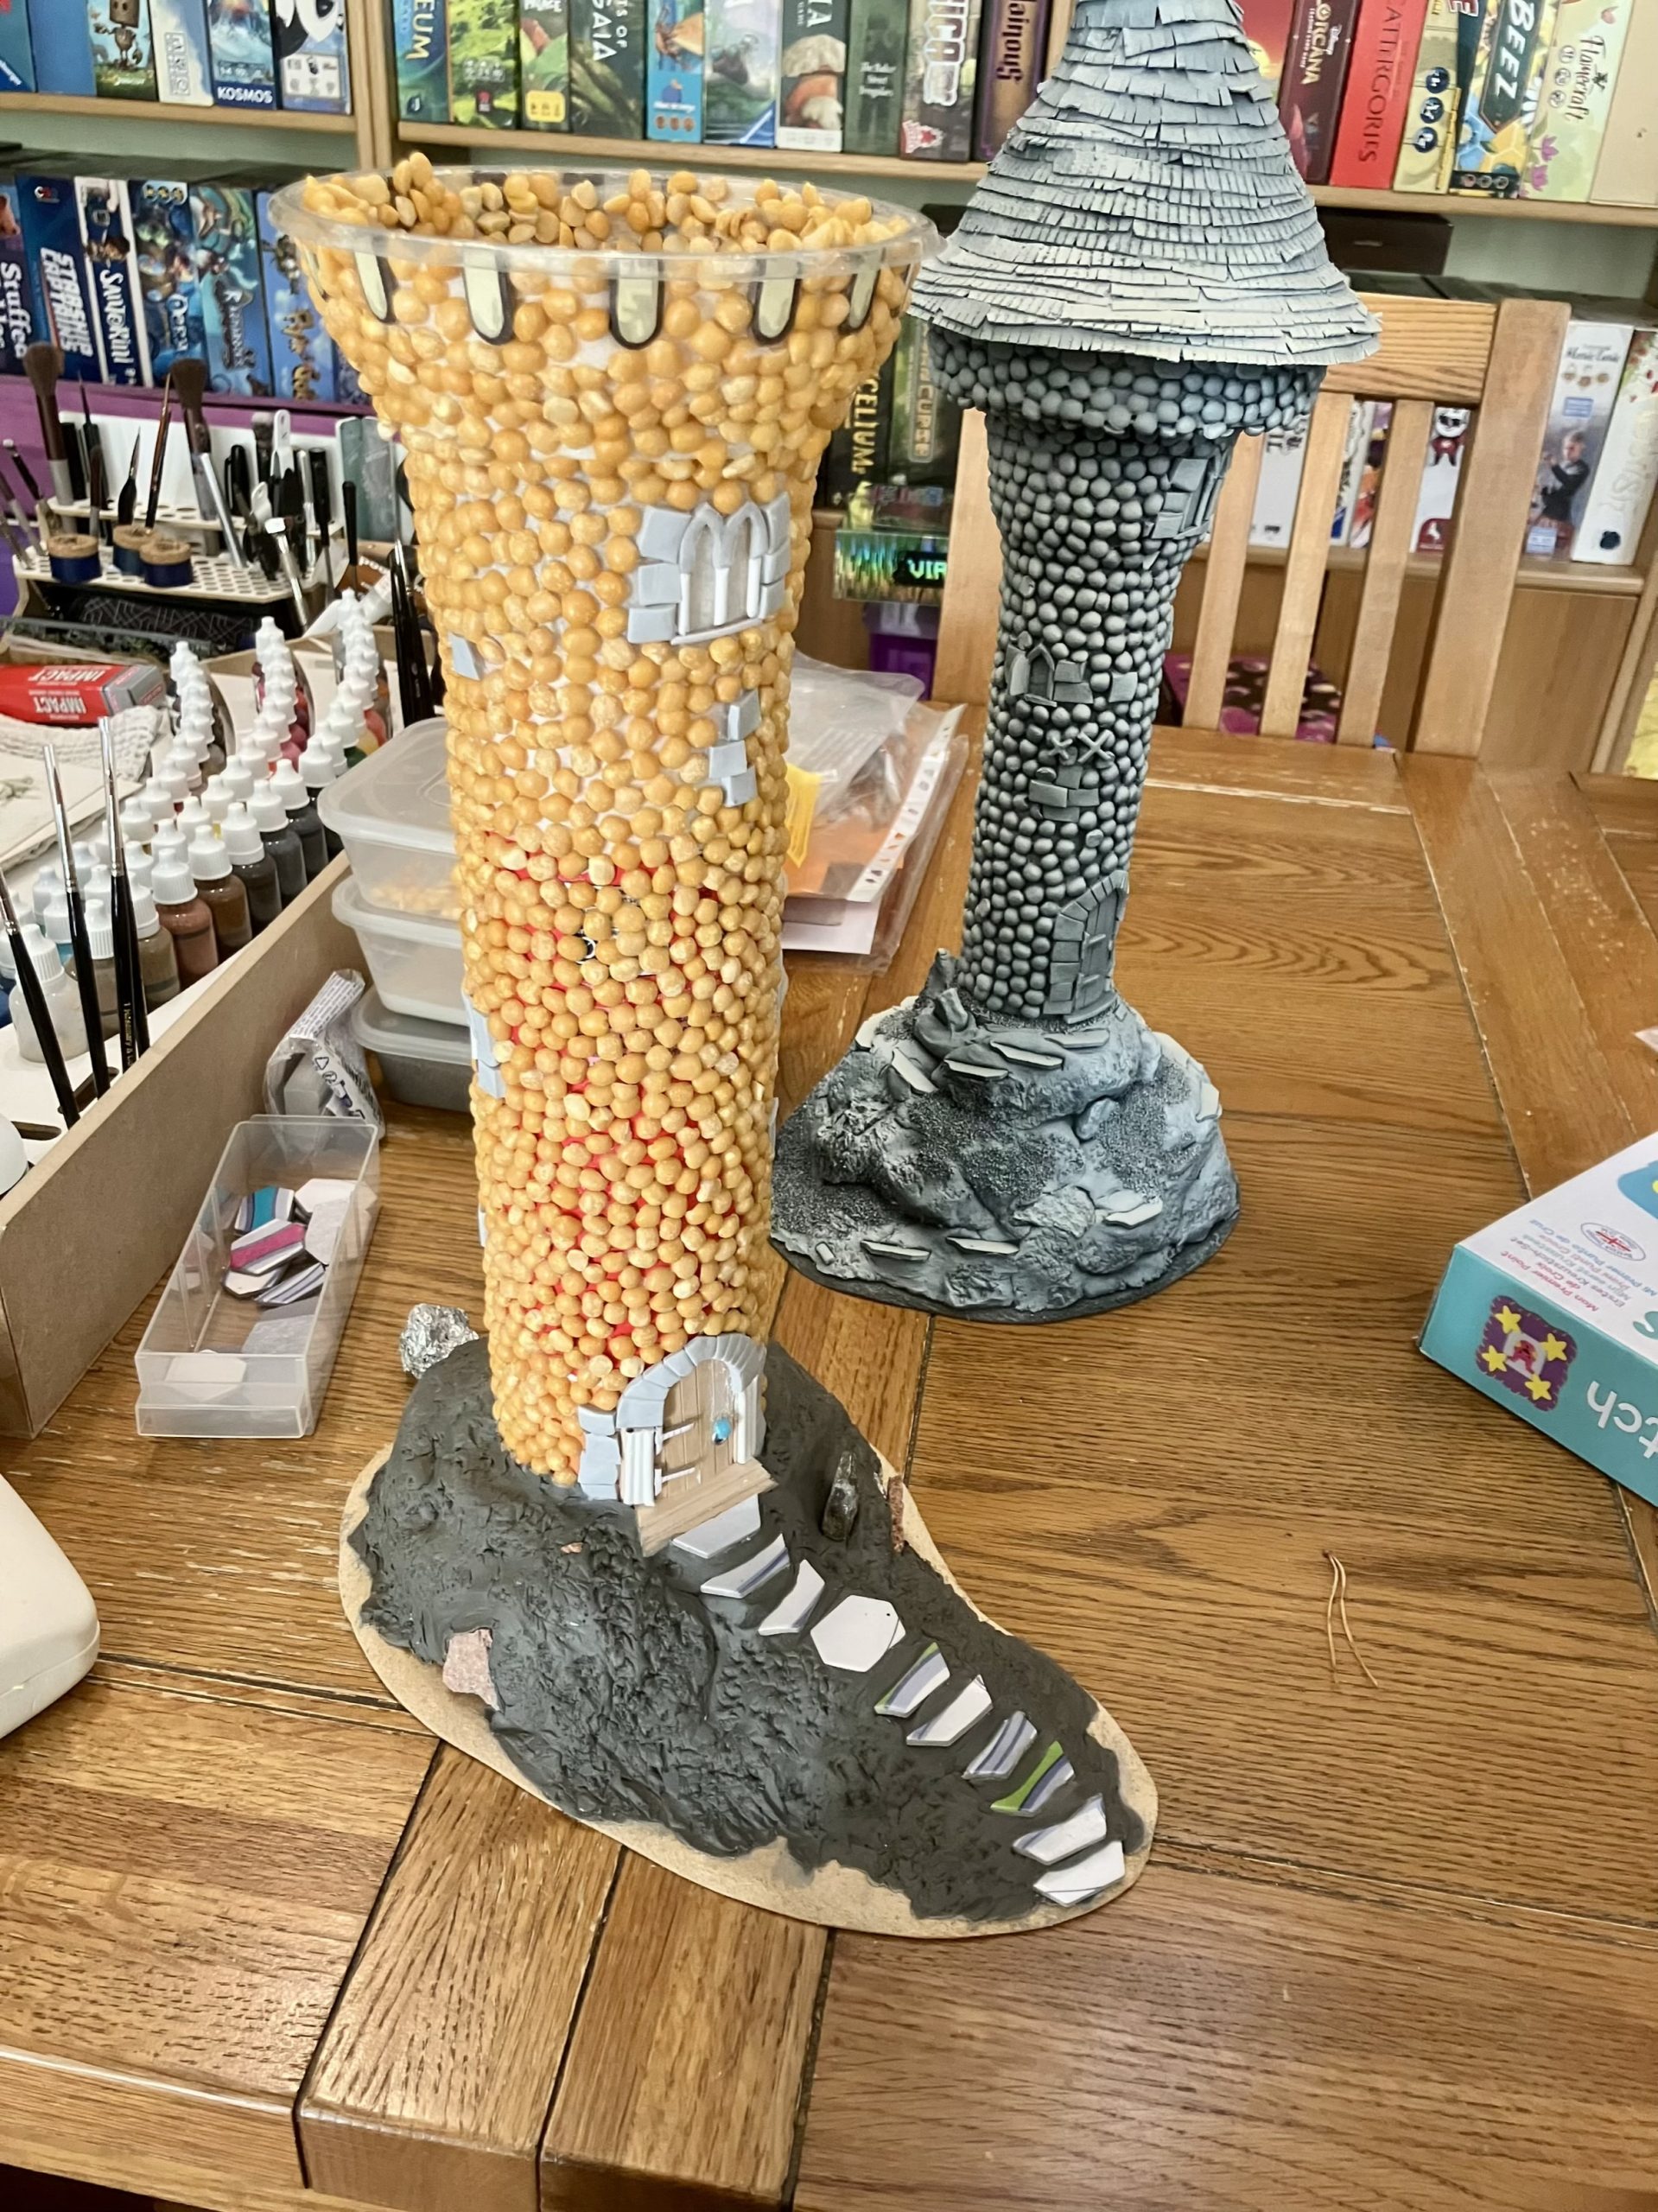 The main tower
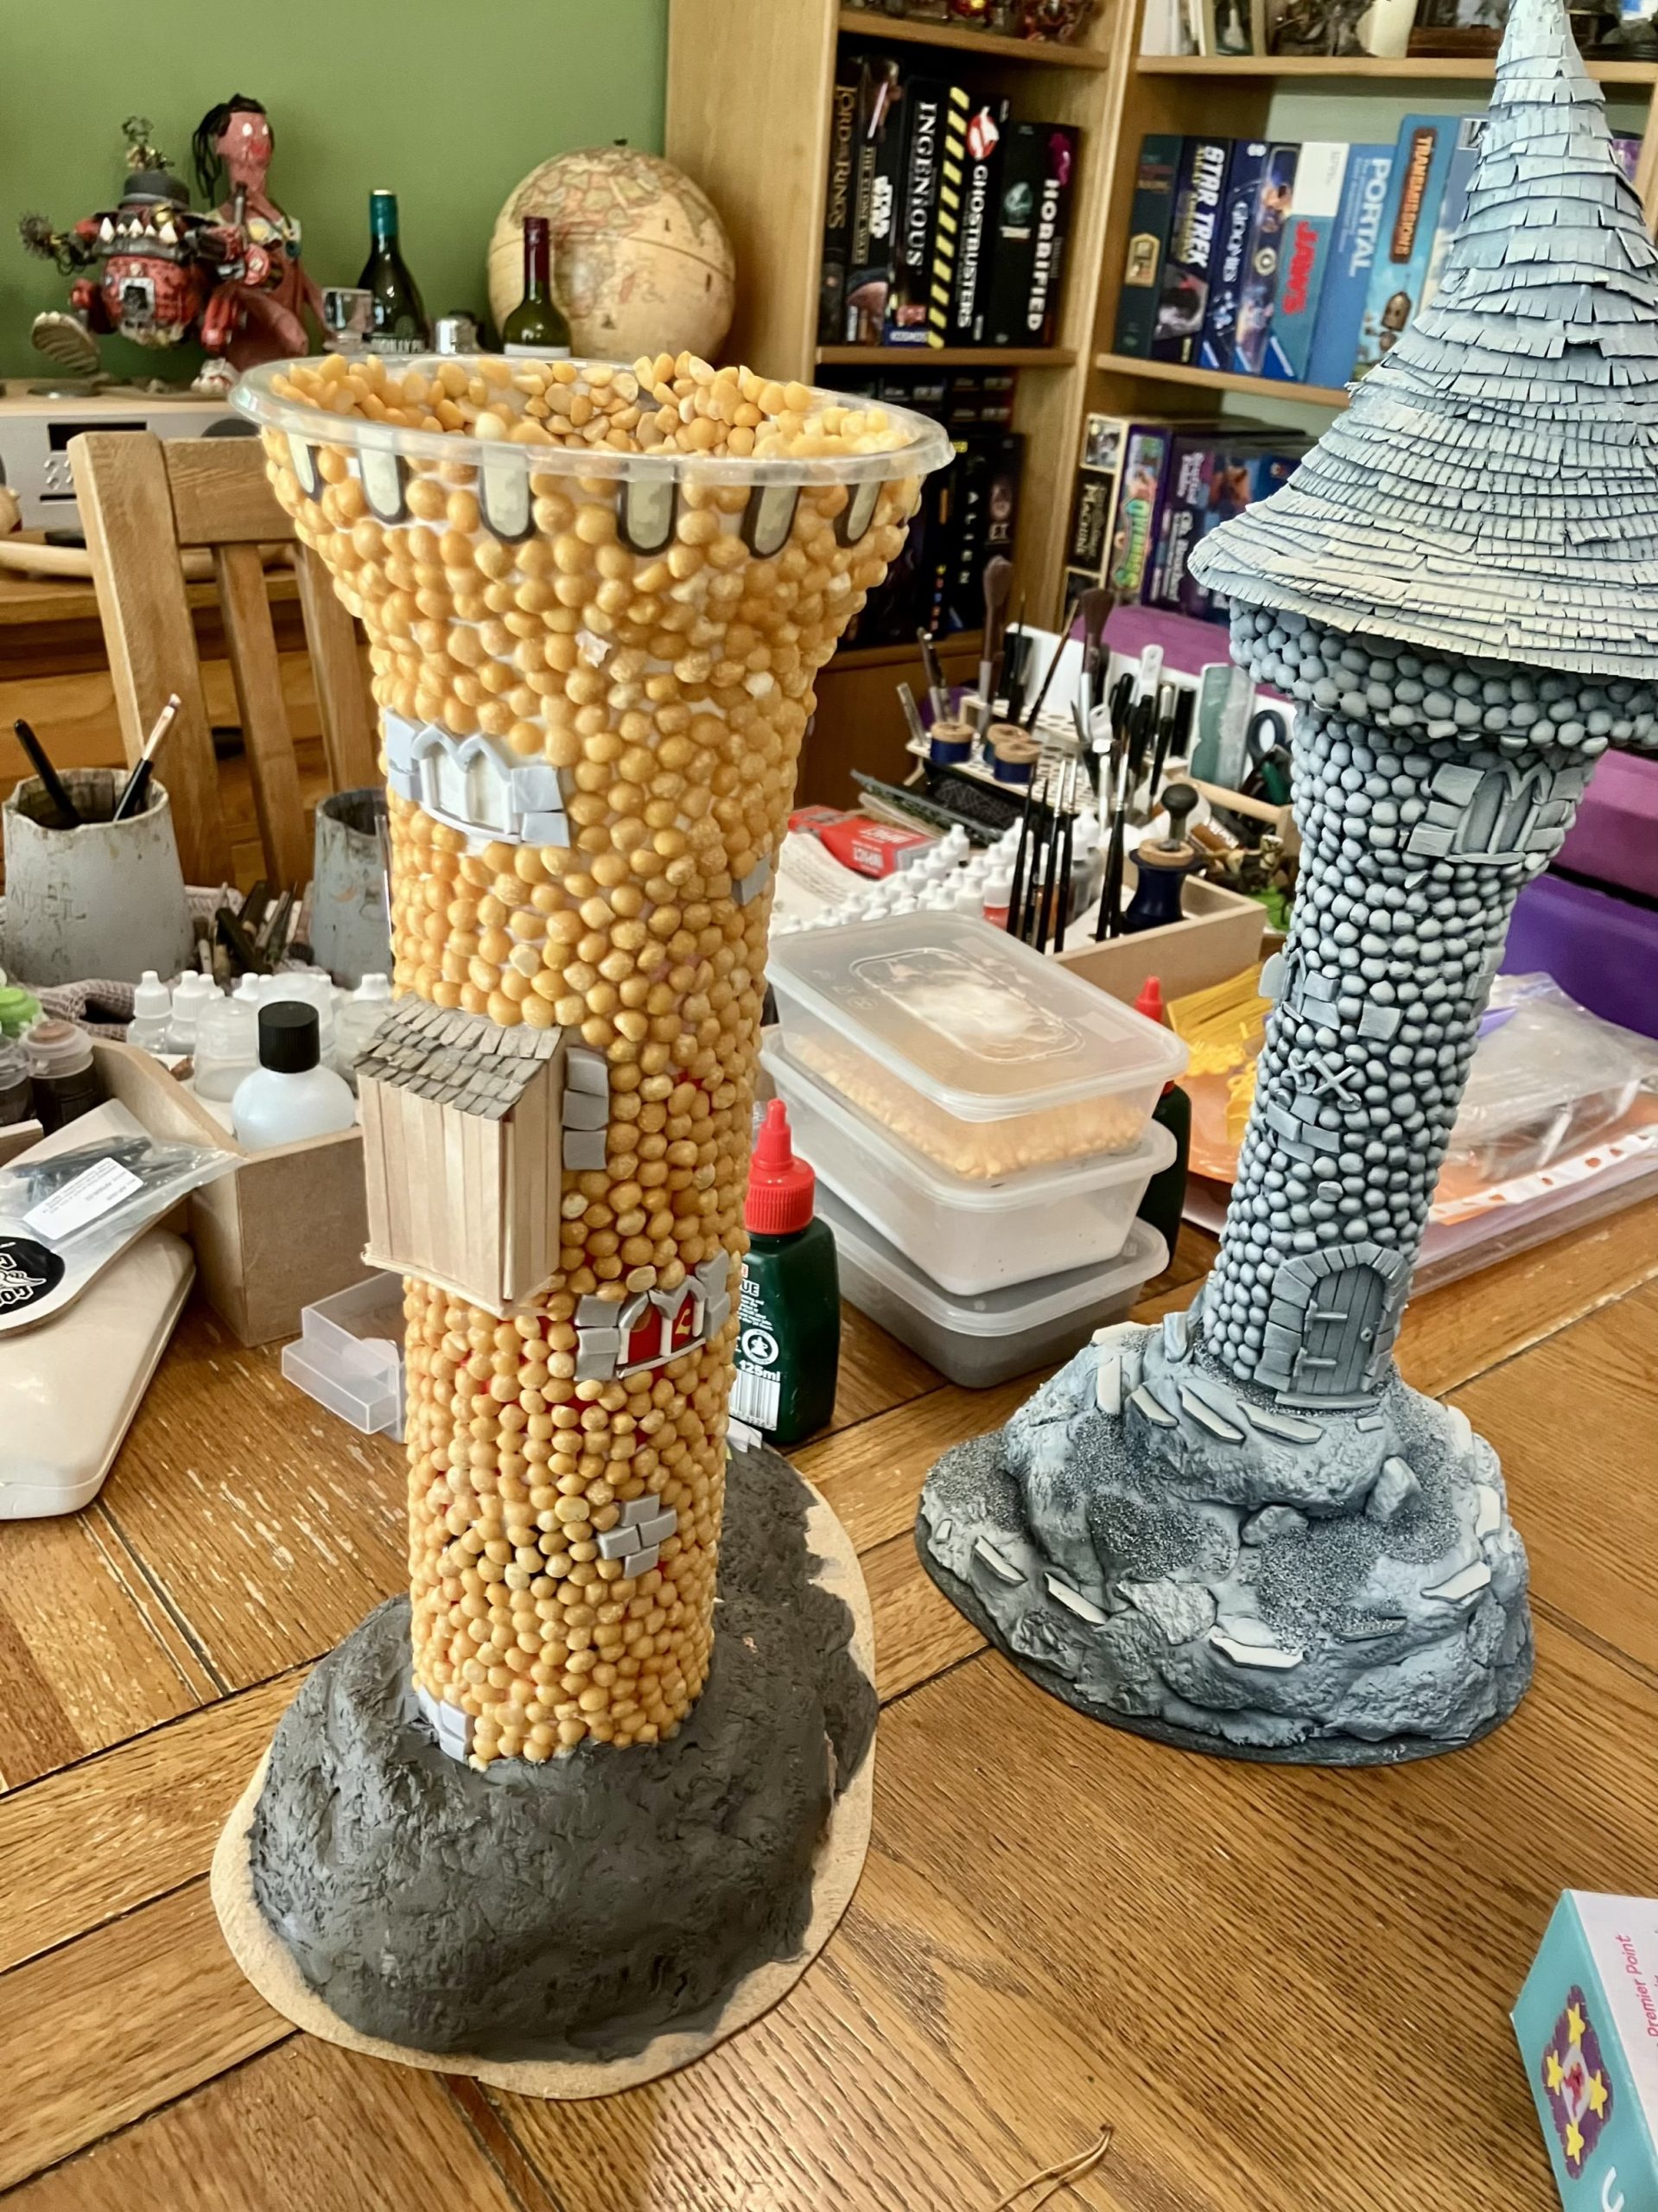 Privy.
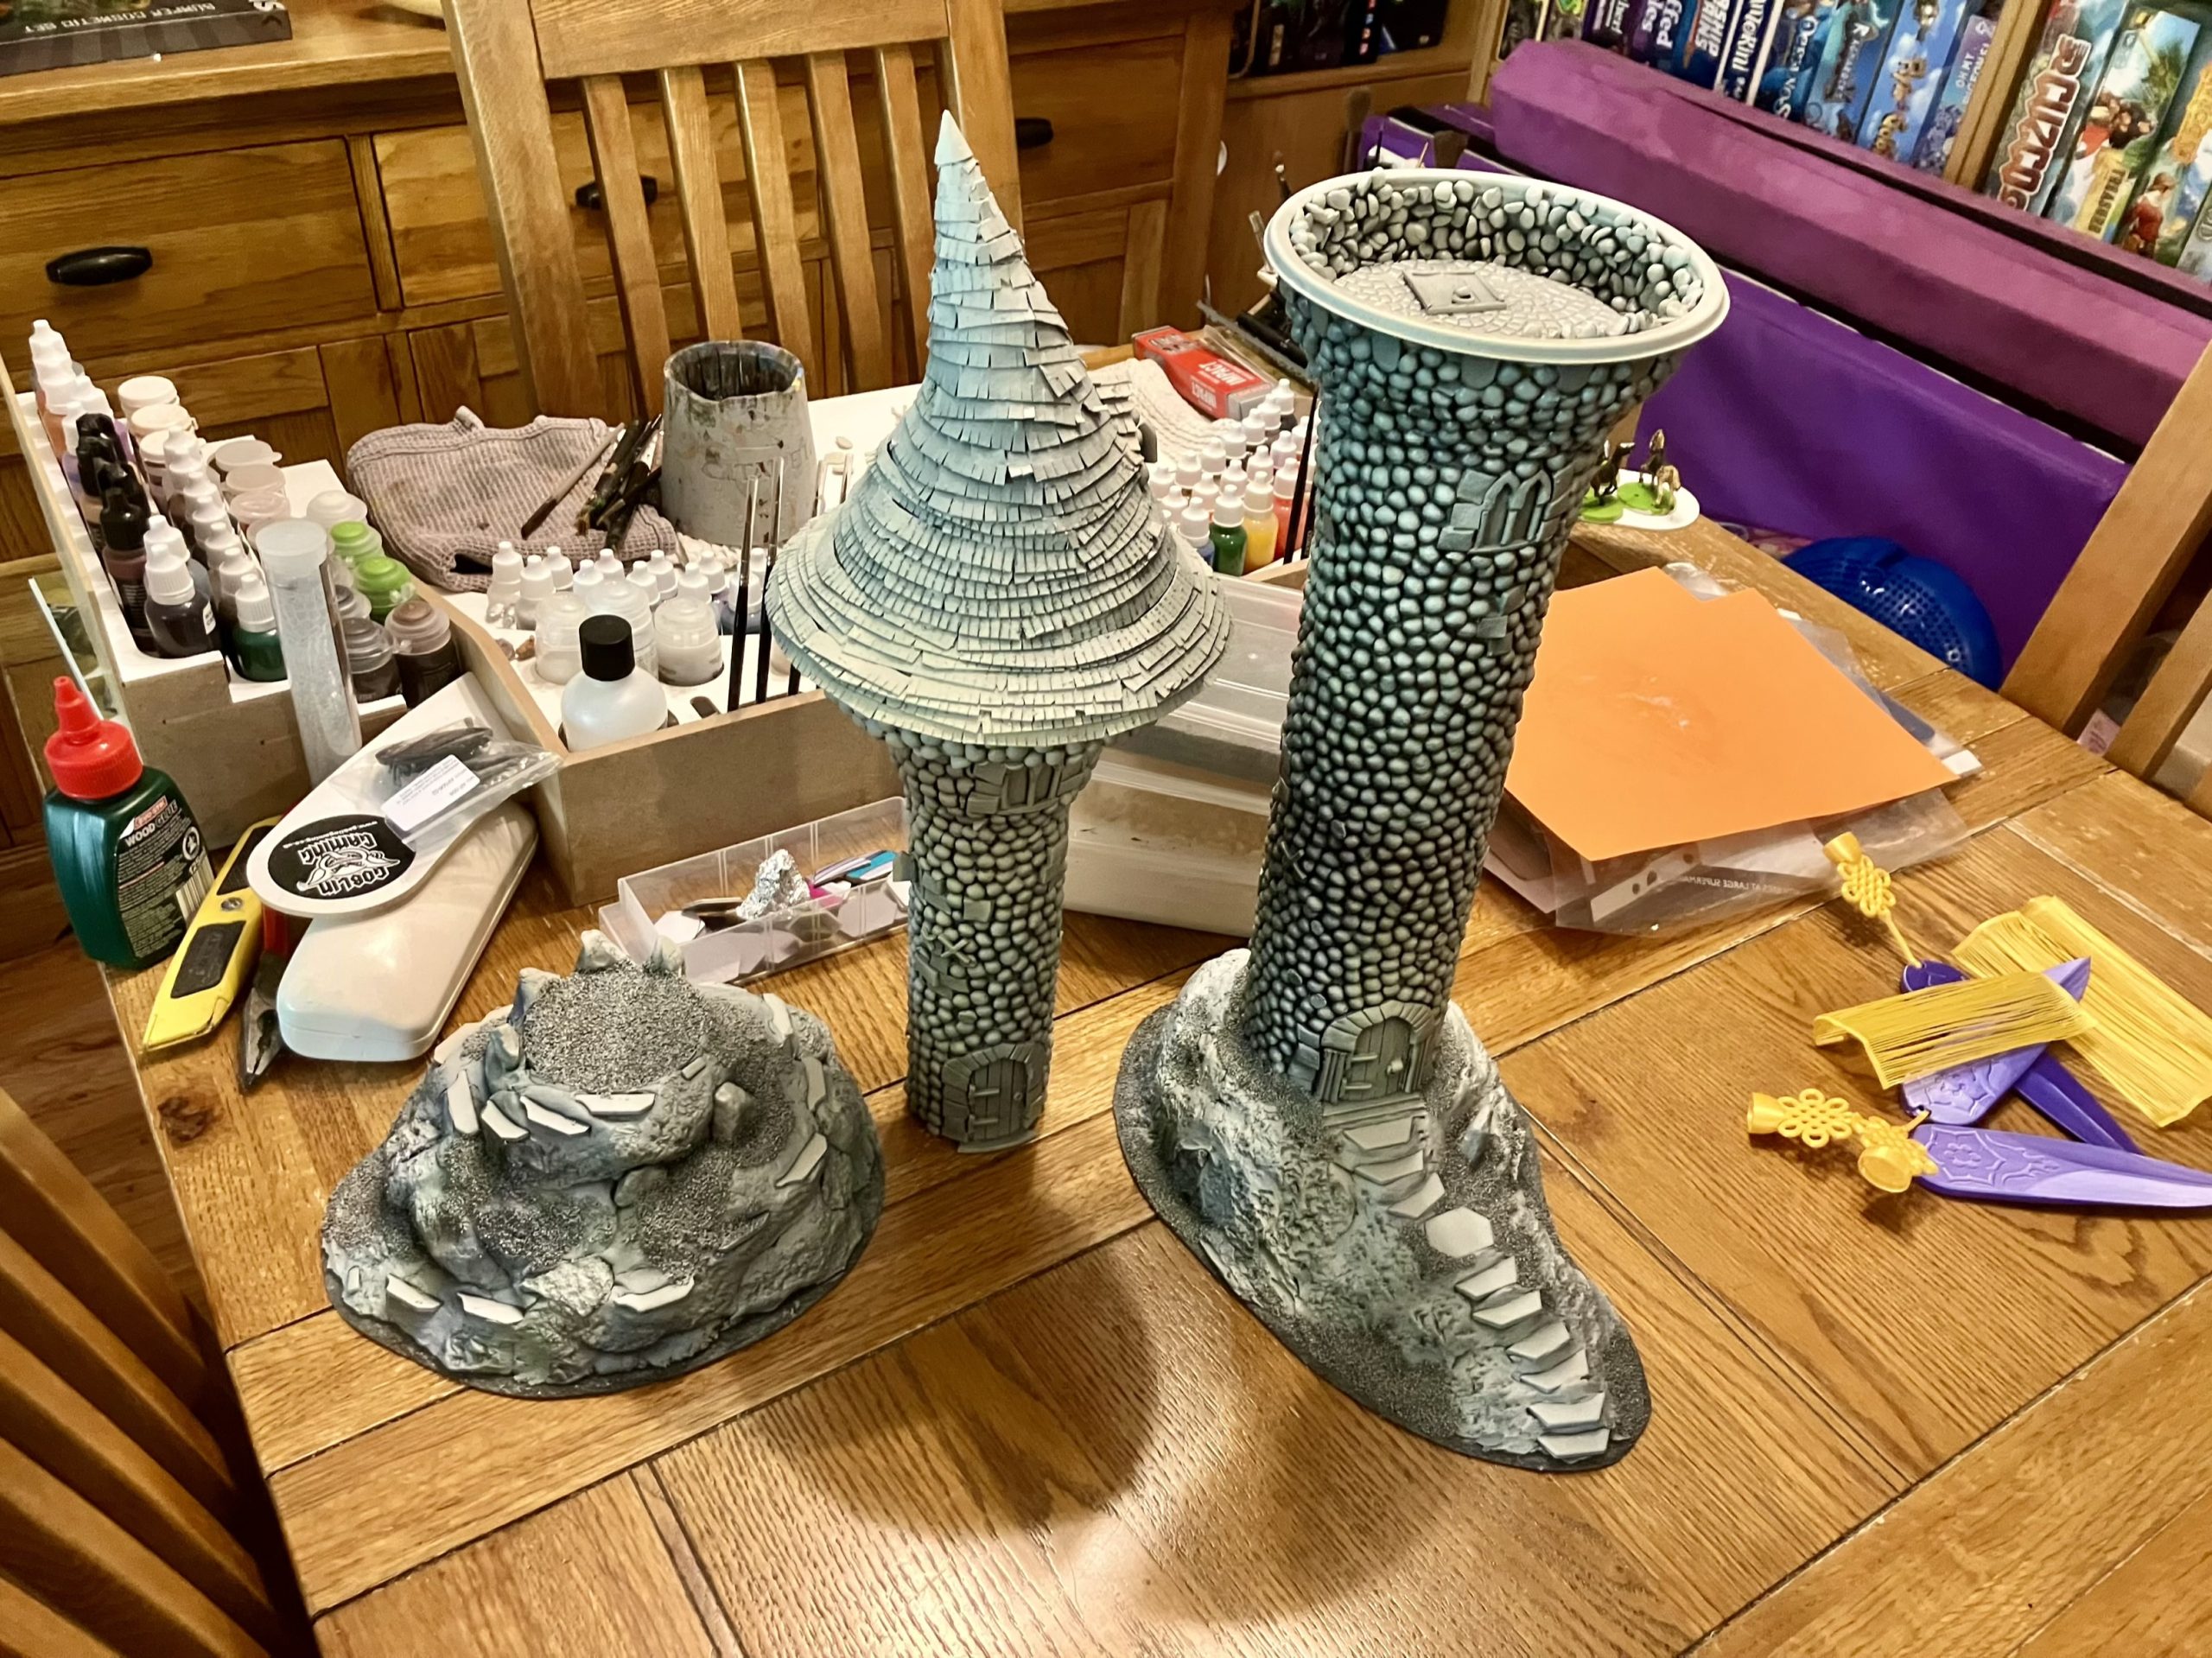
Tiling time
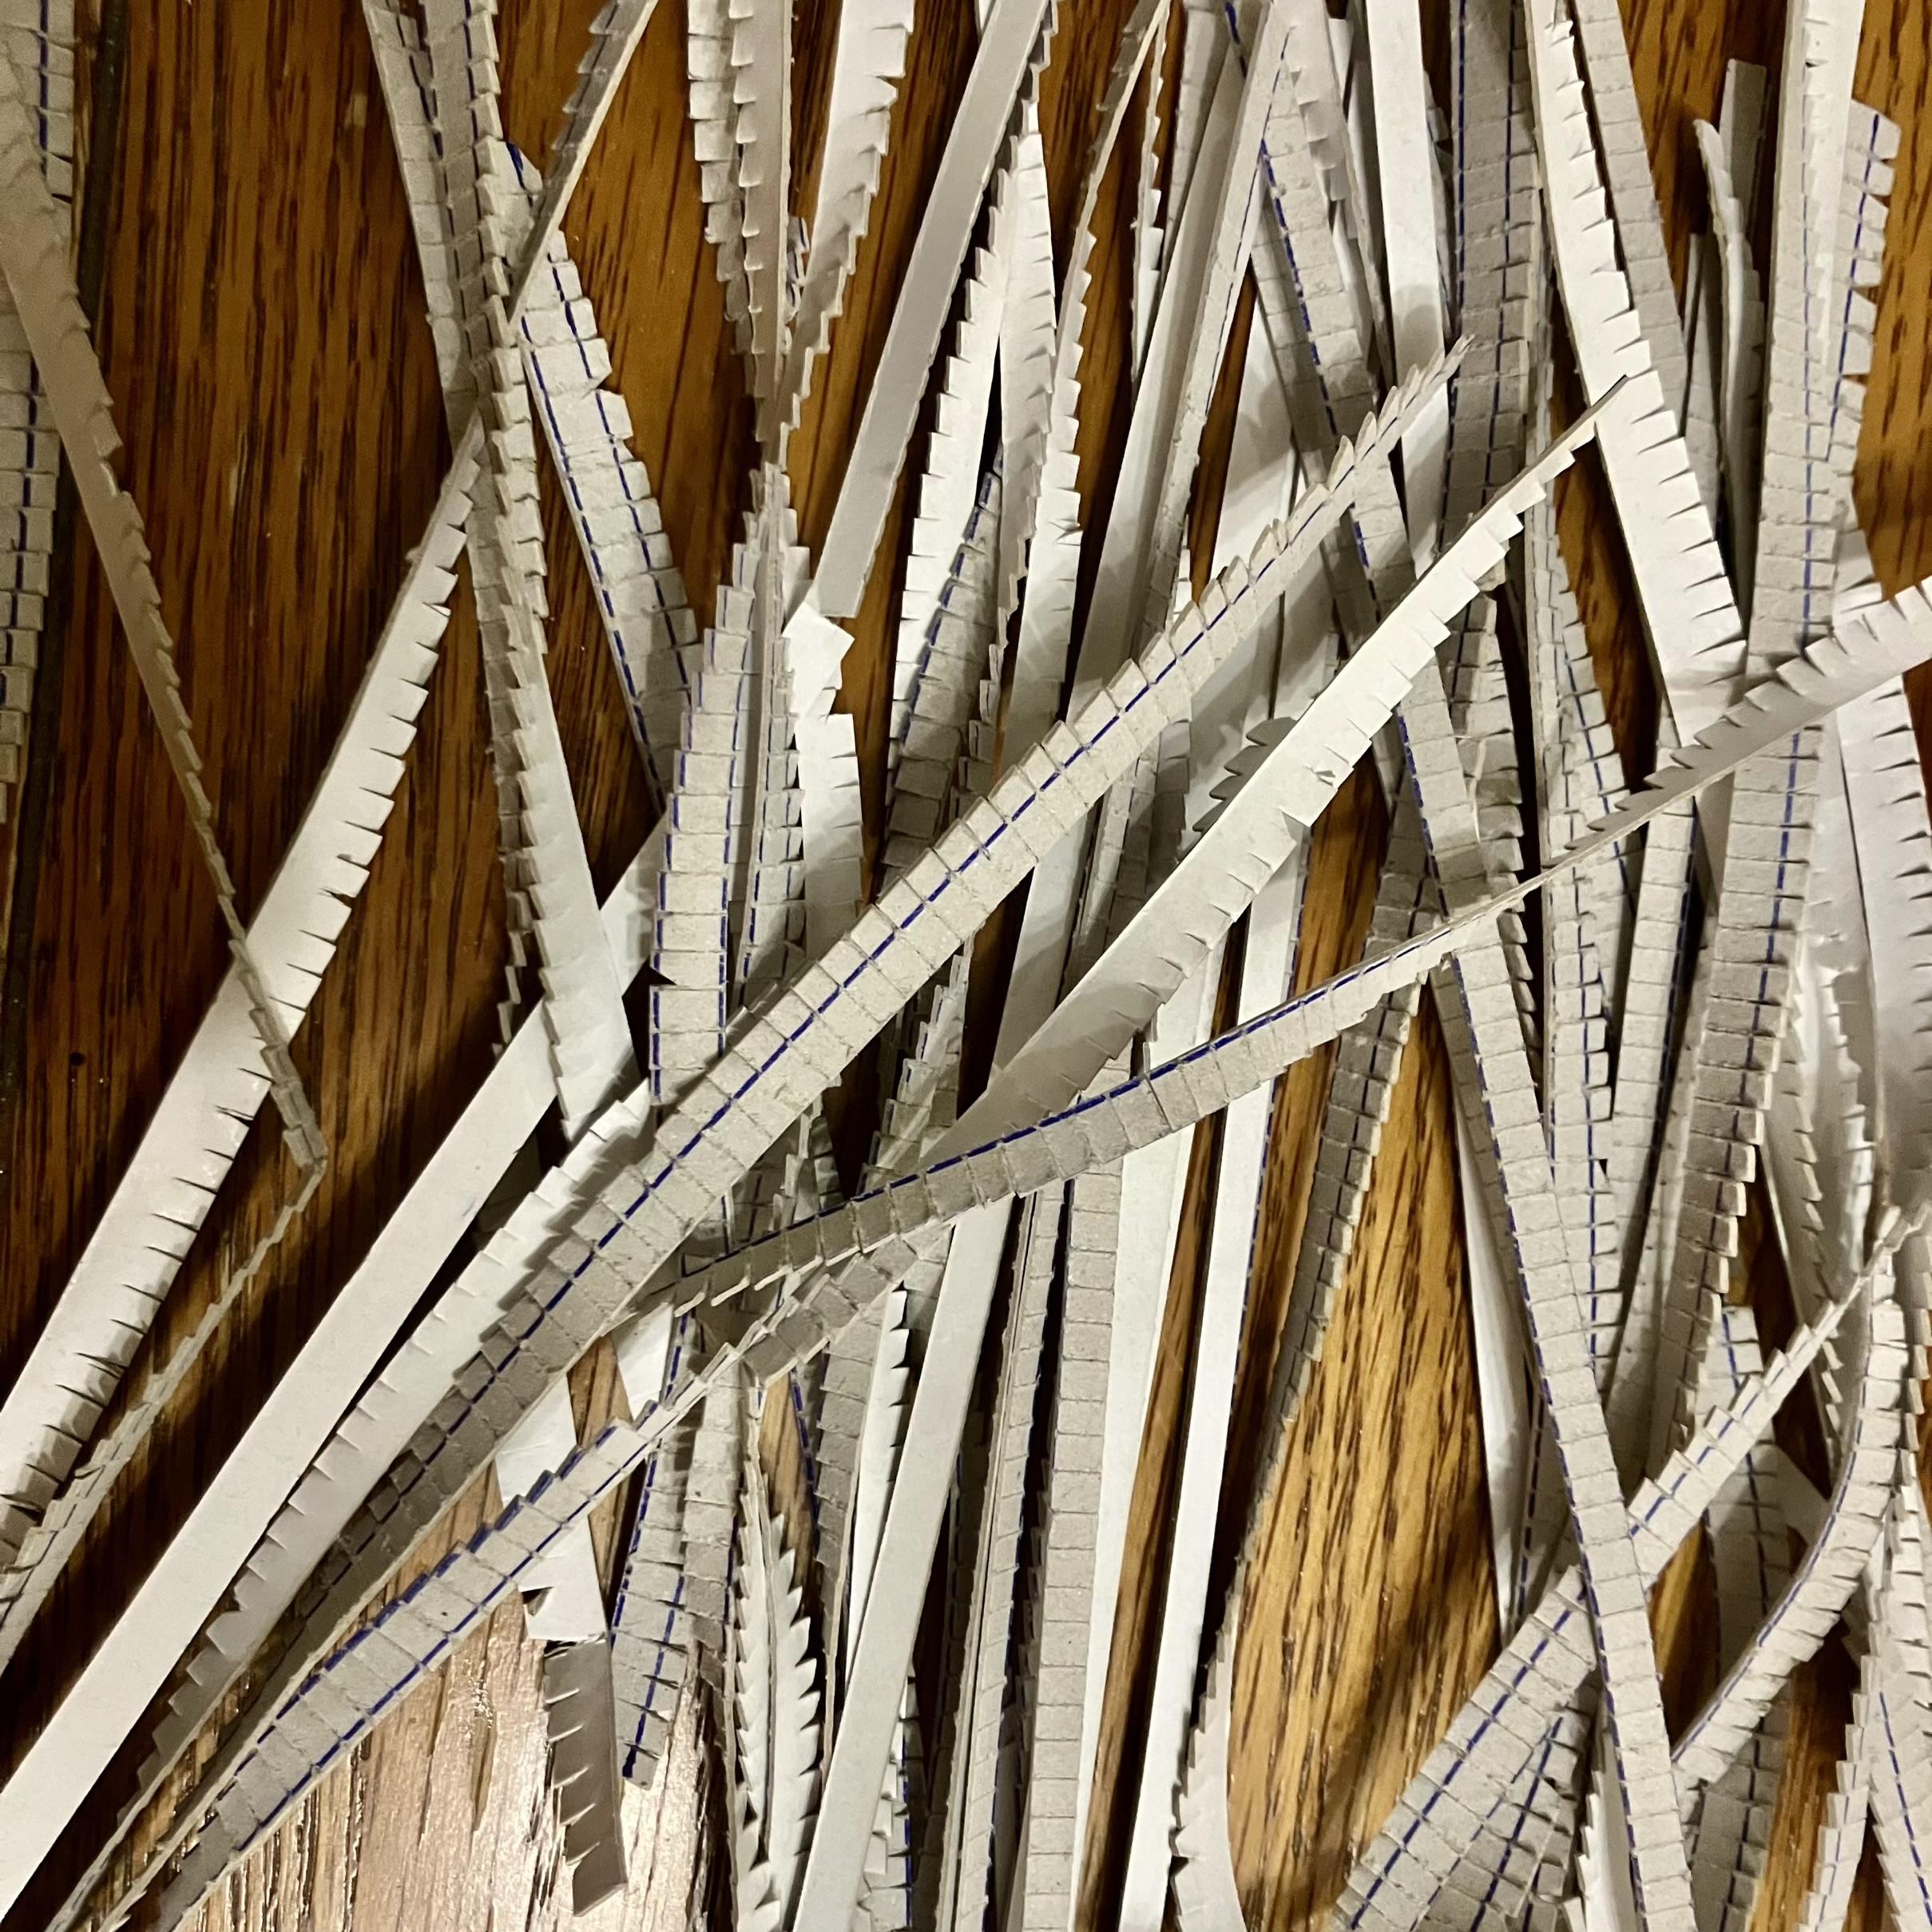 A whole load of roof tile strips
This would be a whole lot easier if I could use pre made tiles – but rules are rules, and so I need to cut my own.
Using card from cereal boxes (Sainsbury’s Malties if you must know!) I measured out strips and made marks for where I would cut part way up them.
Tediously cutting all these out while watching The Traitors, I ended up with a big supply of tiles.
To try and curve them, I soak them in dilute pva before applying to the roof. It’s messy and doesn’t work quite as well as where I’ve done it on straight roofs, but I’m committed to this course now, so will try and see it through.
 Complete tower with roof
The power of the primes
 Primed pieces
It’s always awesome to see how much priming helps unify and make cohesive models from all those different elements.
The look brilliant even just at this zenith (black, grey, wraithbone) stage.
 Another primed view
Paint!
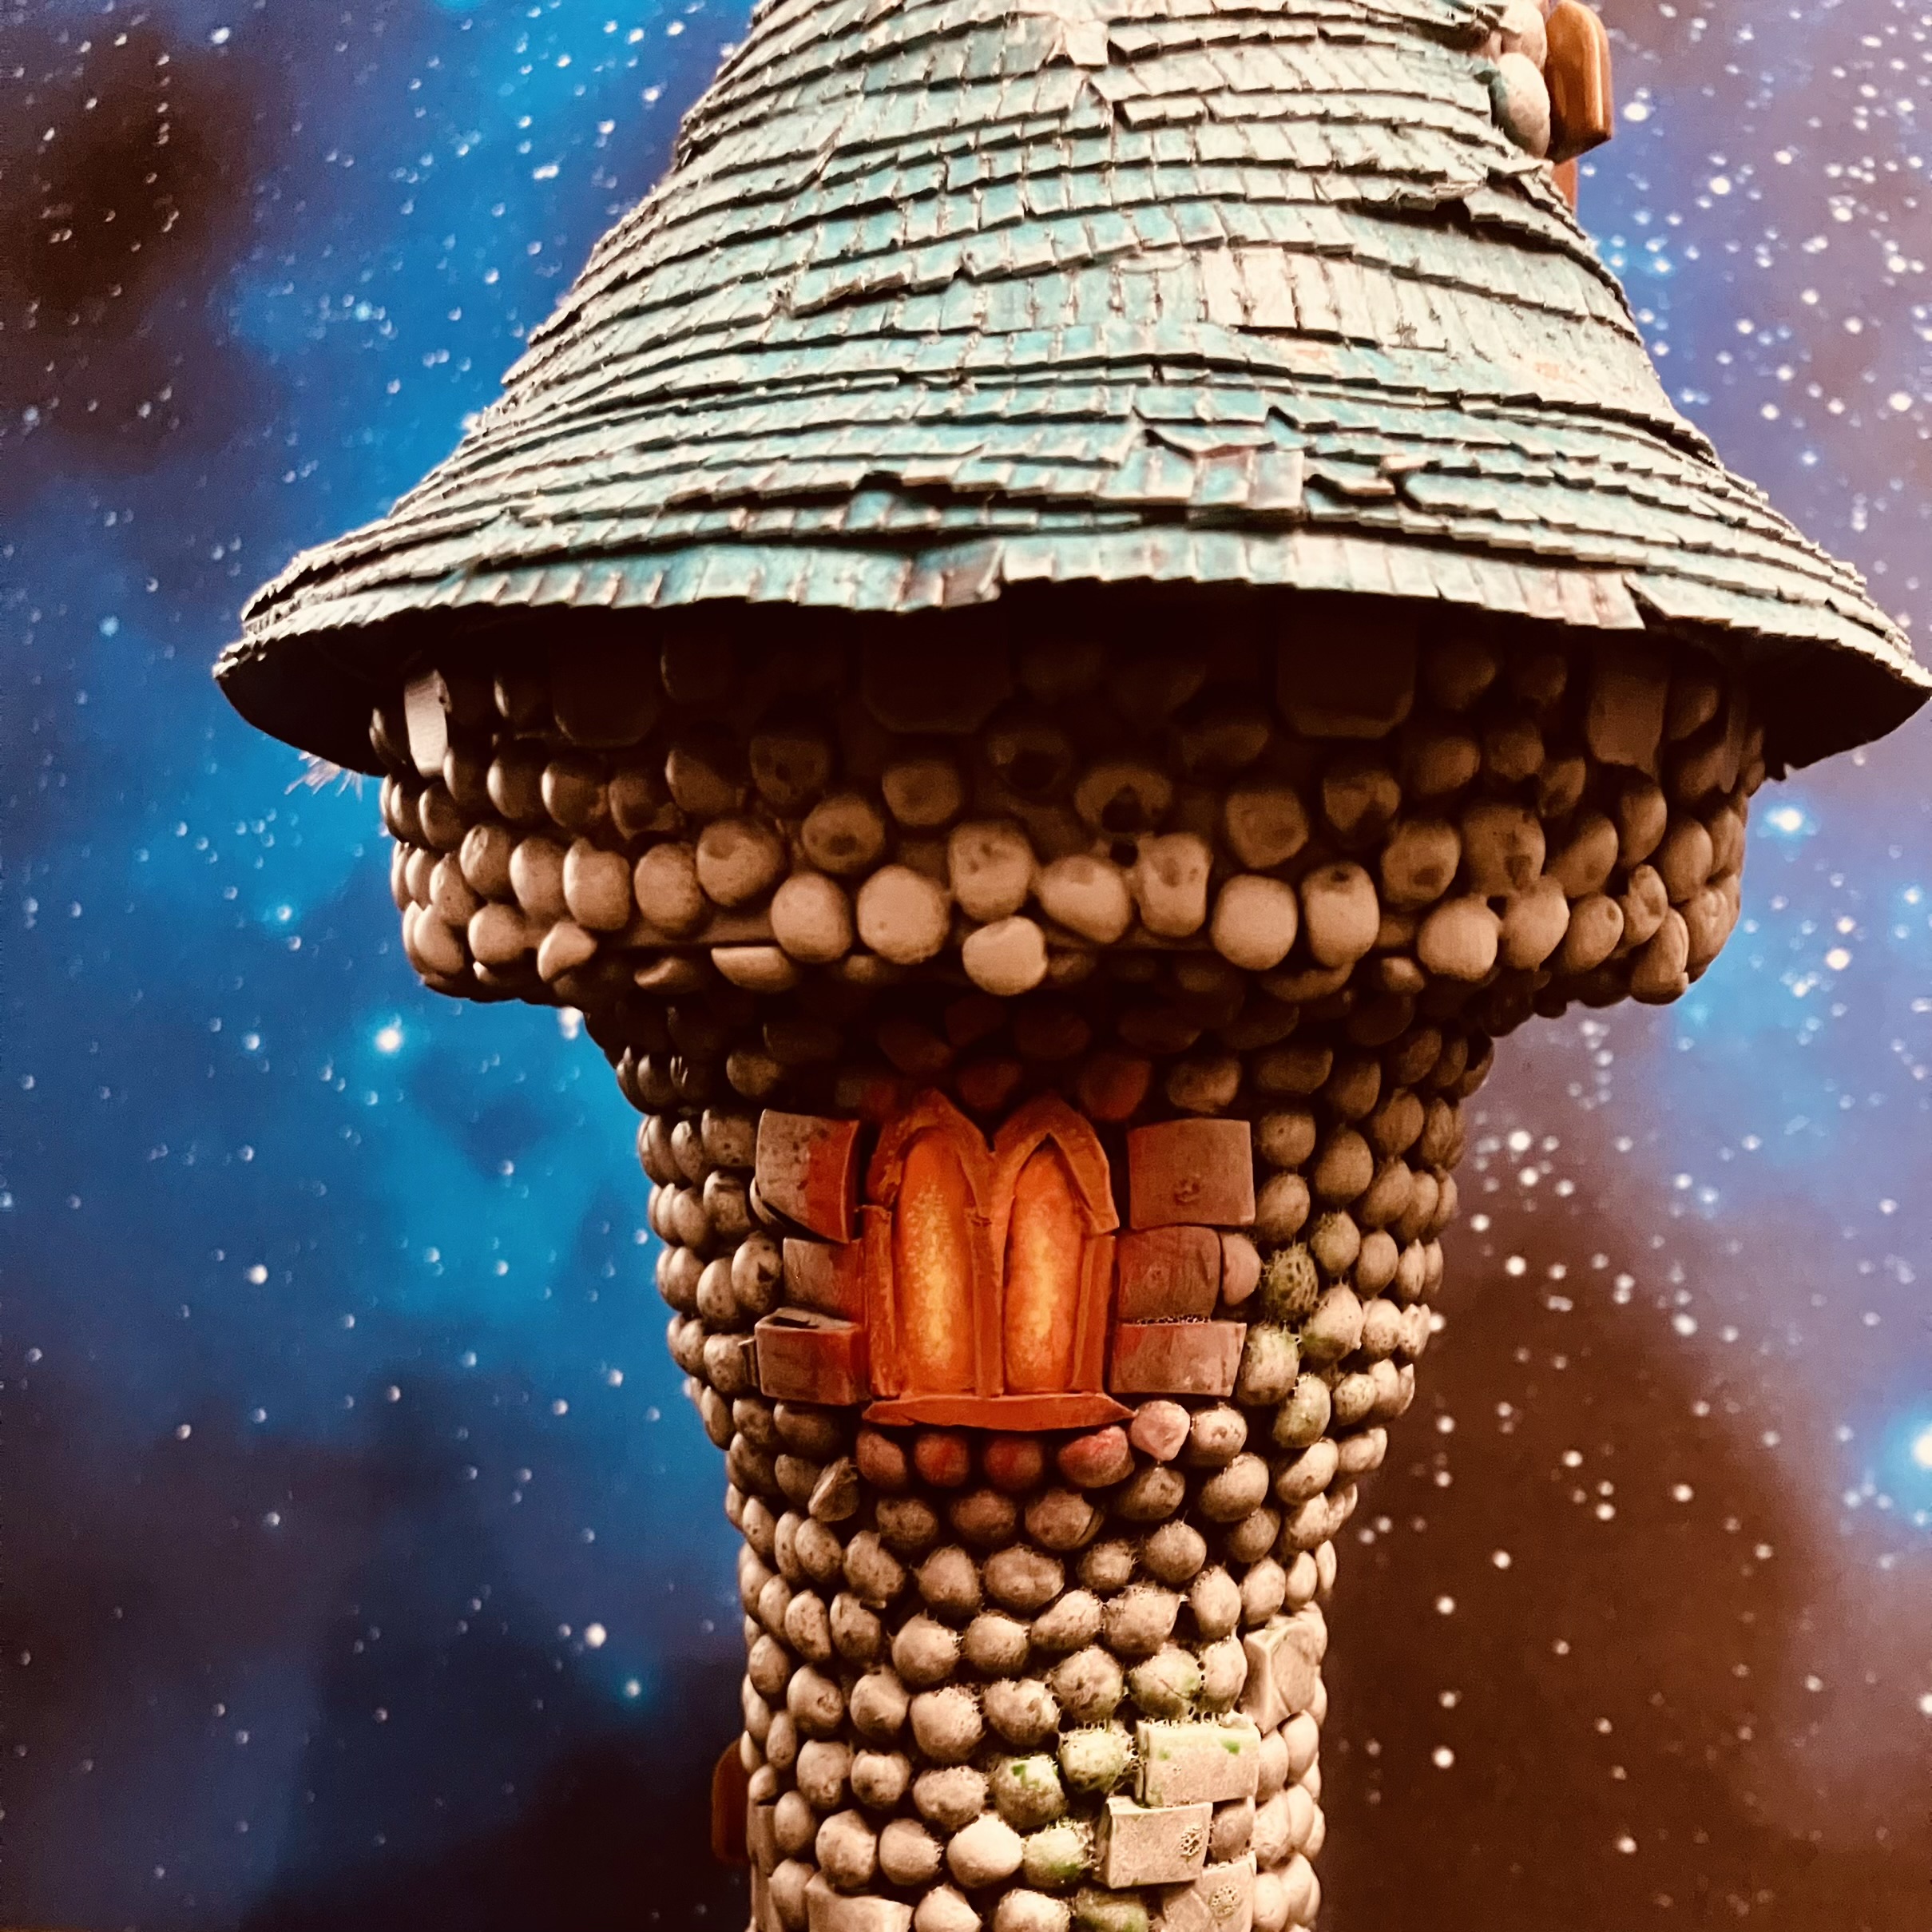
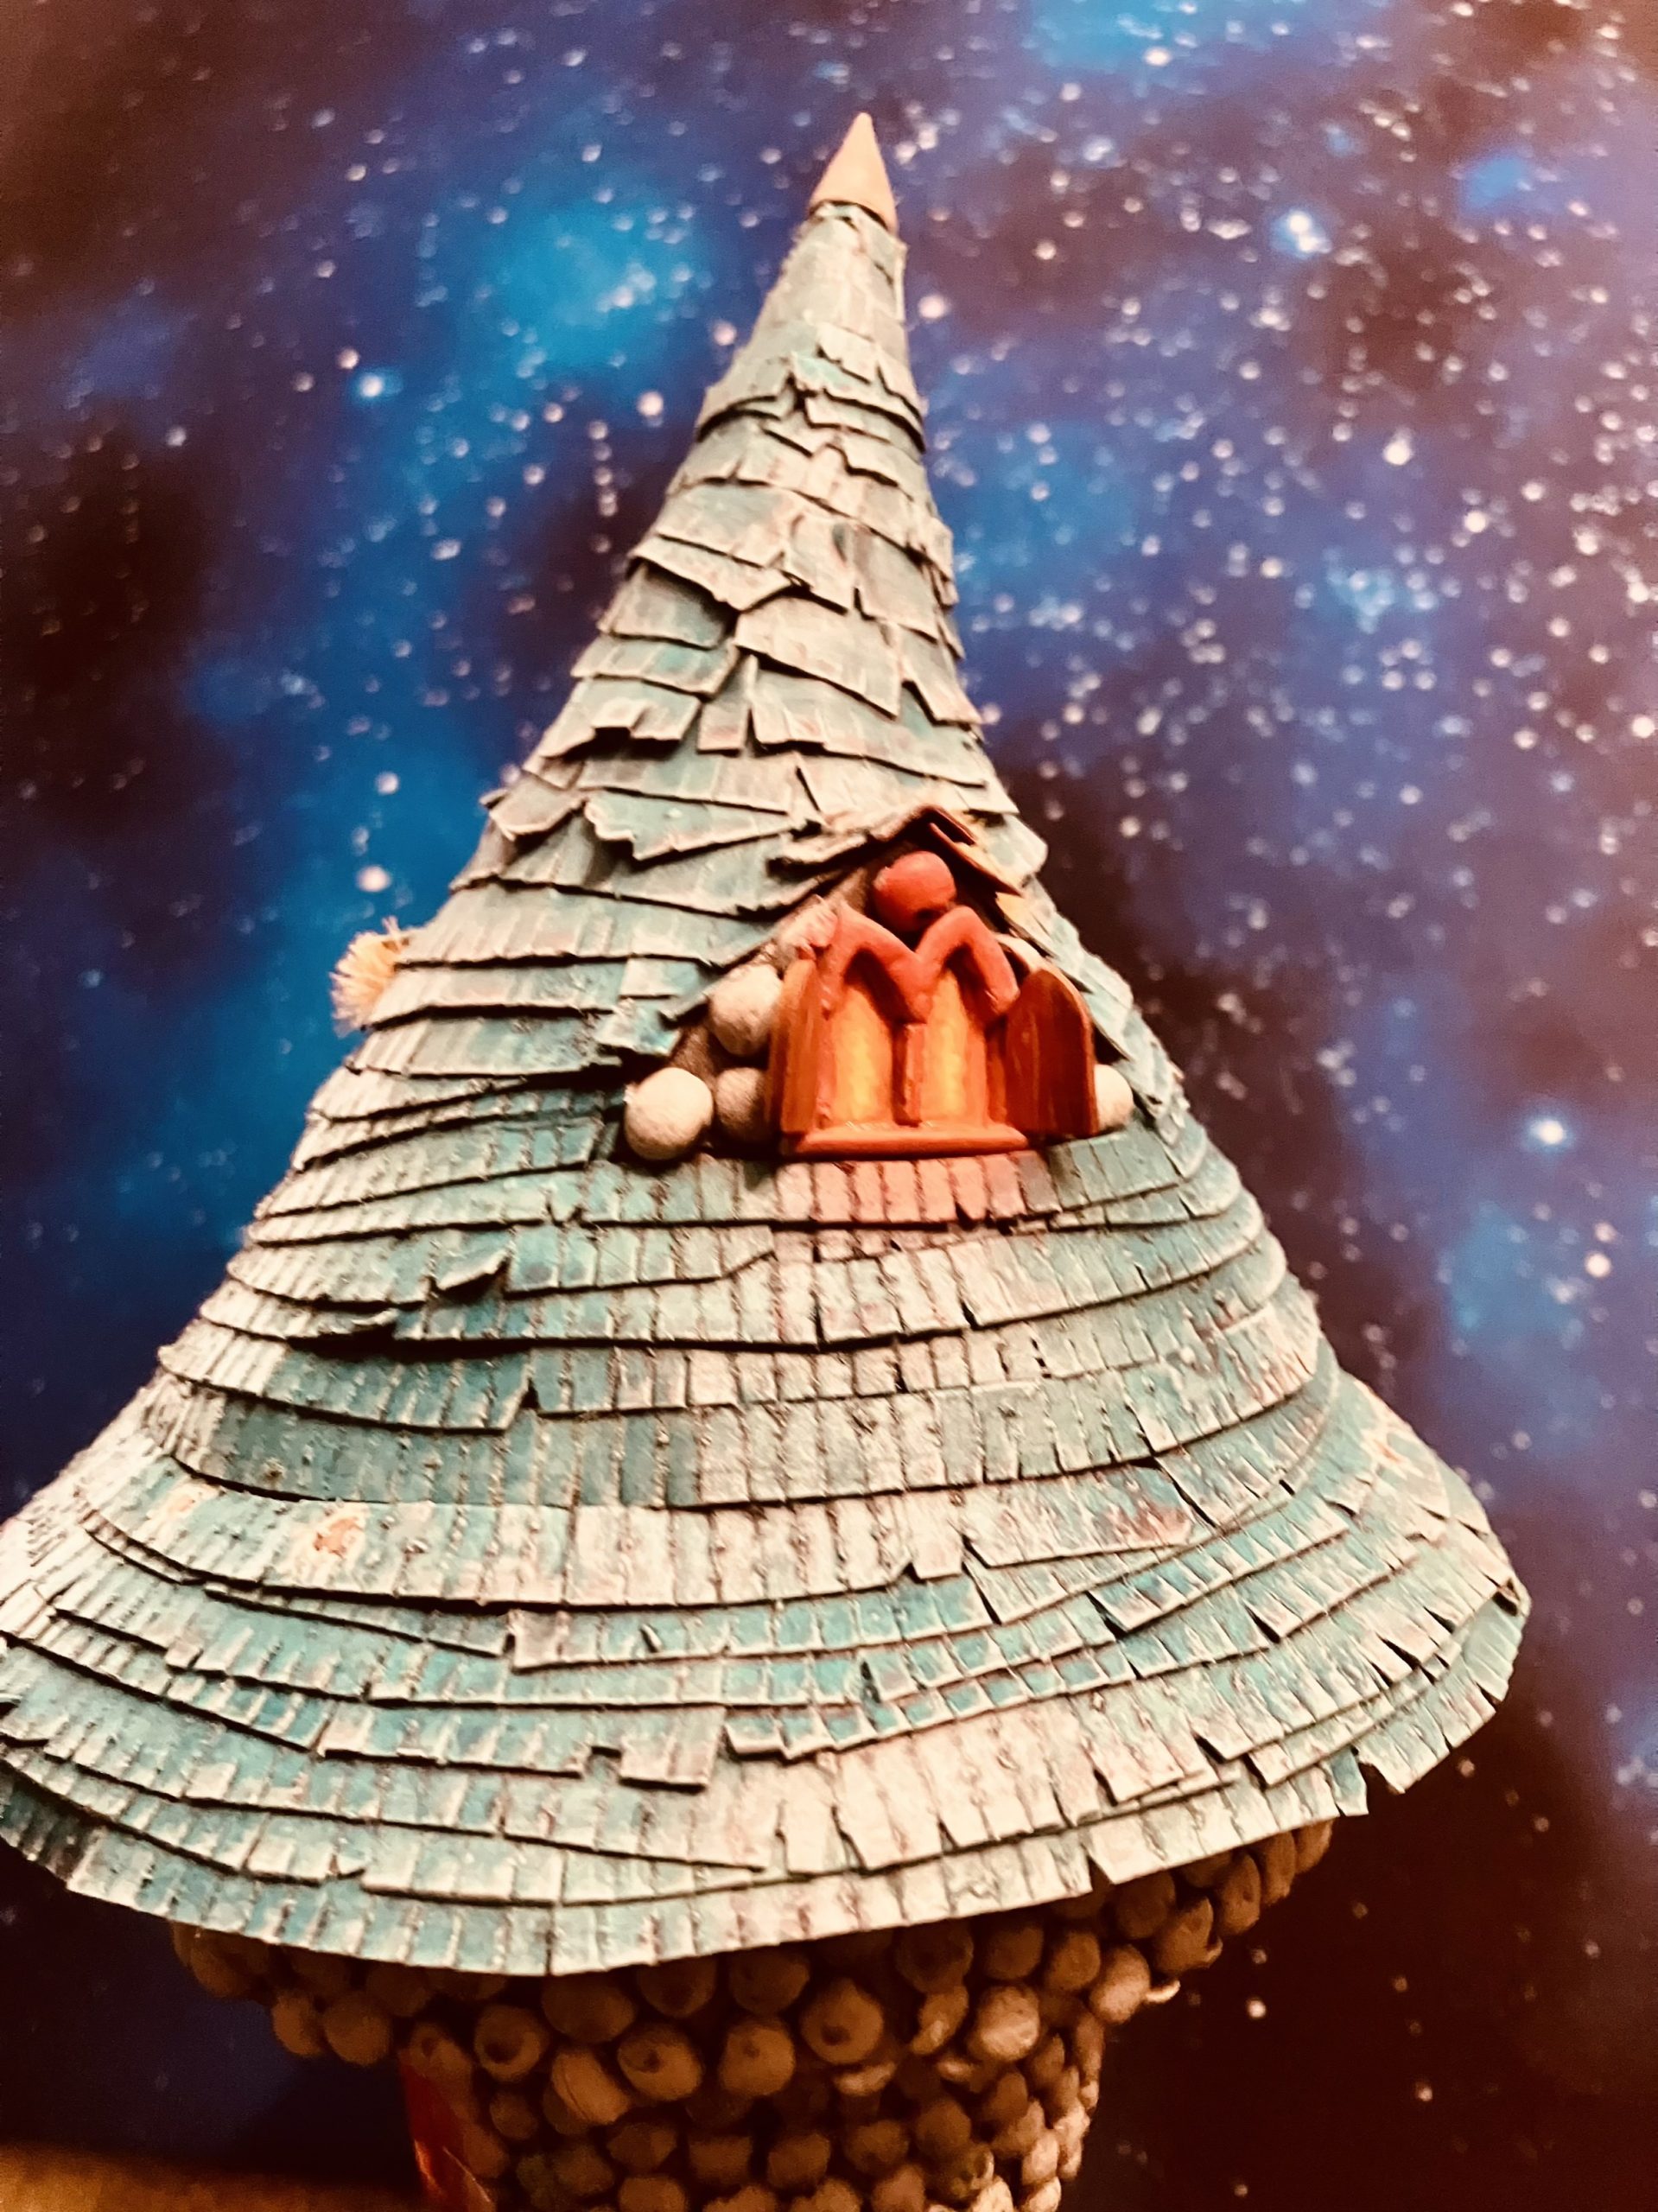
Using plenty of washes, drybrushing here’s some colours going down. The roof has been done with a teal green and then drybrushed up.
I’ve done some simple lighting effect on the window using a drybrush of red and then orange and yellow on the window itself.