


75th Anniversary of Battle of Monte Cassino and Northern Italy (Army Build)


Recommendations: 529
About the Project
This is the parallel project to my Terrain build for the Monte Cassino and Northern Italy. Here I will be painting up the miniatures to represent some of the troops that fought in the battles.
Related Game: Flames of War: The World War II Miniatures Game
Related Company: Battlefront Miniatures
Related Genre: Historical
This Project is Active
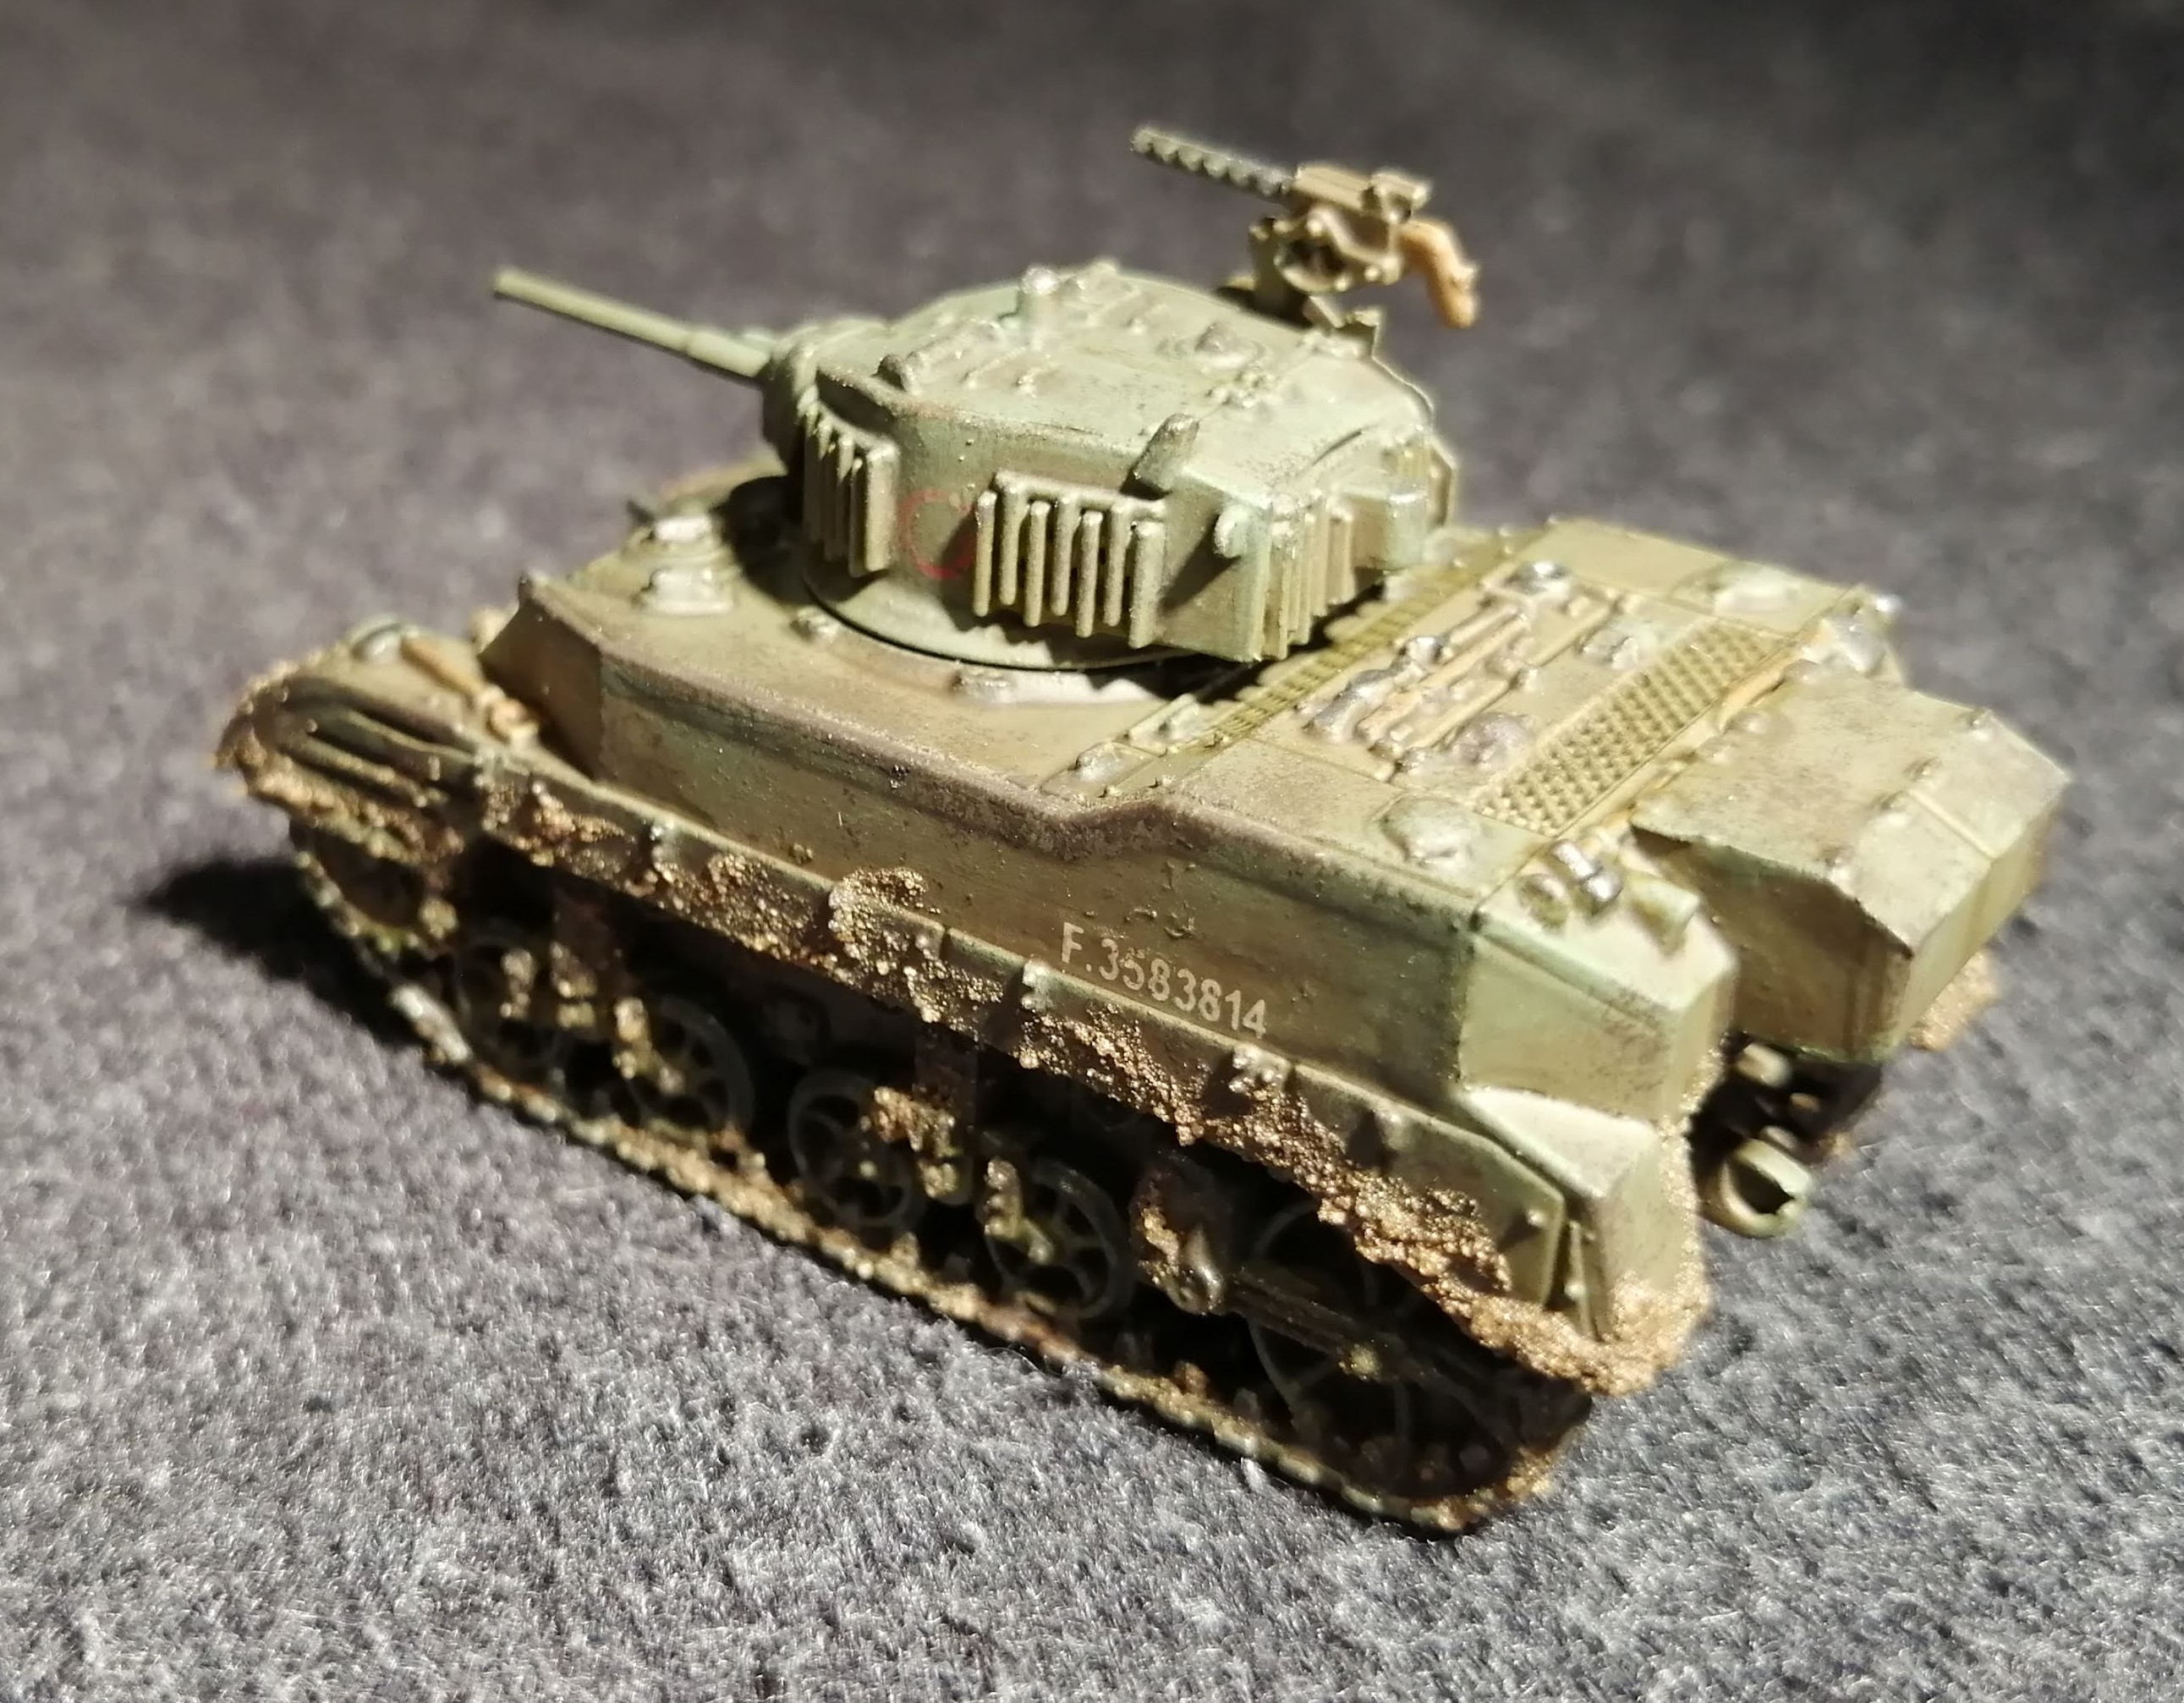
Alllied Support - Humbers and Stuarts - Finishing them off
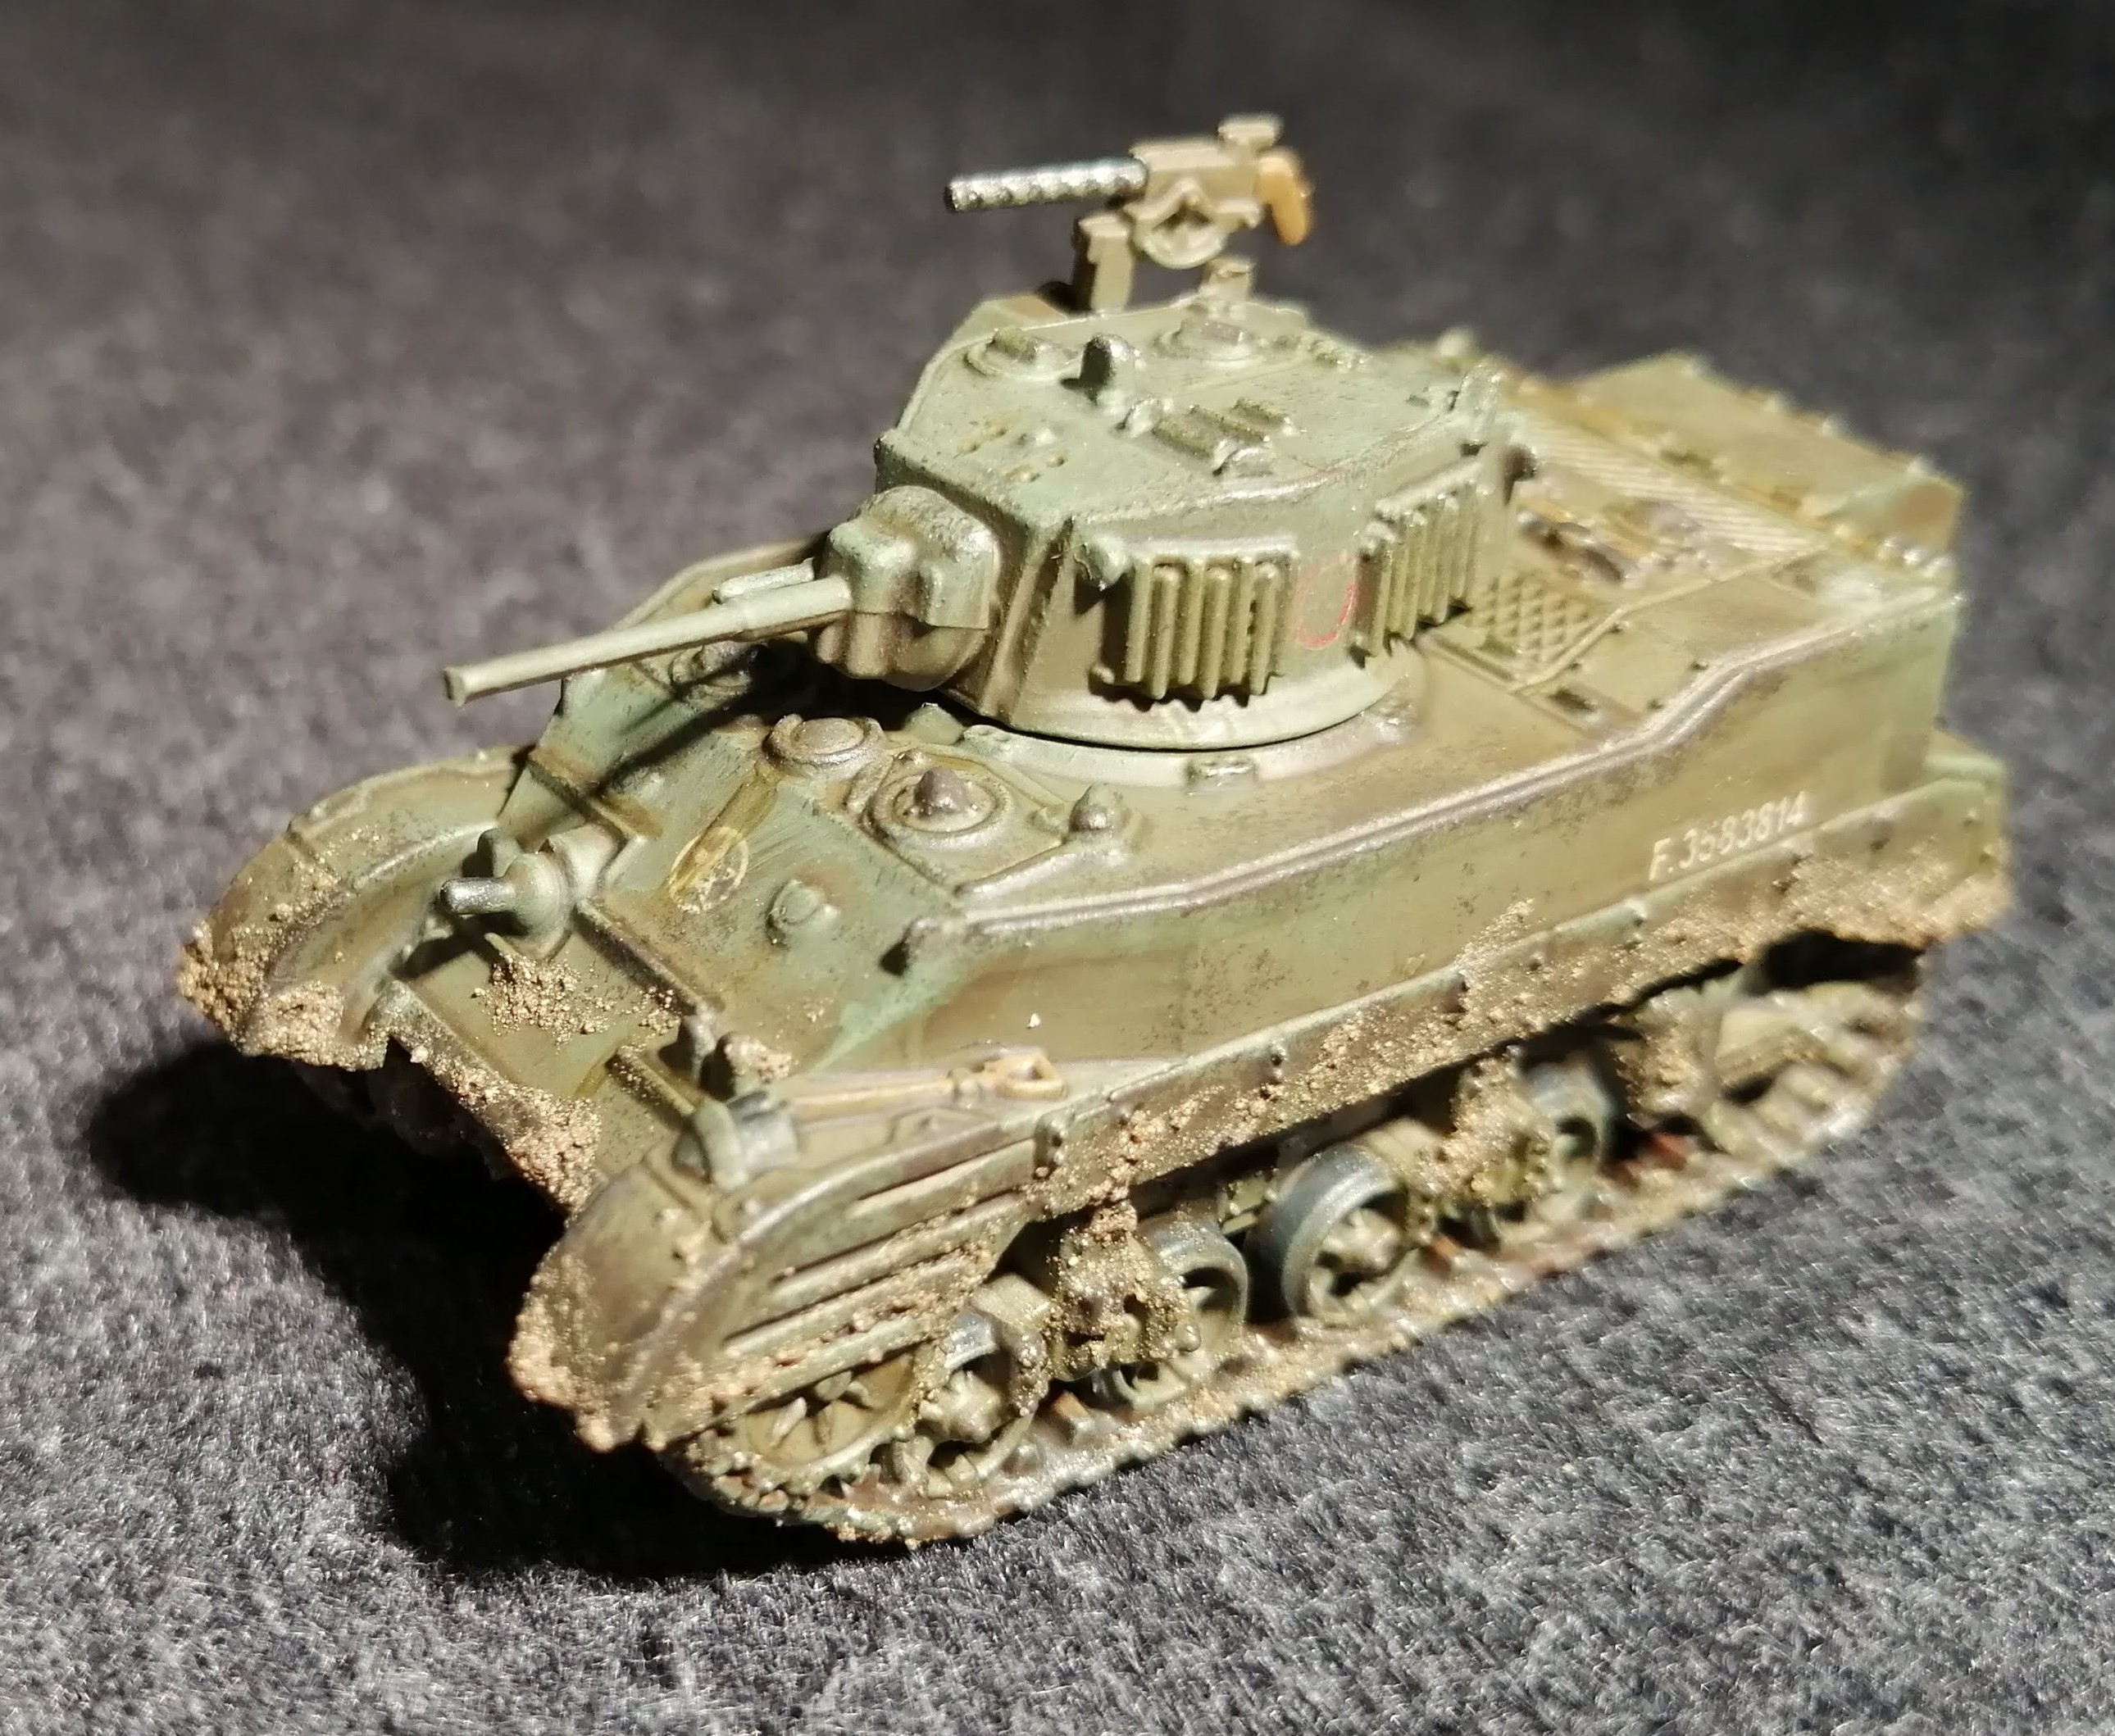
With the dip applied and dry, I’ve been over everything with a matt varnish. I find the dip looks awful while shiny and you can’t see very well what you are working with until the shine has gone.
I’ve gone over the wooden handles etc again as well as dry brushing the tracks with a light gunmetal. This just helps pick out all of the detail.
I’m looking to weather these down so have taken a brown wash and applied a light wash in places more likely to be grimy as well as adding some water marks.
I’ve chipped the tanks up in the usual way. A small bit of sponge dipped in a dark brown and applied over the places where chips are most likely to occur. I’ve then gone over with gunmetal but lighter and less frequent.
To apply the mud, I have some high quality Sussex clay soil from my back garden. This is dried out and crushed down to a fine powder. I mix this with PVA and then with a very fine brush, dab on blobs where mud would collect. The PVA dries away to leave the mud behind in little clumps. At 15mm, this looks pretty good.
I’ve finally gone over with another matt varnish to seal everything in. And all done!
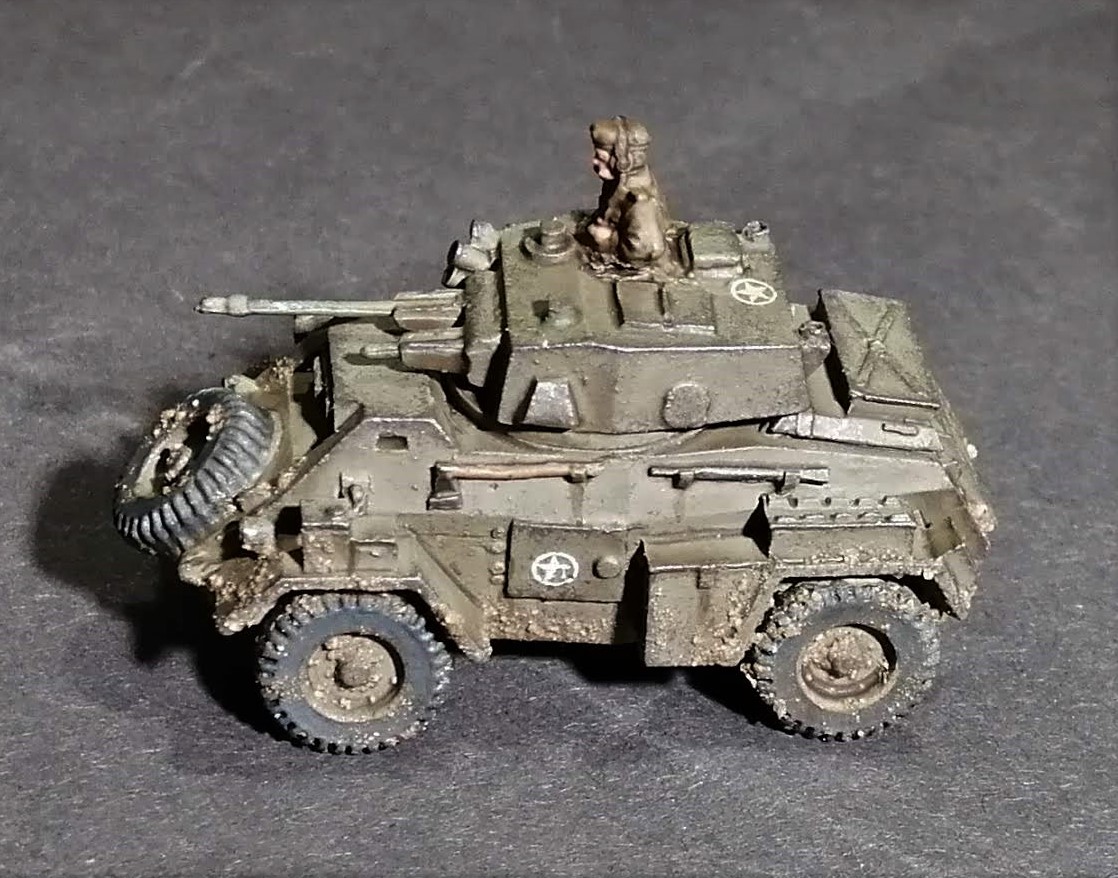

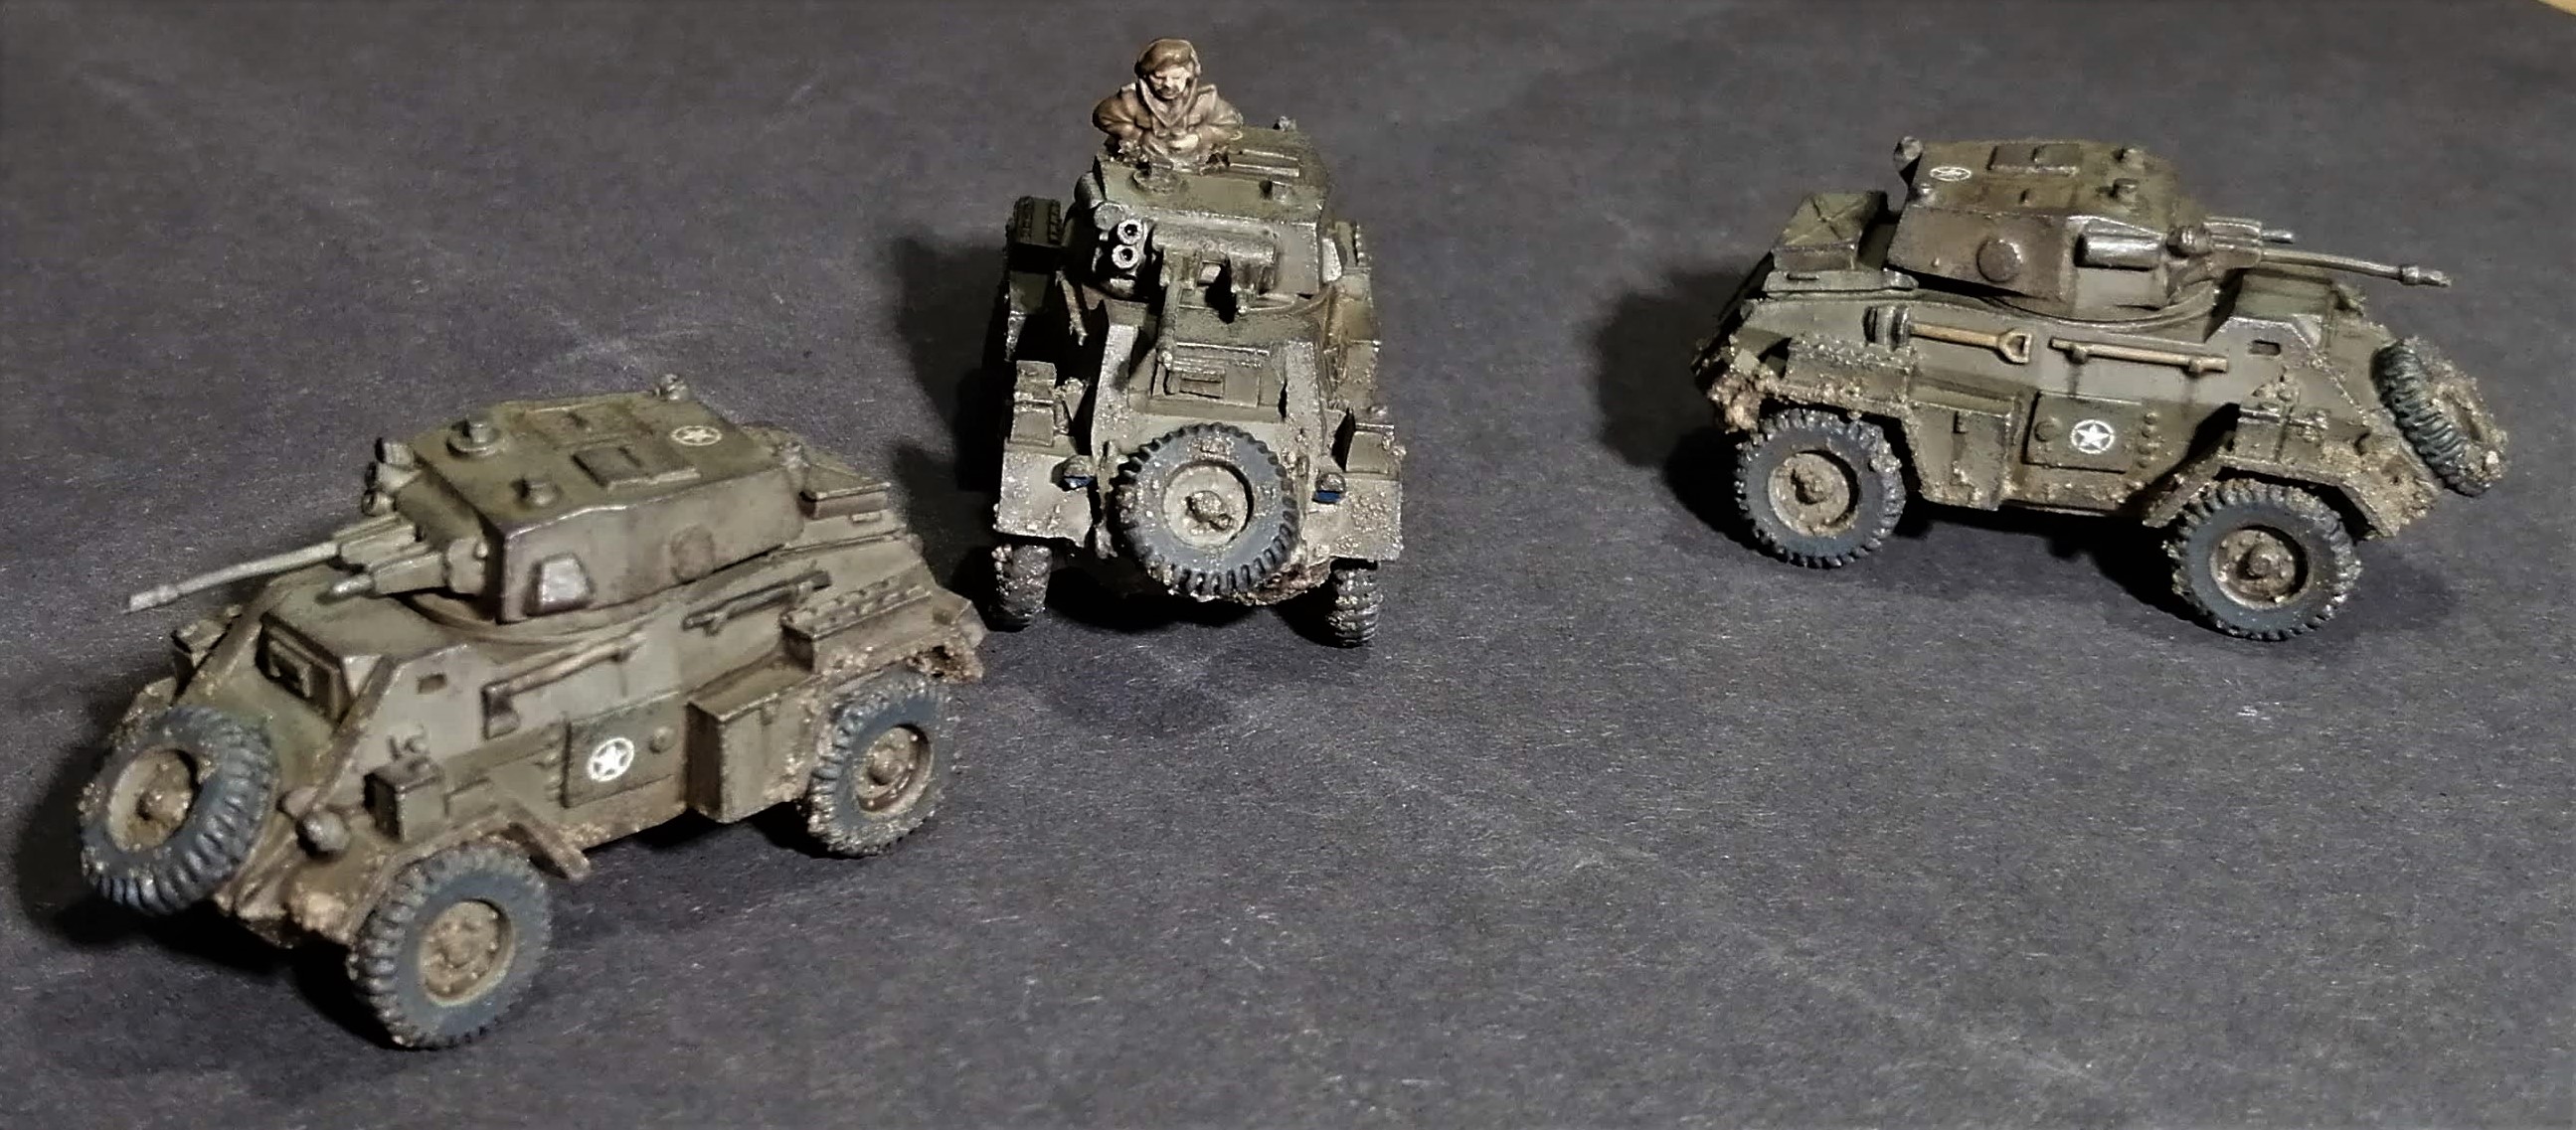
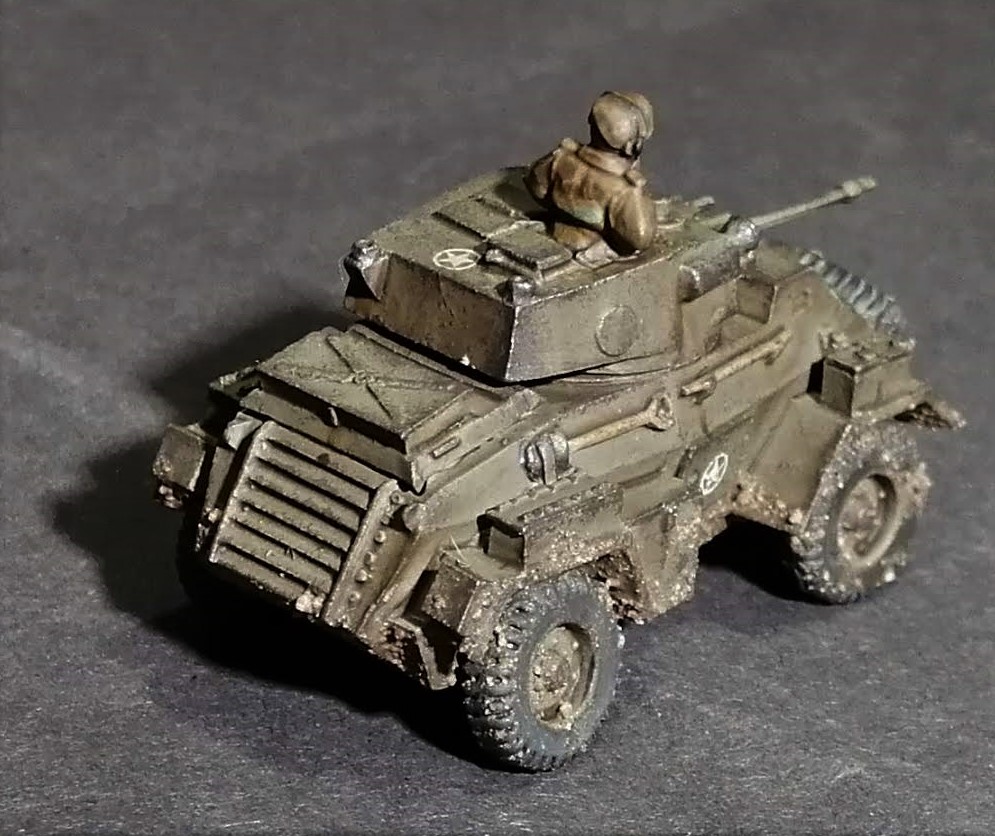
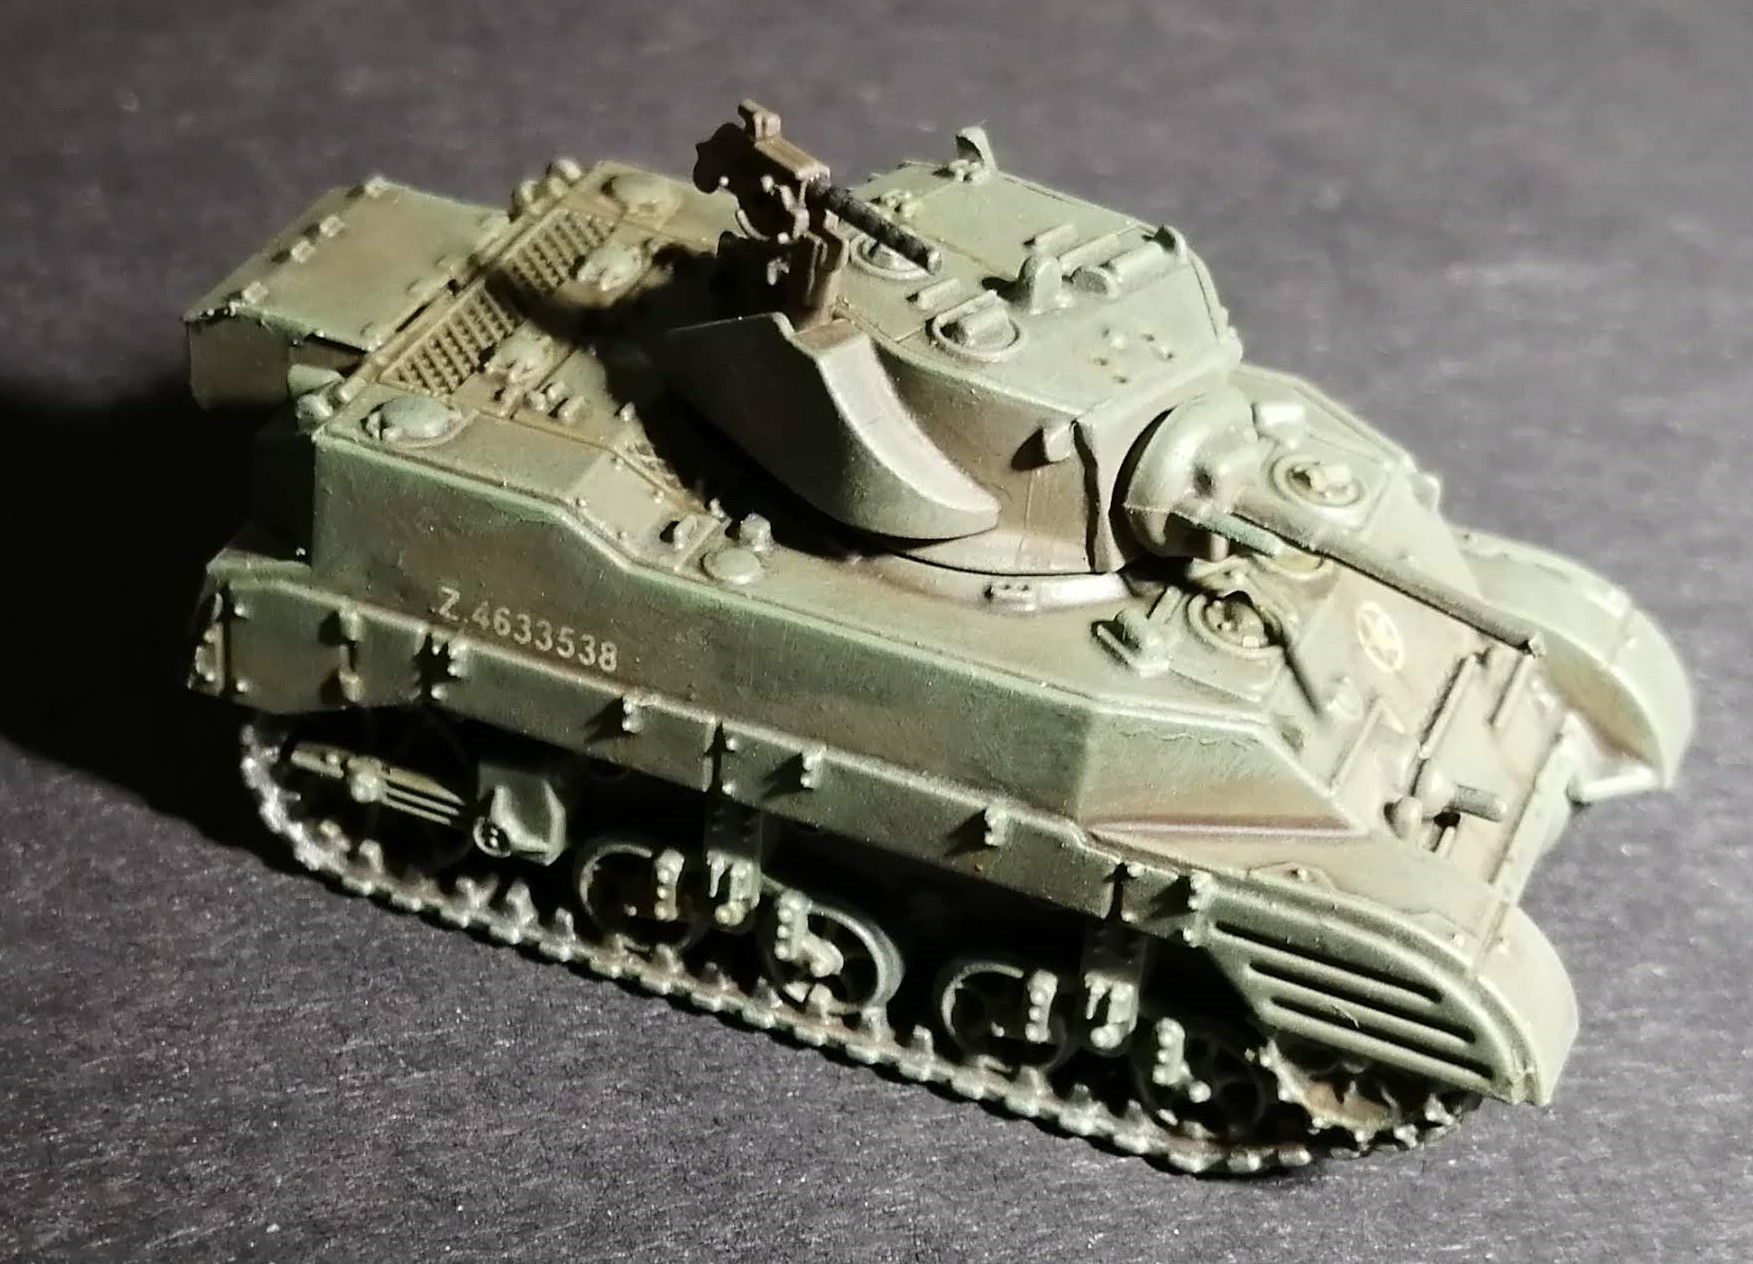
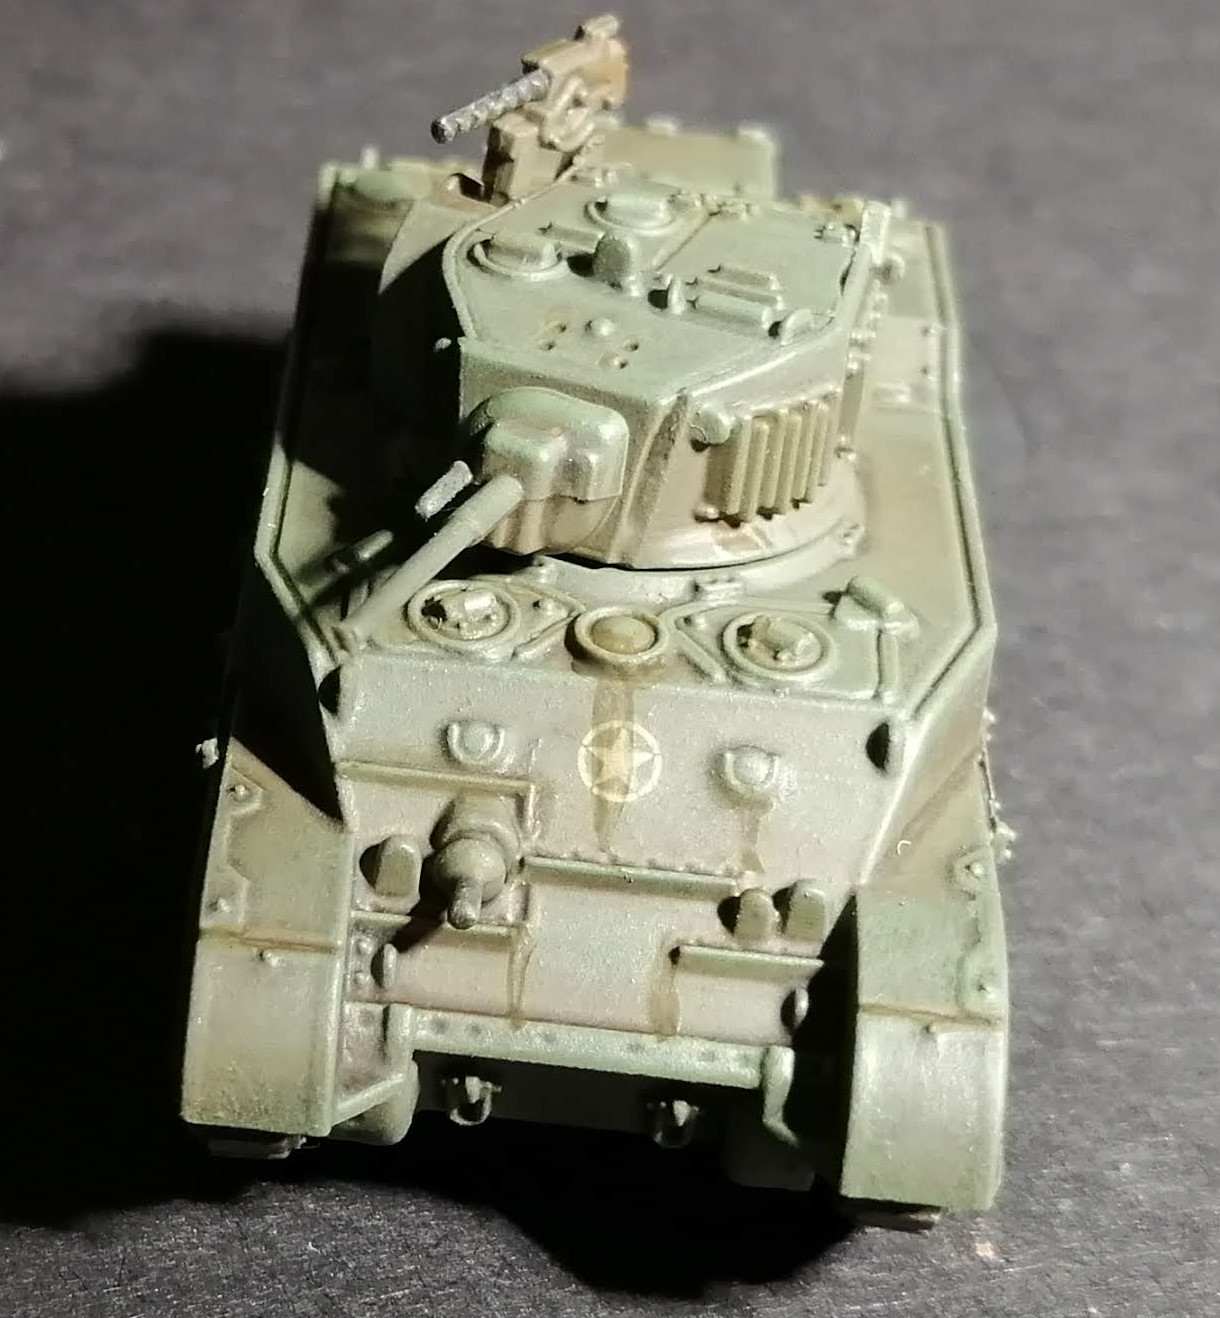
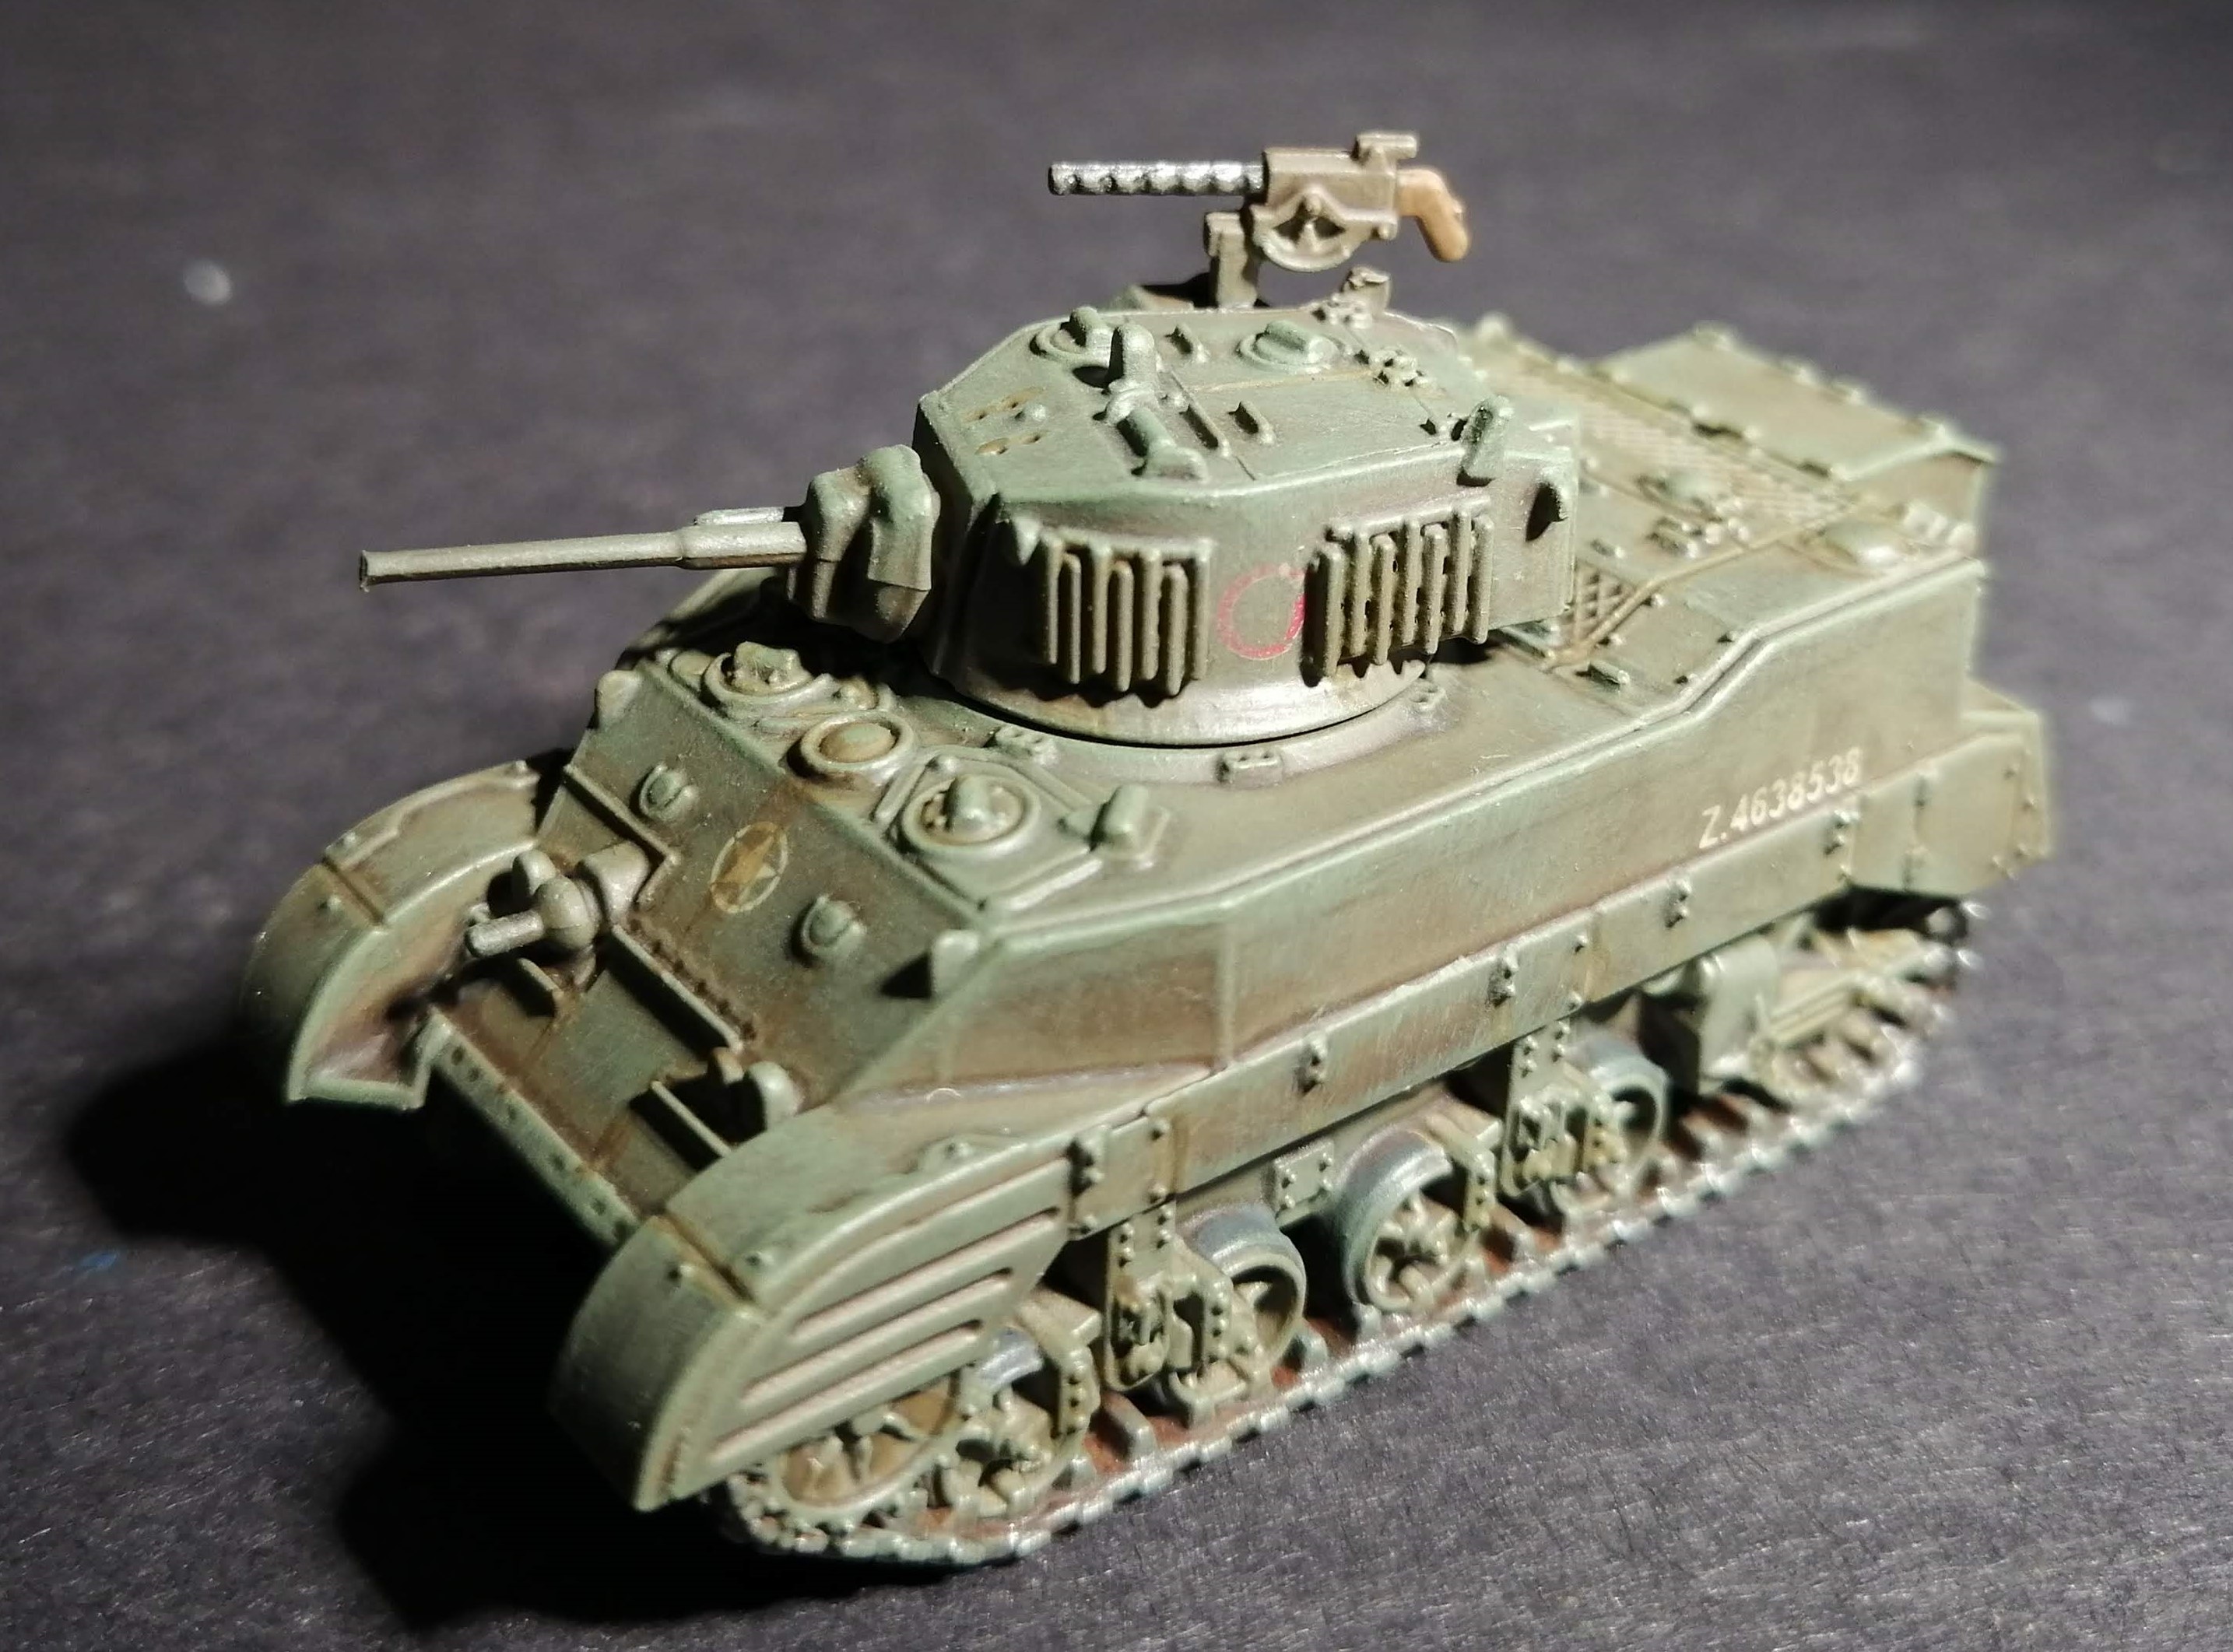
Allied Support - Humbers and Stuarts
So I’ve painted up plenty of German toys, time to add to the Allied arsenal. I don’t have any scouting units to deploy so now seems like a good time to do it. I’ve been shot plenty of times by Stuart’s in World of Tanks, so they must be good 🙂 and I do like the Humber IV Scout Car.
So I’ve picked up the PSC Stuart boxed set and the Humber boxed set from Battlefront.
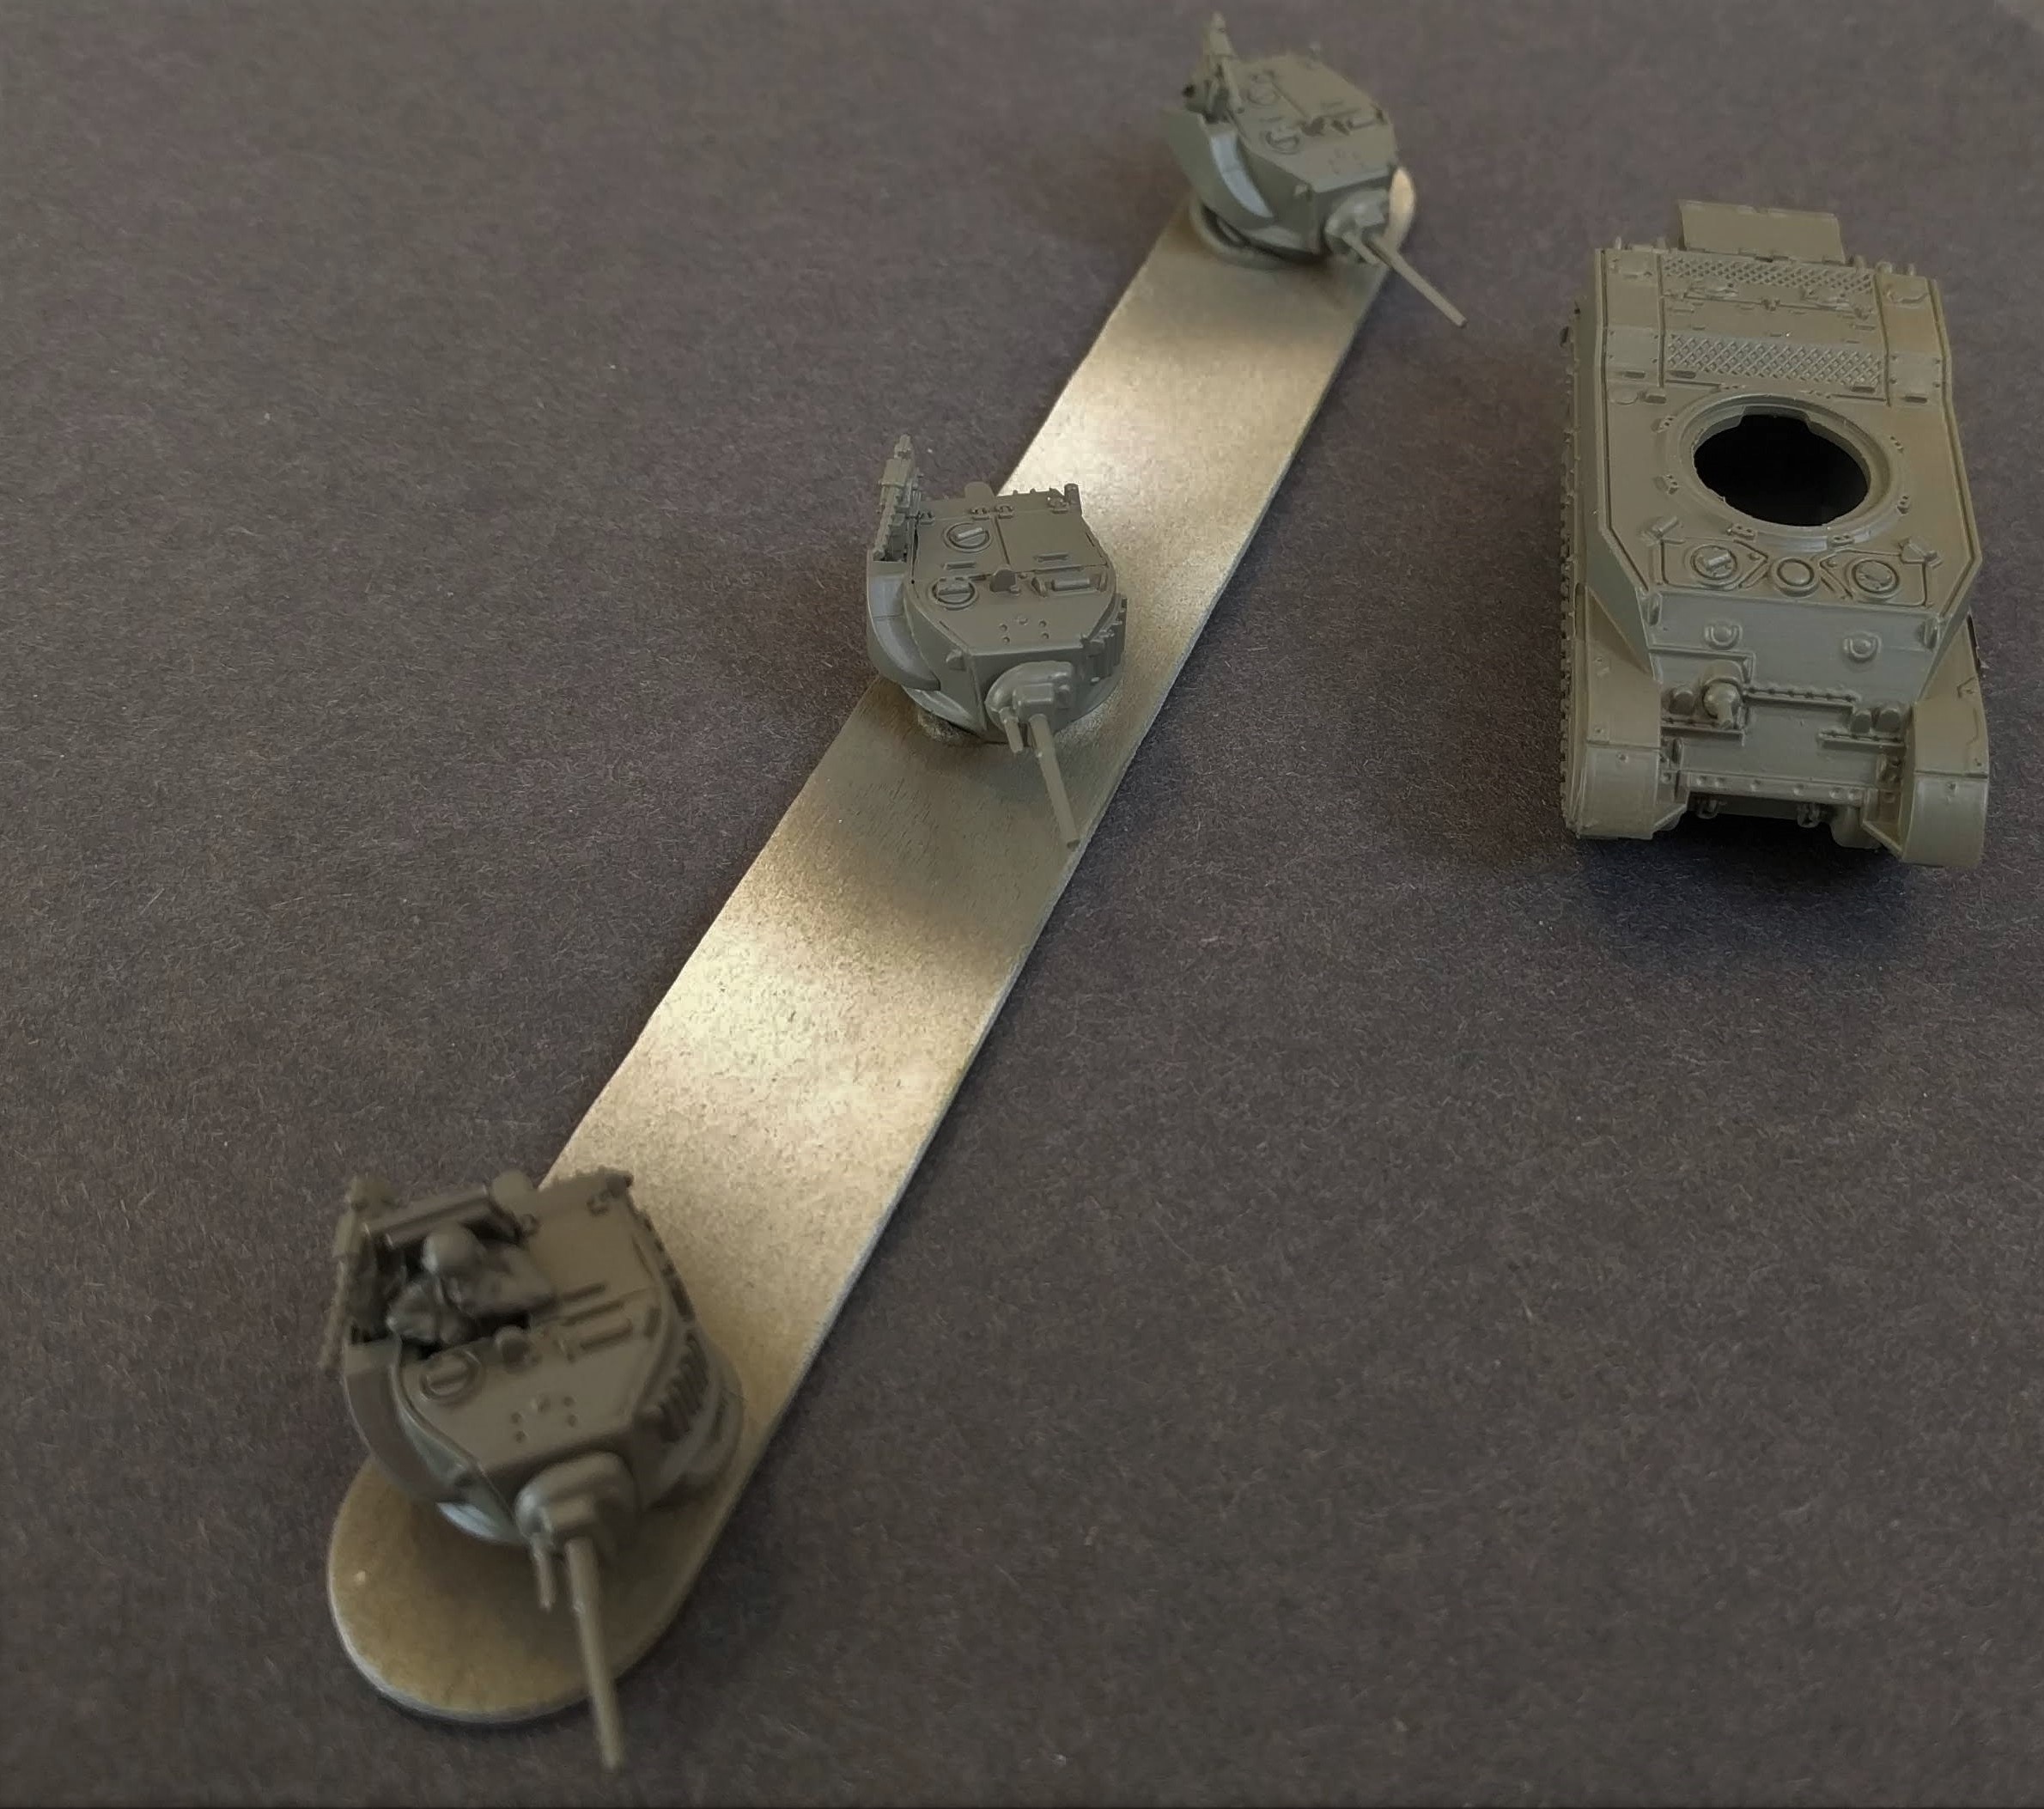
The Humbers are a resin body with metal parts, not my favourite mix but as it was just the wheels, hatch and gun in metal, it wasn’t a big deal. I just used some green stuff to make sure there was a good contact area between the metal and resin.
The plastic Stuarts went together very easily and both vehicles have a good level of detail.
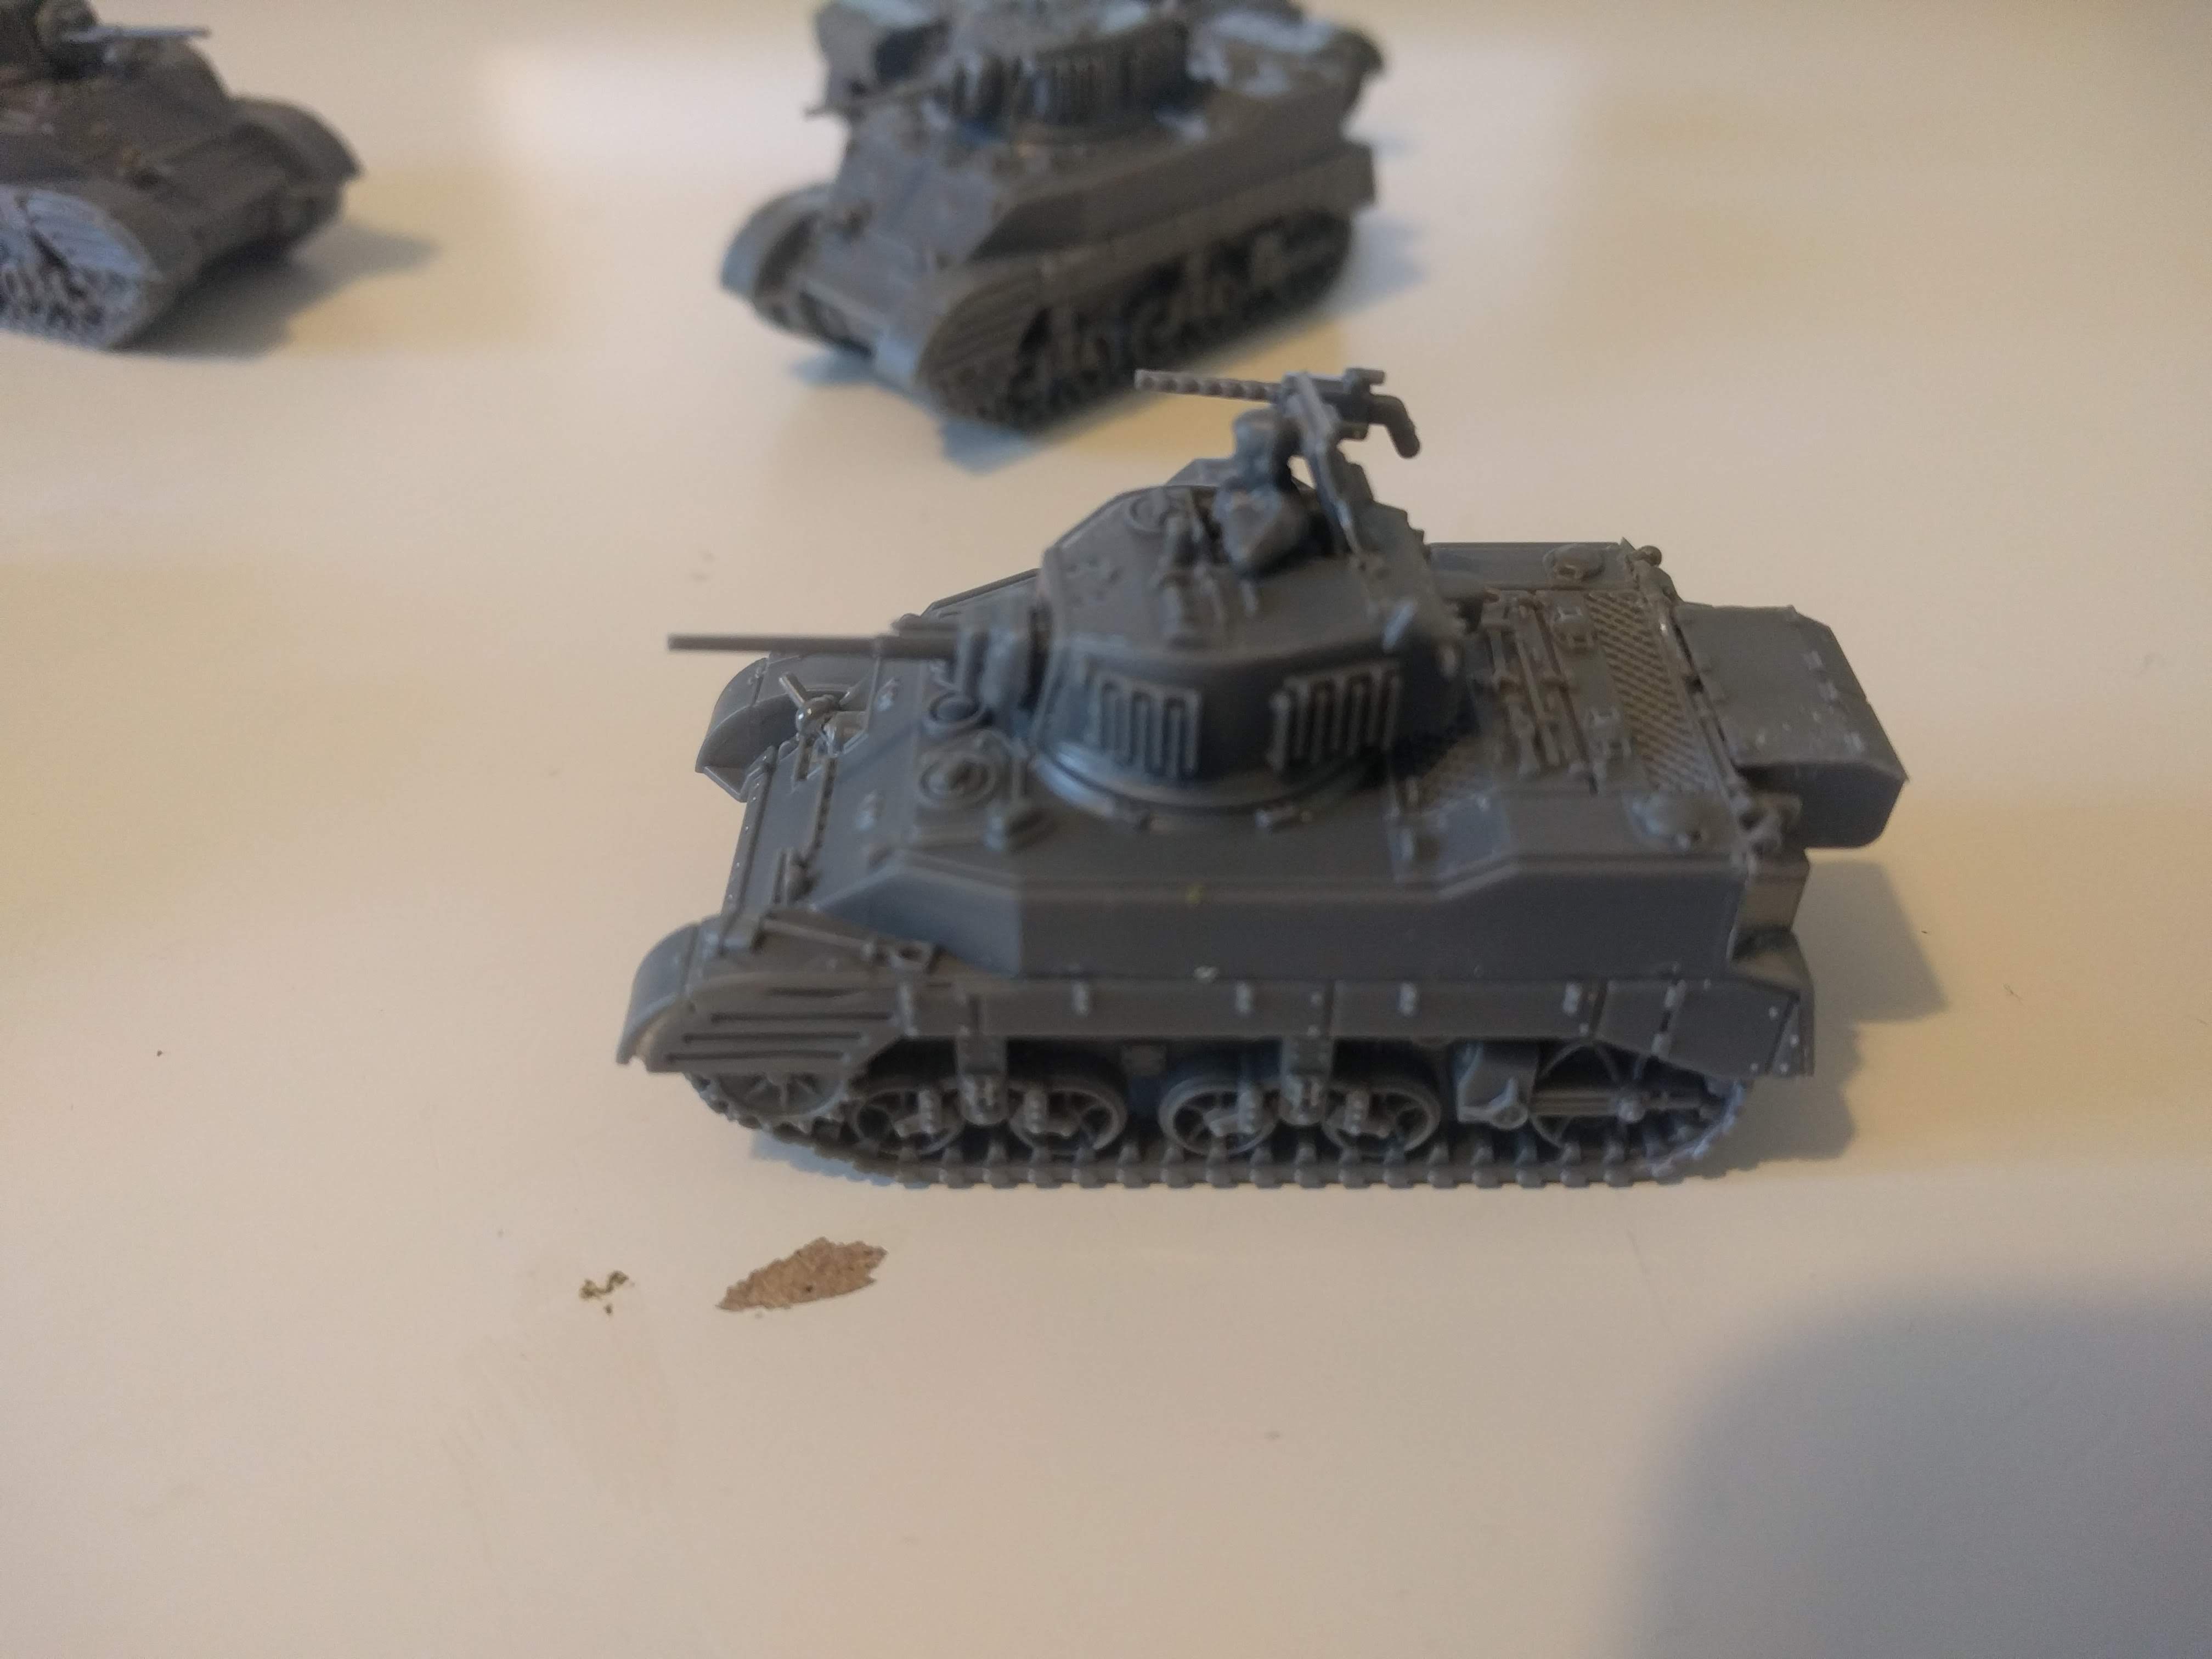
I’ve primed them with the Vallejo primer and then gone in with a Olive Drab.
Decals next. I’ve kept these simple, just some stars, British turret markings for the Stuarts and a serial number. All applied using decal set.
I’ve then given the commander a coat of British Battledress, black for any cables/headsets and barbarian flesh. Any tools have been painted flat earth for the wood and gunmetal for the metal areas. That pretty much covers the base colours – British tanks are far quicker to paint than German!

With the base colour down, I’ll now paint over these with the strong tone dip. This will provide the shading as well as locking down the decals under a varnish layer.
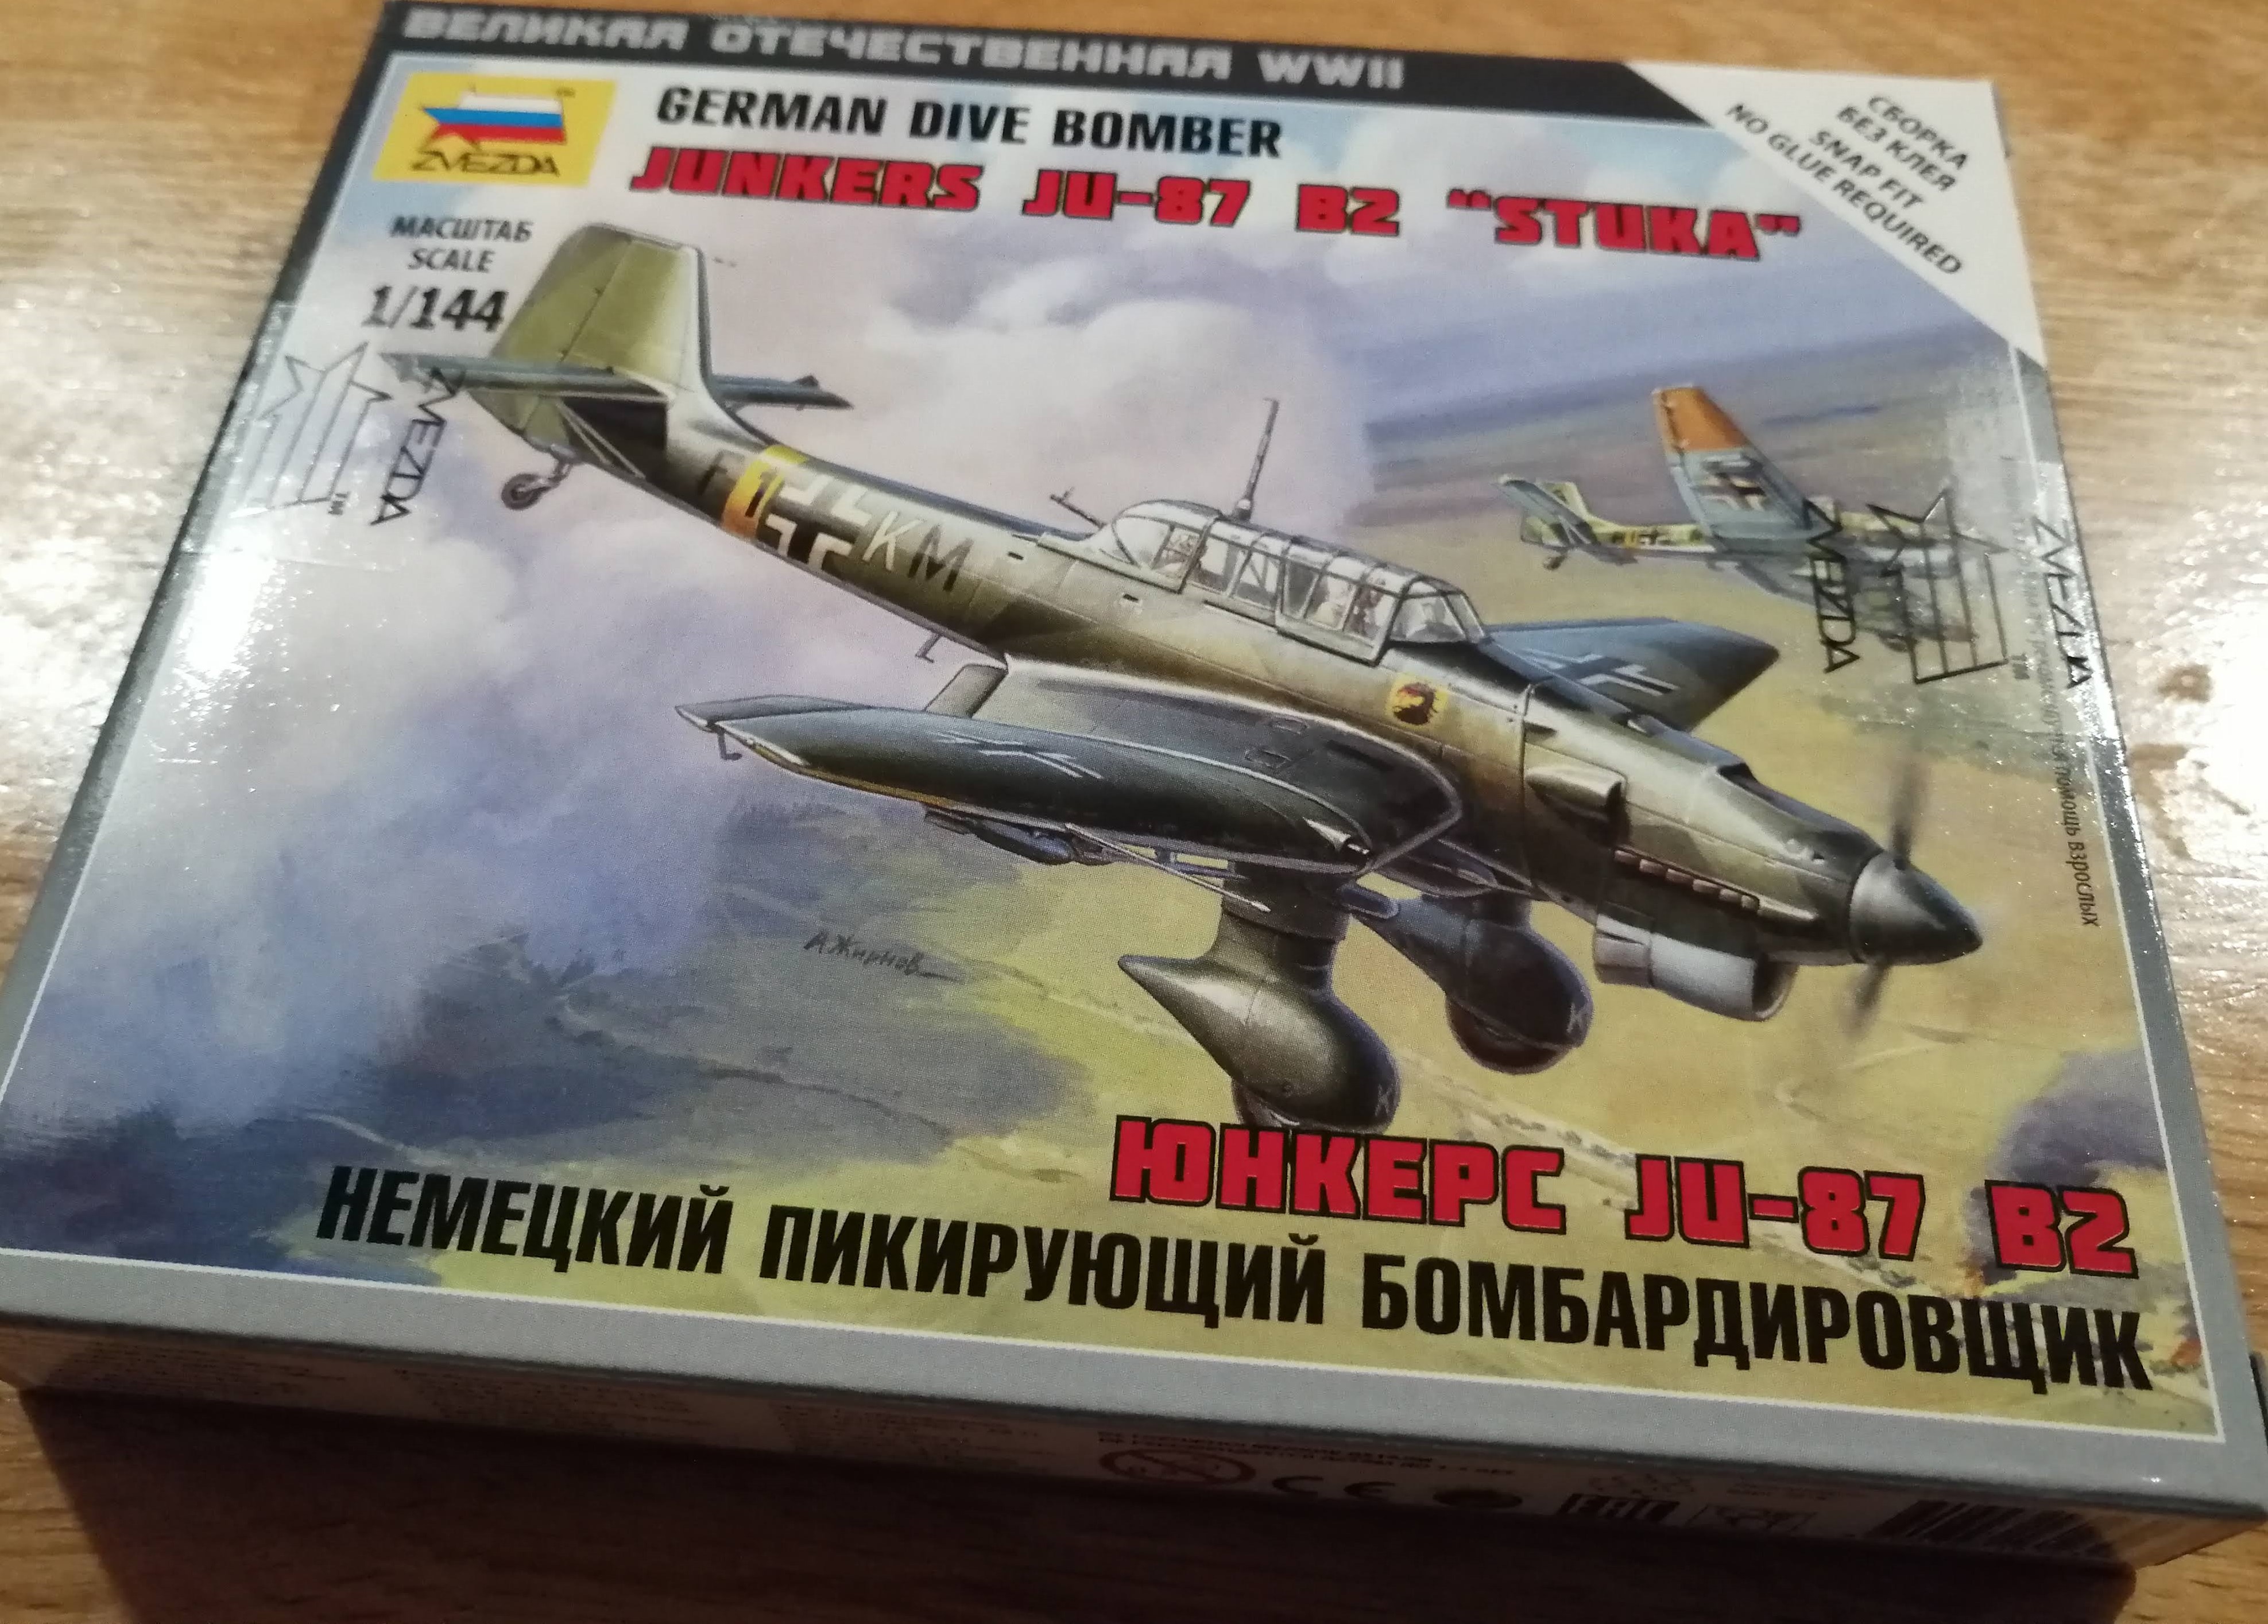
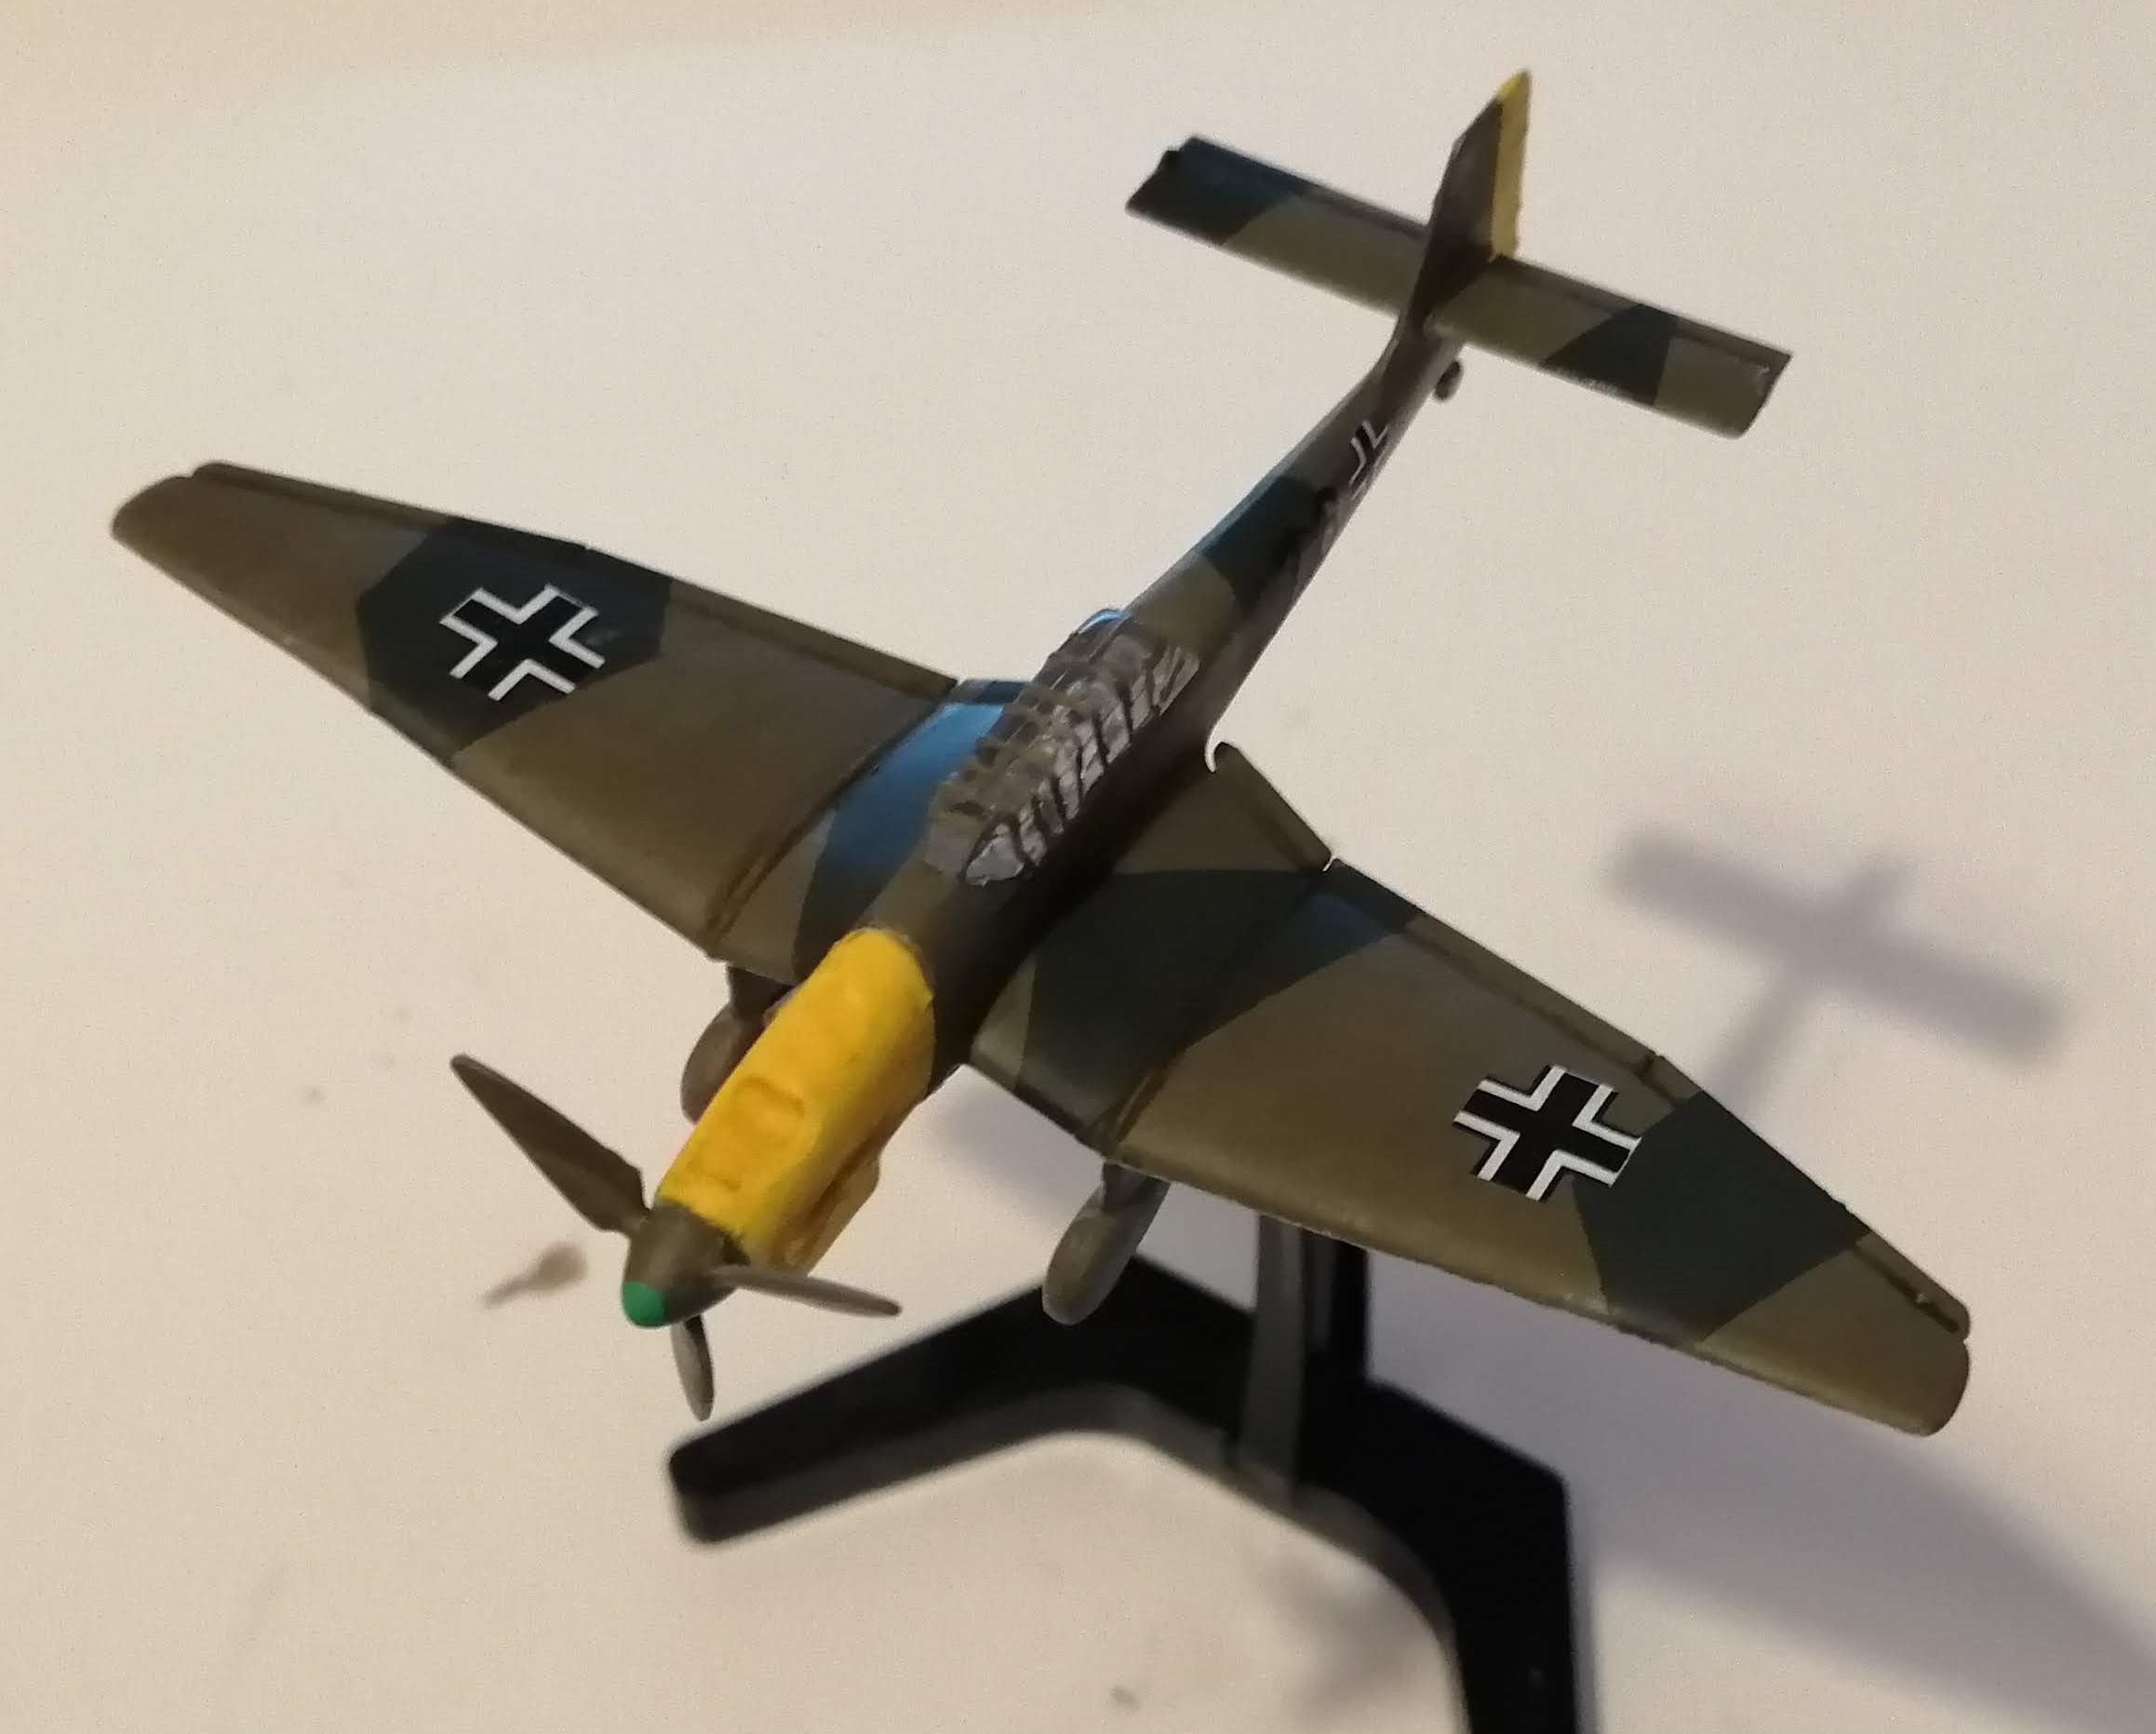
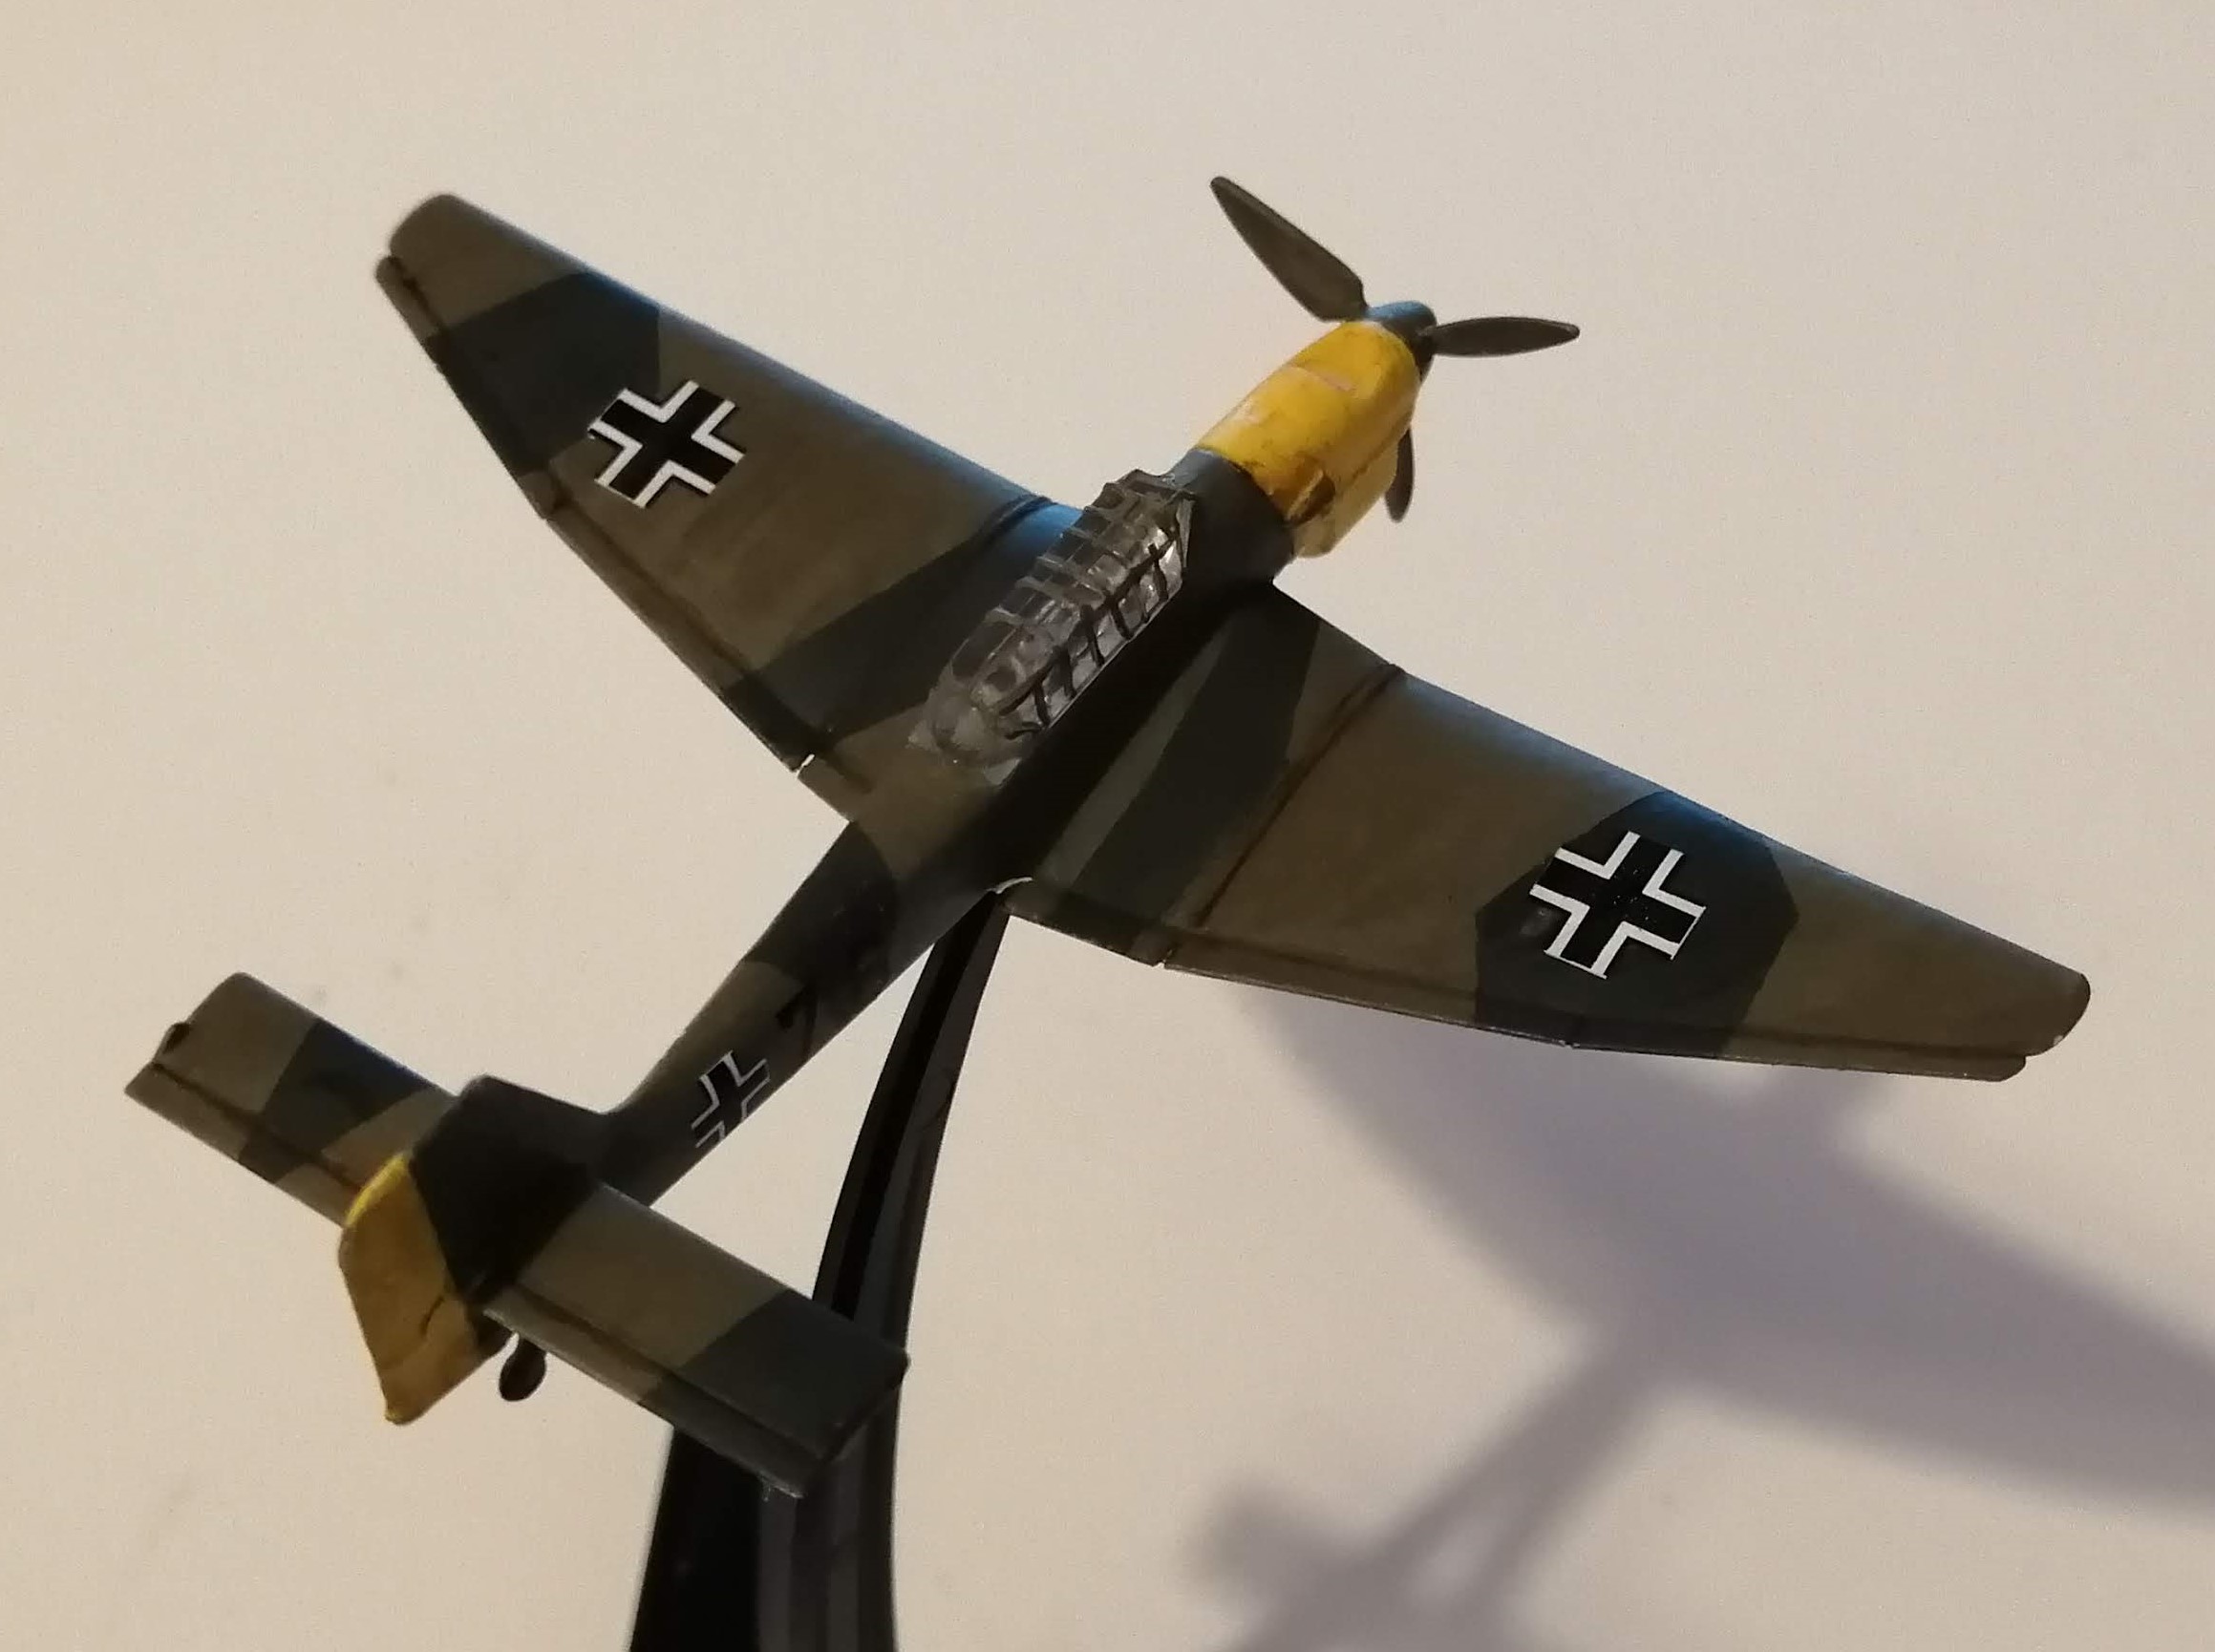
Junkers JU 87 - Start to finish
In my PSC box, I had ordered a Stuka. This is a simple project and as the planes don’t spend a lot of time on the table in FoW, I can spend less time on the painting. It’s a Zvezda kit and went together very easily and very quickly – it took perhaps 5 minutes to clip out, clean up and glue together!
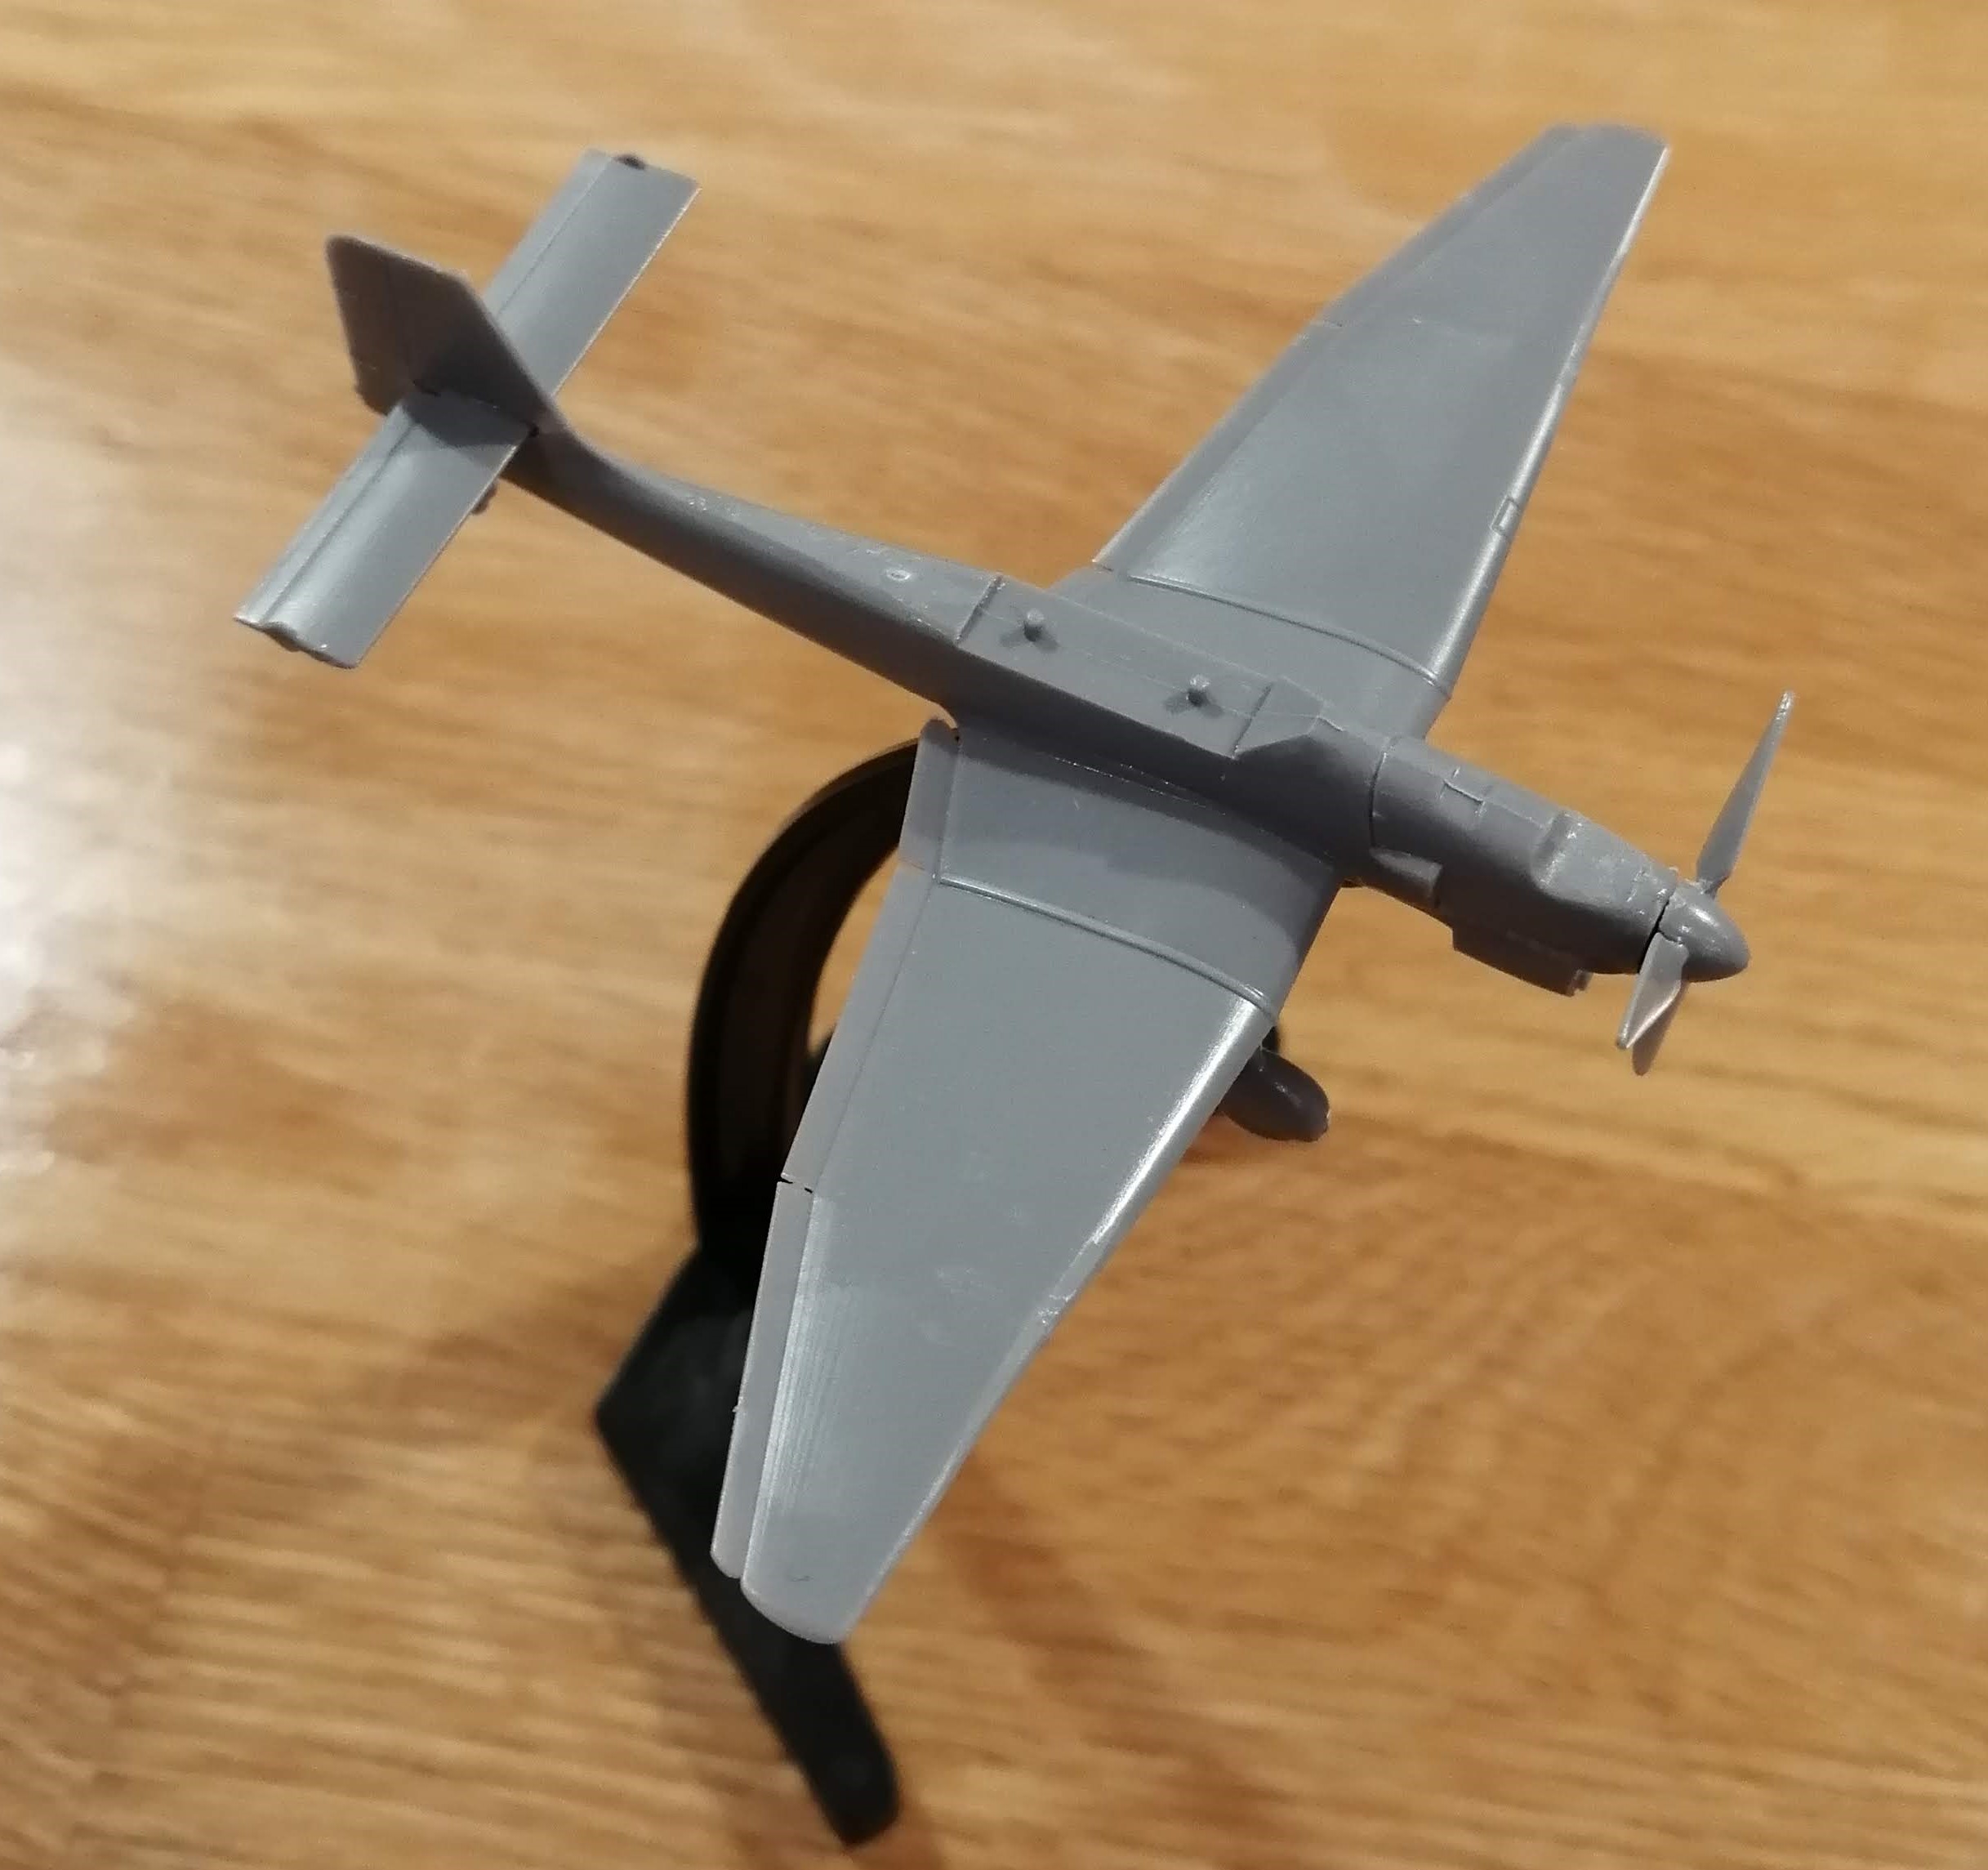 All built, ready for priming
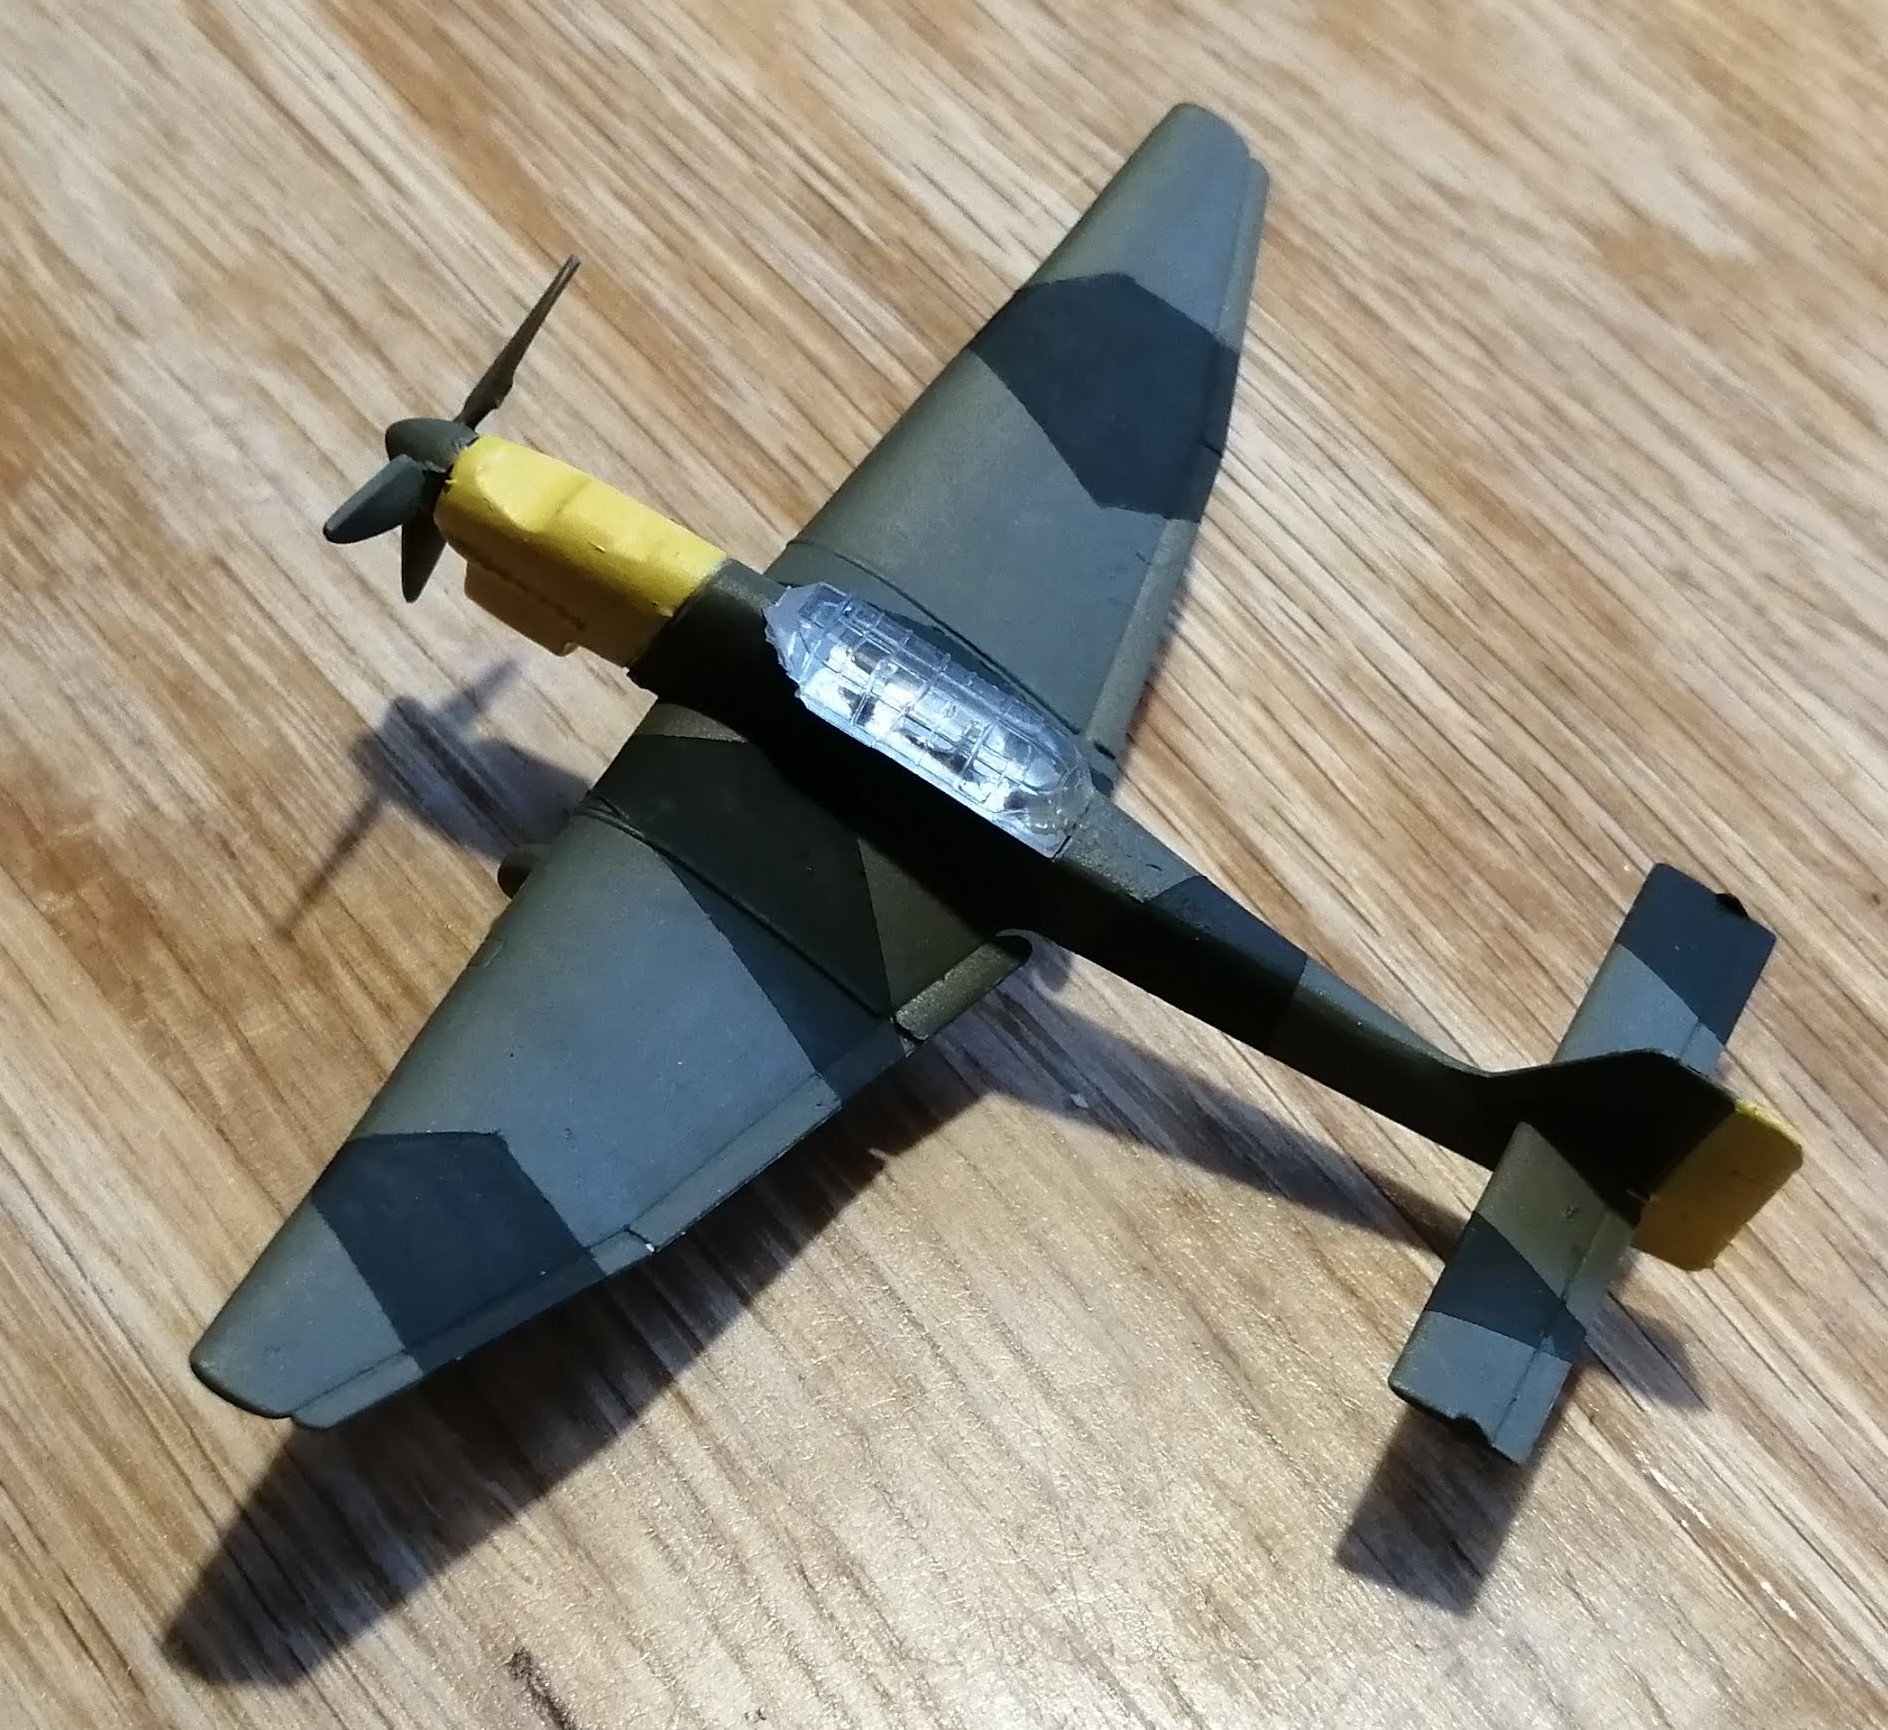
I’ve found a nice camo pattern I want to try to copy. The underside of the plane is a very light blue. Closest from my collection is an Arctic Blue, so I’ve gone with that.
The nose area and tail fin are painted a yellow. I hate yellow, it never looks right for me so I will try the ‘build up from brown’ approach. This sort of worked. It’s better than my previous attempts but I’m still not happy with it. It still took about 10 layers of yellow just to get something resembling an even coat.
The top of the aircraft I’ve painted British Olive Drab. I’m also going to try out some new masking tape I’ve got to really try to get some clean lines on the camo.
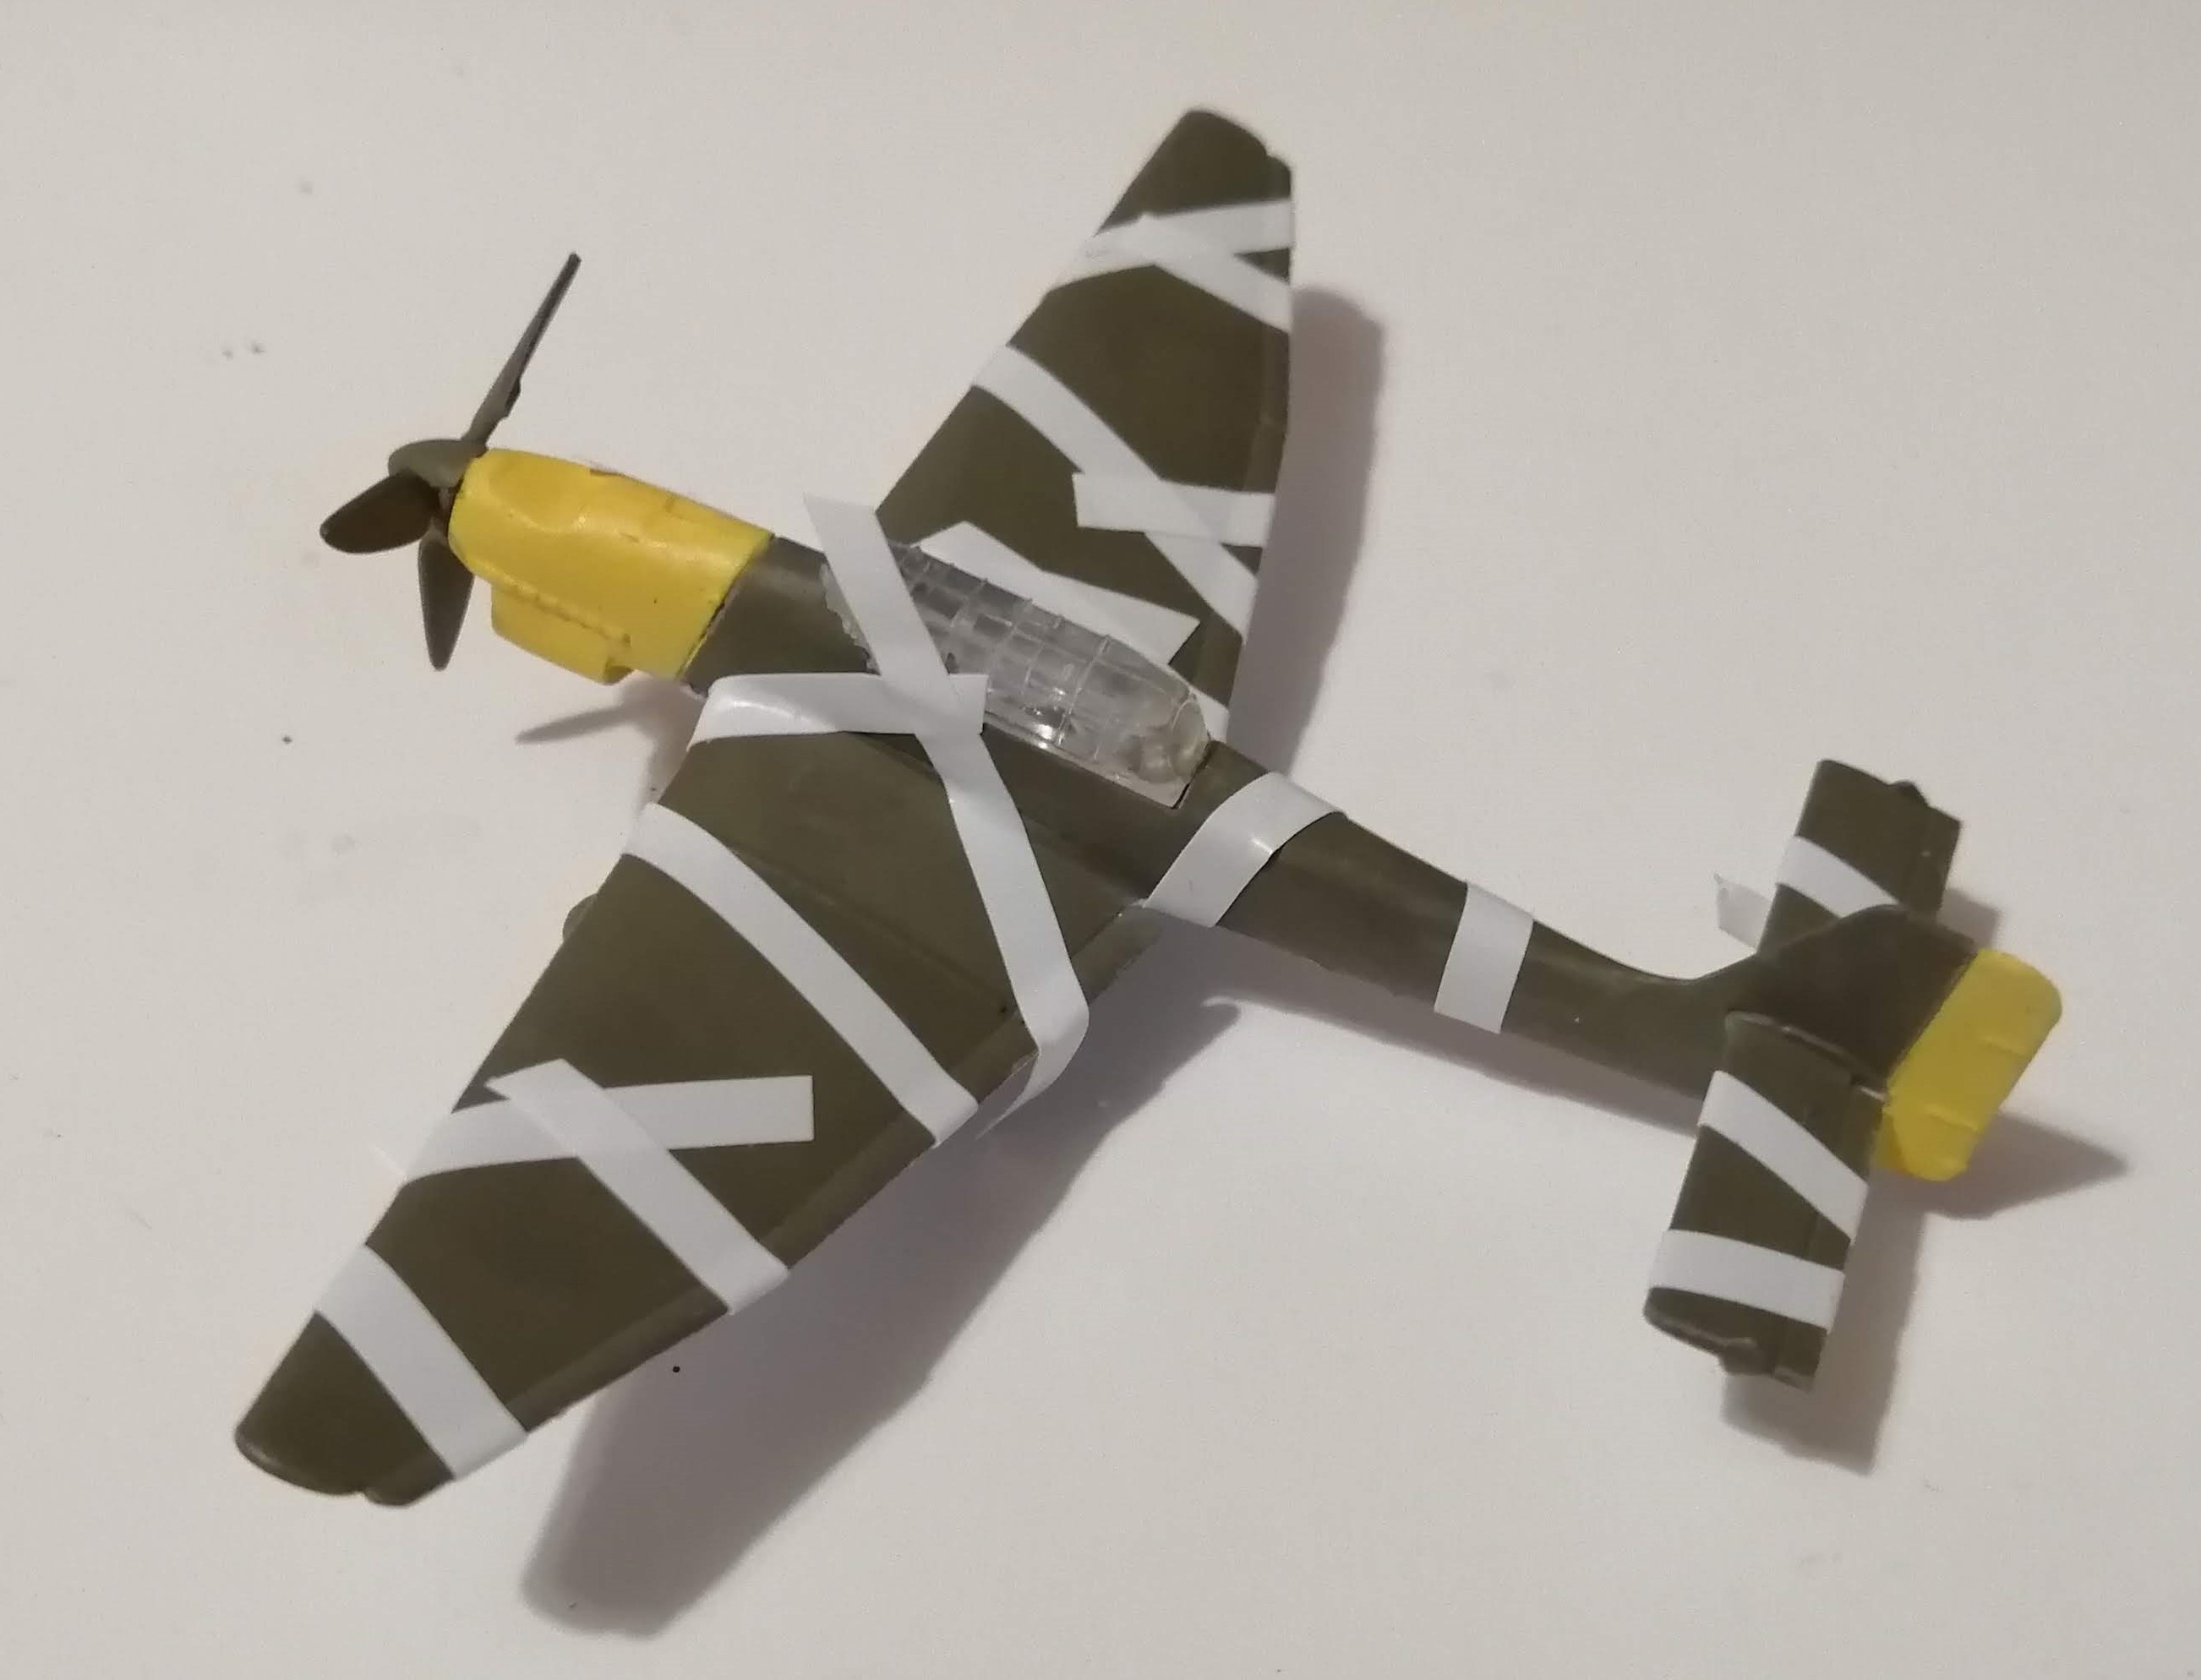
Once I was sure the masking tape was applied properly, I’ve gone for German Camo Green, which is quite a darkish green. Seemed to match up well with the picture I had.
As I had thinned the paints down, there was a little bleeding under the masking tape, particularly where the tape crossed some of the detail but nothing too bad. It was fairly easy to clean up and the result looks far better than my freehand.
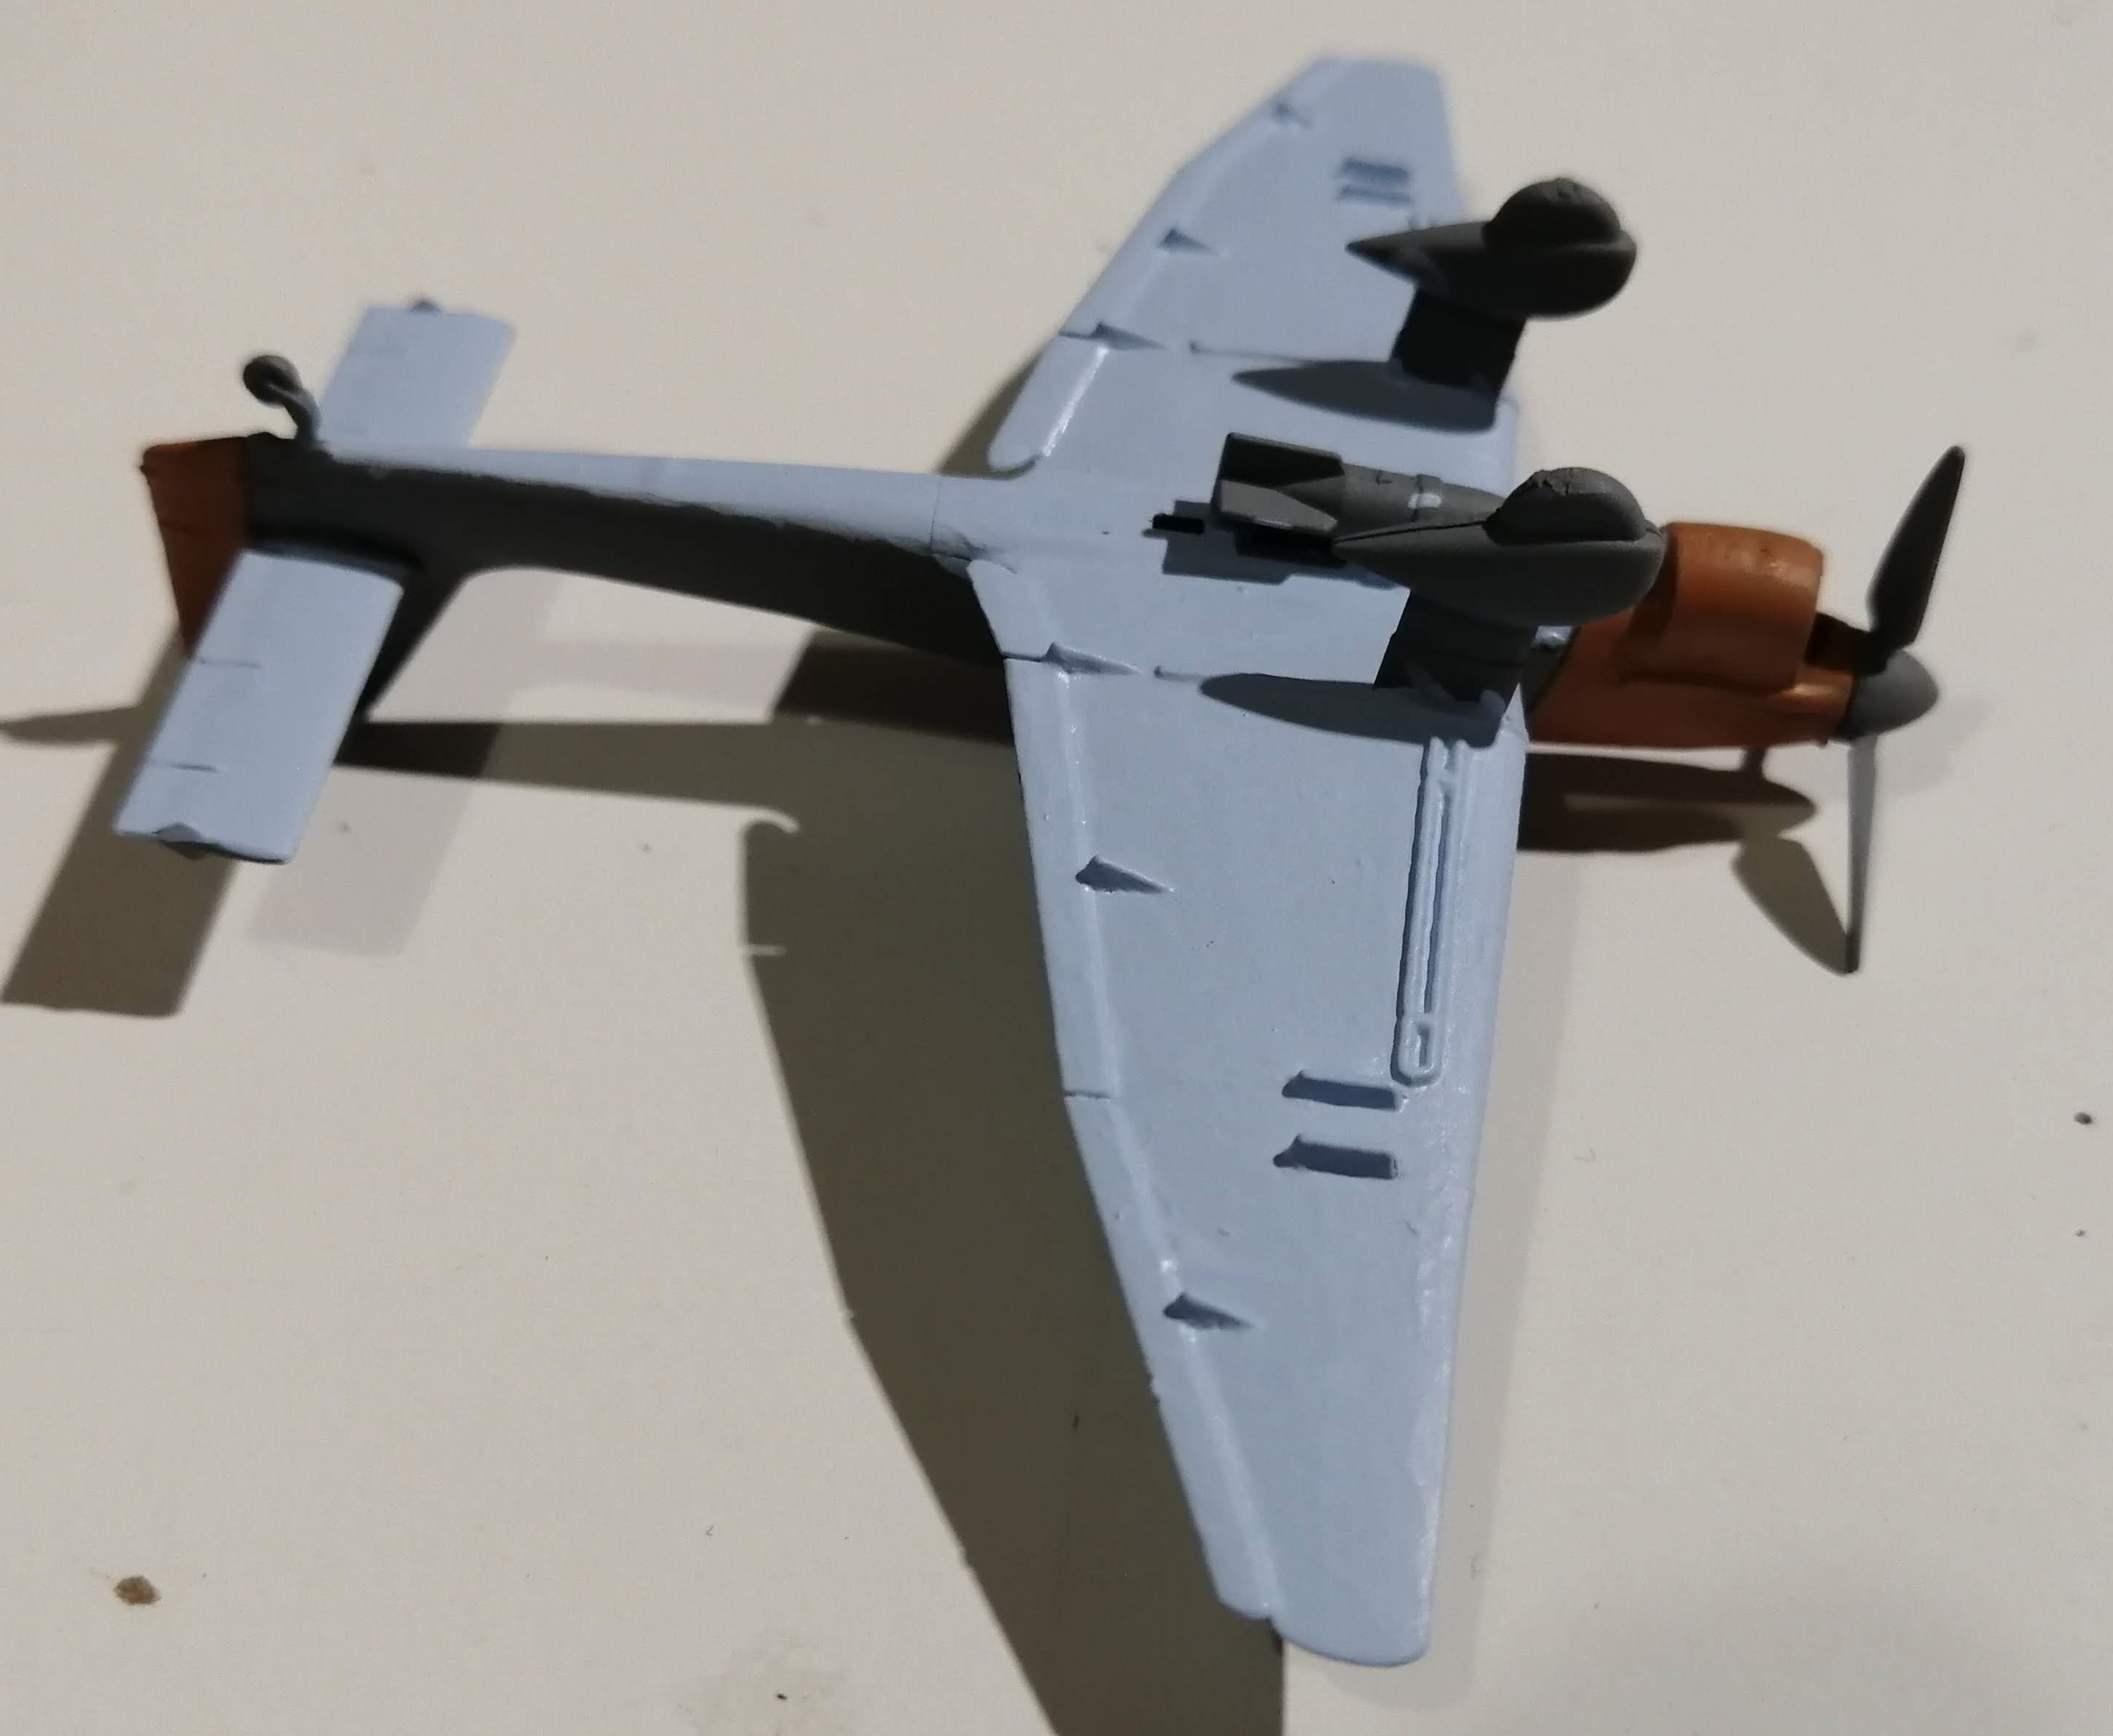
 Camo applied
The set came with some transfers that I duly applied and then gave the model a gloss varnish.
To apply some shading, I’ve given a light dark yellow wash over the yellow areas, a trusty sepia wash on the top and a watered down dark blue for the underside. Once all dry, I’ve applied a matt varnish and it’s good to go. Quick job and table top ready!
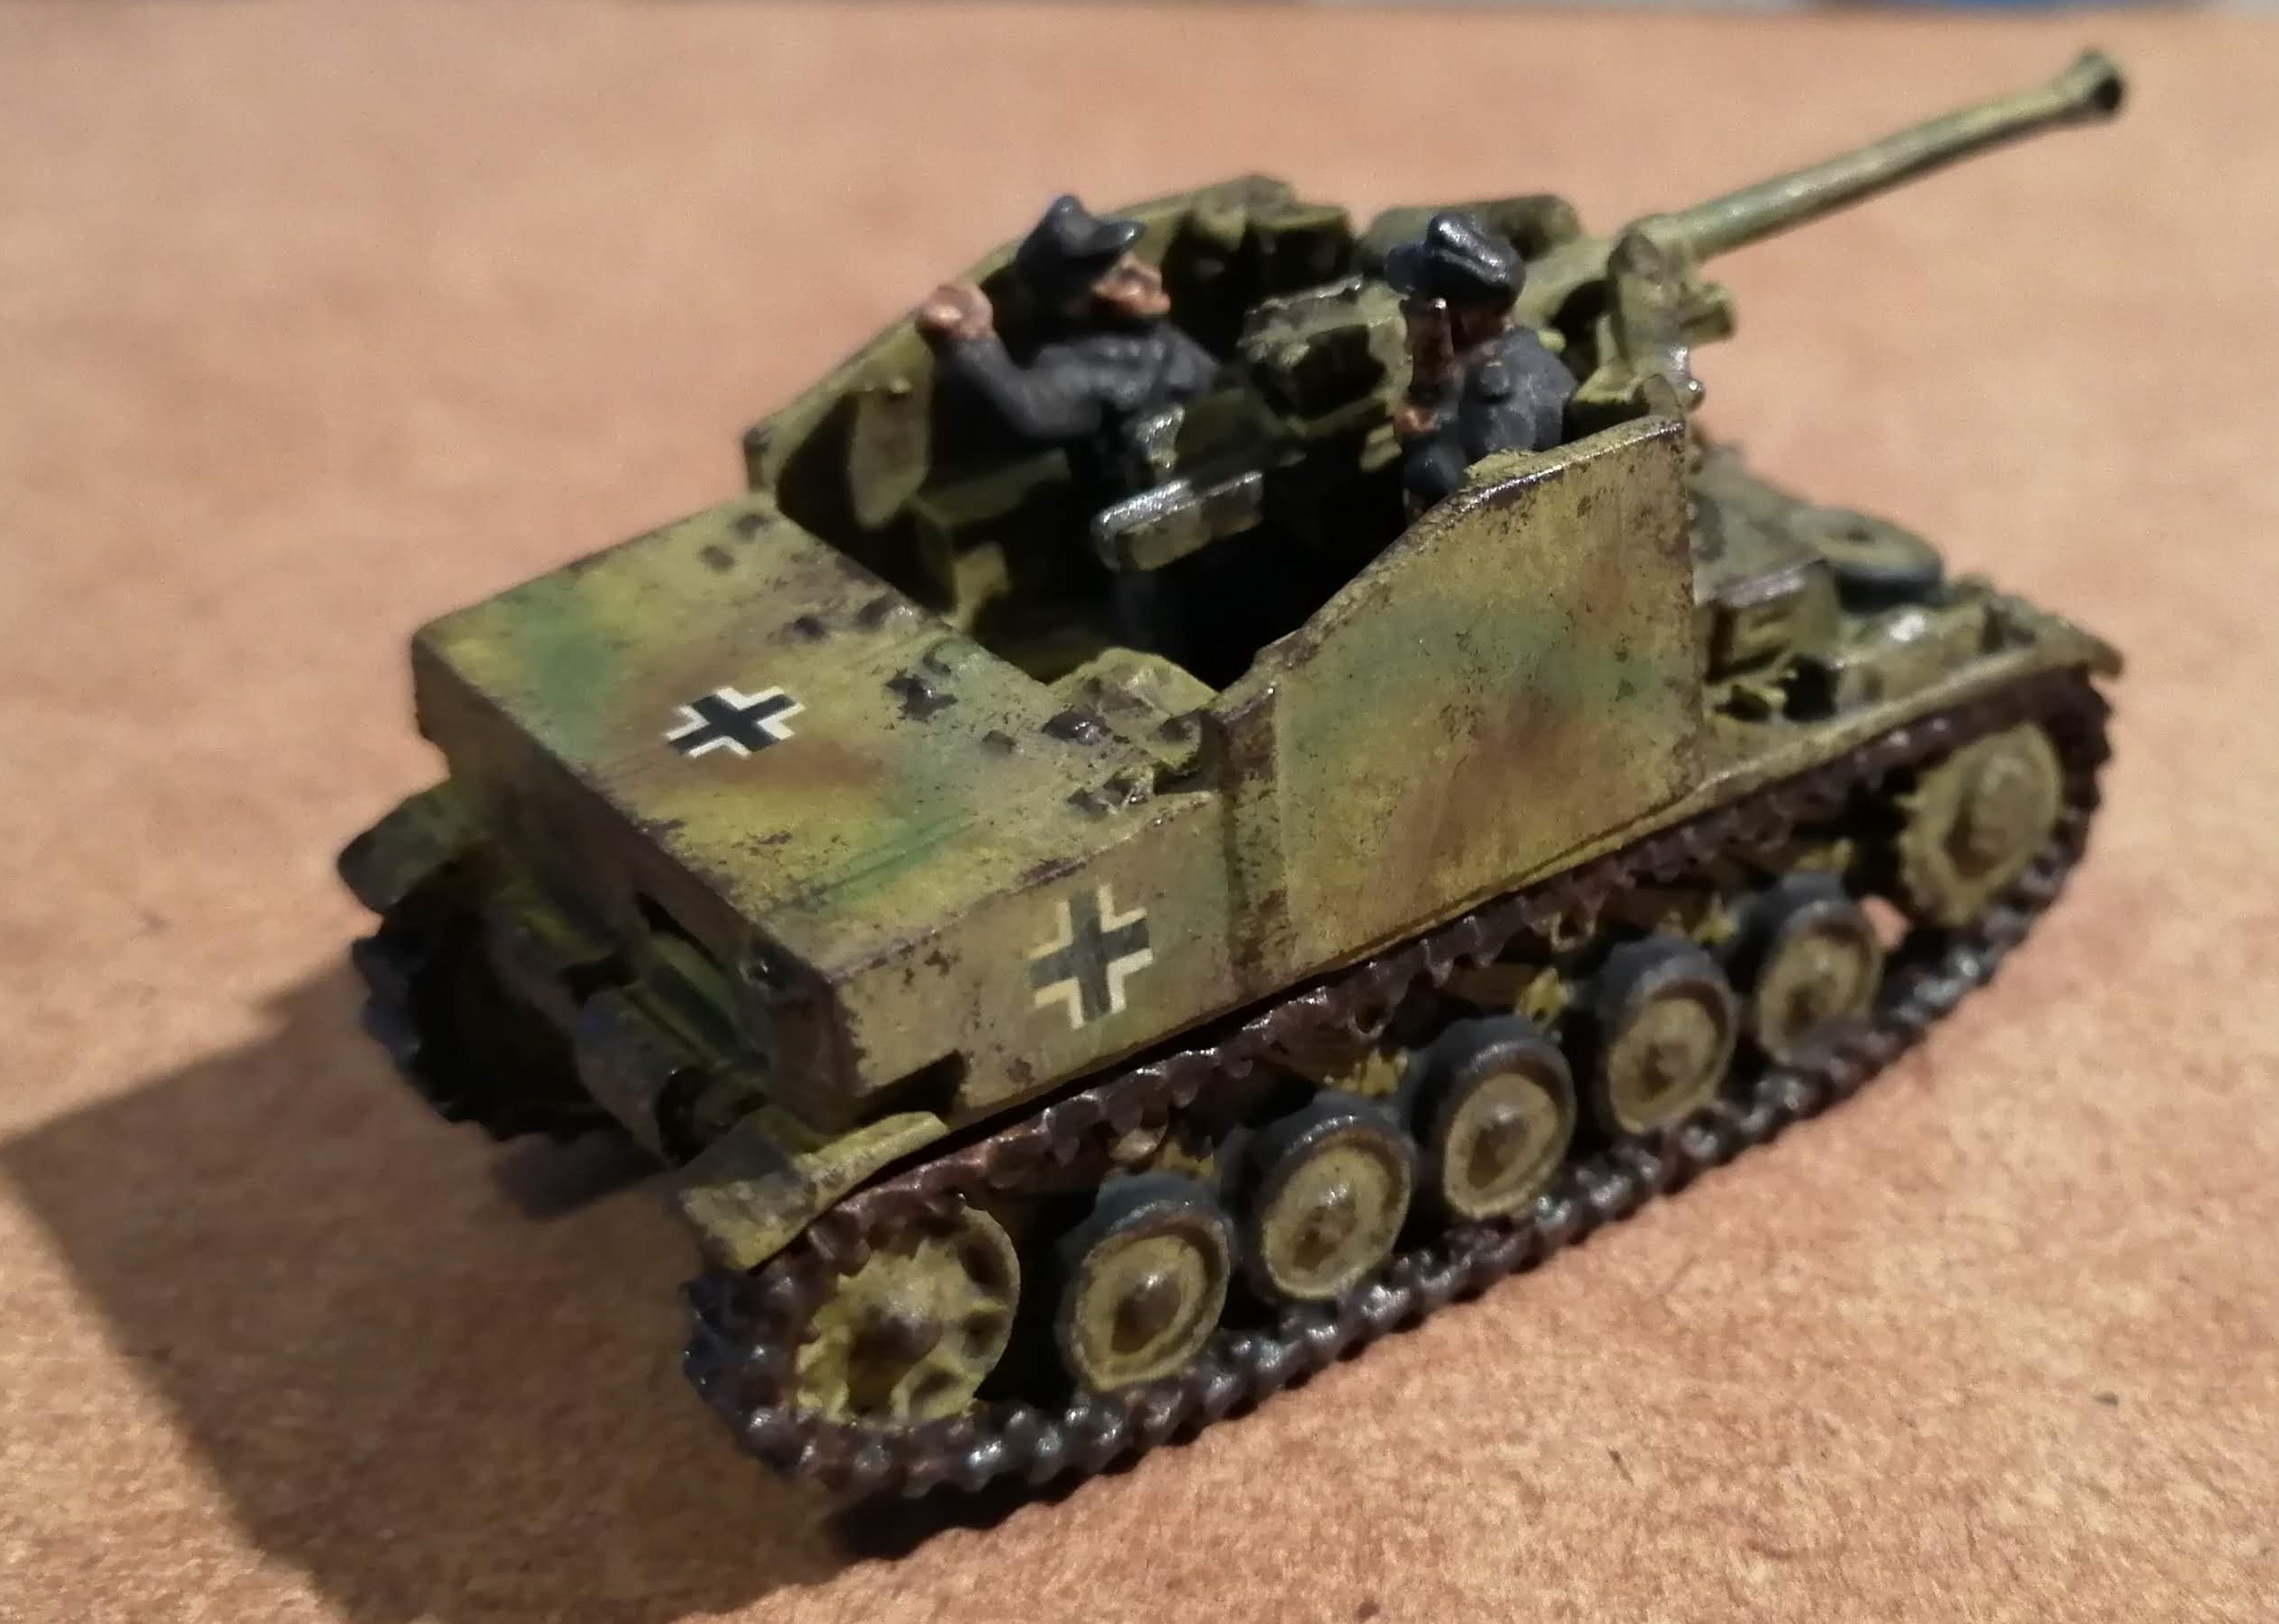
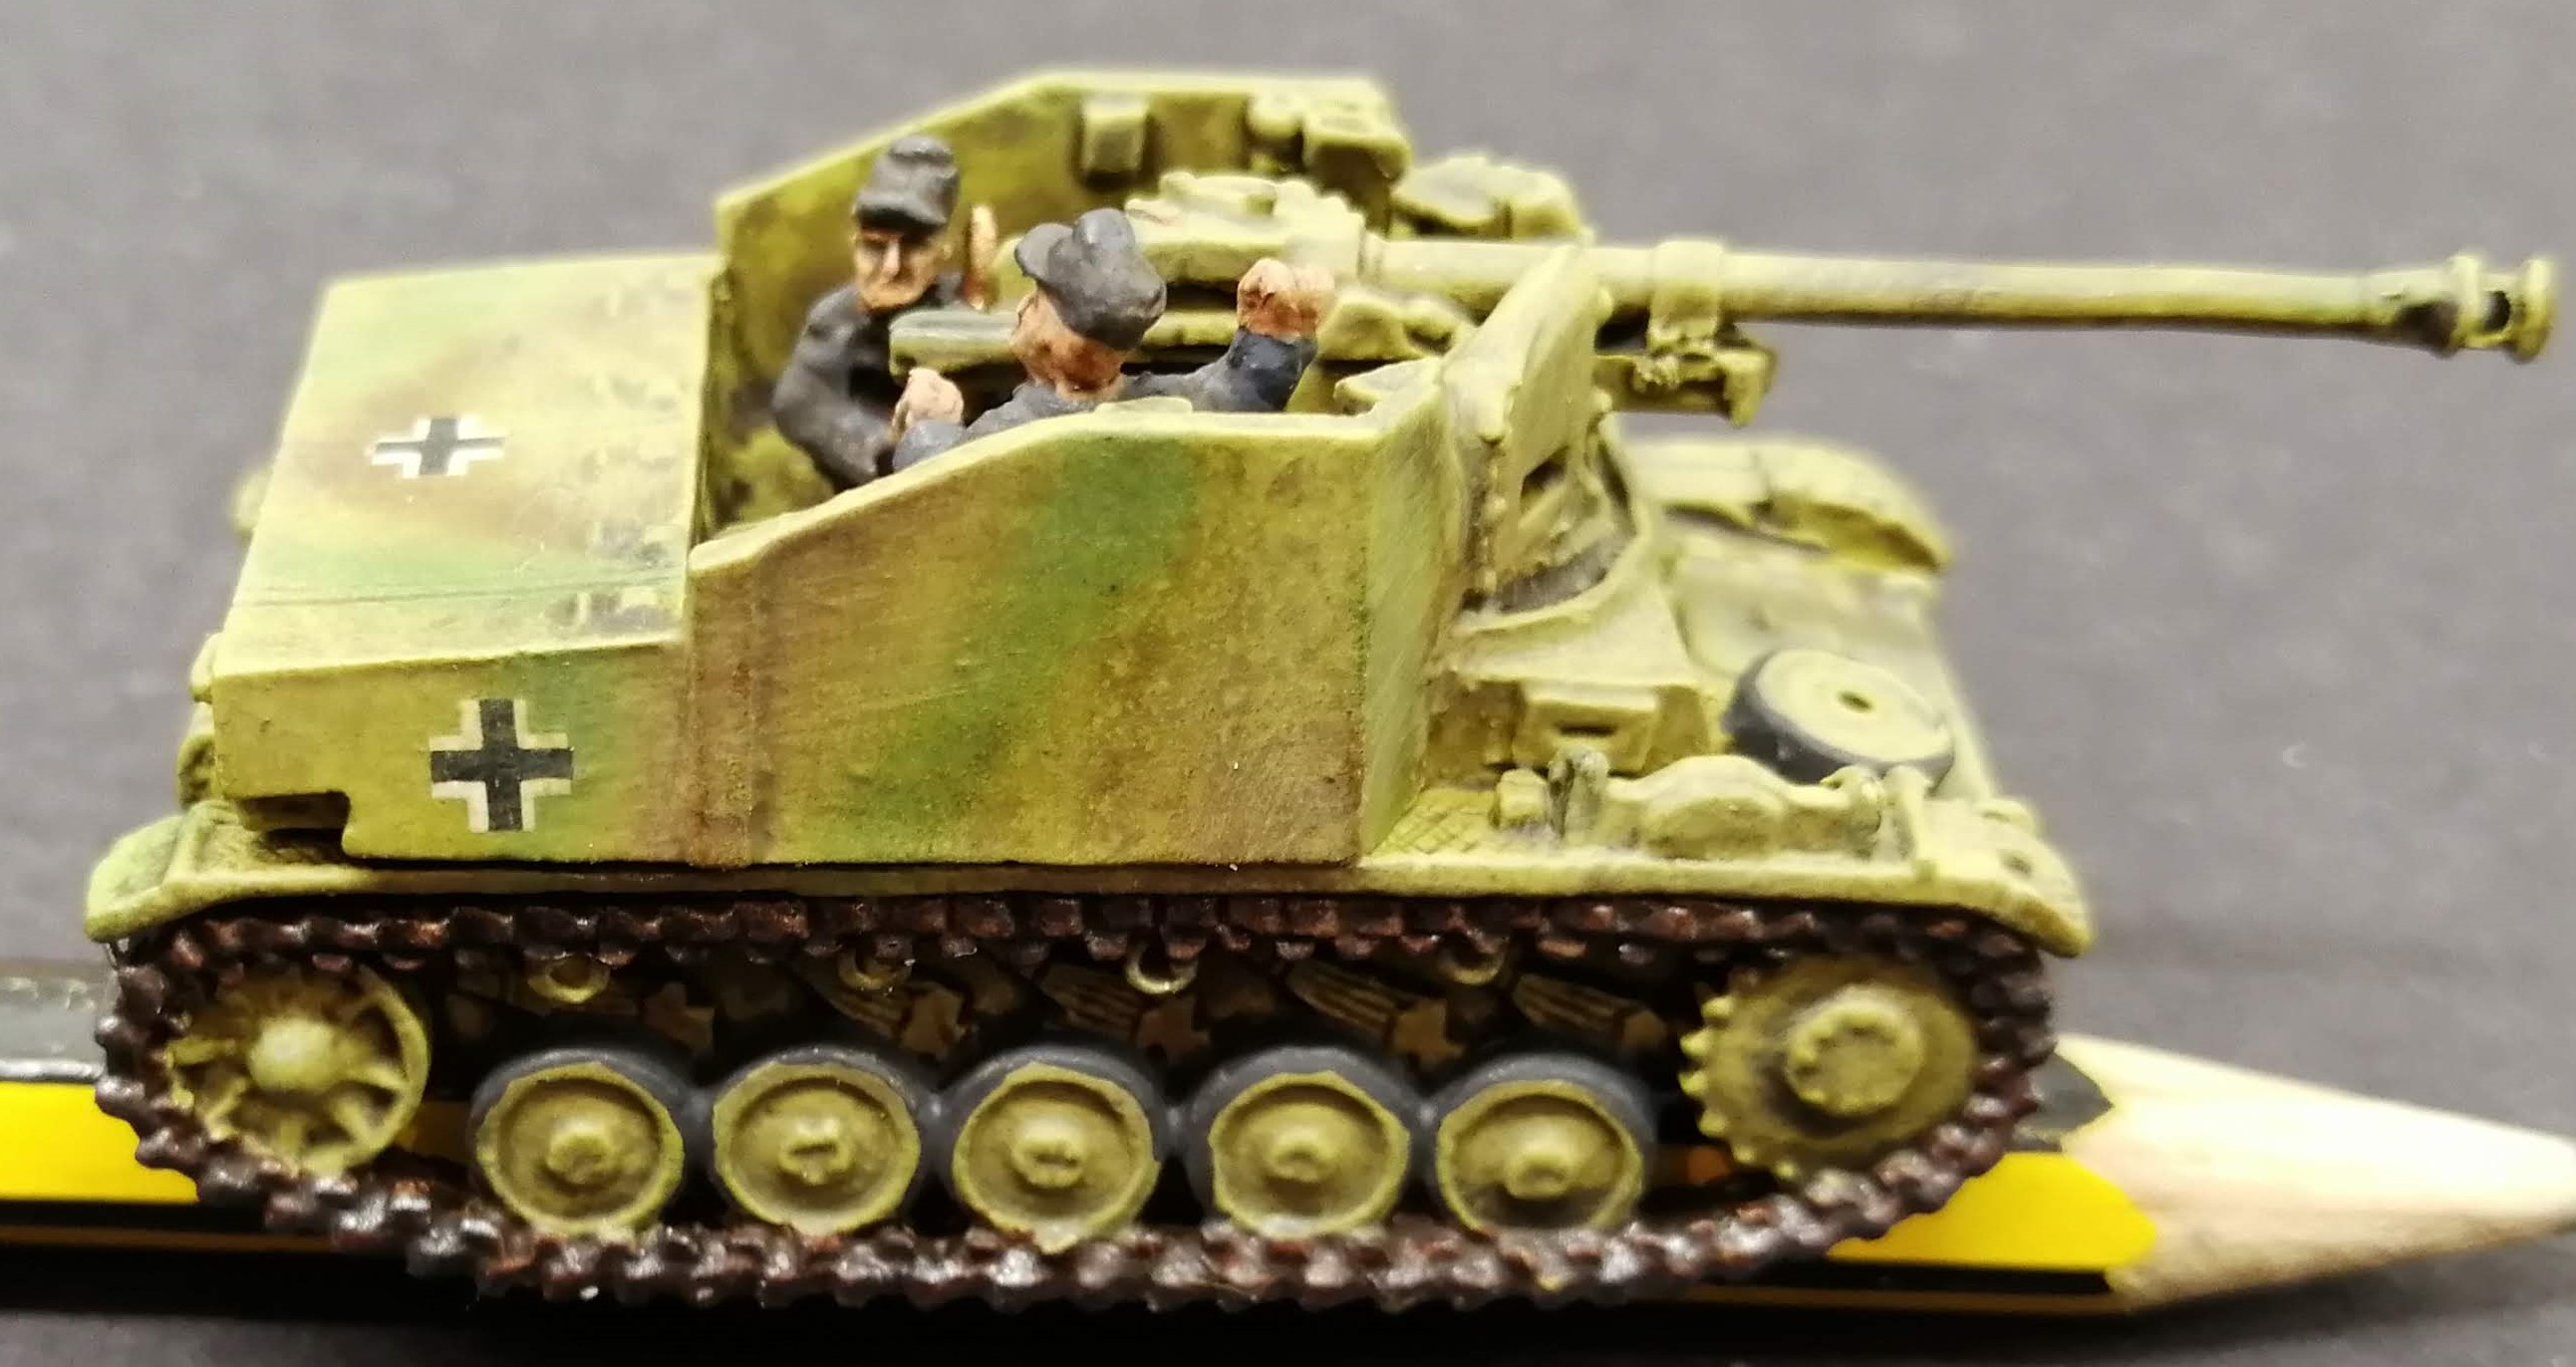
Marder II - Going back and doing it properly
In my last update, I had decided to leave the Marders as they were and ‘table top ready’. After some thought, I decided to go back and finish them properly, so here’s the final steps.
I’ve decided to go big on the chipping, after all, these vehicles have been in the field for some time and saw plenty of action. I’ve just used the age old method of small sponge and a dark colour, in this case I went with a Dark Grey from Vallejo.
 Chipping applied
I’ve then gone back over with some gunmetal, particularly along the corners where it is more likely that all of the paint will be removed.
 Fully chipped
I applied some slight streak effects where I think water may have run down the side of the vehicle. Everything then got another matt varnish.
Finally, I mixed up some dry mud from my garden with some PVA and applied this in little splodges to where mud would have built up. And now I’ve finished!
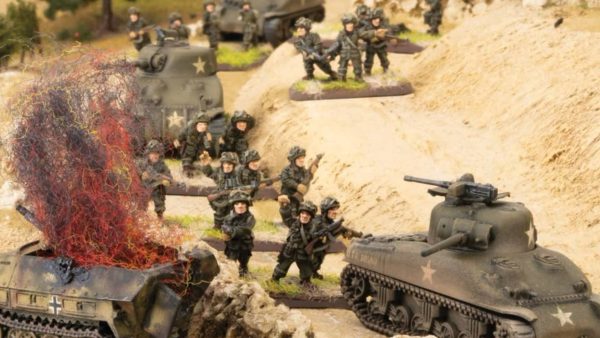
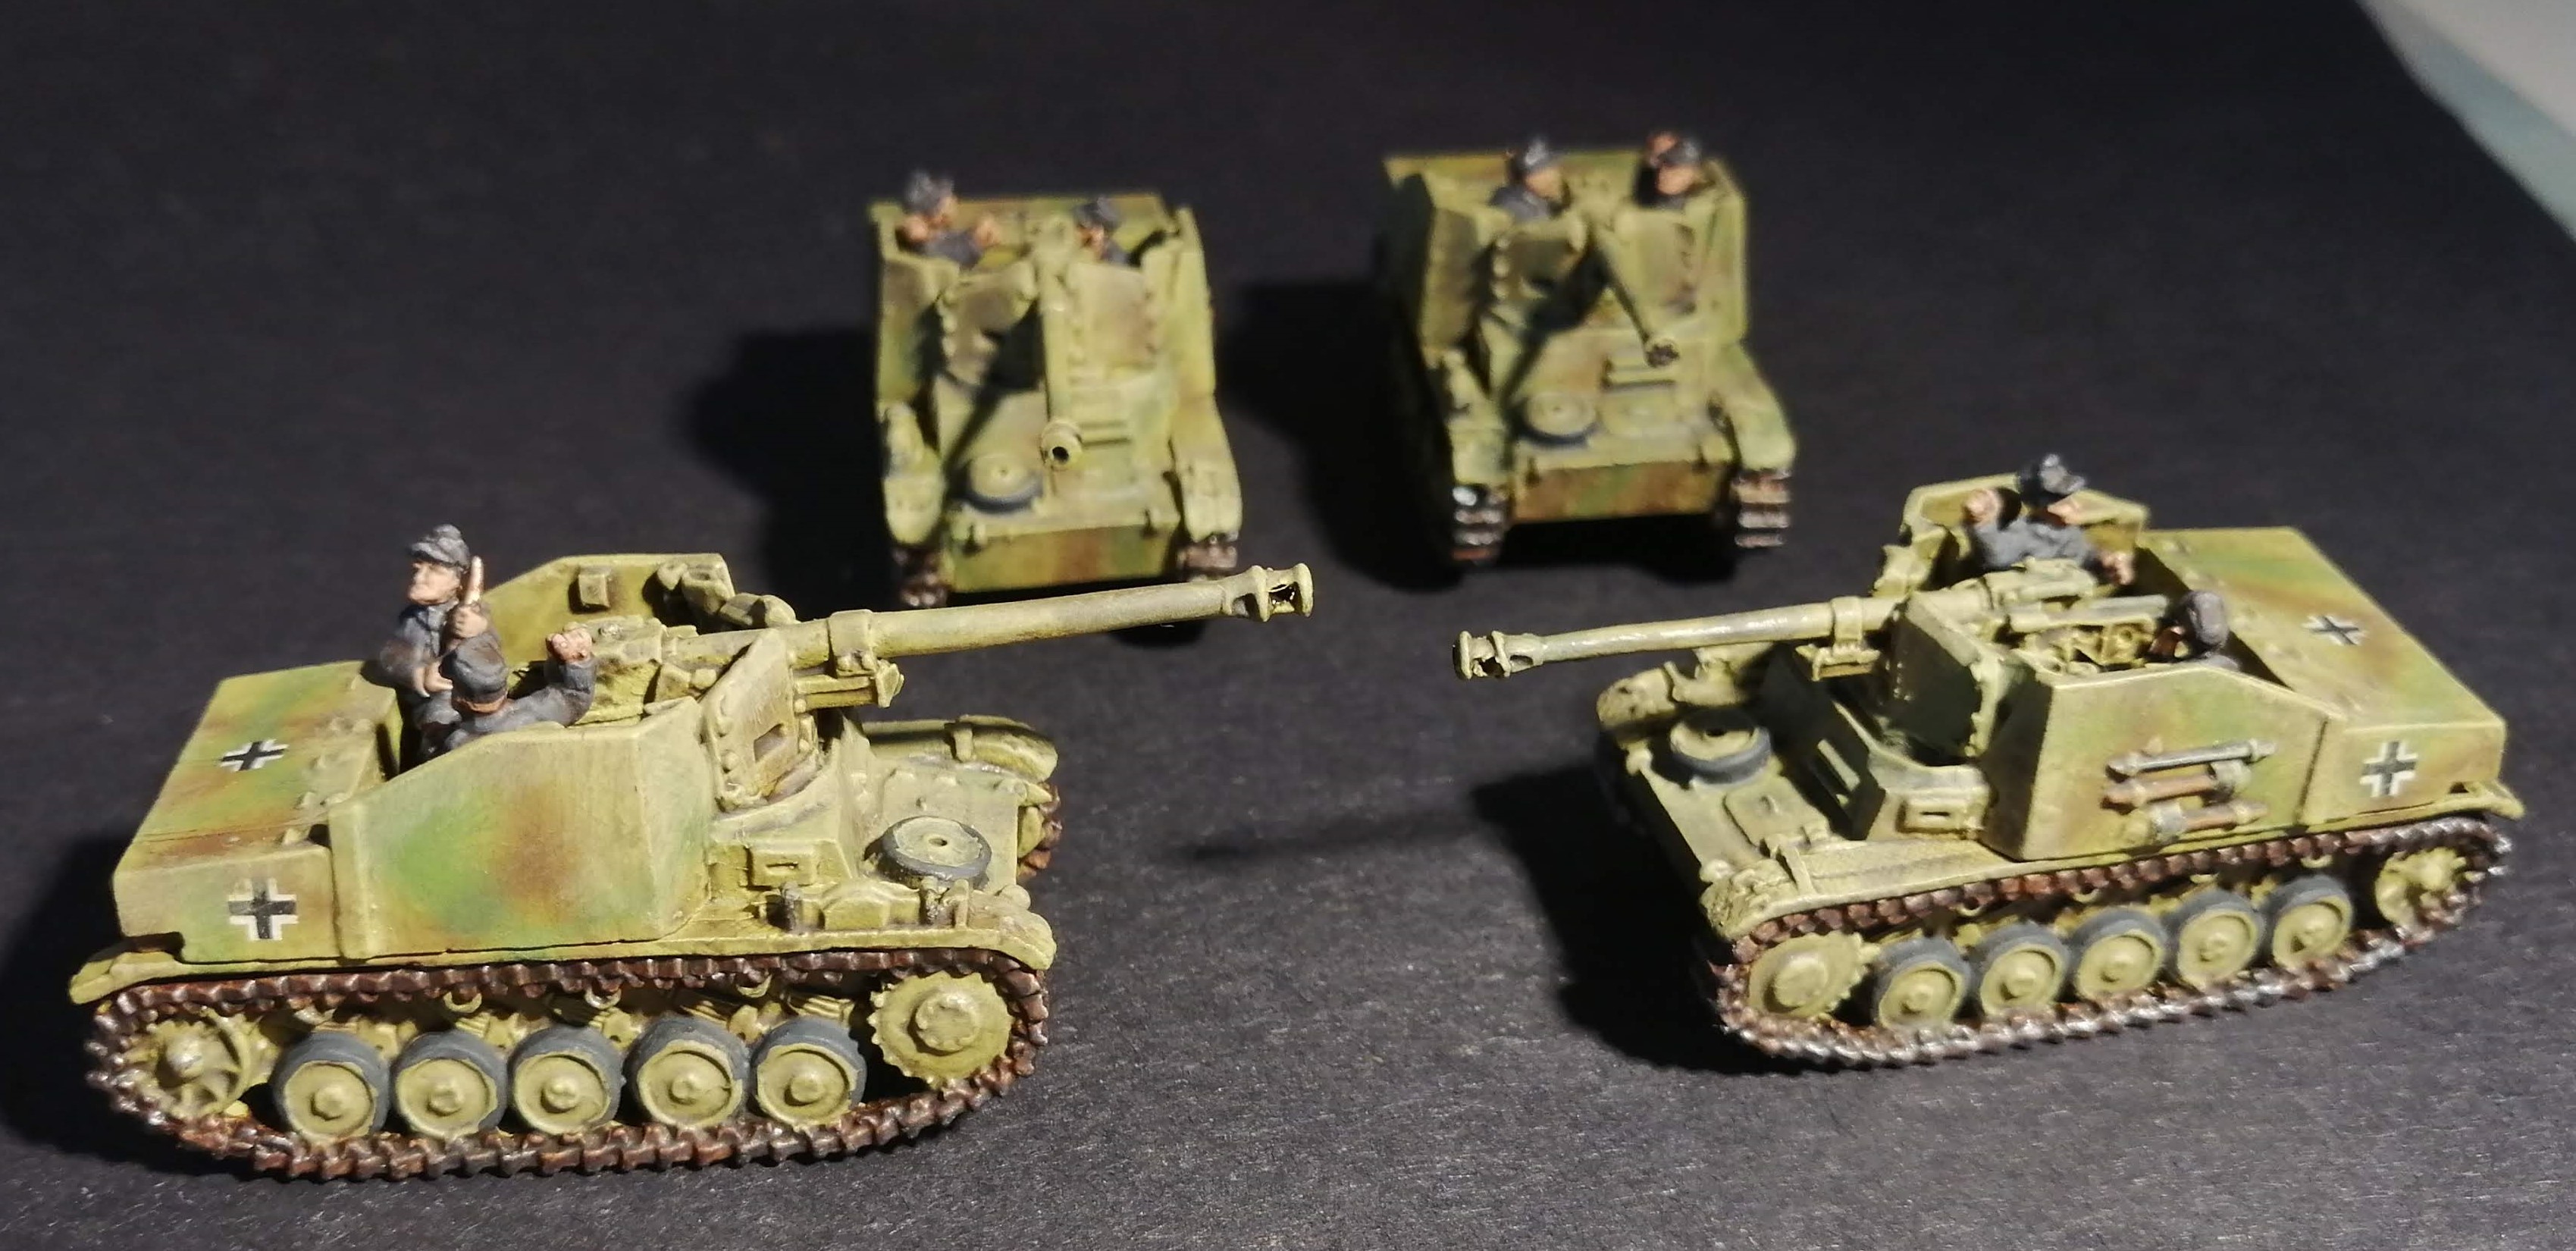
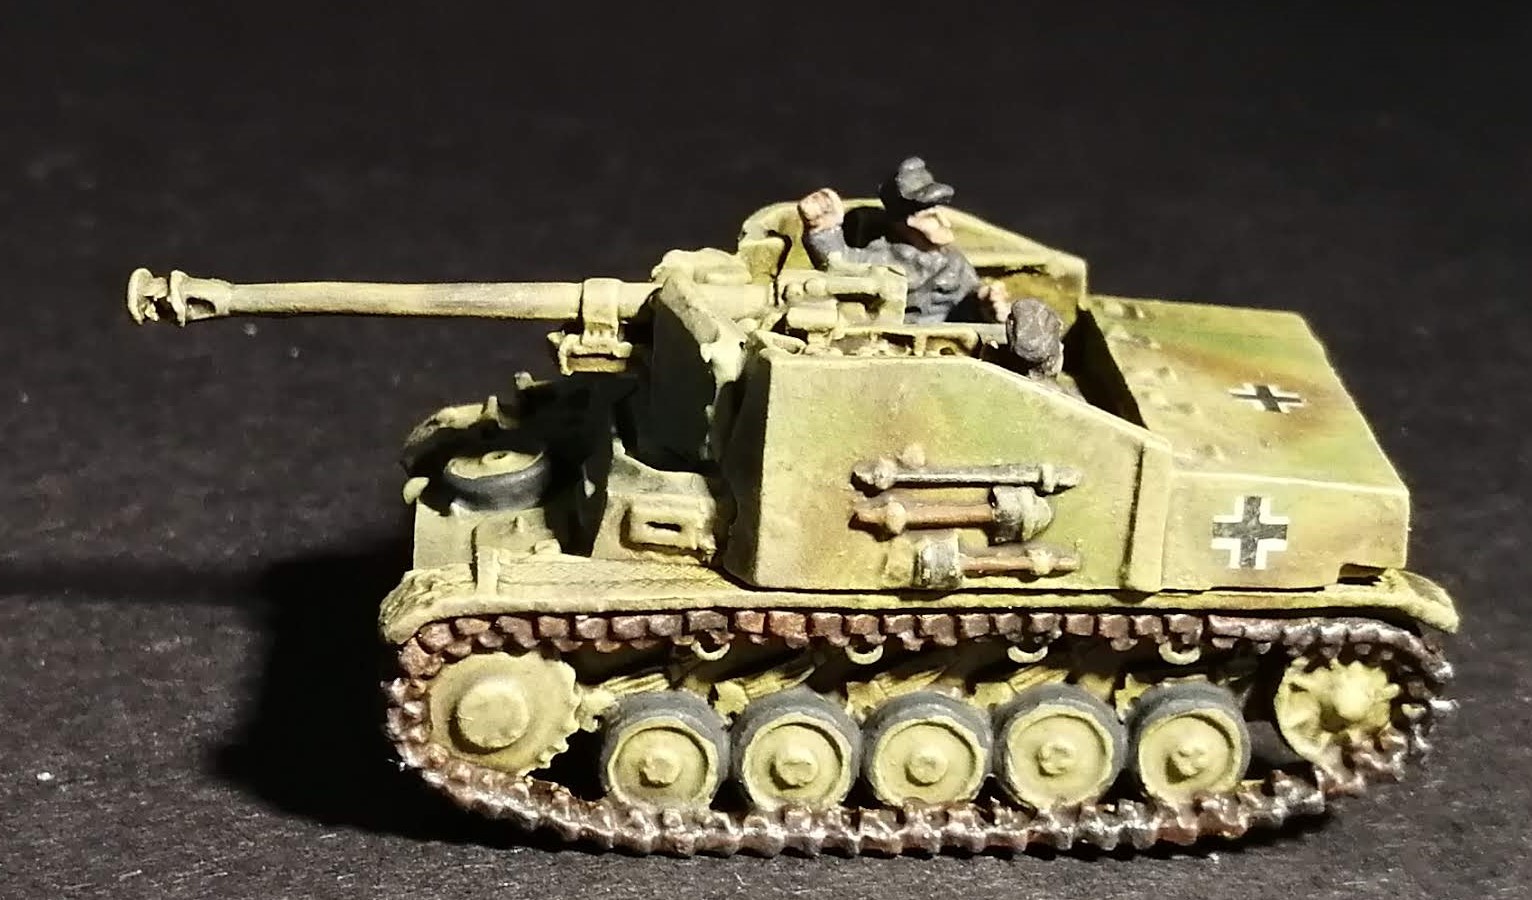
 A slightly over exposed picture of the finished platoon
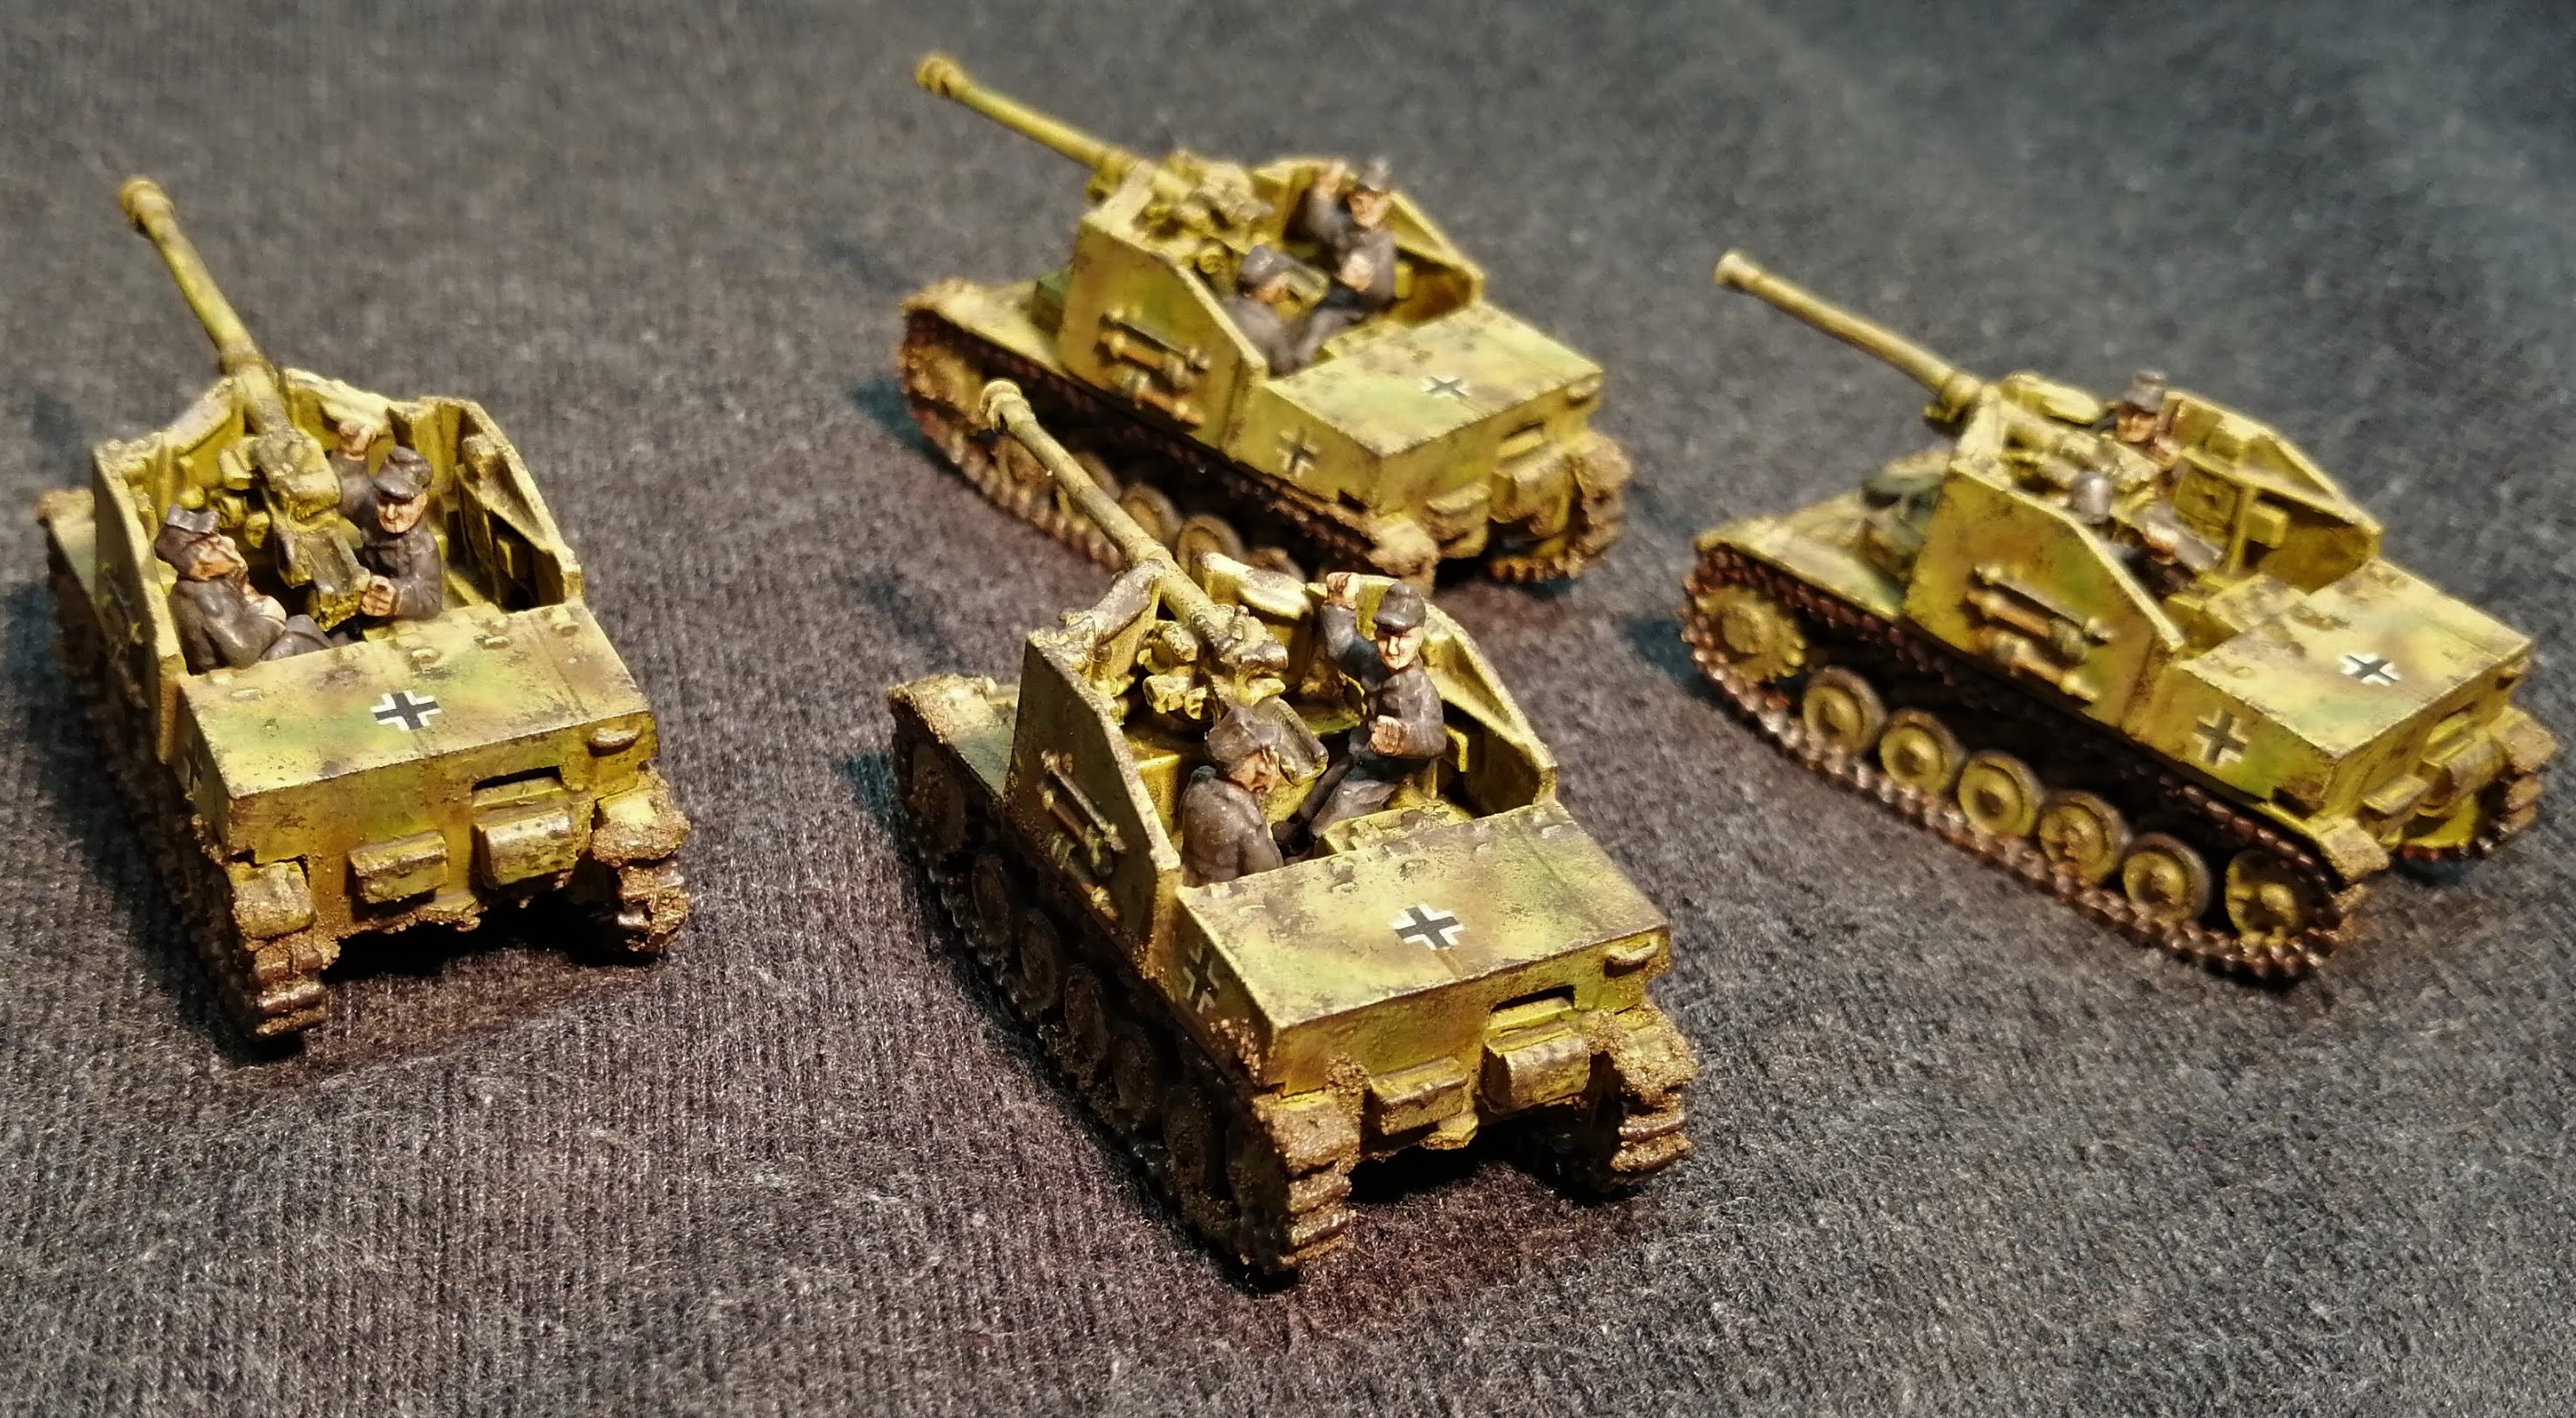


Now that these are finished, I need to get cracking as Plastic Soldier Company had a 25% sale recently and I may have over indulged. This turned up the other day, so I have my work cut out….
 A box of goodies from PSC!
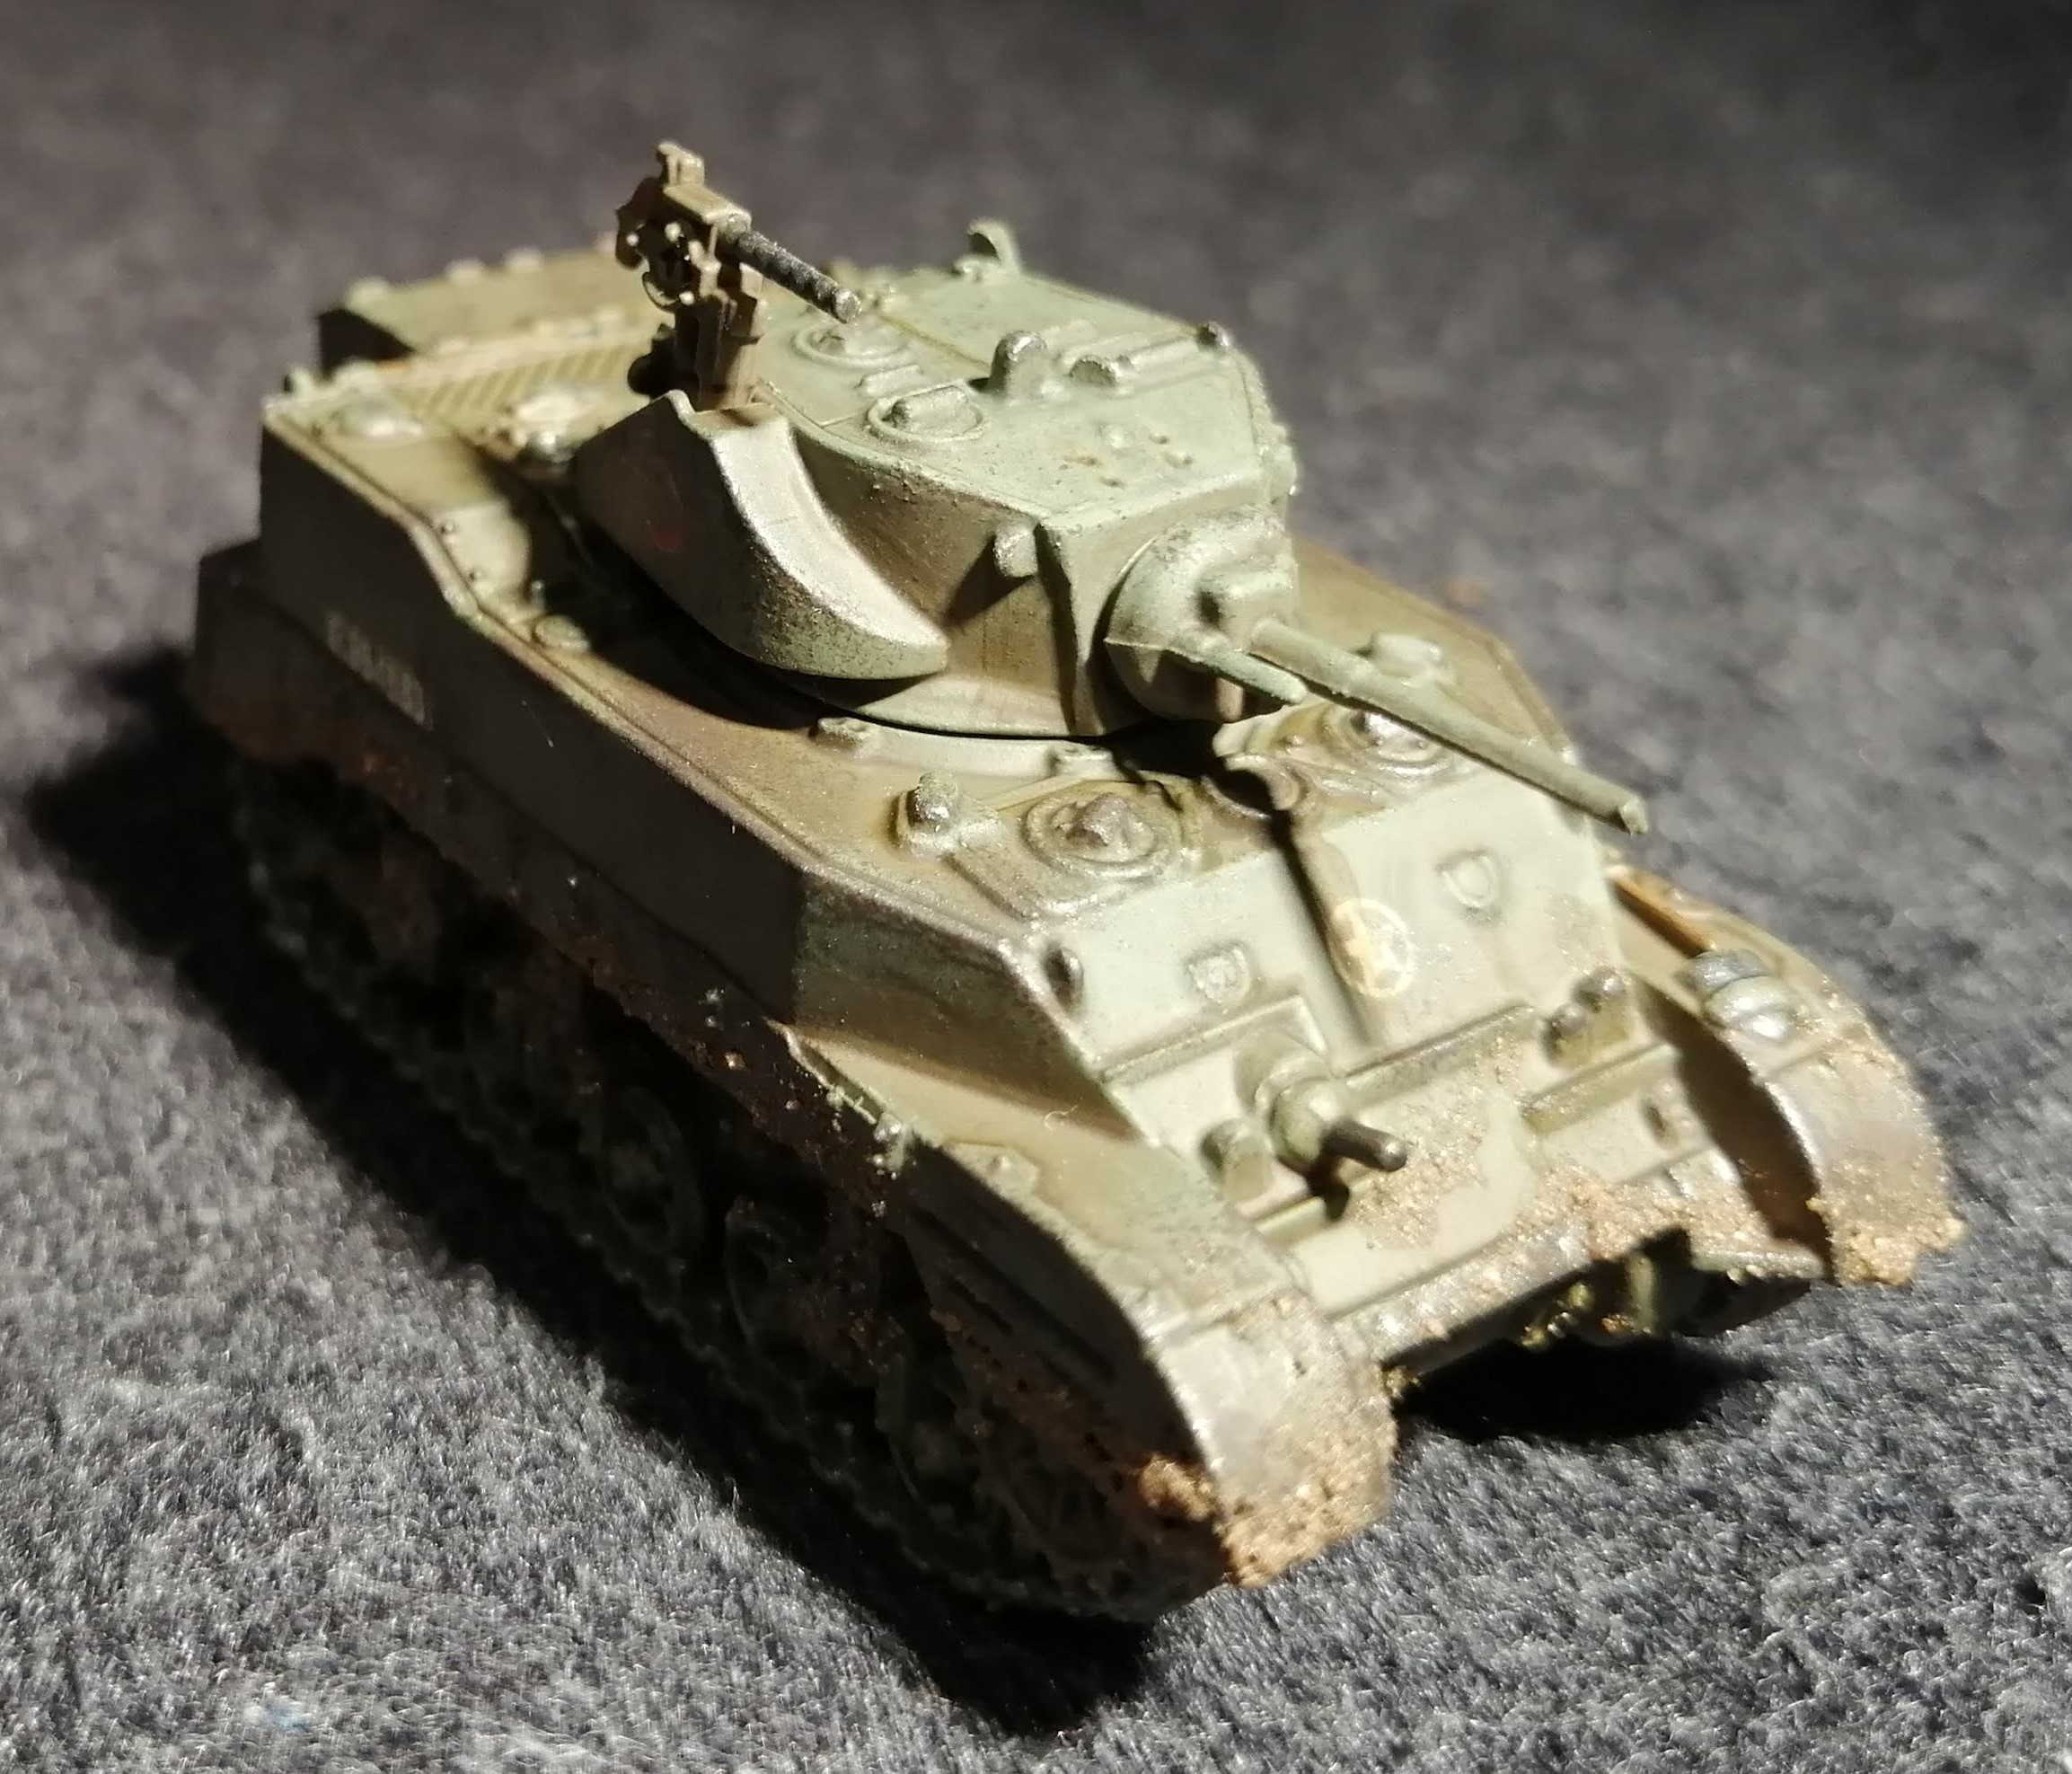
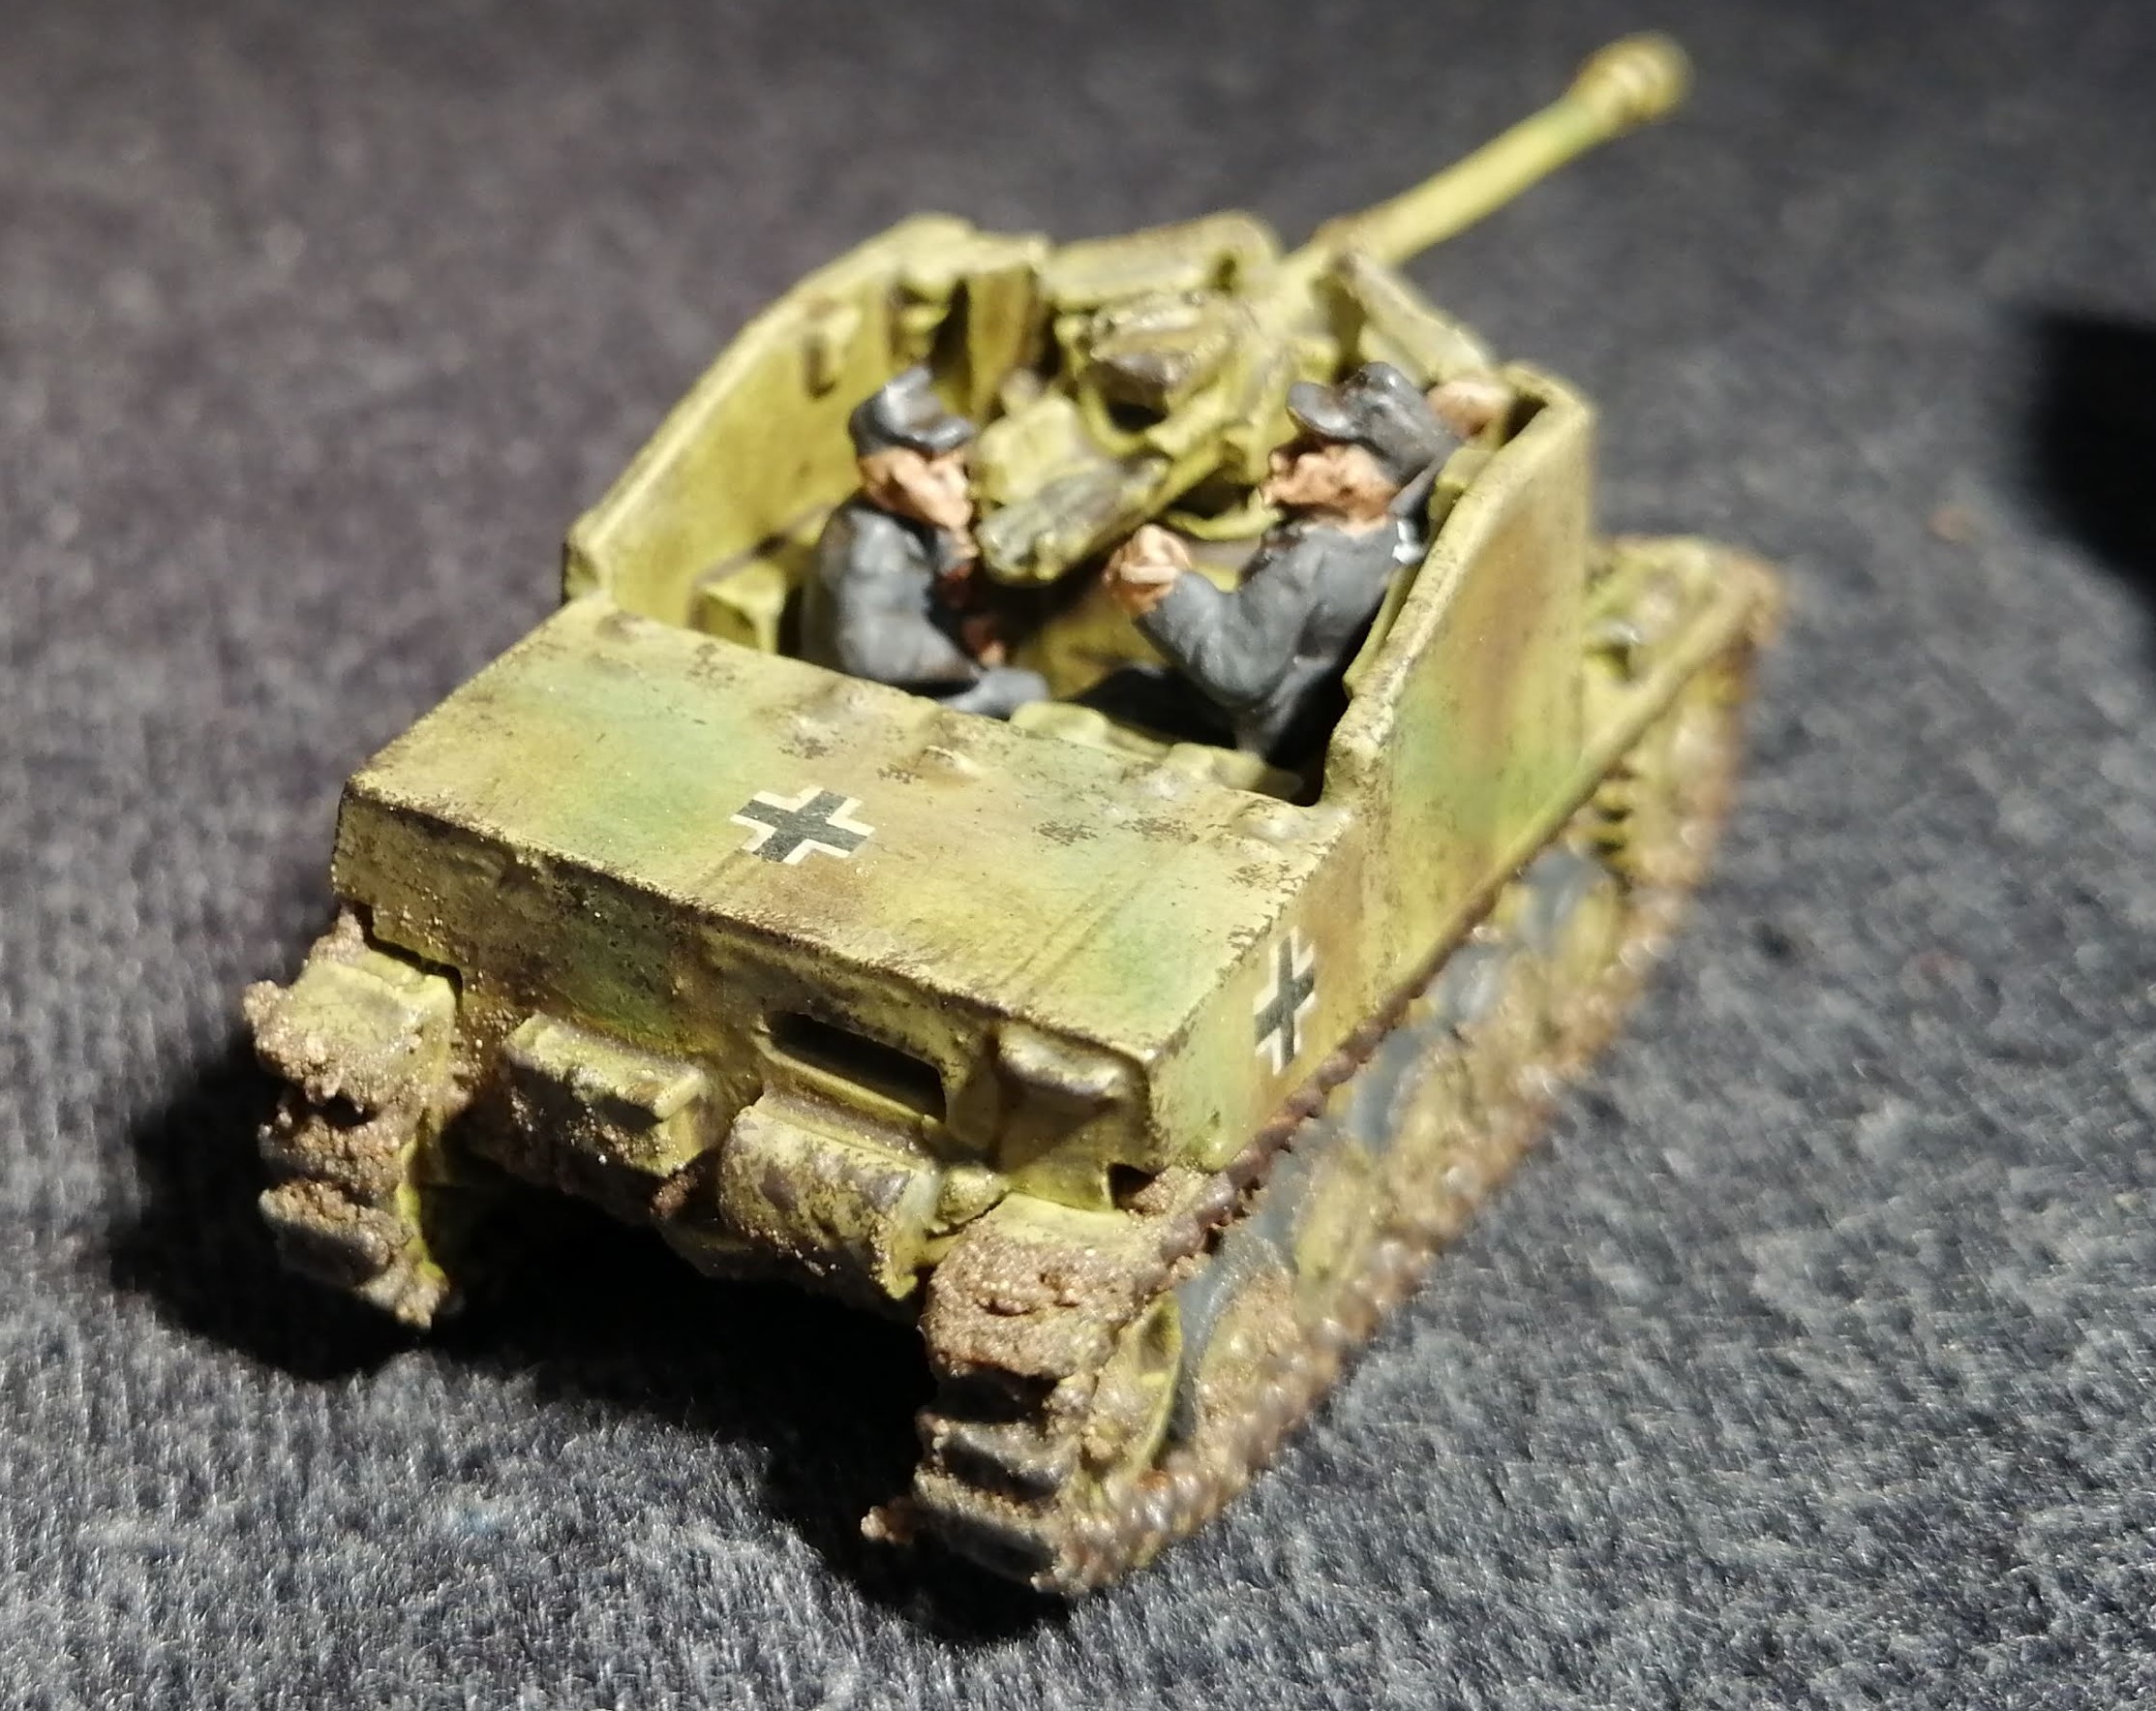
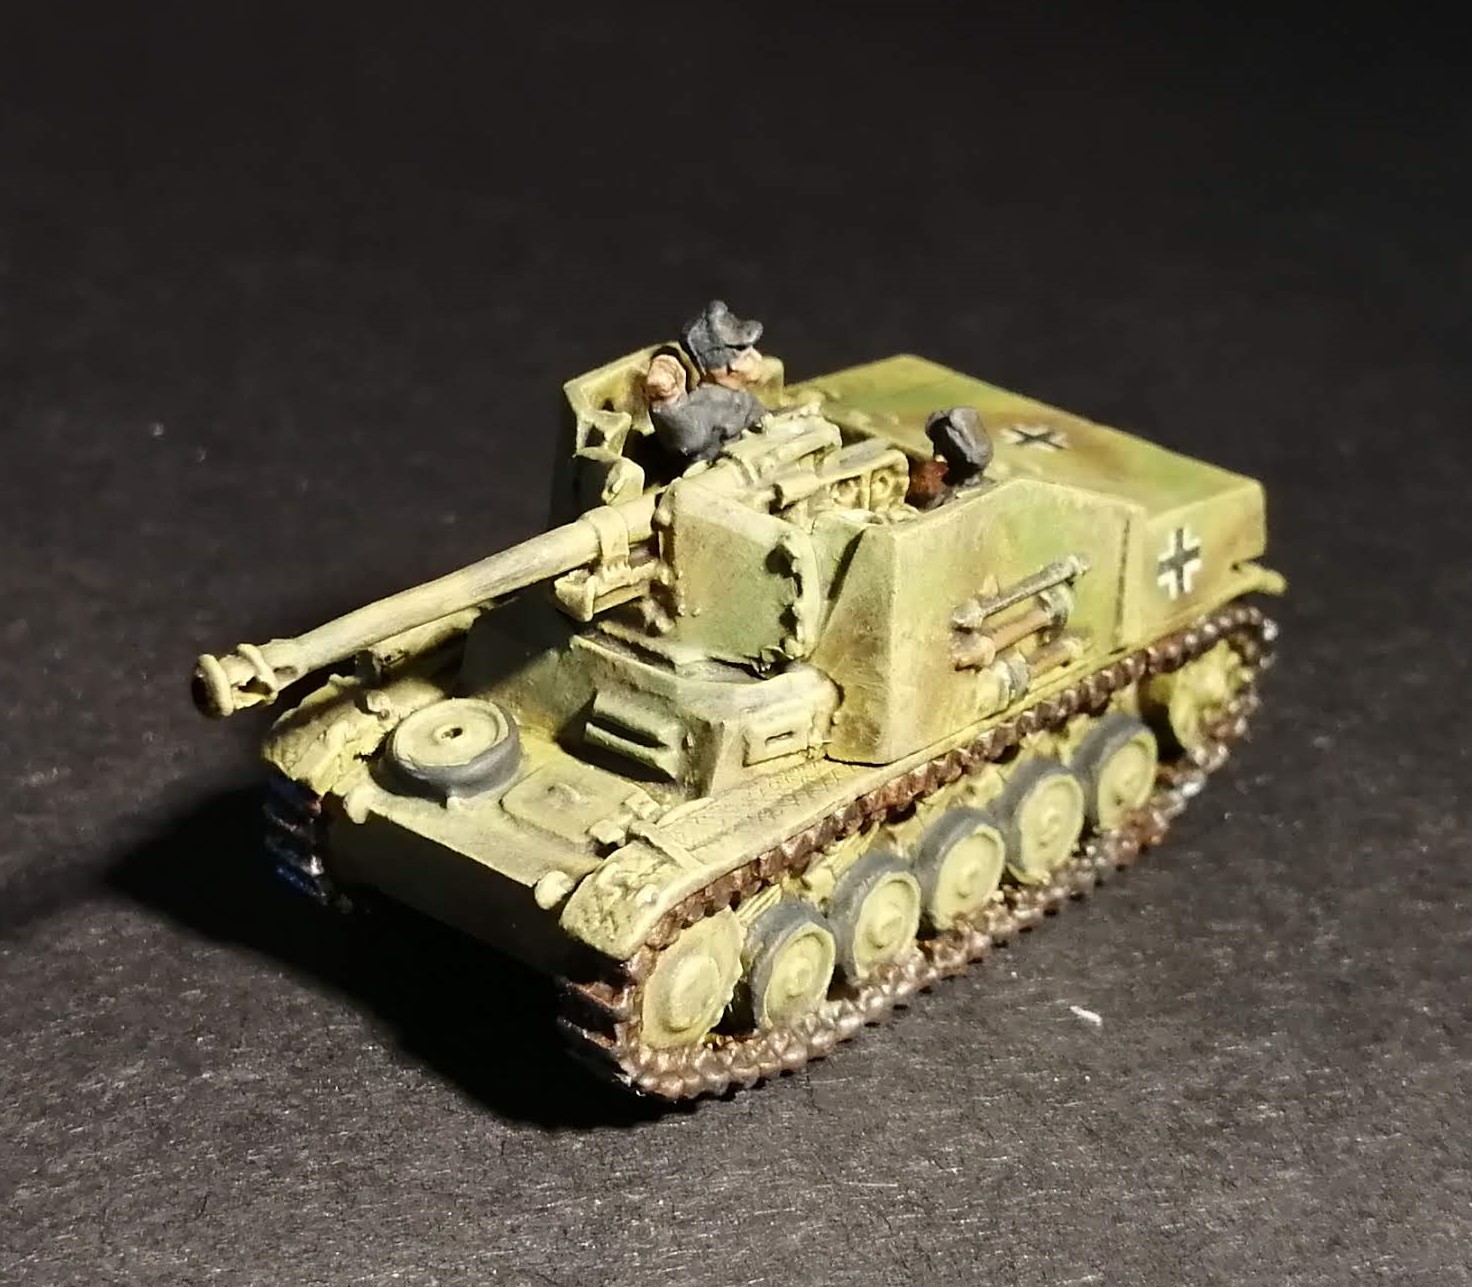
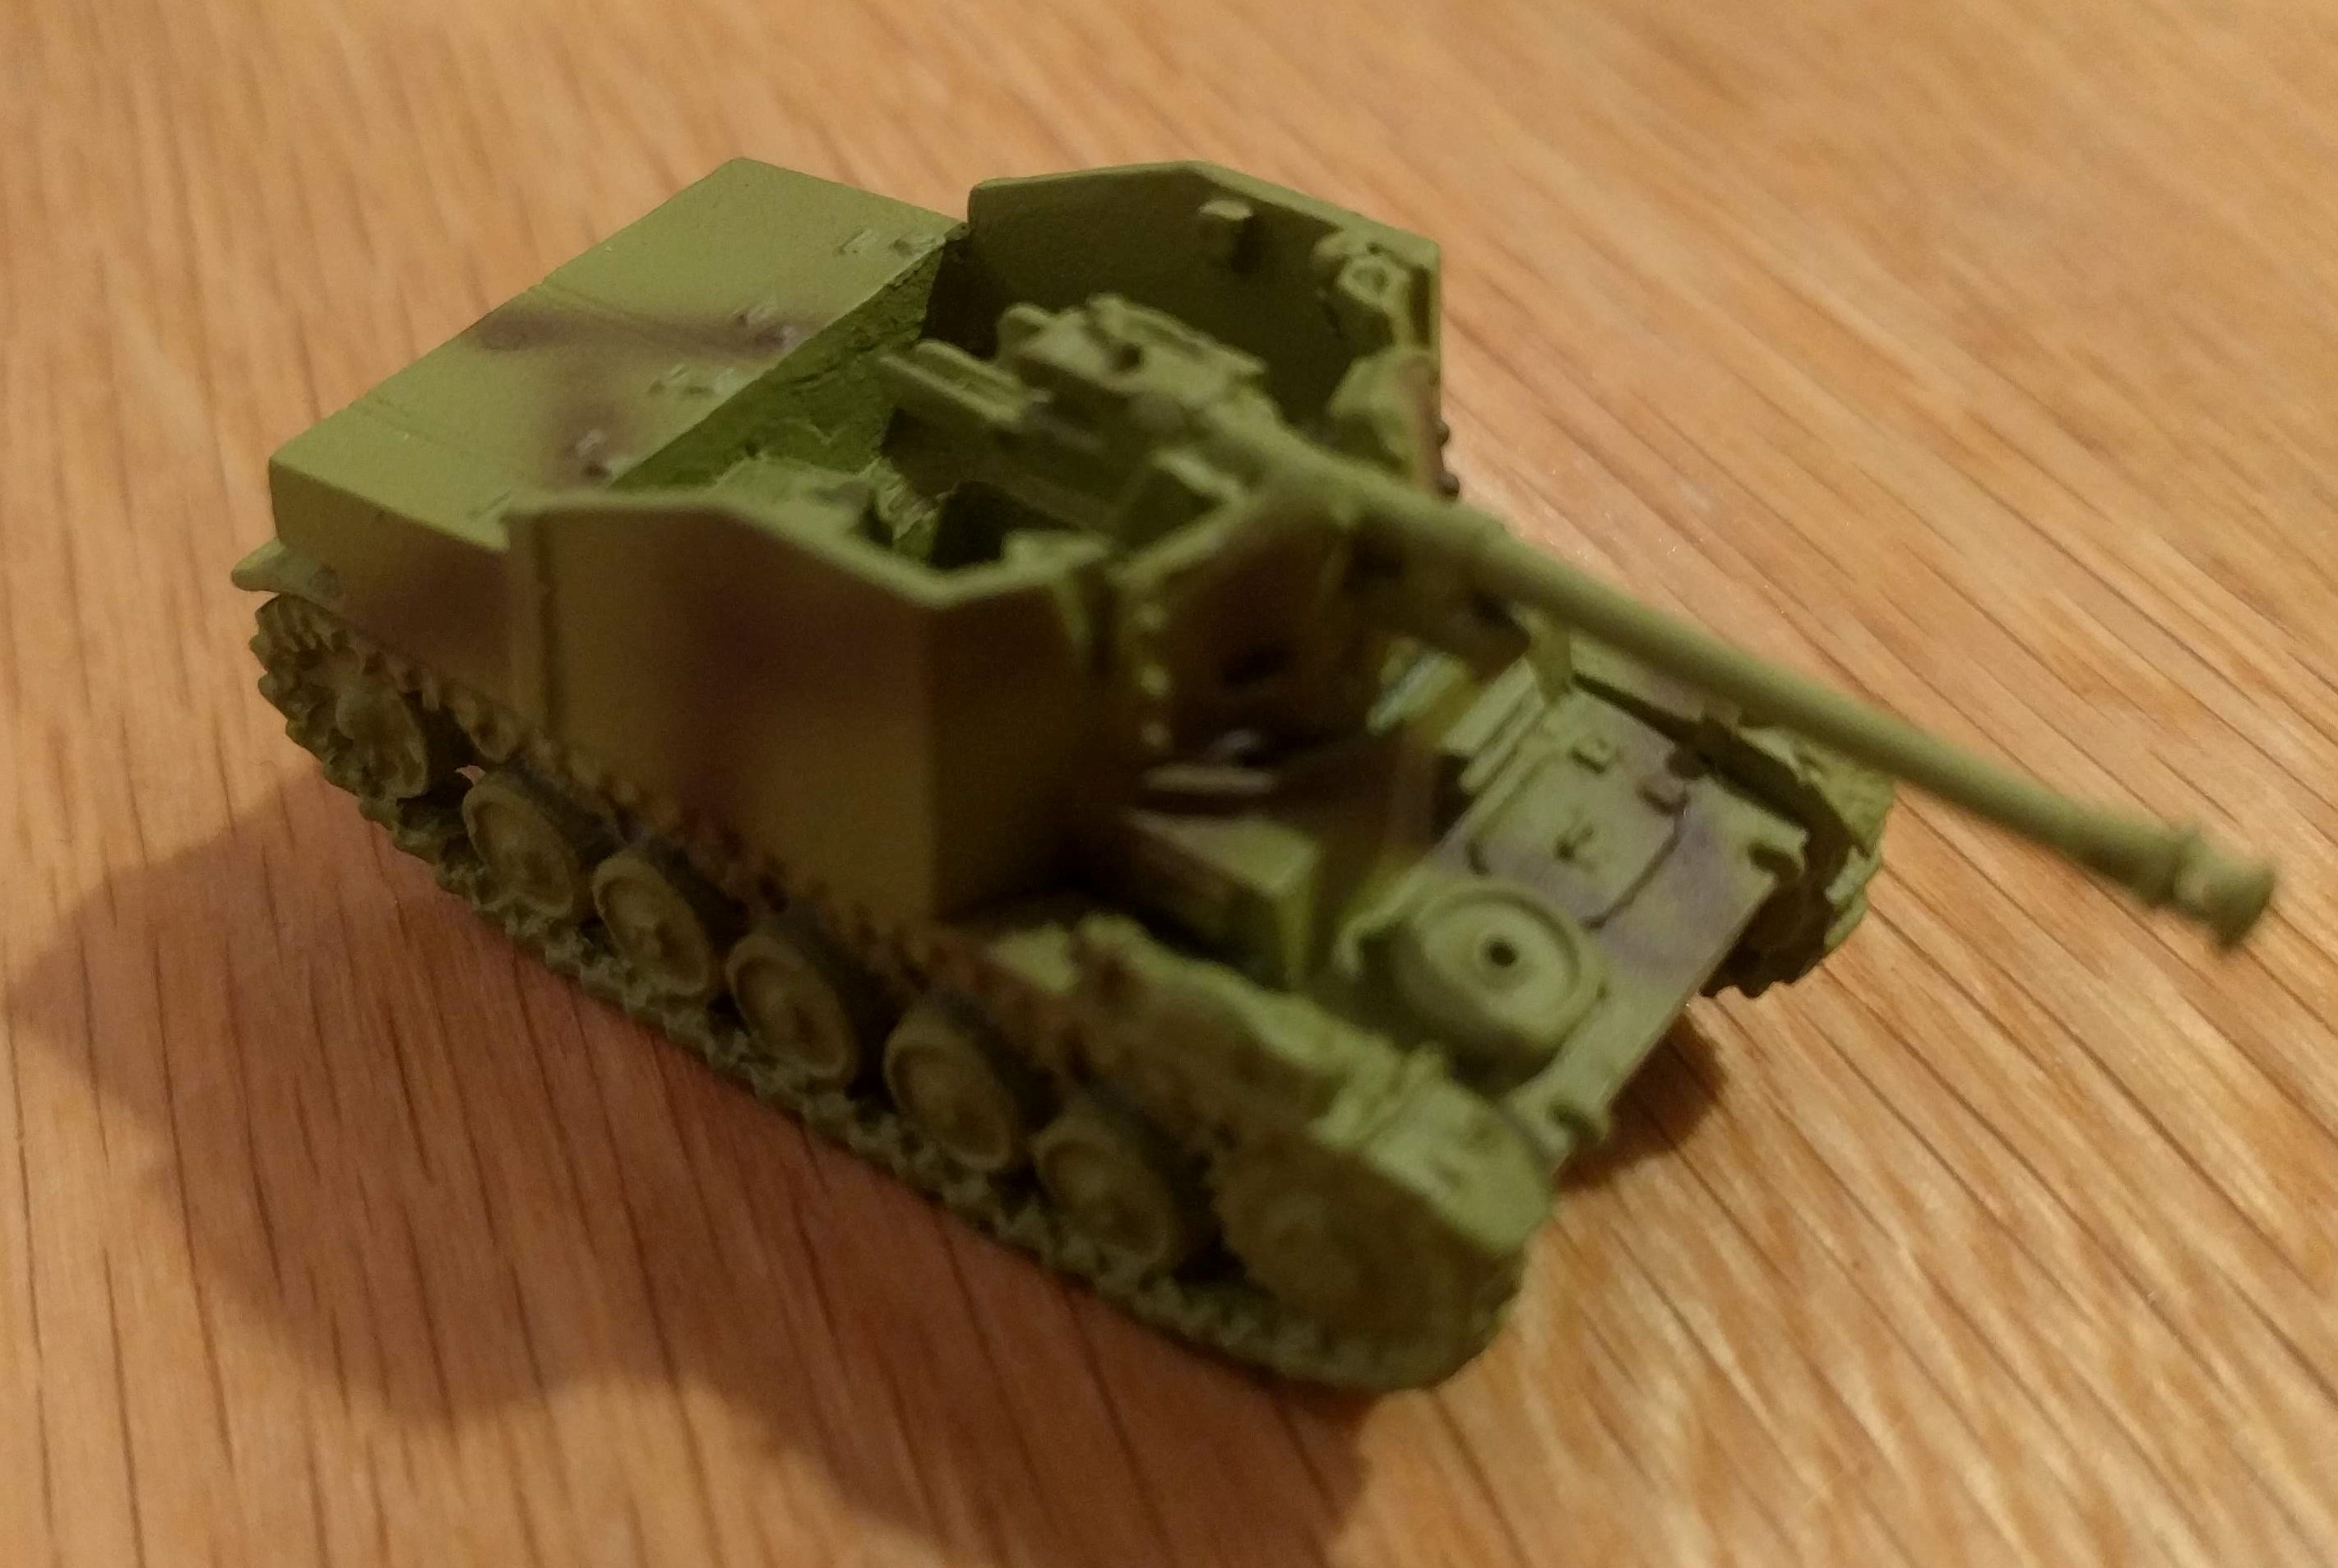
Marder II - Getting it Table Top Ready
After the application of the dip, I applied a matt varnish to make it easier to see the detail (I find Dip a little hard to work with when painting).
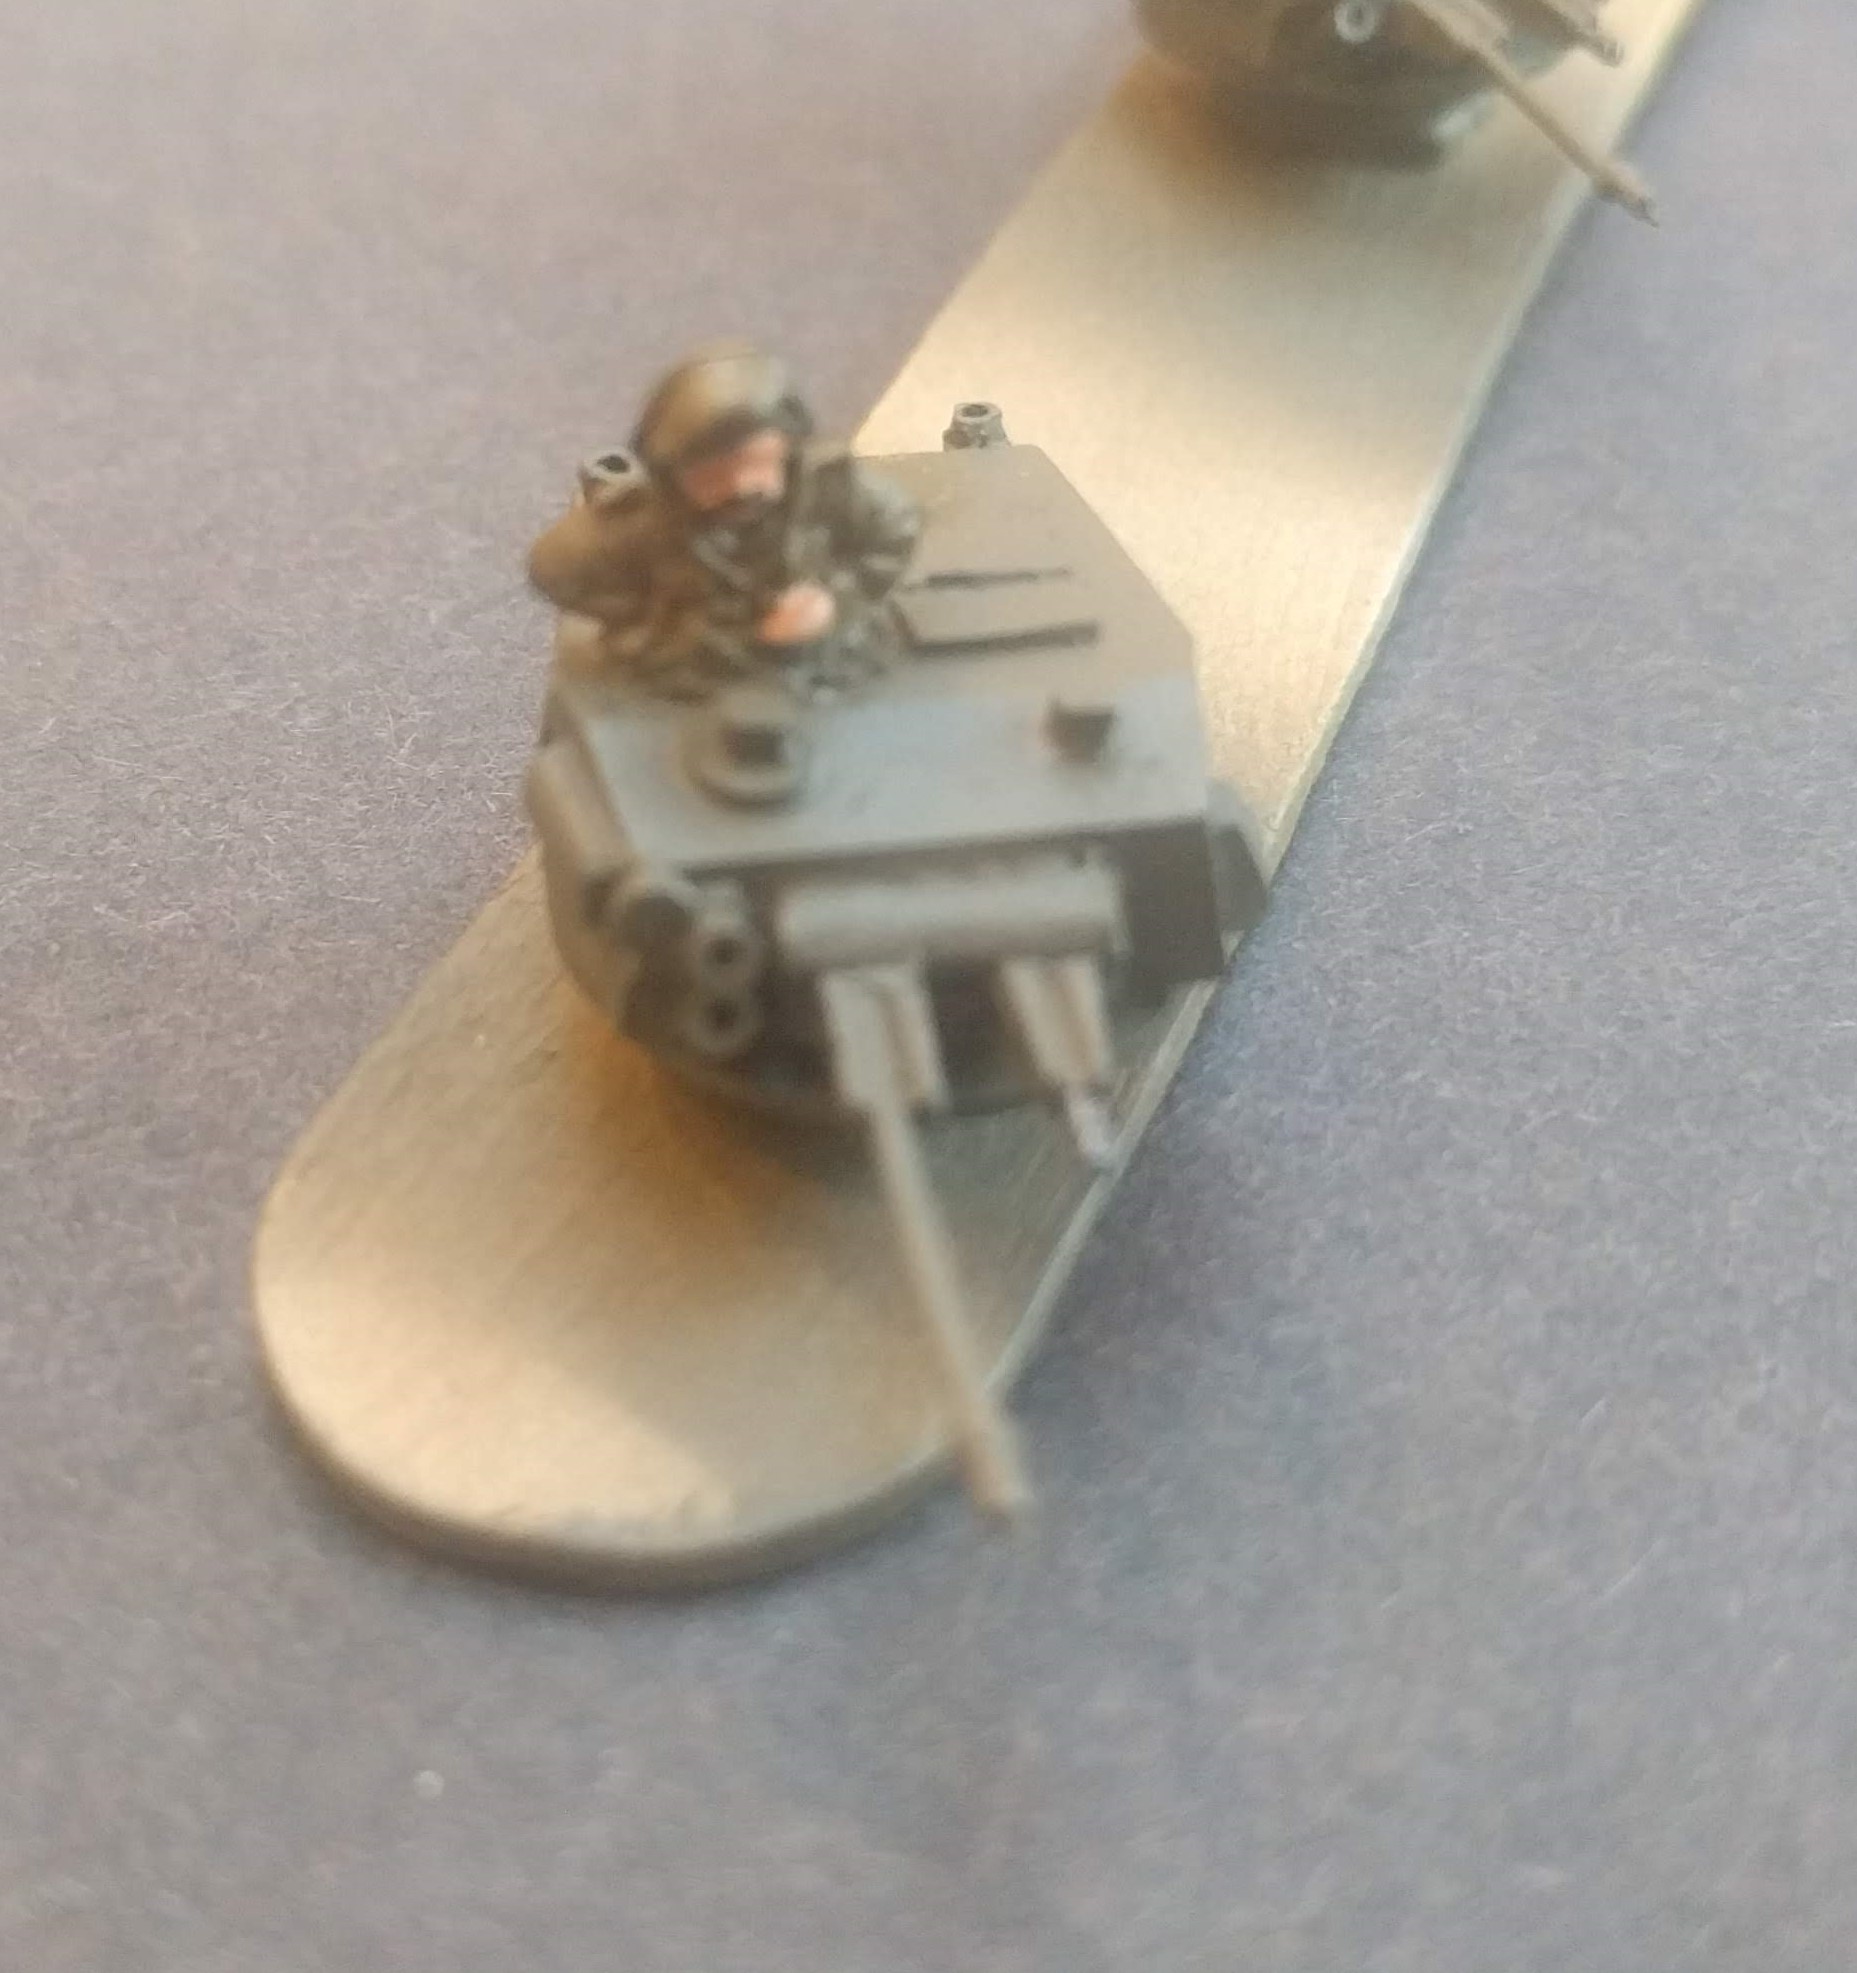
To lighten it up and bring out the edges, I give everything a quick dry brush using middlestone. I’ve then gone in and applied a Panzer Aces rubber to the wheels and glued the crew into place.

I’ve had to pick out some of the tools again as some of the detail was a little covered.
Next up the tracks. I’ve given all of the tracks a base coat of Hull Red. I occasionally use Burnt Umber, both work well. Once dried, I apply a very light dry brush of gun metal, just enough to pick out the edges.
This just about completes things to a table top standard. I may come back to the model latter and apply some chipping and once I have a few more models to this stage, I’ll mix up some mud and apply this to all of the models at once. So for now, the Marders are complete and I can get working on something else – probably some vehicles for the Allies.
 Completed Platoon
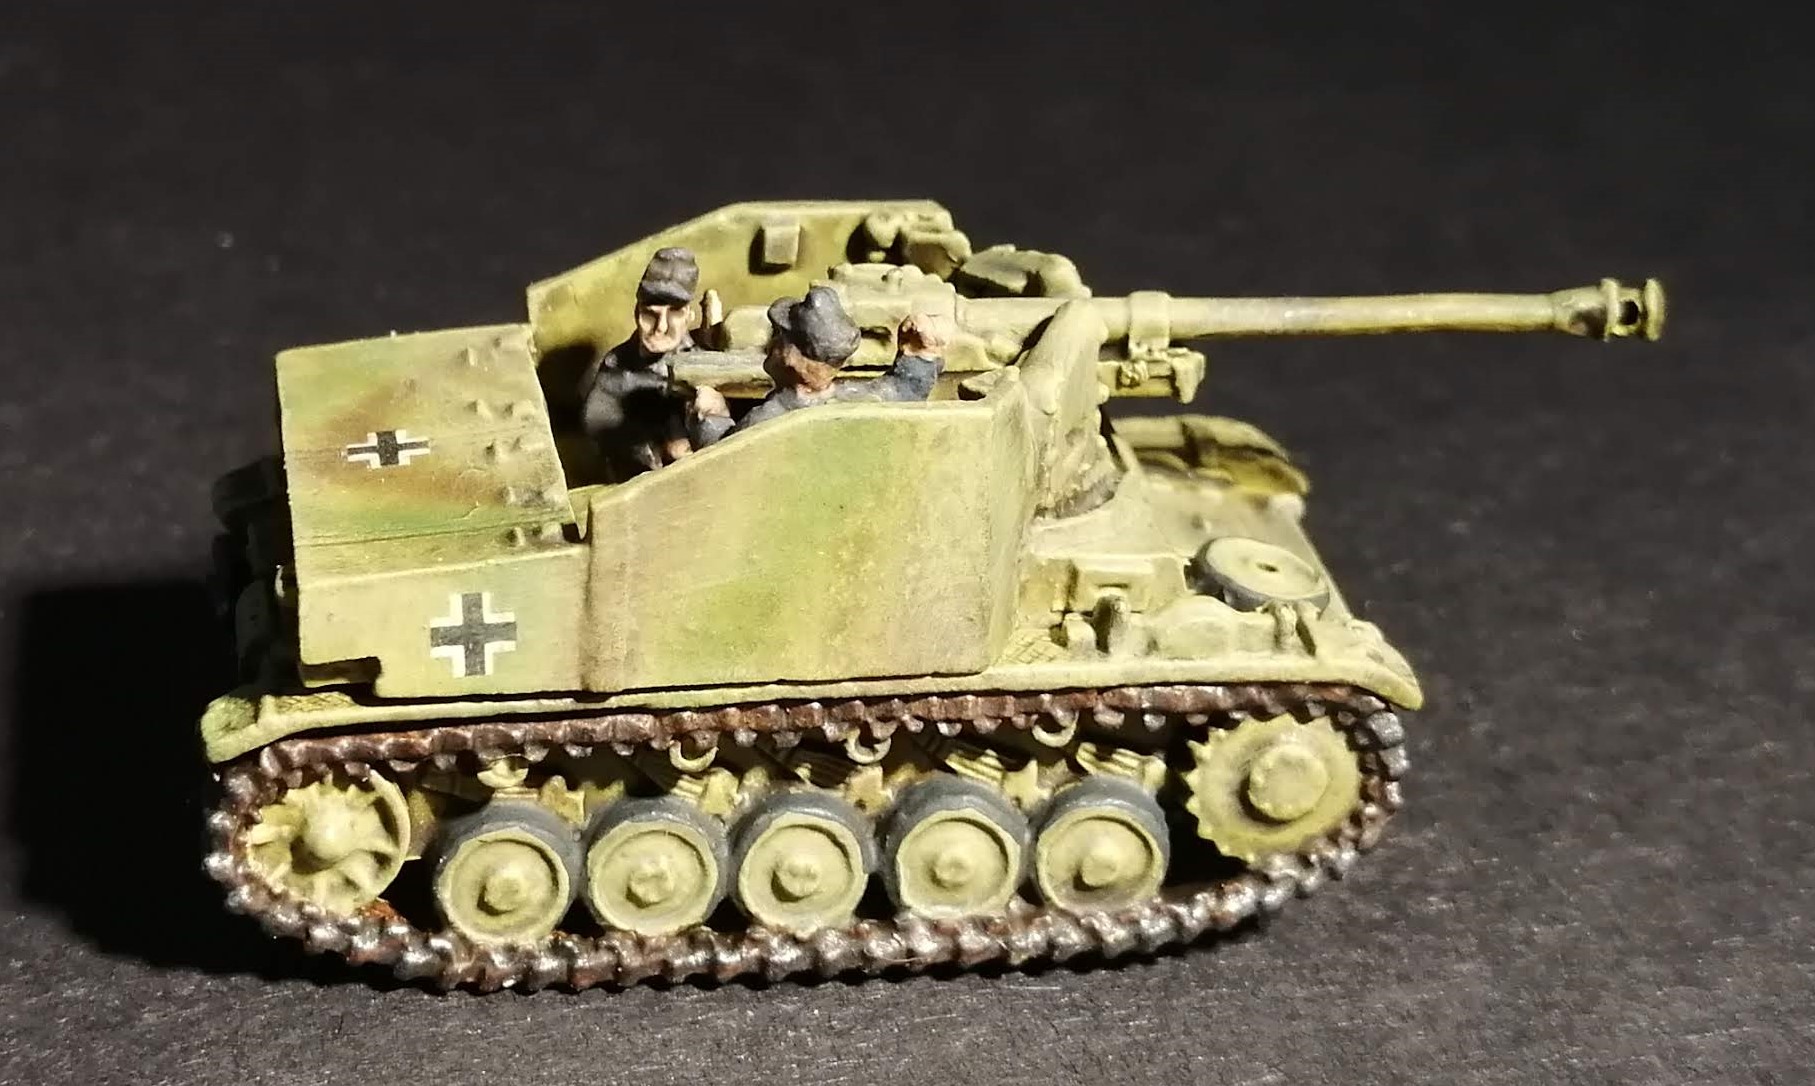
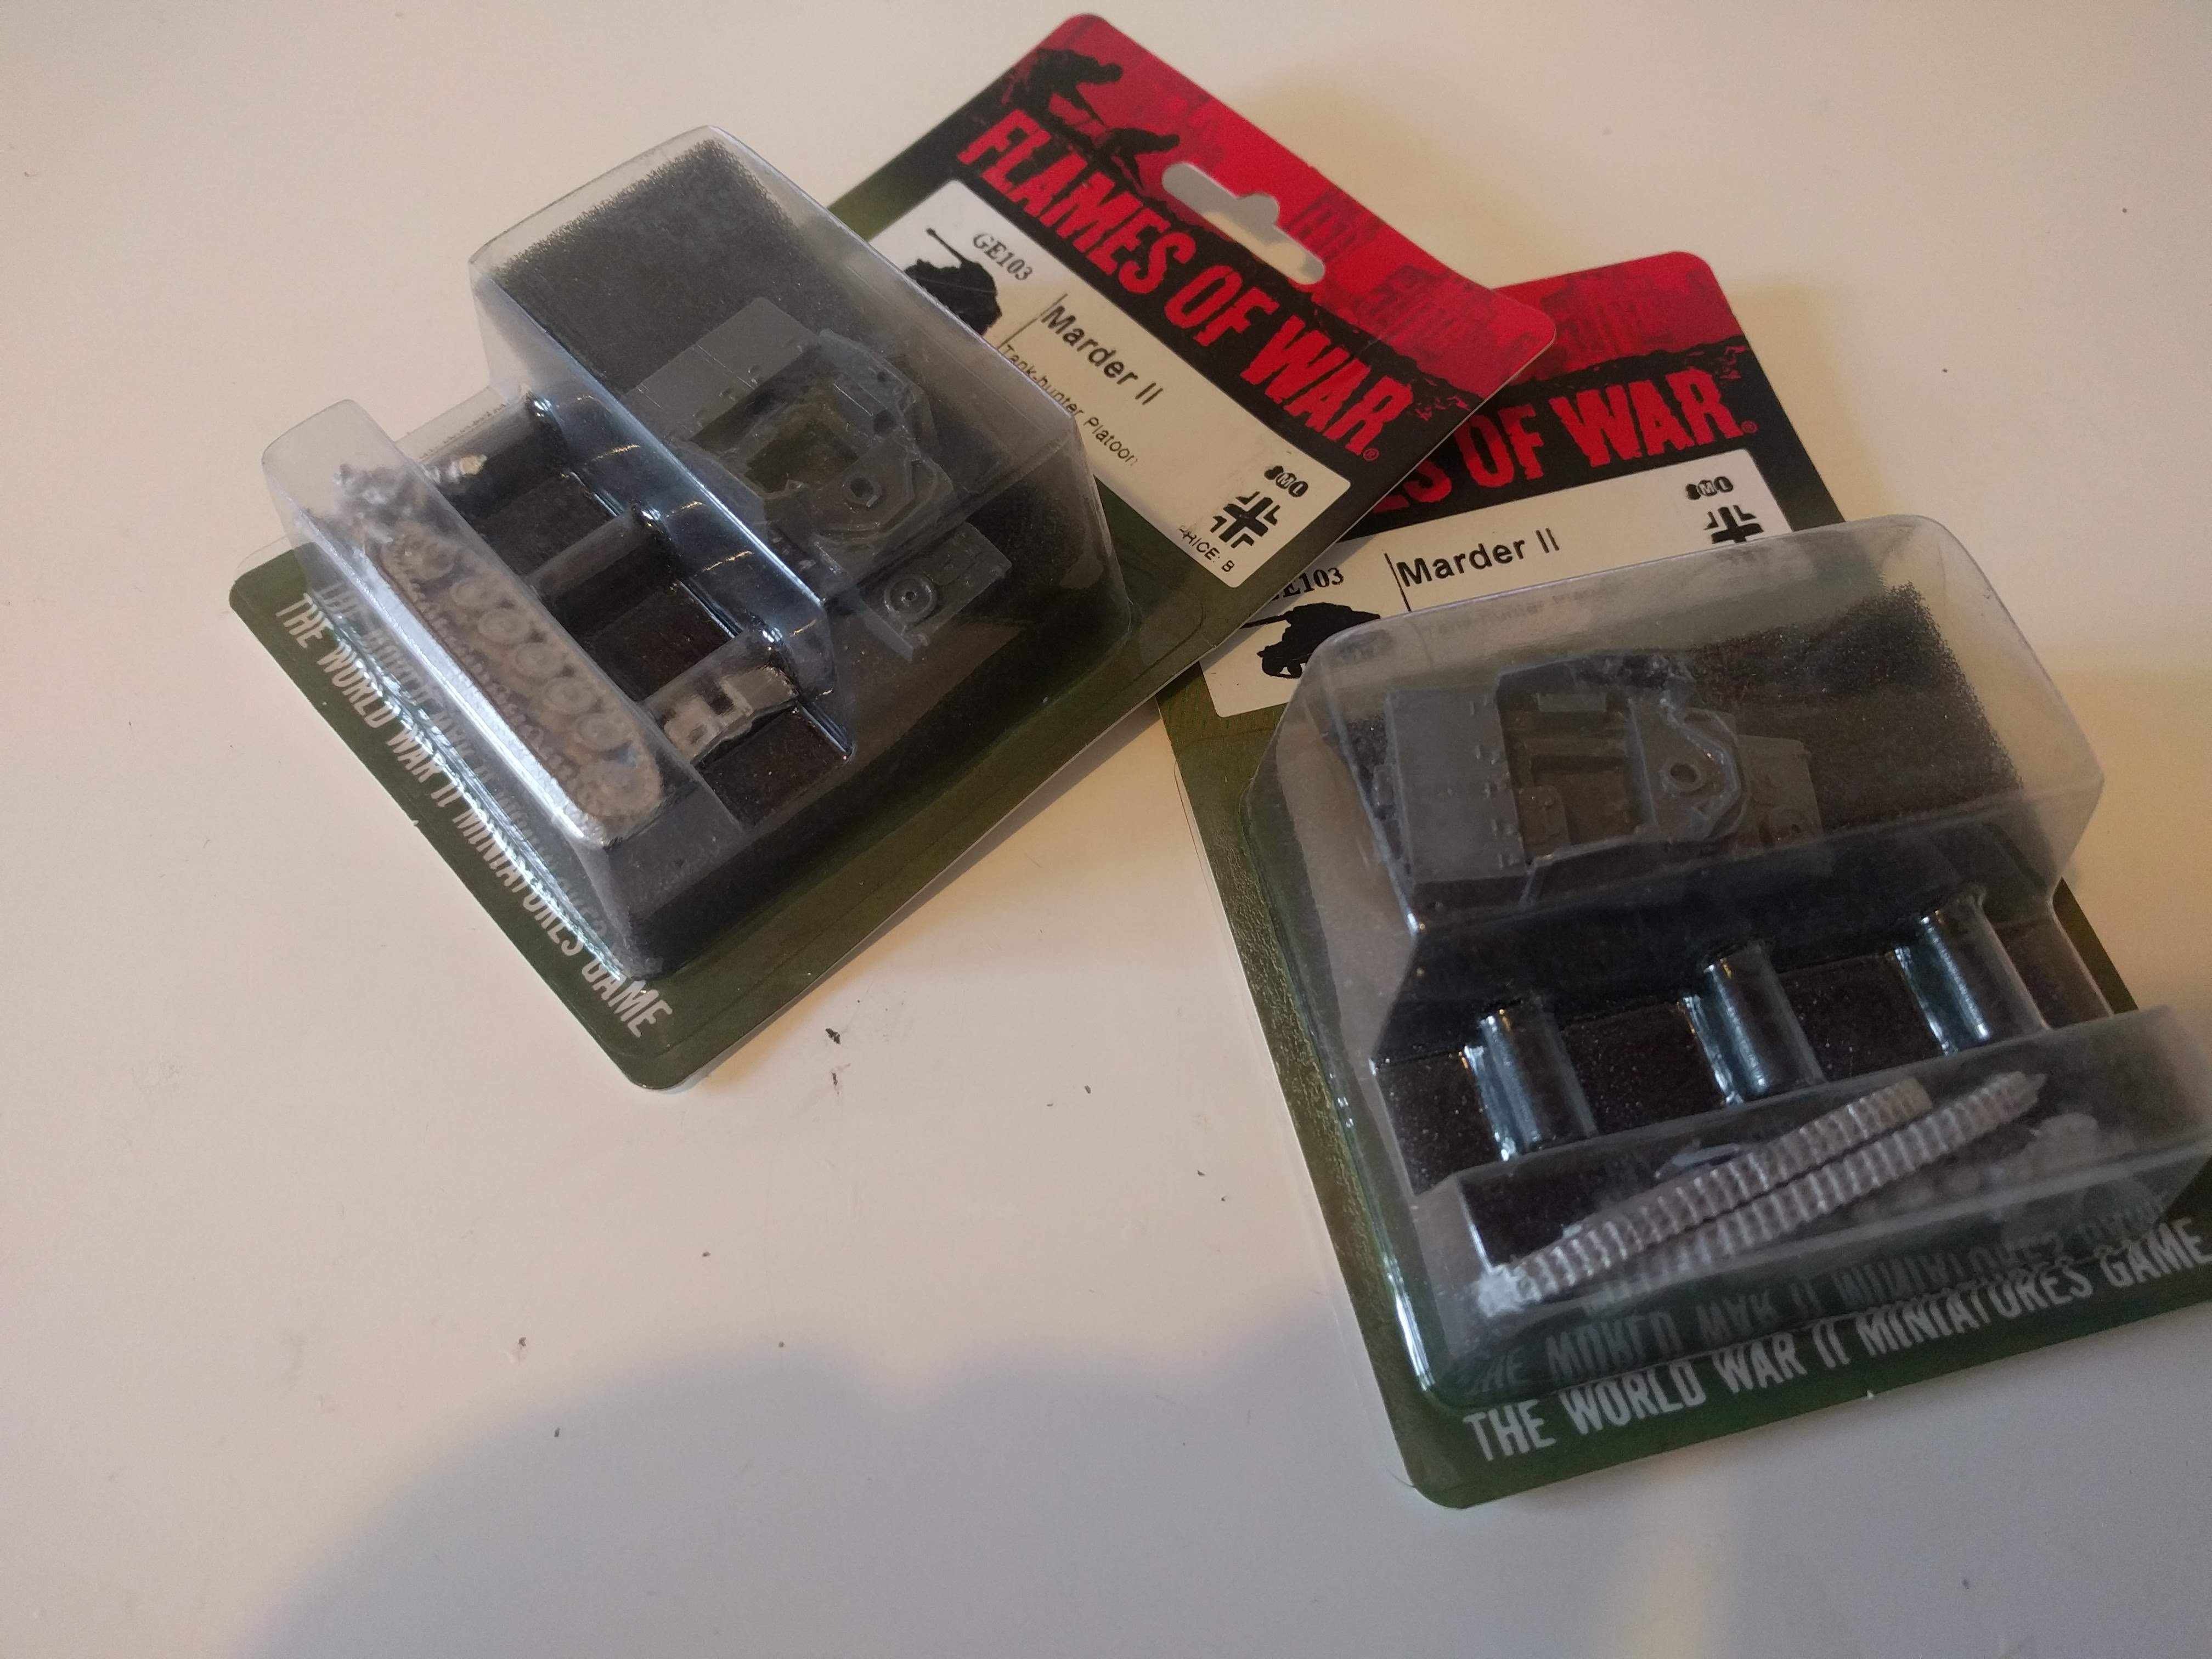
Marder II - Building and base coat
After painting a lot of infantry, time for a change of pace. My Fallschirmjager need some heavier stopping power so I’m looking to put together some Marder II. These should be a match for most Allied armour (except maybe the Churchill VII!)
As you can see from the pictures below, the models are resin and metal – not my favourite combination as I always seem to have problems getting the resin parts to stick properly with the metal parts. But, I tend to stick green stuff in between the two with superglue and push hard. The green stuff gets into the gaps and increases the surface area and seems to hold much better. It also helps fill in any visible gaps.
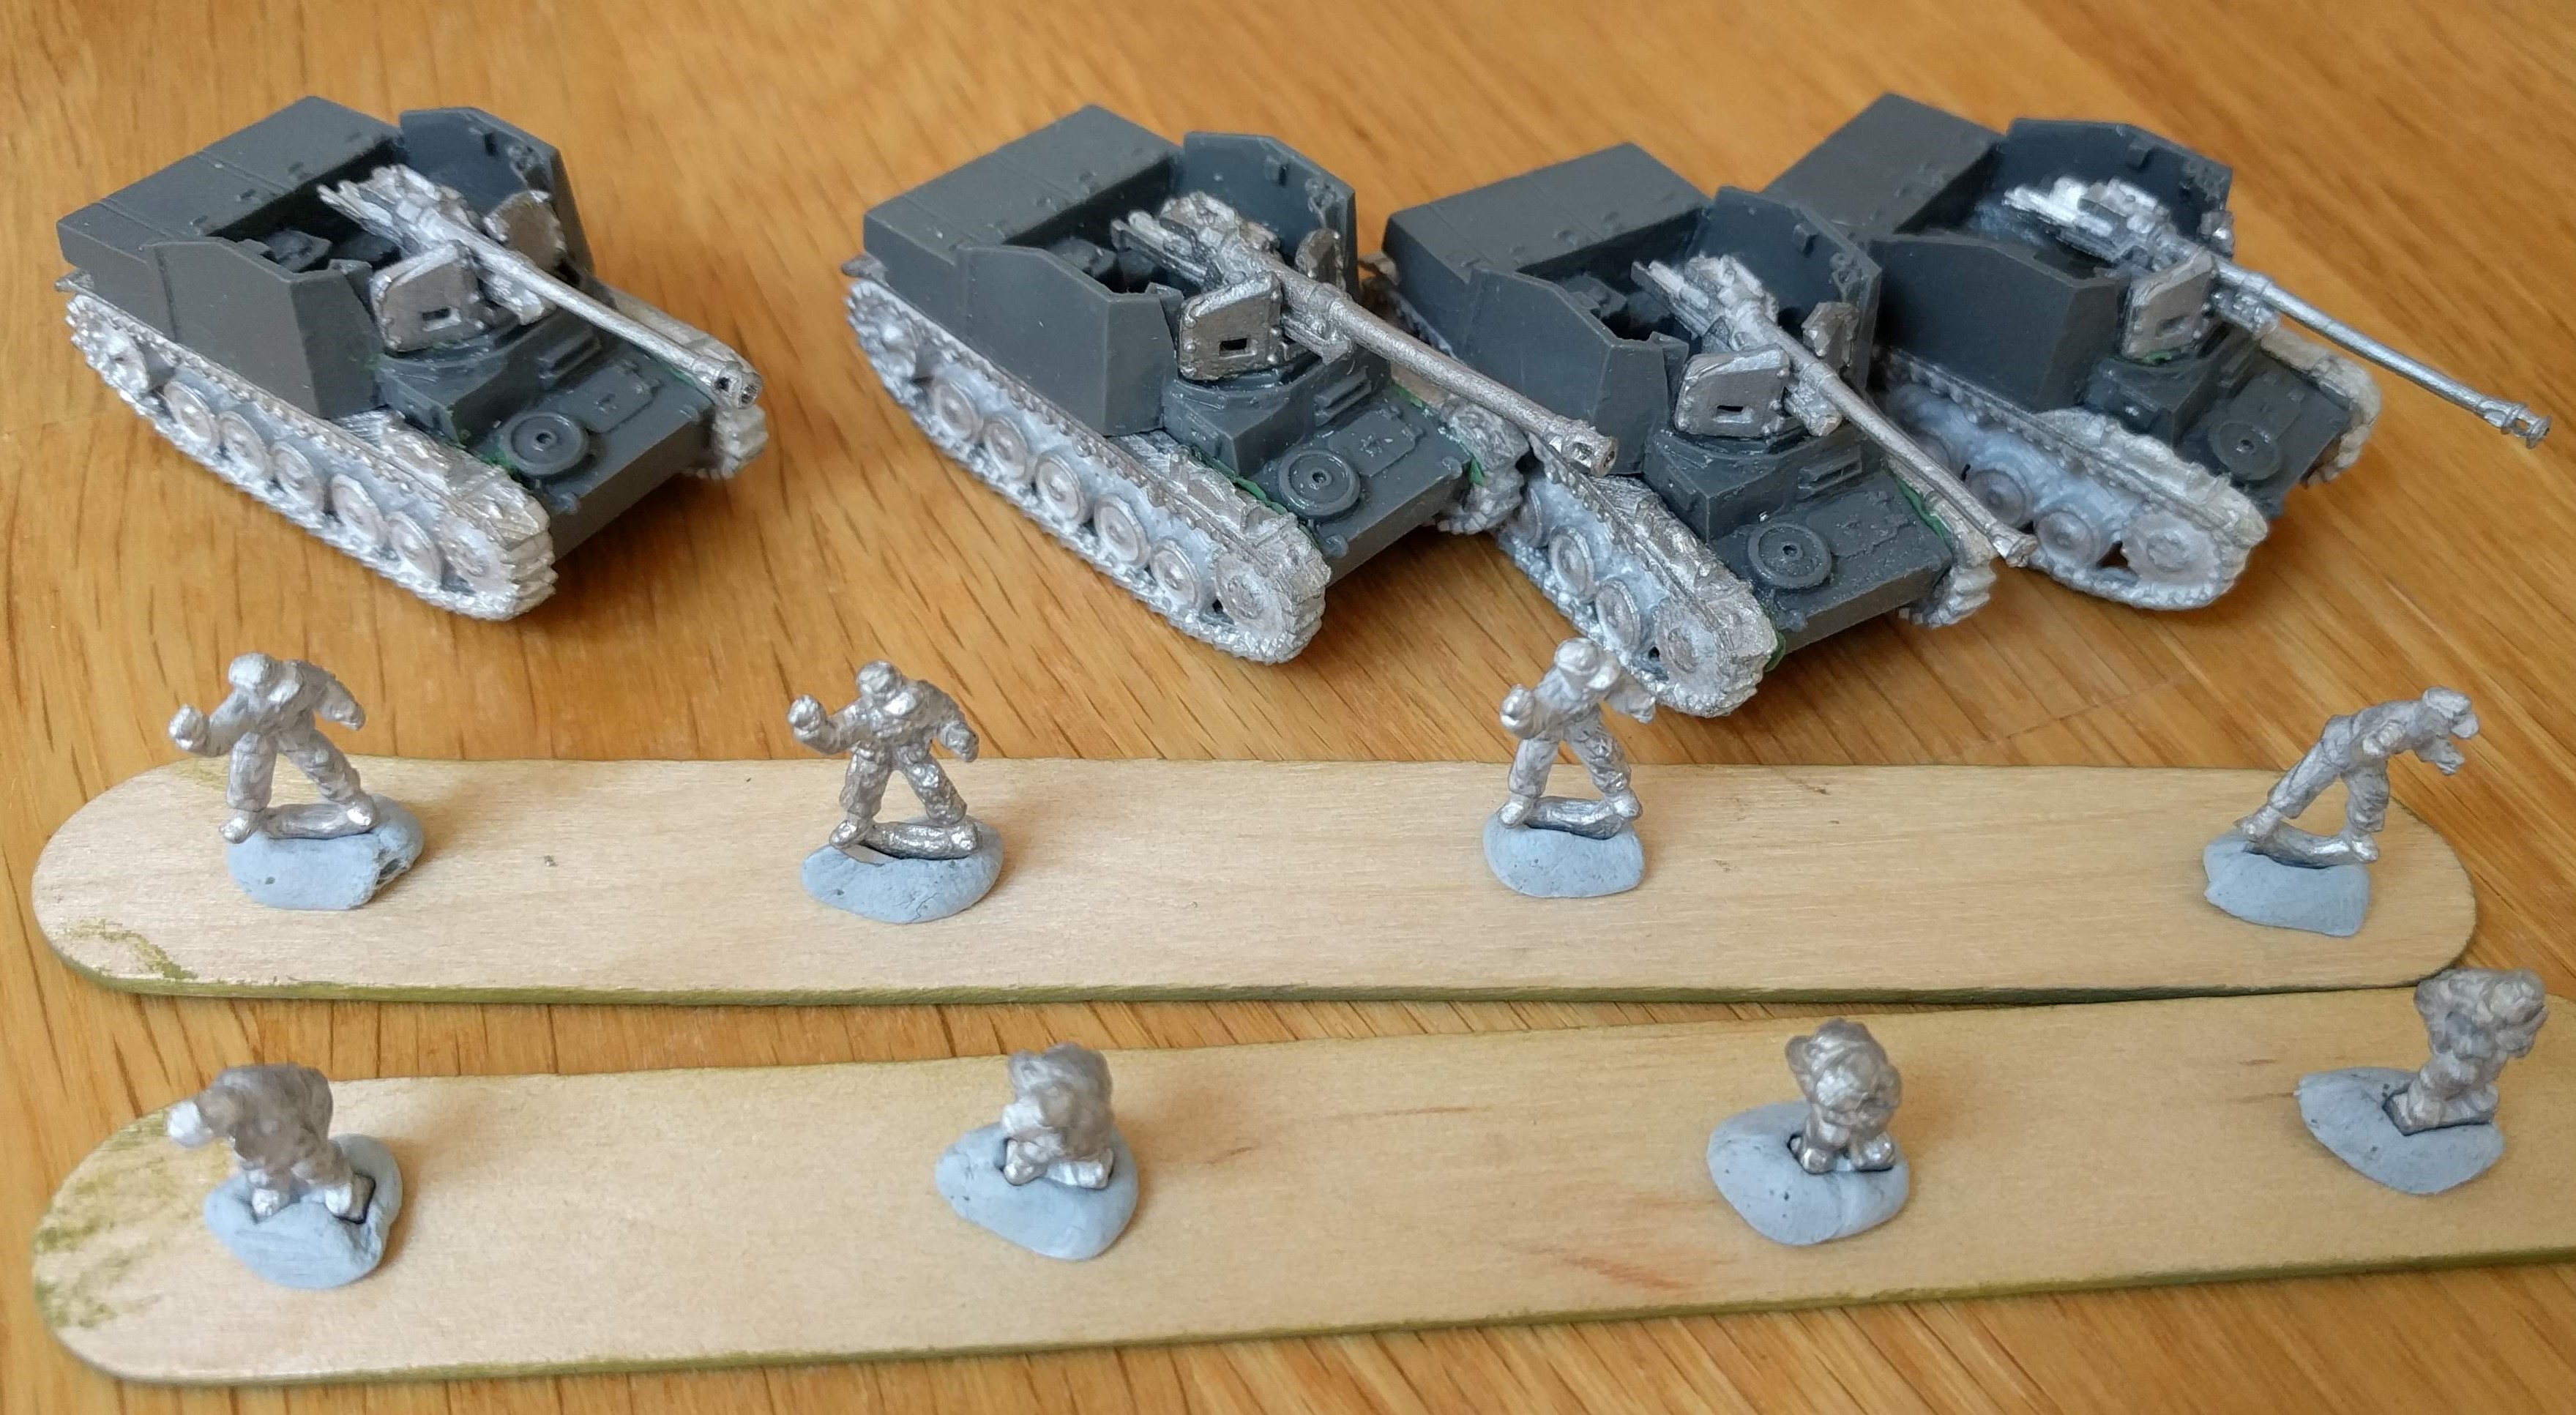 Models ready for priming
Having seen the abuse that John has received for not drilling out gun barrels, I’ve gone ahead and drilled mine out. One had a mini disaster and the muzzle break sheared off but we can just call this battle damage.
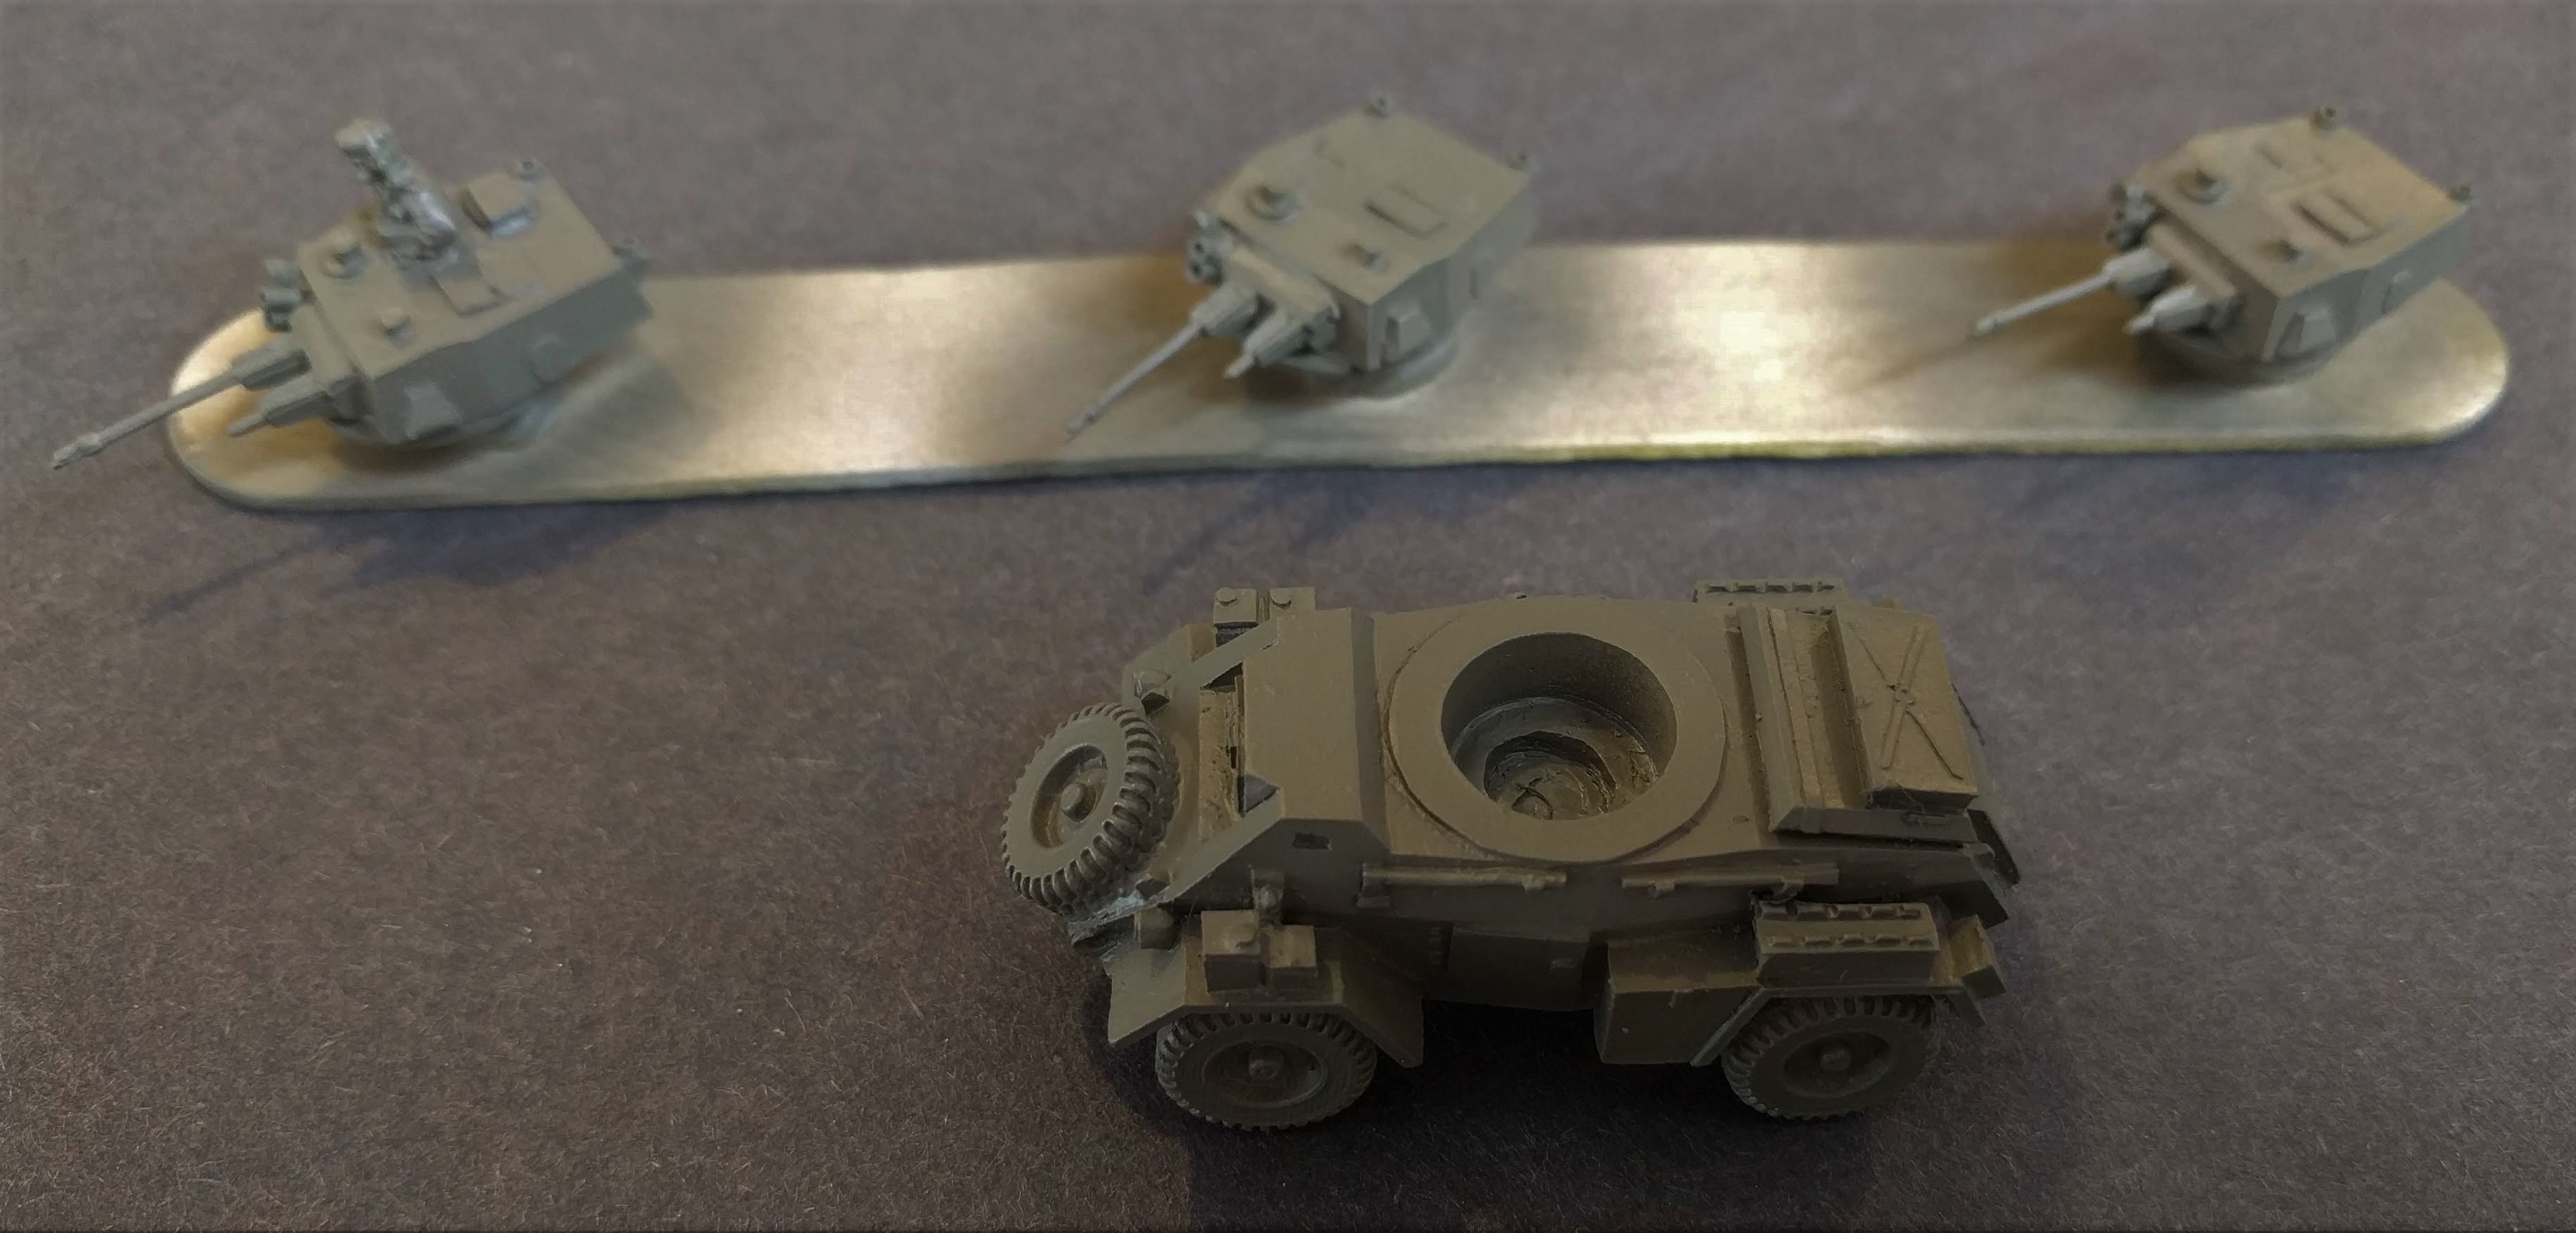
I primed using the Vallejo air brush primer and then gave everything a coat of Dunkelgelb. For cammo, I airbrush on lines of medium brown and then reflective green.
 Cammo pattern going down (just the brown before the green)
I’ve then painted the tools (flat earth for the wood, gunmetal for the metal) and there wasn’t much else to do for base colours. I always leave the tracks until after the next step.
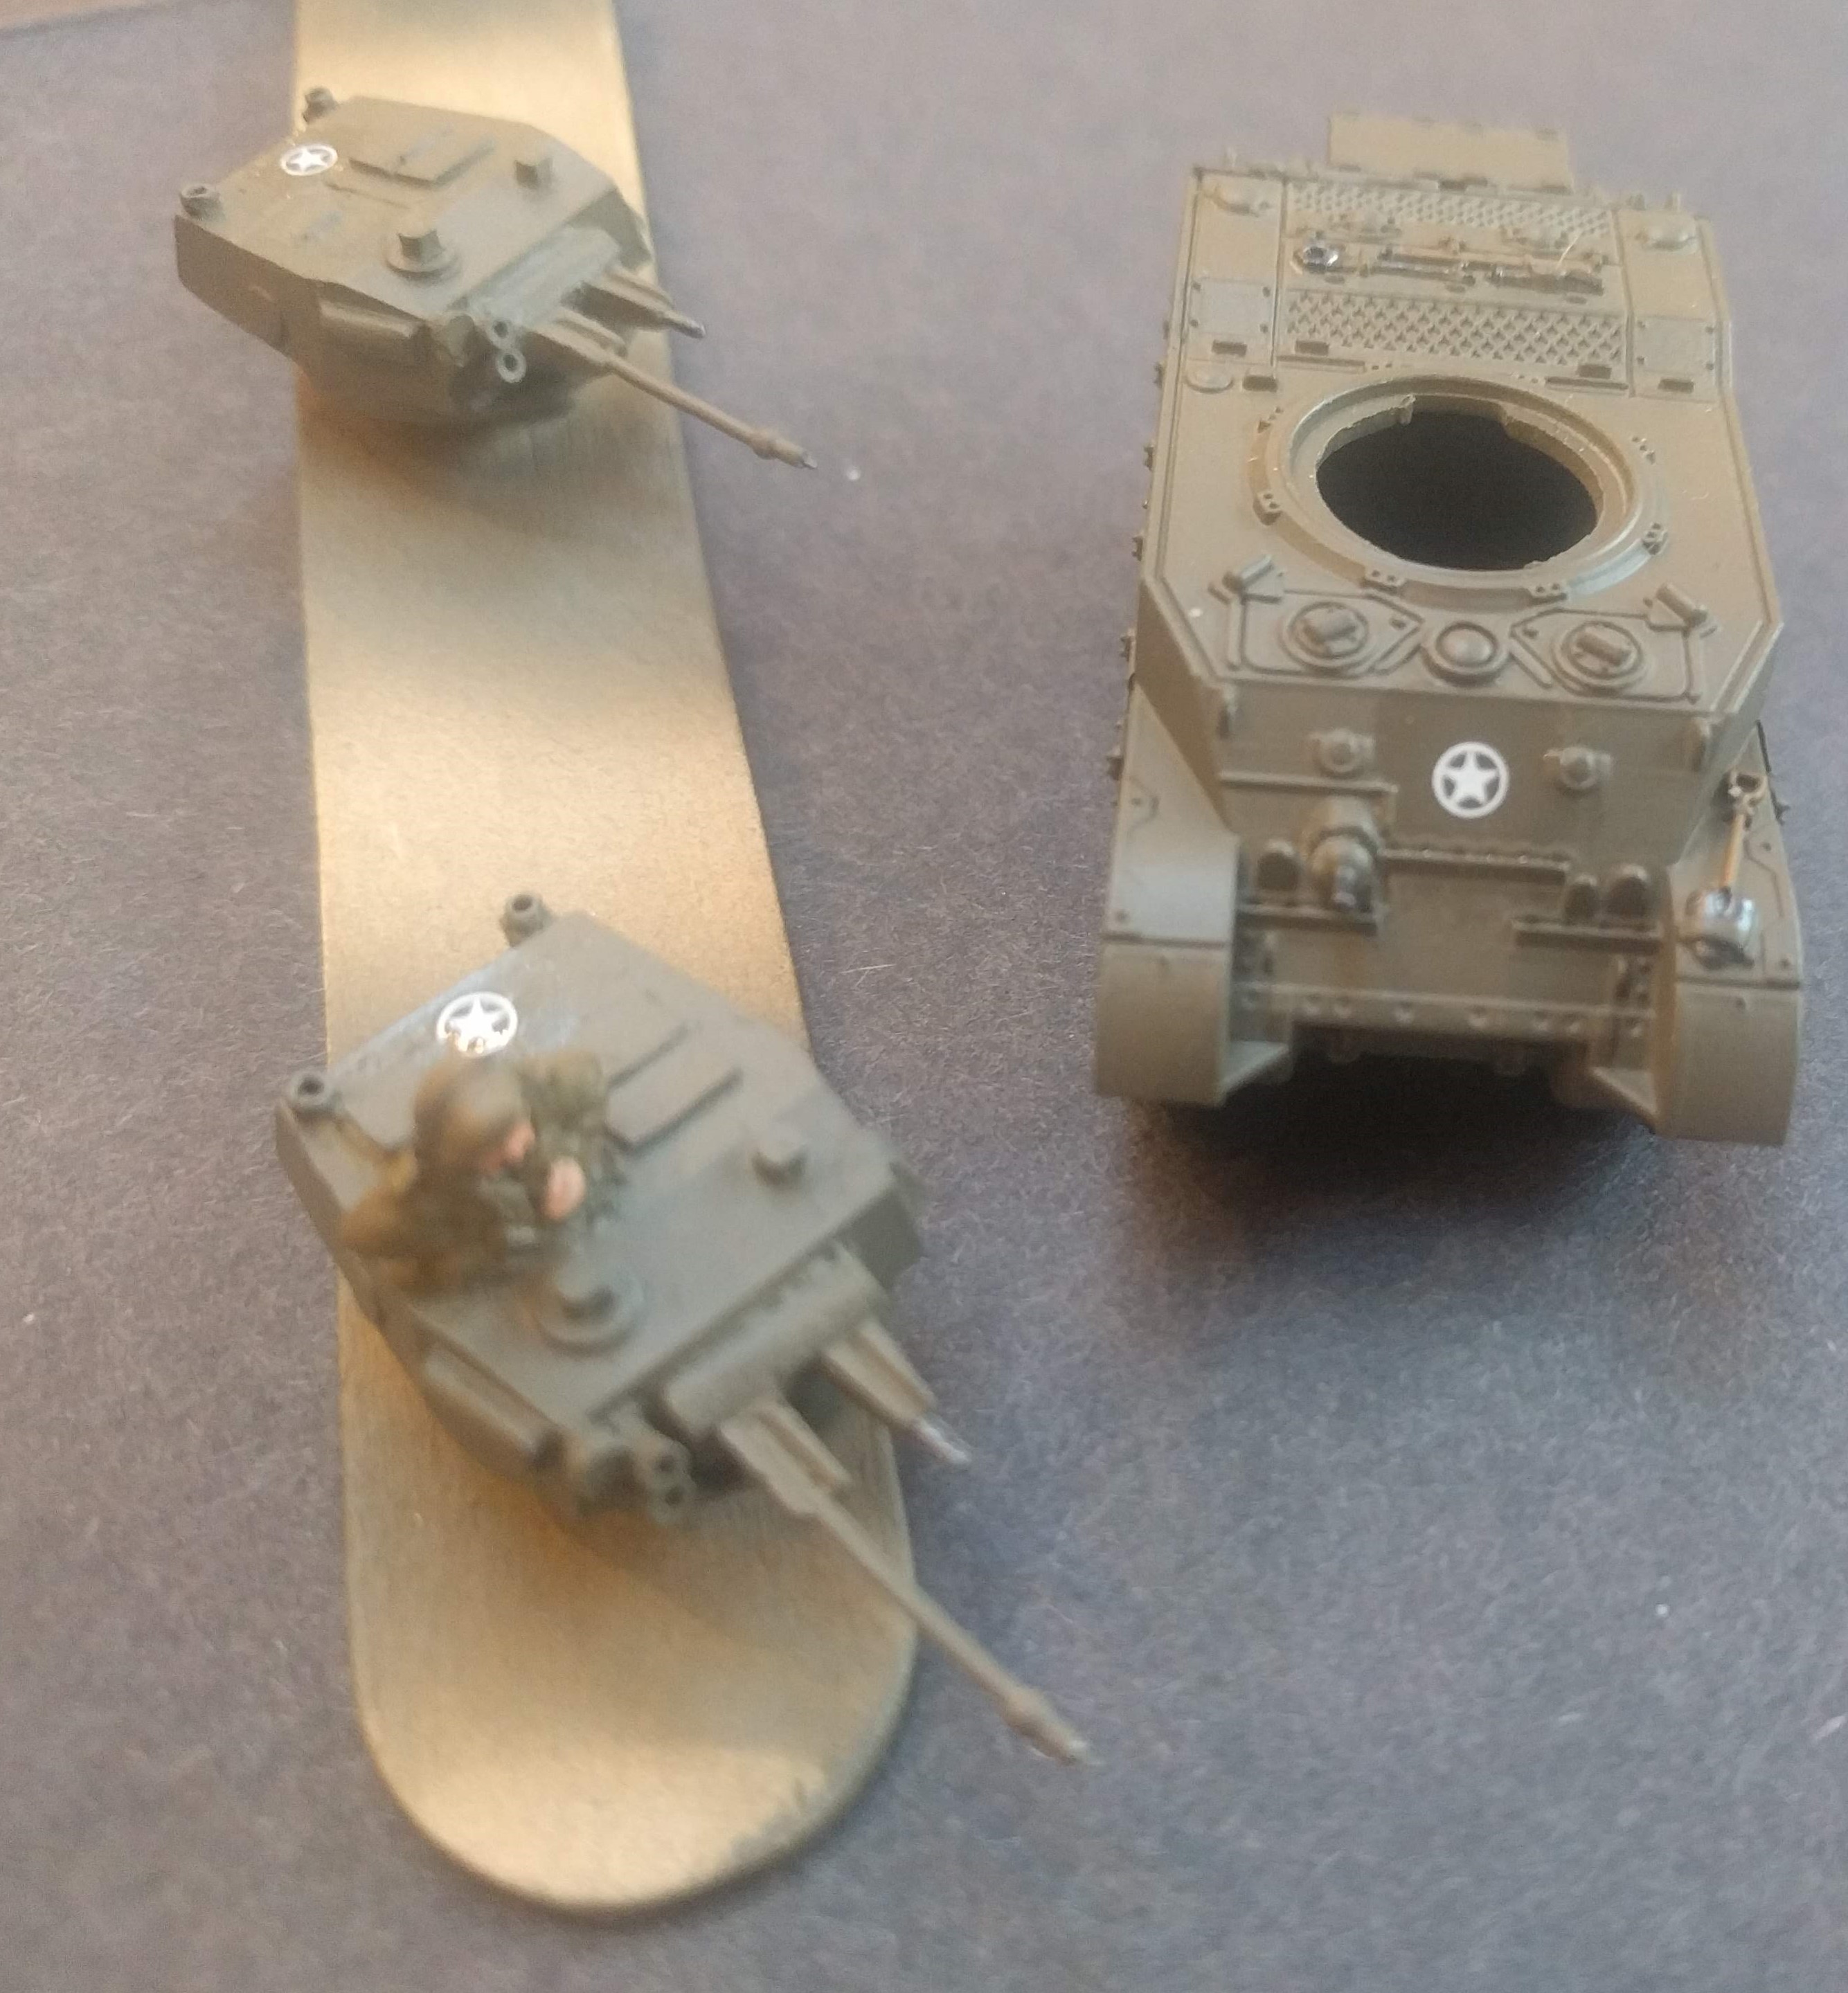
I’ve just gone for some simple German crosses on the transfer front. I’ve applied using decal fix and then, once dry, applied a gloss varnish over the top to protect the decal but also to stop the edge of the decal being visible.
I’ve then given the whole model a brushed on coat of strong tone dip and left to dry.
 Dip applied and now dried
I’ve also painted up the crew separately (and lost the photos). For these, I just went with Luftwaffe grey and barbarian flesh, then applied the dip. Left to dry and then a matt varnish.
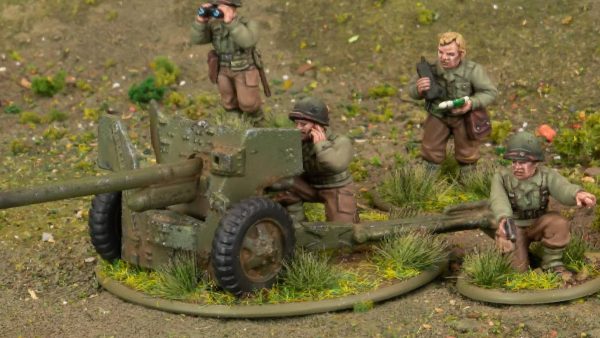
Commonwealth Infantry - finishing them off
I decided that adding a few bushes to the bases would truly finish them off. To do this, I watered down some PVA 50:50 and added a mixture of clump foliage. Once this had thoroughly soaked through, I applied to the bases where I felt necessary.
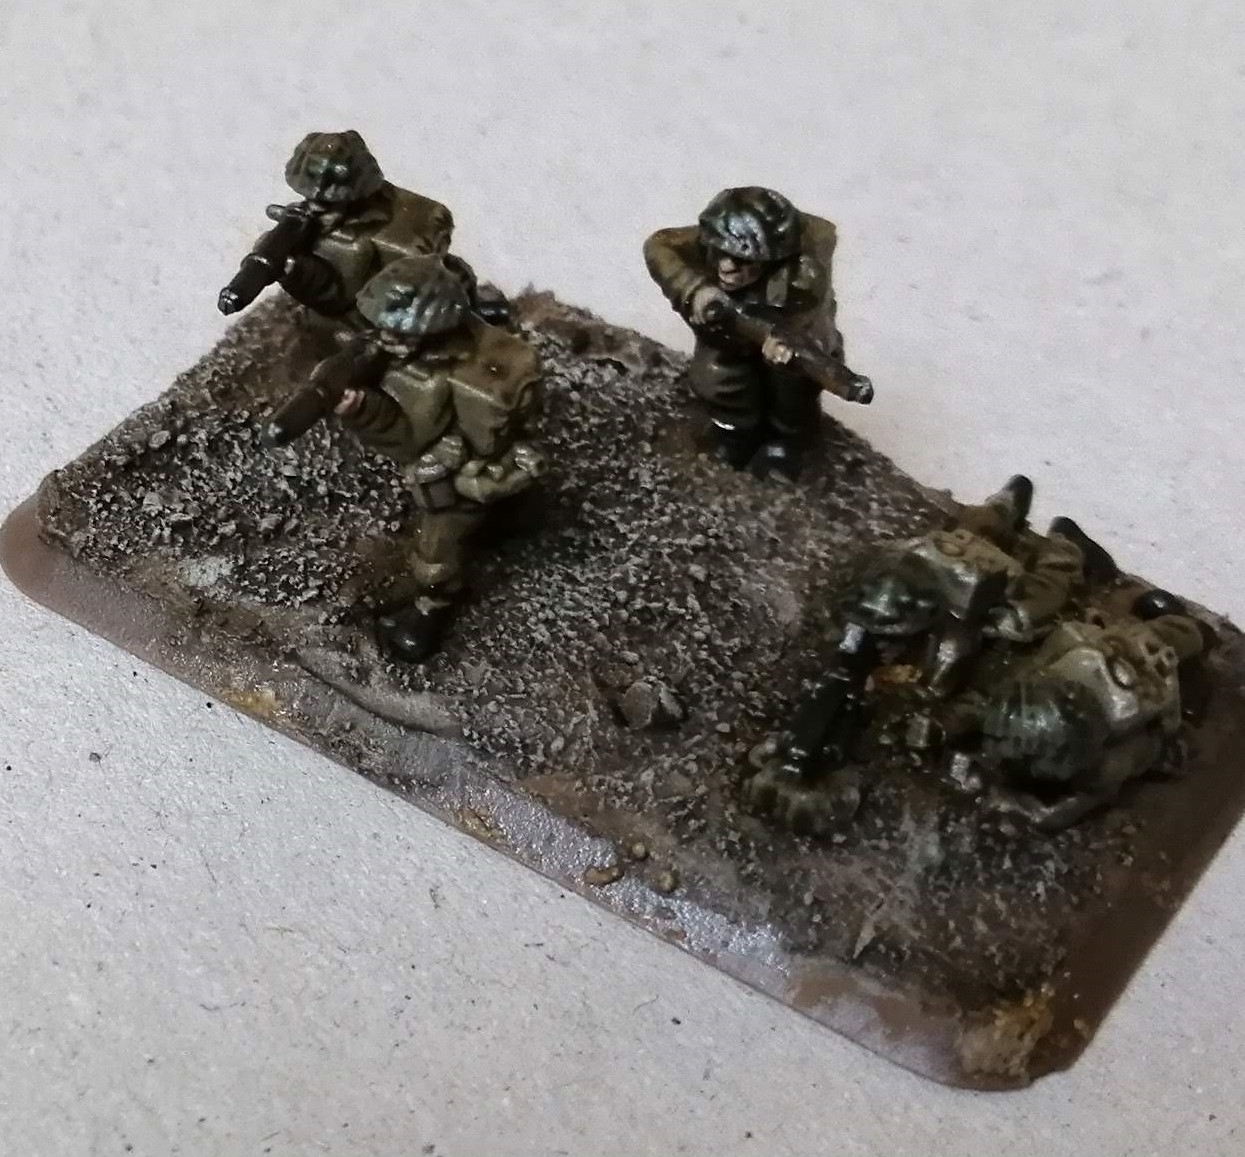
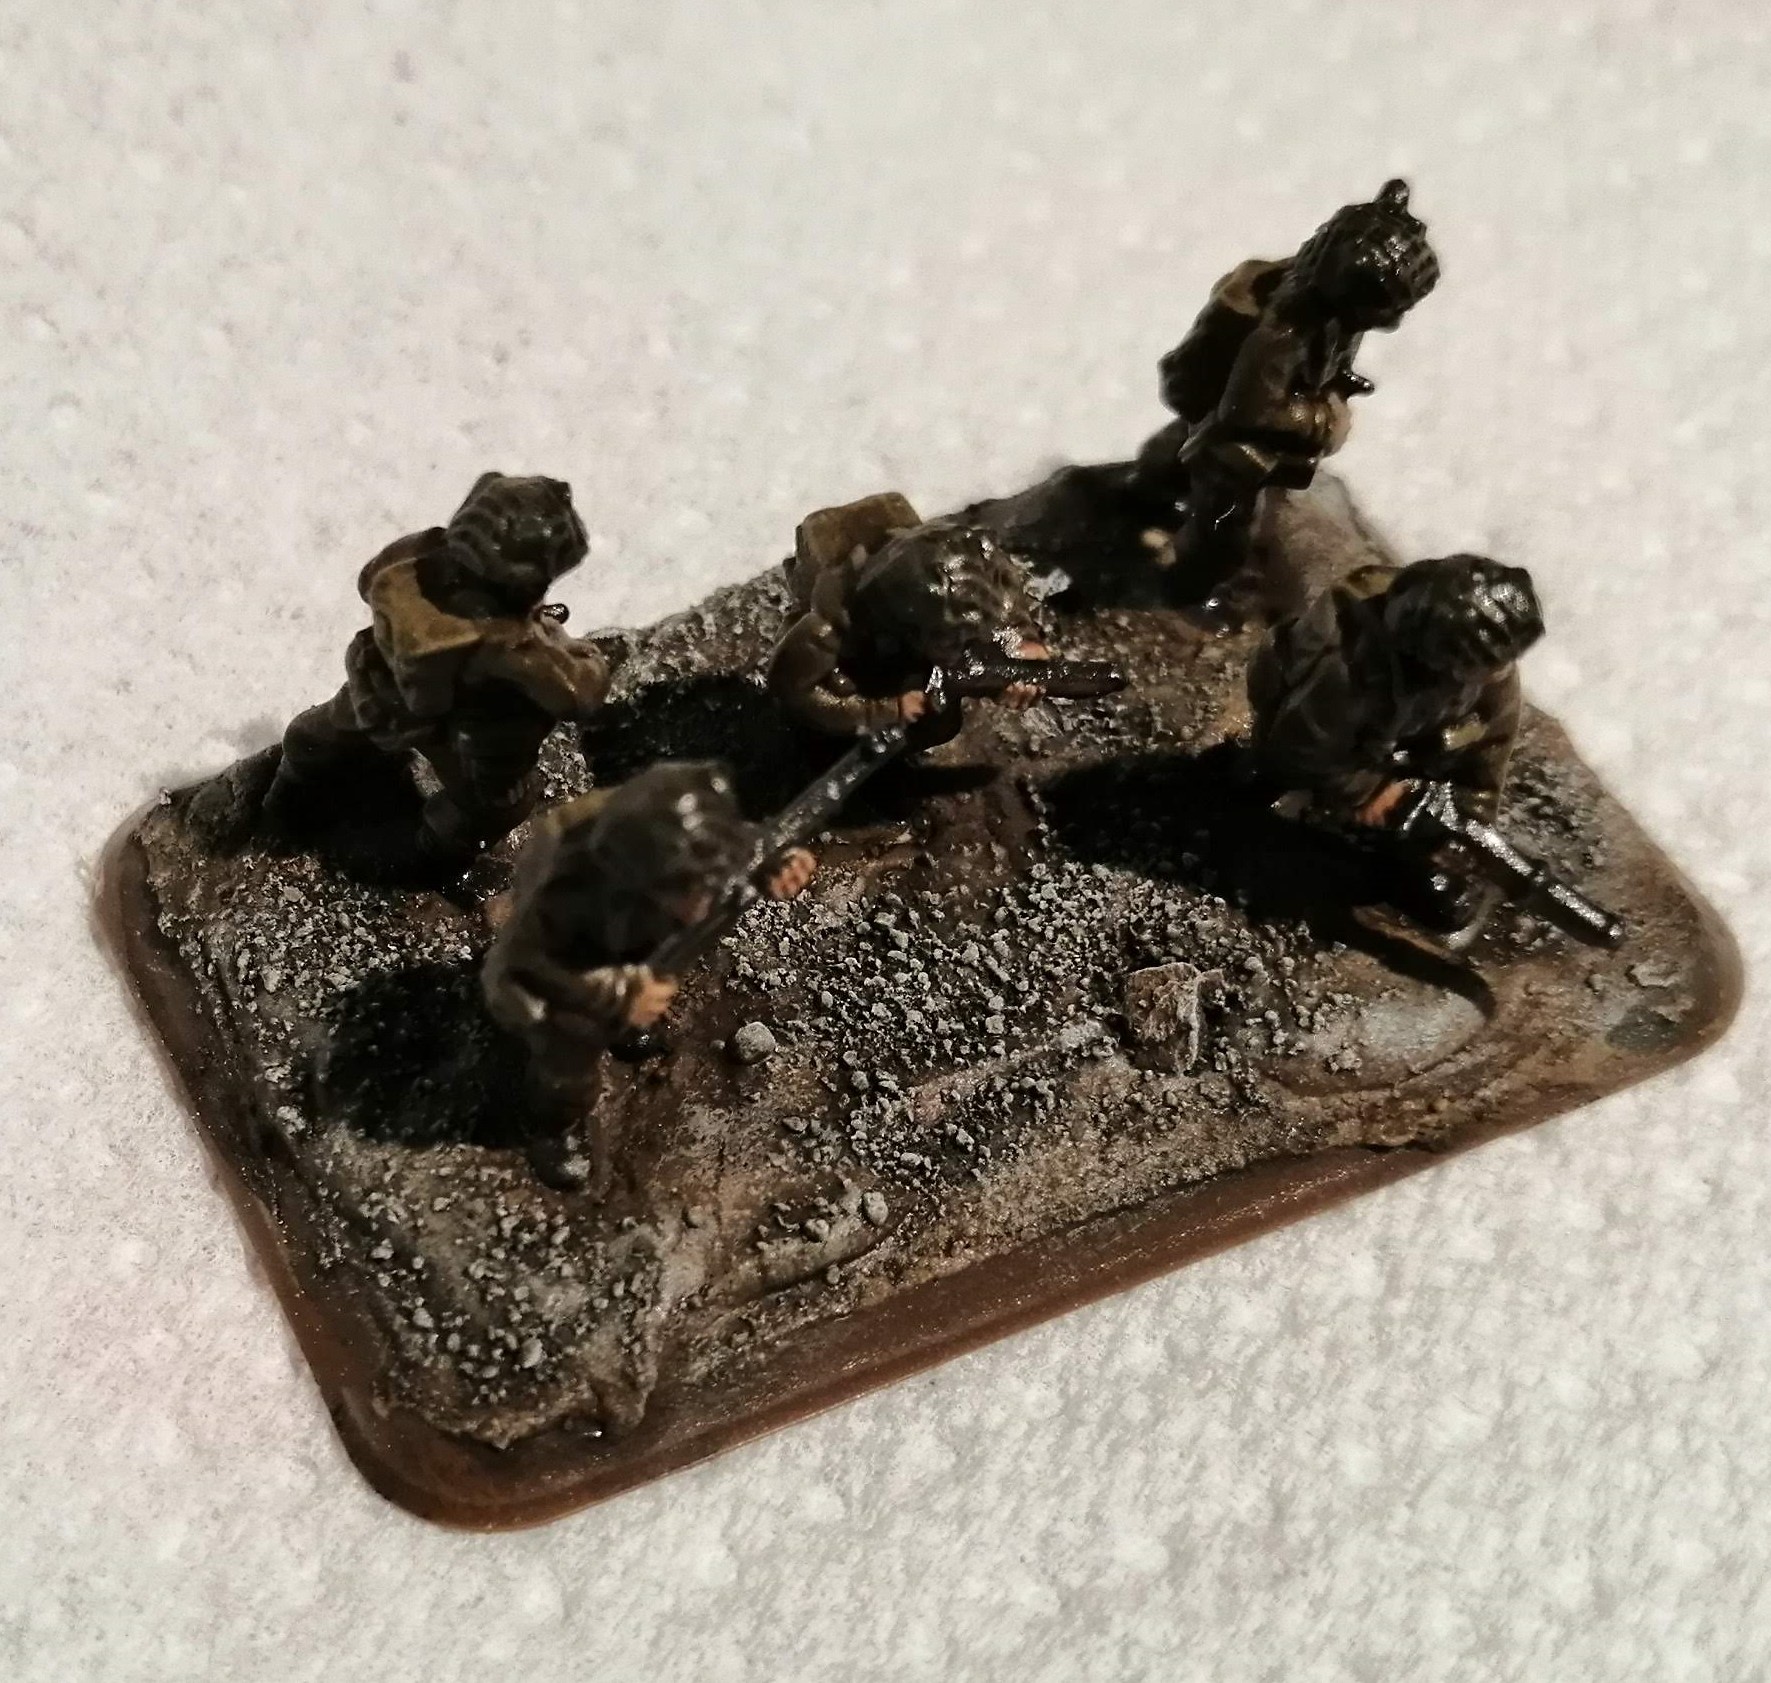
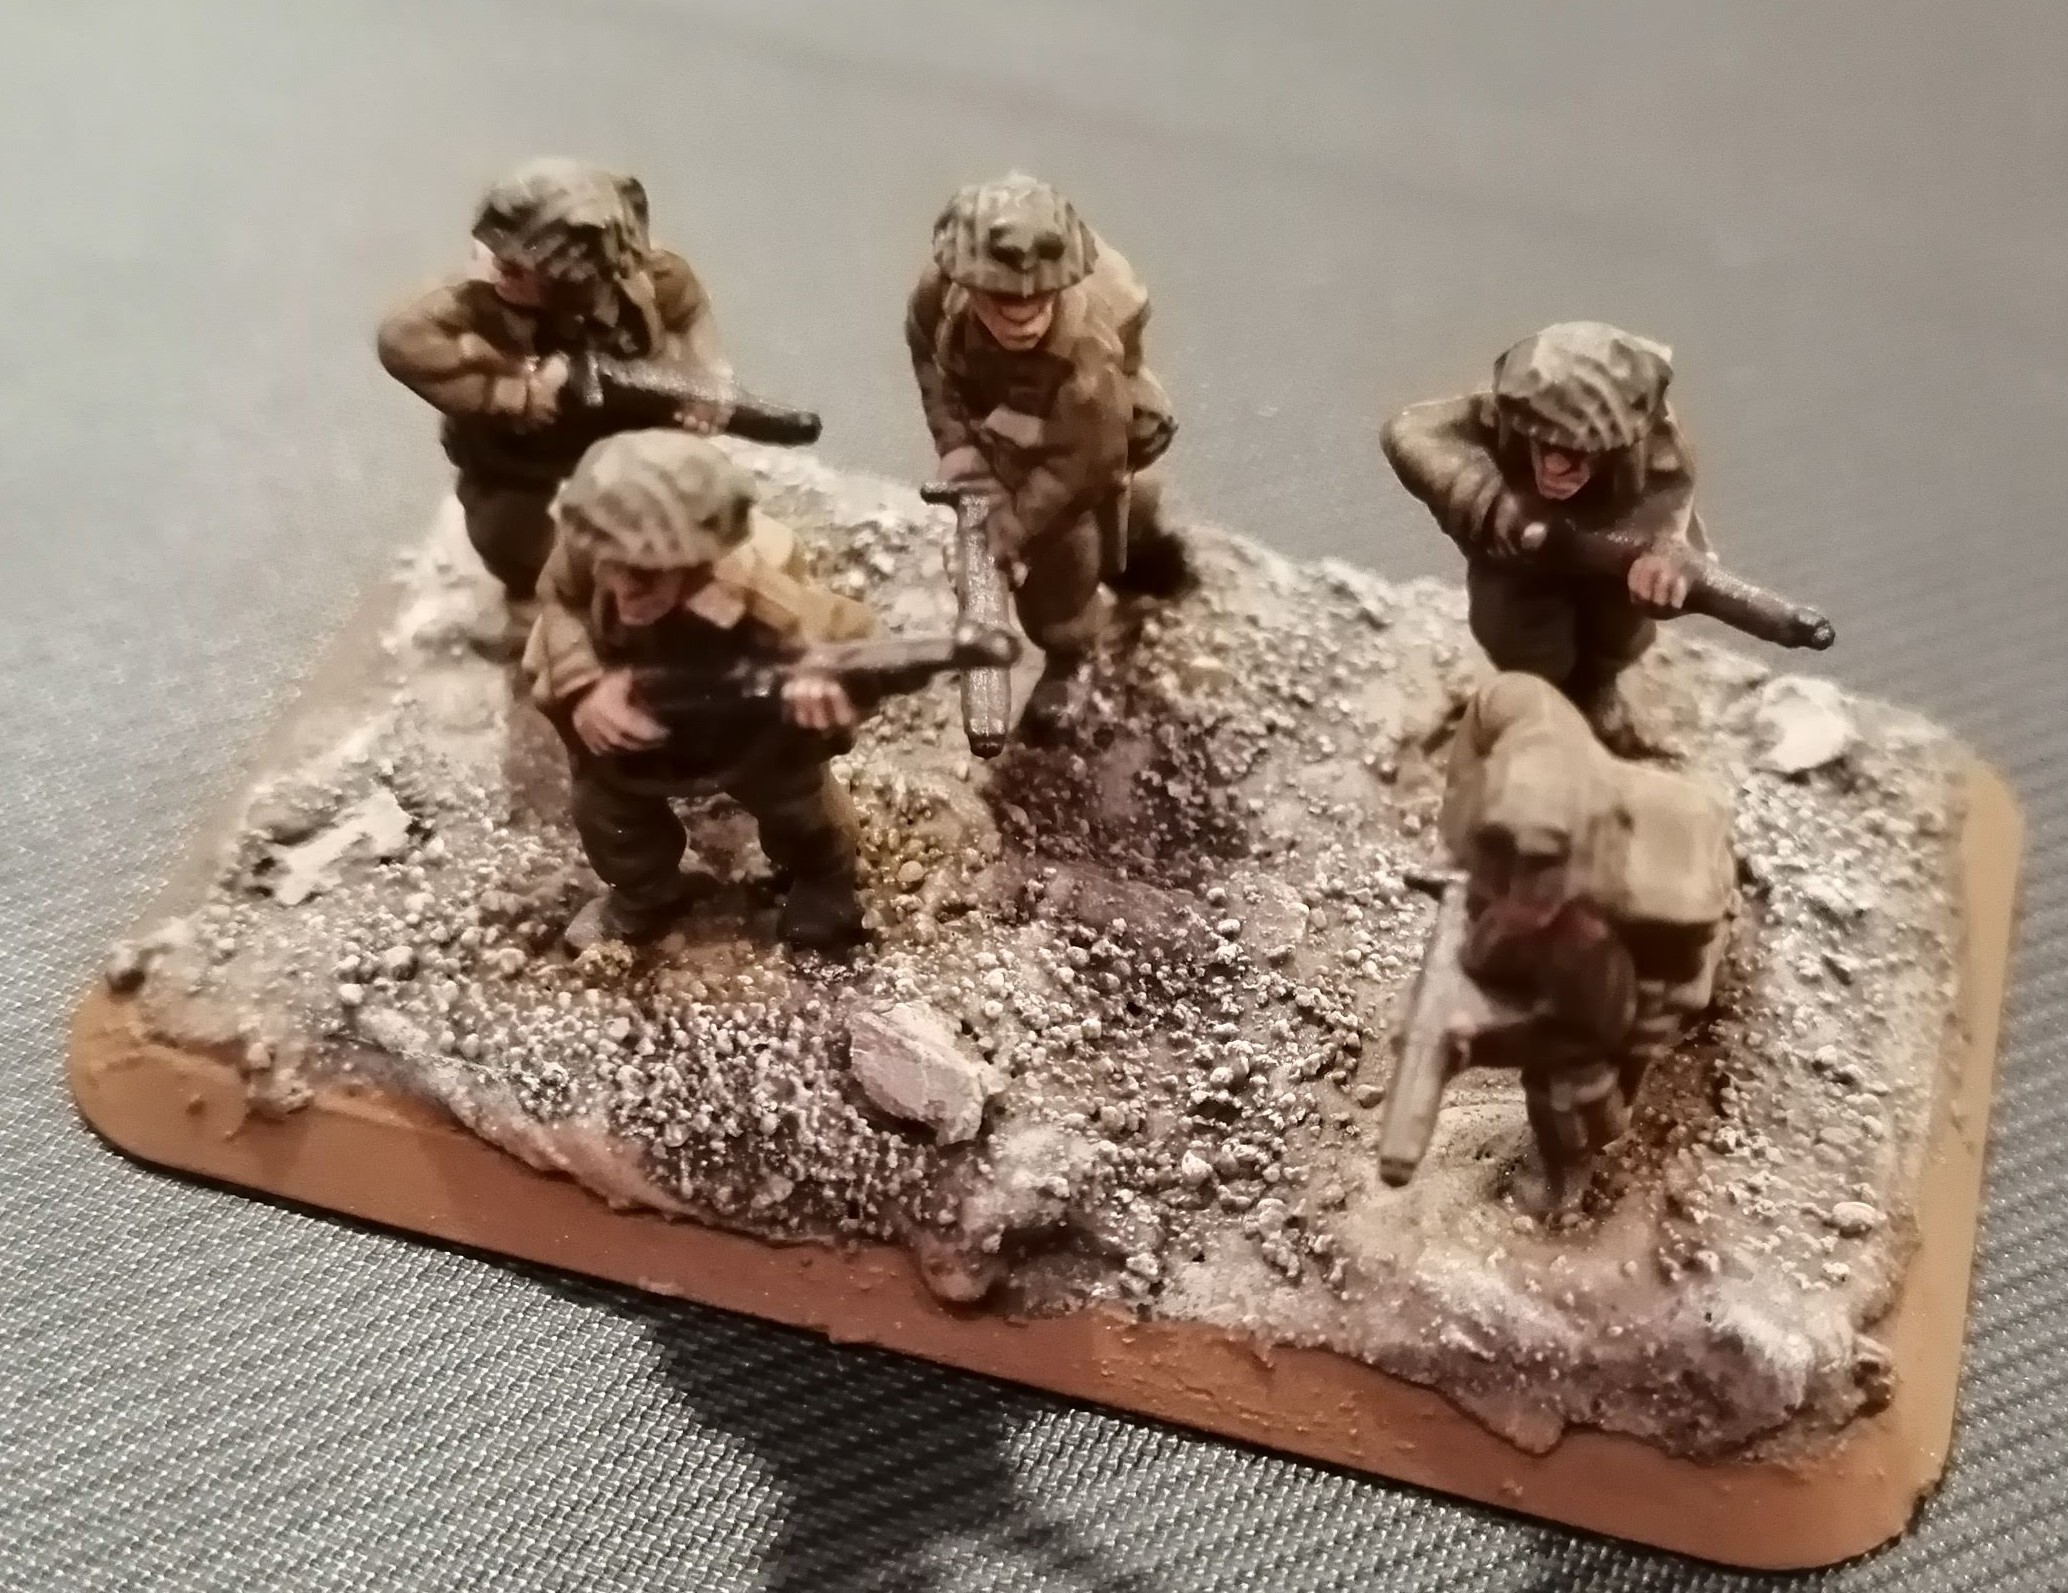
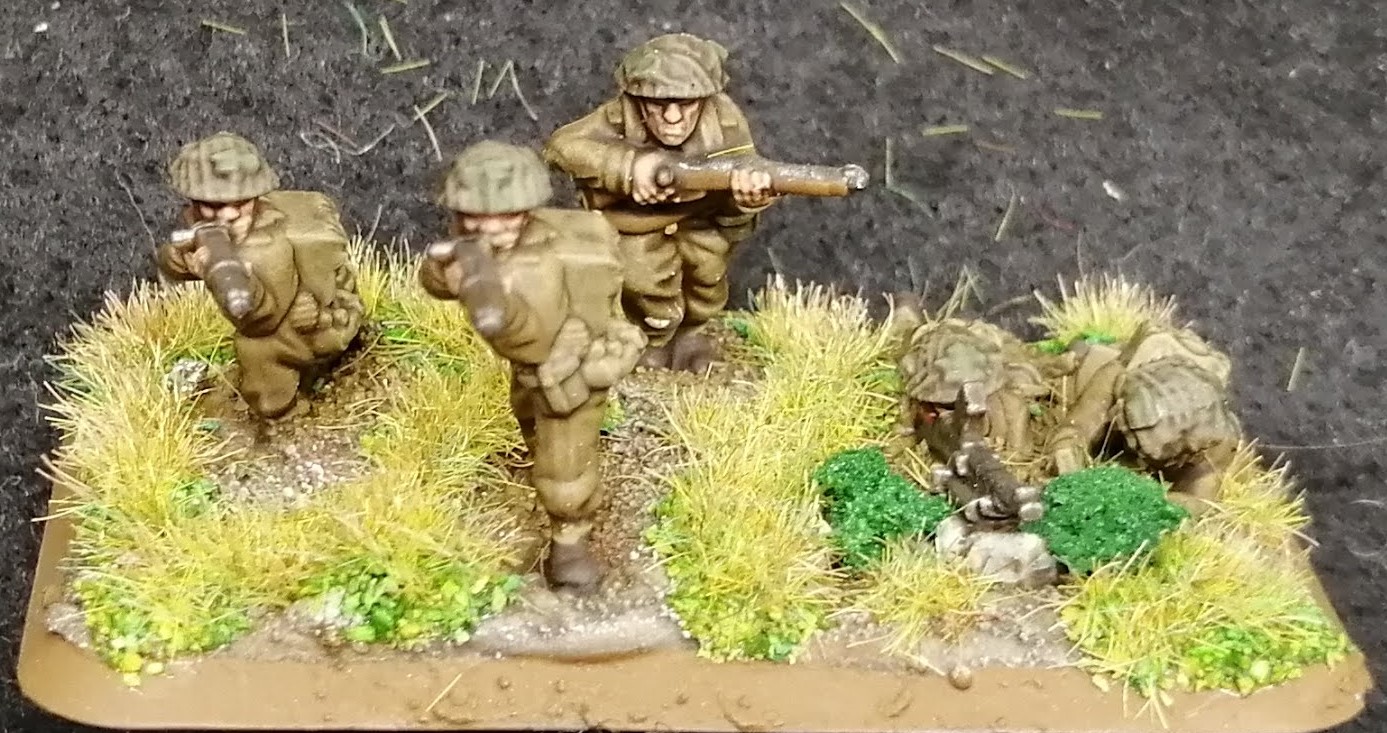 Infantry base
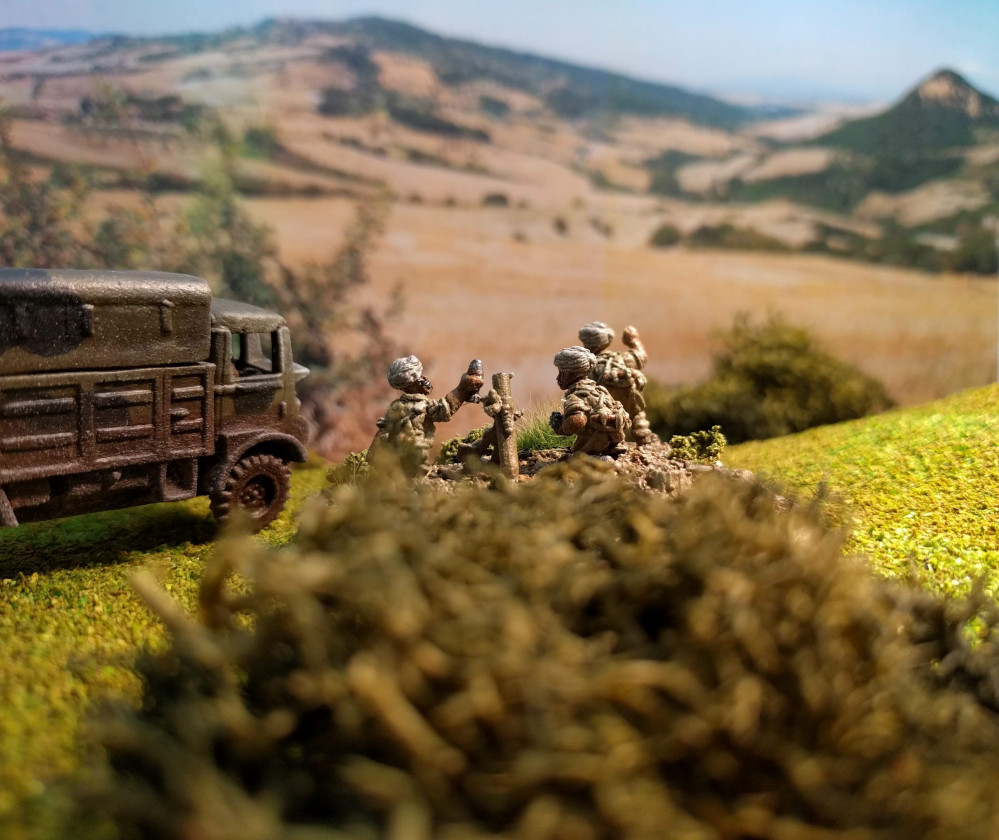
 Sniper team
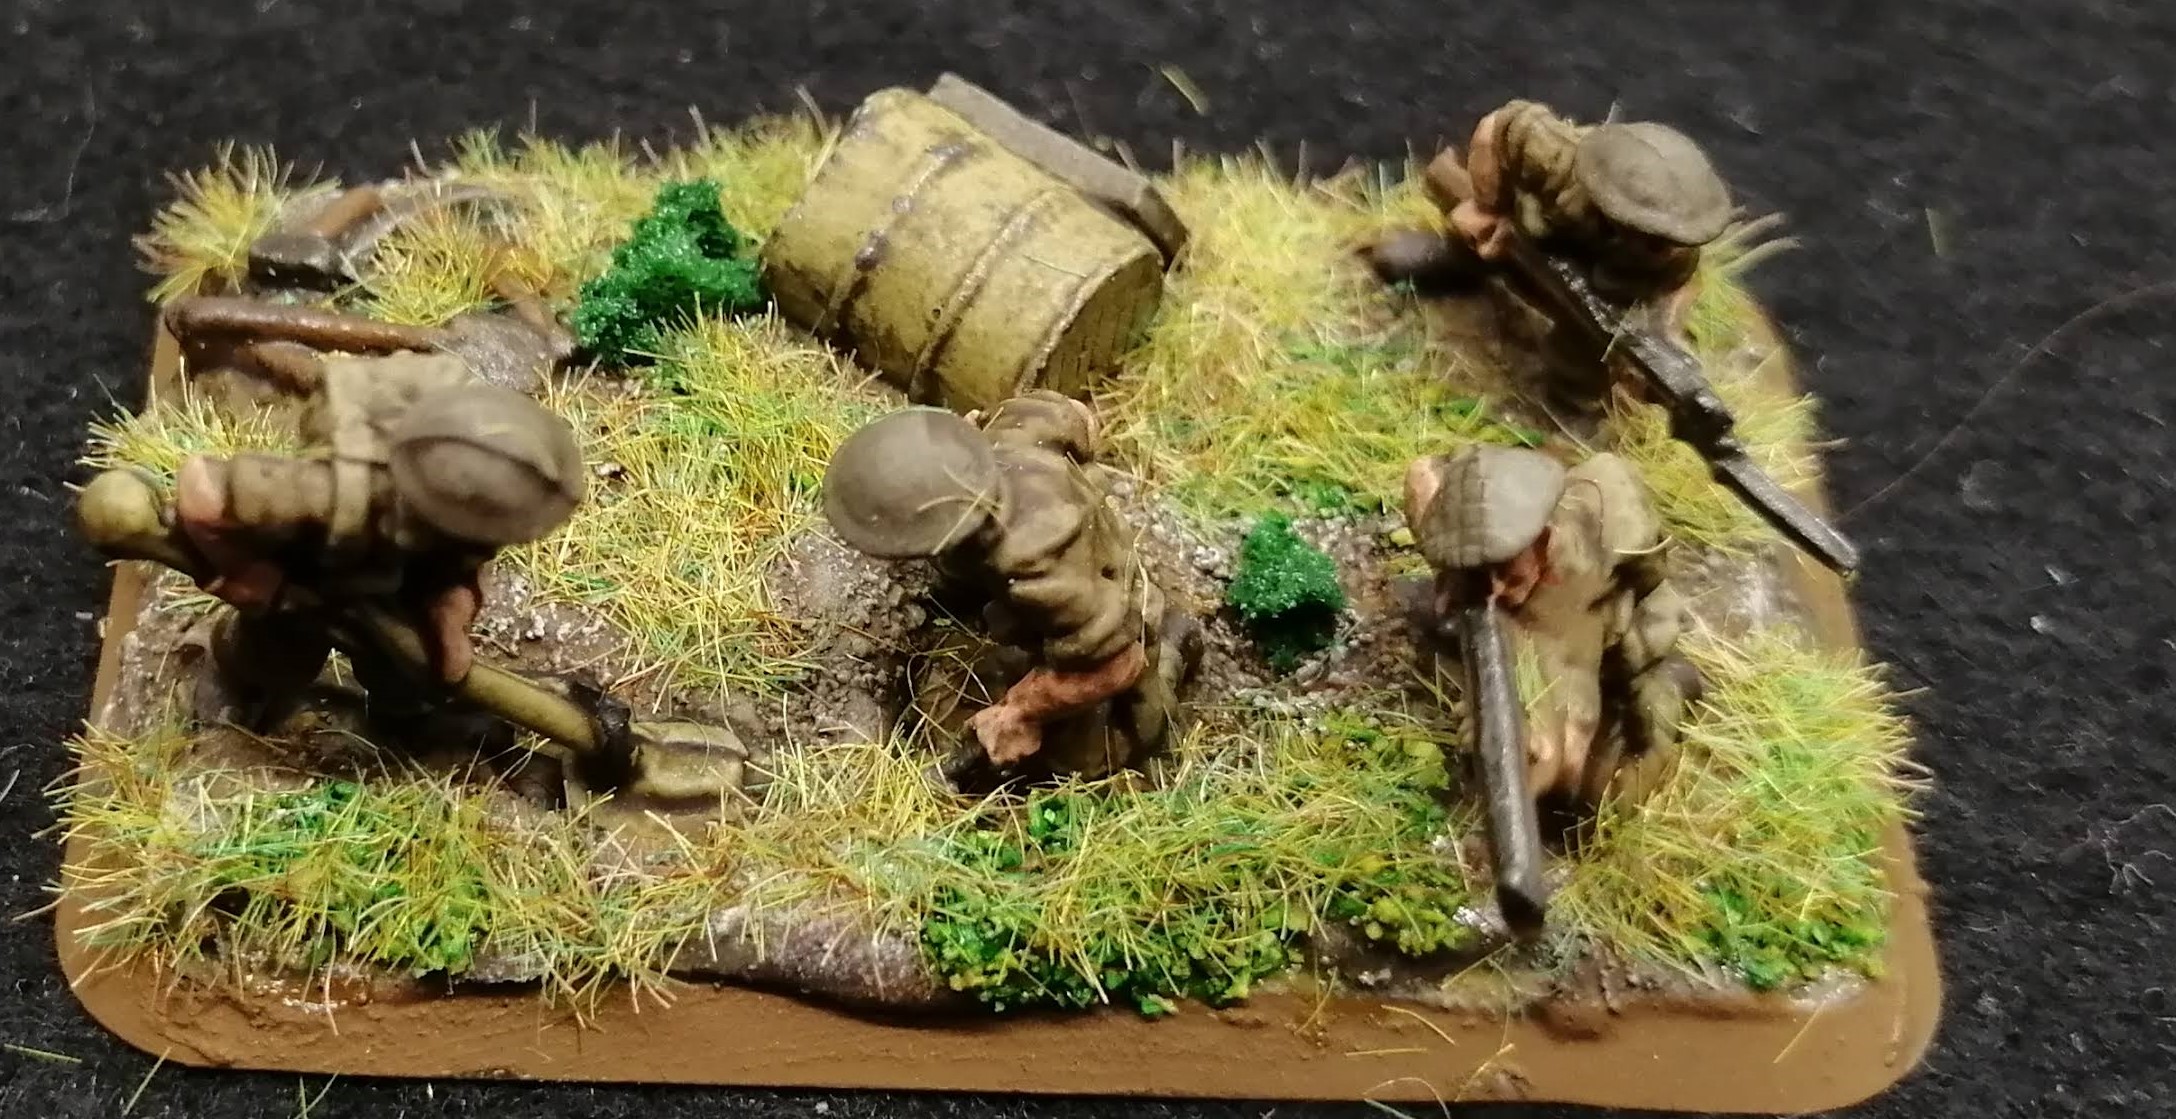 Pioneer/Engineer team
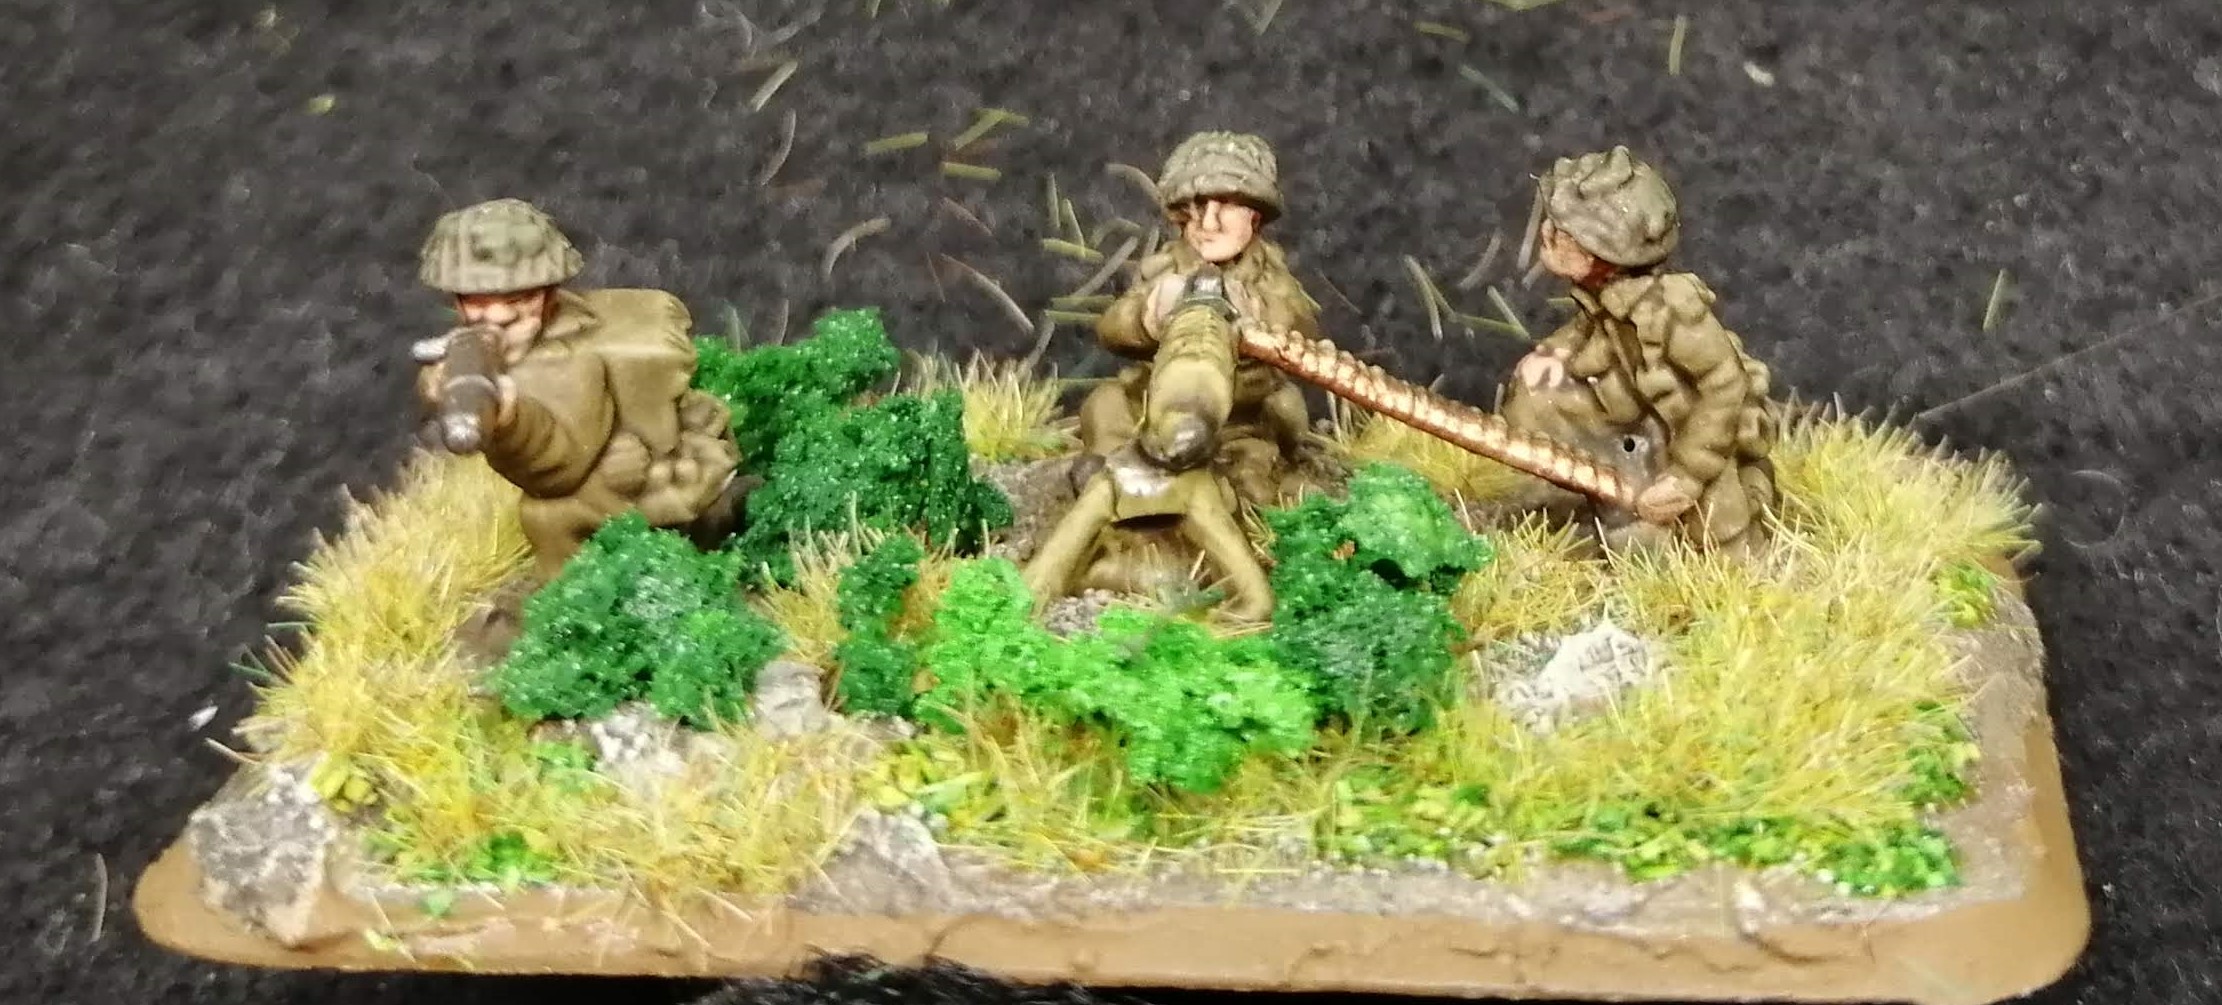 MG Team
I think I’ve had enough of painting infantry for a while, having knocked out well over 200 models. I think I’ll take on some armour next for variation.
Commonwealth Infantry - Basing and completing the models
I’m going to use the roughly the same approach to basing that I used for the Fallschirmjager earlier in this project. I did however have a lot of problems in painting the pollyfilla in and around some of the models so this time, I’m going to try to colour the pollyfilla before application.
With no better idea, I simply mixed in a dark brown with the pollyfilla until all of the white had been coloured. In doing so, I was adding more liquid and just needed to plan a longer drying time. You can see the mixture in the photo below.
Once mixed, I simply applied the mixture in the same way as described in the Fallschirmjager basing below in this project (2nd photo). It takes time to tease the pollyfilla over the bases up to the boots but worth the effort. I then sprinkled with sand and added some small cork chips as rocks.
A spray varnish sealed the sand down although it did leave a satin finish. I then covered this with a dark brown wash (third photo).


I then began the highlighting steps starting with a heavy over brush of flat earth, then a dry brush of stone grey (1st photo) before ending in a very light dry brush of light grey (2nd photo). I then painted the visible plastic base flat earth and applied the platoon colour markings.
Finally, due to the satin finish and to protect the paint on the base, I went over everything again with a matt varnish (3rd and 4th photo)

During the Fallschirmjager basing, I felt that the flocking followed by static grass looked far better than just one or the other so I will repeat it here.
I simply applied random blobs of PVA to the base and sprinkled 3 different colours of flock over. Once dry, I applied a watered down PVA to the seal these in and once this dried, applied more pva over the flocked area and applied the static grass.
 Flock applied
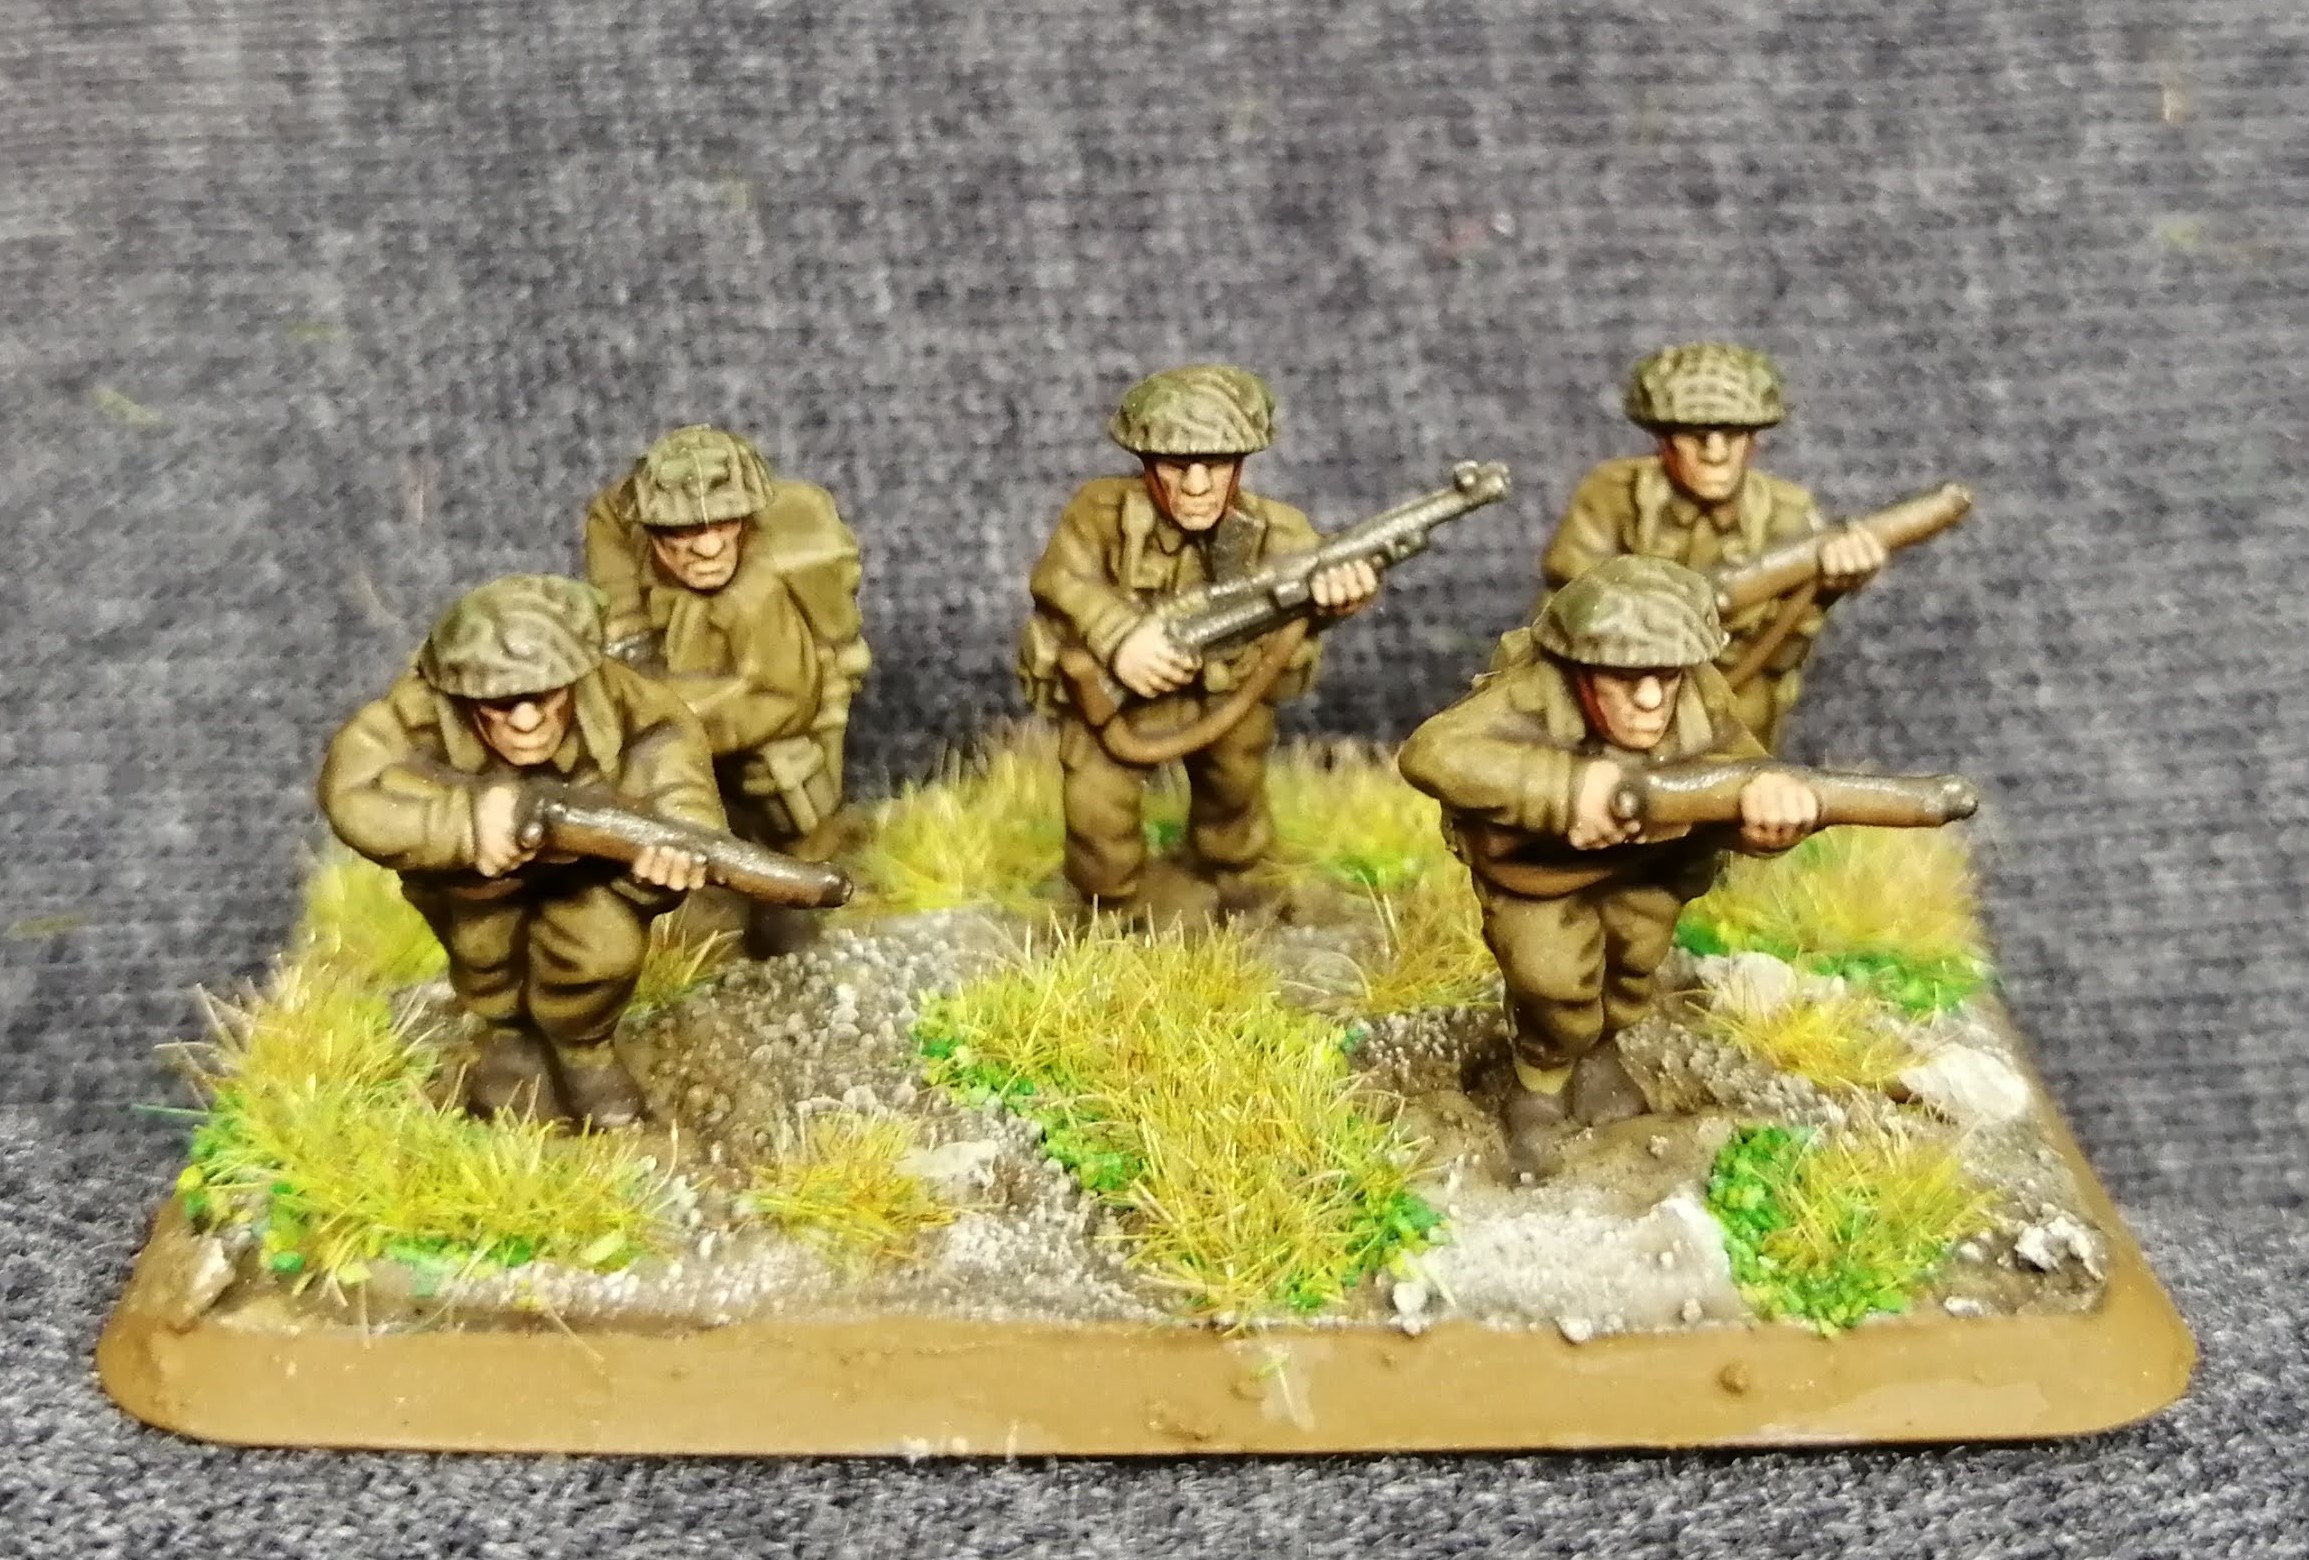 Completed model
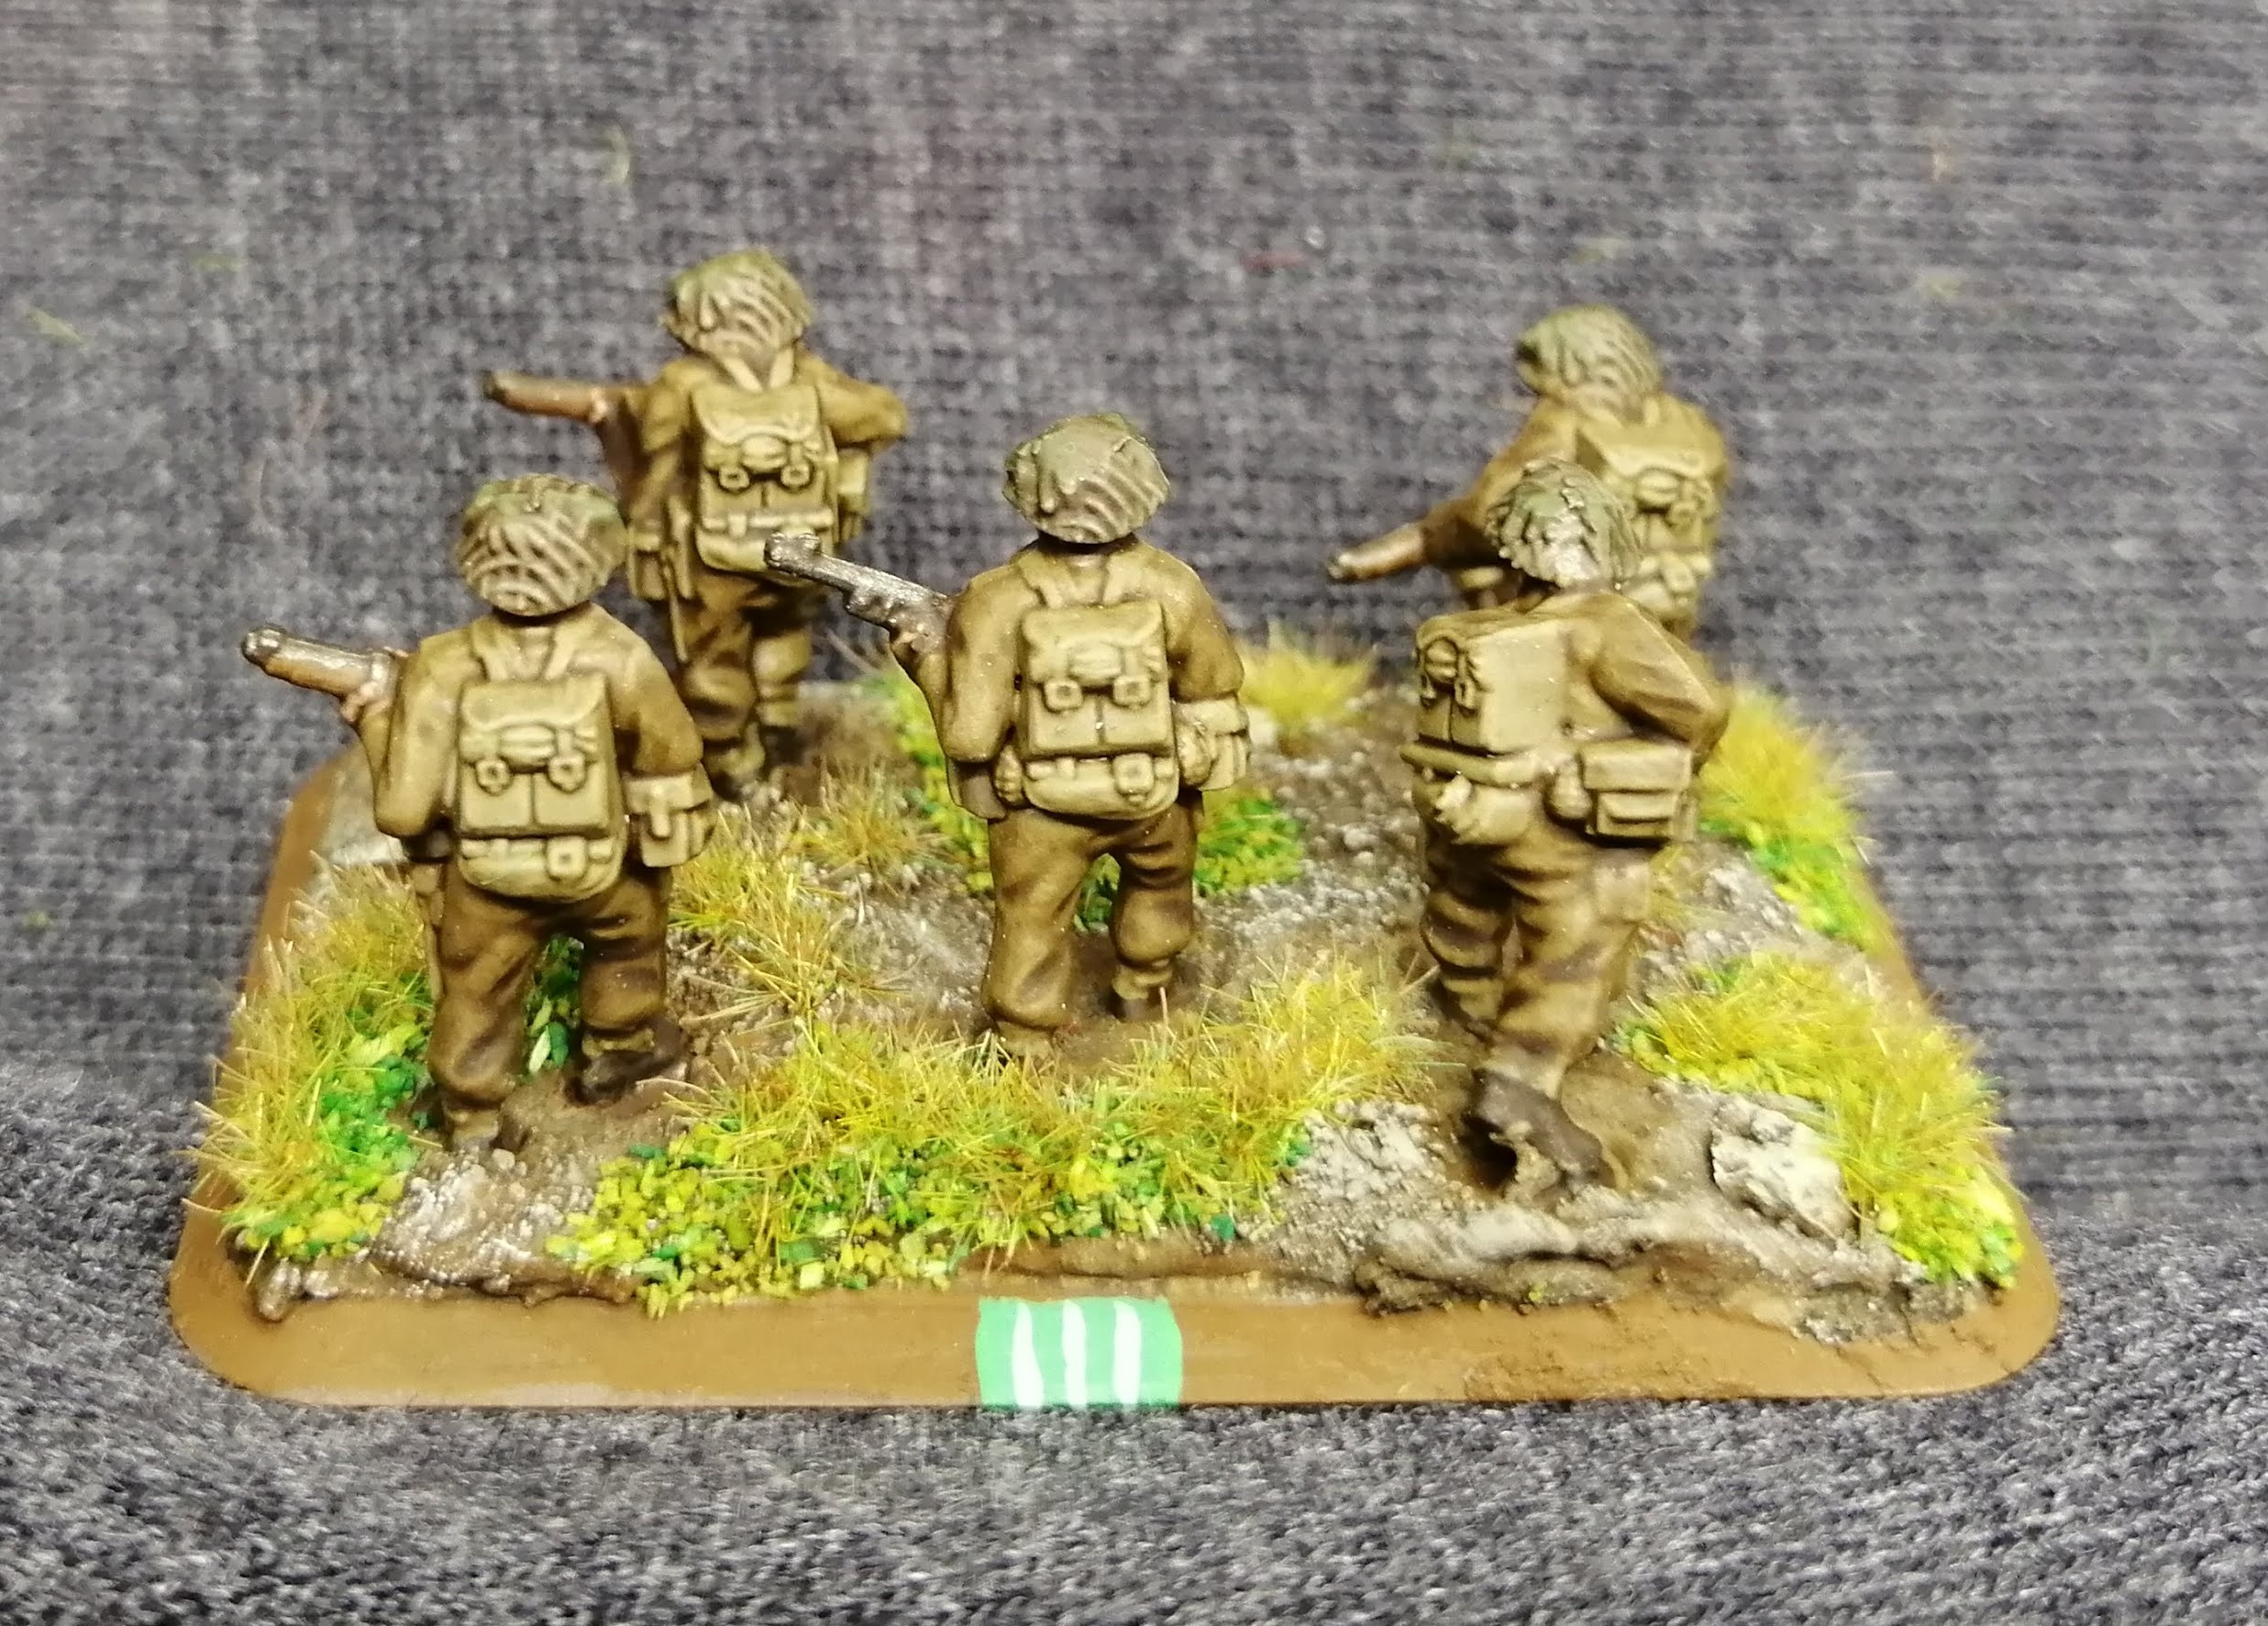 Obligatory bum shot
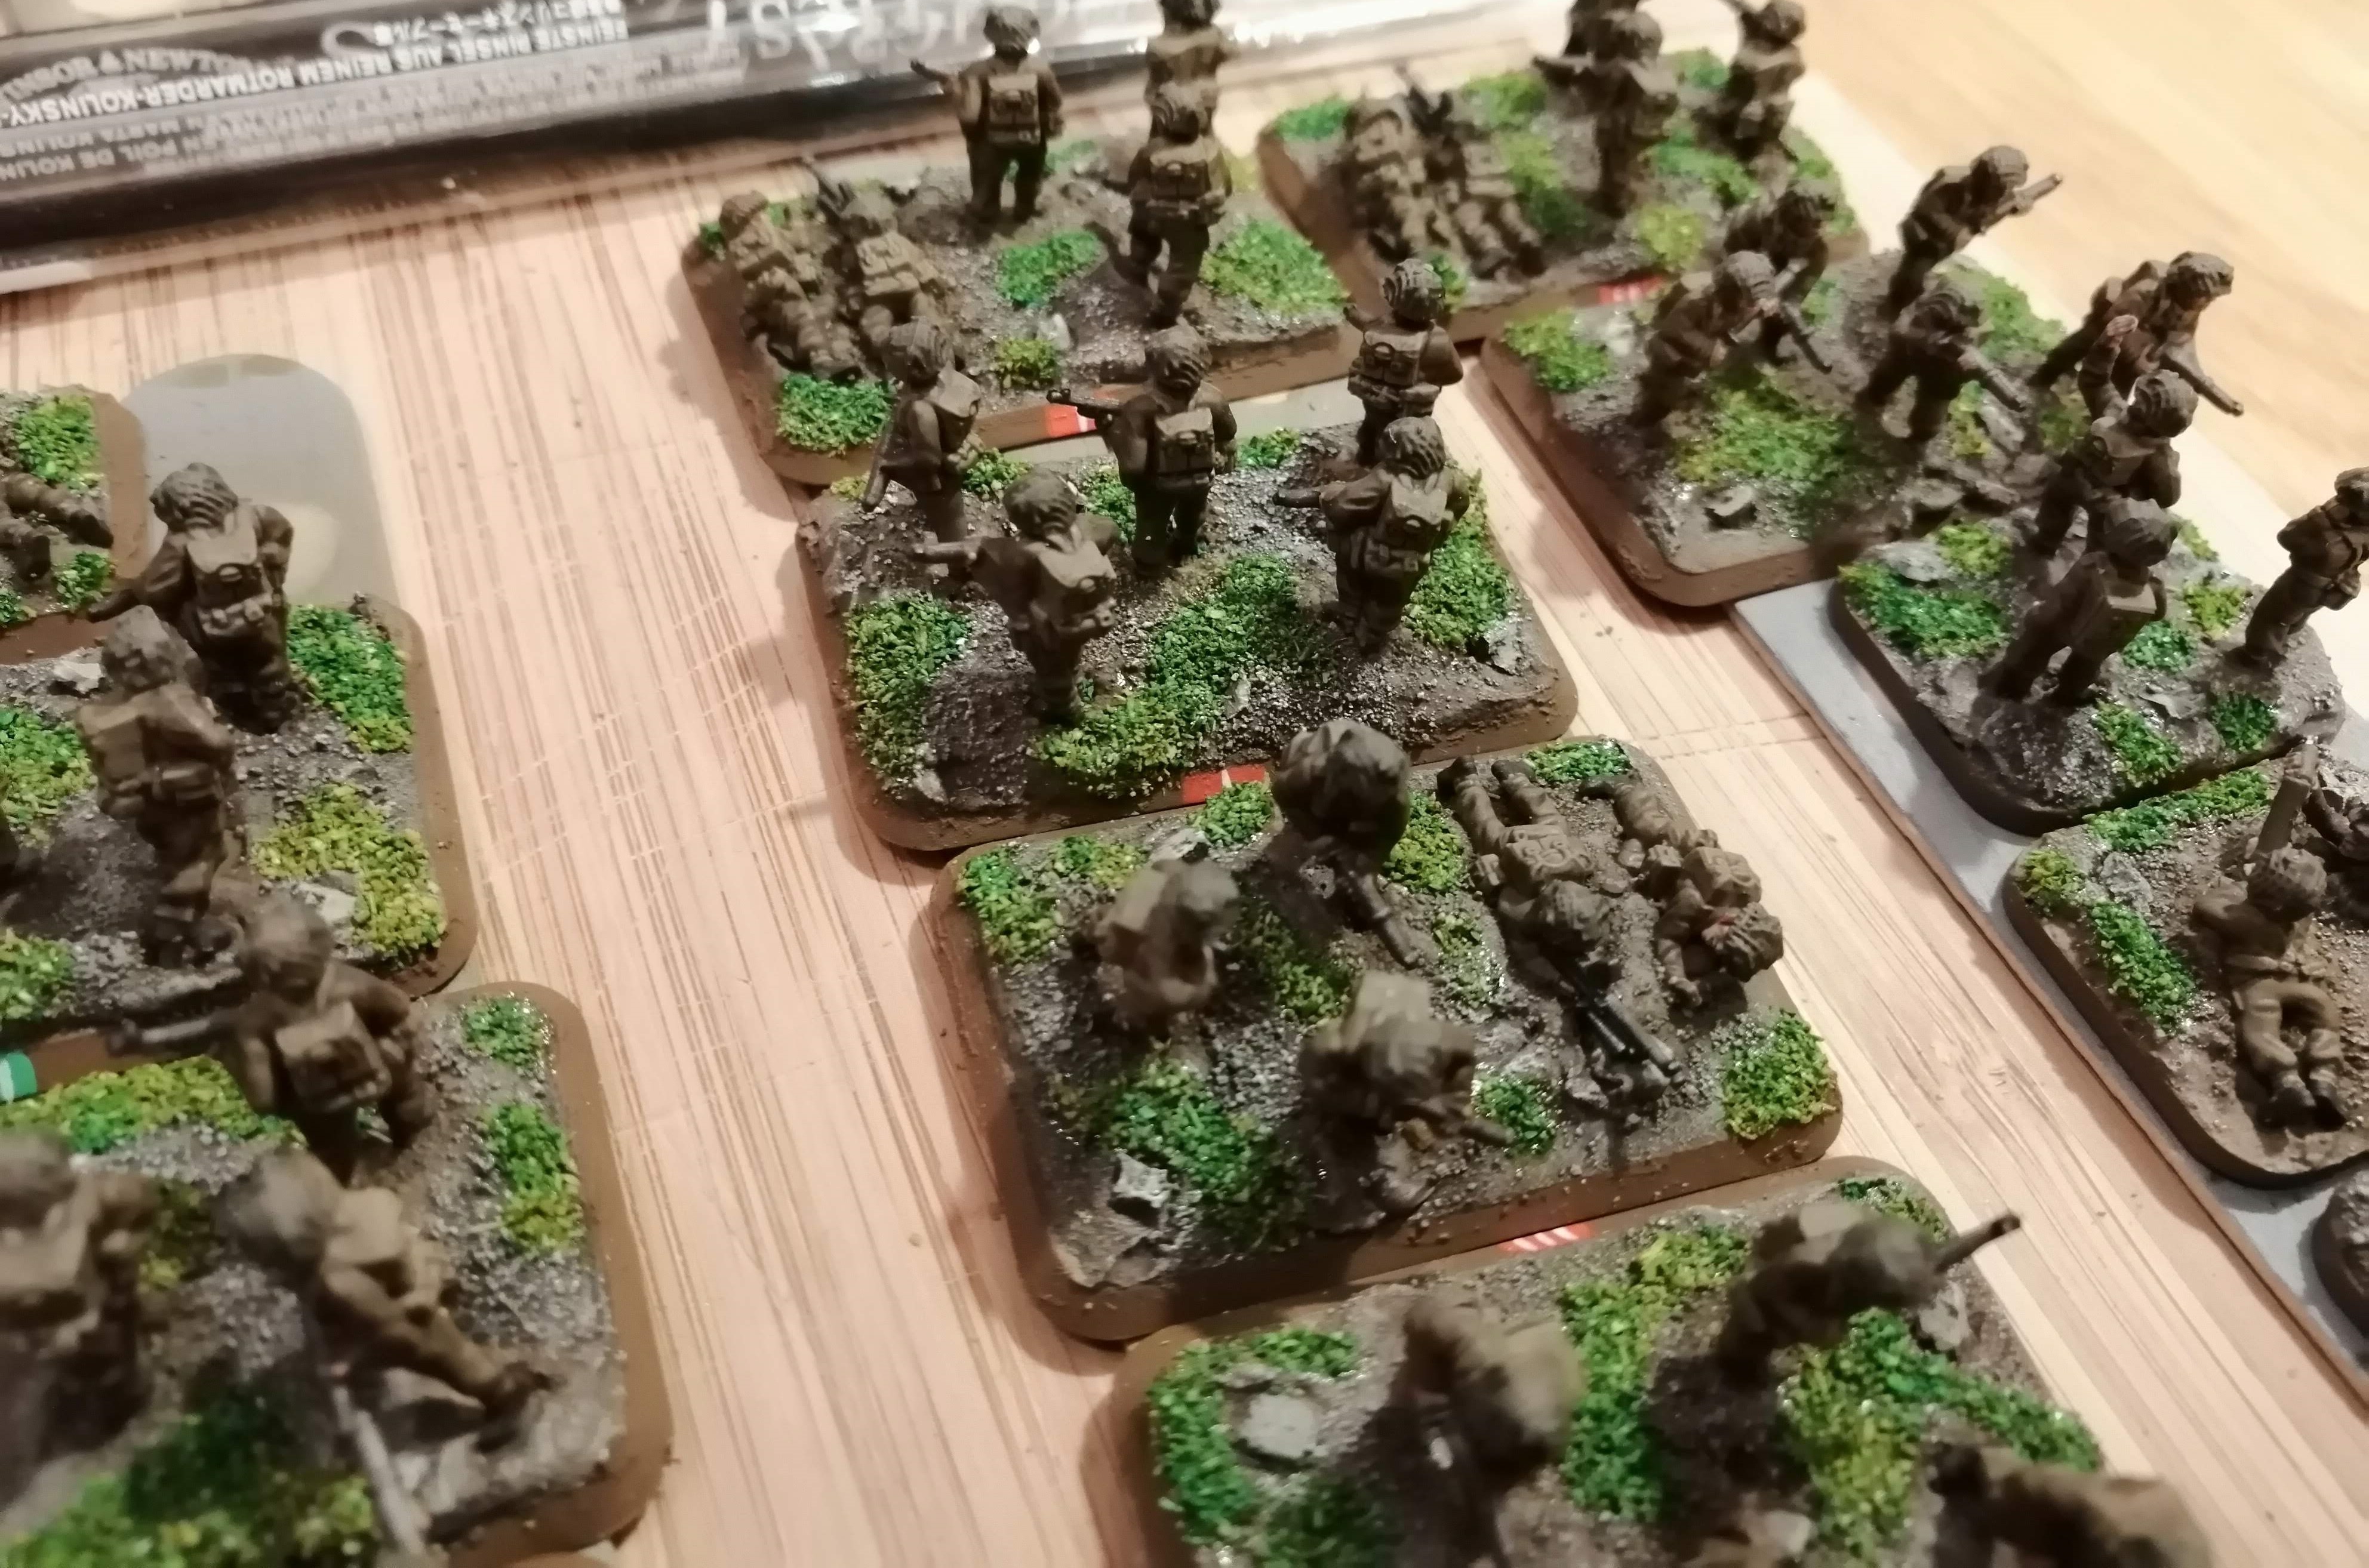
 The 3 Rifle Platoons, Pioneer Platoon, MG Platoon, HQ and Sniper Teams
I may go back and add some small bushes, particularly to the snipers and MG teams who are more likely to have sought out the cover but for the time being, these are ready for the table top.
Now that I’ve completed all of the infantry for both sides of the battle, I can start on the armour that will be required for the later battles in Northern Italy.