



75th Anniversary of Battle of Monte Cassino and Northern Italy (Army Build)



Recommendations: 529
About the Project
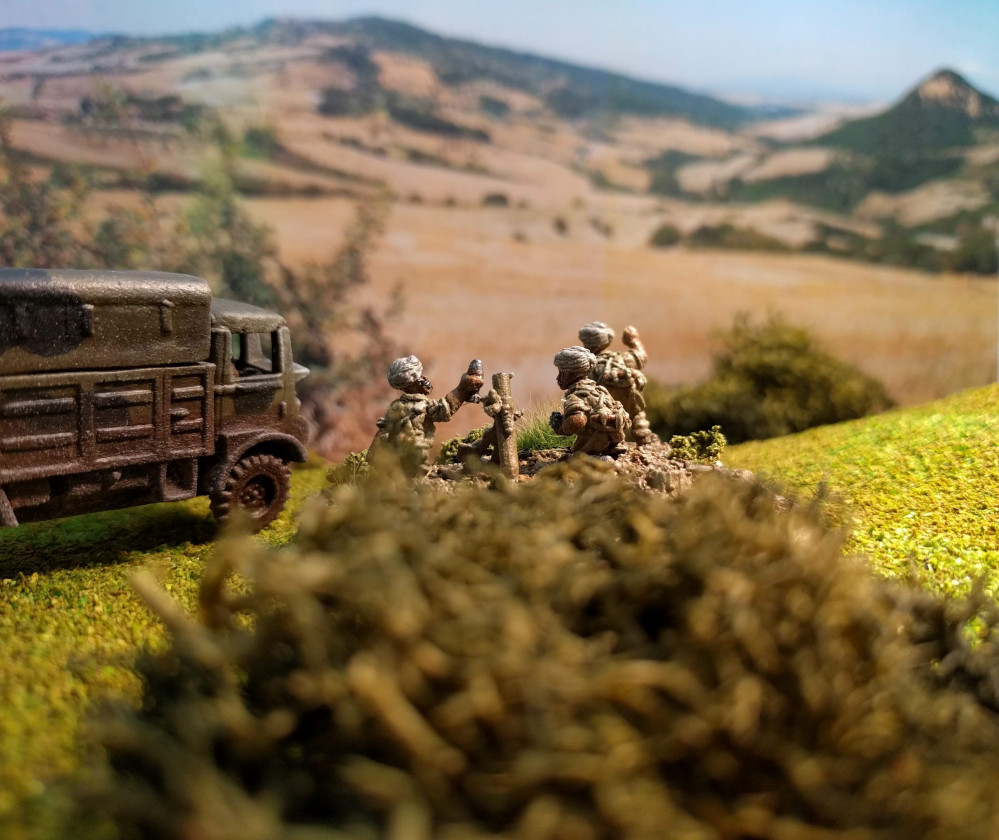
This is the parallel project to my Terrain build for the Monte Cassino and Northern Italy. Here I will be painting up the miniatures to represent some of the troops that fought in the battles.
Related Game: Flames of War: The World War II Miniatures Game
Related Company: Battlefront Miniatures
Related Genre: Historical
This Project is Active
Commonwealth Infantry - Base coats
It’s been a long production line of painting, basically taking each colour at a time and applying it in turn to every model before starting the next colour. Not the most exciting painting approach but the most efficient.
Following the boots, I applied the following colours in this order,
Medium brown for the wooden rifle stocks and strap
Khaki to the belts, back packs, webbing and gaiters
Barbarian flesh to the skin
Olive drab to the water bottles
Reflective green to the helmets
Gunmetal to the barrels, SMGs and Bren Guns
Cavalry brown to the helmet straps
This left me with the following look
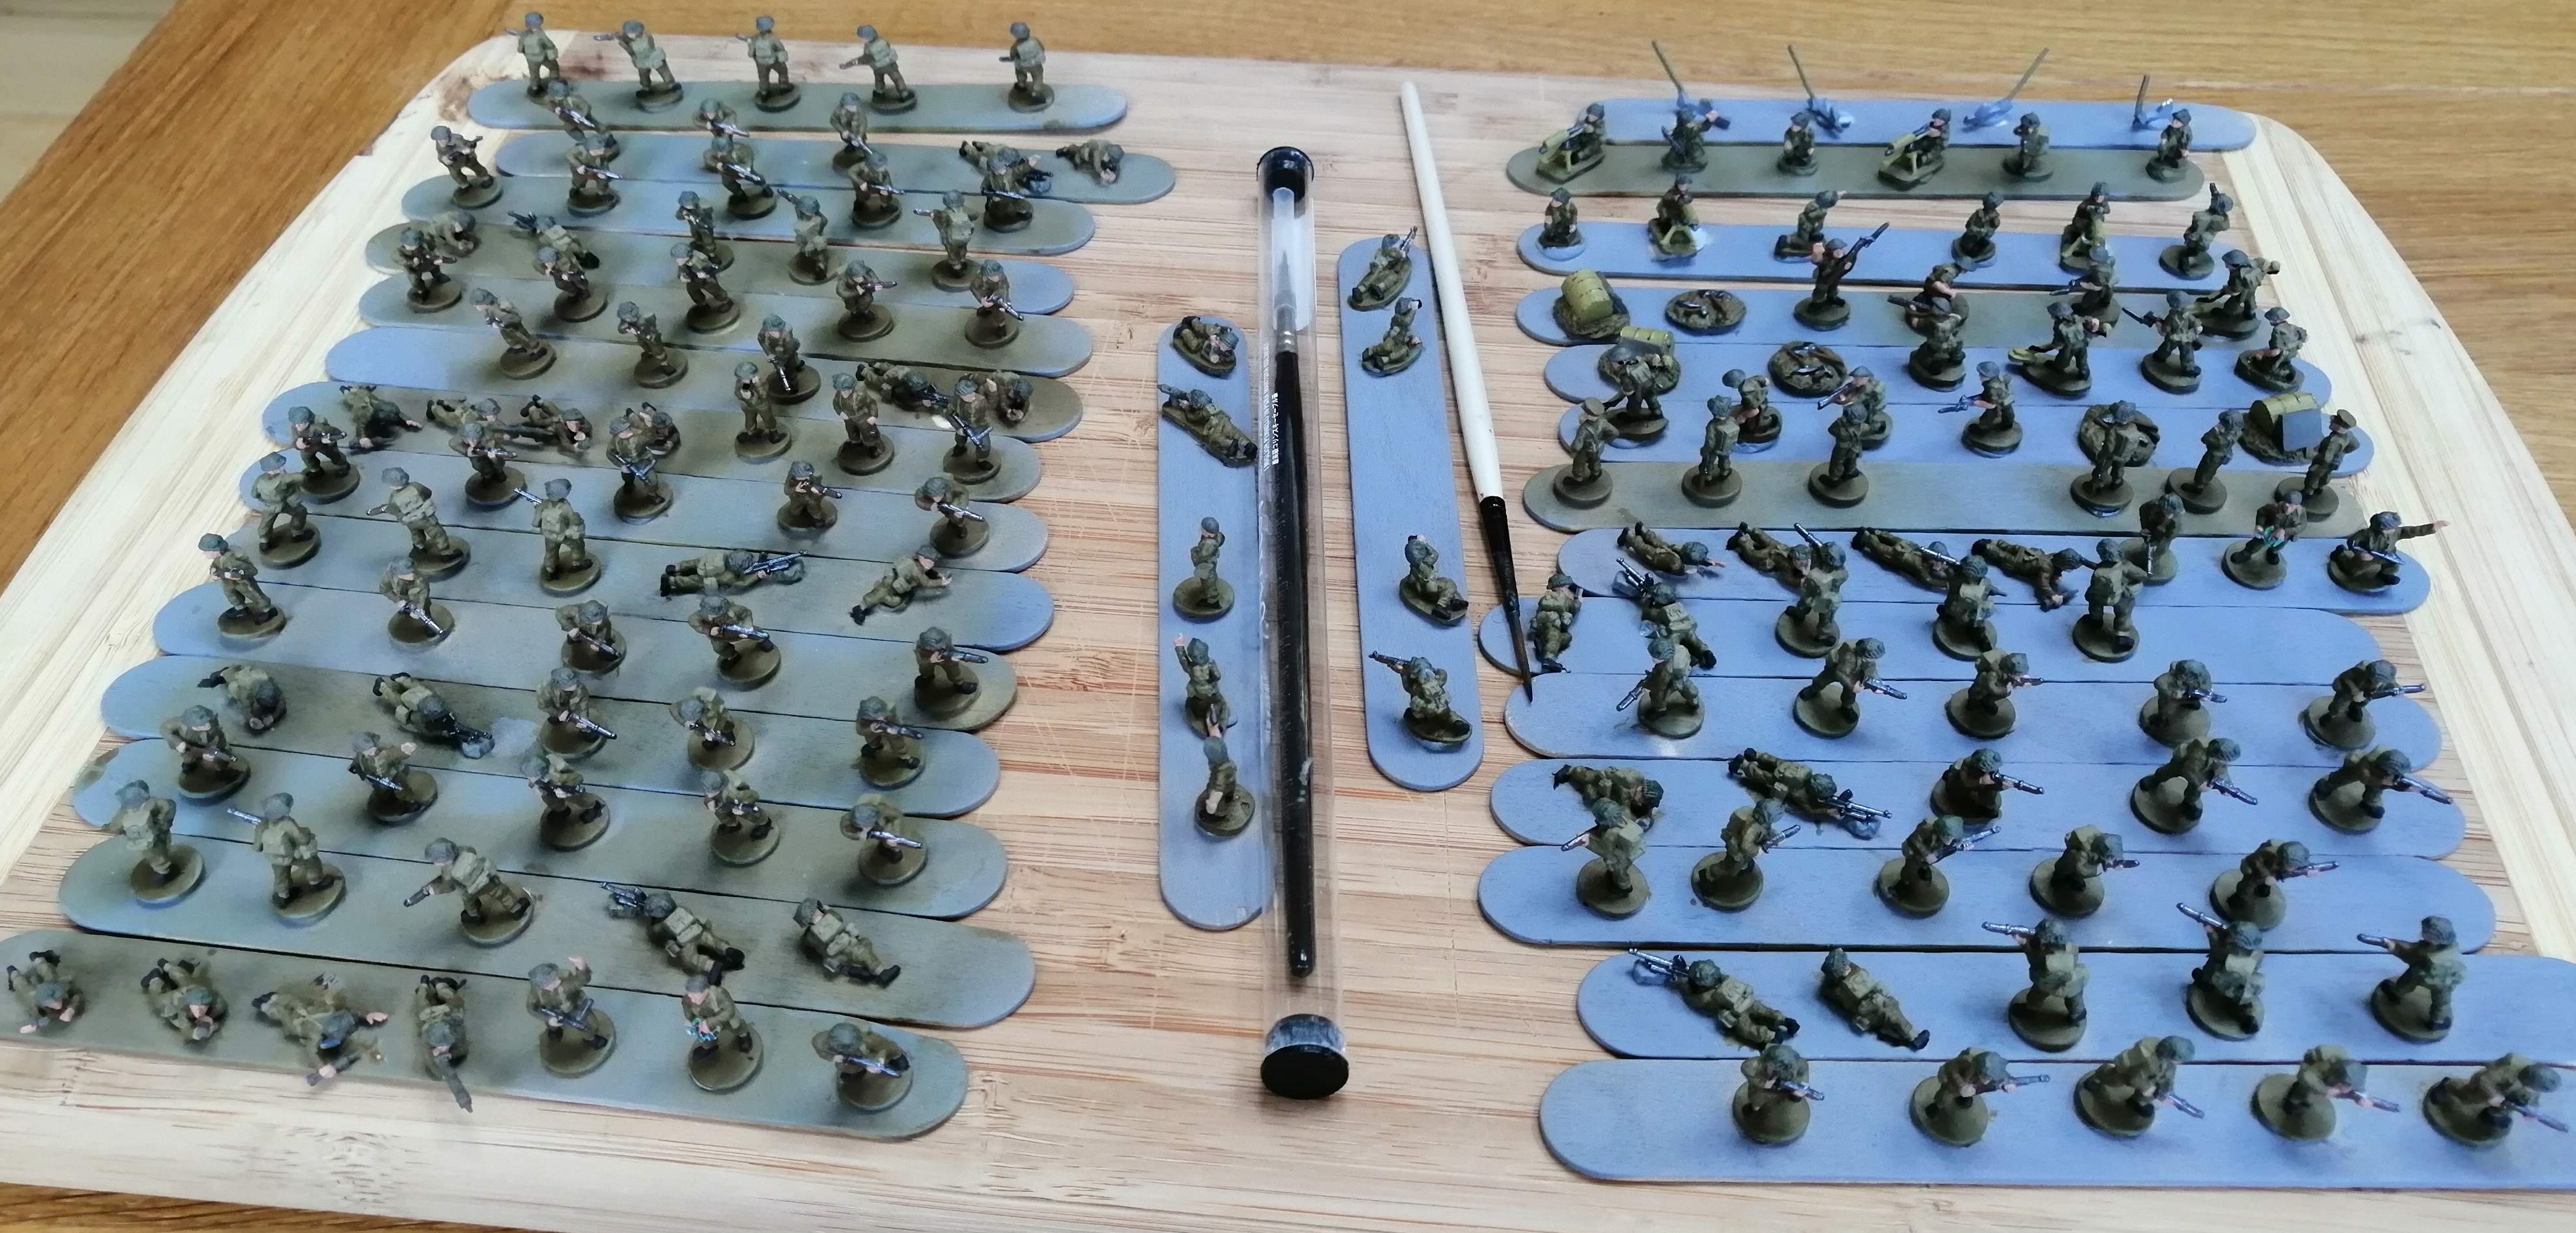 The entire company
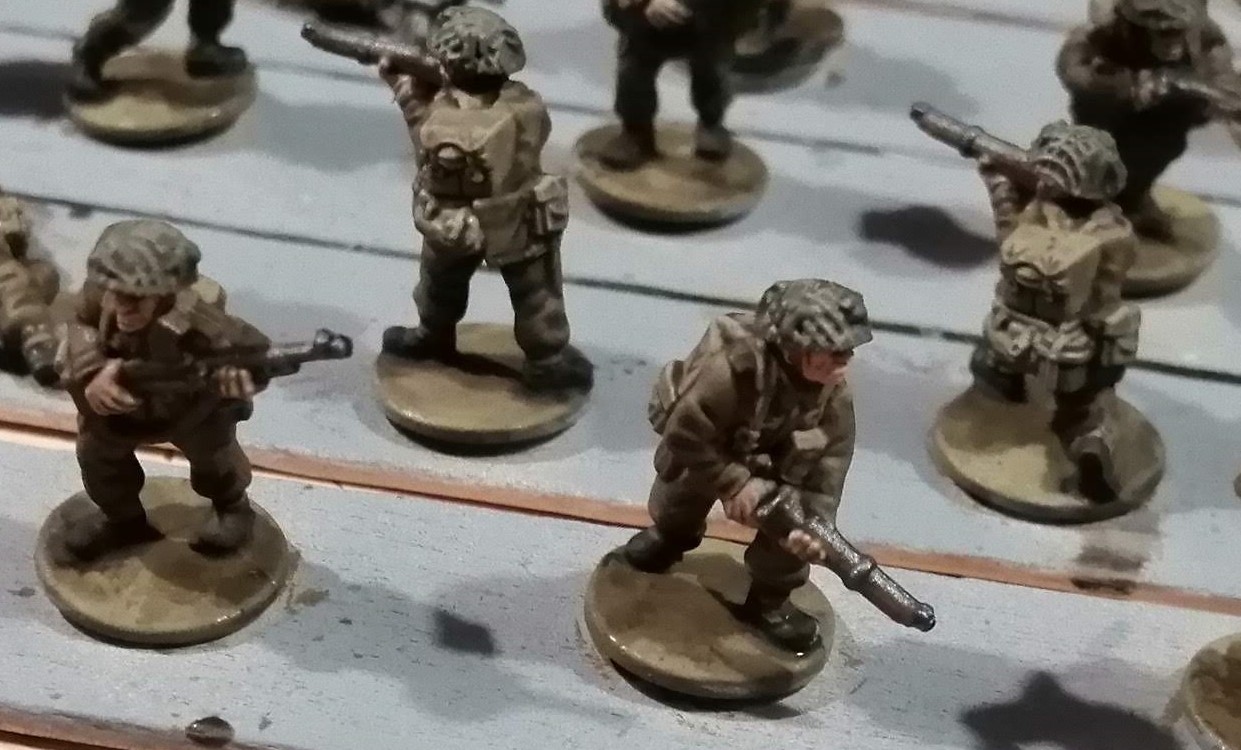 Close up of the base coloured model
Next up comes the shading. Like the Fallschirmjager before, I will brush on the quick shade medium as it is so simple and quick. It looks awful once dry but with a coat of matt varnish, it transforms the models.
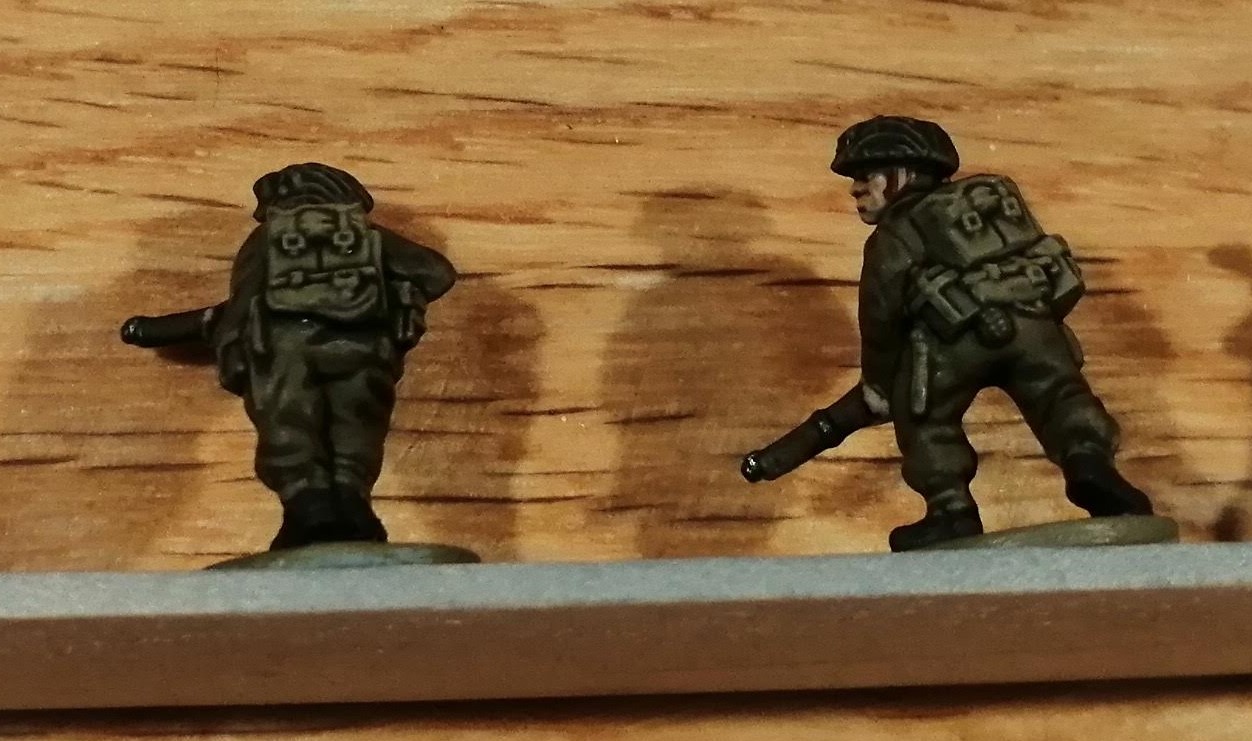 A rear shot
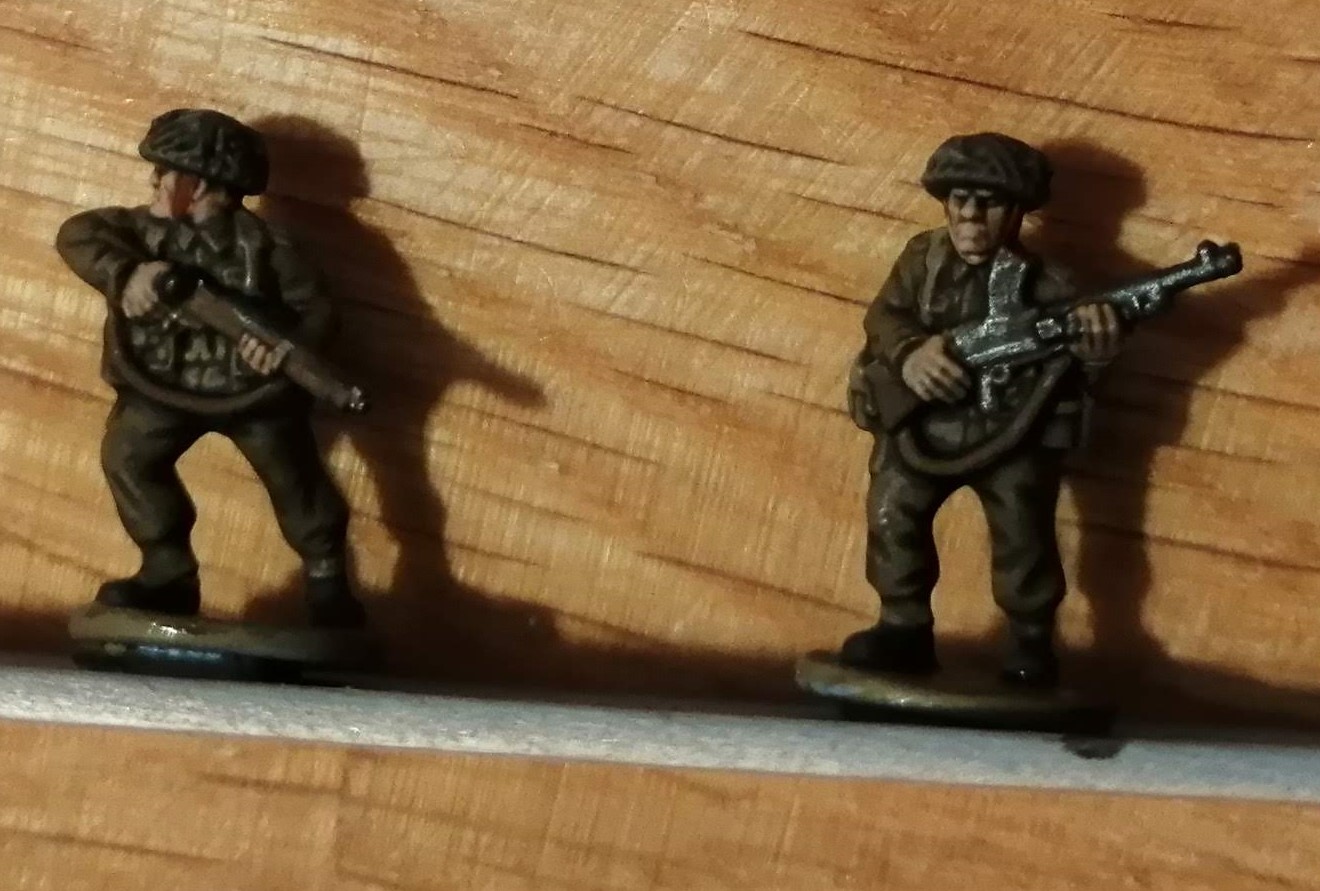 And the front of the same models
If I had the time and patience, I would consider a light dry brush from here to really bring them out. But, time is not on my side and I also quite like the dark, dirty look. It reflects the state of the troops at Cassino. I think given the 15mm scale here you can get away without a dry brush, probably couldn’t at 28mm.
Next up will be the basing.
Commonwealth Infantry - Getting the base coat down
While I have a couple of platoons of Gurkha, having seen the size of the German infantry I think that the allies need some additional boots on the ground. So I’ve started some Commonwealth infantry. I’m hoping these should be a little quicker to paint given that there is no cammo pattern to paint on.
These platoons will cover my use of British, NZ, Canadian, South African and Polish forces in the coming Italian campaign. (They’ll probably also cover for some Americans as well as I’m not going to get US army painted up in time!)
In this wave, I have 150 men making up,
1st and 2nd in command plus two sniper stands
3 full platoons of infantry
1 Pioneer engineering platoon
1 Hvy machine gun platoon
Let’s get started!
Having clipped and stuck the models to wooden sticks, they’ve all been given a prime. I then tried airbrushing on the main base colour, British Battledress but I don’t have an airbrush version. I tried diluting it, got a very watery consistency and gave up and painted it on.
Next I’ve gone through and painted the boots with a black/brown.
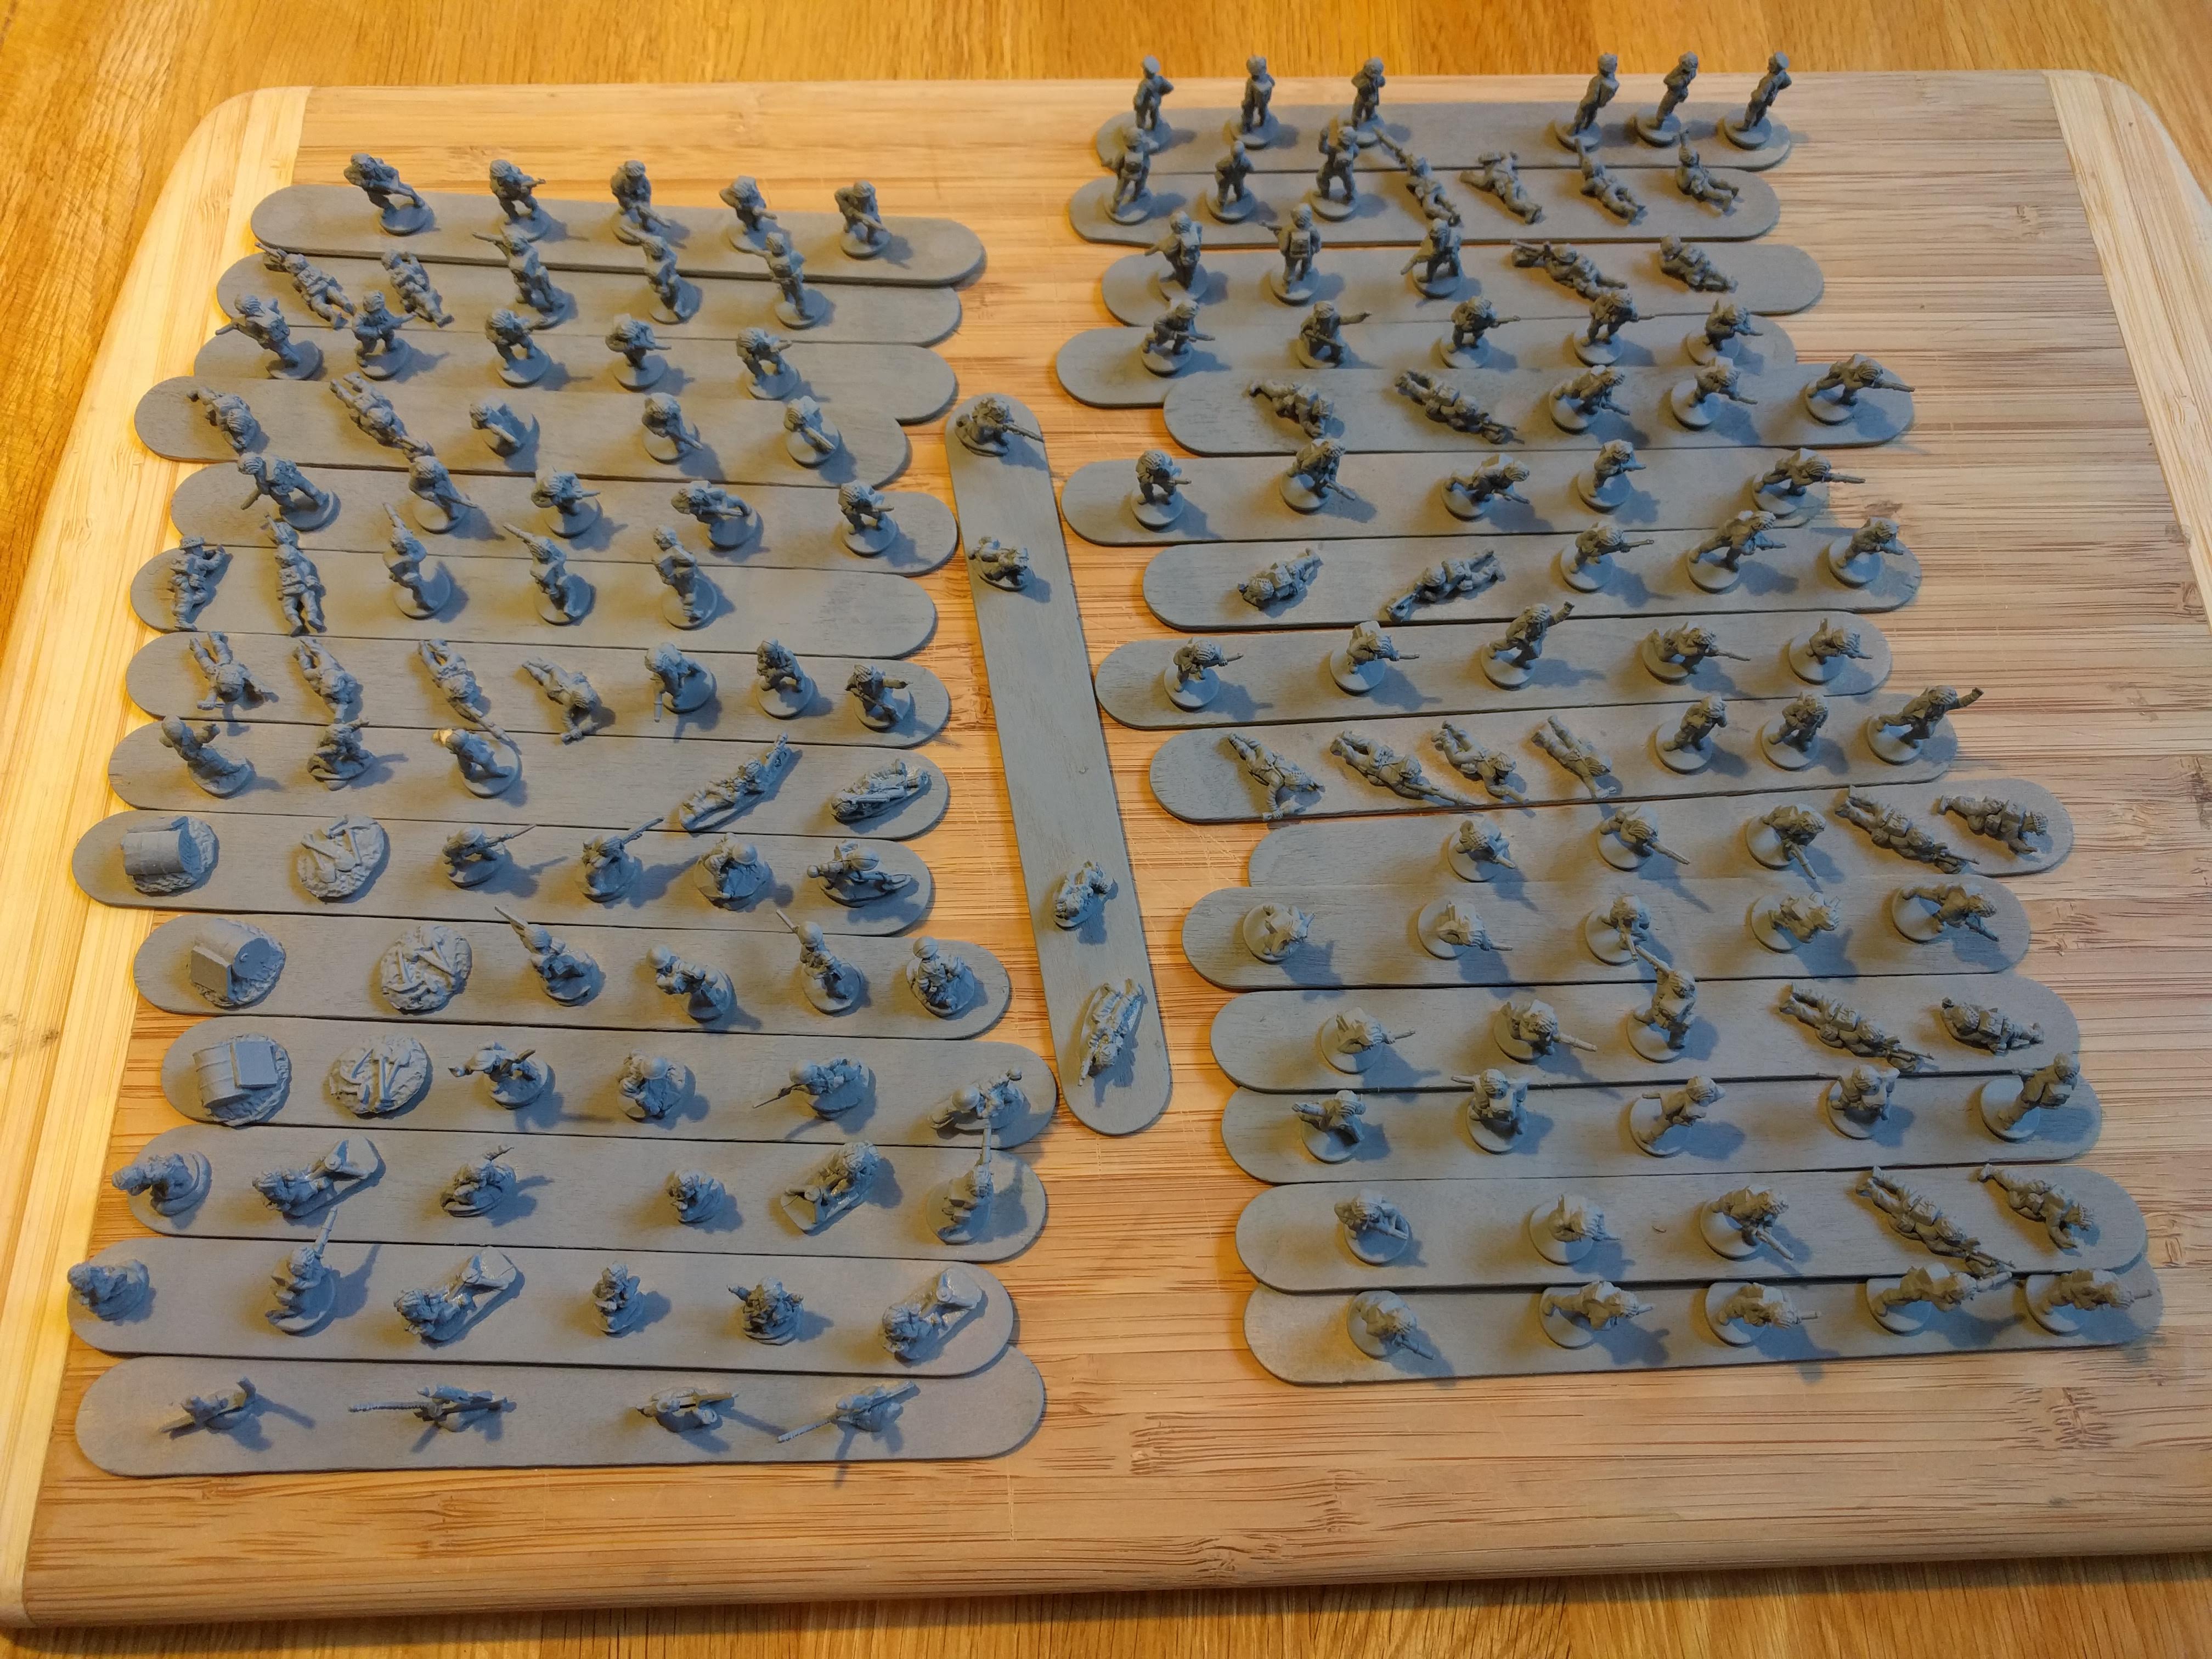 Clipped, stuck and primed
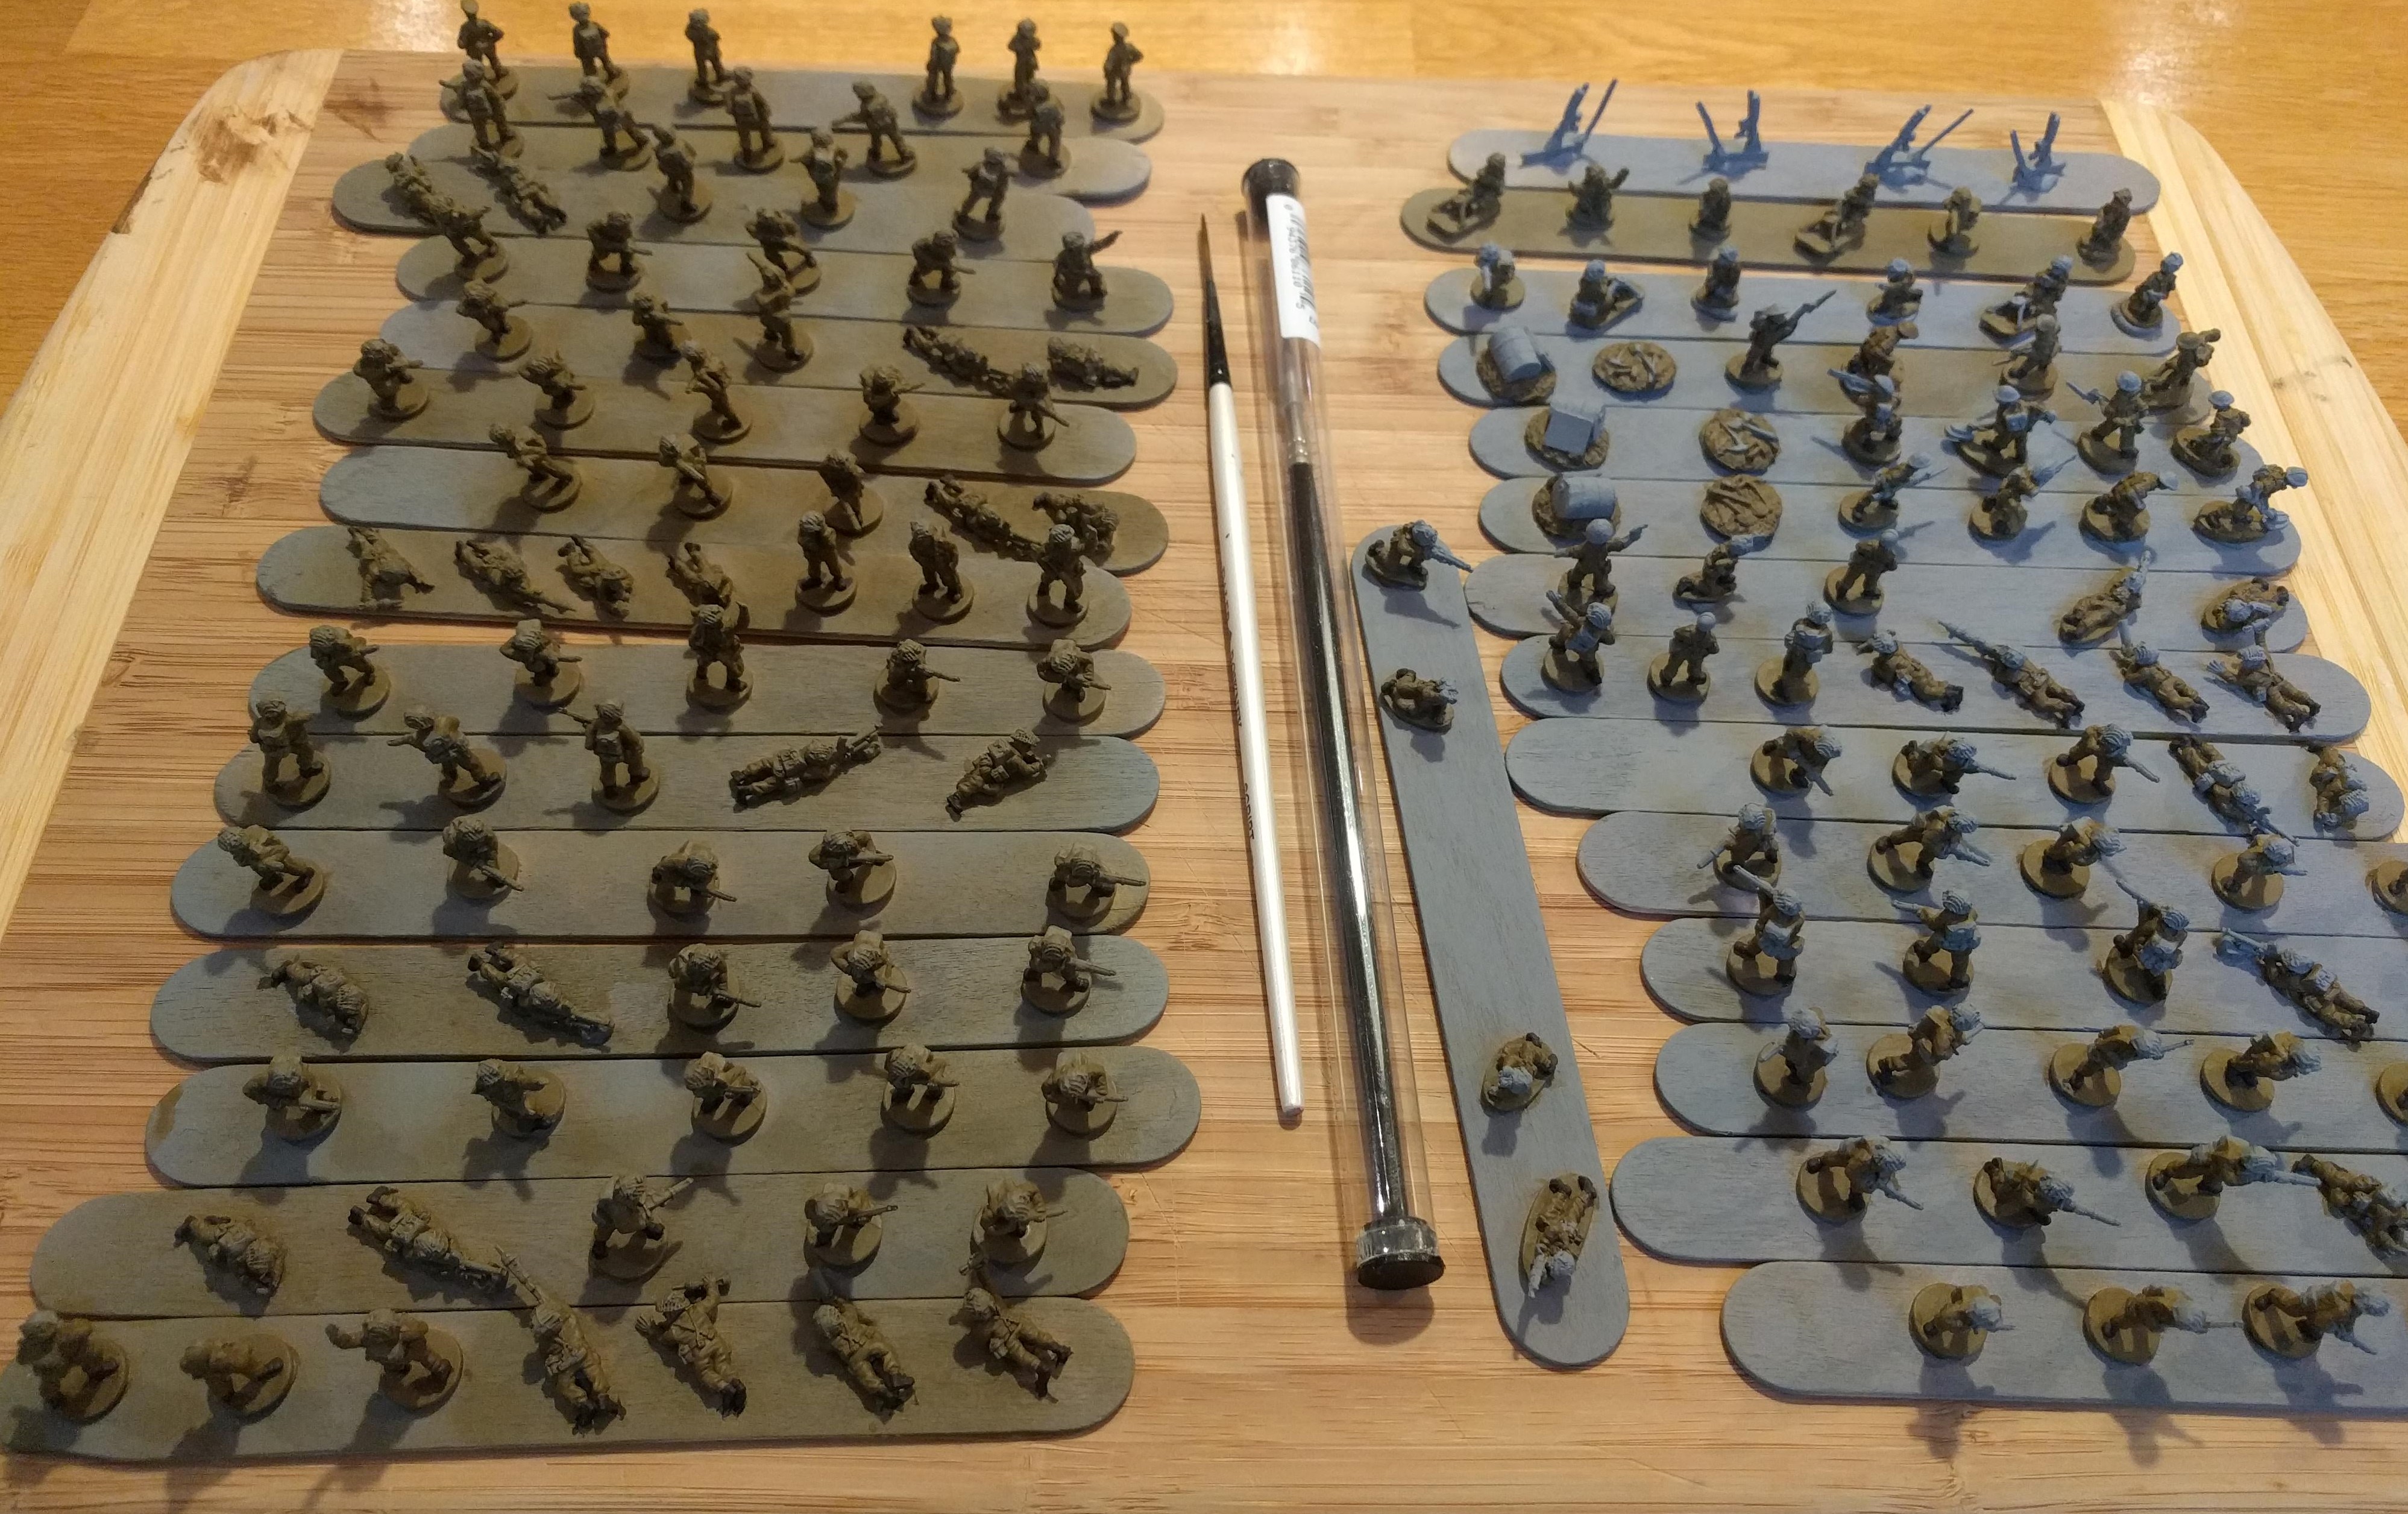 British Battledress base coat applied
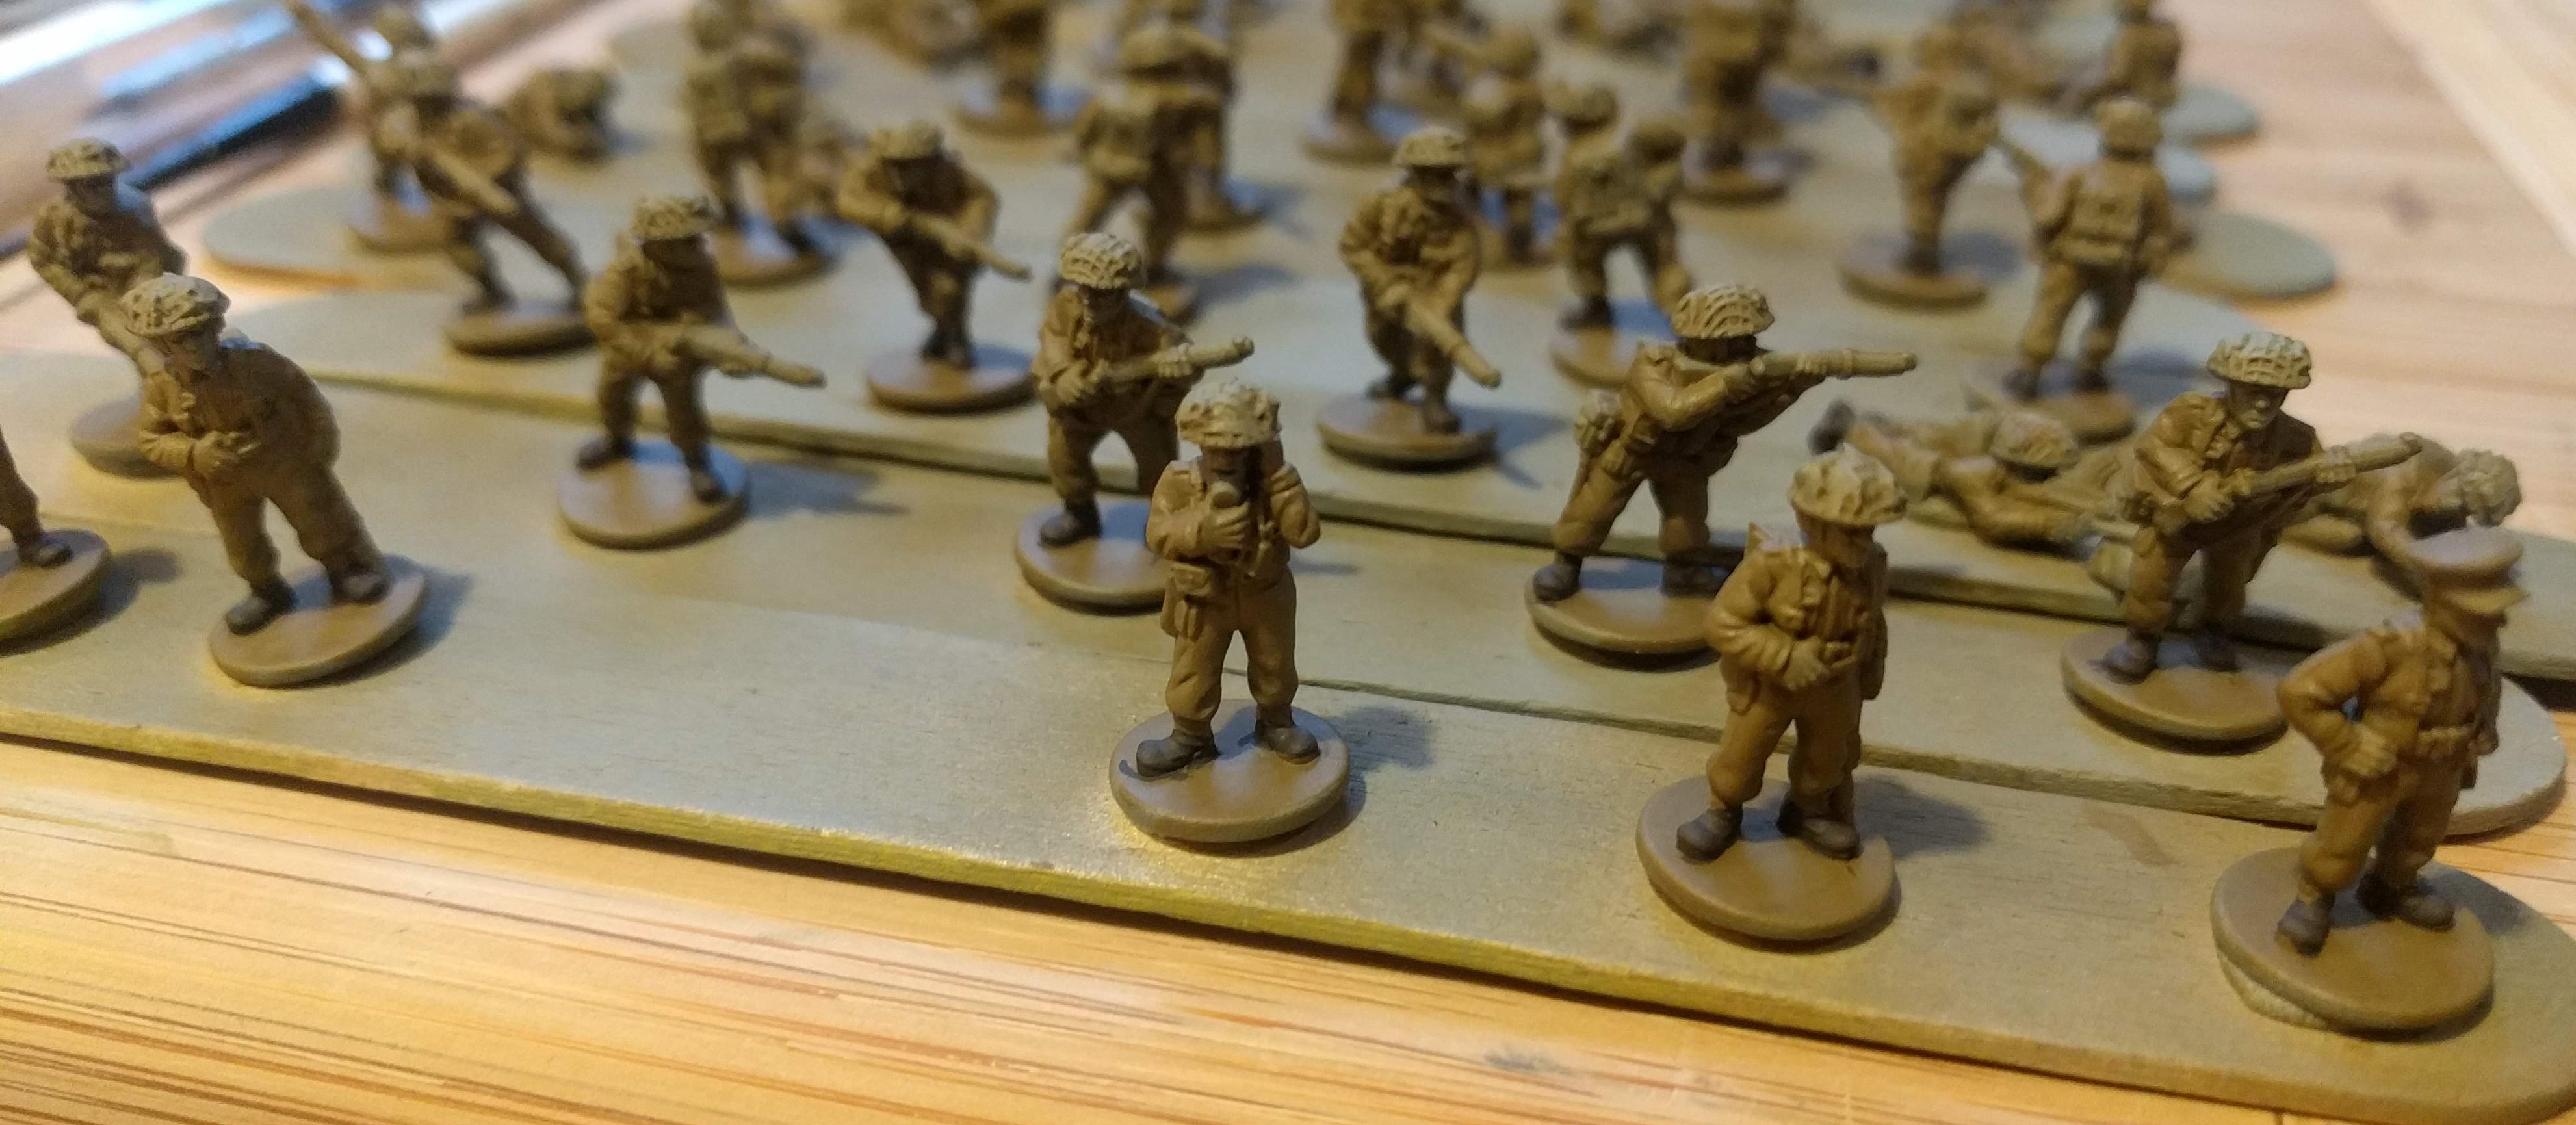 Boots painted.
 Next step will be the flesh and then probably the webbing/backpacks etc. I’ll leave the helmets to last.
Fallschirmjager on Parade
It’s been a marathon but I’ve now finished a company sized force of Fallschirmjager. They’re all based and packed away in their boxes, ready for the defence of Monte Cassino.
In total, the company has a bayonet strength of 201 and is made up of 45 bases. In it, we have;
1st and 2nd in command
a pioneer platoon
3 infantry platoons
1 heavy mortar platoon and 1 standard mortar platoon
1 heavy MG platoon
and a light infantry gun platoon.
This should prove a tough nut for the Allies to crack at Cassino.
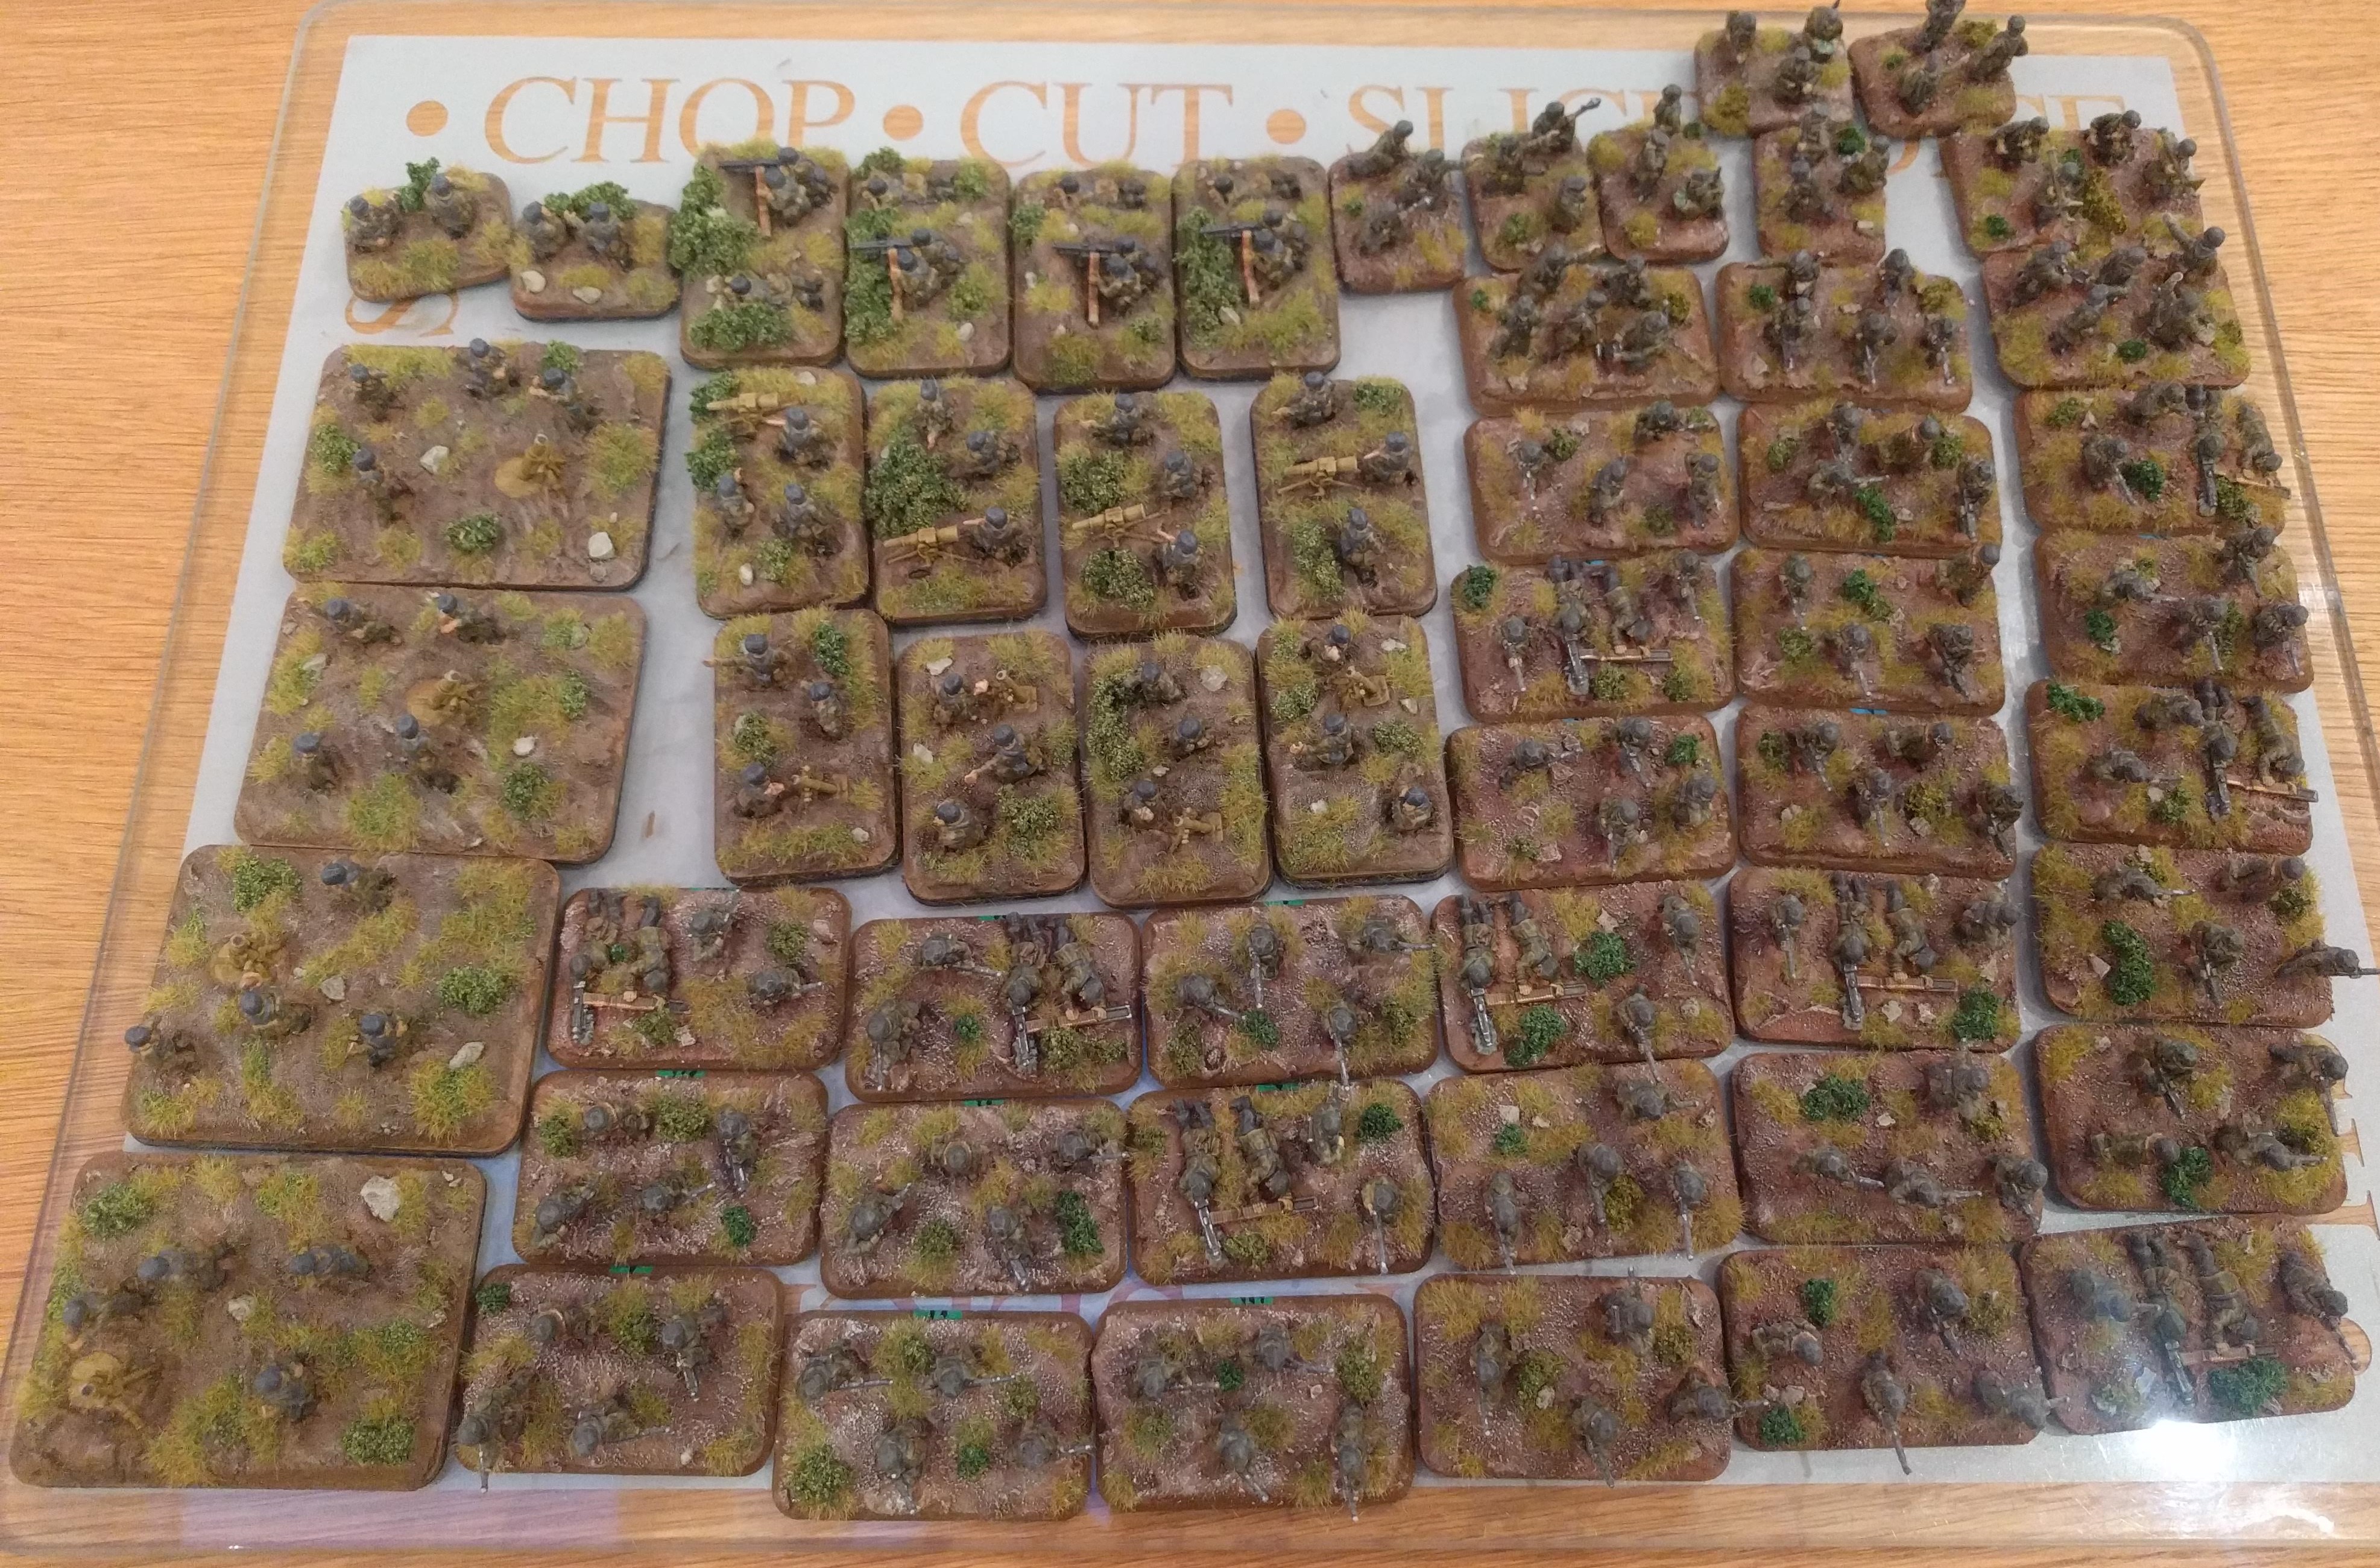 Here's the entire army before I put them all away in their storage boxes
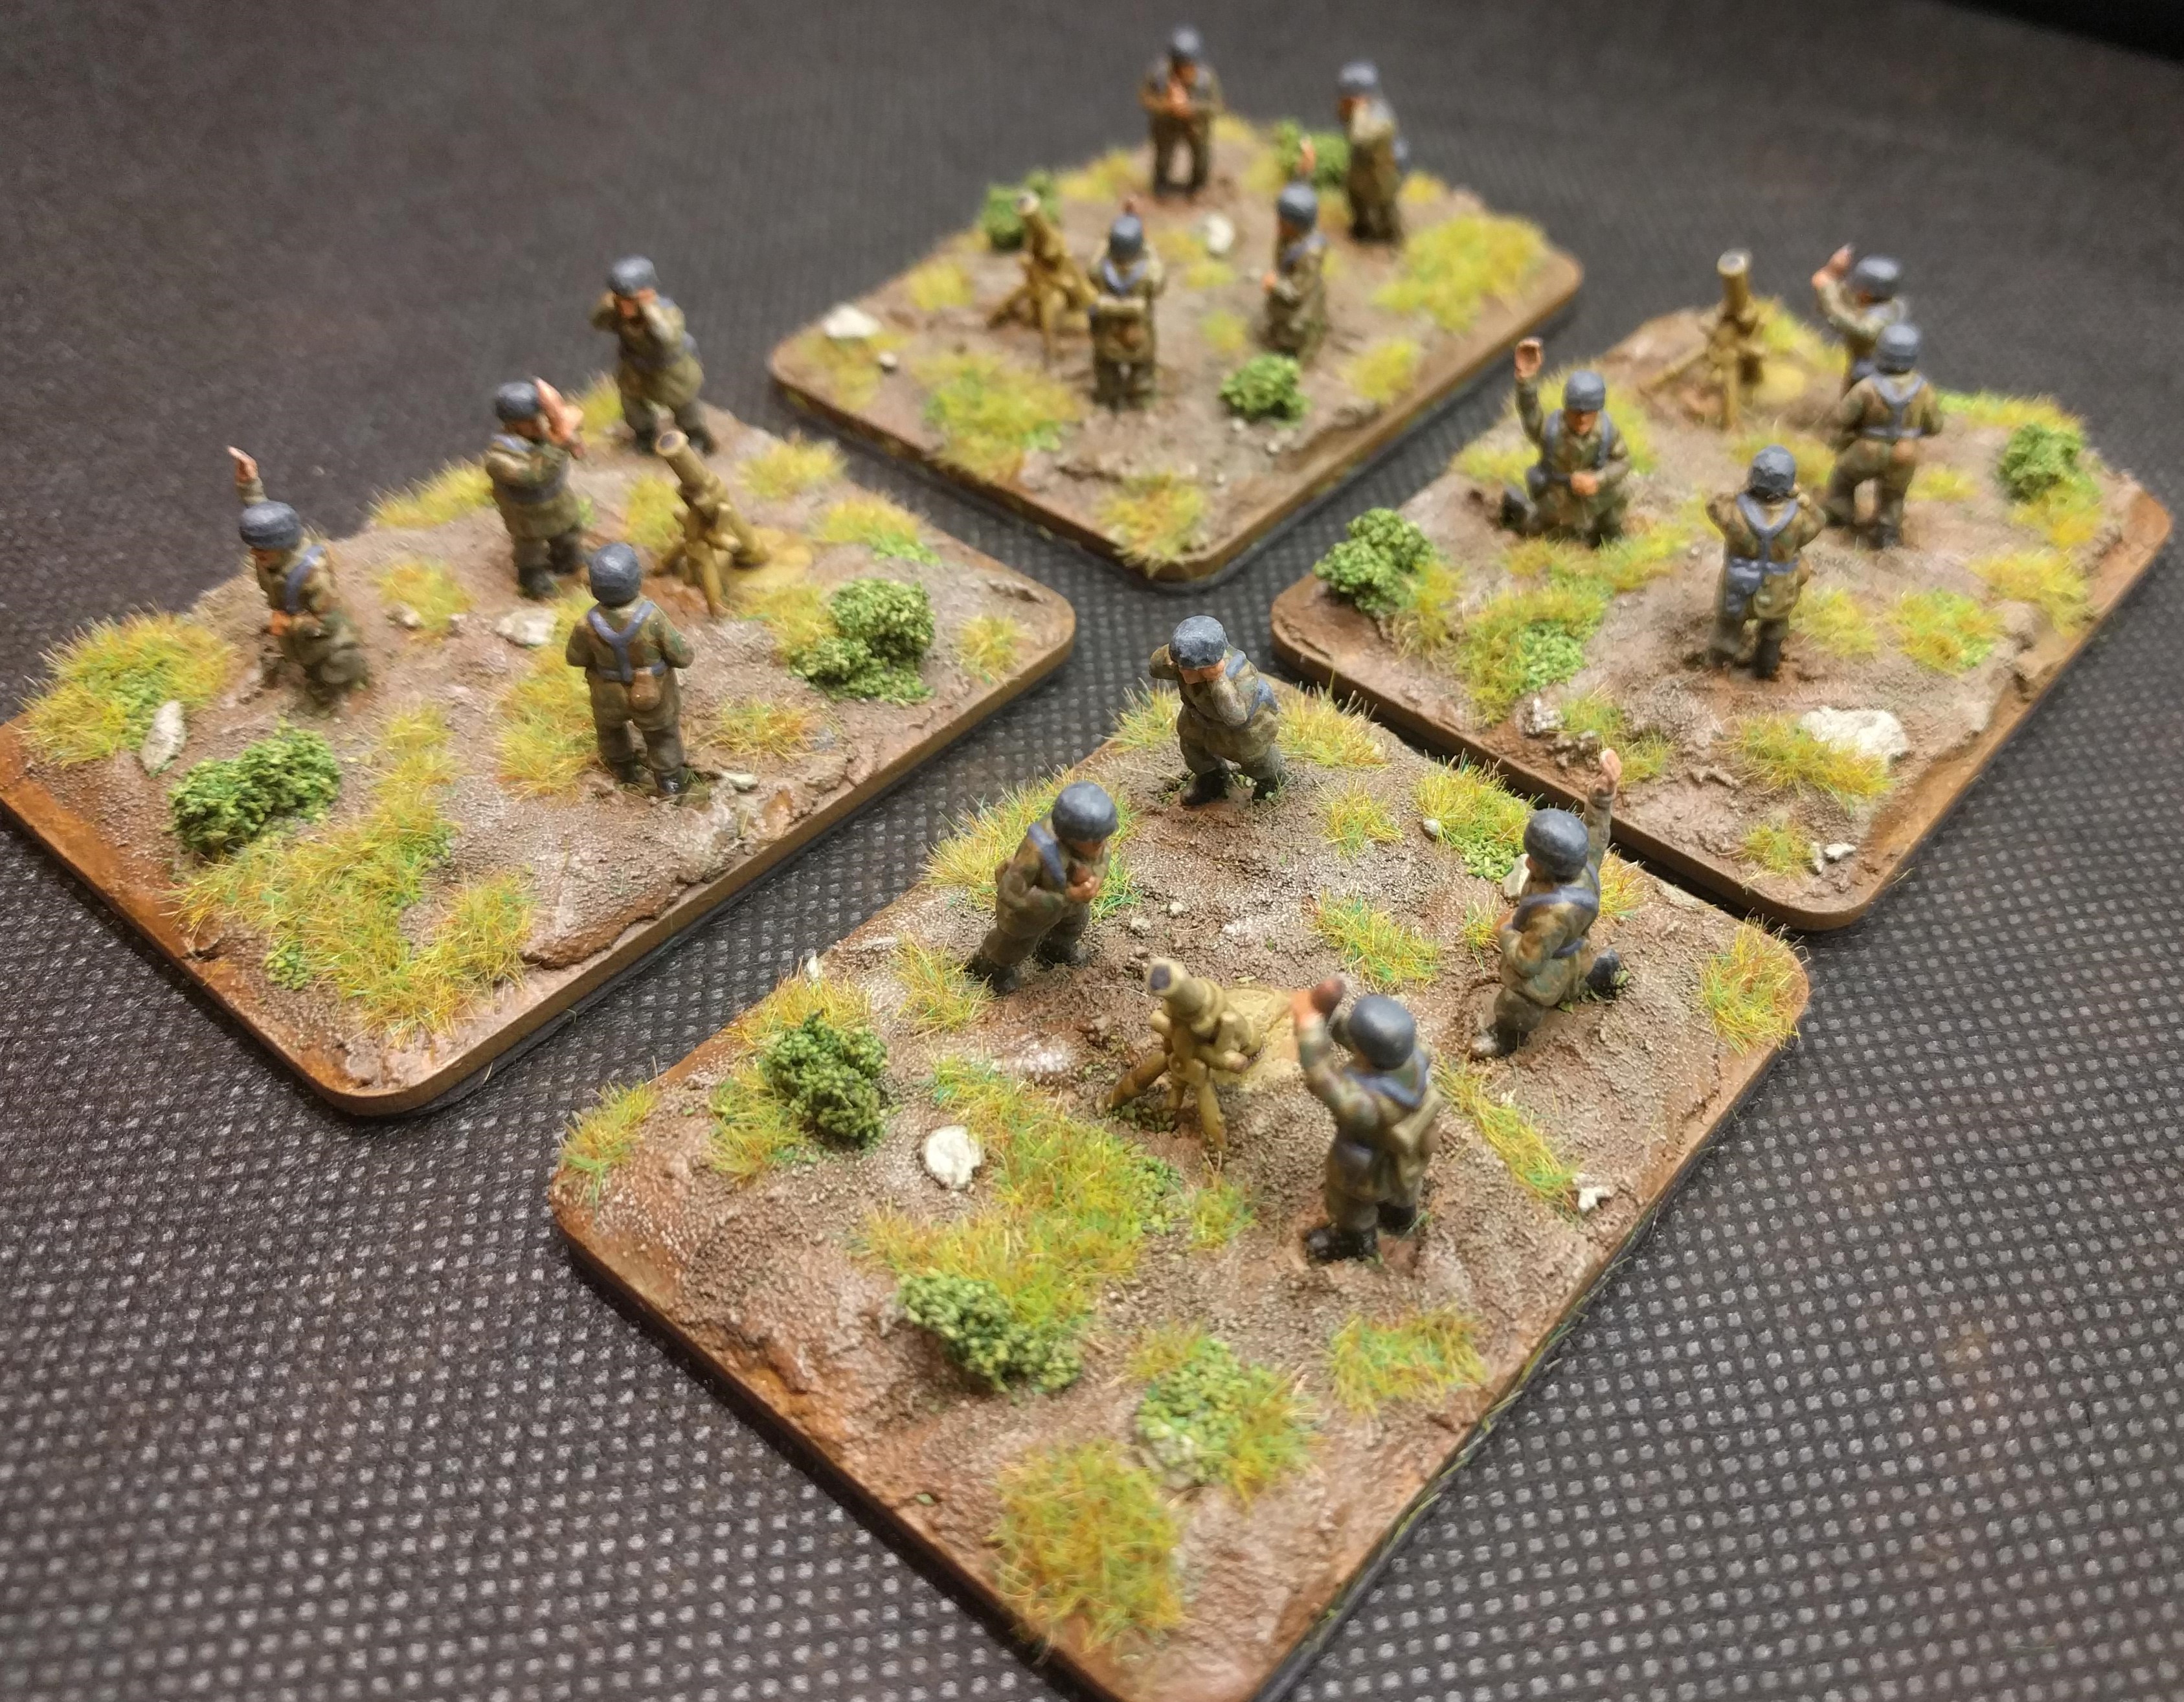
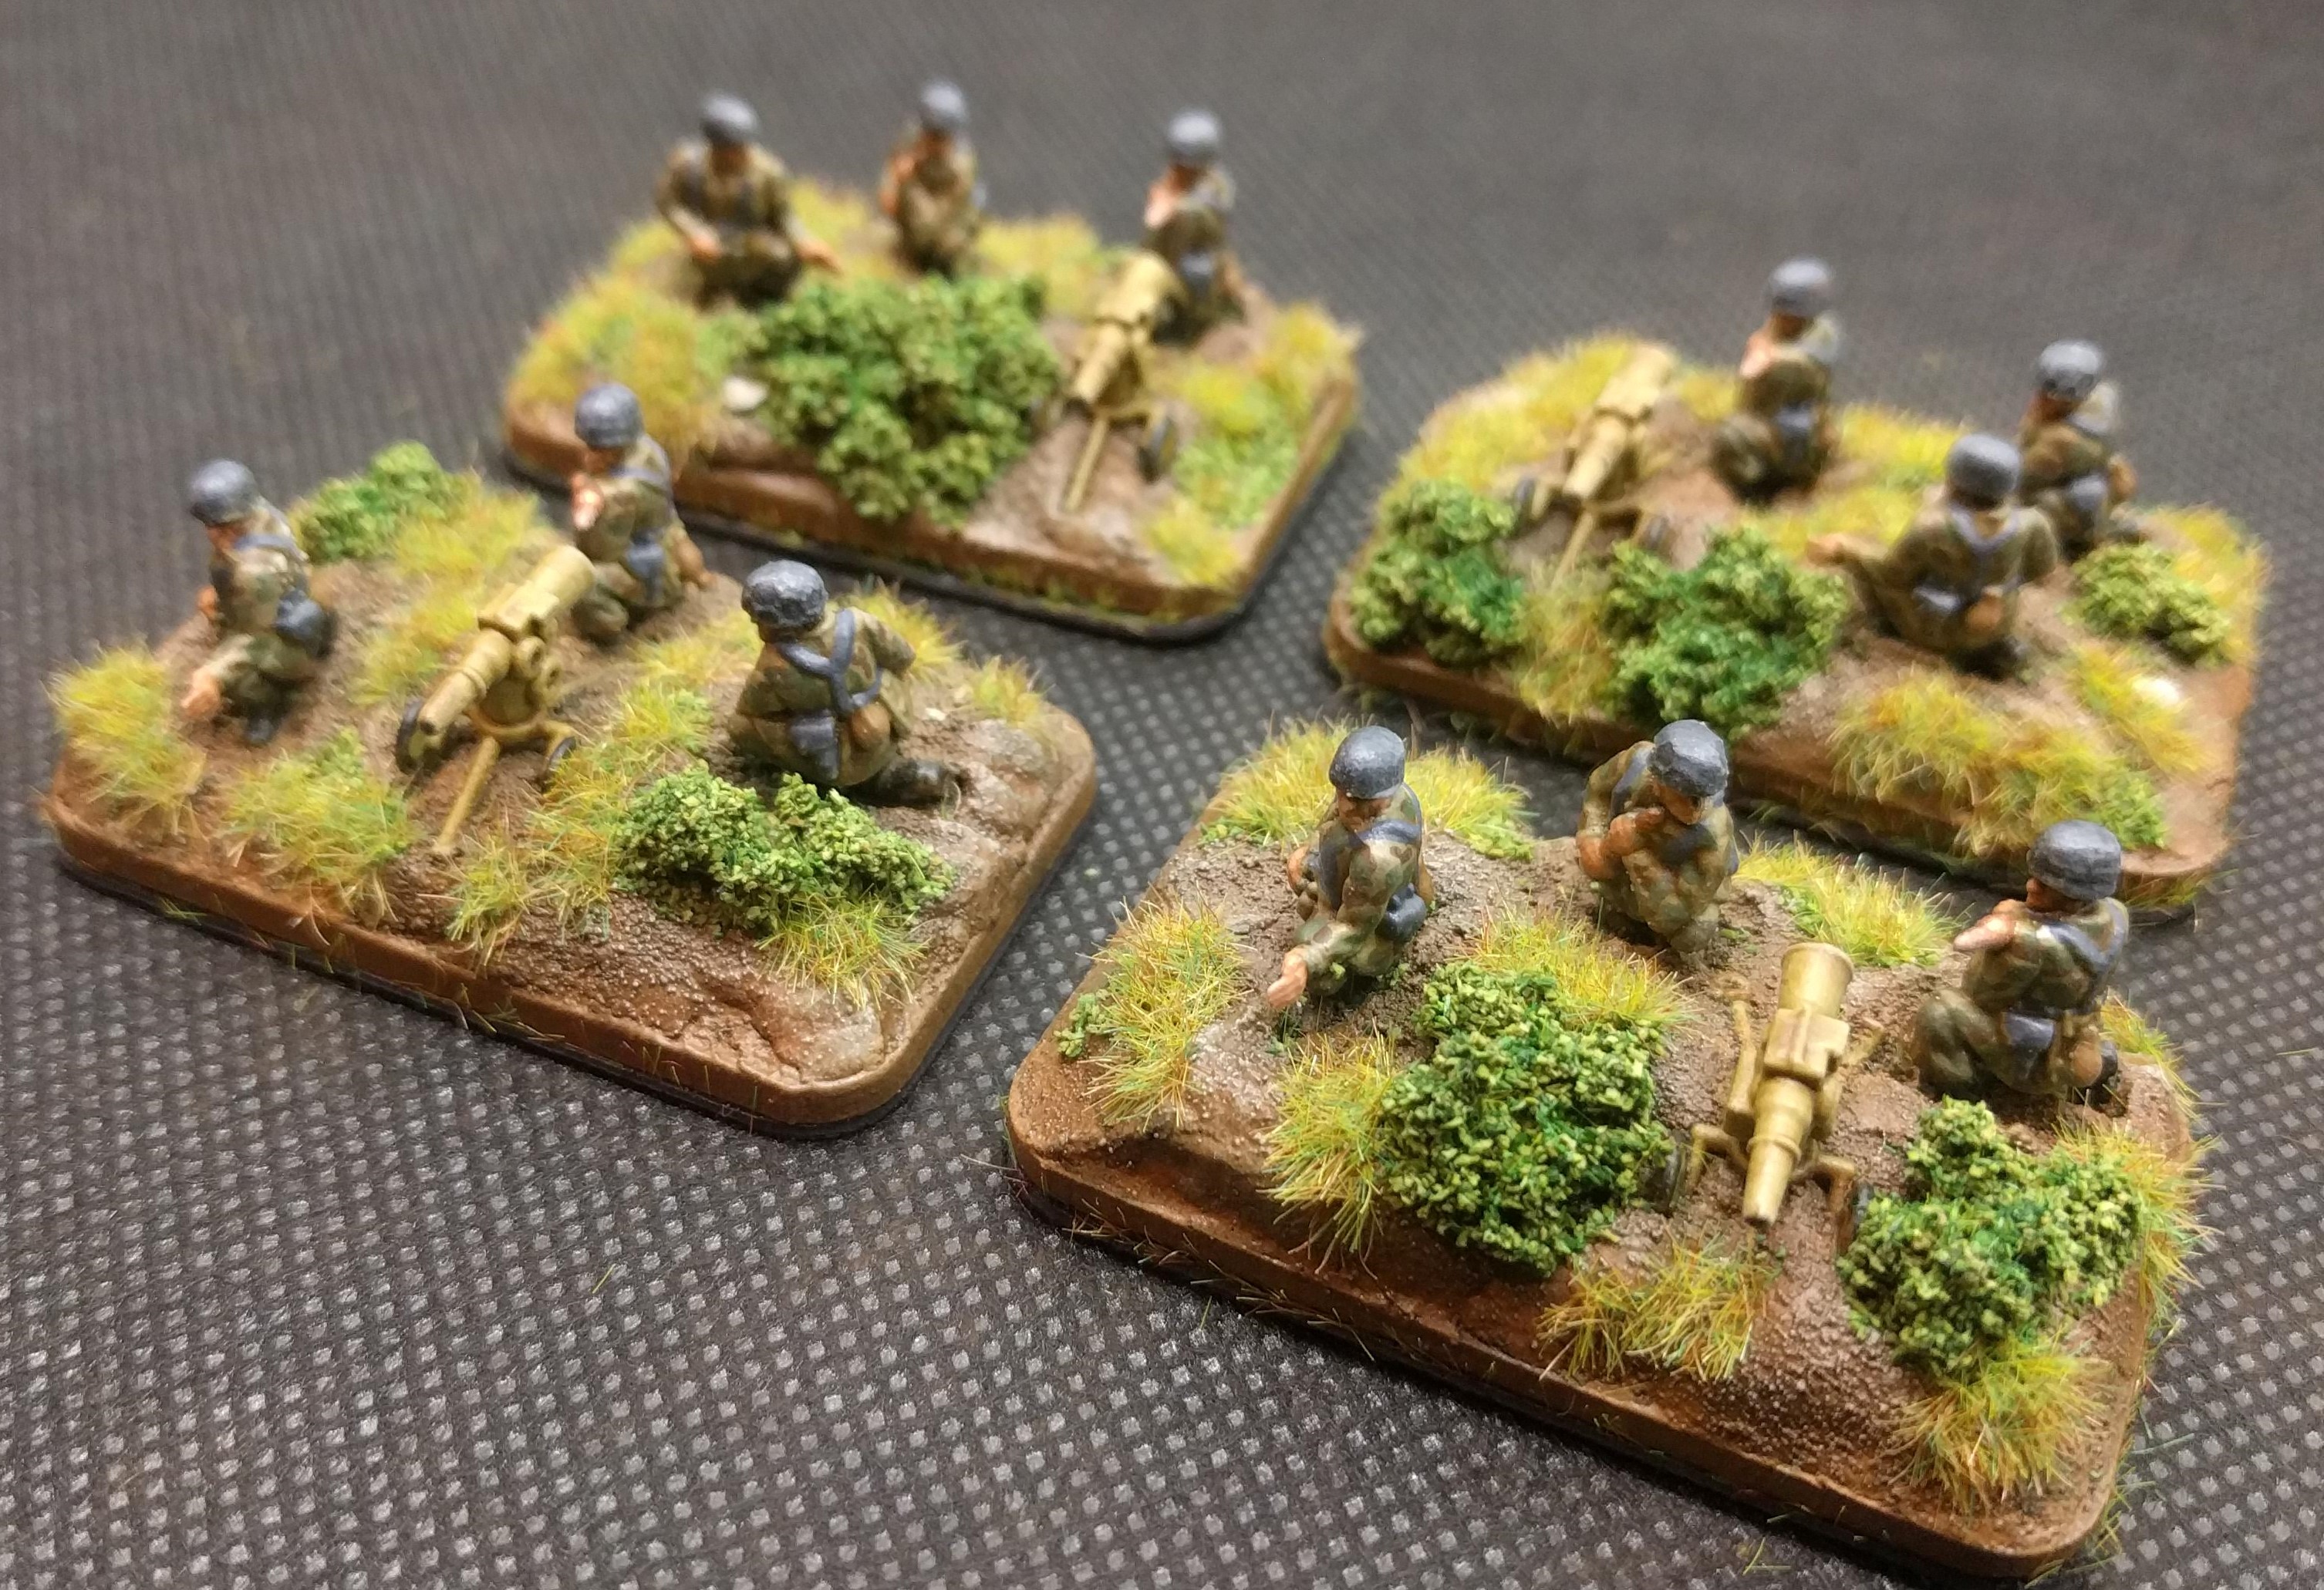
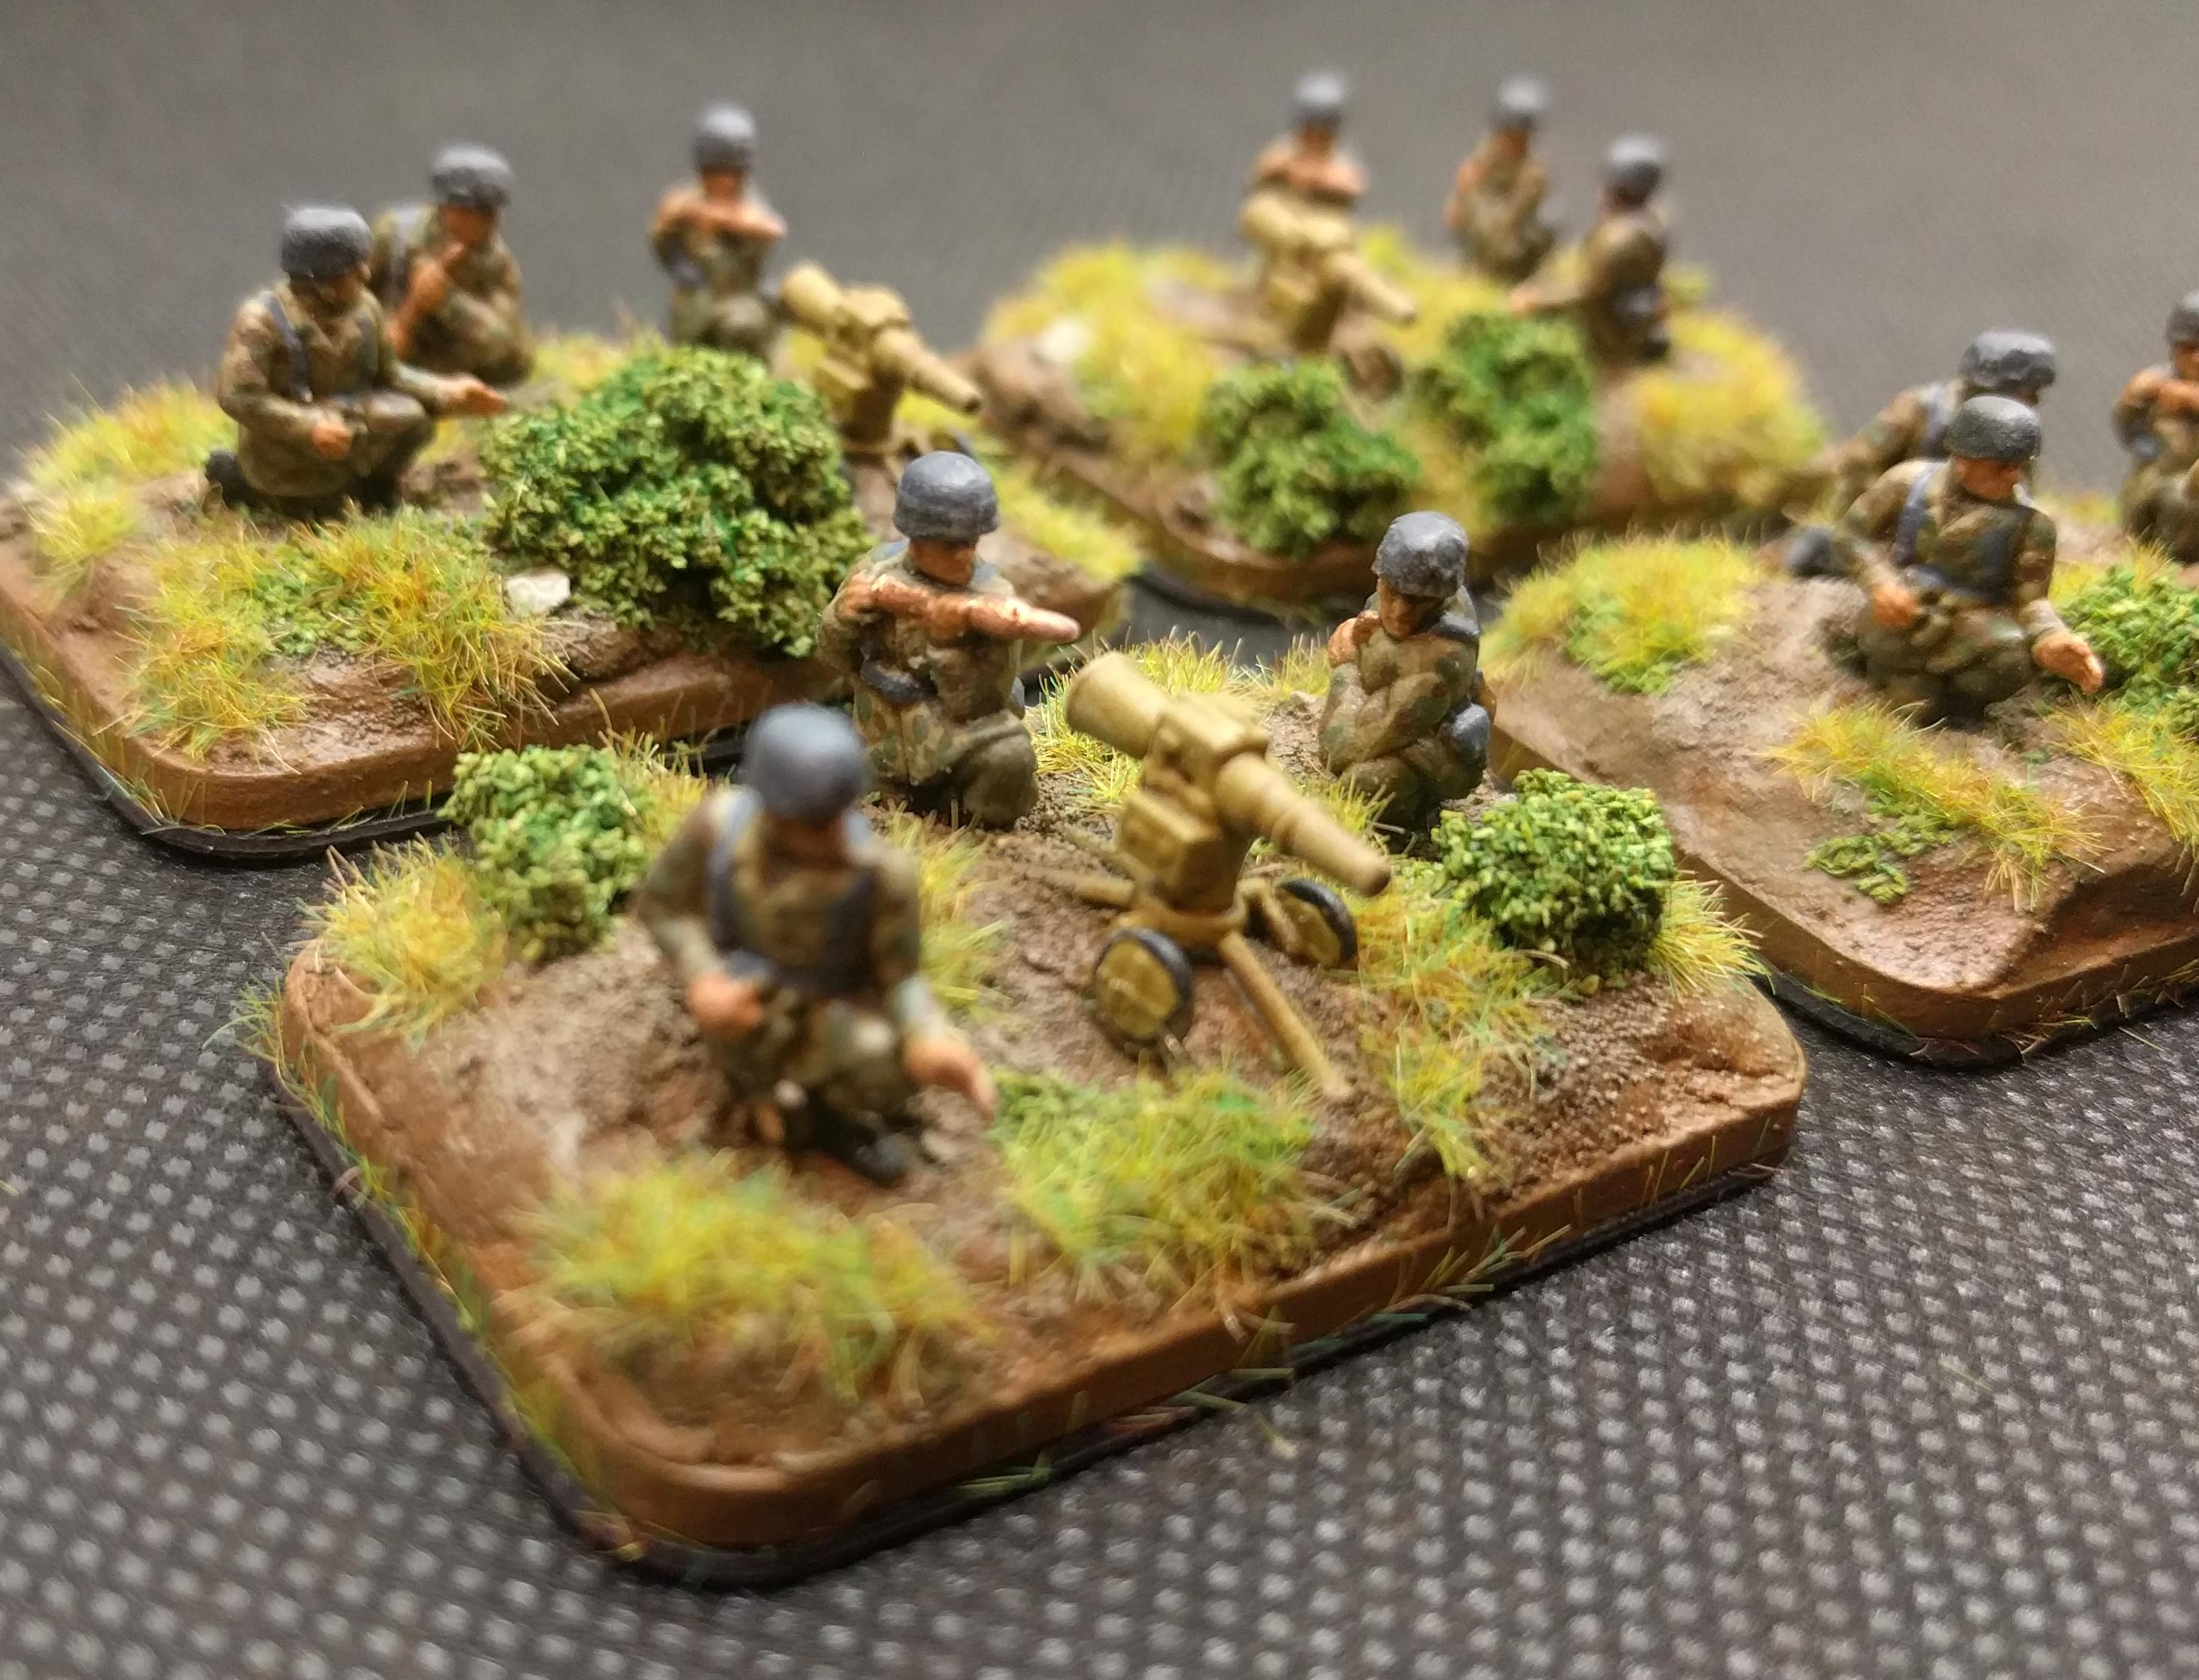


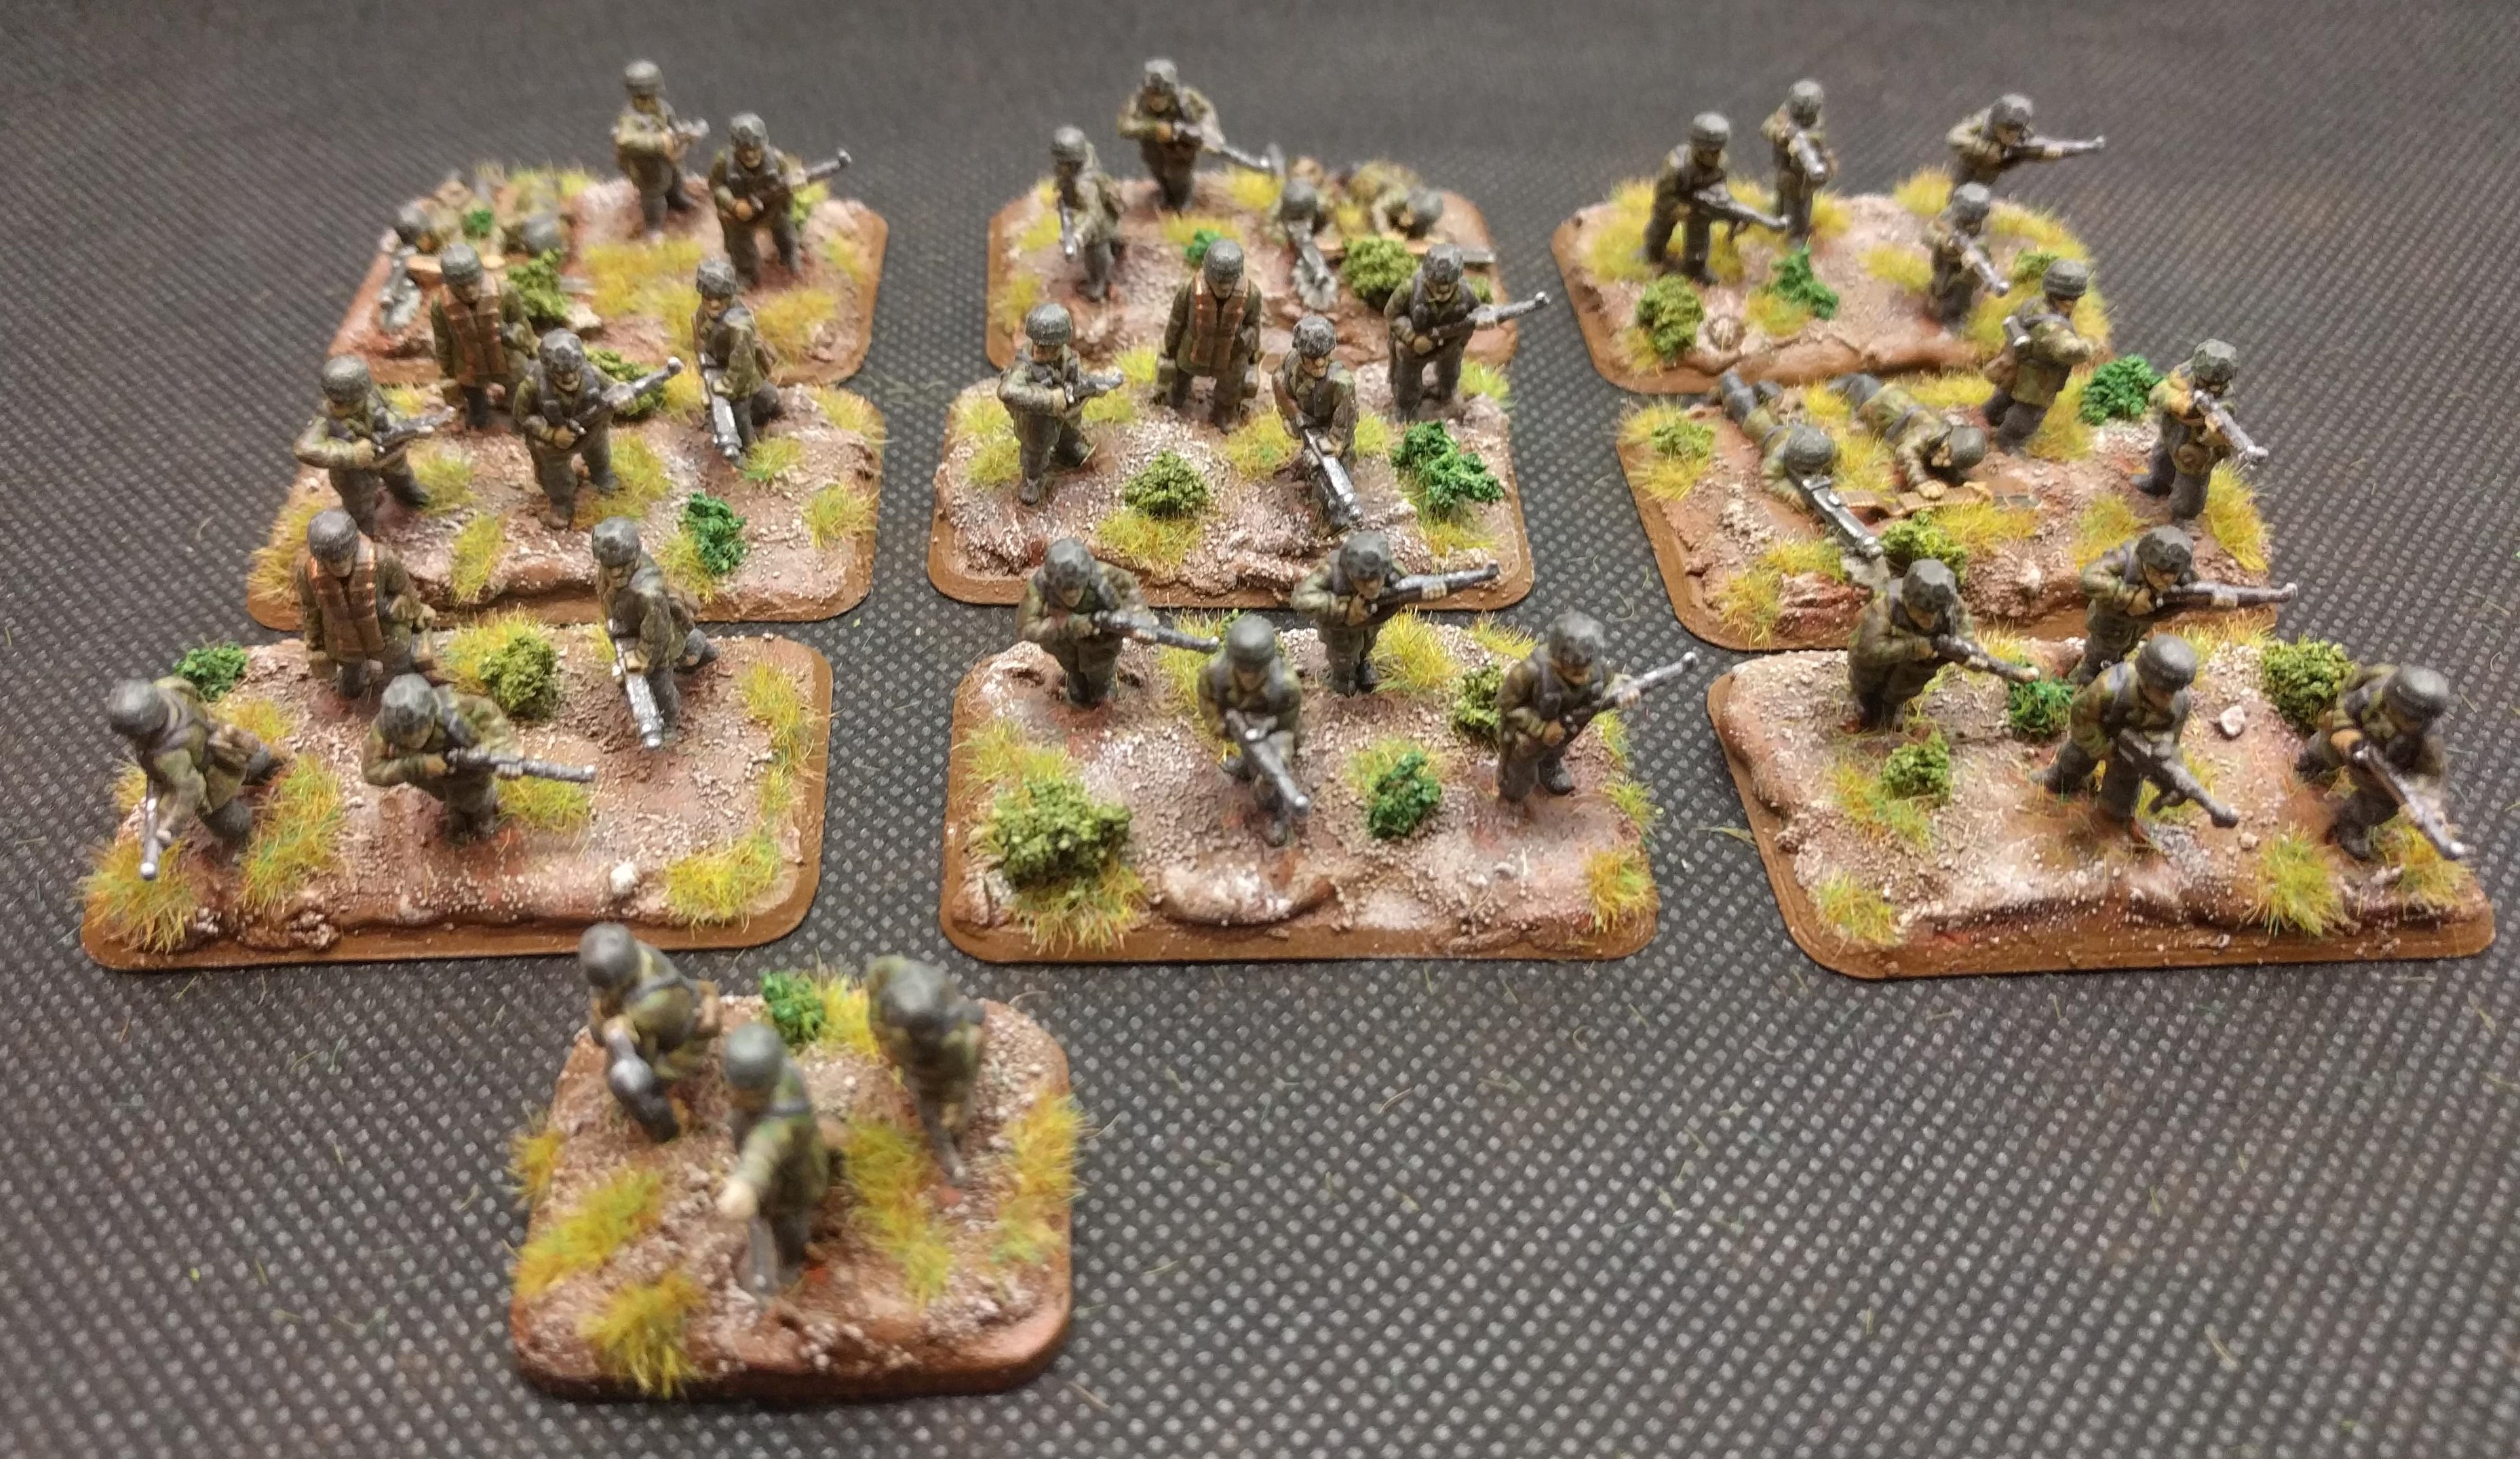 A full Infantry Platoon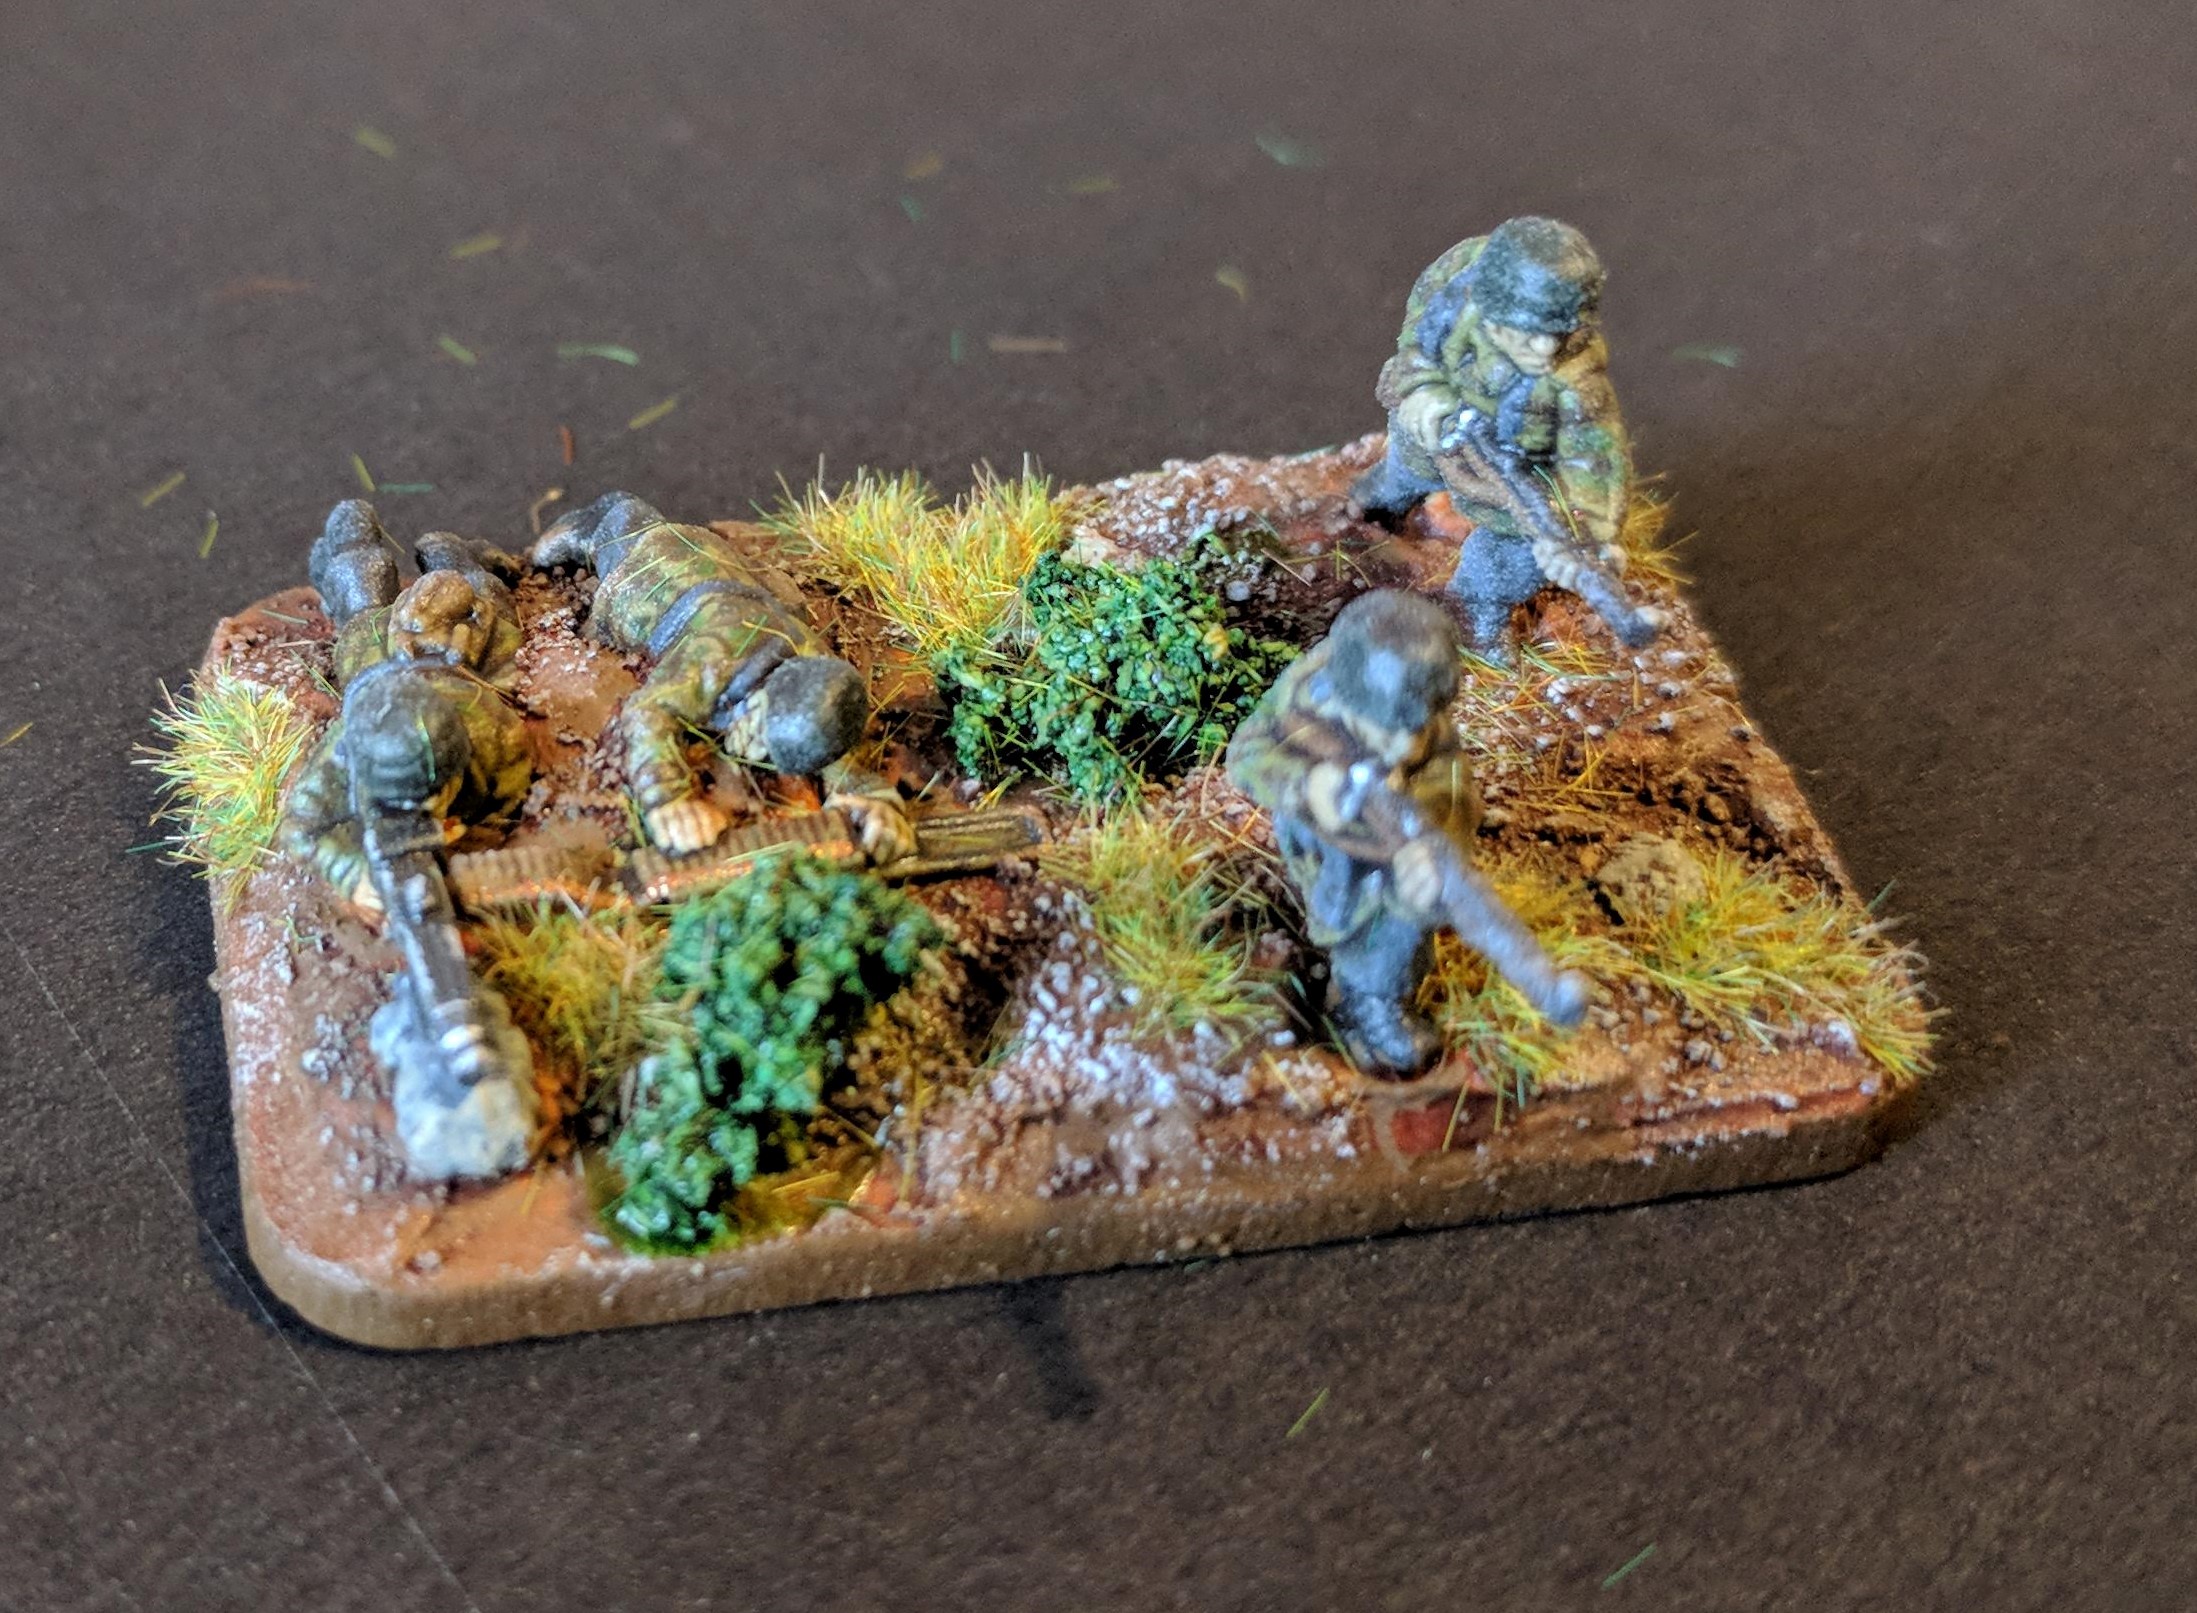
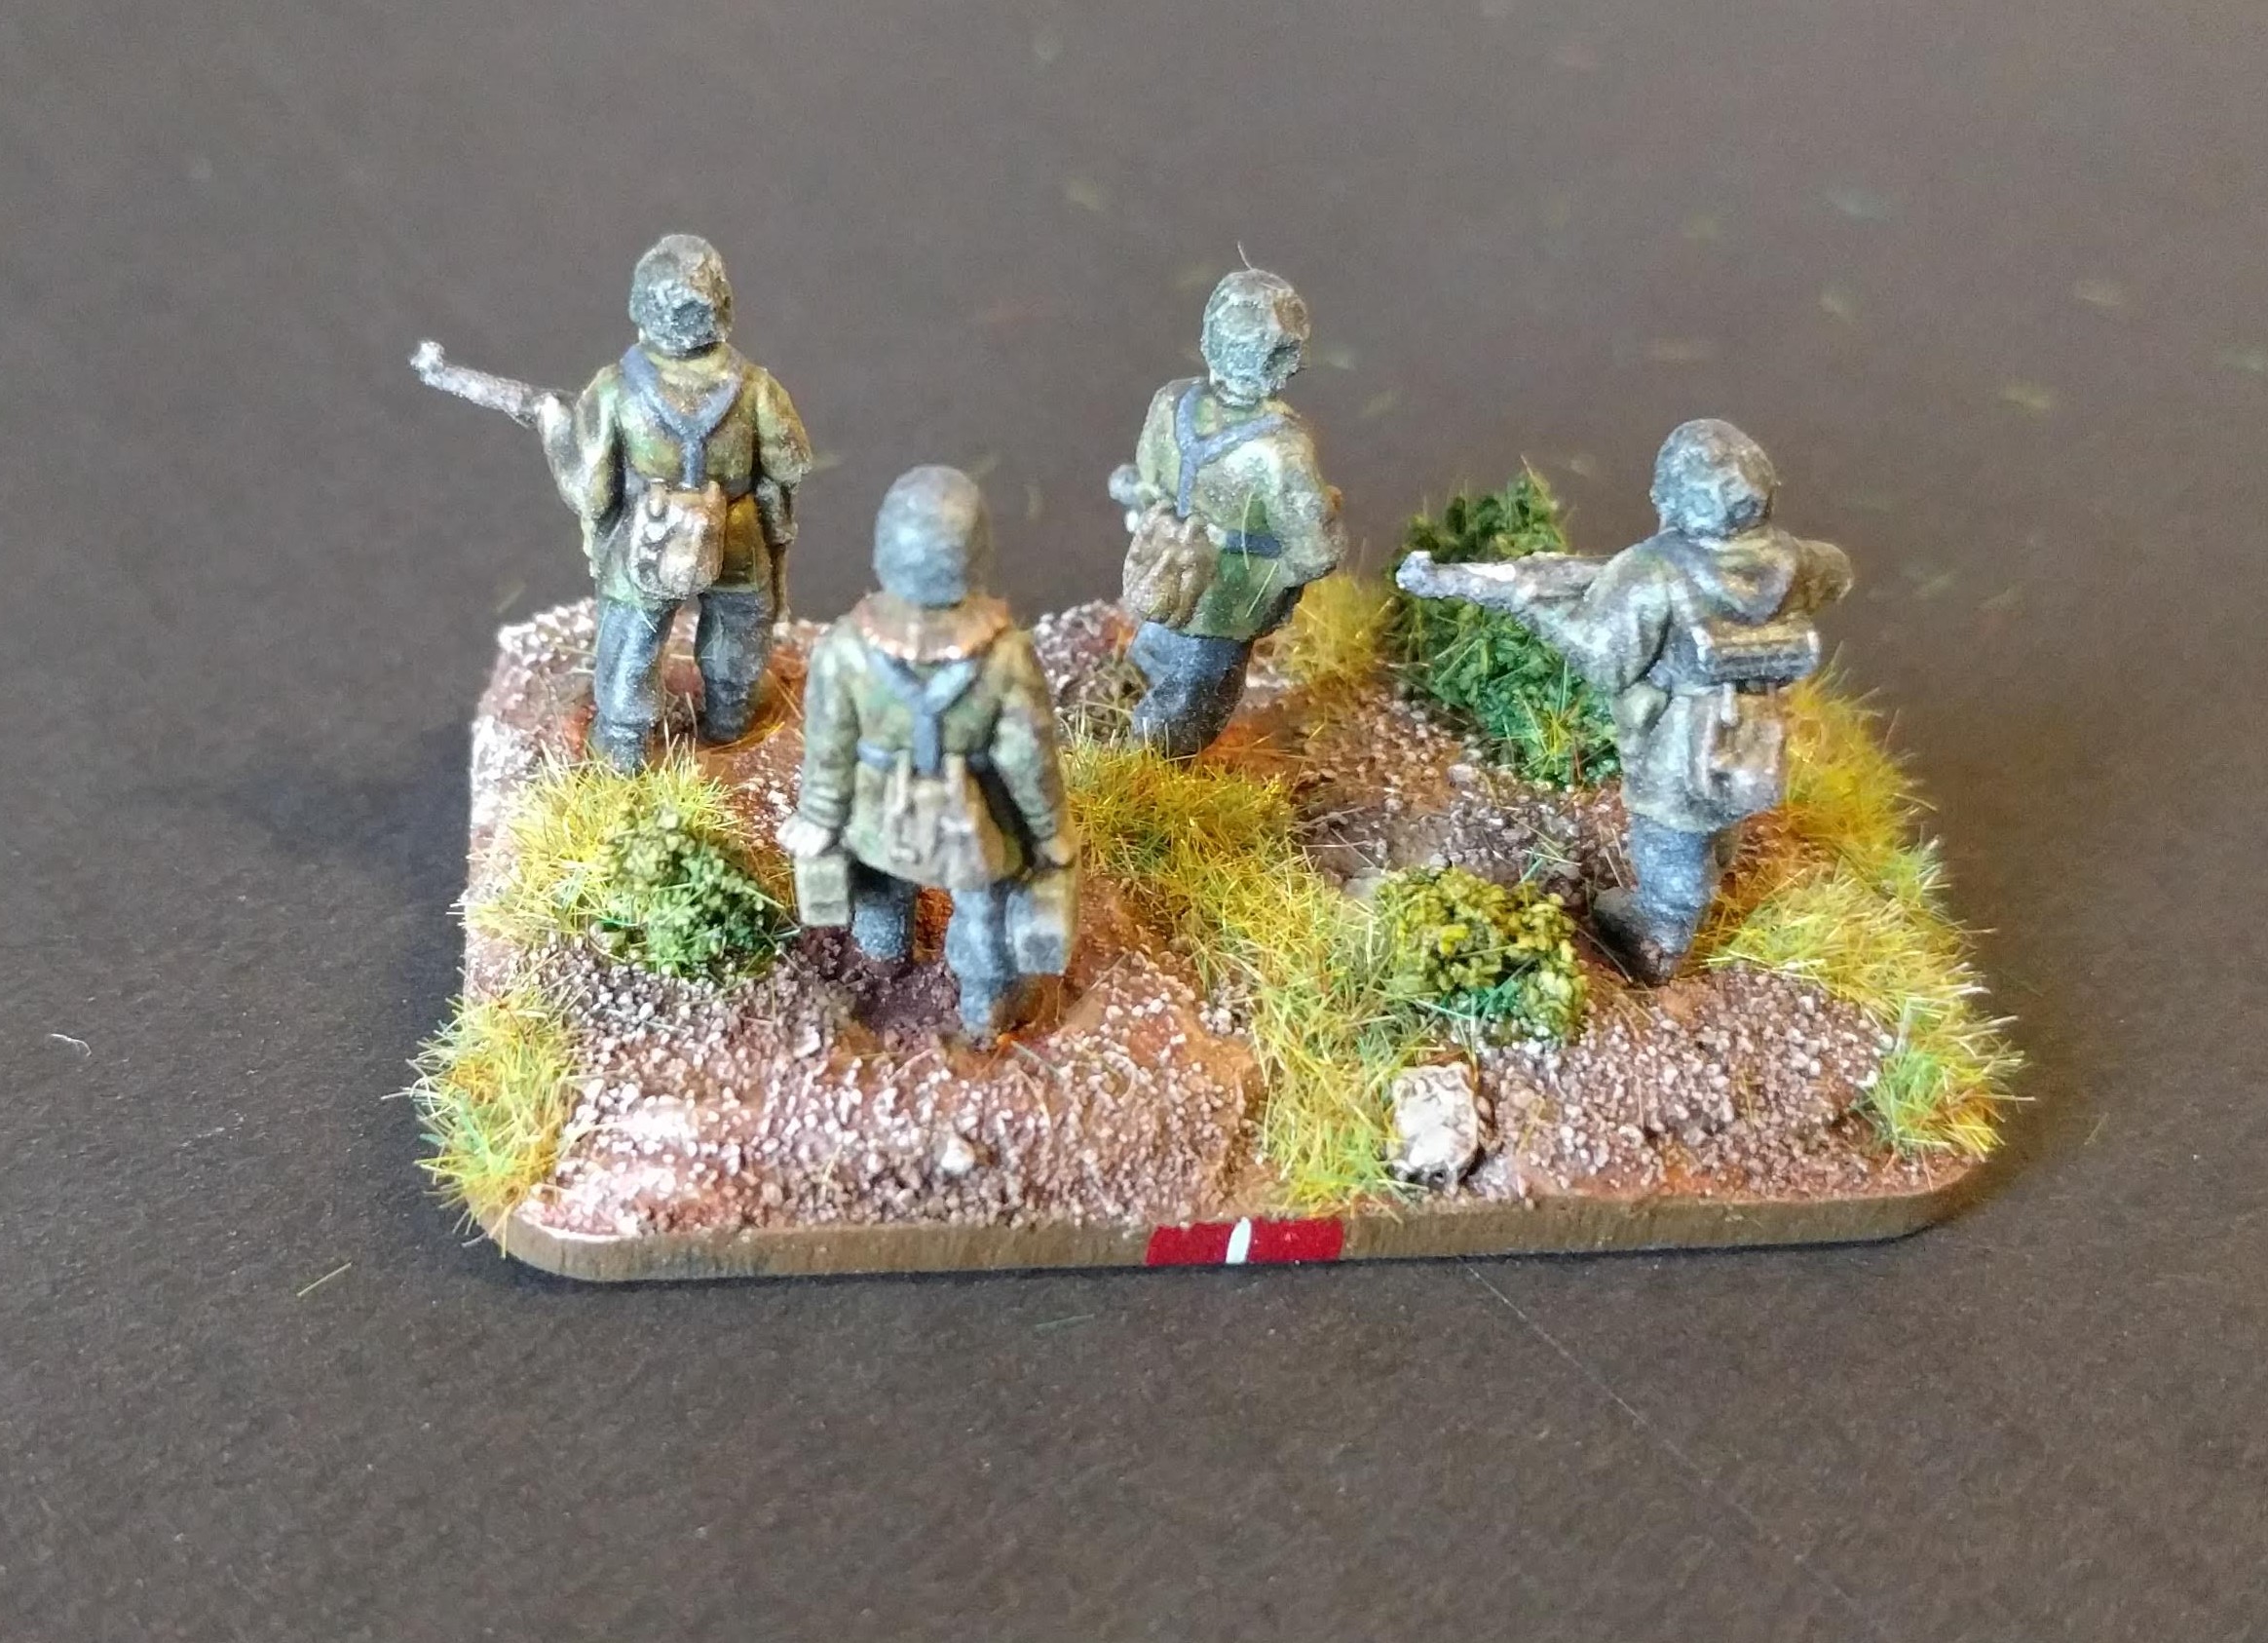
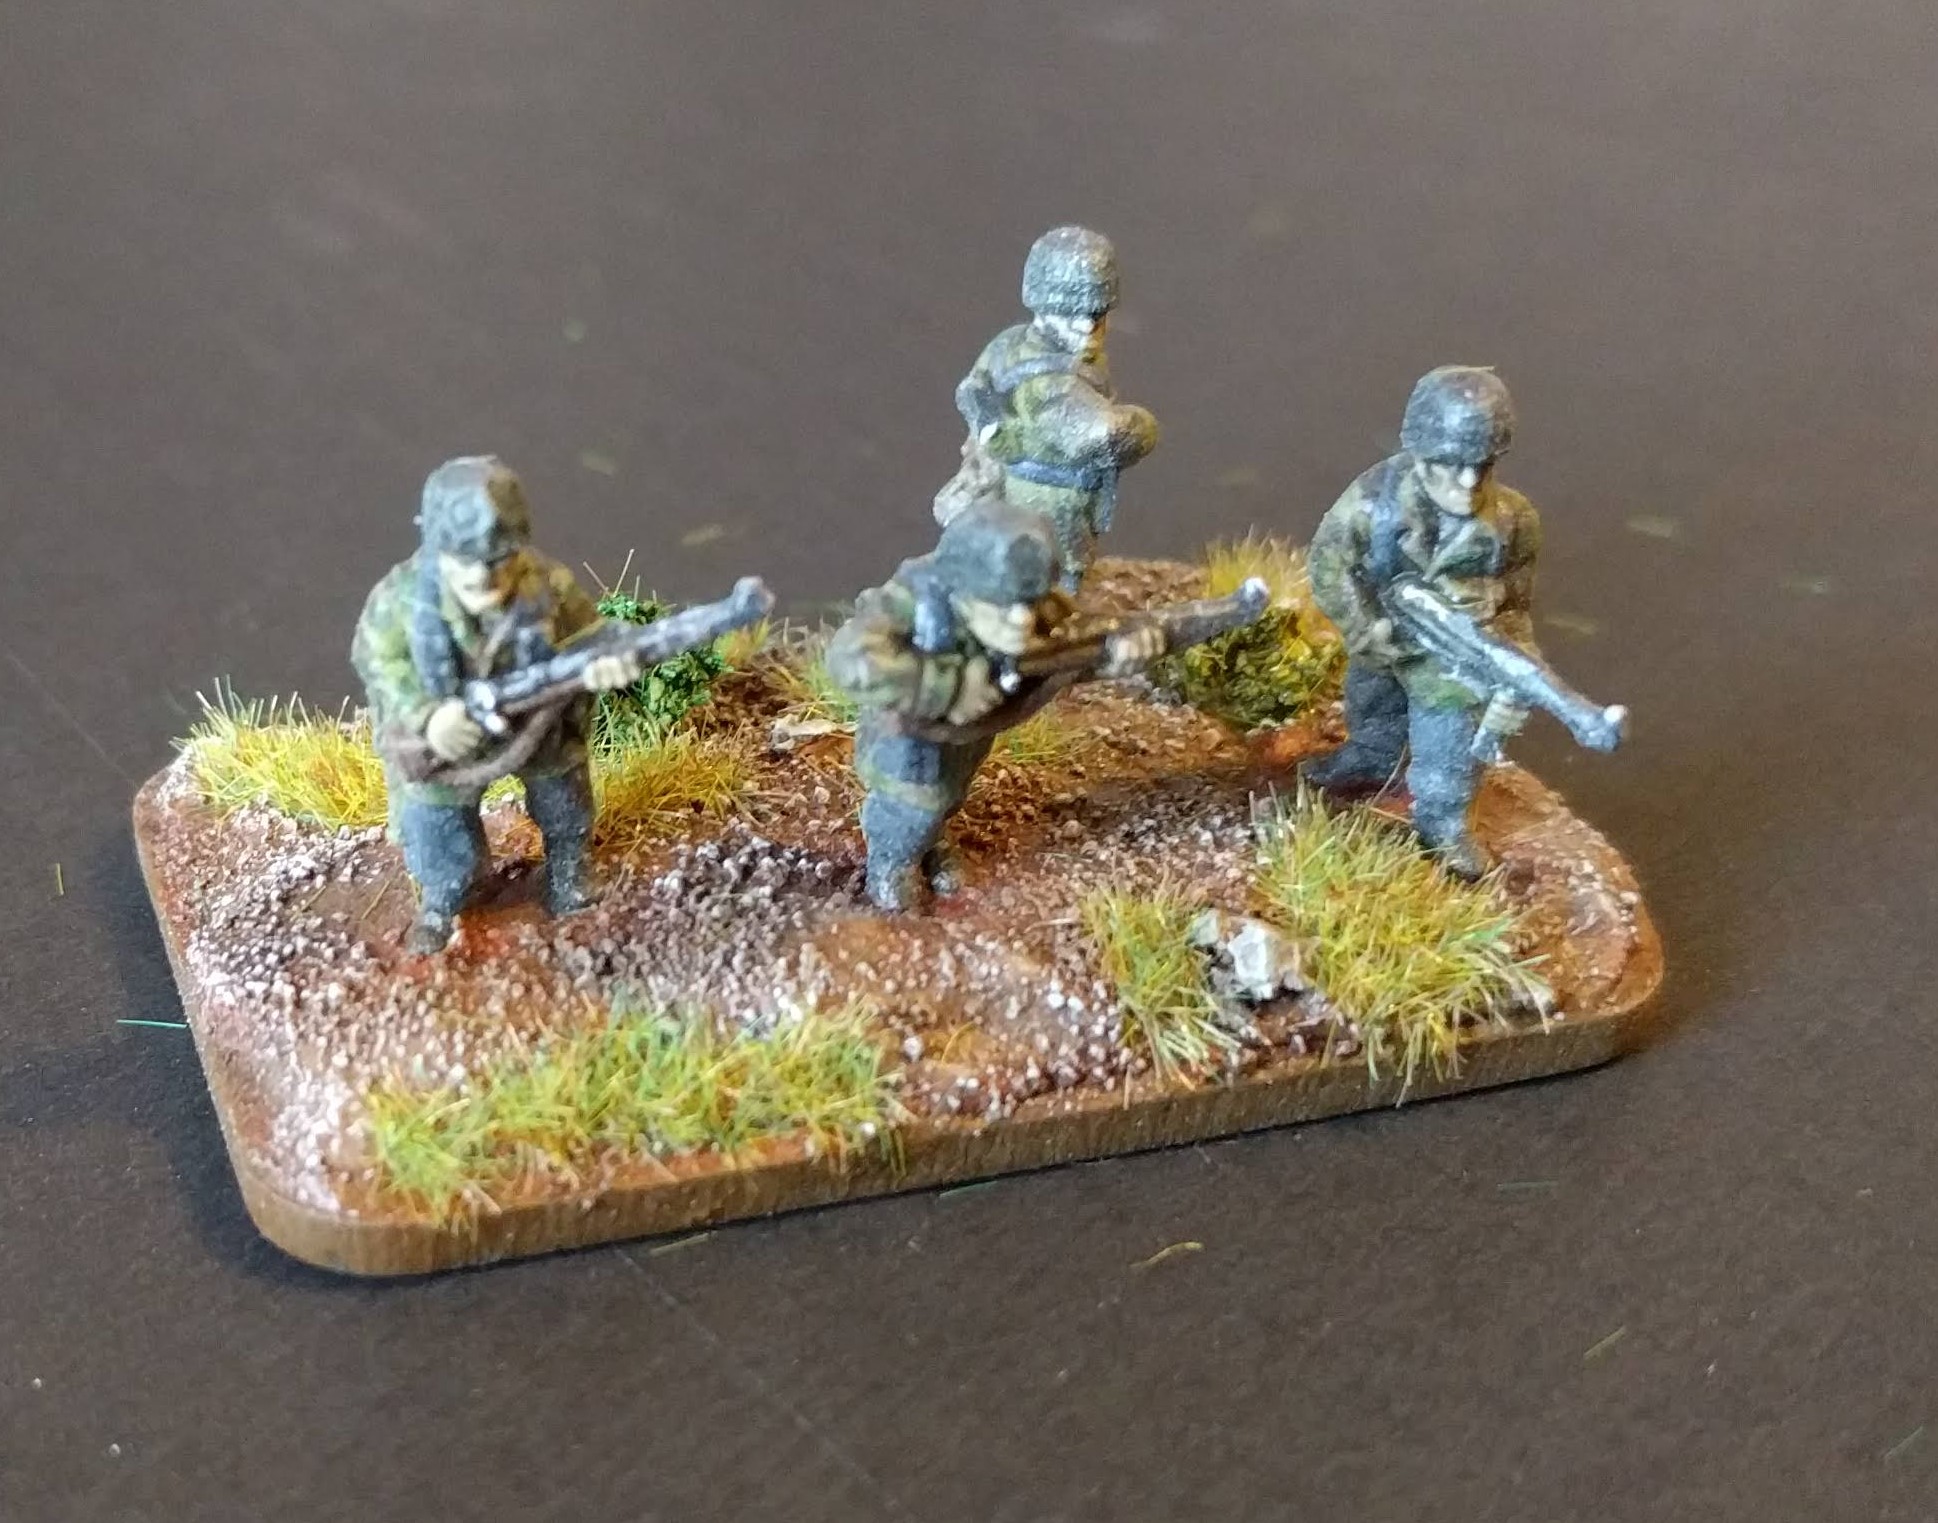
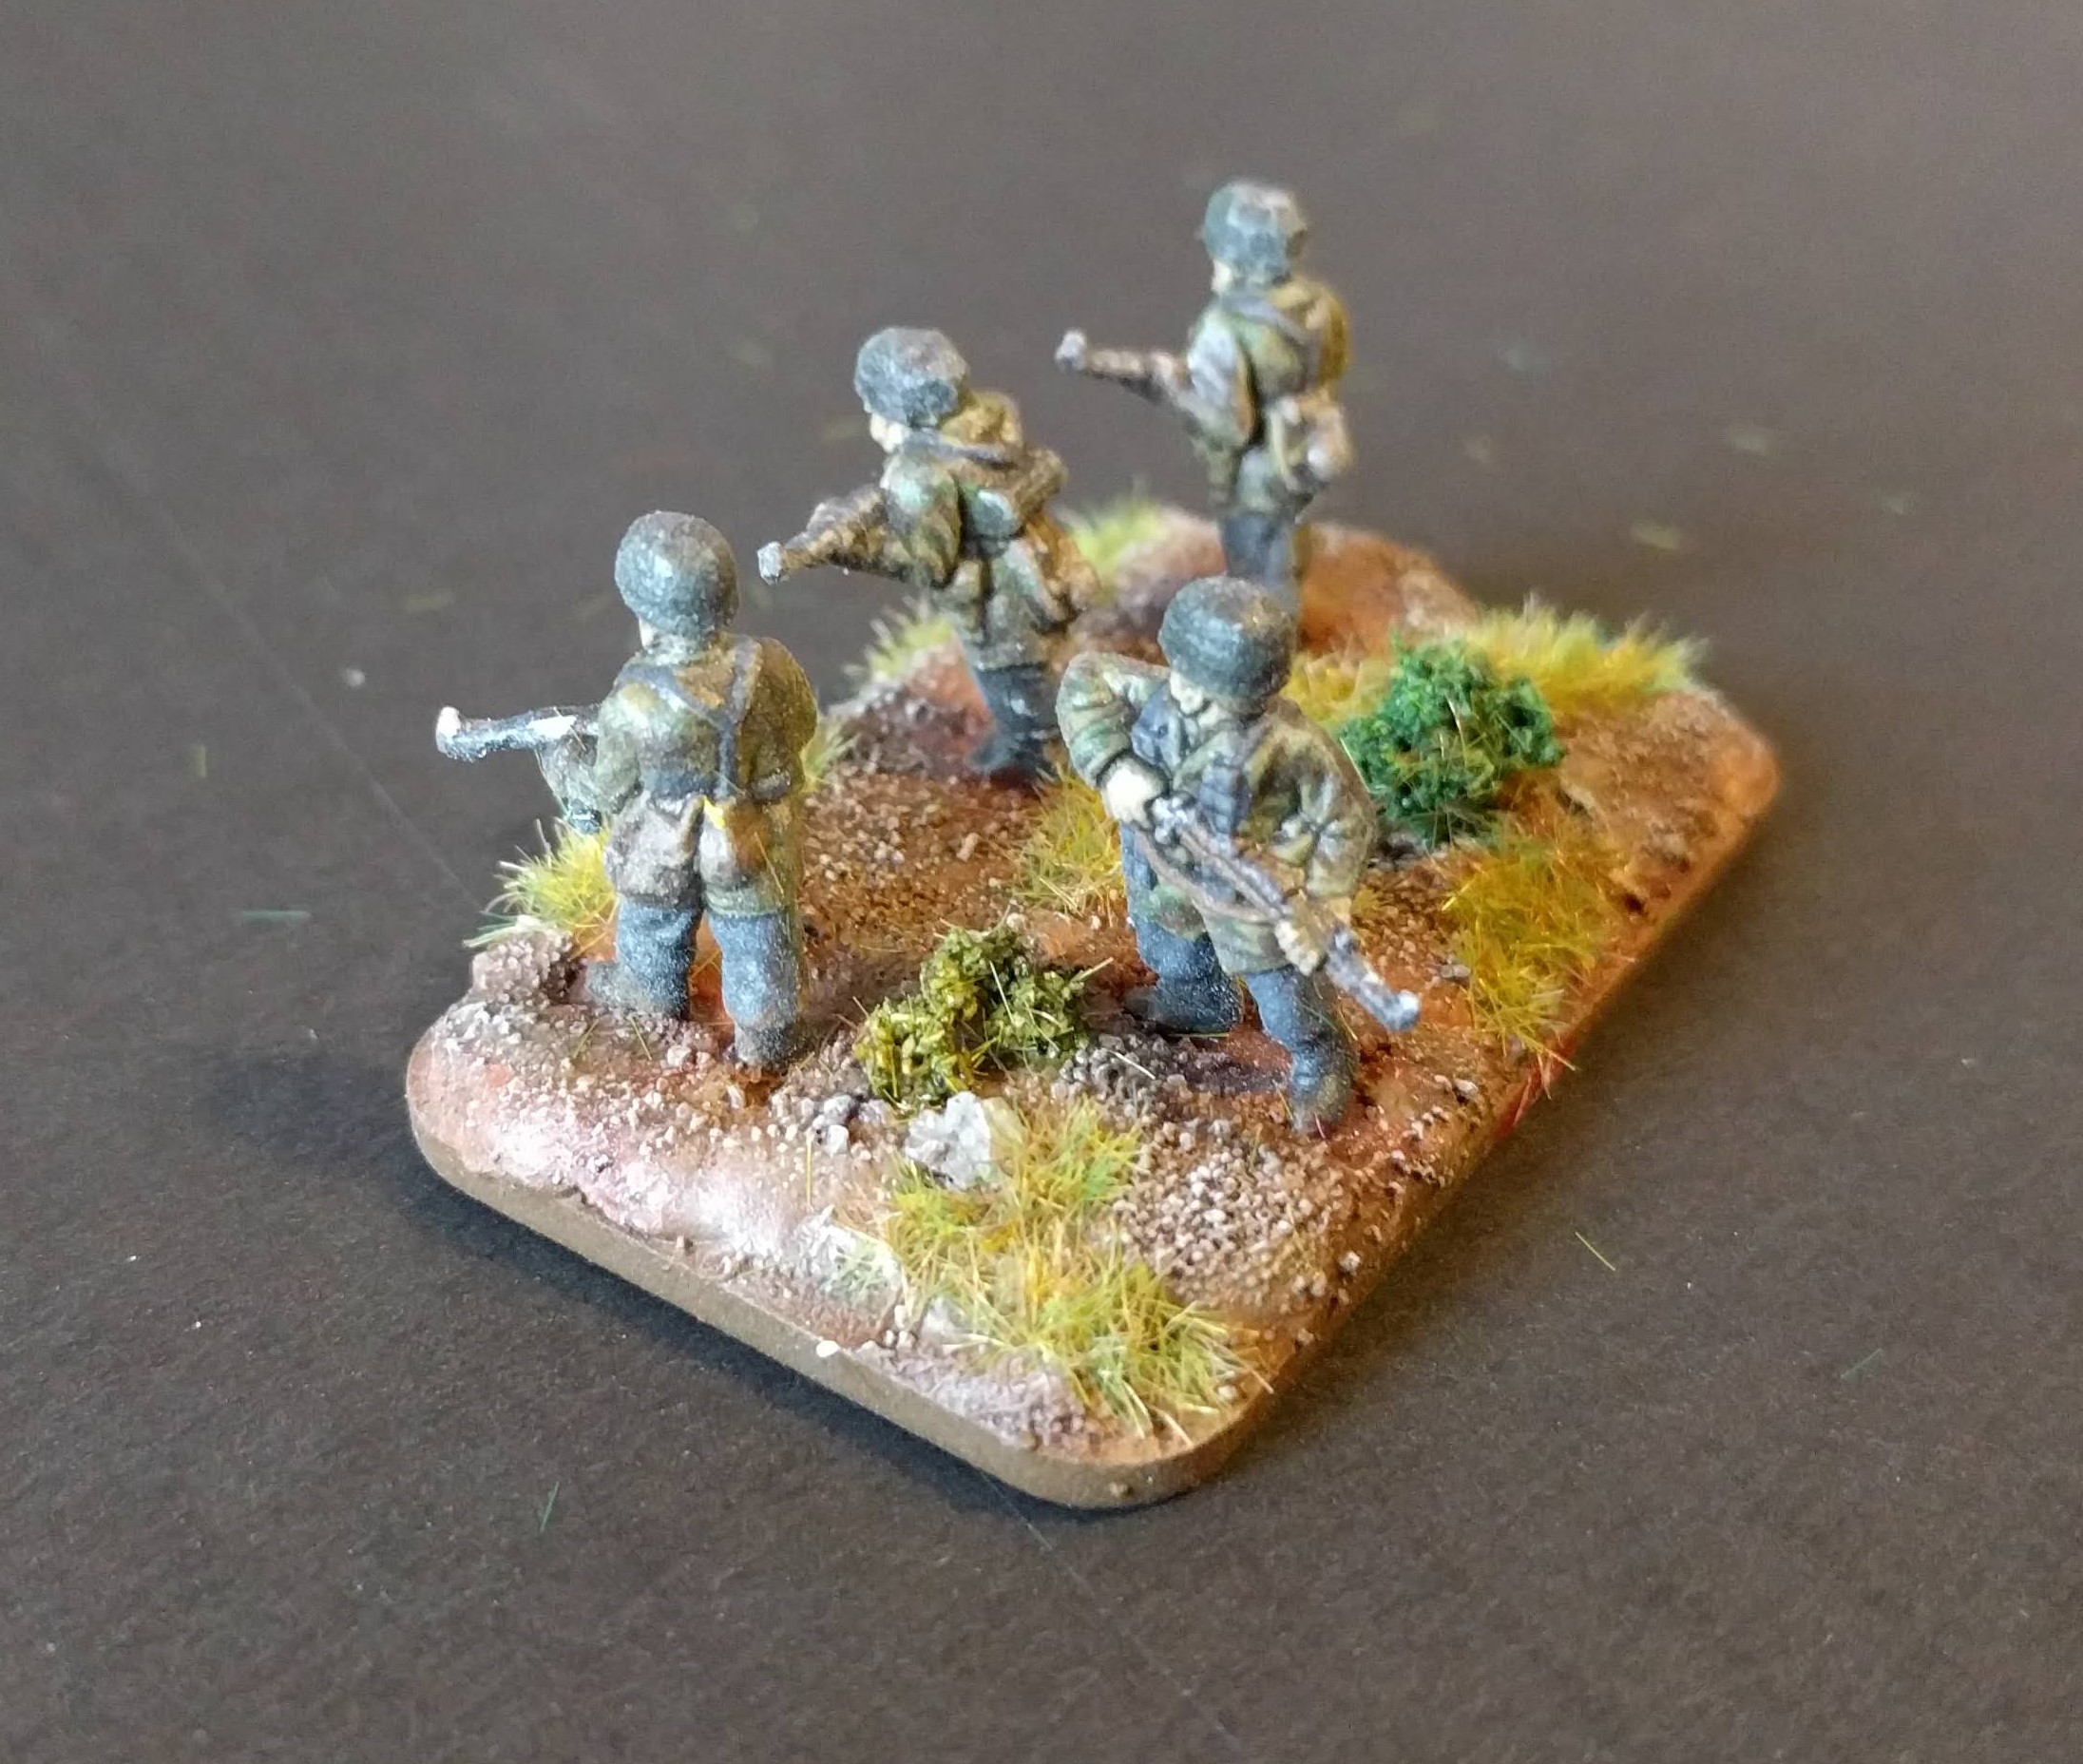
Now that I’ve completed the Fallschirmjager company, they will need a little heavier support, especially for their battles further North on the Gothic Line. So I will be looking to add some vehicles to their back them up.
I also need to expand the British Commonwealth forces, so this will probably be the next thing to work on – some more infantry platoons!
Fallschirmjager - Flocked and done
It’s been a while and I’ve been busy completing the basing on both the infantry and the heavy weapon teams.
I’ve got myself a flock box to apply some static grass – I wasn’t happy with just flock as it didn’t look right. I’ve mixed up a lovely green grass with a browner one to try and recreate a winter turning to spring look – fitting with when the Battles of Cassino were fought. I’ve applied this in random patches and once complete, added some clump foliage soaked in watered down PVA.
I’ve tried two approaches, one just using static grass and another using flock with static grass applied over the top. I think I like the latter approach.
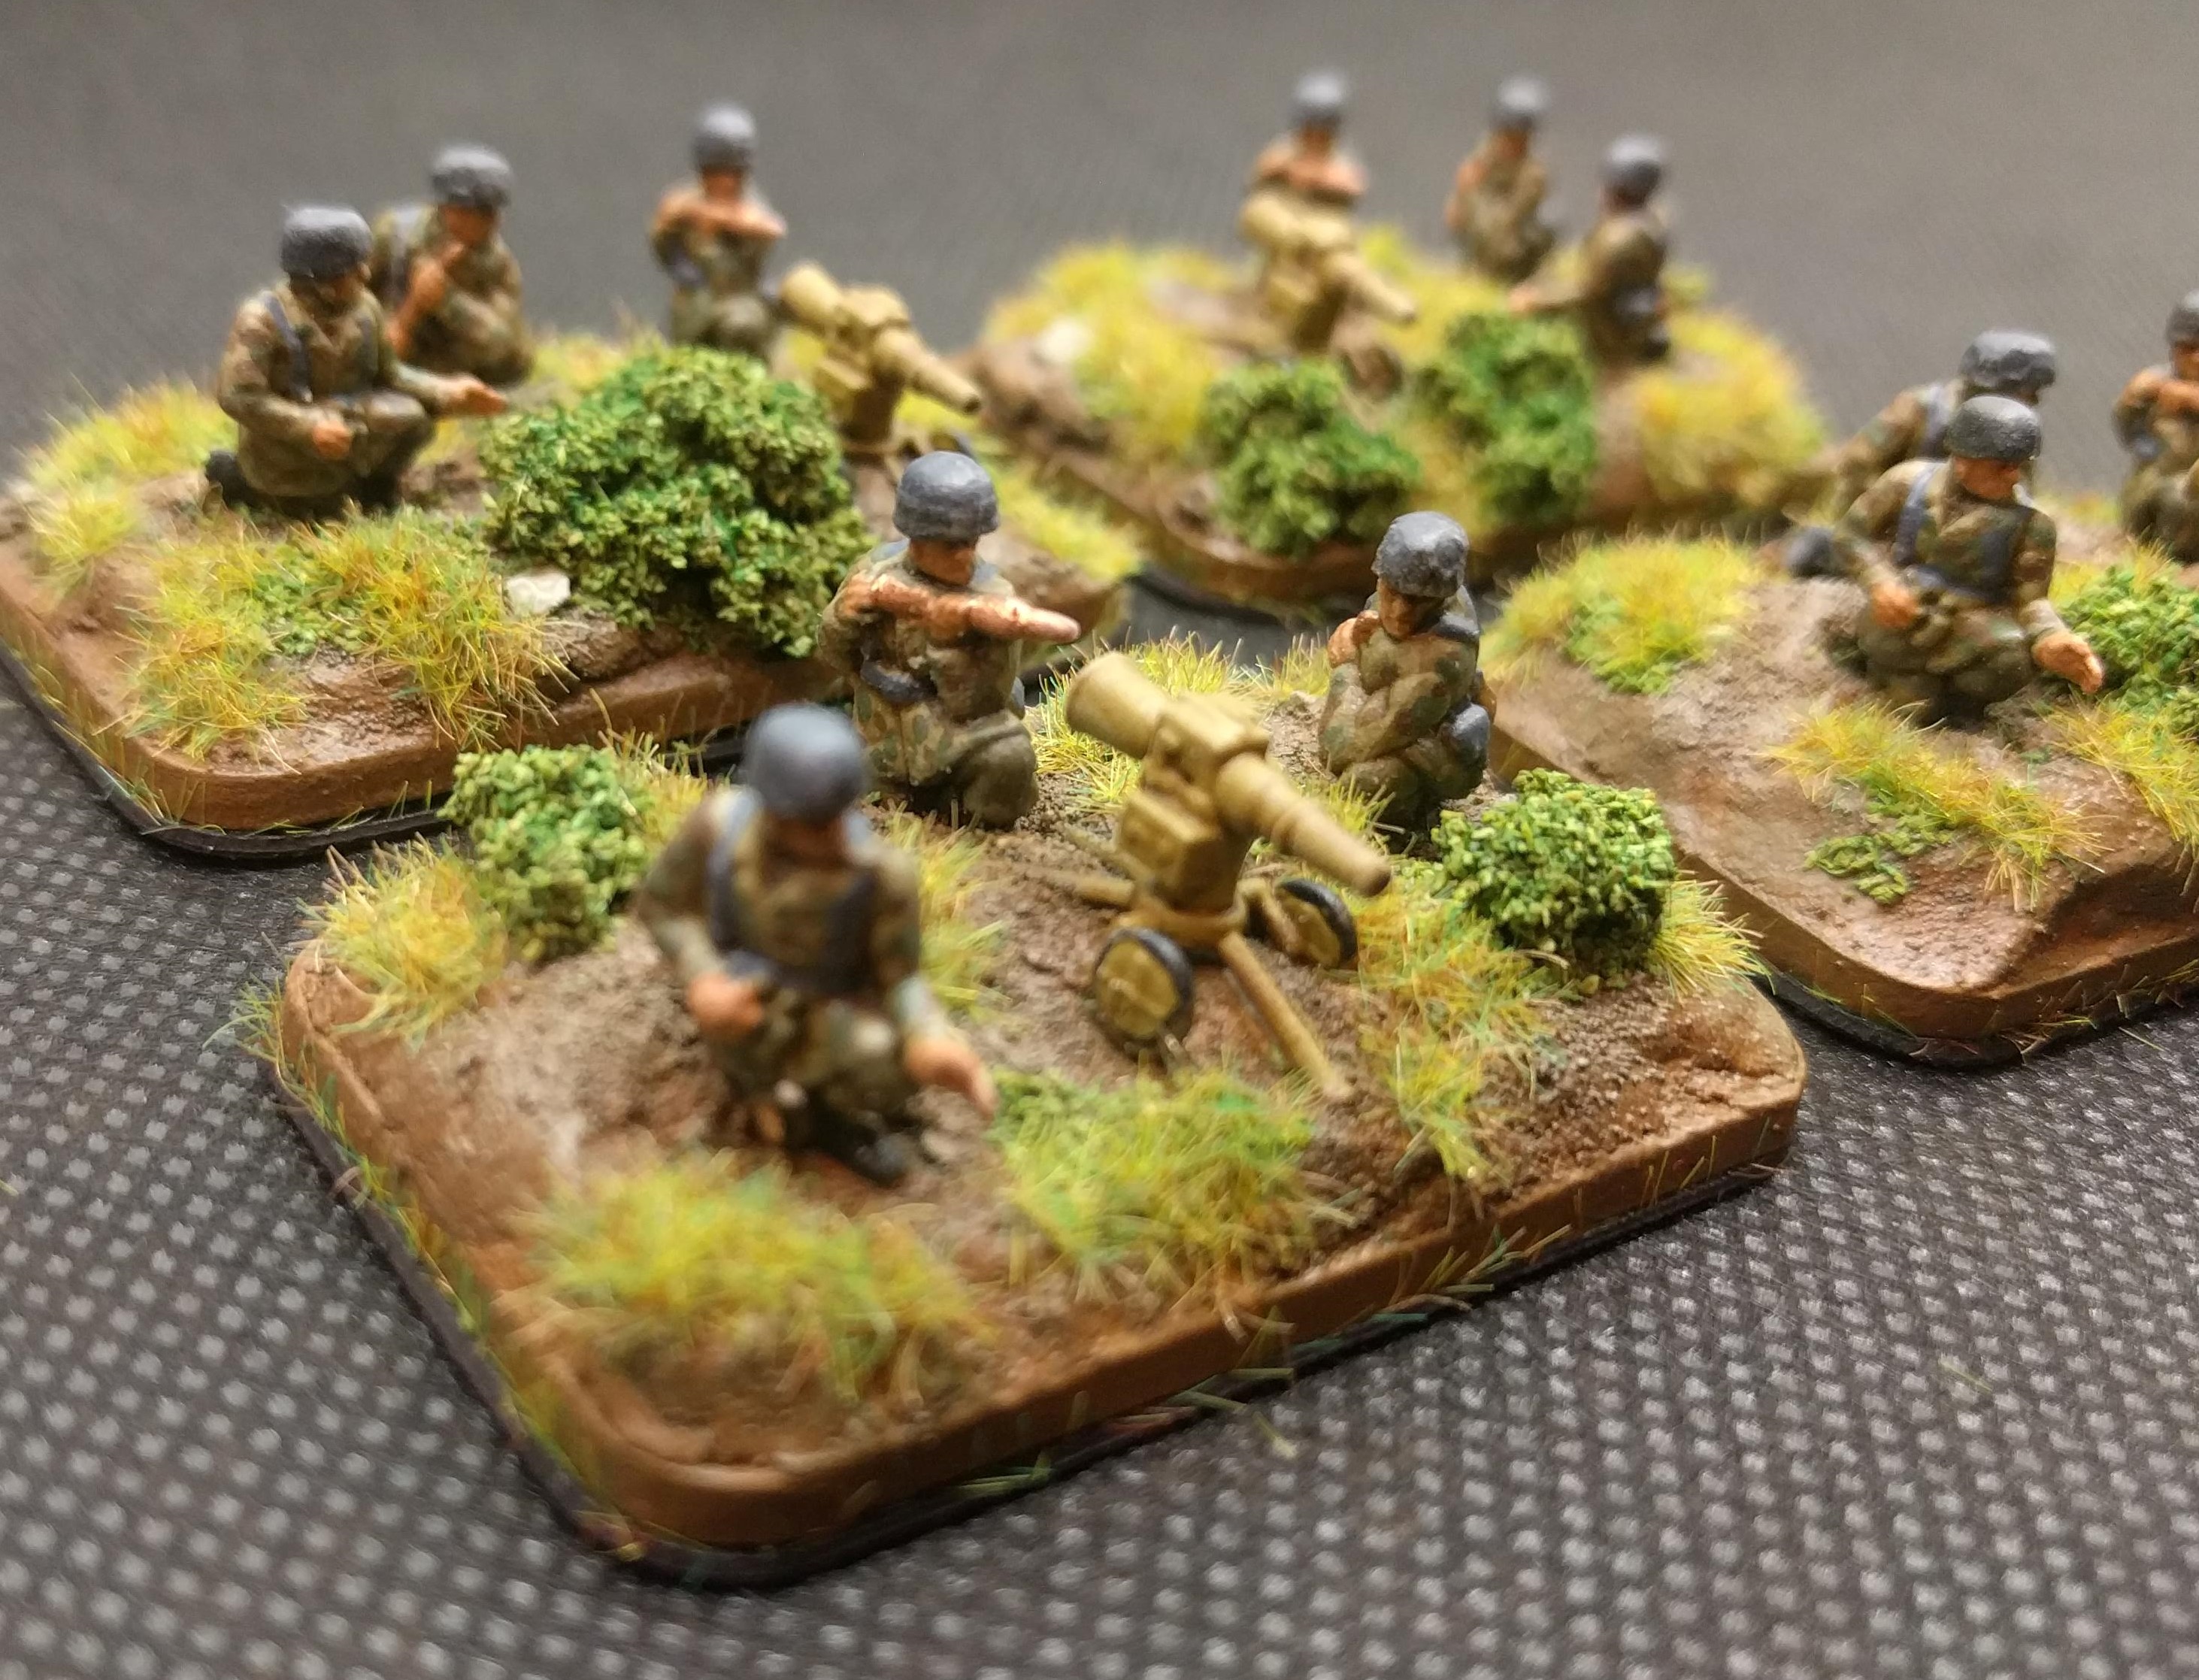 Here's a base with flock and then static grass
 And a base with just static grass
Fallschirmjager - Painting the bases
This project is overdue an update although this is more to do with the length of time this step has taken. I’ve completed the painting of 49 bases of Fallschirmjager and this is the method I’ve used,
I’ve started with a base layer of a cheap, dark brown paint mixed with watered down PVA. This is to seal in the sand that was applied at the end of the last update while creating a base colour. As the paint is quite watery, it acts a bit like a wash and leaves the higher areas coloured but quite light. This will help with the shading.
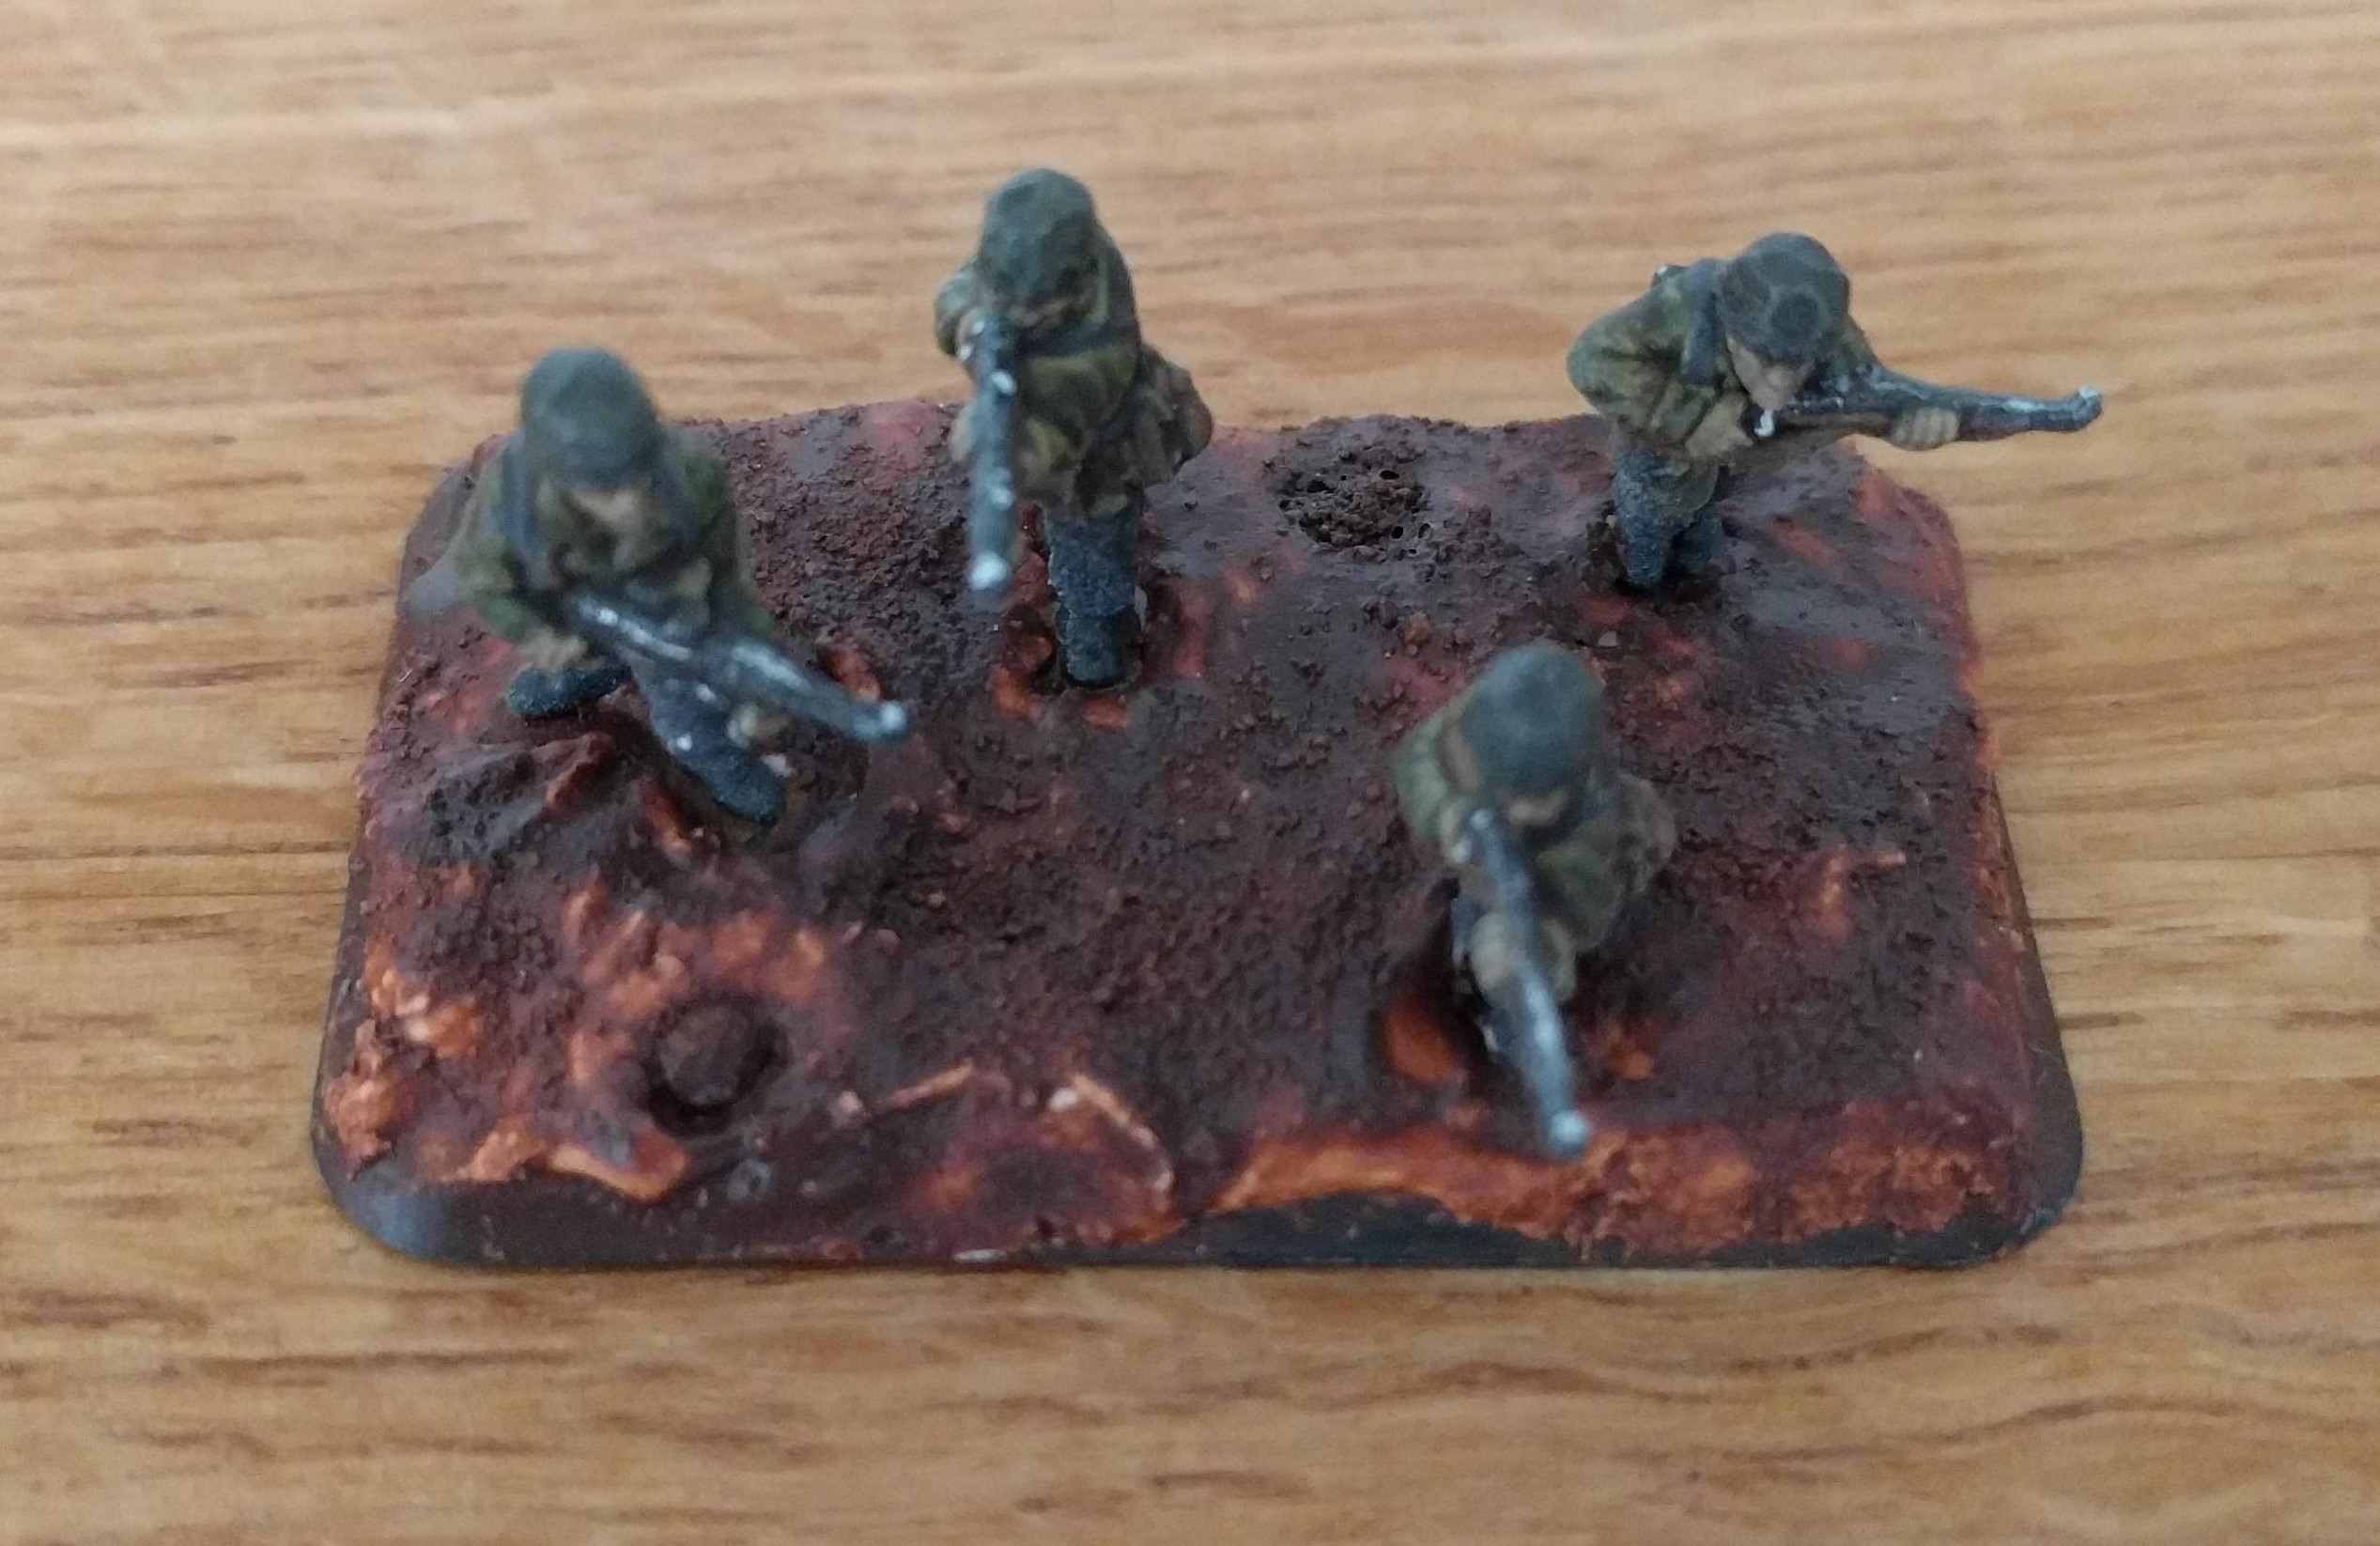 First paint step dry
I’ve then applied an over brush of flat earth. This helps take down the reddish tint that the higher areas have following the last step.
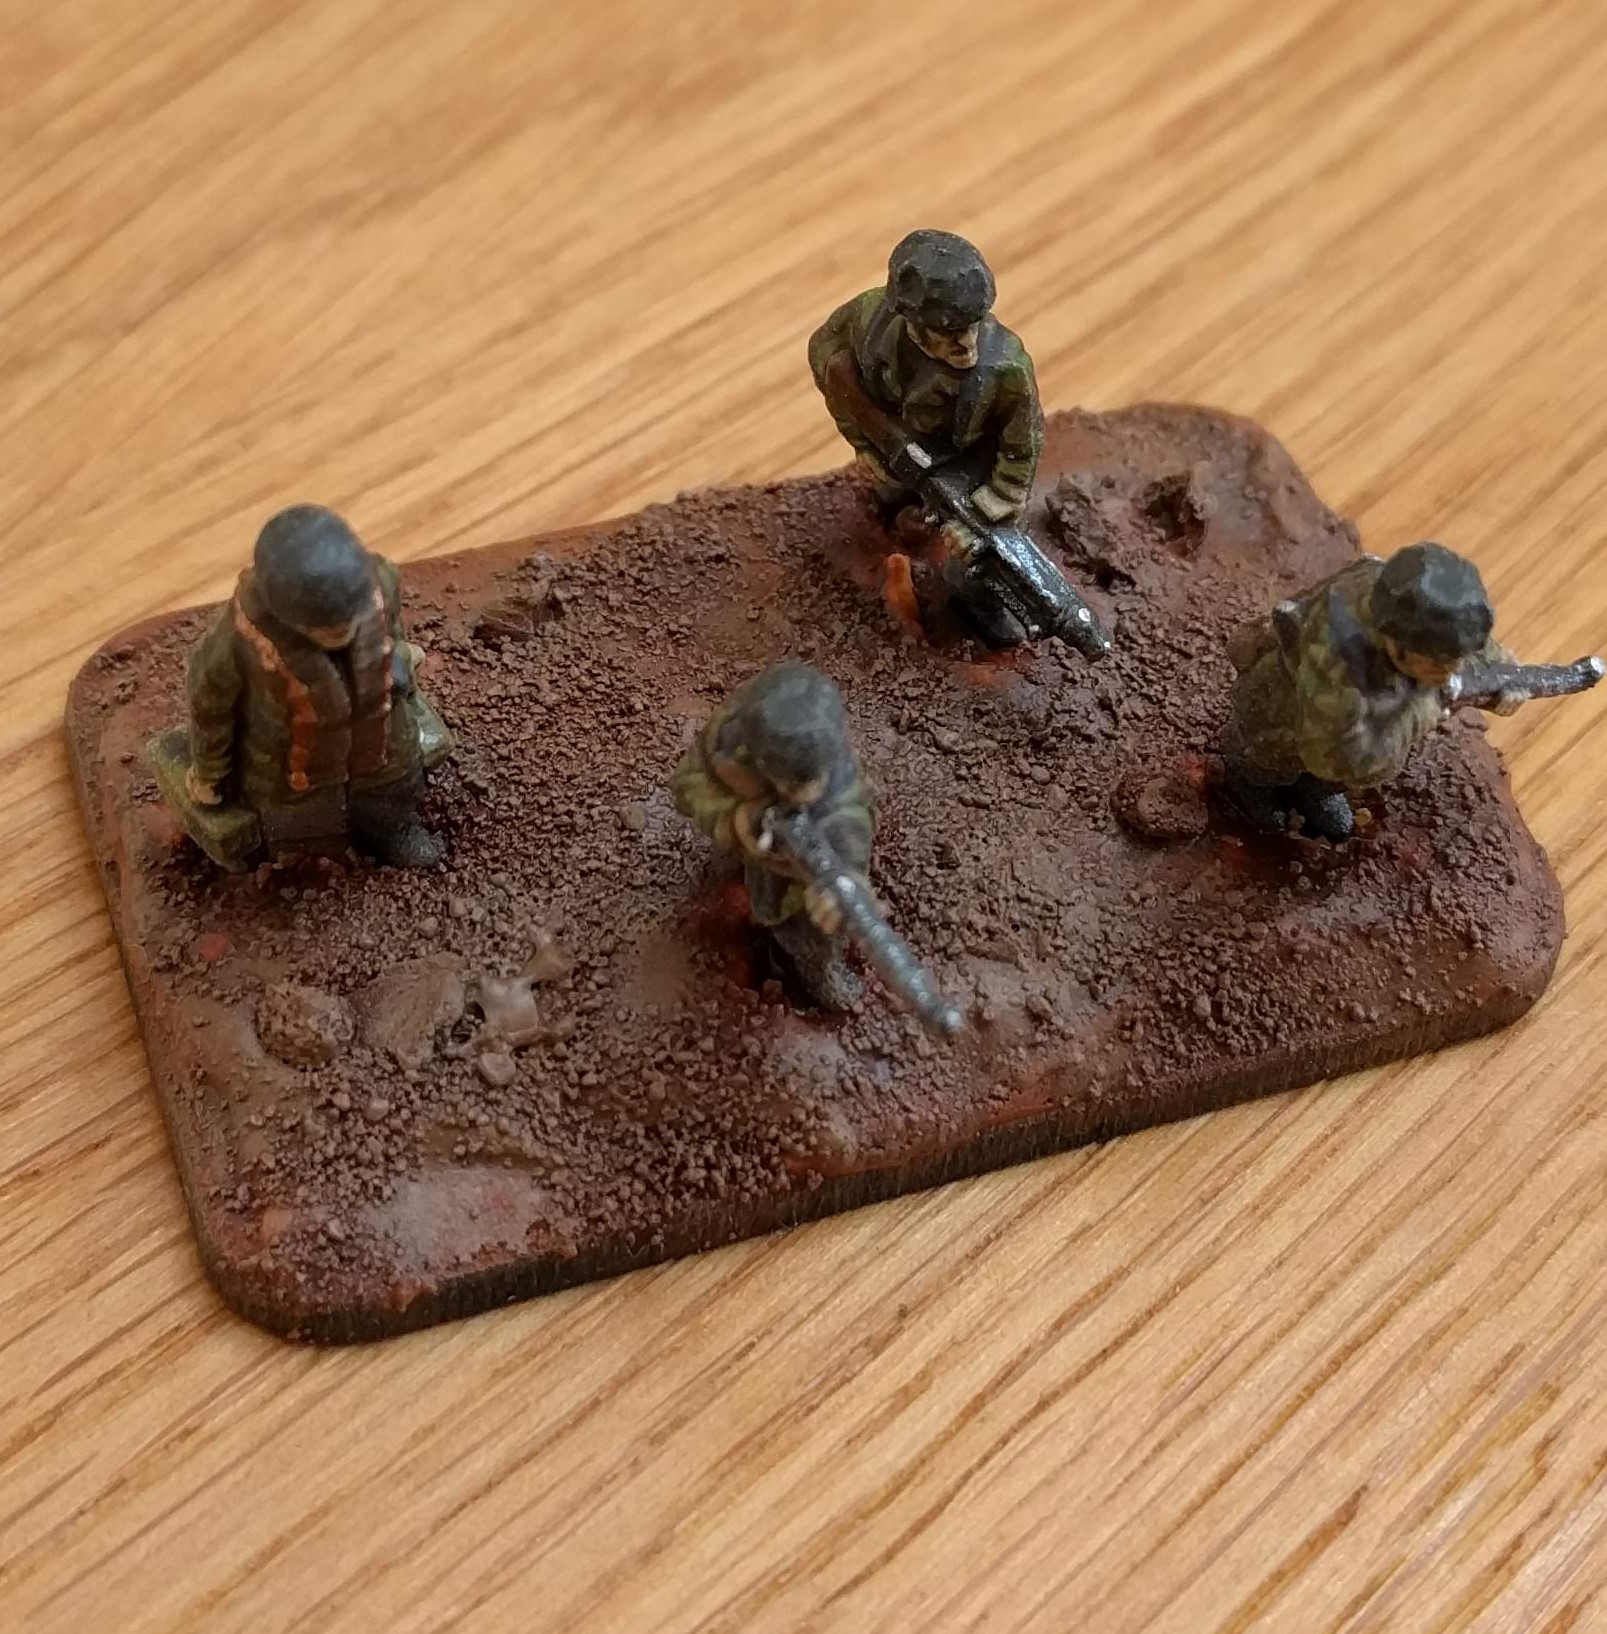
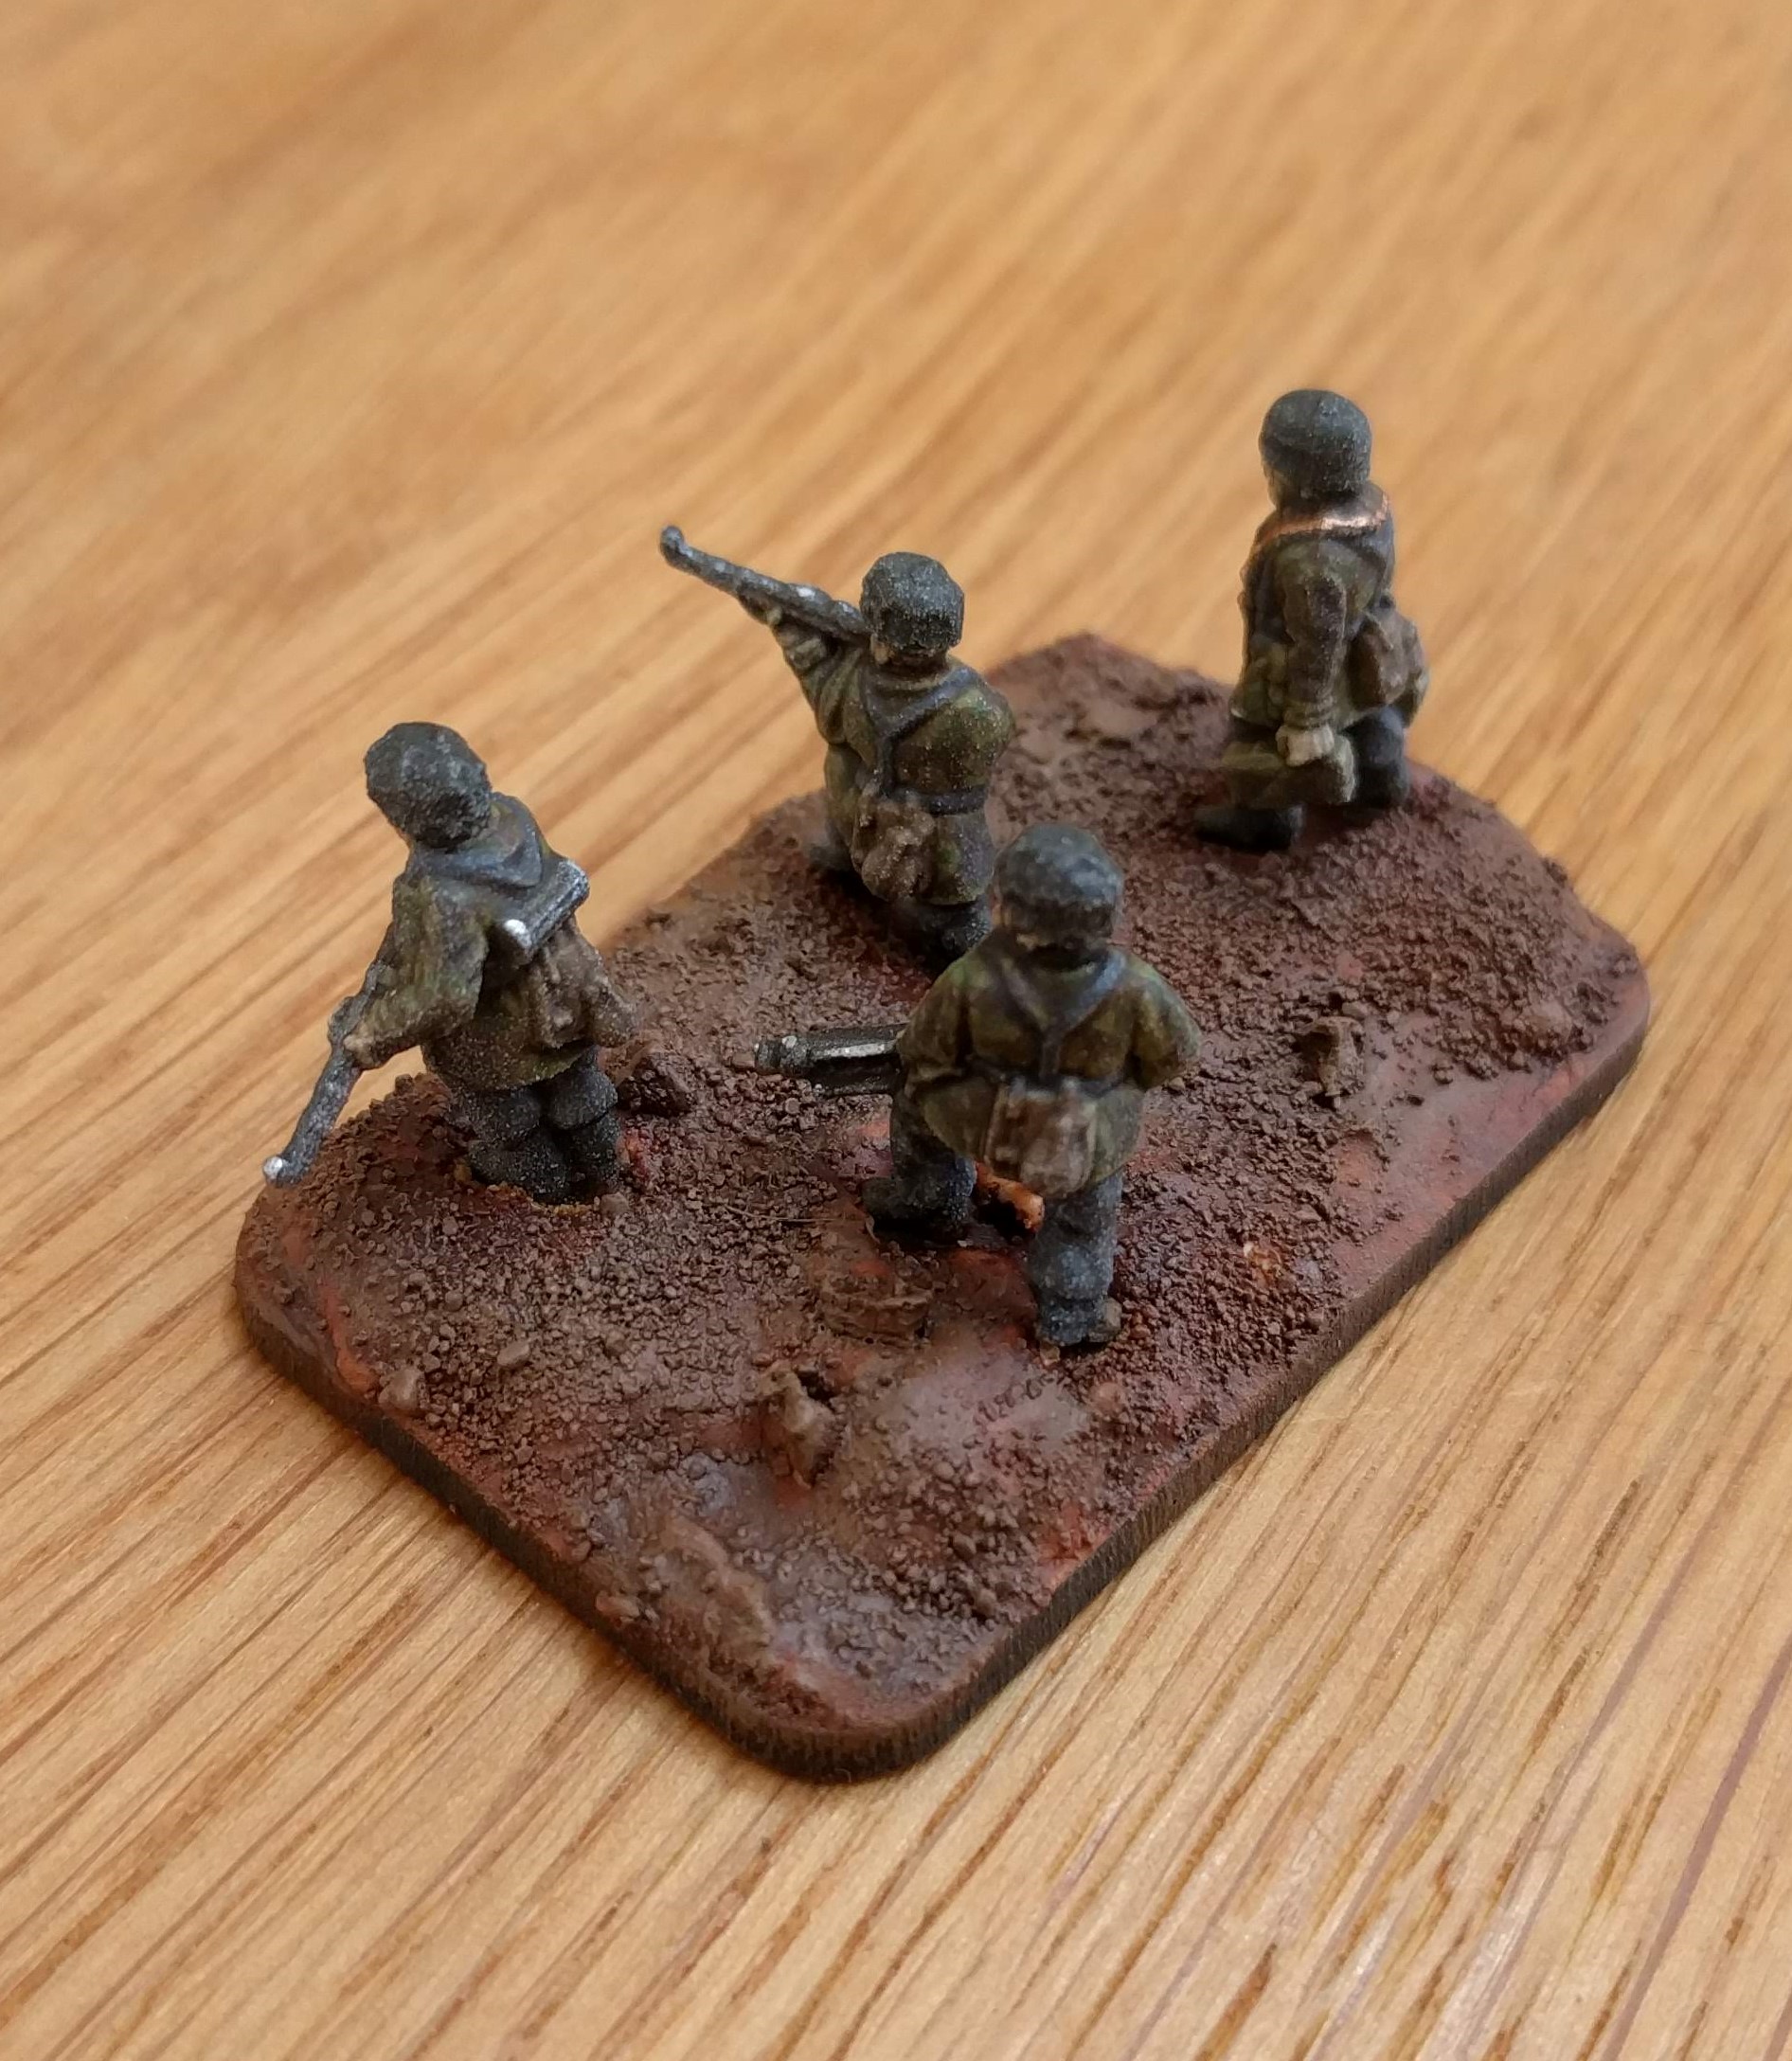
I’m basing these models in spring at Monte Cassino. This is after the heavy rains and while the warm sun is now shining down. This has the effect of drying the top layers of earth and lightening them up considerably. To create this effect, I’ve applied a dry brush of Stone Grey
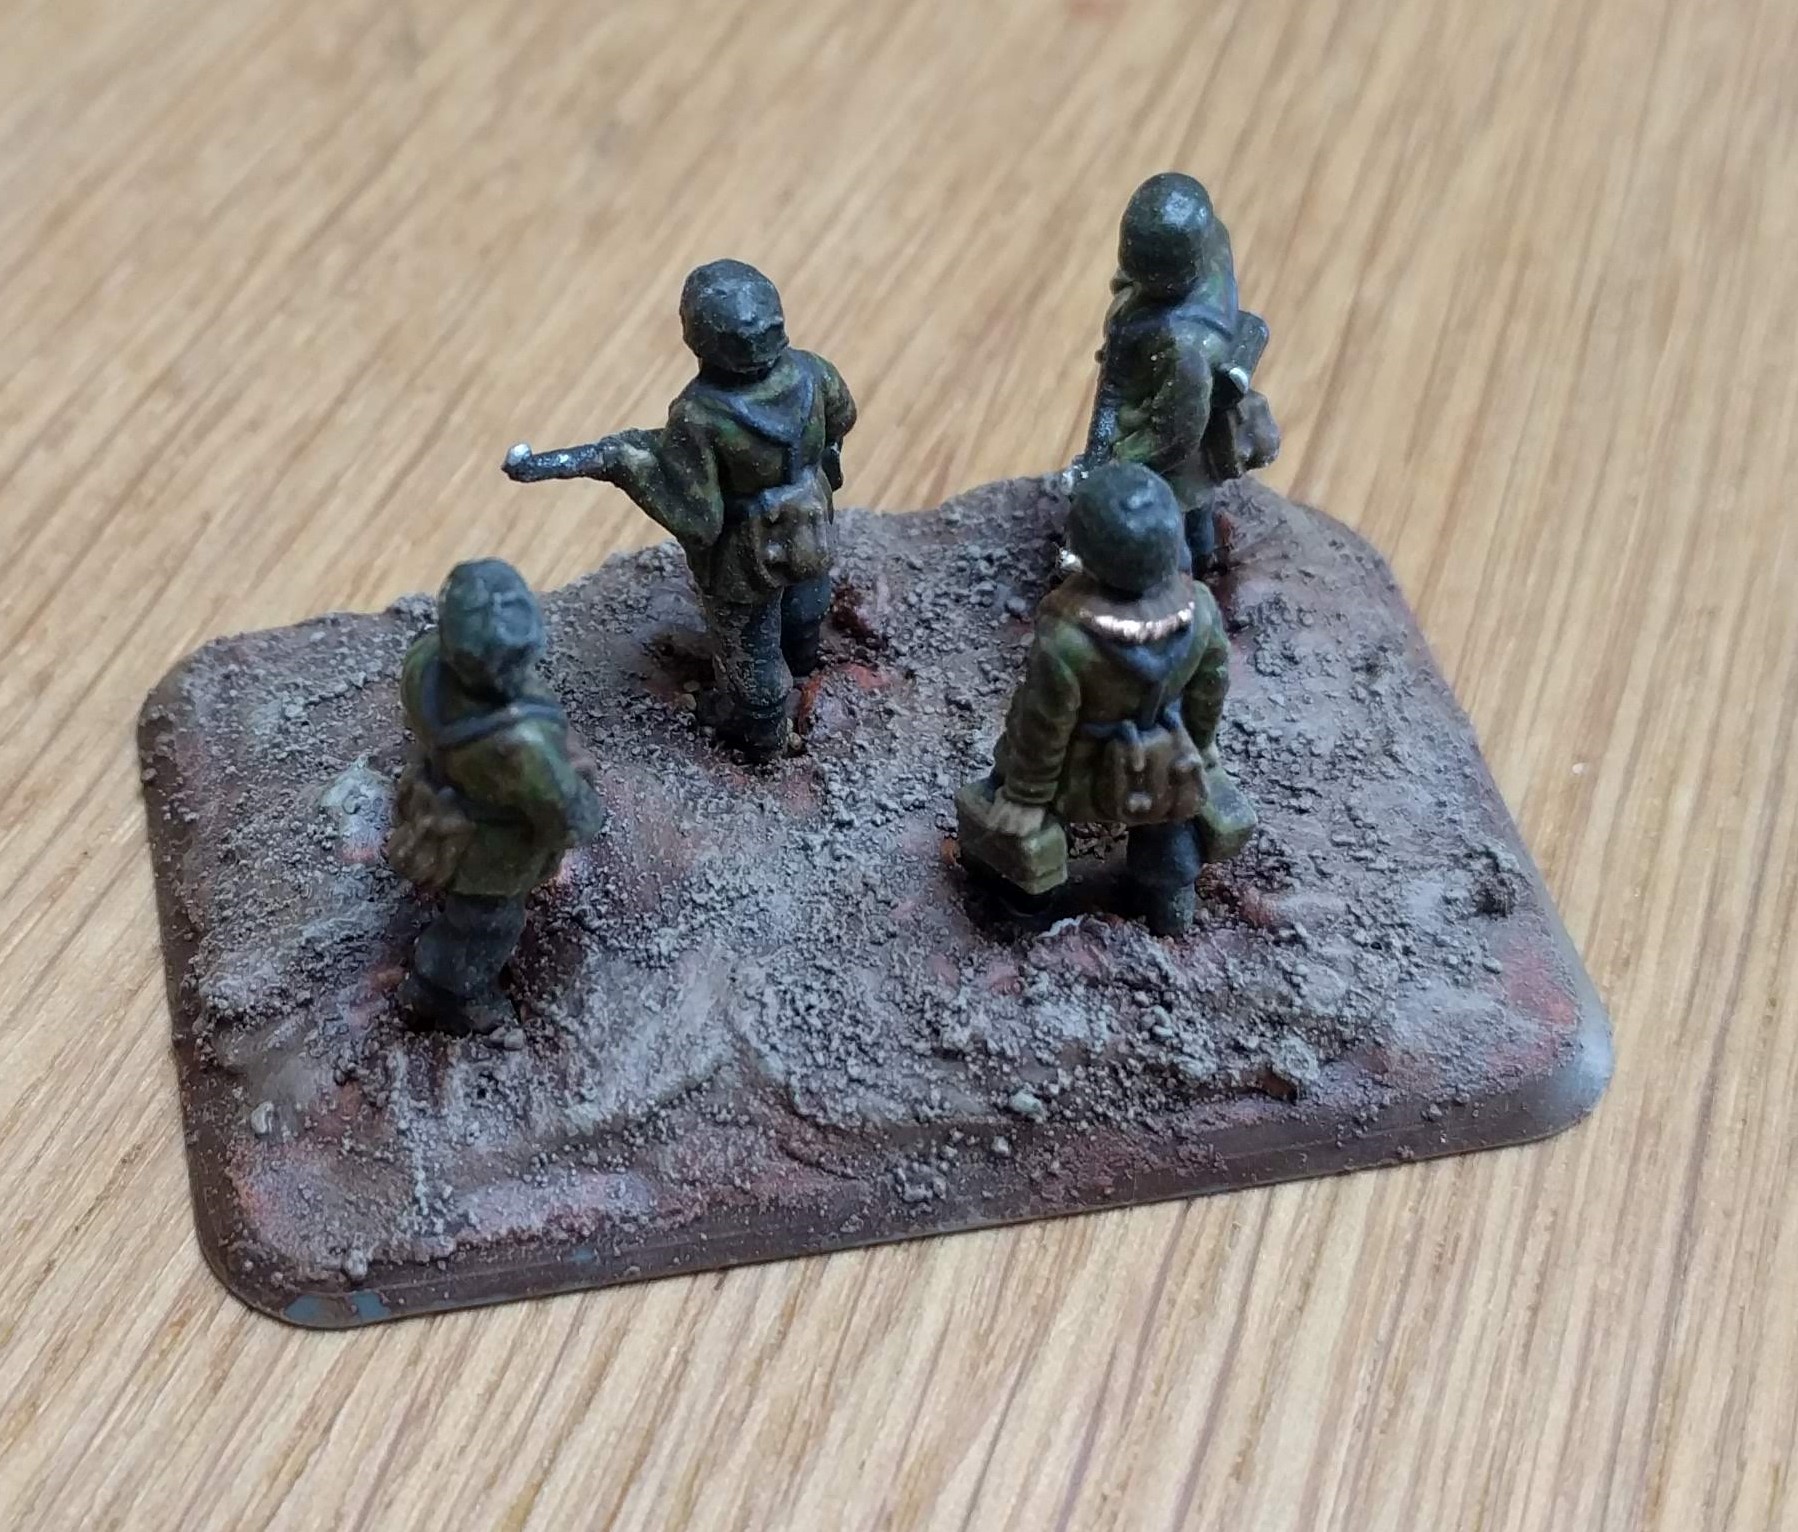
Finally, I’ve applied a very light dry brush of a light grey. This really adds some contrast to the bases. The rocks have been a thin stone grey layer.
I then complete the bases by painting around the very bottom with a flat earth and applying a platoon colour patch the back side of the base. This makes table top identification much easier. I also go the pointless extra step of numbering the squads in the platoon as well.
Once dry, I’ll give the whole base a quick spray of matt varnish.
The next step will be to add some flora to the bases, at which point, they will be finished and ready for battle!
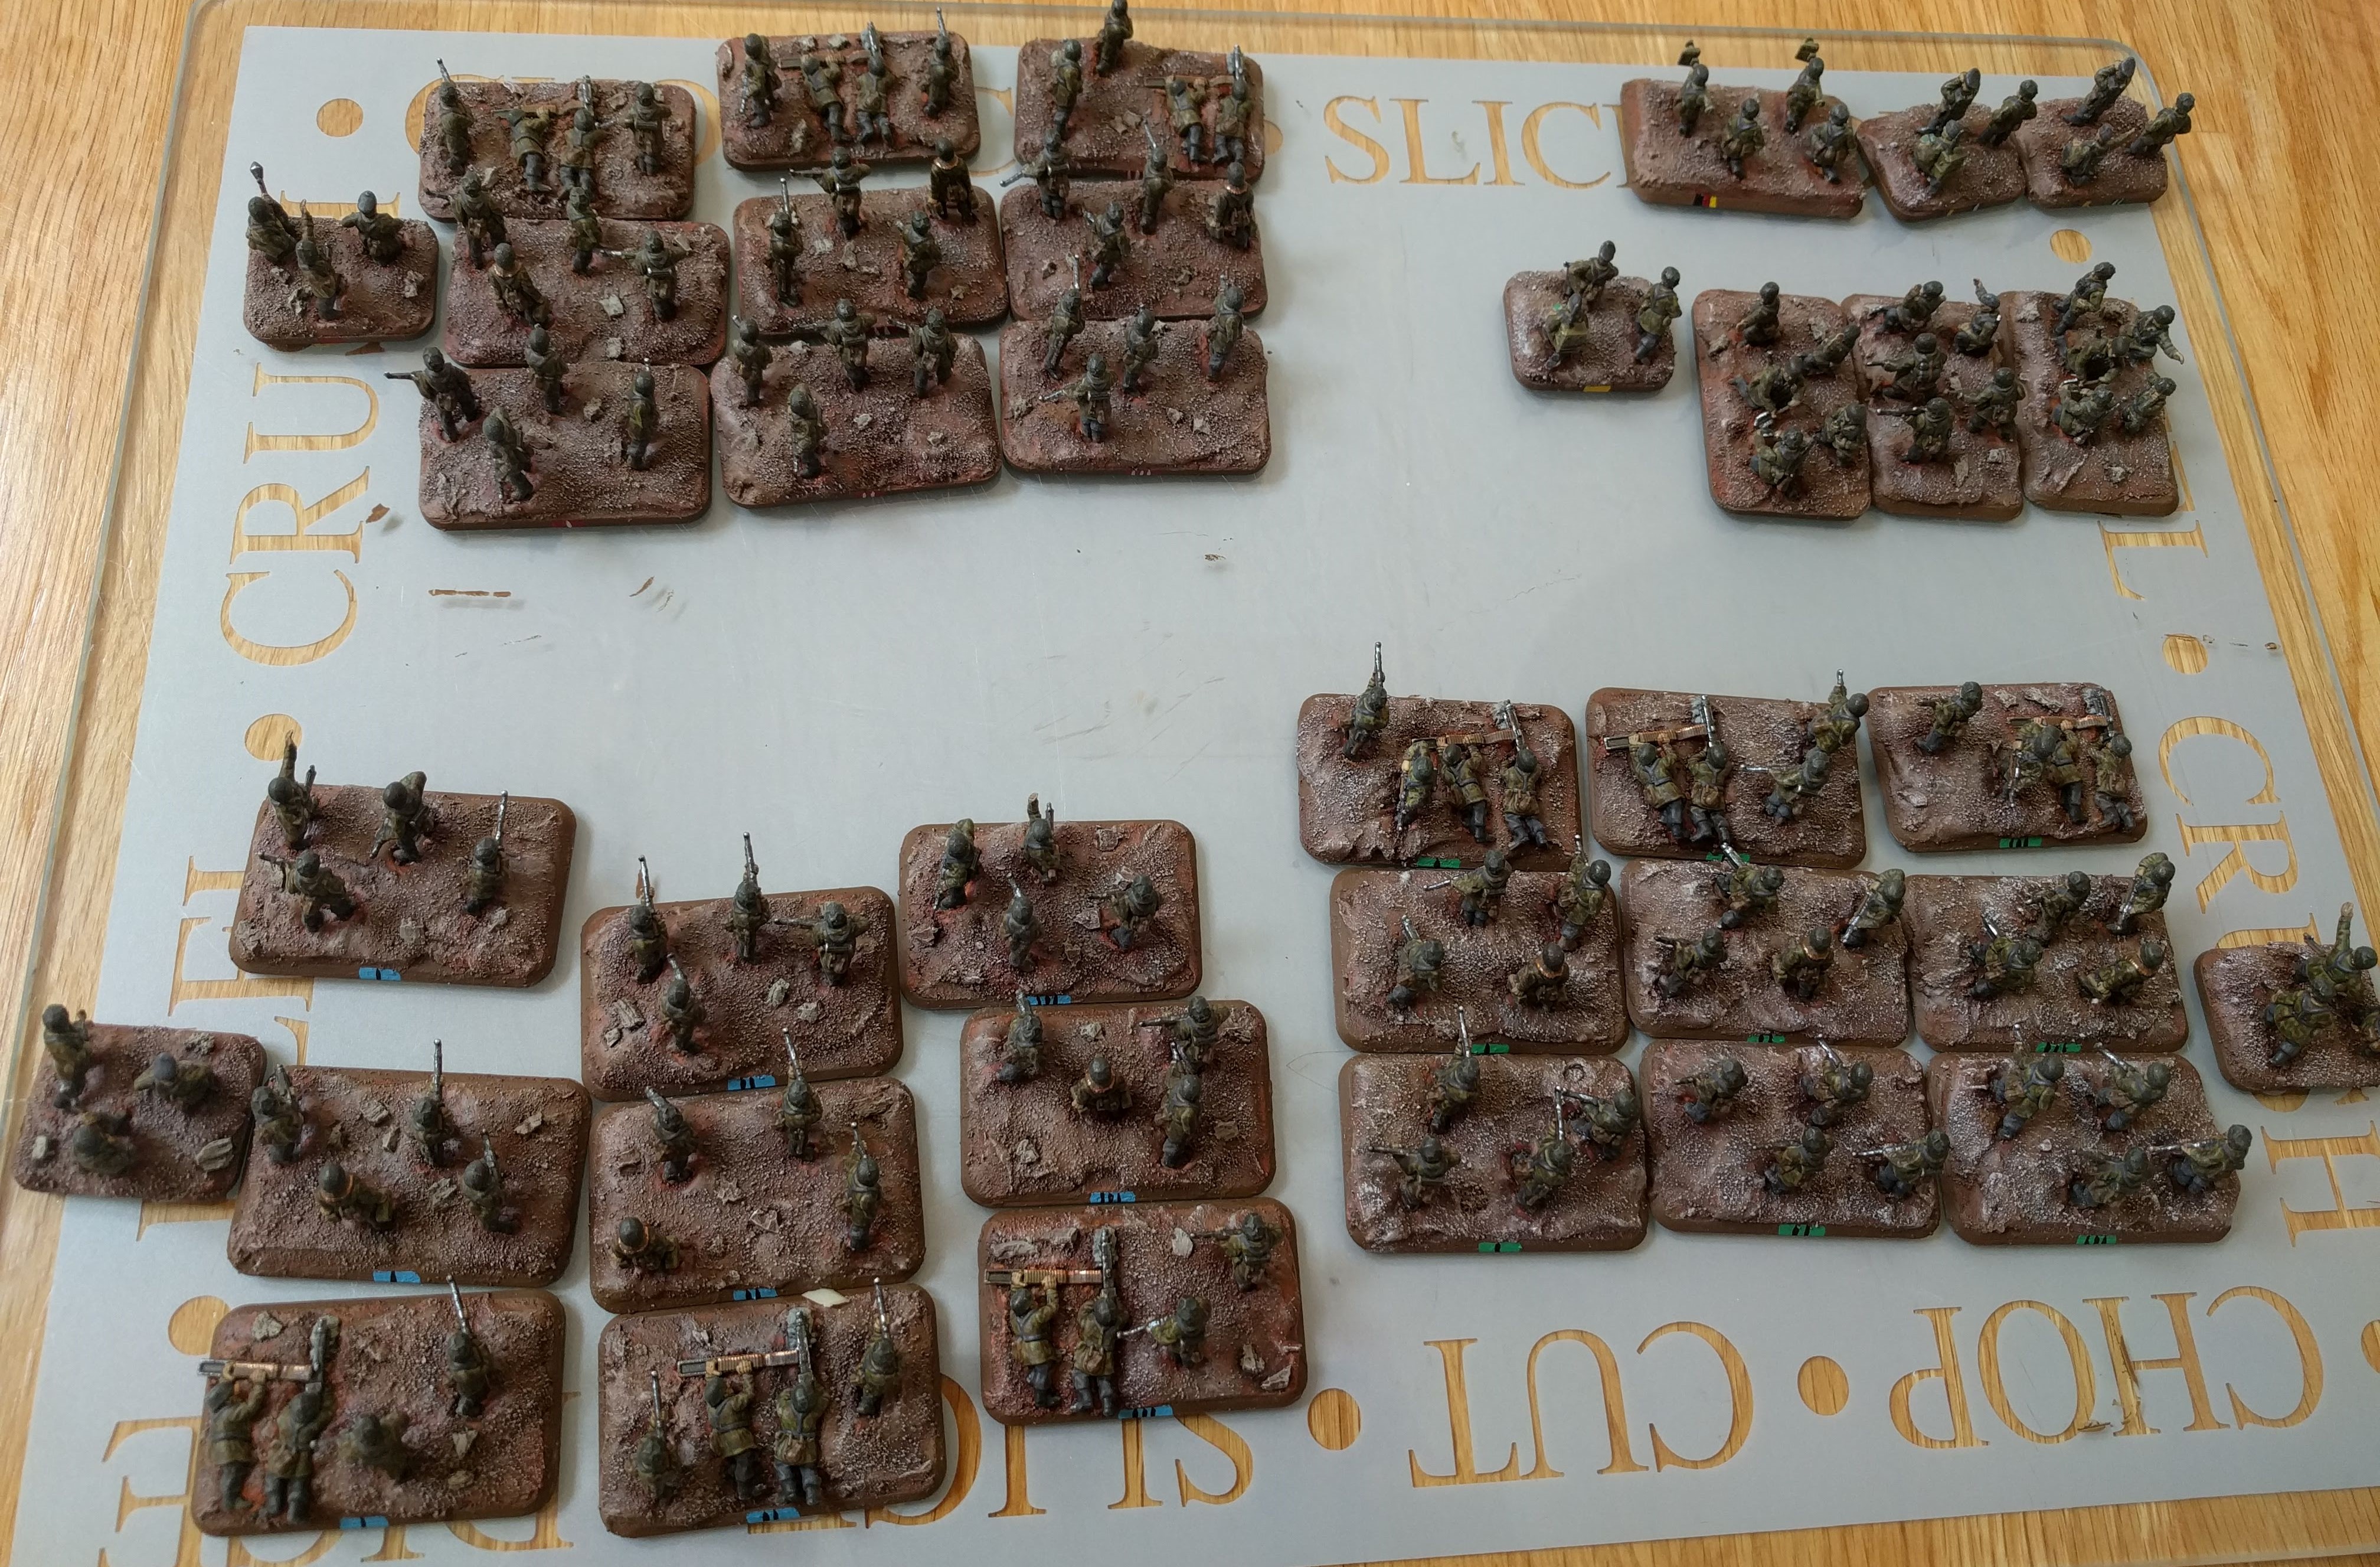 The infantry platoons ready for their varnish
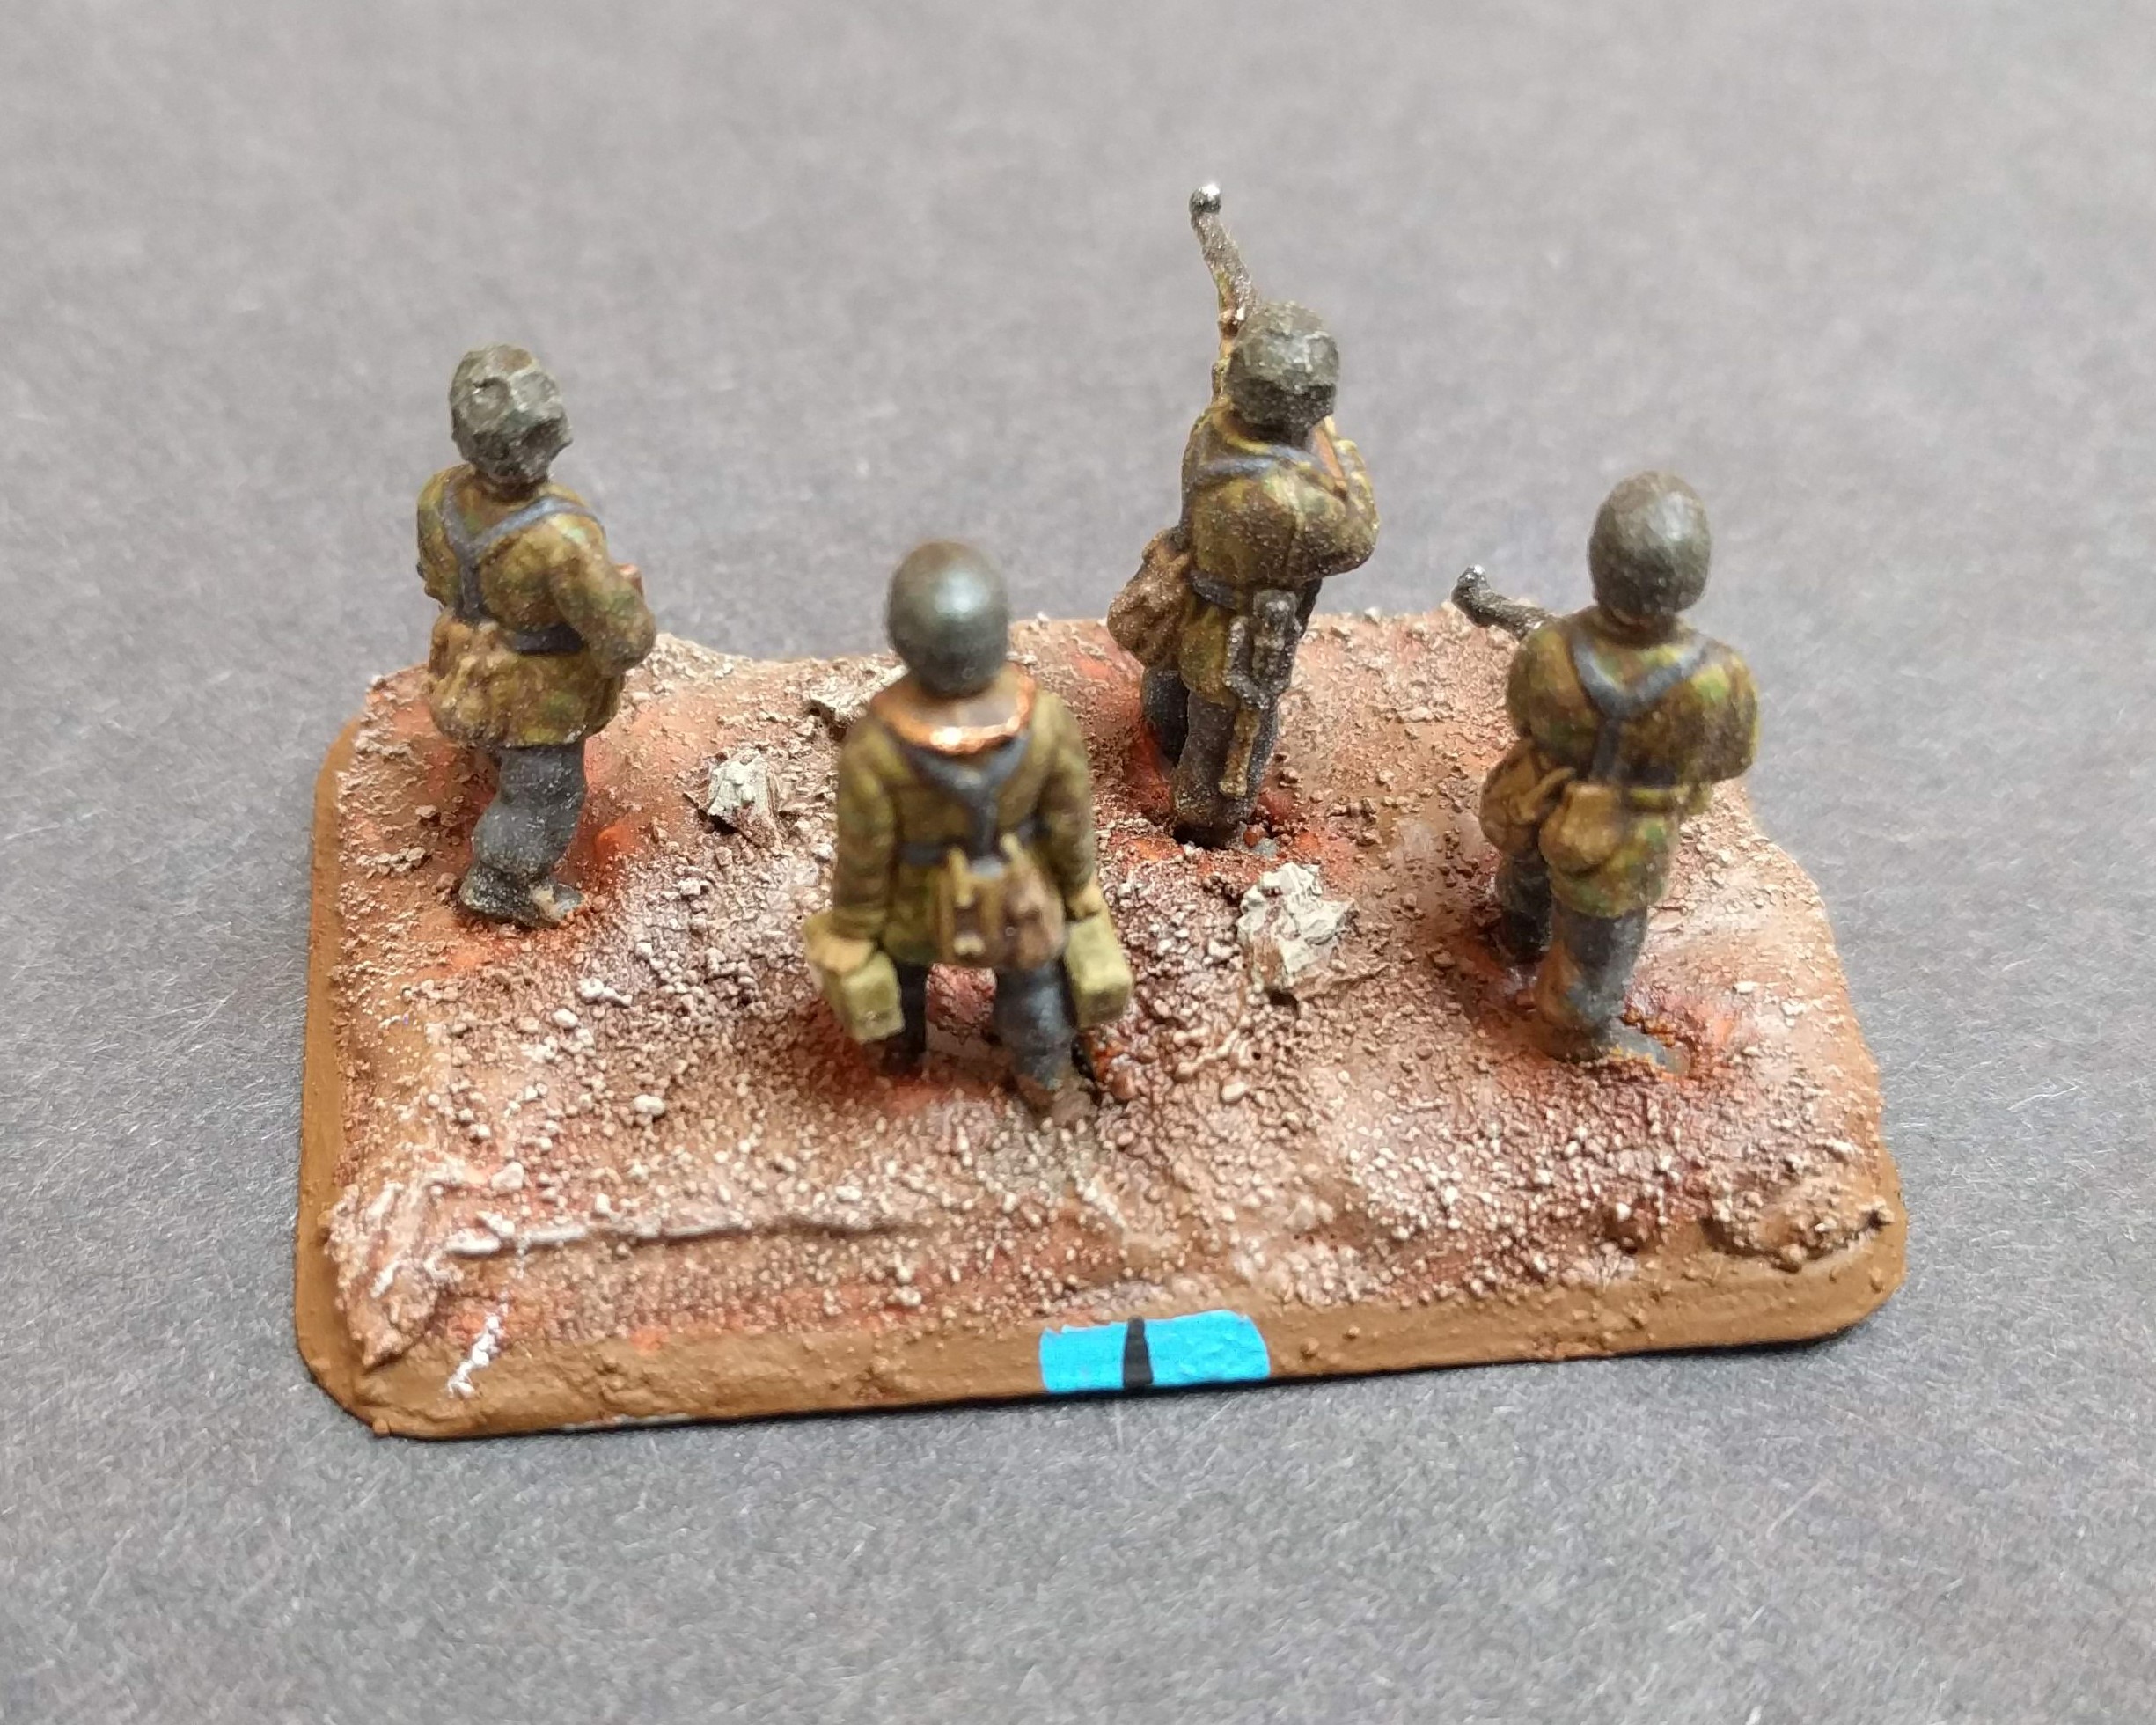 Blue platoon, squad 1
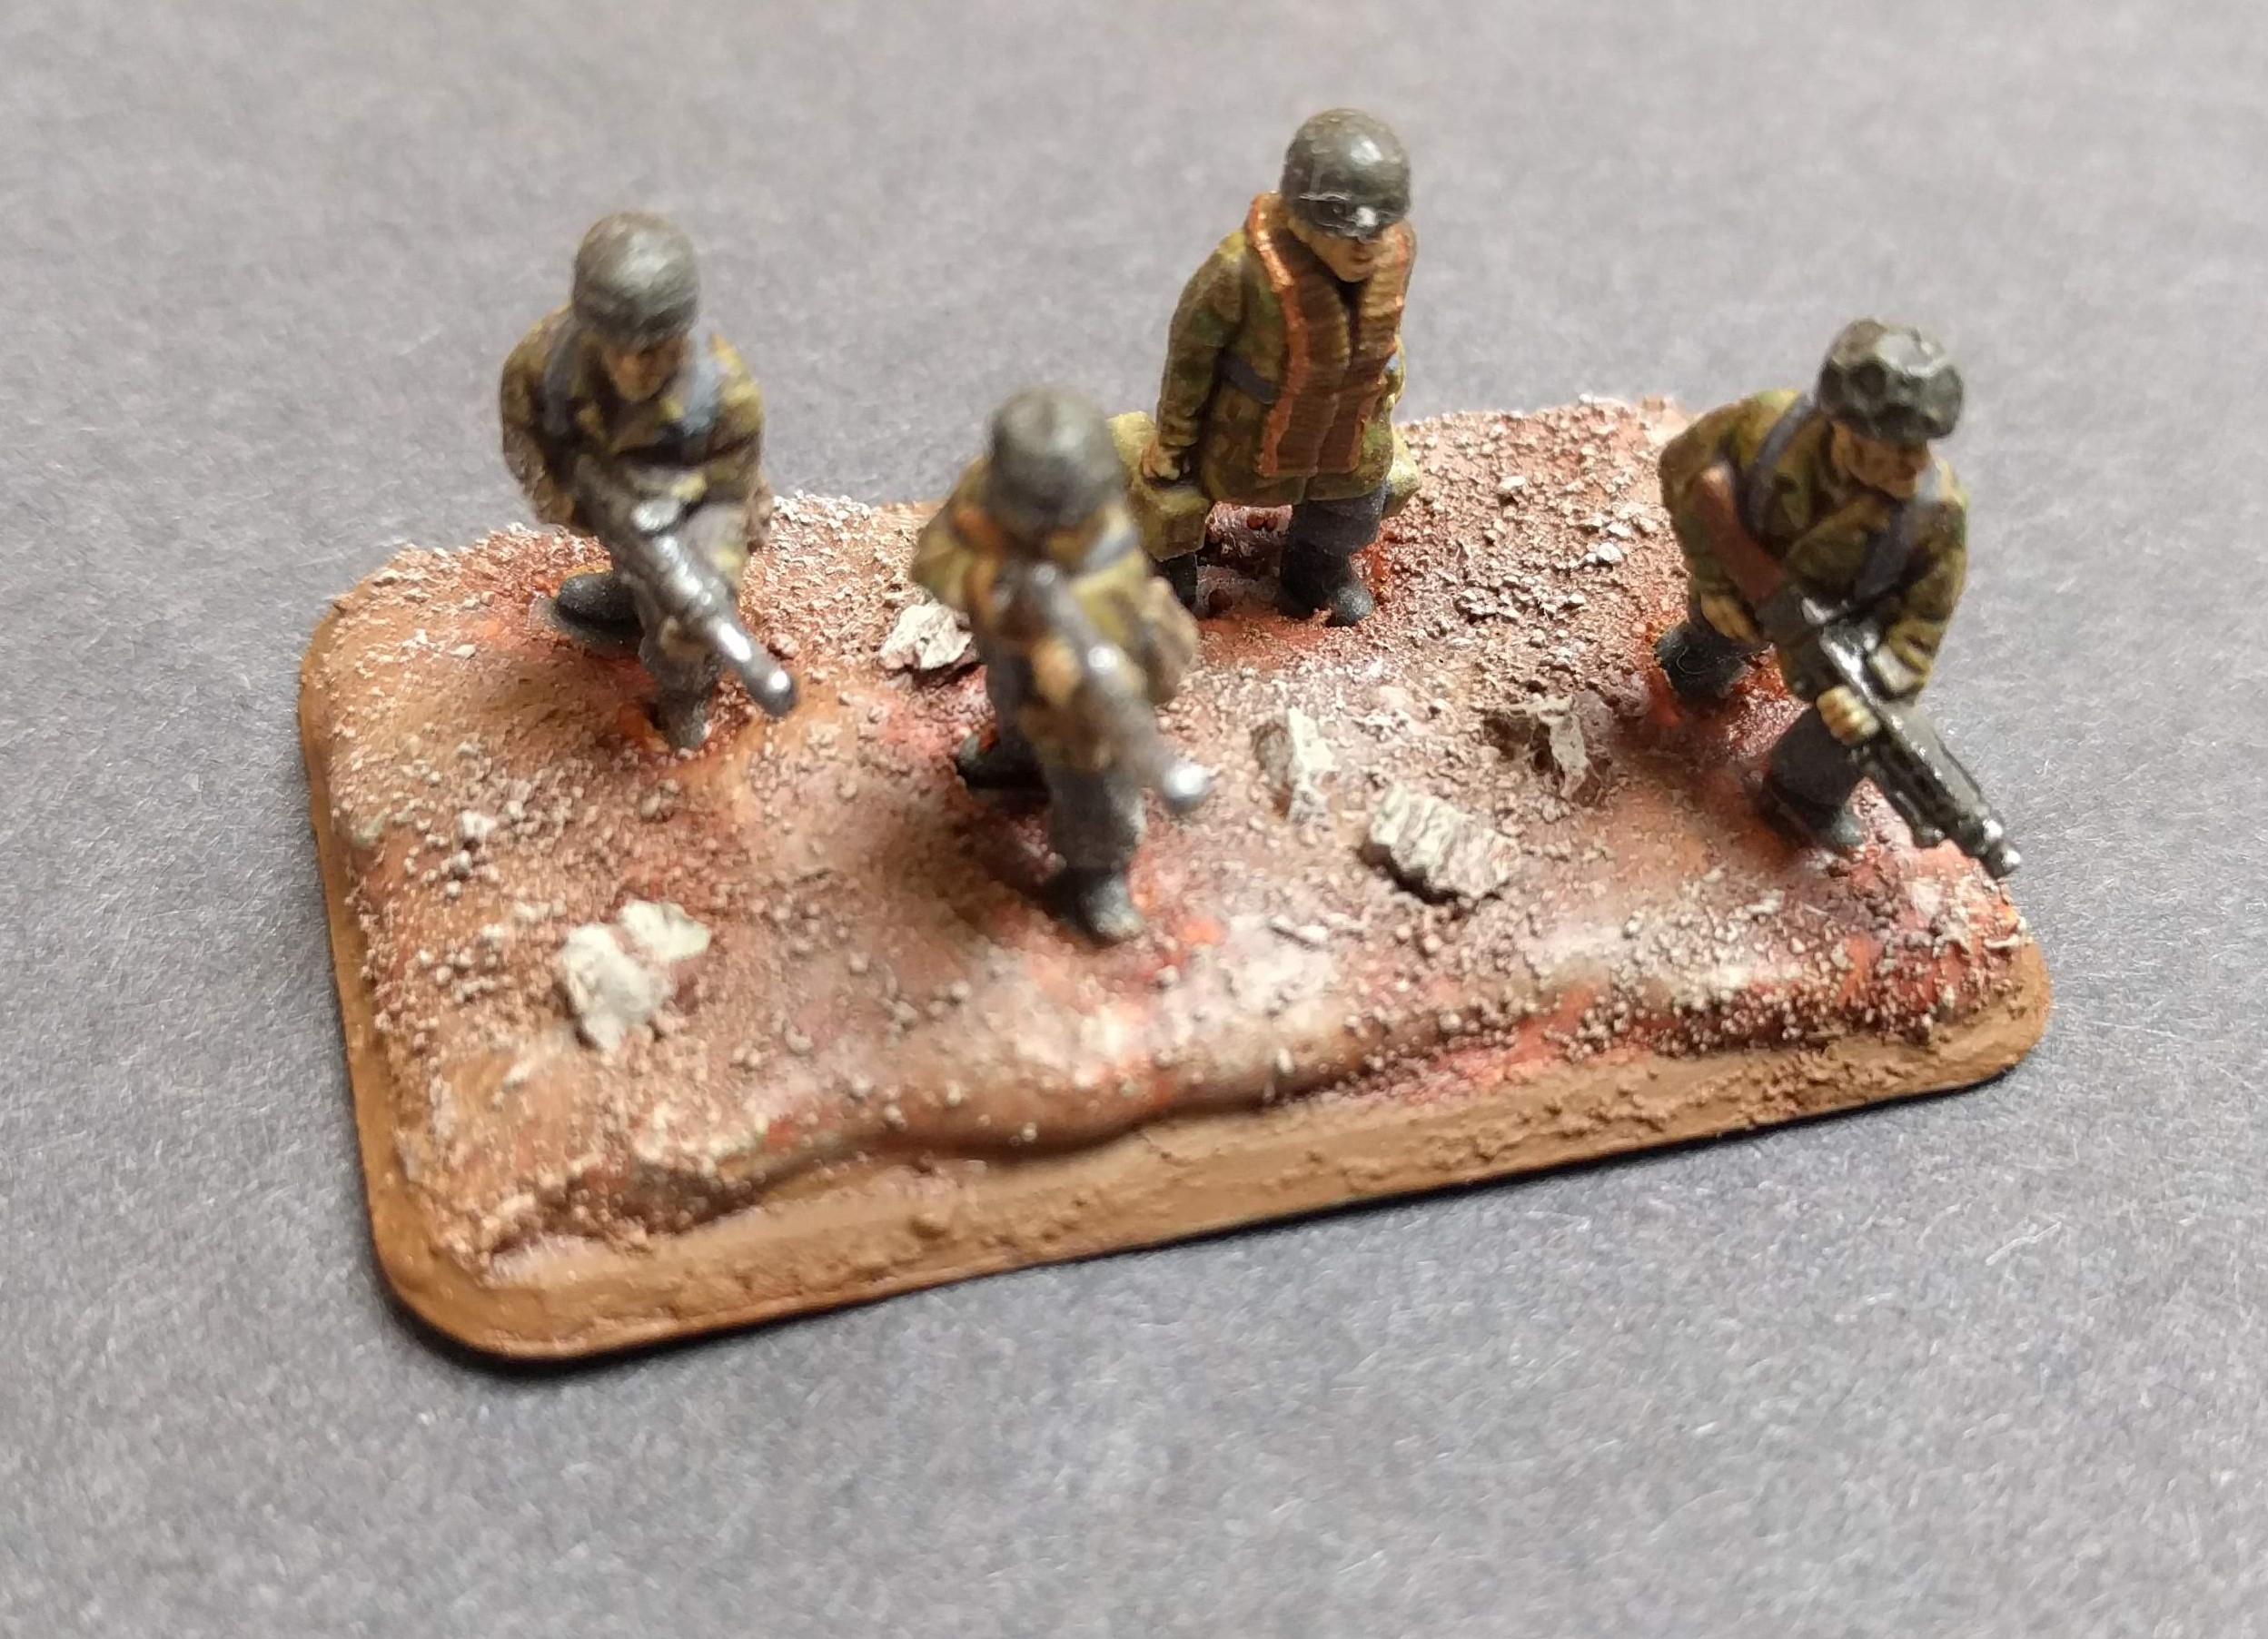 Front side of Blue Platoon, Squad 1
Fallschirmjager - Basing 7 Platoons
With all the painting done across the infantry, pioneer and heavy weapons platoons, it’s now time to base them all up. This won’t be quick but here’s how I base my FoW minis.
I use polyfilla for my basing for a number of reasons. It adds extra weight to the mini, is semi-sculptable so you can create mounds etc, really sticks the mini to the base and allows you to make the mini look as if it is ‘in the terrain’ rather than ‘on the terrain’ (if that makes any sense!).
I’d also point out that this approach needs to be done one base at a time, otherwise the polyfilla starts to dry and becomes unworkable.
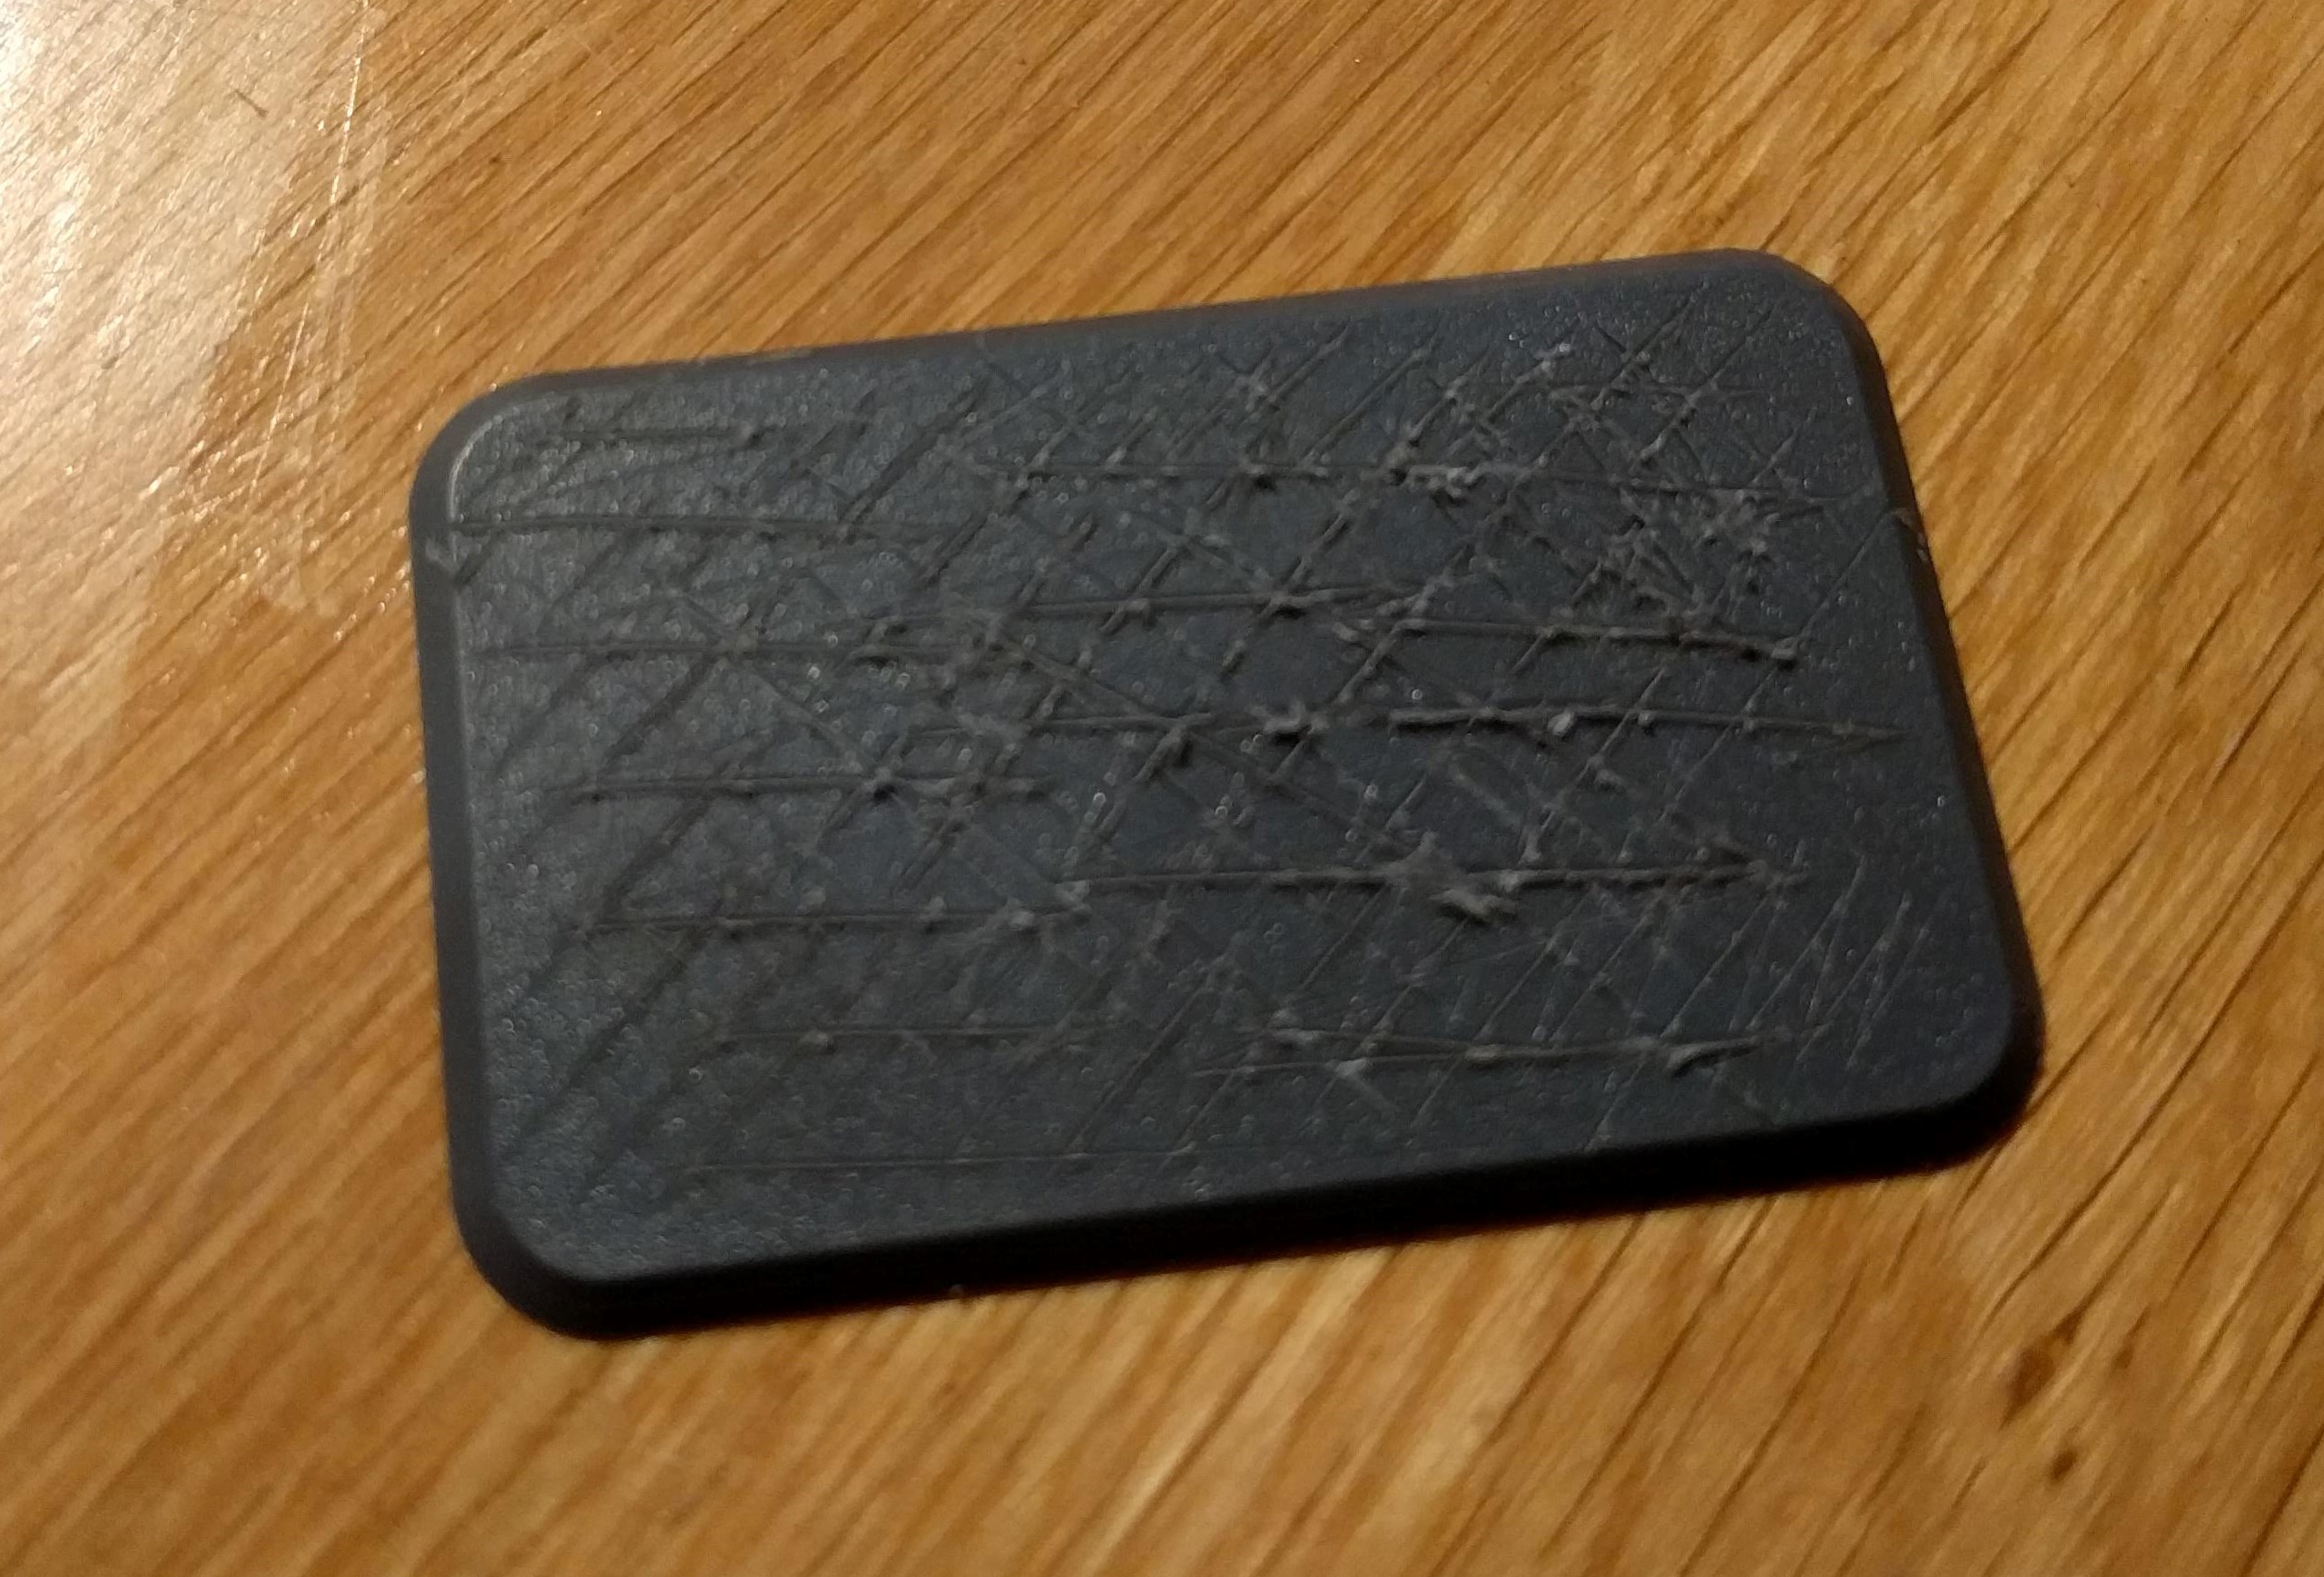
Starting with the standard FoW base, I need to score the surface with a sharp knife. You need to be careful here as, like an idiot, I’ve cut myself several times!
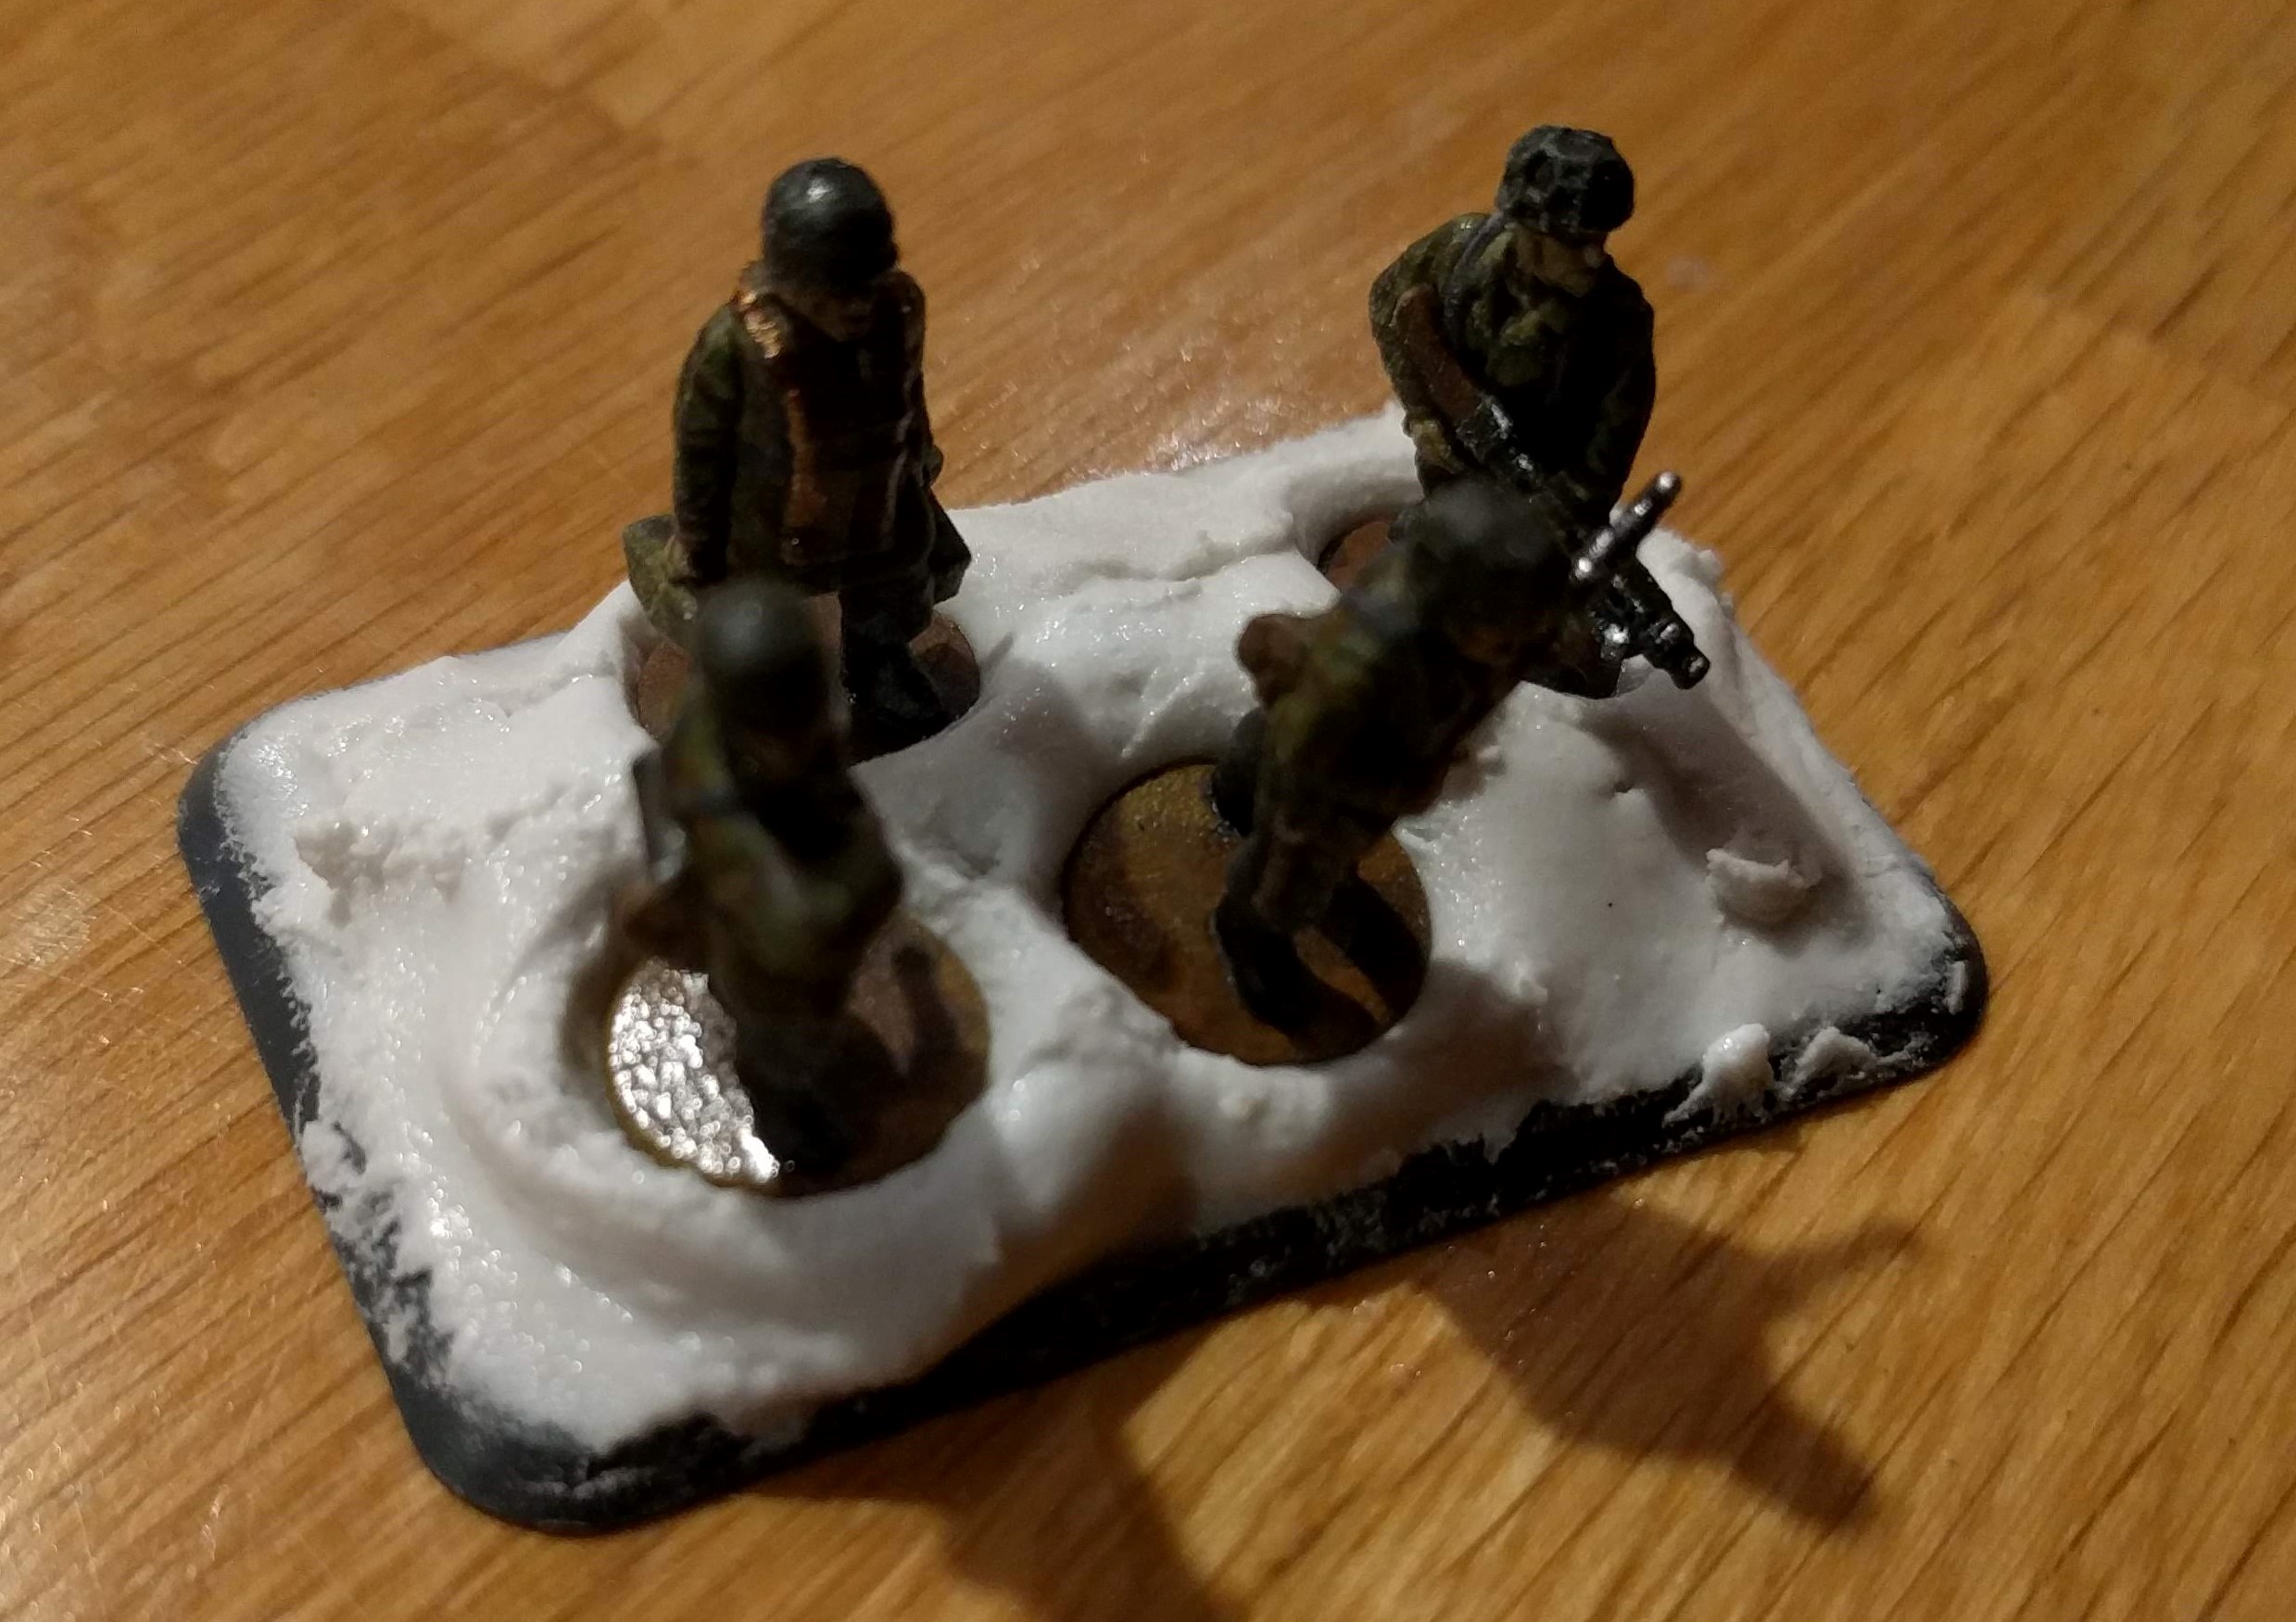
Next smear on some polyfilla. I try to put around 2 to 3mm depth in the middle and shape it so that it contours down toward the edge of the base.

Now shove your FoW minis into the polyfilla in a suitable formation. I try to make each base look slightly different to break up the uniformity by changing positions of the models, putting more on one side of the base, sculpting mounds etc.
Now for the careful and time consuming bit. With a cocktail stick, some little extra bits of polyfilla and water, you can begin encouraging the polyfilla over the circular bases and up to the boots of the models. This takes time and care.
You can also sculpt extra features at this stage as well. For example, for the MG42 teams, I’ve created small fox holes for the models to be positioned in.
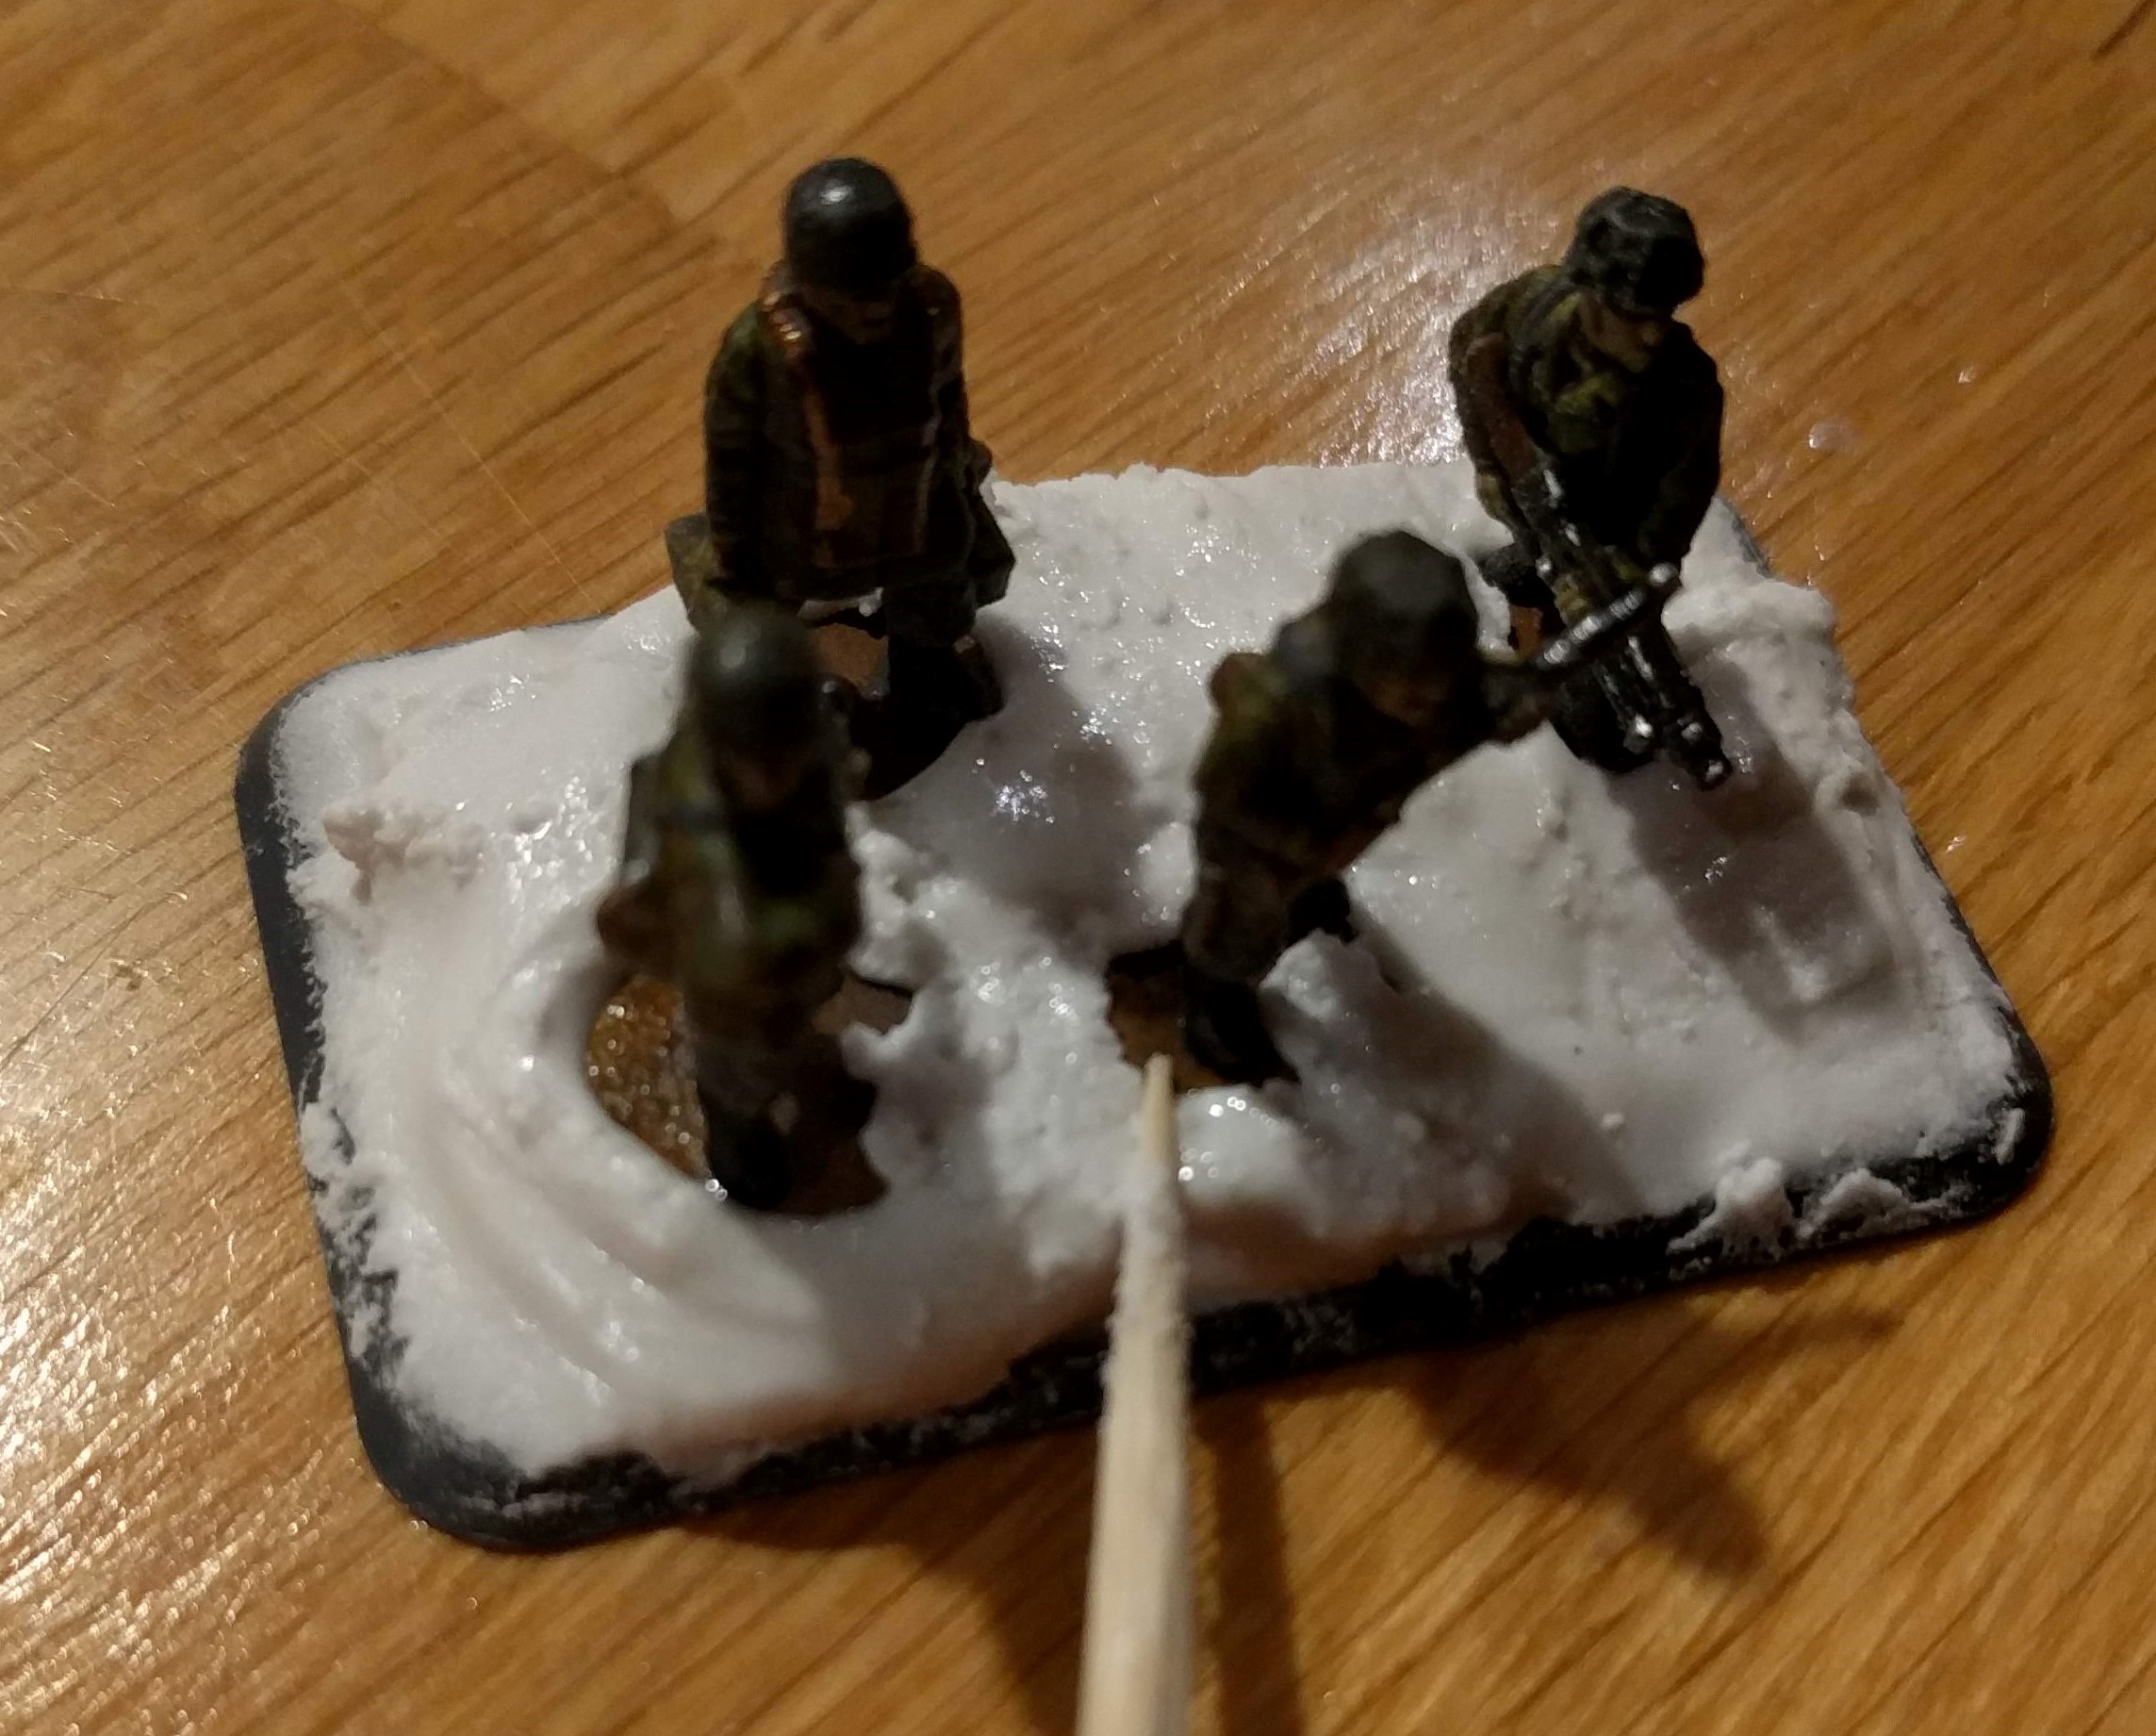 The delicate 'encouraging' process in action
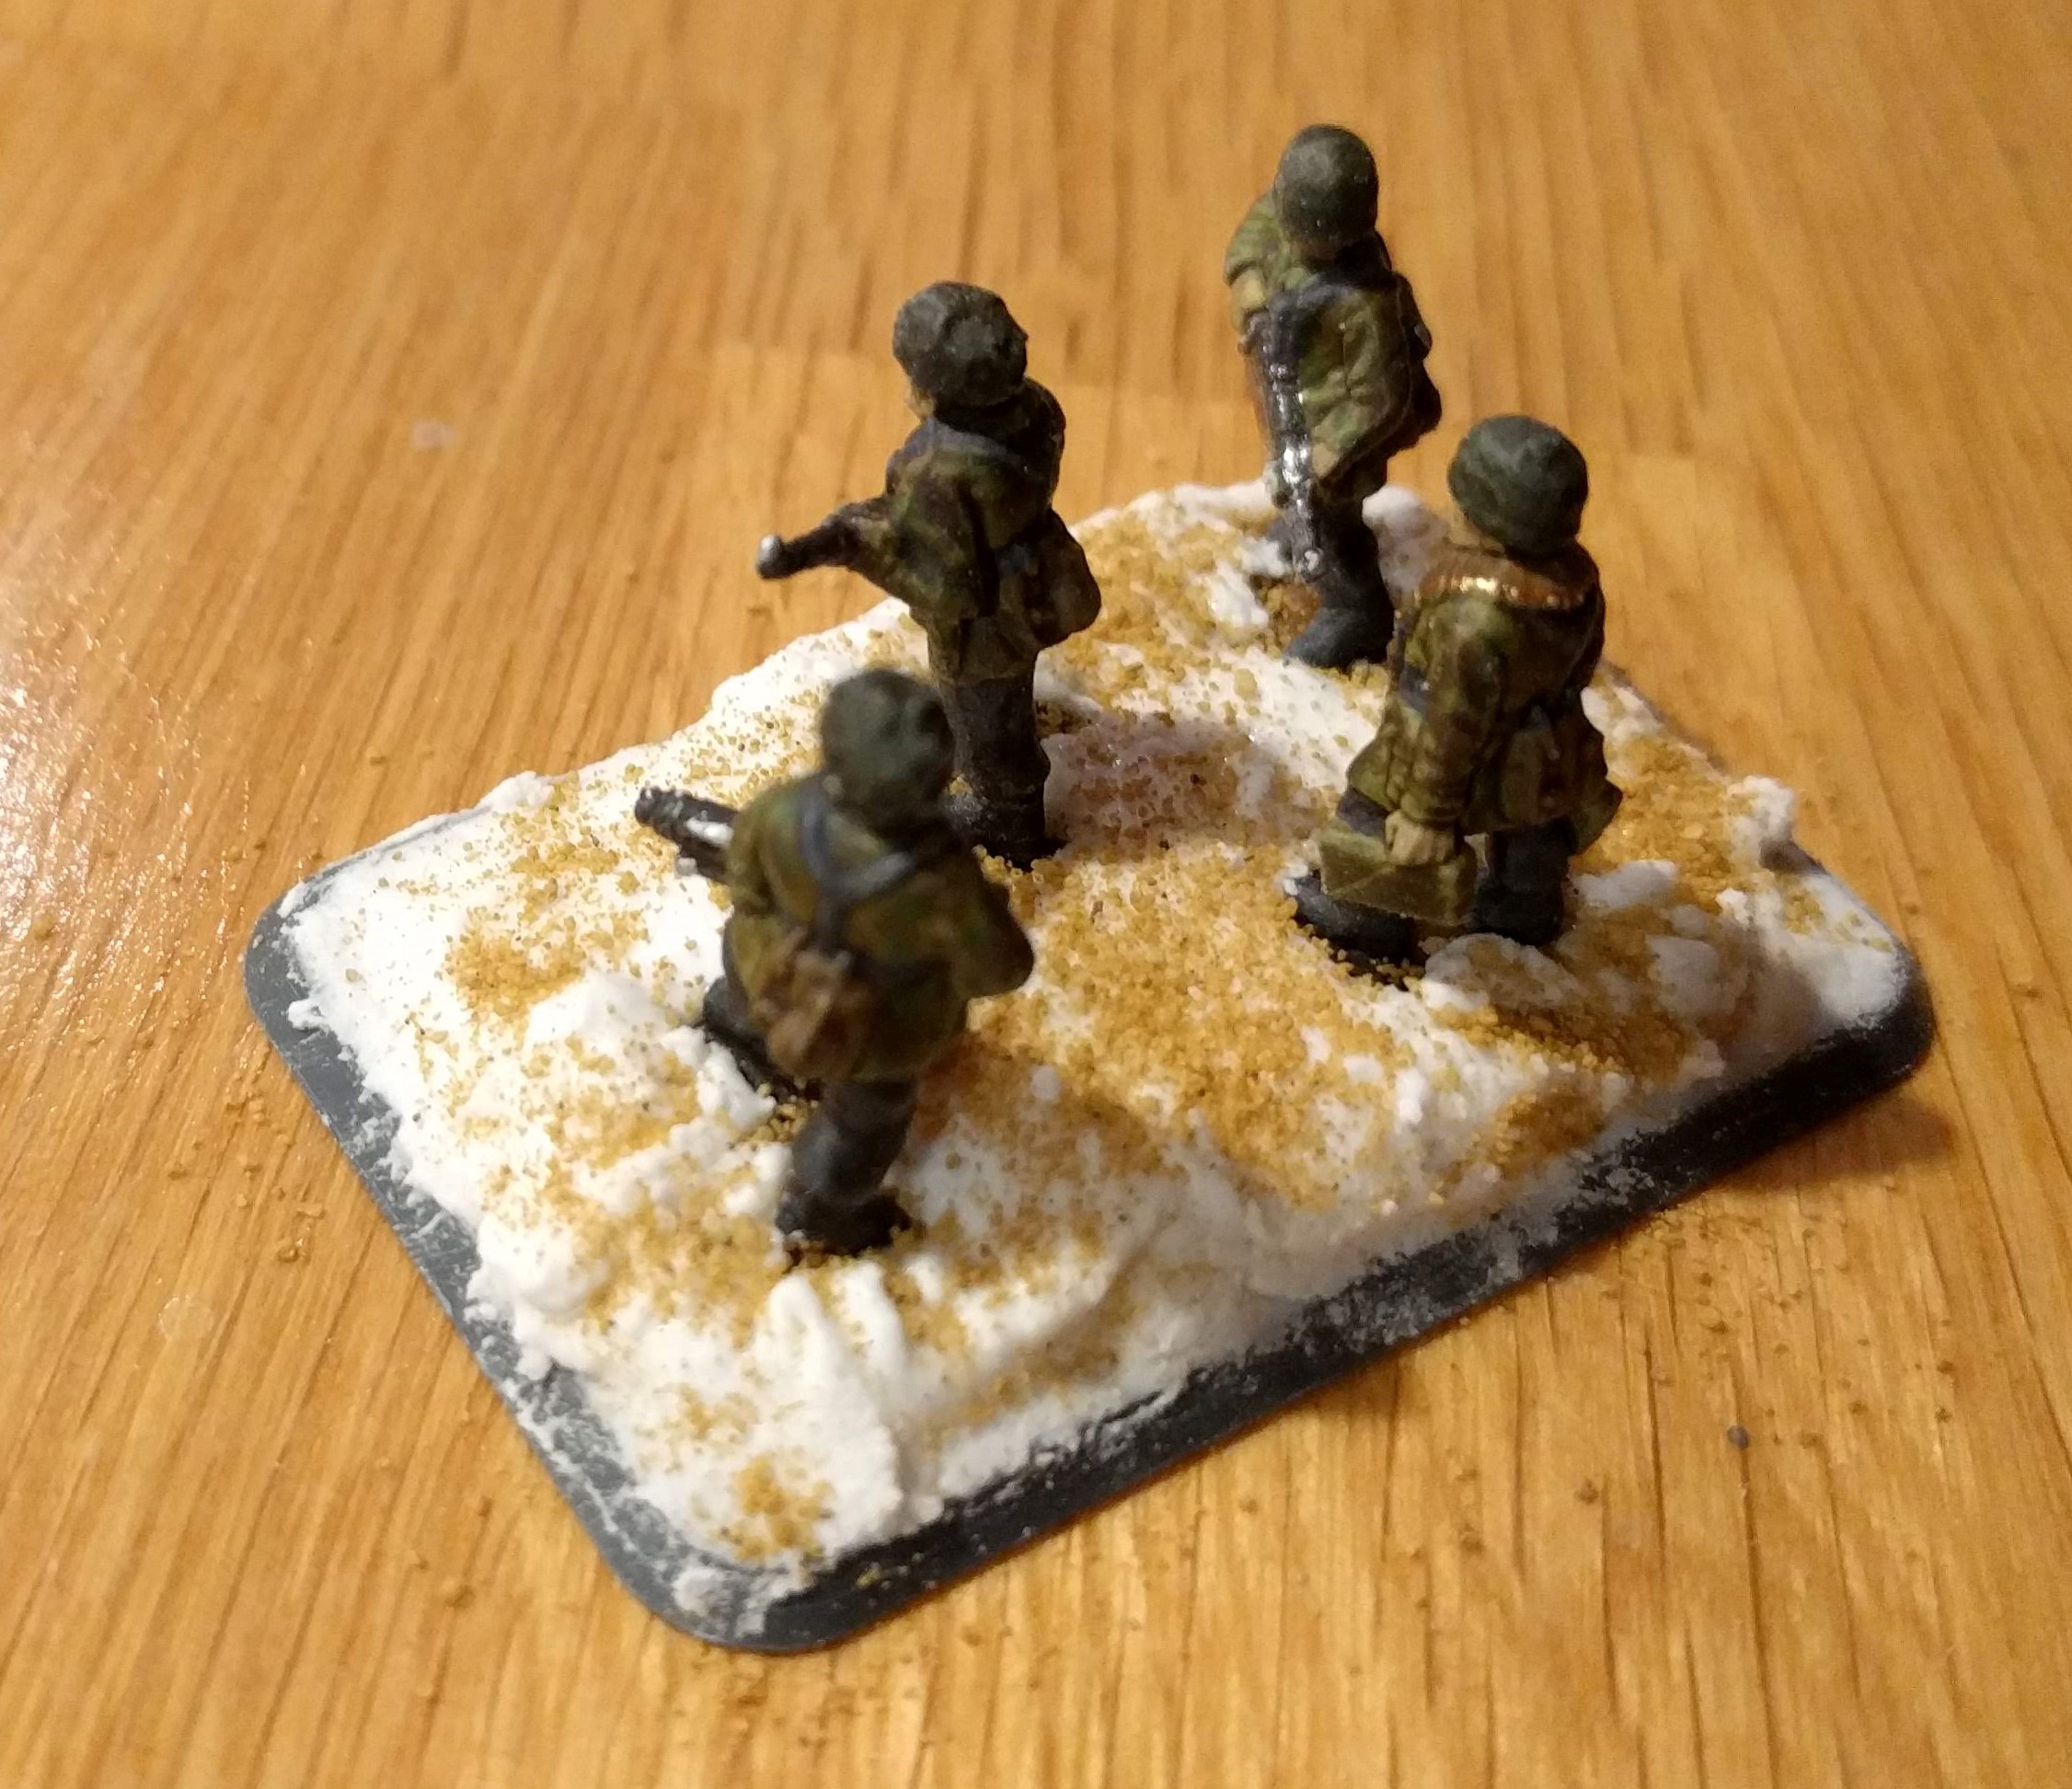
Finally, once the polyfilla has been manipulated into position and any excess removed, I sprinkle some sand over the top for added texture. This all then gets left to dry for a good 24 hours.
Fallschirmjager Heavy Weapons
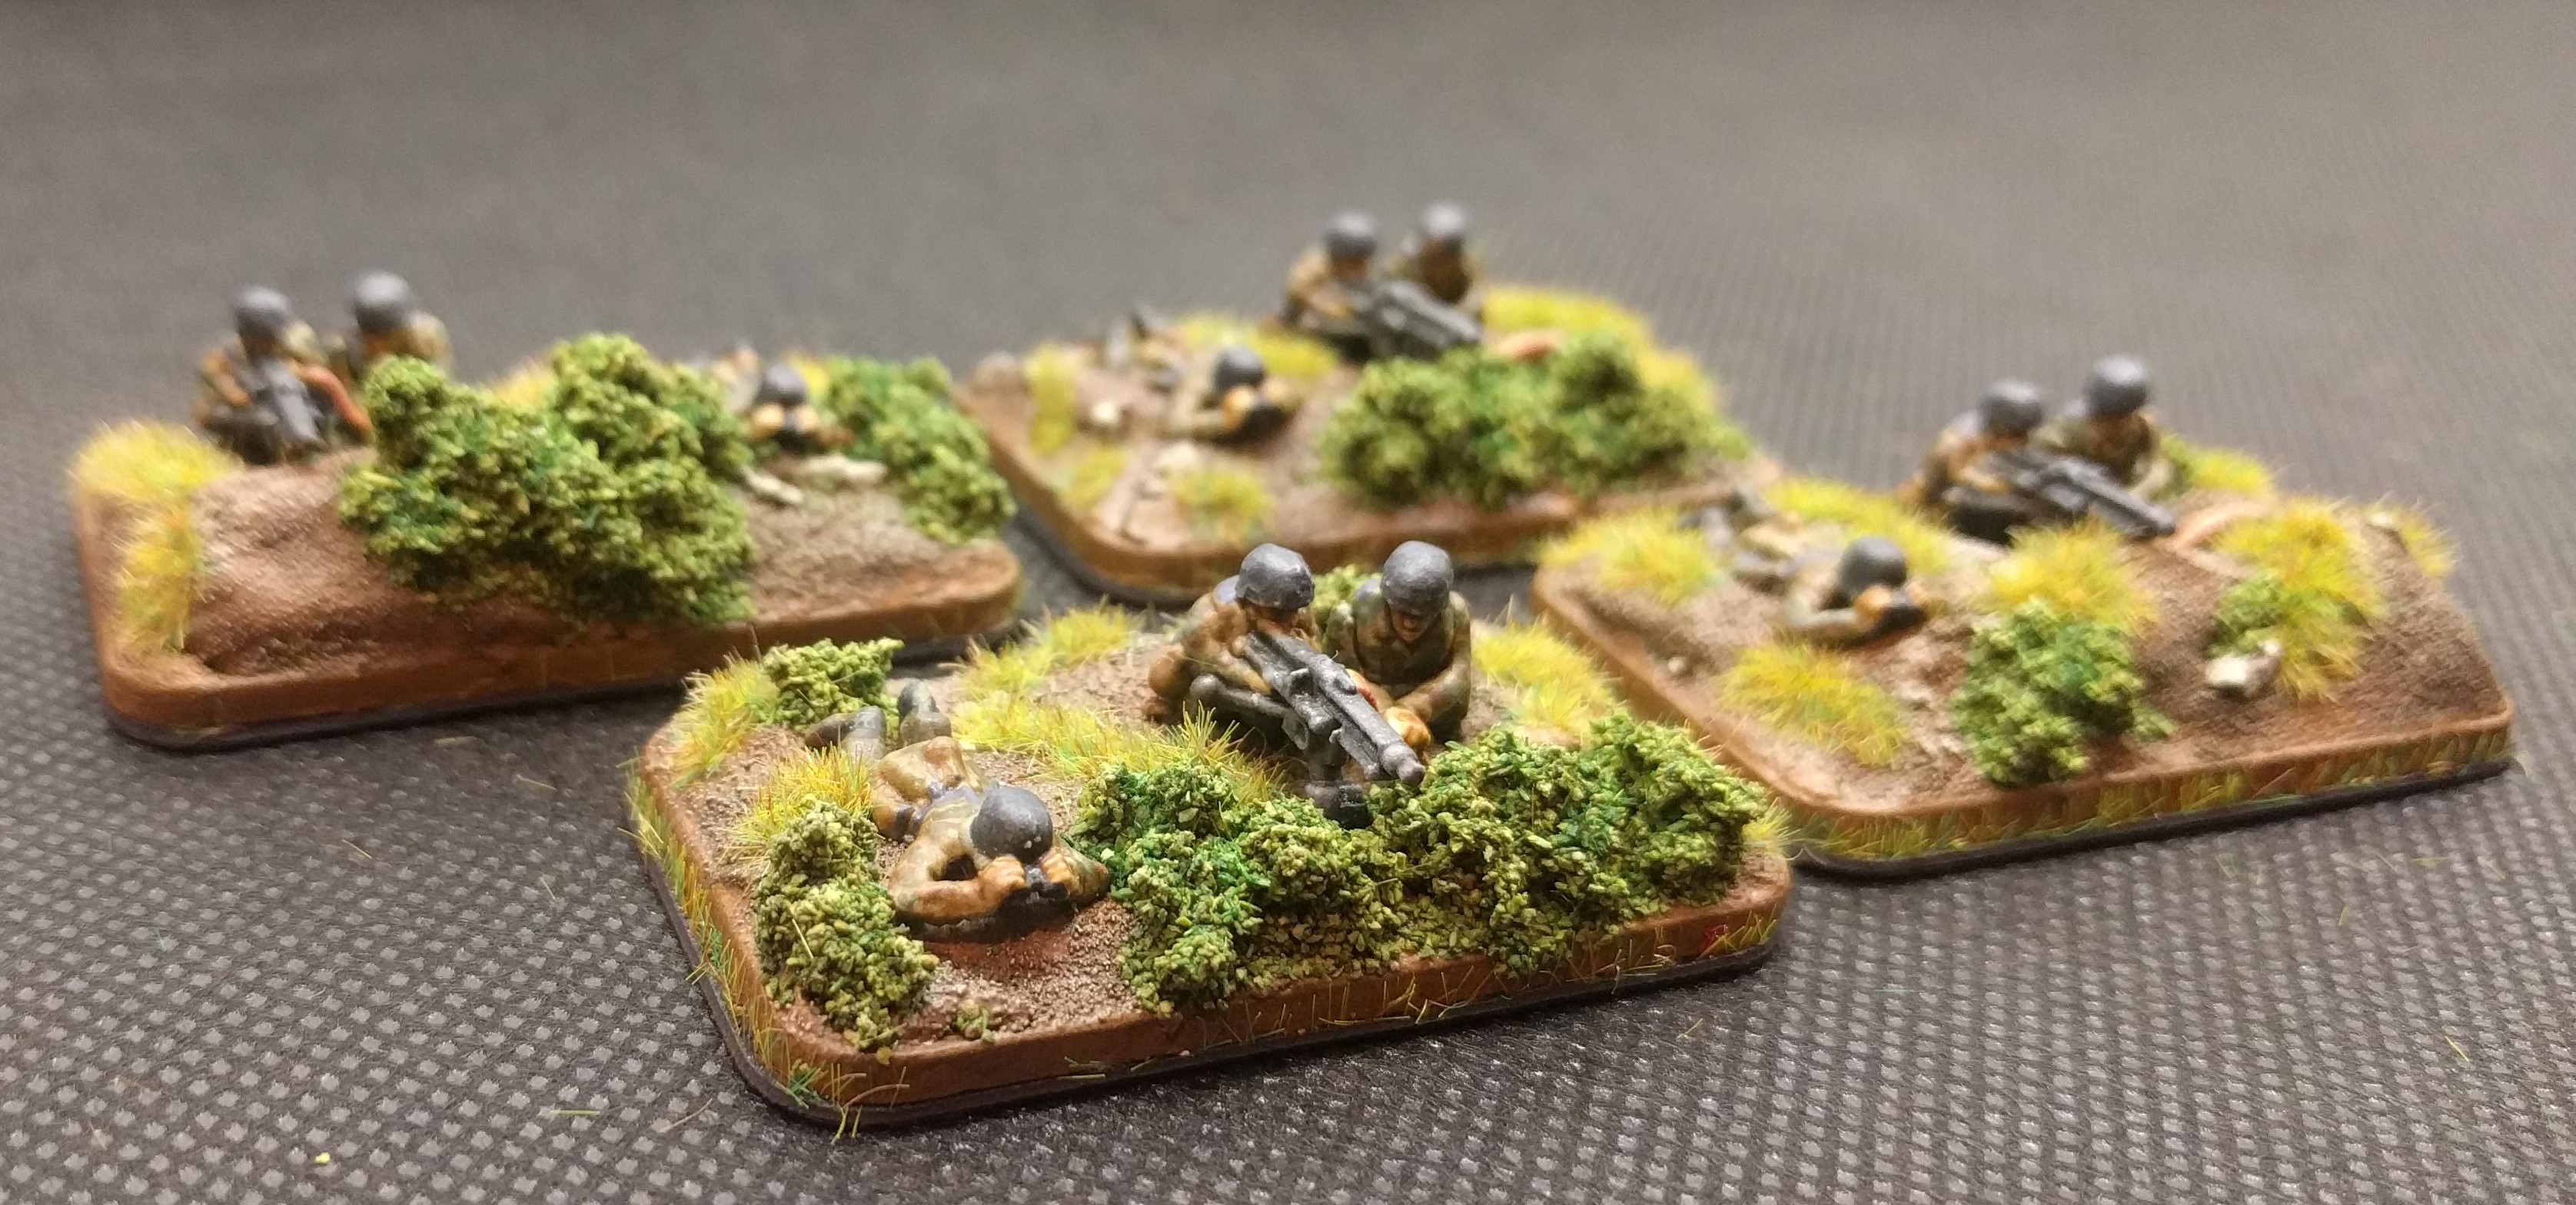
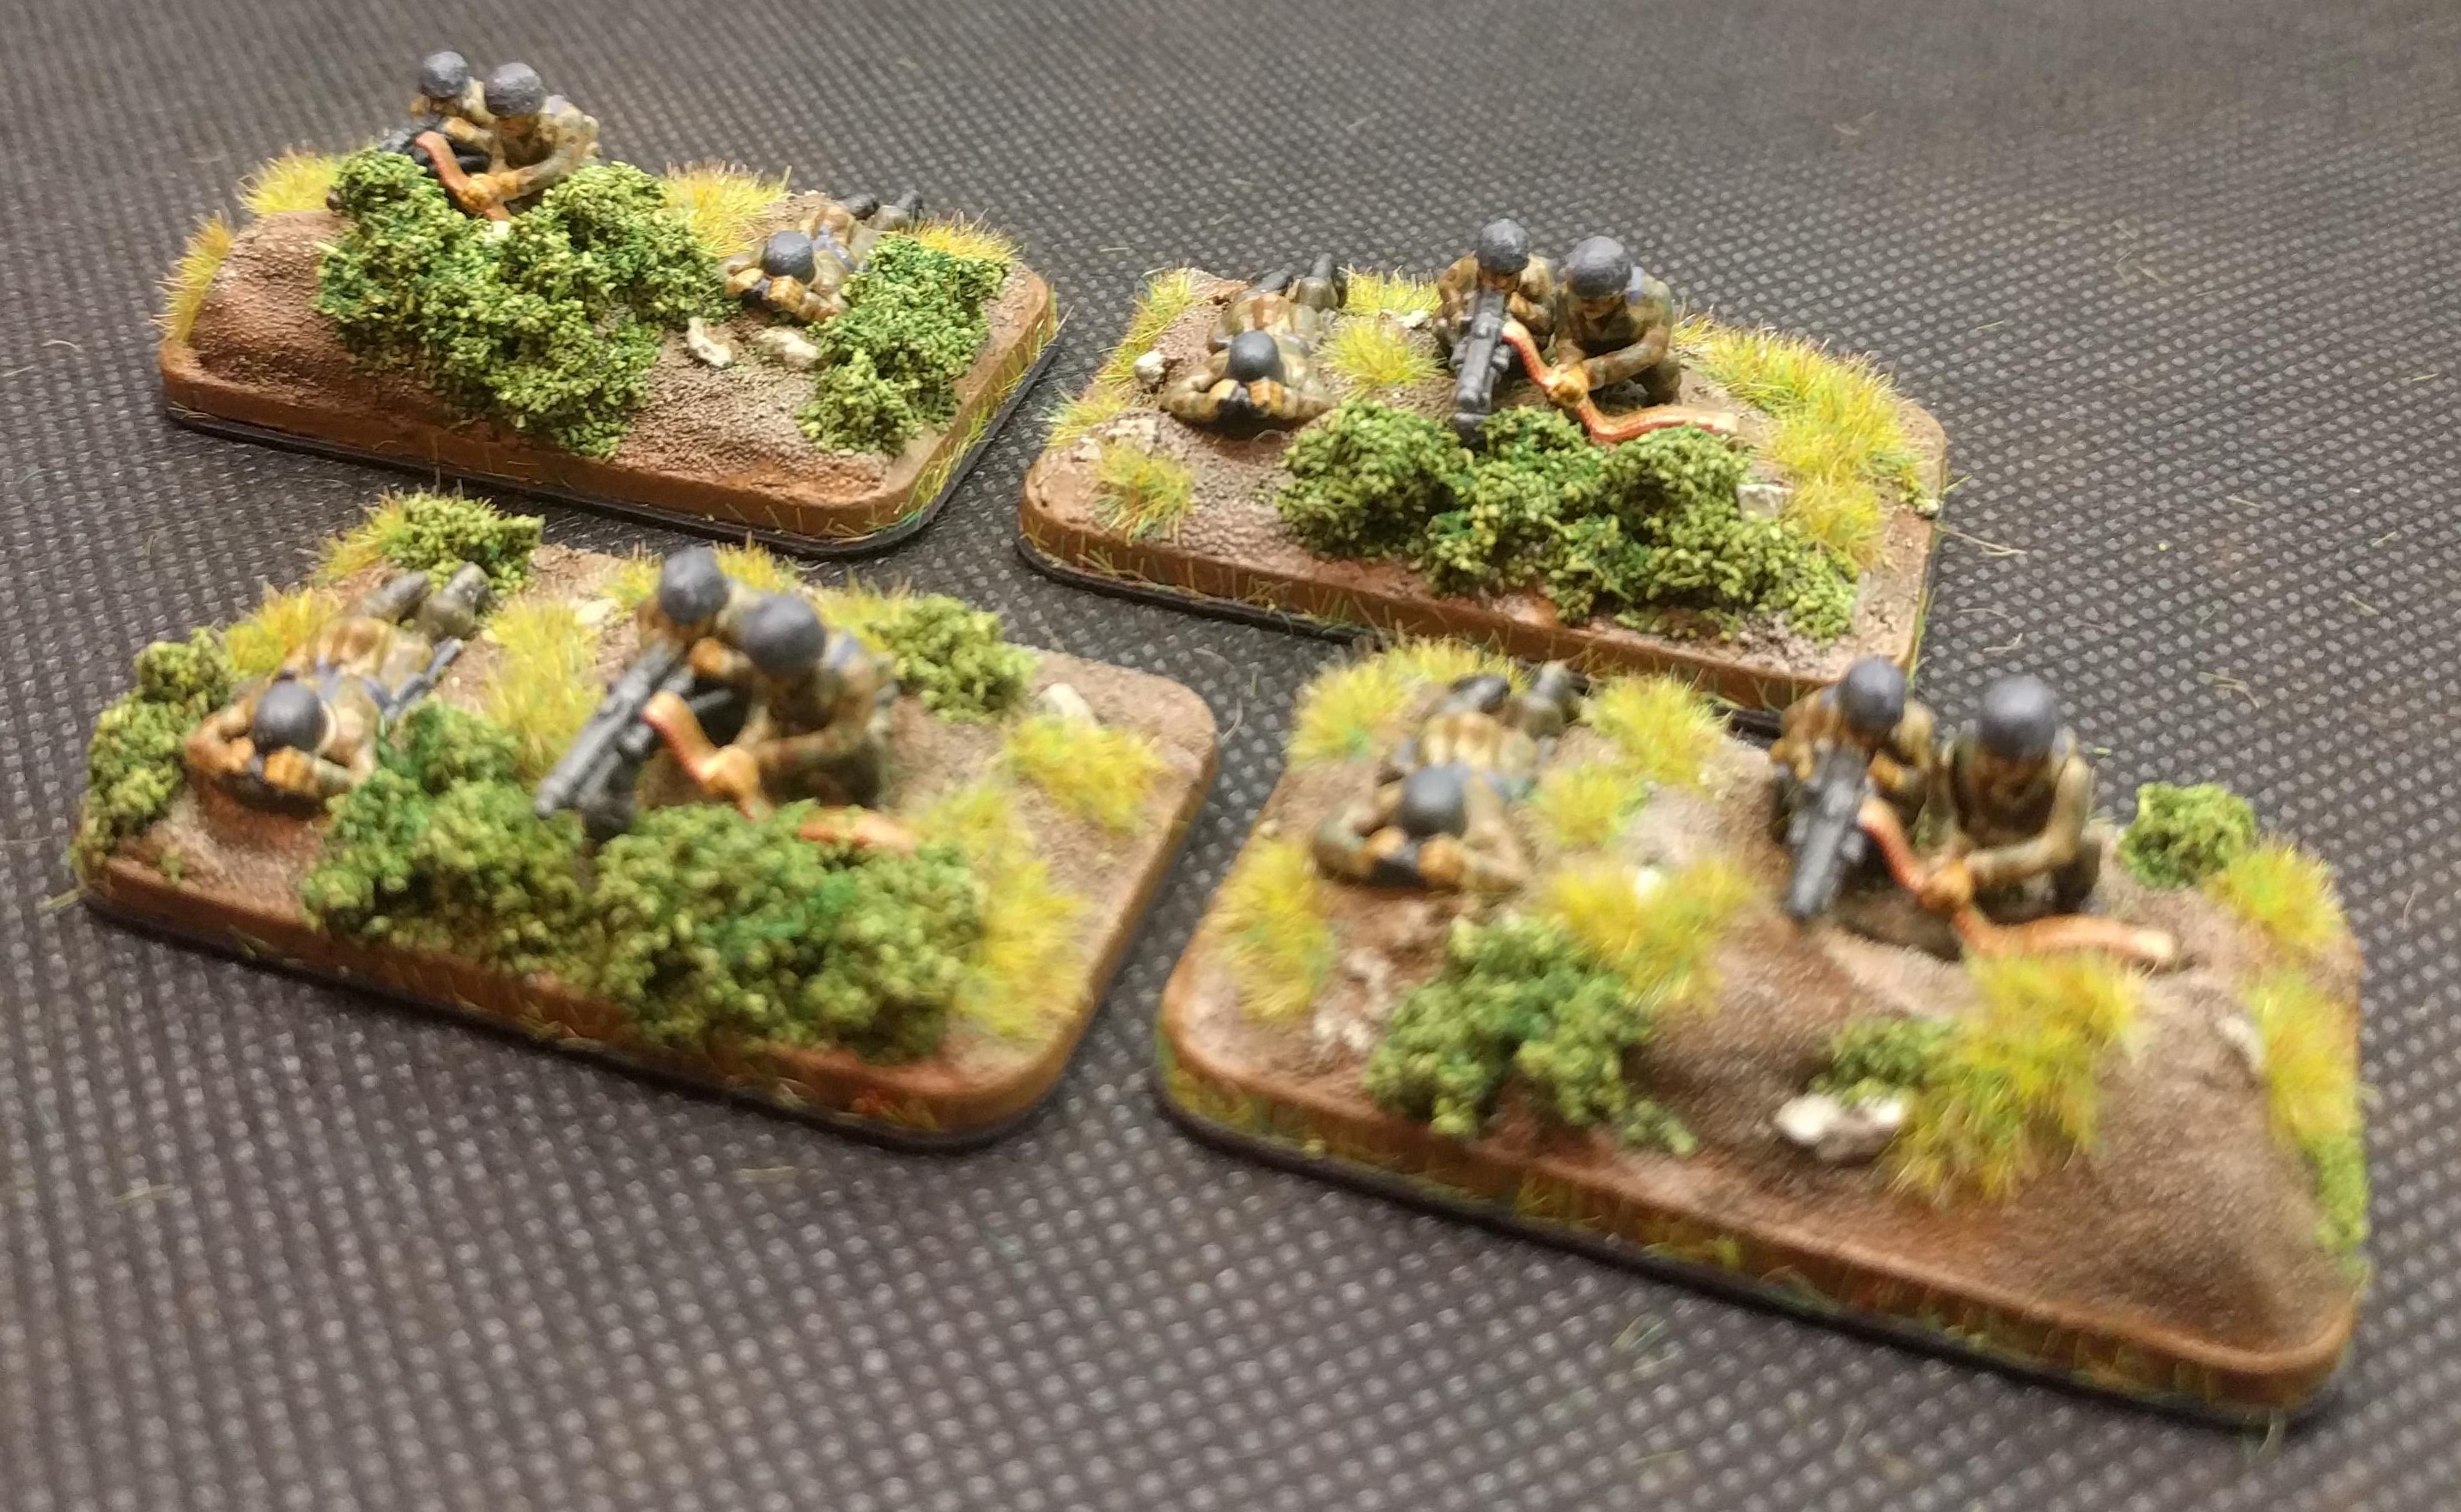
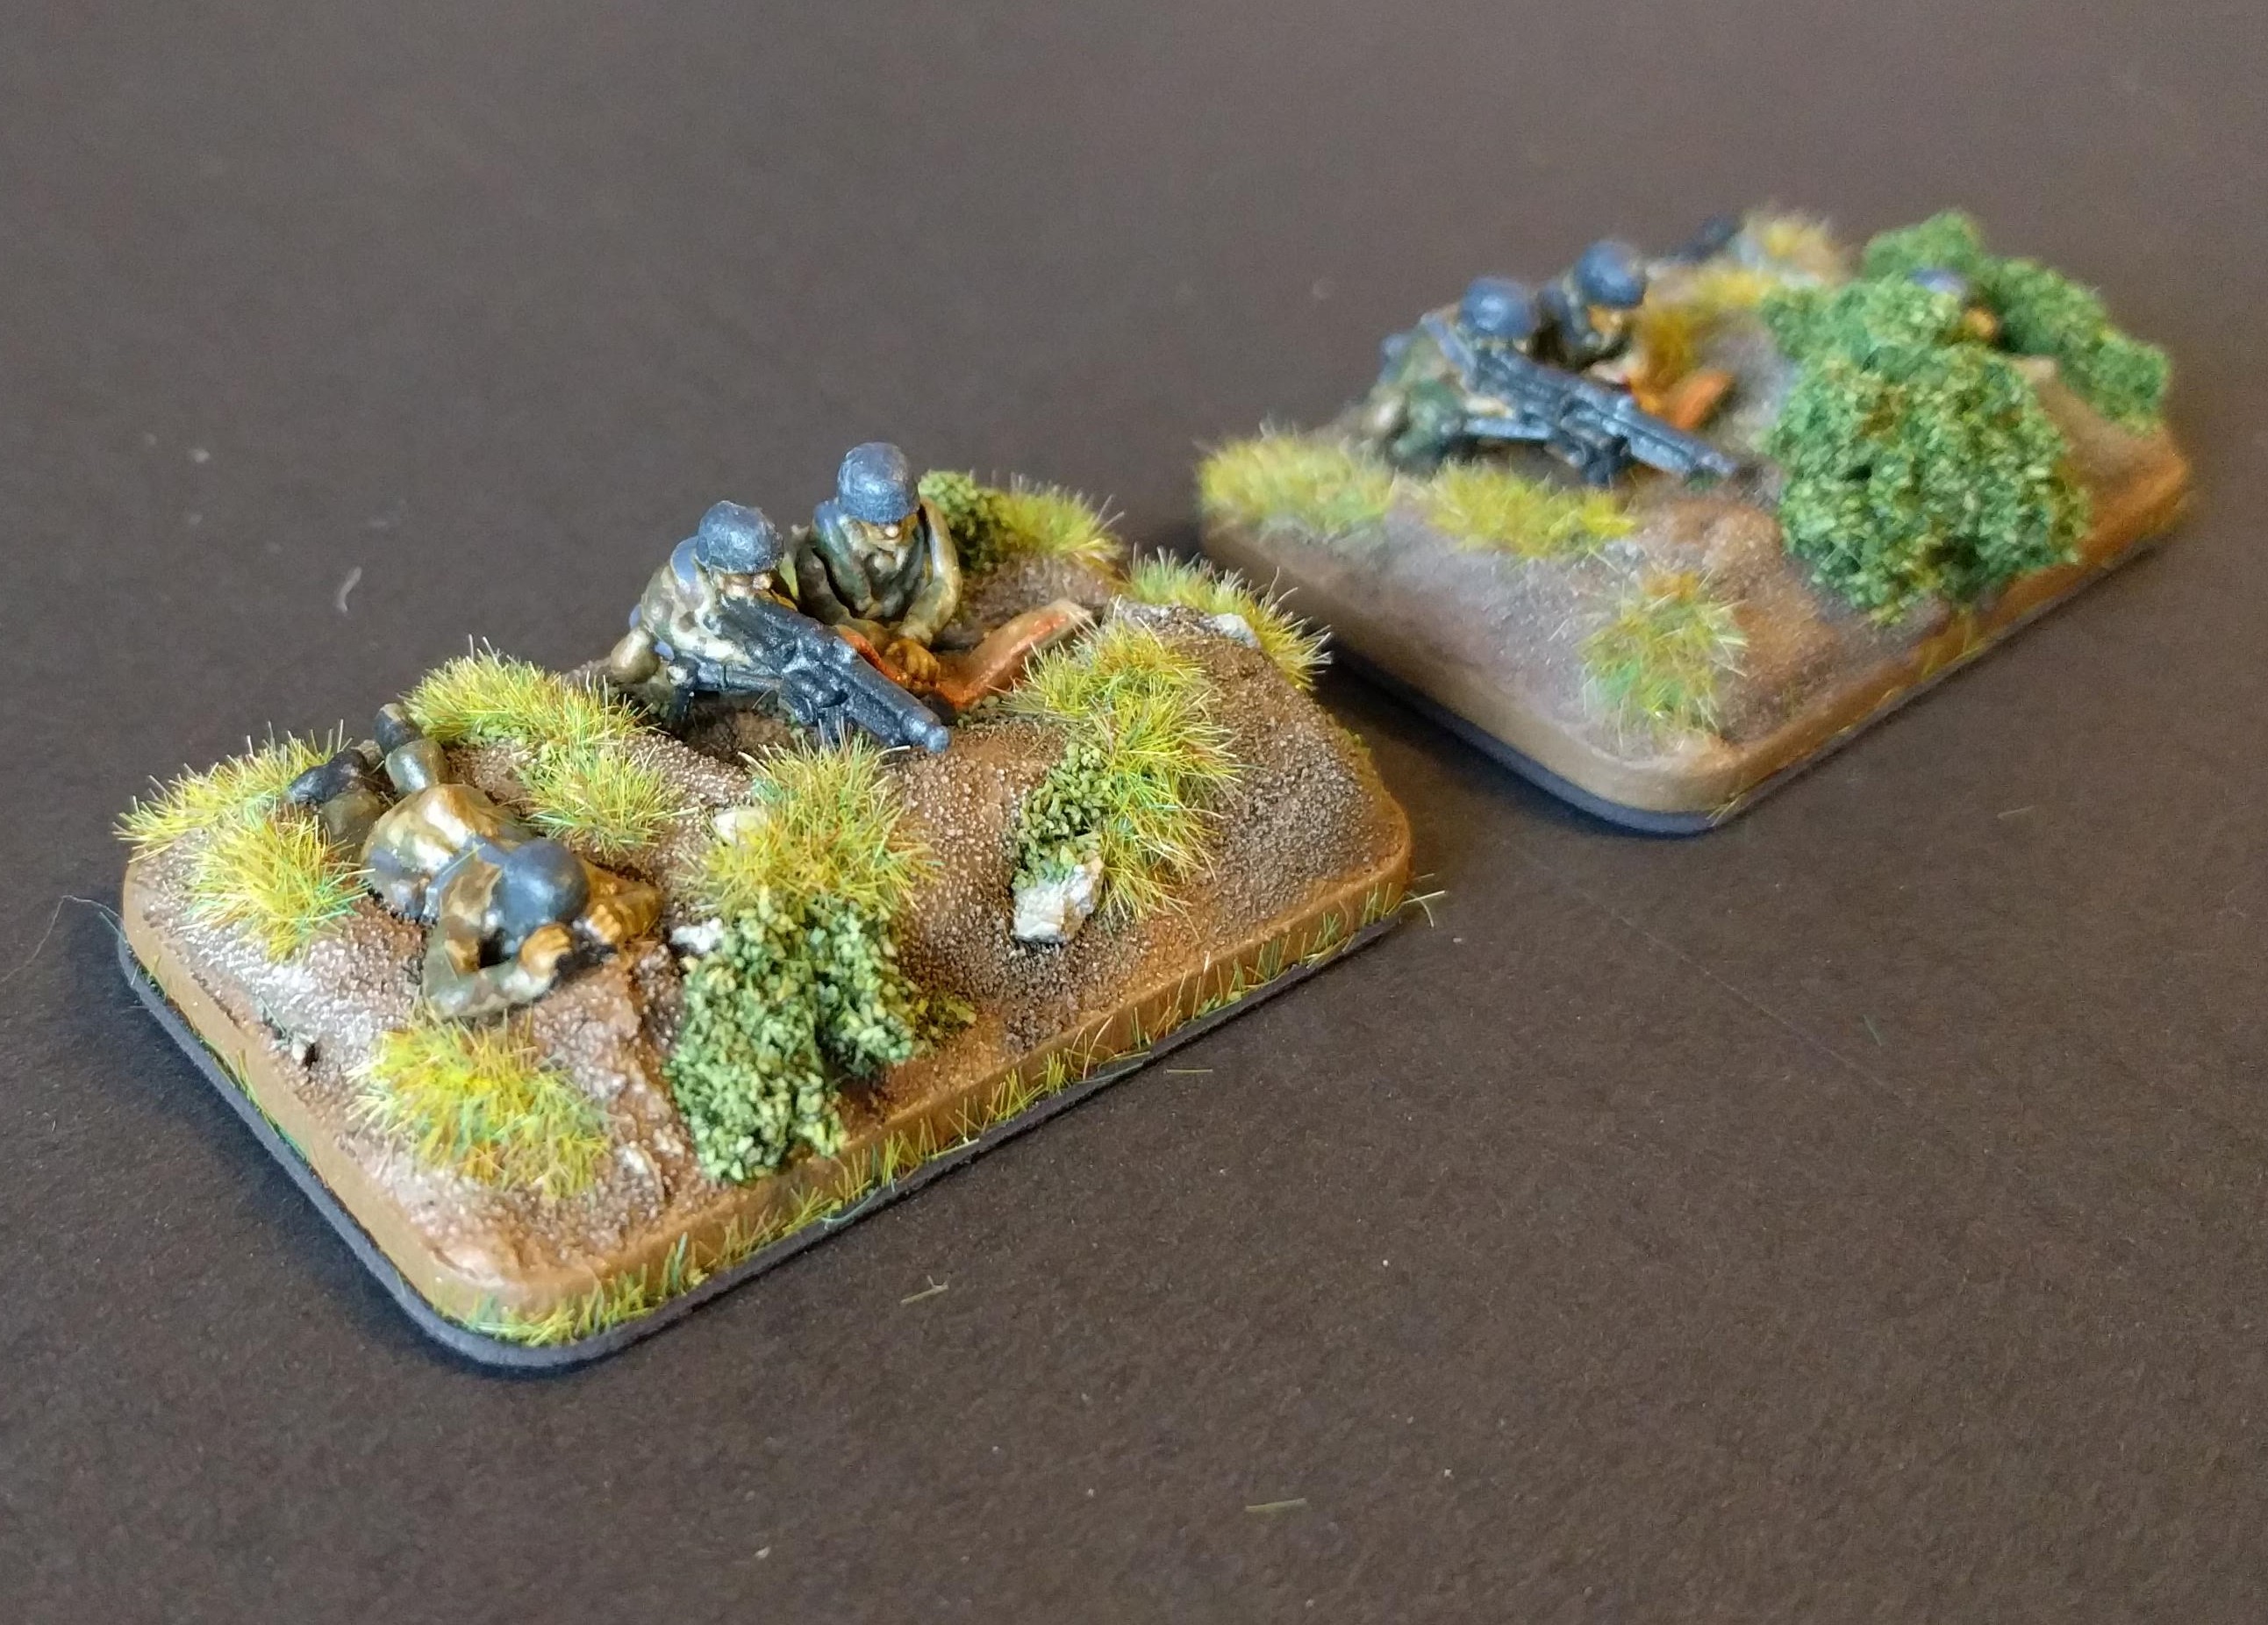
I’ve now finished the Heavy Weapon teams. In this batch we have:
4 MG42 teams
4 Heavy Mortar teams
4 Light Mortar teams
4 Infantry gun teams
These have all been painted in exactly the same way as the Infantry platoons I posted here previously. I’ve put some pictures of the MG and mortar teams below.
I now need to base all of the Platoons (that’s 8 platoons in total and I make it something like 50 bases). I’ll post up the method I use to do my bases in the next update.
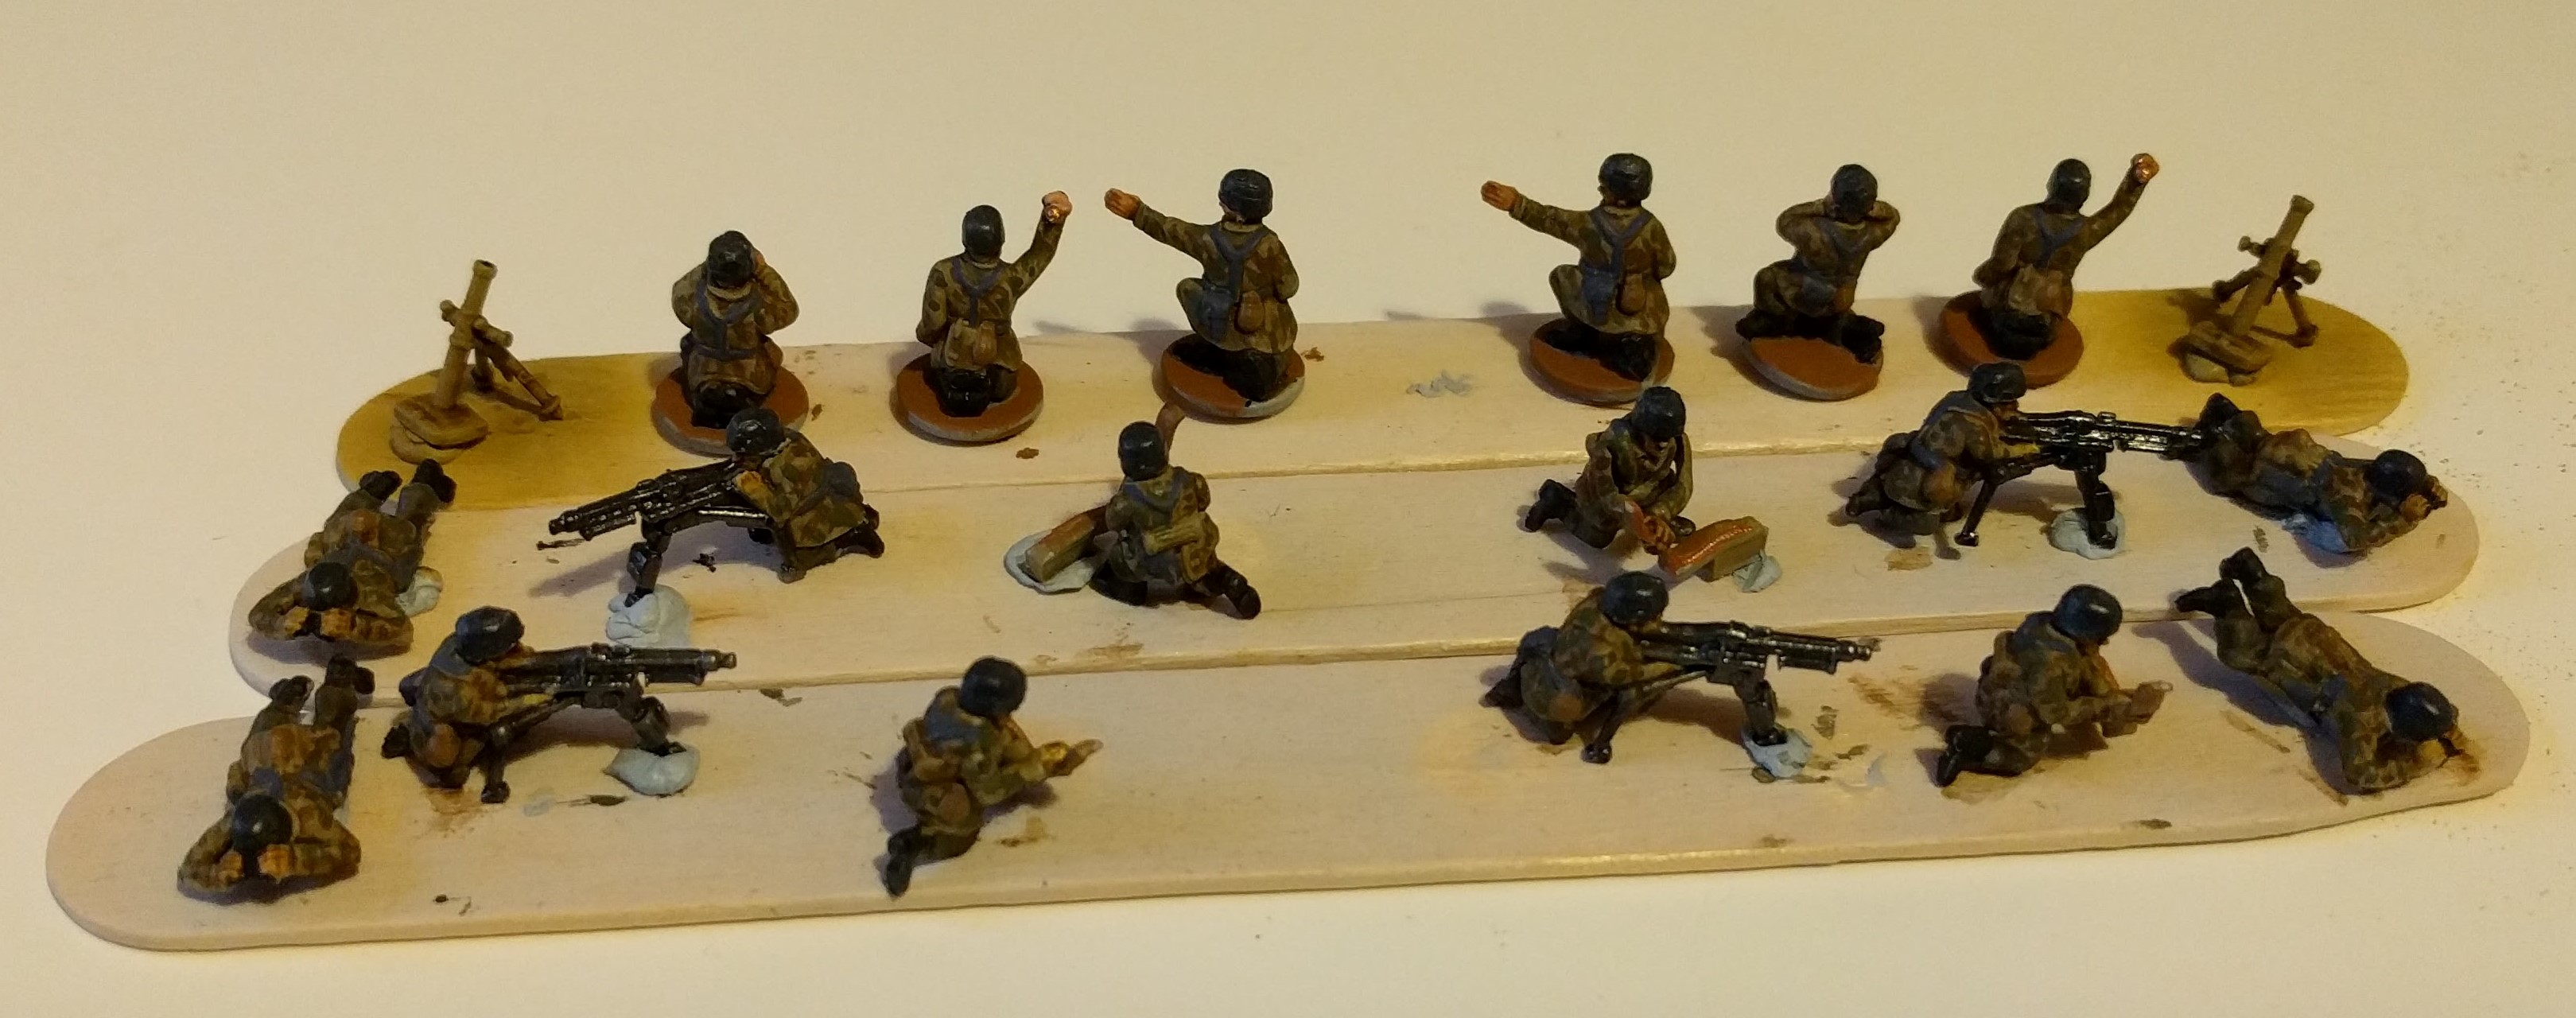 MG and Mortar teams
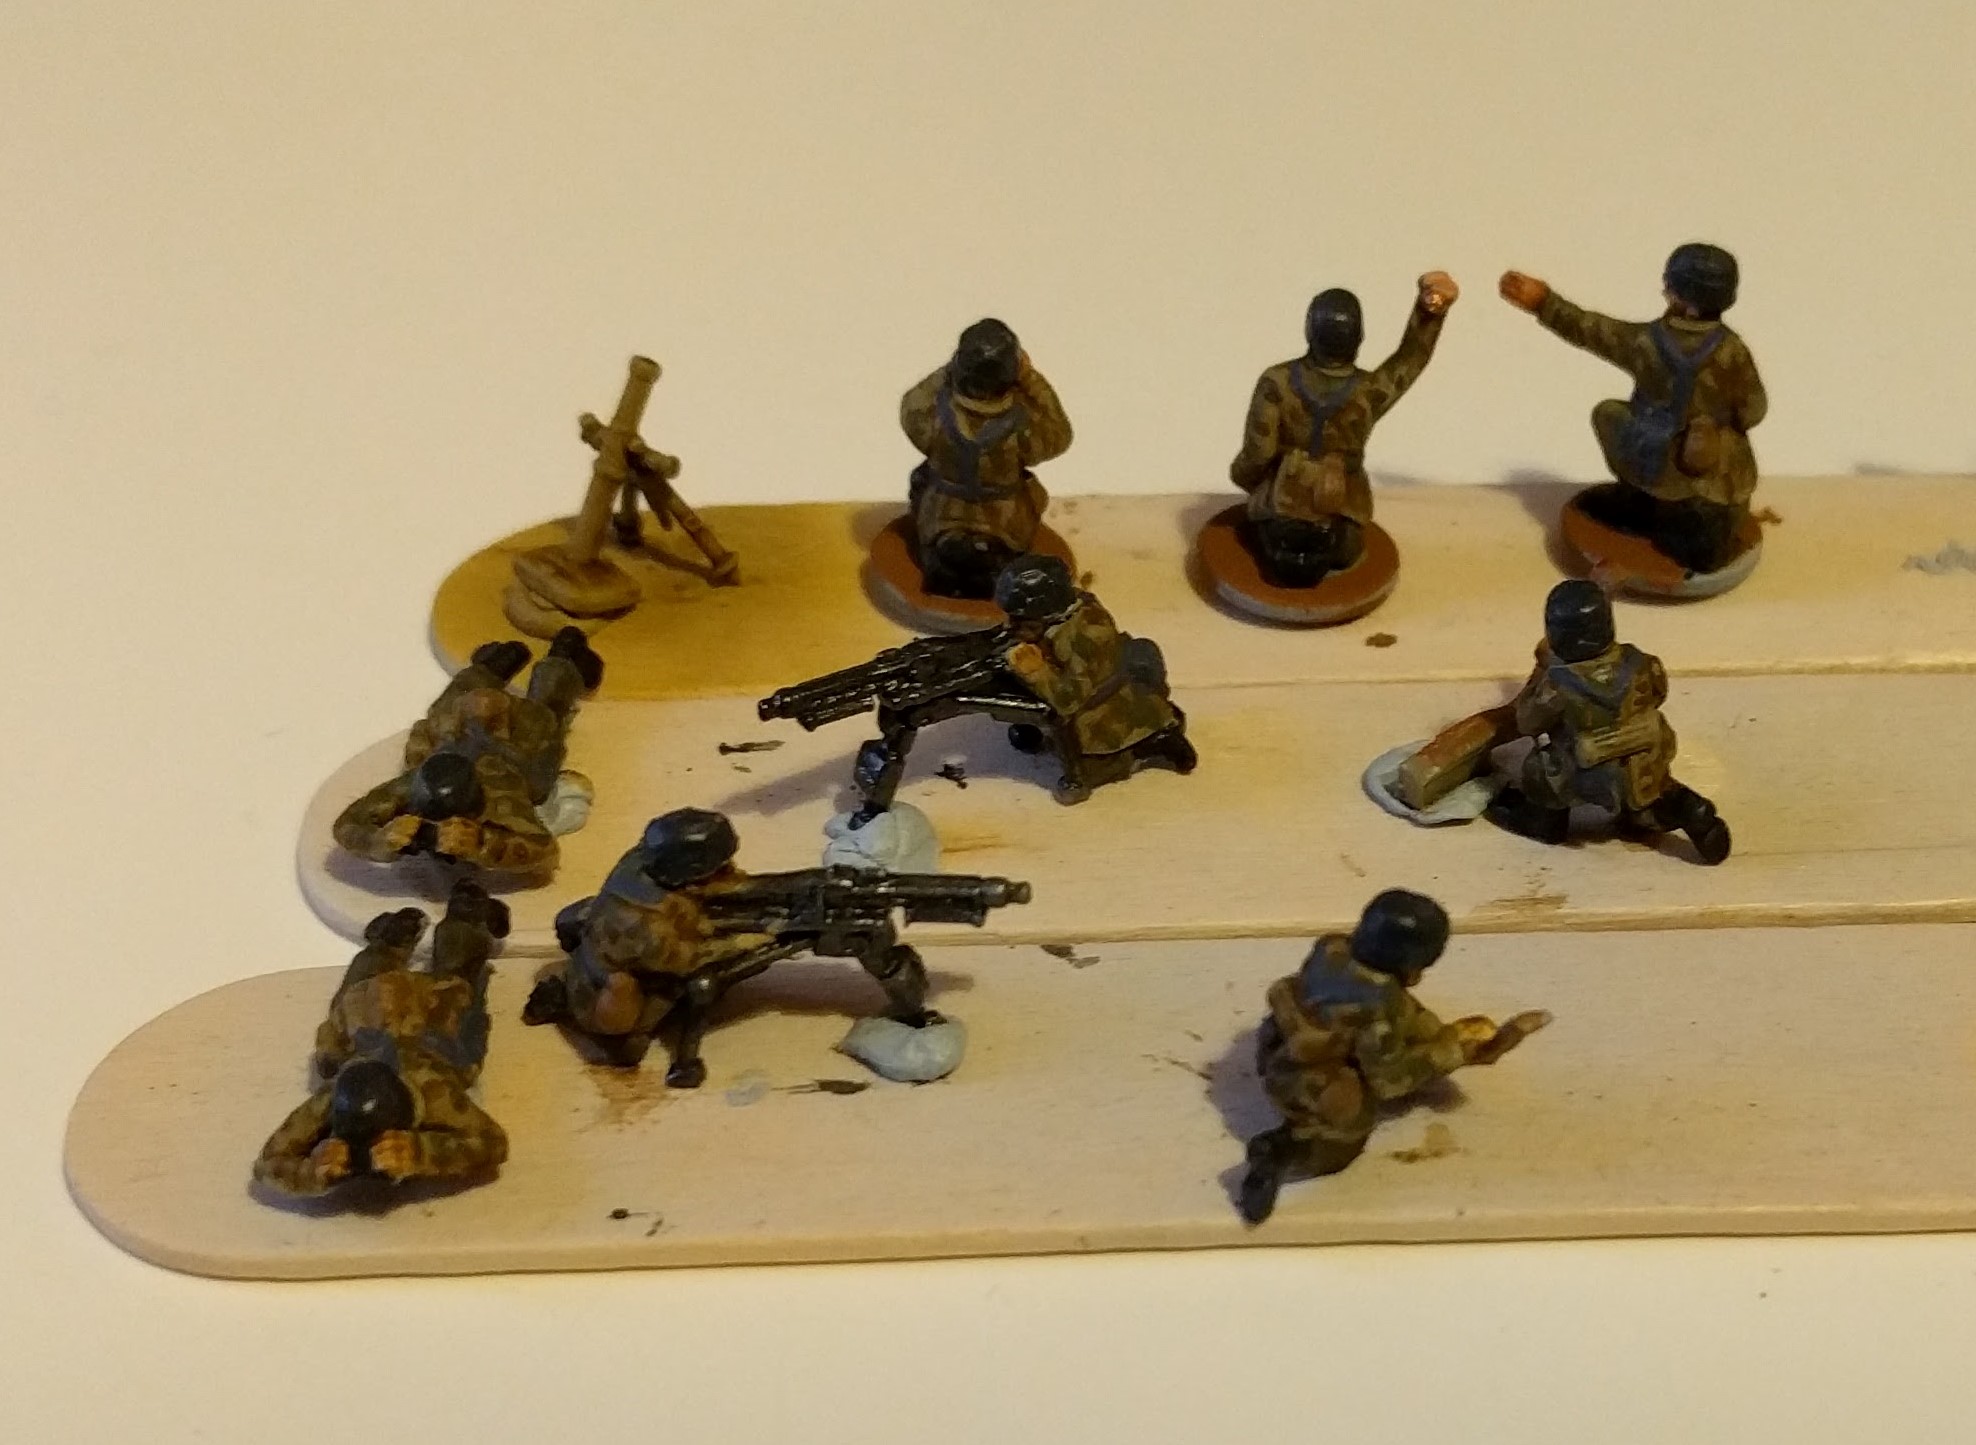 Closer shot of the MG teams
Fallschirmjager - Finishing the Painting
A big thank you to all who gave advice on the issues I had with the matt varnish. I tested a couple of the options and while the olive oil created a slightly better solution, it wasn’t particularly noticeable, especially at 15mm. So I painted a gloss varnish over everything and then re-coated with a matt varnish. This seems to have corrected all of the problems you can see with the naked eye.
Following the extra work, I liked the dulled end results. At Cassino, the Fallschirmjager were shelled and bombed numerous times, so the dirty, dusty look fits. I wasn’t keen on the dulled metal work though so went back in and highlighted the gunmetal areas. I also added a brass to where the bullets would be in the MG belts.
Finally, I felt it needed just a little contrast, so I added little highlights of chrome to parts of the metal work where they might catch the light.
I now think that these are finished and ready for basing!
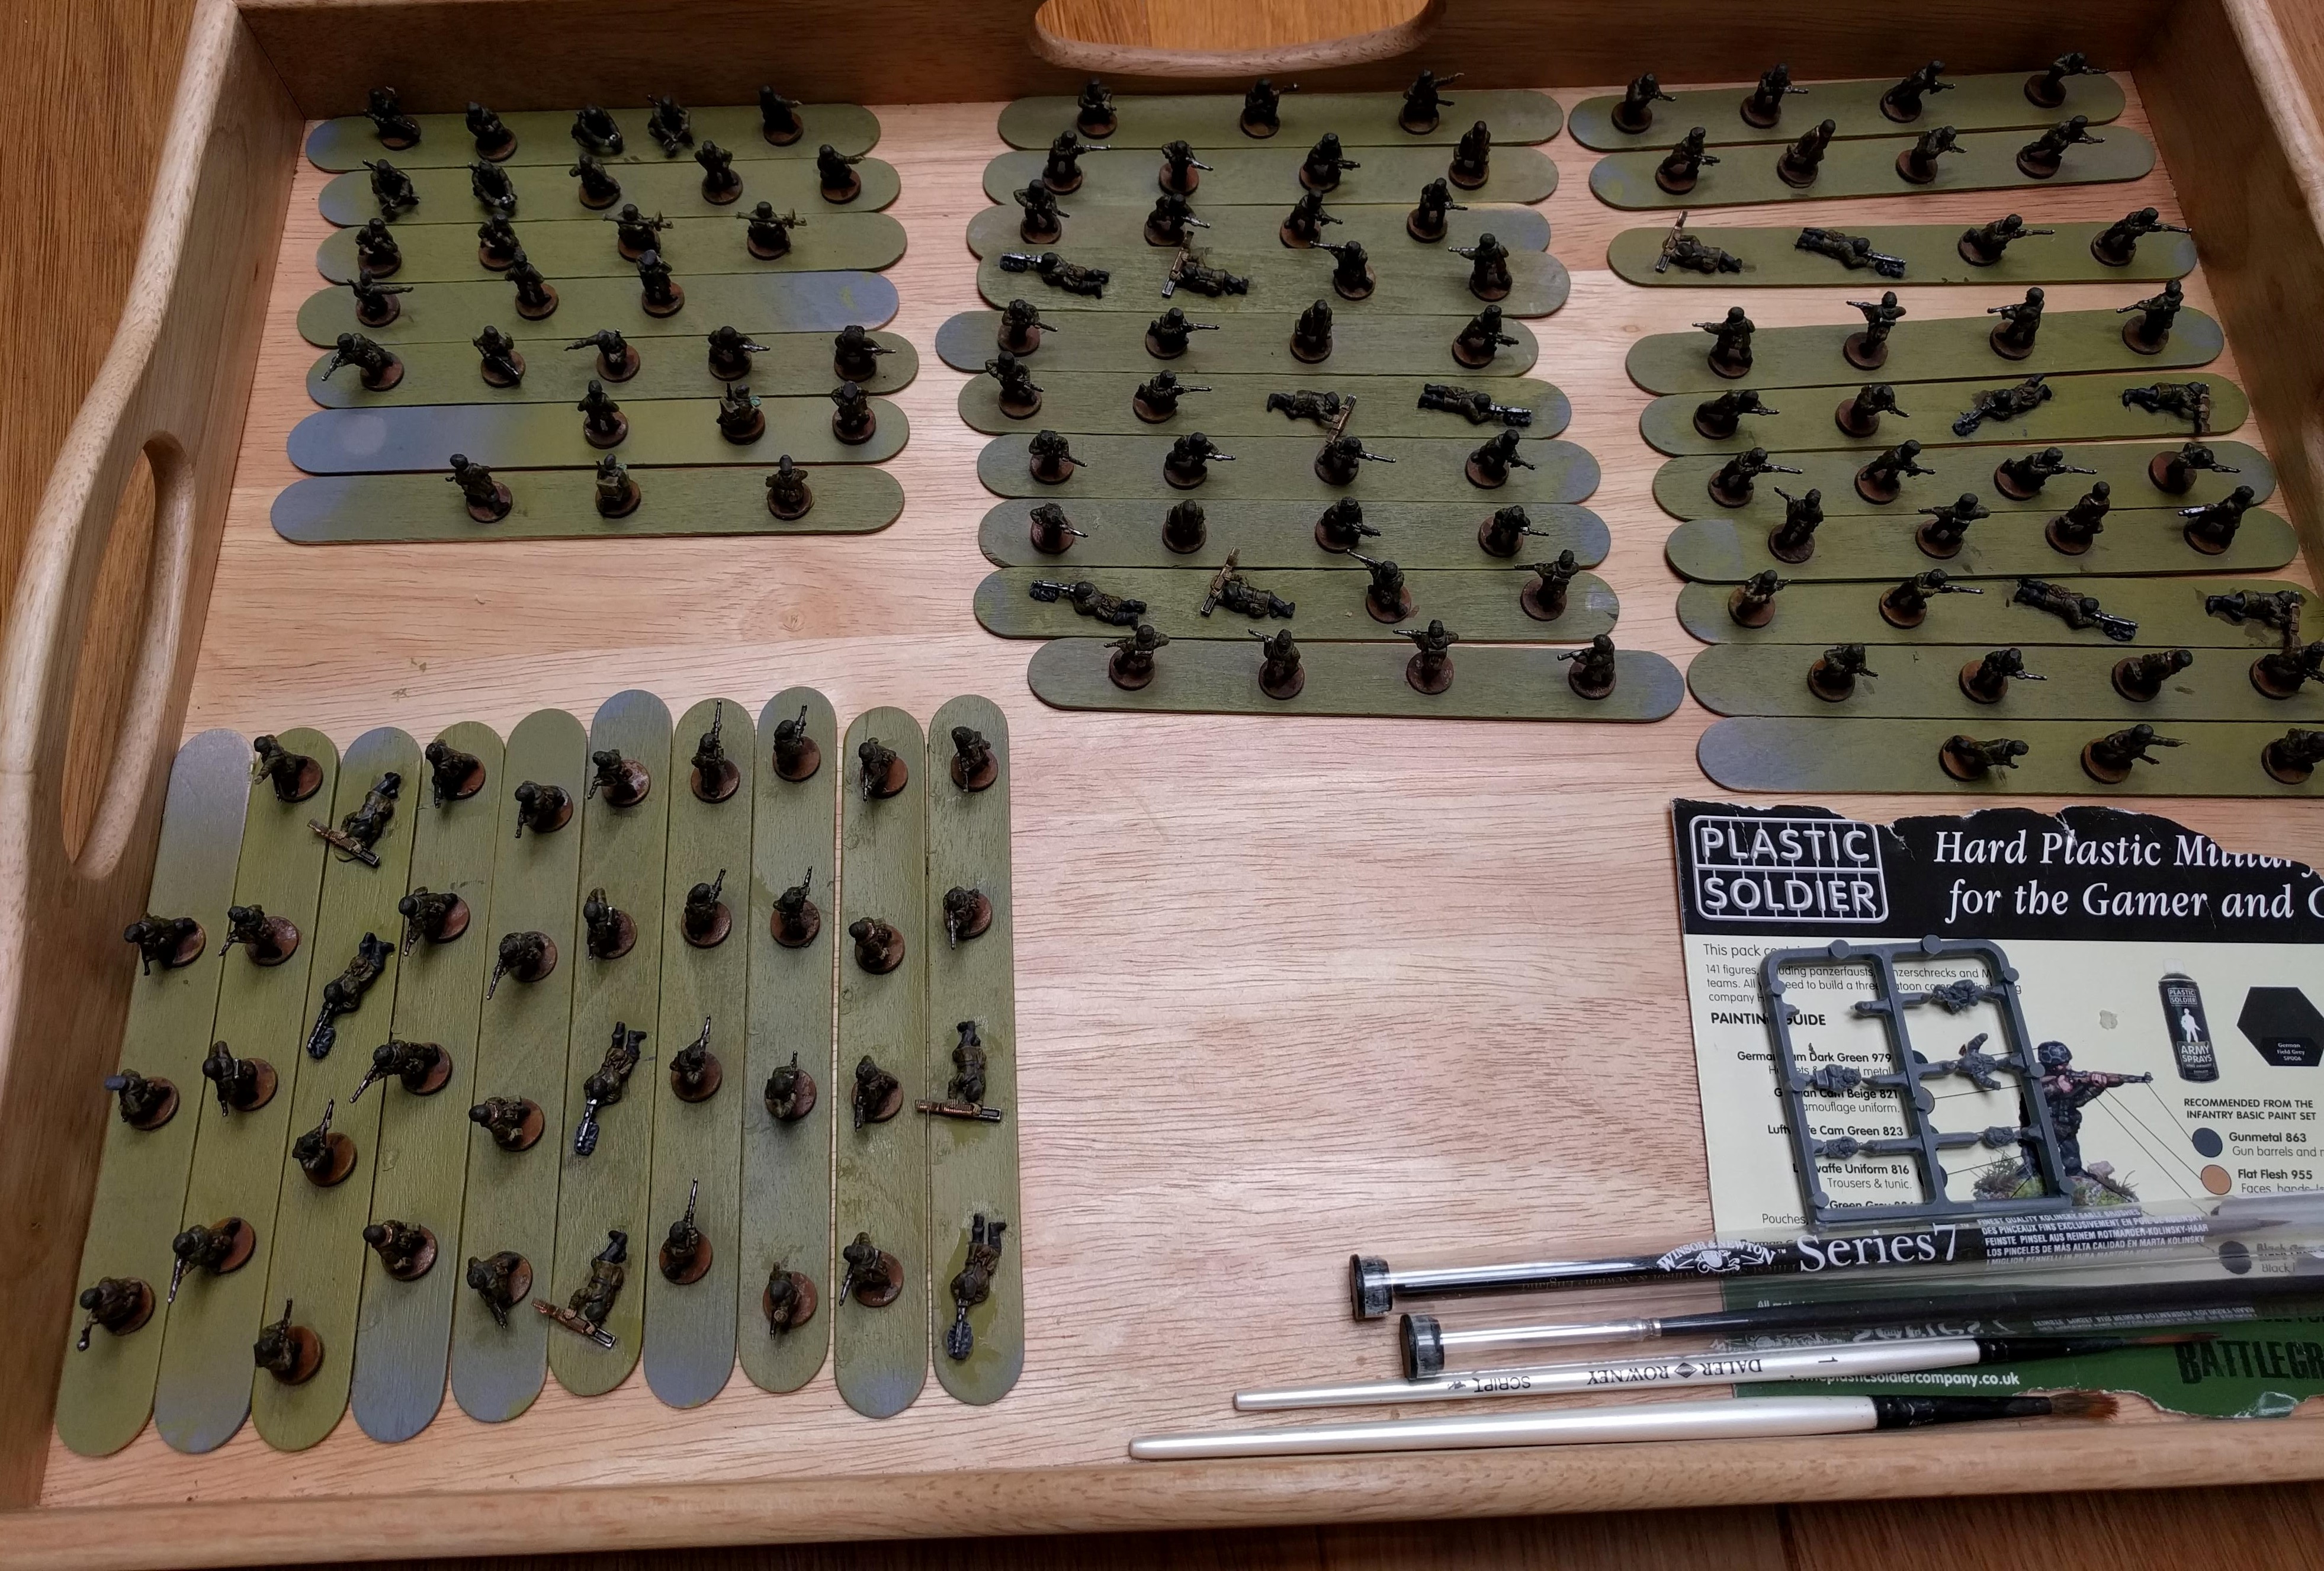 The completed 'hoard'
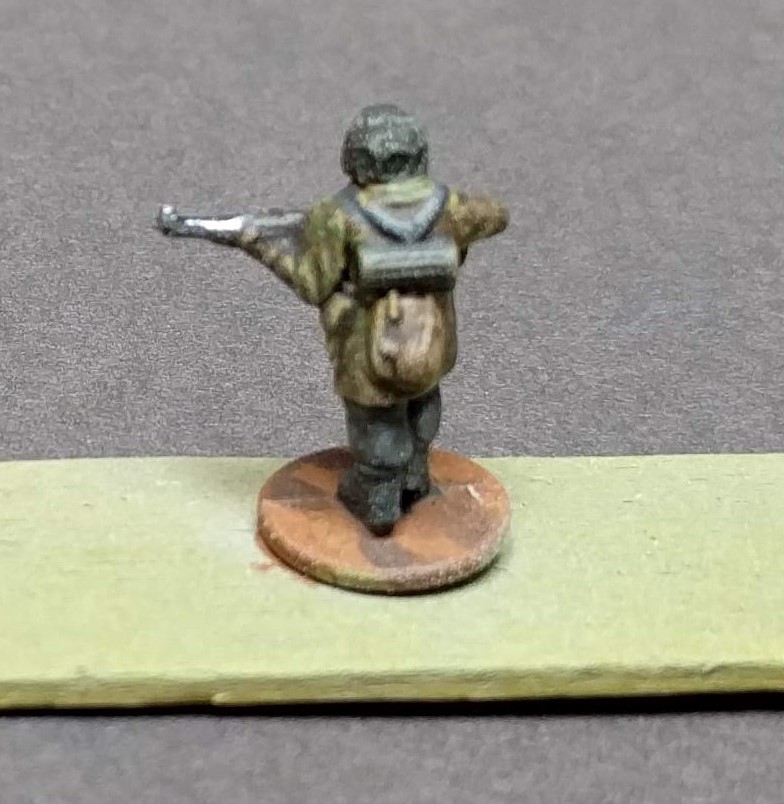 This is the model that was badly affected by the matt varnish in the previous post. While there is still a little speckling, it's much improved (and you actually can't see it with the naked eye!)
 One of the squads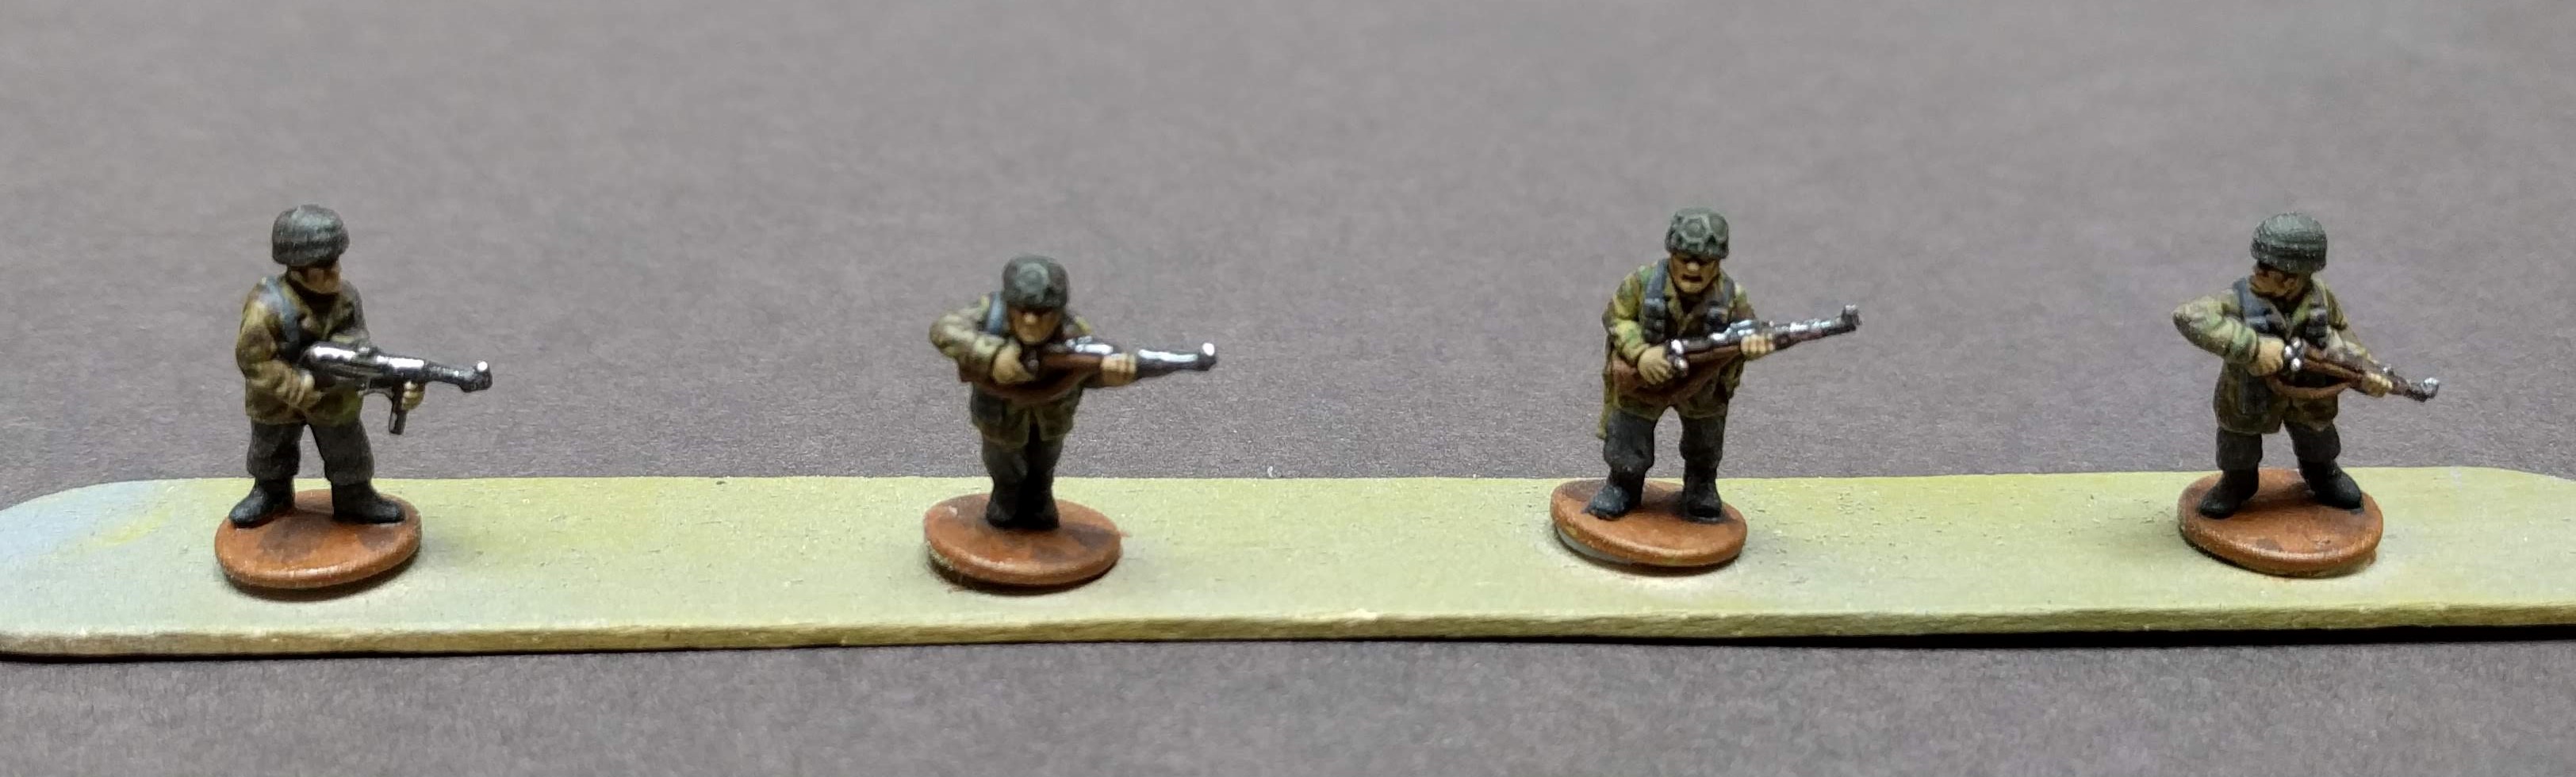
 MG Crew
 Command team
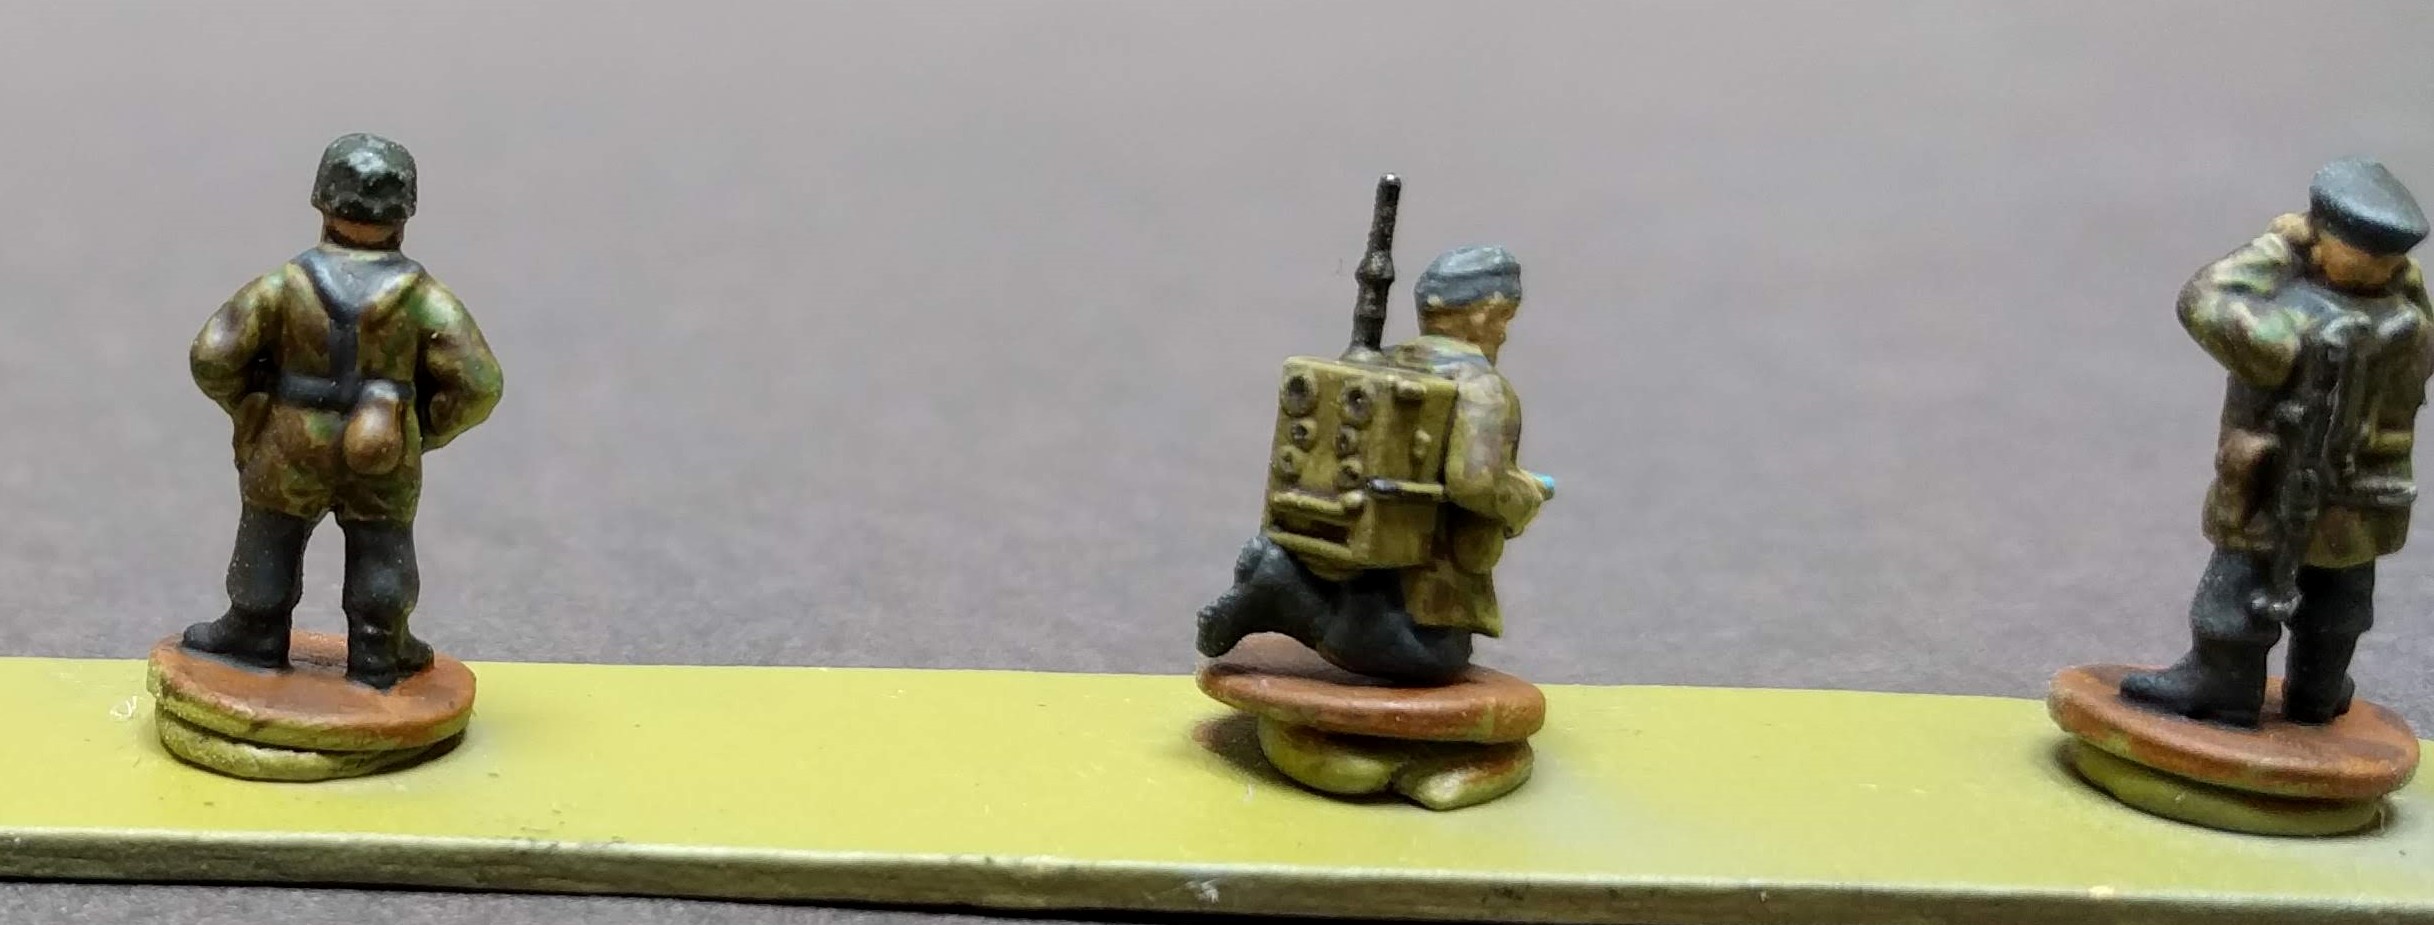 Rear of the command team.
 I have bought a box of Heavy Weapon squads to add some additional fire power. These include MG42 teams, light and heavy mortar team and a recoiless infantry gun.
I will paint these squads up before basing the whole lot in one go. I’ll paint these squads in exactly the same way as those I’ve just completed so will update this project when they are done.

![Sneak About With Star Wars: Legion’s Guerilla Troopers & More [UPDATED]](https://images.beastsofwar.com/2026/09/g-troops-star-wars-cover-600-338.jpg)