


Cyberpunk Urban Growth with 144artist


Recommendations: 46
About the Project
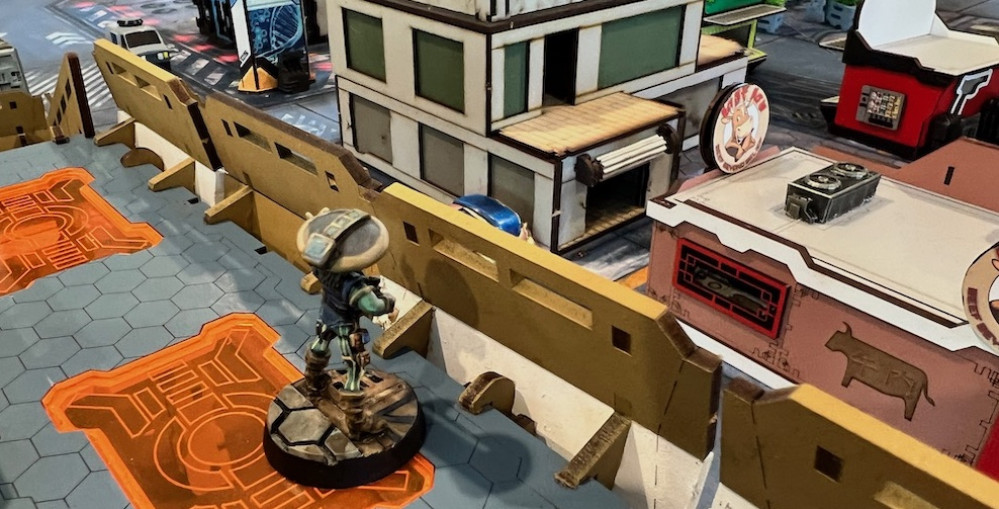
Still on a journey to build my own little Bladerunneresque tabletop terrain collection. I have a solid mix of MDF and scratch built projects in mind. In addition, Mantic claims that my Terrain Crate sci-fi trees are on the way from the Kickstarter I backed AND I have a box full of Maki-tainer pieces tucked under my desk. So there should be plenty of options to work on this month including a noodle bar that's waiting for paint.
Related Genre: Science Fiction
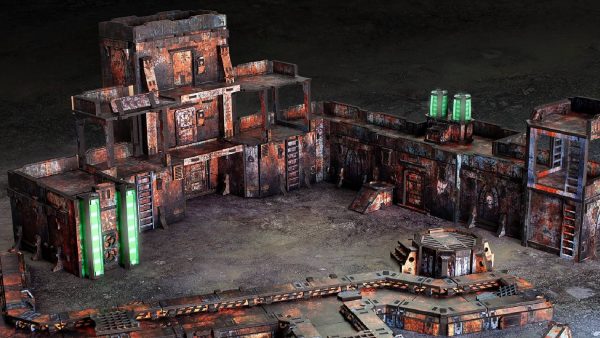
Related Contest: TerrainFest 2023
This Project is Completed
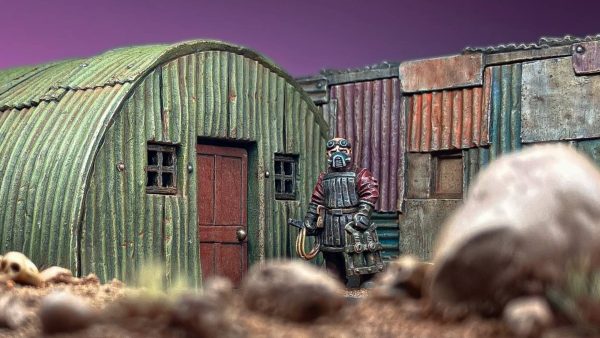
Noodle Bar Is Base Coated
I’ve been looking at any reference material I can find for the White Dragon Noodle Bar from Bladerunner. This includes images from the computer game from 20+ years ago. I decided to keep the colors fairly basic as I am going to weather it a great deal and want to focus on the signage. This is important as I have no neon sign for the roof yet.
I decided to go with red background for the name and a black background for the mascot. I’ve included a couple of my reference shots. This is just the base coats so I am hopeful it will all come together well with the highlights, details, and weathering.


 Went with a zenithal priming to play up the street lights look.
 Going to need details and highlighting before I weather it.
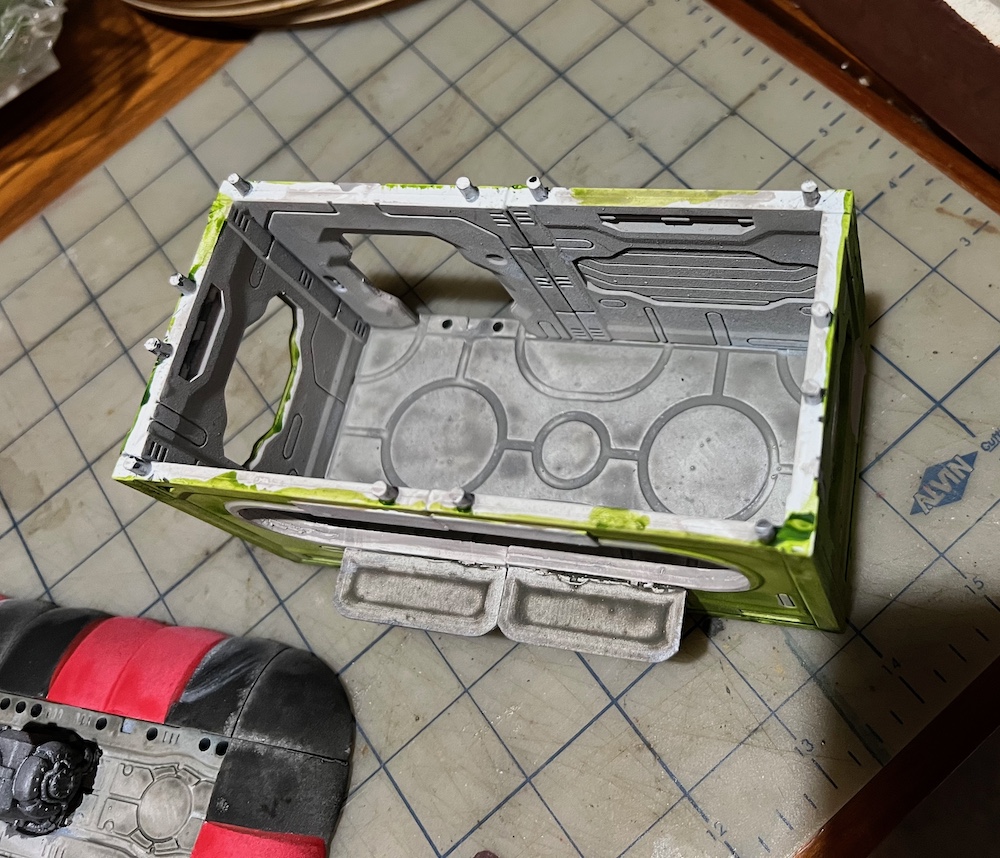 I didn't make a kitchen for this one. Perhaps I will feel so inspired on the second one.
Brainstorming the Spools.
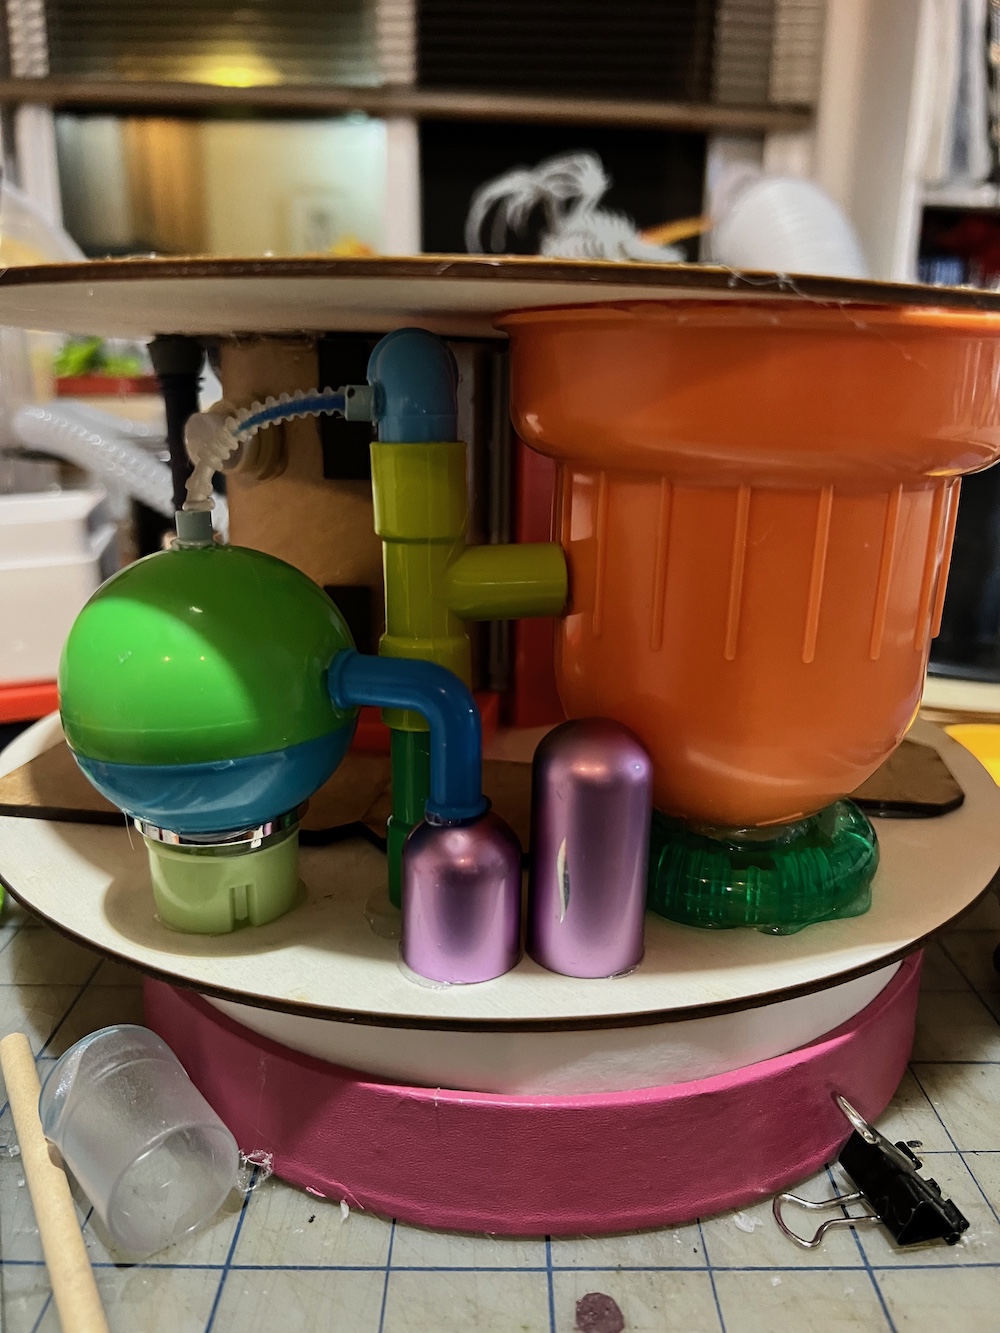
While I do not claim to engage in the hobby of 3D printing several of my friends do and they share their left over spools with me. I’ve got a nice size collection going as I have this long running plan to make more spools into terrain and my friends print a lot. I also own a fair number of wooden discs of various sizes as I want different diameter bases and tops for different spools to break things up visually. Looking at my choices I set aside the two cardboard spools and the clear plastic one to focus on the black ones. Of the six, four are identical and shorter while the other two match each other and are a little taller.
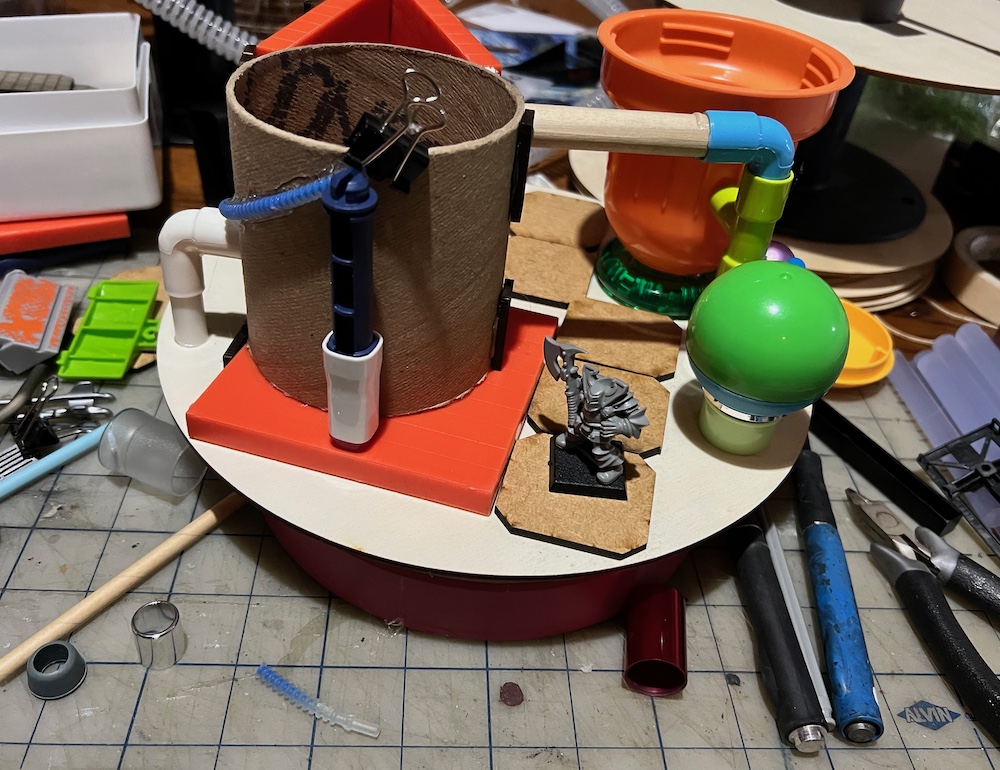
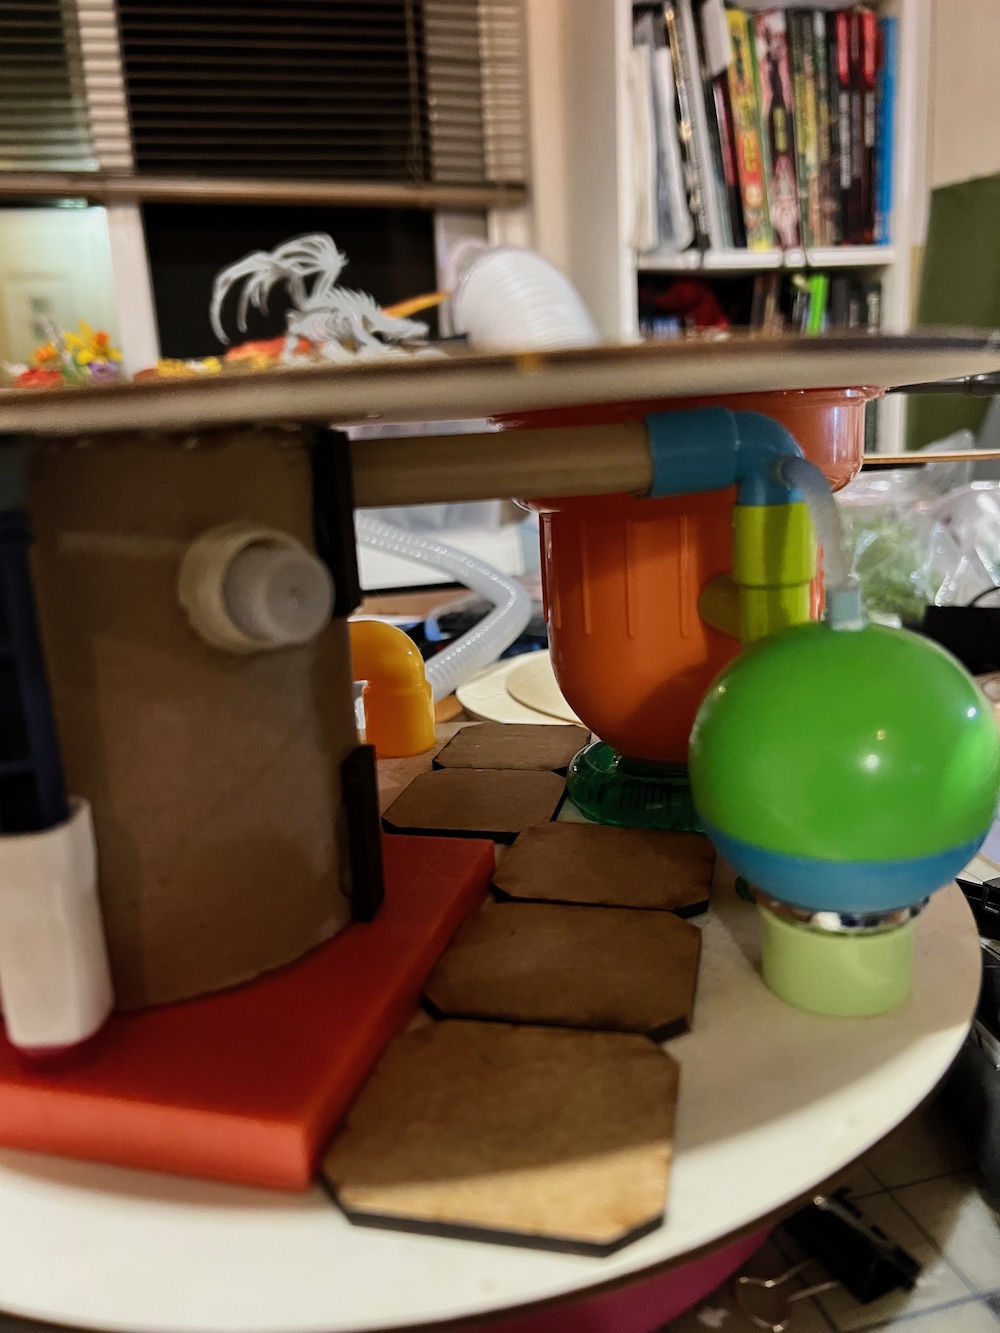
So with all these spools available to me, after a day of messing around I settled on using some of my 12 inch discs to make a spool shape from scratch. It’s just that I had a number of big pieces I really wanted to use but they wouldn’t really fit on the spools. This also gave me the opportunity to create terrain that miniatures could move through, not just around and over.
 Lots of spools
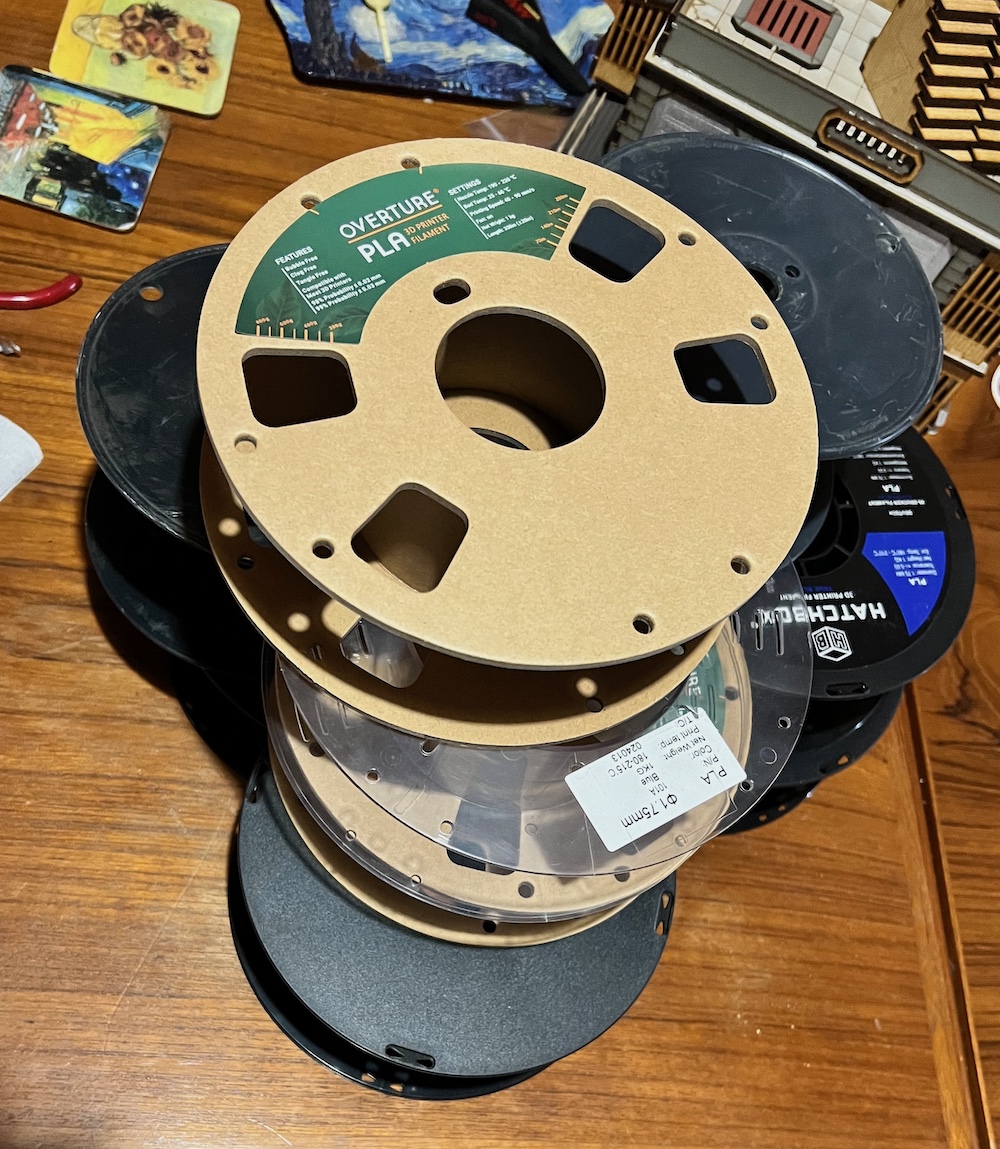 Lots of stacked spools.
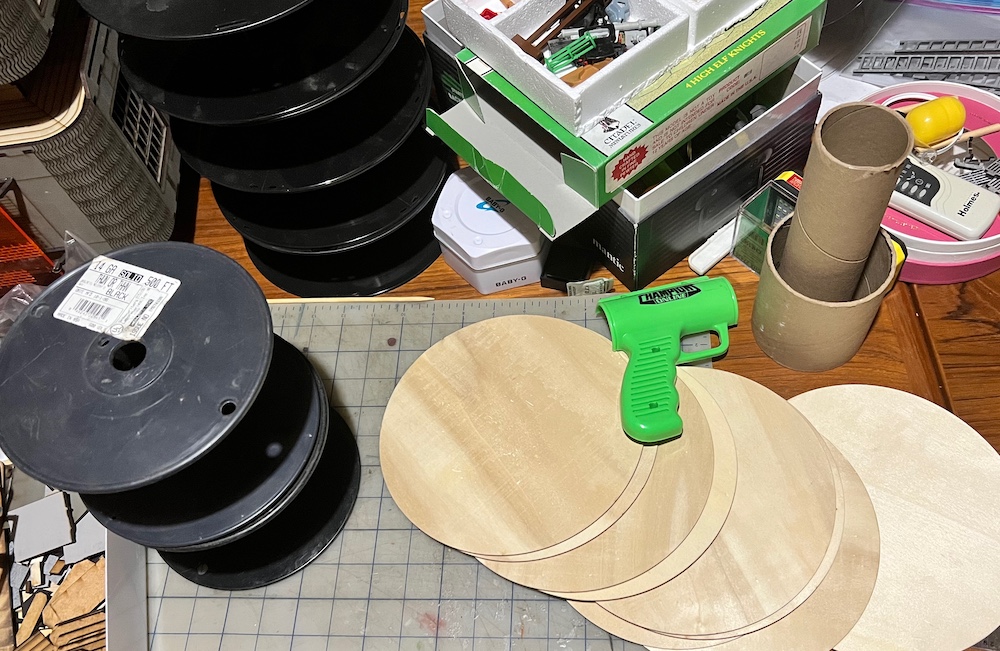 The workspace where the brainstorming happens as well as considerable mess.
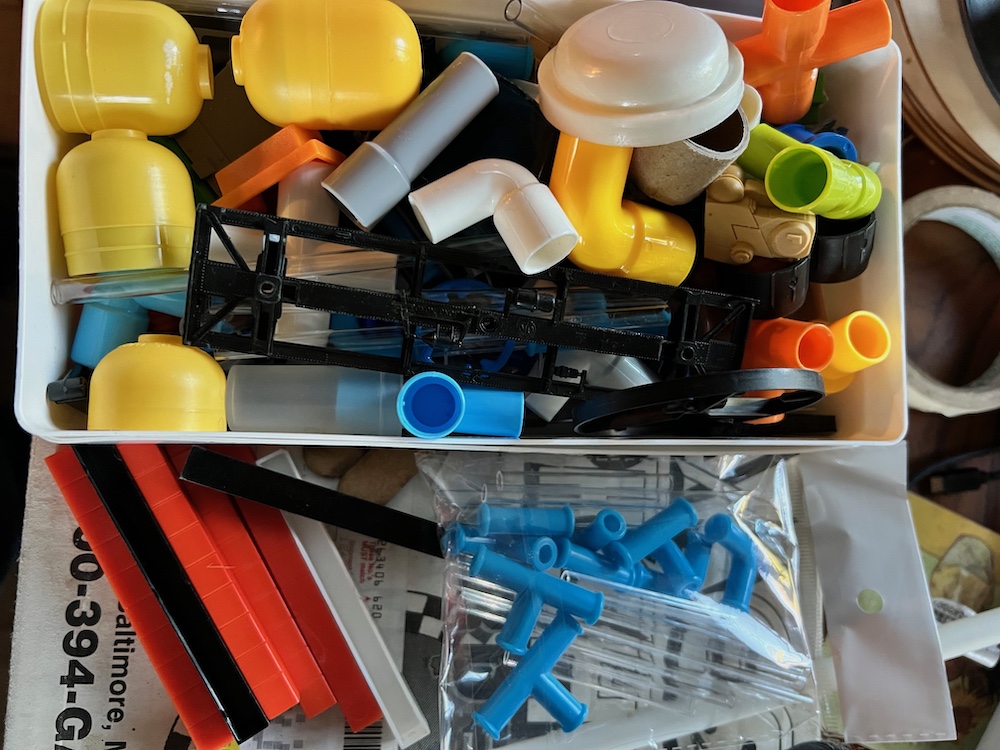 Small box full of pipes and fittings
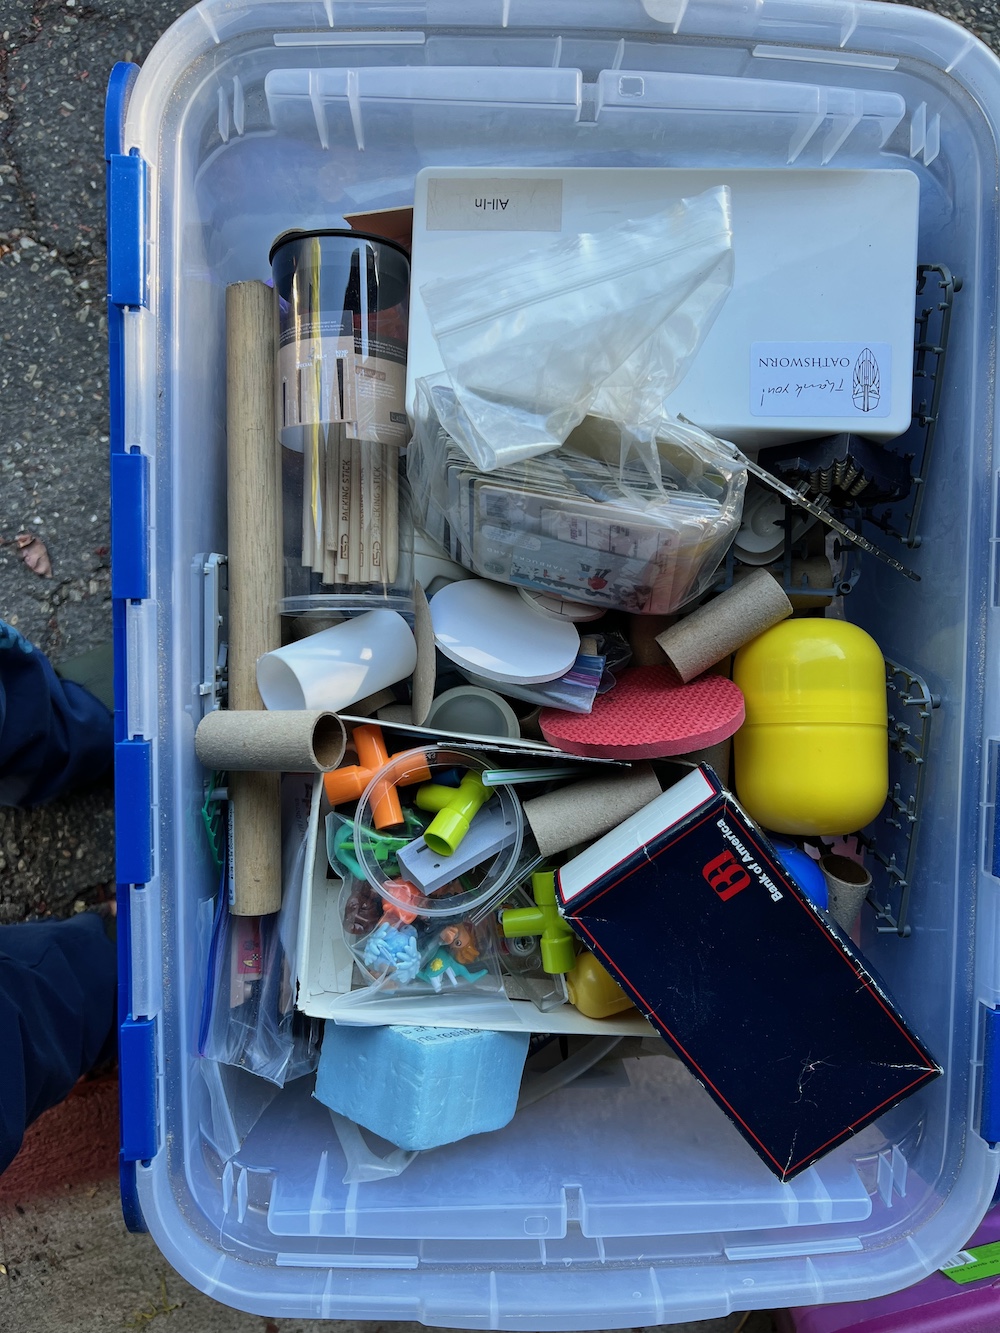 Medium box full of strange shapes, MDF offcuts, and scraps of plastic.
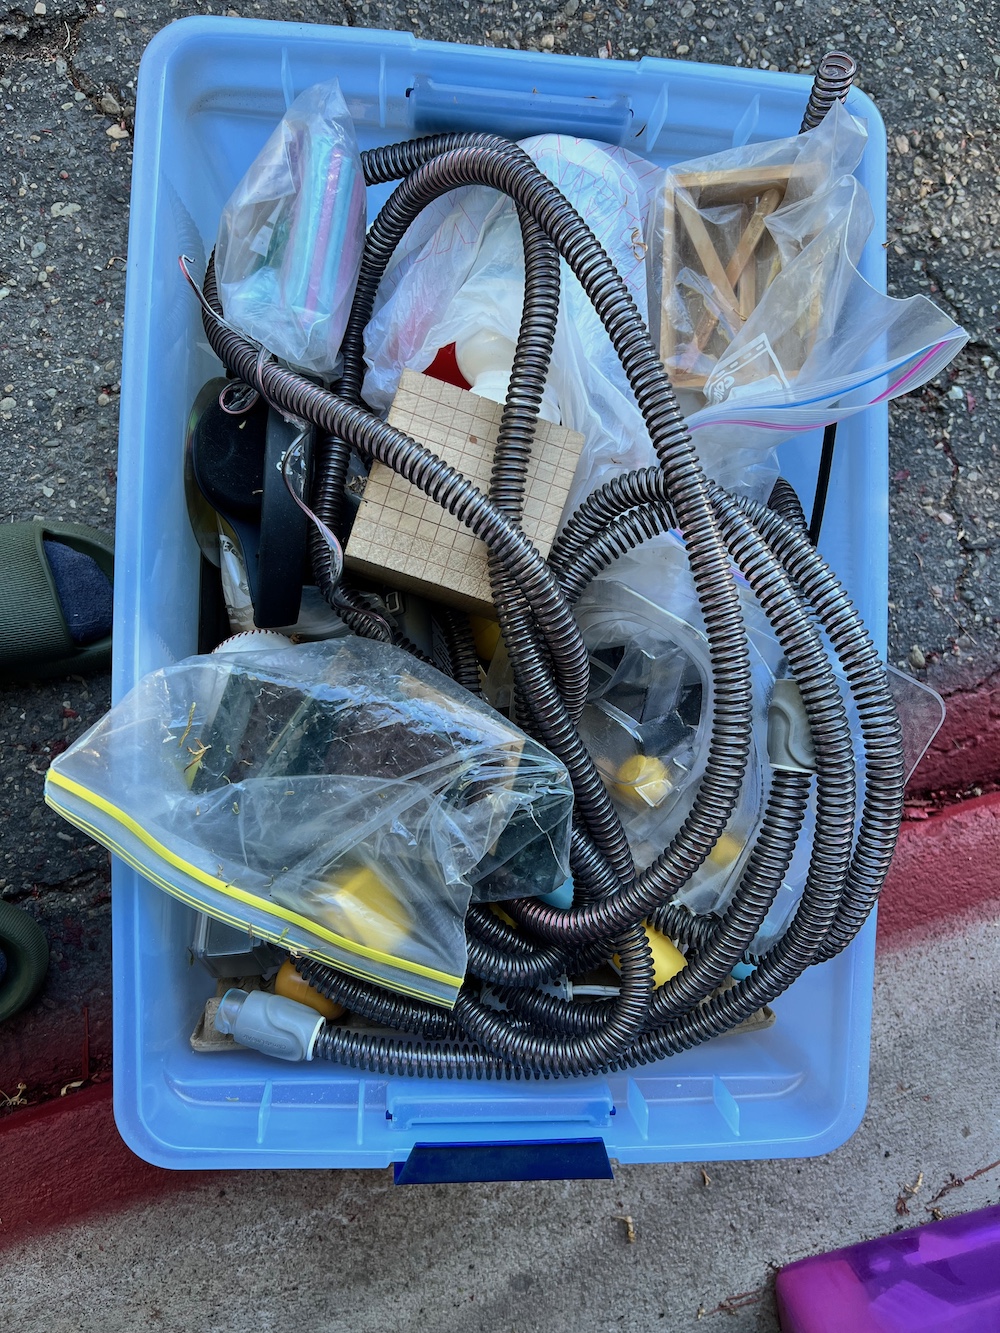 A huge bin full of big pieces and lots of air hose from my BPAP machine.
 So this is where I started going with all my bits and pieces.
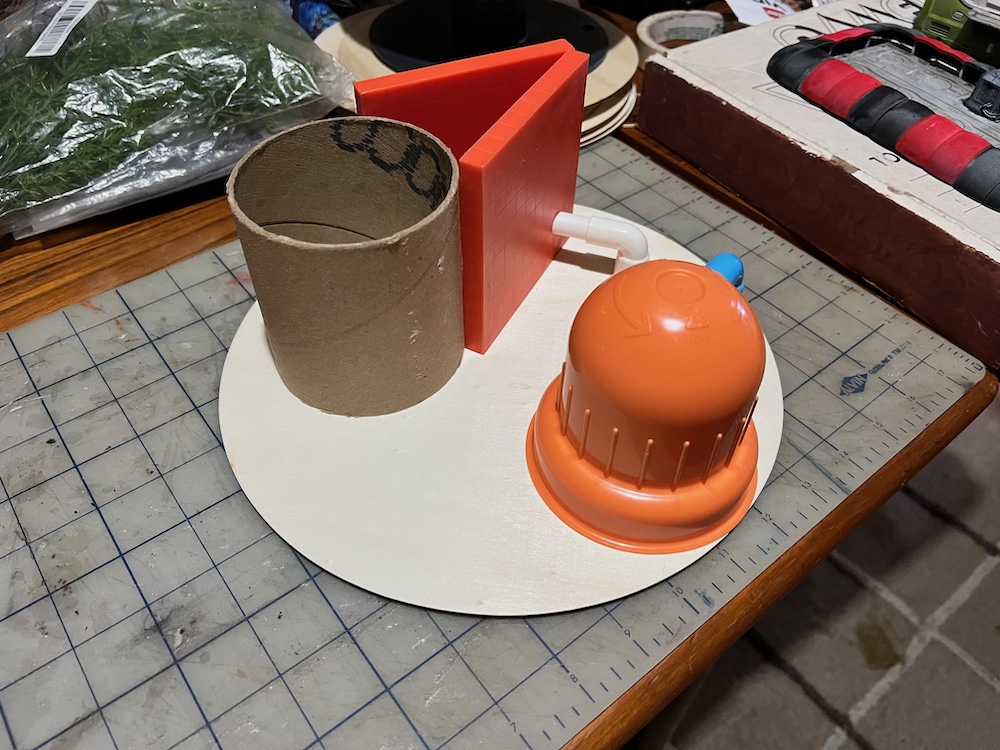 Leave it to me to ignore the actual spools and make my own.
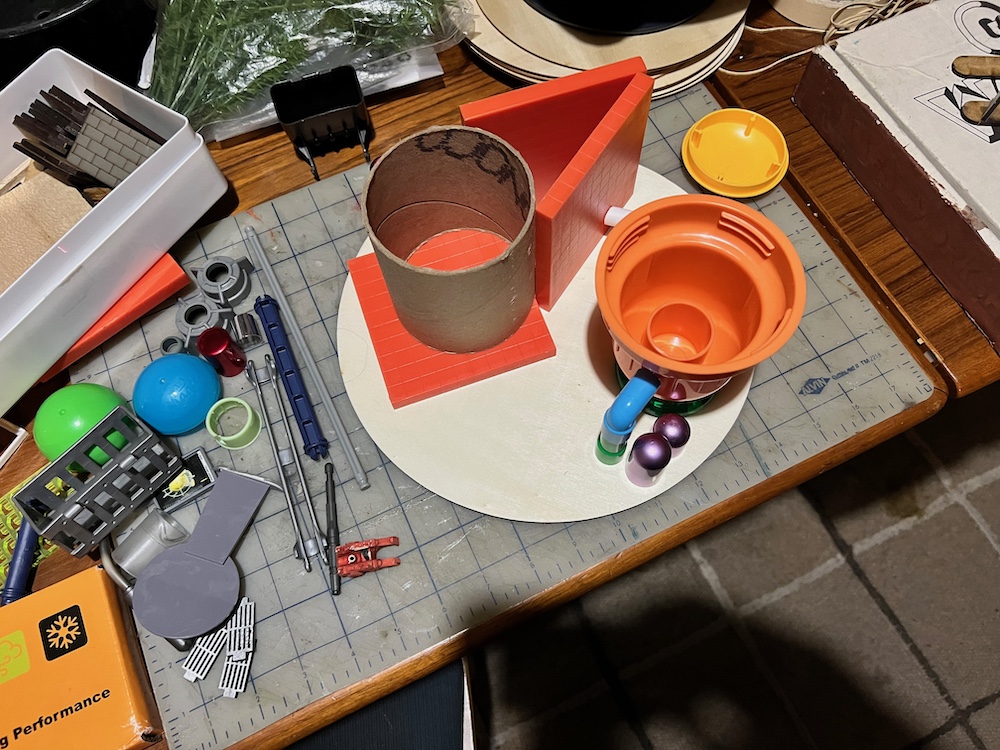 I am liking the overall shape of things
Reuse and Repurpose
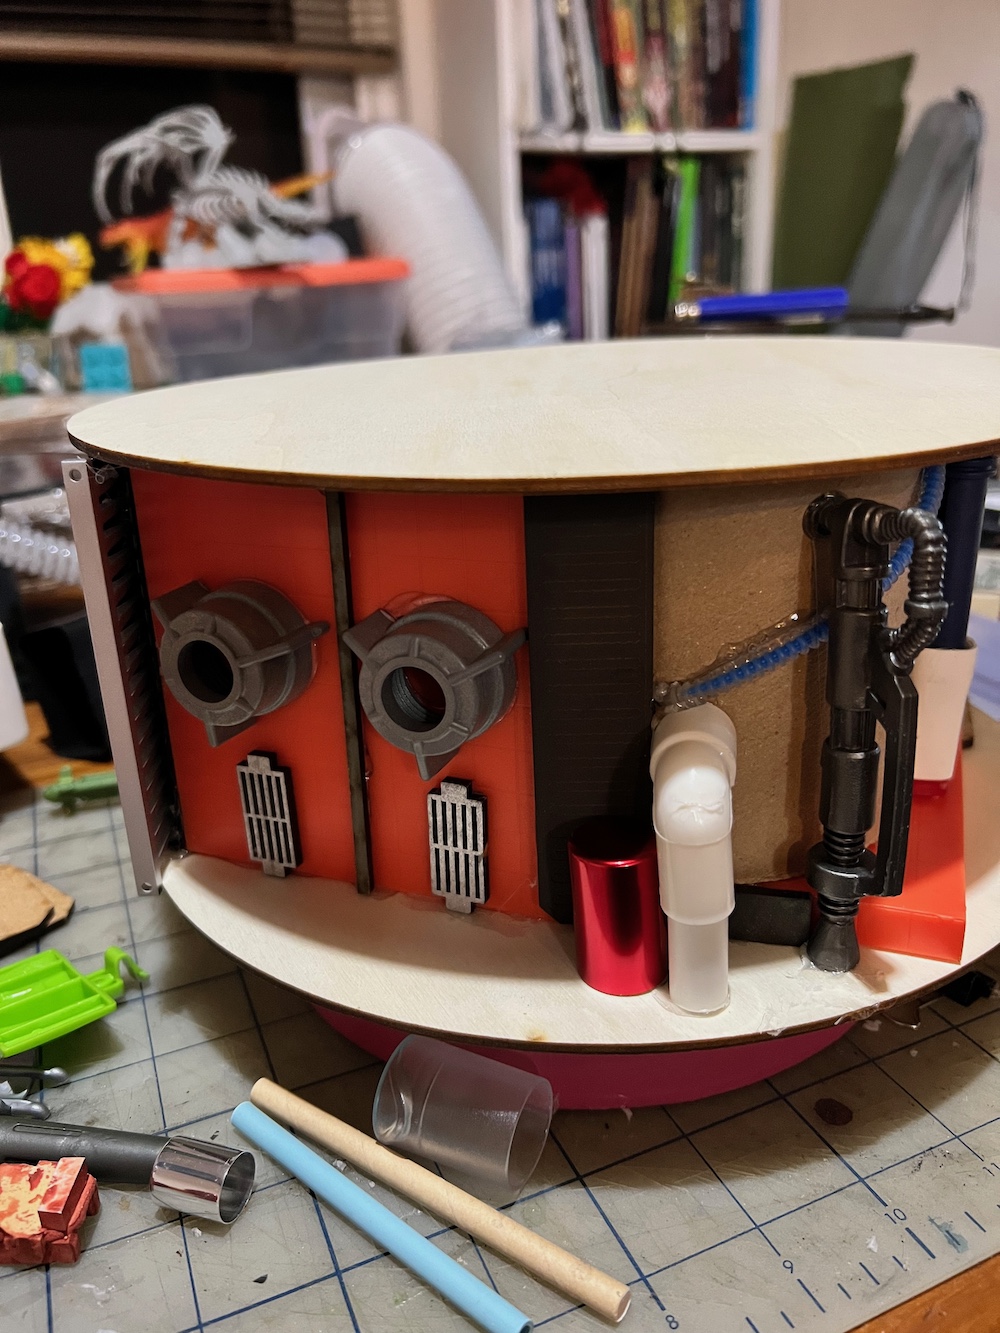
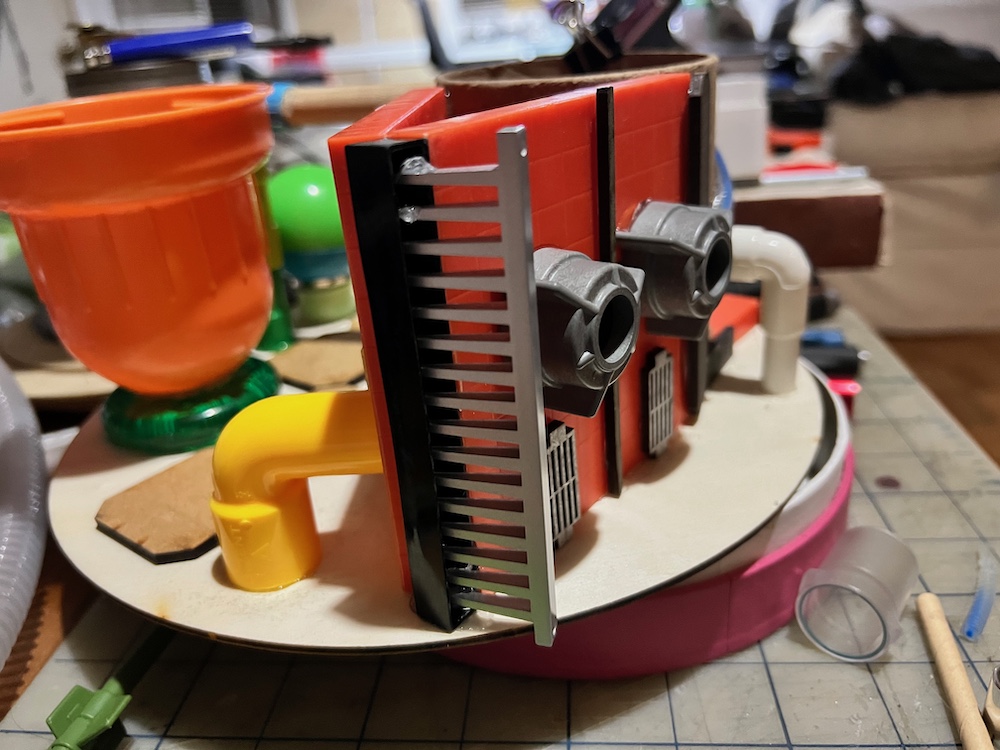
One of the challenges I like to set myself is to reuse or repurpose junk, off cuts, and broken items. My partner got a new blowdryer recently and didn’t need the comb attachment. I immediately thought it looked like a ladder and set it aside for such use. This “spool” seemed the perfect opportunity.
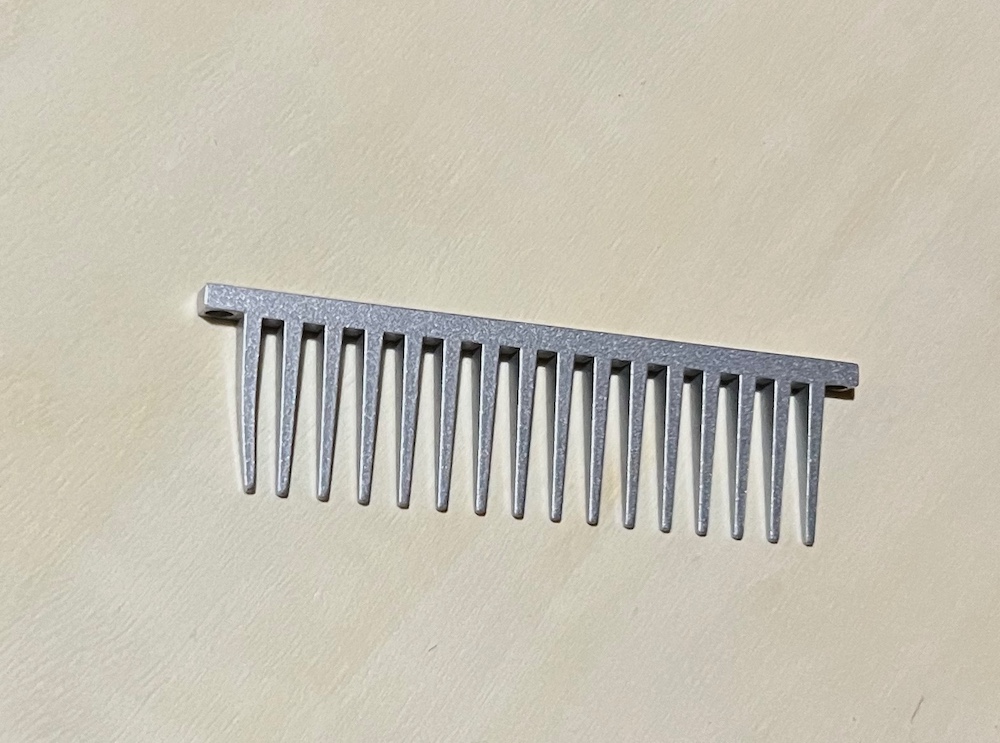 The comb attachment from a blowdryer
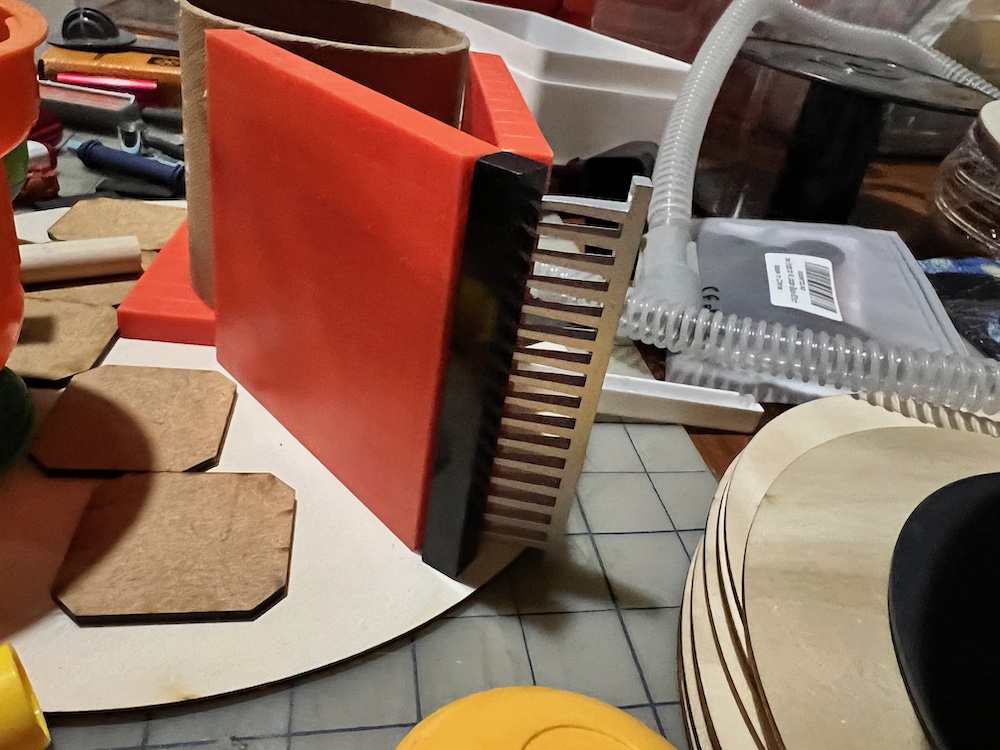 Test fitting the comb. Seems it is the perfect height.
 Gluing the comb in place.
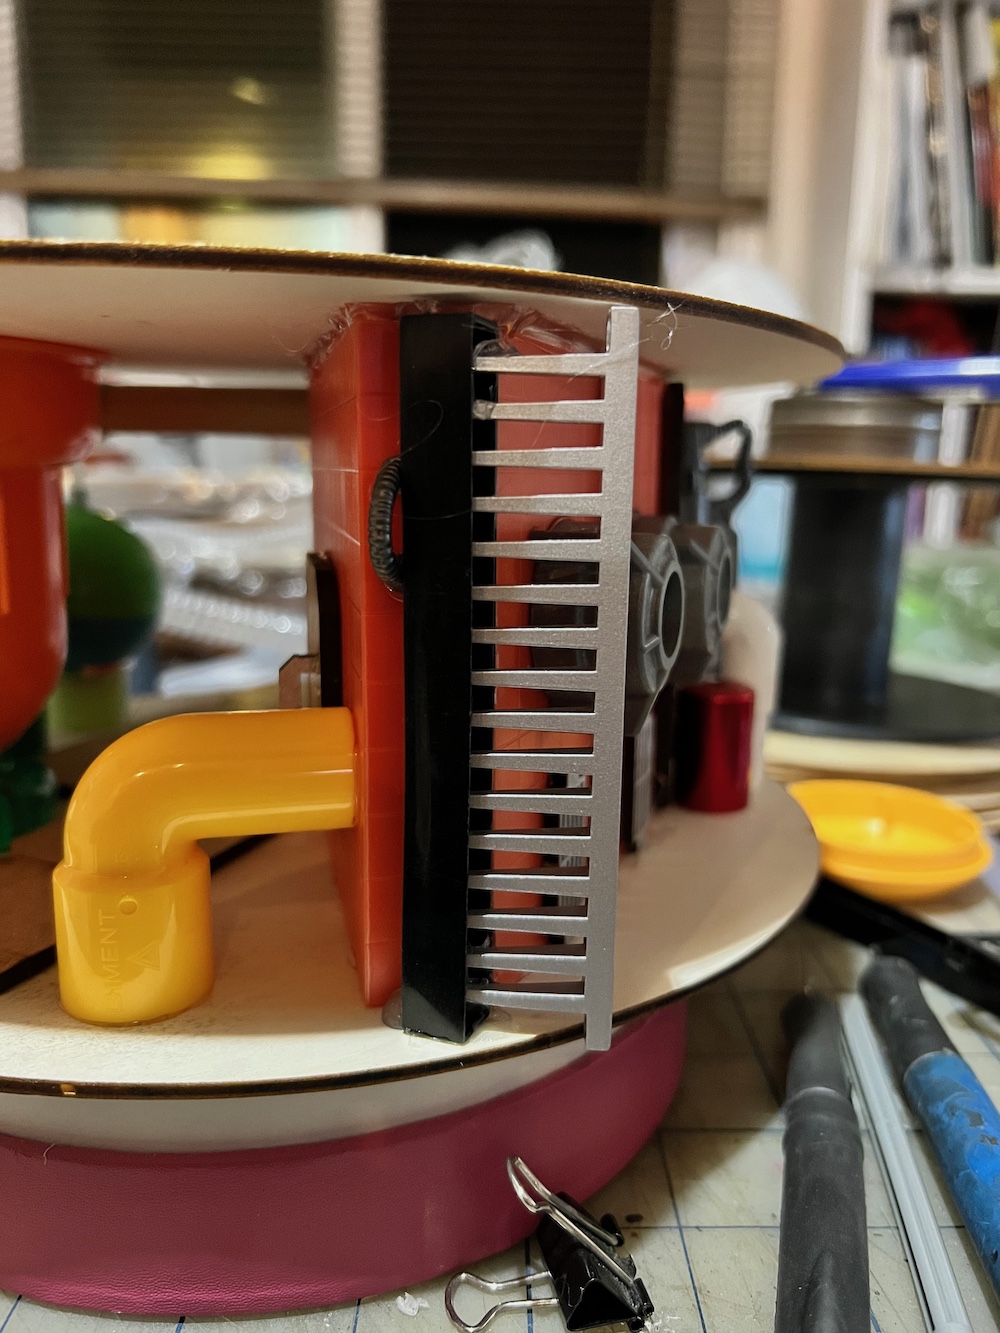 Once the top disc is attached the comb becomes a ladder.
 More Reuse and Recycle
Assembling all these MDF kits means one has a bunch of offcuts left afterward. I had two long pieces with rounded ends left from the DL HQ building as well as all those pieces from the windows. My first thought was a ladder but decided on stairs instead.
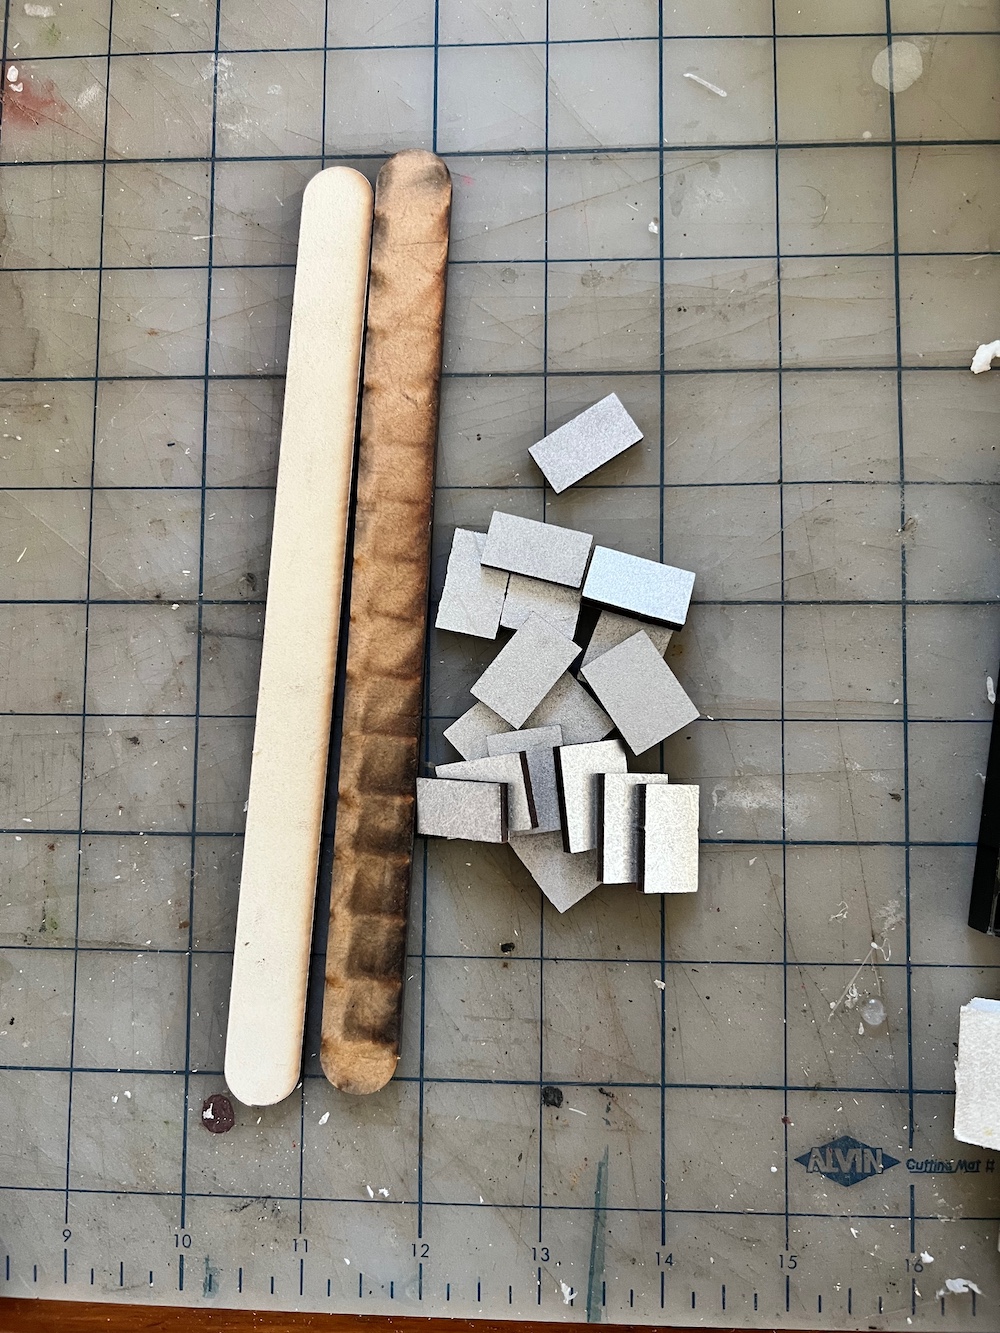 Offcuts
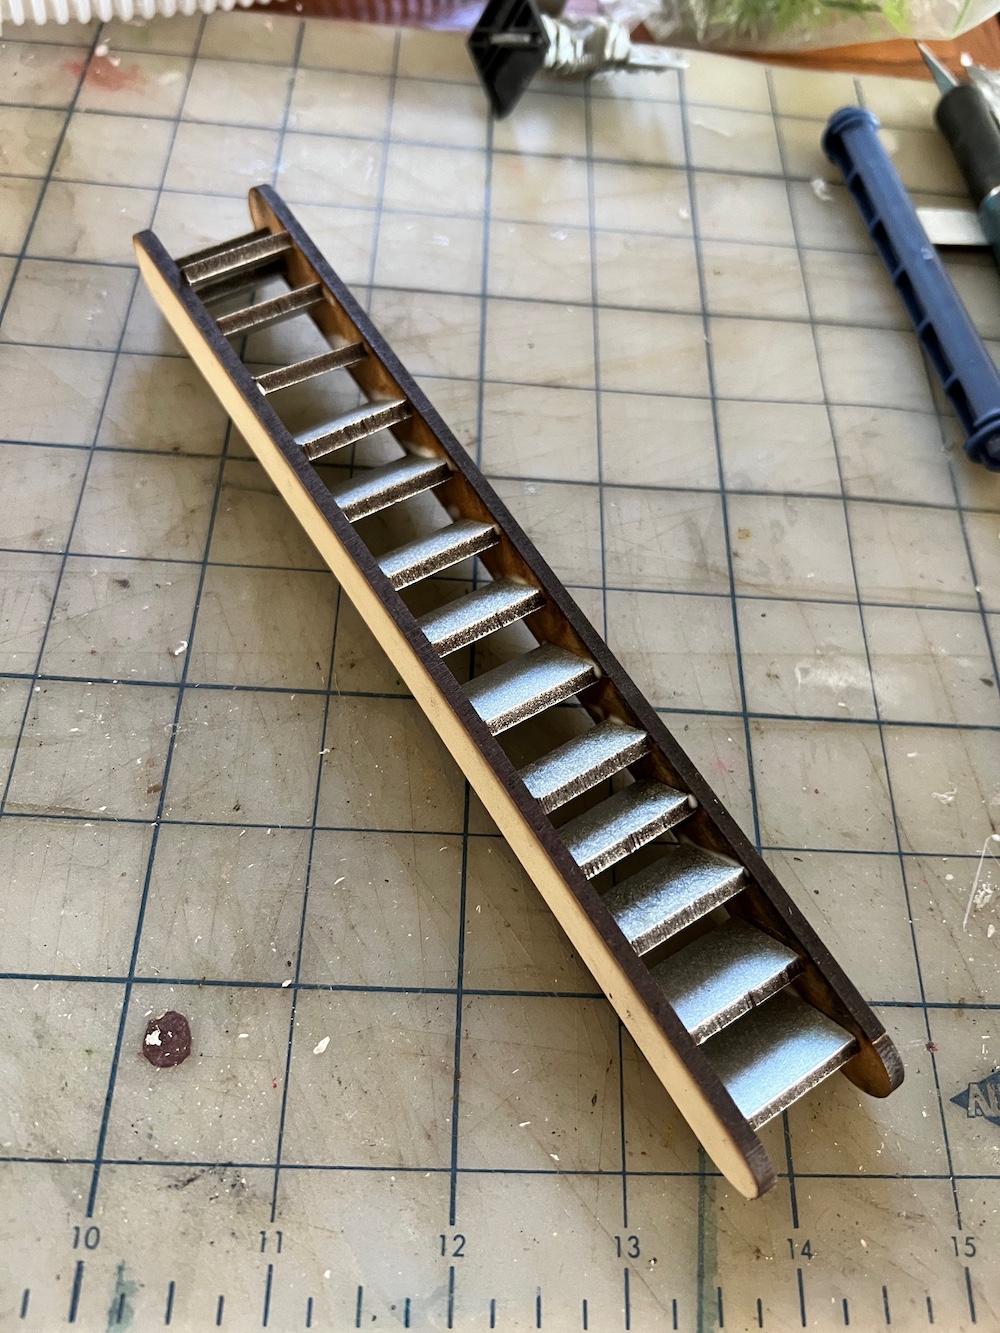 Offcuts gluing
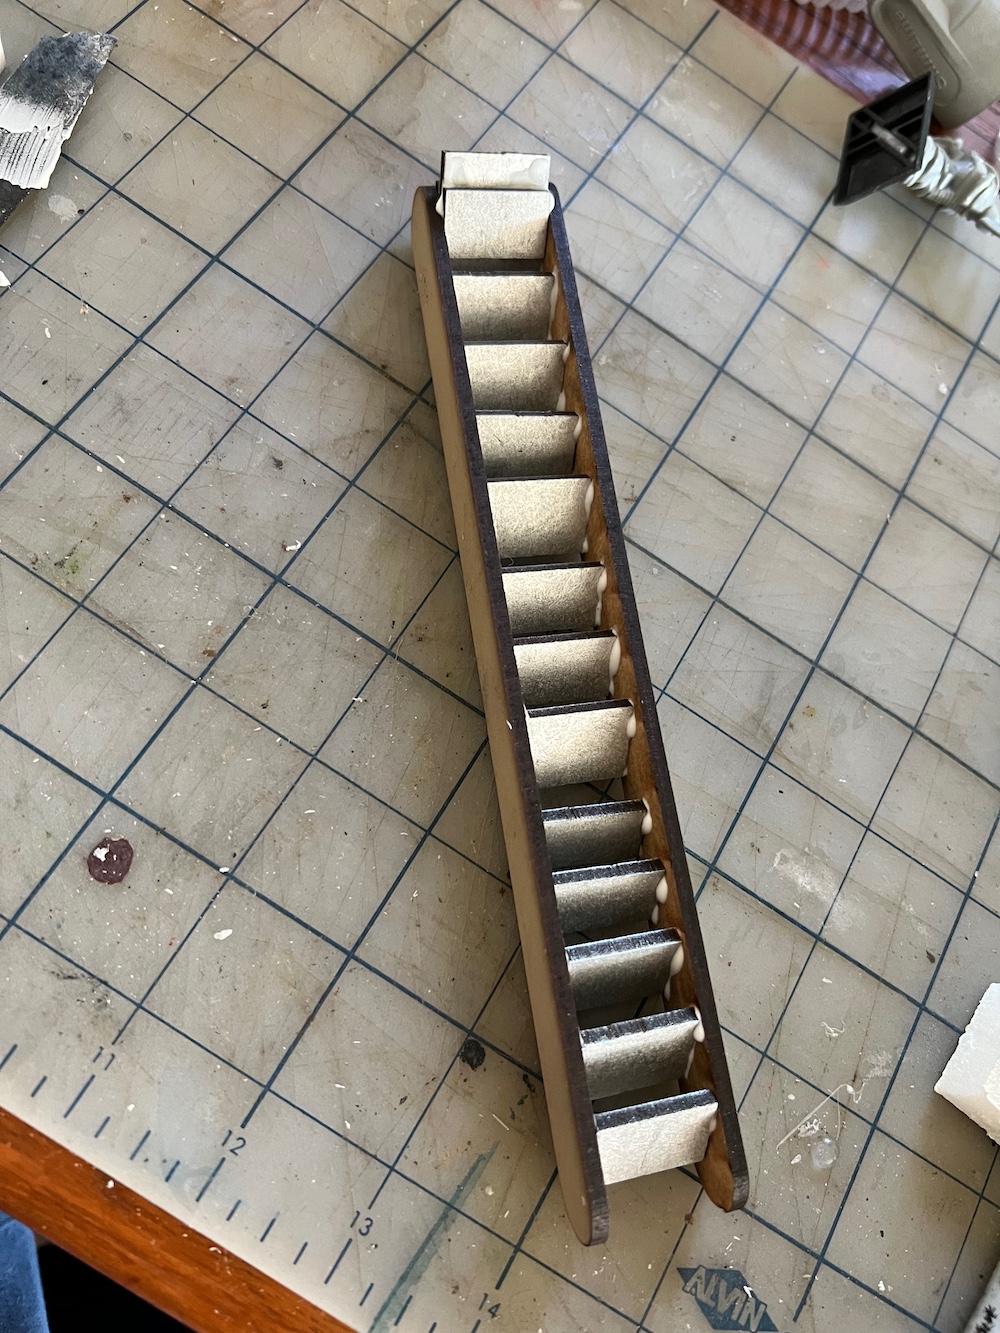
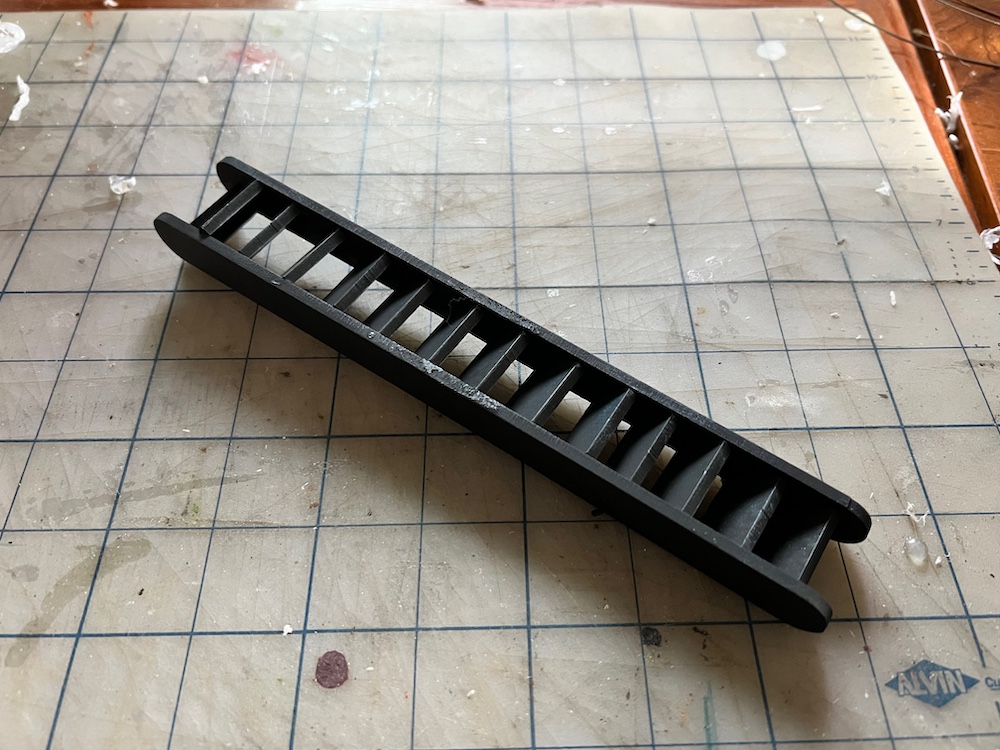 Solid black primer
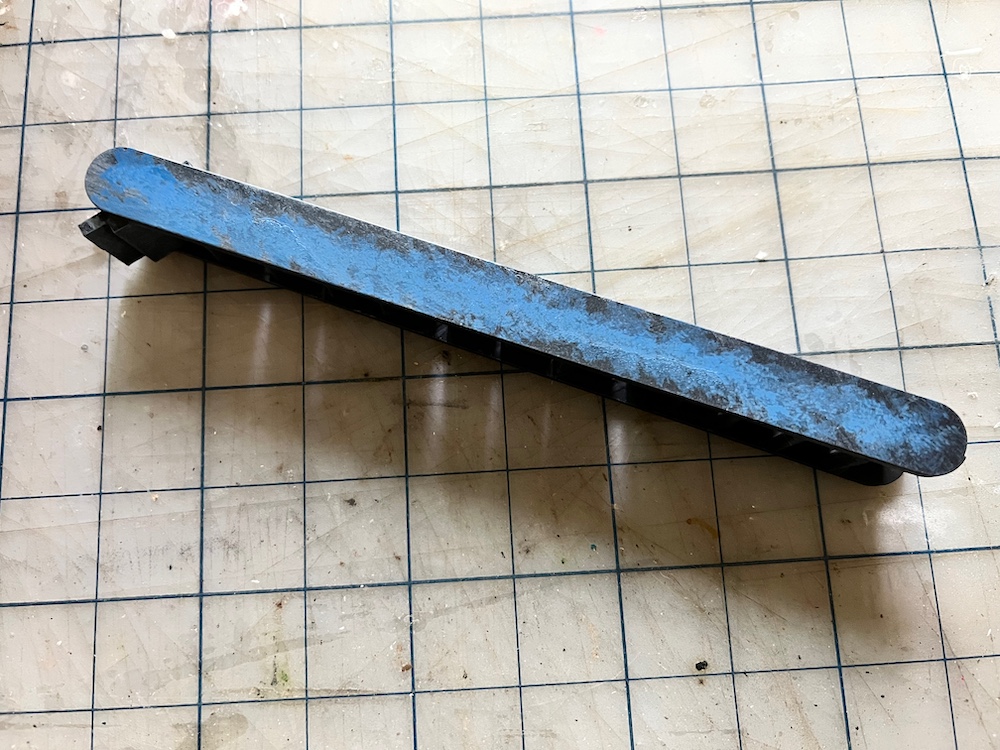 Steel dry brush before stippling some blues on mostly the middle.
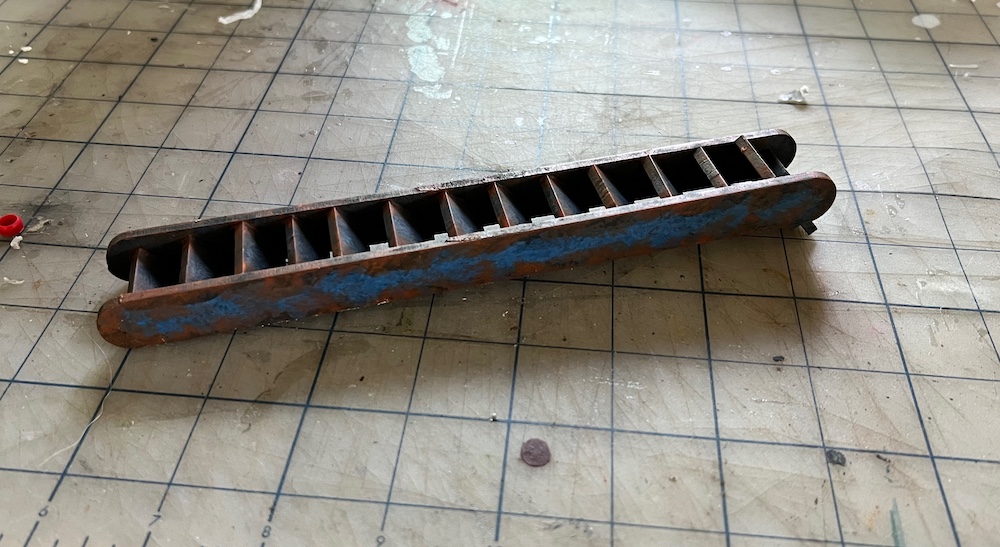 One layer of dark orange is stippled on
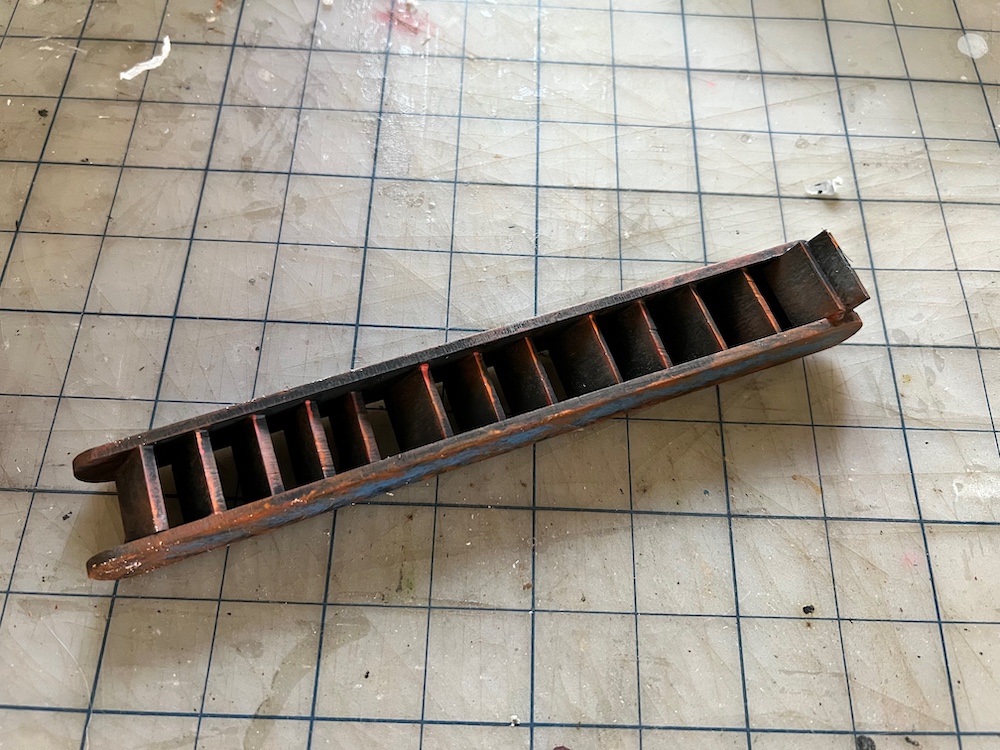 A layer of mid orange next followed by a lighter one.
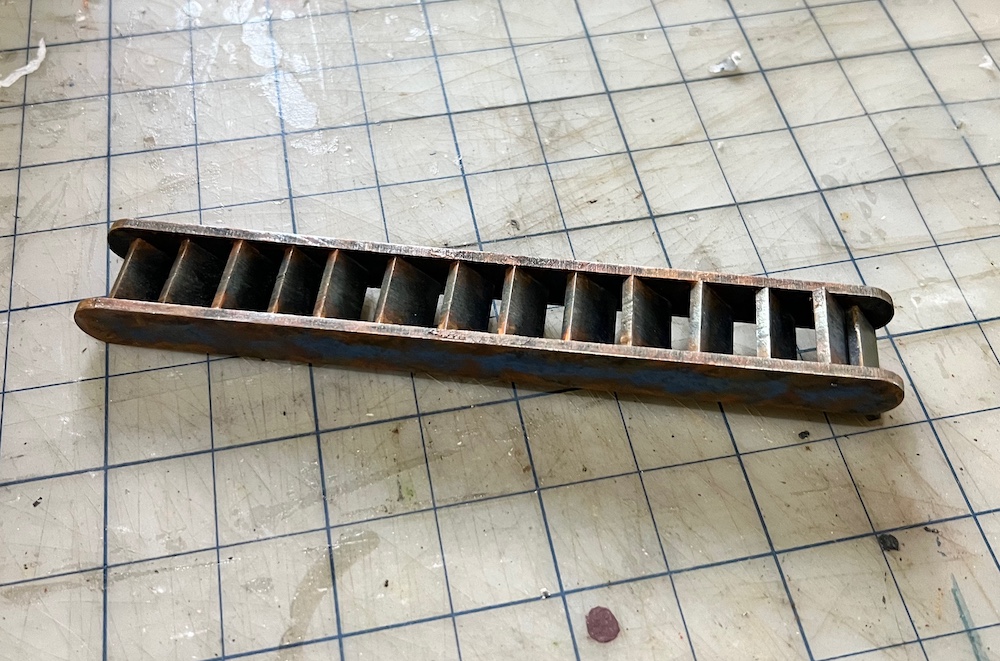 A final dry brush of silver and they are done.
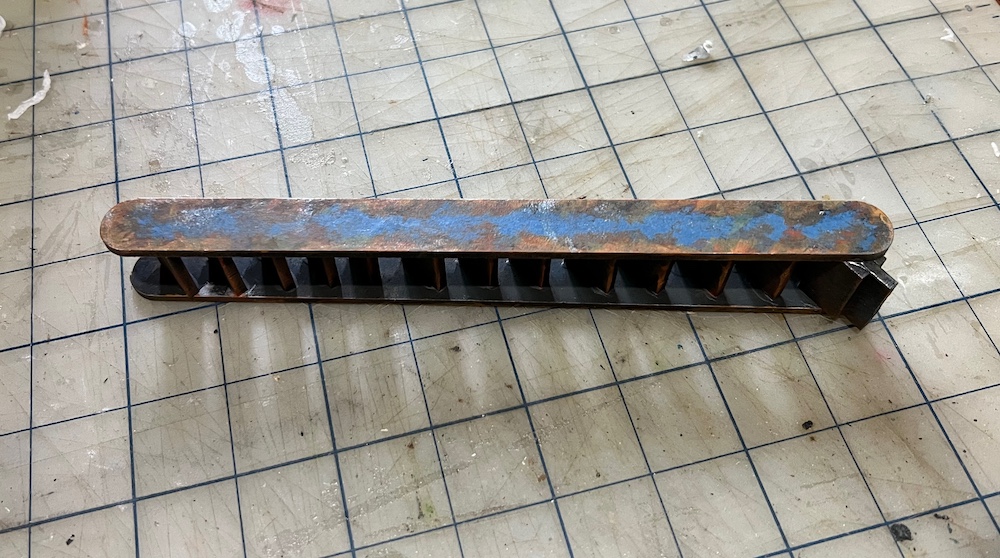

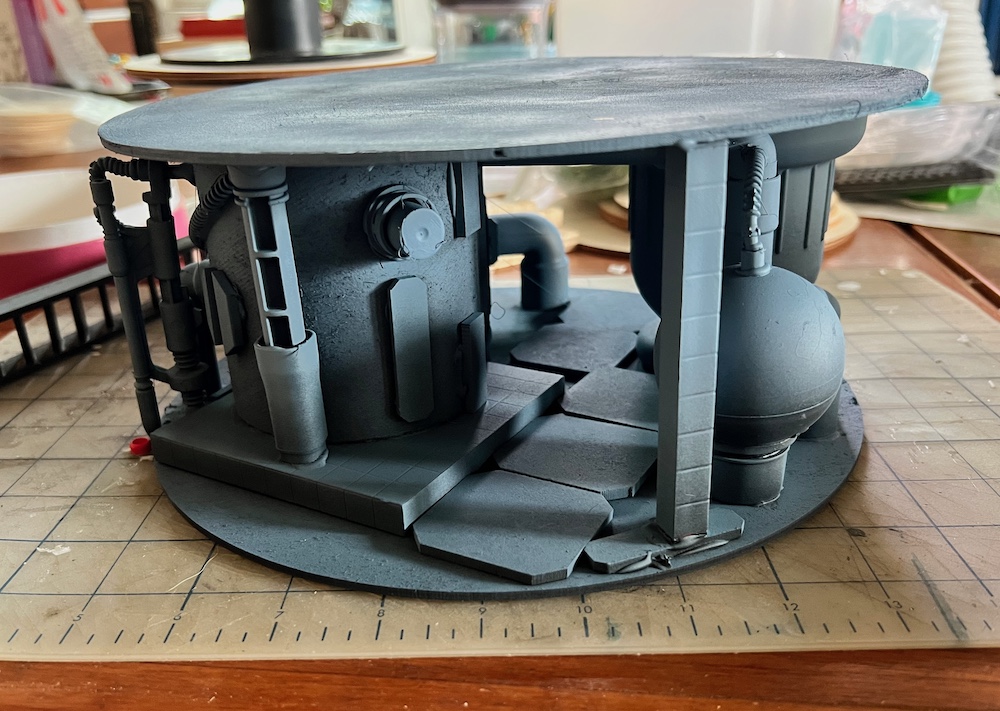
The Homemade "Spool" Nears Completion
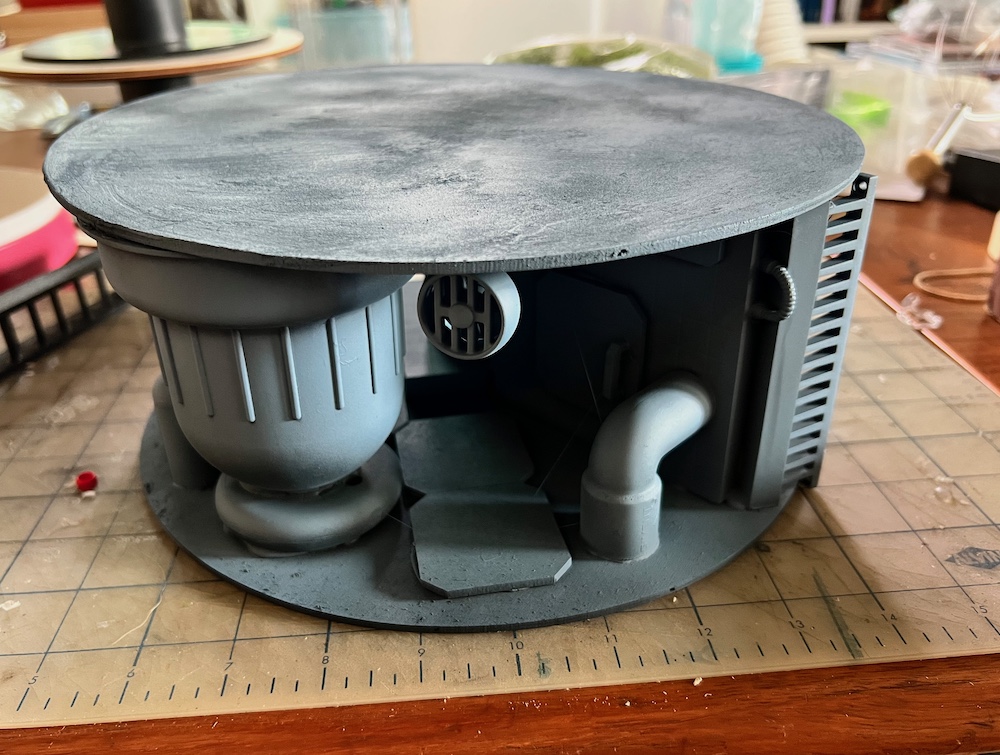
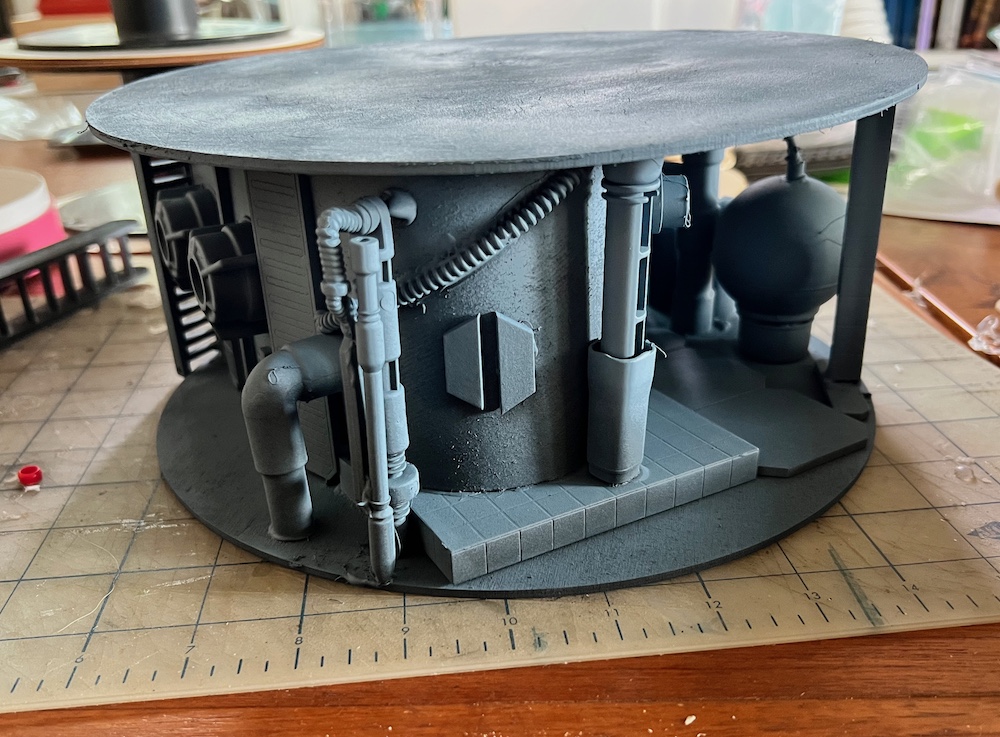
As previously posted, I chose not to use any of the spools I had collected so far and just built my own. This sort of thing can happen when one has way too much collected in “Bits Boxes”. I really like the pass through in this piece and know I will need to make more like it. I have a bunch of old “manipulatives” from a Math teacher who retired that made nice walls so know they will be included in more of my future constructions. The grid pattern and uniform sized pieces are rather handy. I have an idea to adapt wooden ones for planters.
Most everything was attached with hot glue. A few of the tiny details were superglued in place. I kept the details fairly large as I want this one to paint up quickly. Primed the entire thing black from every direction before applying a zenithal layer in grey. I love how pieces look once they are primed.
 Gluing has begun. An old Chaos Warrior is included for scale.
 Amazing how finished it looks with just the primer coats
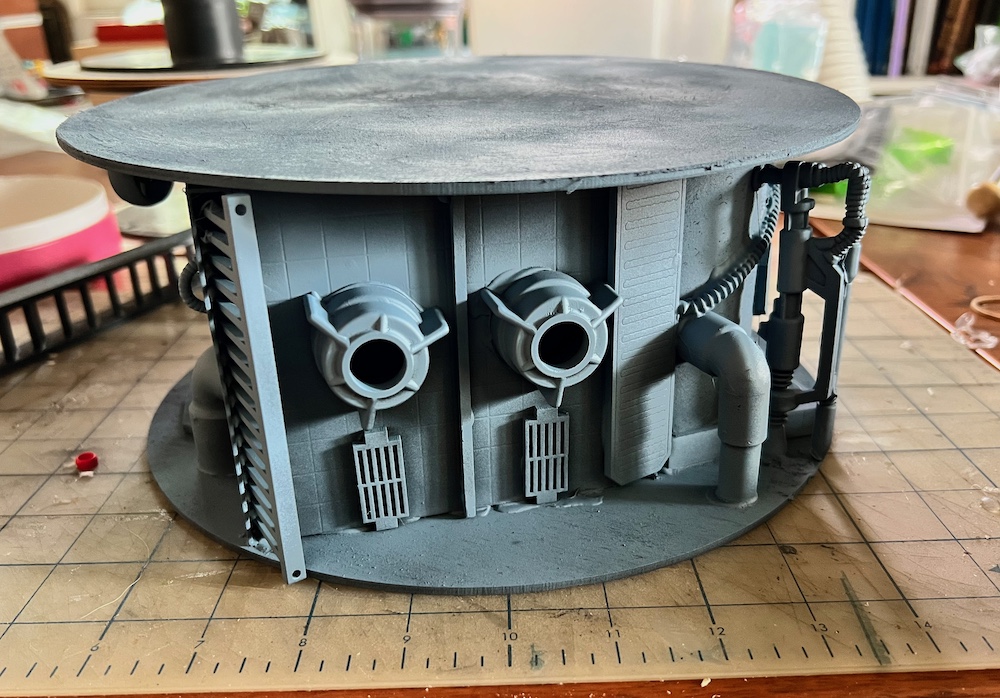
 Ready for painting this week.
Making Planters From Junk
I have been a public school teacher for over twenty years now. When other teachers retire they get rid of everything they have stored away in their rooms. Often times this includes odds and ends that are no longer used. One such math teacher had a great collection of what are called manipulatives, 3D objects that can help students understand abstract concepts. There are a few different sets with some being made out of plastic (I used a few of those on my homemade spool) and others being wooden. The latter is what I used for these planters. After cutting one made of oak in half, I realized the other set was plywood which will be far easier to cut.
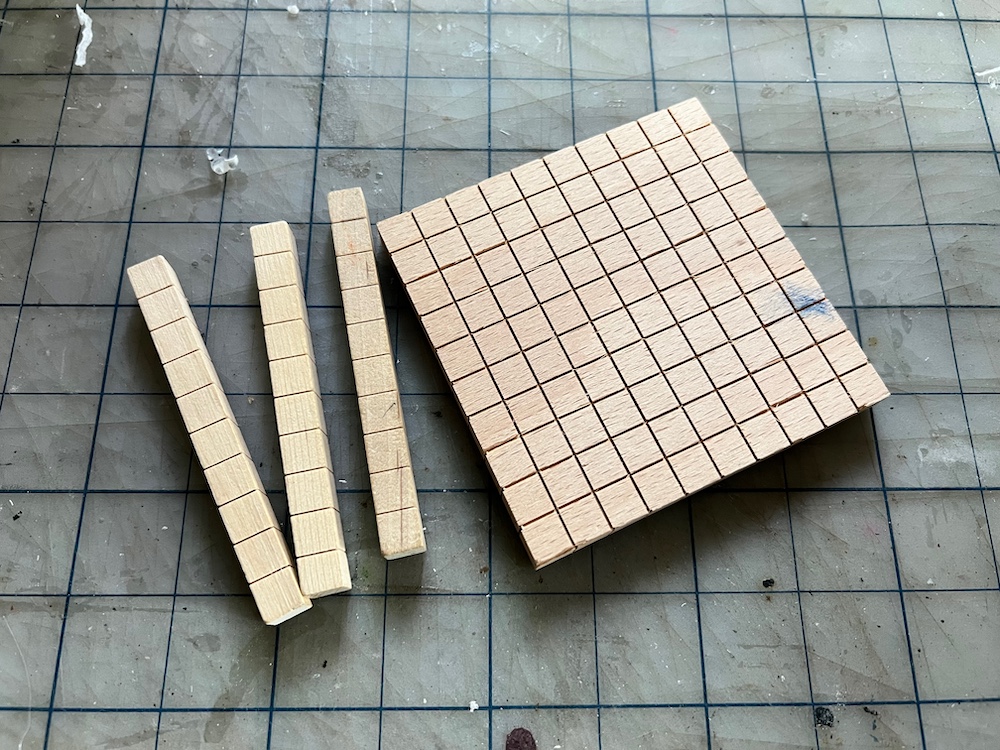 The square pieces are divided into a grid of 100 squares while the posts are 10 squares each.
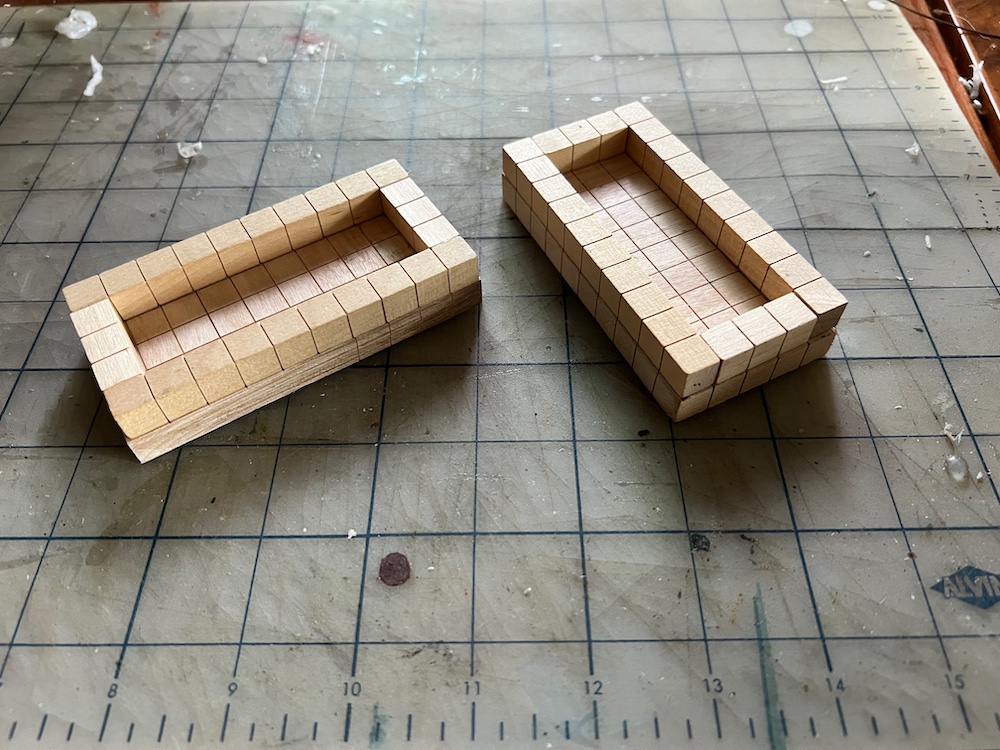 Really simple design that will look great with tall bamboo shoots growing from them.
 Starting grey but will be dry brushing and weathering them next.
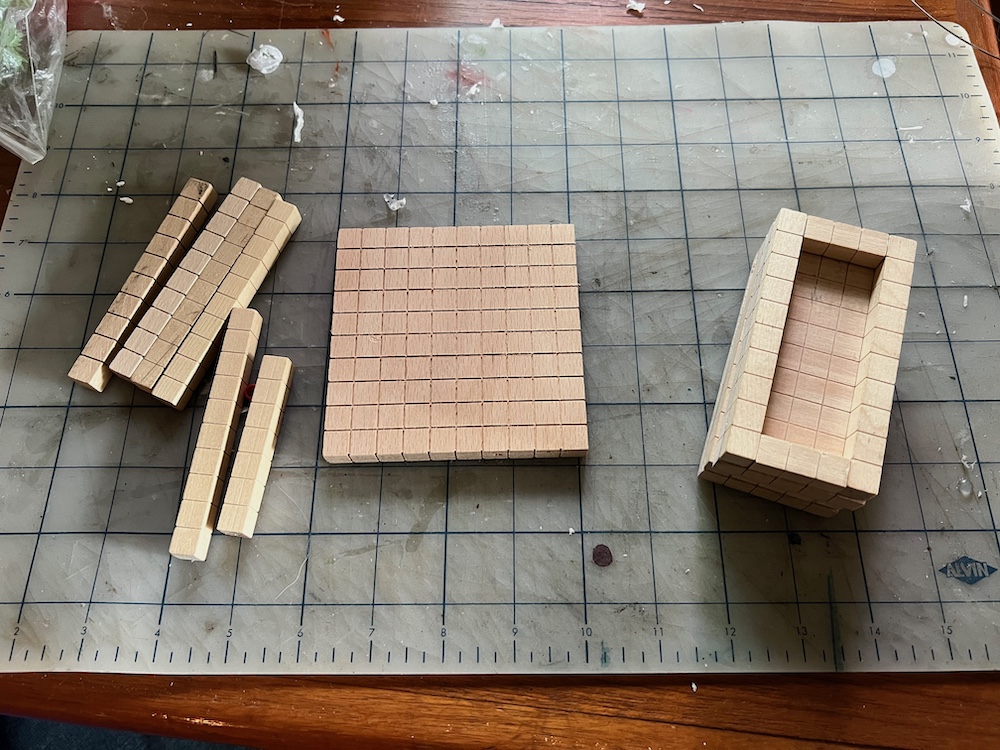 I set aside one of the plywood squares to cut for the next planters as I think four is a better number.
Planters Planted
Drybrushed the planters with light grey and then white before weathering with a bit of Agrax Earthshade. The grid on the pieces make placing the drilled holes easier. I have a big bag of plastic bamboo left over from the samurai terrain I built ages ago which were perfect for this project. I used the same Tacky Glue to attach the stalks into the holes. I am still undecided what I will cover the ground with. I had considered just water but am not in the mood for a resin pour right now.
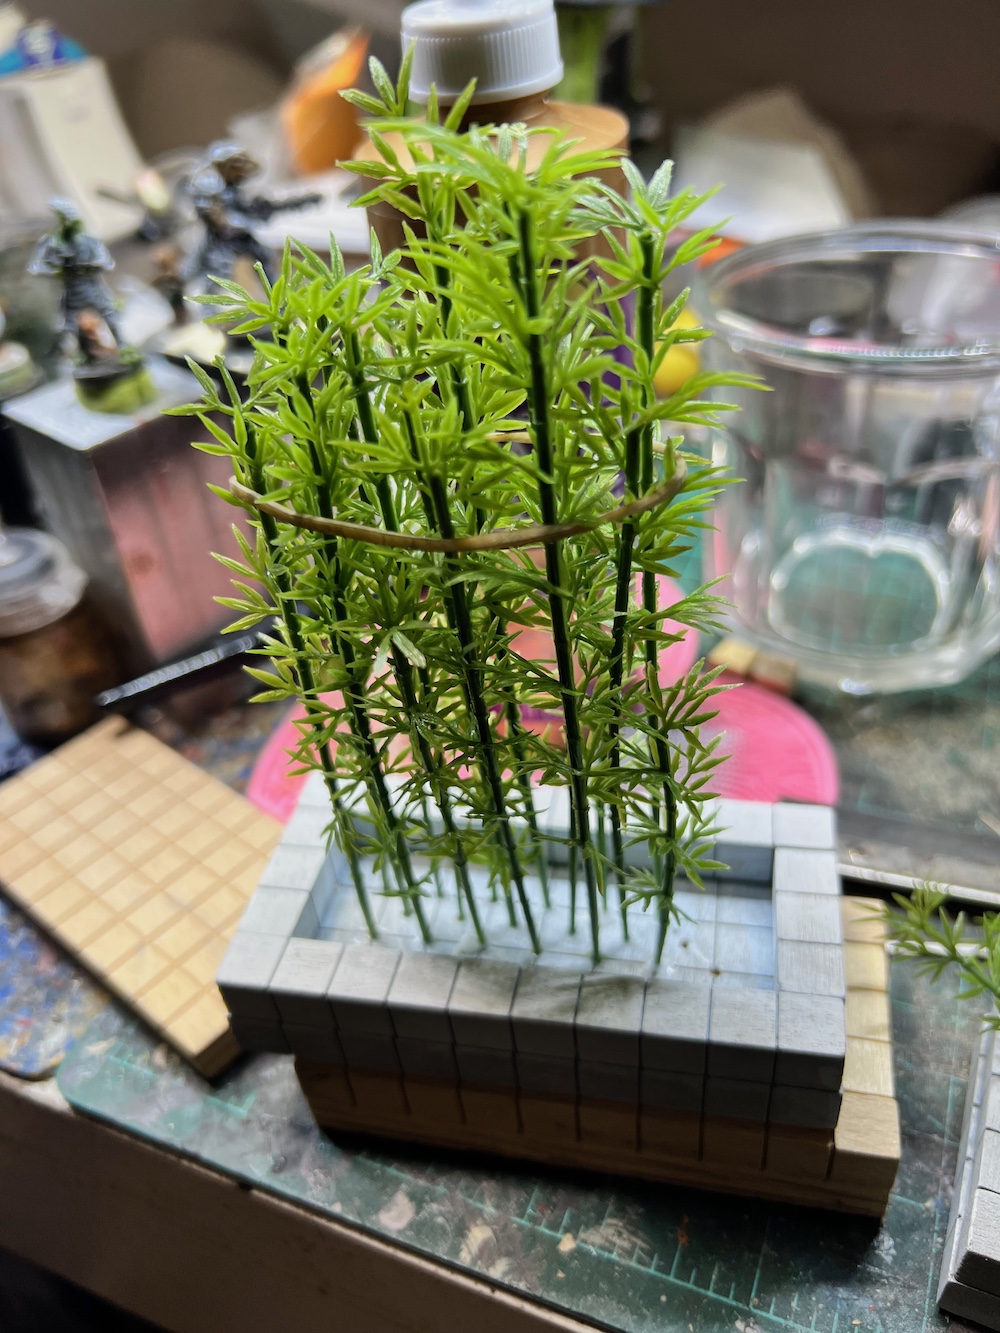 Rubber band to help them dry looking more manicured
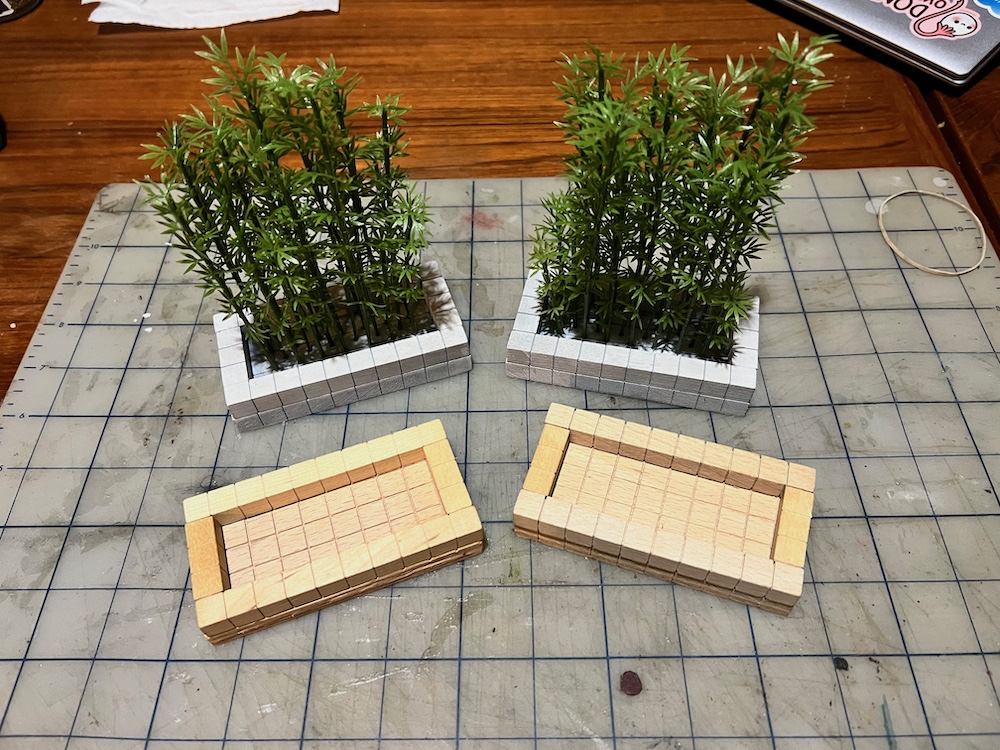 Two planters planted though still awaiting ground work. Made two more planters as I think four would look much nicer on the table.
Some Work in Progress
Really busy day so got little time at the painting desk but I did finish painting and planting the last two of my planters. Now they need some kind of soil or rocks. I will be looking through my collection of such tonight.
Started the detail painting on my noodle bar. Since I failed to do much with it during the Spring Clean Challenge I am determined to finish it this season. I continued weathering the building and began on the signage. I decided that matching any font at that size is just too hard so I focused on legibility. I even got one of the White Dragon logos done though IO’m not entirely happy with it yet.
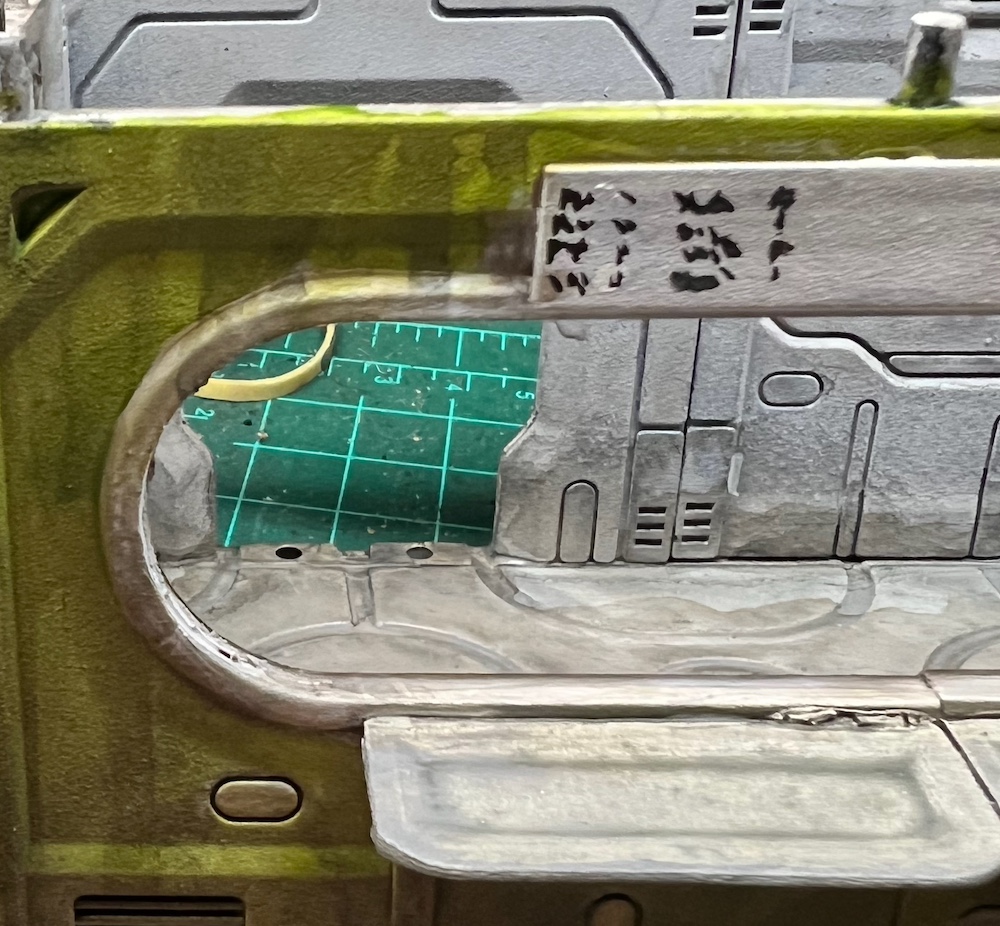 The beginning of the Menu Board. Might have to add some photos of the food
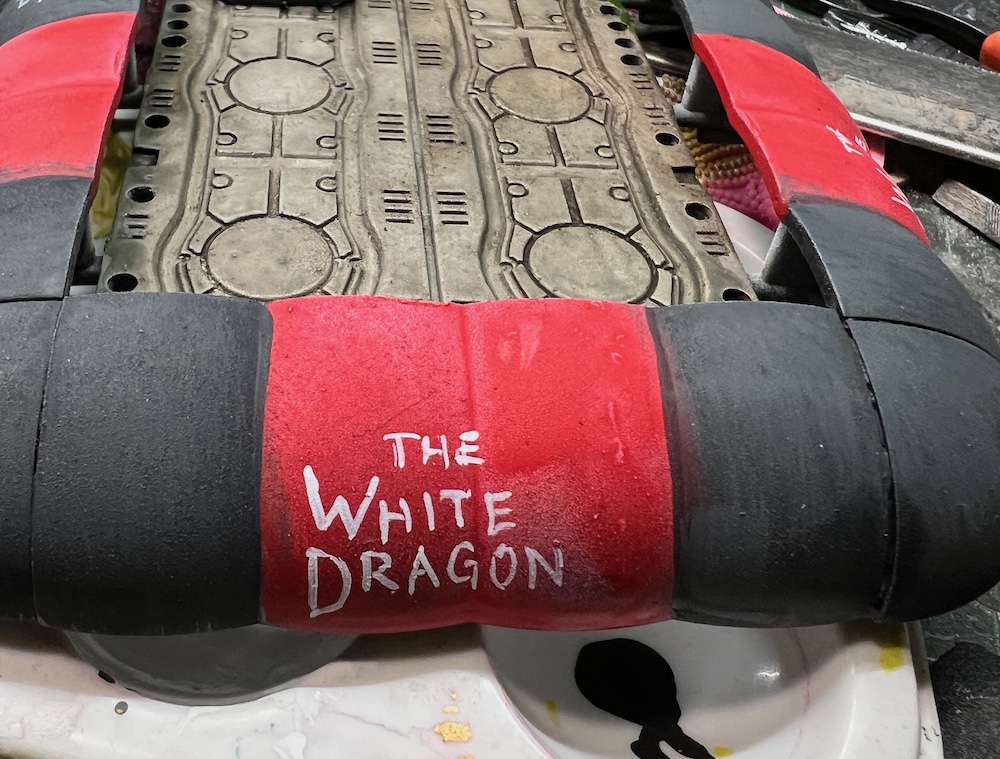 Despite needing some clean up, it is quite legible.
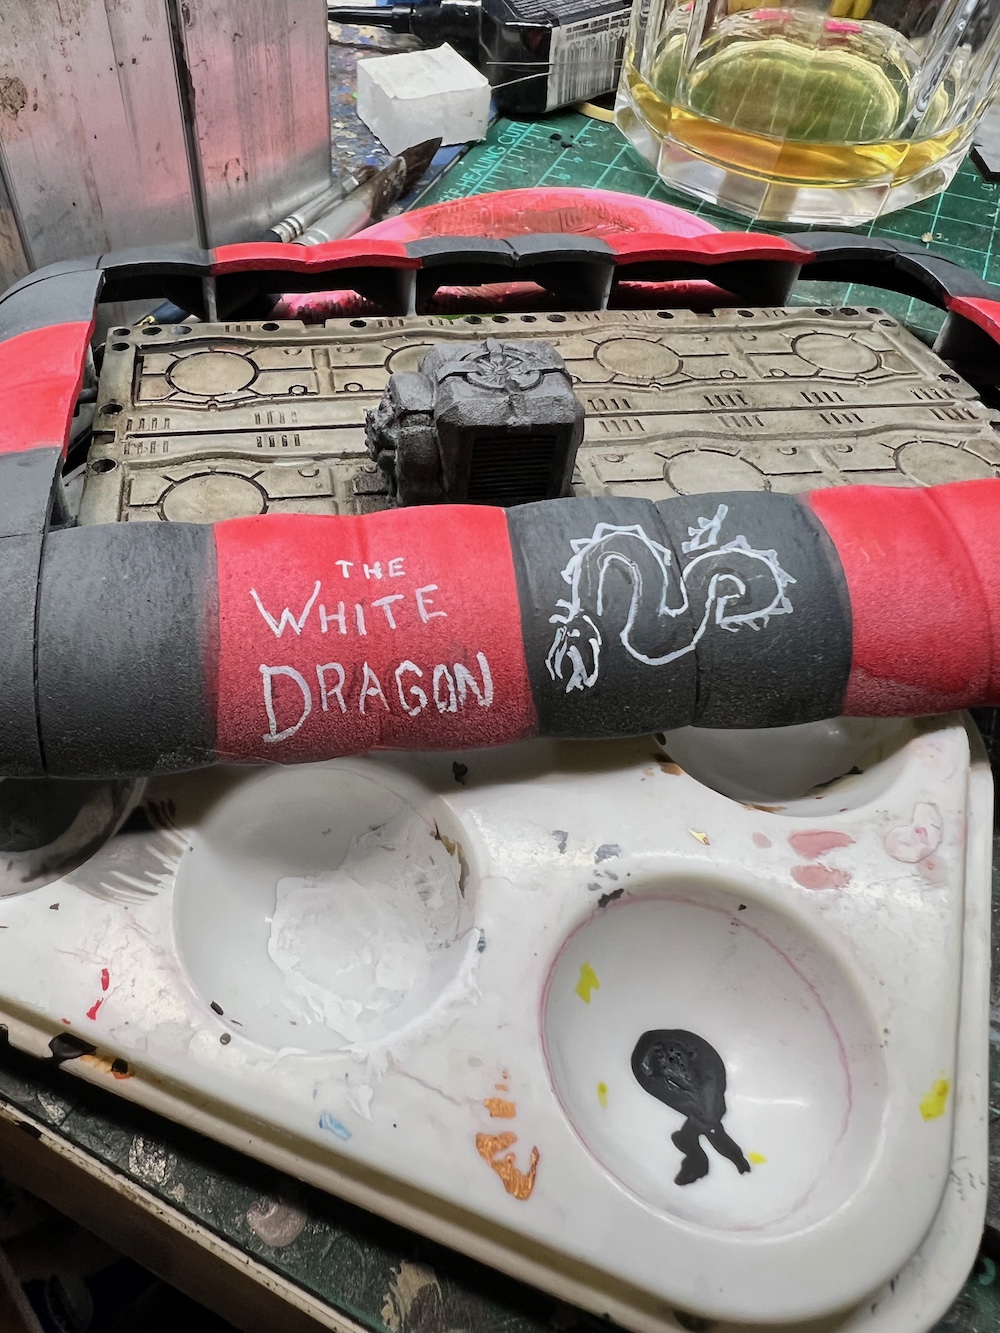 The lettering is better than the dragon. Maybe I can fix him in clean up or the weathering will hide my sins.