


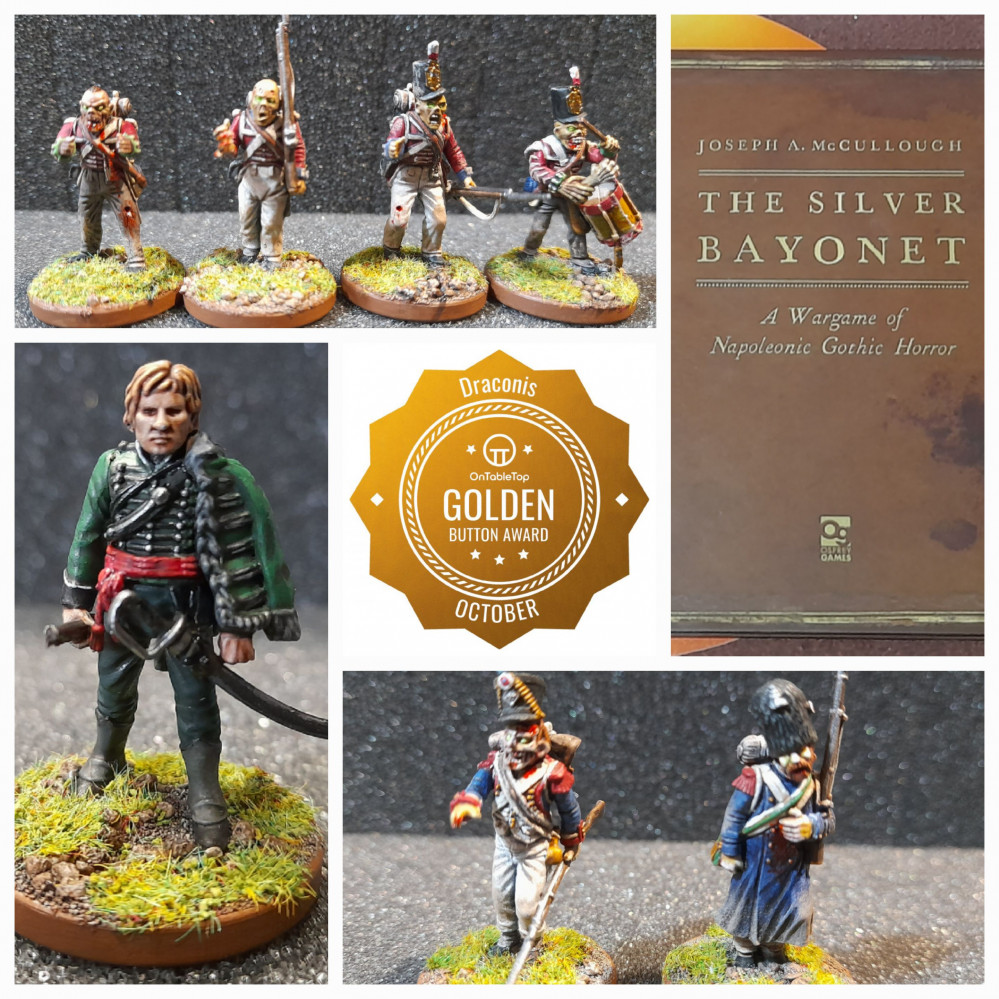
Draconis does….. The Silver Bayonet


Recommendations: 1200
About the Project
Ever the hobby butterfly..... Putting together some British Napoleonic Riflemen for my wife lead me down this road 😀 Like many gamers I own a number of rulebooks for systems that I don’t yet play. The Silver Bayonet is one of them. So this project will be me starting out on the journey into ‘A Wargame of Napoleonic Gothic Horror’.
Related Game: The Silver Bayonet
Related Genre: Horror
This Project is On Hold
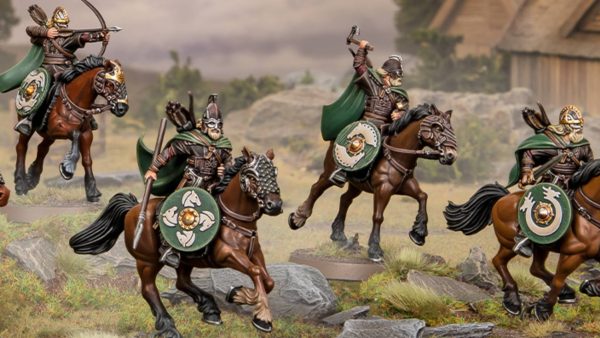
Cavalry Progress
24th February 2025.
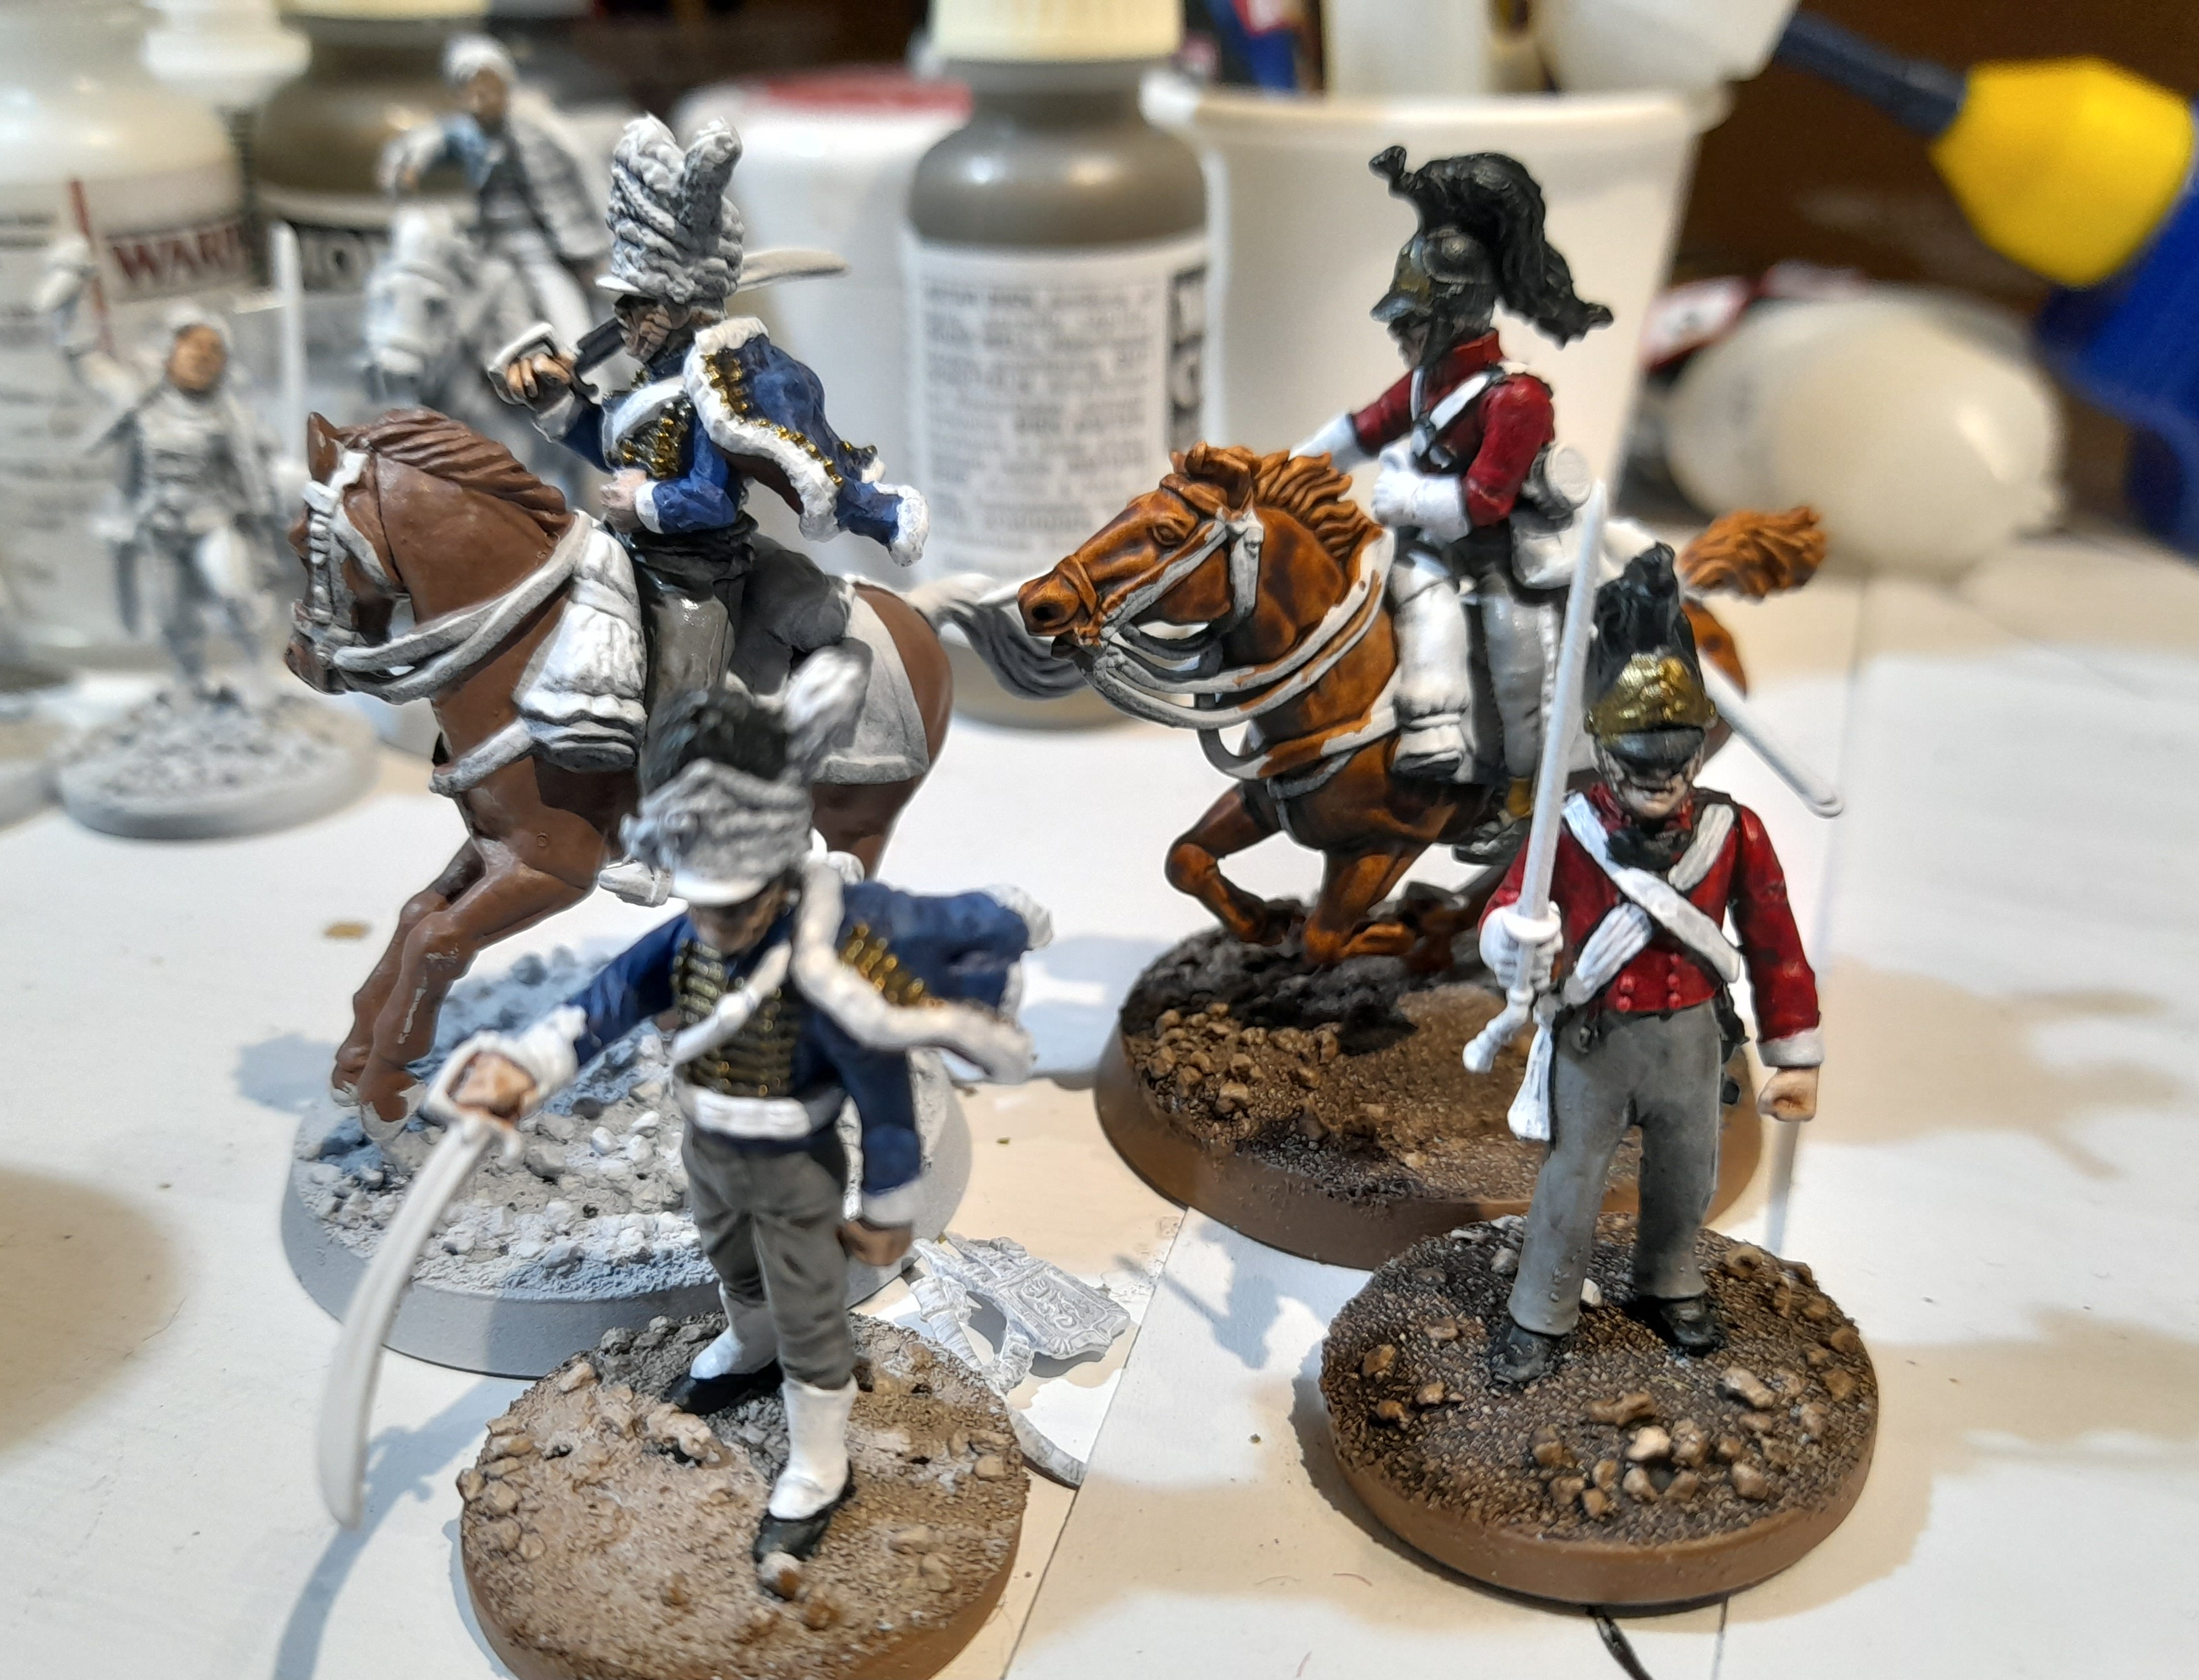
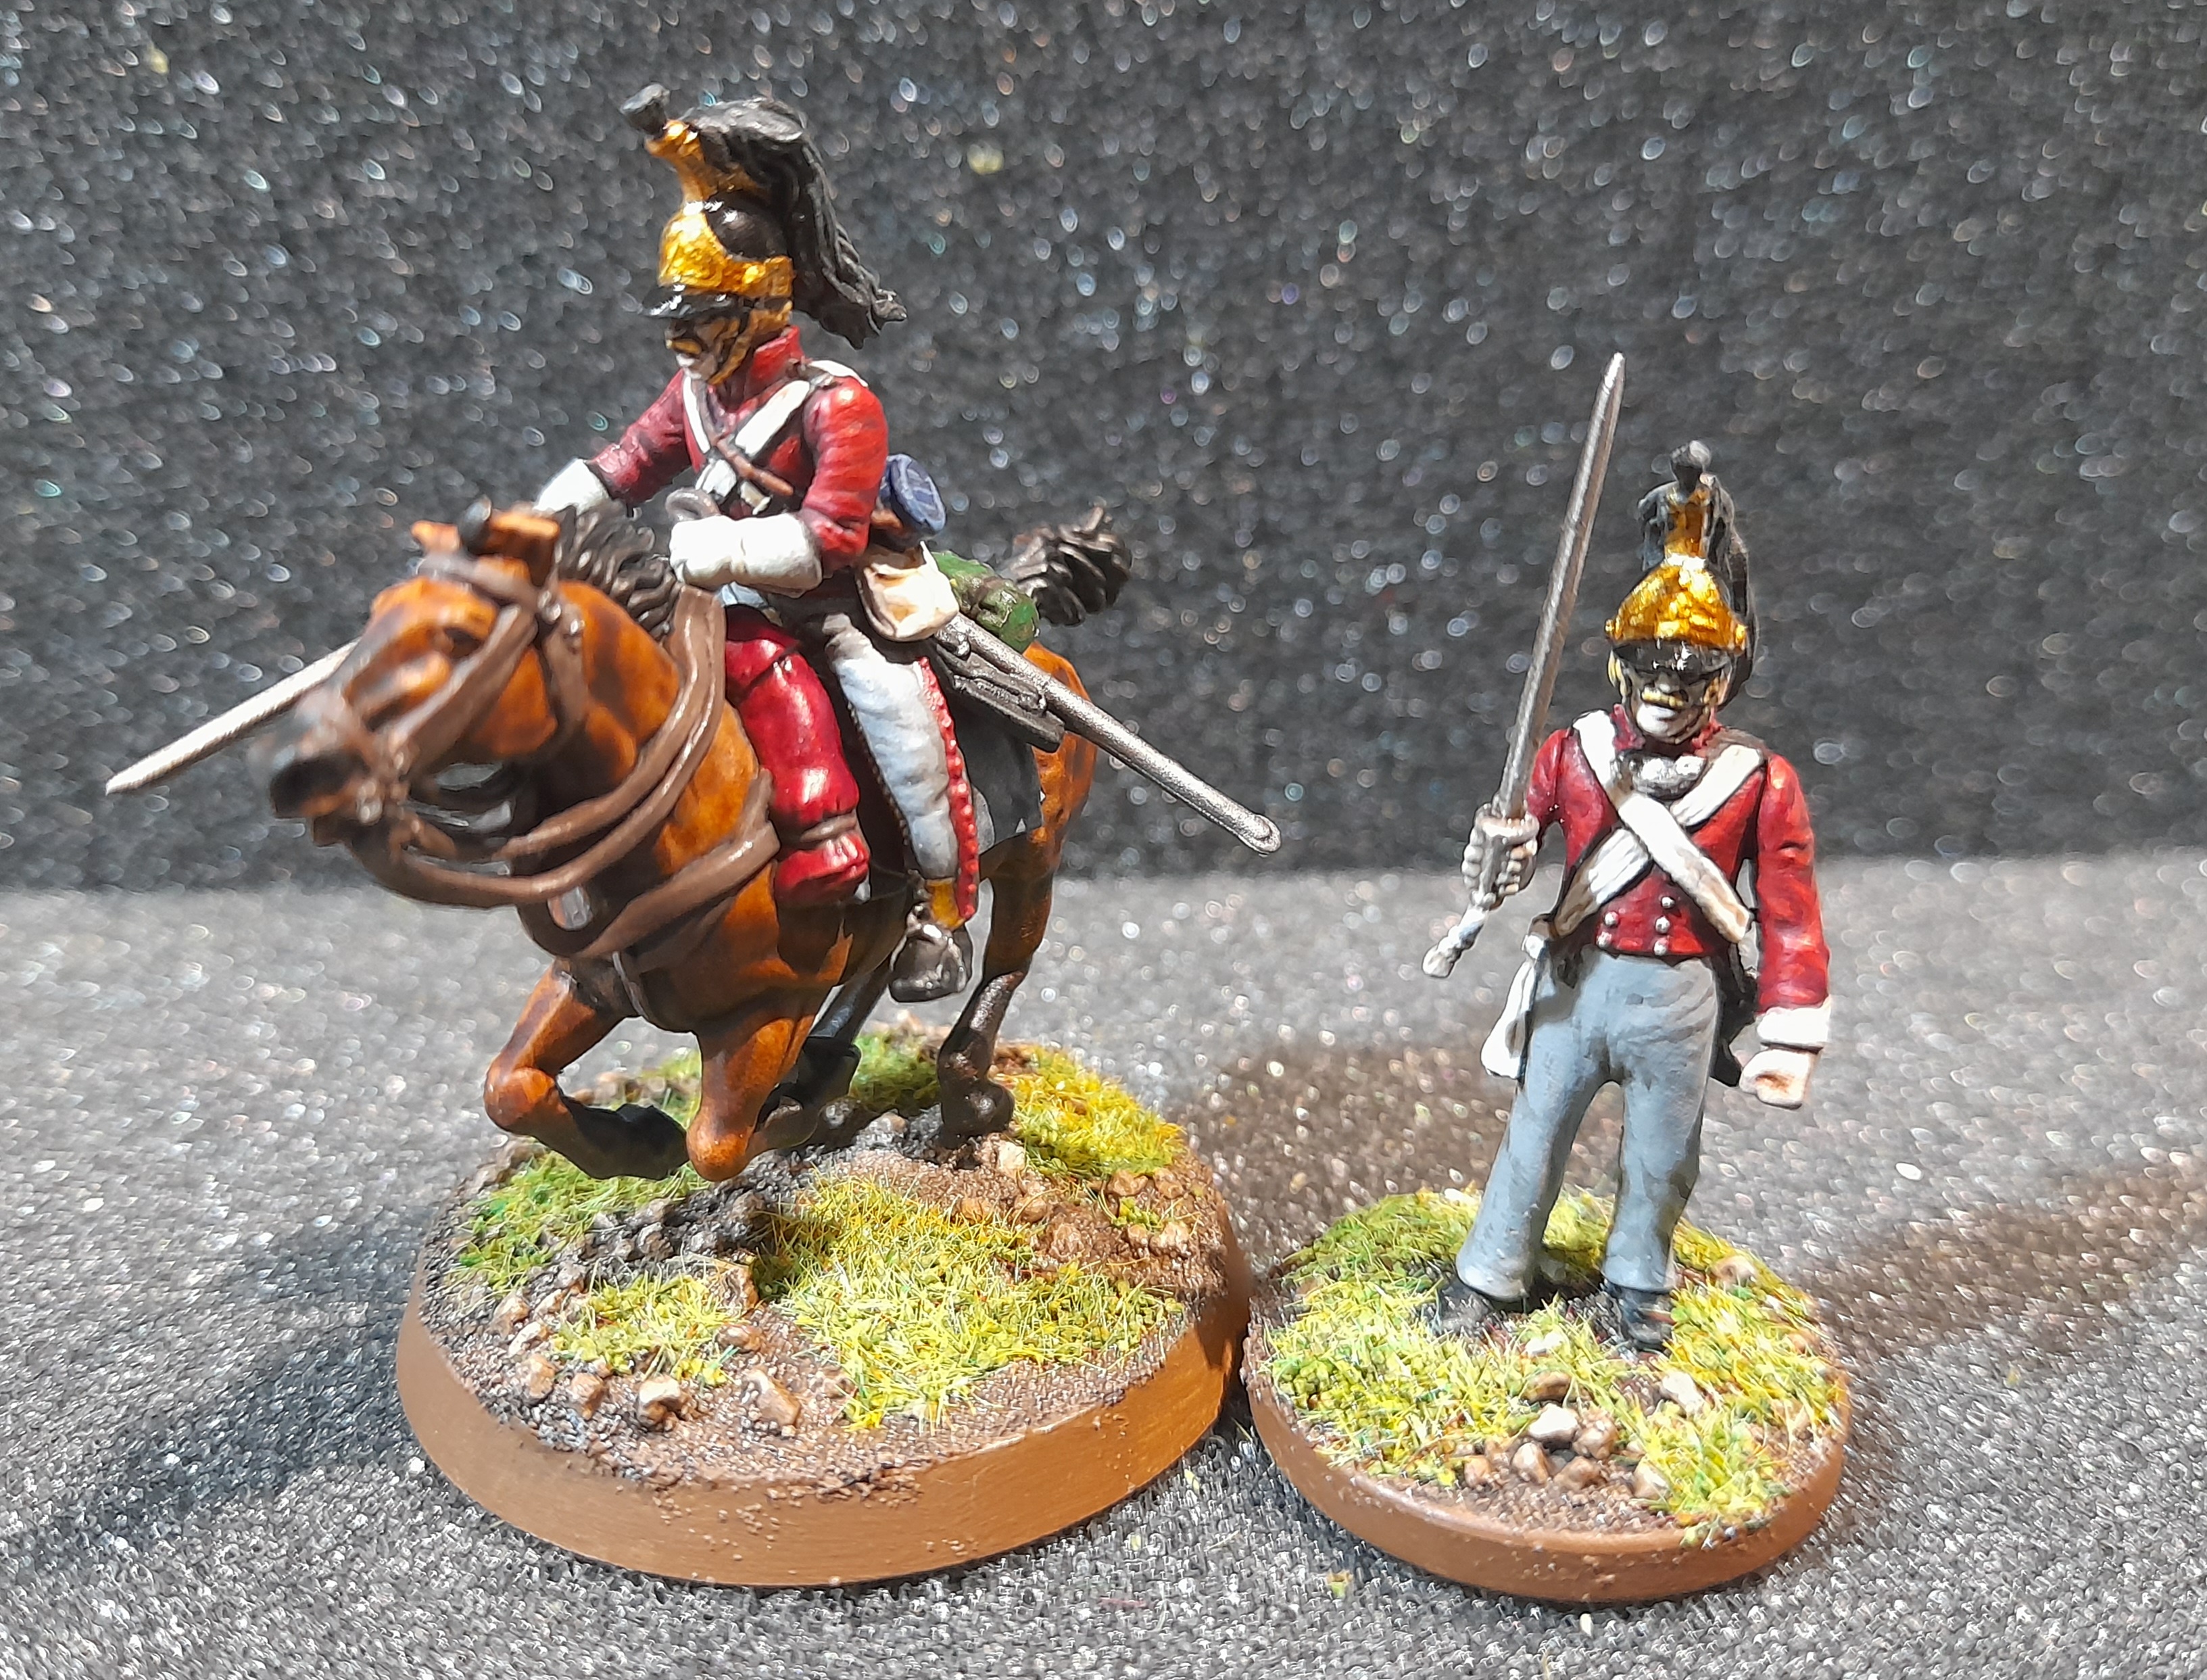
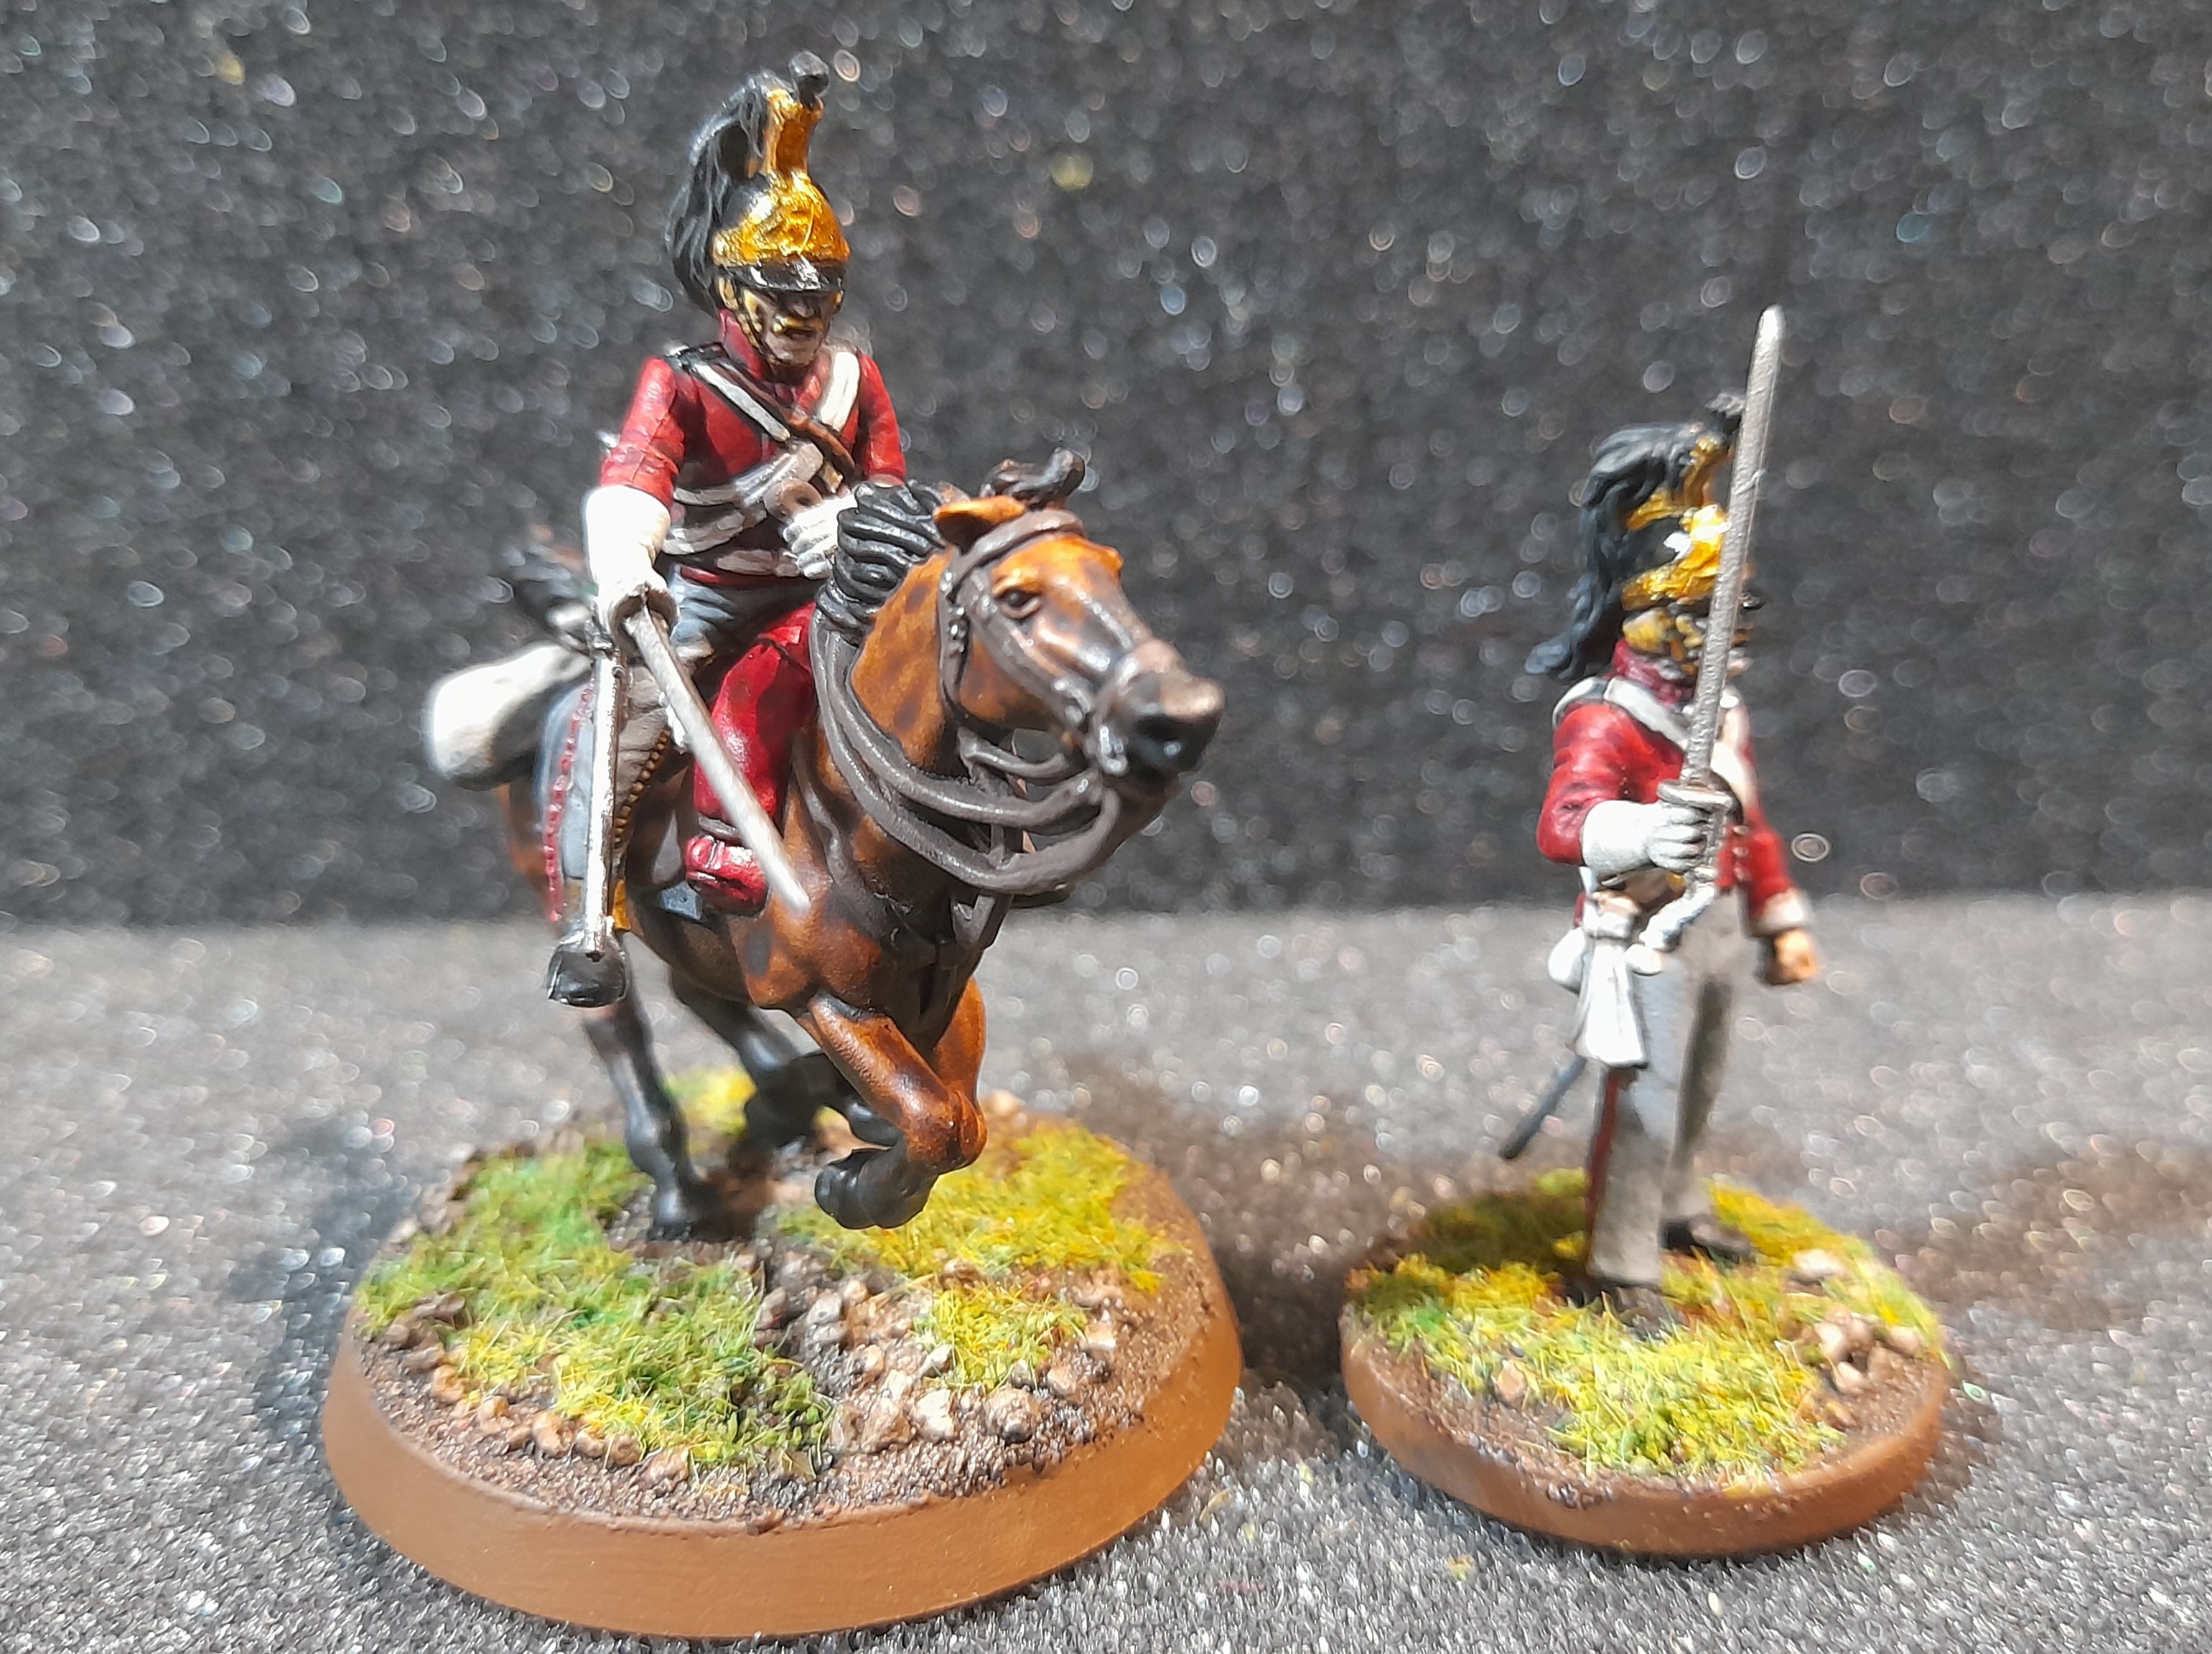
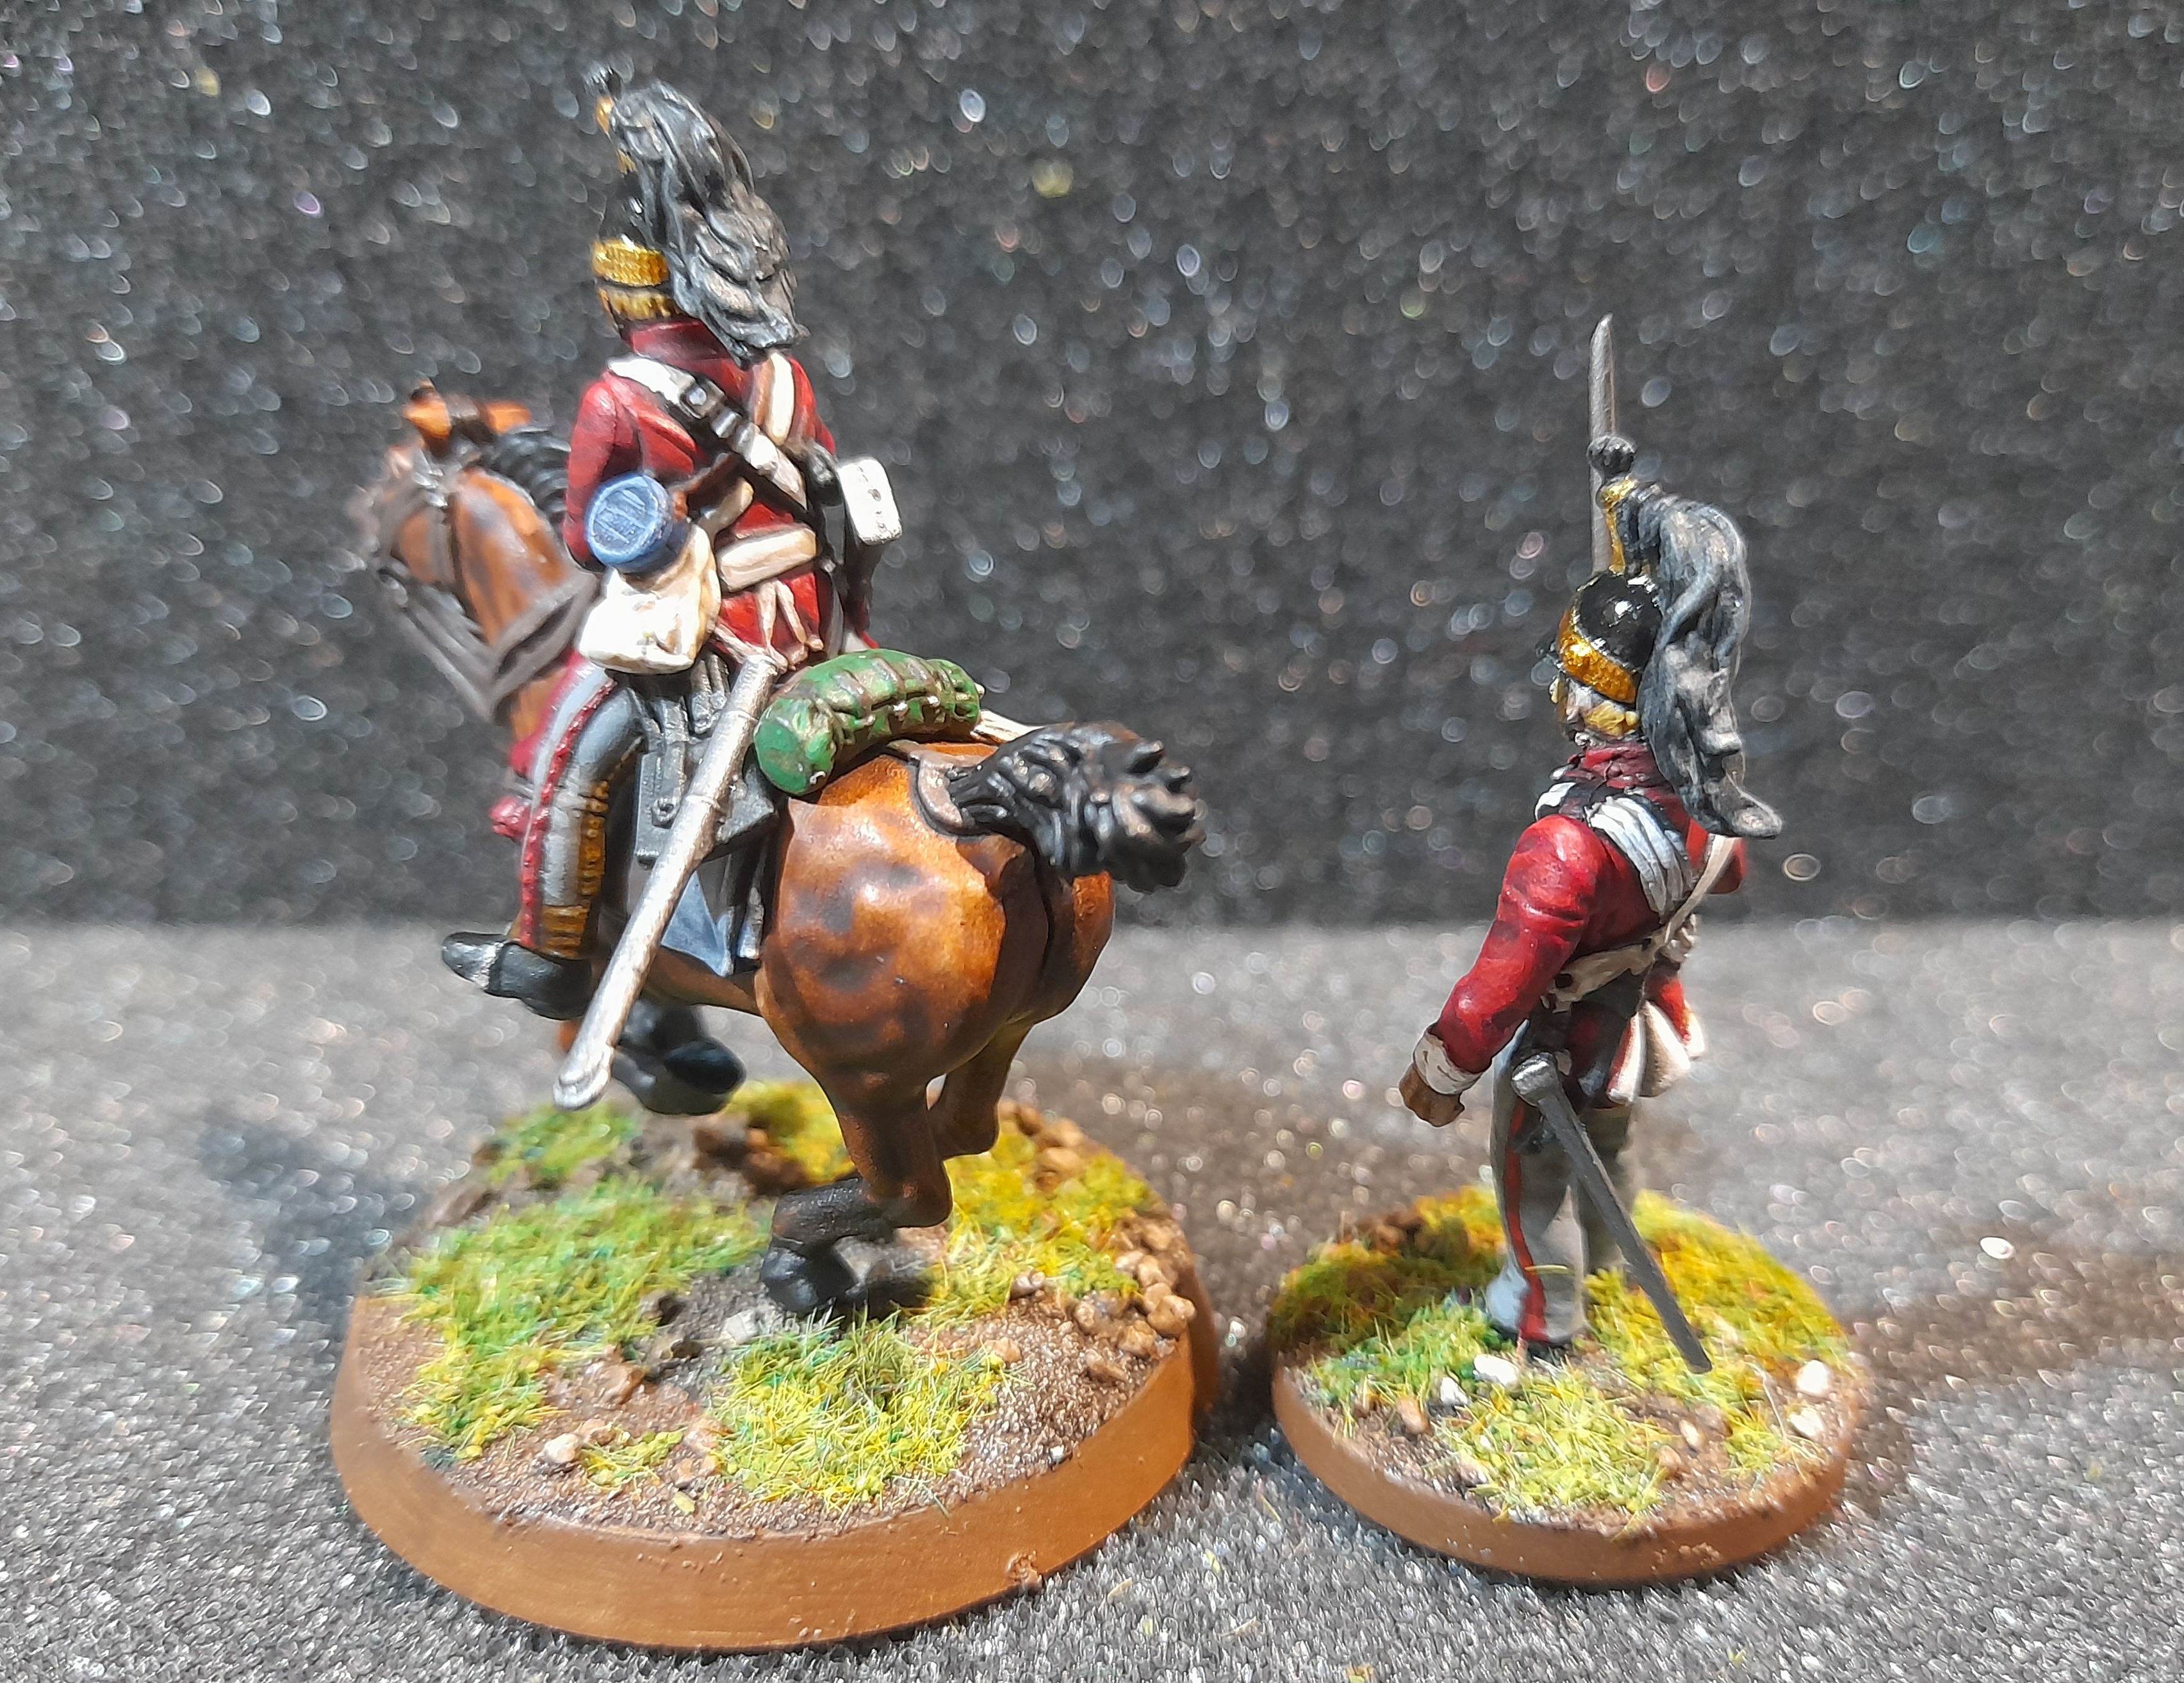
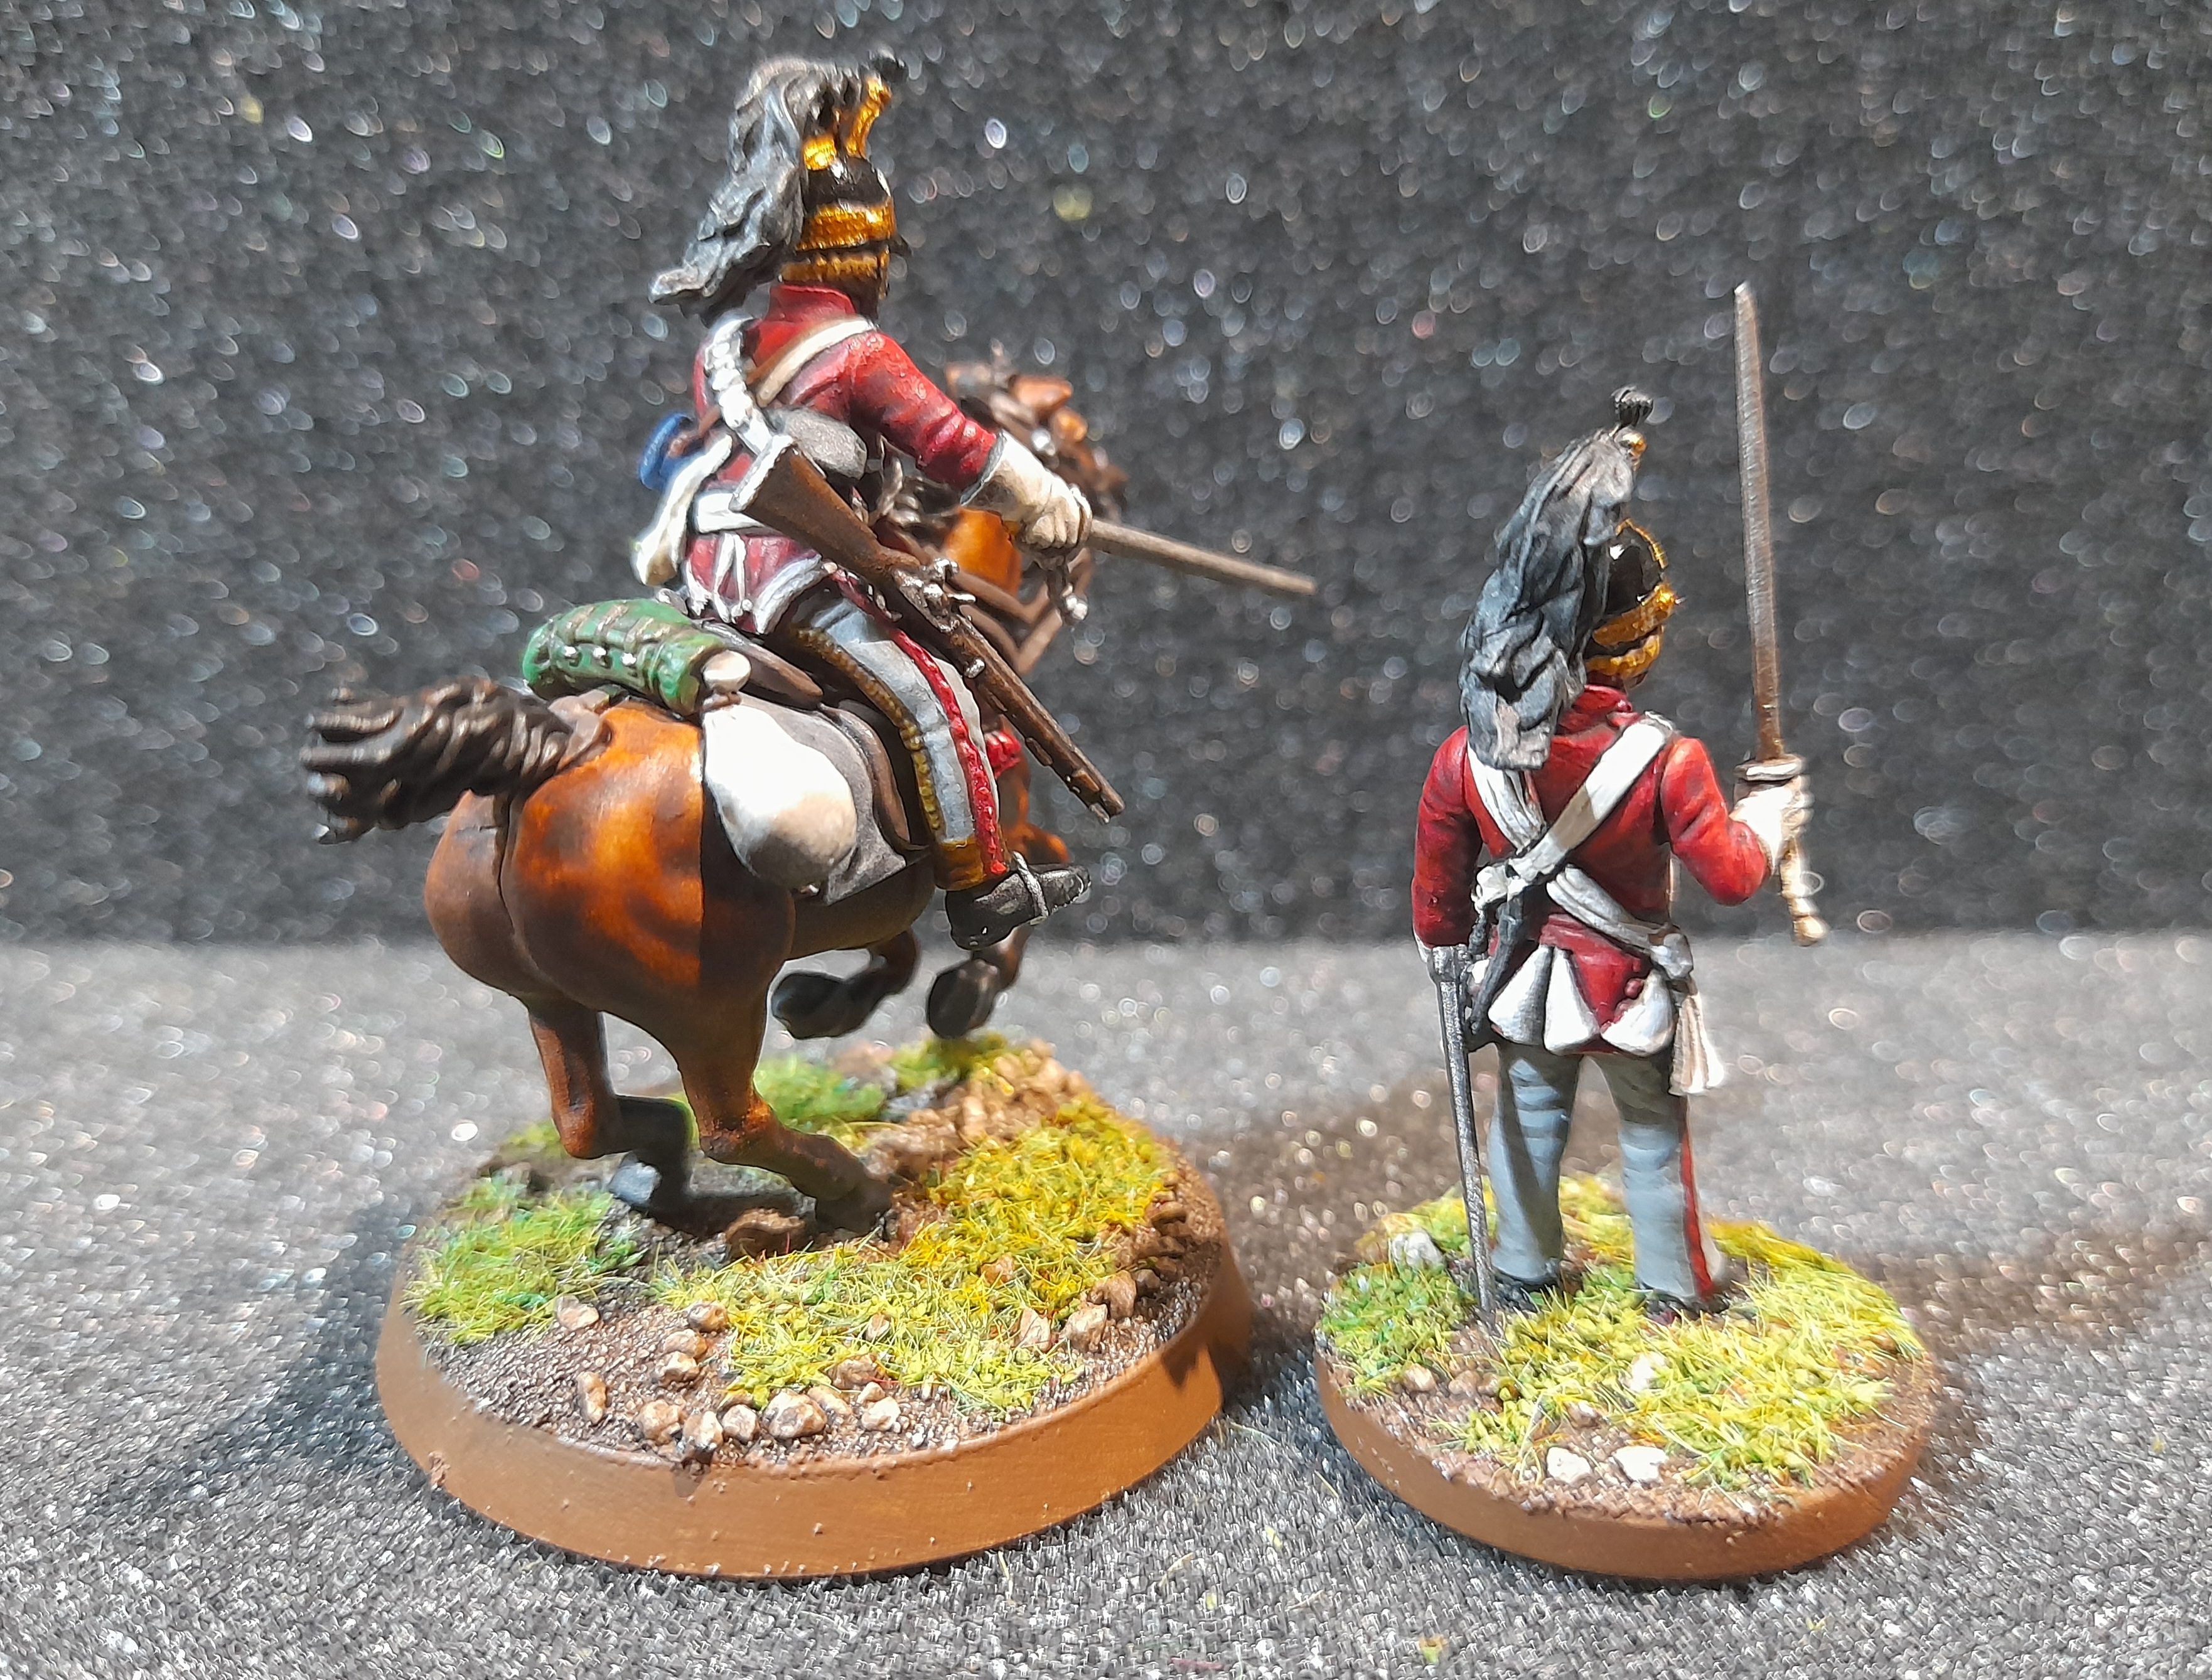
Progress has been a little slow again, due to time, motivation and energy levels. However, I have managed to get the heavy cav done.
I began by working on both the heavy and light cav, mounted and foot, at the same time. However, due to limited progress I decided to focus just on the heavy cav for now.
Used the same techniques as for the rest of the Brit minis so far. Red jacket, picked out the straps etc, Agrax wash, then red highlights for the jacket and highlighting the white and ivory straps. For the trousers I went with a grey, which was also washed and highlighted. I gave him sandy blond hair and moustache – possibly should have gone darker so that it stood out more though.
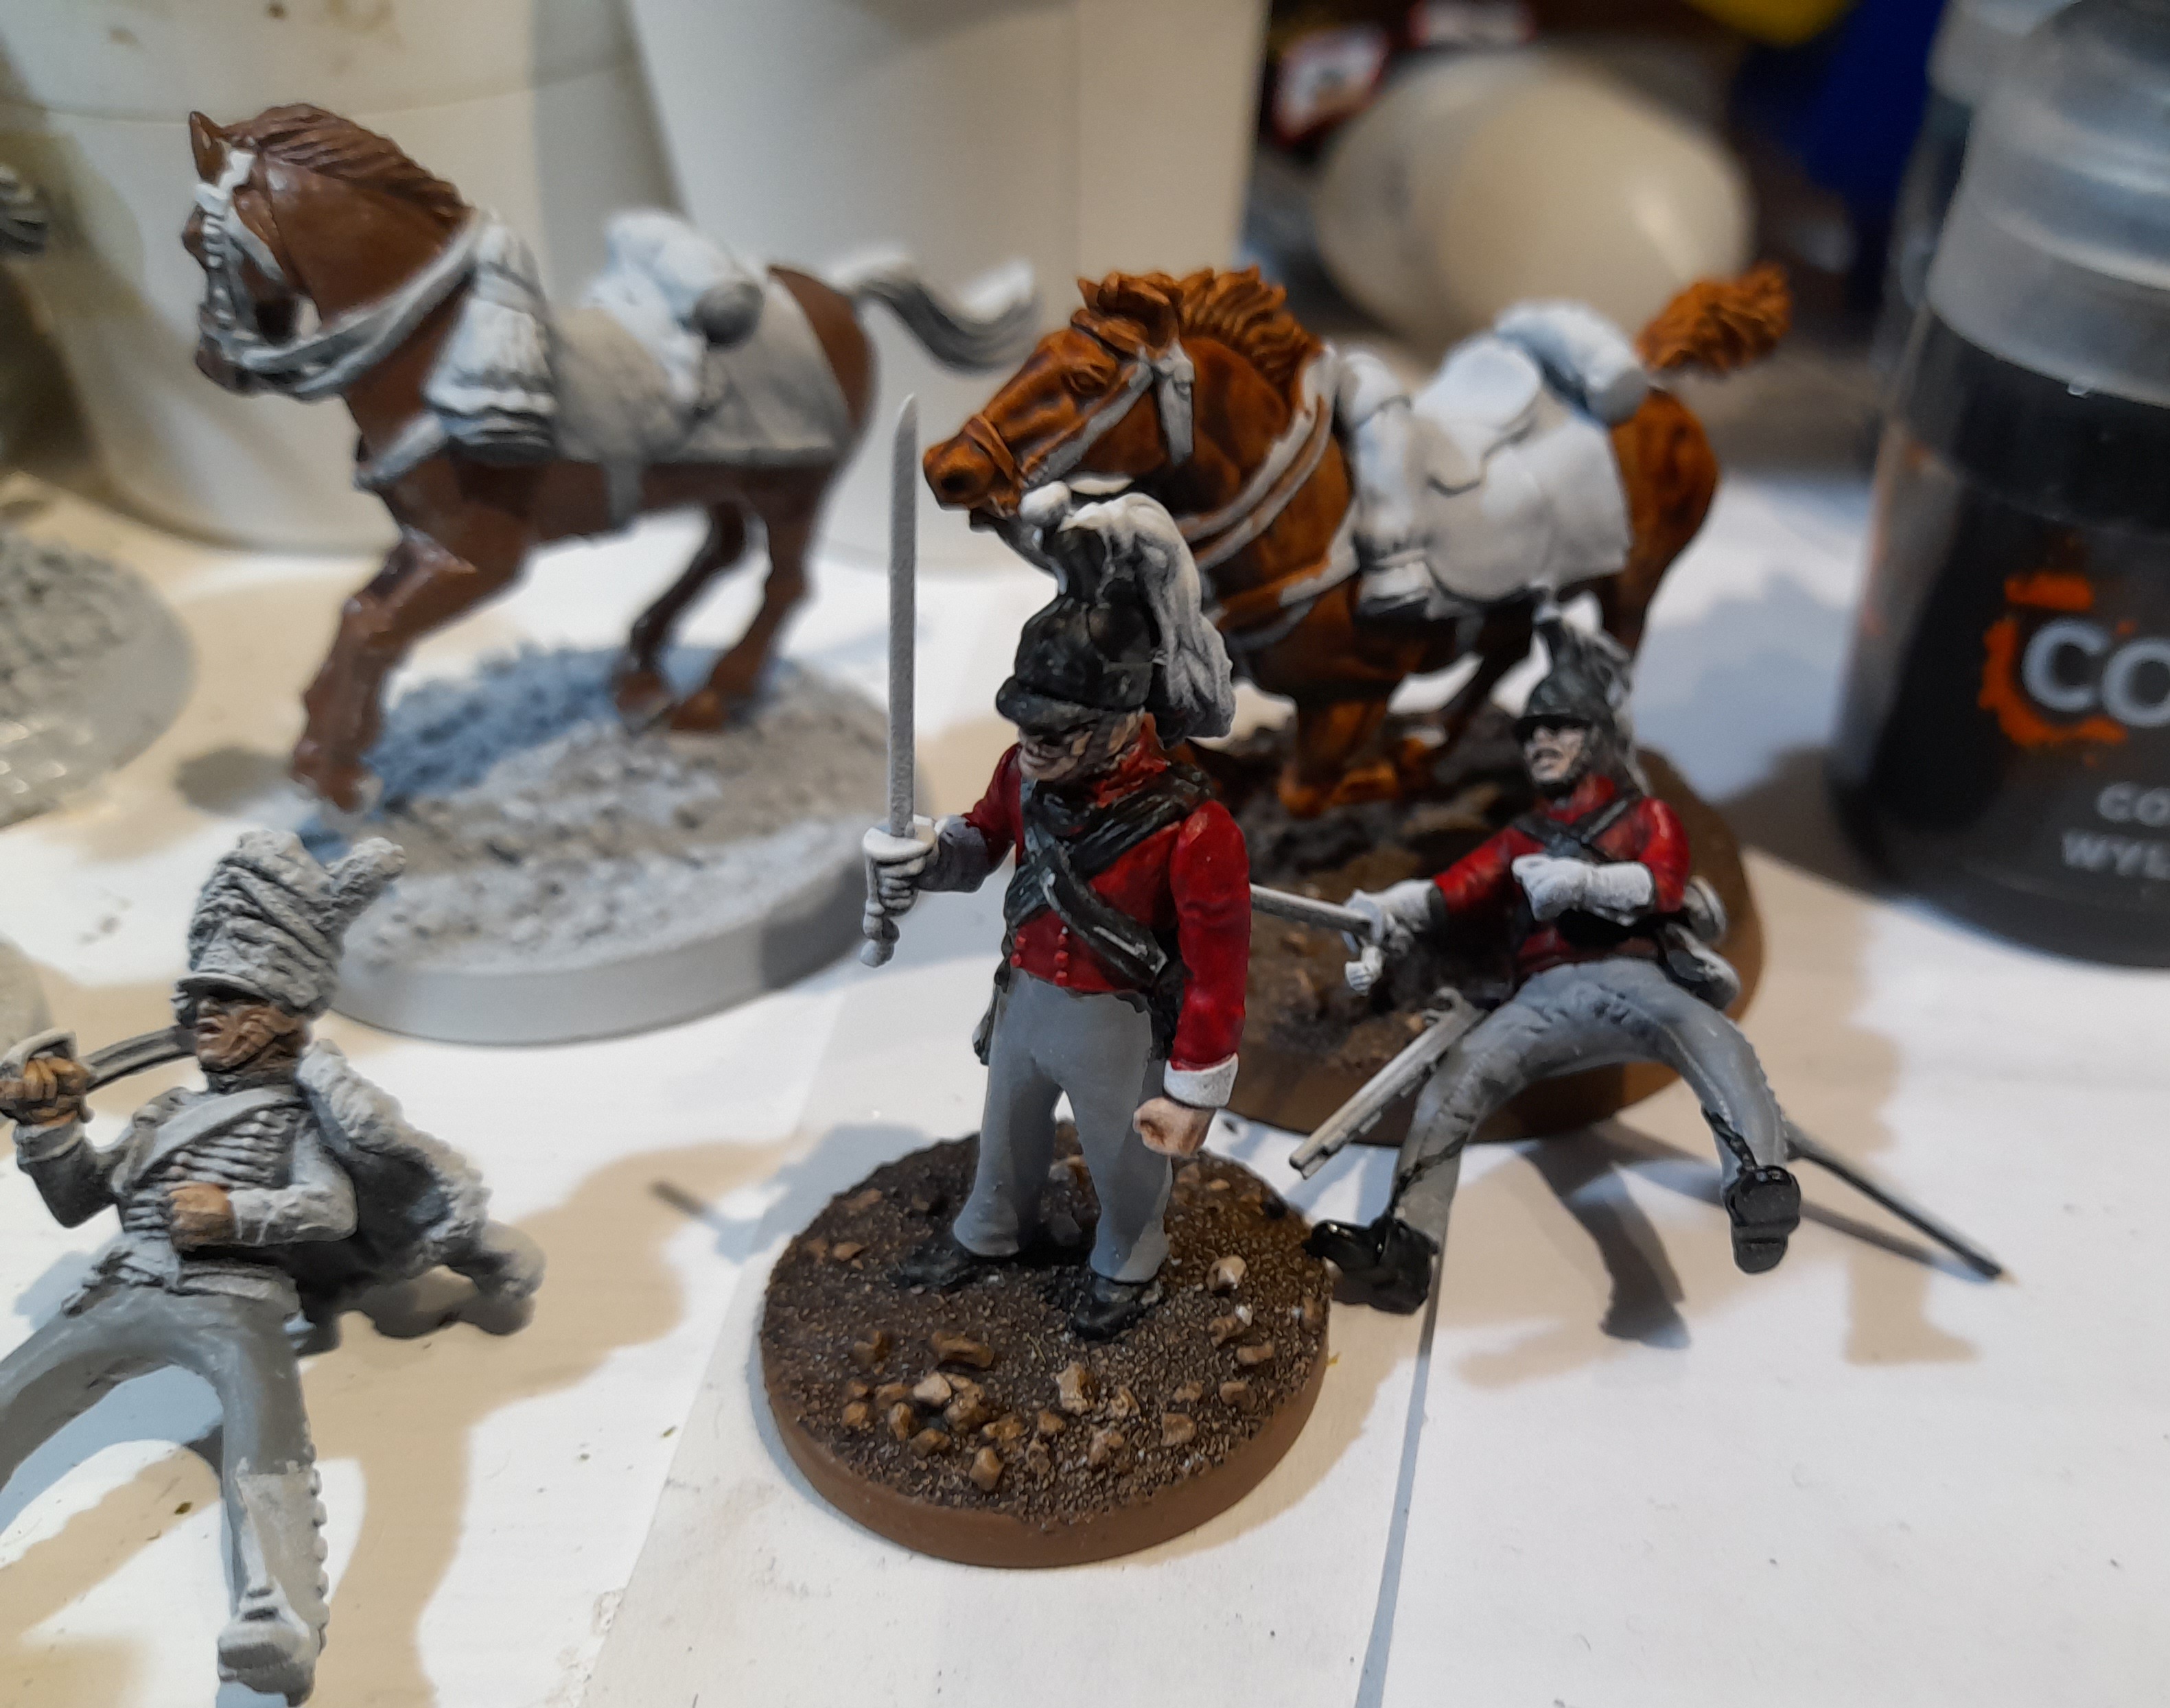

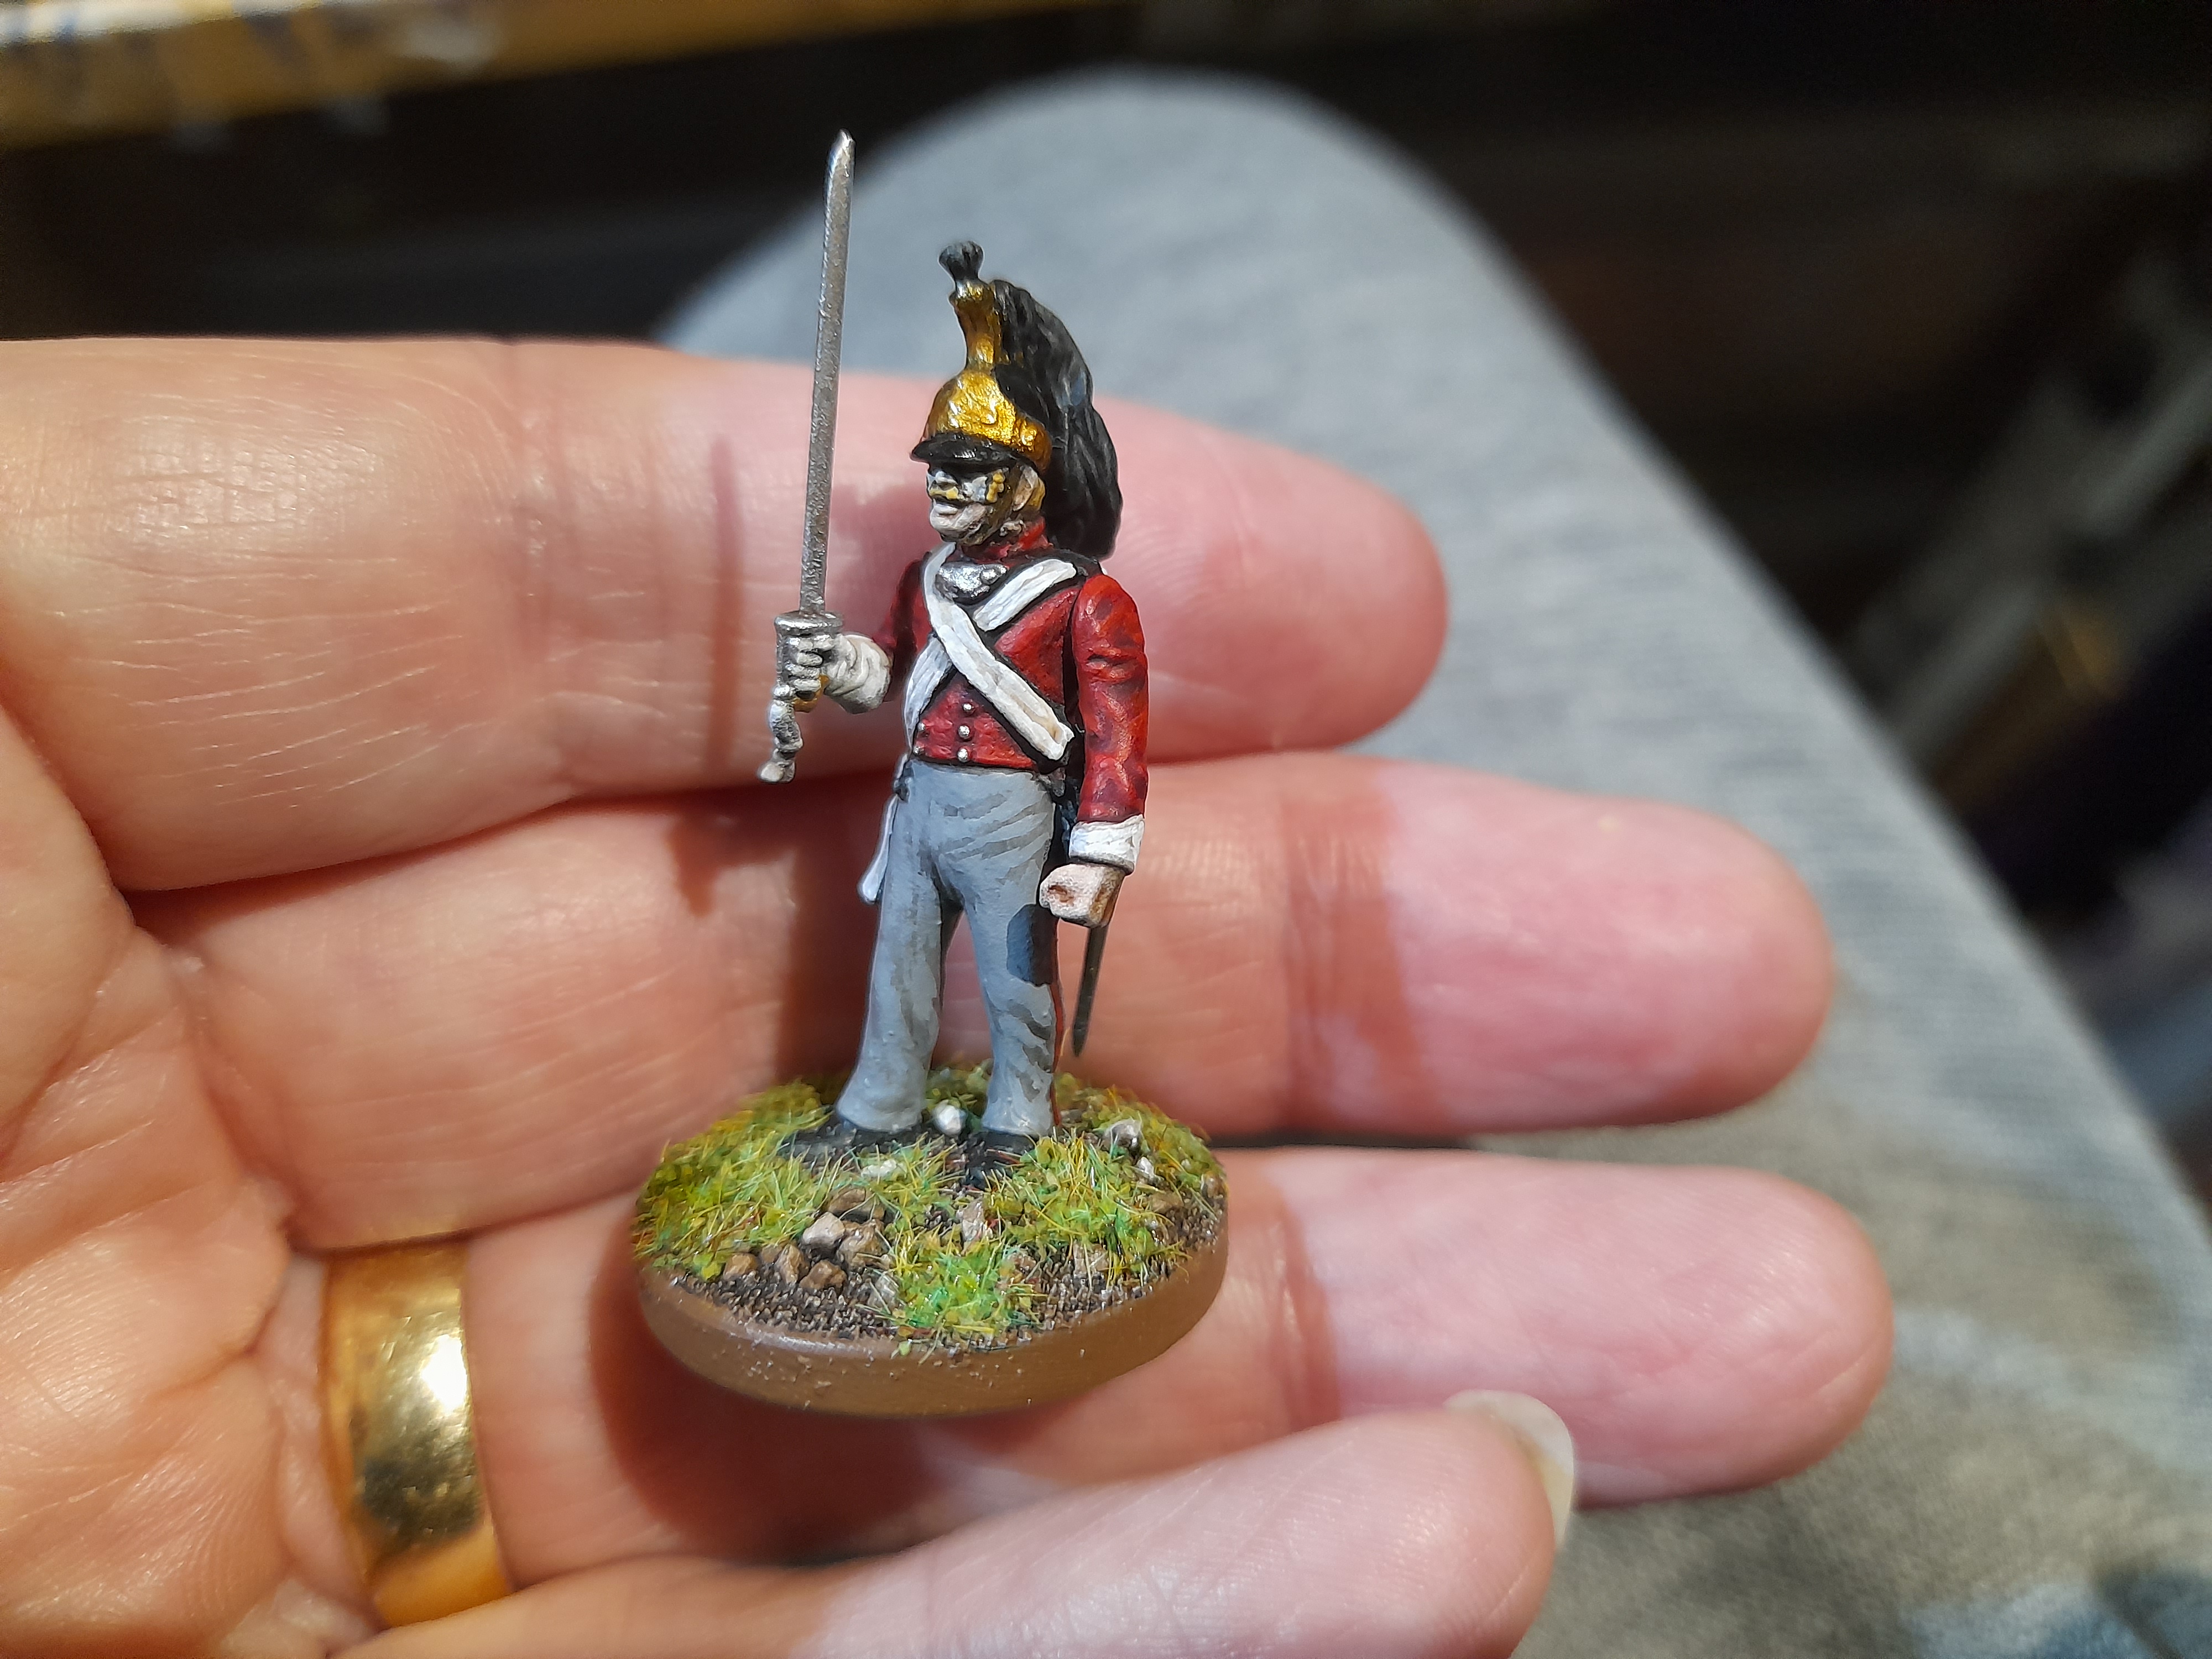
Then various finishing touches, buttons, gave the body of the helmet a gloss varnish and the humans were done.
The horse….well, I just couldn’t get on with that at first. But took it in slow stages, adding the saddle colours, the pack colours etc. Picked out the reins in an earthy brown. I did add contrast black to the lower legs and to the nose, which helped somewhat to make it look more like an actual horse 😊. Then a general wash all over, and some minor highlighting.
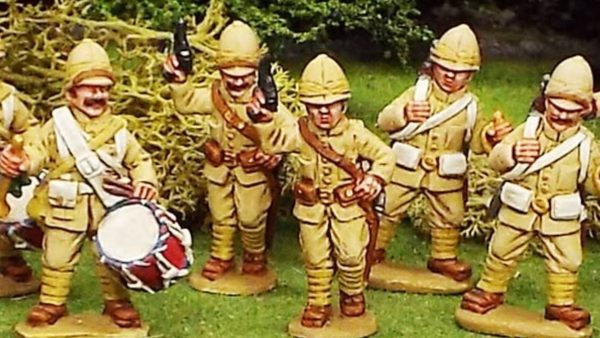
Highlanders, and Highlander zombie
13th February 2025
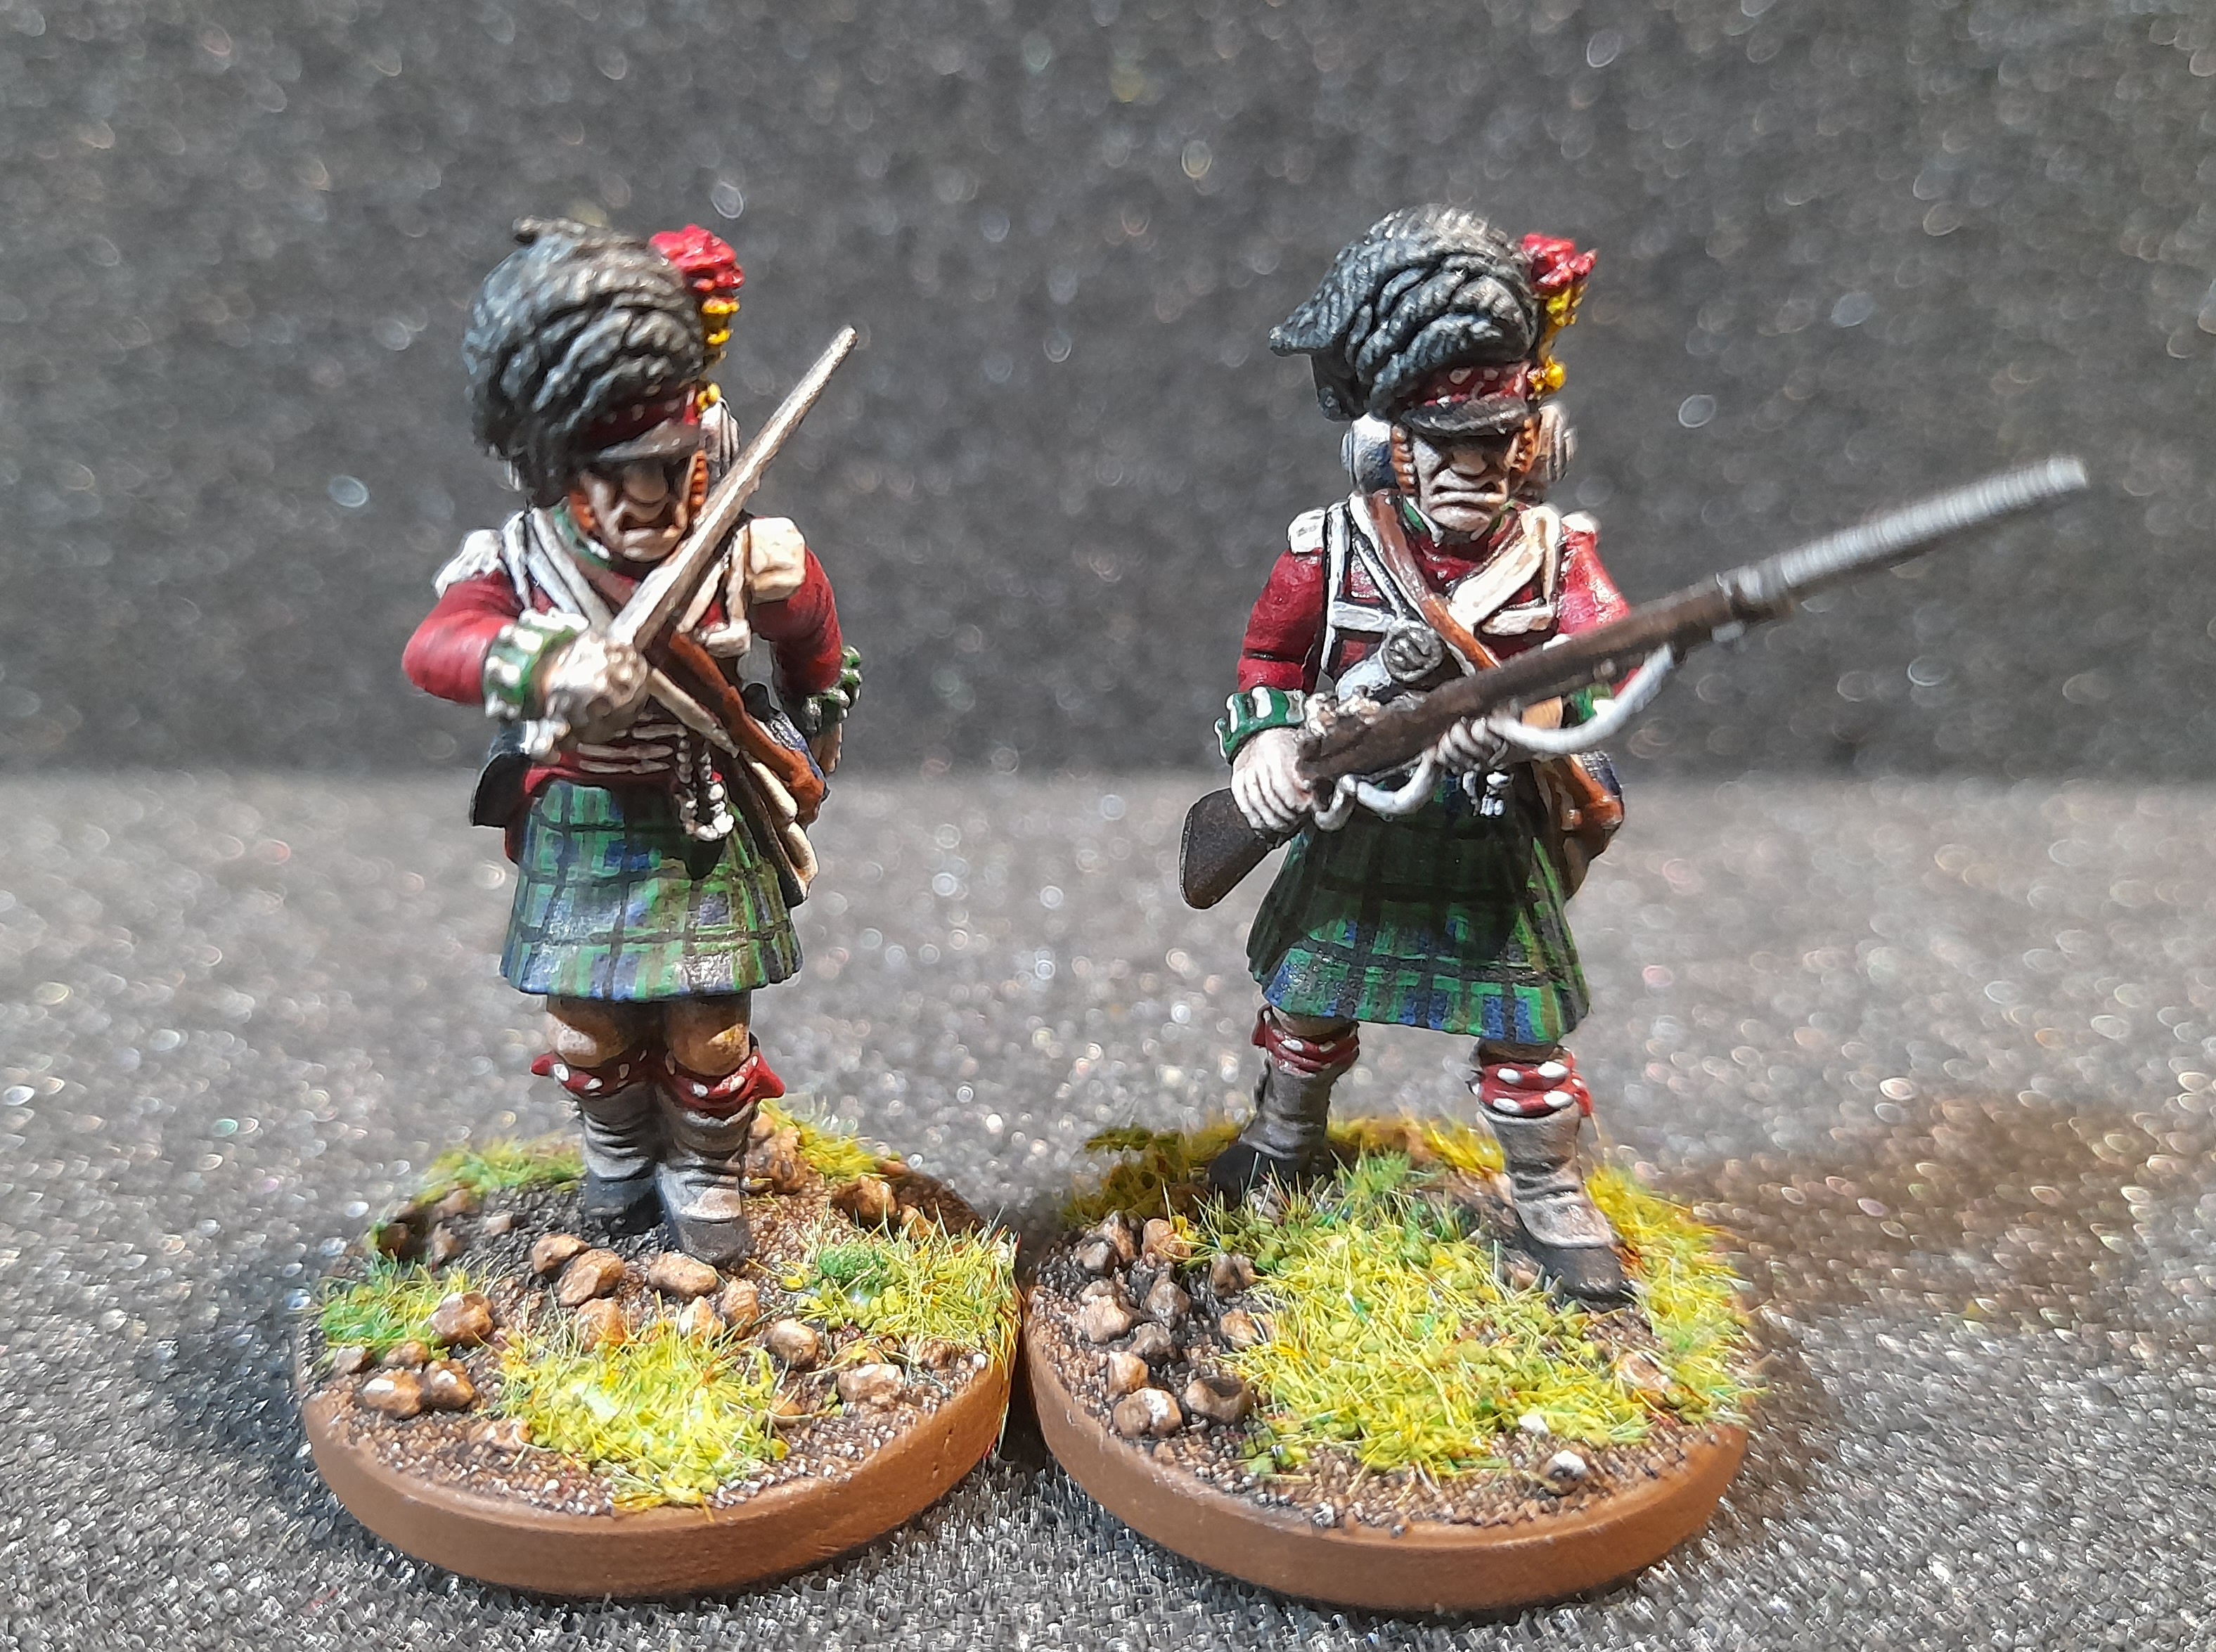
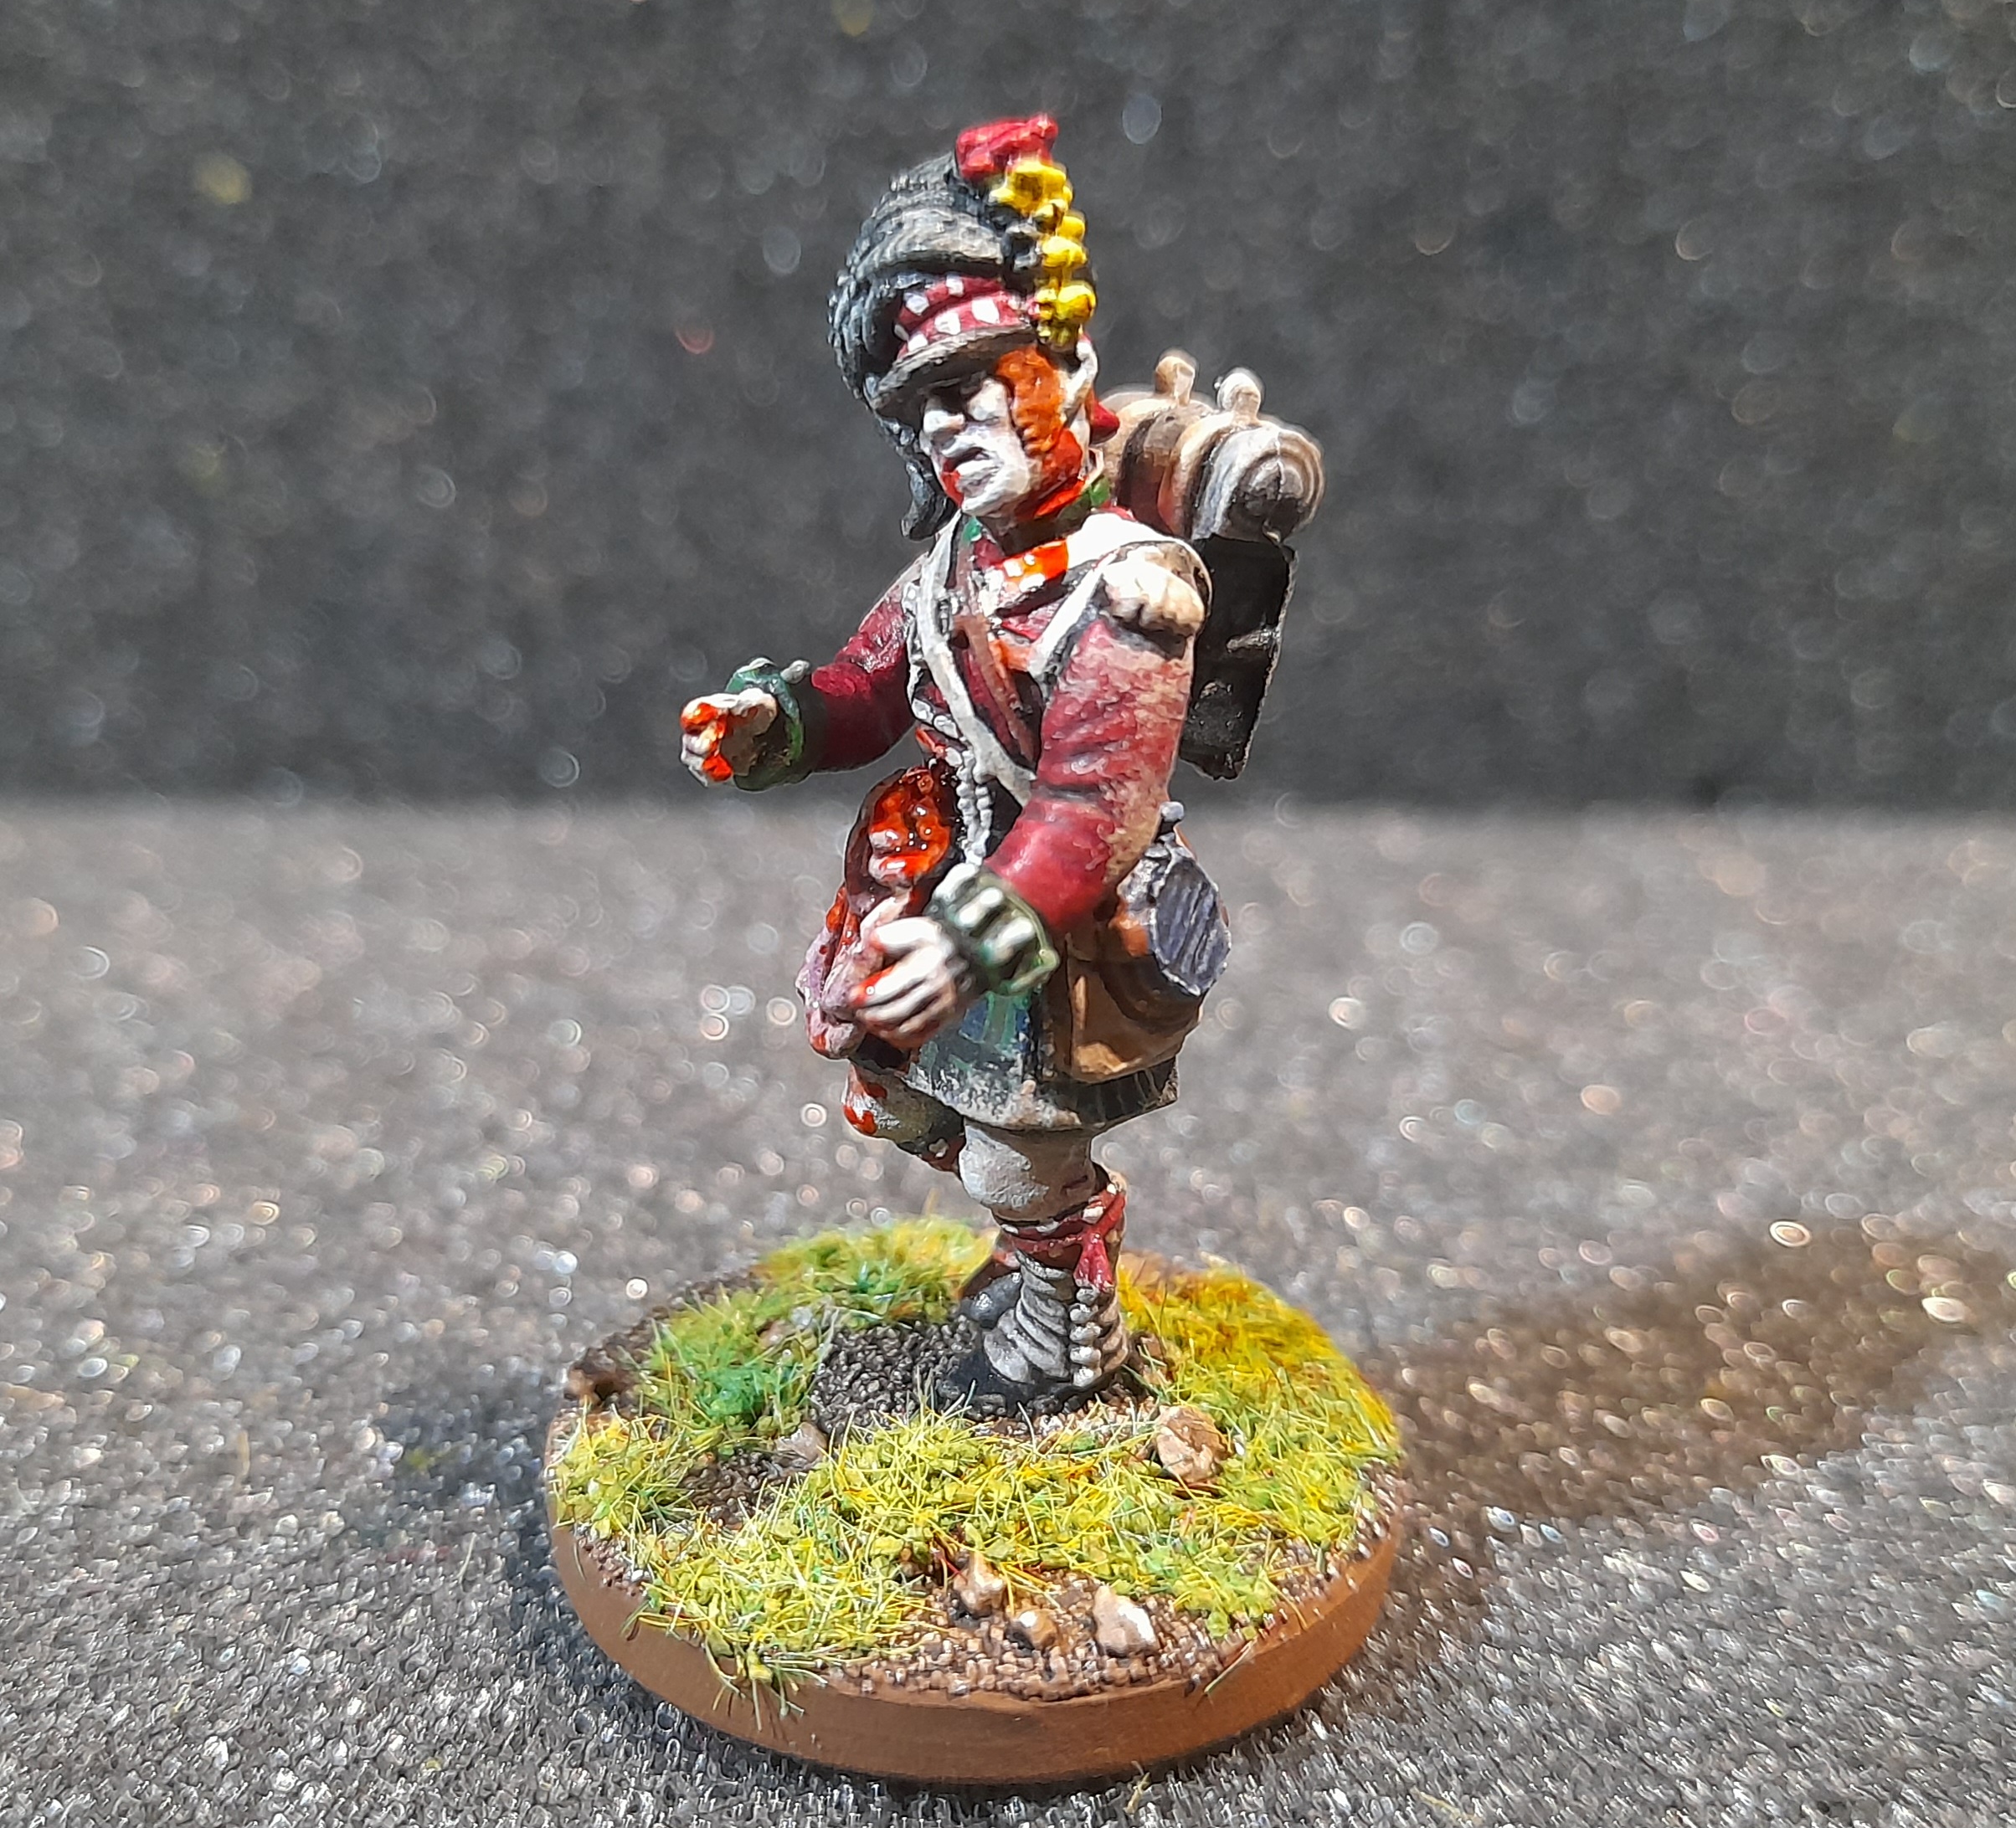
First of the new batch to receive paint were the Highlanders. Mainly because they are quite similar to the majority of the other infantry that I painted.
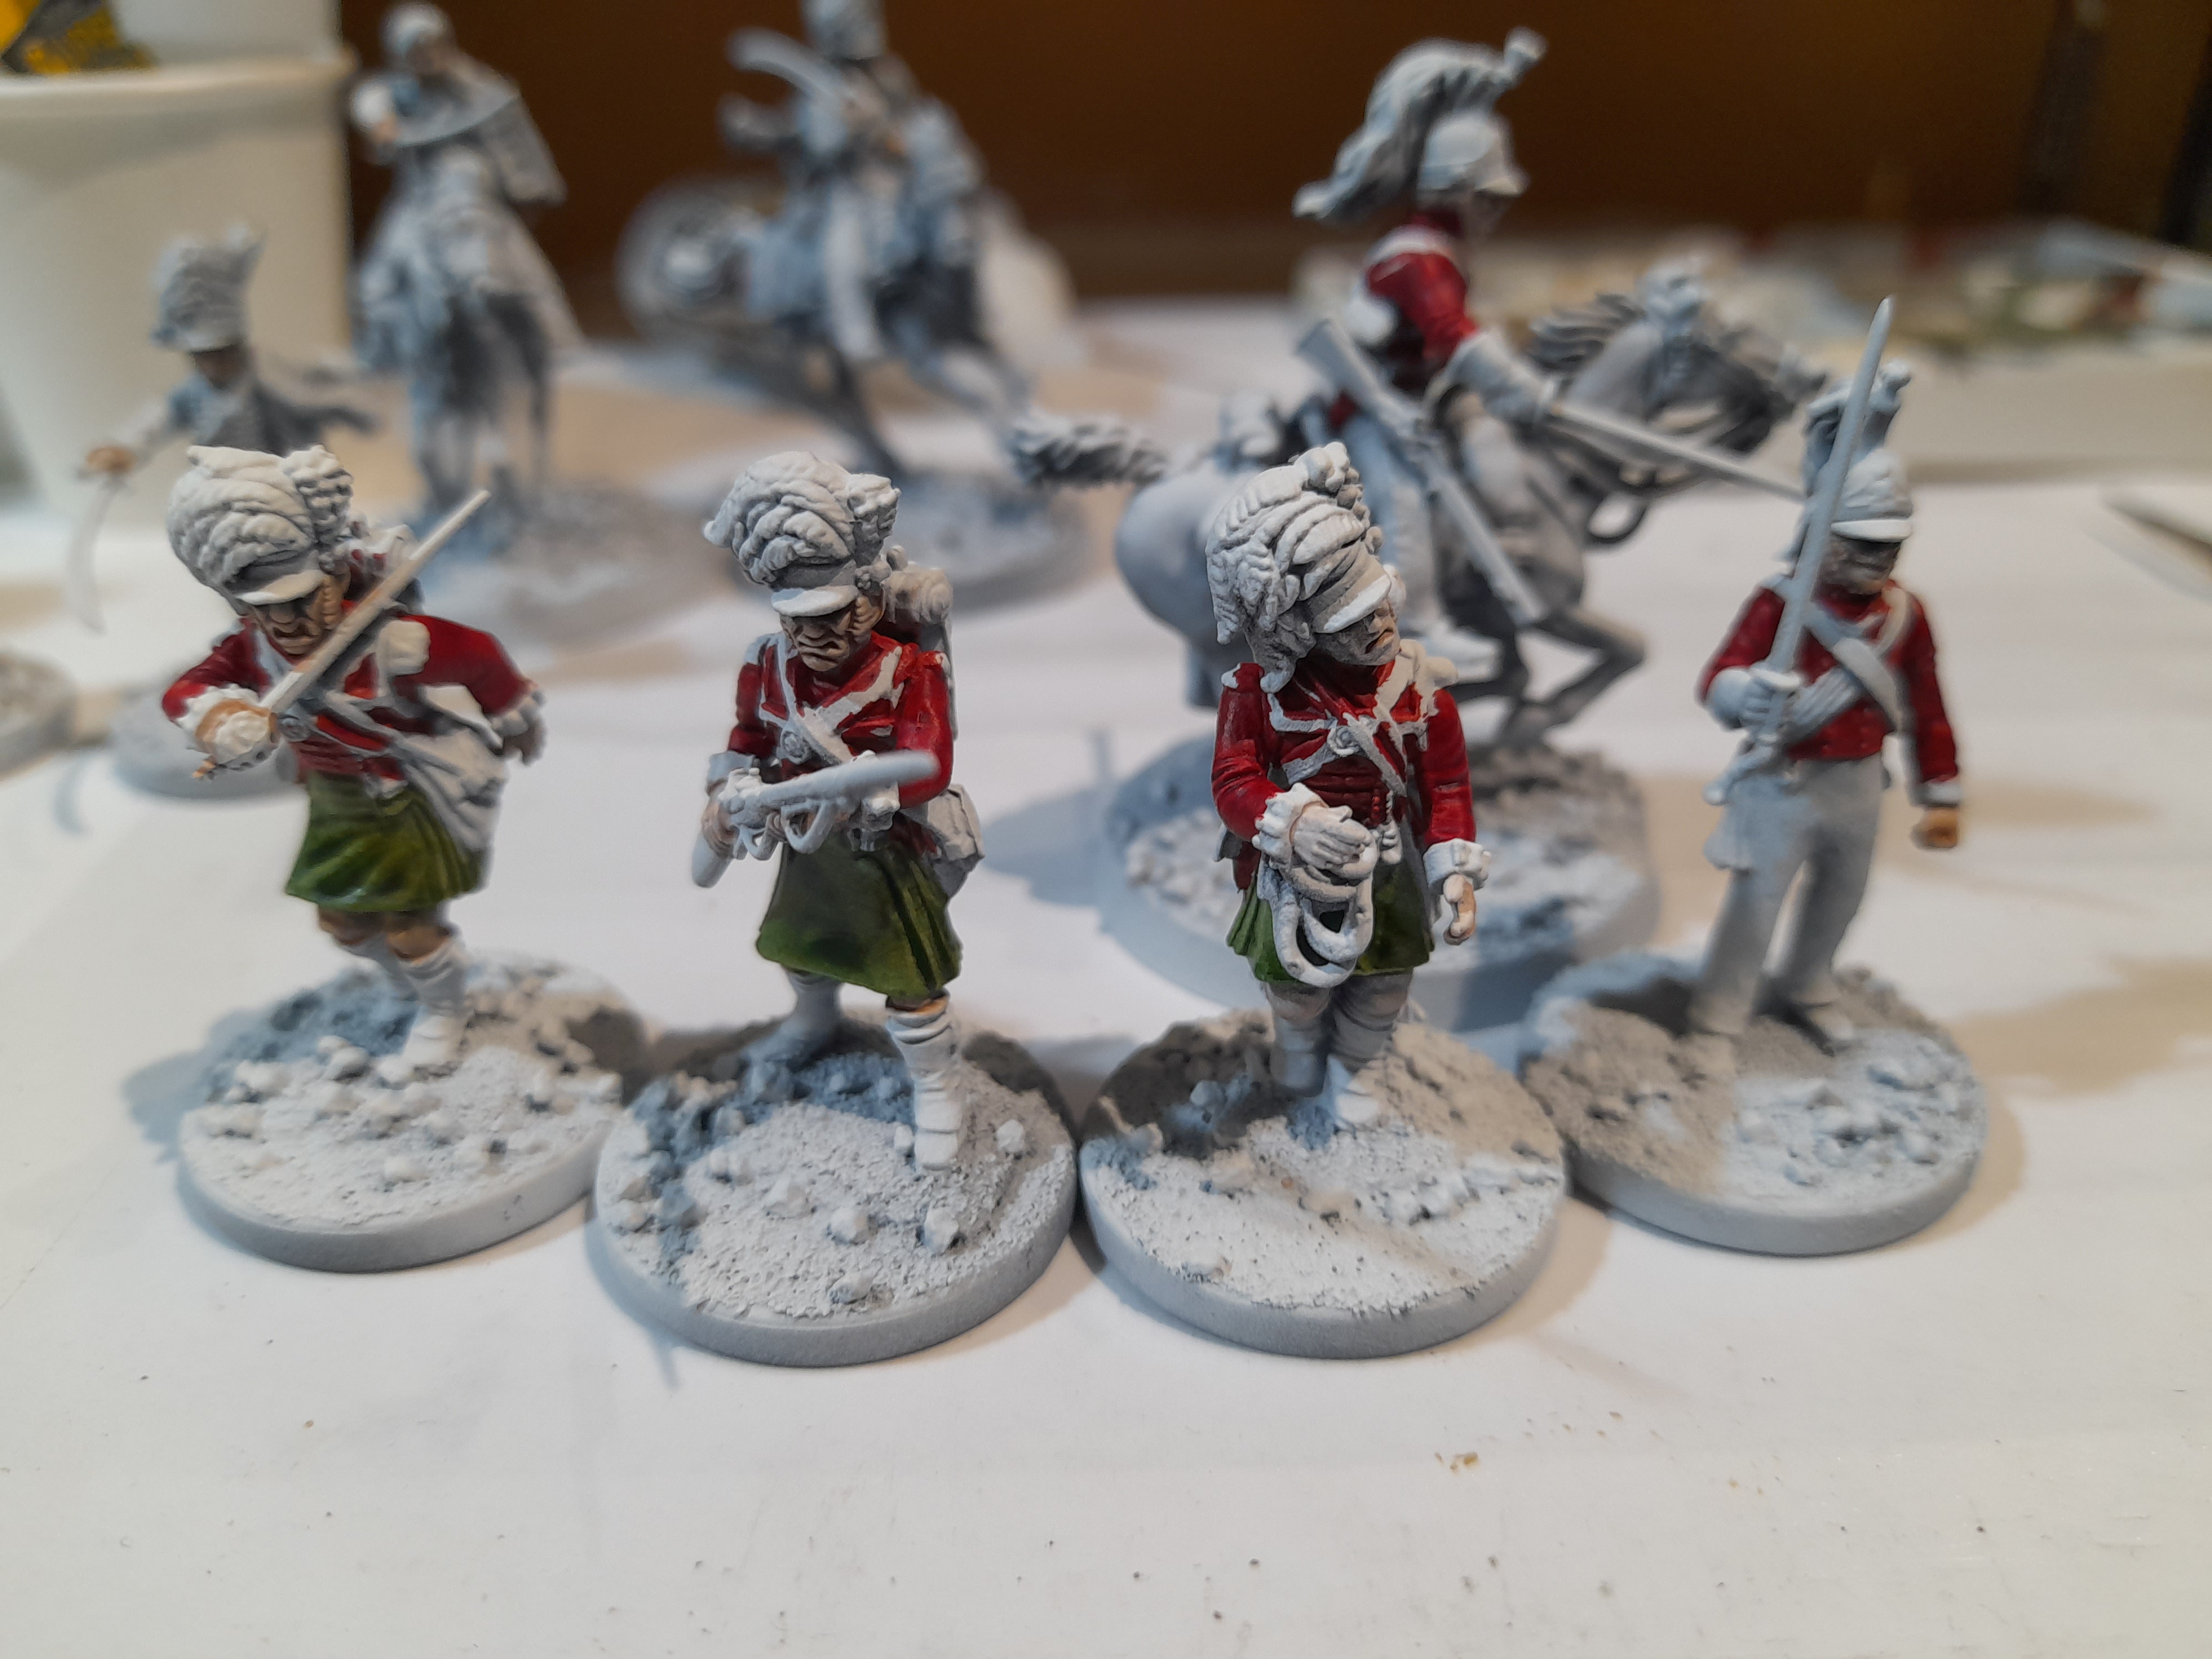
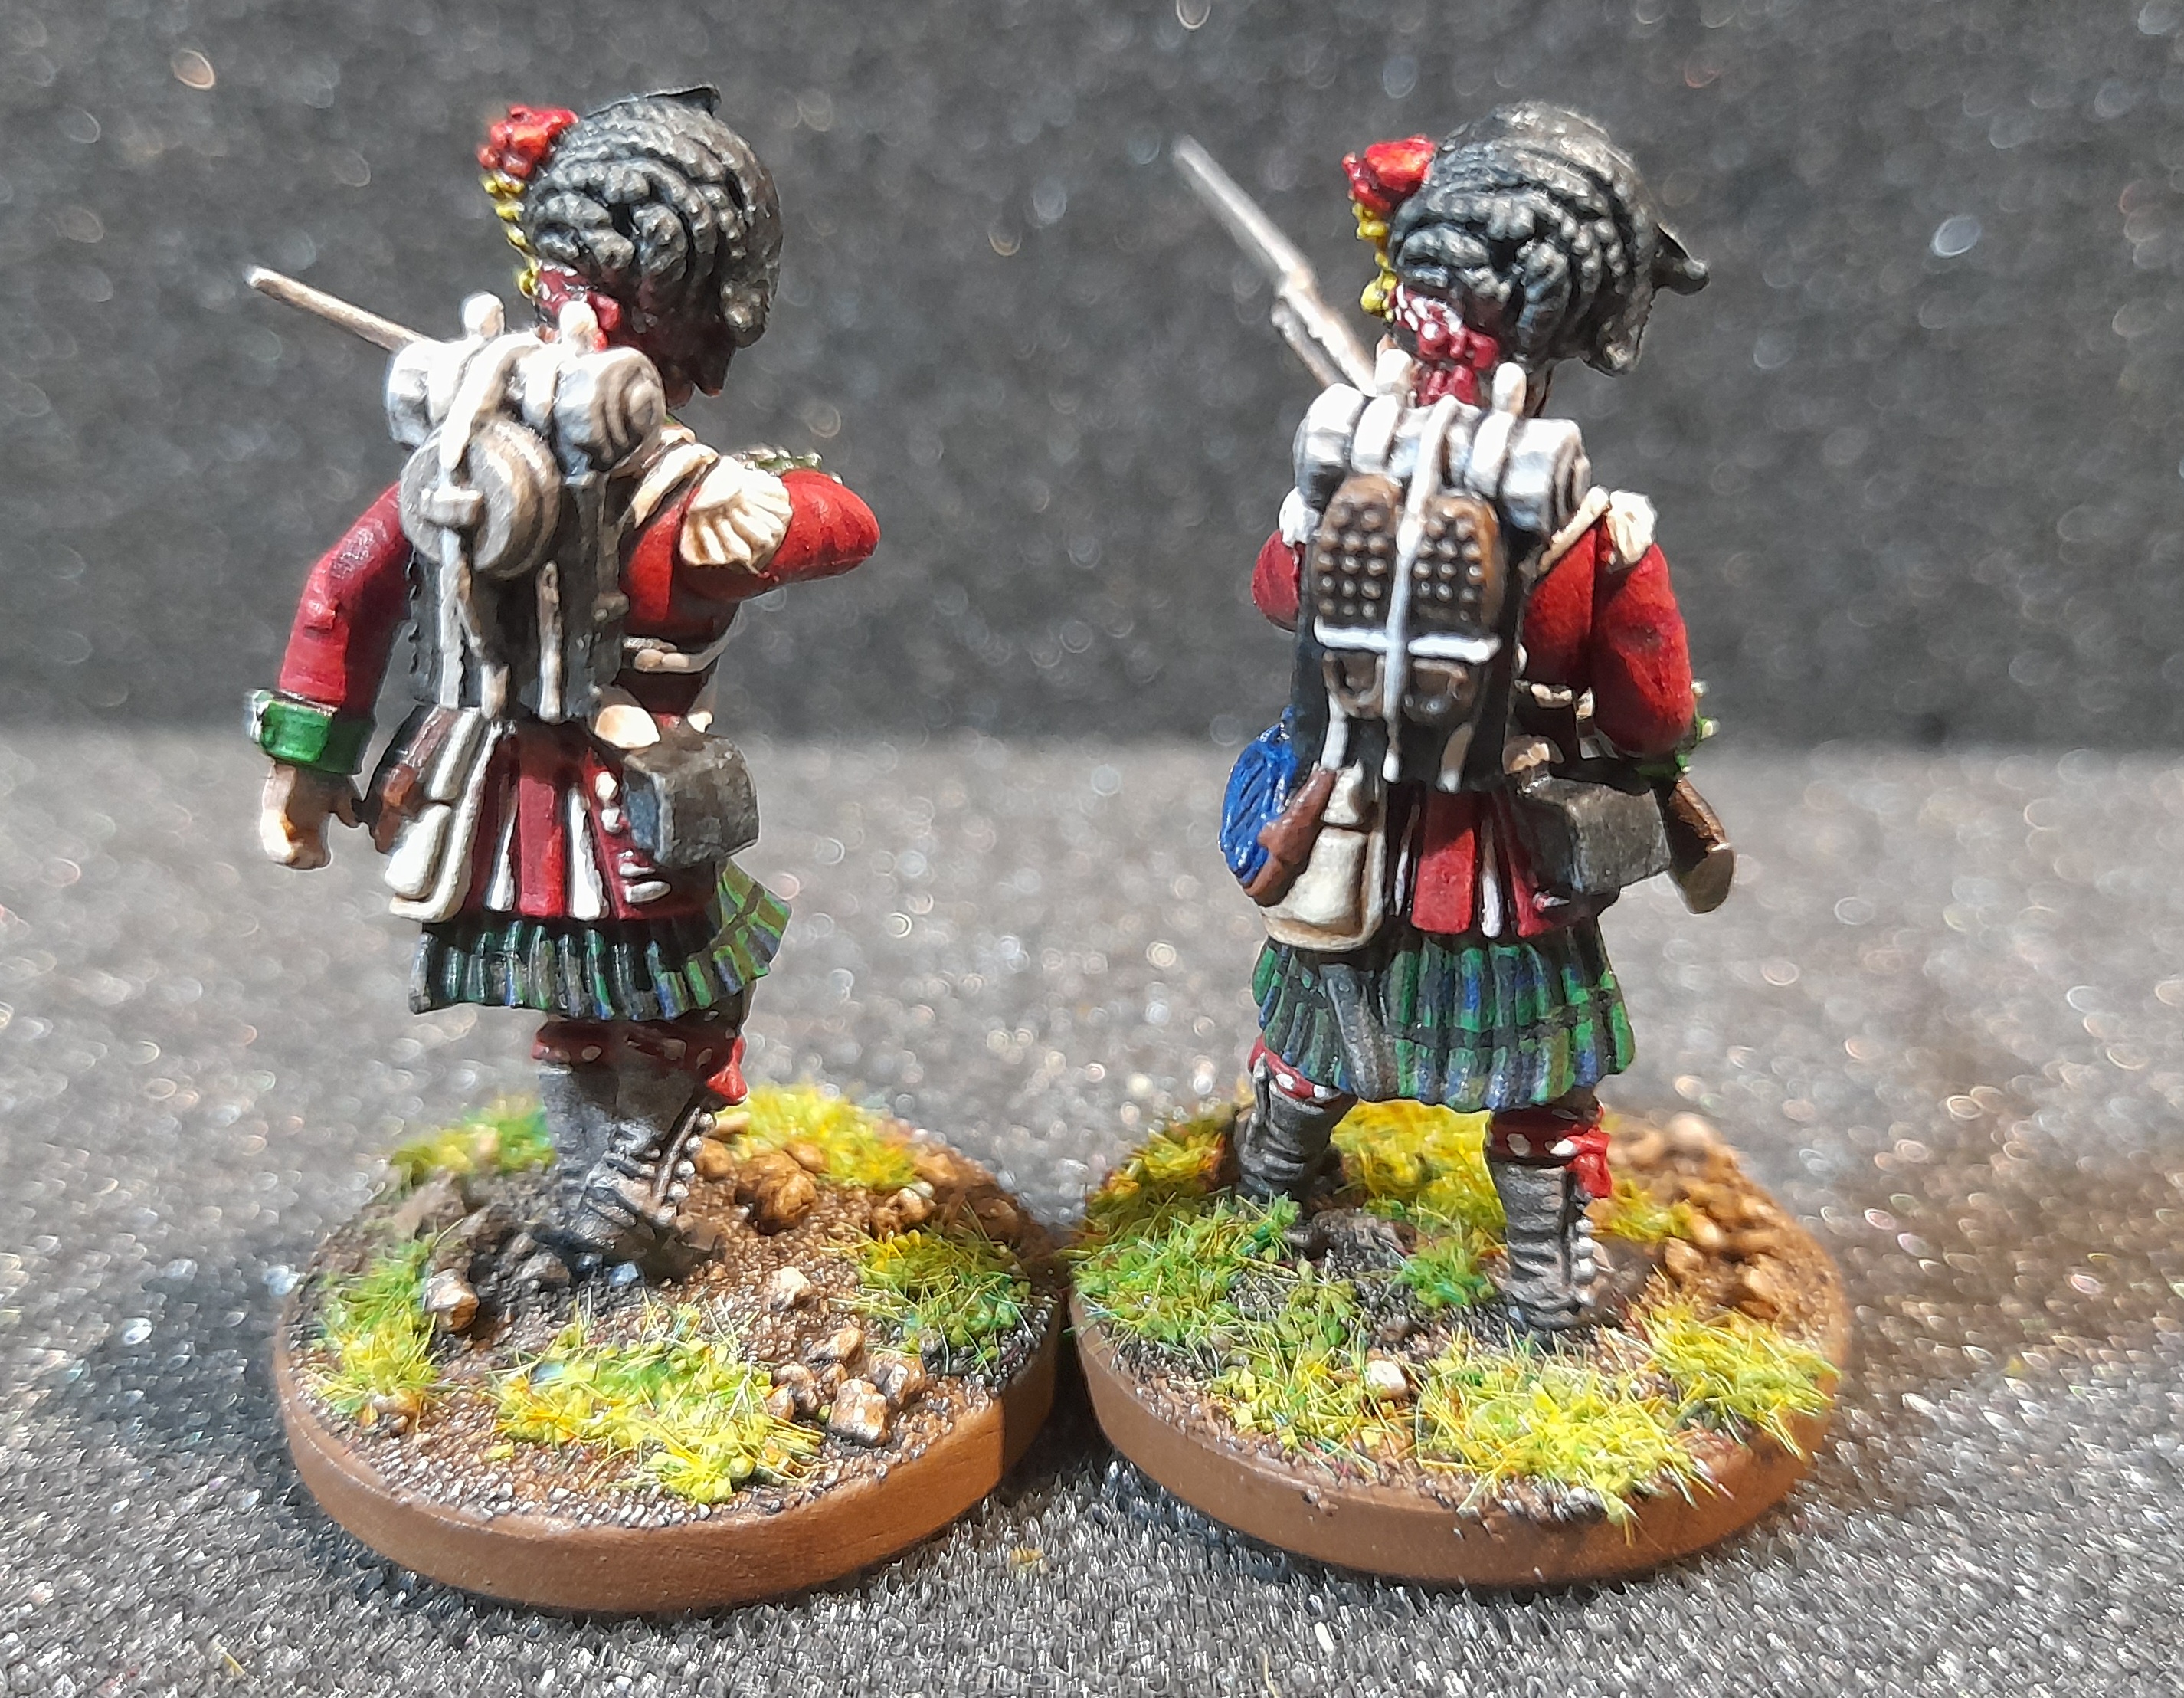
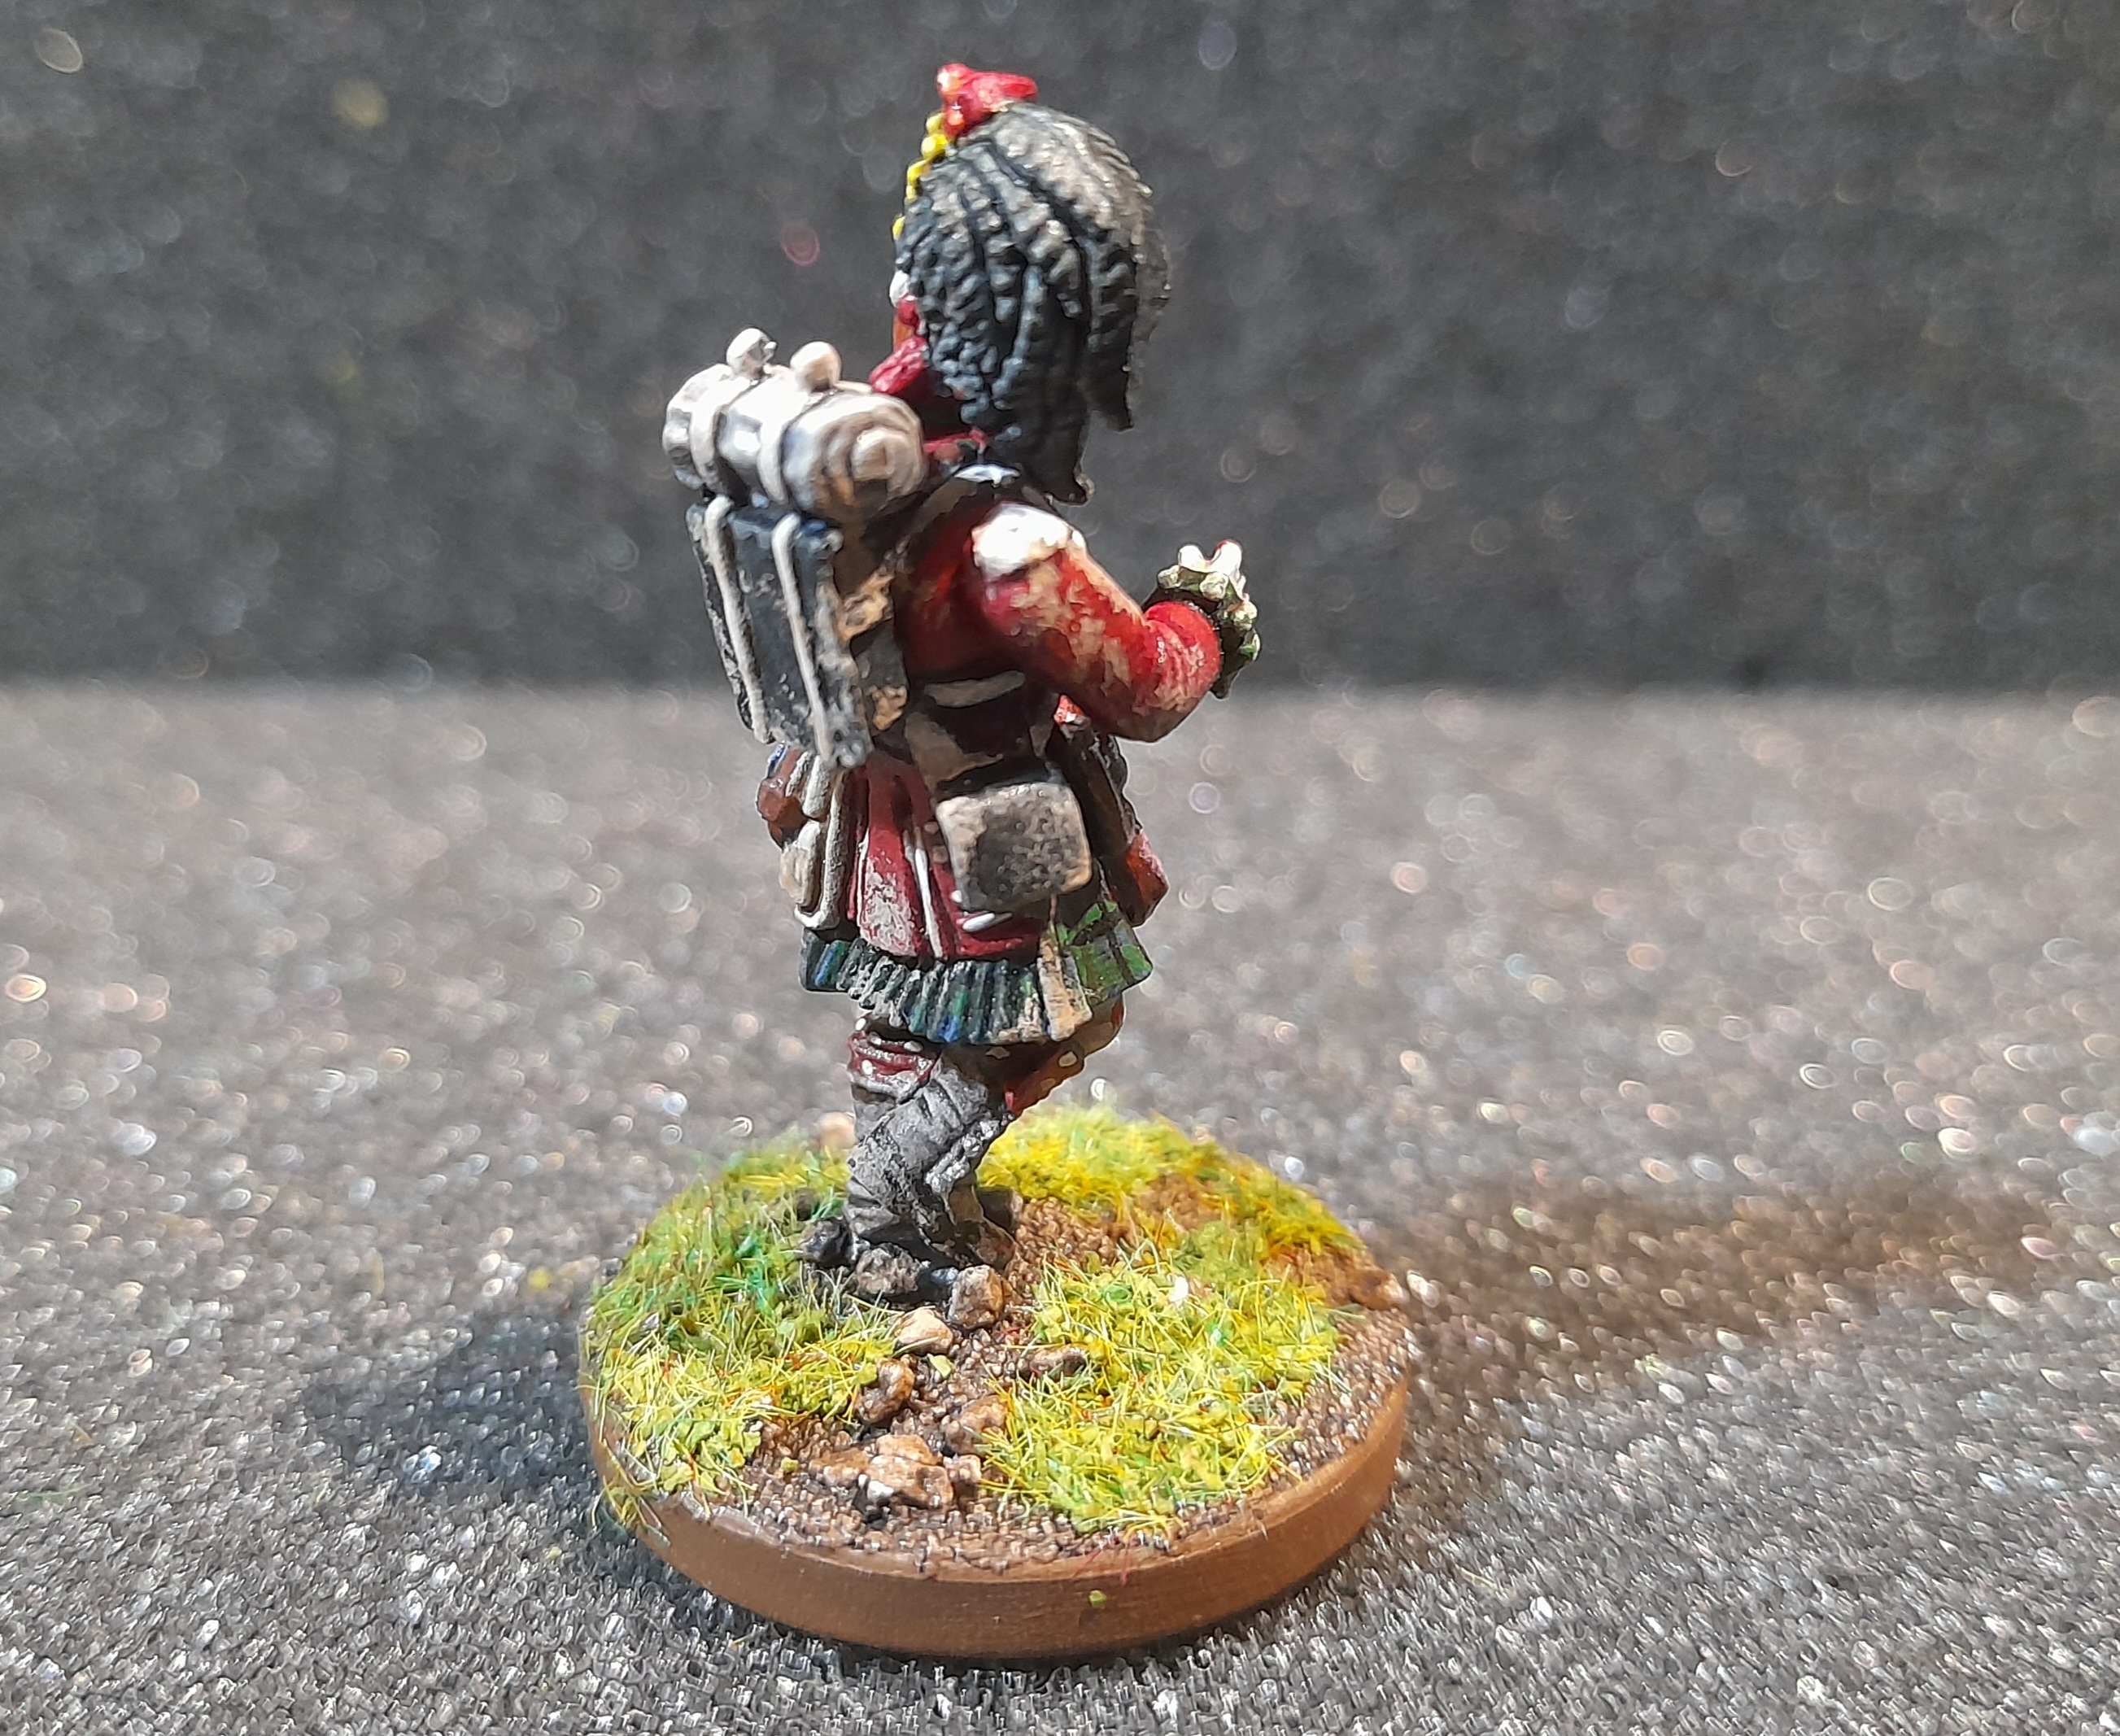
They were done in much the same way as the other infantry. Started out with the red, blocked in the skin, the straps and pouches, backpack etc.
The main, and iconic, difference here were the kilts. I was aware that I would not be able to paint a proper tartan, so I planned out a pattern that would do the job of looking like tartan.
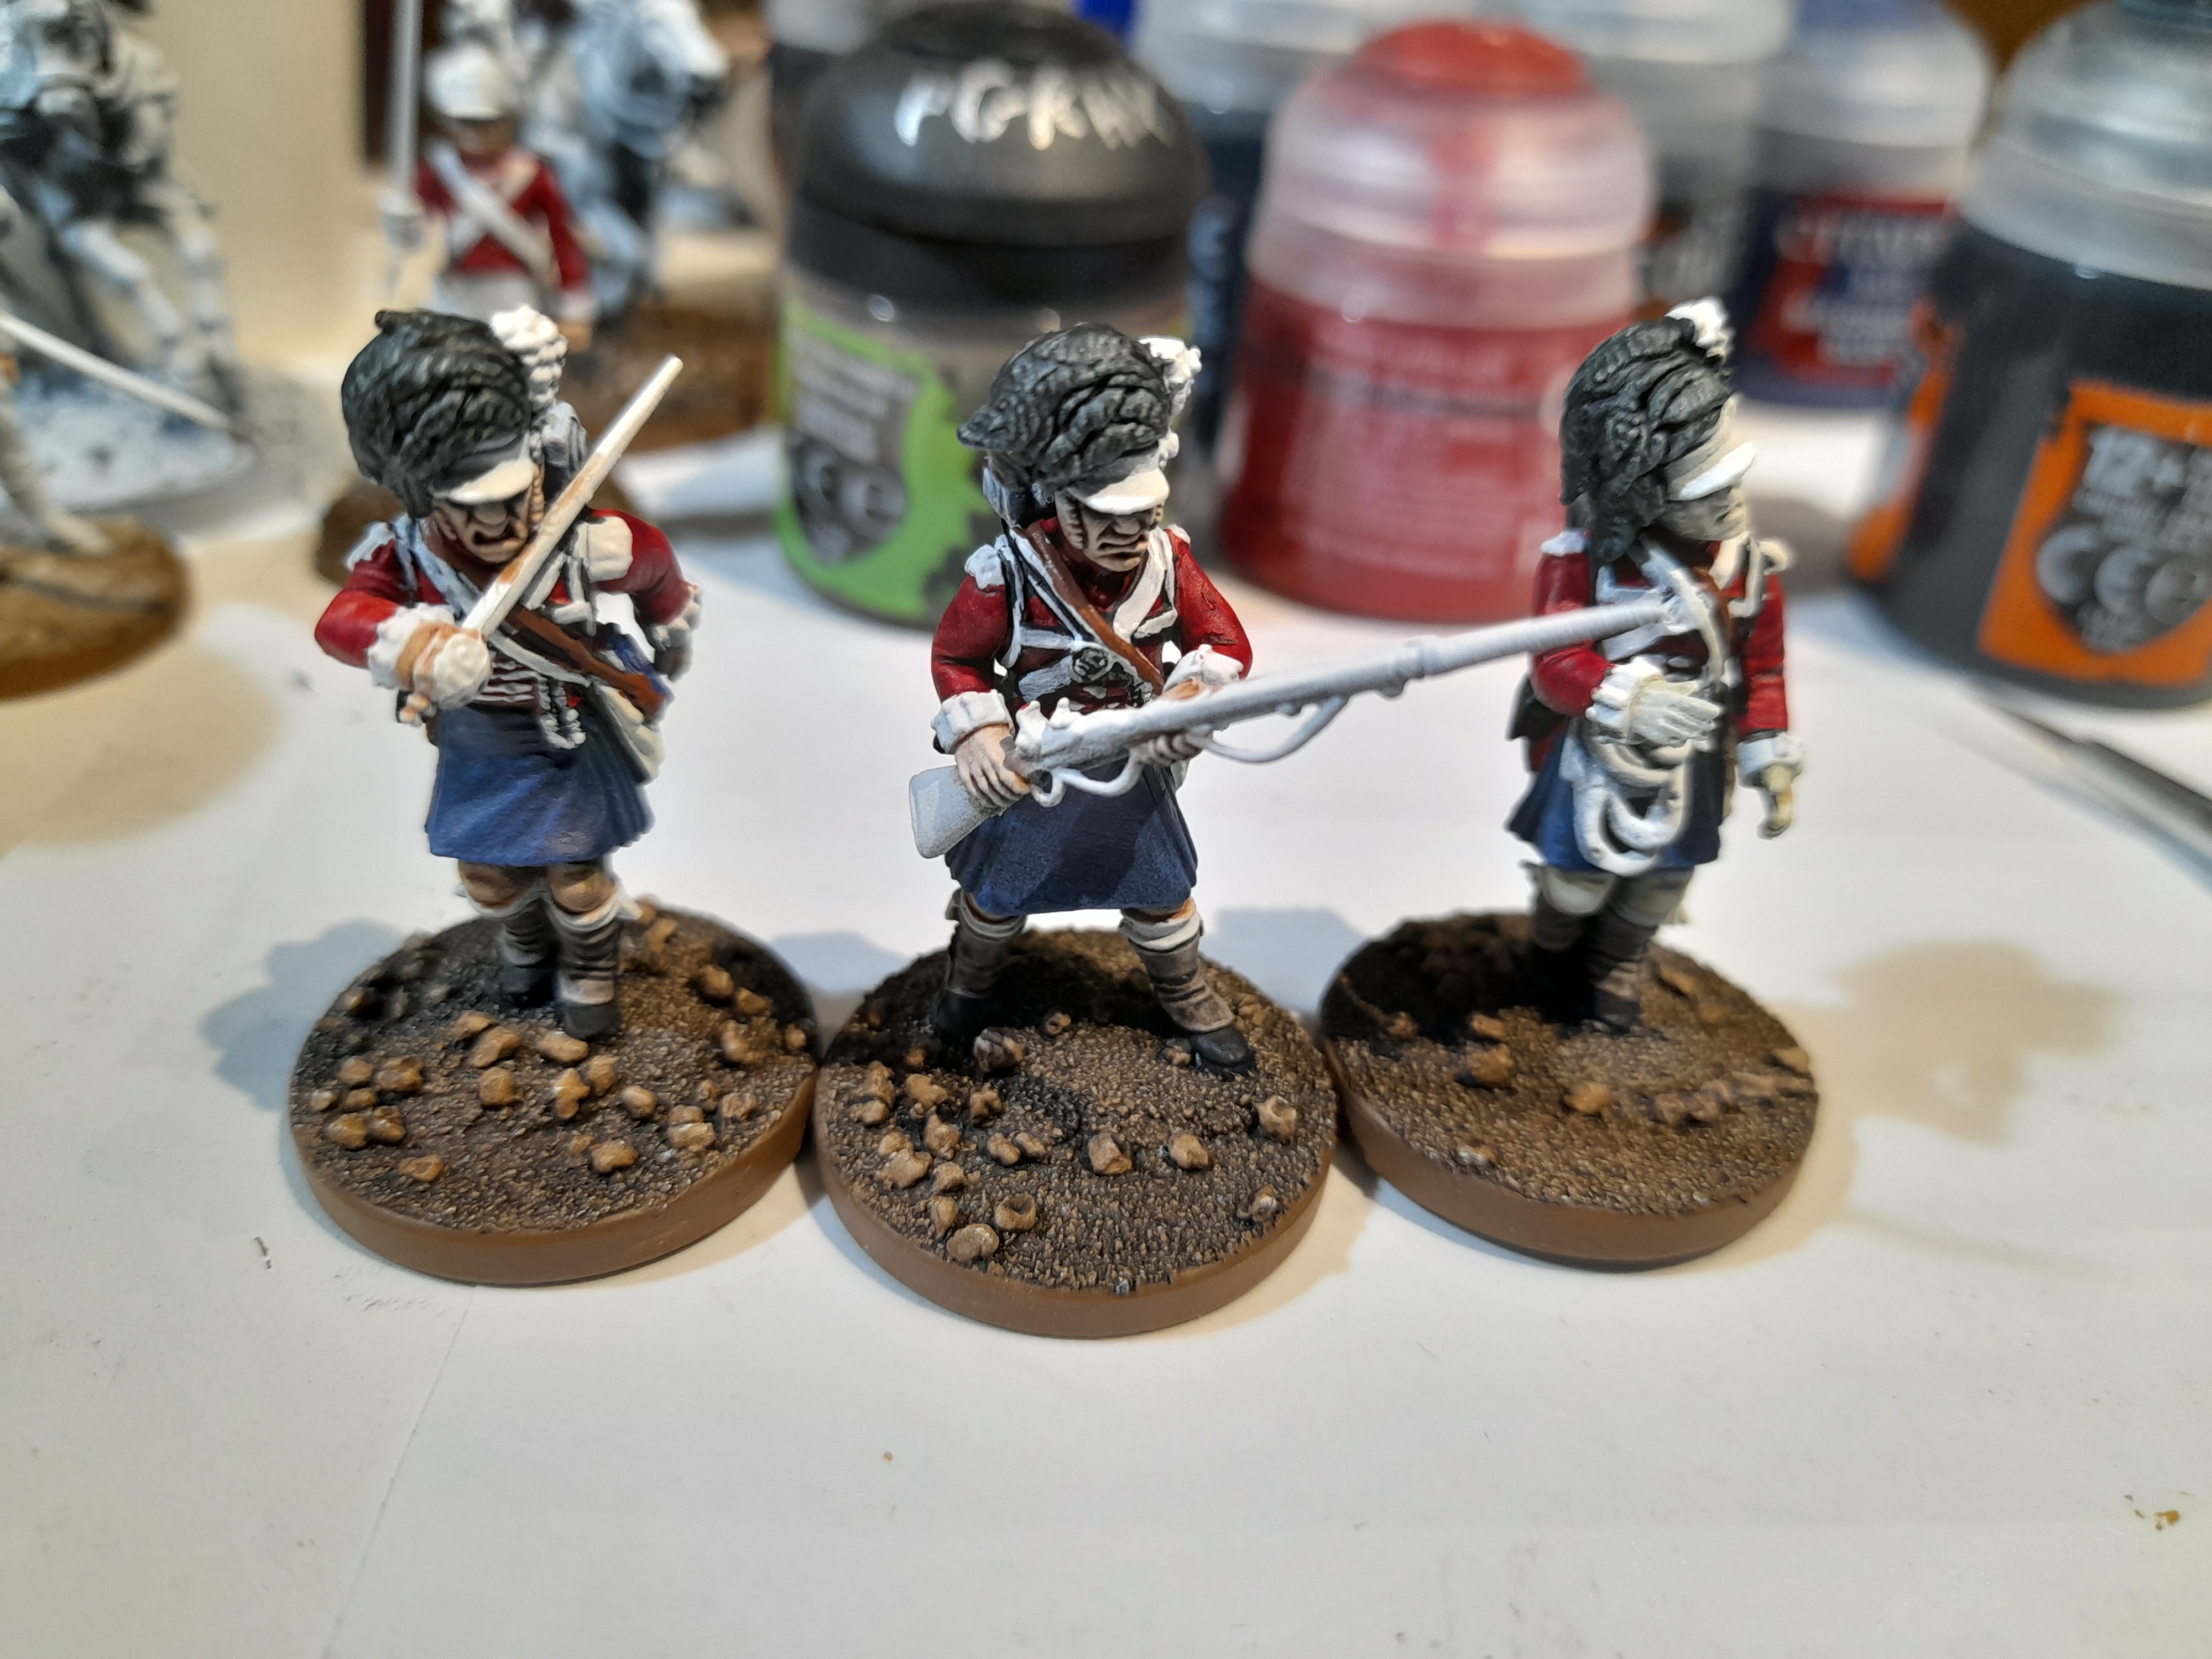
Initially I painted the kilt green, then realised that I actually needed them to be blue, so re painted them. They had a wash and drybrush, then I followed my plan for the next stages.
As a test I painted it on some scrap paper first.
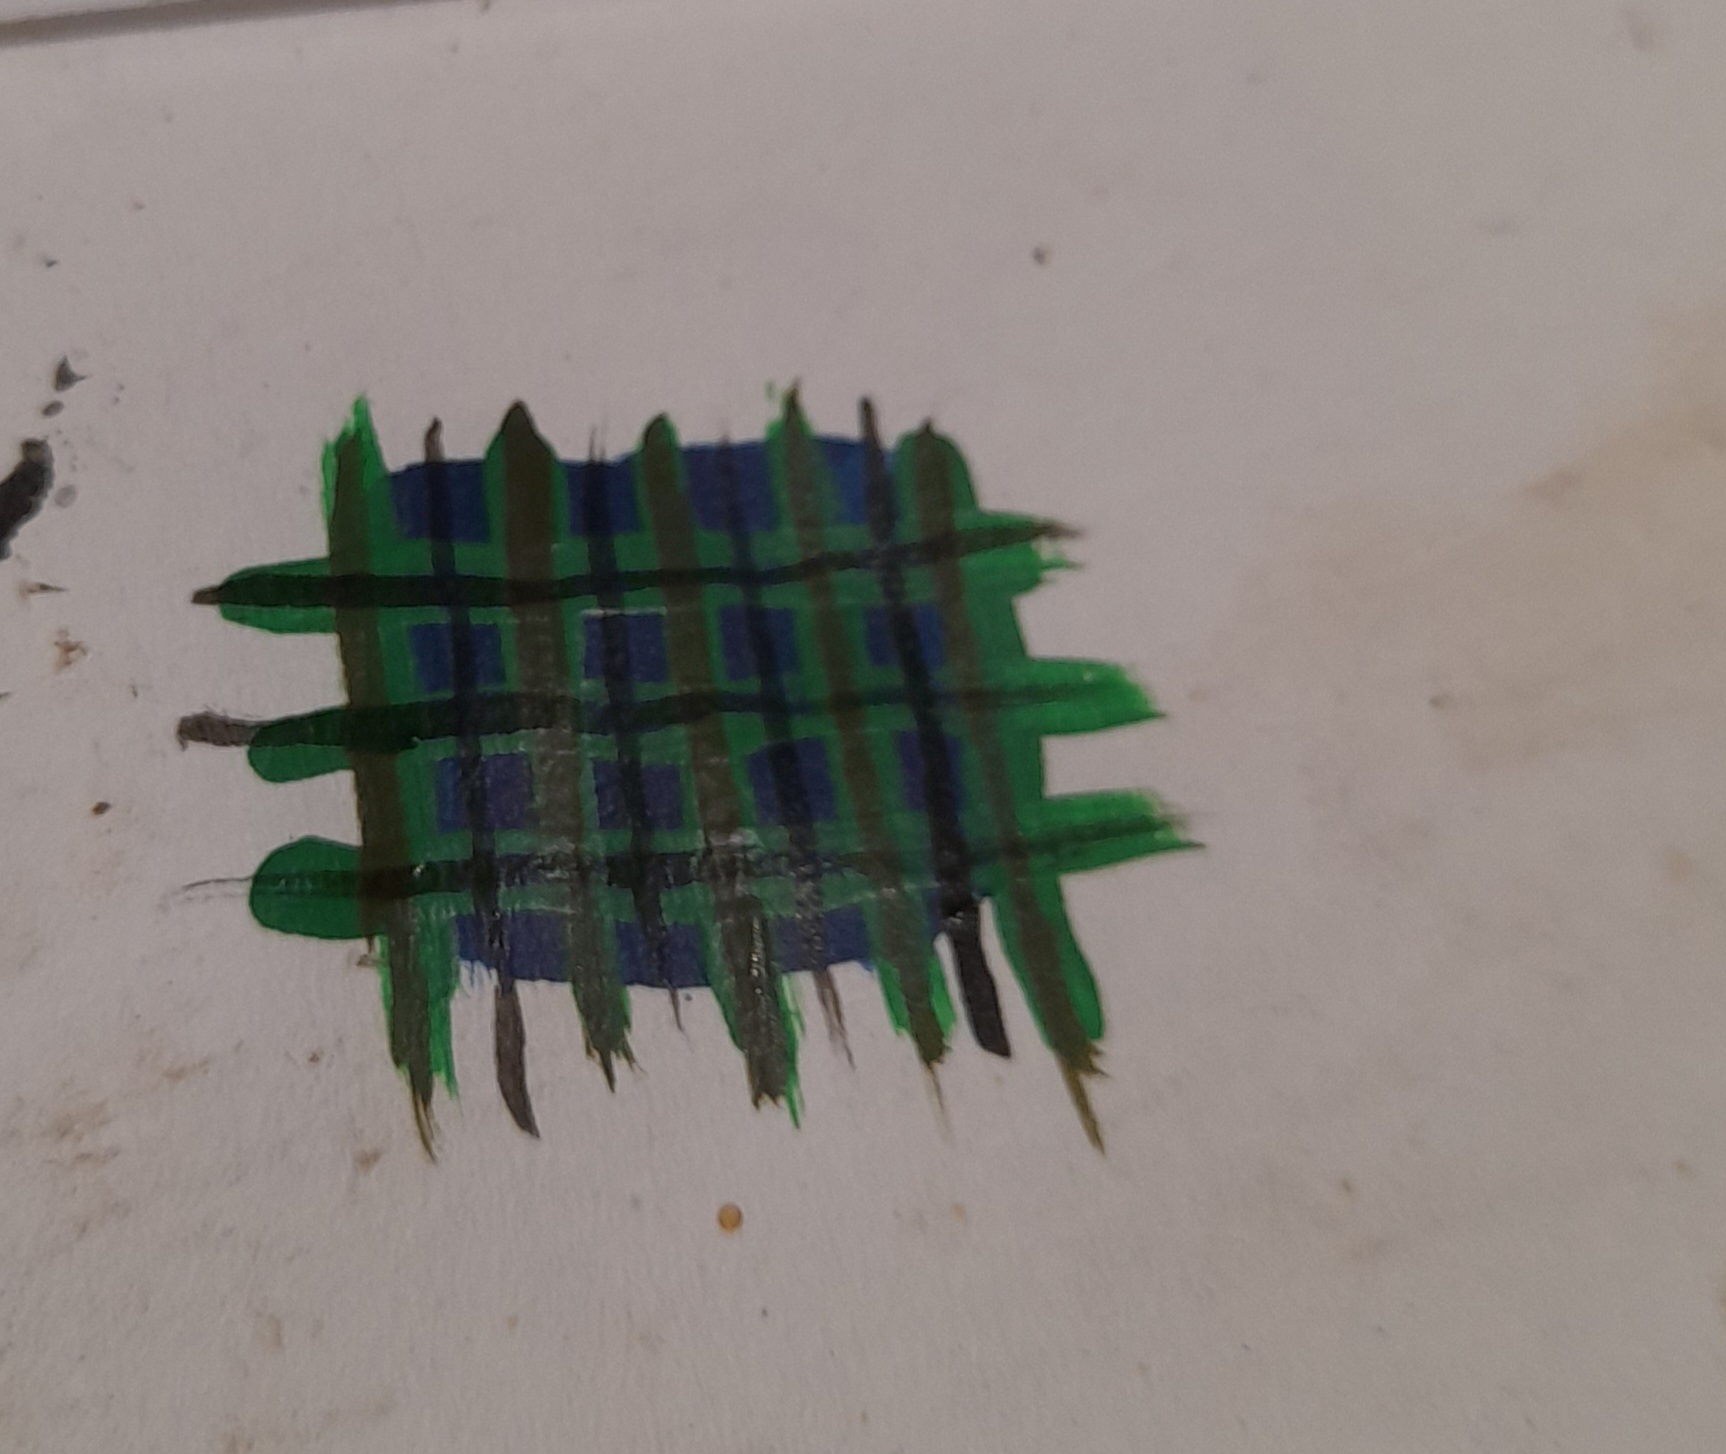
Started with blue, followed by a grid of mid green. Next up I painted a thinner line of a darker green/brown down the middle of the vertical green lines. Then it was on to the black. The thin lines of these were painted vertically through the blue squares, and horizontally through the green stripes.
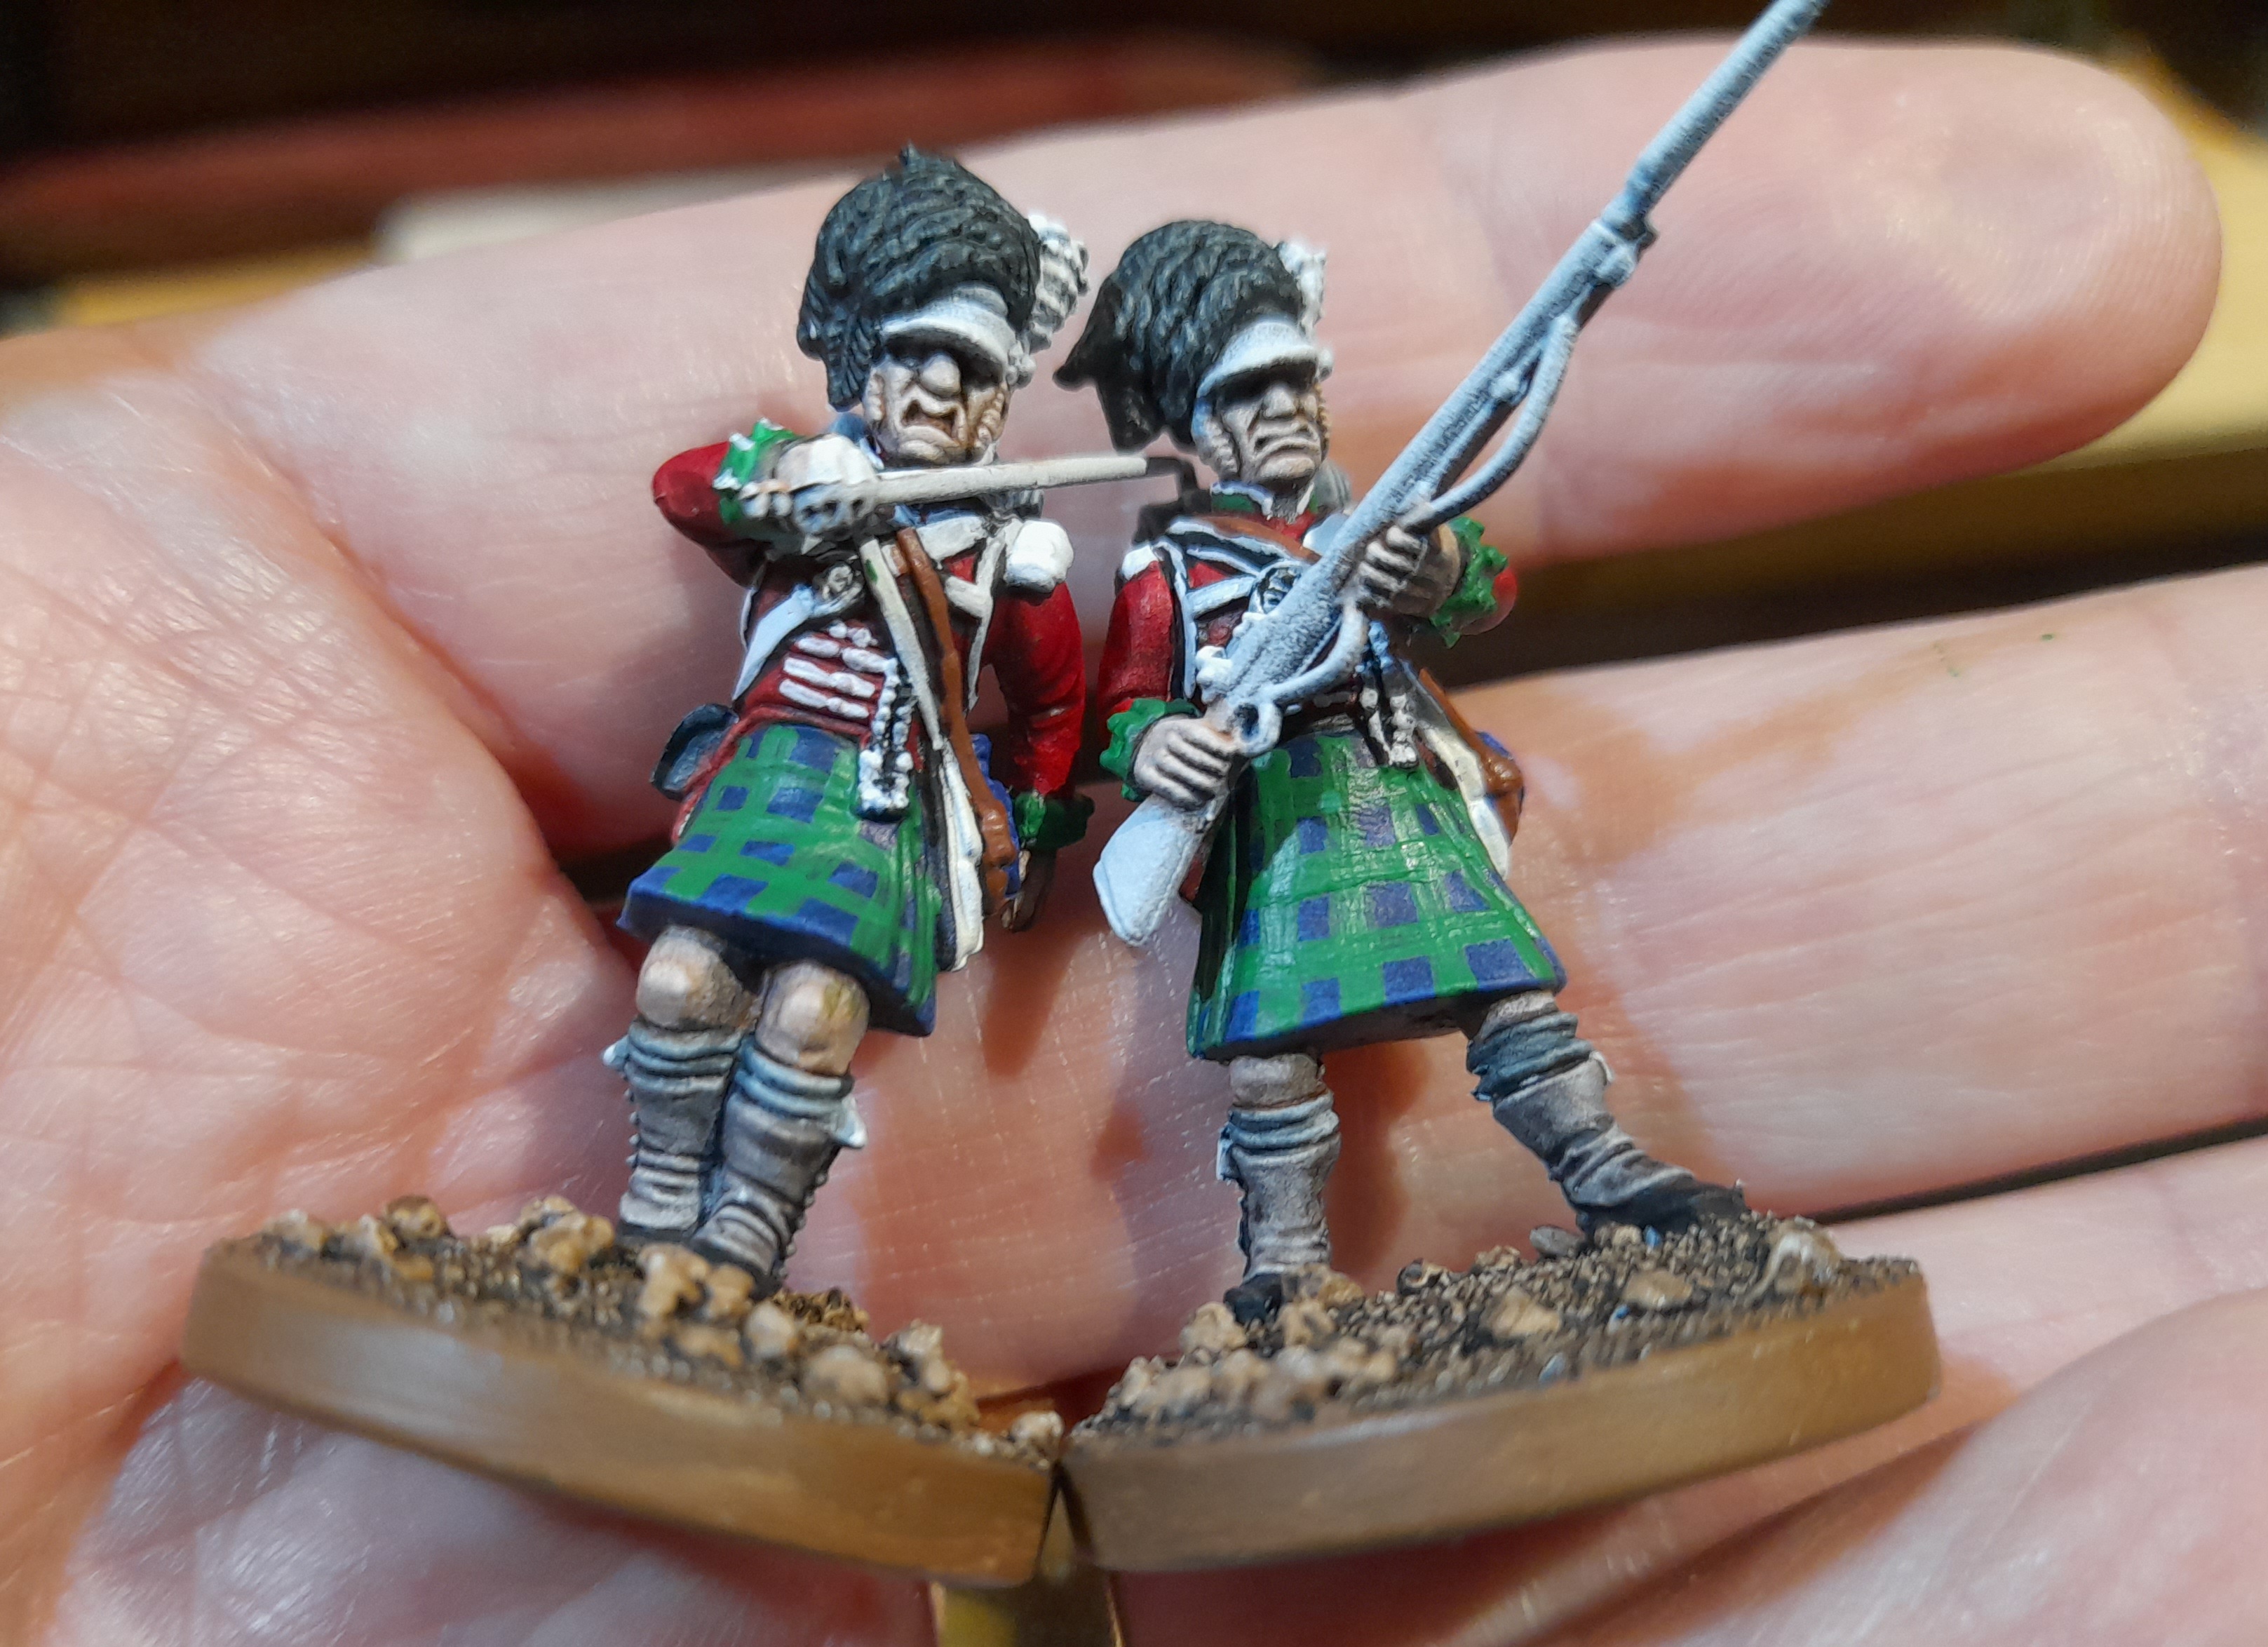

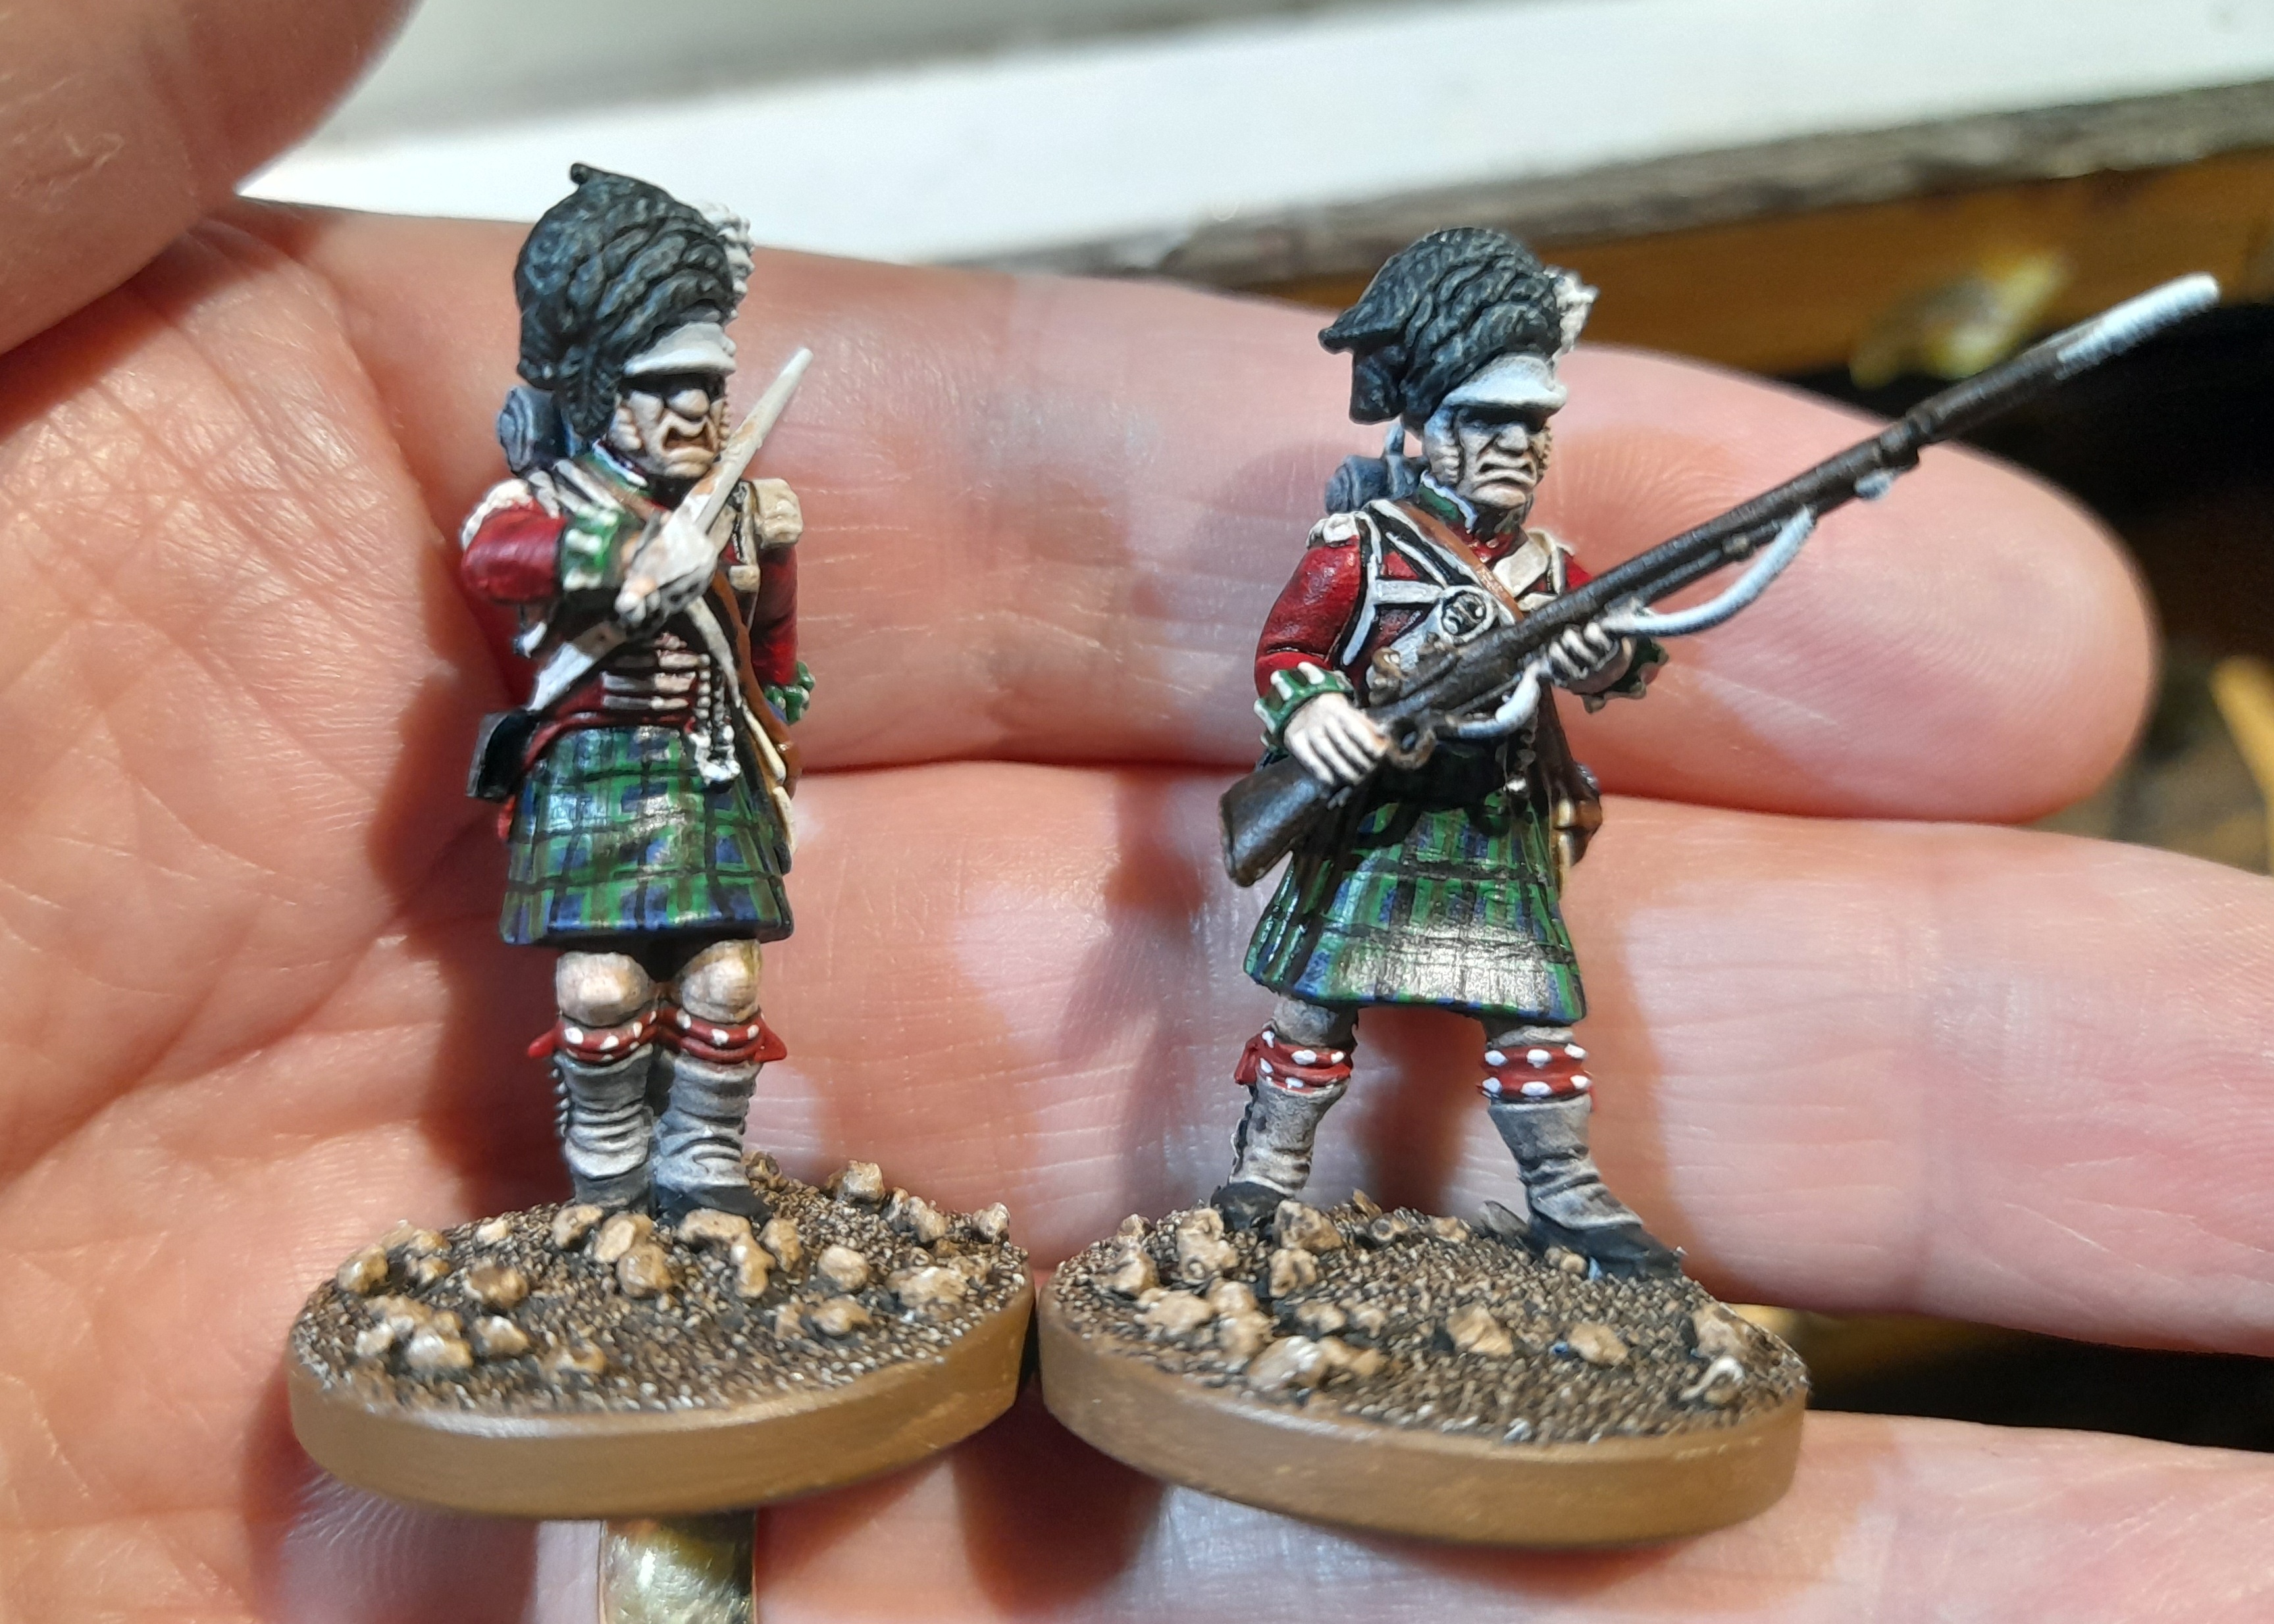
Another element that makes them ‘read’ more as highlanders are the red and white socks and headband. I don’t have the brush control needed for tiny neat chequer patterns, so I went with a core of red, with a series of white dotty blobs, to try to emulate the pattern.
Then it was the usual finishing touches – an agrax wash, re highlighting straps and suchlike, mephiston red highlights on the jackets, picking out weapons, buttons and ‘gumpf’.
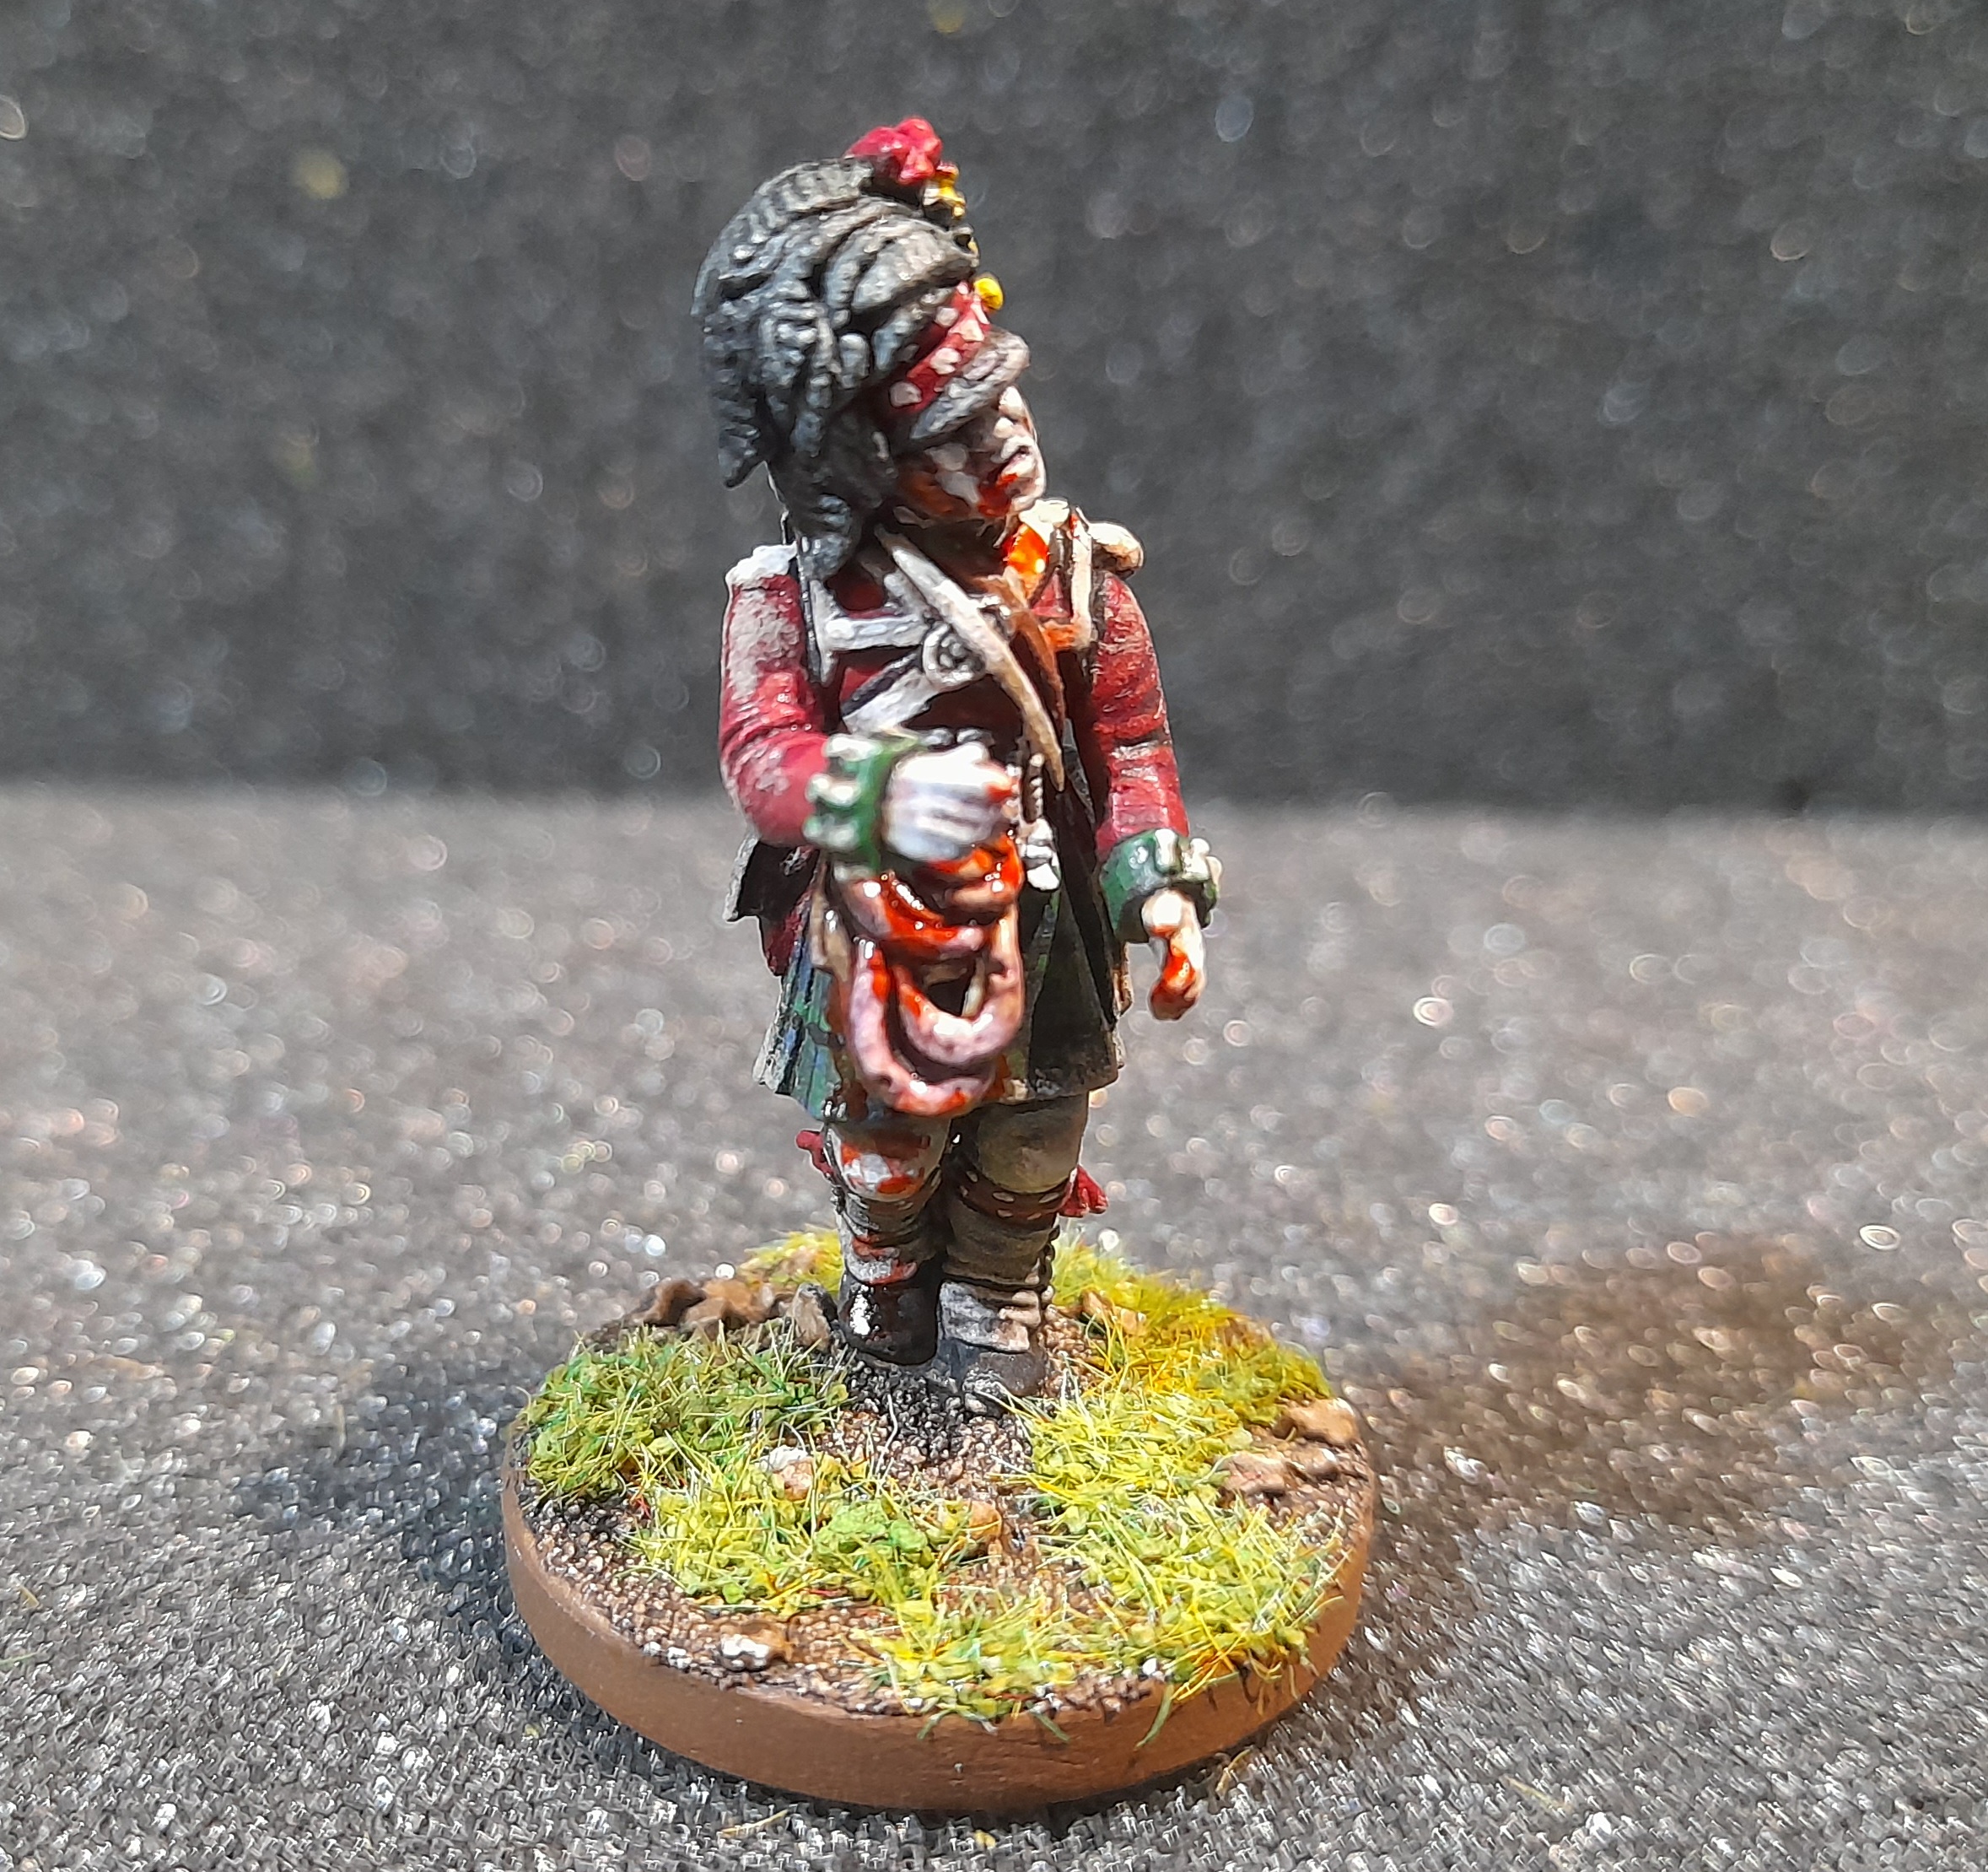
The zombie version had a much paler skin tone, purple wash, re highlight with ivory and grey. Then, after a matt varnish, I added the Tamiya Clear red for blood, and some gloss varnish on the guts spilling out.
Reasonably happy with them overall 😊

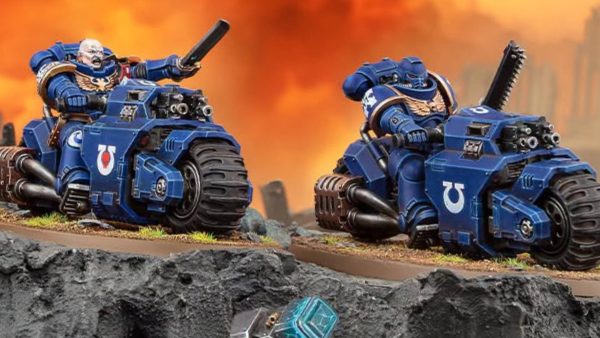
Building the Cavalry (mounted and foot)
11th February 2025
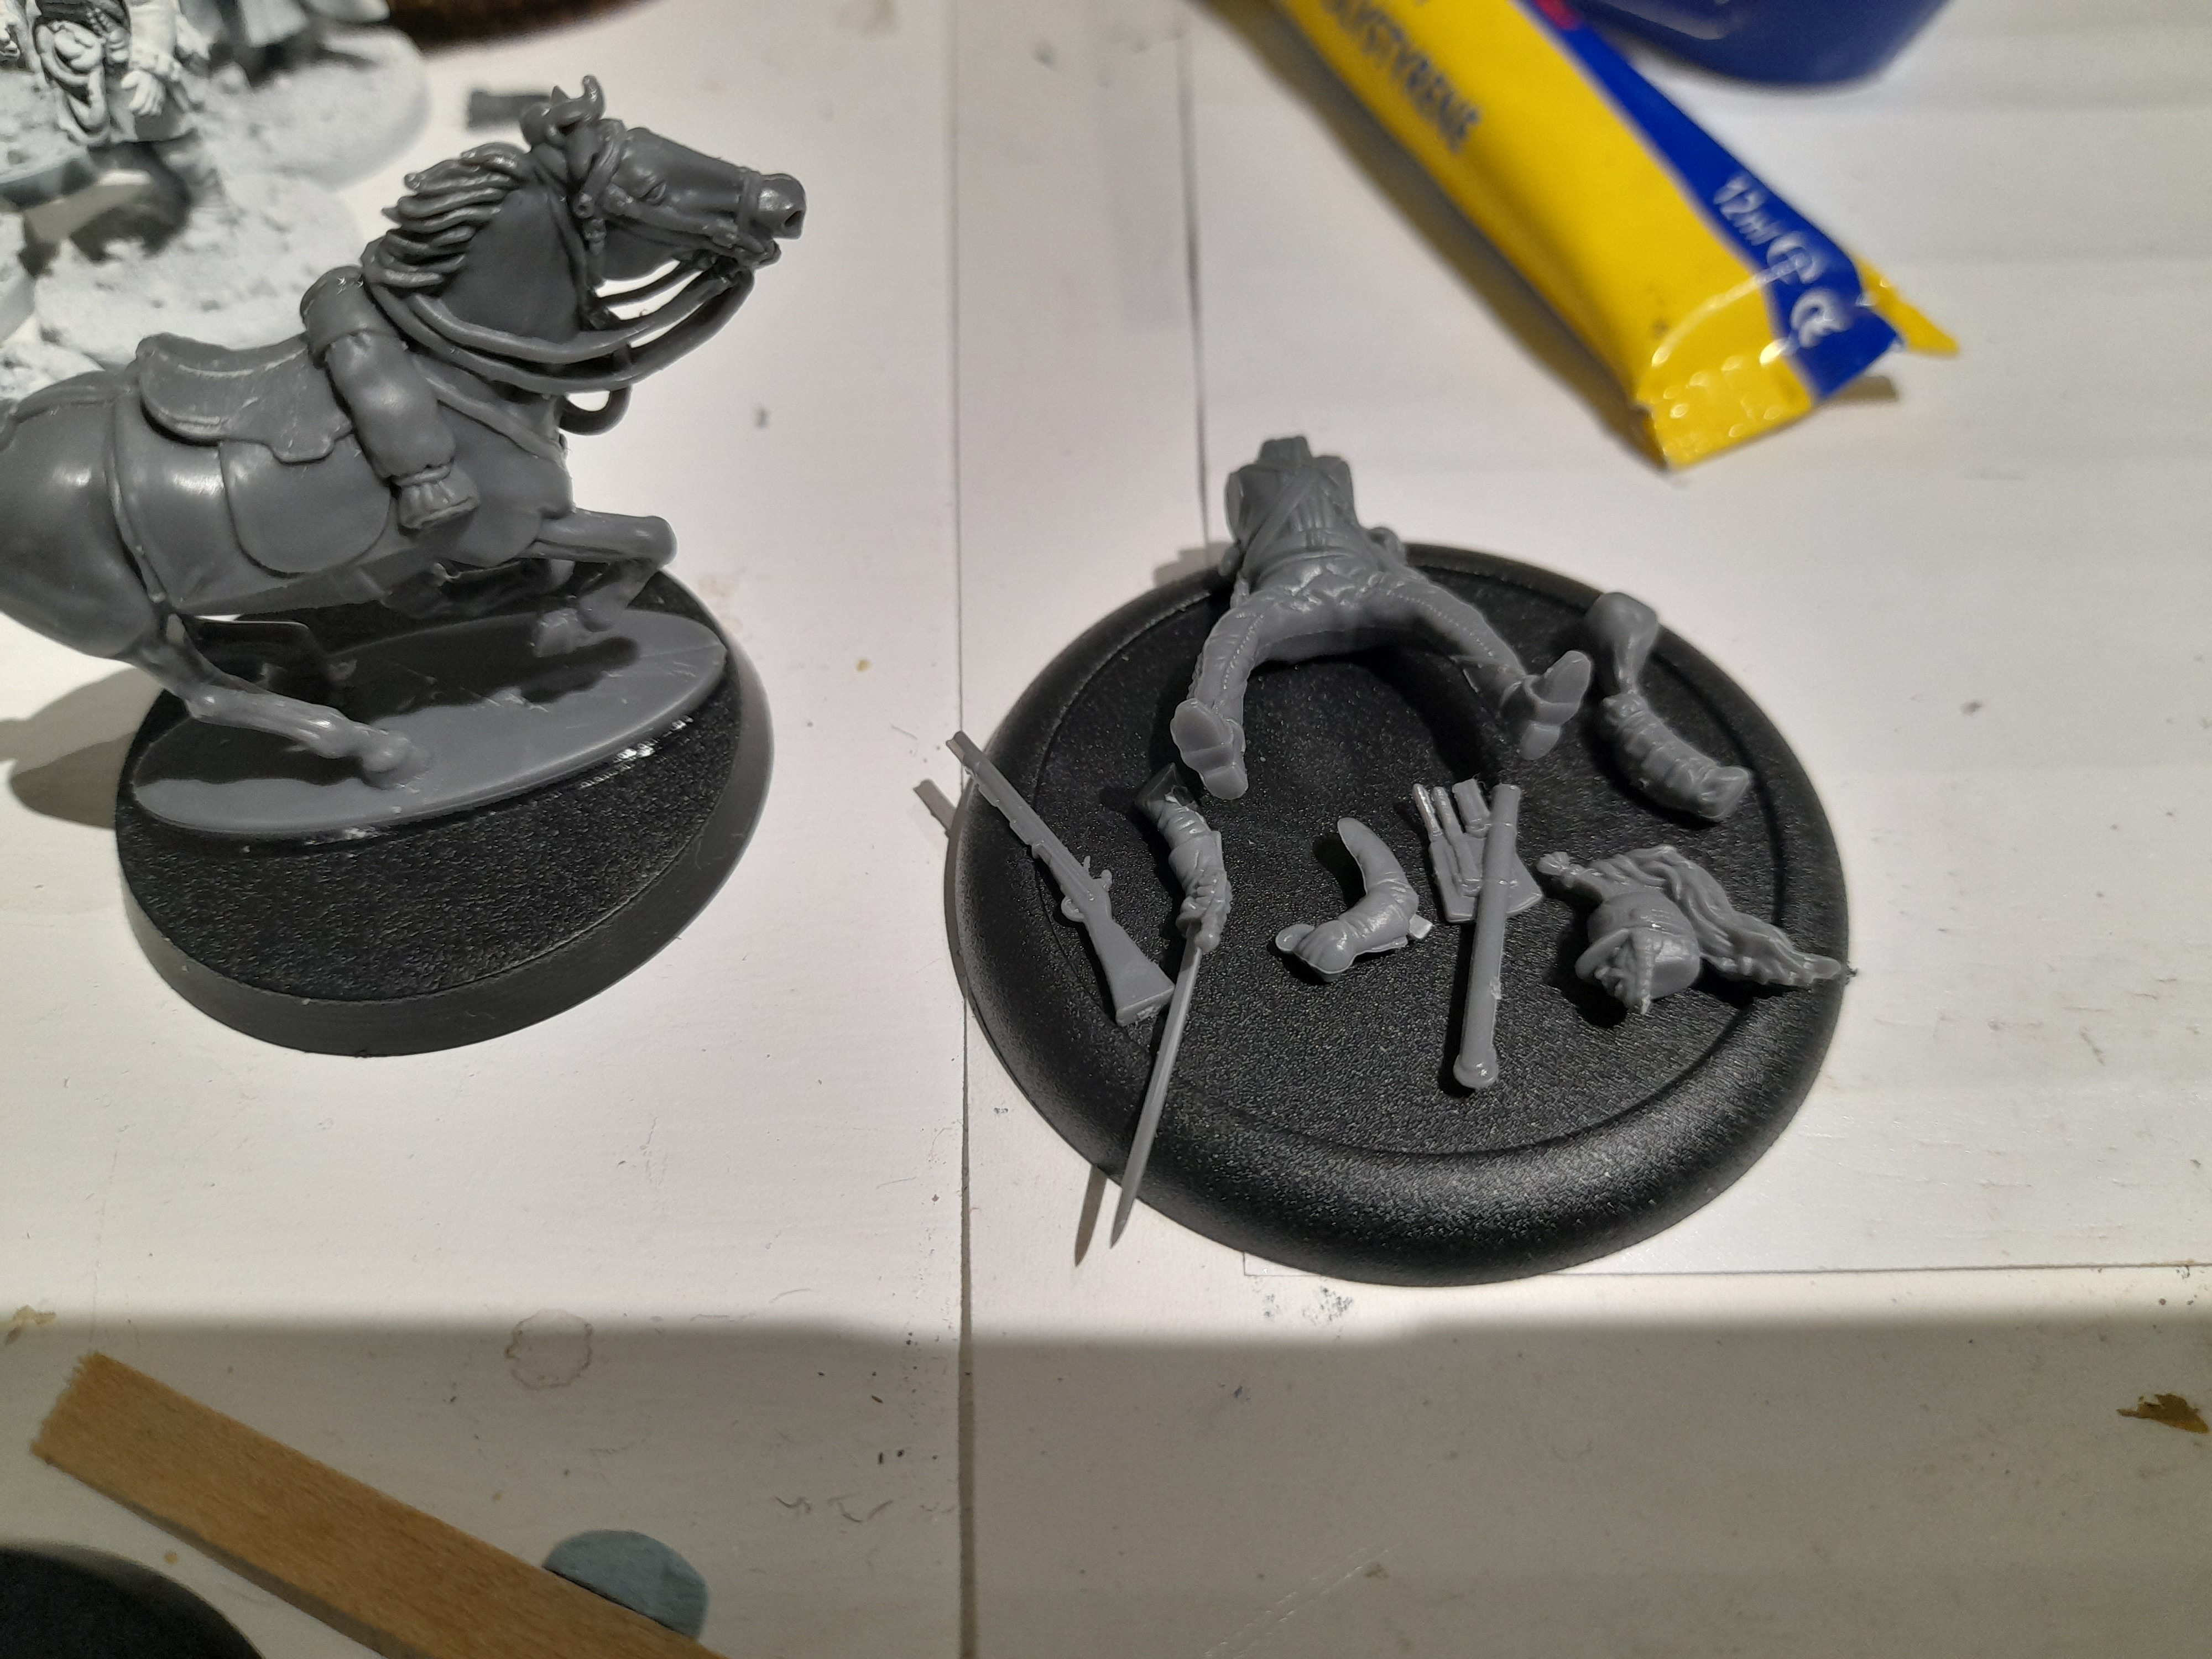
Forgot to post this update…. Over the past week or so I also worked on building the cavalry models, and the foot versions of the heavy and light cav.
I grabbed the various sprues I thought I would need, and started to plan out the kitbashing. Throughout the process I used blutac to test fit pieces and check how things looked.
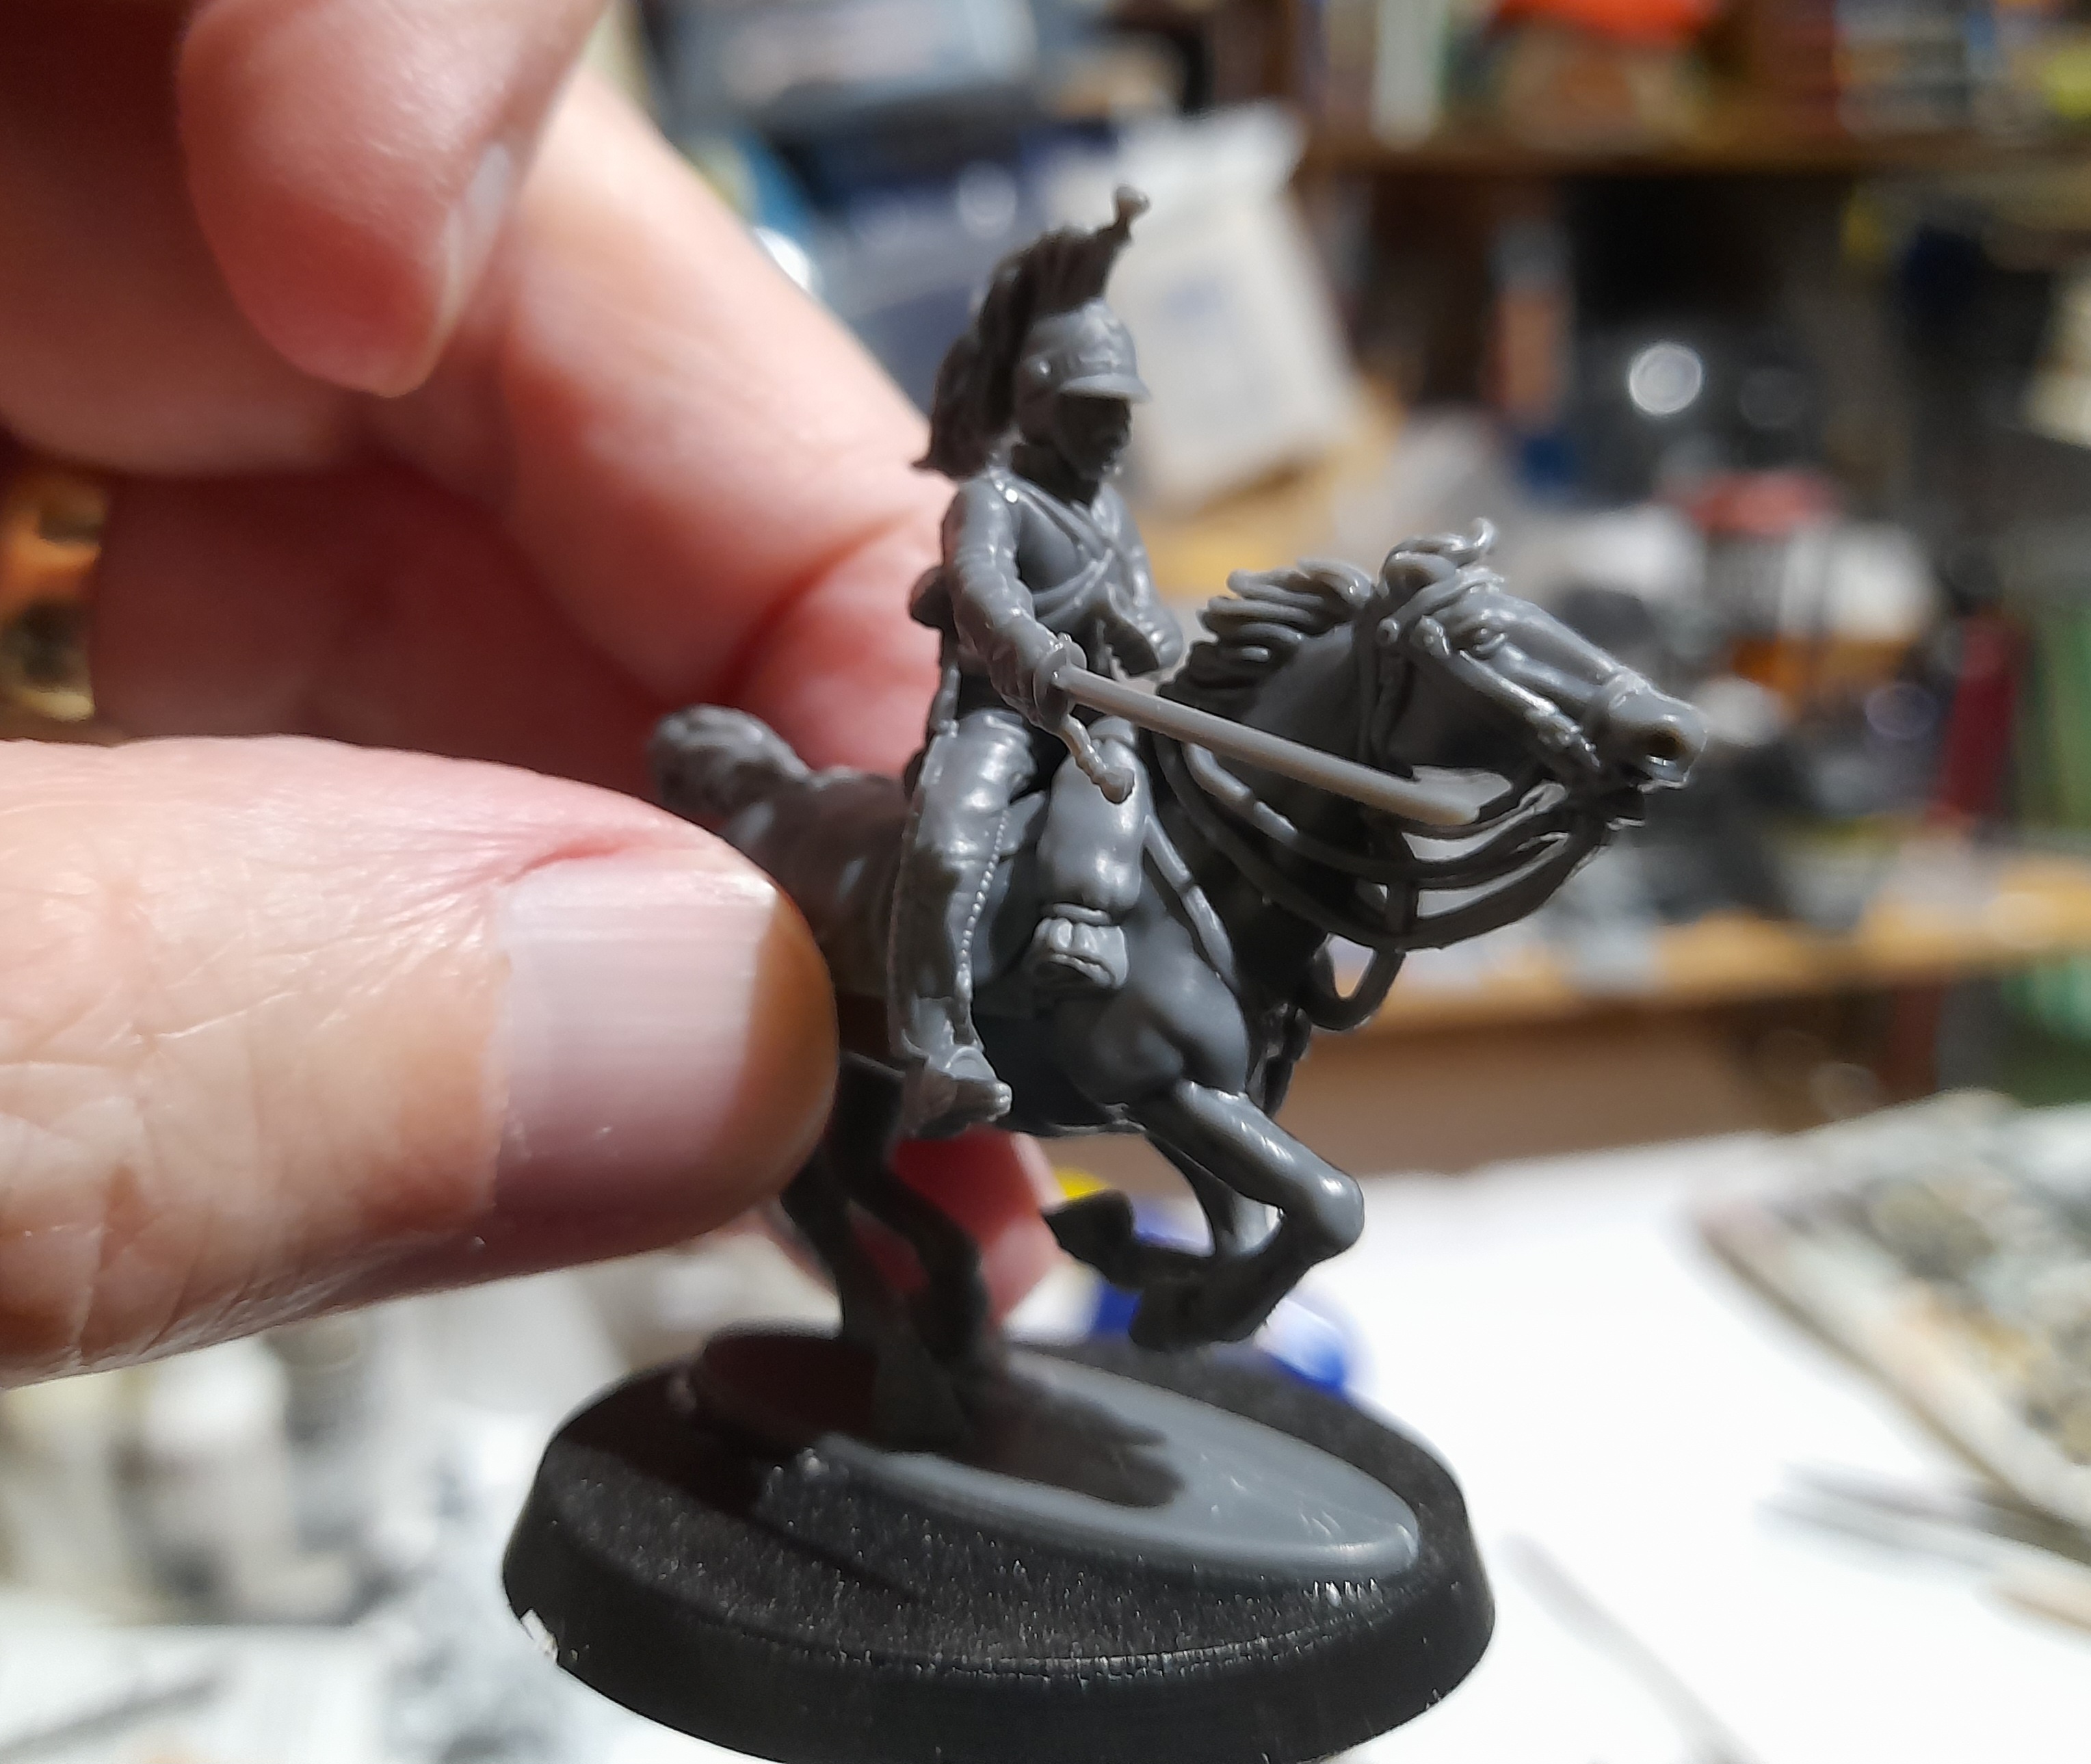
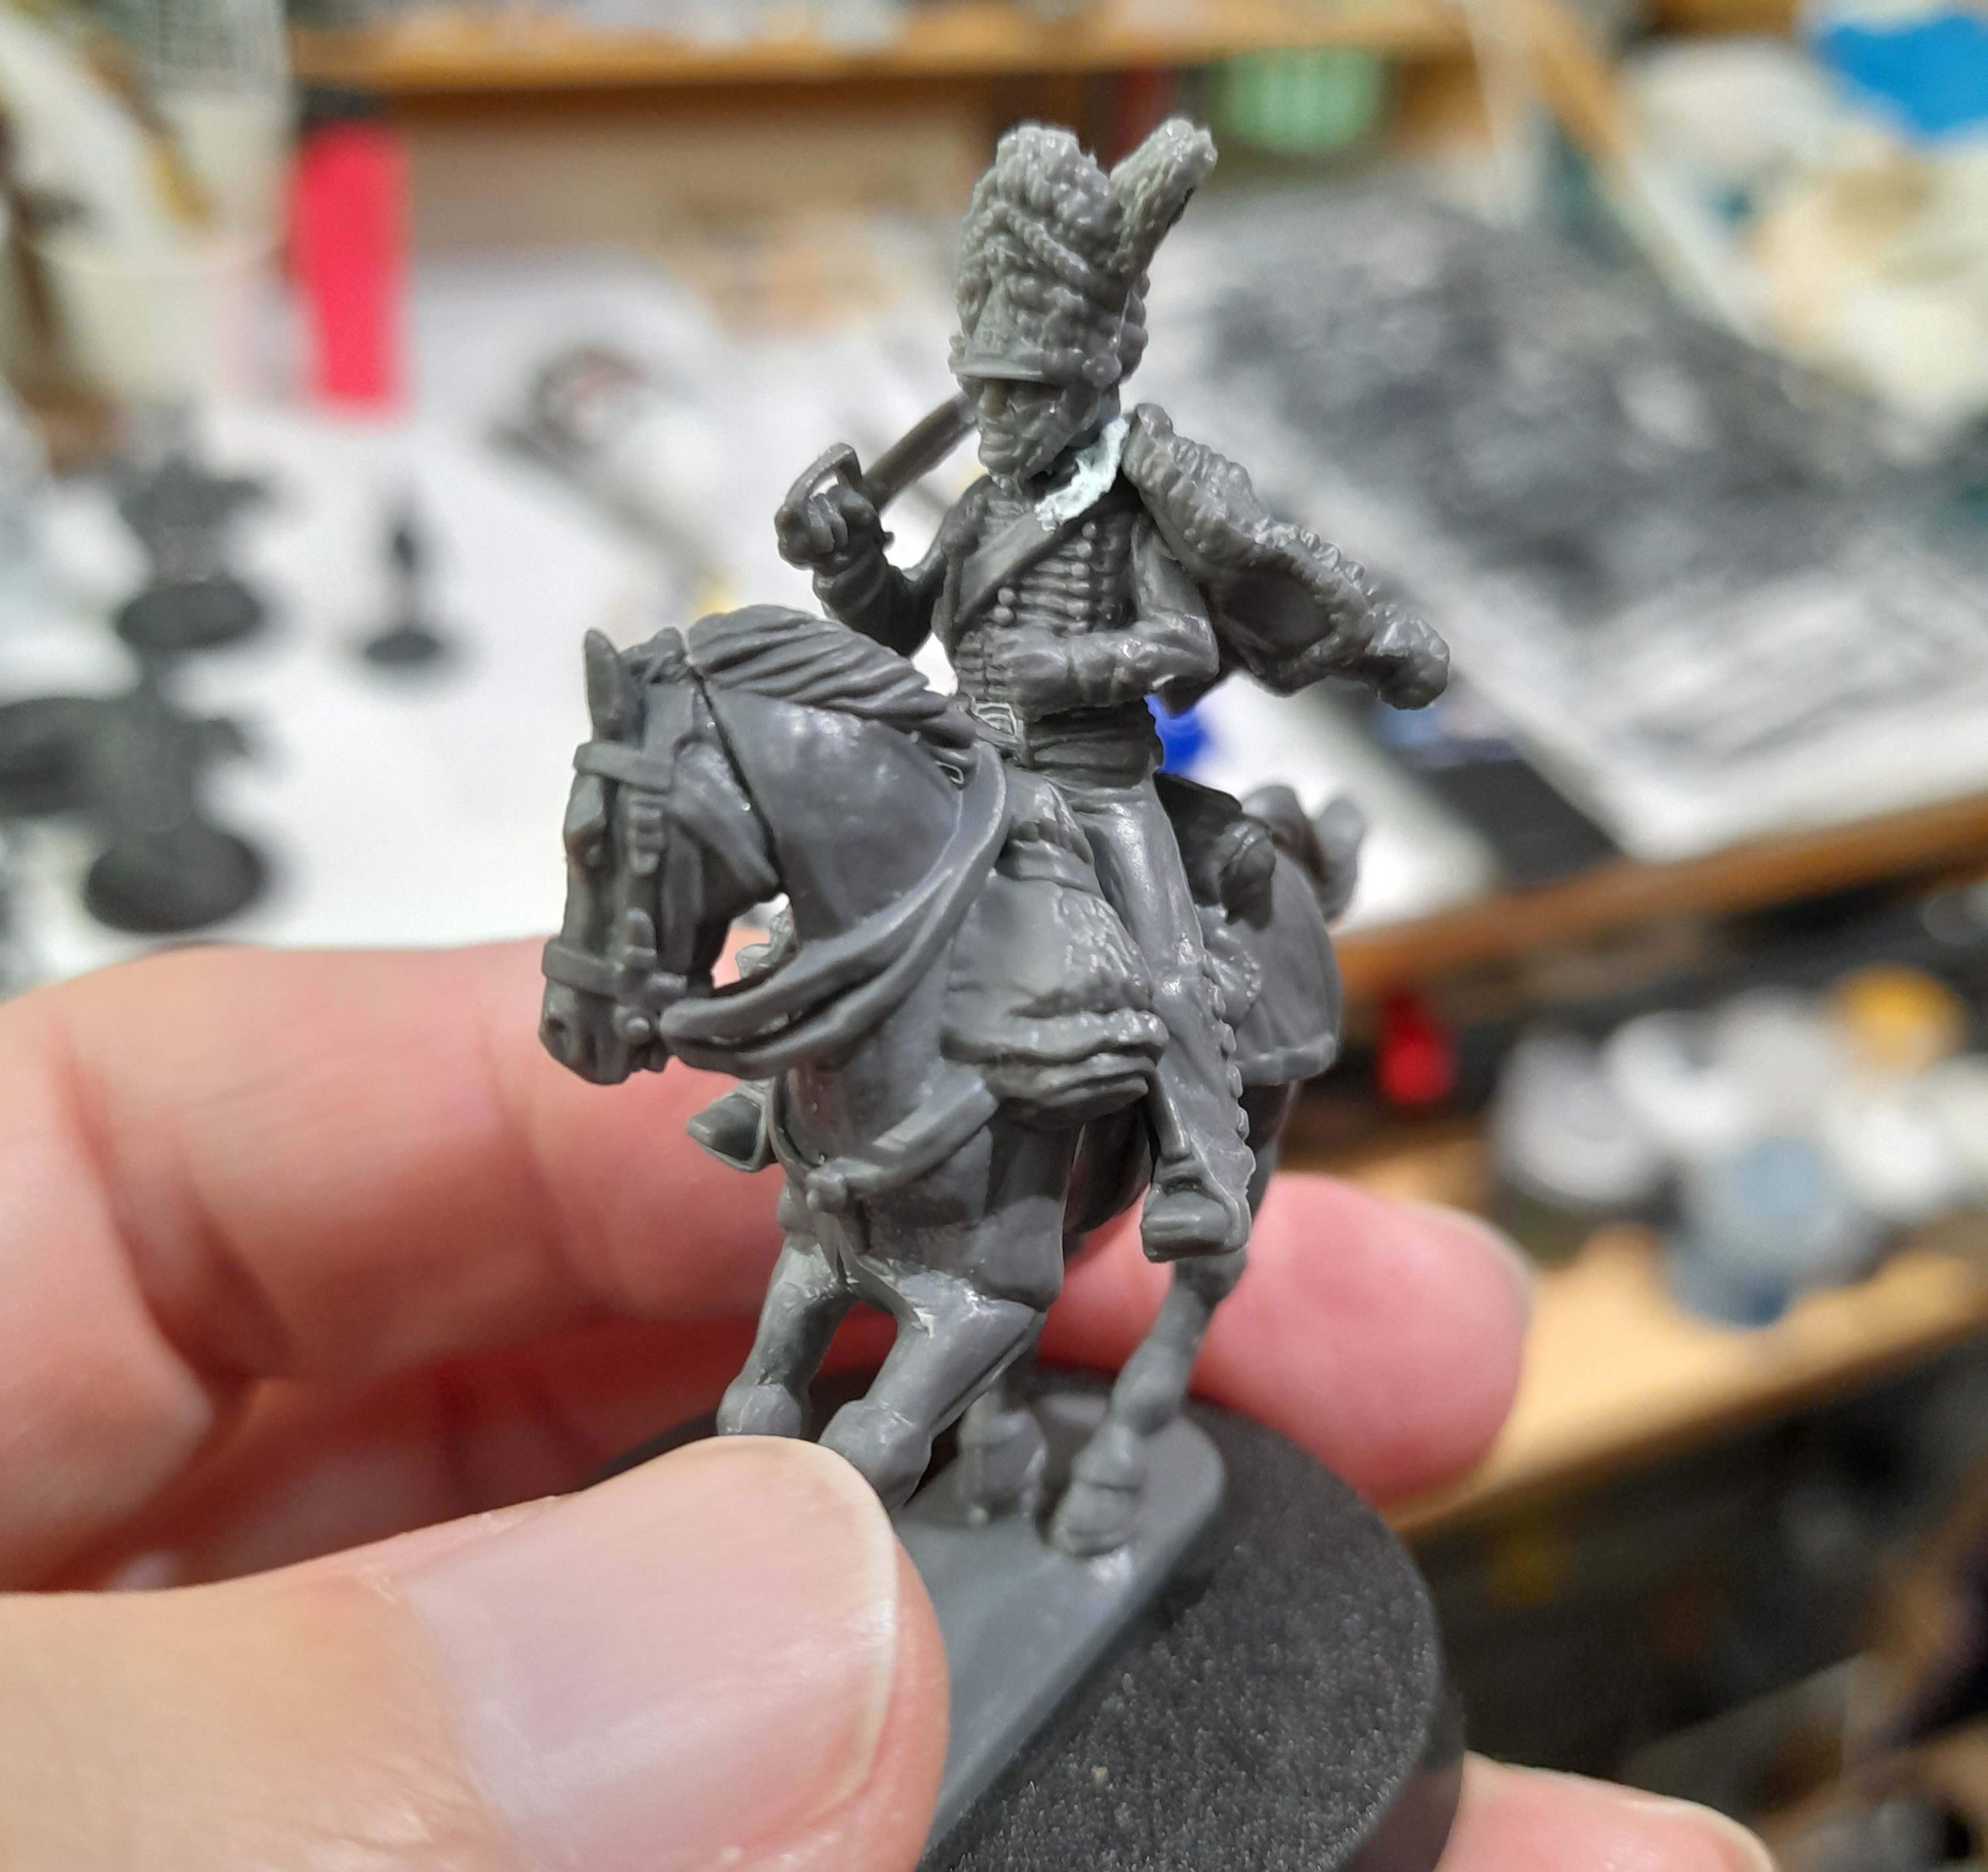
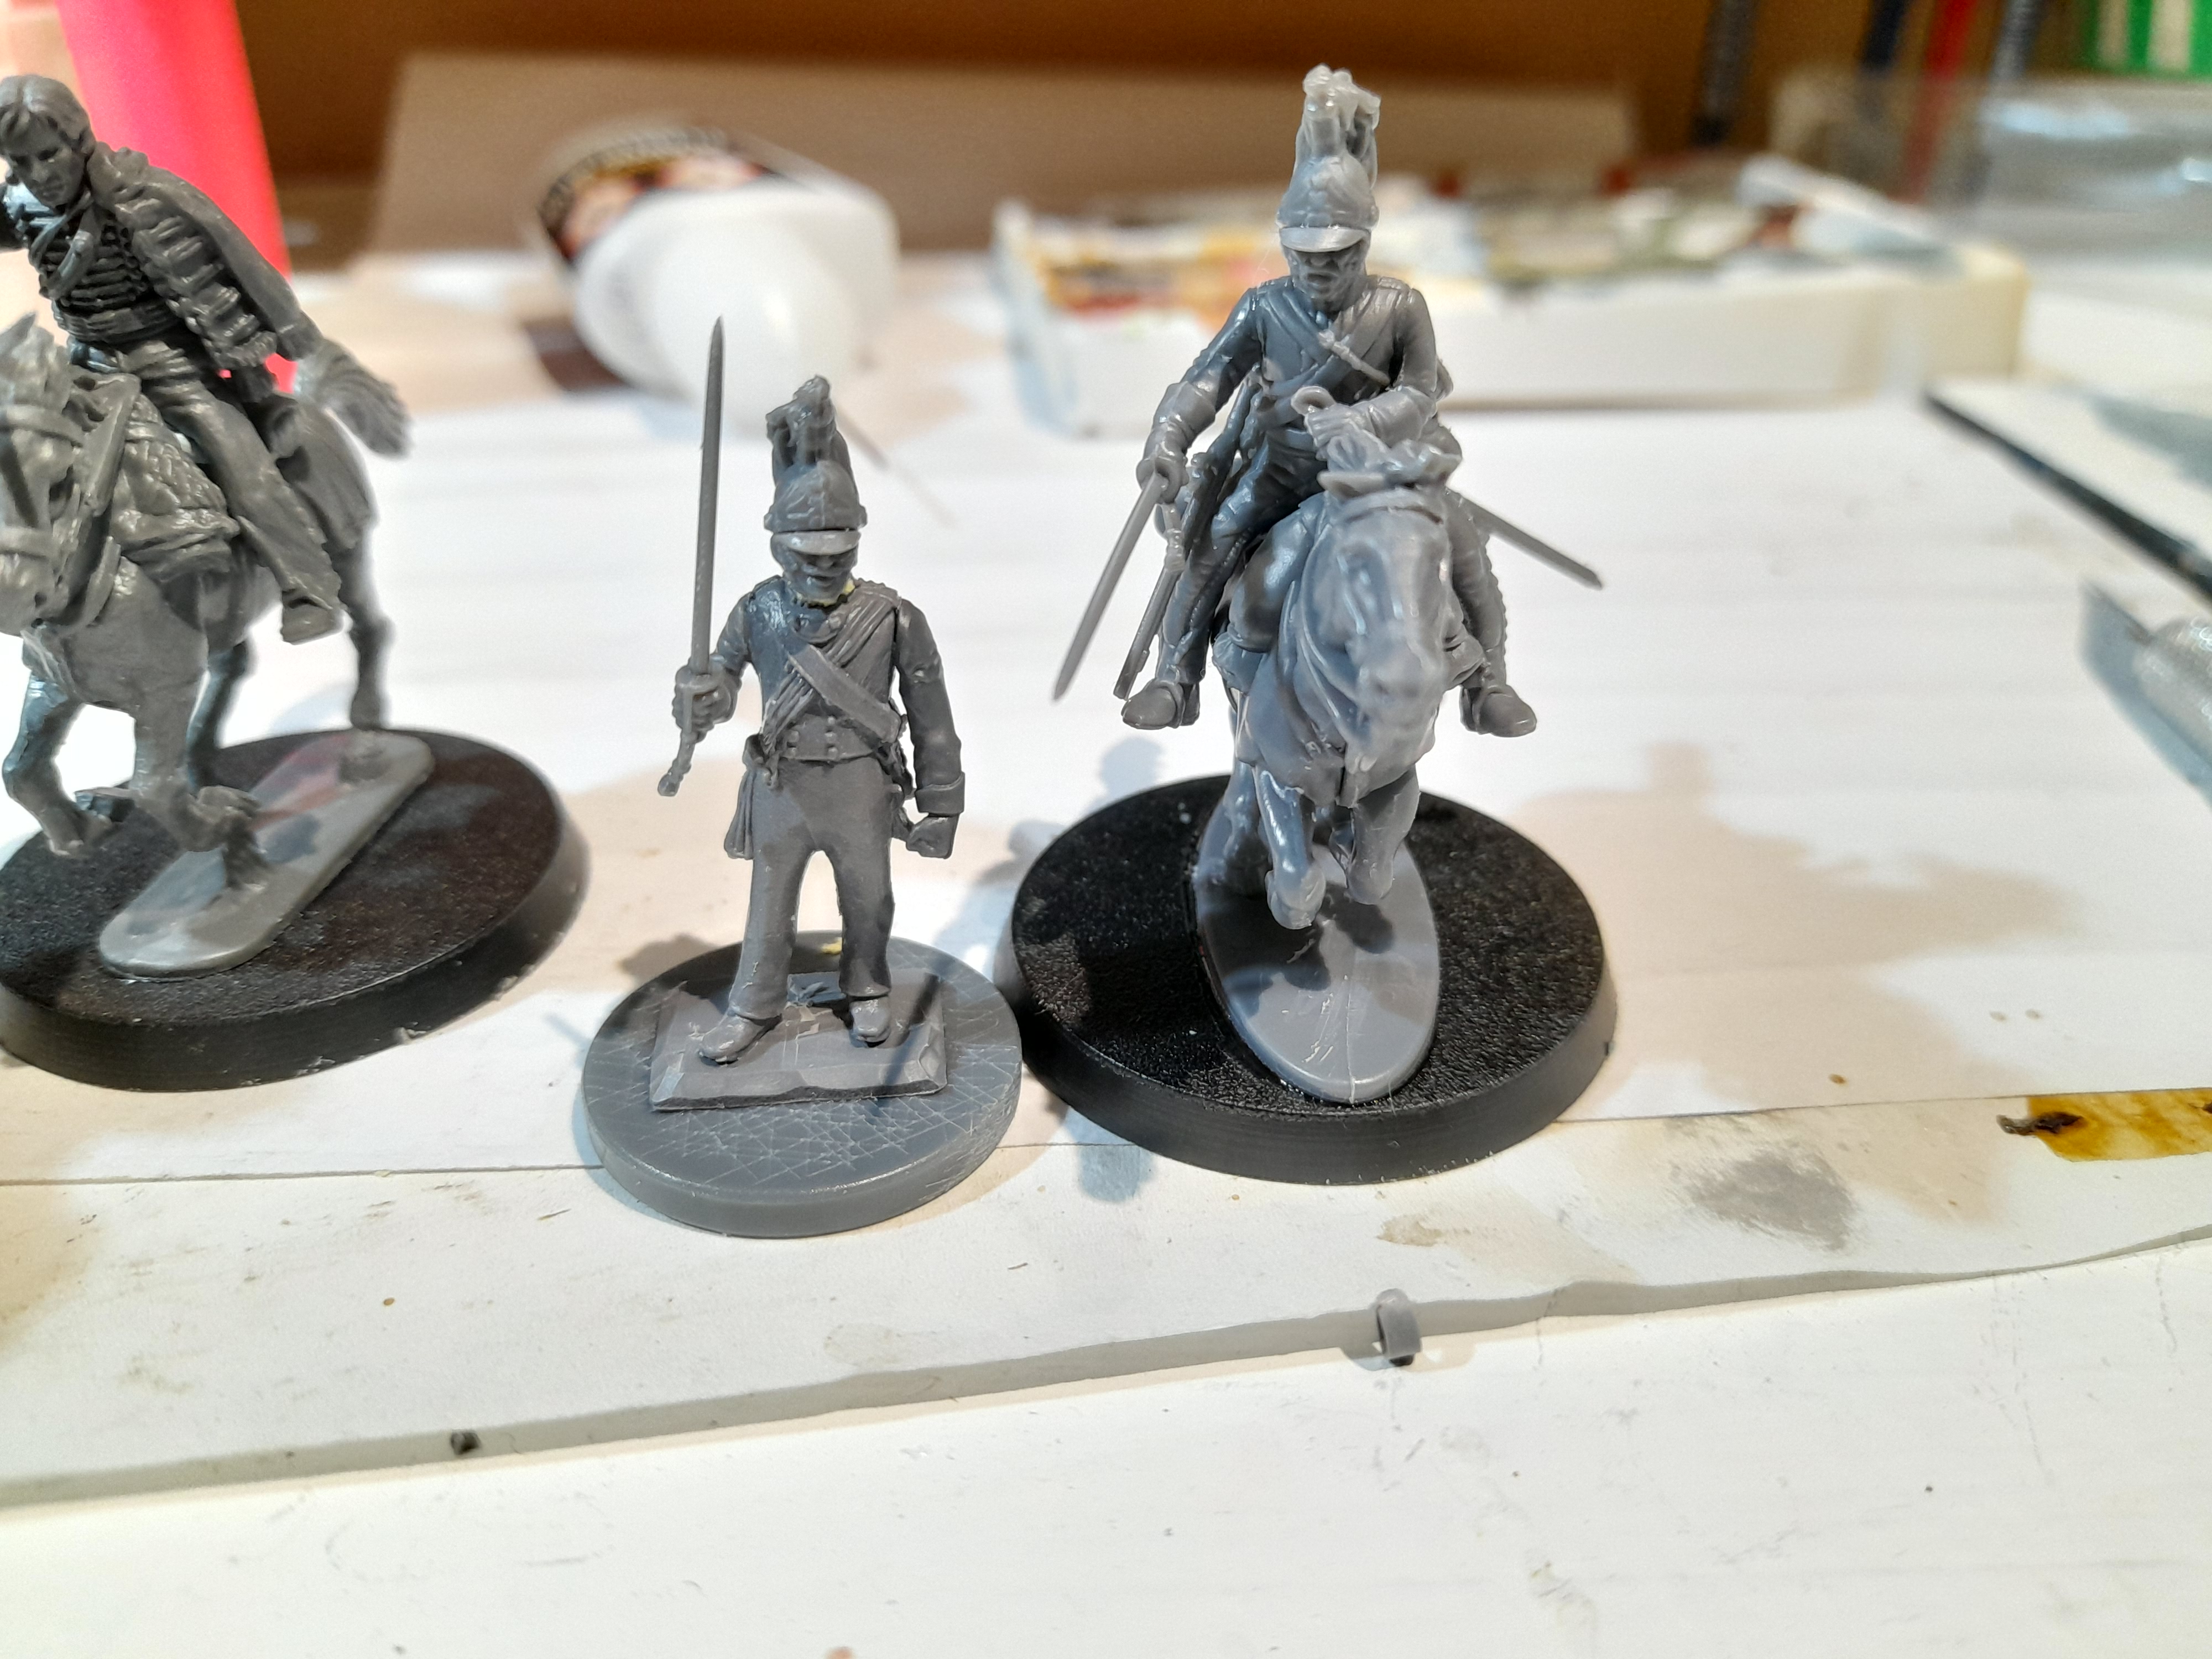
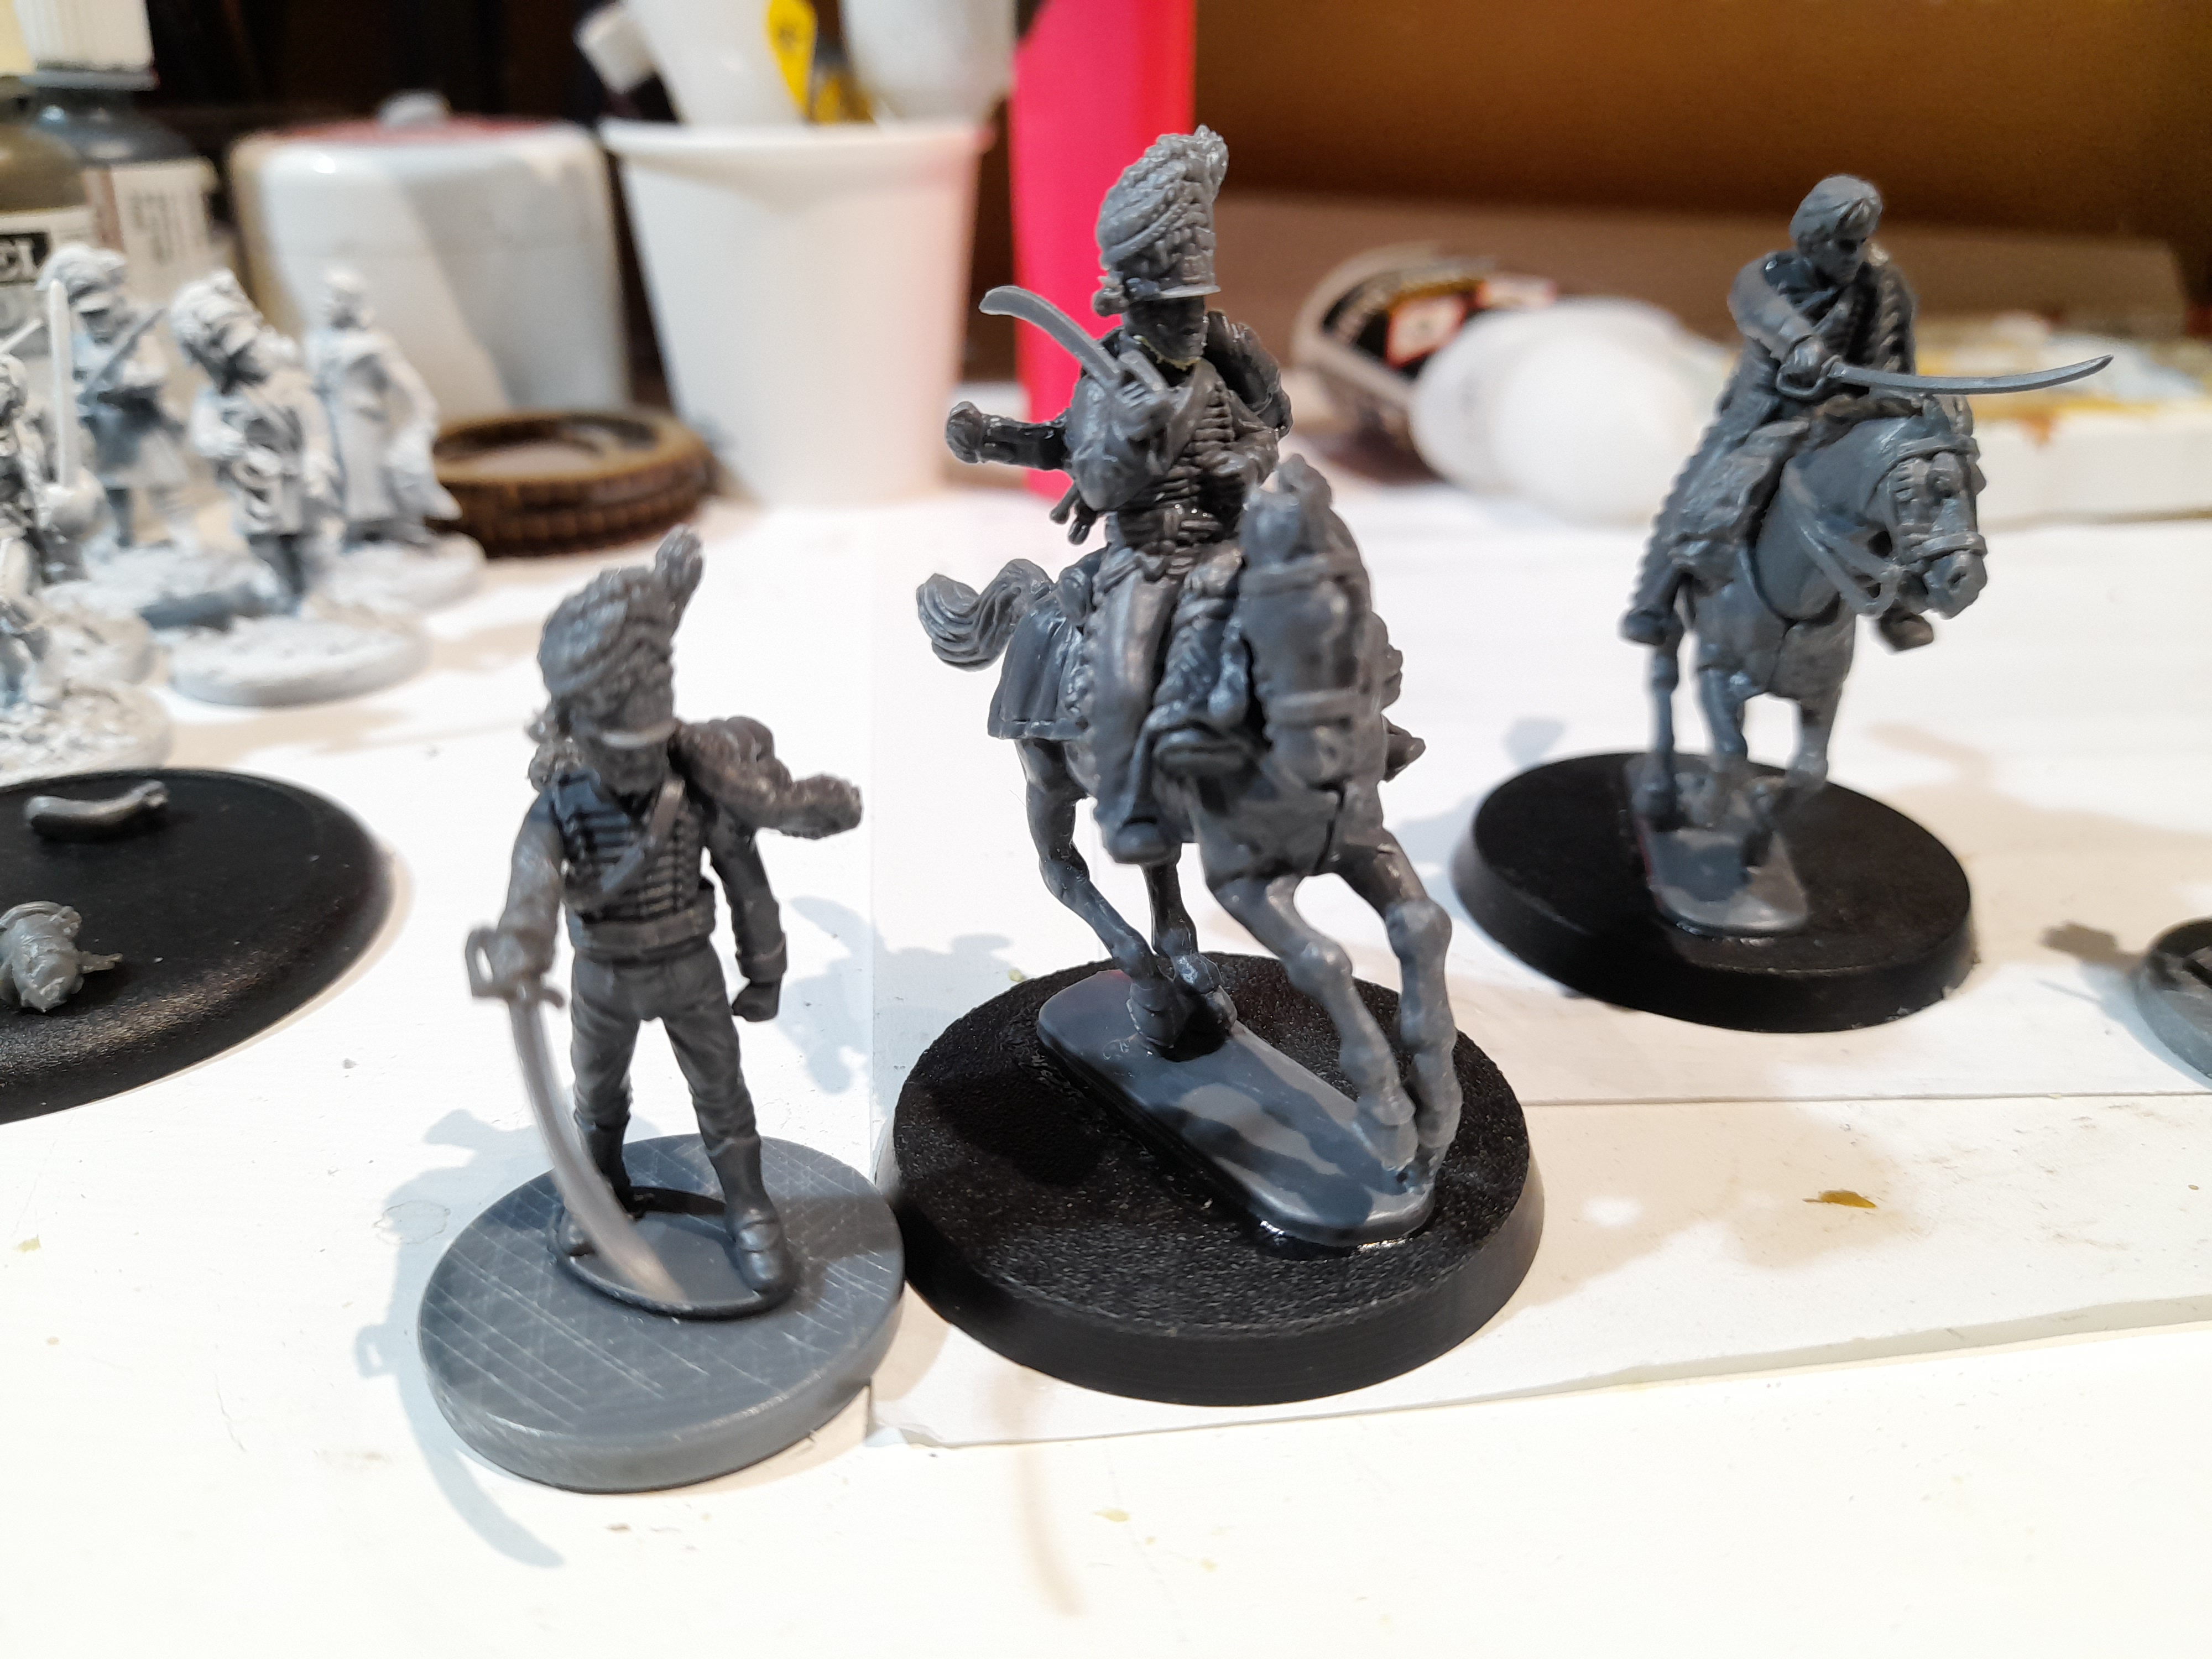
The heavy cavalry (mounted) mini was the most straightforward. This was basically just a straight build from the Victrix British Heavy Dragoons sprue, so I built this chap first.
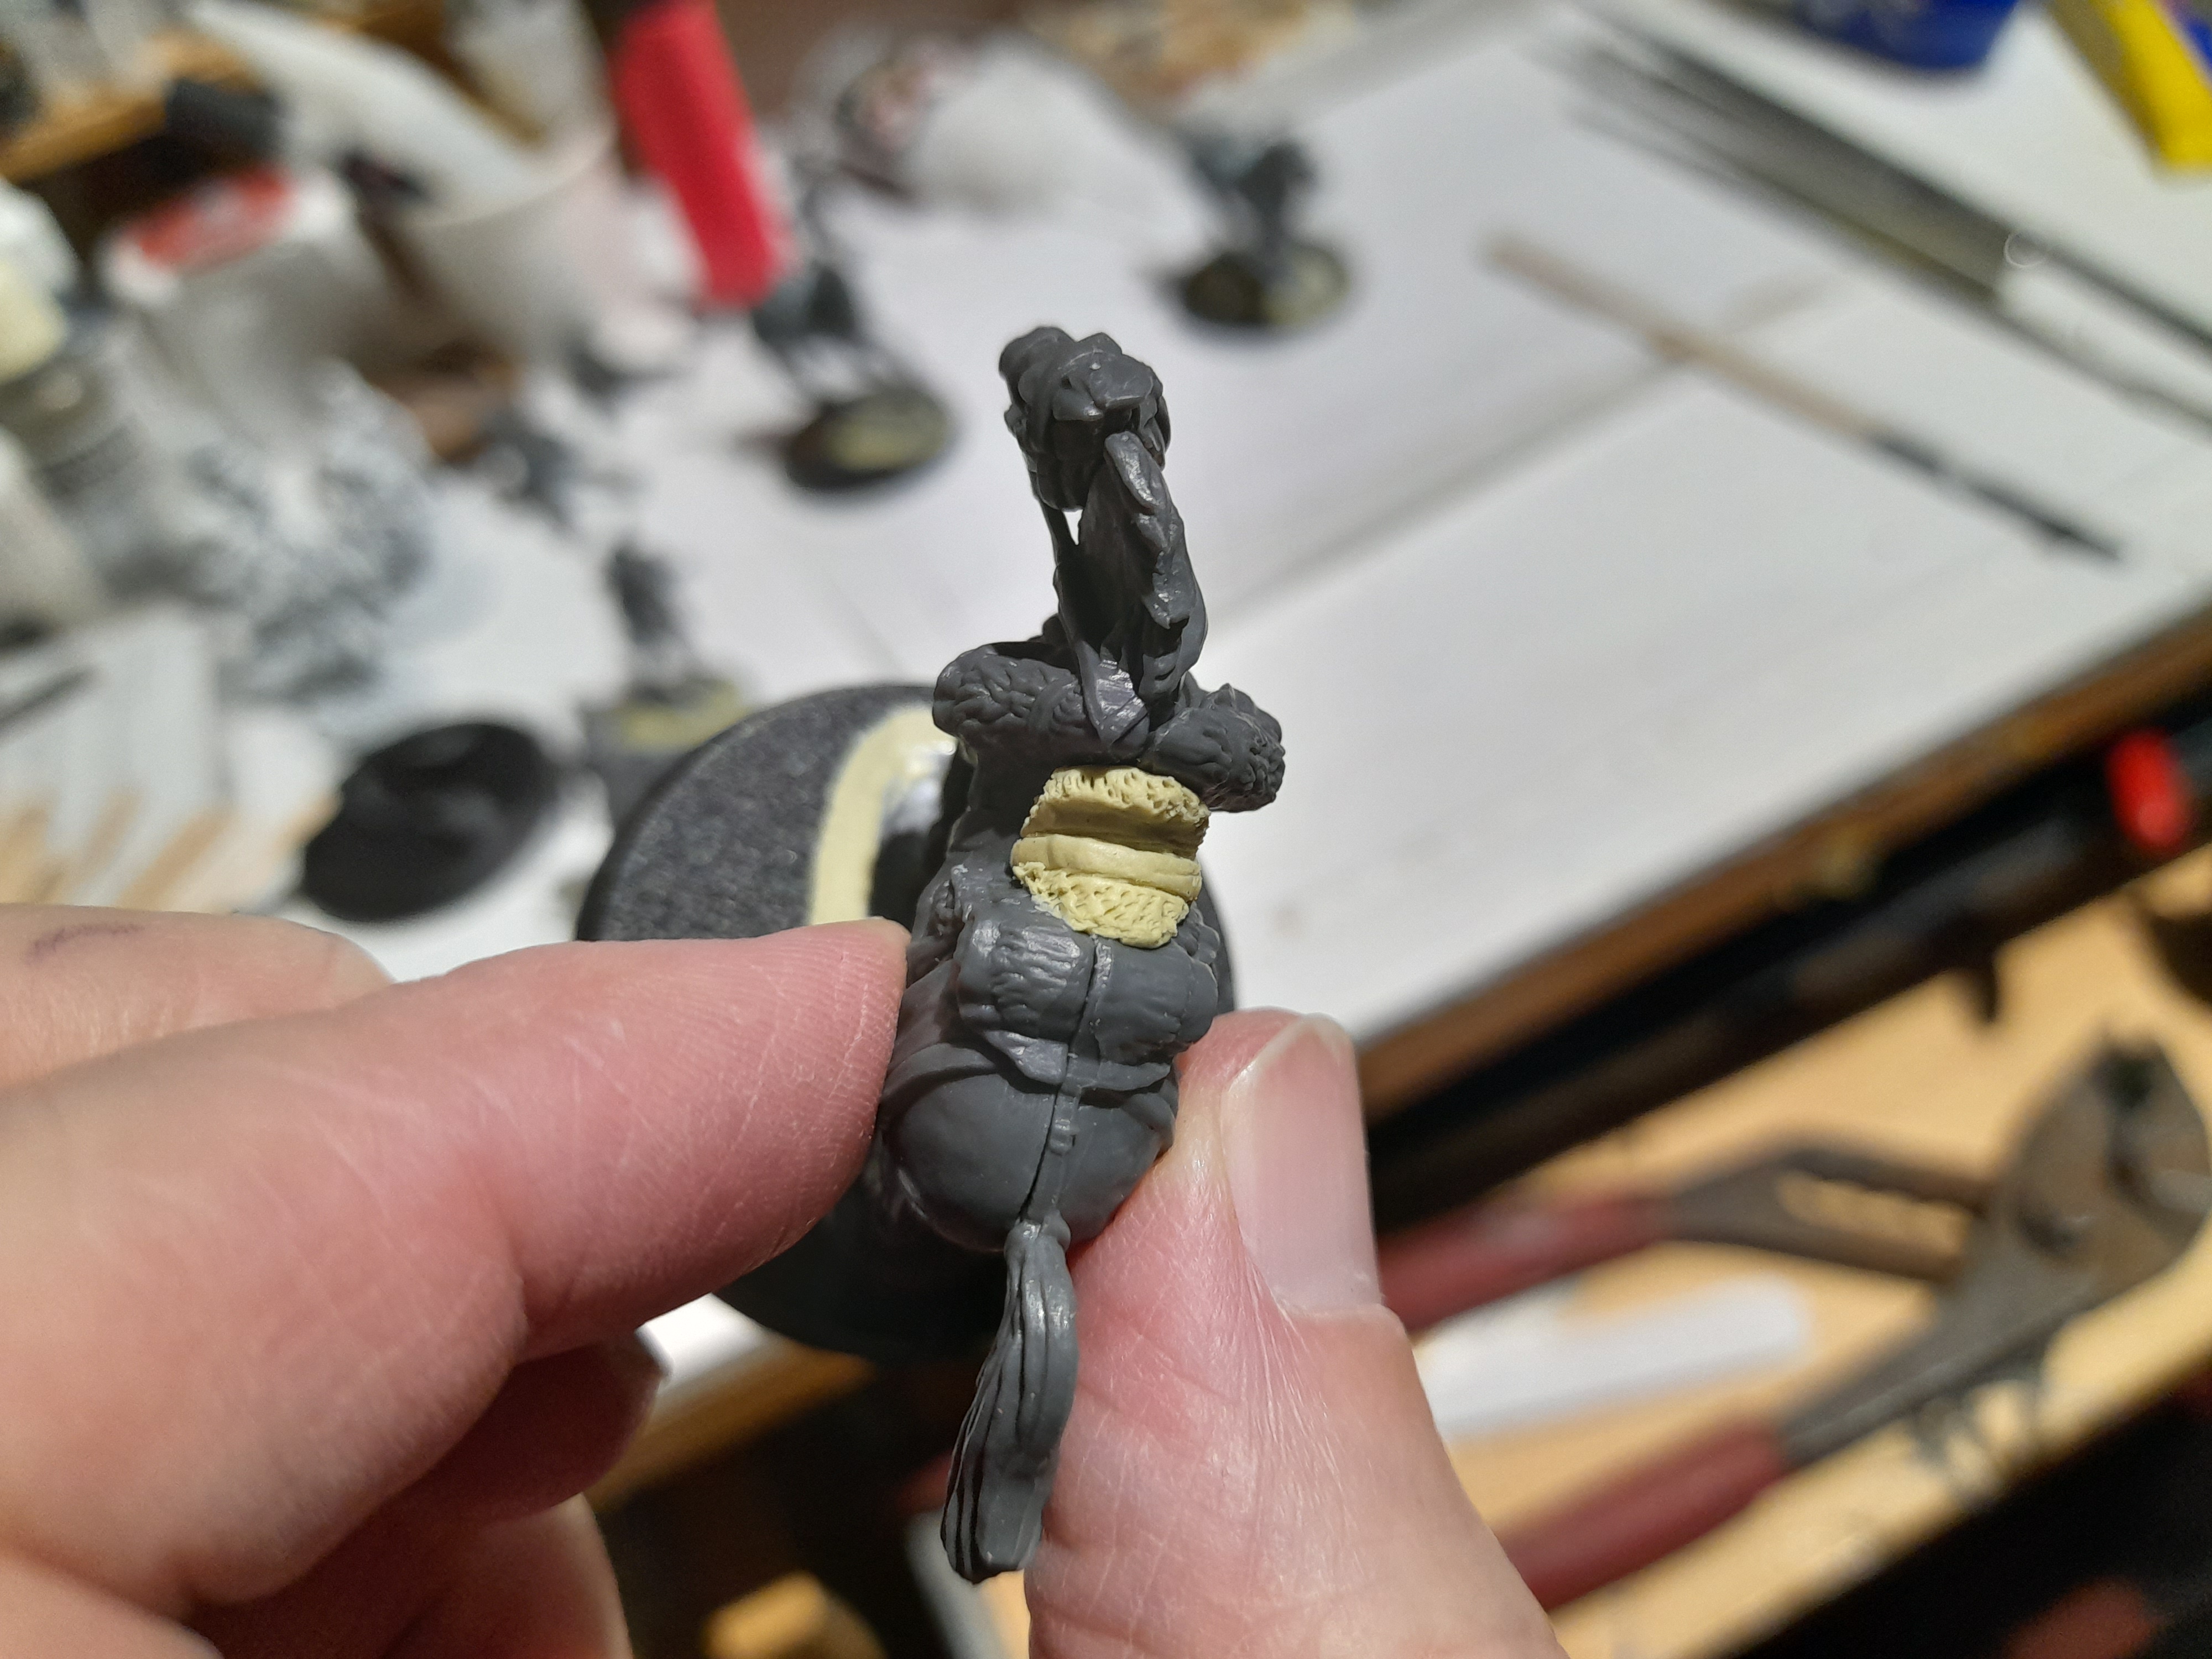
For the mounted light cavalry I went with mostly parts from the Perry Austrian Hussars (since all hussars had uniforms similar enough for my gaming purposes), with the addition of a bearskin head from the Victrix British sprue. Although I did have to use milliput to make a rough neck for the head to sit properly.
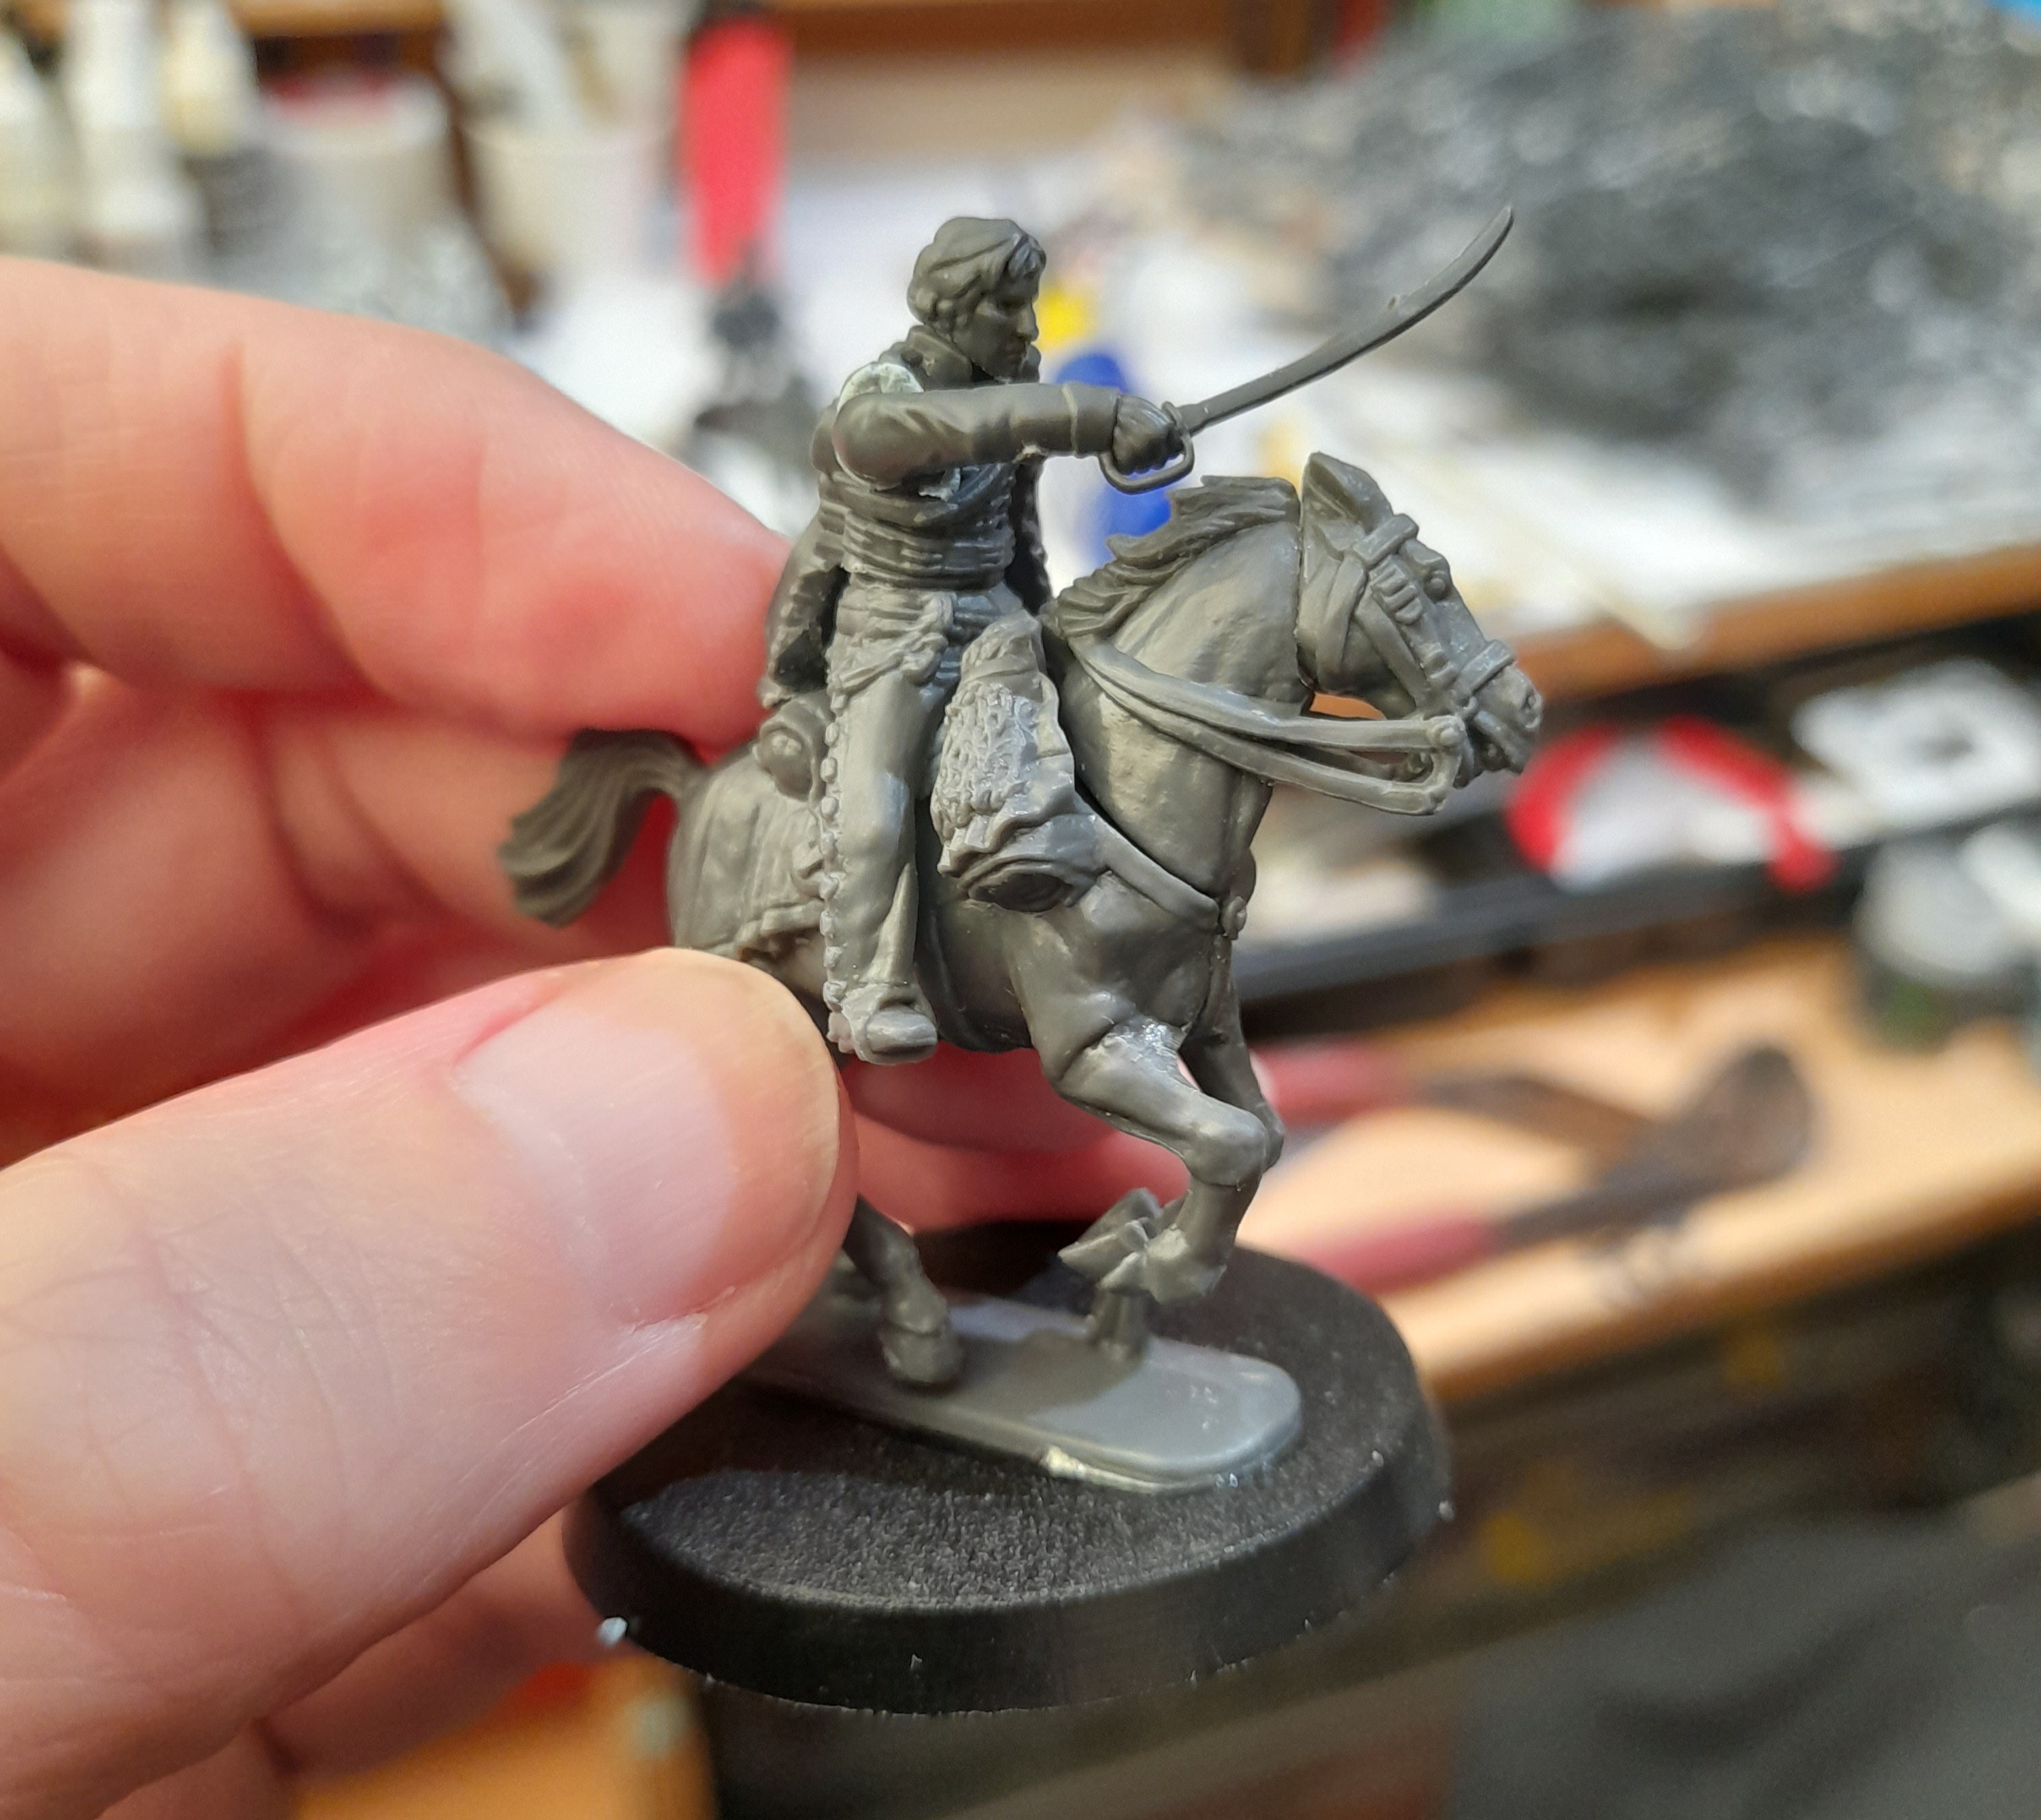
Mounted Richmond S Harpe was made from Austrian Hussar legs, with the torso, head and arms from the Wargames Atlantic Riflemen sprue, as per the foot version I made previously. I did have to give him a little ‘booster’ seat, which I made to look like a sheepskin pad, in order for him to sit a little more correctly (due to his jacket), plus trim down the draping sleeve a touch.
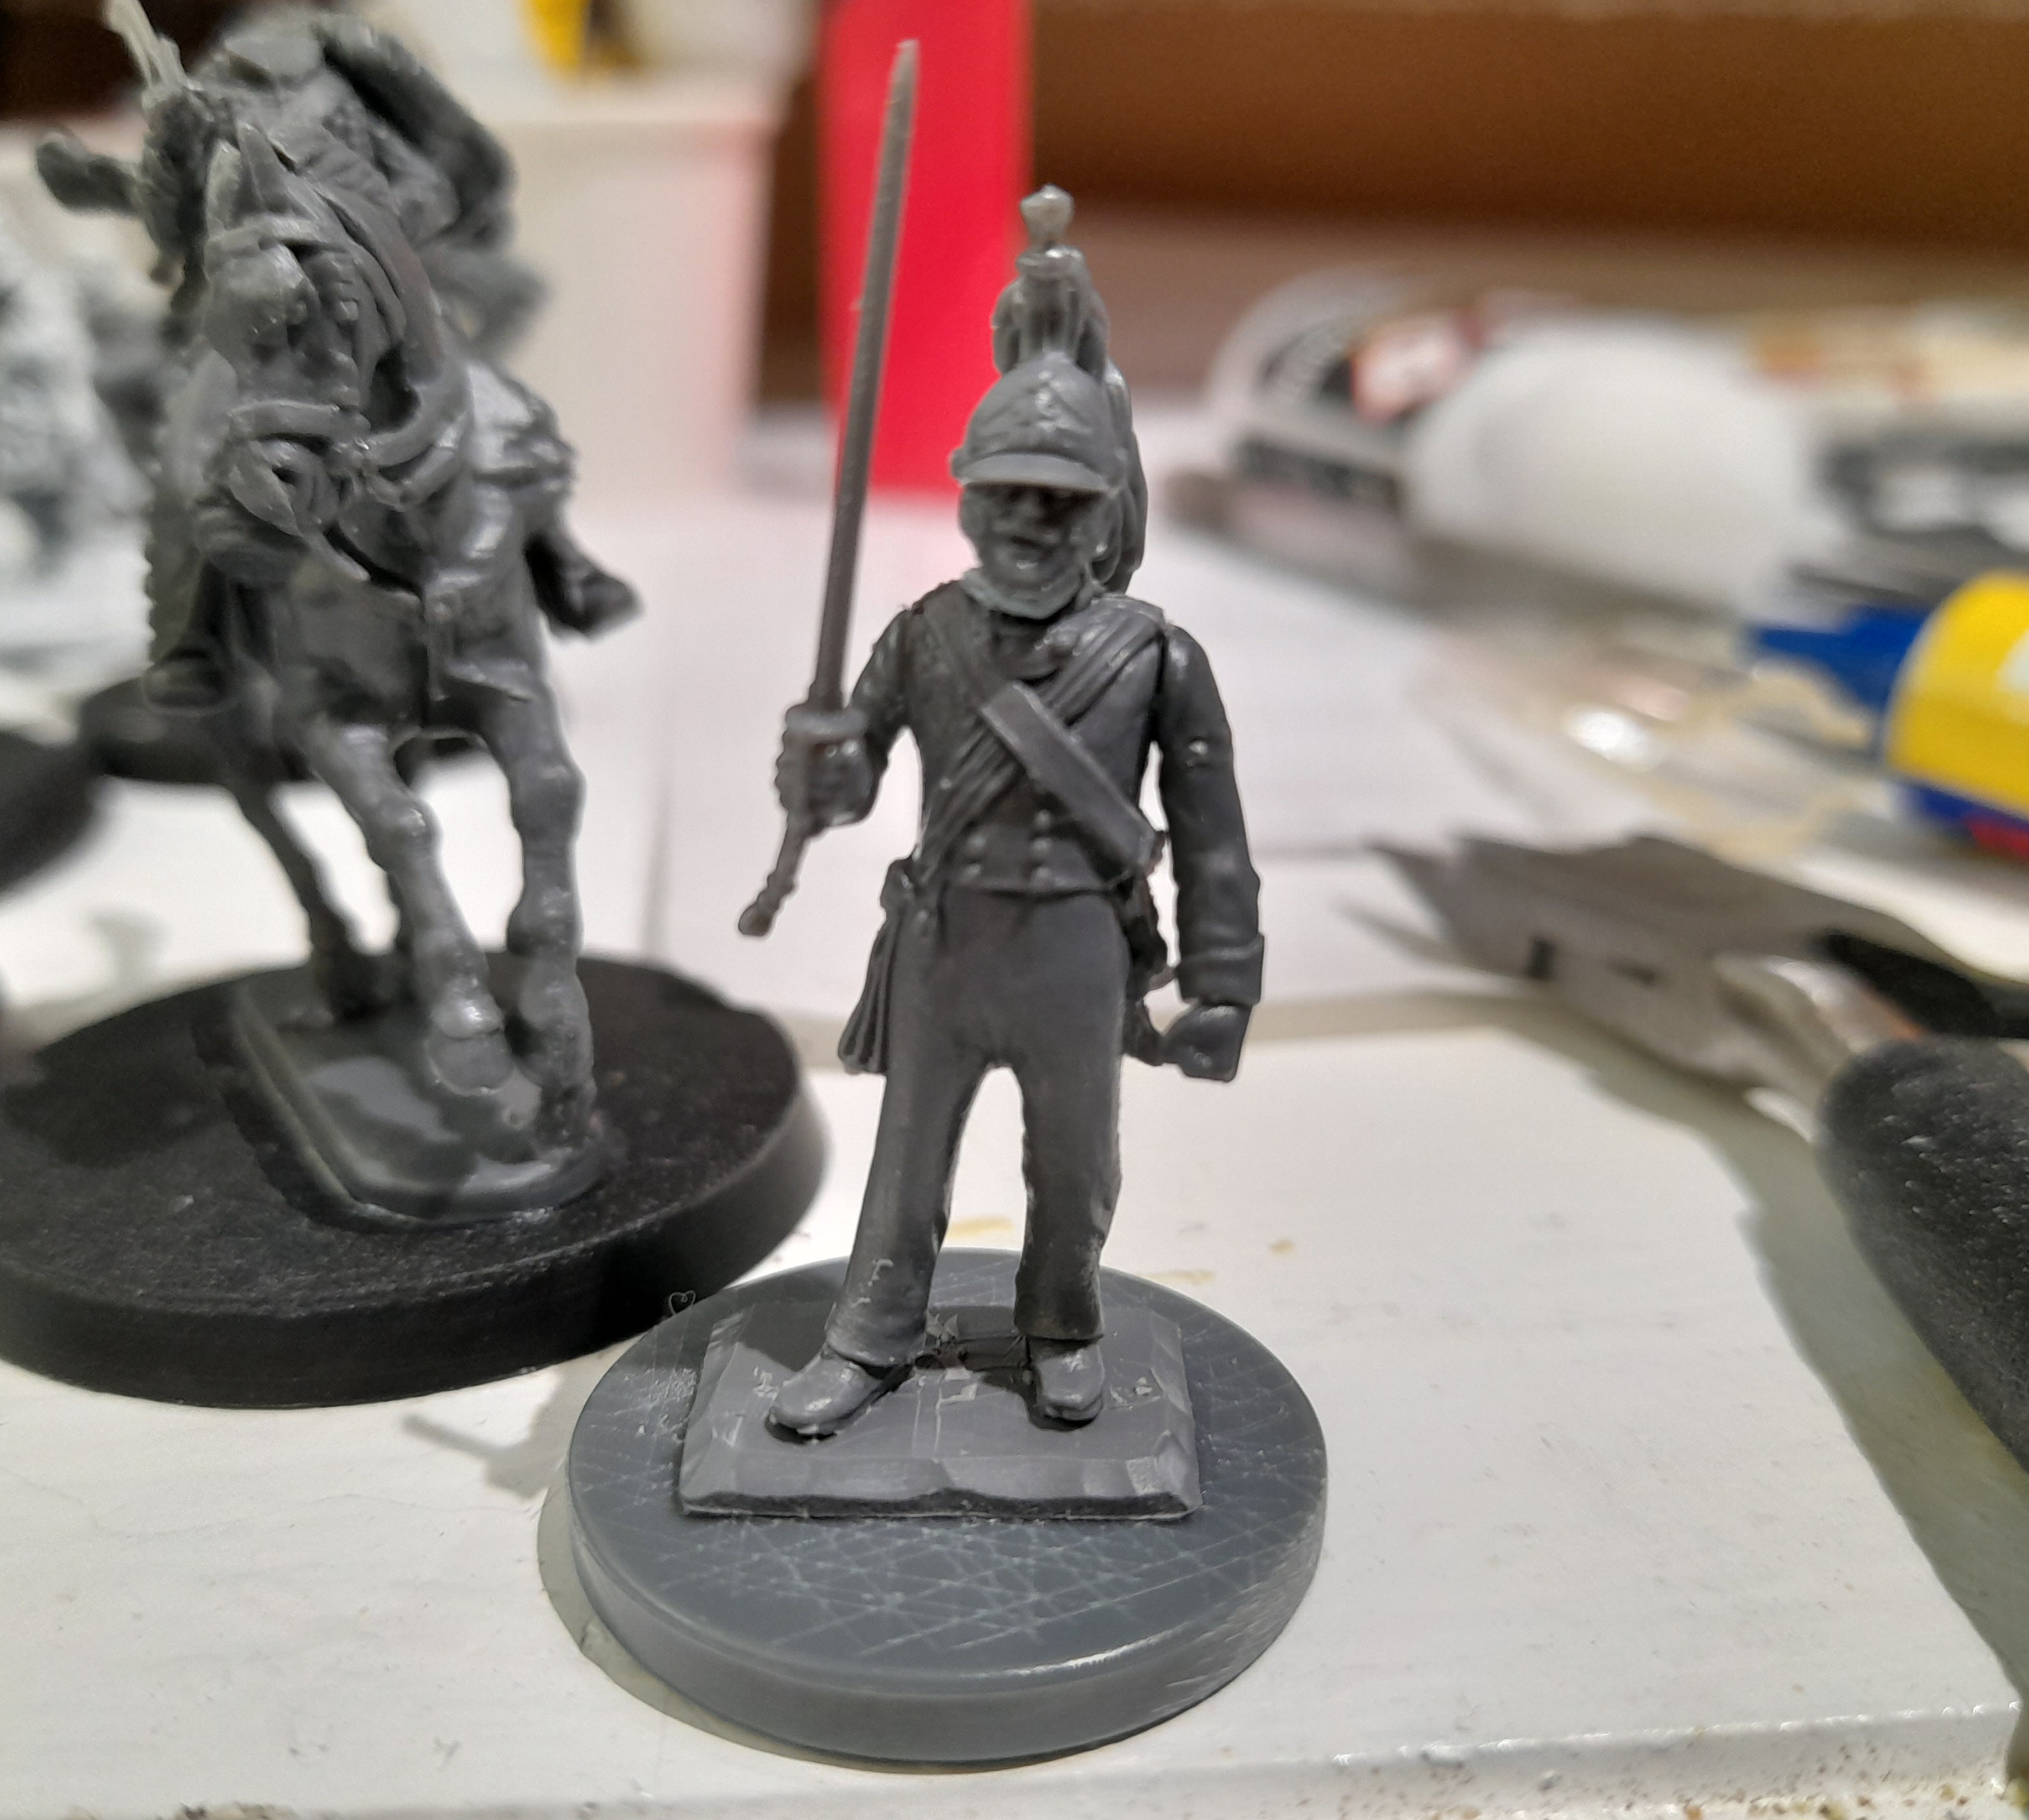
The foot version of the heavy cav was built from Dragoon torso, head and right arm, rifleman left arm and Highlander officer legs. I had to use milliput again here to make a neck to allow the head to sit properly.
For the foot version of the light cav I used rifleman torso, legs and left arm, hussar right arm and Dragoon bearskin head.

These were all sprayed up in the same way as for the rest of my minis, ready for painting soon.
Building time again
4th February 2025
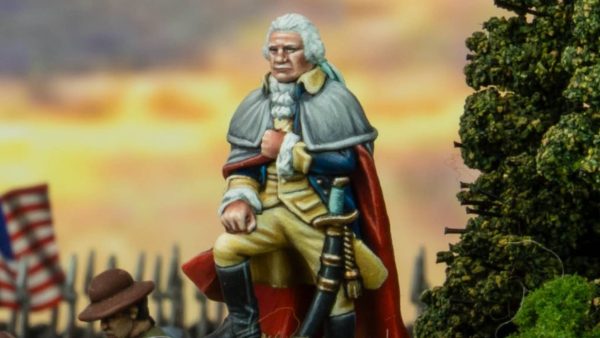
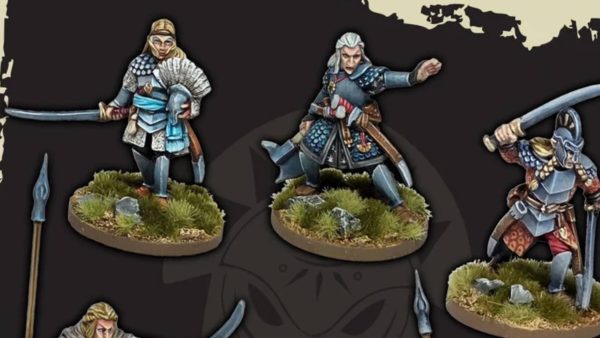
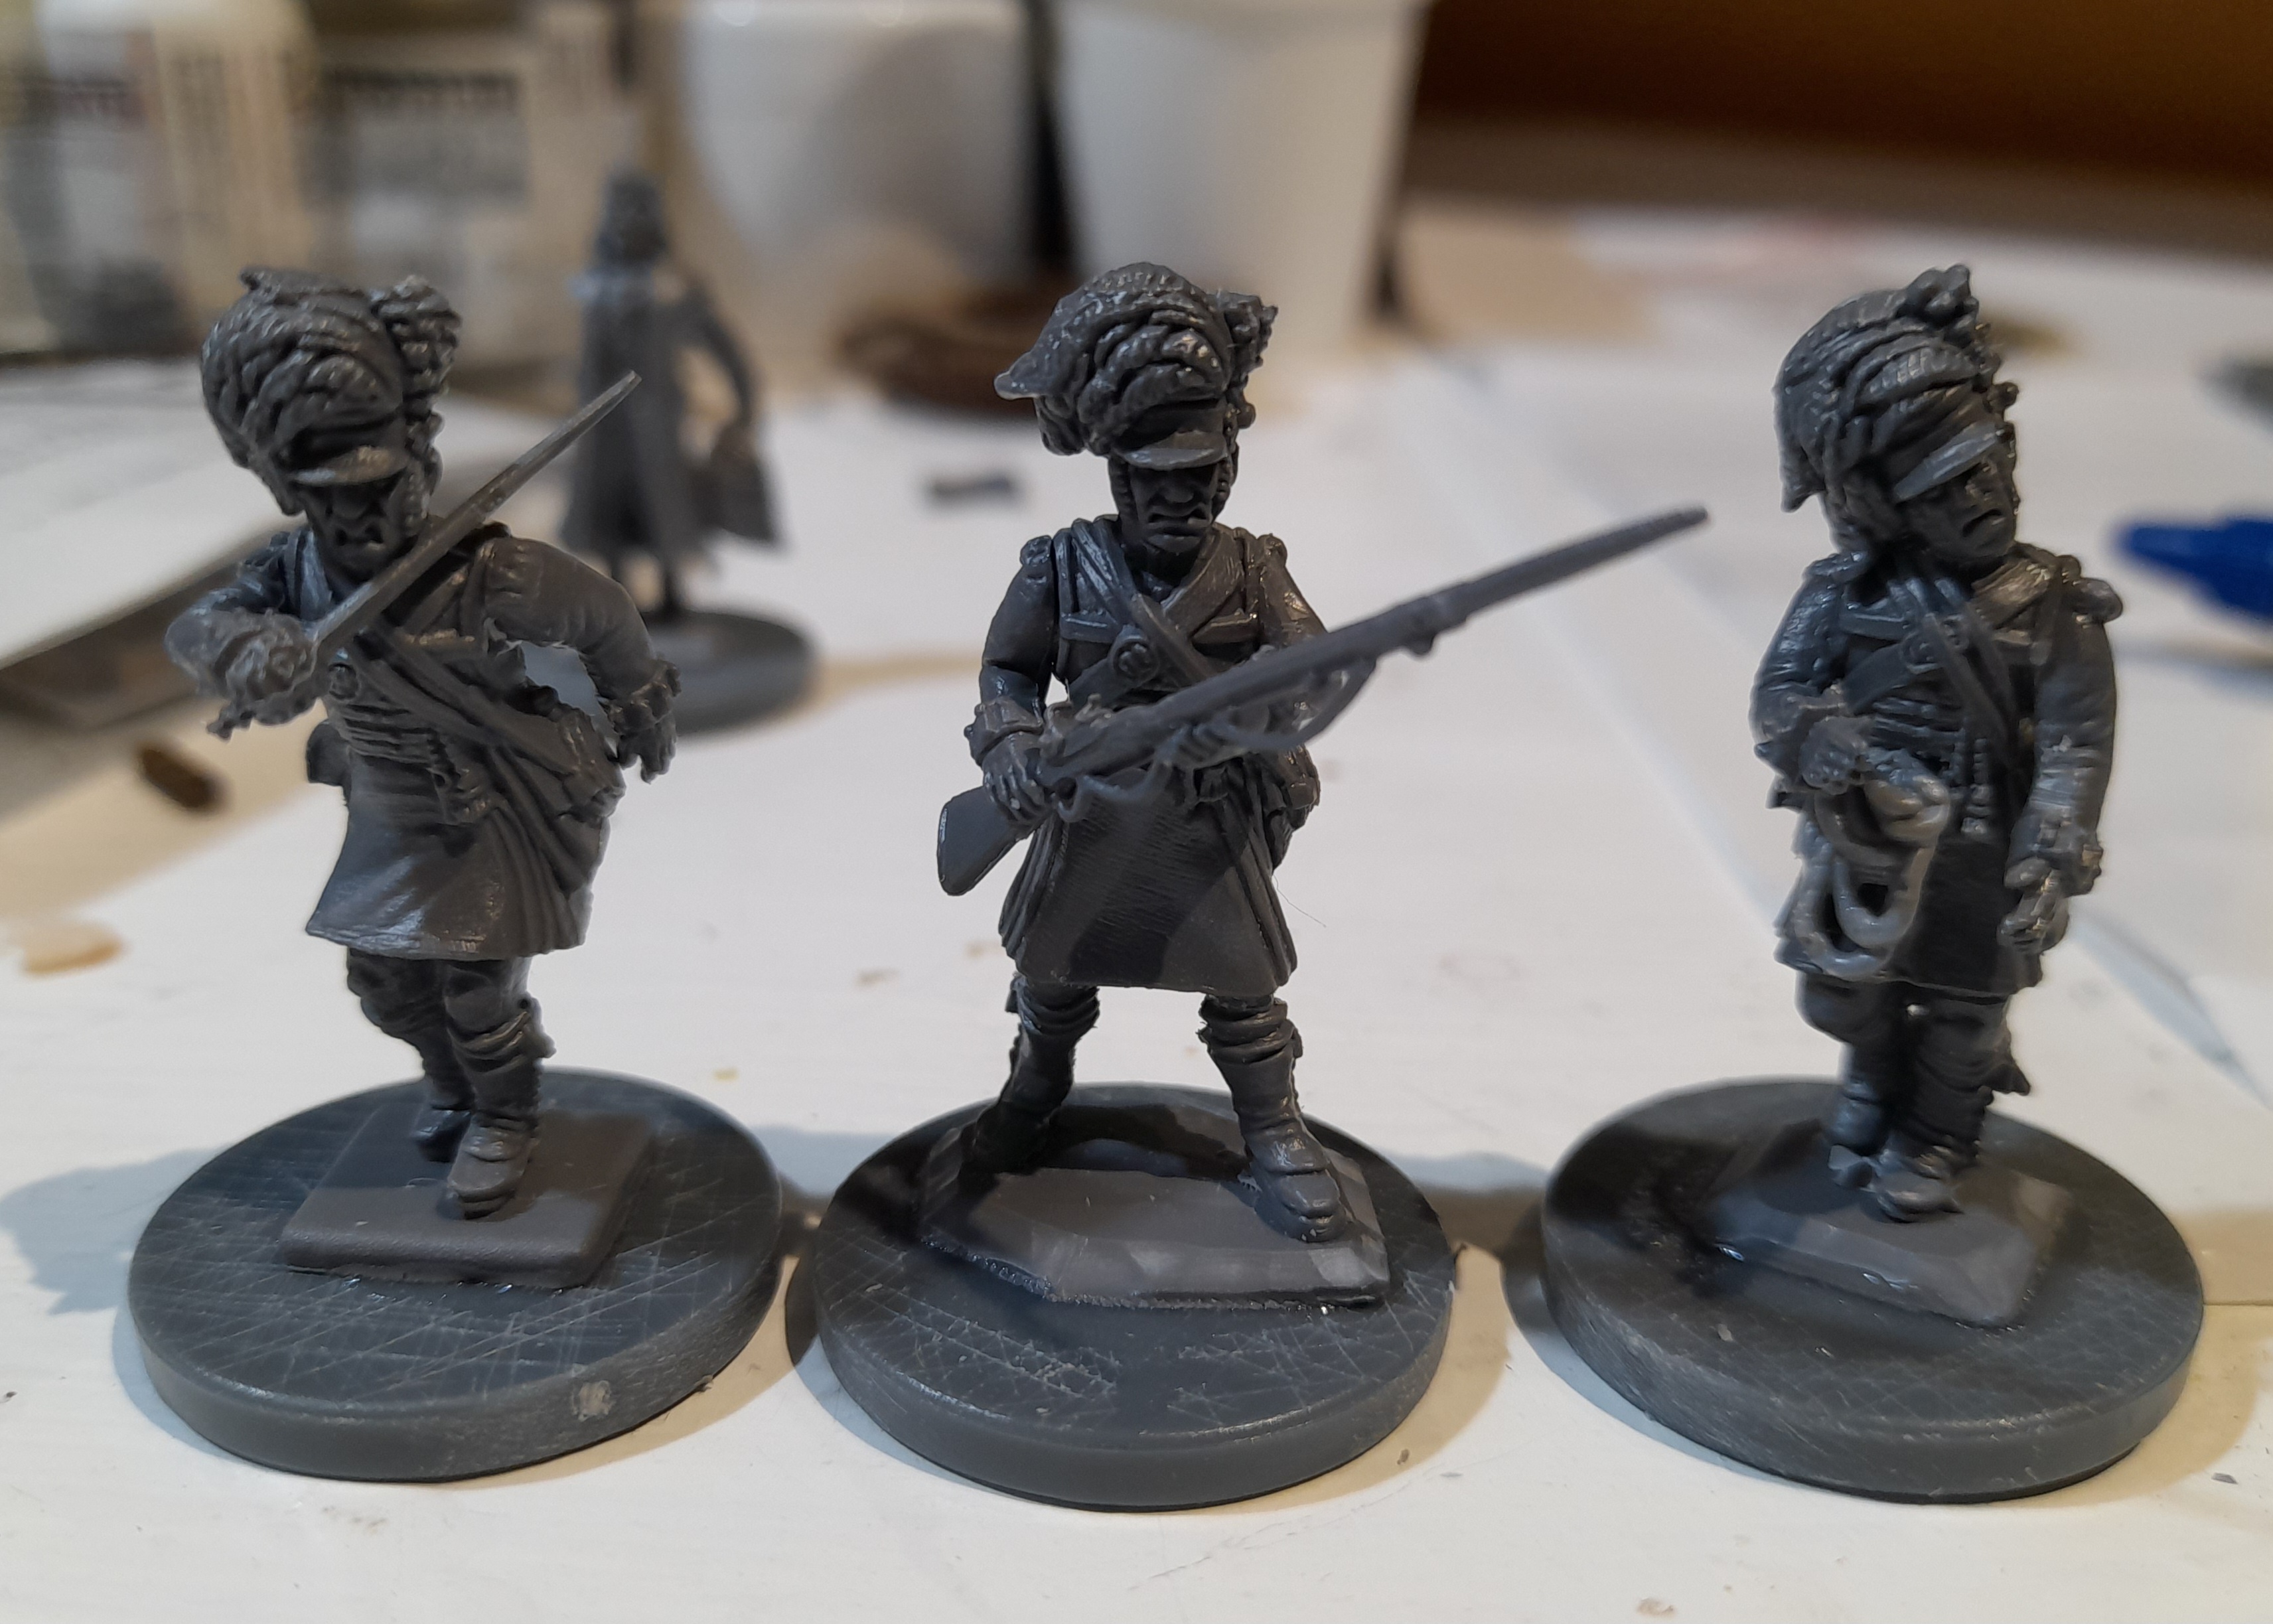
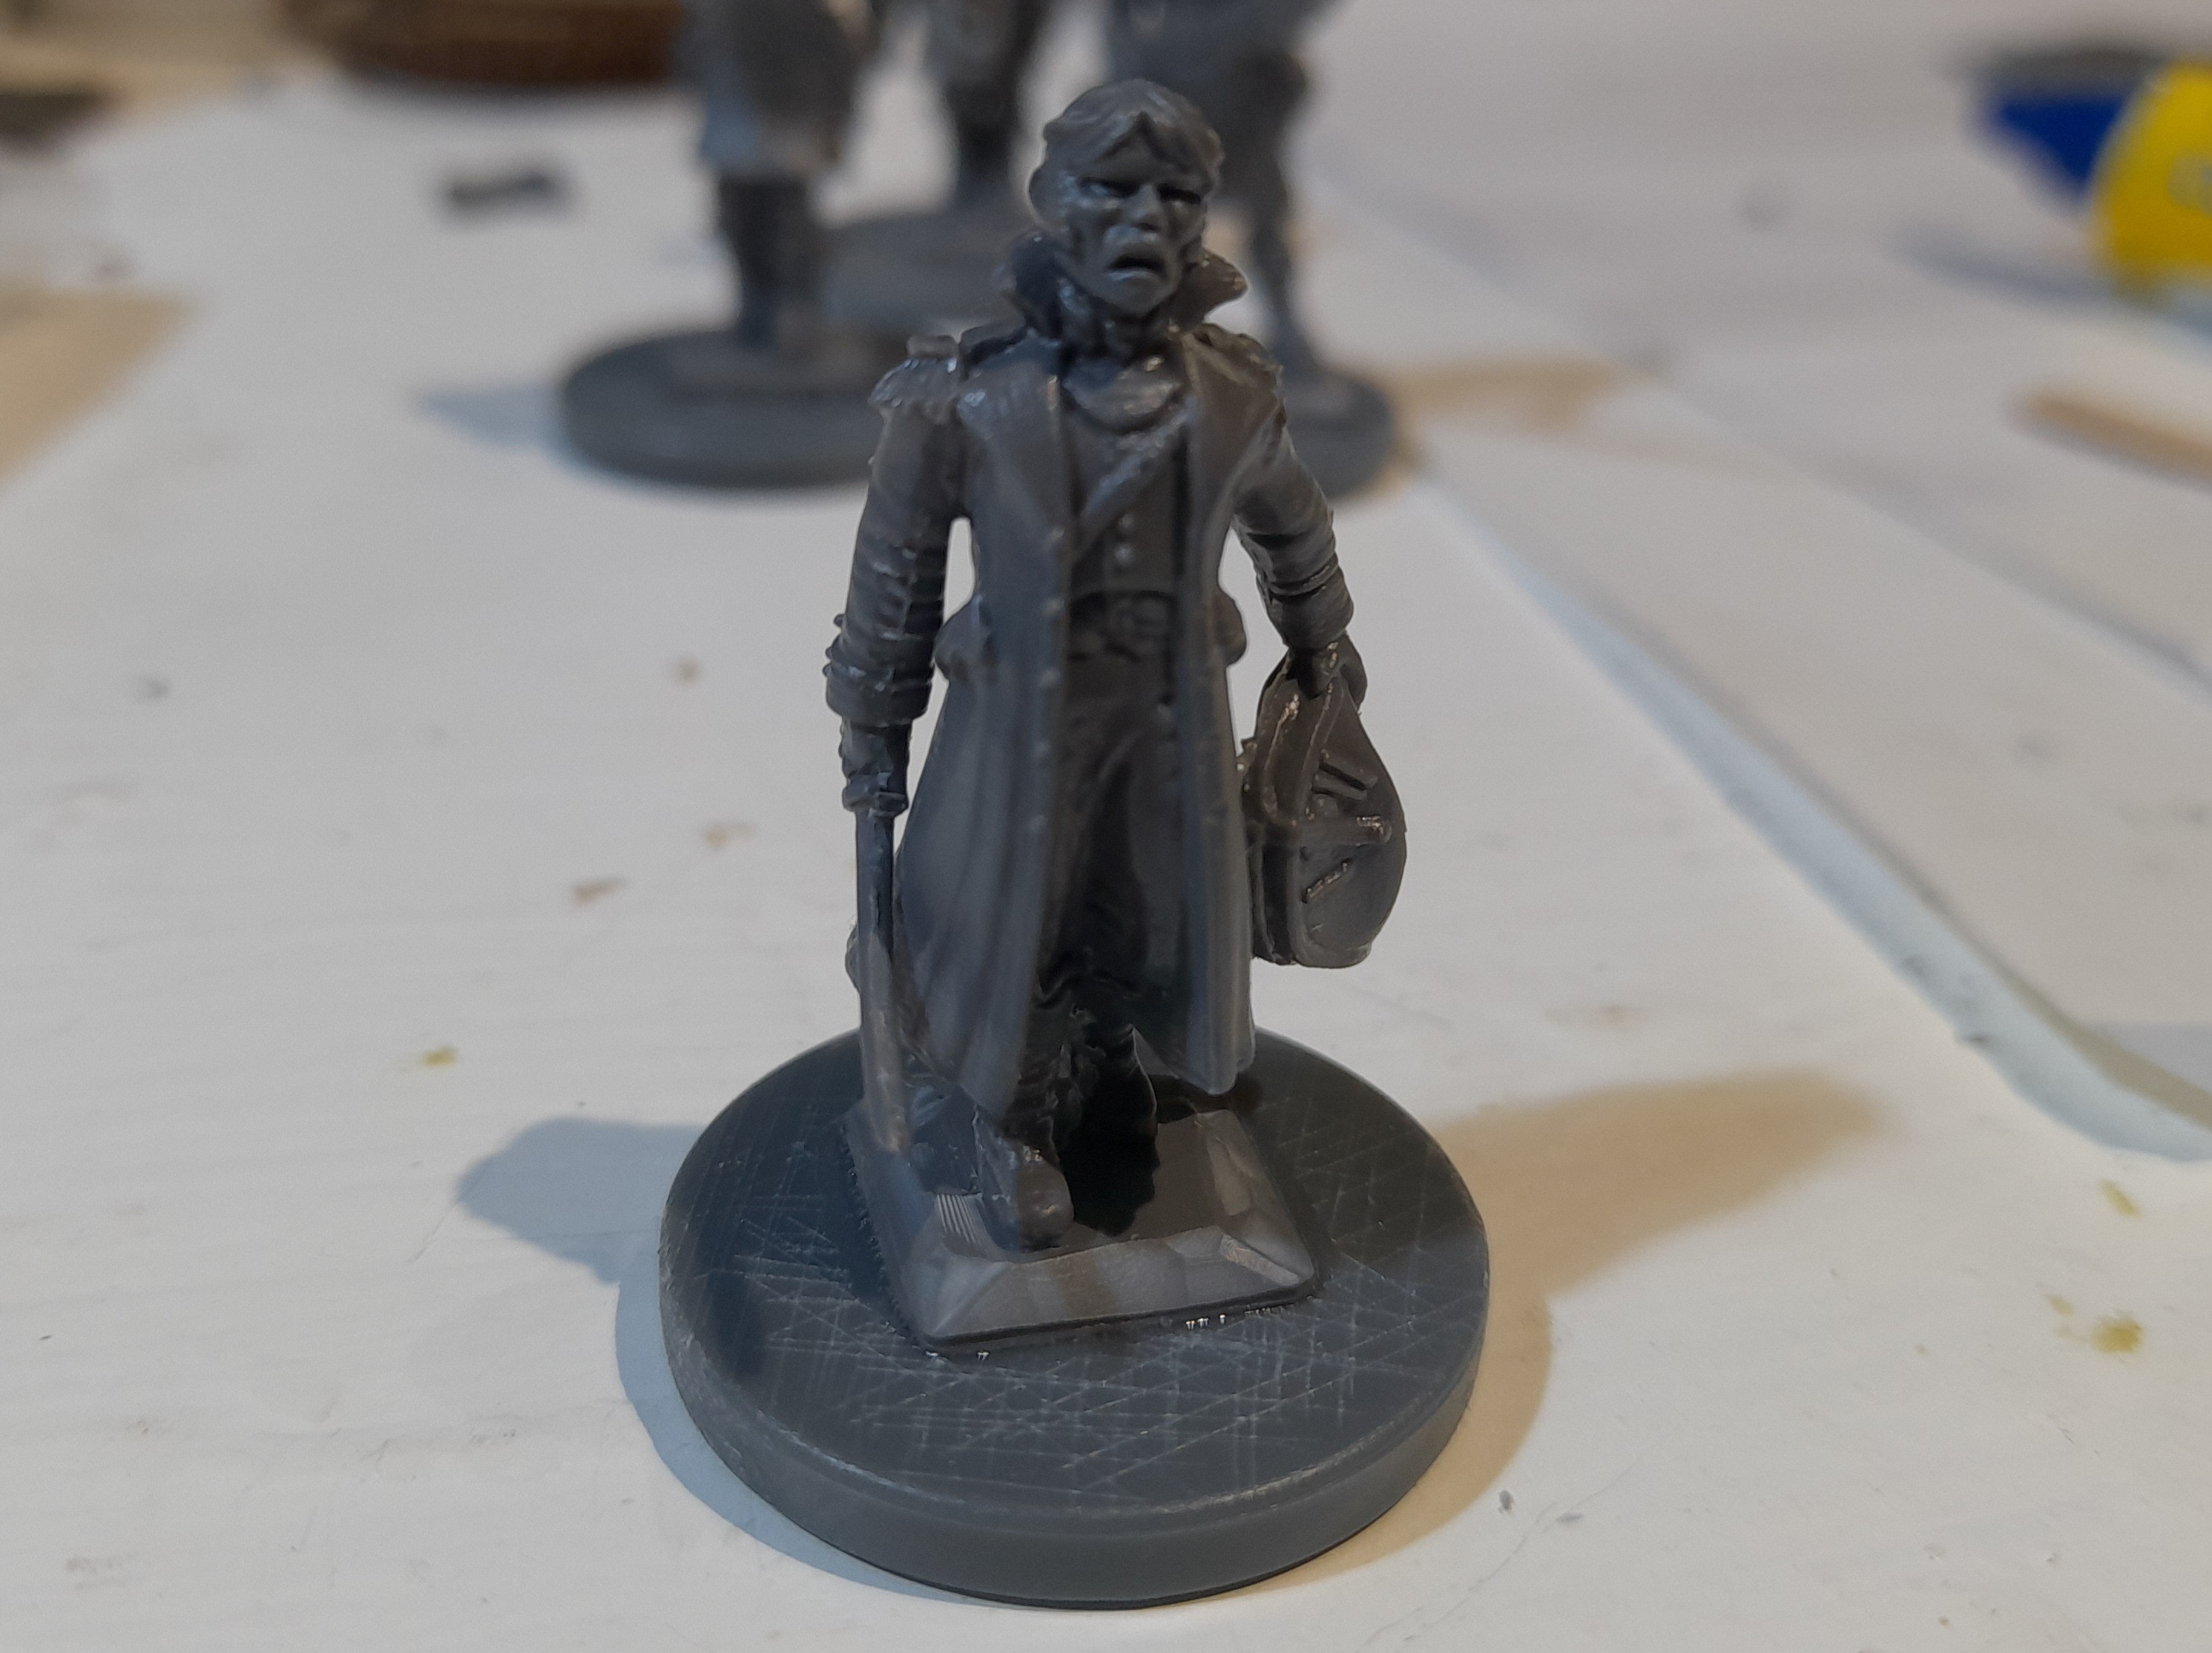
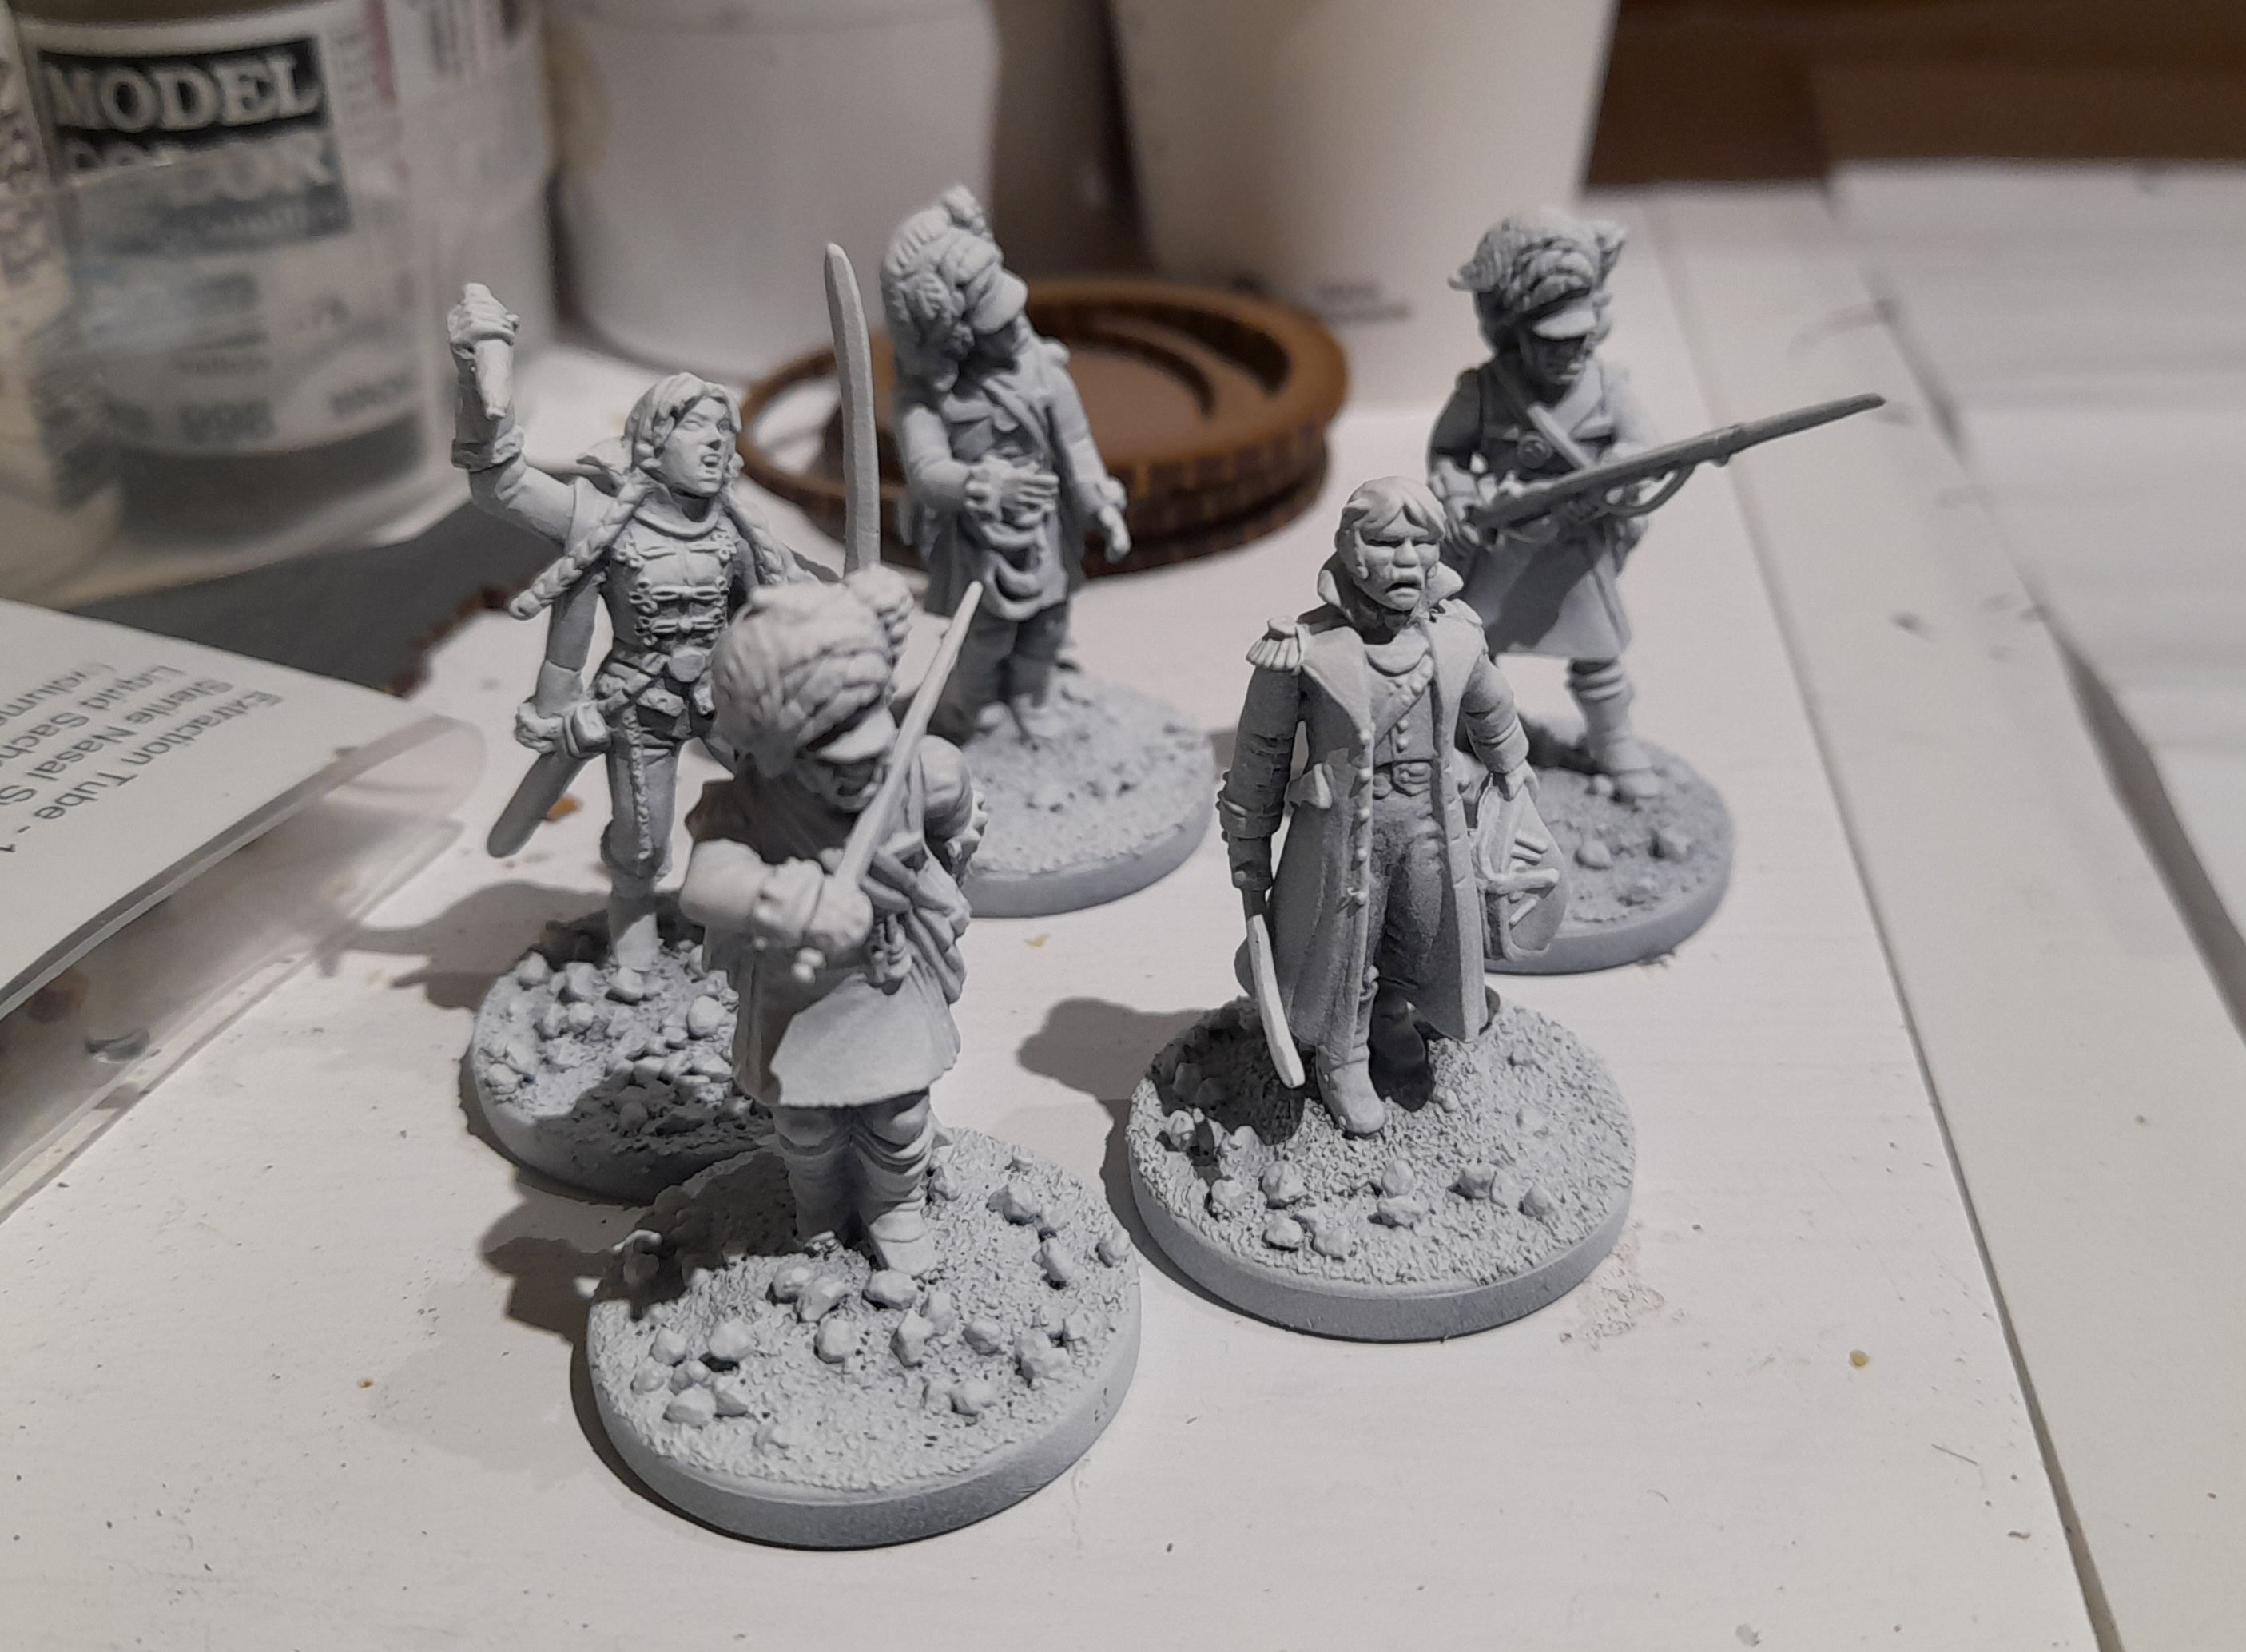
With the basic terrain and some more bad guys dealt with it was time to get back to building some of the ‘good guys’ again. I had picked up a Highlander sprue, so wanted to make a couple of them. Also, the officer on the French guards sprue looked as though it could be a good stand in for a British Medical officer.
Since I had a sprue of 15 highlanders I decided that I would make one with hand weapon, one with musket, and also a cheeky zombie highlander.
For the zombie I just went with a shouting head, and gave it a significant tilt. Some empty arms reaching out, and then added some ‘spilling guts’ from a mantic zombie sprue. Hopefully it will suffice.
The doc model was just a basic build from the sprue really.
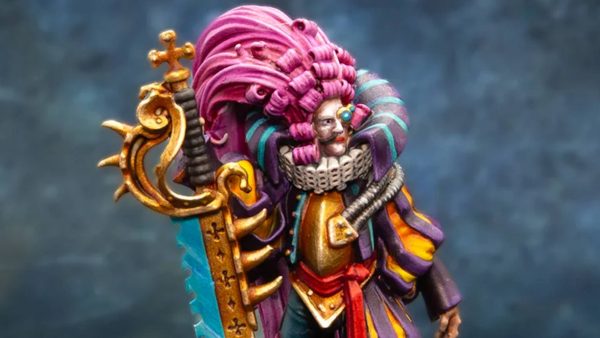
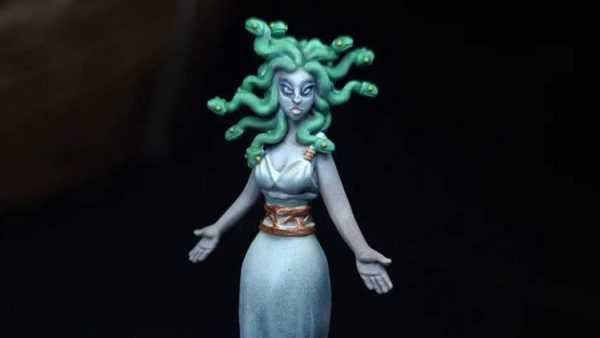
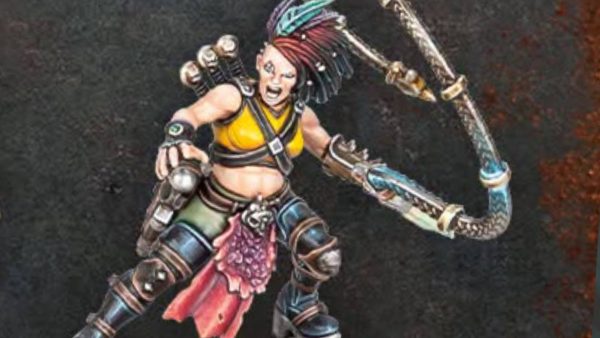
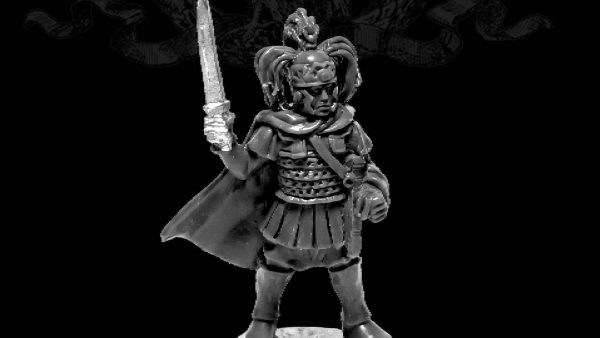
I also had a metal mini that a friend gave me. This is a female Napoleonic vampire hunter. It will most likely be the leader for my wife’s unit, once she decides what she wants 😊
They were all given a black then white spray, sort of leaving a bit of undershading. Not a true zenithal though.
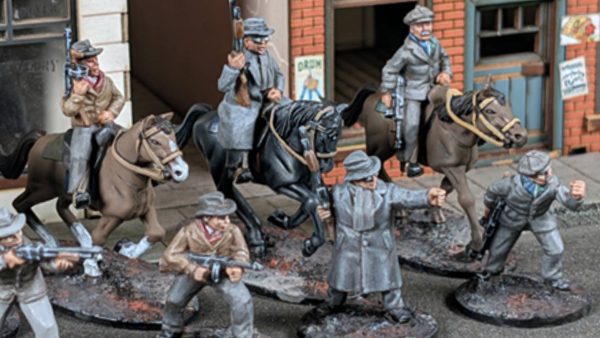
Next up will be some Cavalry models (Heavy and light), converted foot versions for those, plus a mounted version of my leader, Richmond S Harpe…. Potentially a fair bit of conversion work, but I will try to get by with kit bashing as much as possible before chopping things up.
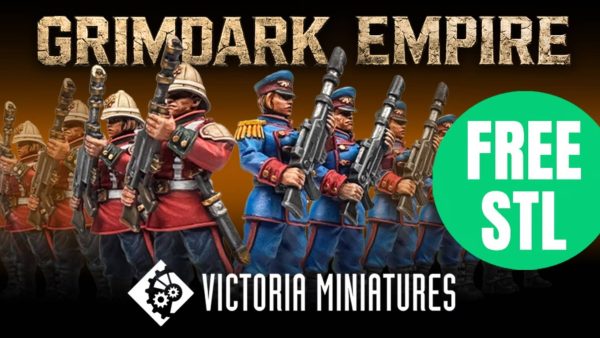
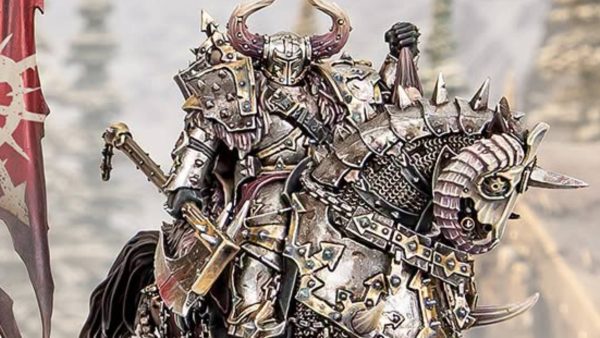
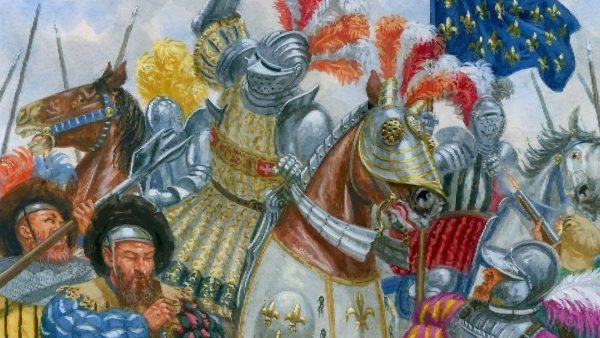
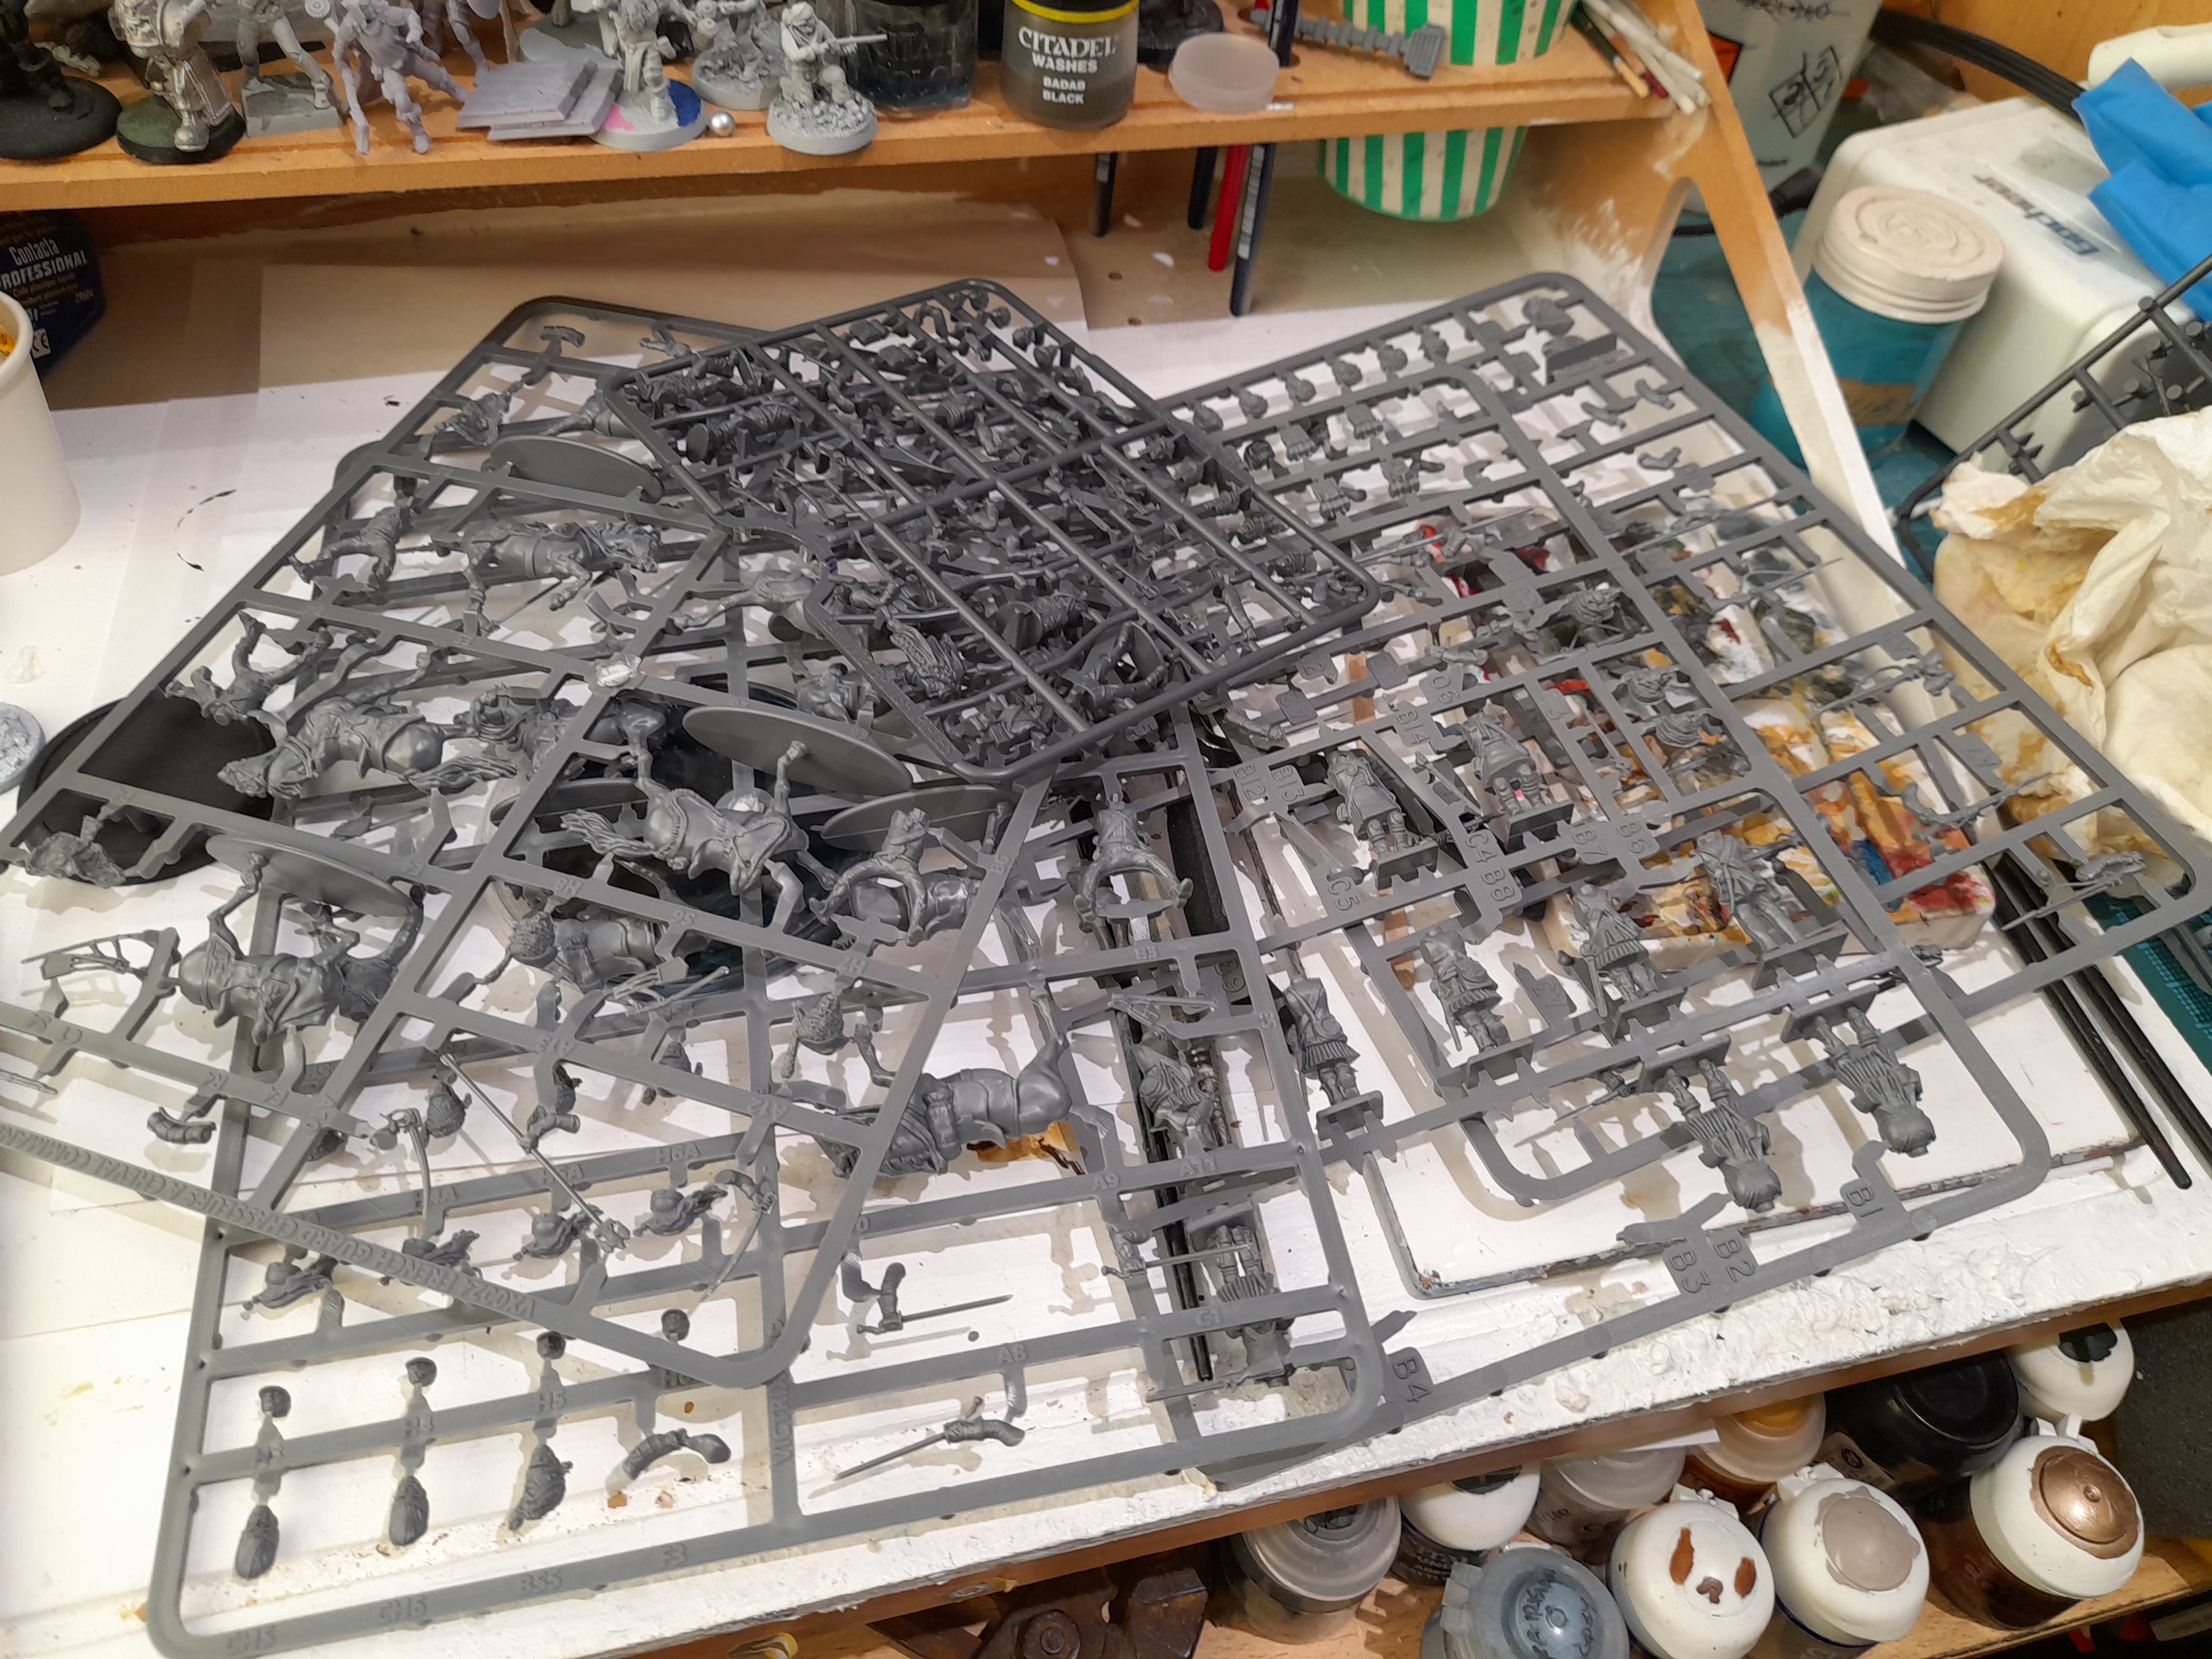 Cavalry to be made from a combination of these
Giant Bats, of a sort
17th January 2025
Alongside the ghouls I began work on some Giant Bats. In The Silver Bayonet a giant bat is given as the size of a goose or swan.
I searched around, but didn’t find much. I had one old long oop Warhammer Quest giant bat, with no stand. I checked online and the best I could find was about £3.30 each. Knowing that I would potentially need a dozen, but with very limited use, I decided I couldn’t justify that spend on top of my current existing outlay.
I have some reusable moulding plastic, so I thought I would give that a go with that oop WHQ bat 😊
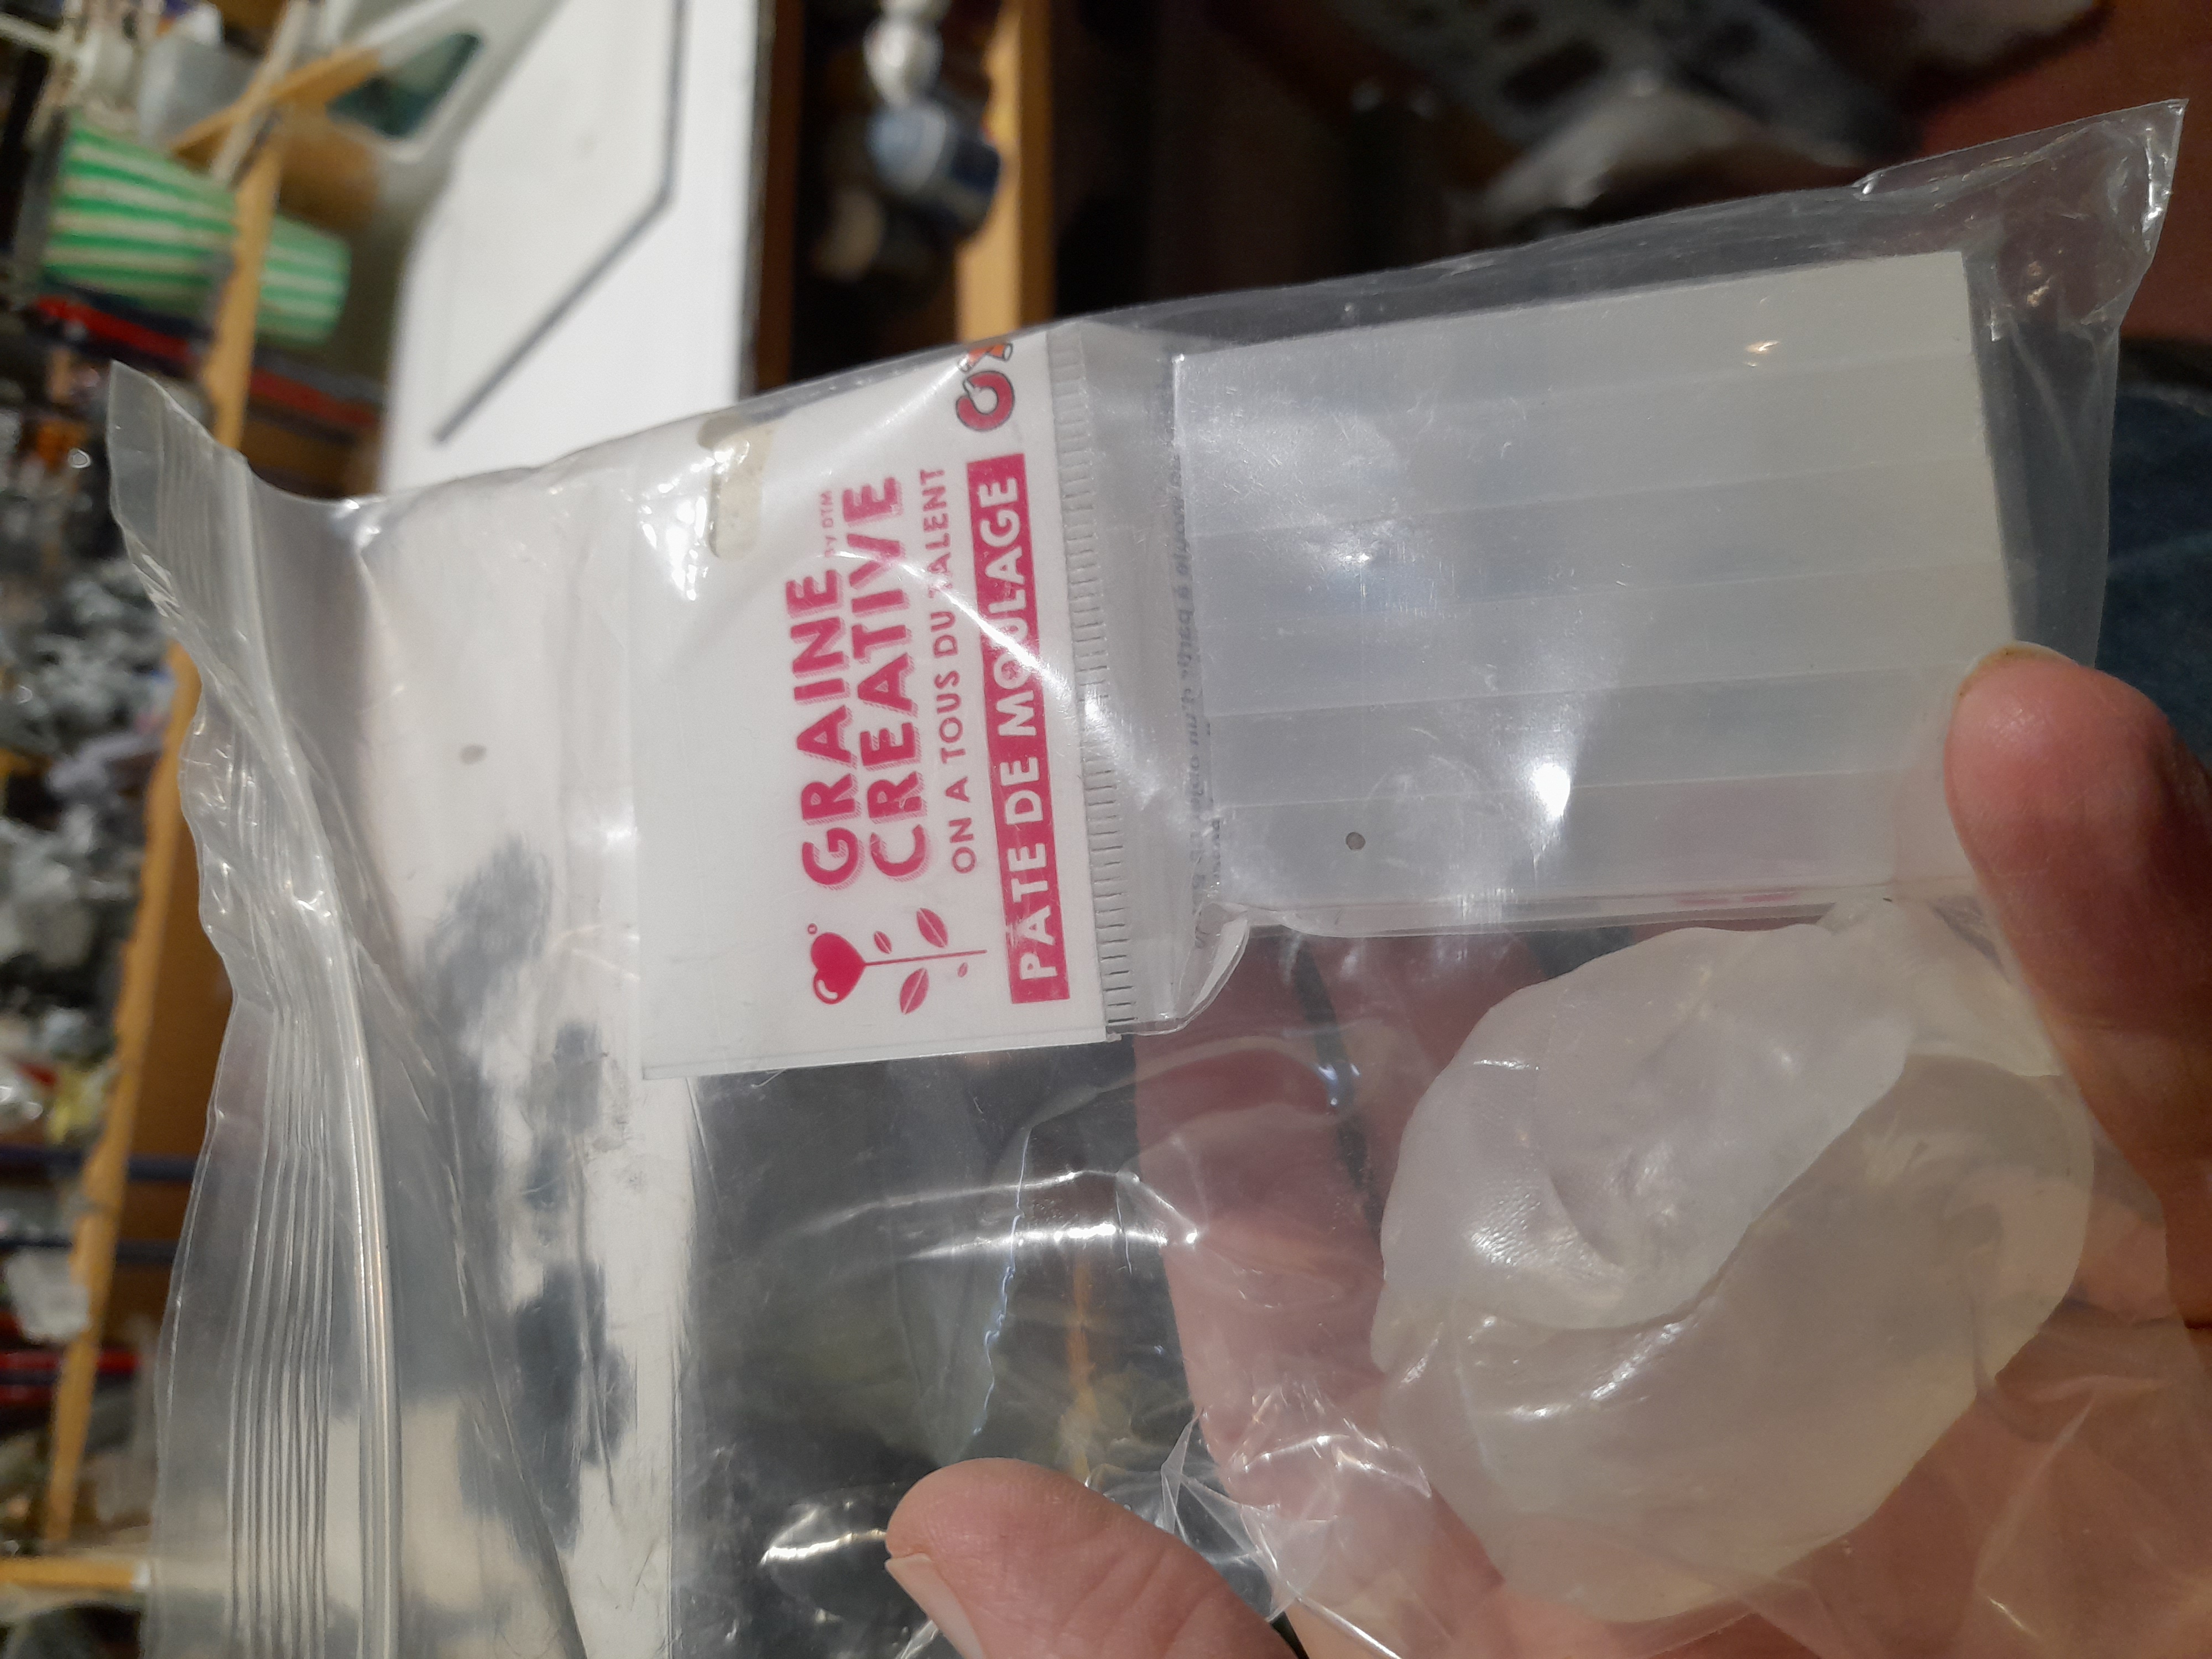
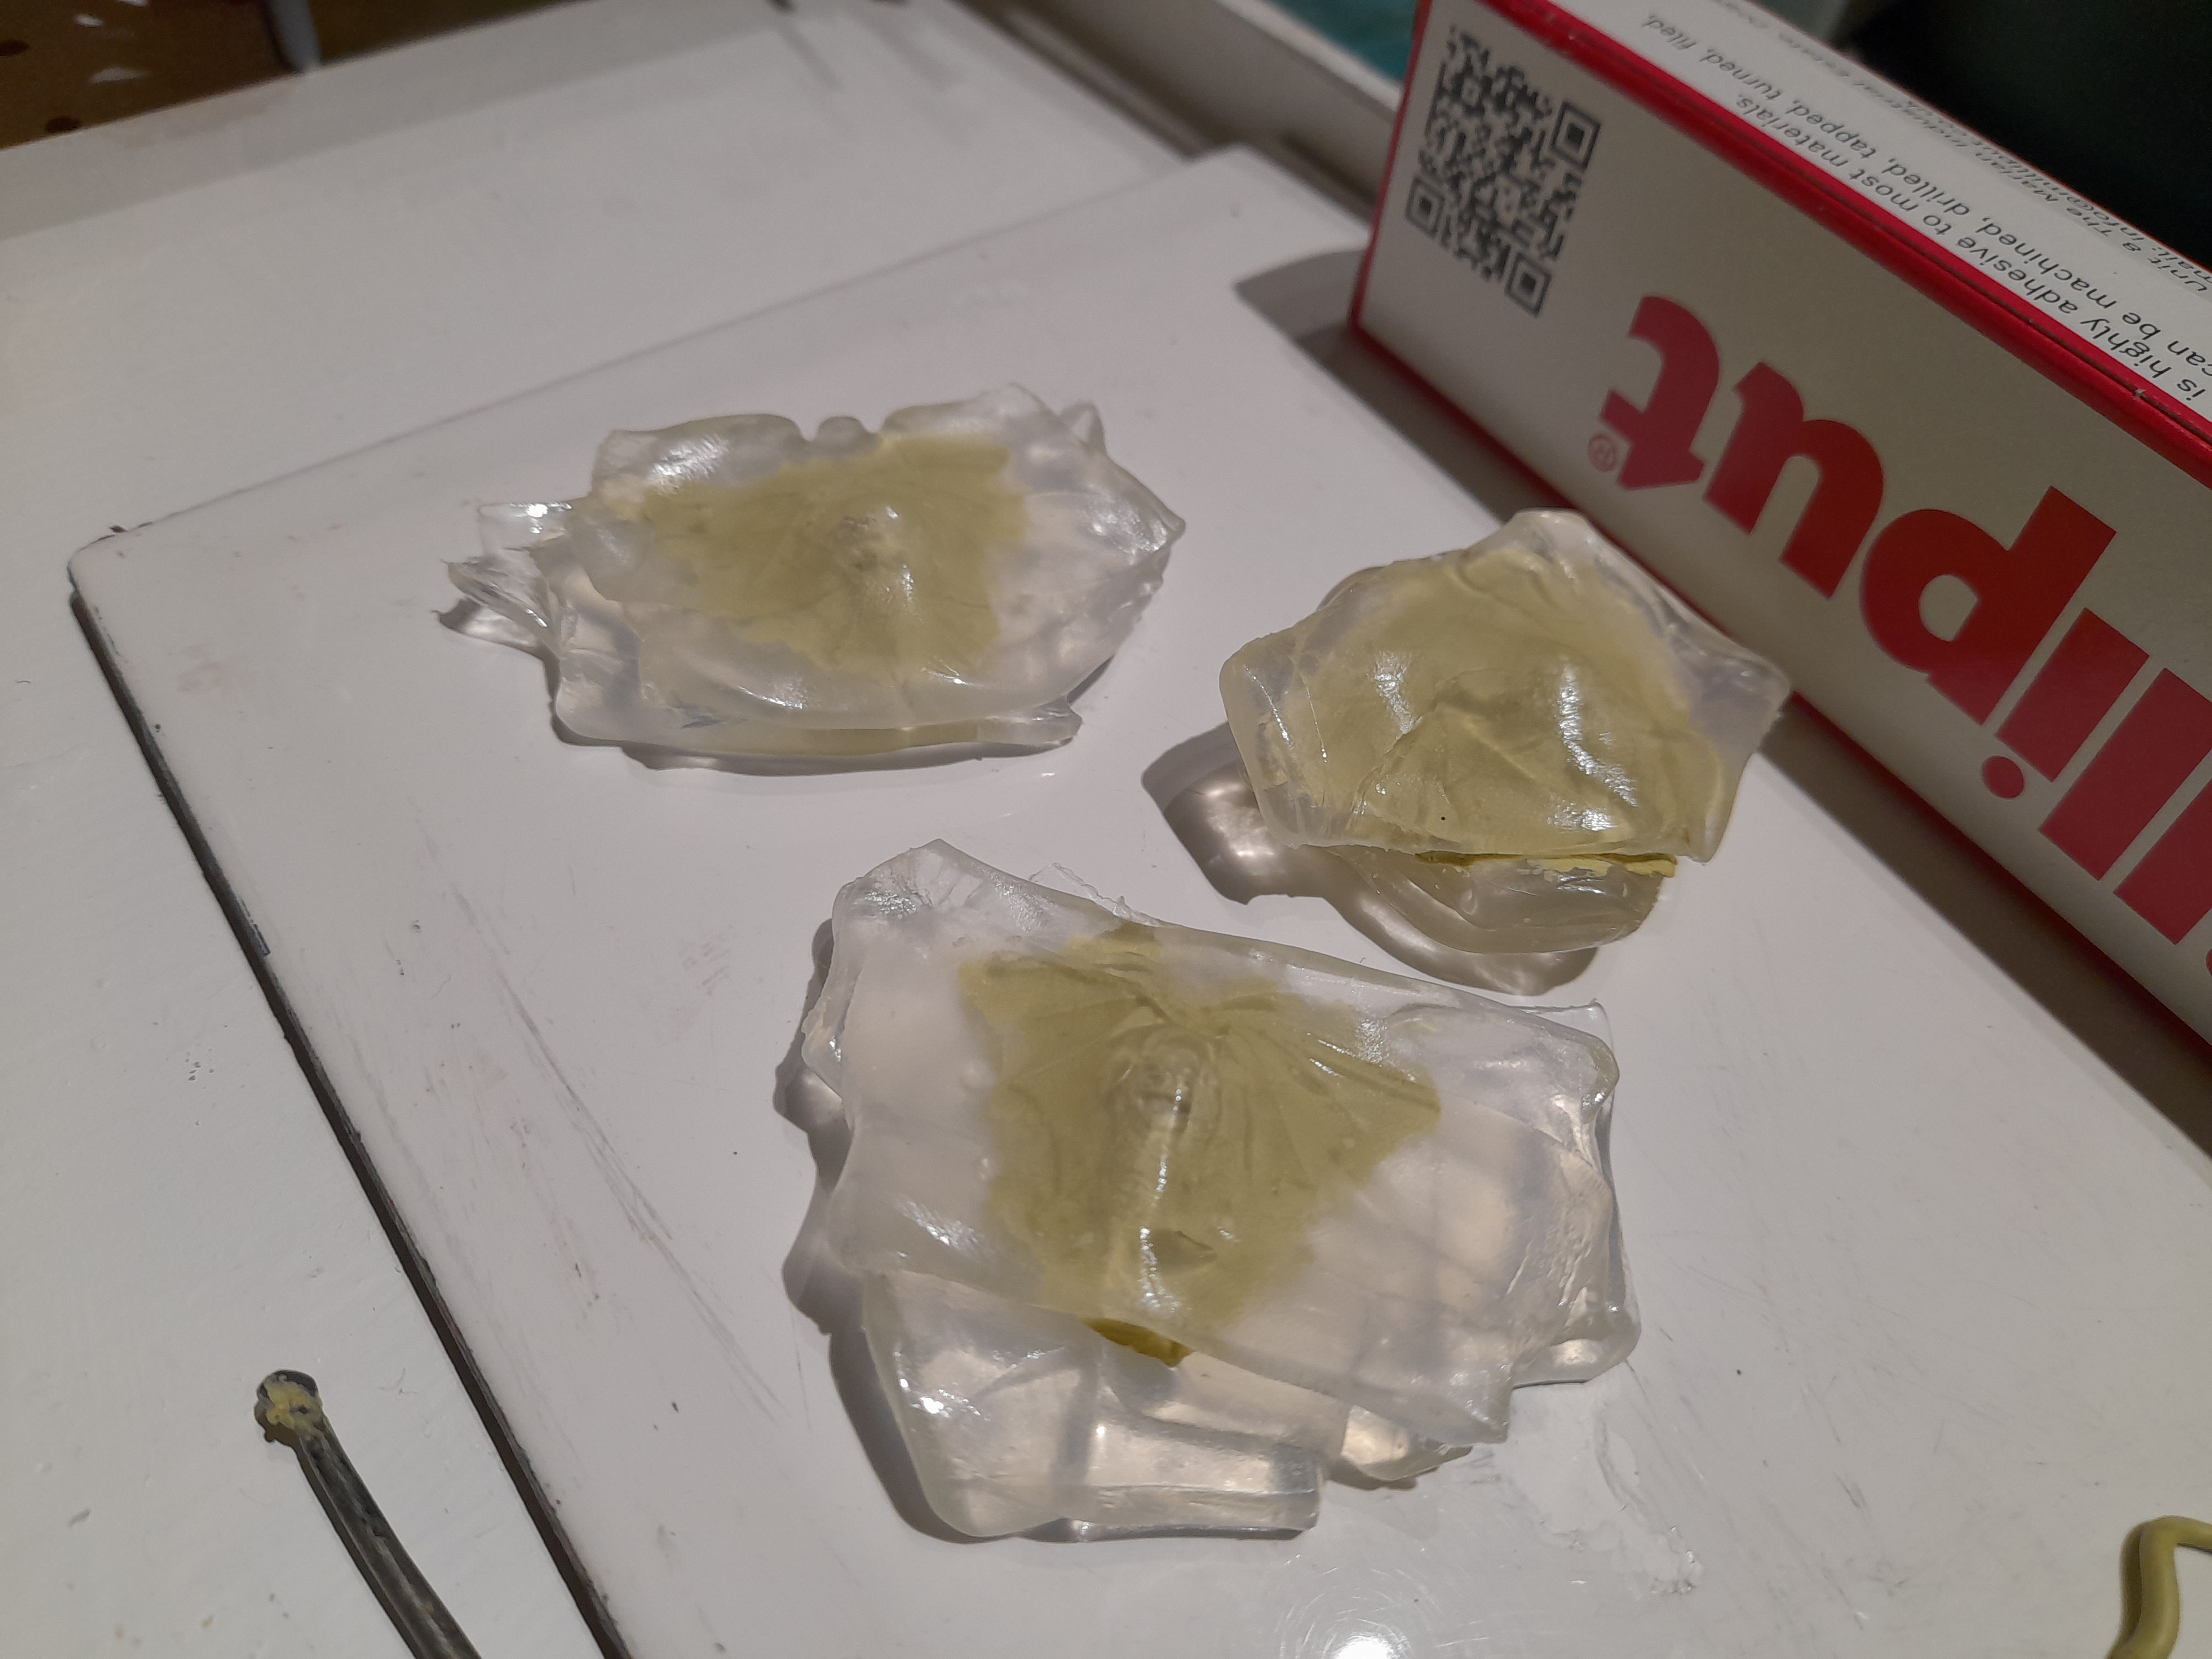

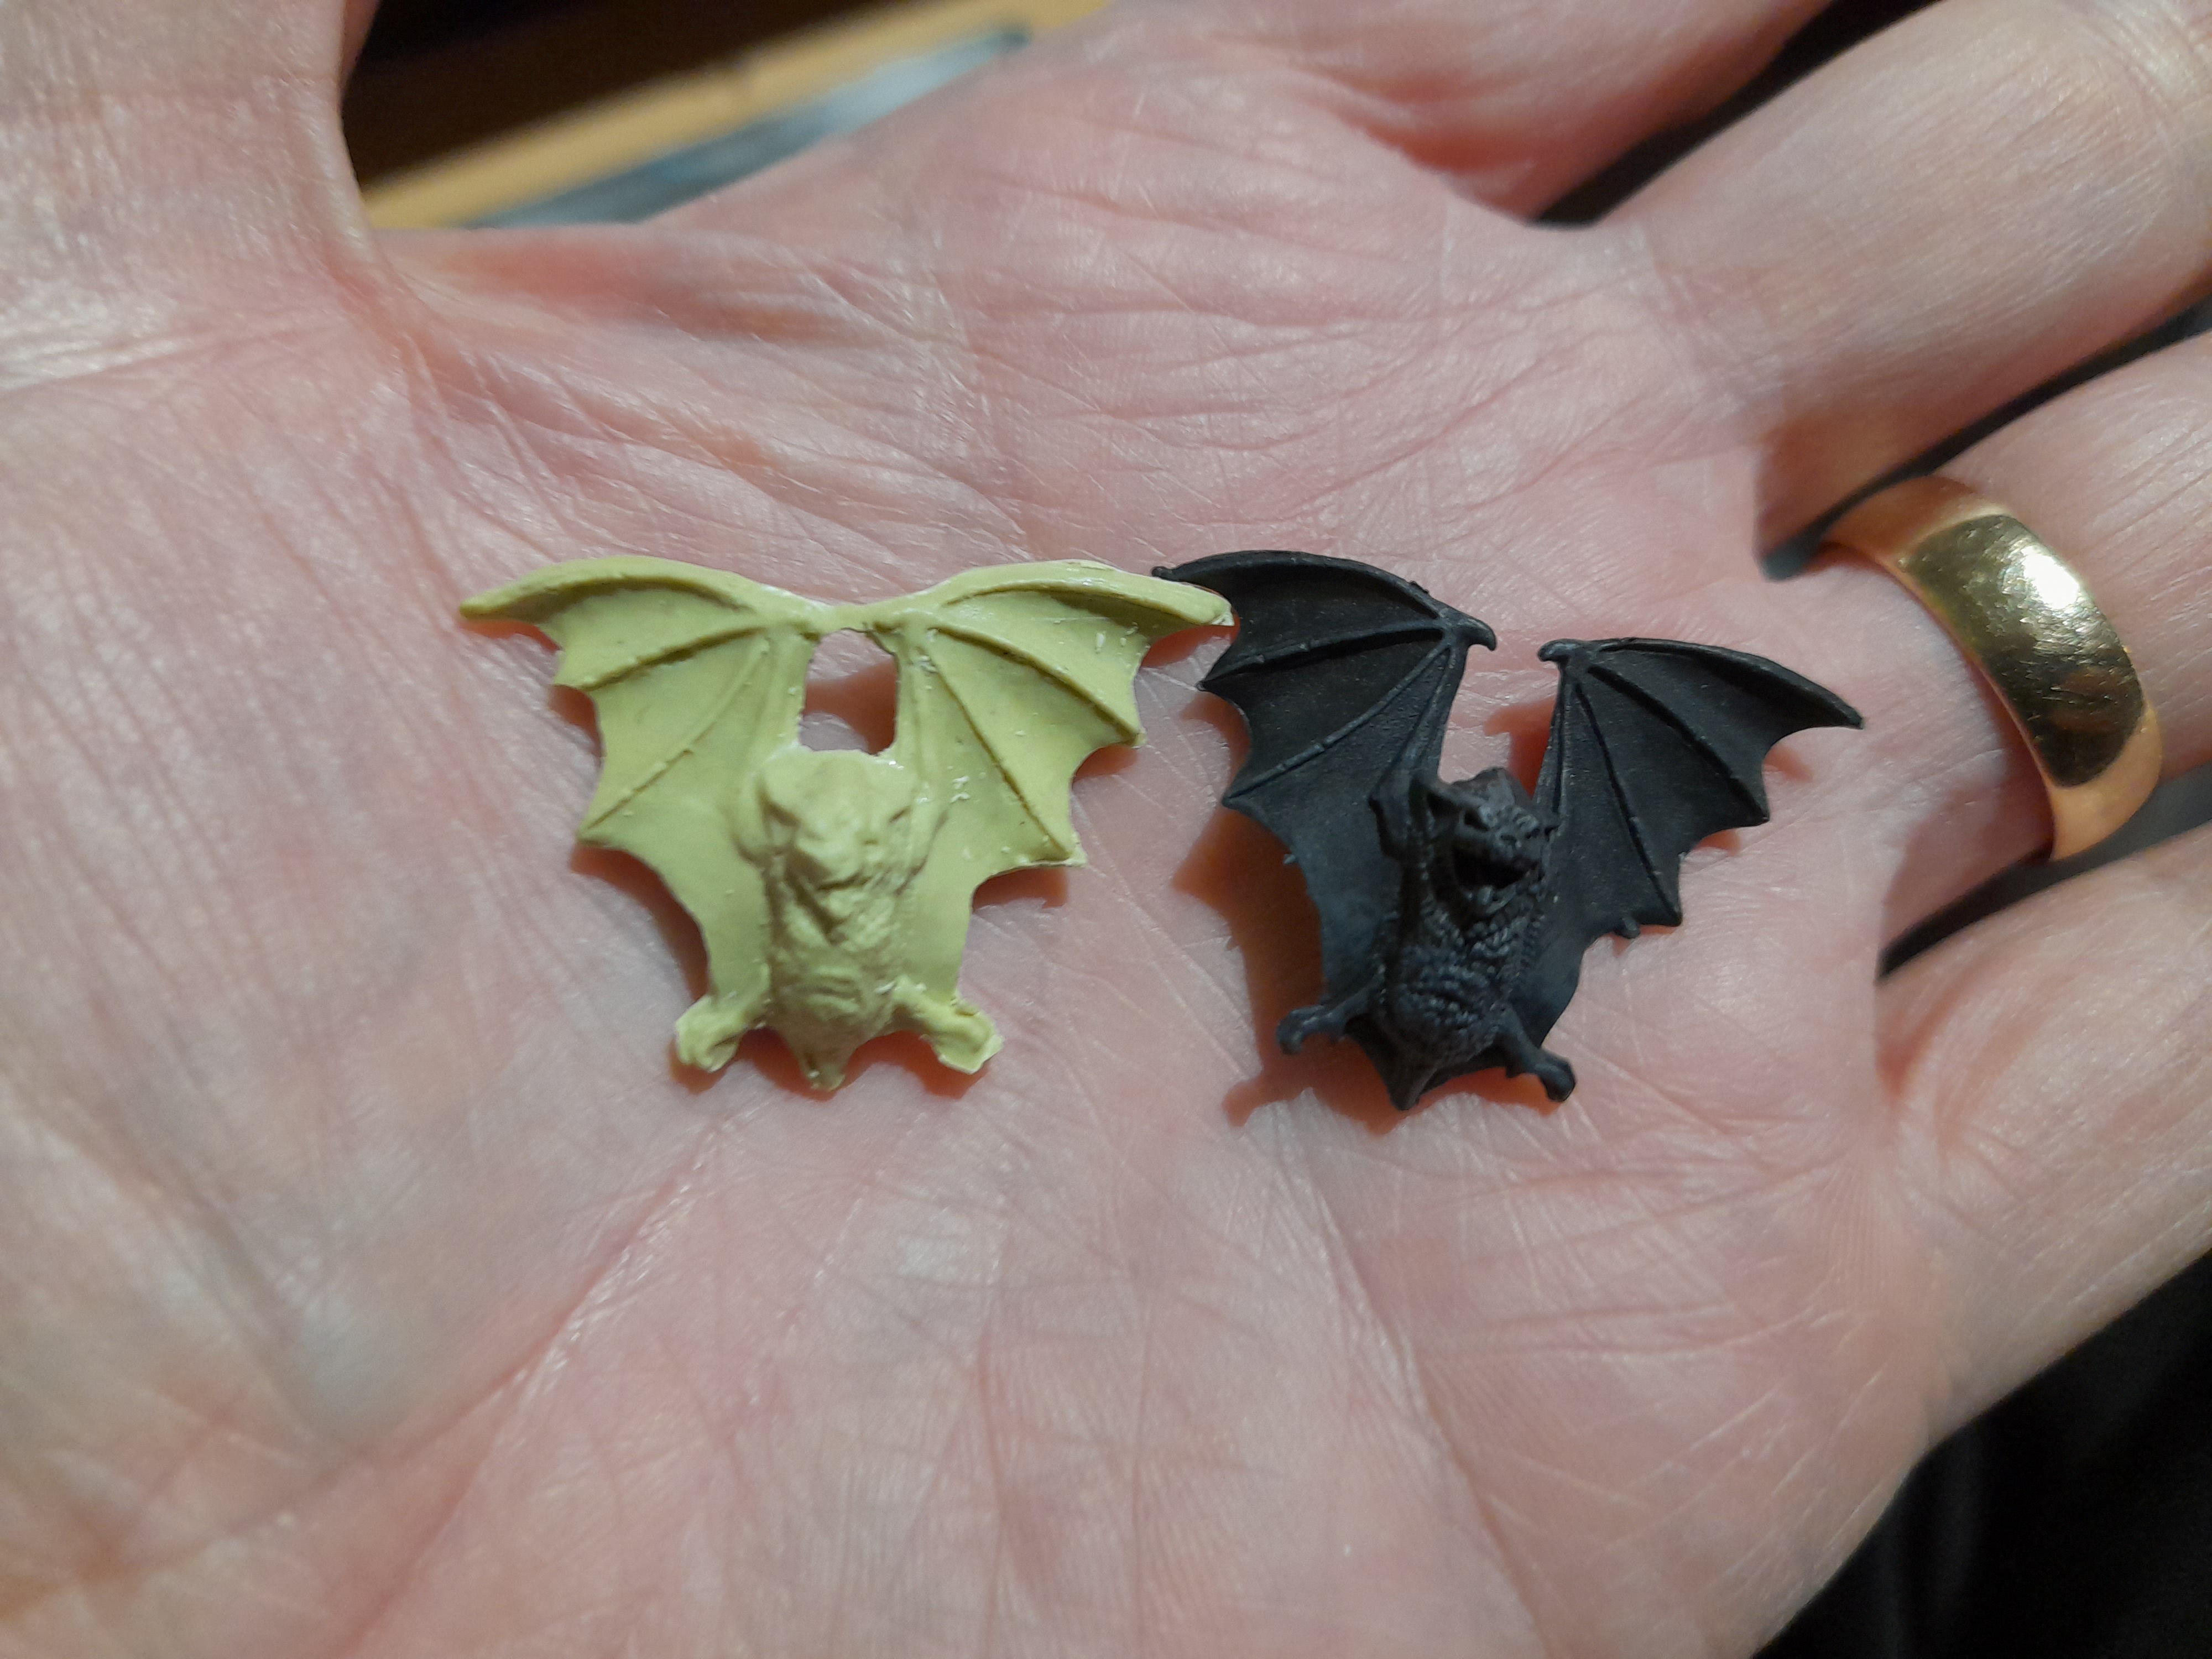
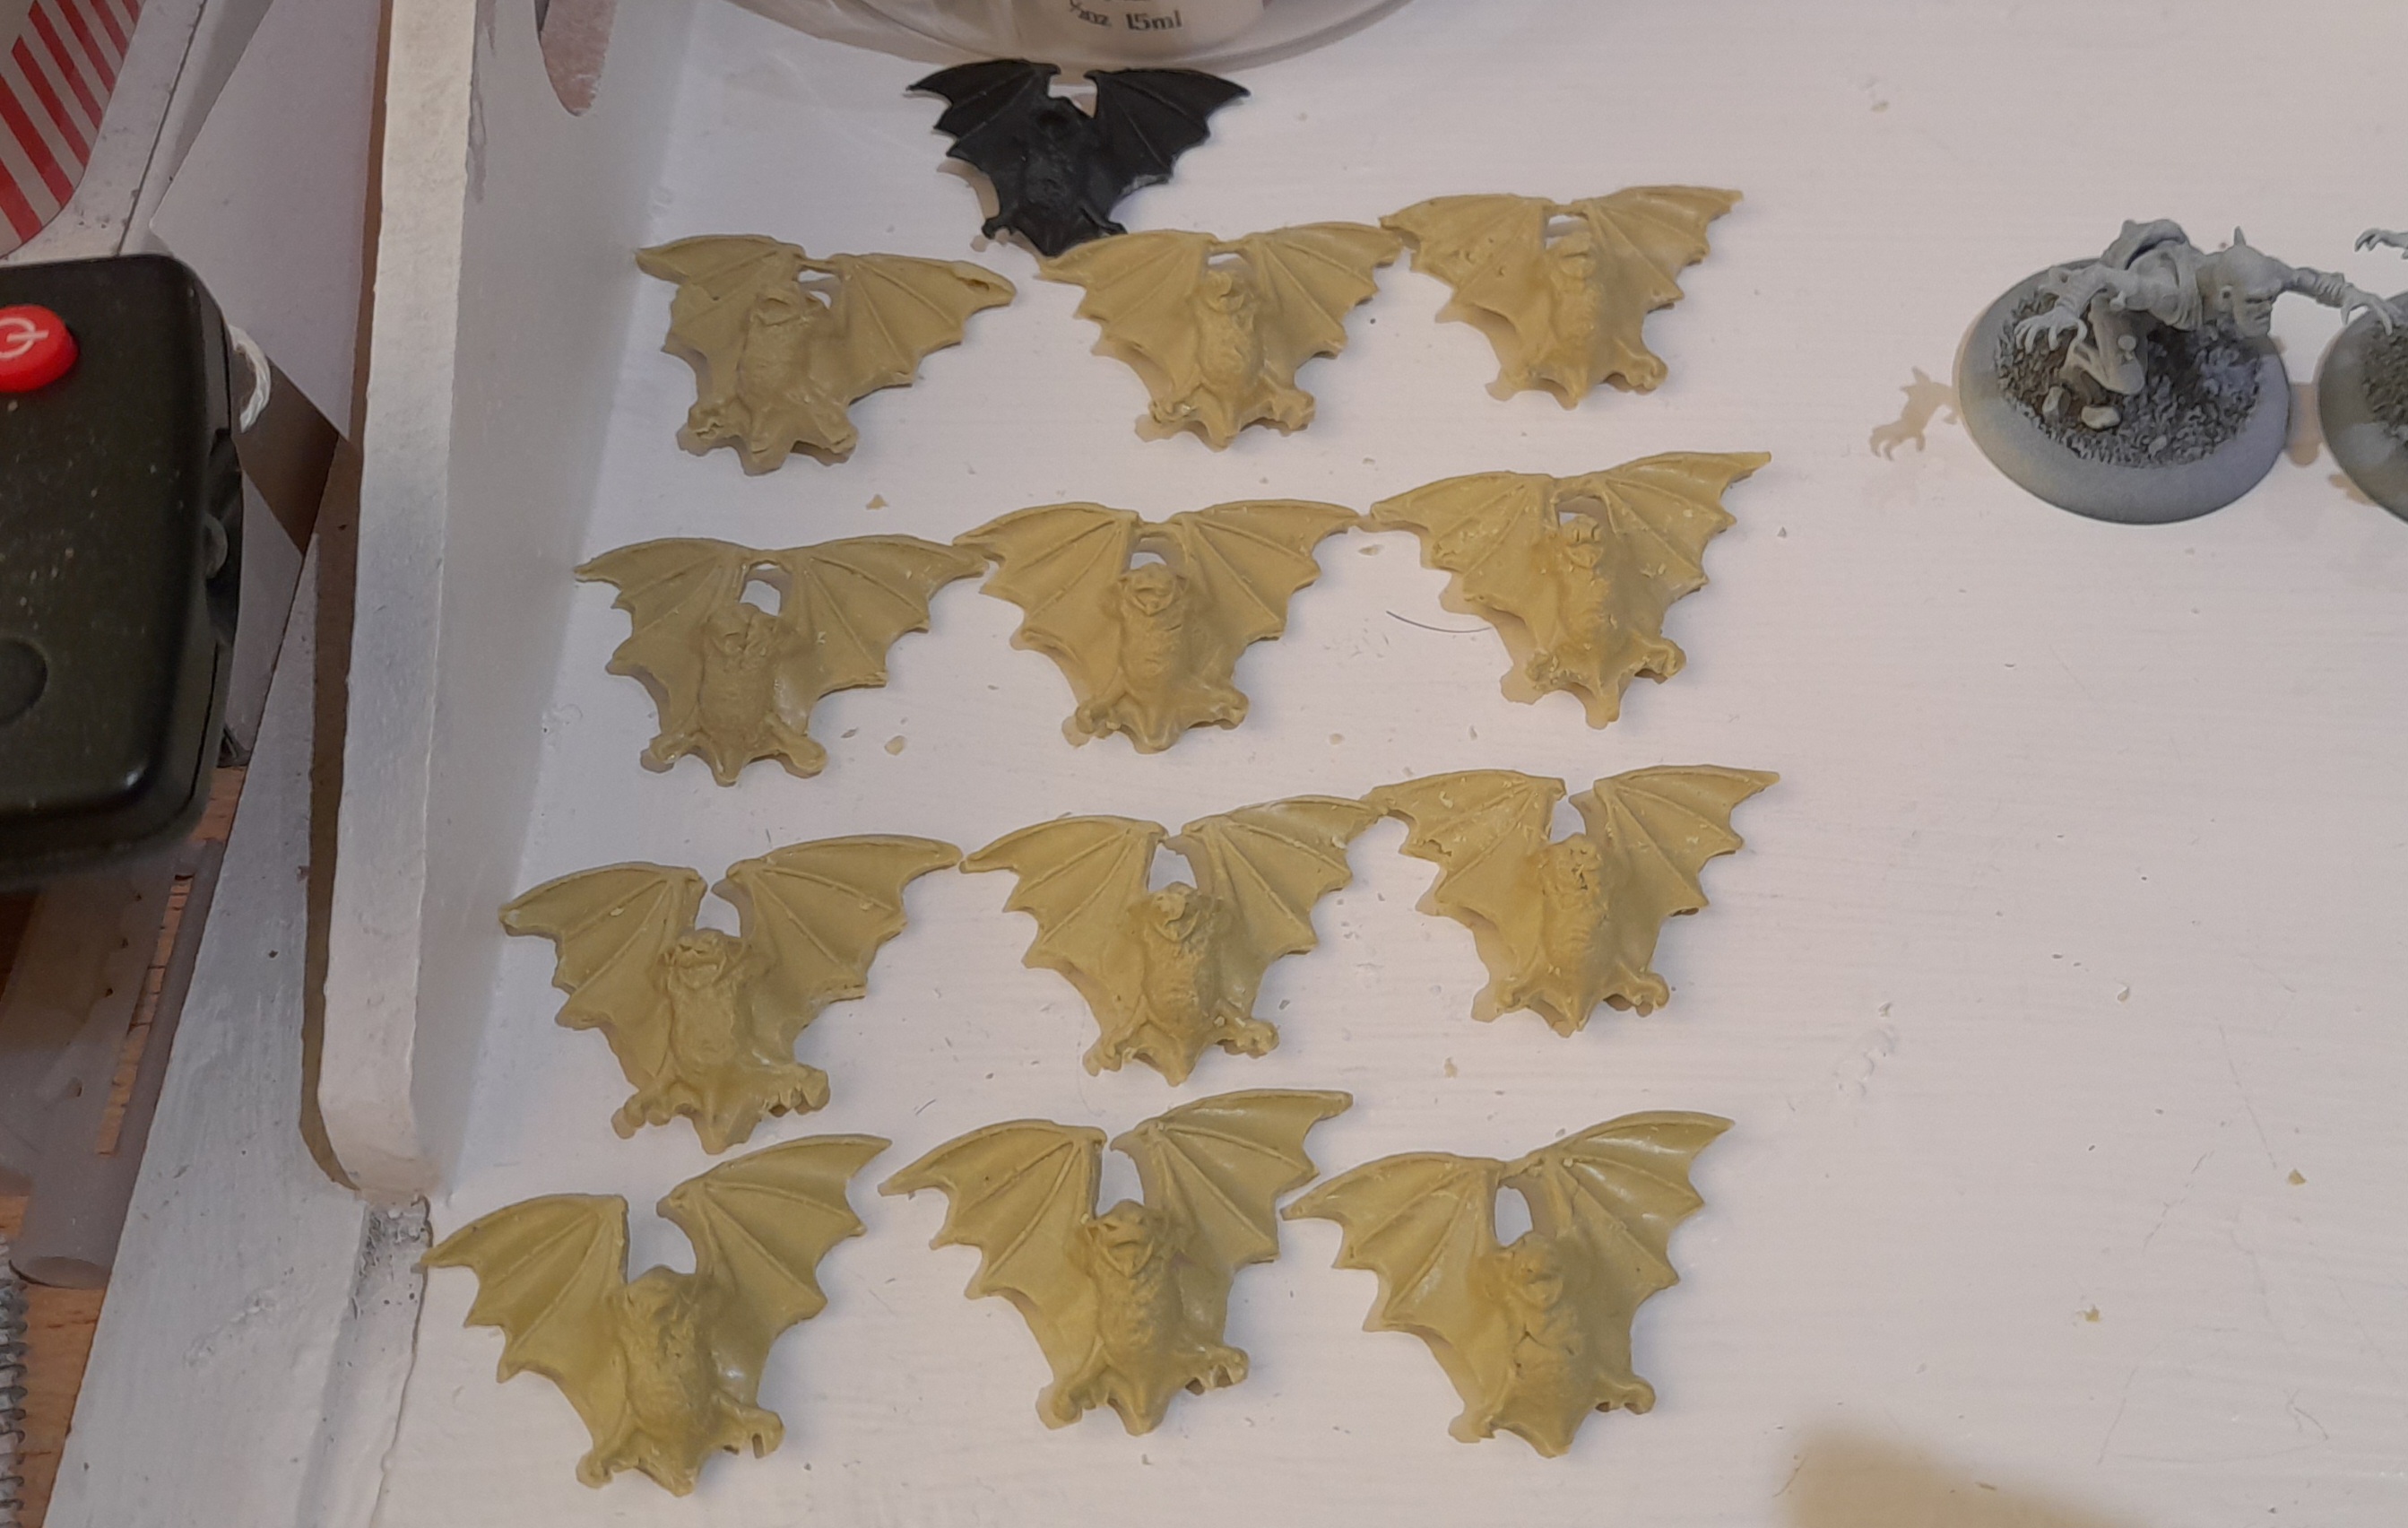
They came out a bit like some form of pasta. Results were mixed (some faces were very undefined, wings damaged), and all needed a lot of clean up.
With a batch of three done, I repeated the process until I had a dozen.
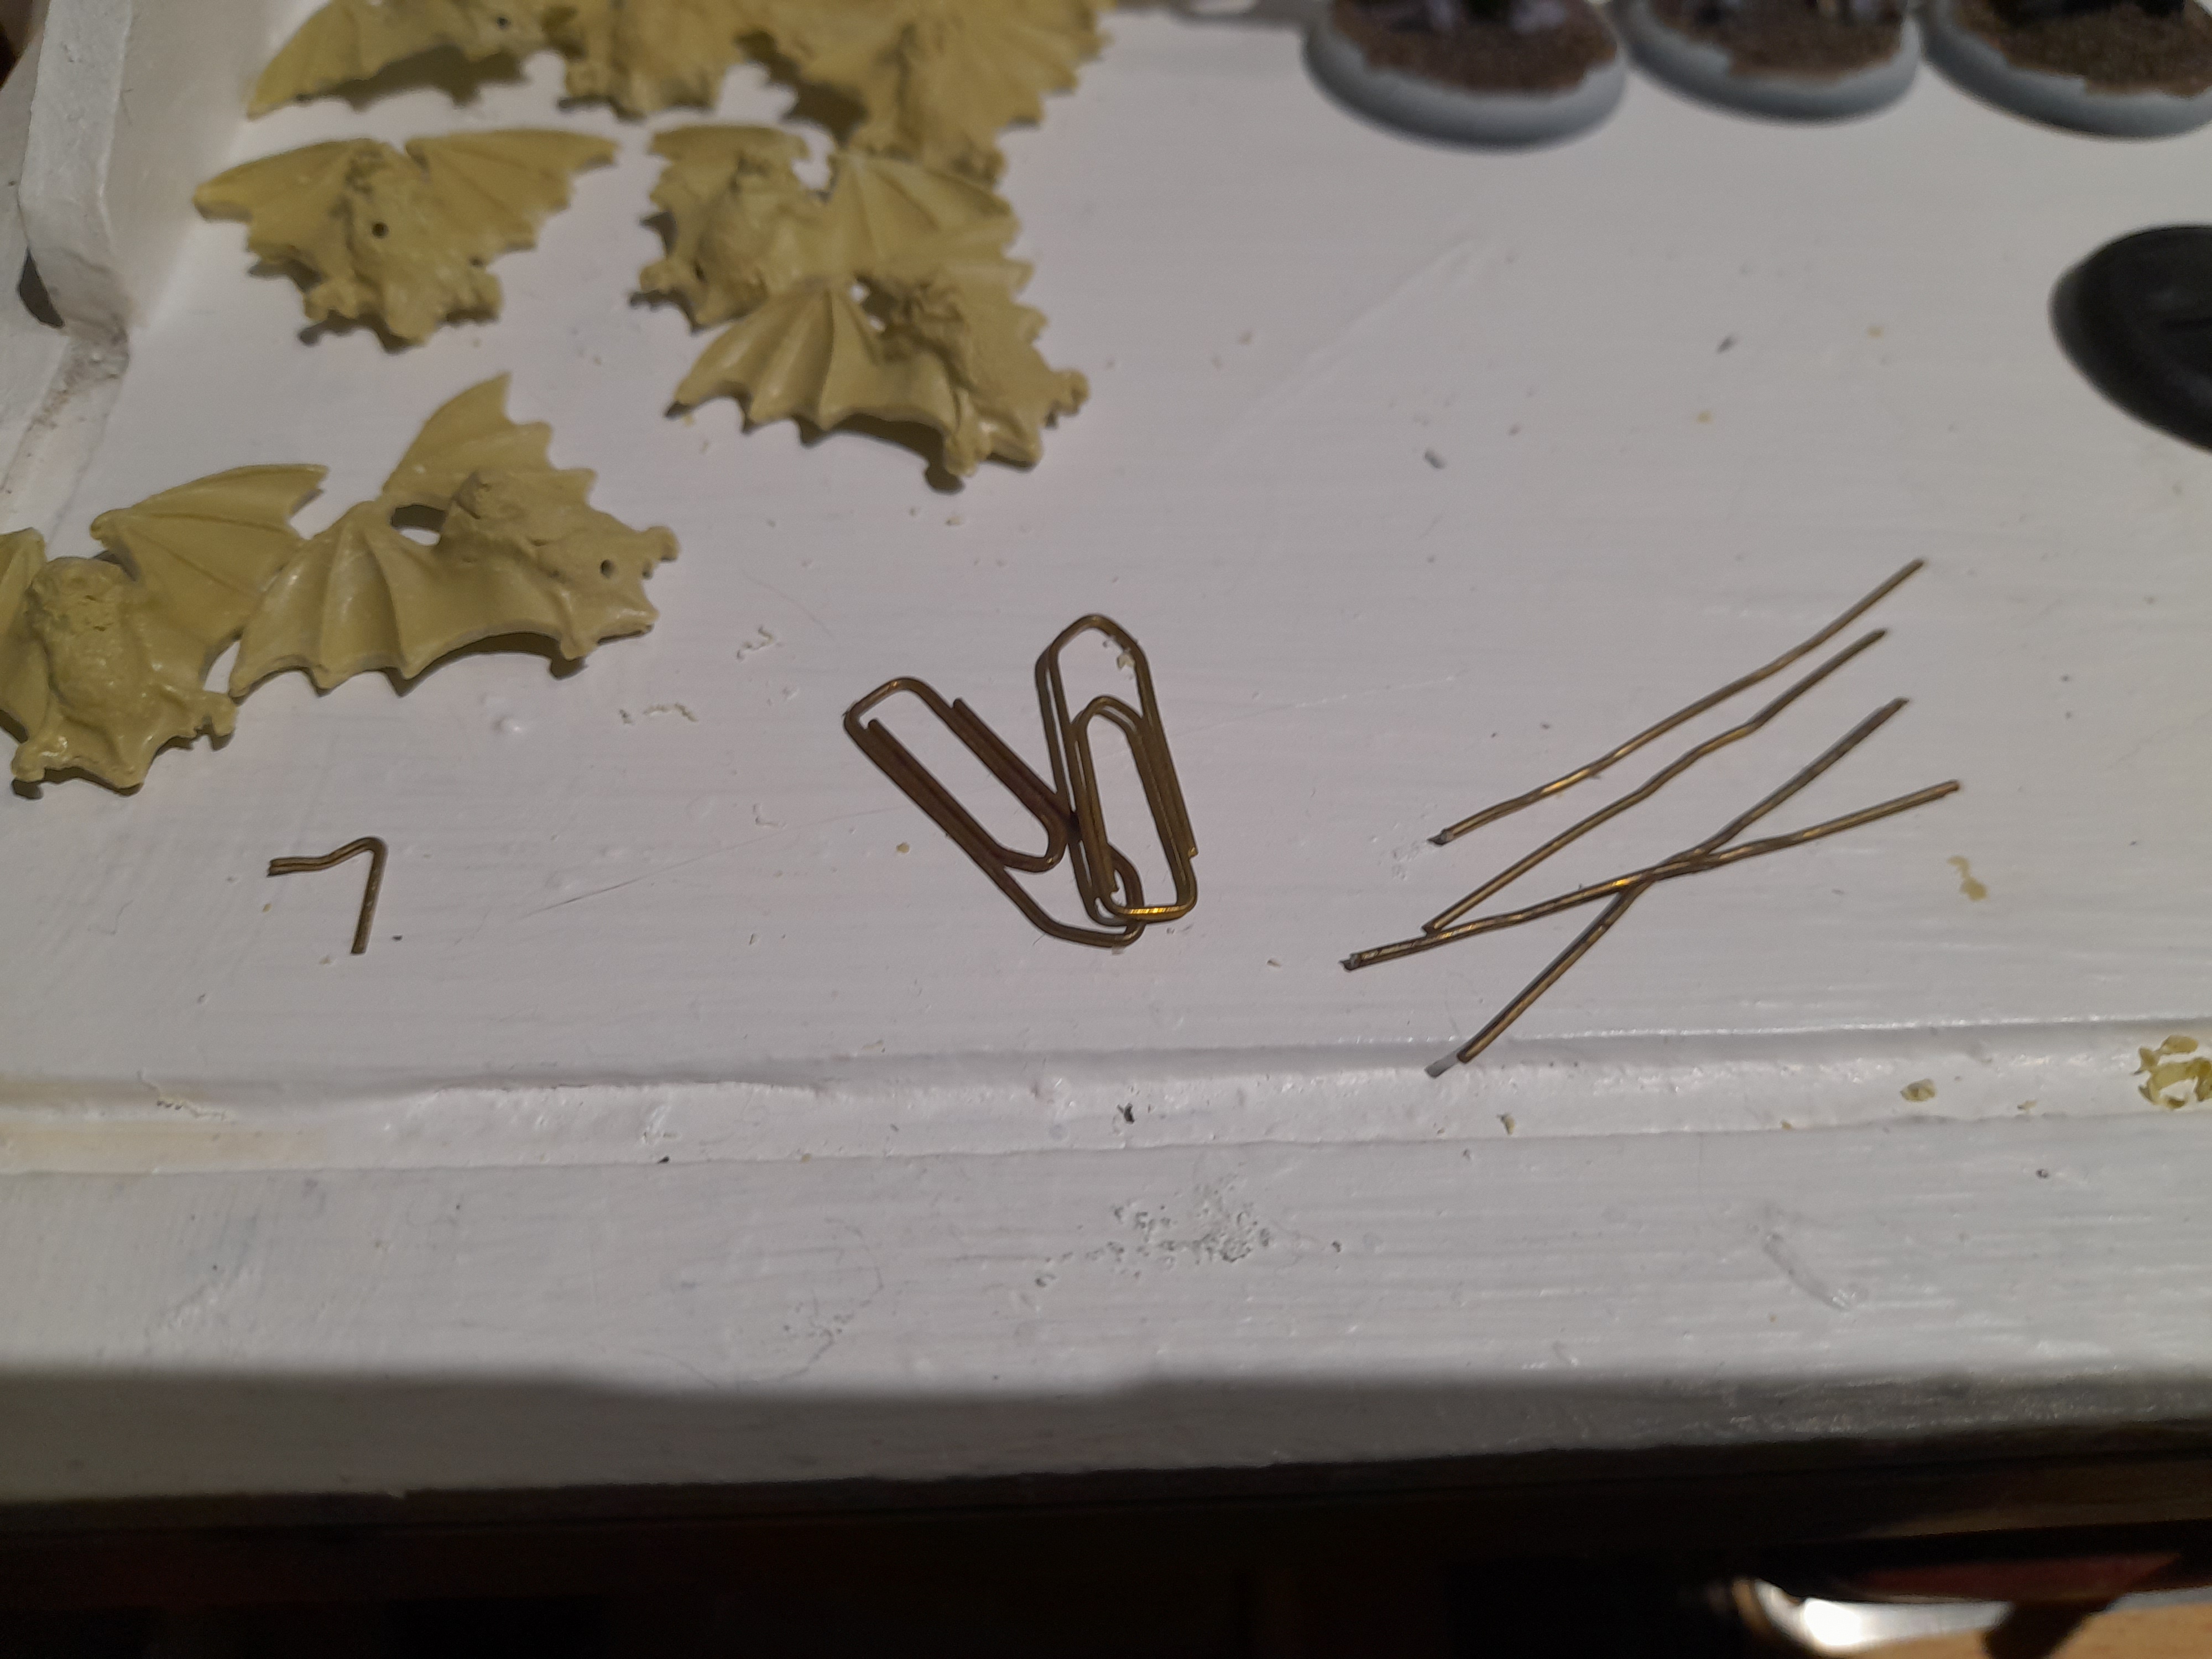
Then I cut up some paper clips, and began drilling holes so that I could pin them to bases.
For variety I drilled holes in four different locations – front, bottom, left and right. I drilled a hole in the base, made some bends and glued the paper clip in. Then I covered it over with milliput, filling the slotta base hole at the same time.
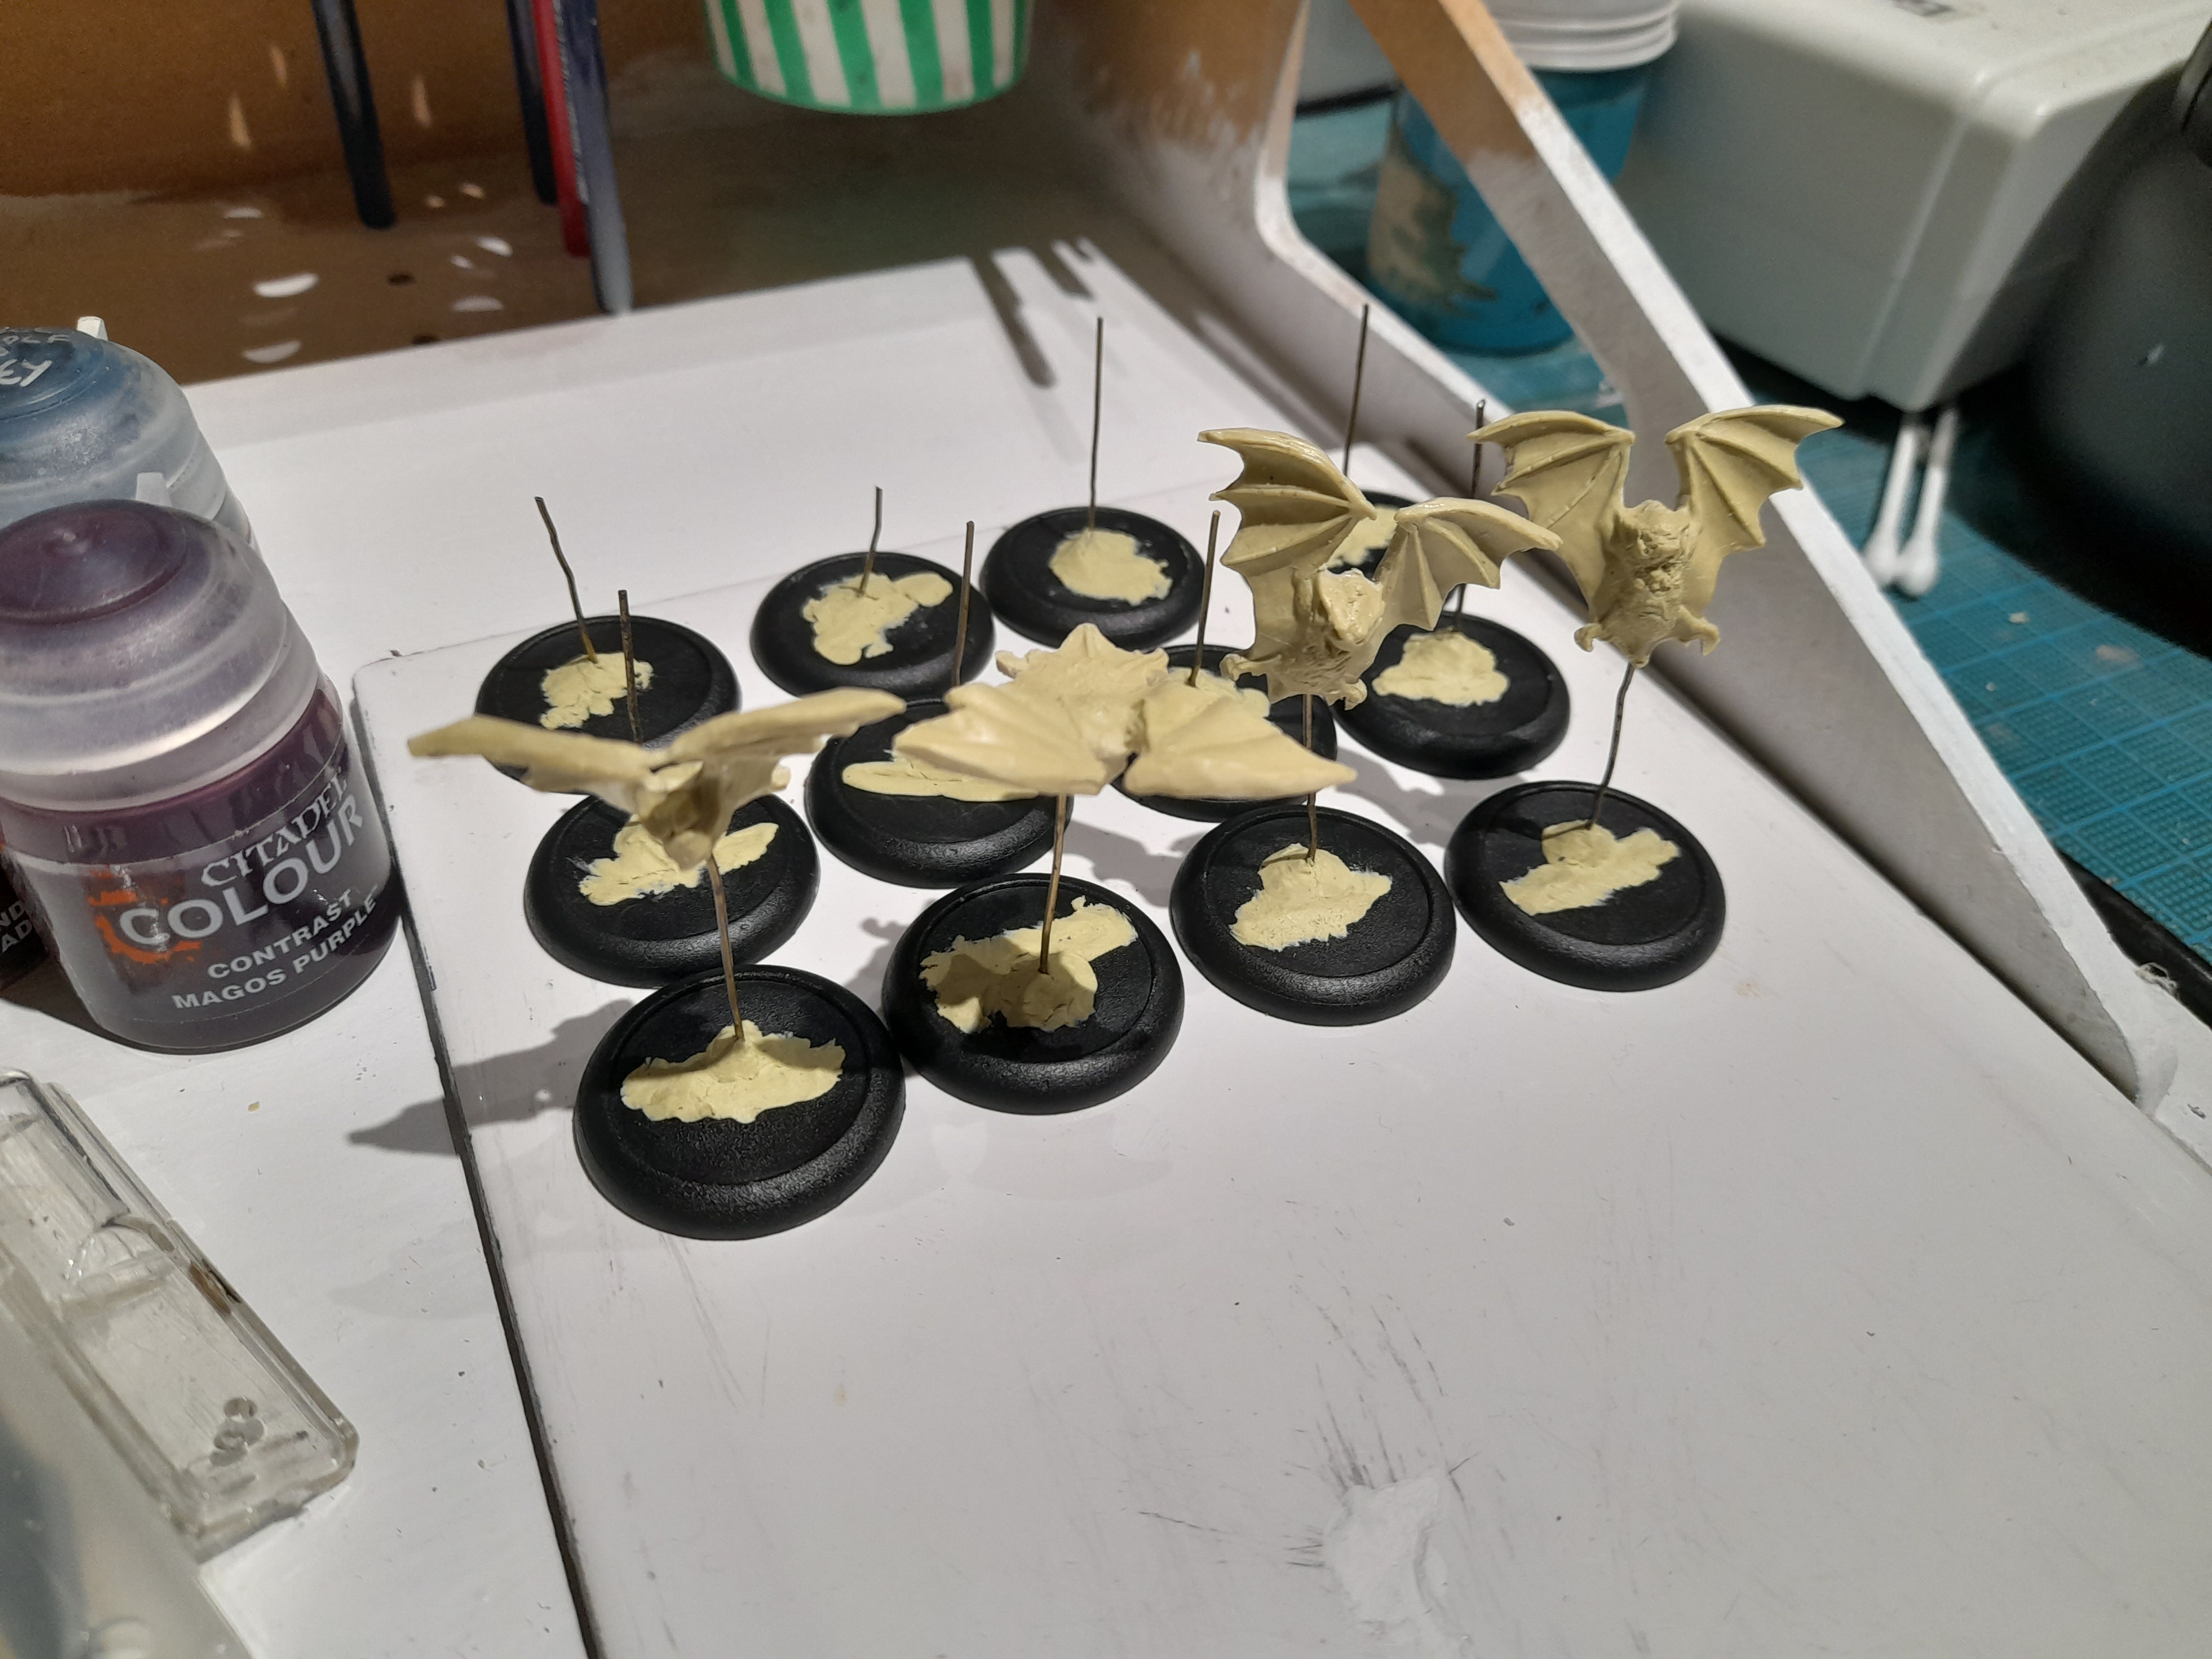
They were sprayed black, then drybrushed grey. I followed this with a brown drybrush over the body fur areas and limbs. Then a couple of lighter drybrush stages over the faces and extremities.
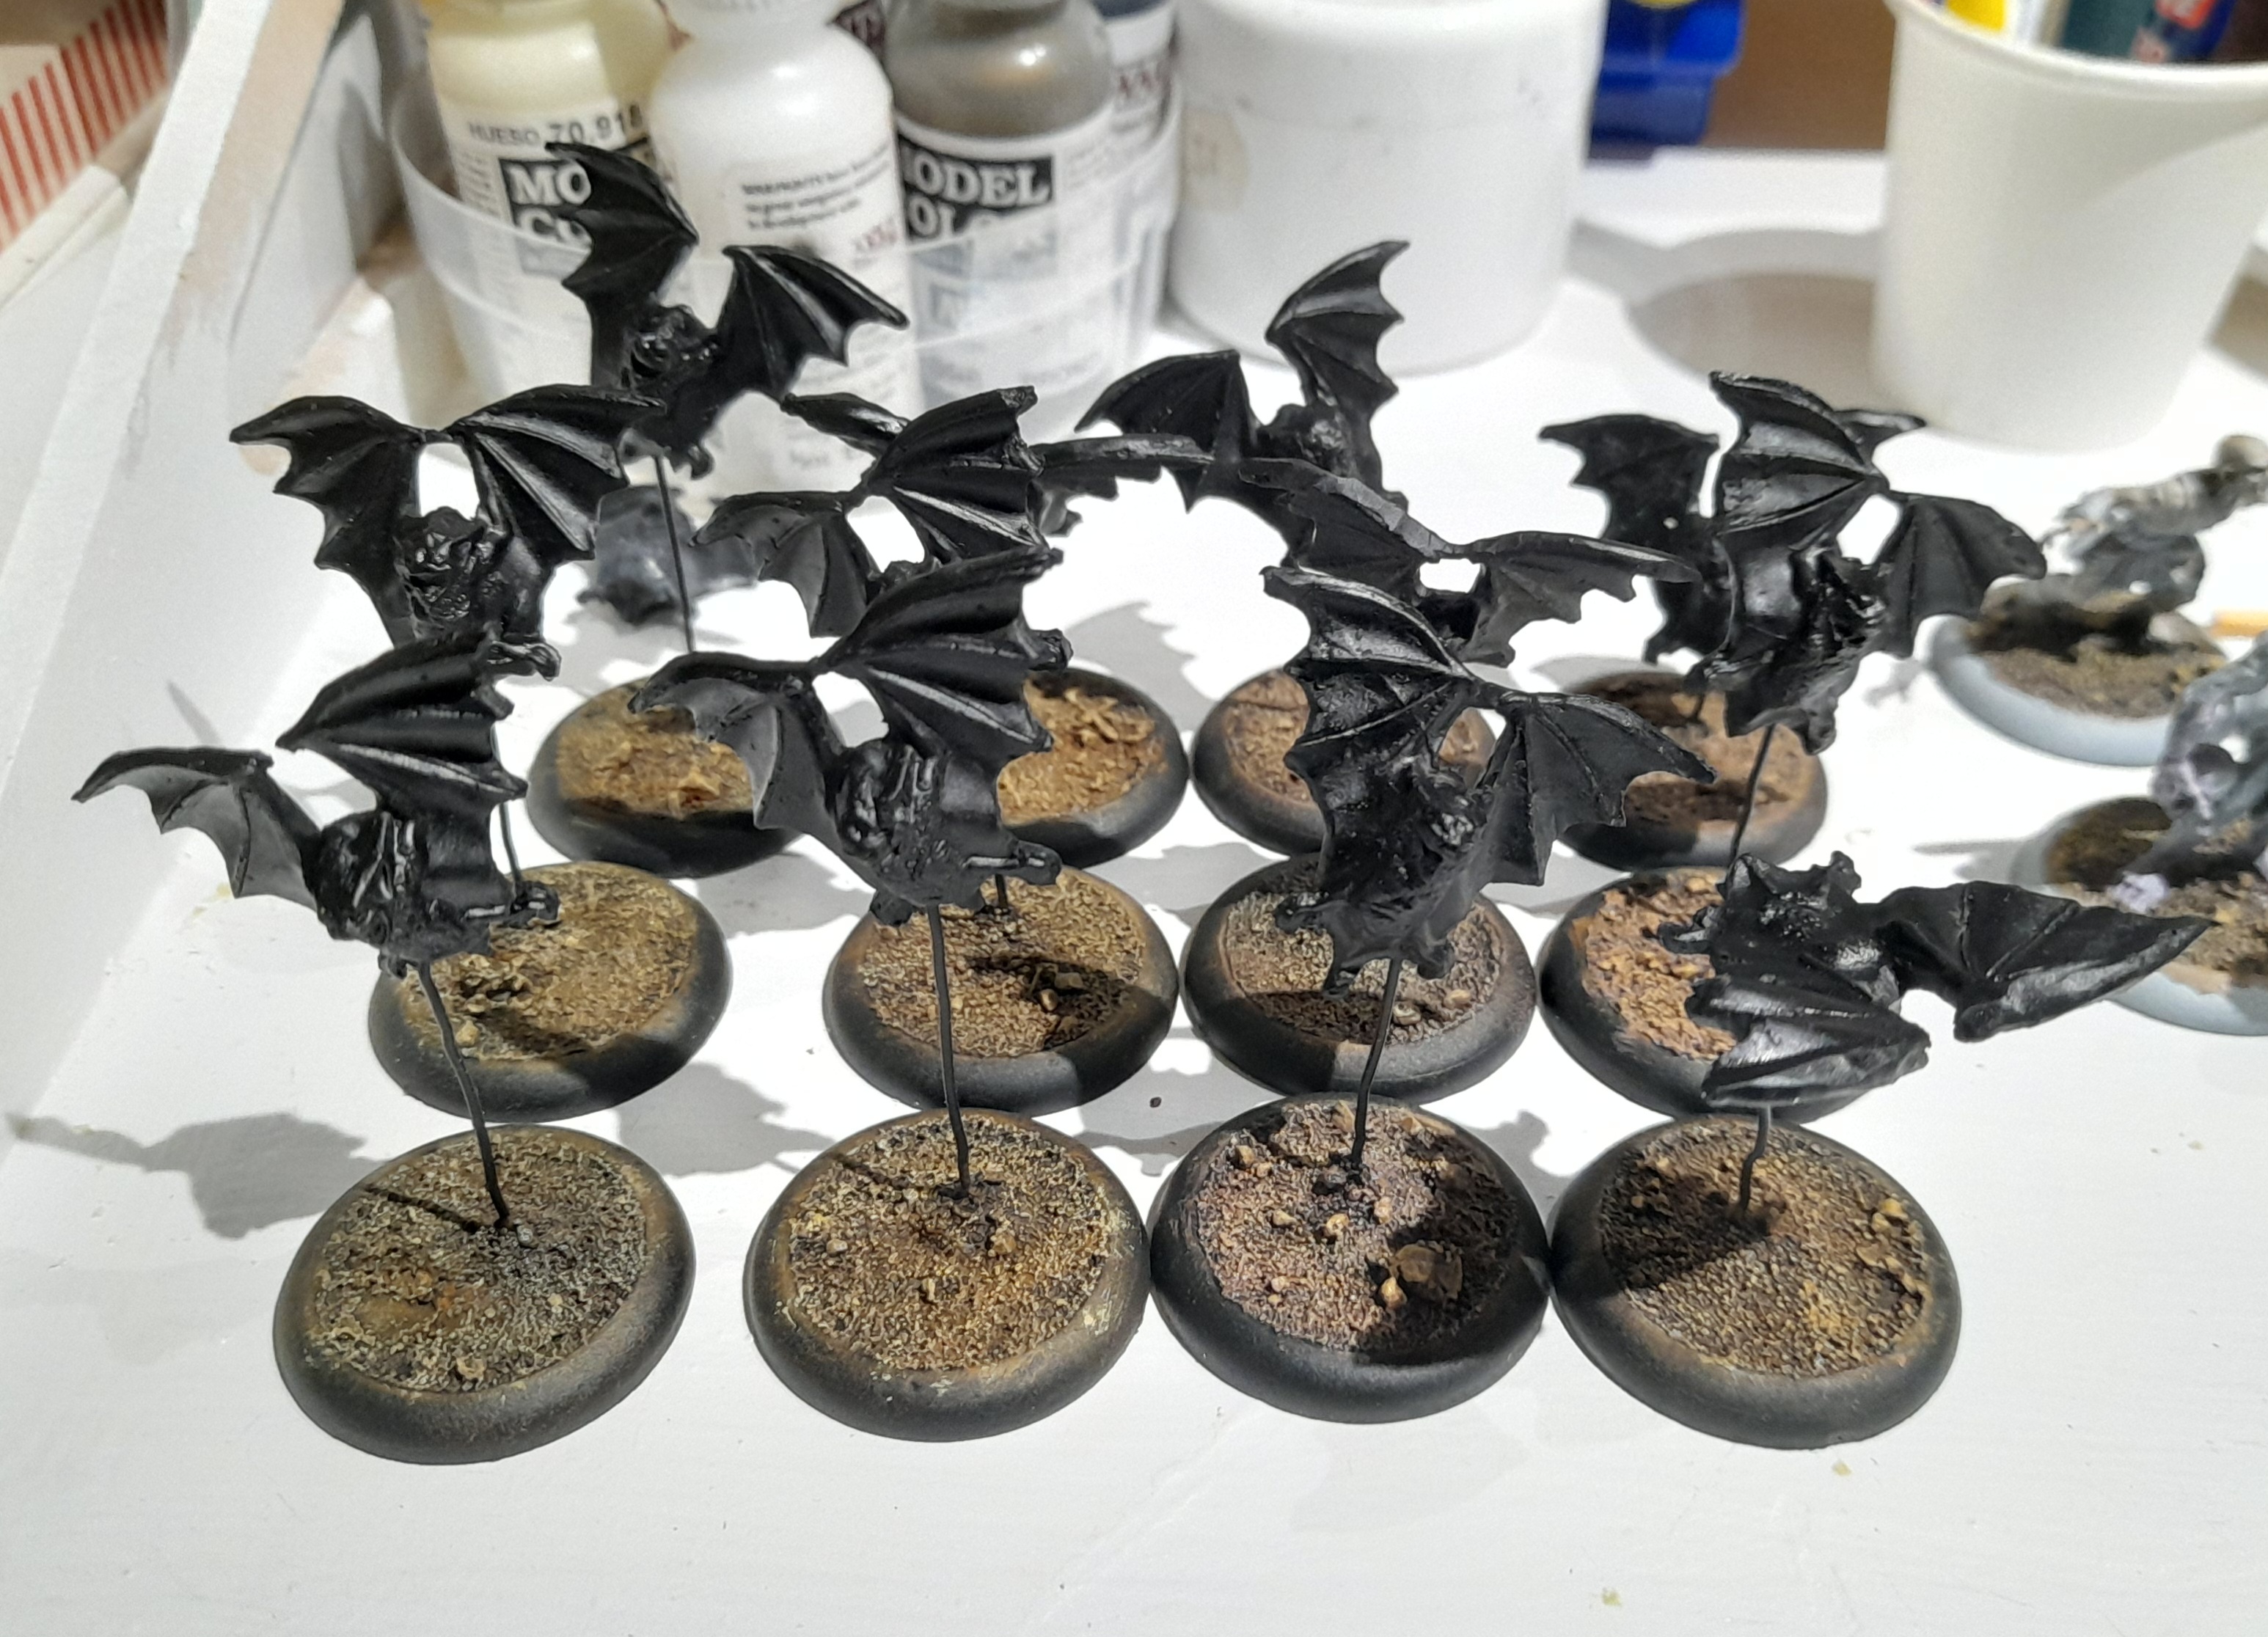

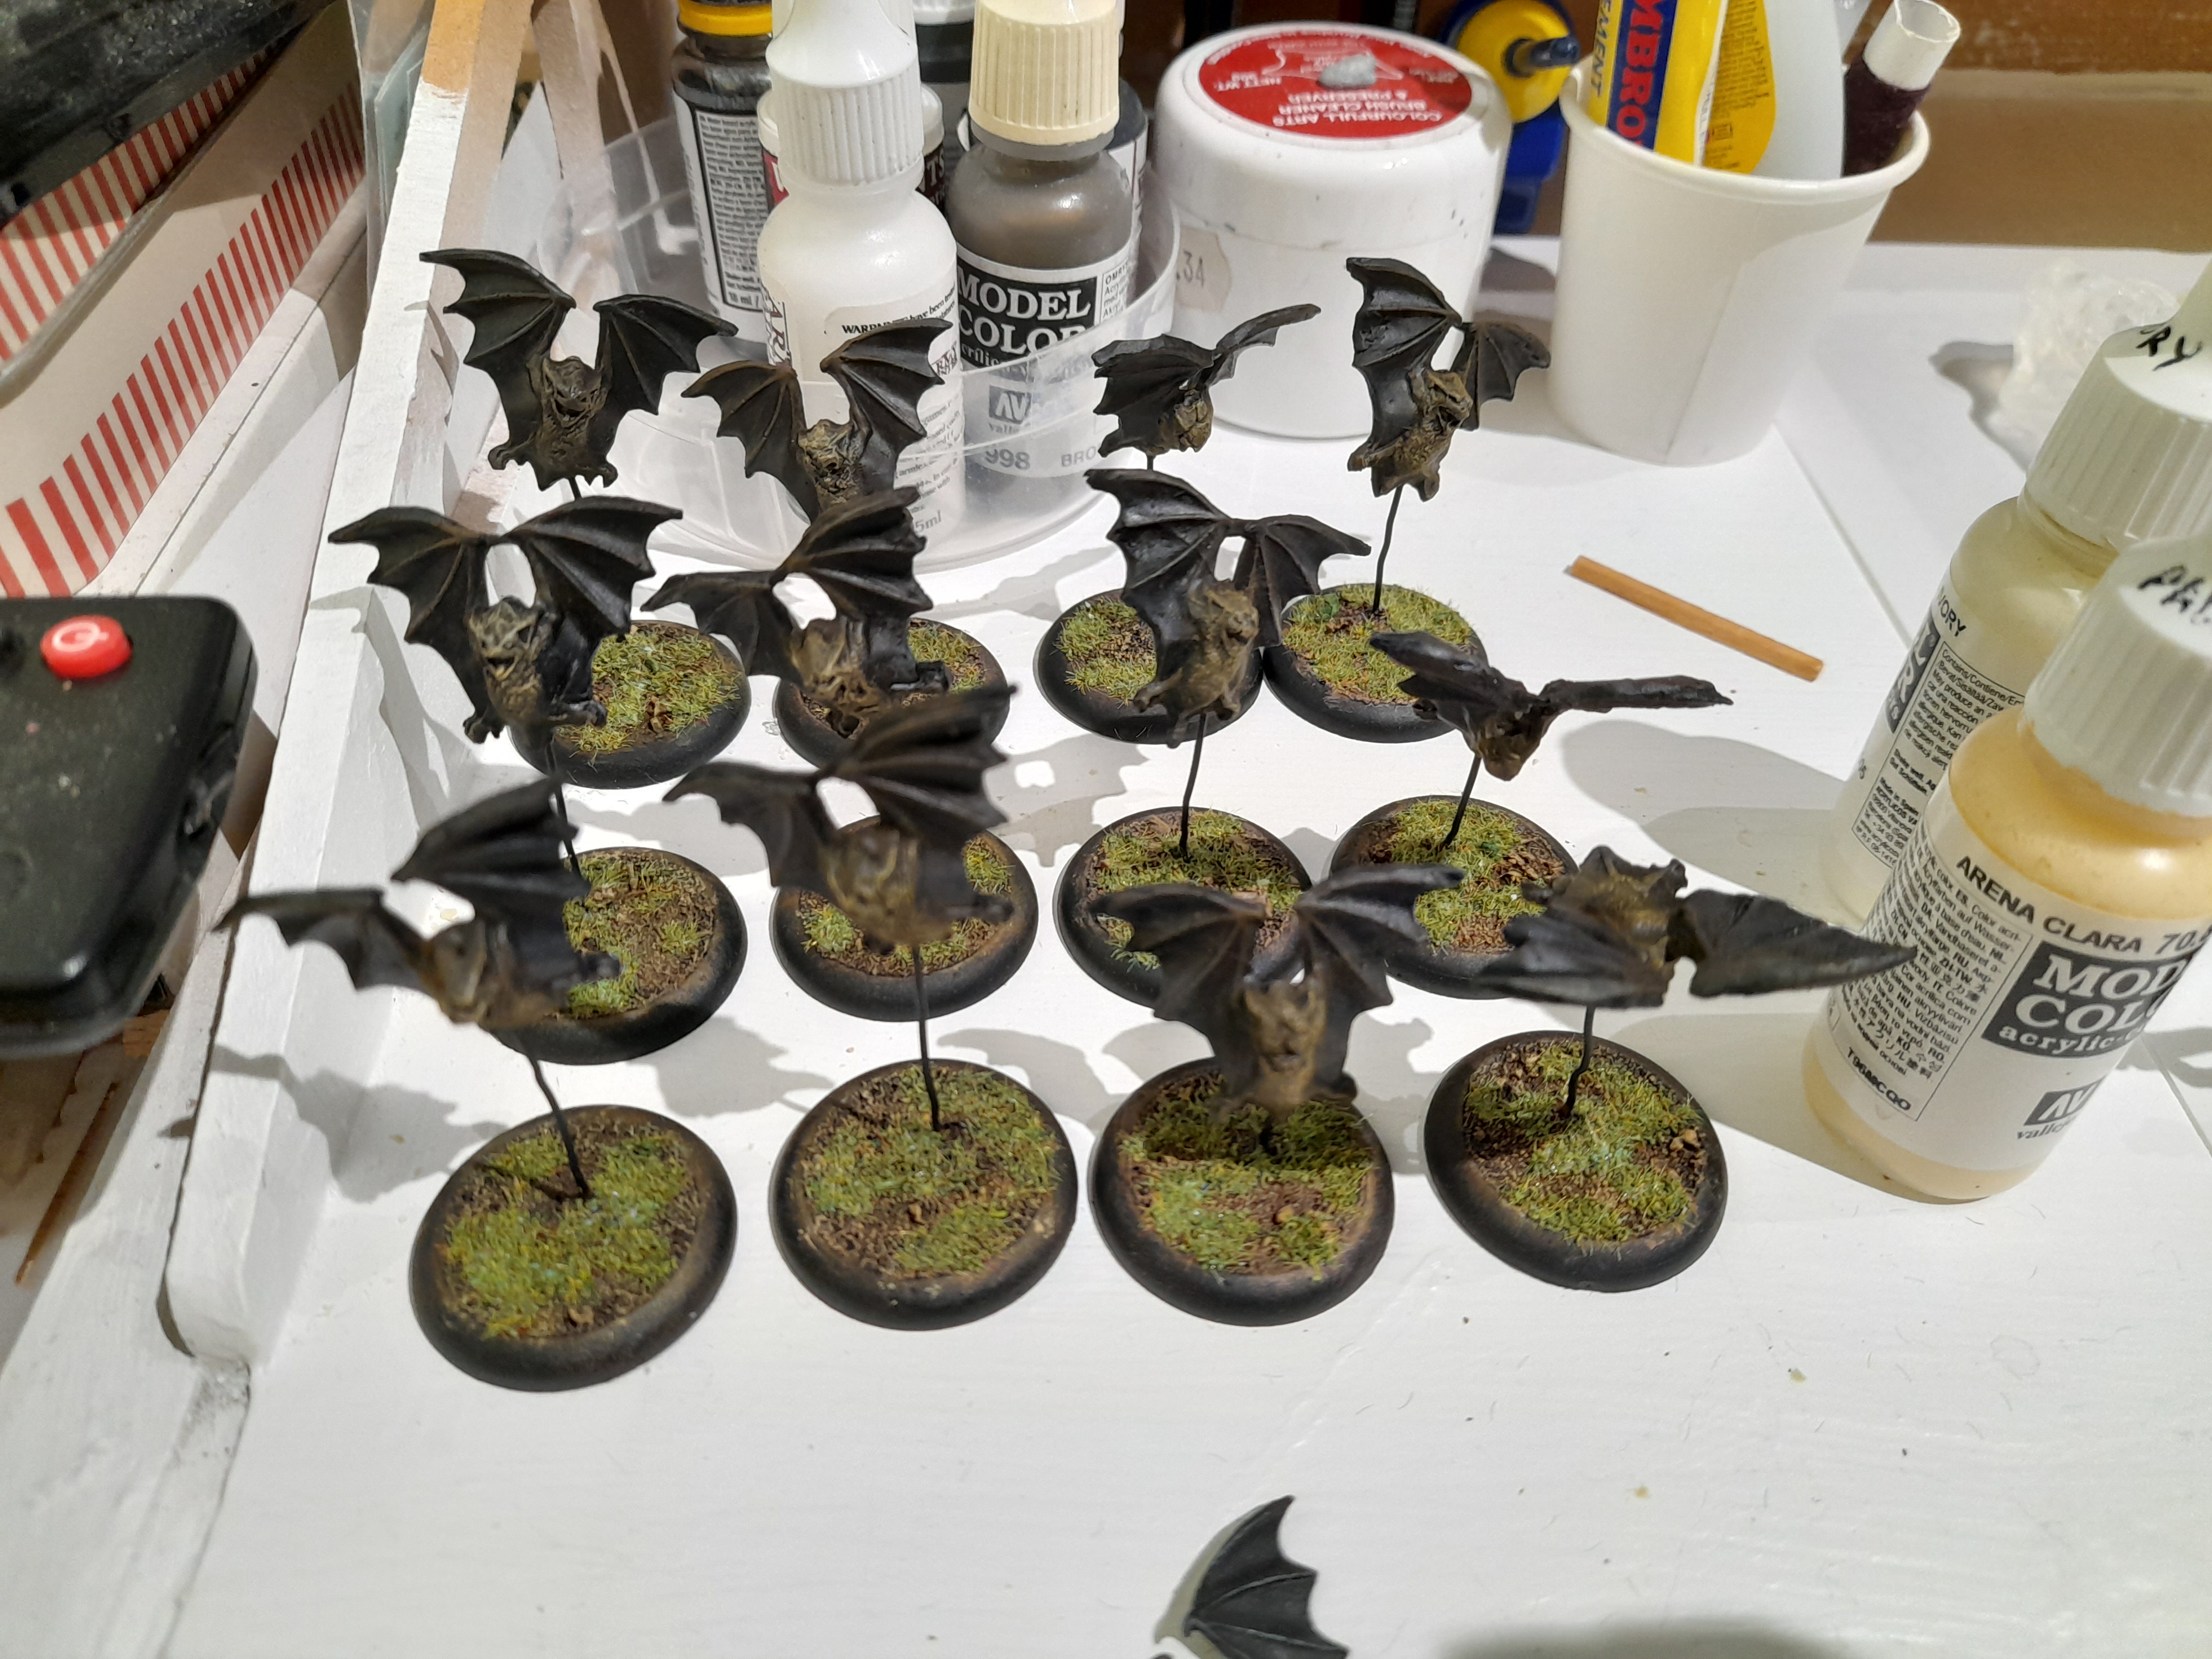
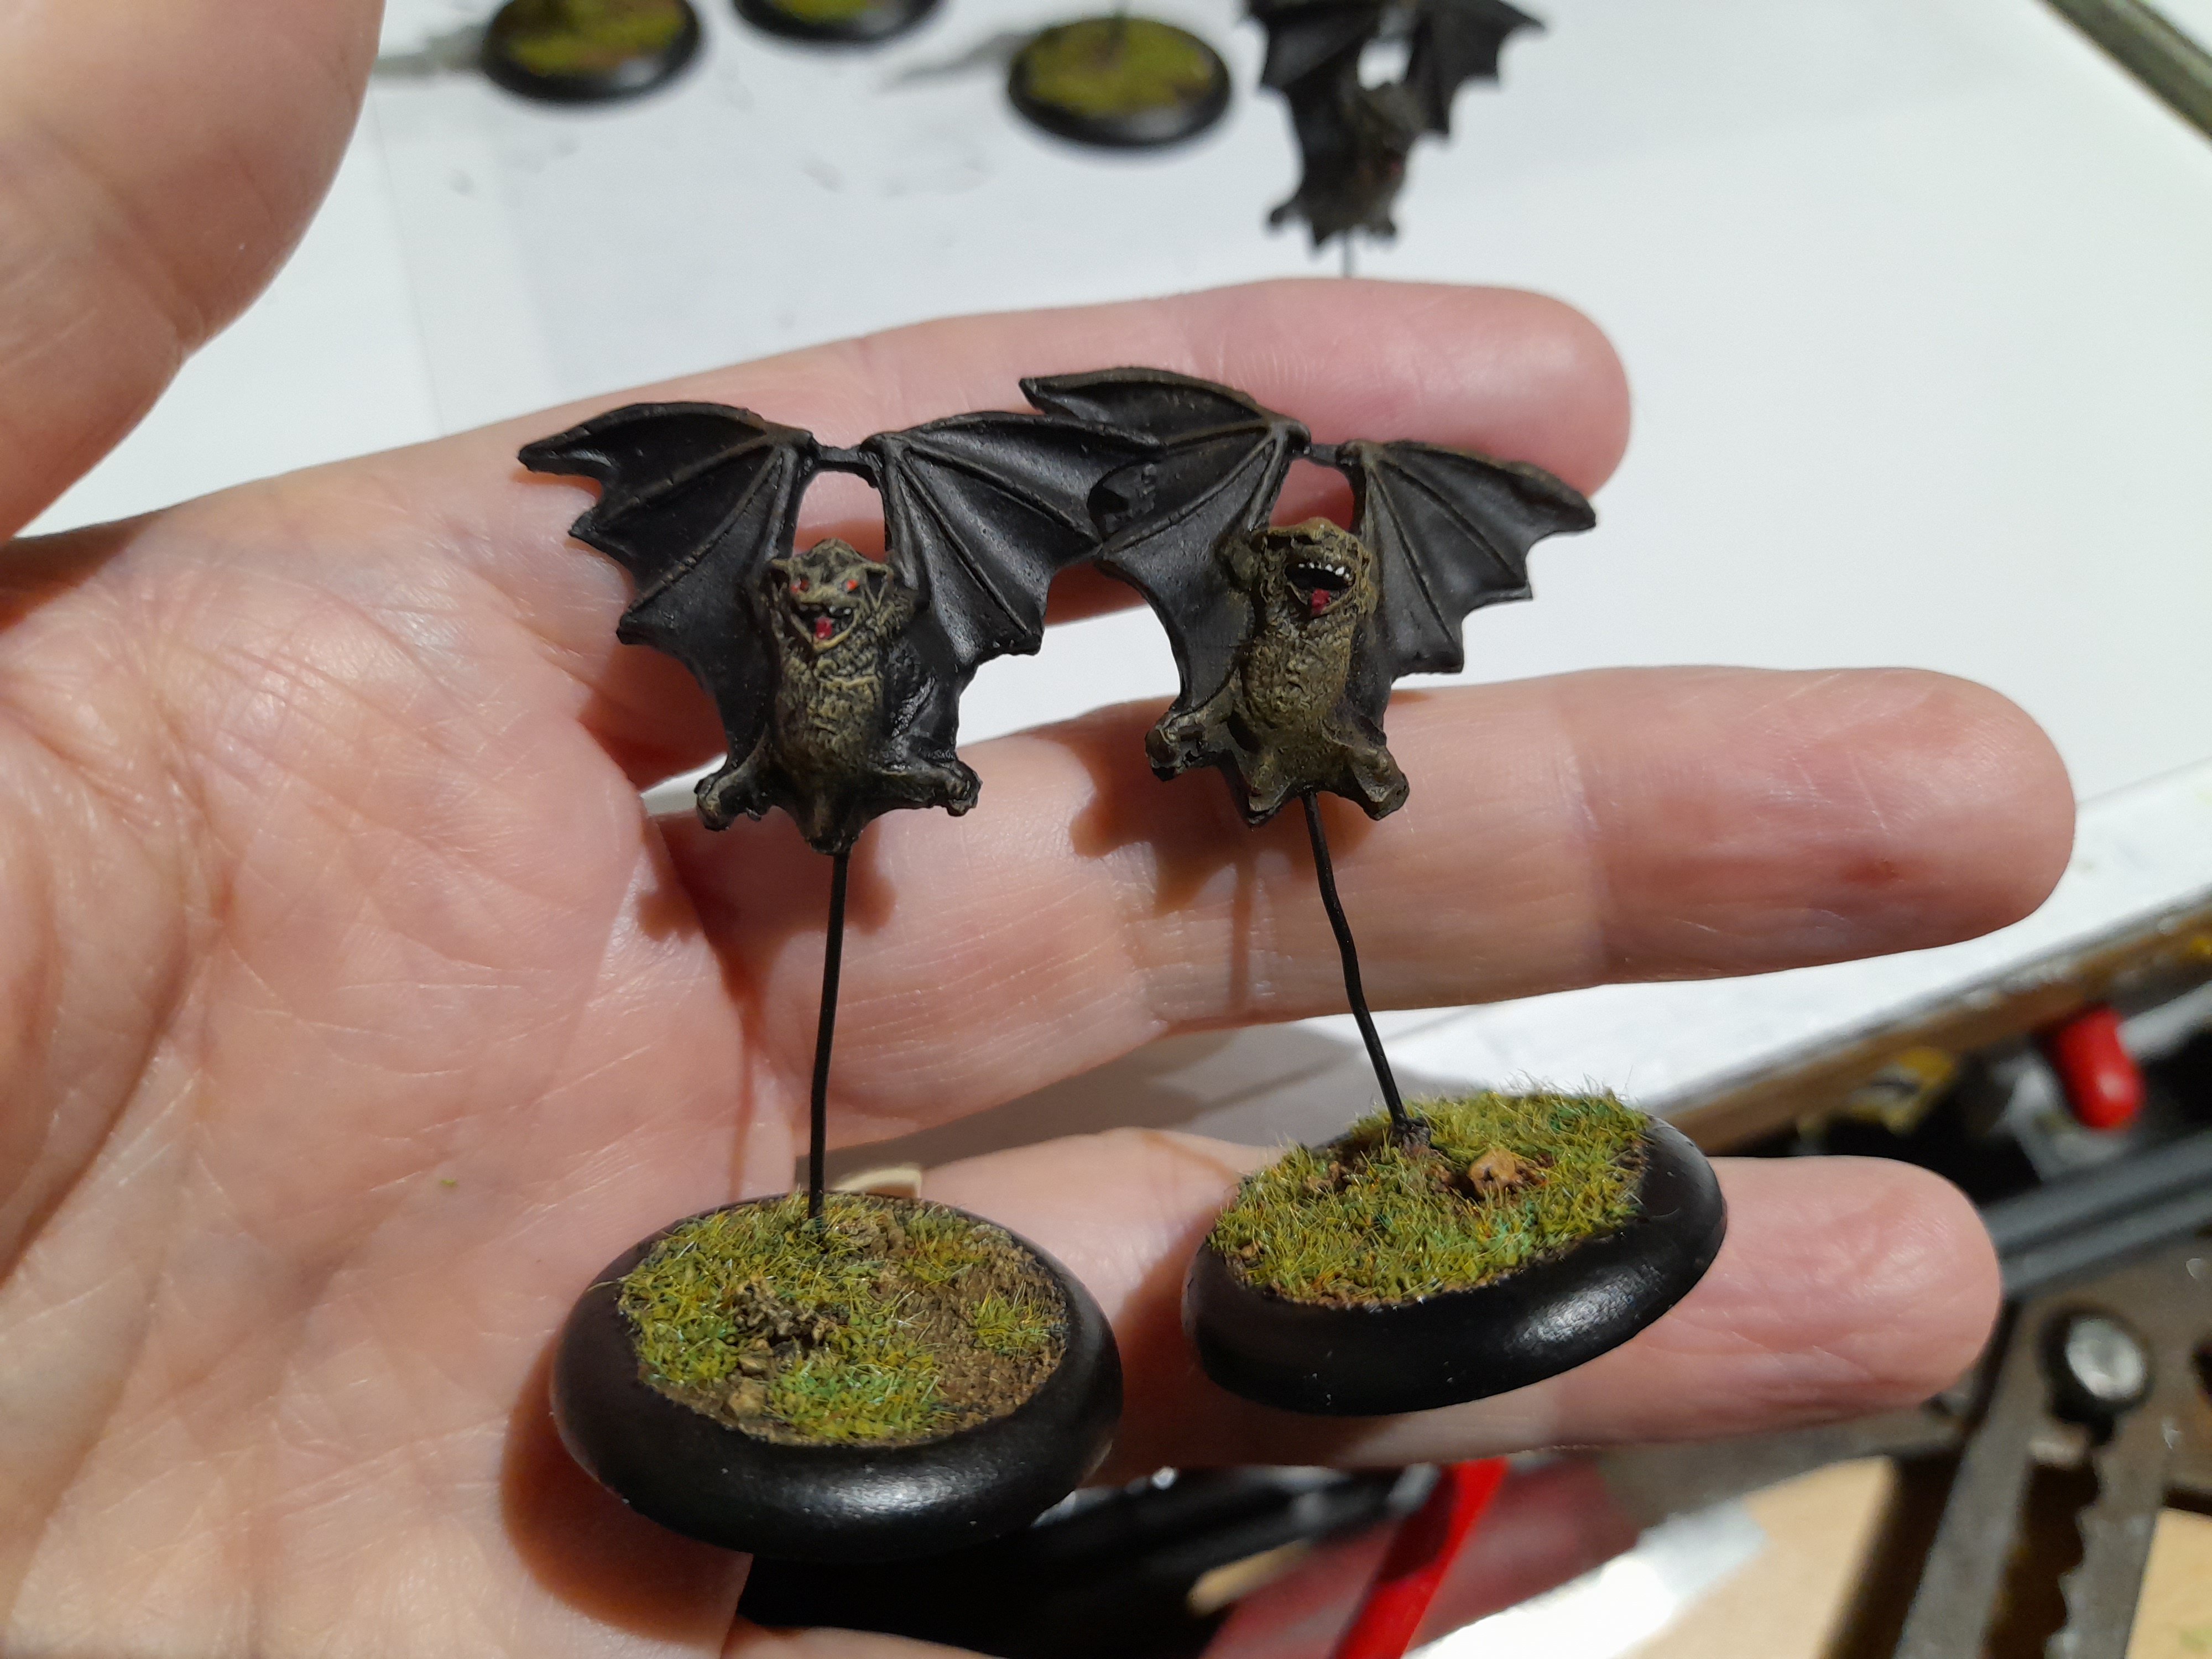
Finally I tried to paint in some teeth, tongues and red eyes (on most).
Overall I would say they are… ok. Some have faces that didn’t come out of the mould well, some have poor condition wings, and the paint job is basic.
However, they do the job, and ‘read’ well as giant bats.

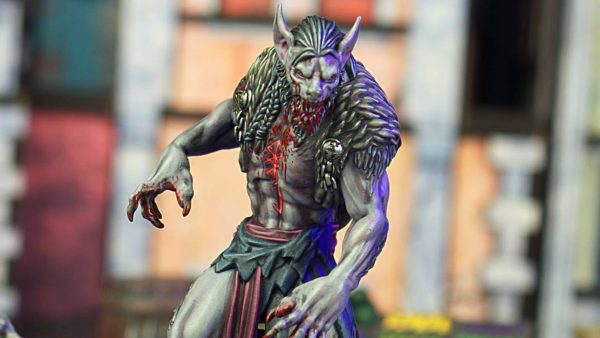
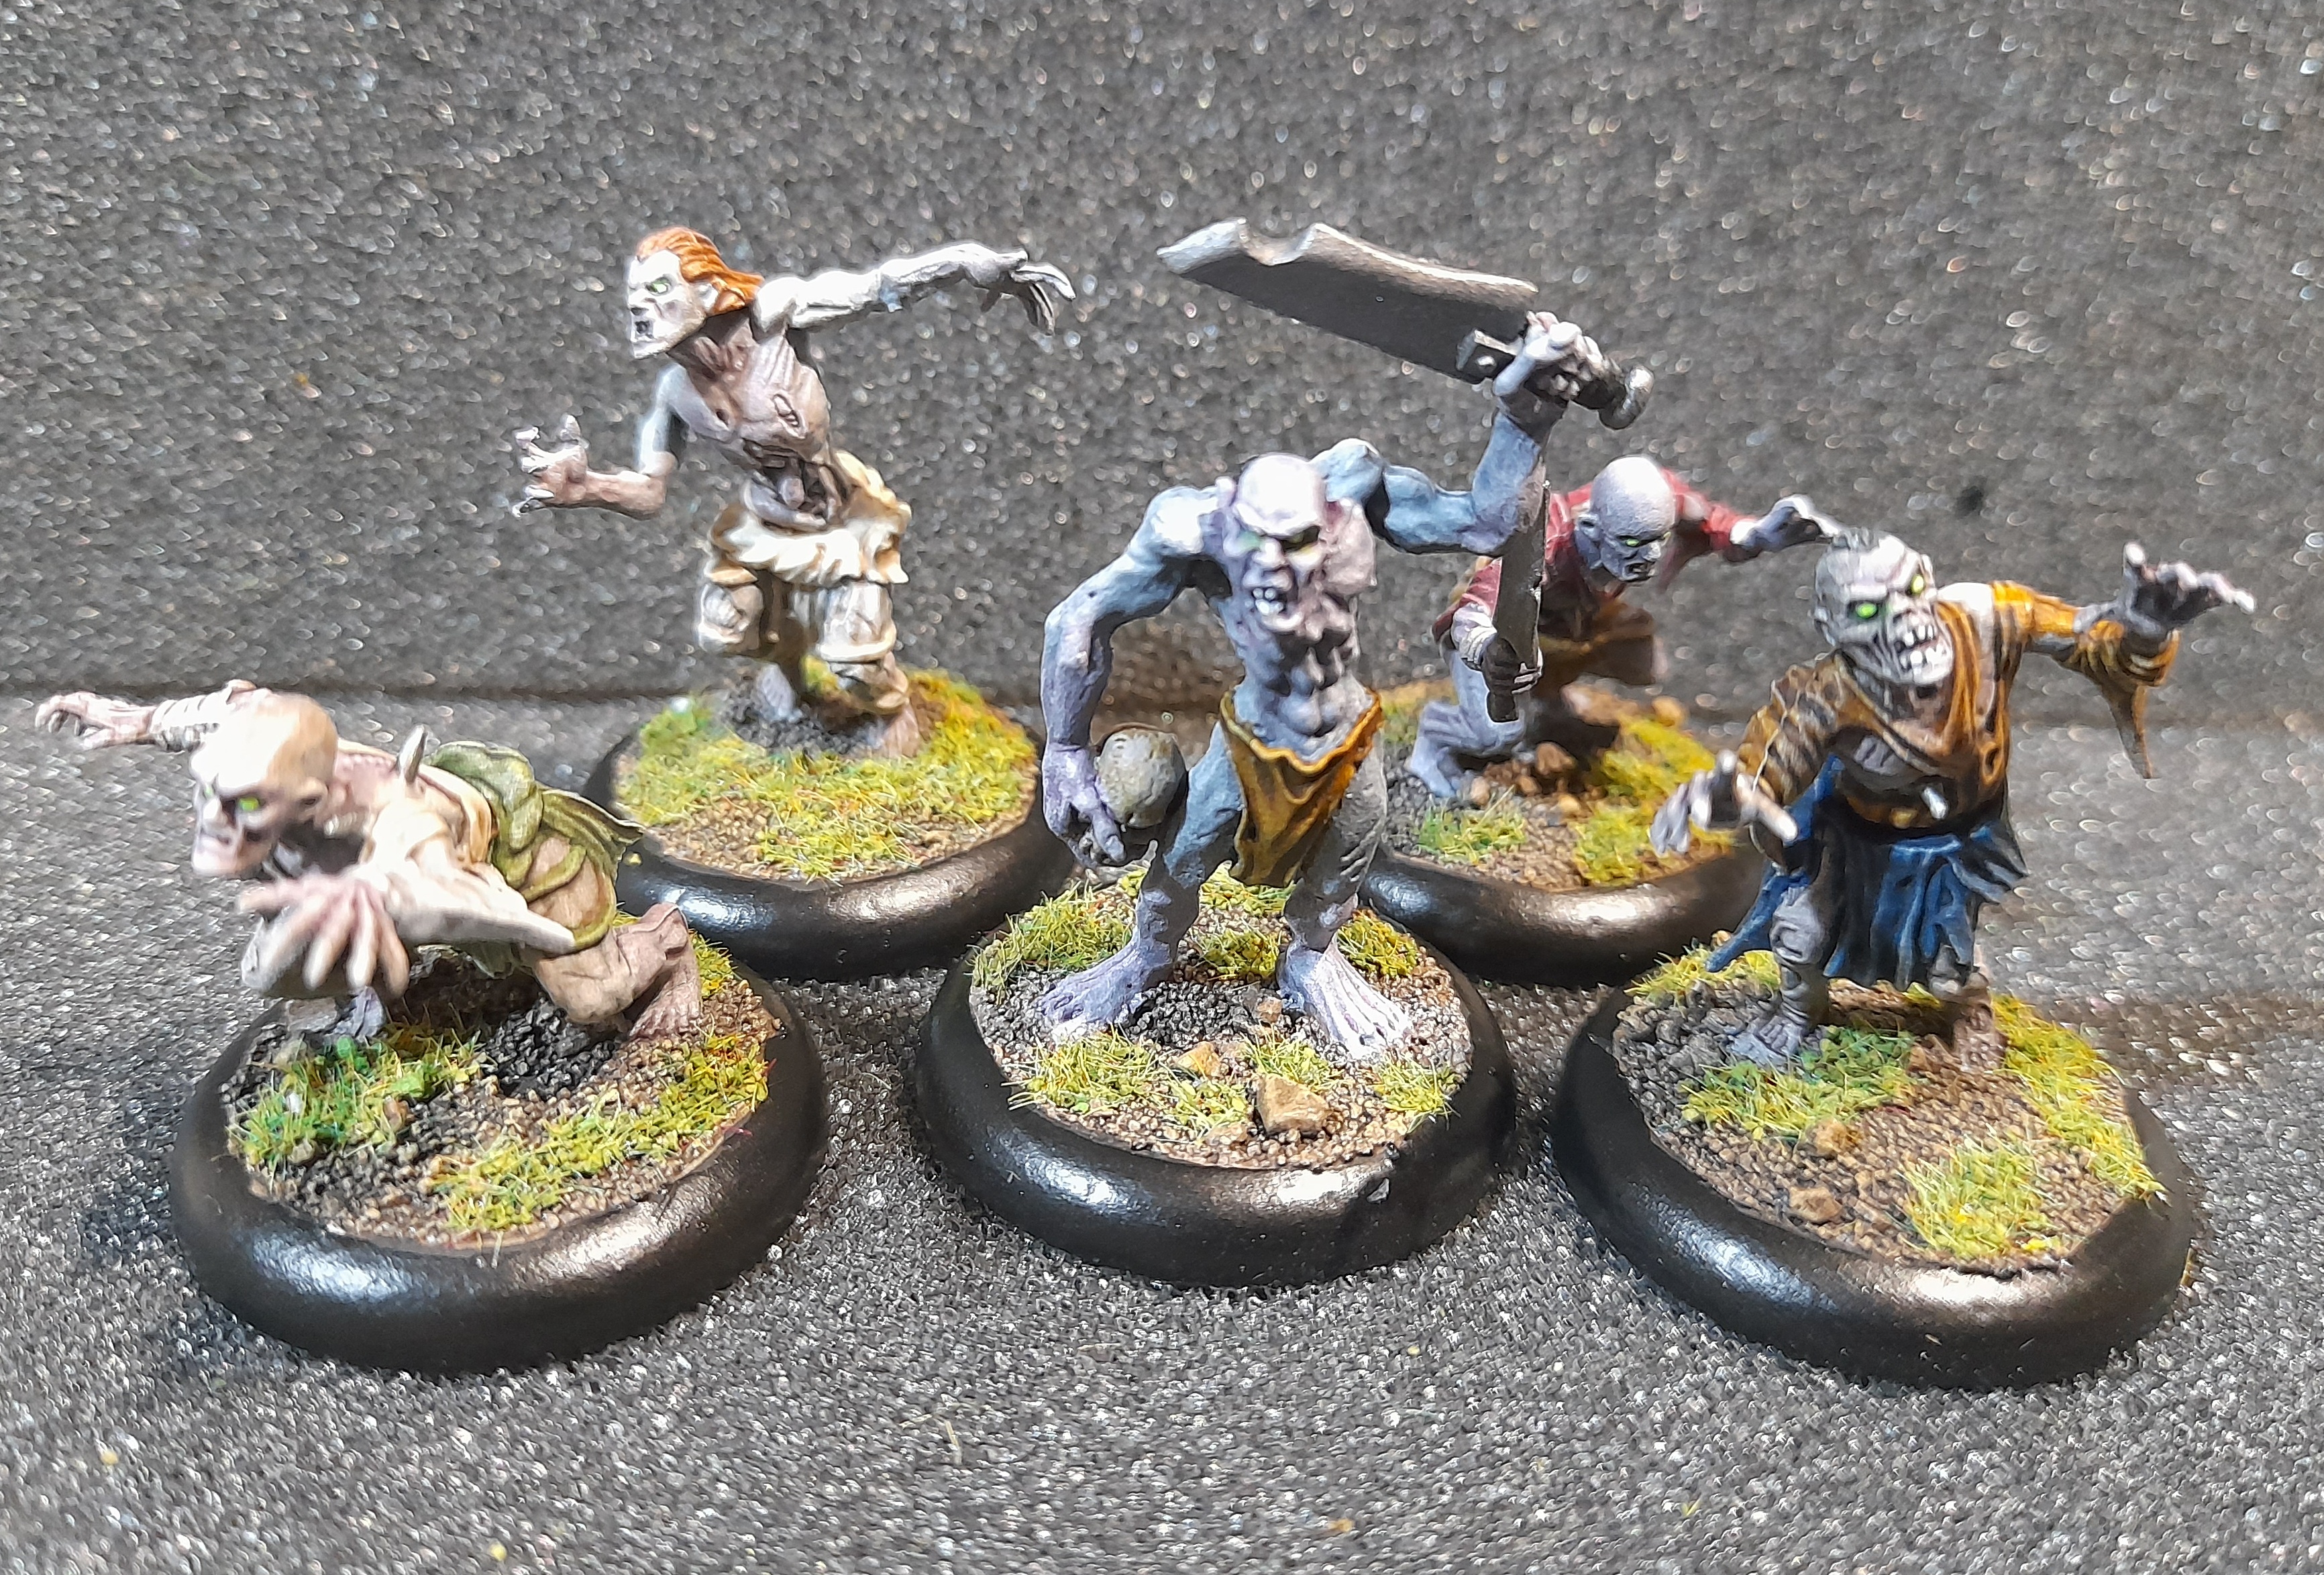
Ghouls
16th January 2025
Up next for me over the past week or so were some Ghouls.
I estimated that I could need around 10 of them, so began sourcing what I had.
I found two metal GW Ghouls from a fair few years back, plus some Mantic plastic Ghouls. I also grabbed some Mantic Zombies, since the Ghouls only had two different legs and two different torsos.
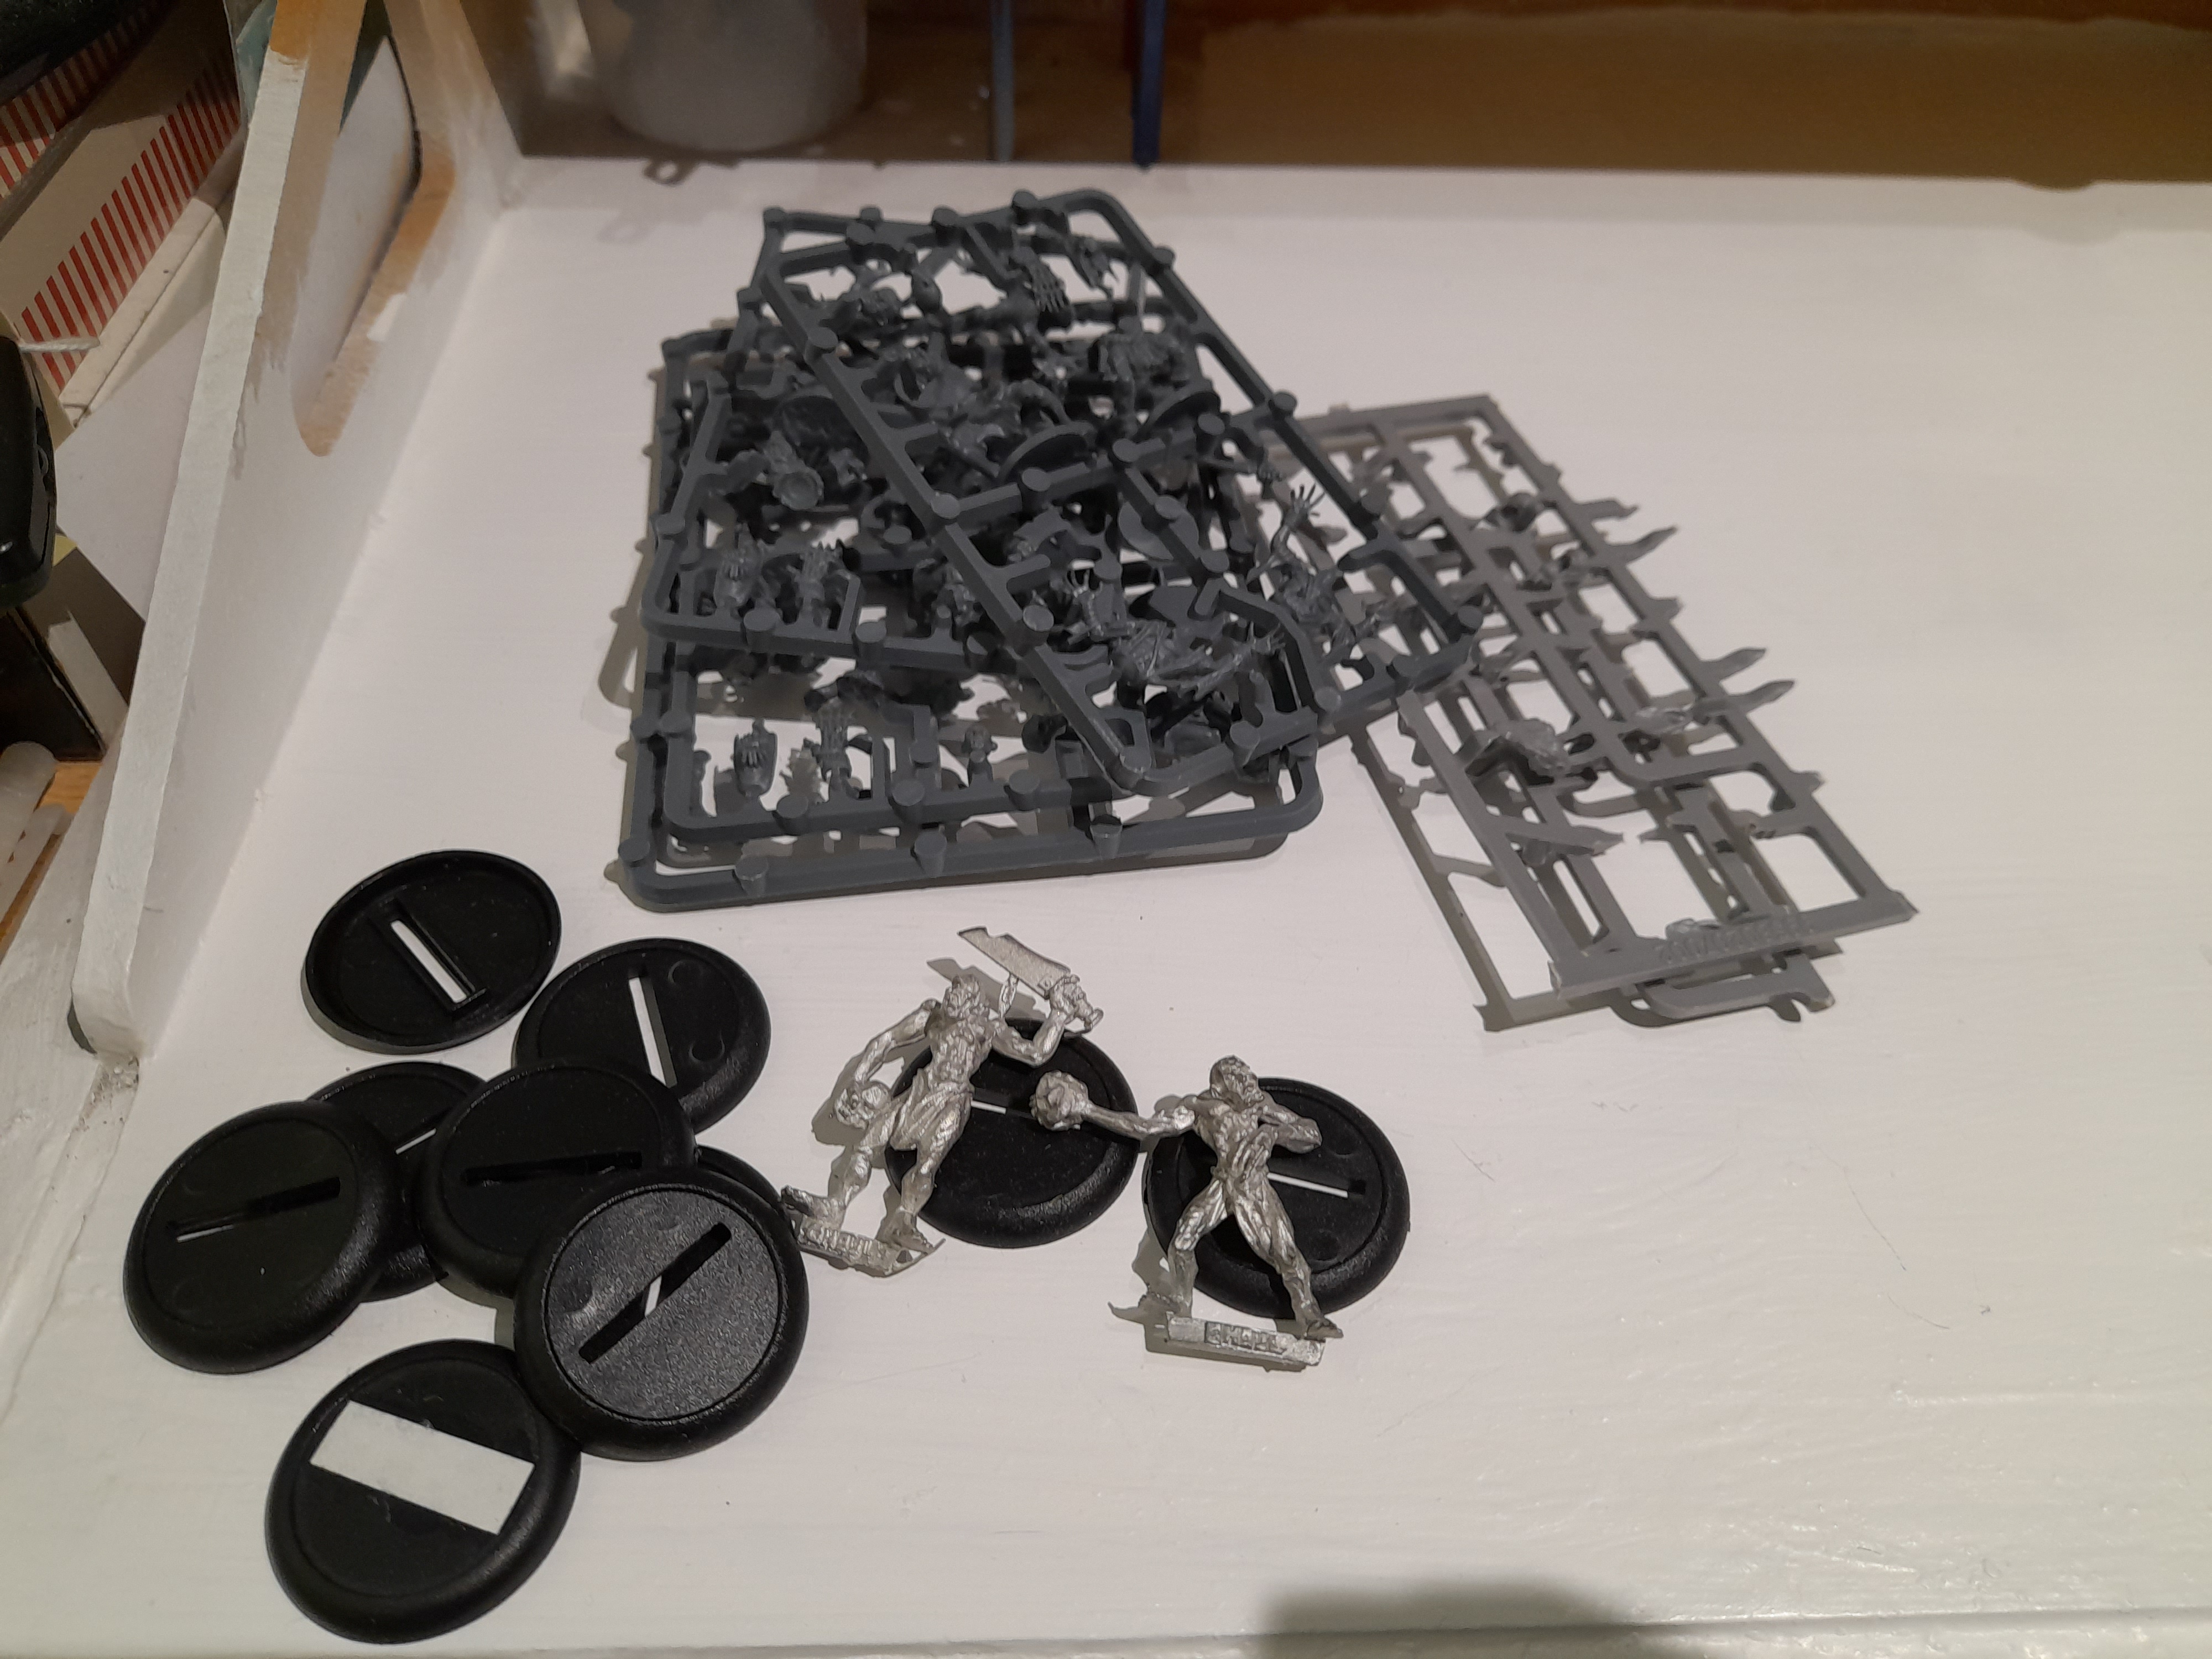
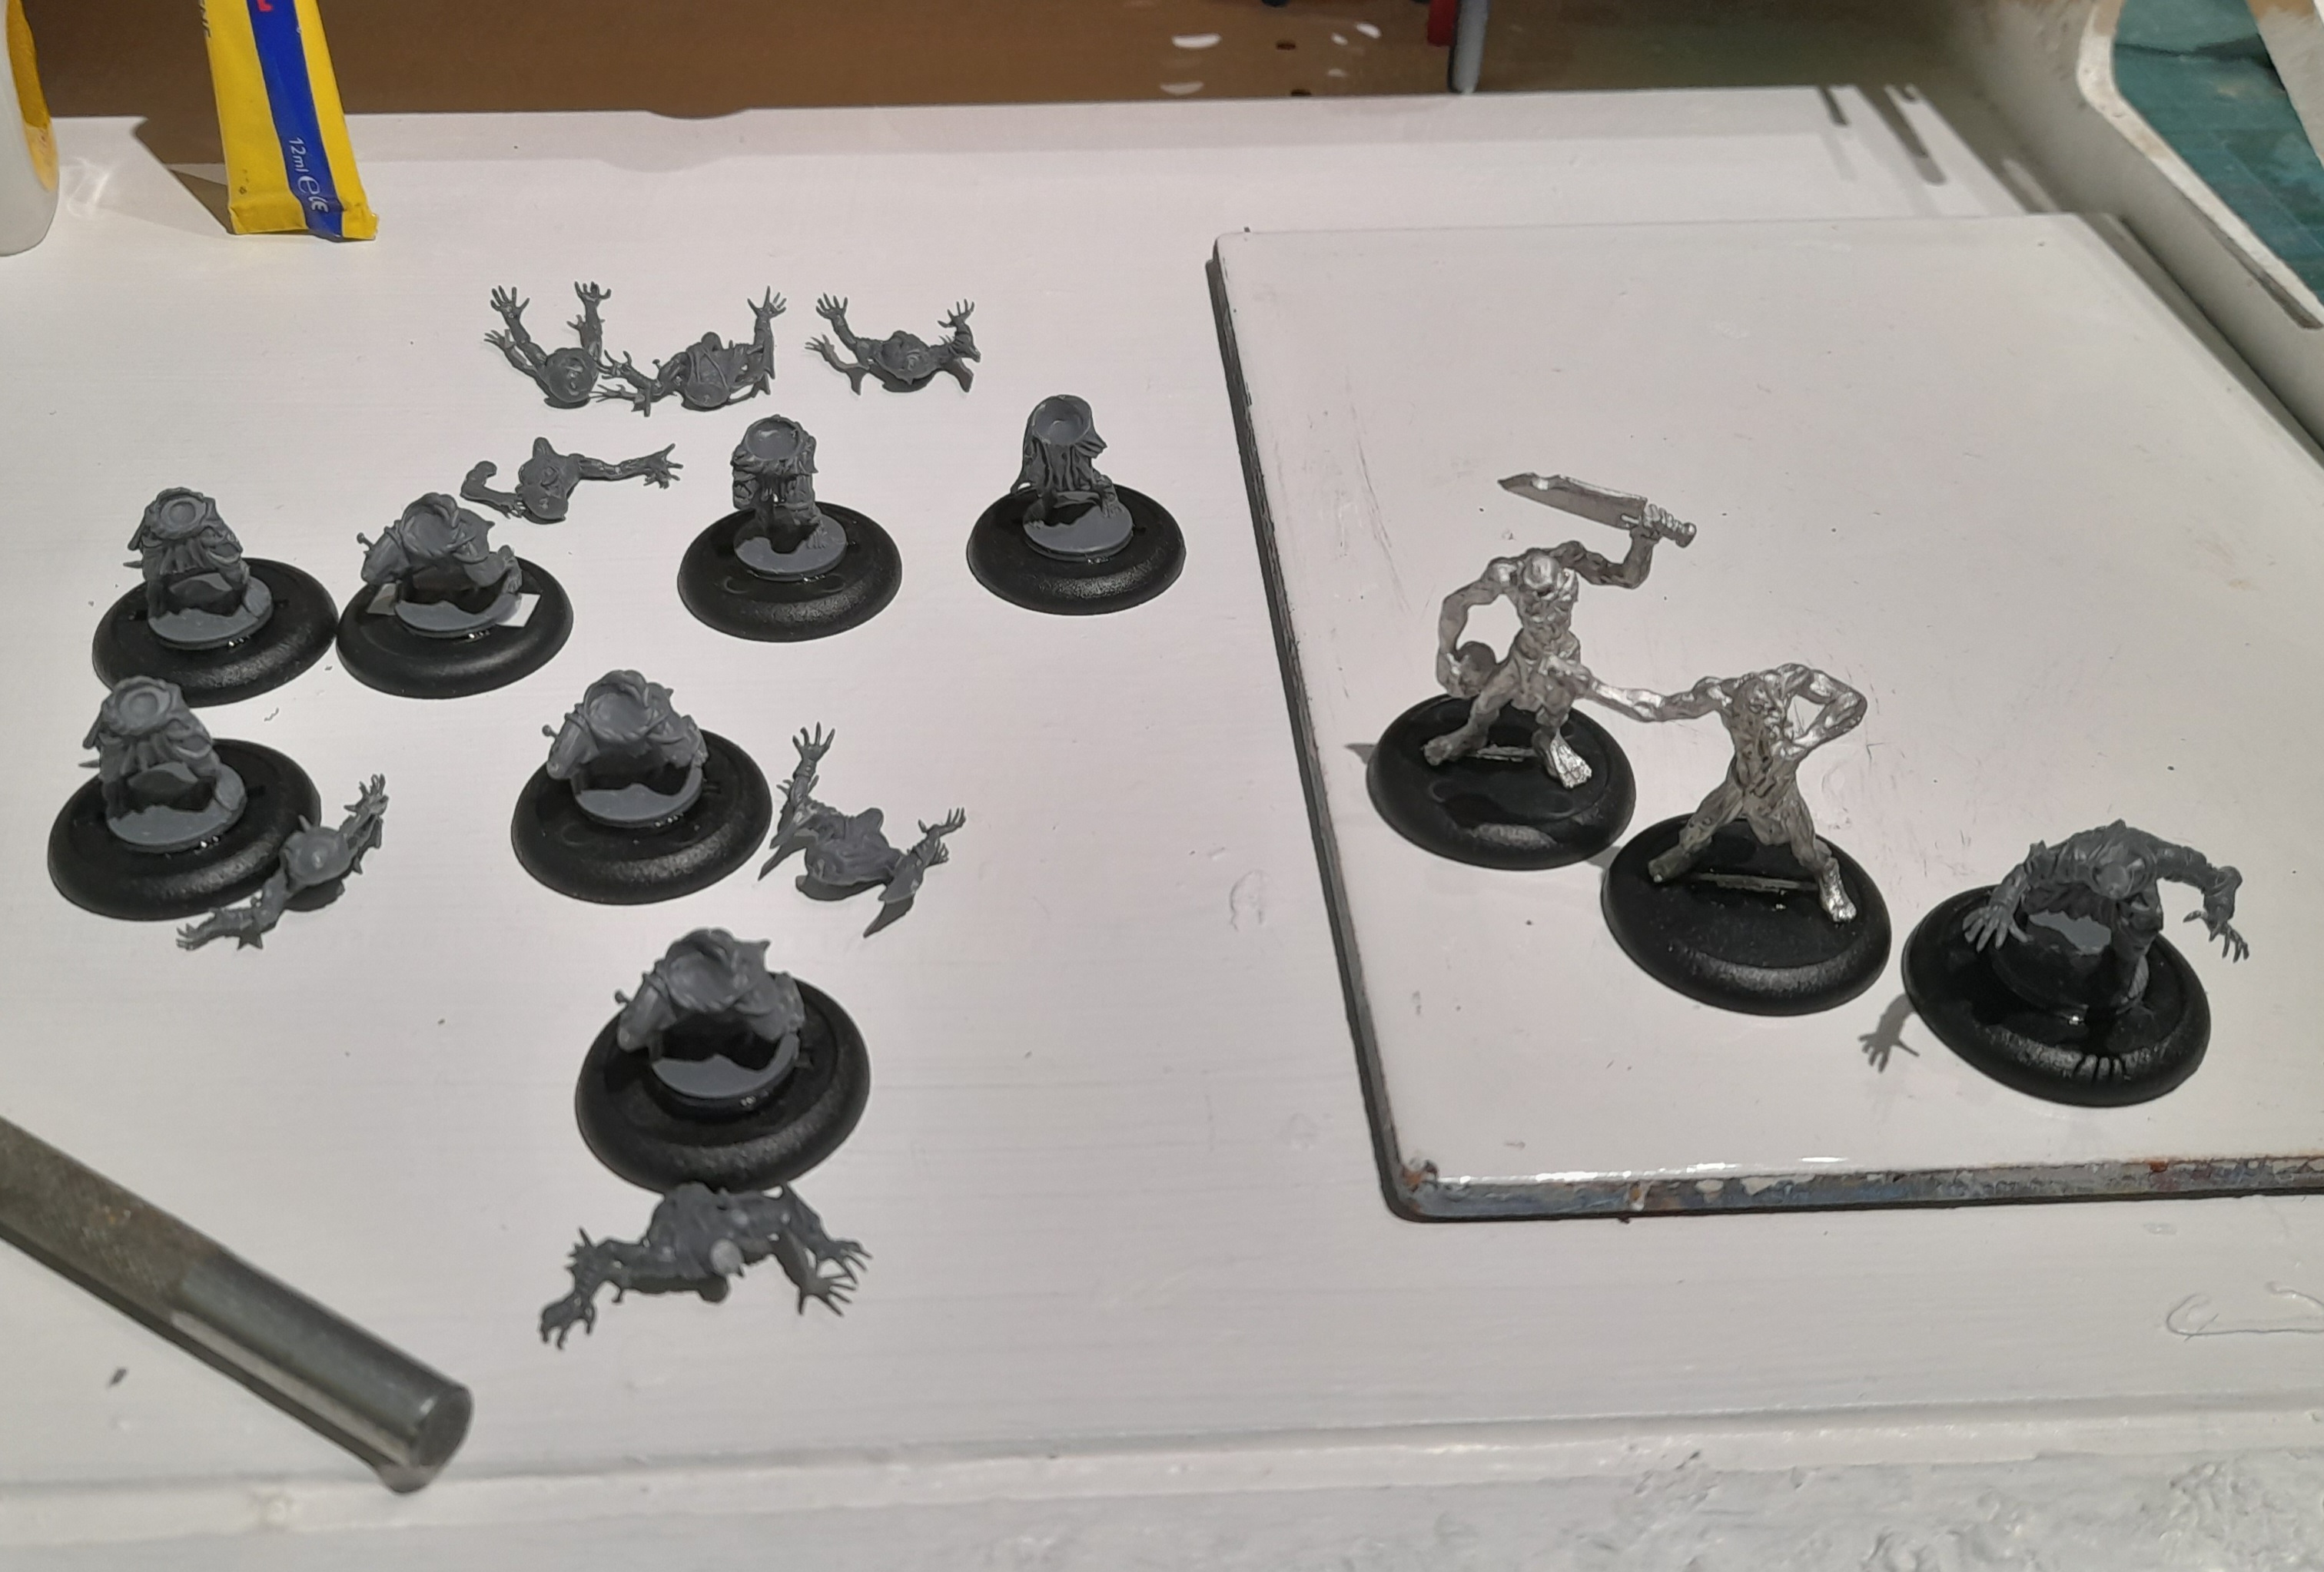
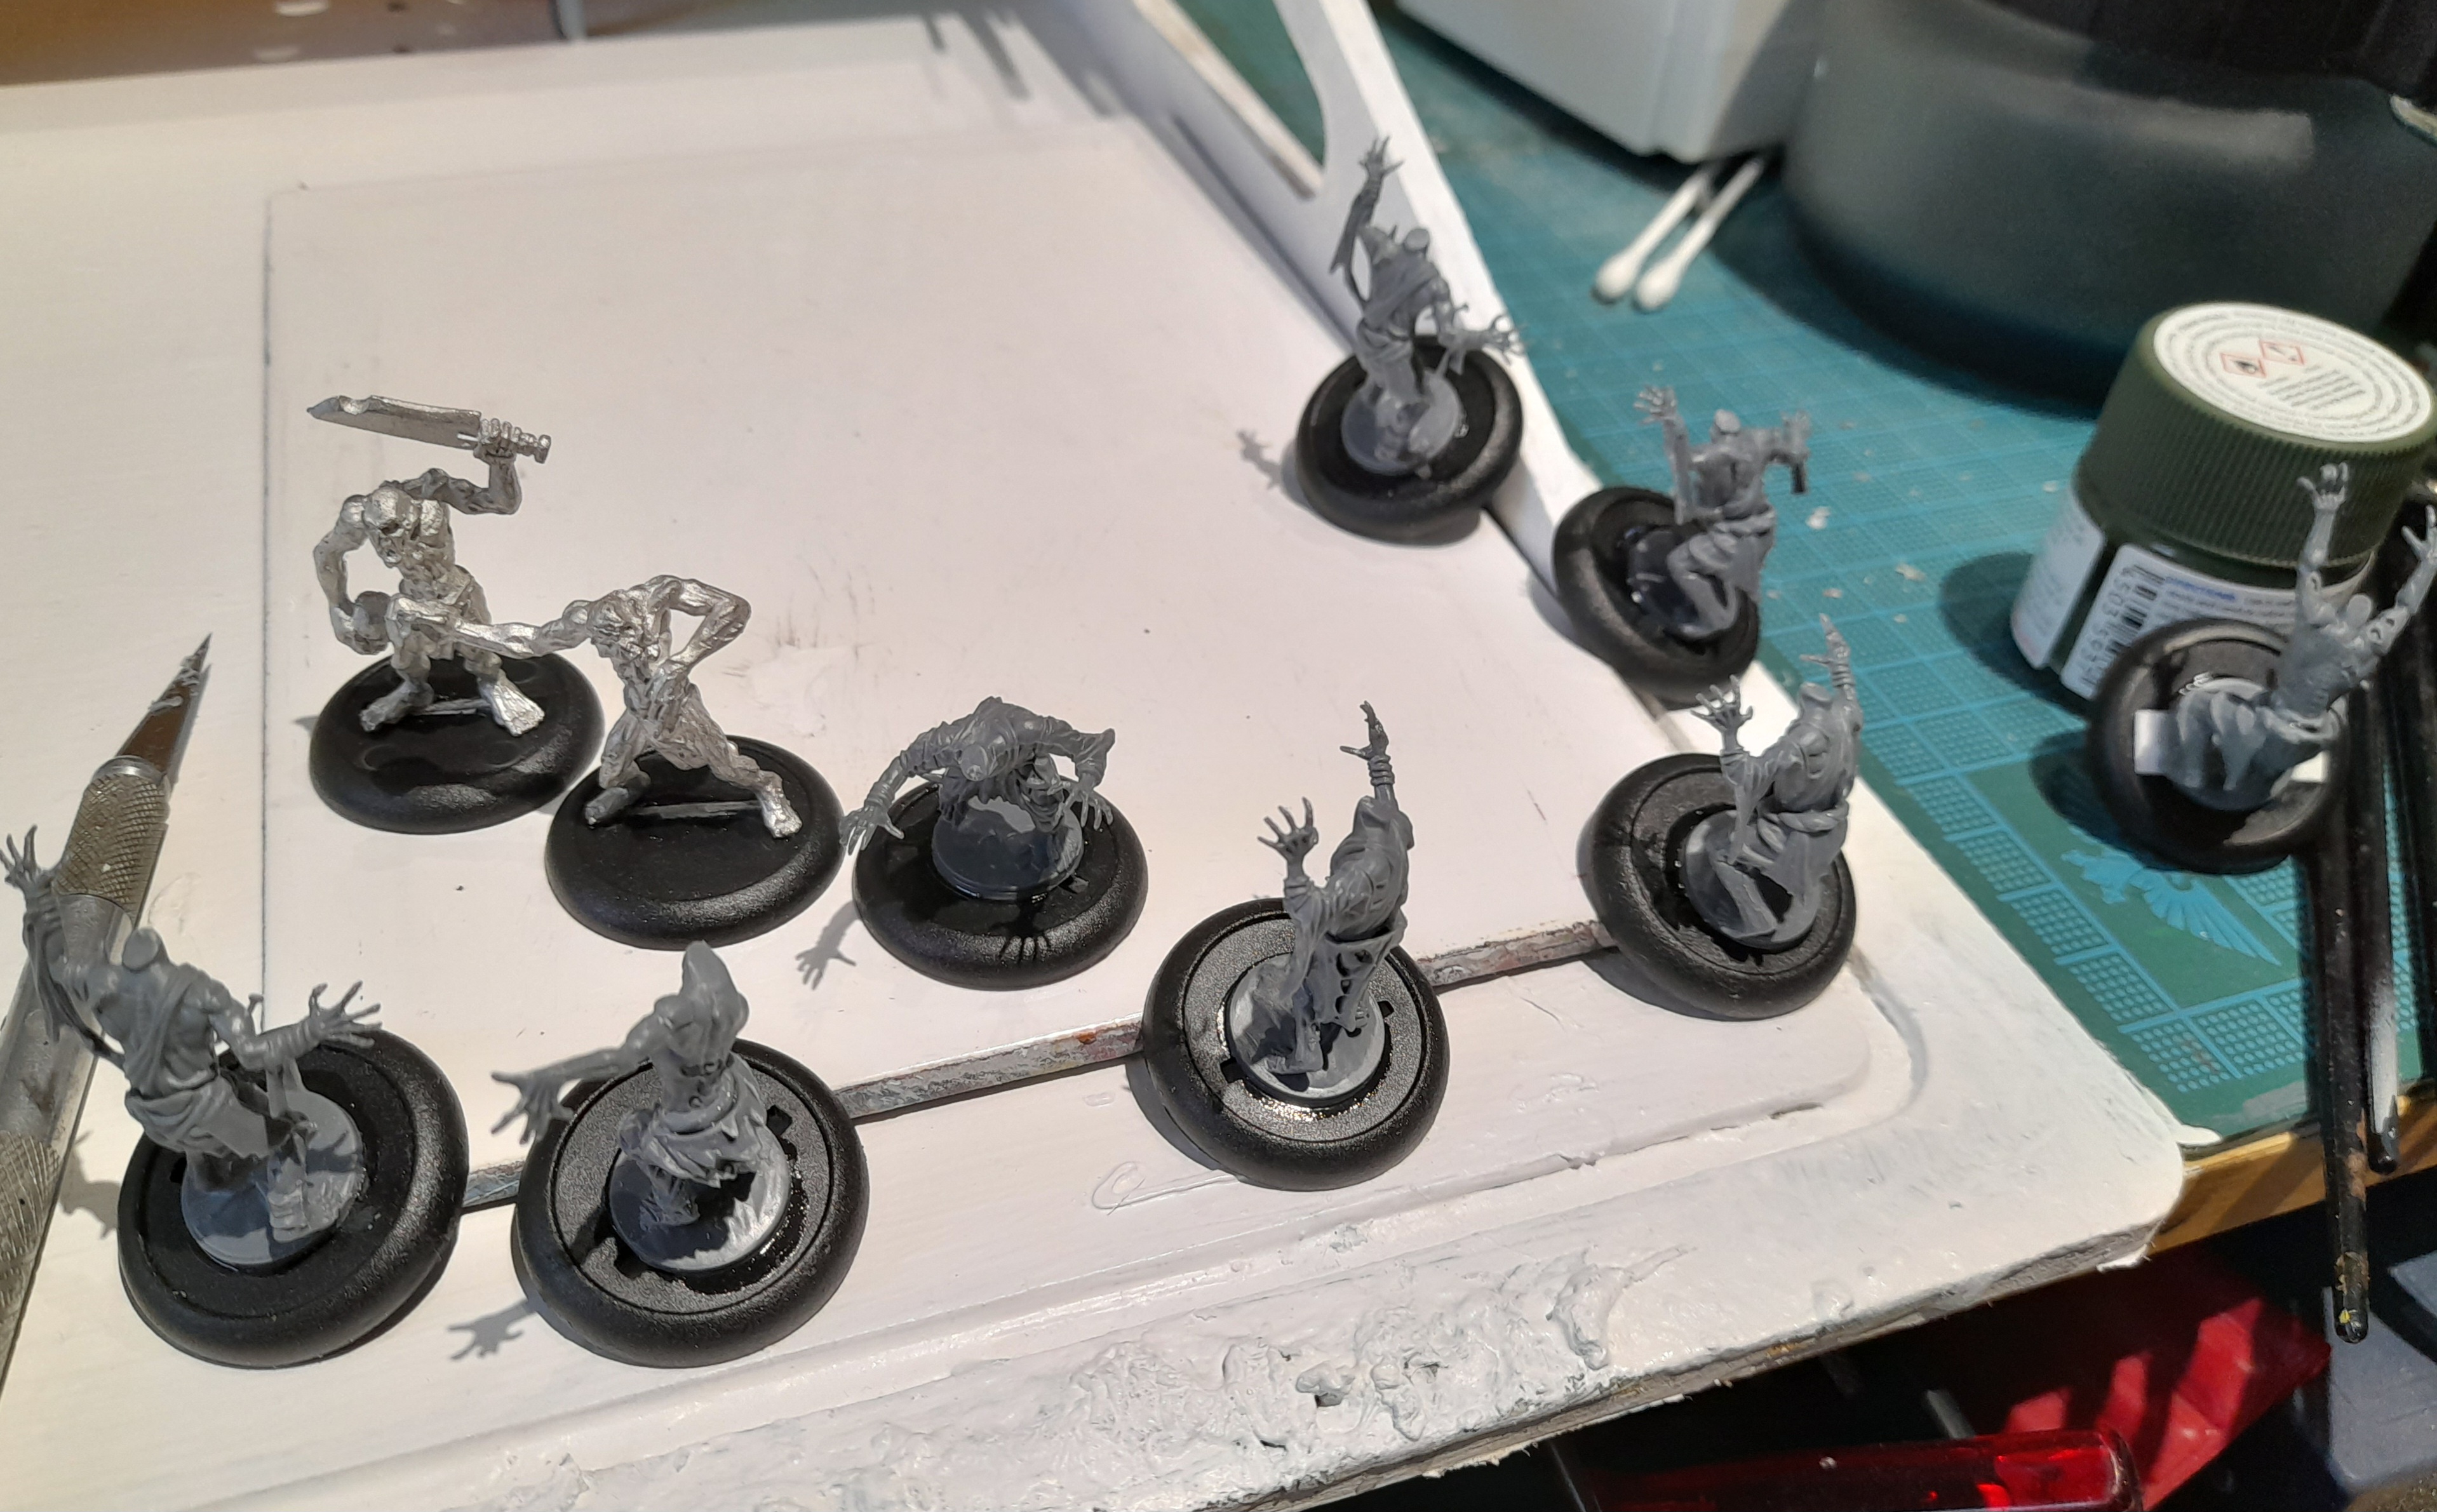
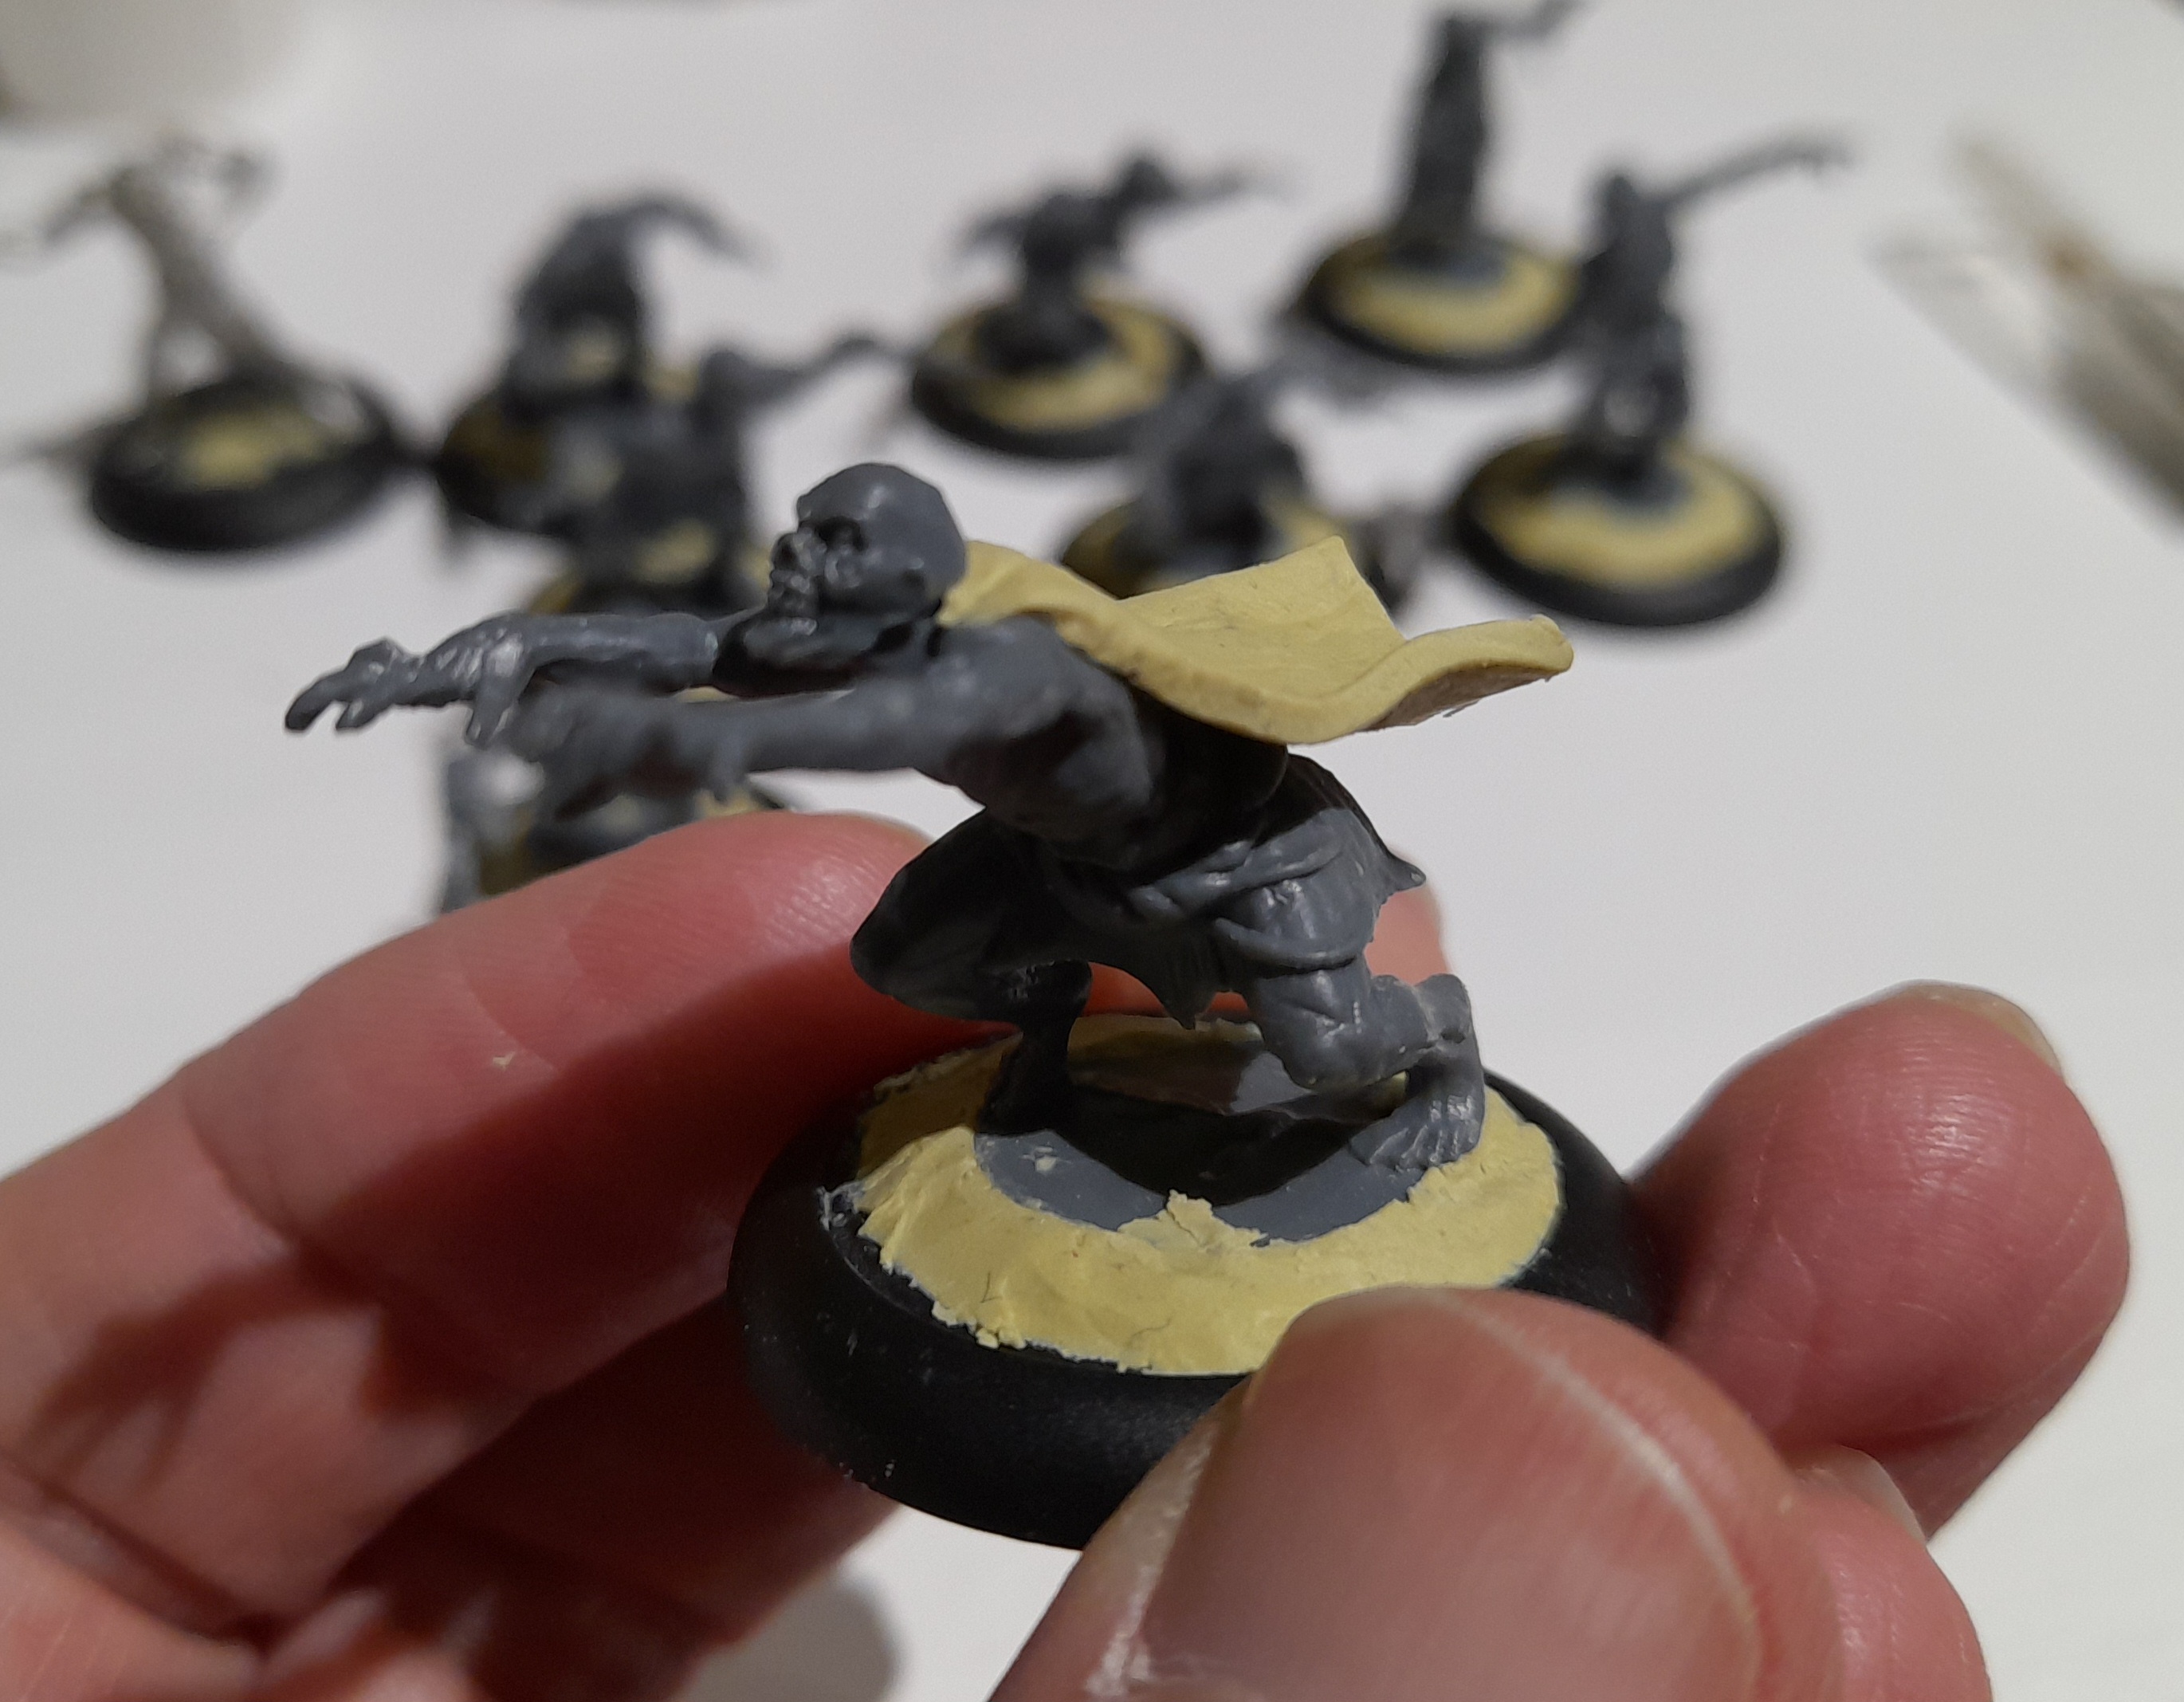
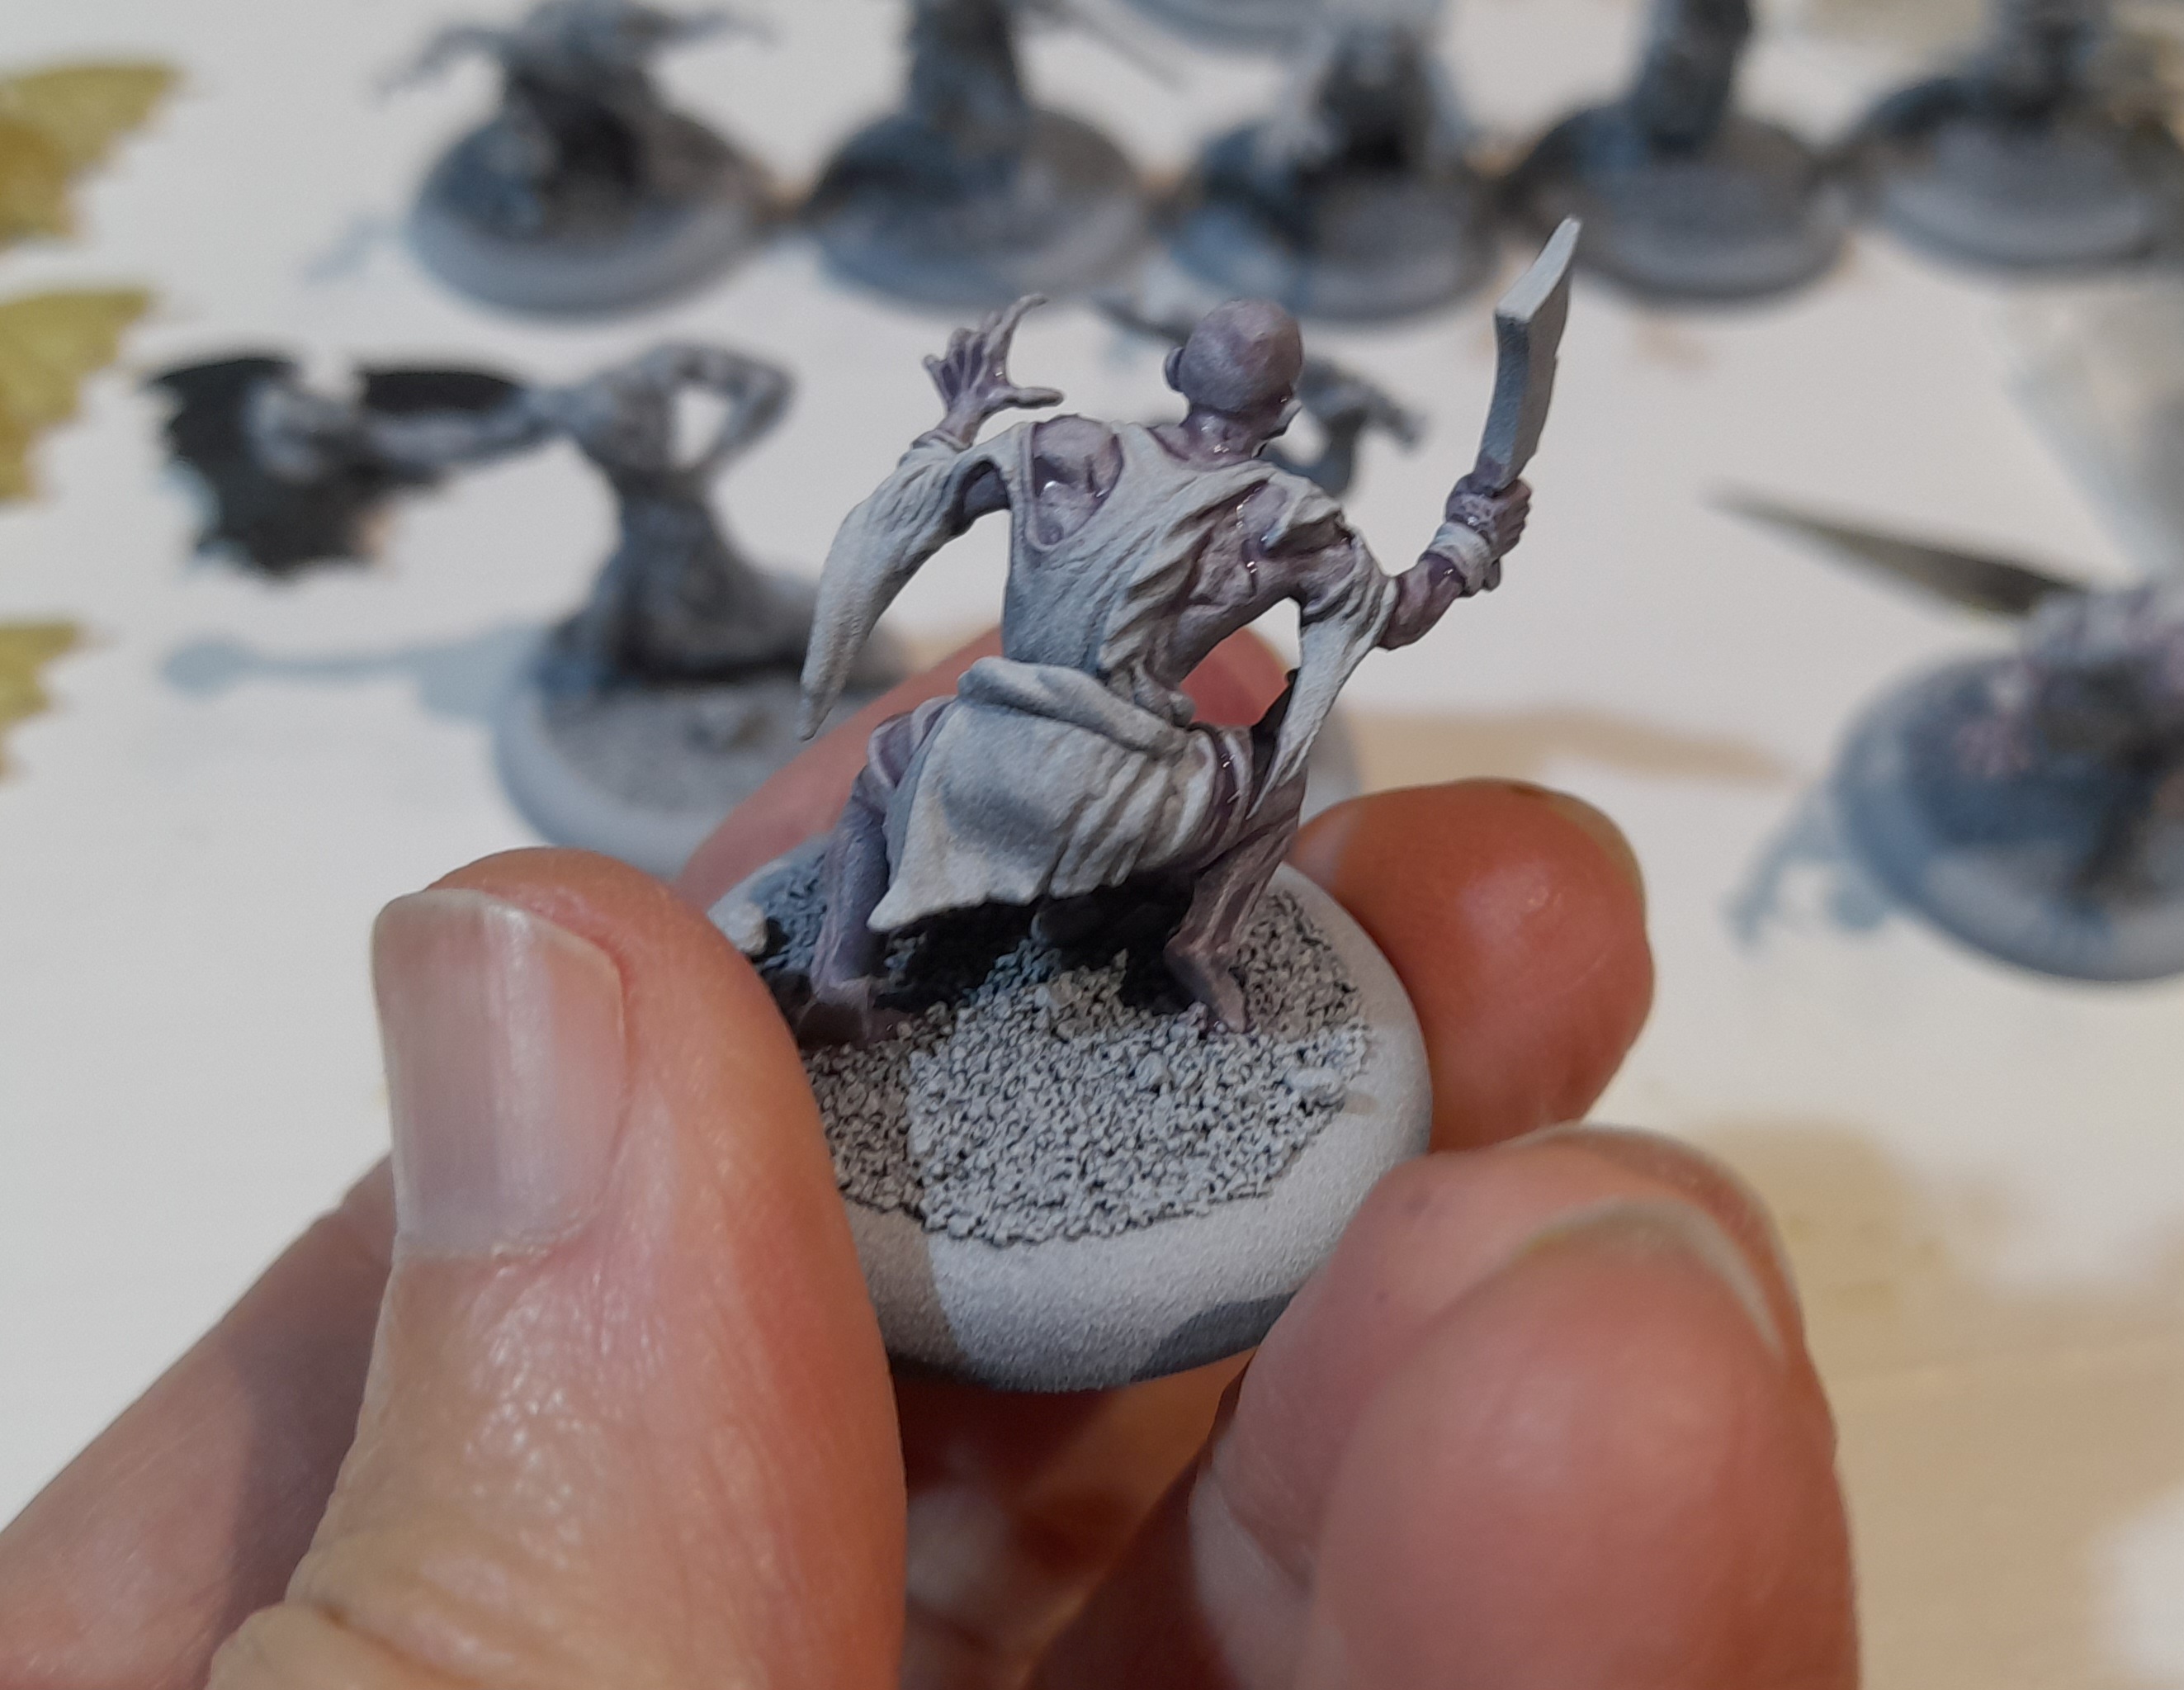
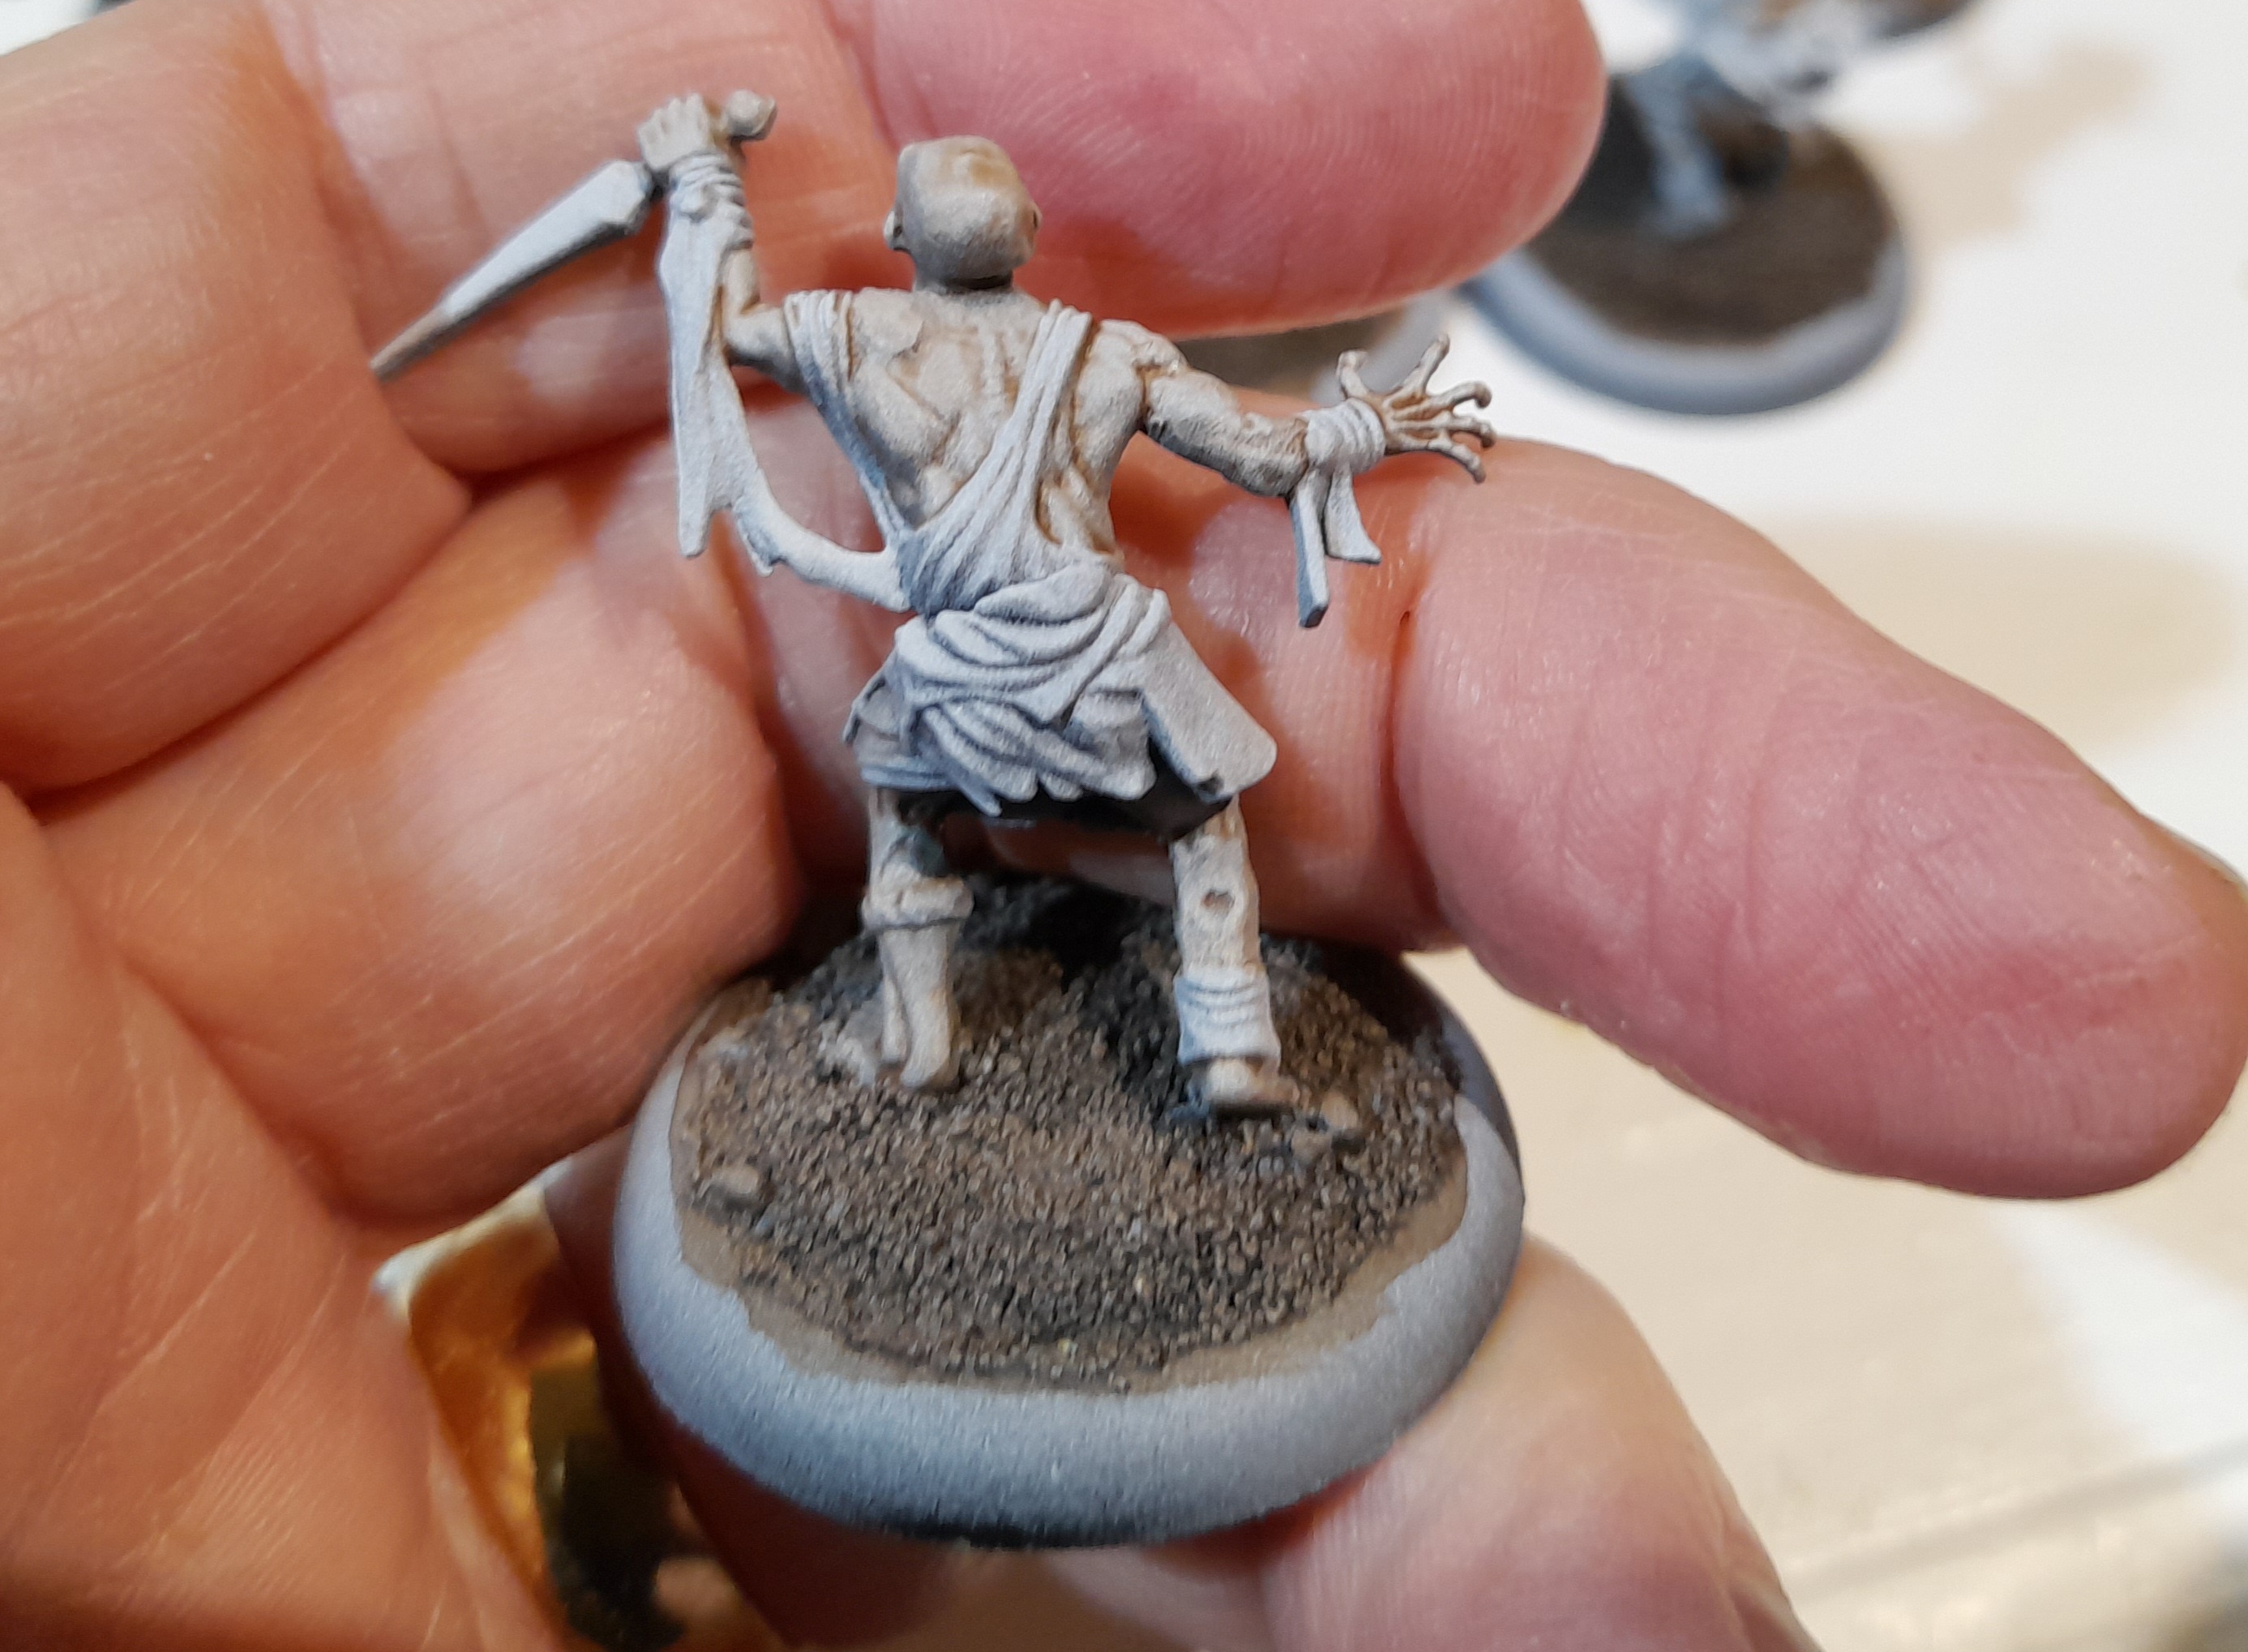
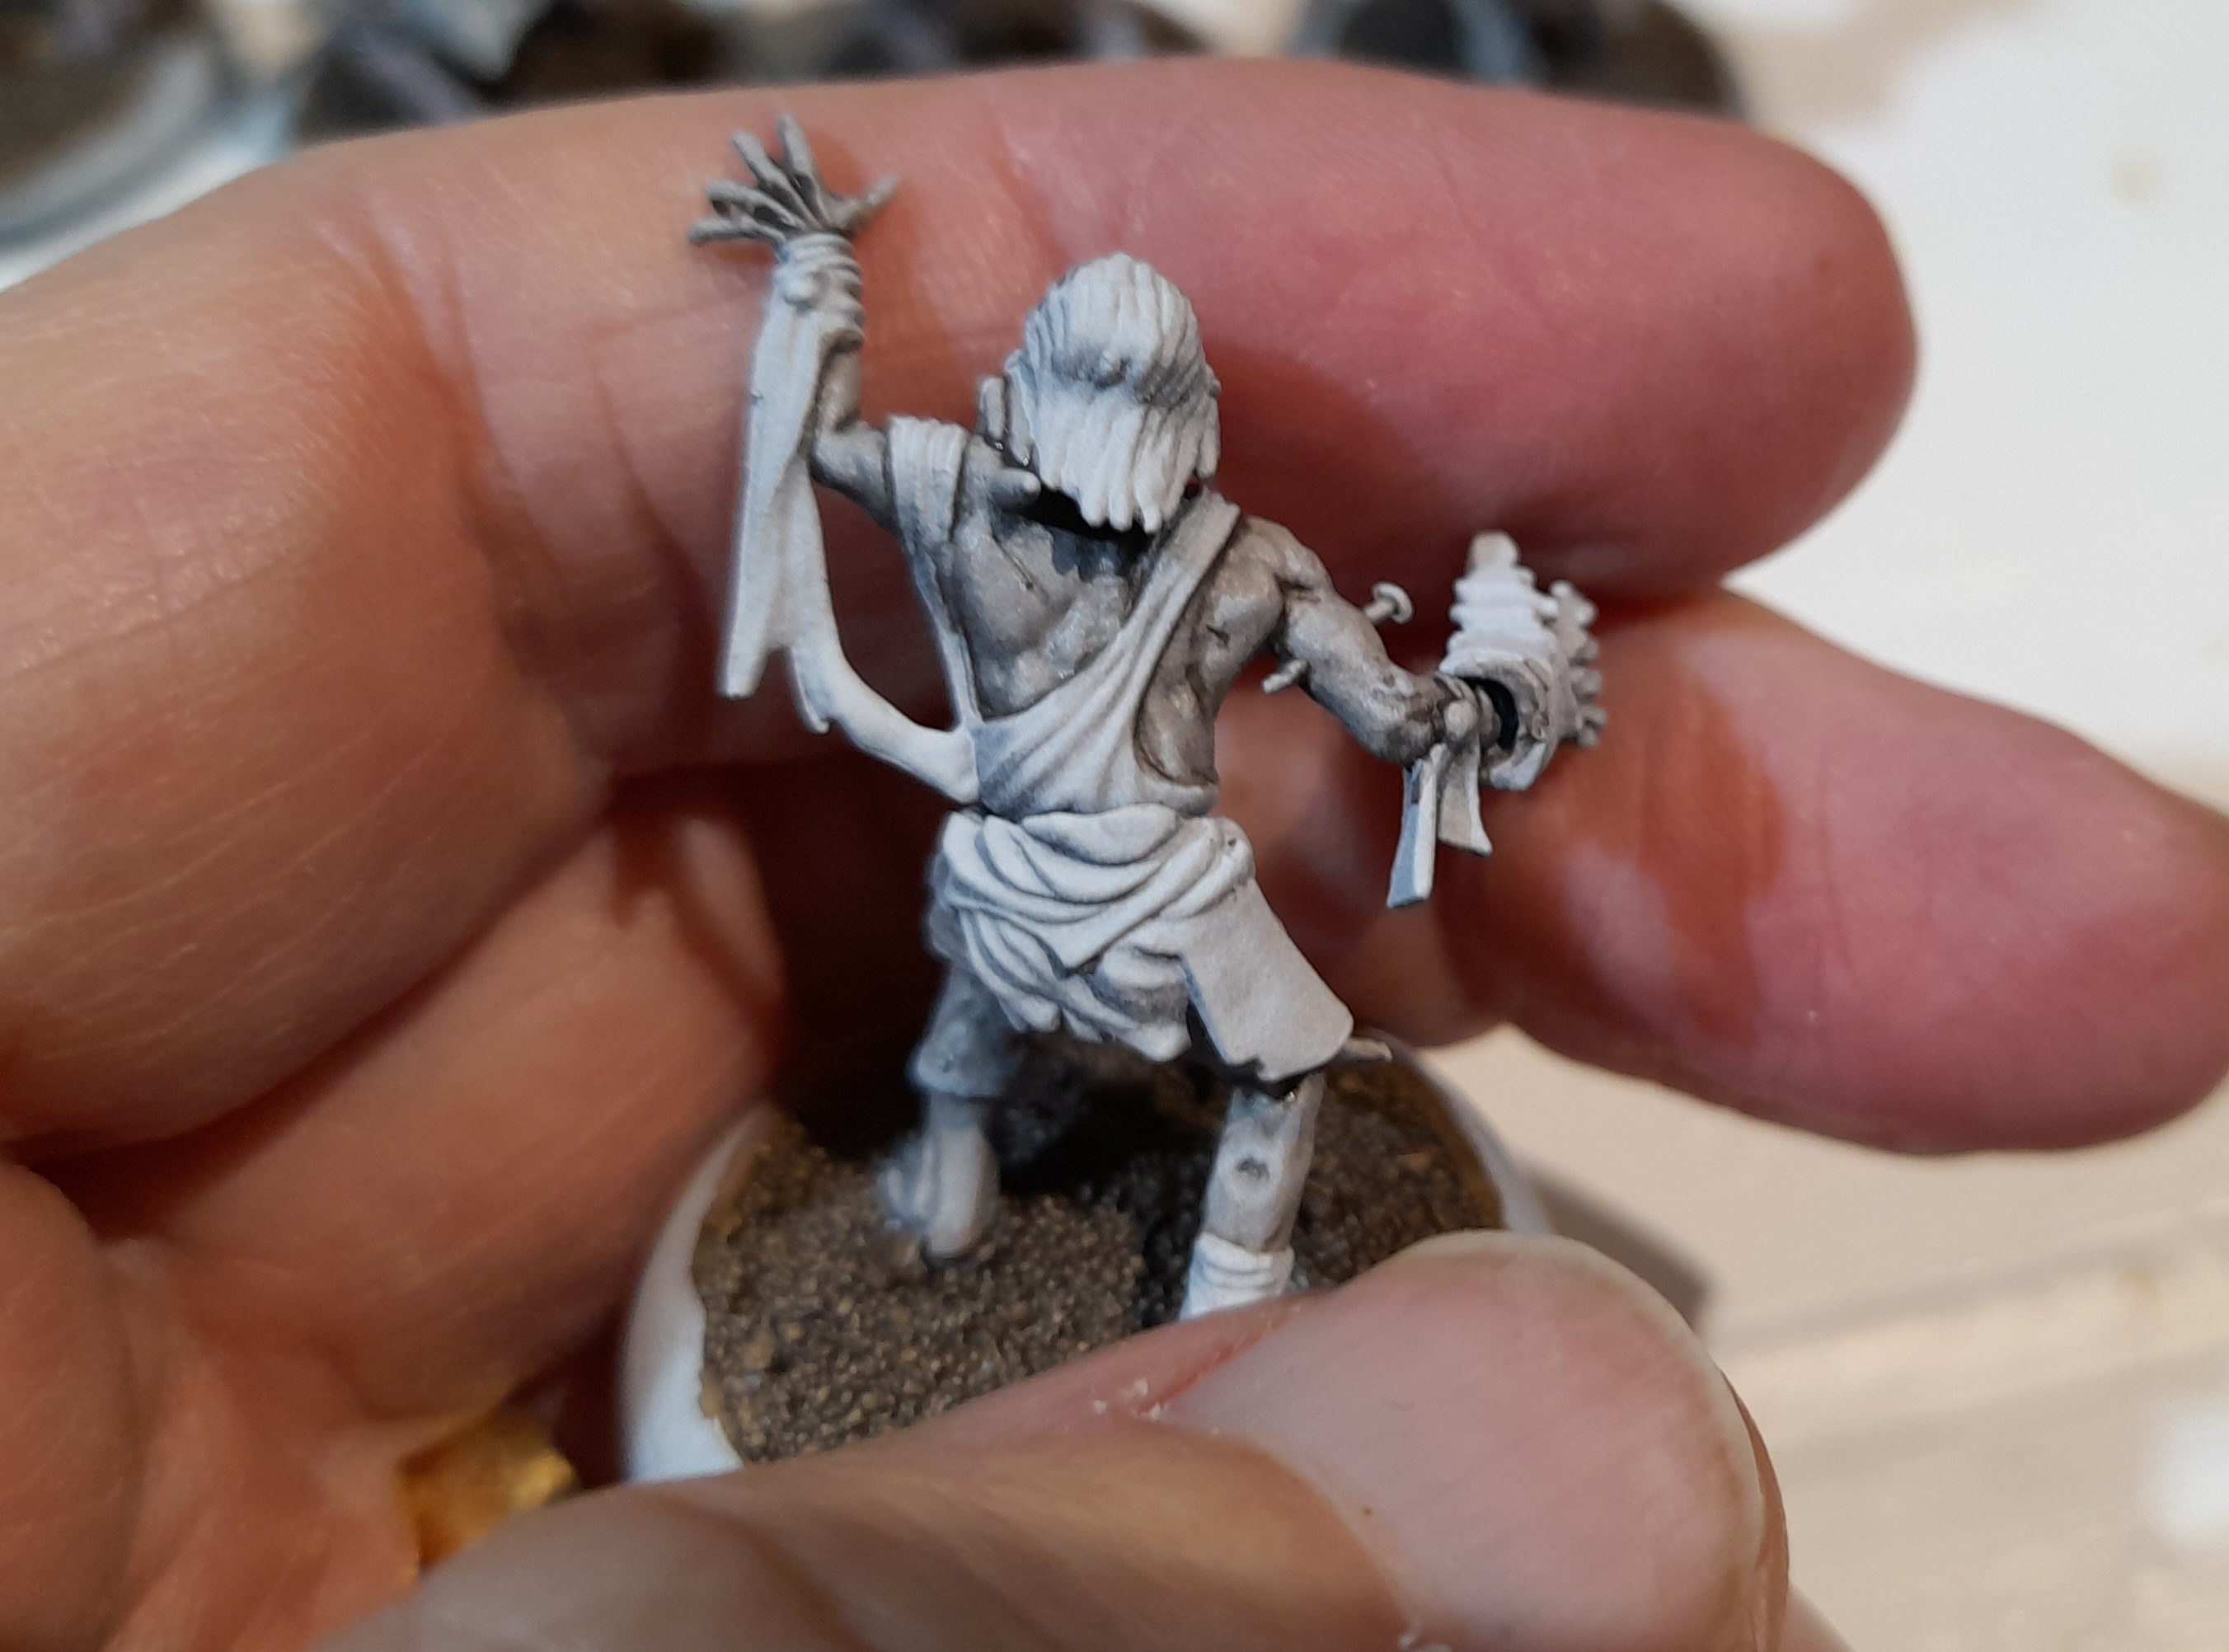
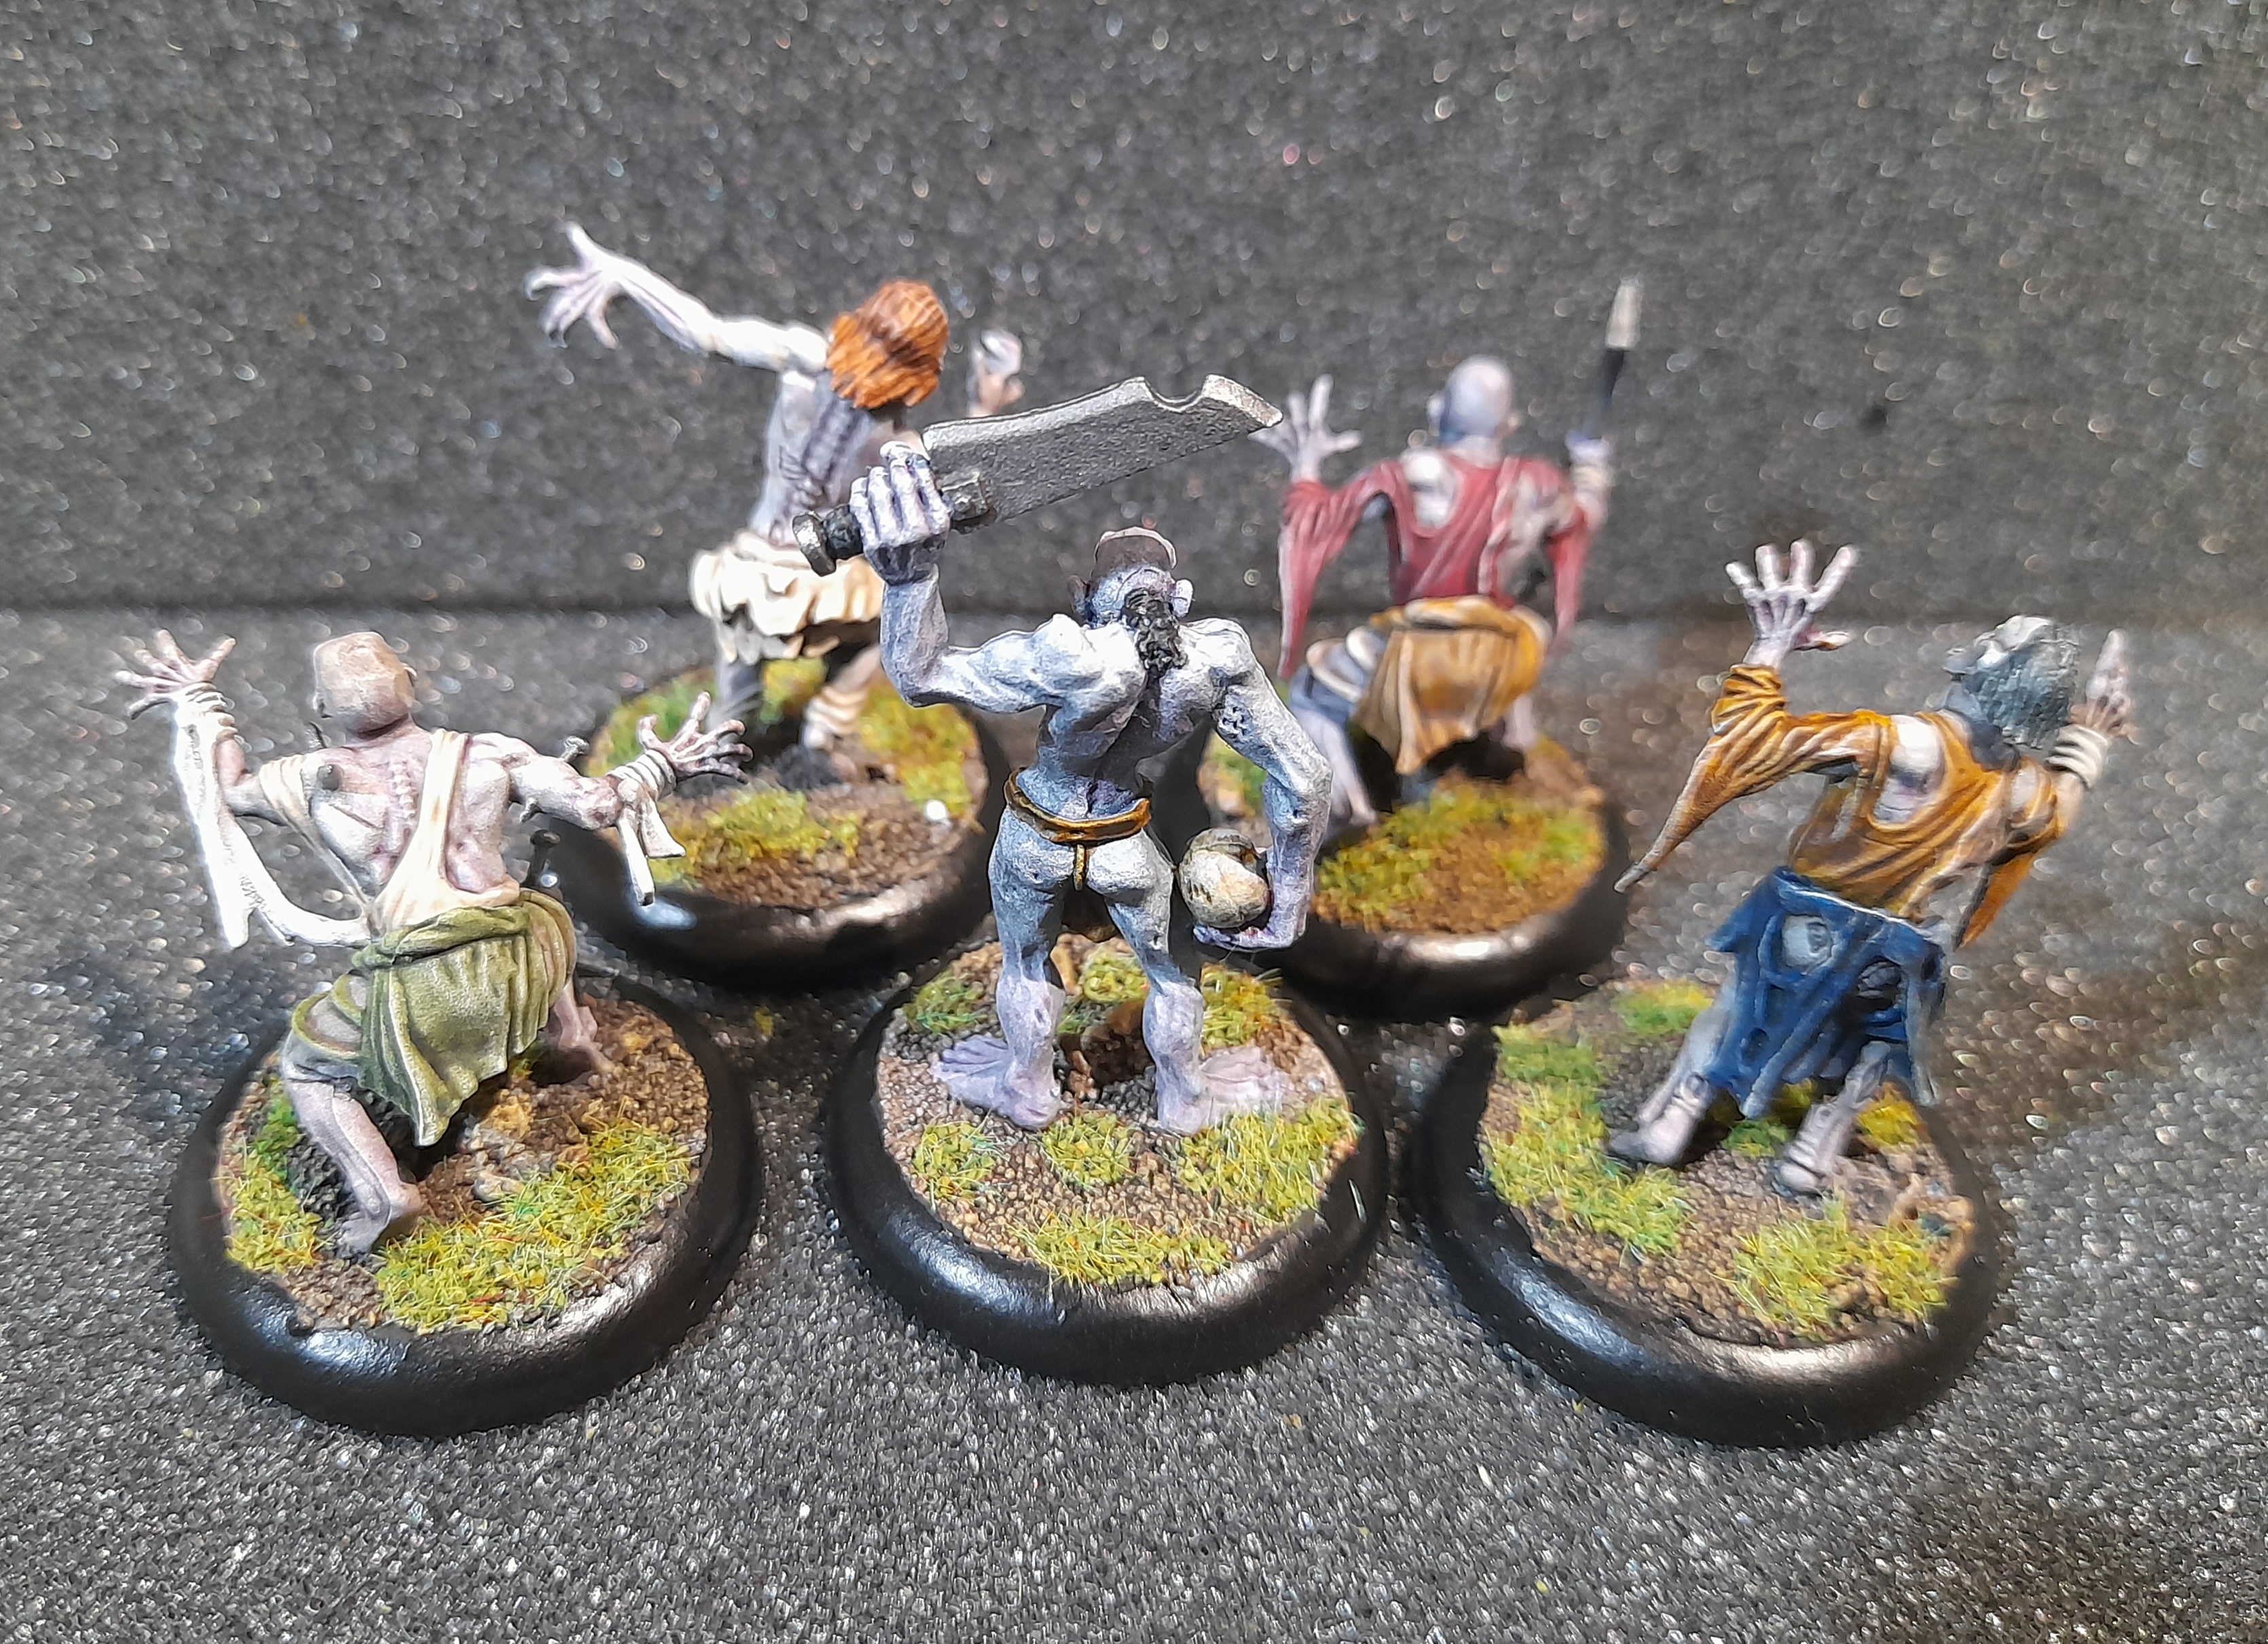
There were some hands with weapons on, so to add variety I snipped off some hands and replaced them. I mixed in a couple of zombie legs and zombie torsos alongside the Ghoul parts to add variety. One chap had a somewhat reminiscent pose, so while I was filling base gaps and covering the puddle bases he got a milliput cape 😊
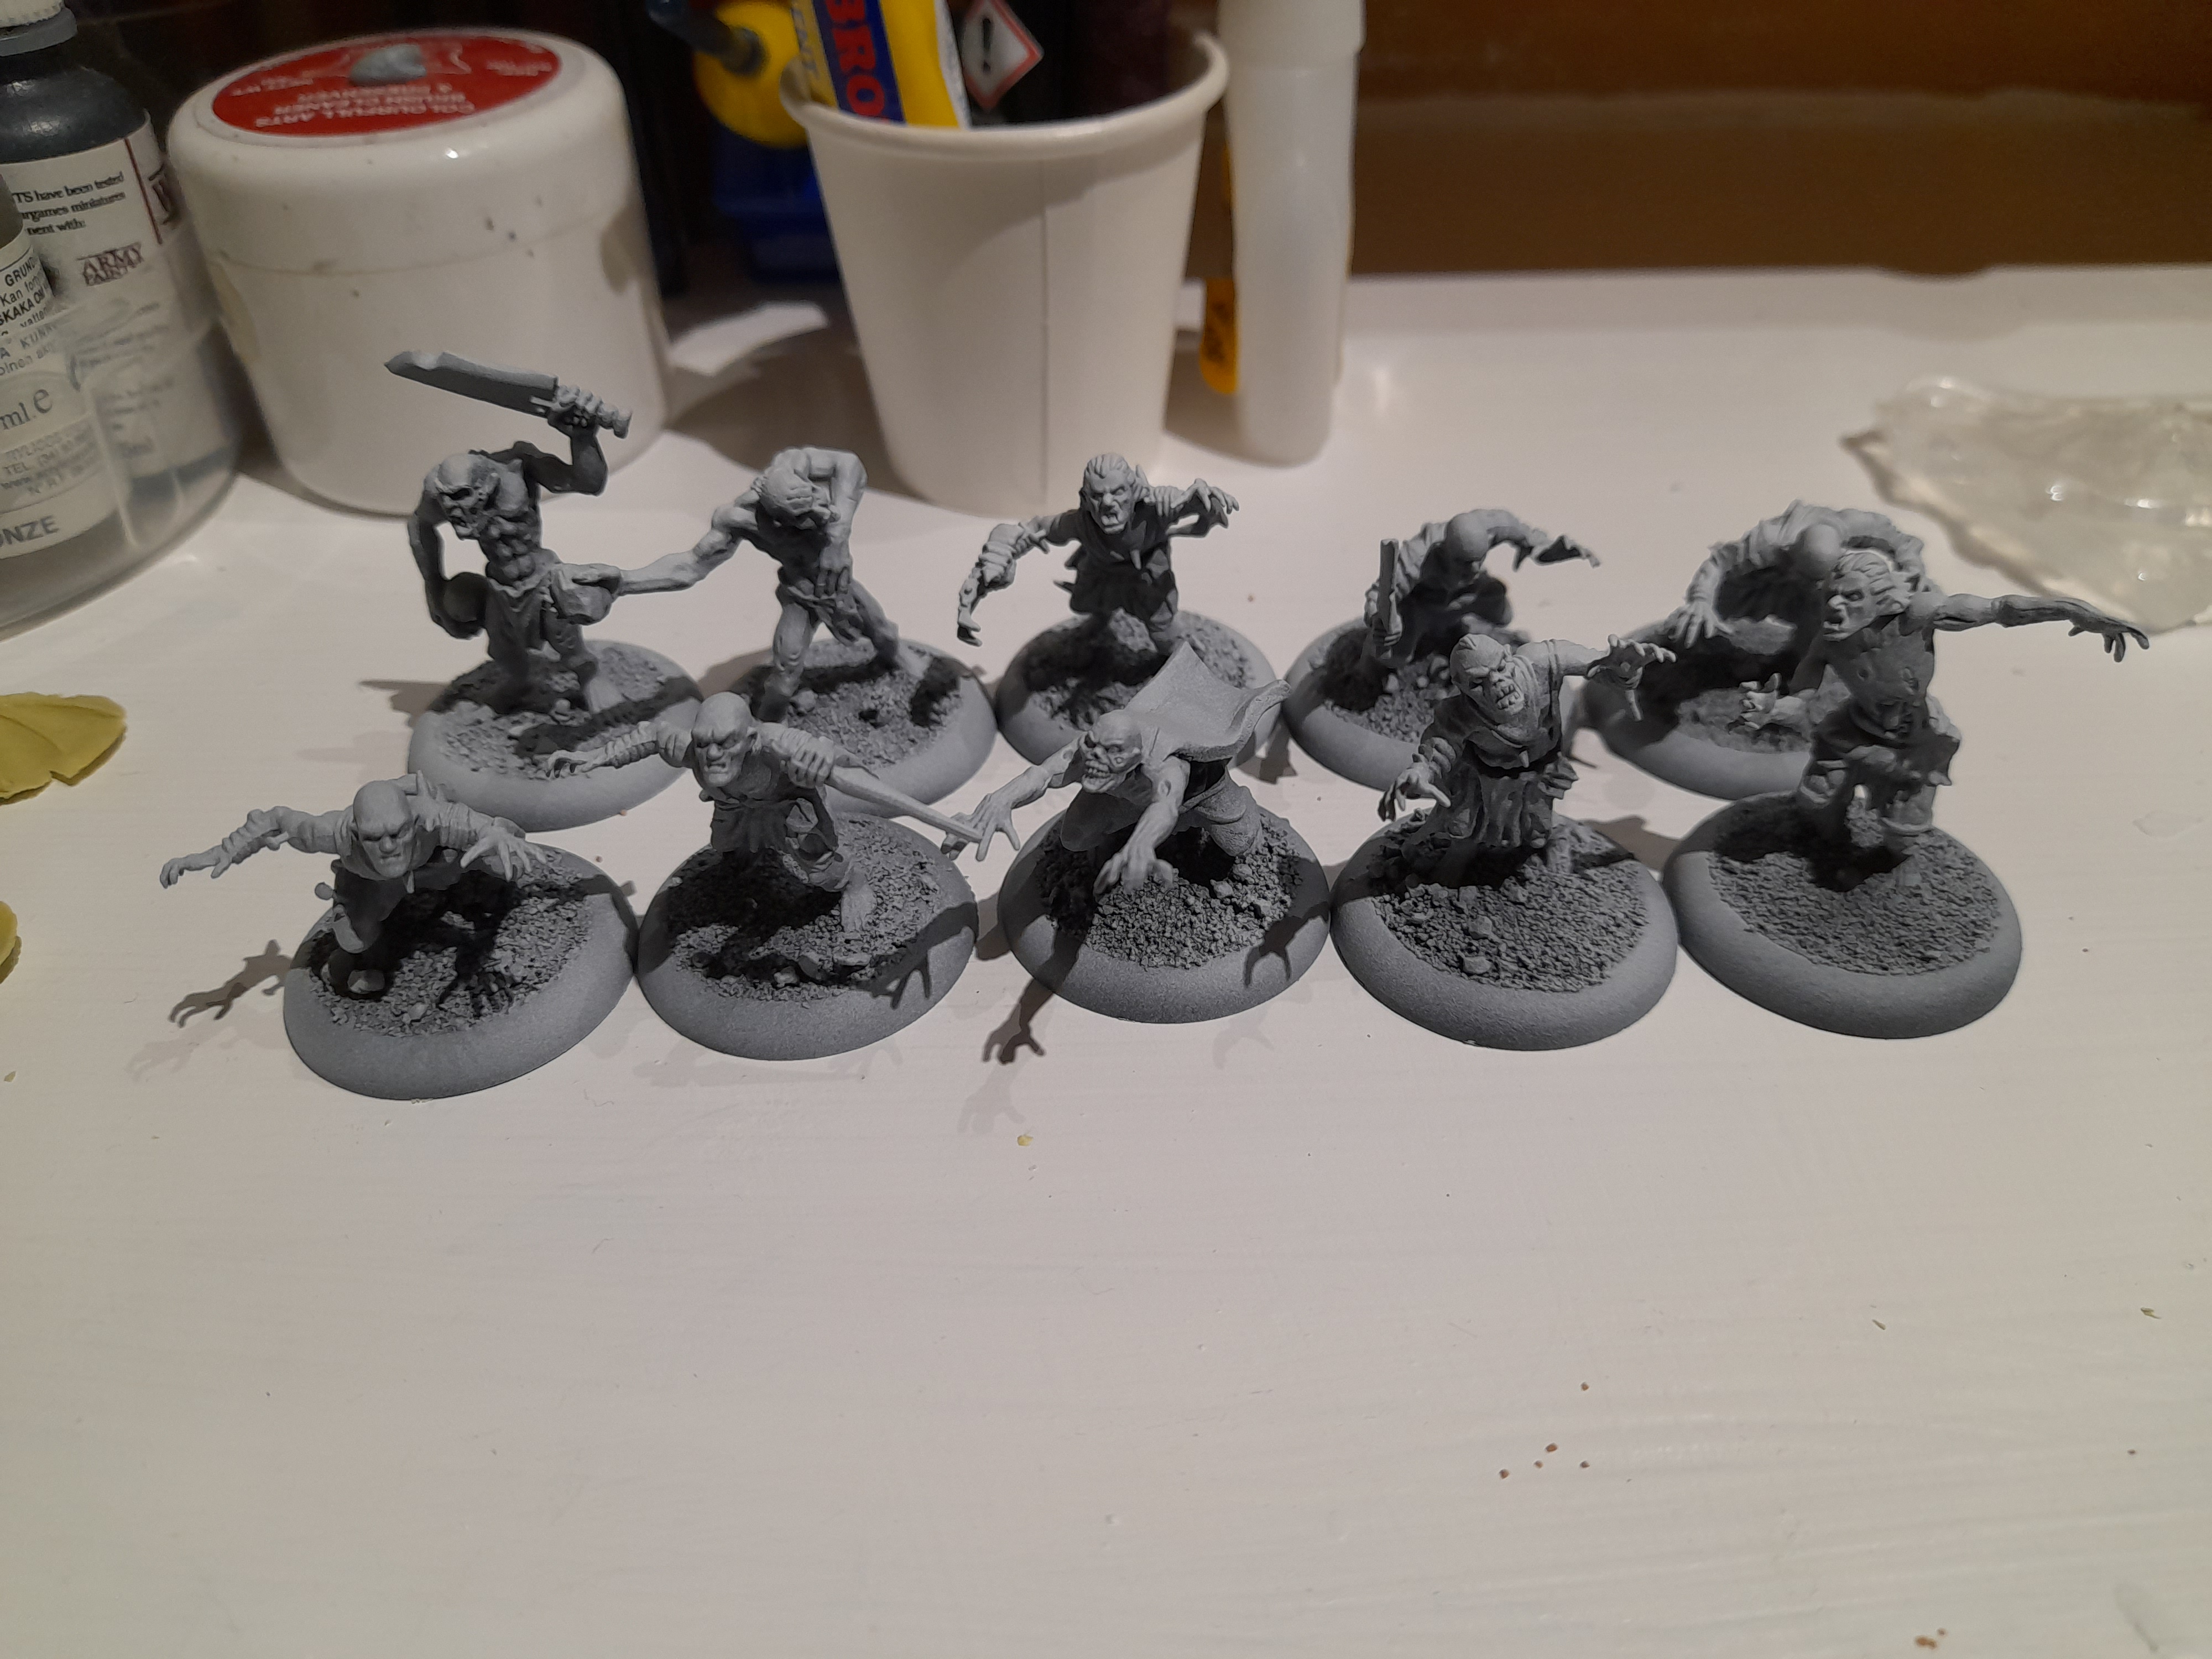
They were then all given a sand and gravel basing, zenithal spray and several with given an extra bit of white drybrushing to brighten and define some areas.

Then it was on to laying down some colours.
I wanted a mixed palette for the skin tones across the group. I used combinations of grey, beige and some purple in differing amounts across all ten of them. I then added thinned purple washes, mainly to face, chest, spine and extremities.
For the clothing I used a mainly earthy palette, but added in some red and dark blue. This was all given a dark wash, and a drybrush with pale sand to make them look worn.
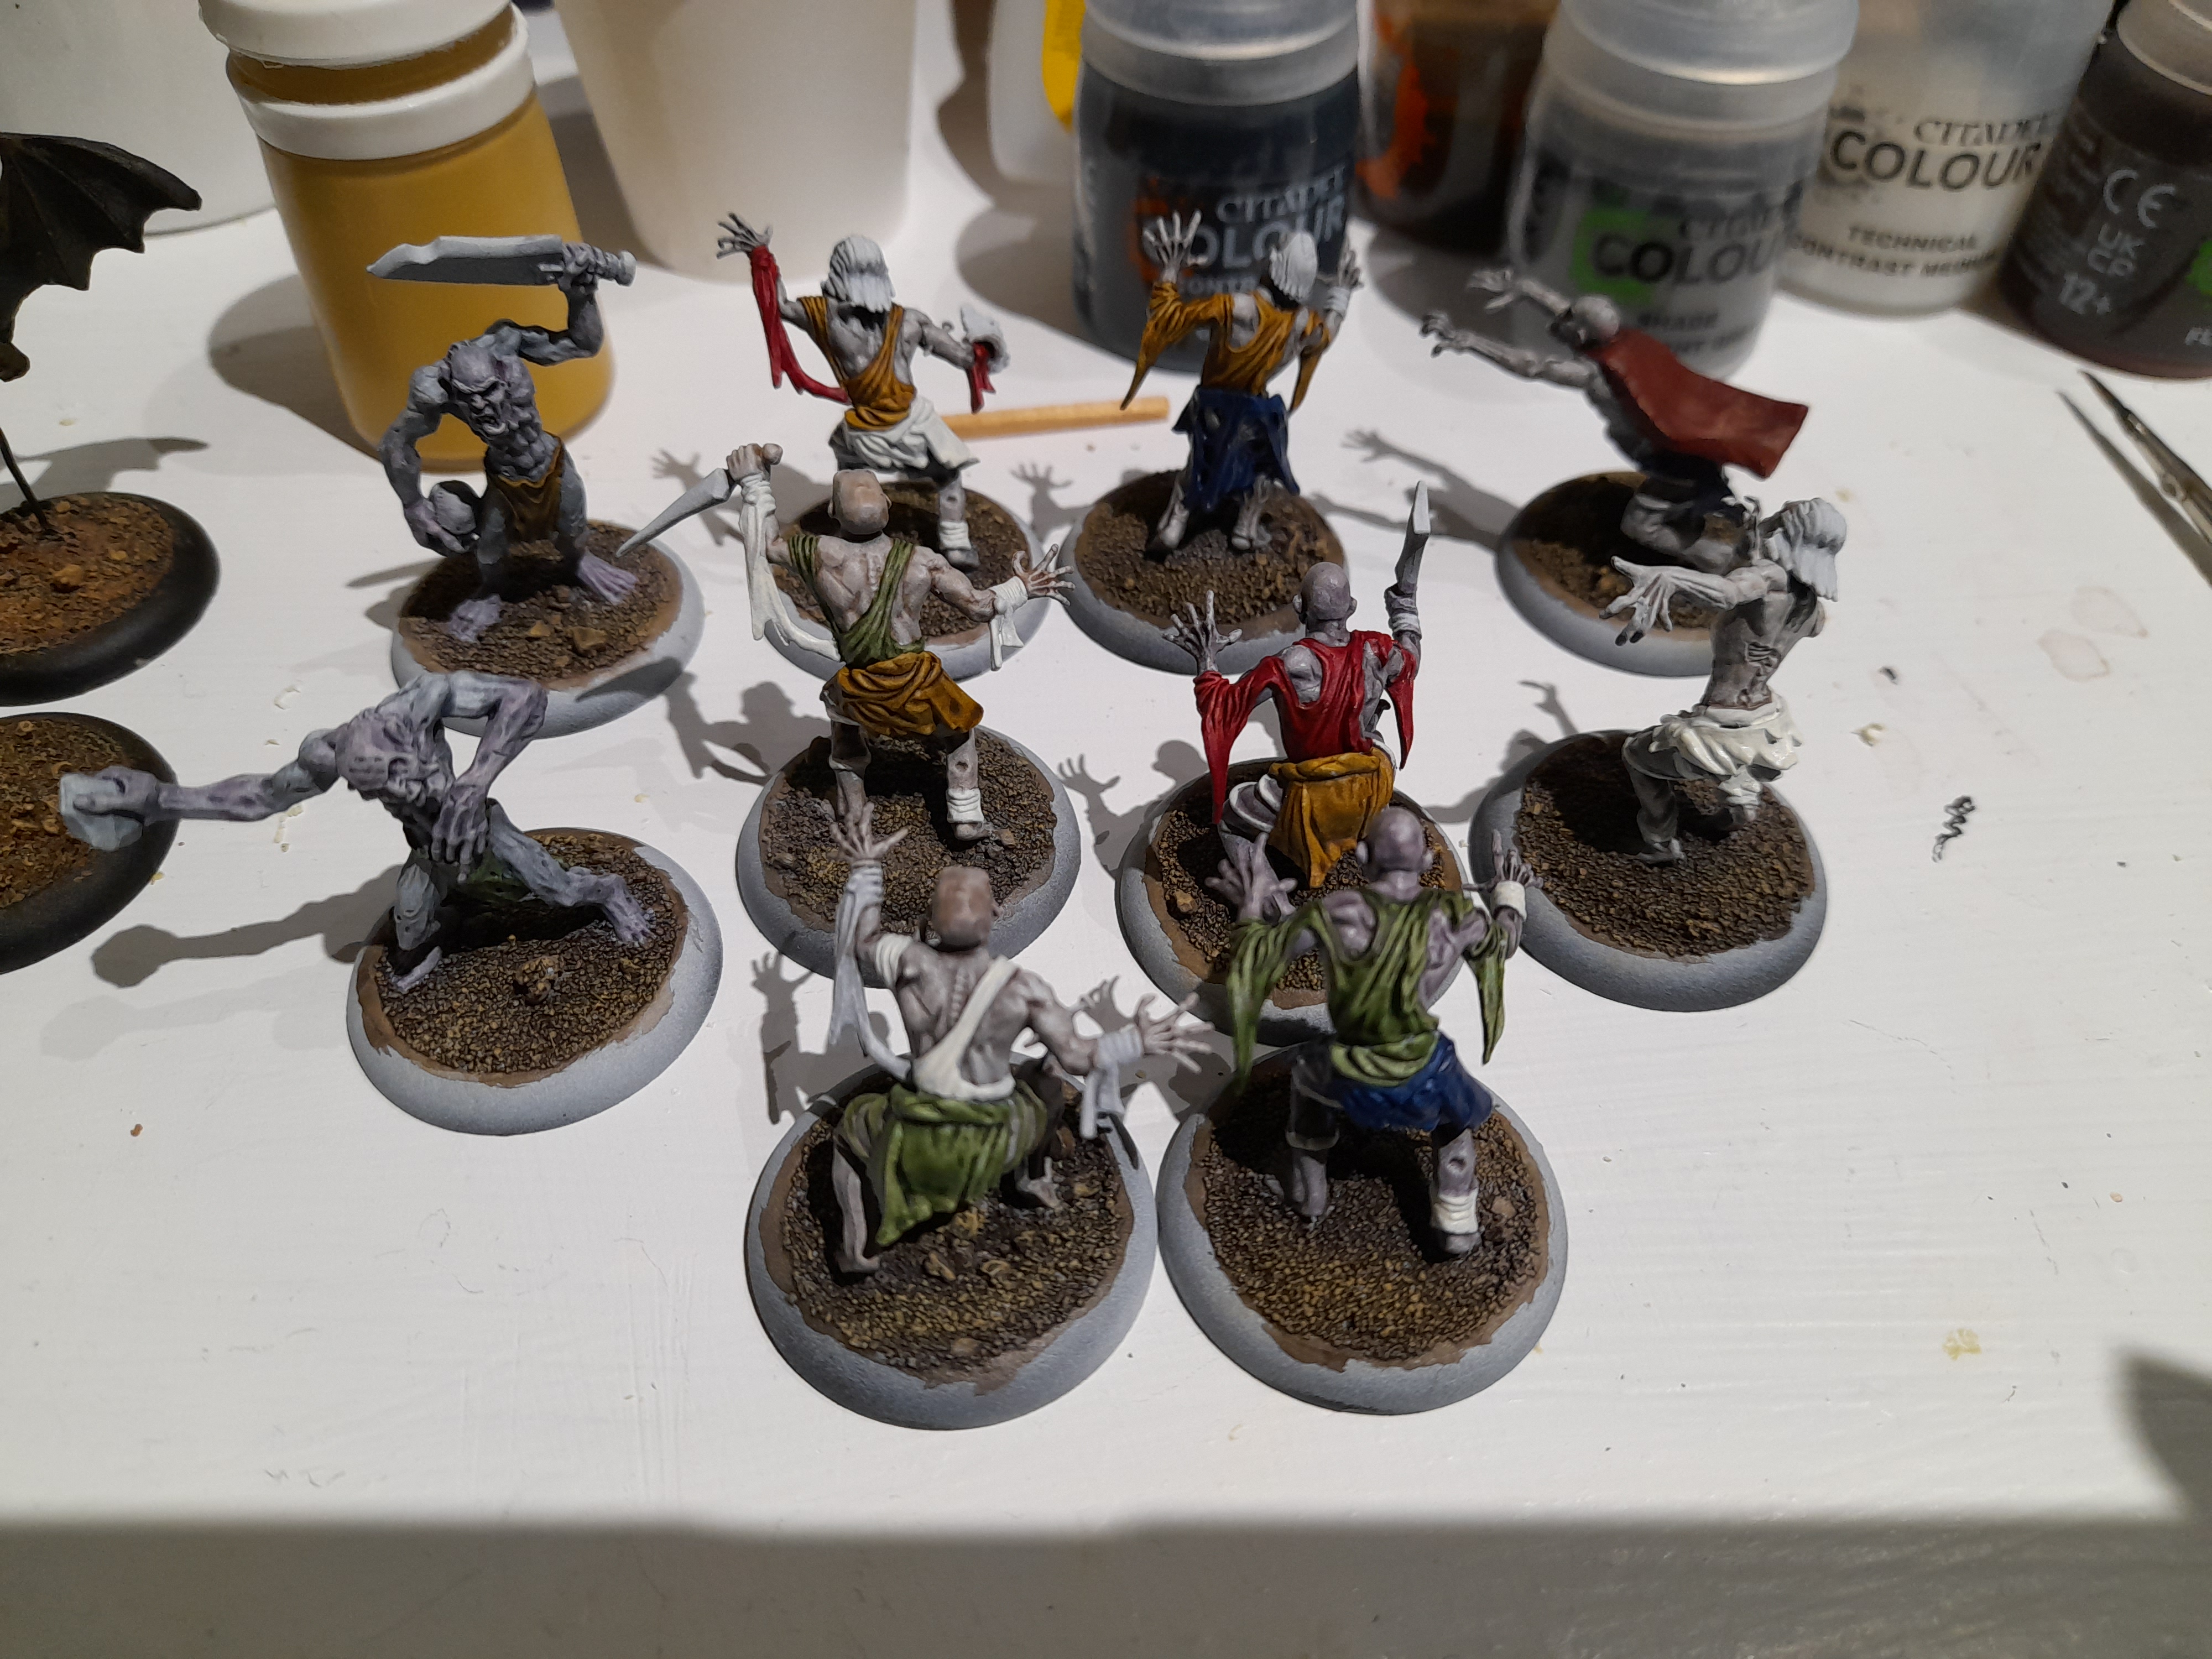
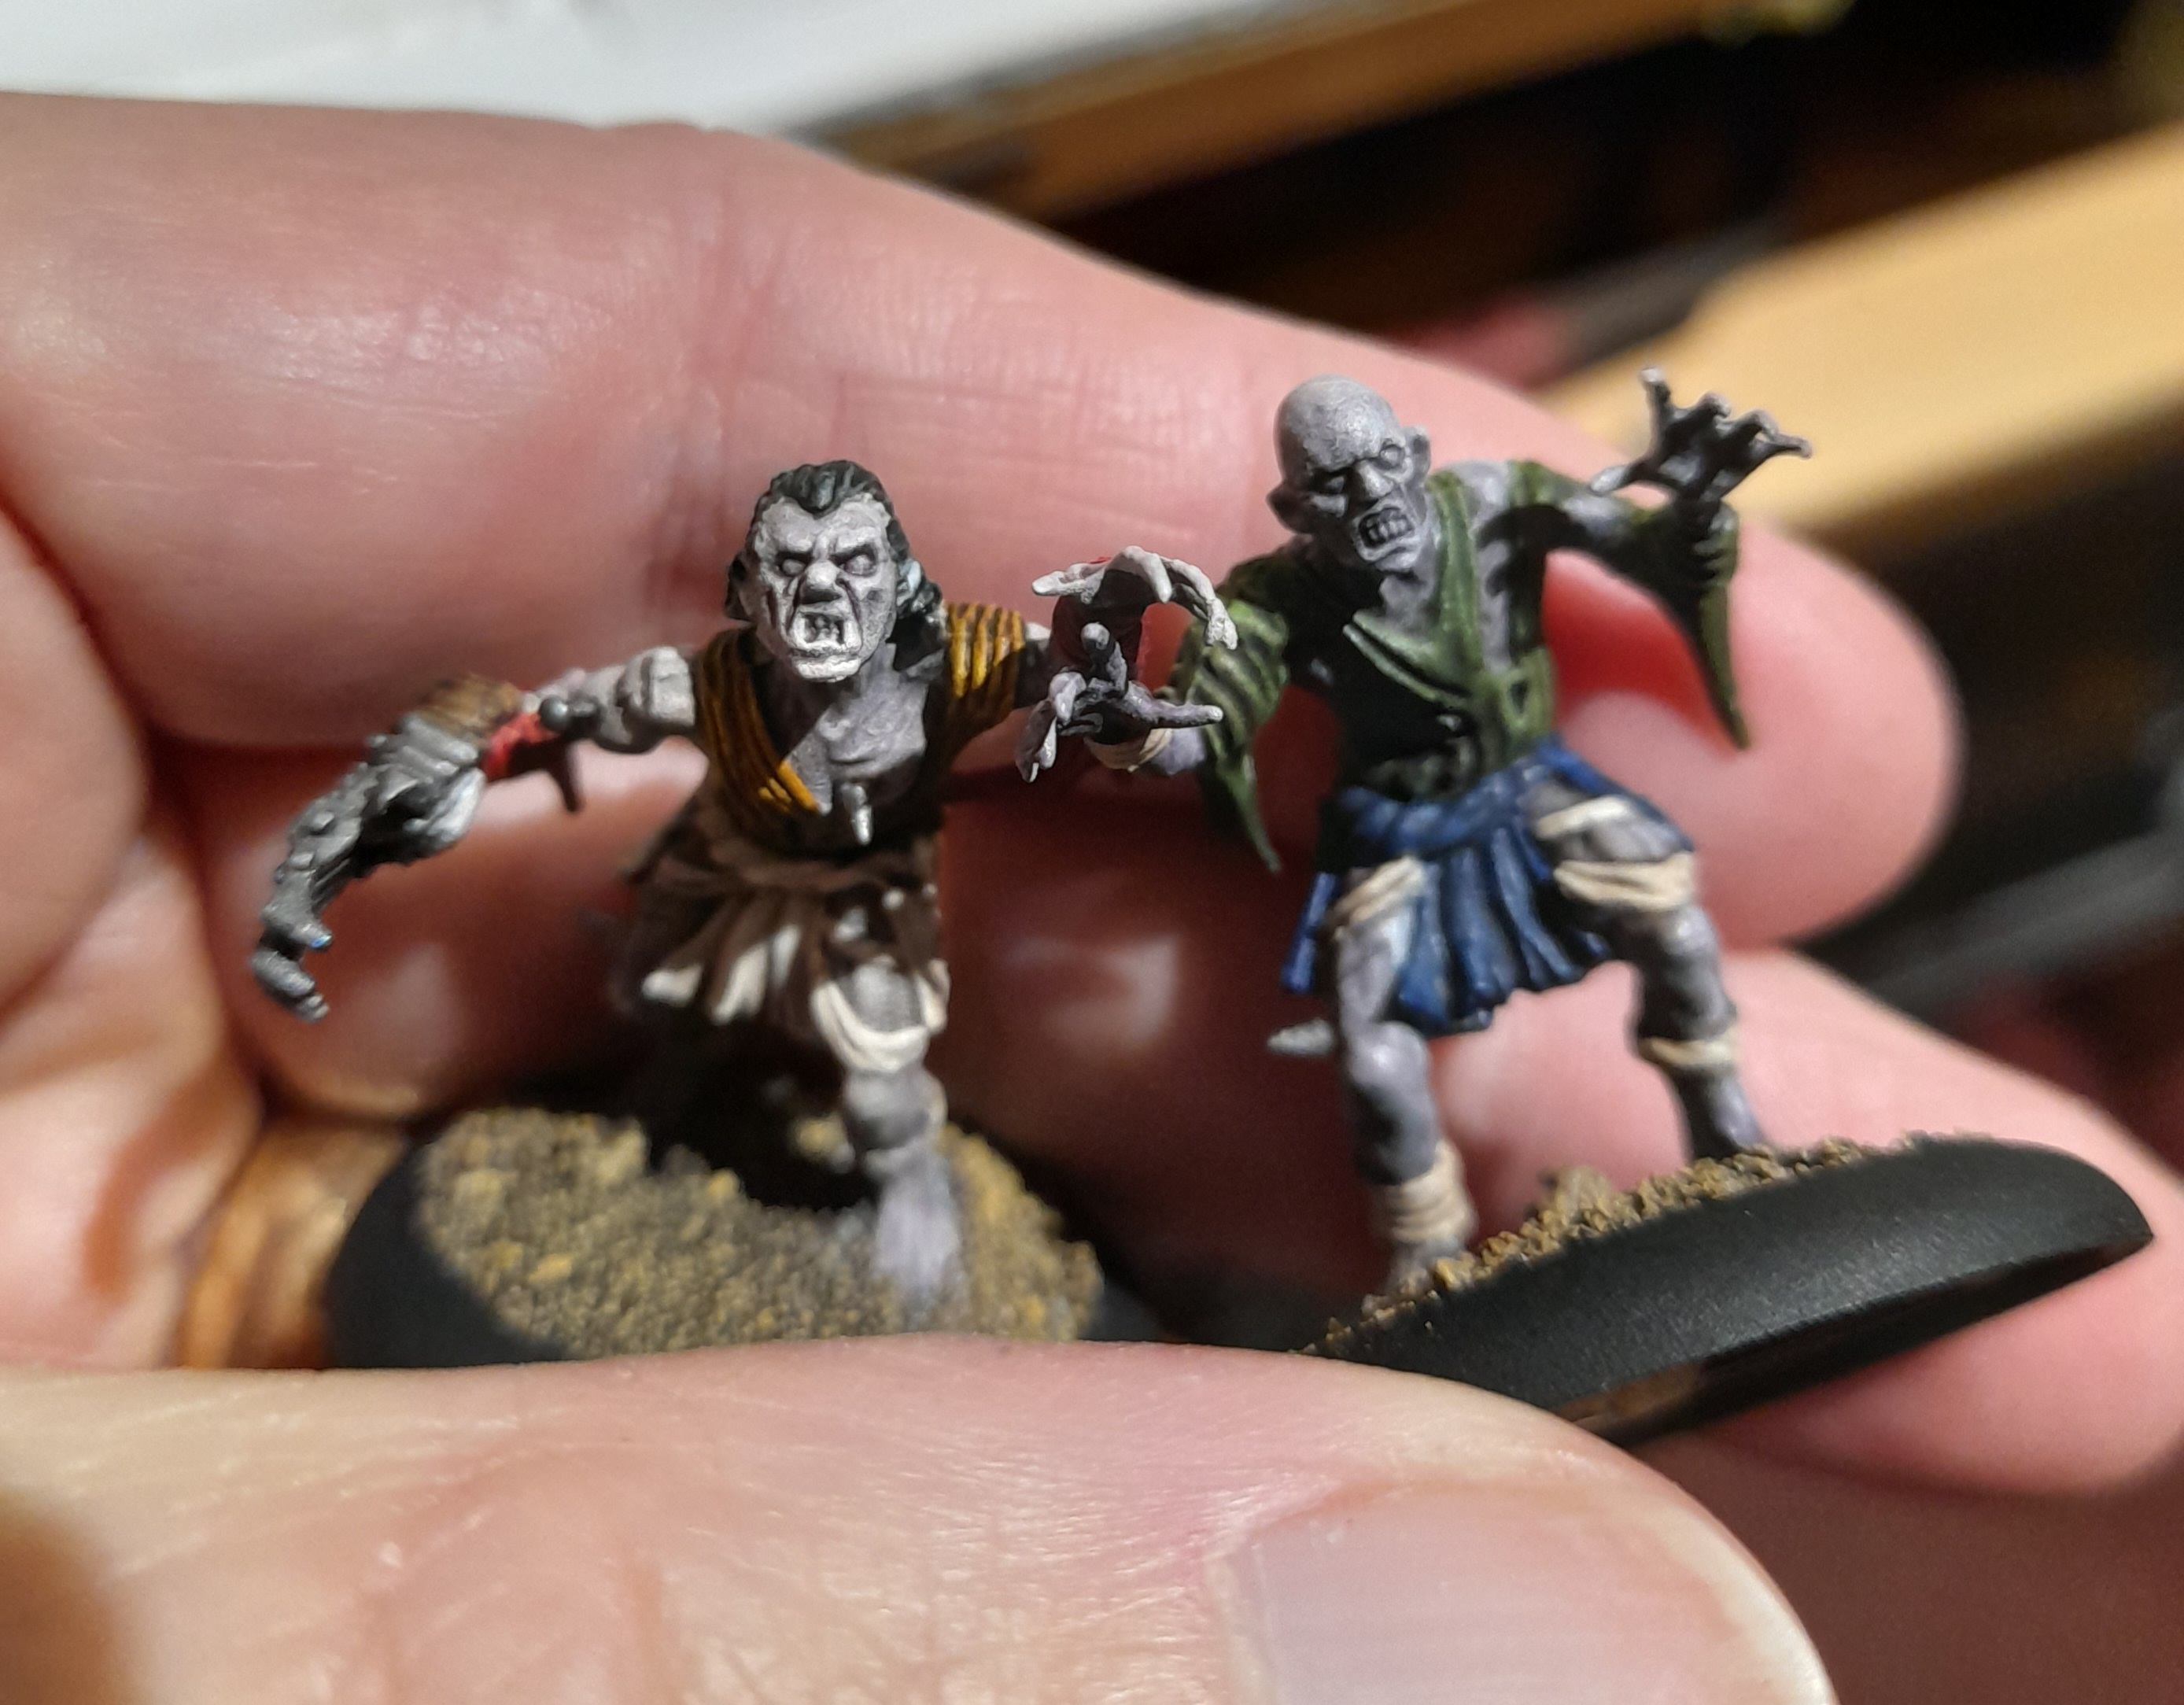
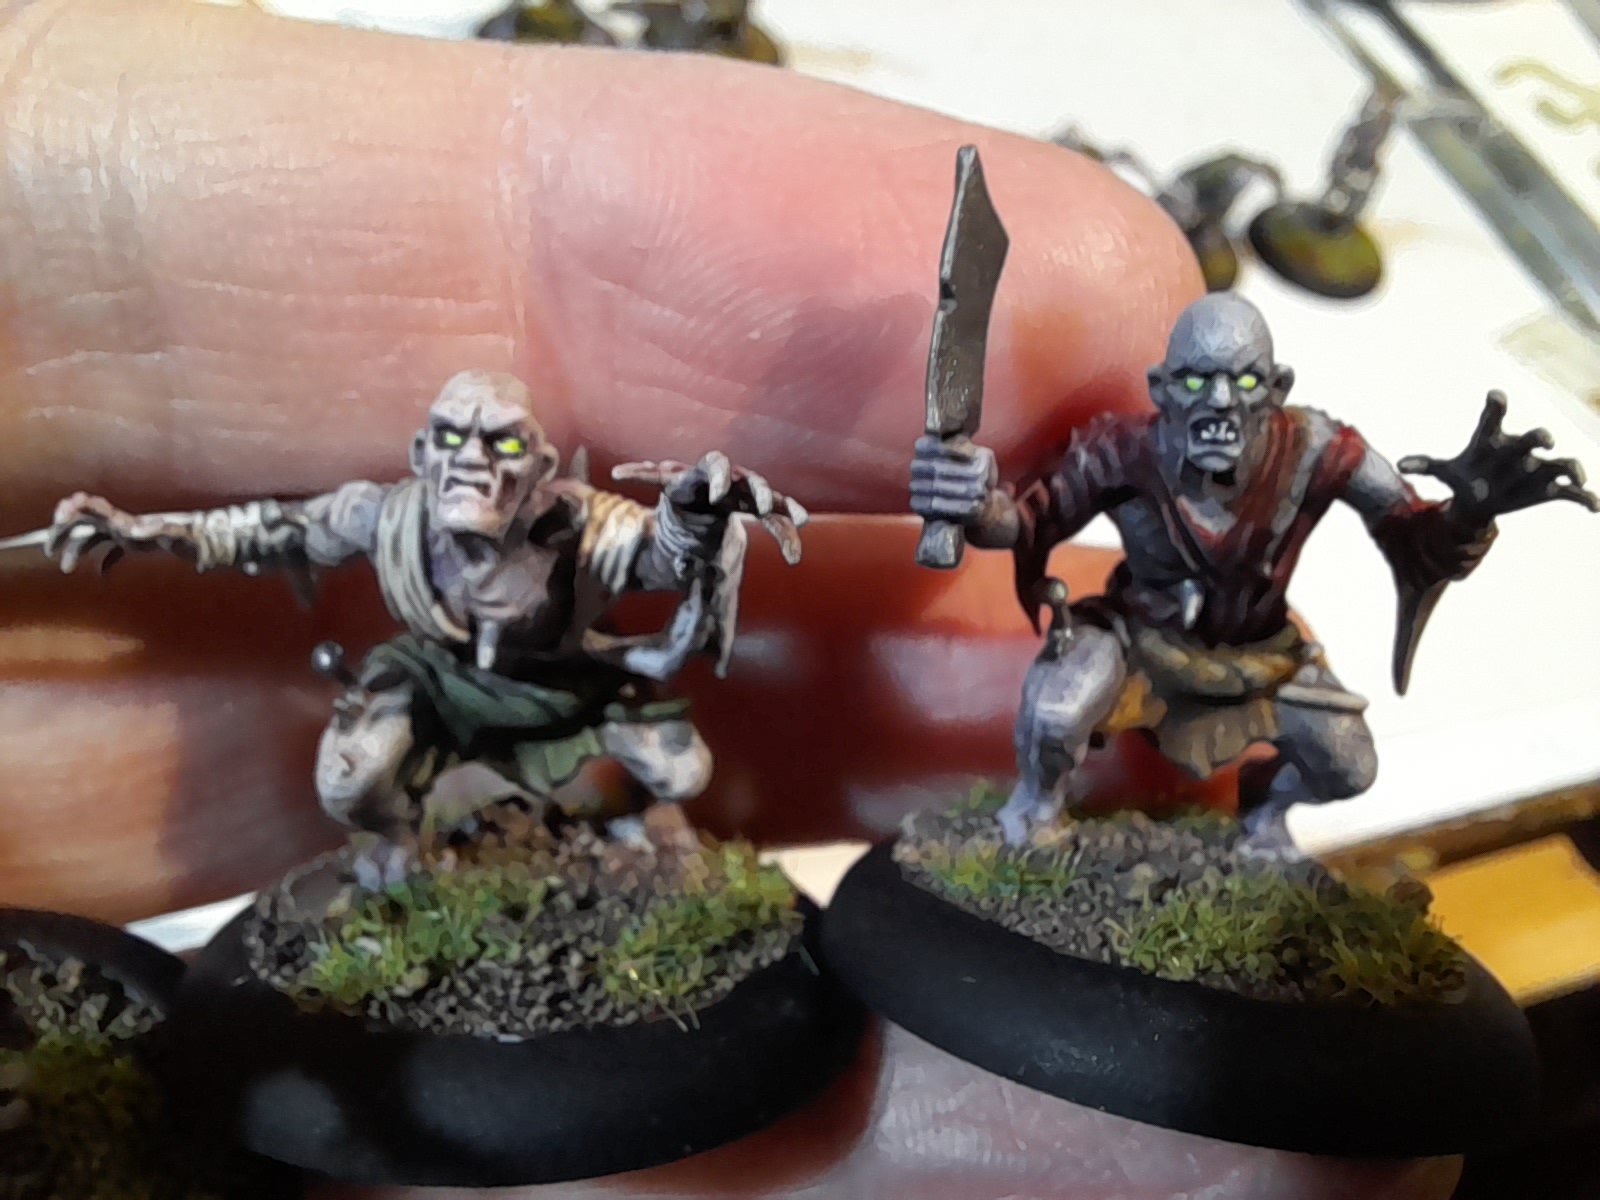
Picked out weapons and suchlike, darkened around the eyes, and then used a fluo yellow for the eyes themselves. A few finishing touches, basing and they were done.
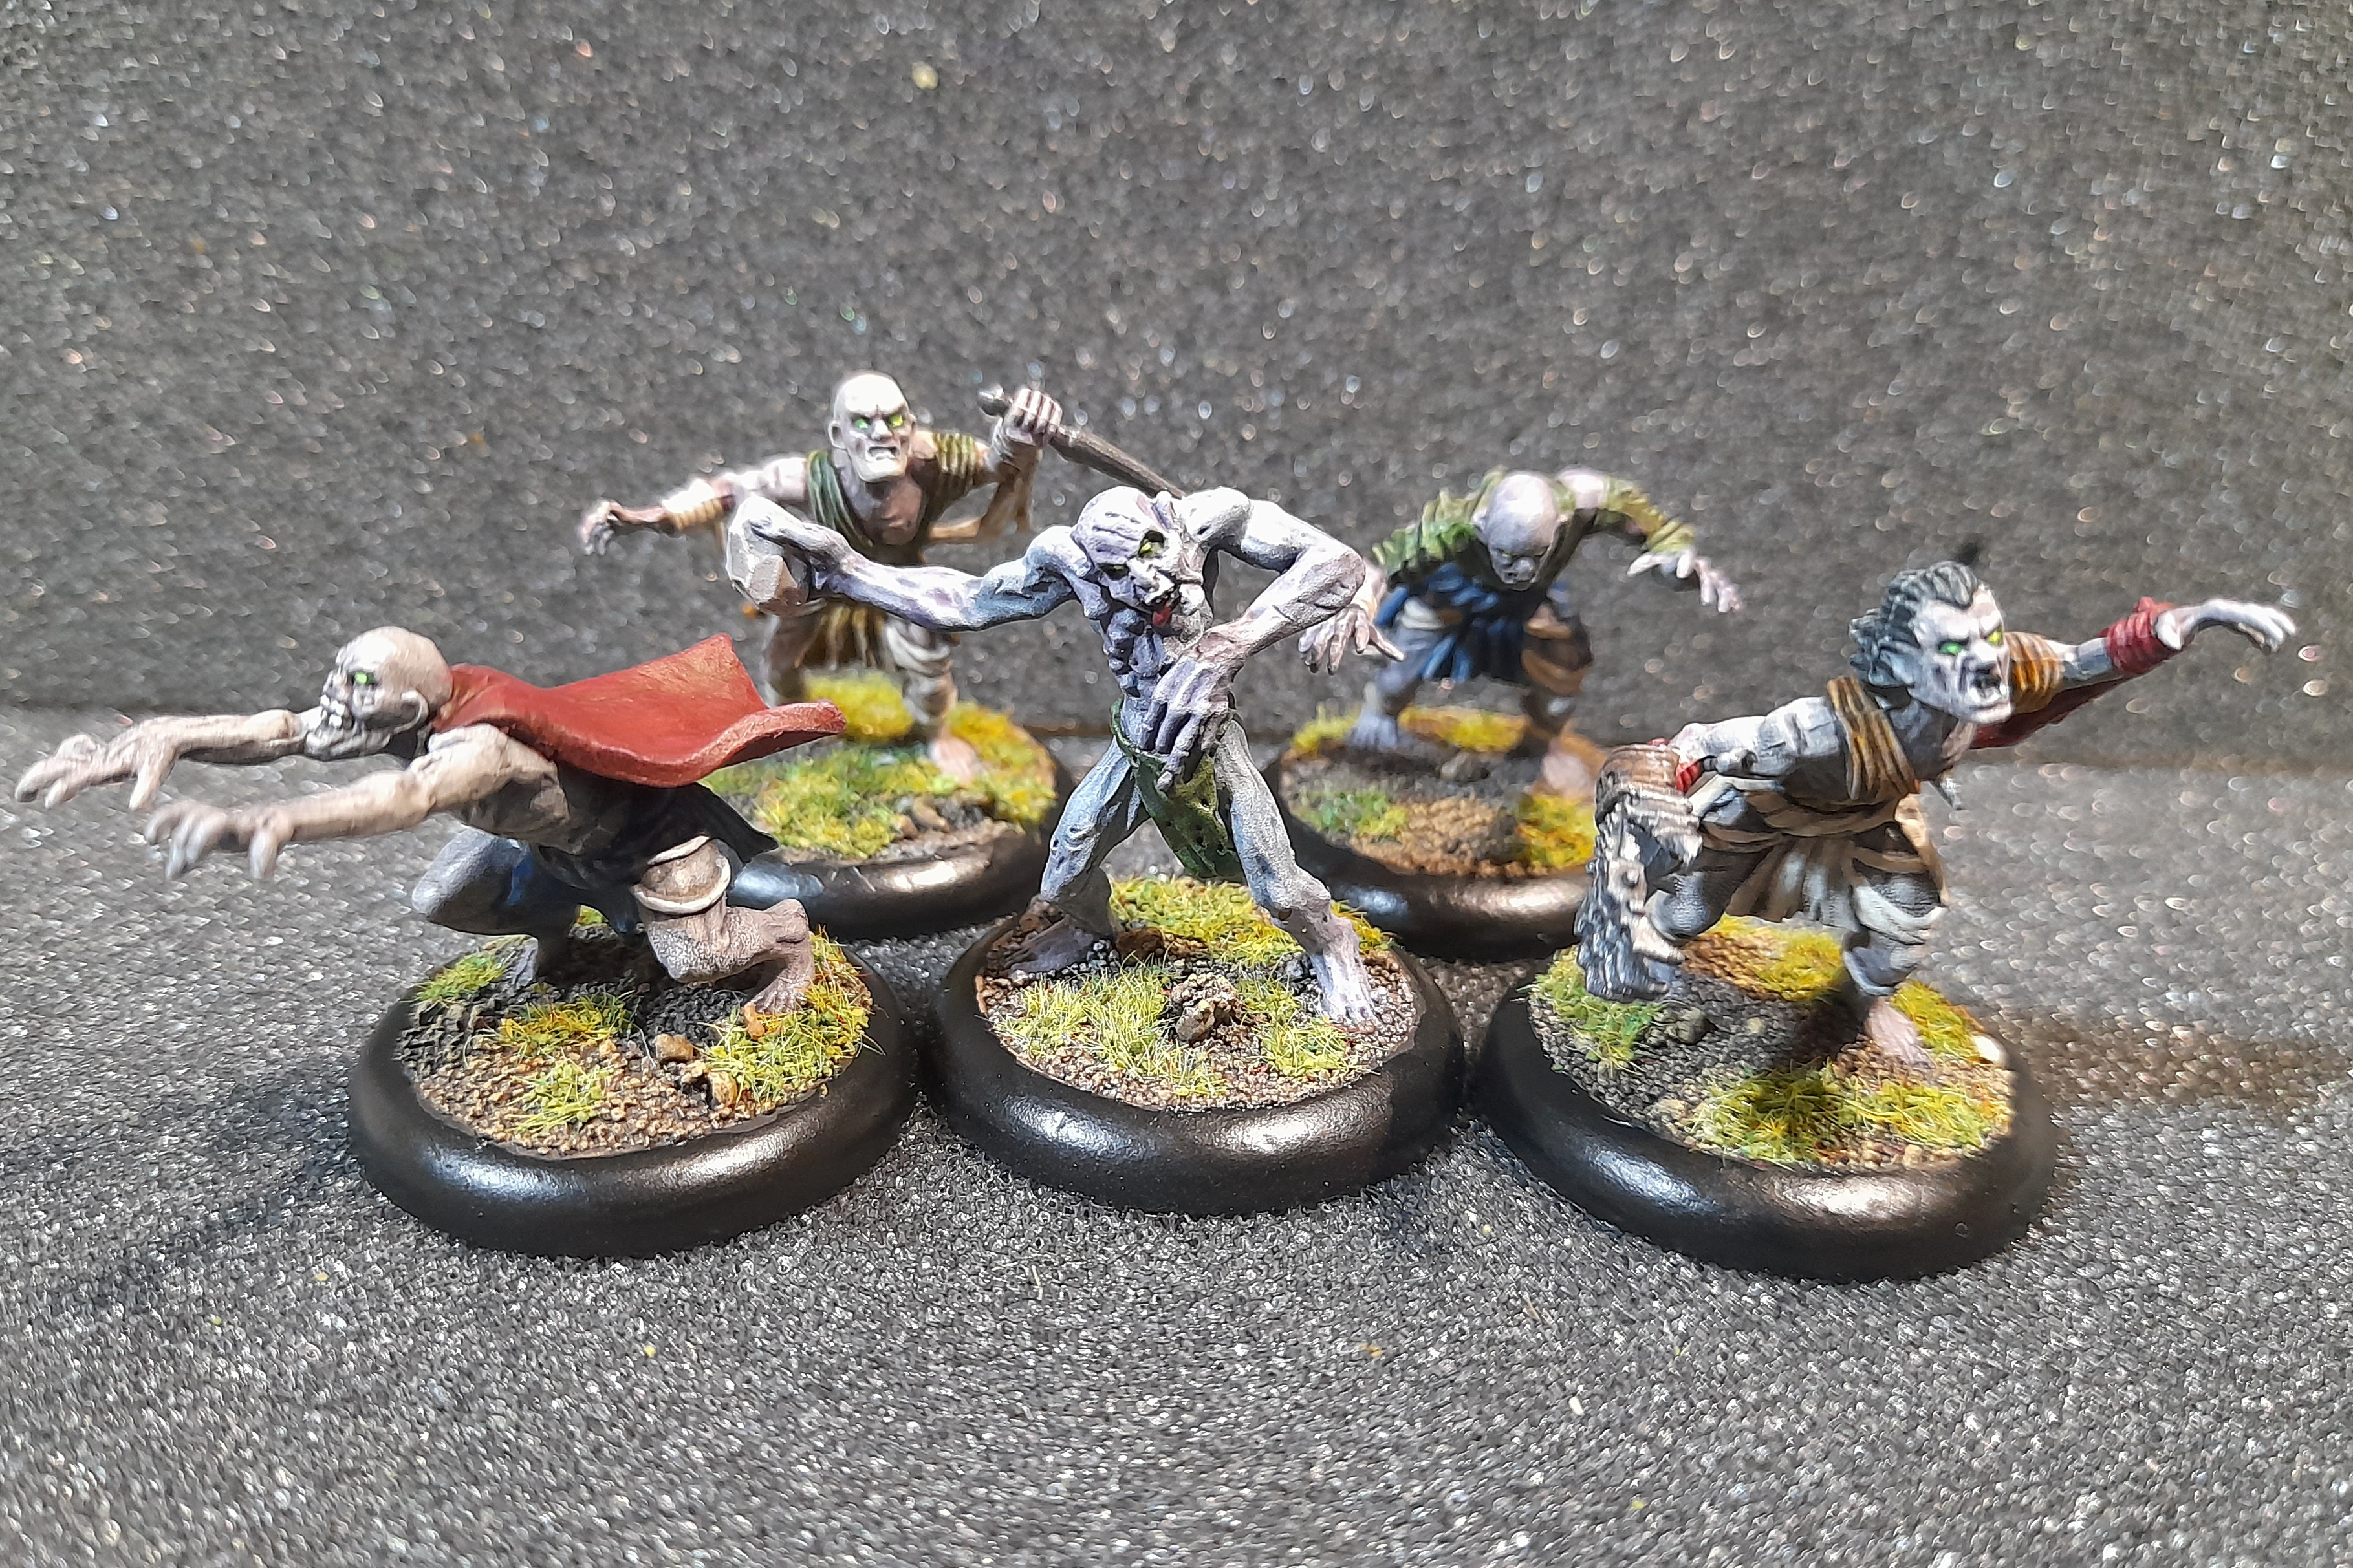
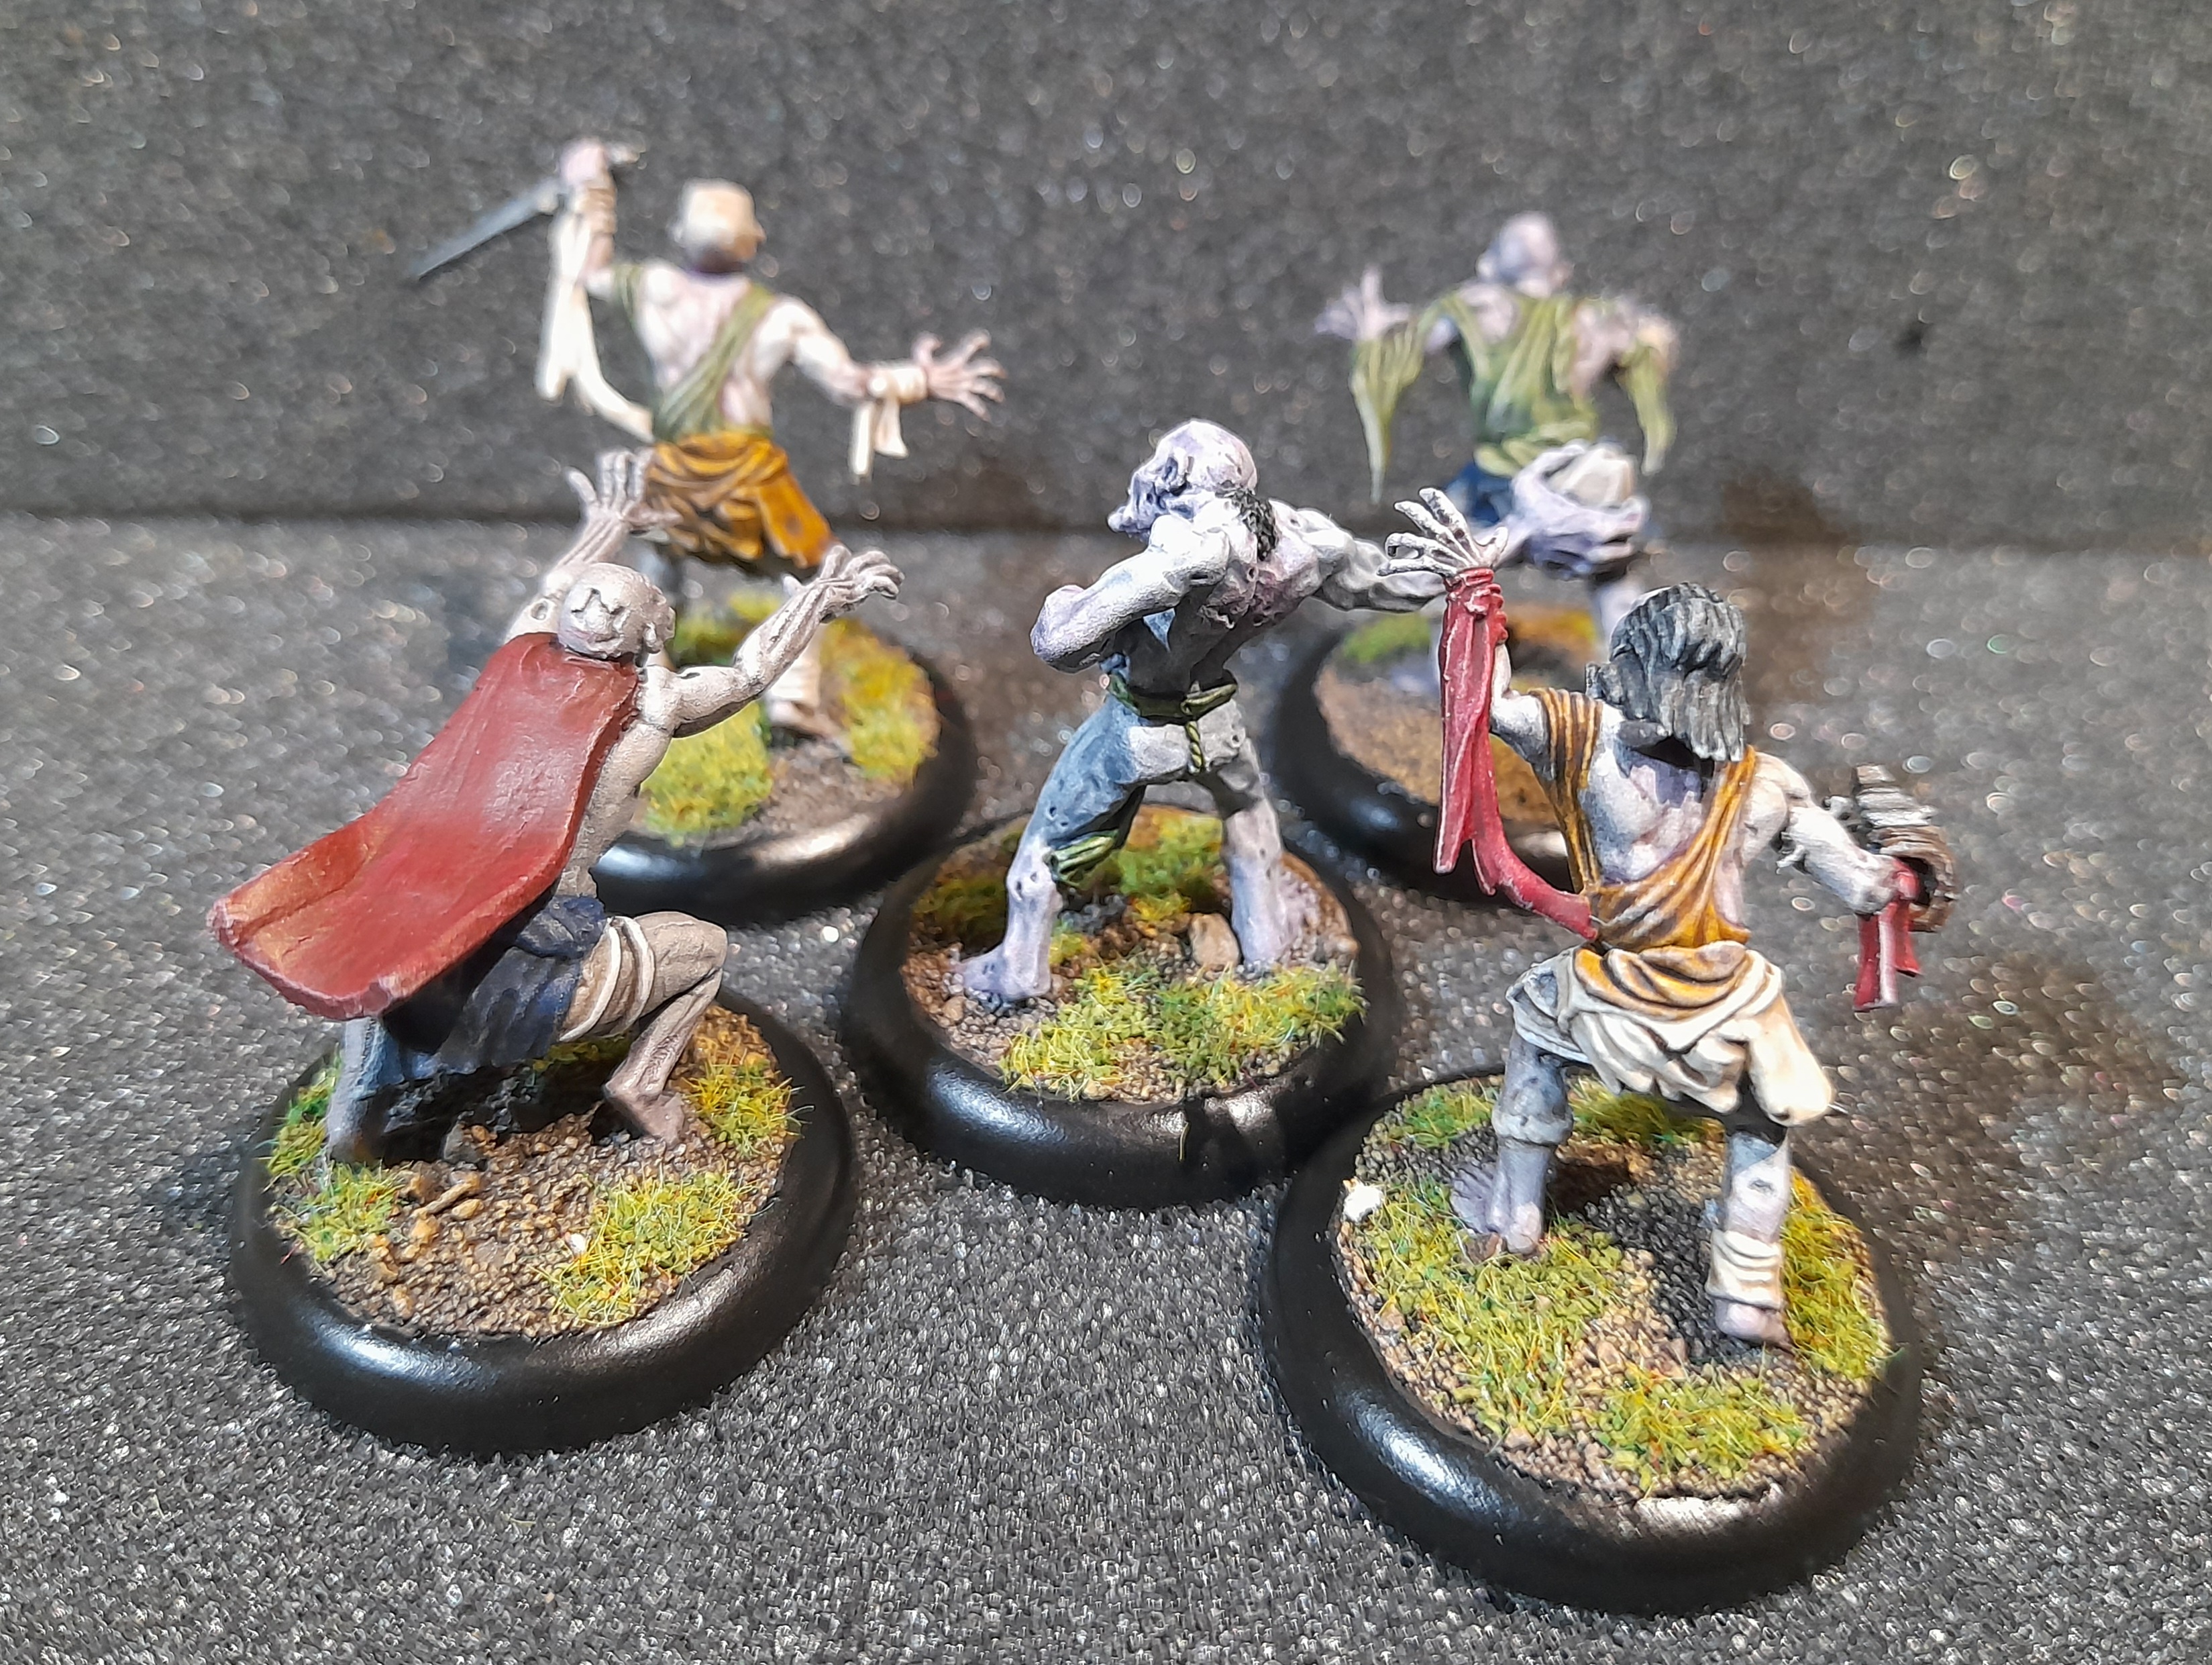
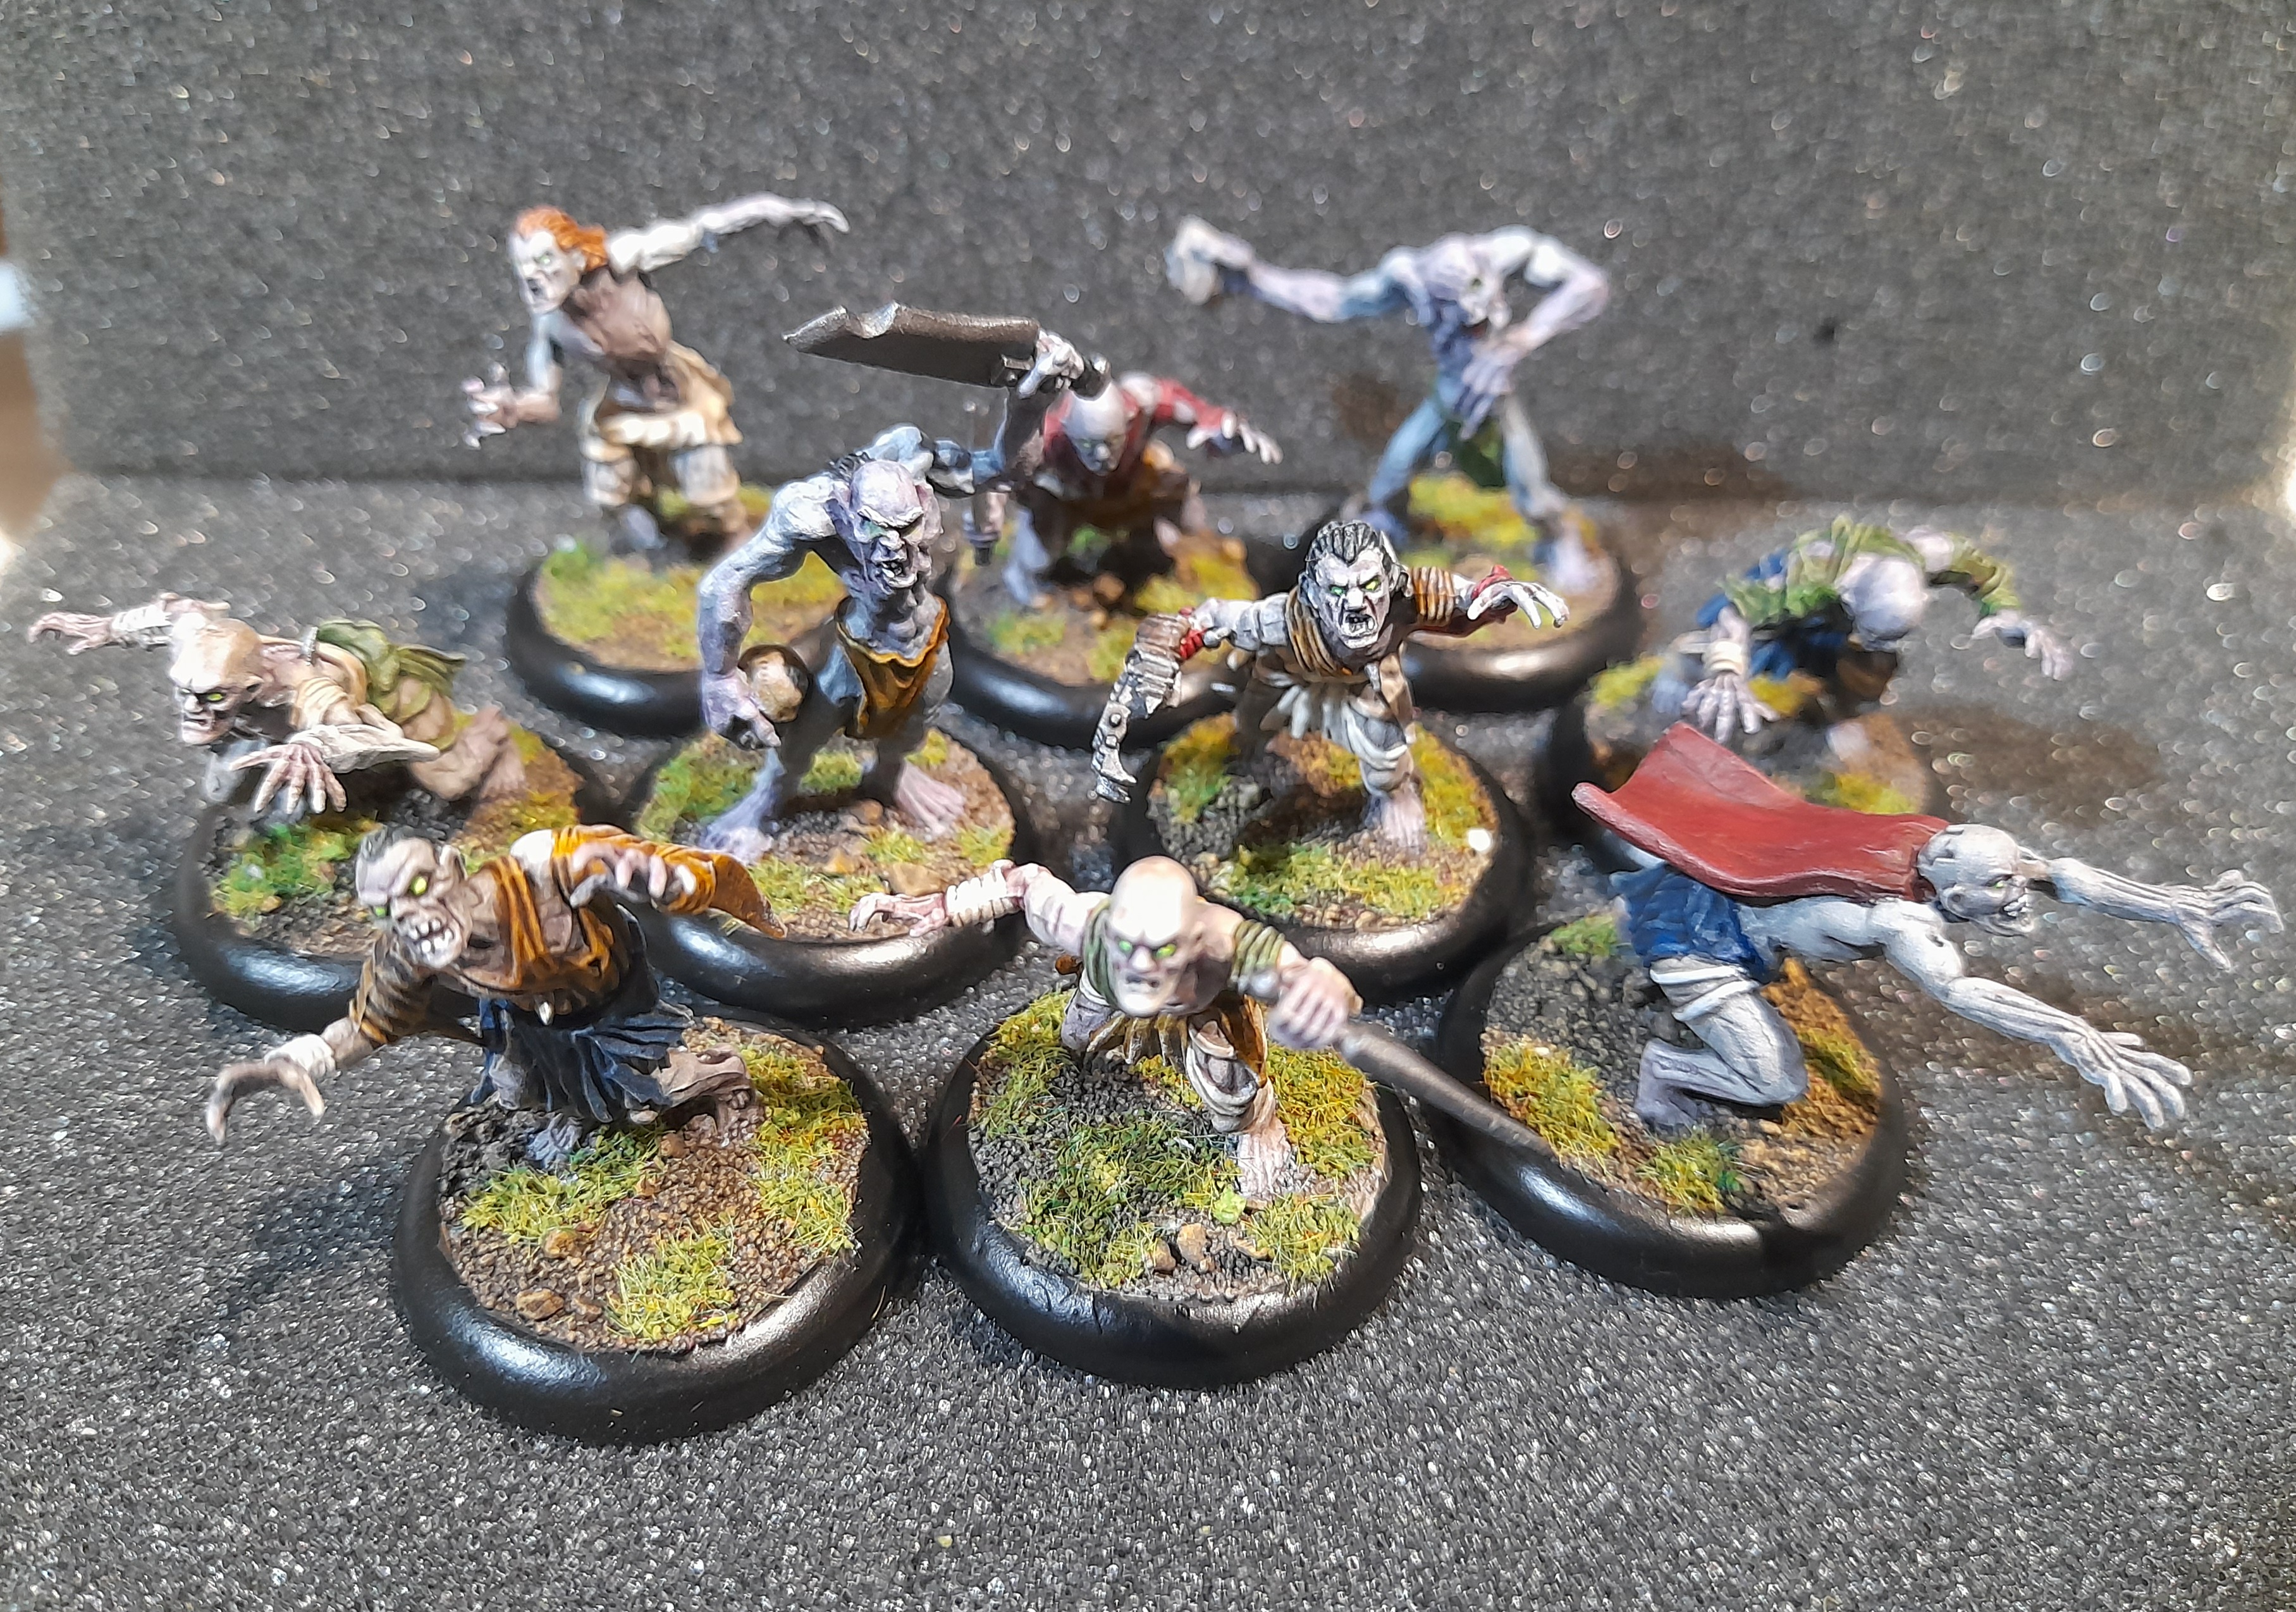 Ghoul gang.... assemble!
Back to it......
16/1/25
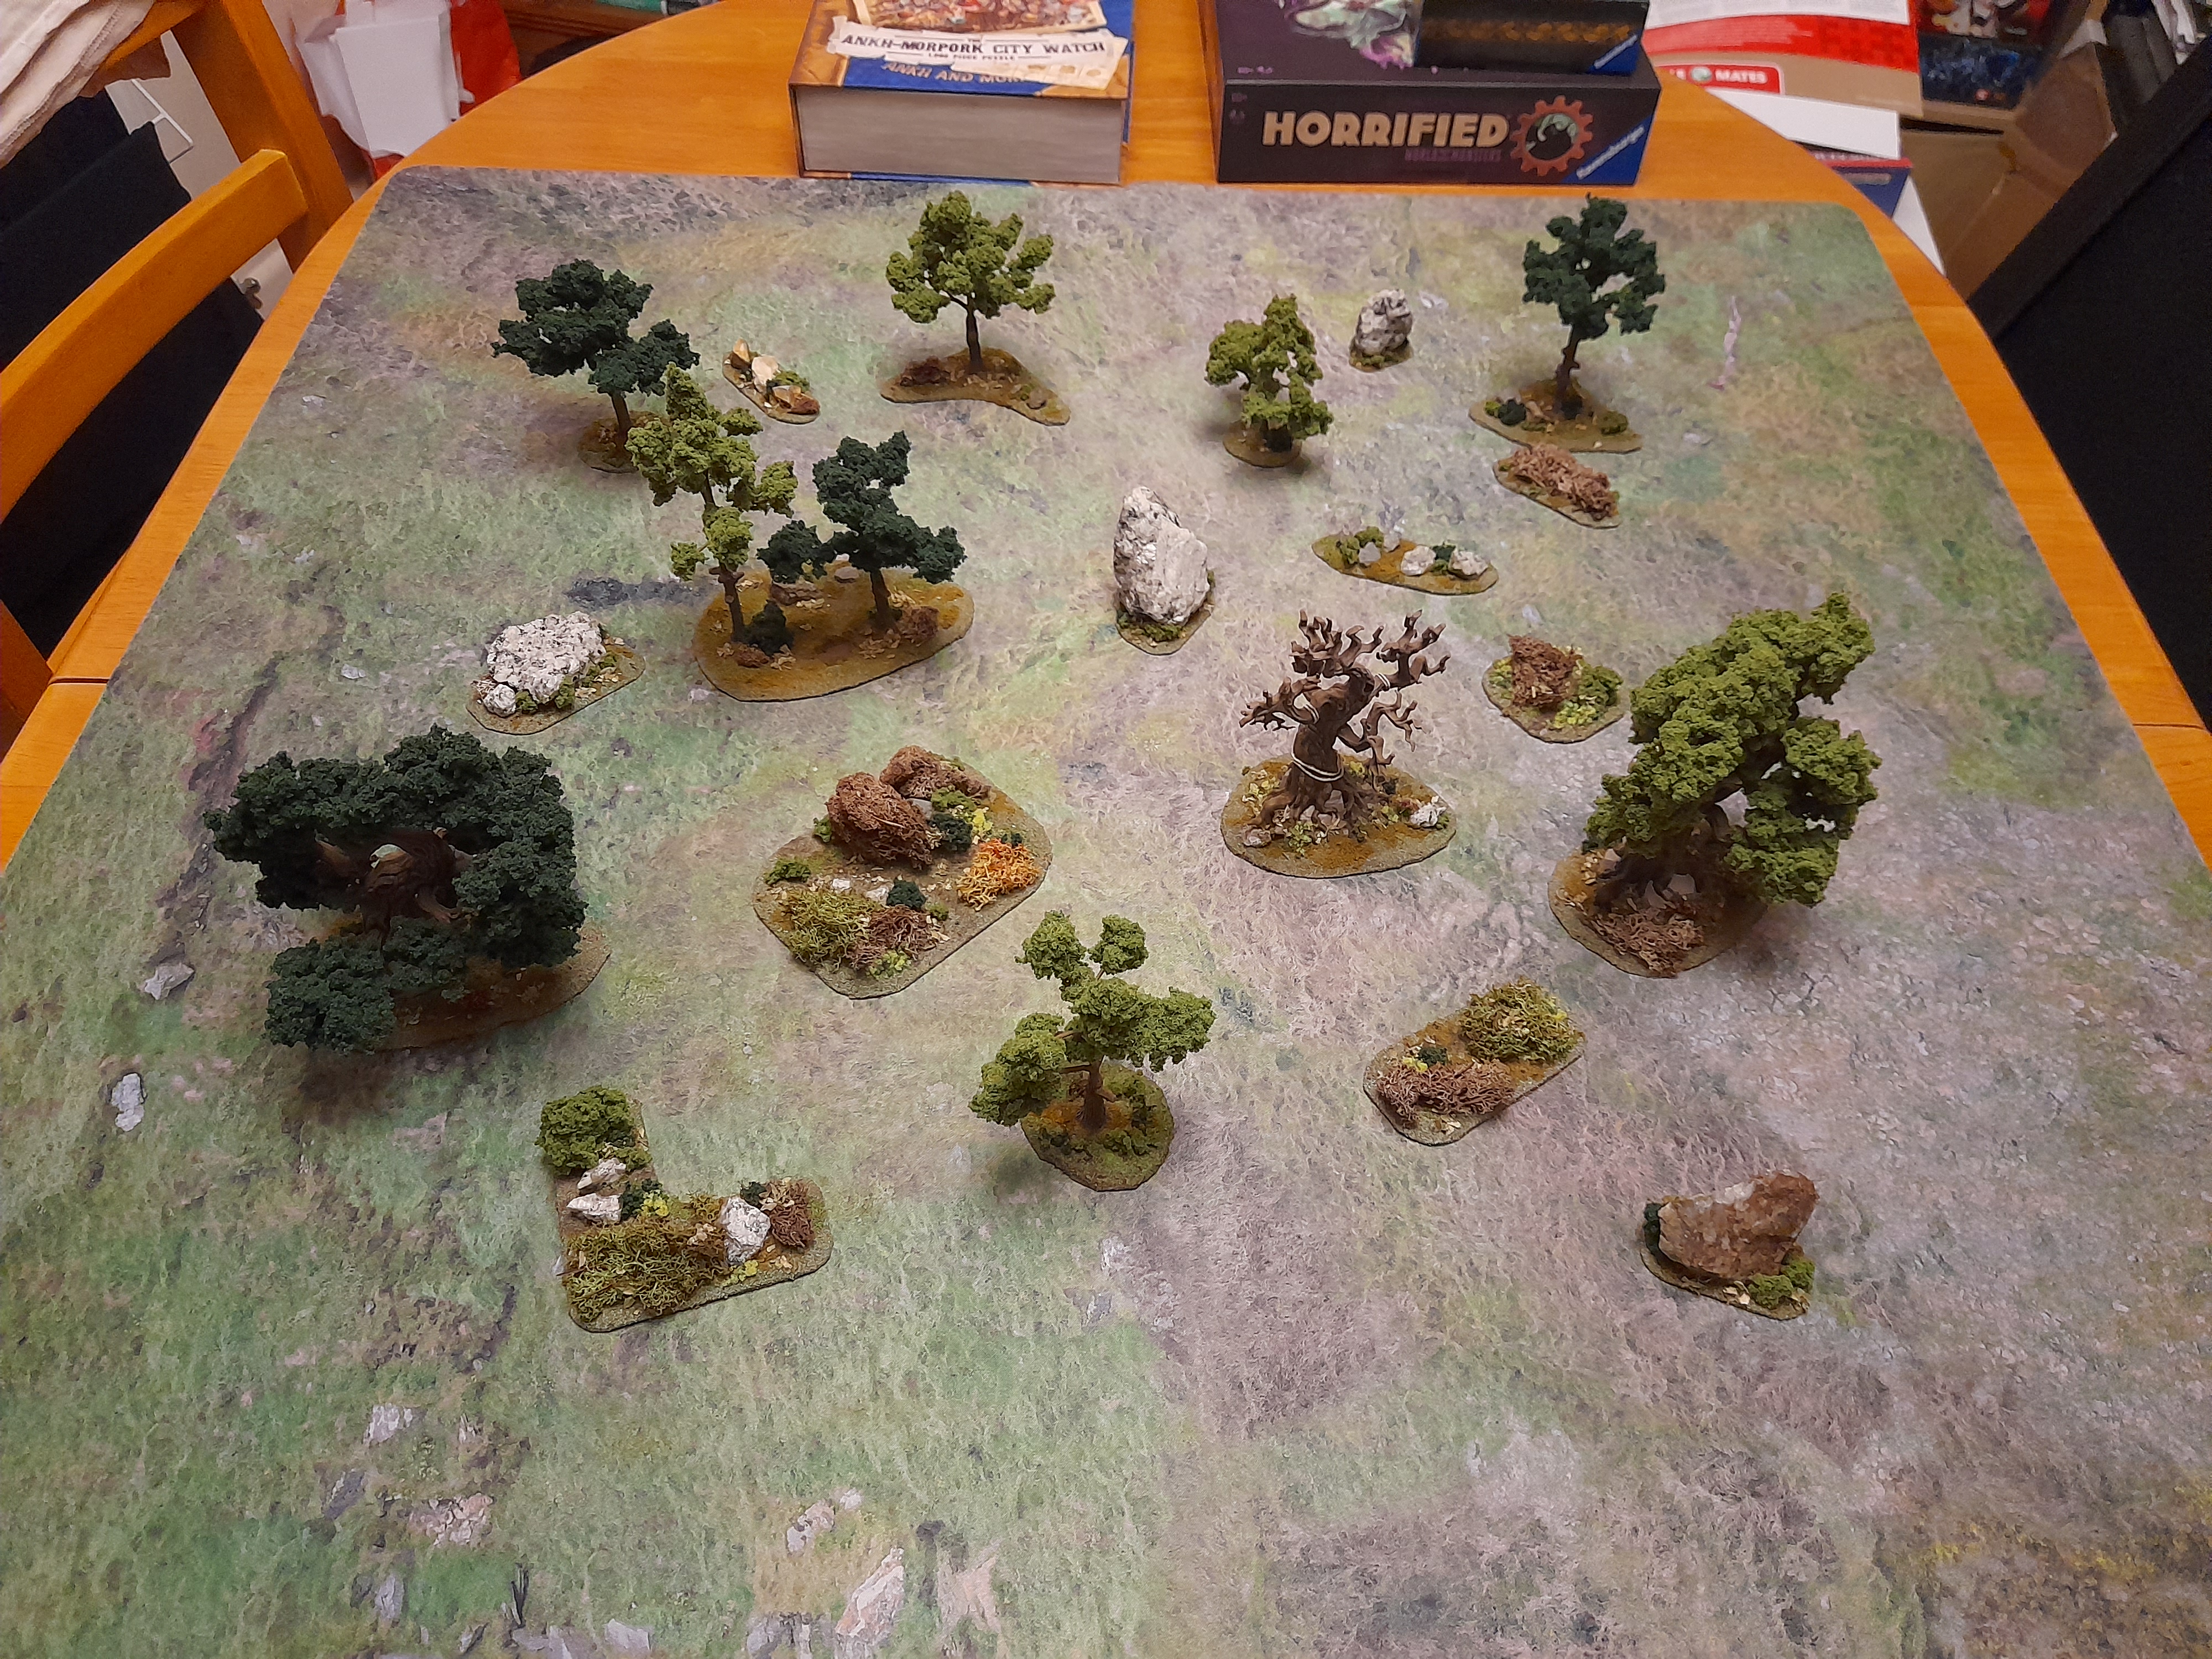
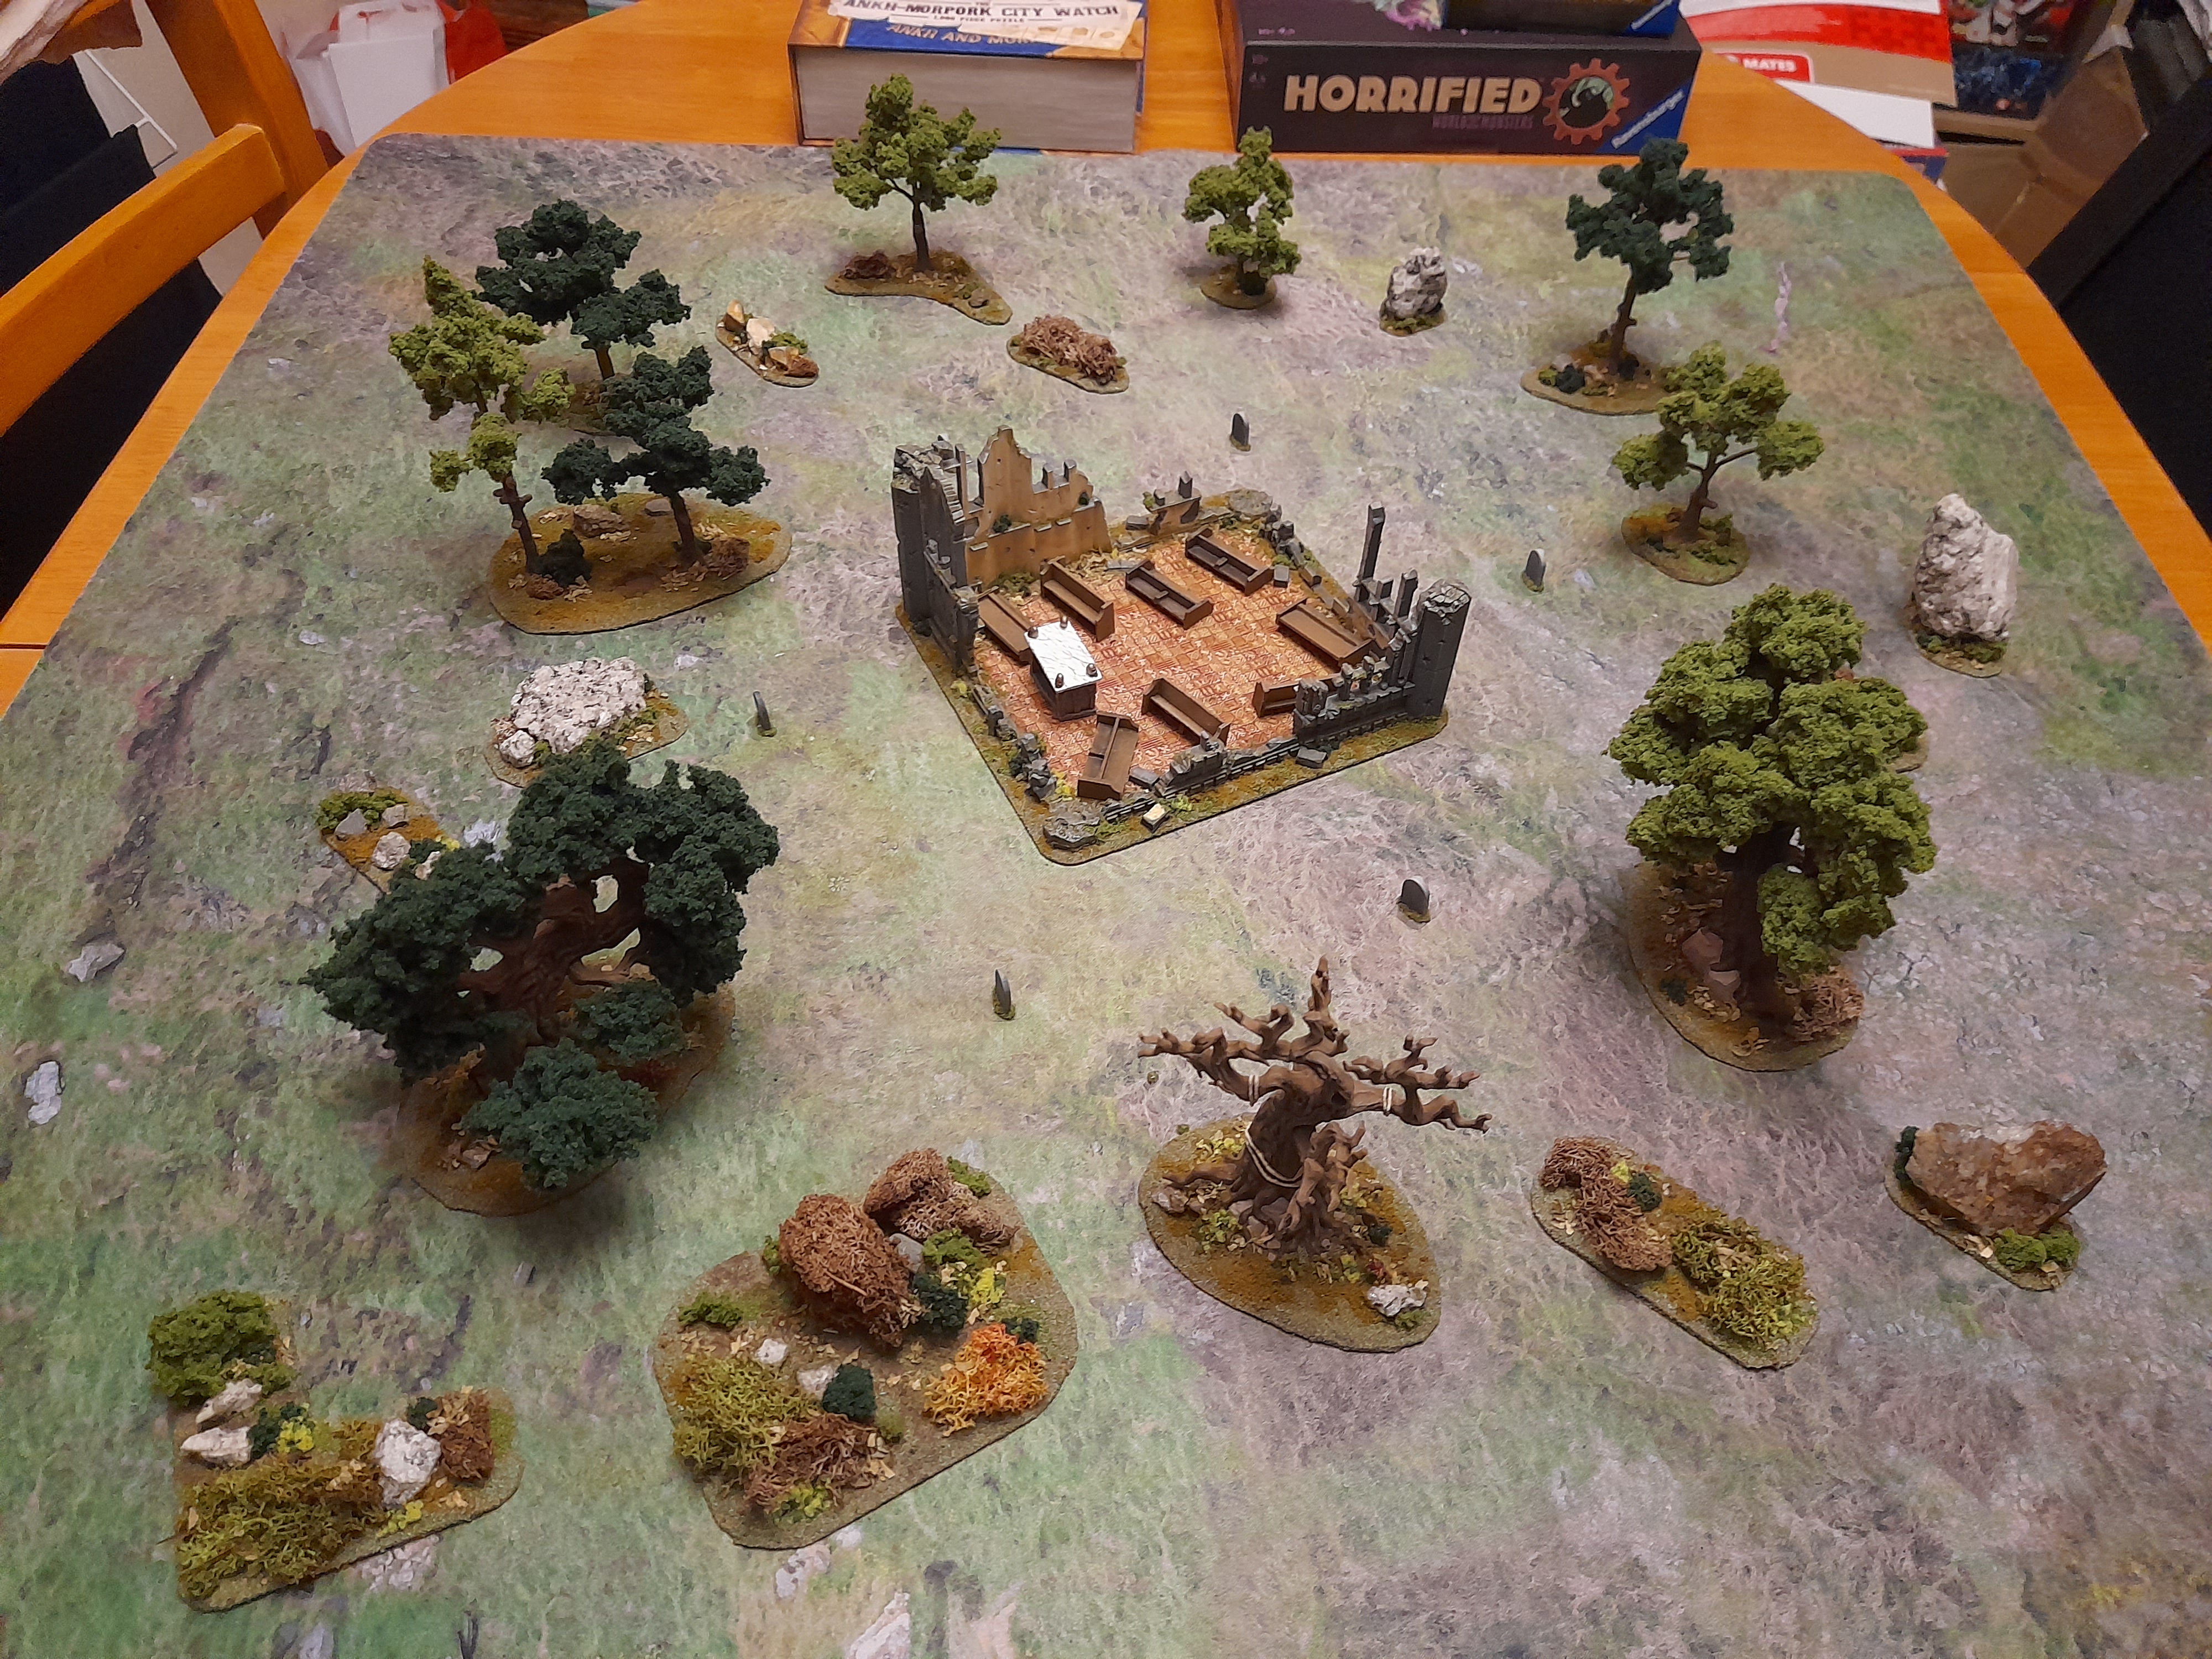
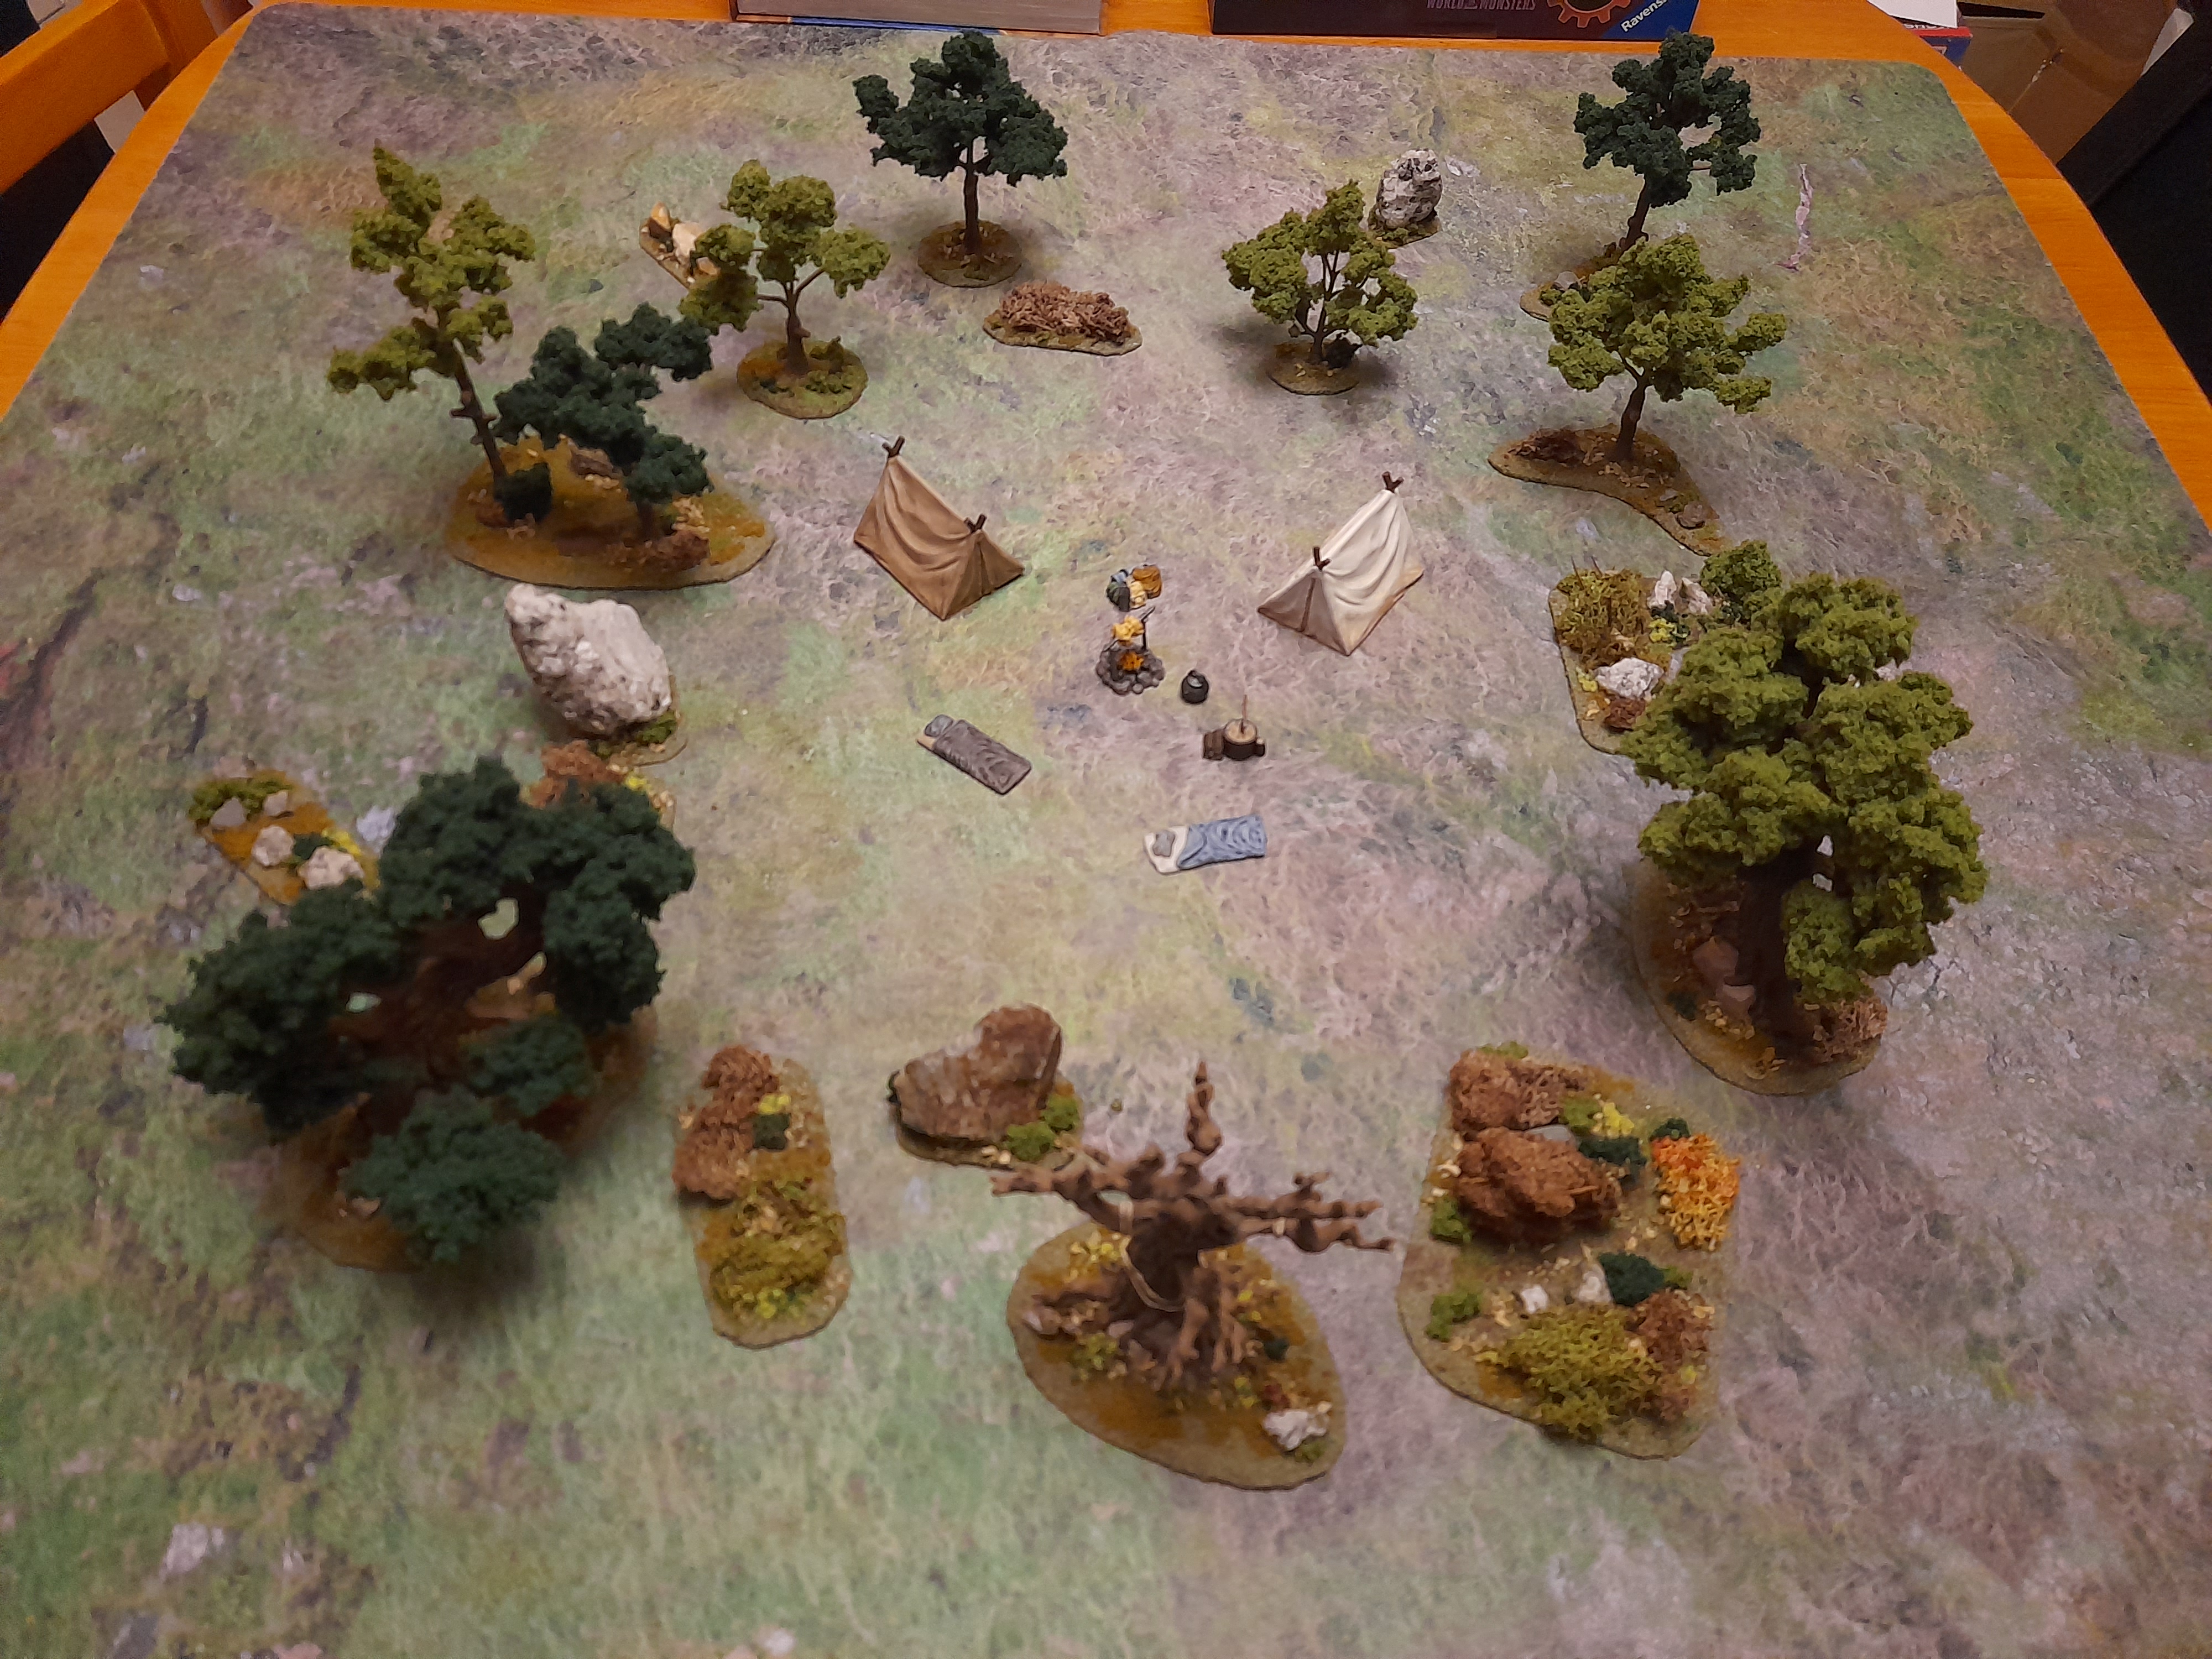
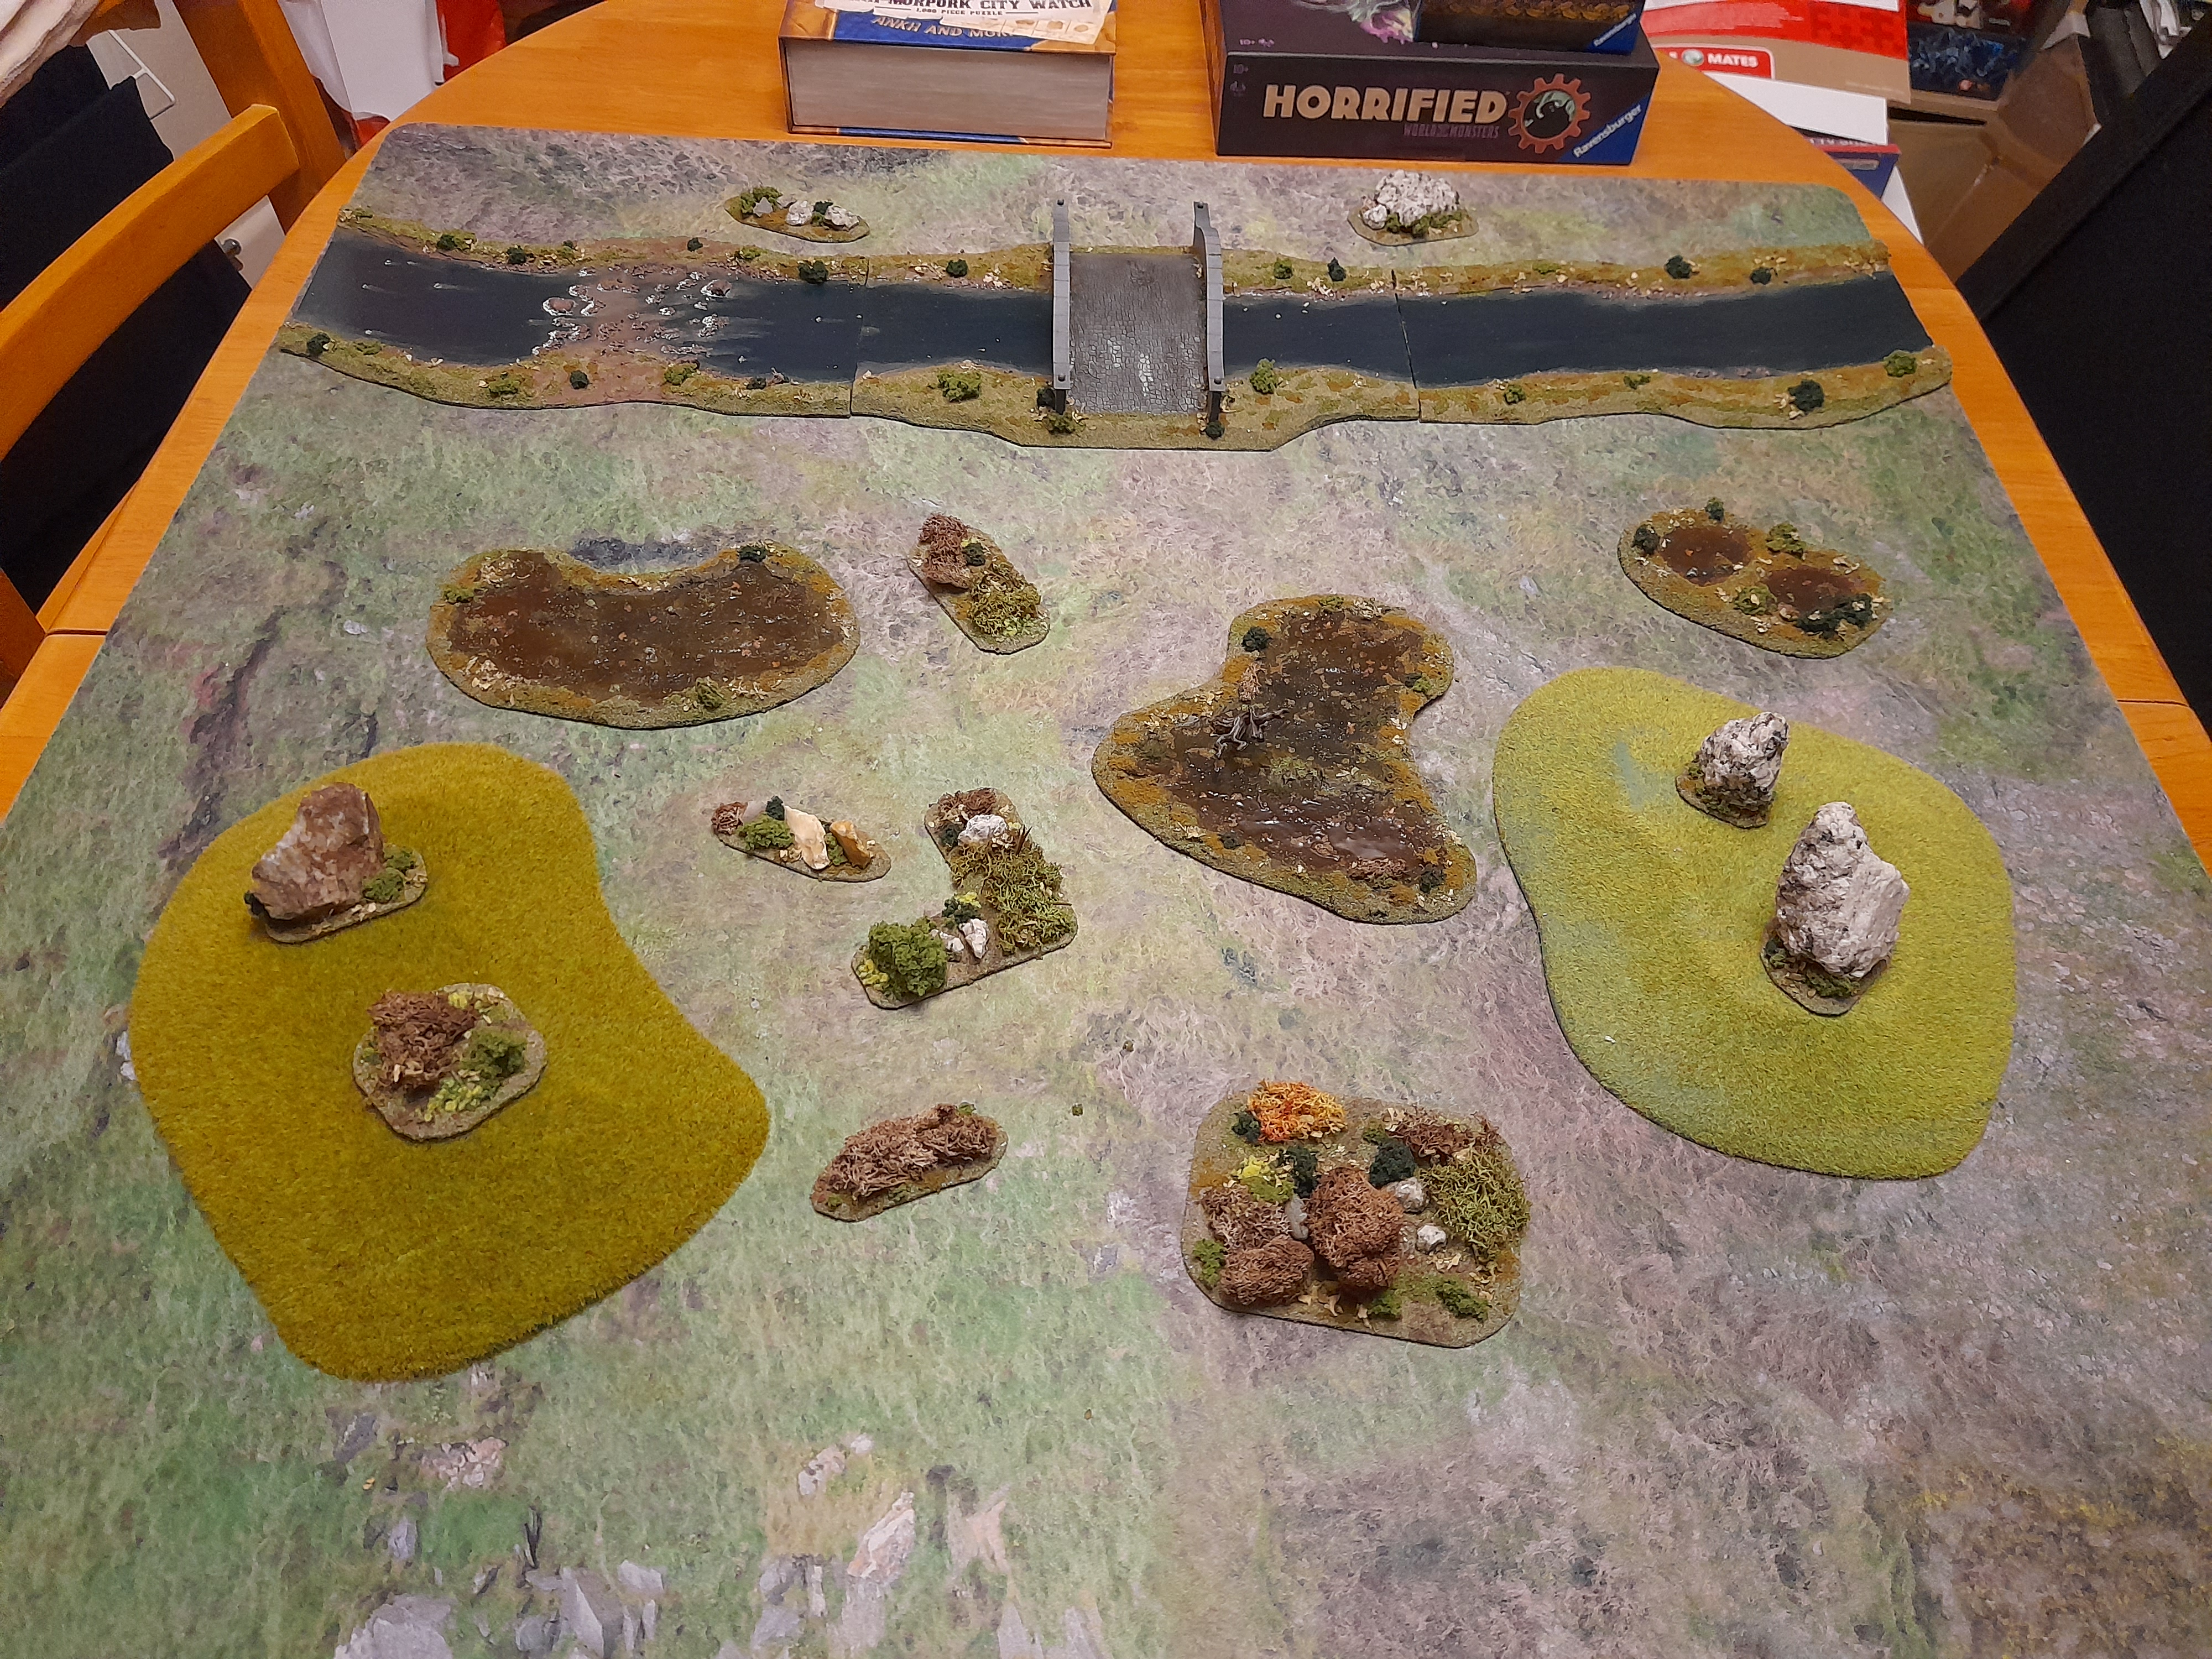
I haven’t really been away I suppose, since I was working on terrain for The Silver Bayonet, but that was in a separate project for Terrainfest 2024.
After New Year’s had passed I began work on some more enemies for my Silver Bayonet band.
These next minis in the queue were Giant Bats and Ghouls, which I will show in the next updates.