


In a Hole in the Ground there Lived a Hobbit…


Recommendations: 238
About the Project
With Scouring of the Shire for LOTR SBG on the Horizon I decided it was time to start making some Hobbit Holes and Painting some Hobbits.
Related Game: The Lord of the Rings Strategy Battle Game
Related Company: Games Workshop
Related Genre: Fantasy
This Project is Completed
Making Another Hobbit Hole
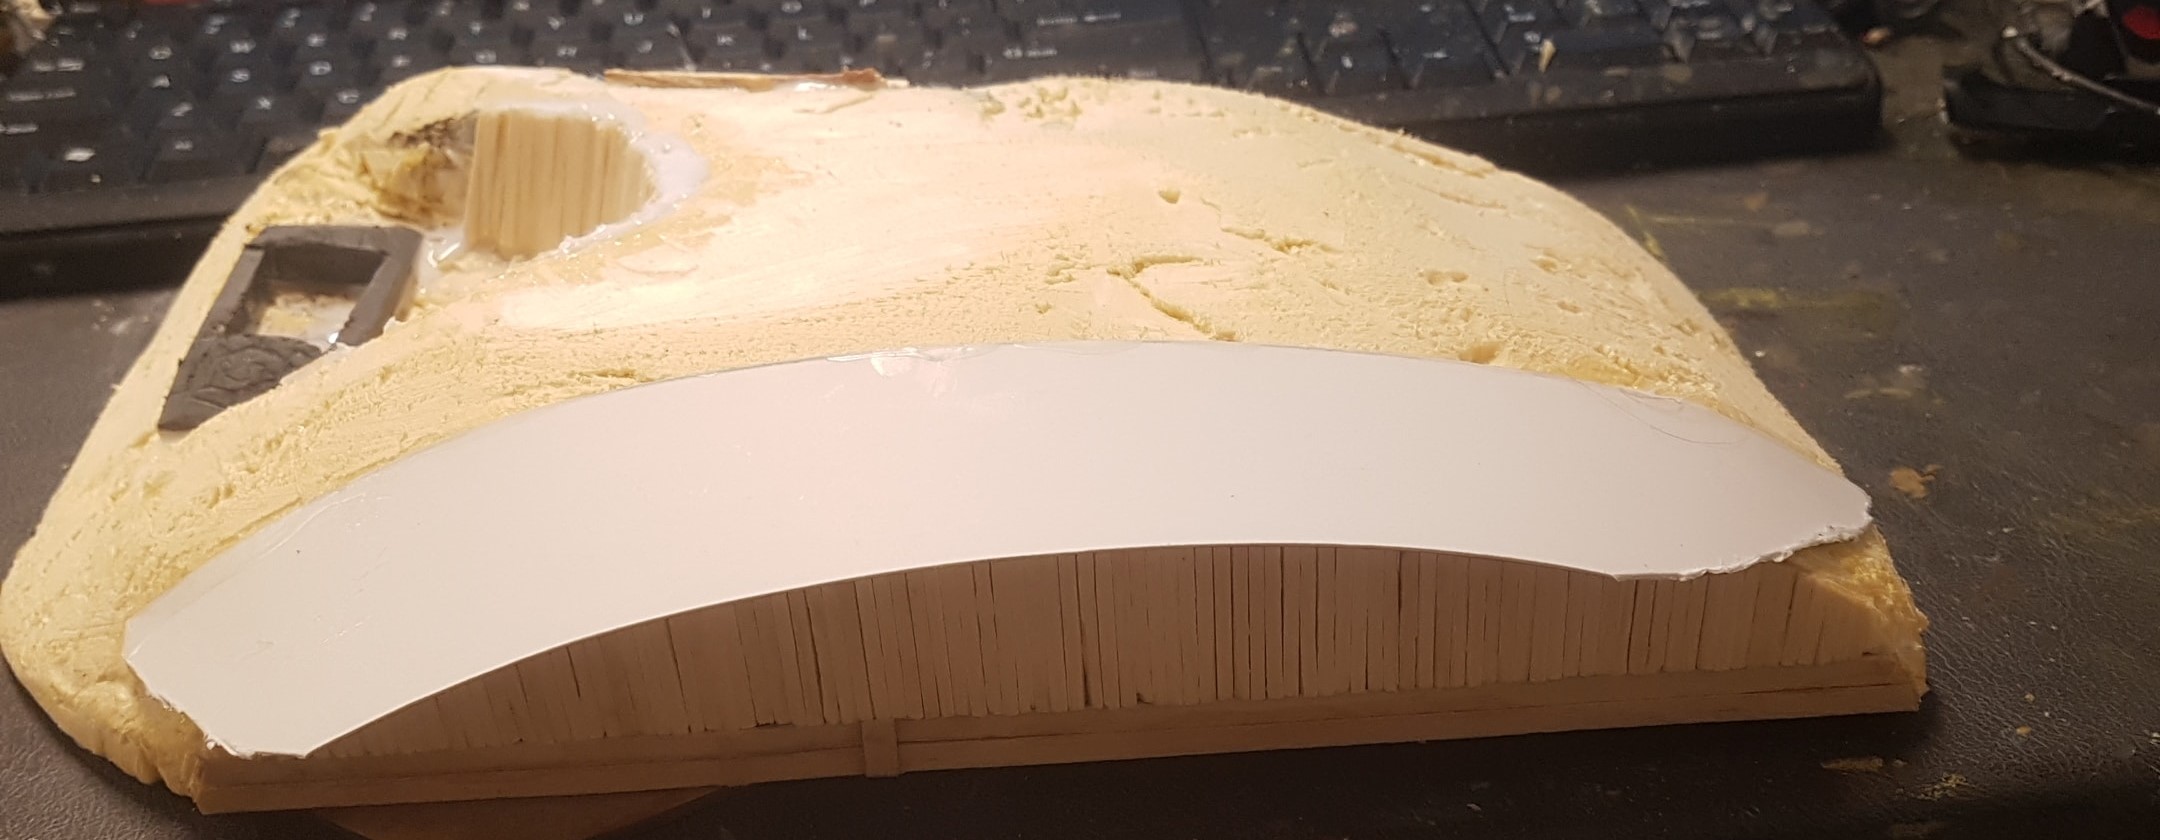 Before I Start the New One I Cut the Awning of the Last One to Size
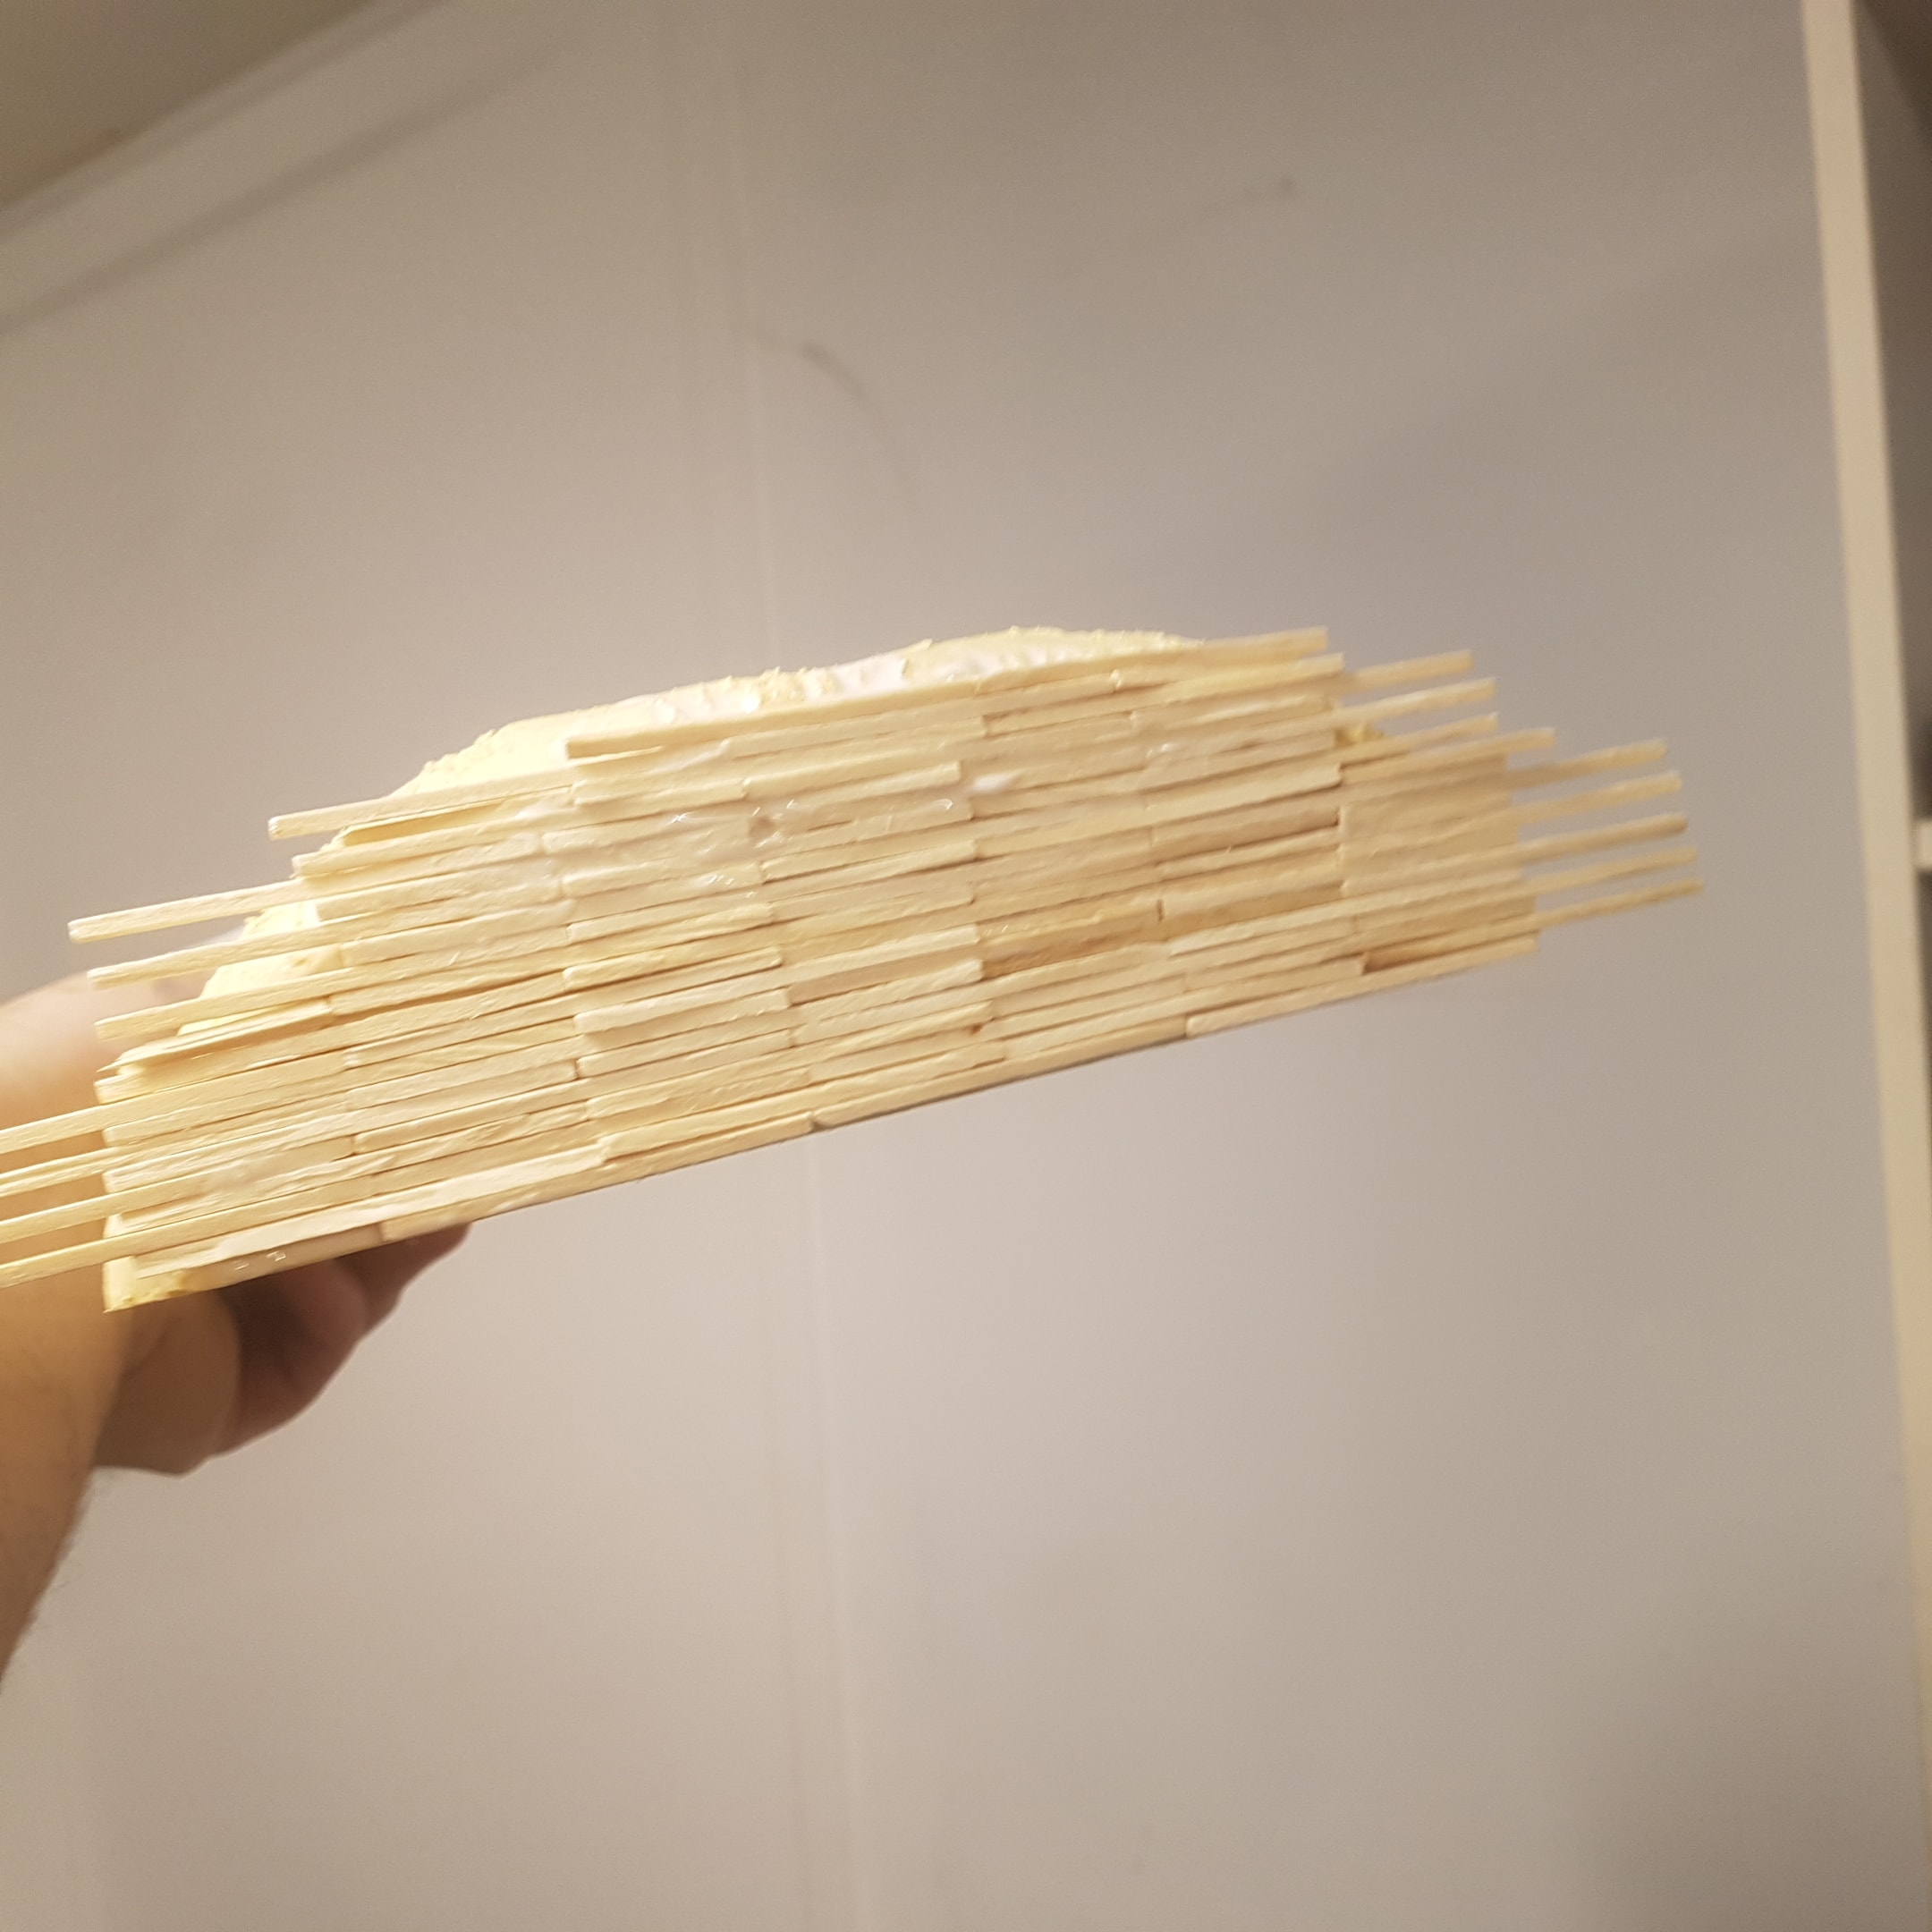 I;m Going for a More Panel These Here
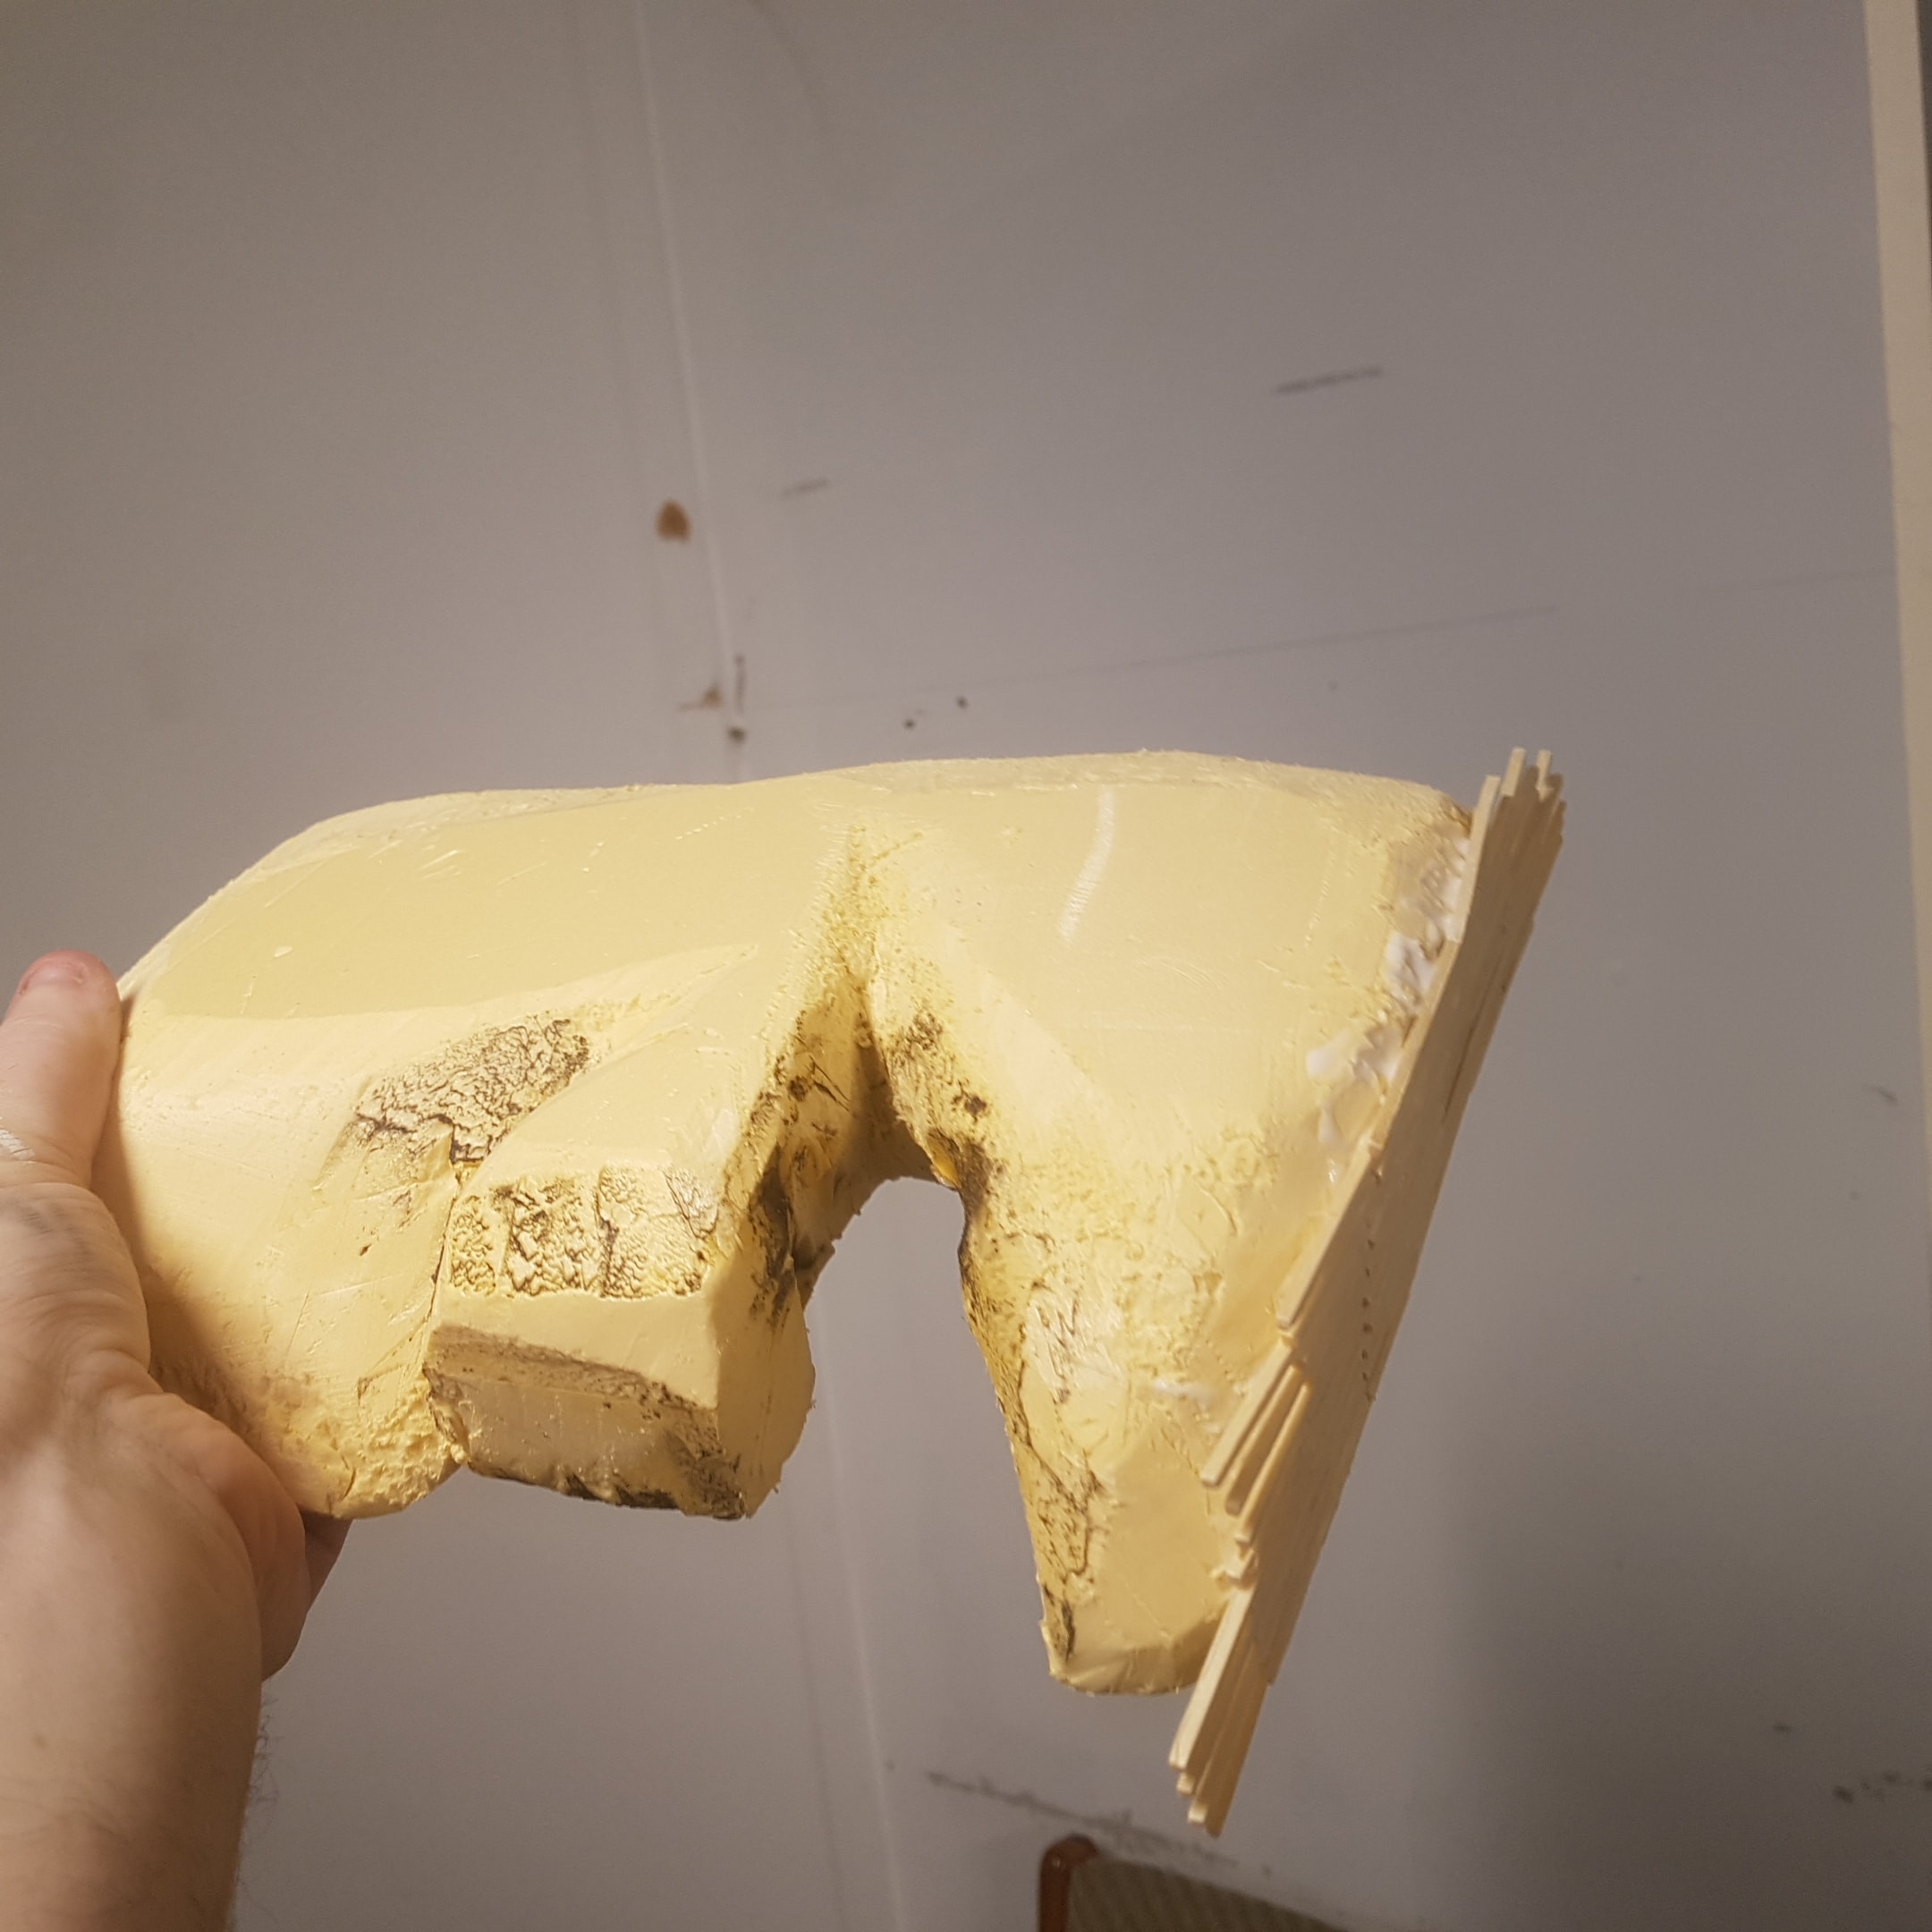 Here we Have a Window Jutting Out and An Indent where a Tree will be Once the Hobbit Hole is Based
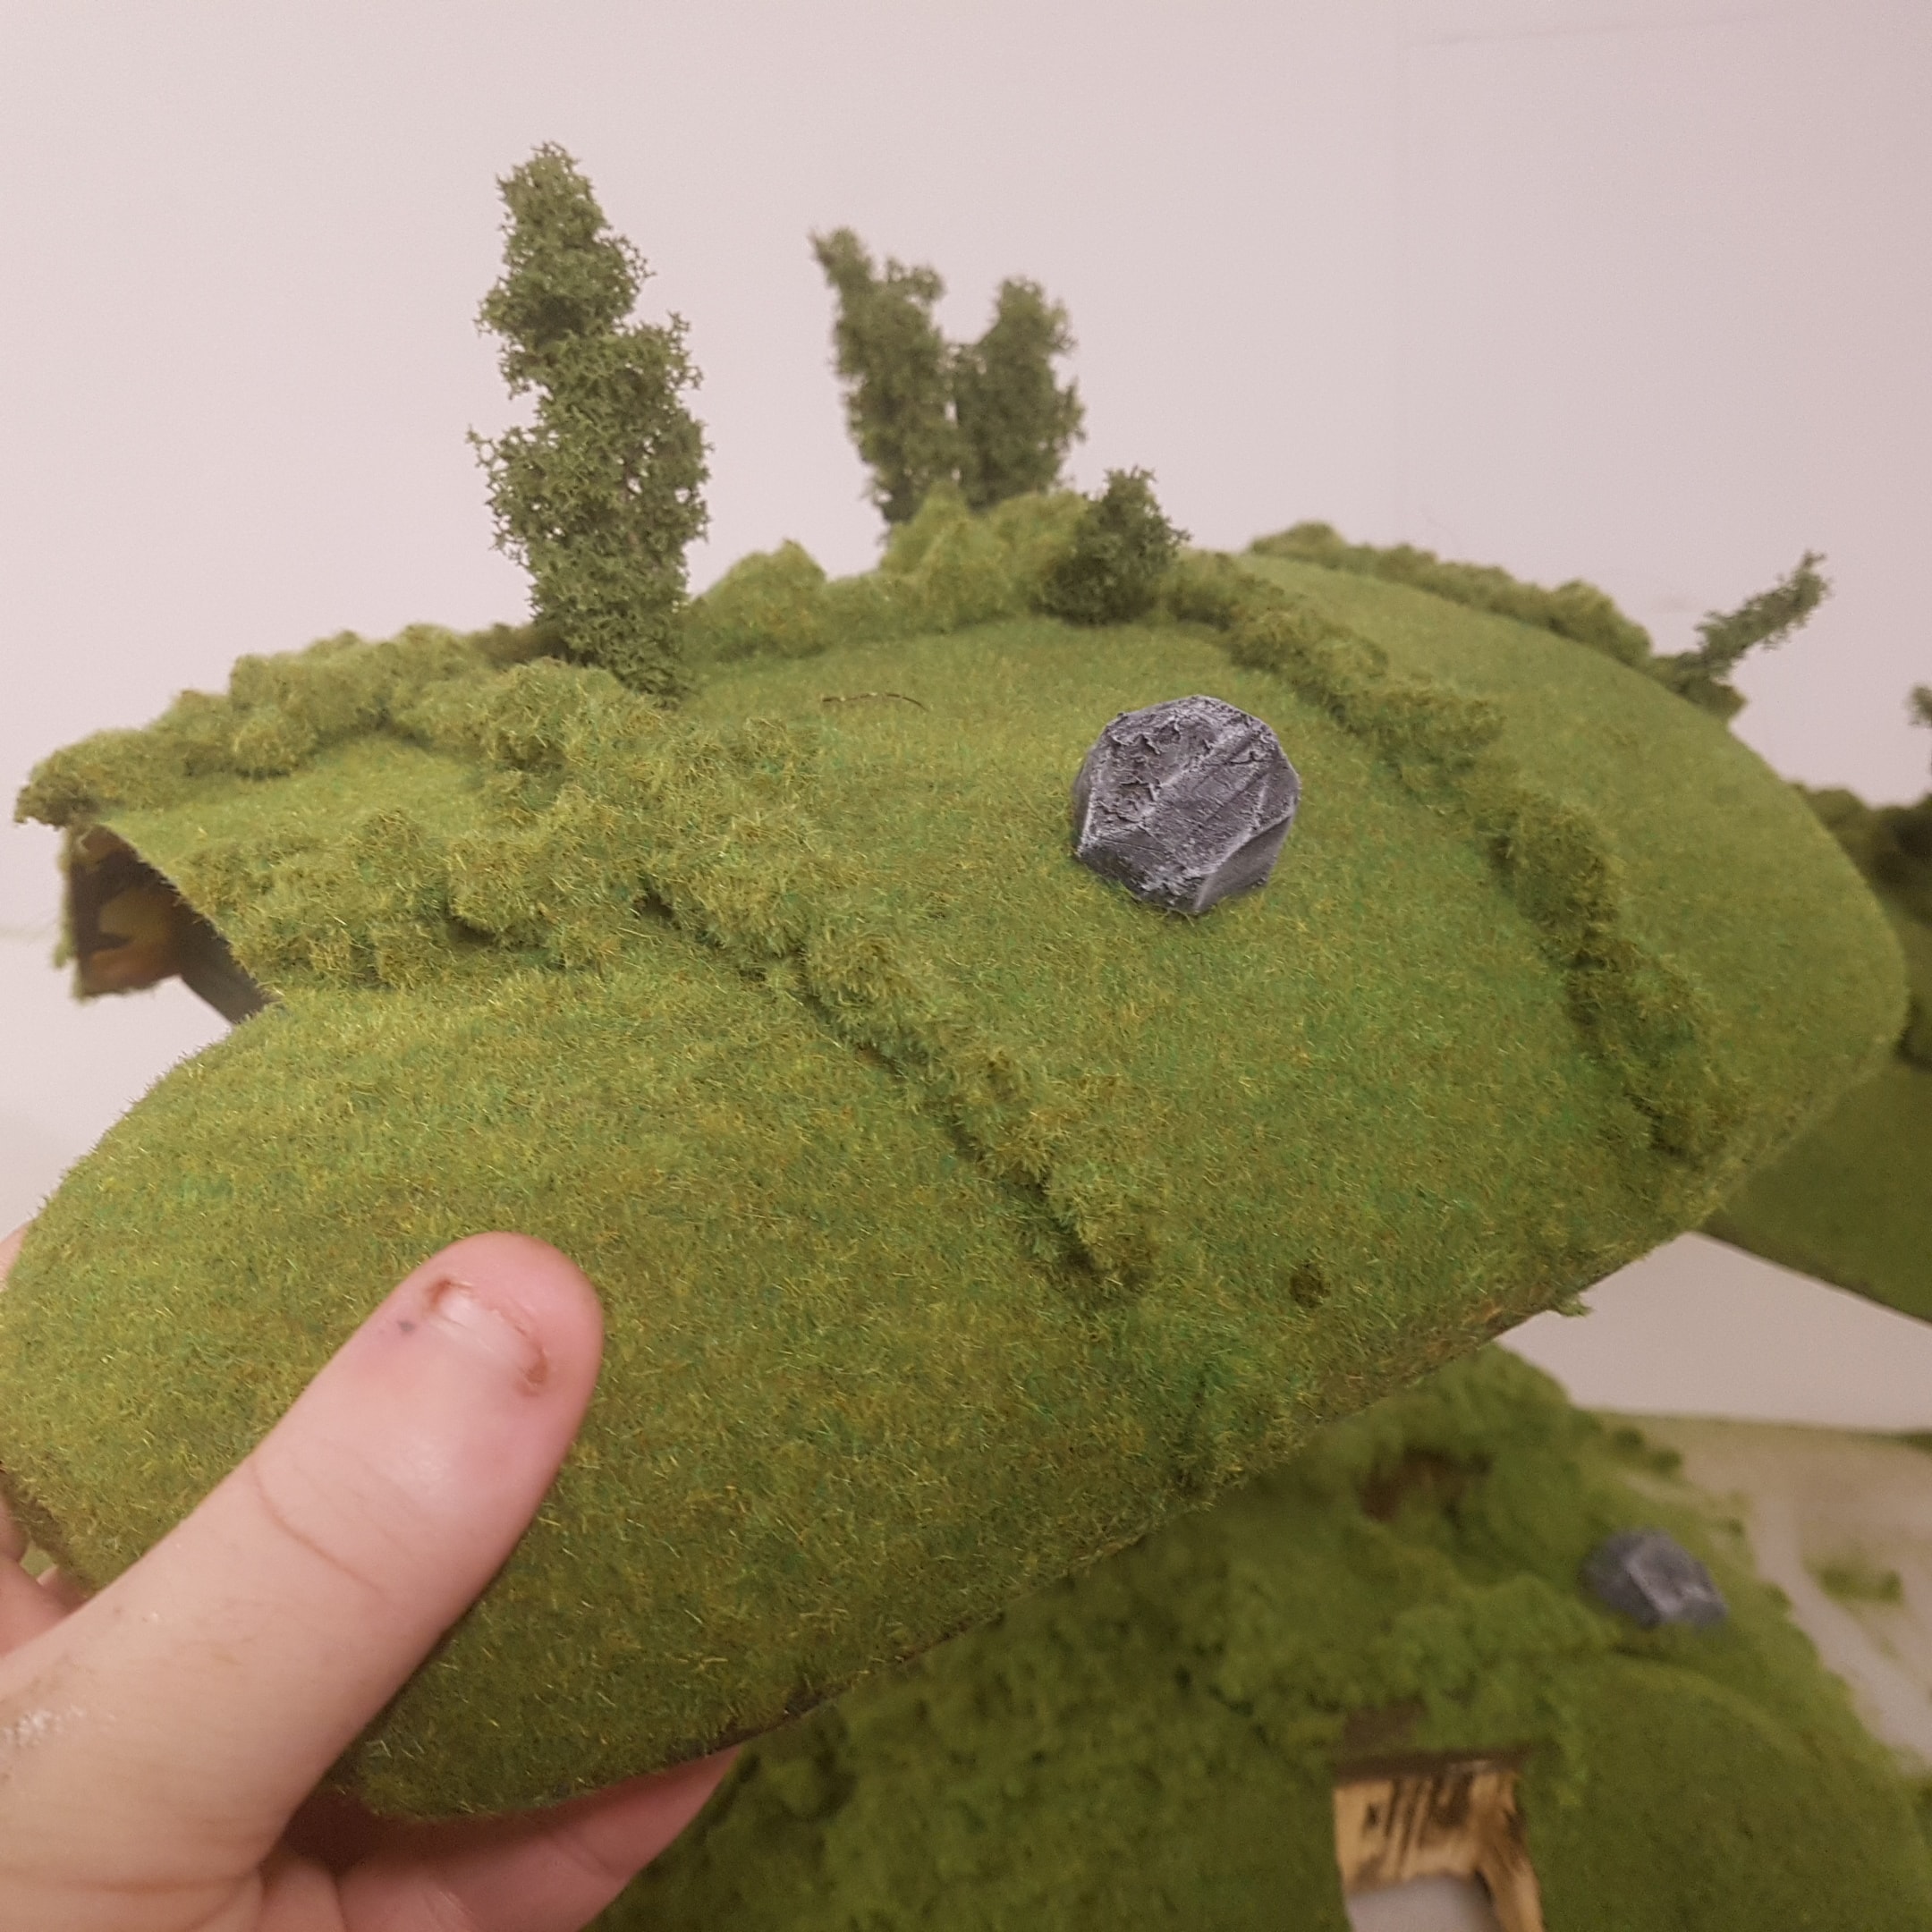
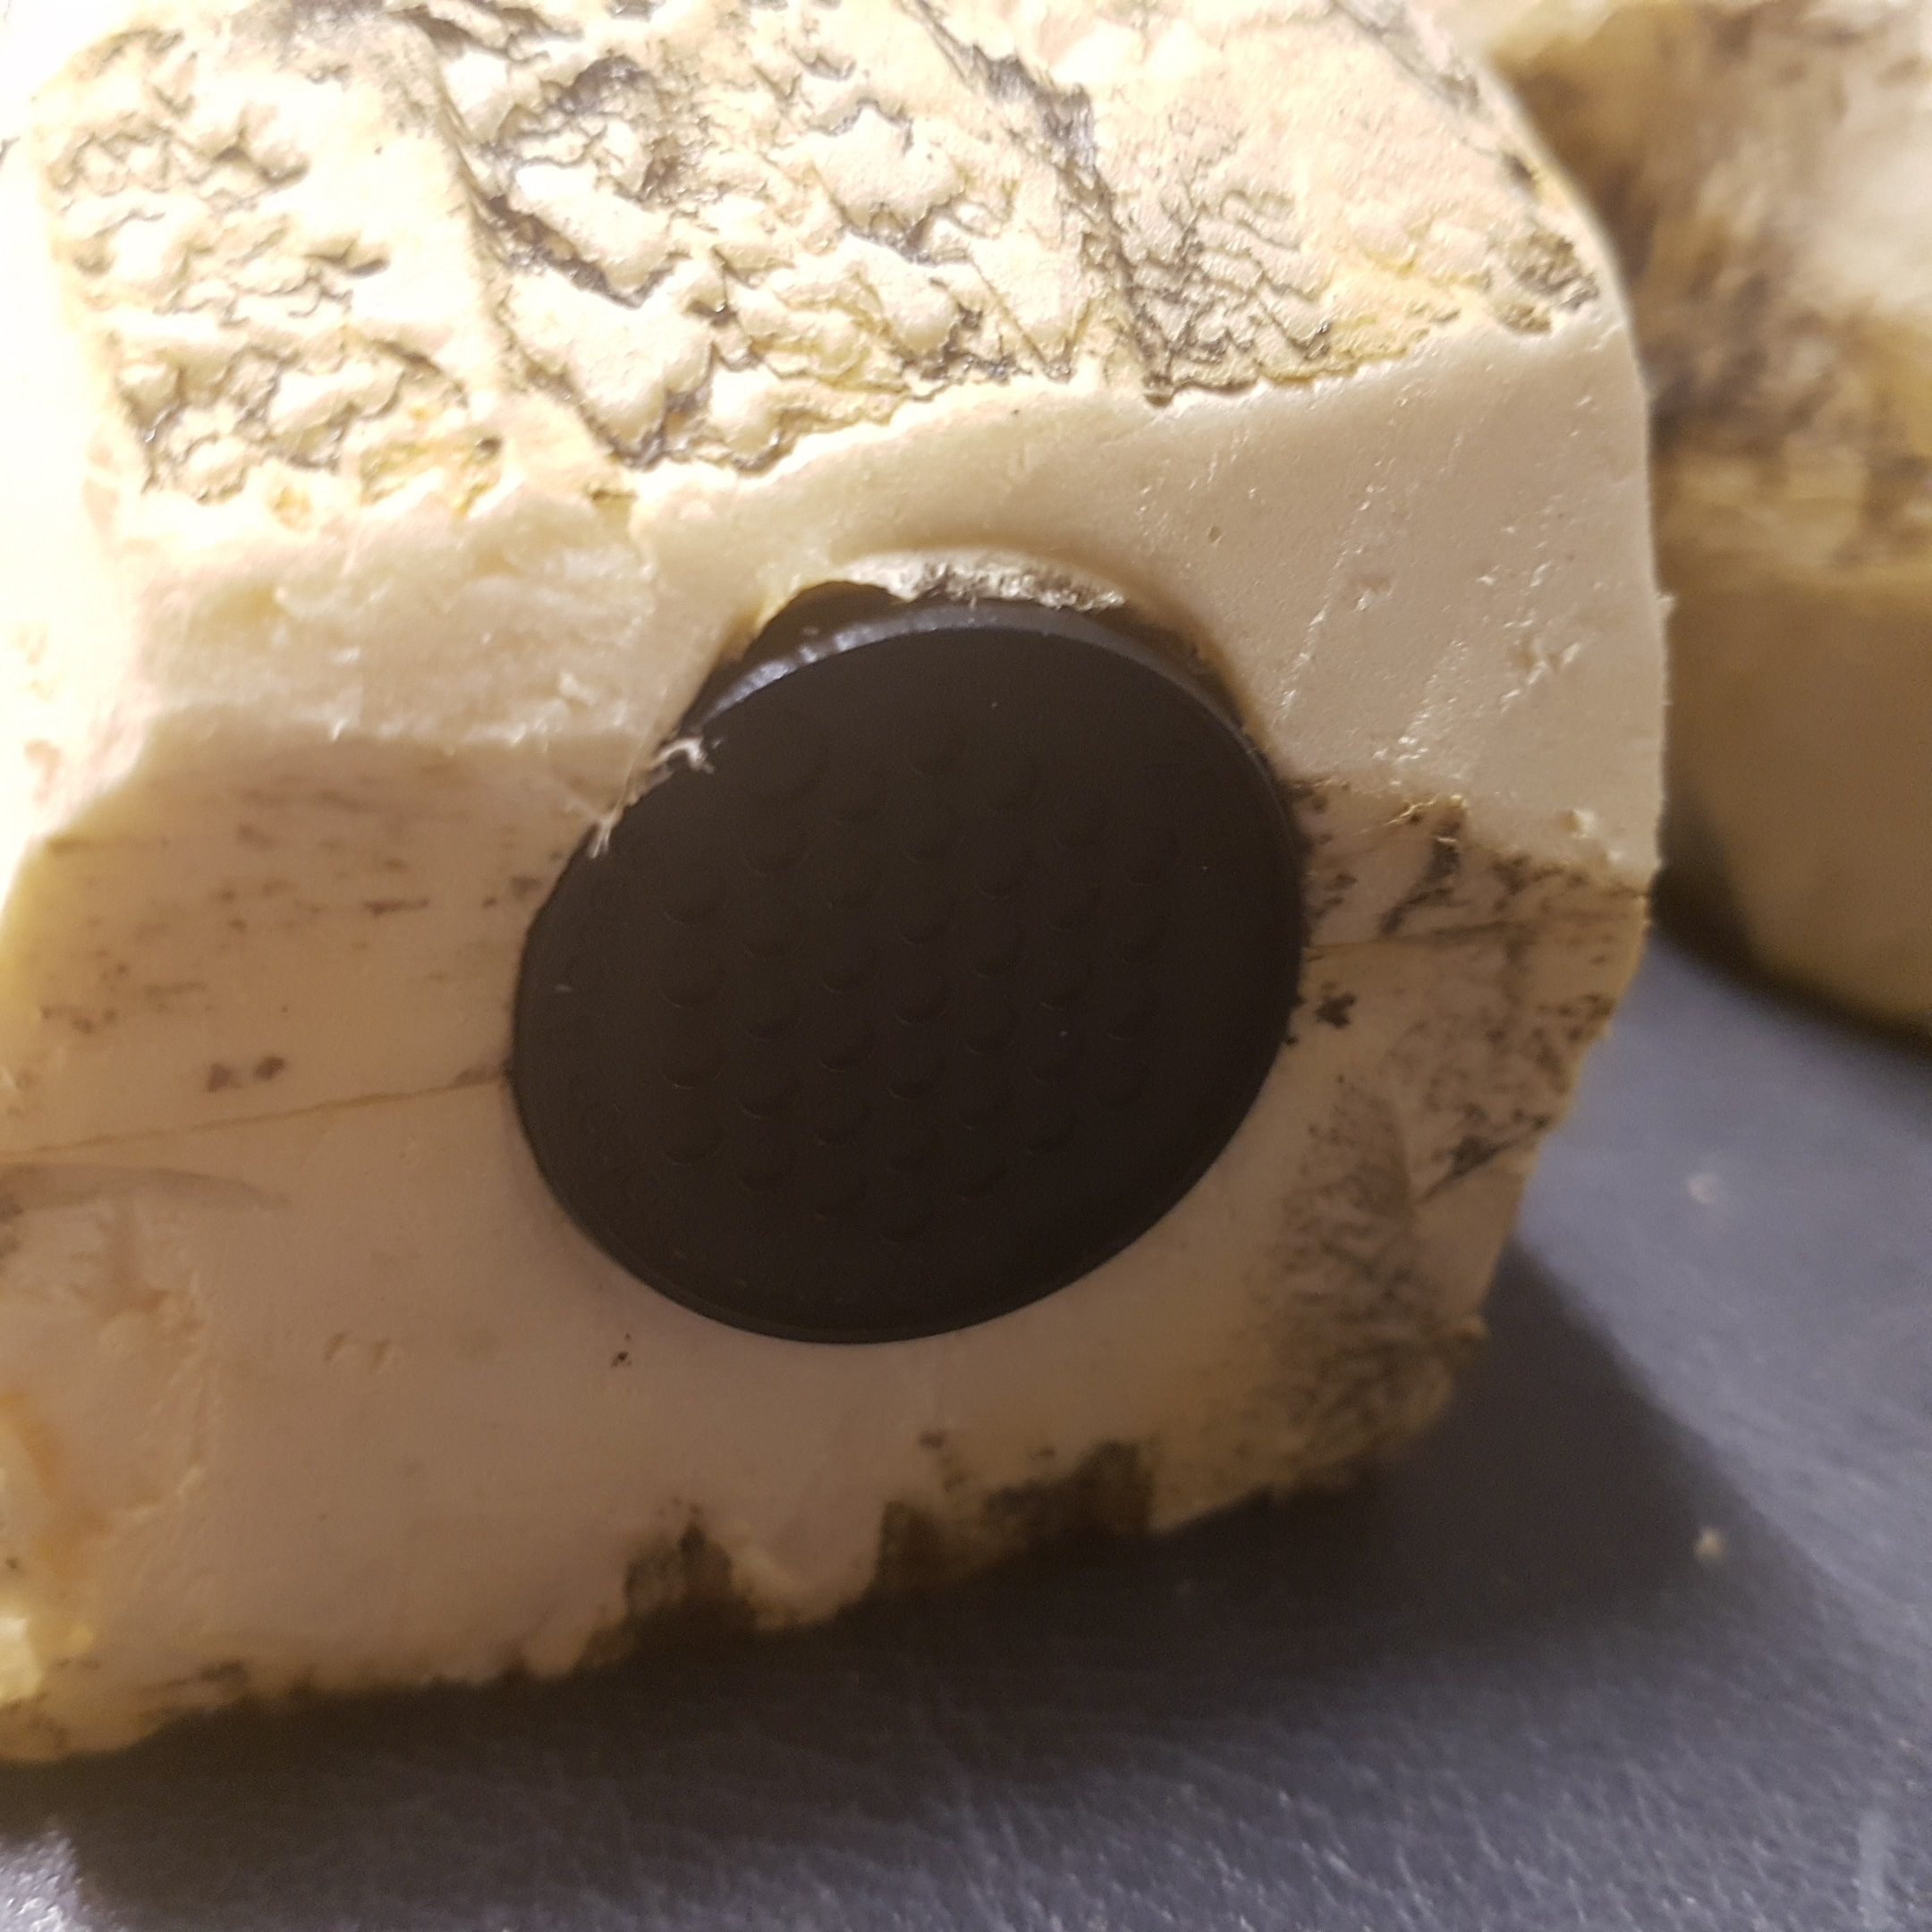 After Gluing a 10 Cent Piece (25mm Coin) to a Handle I Heated it With a Lighter and Melted a Perfect Hole for a 25mm Base to be Inserted.
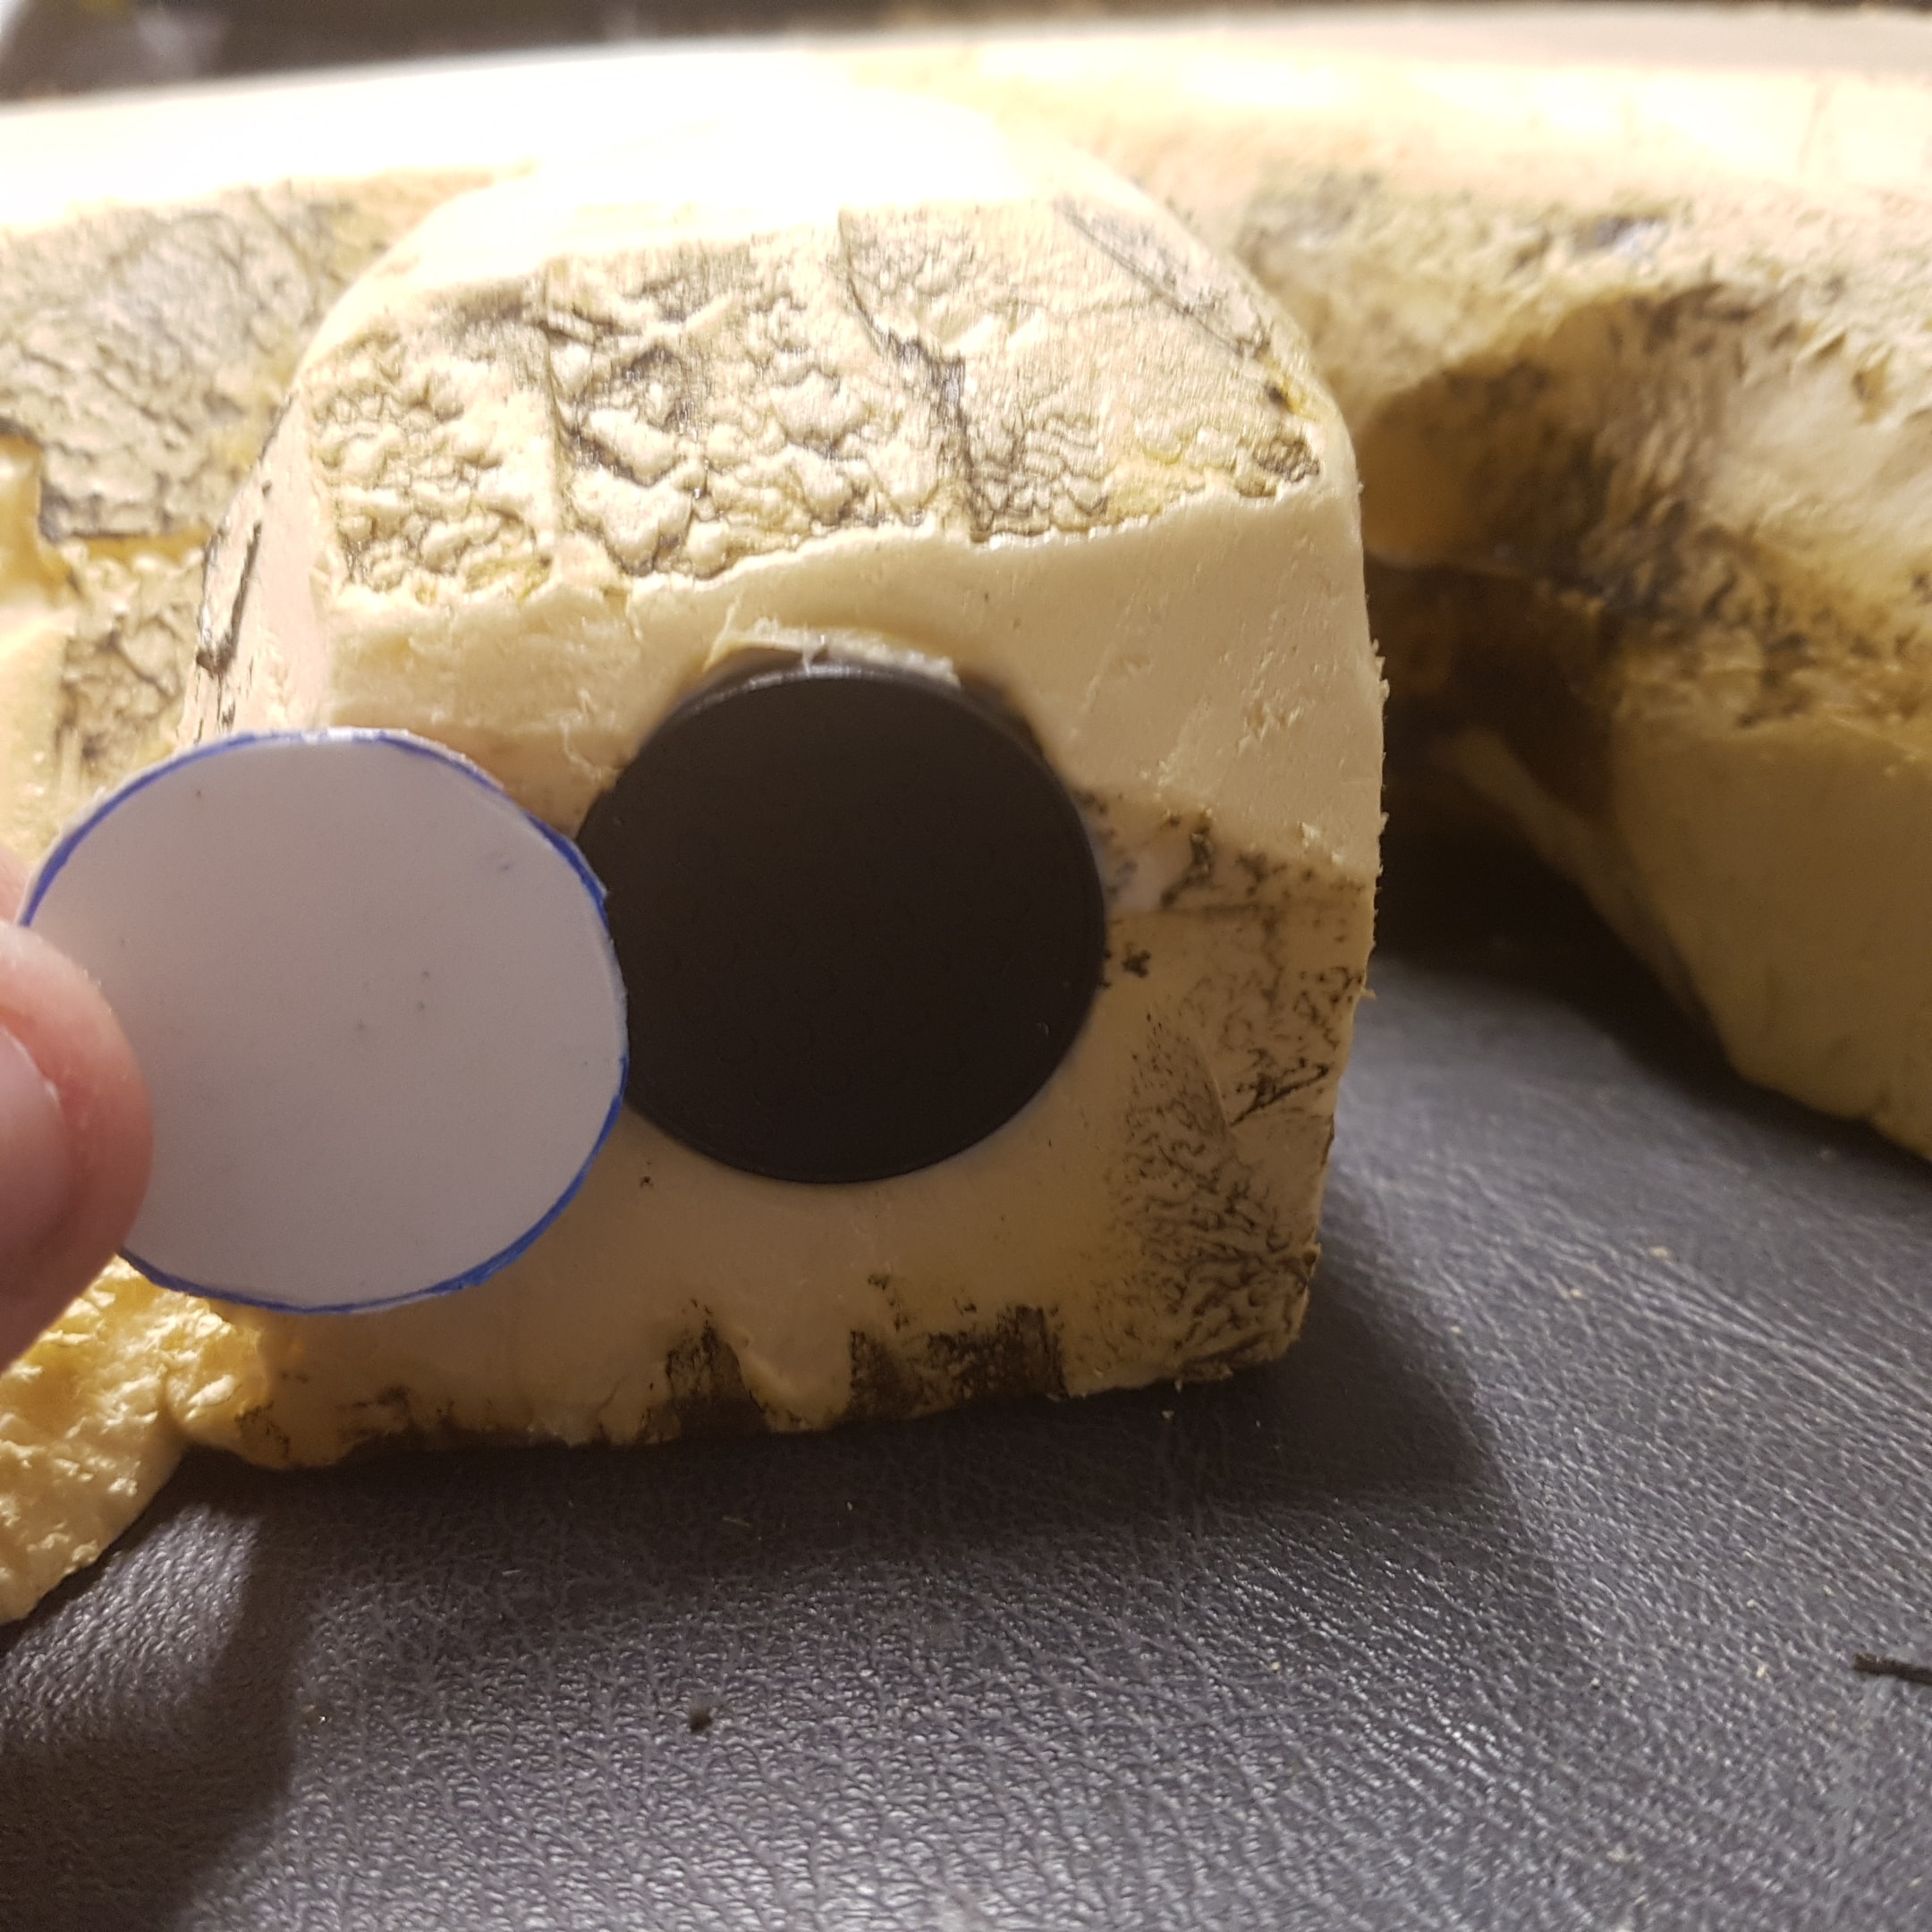 A 25mm Circle was then Cut to Size
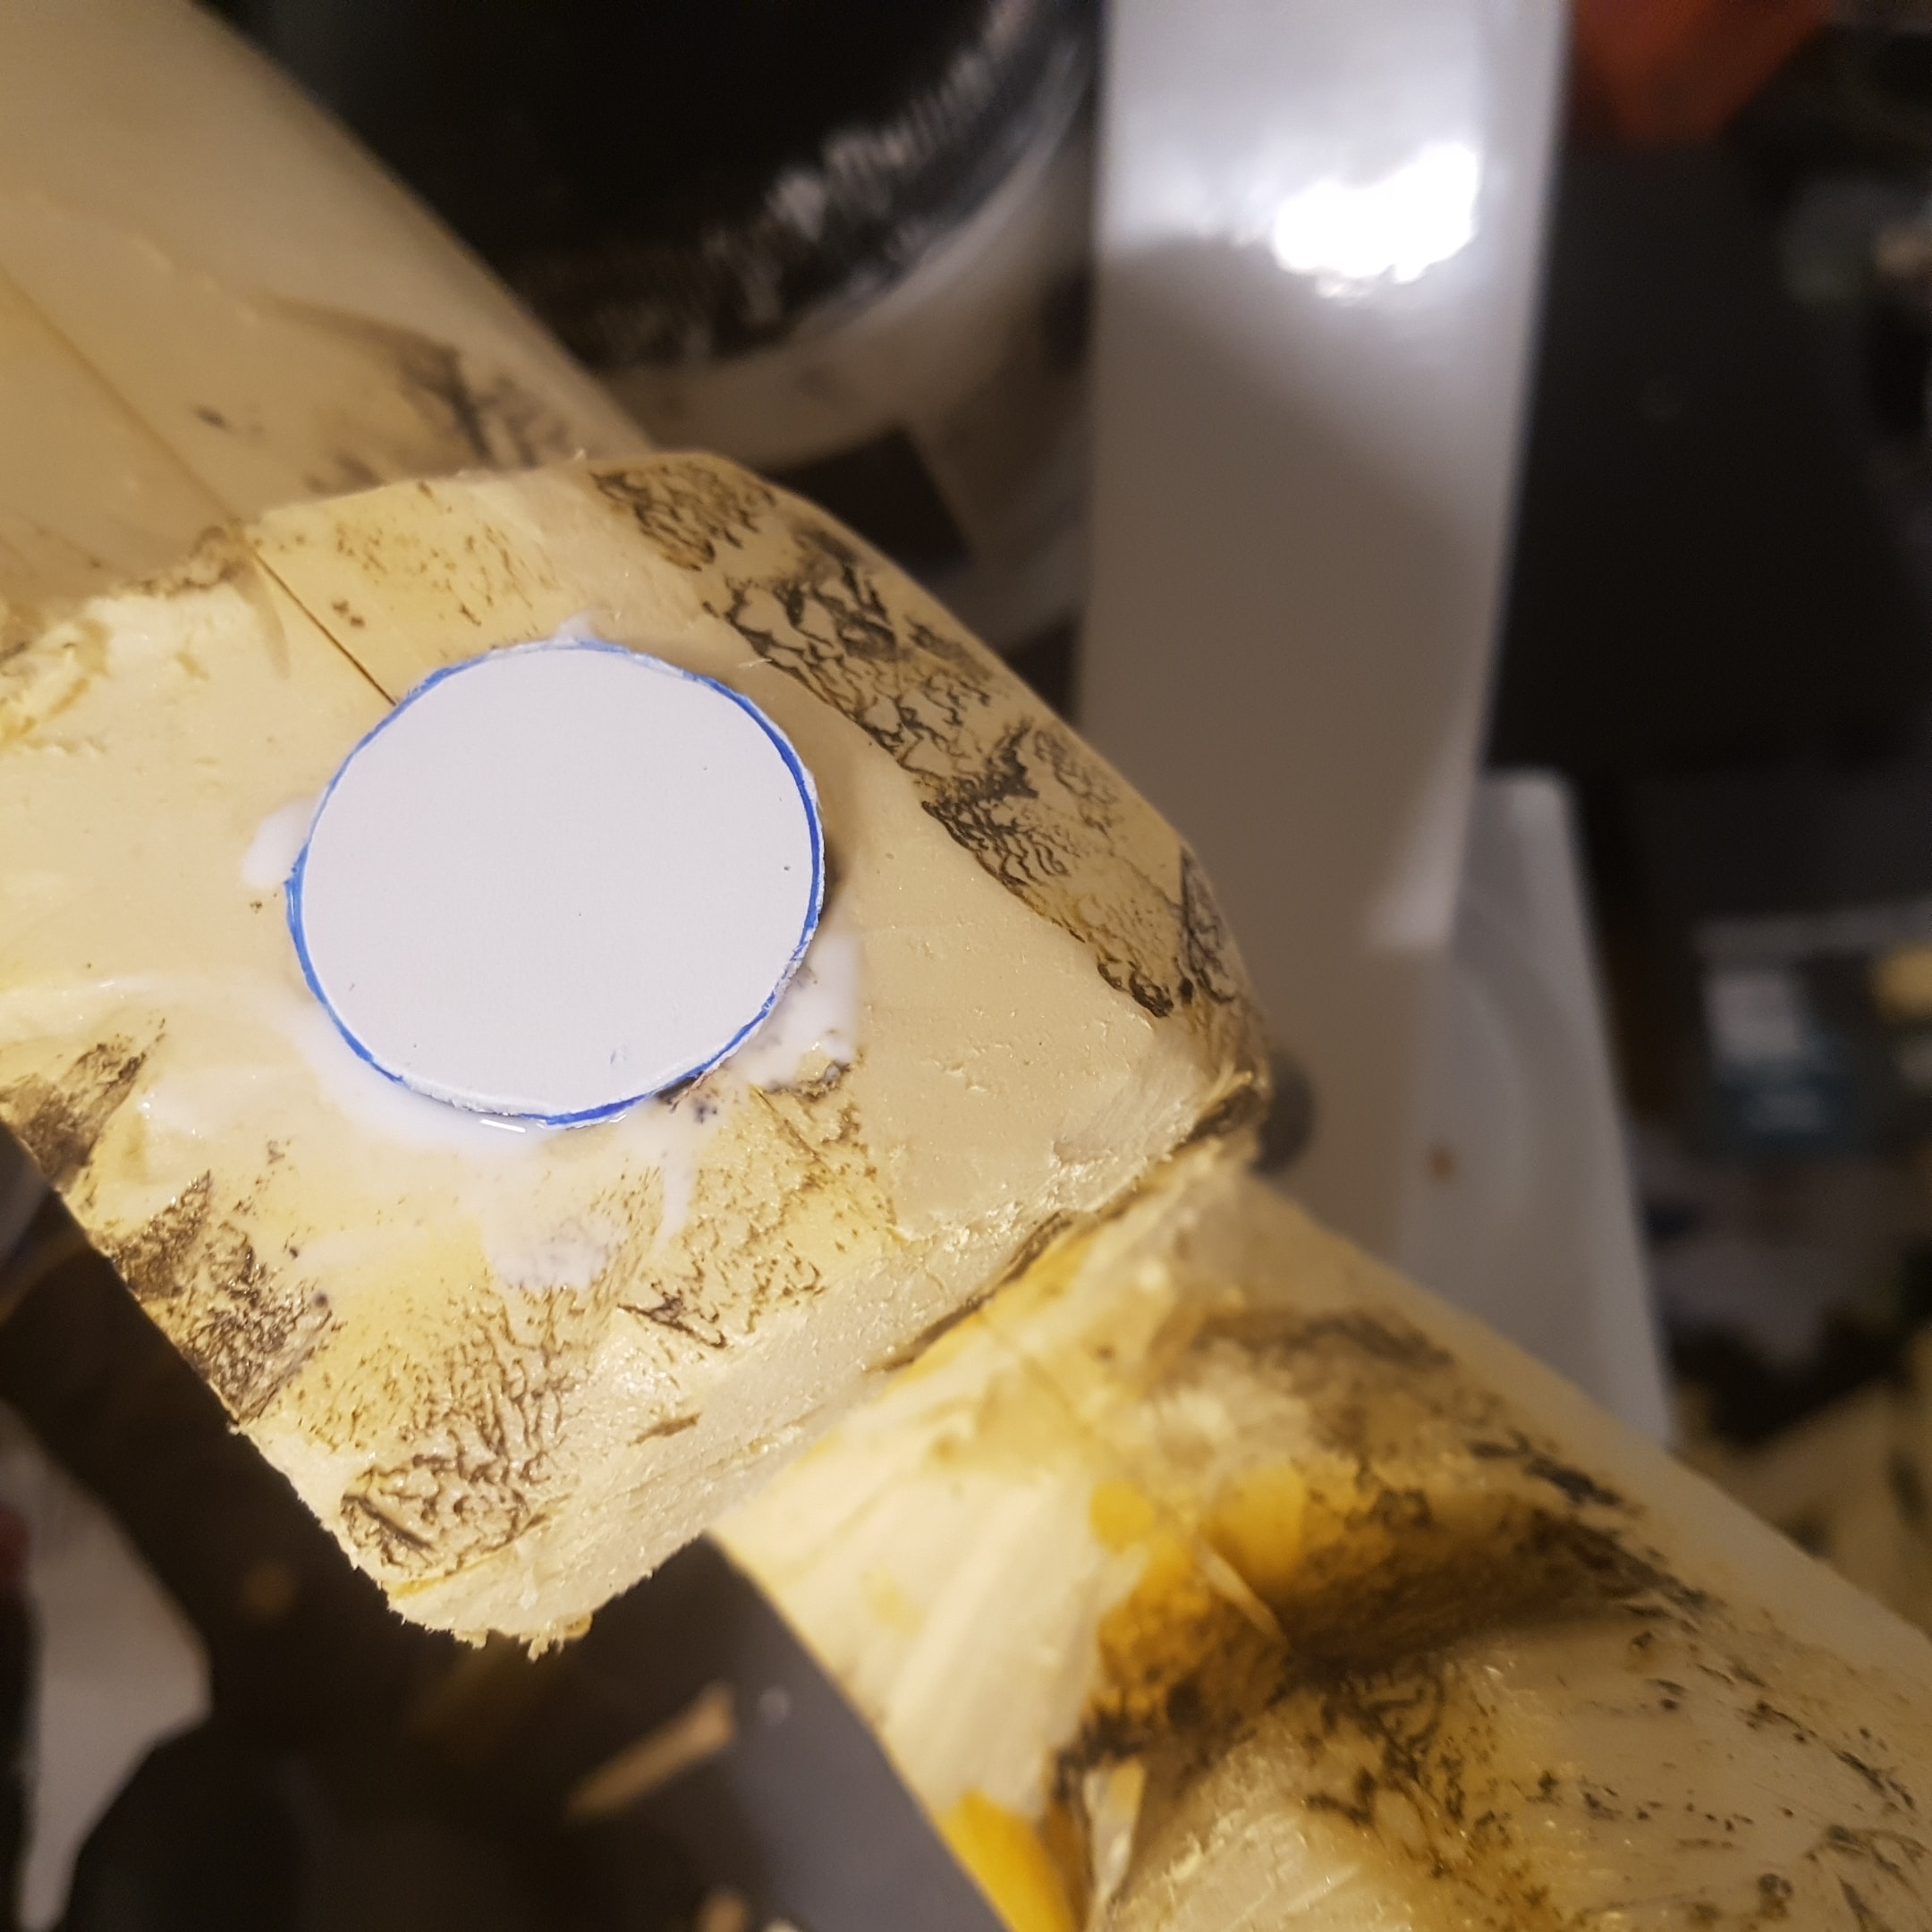 This was then Glued over the Base. This will be Painted Later to Resemble Shutters
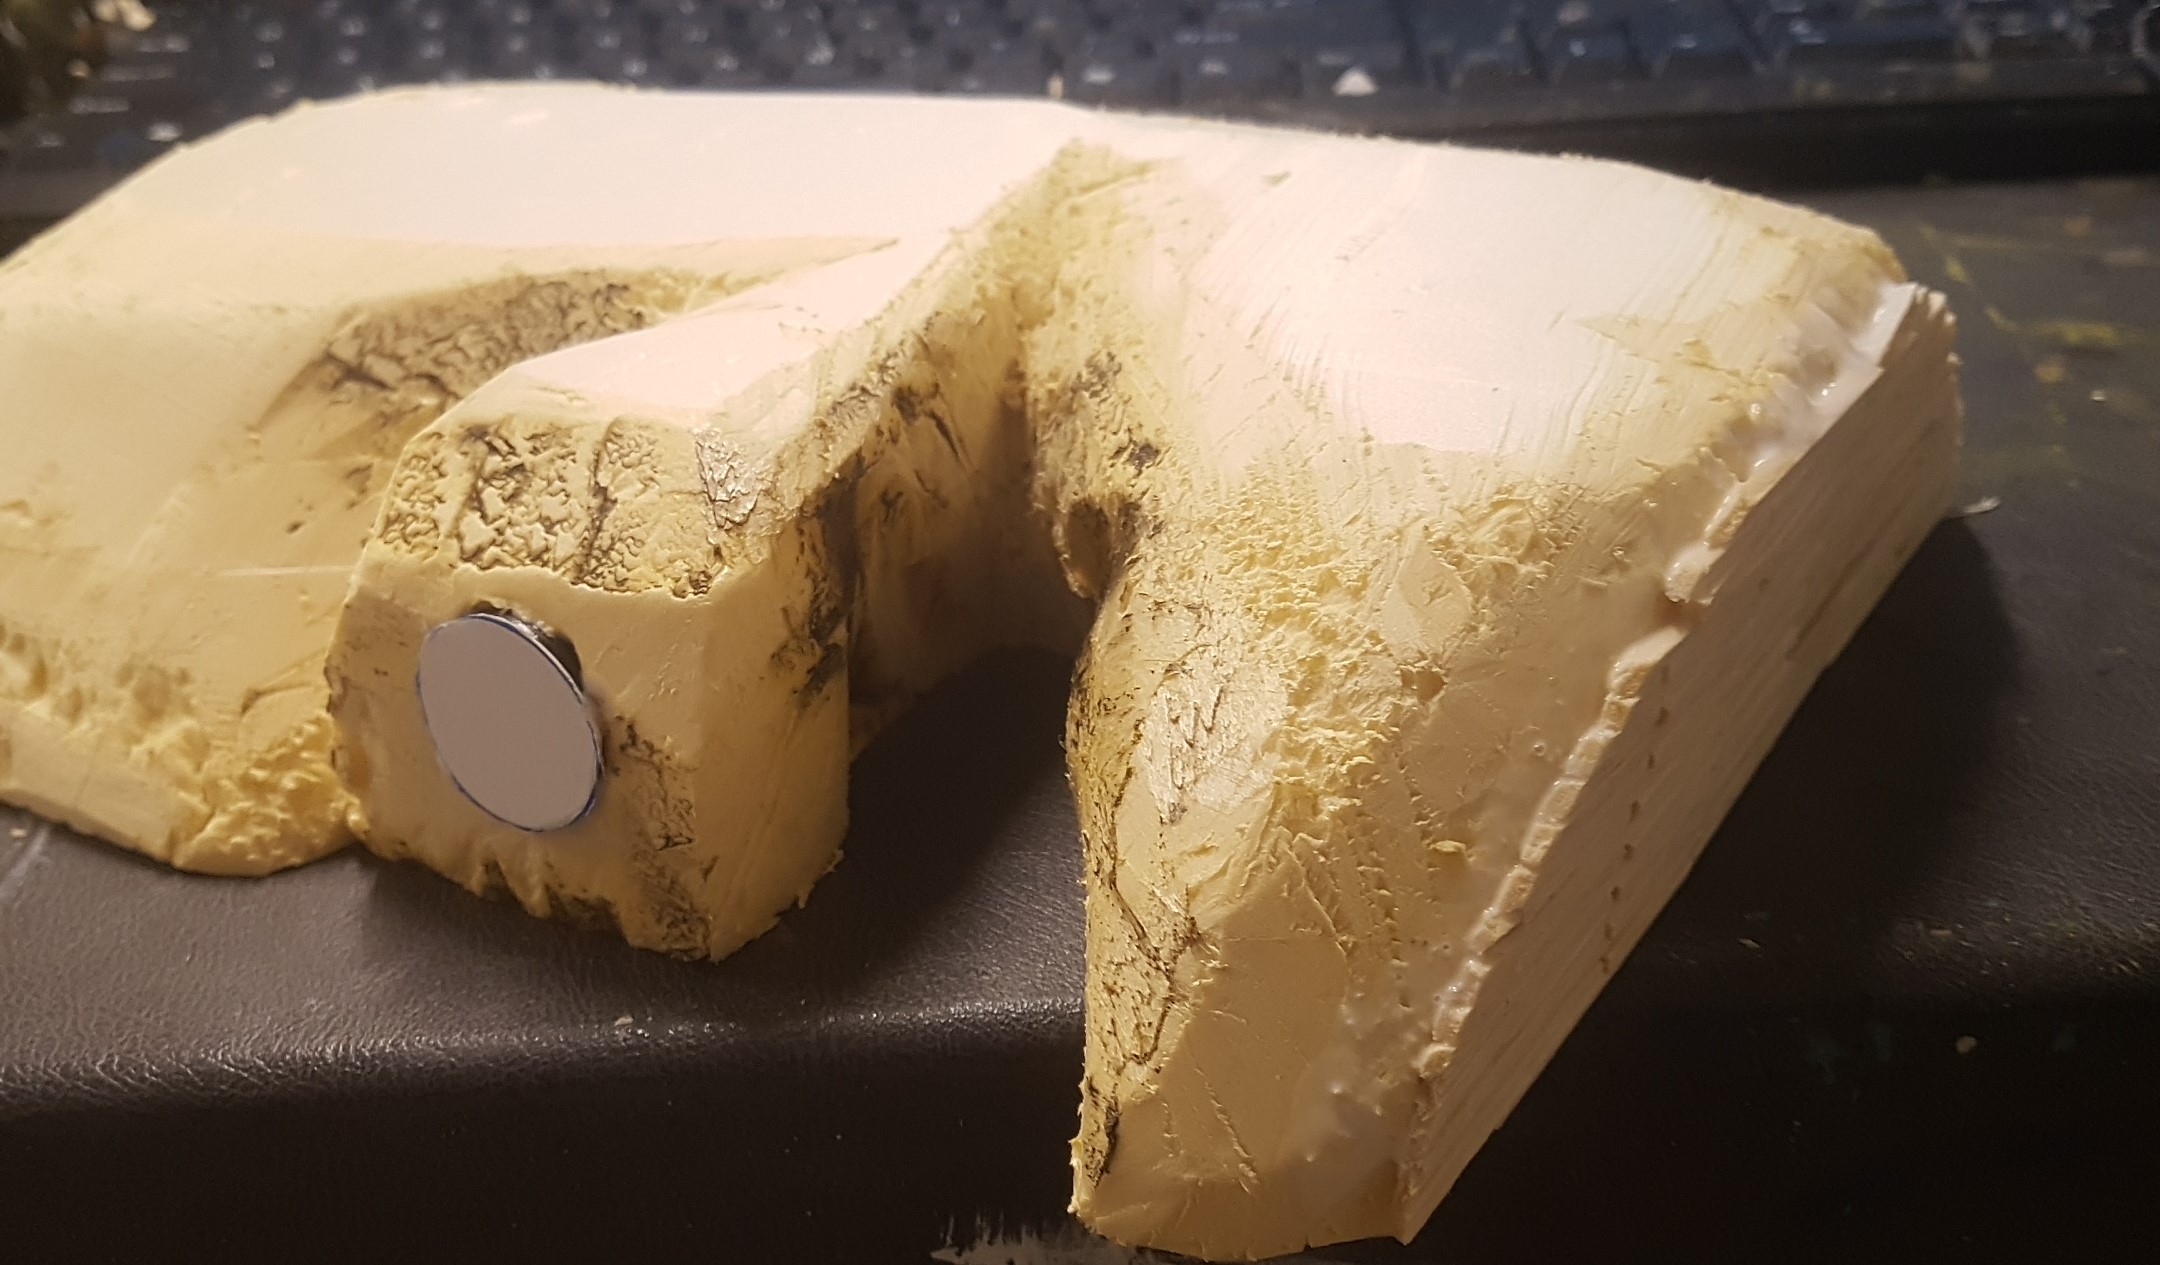 A Quick Trim
Some Colour for the Hobbit Holes
I want to Break up the Greed on the Hobbit Holes with some Splashes of Colour. A Friend of Mine used this Method to make Tiny Flowers for his Elves Bases Years Ago so I’m trying it now for Large Clumps of Flowers.
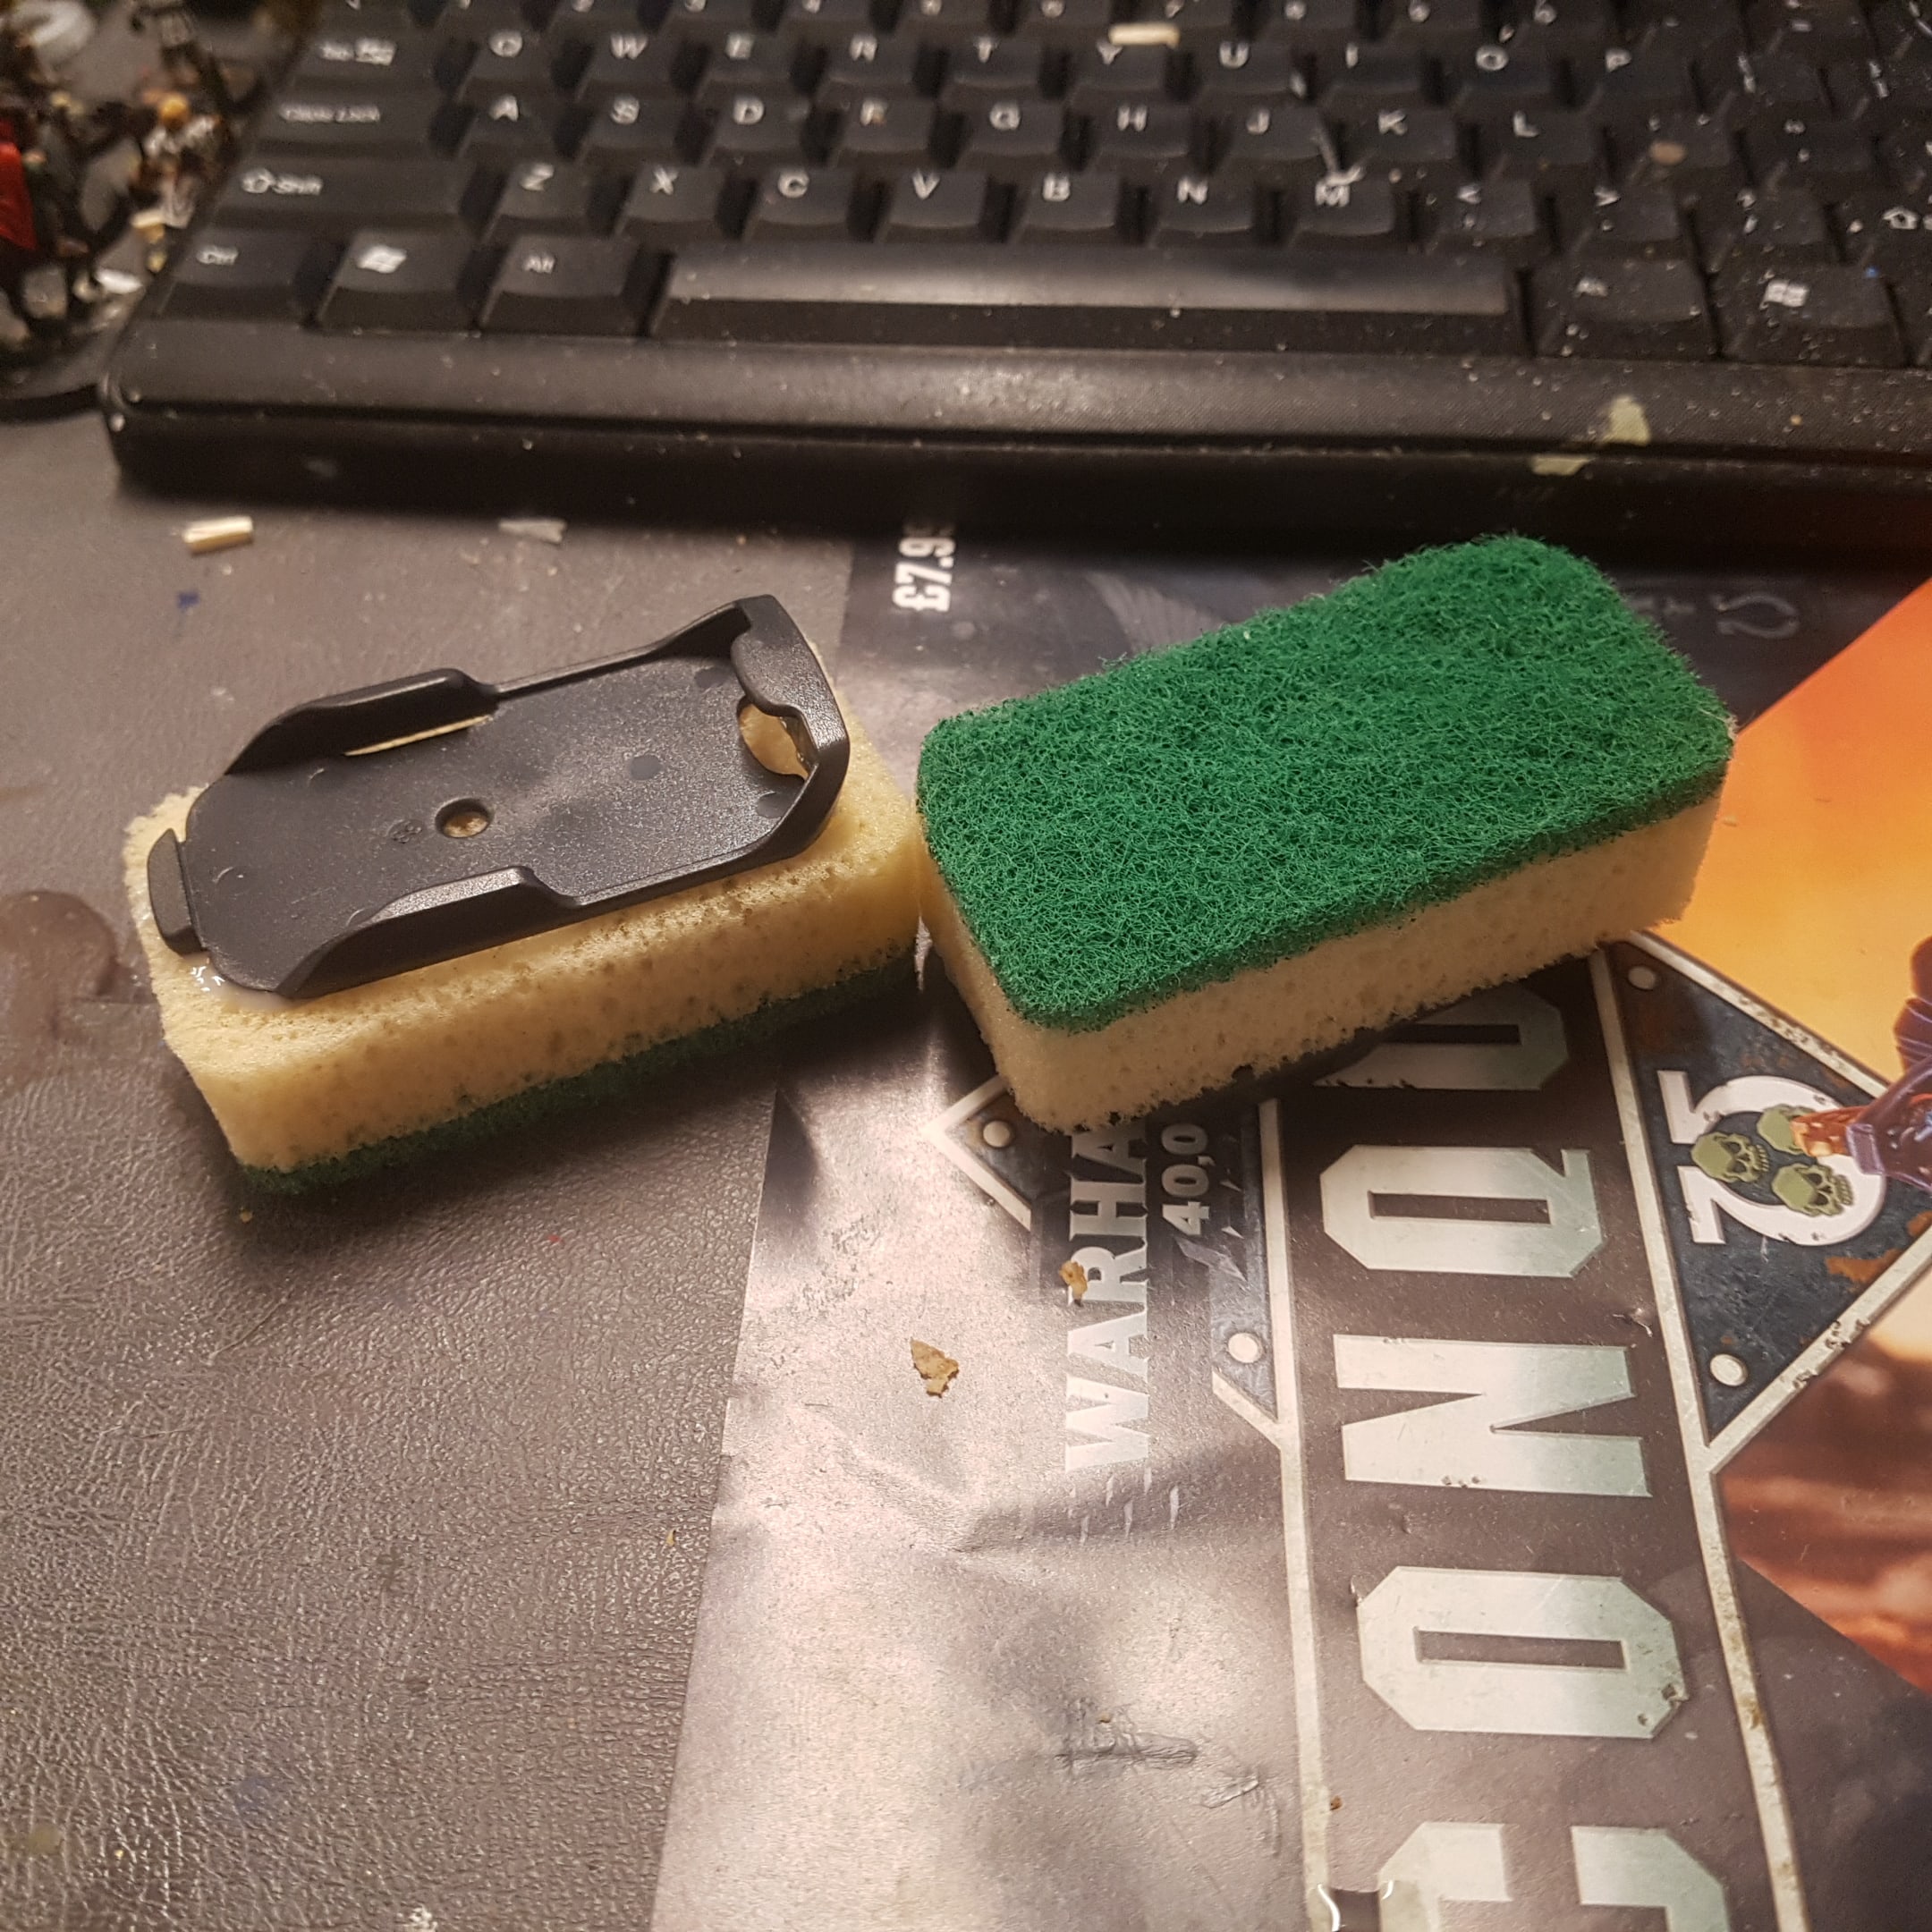 The Materials are Two Small Sponges, Remove the Green Part
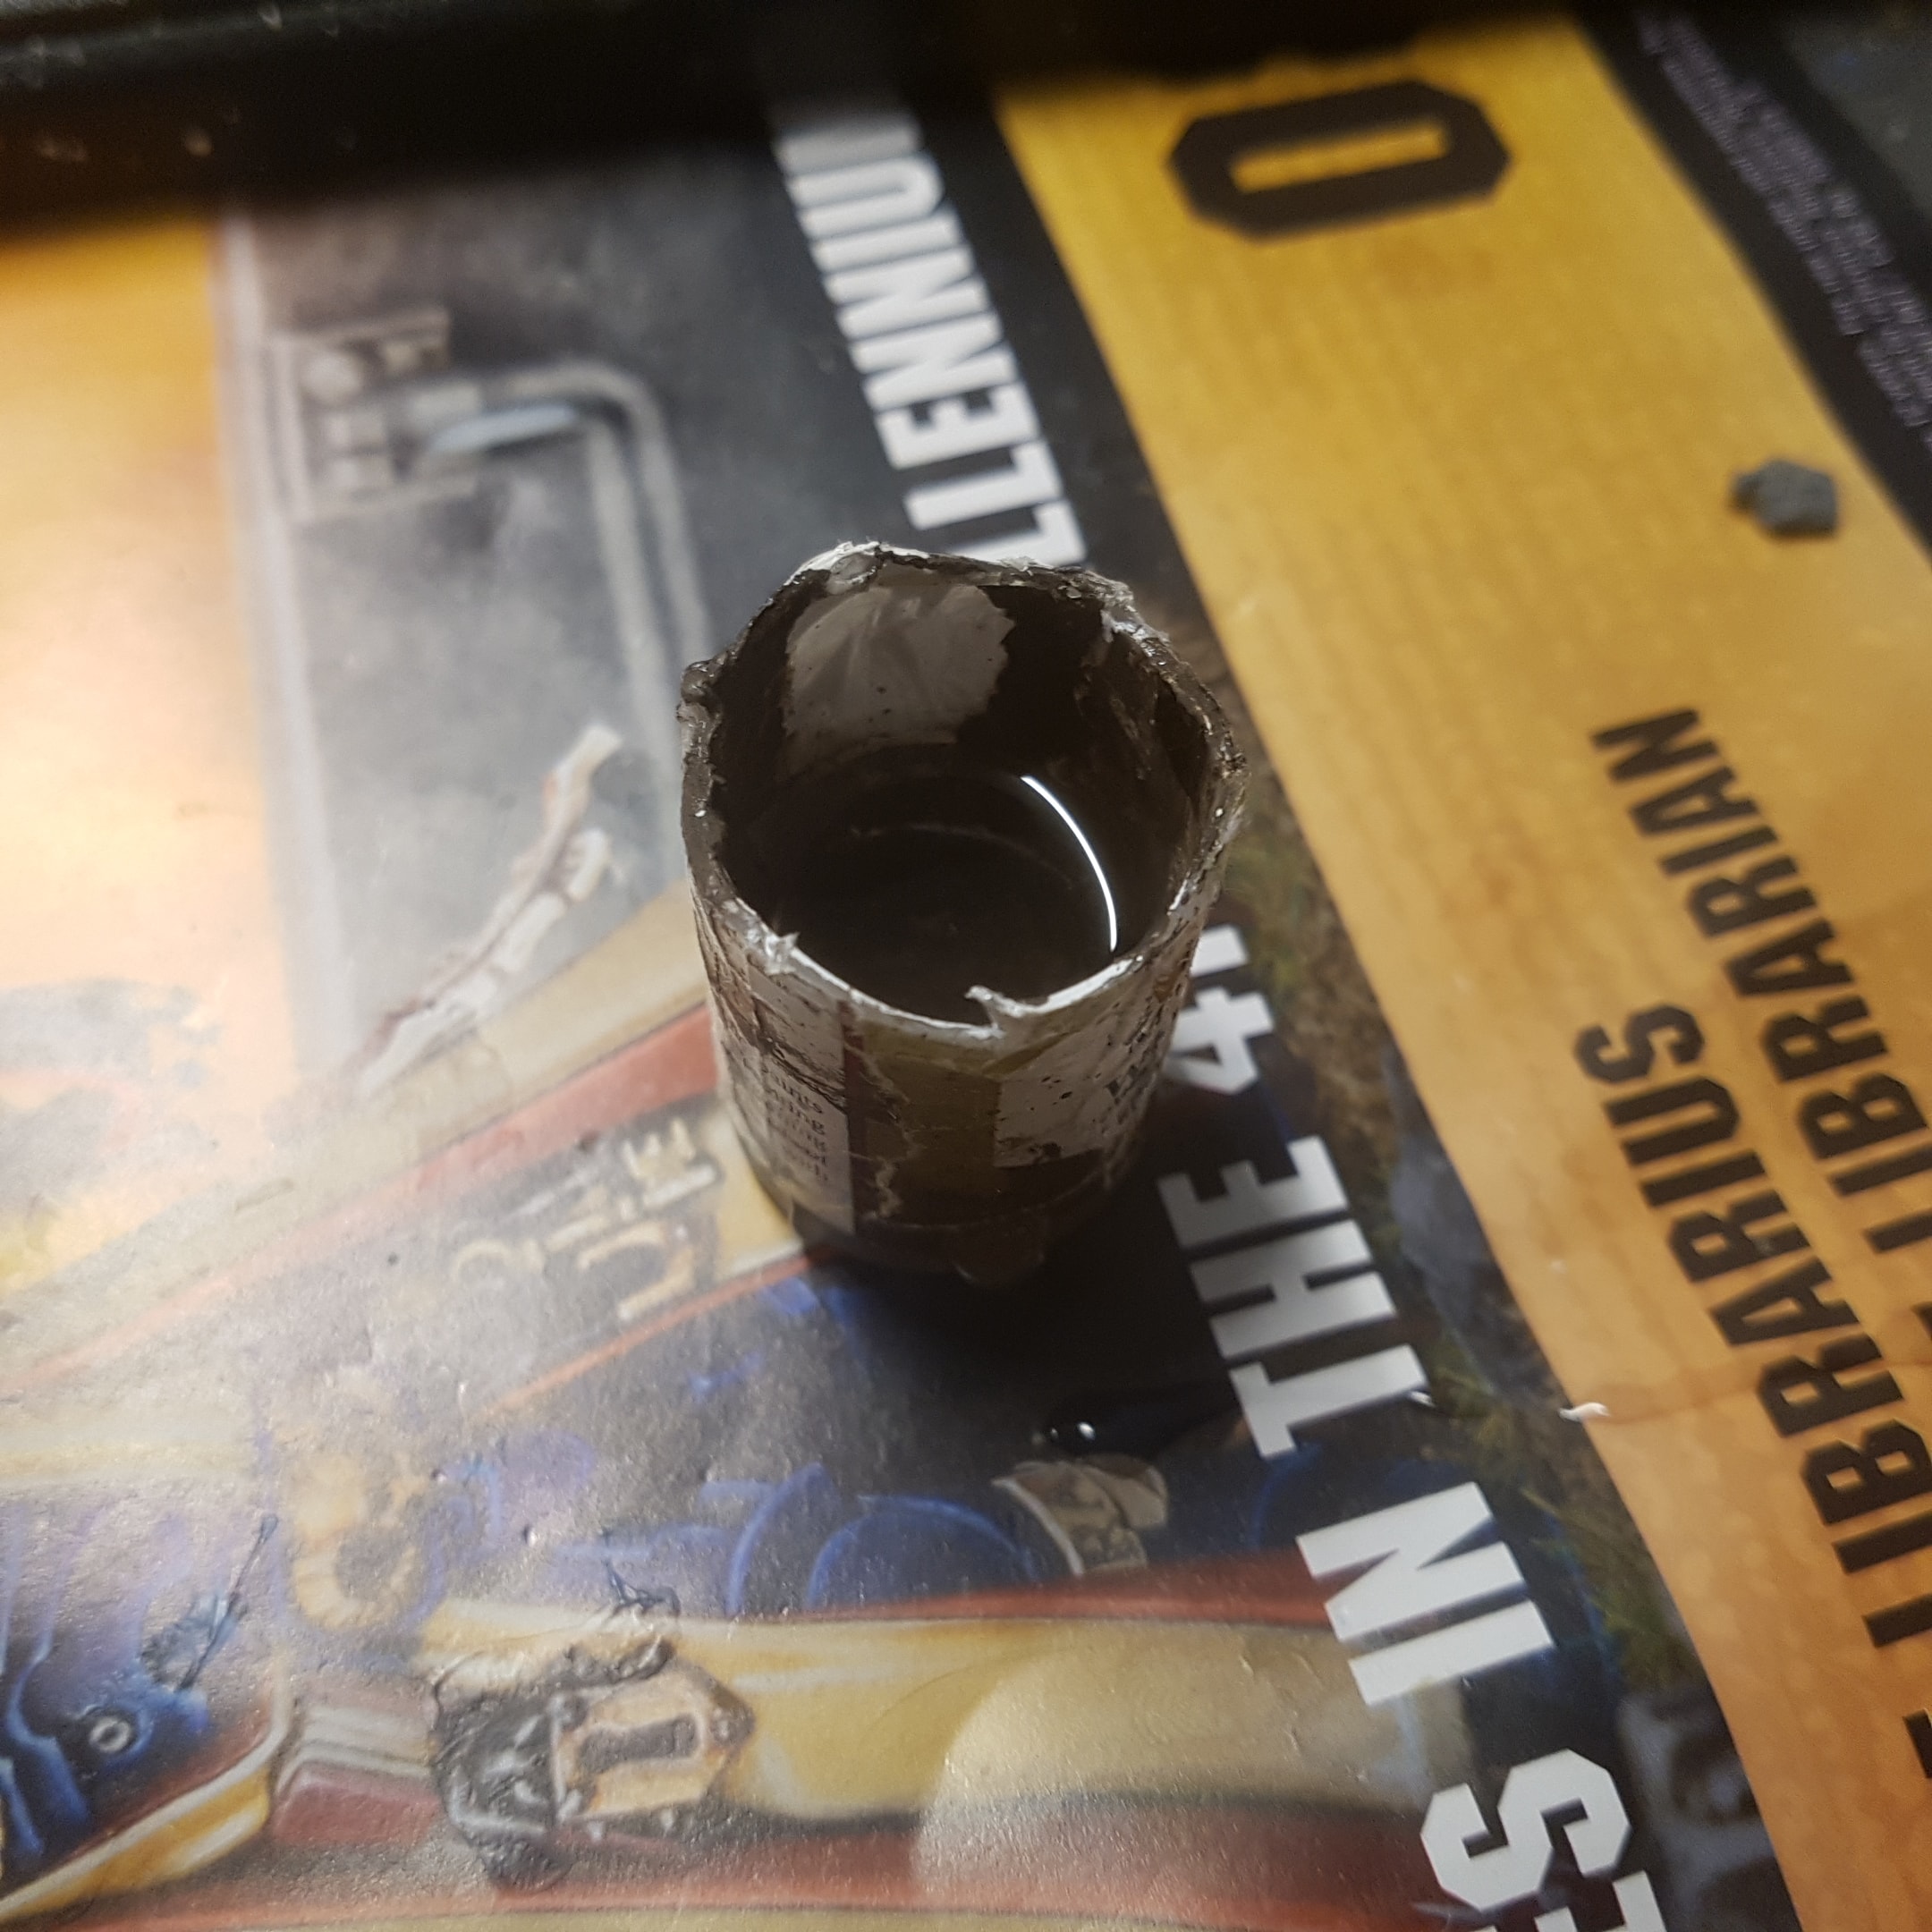 My Initial Mixing Pot was an Old Army Painter Bottle
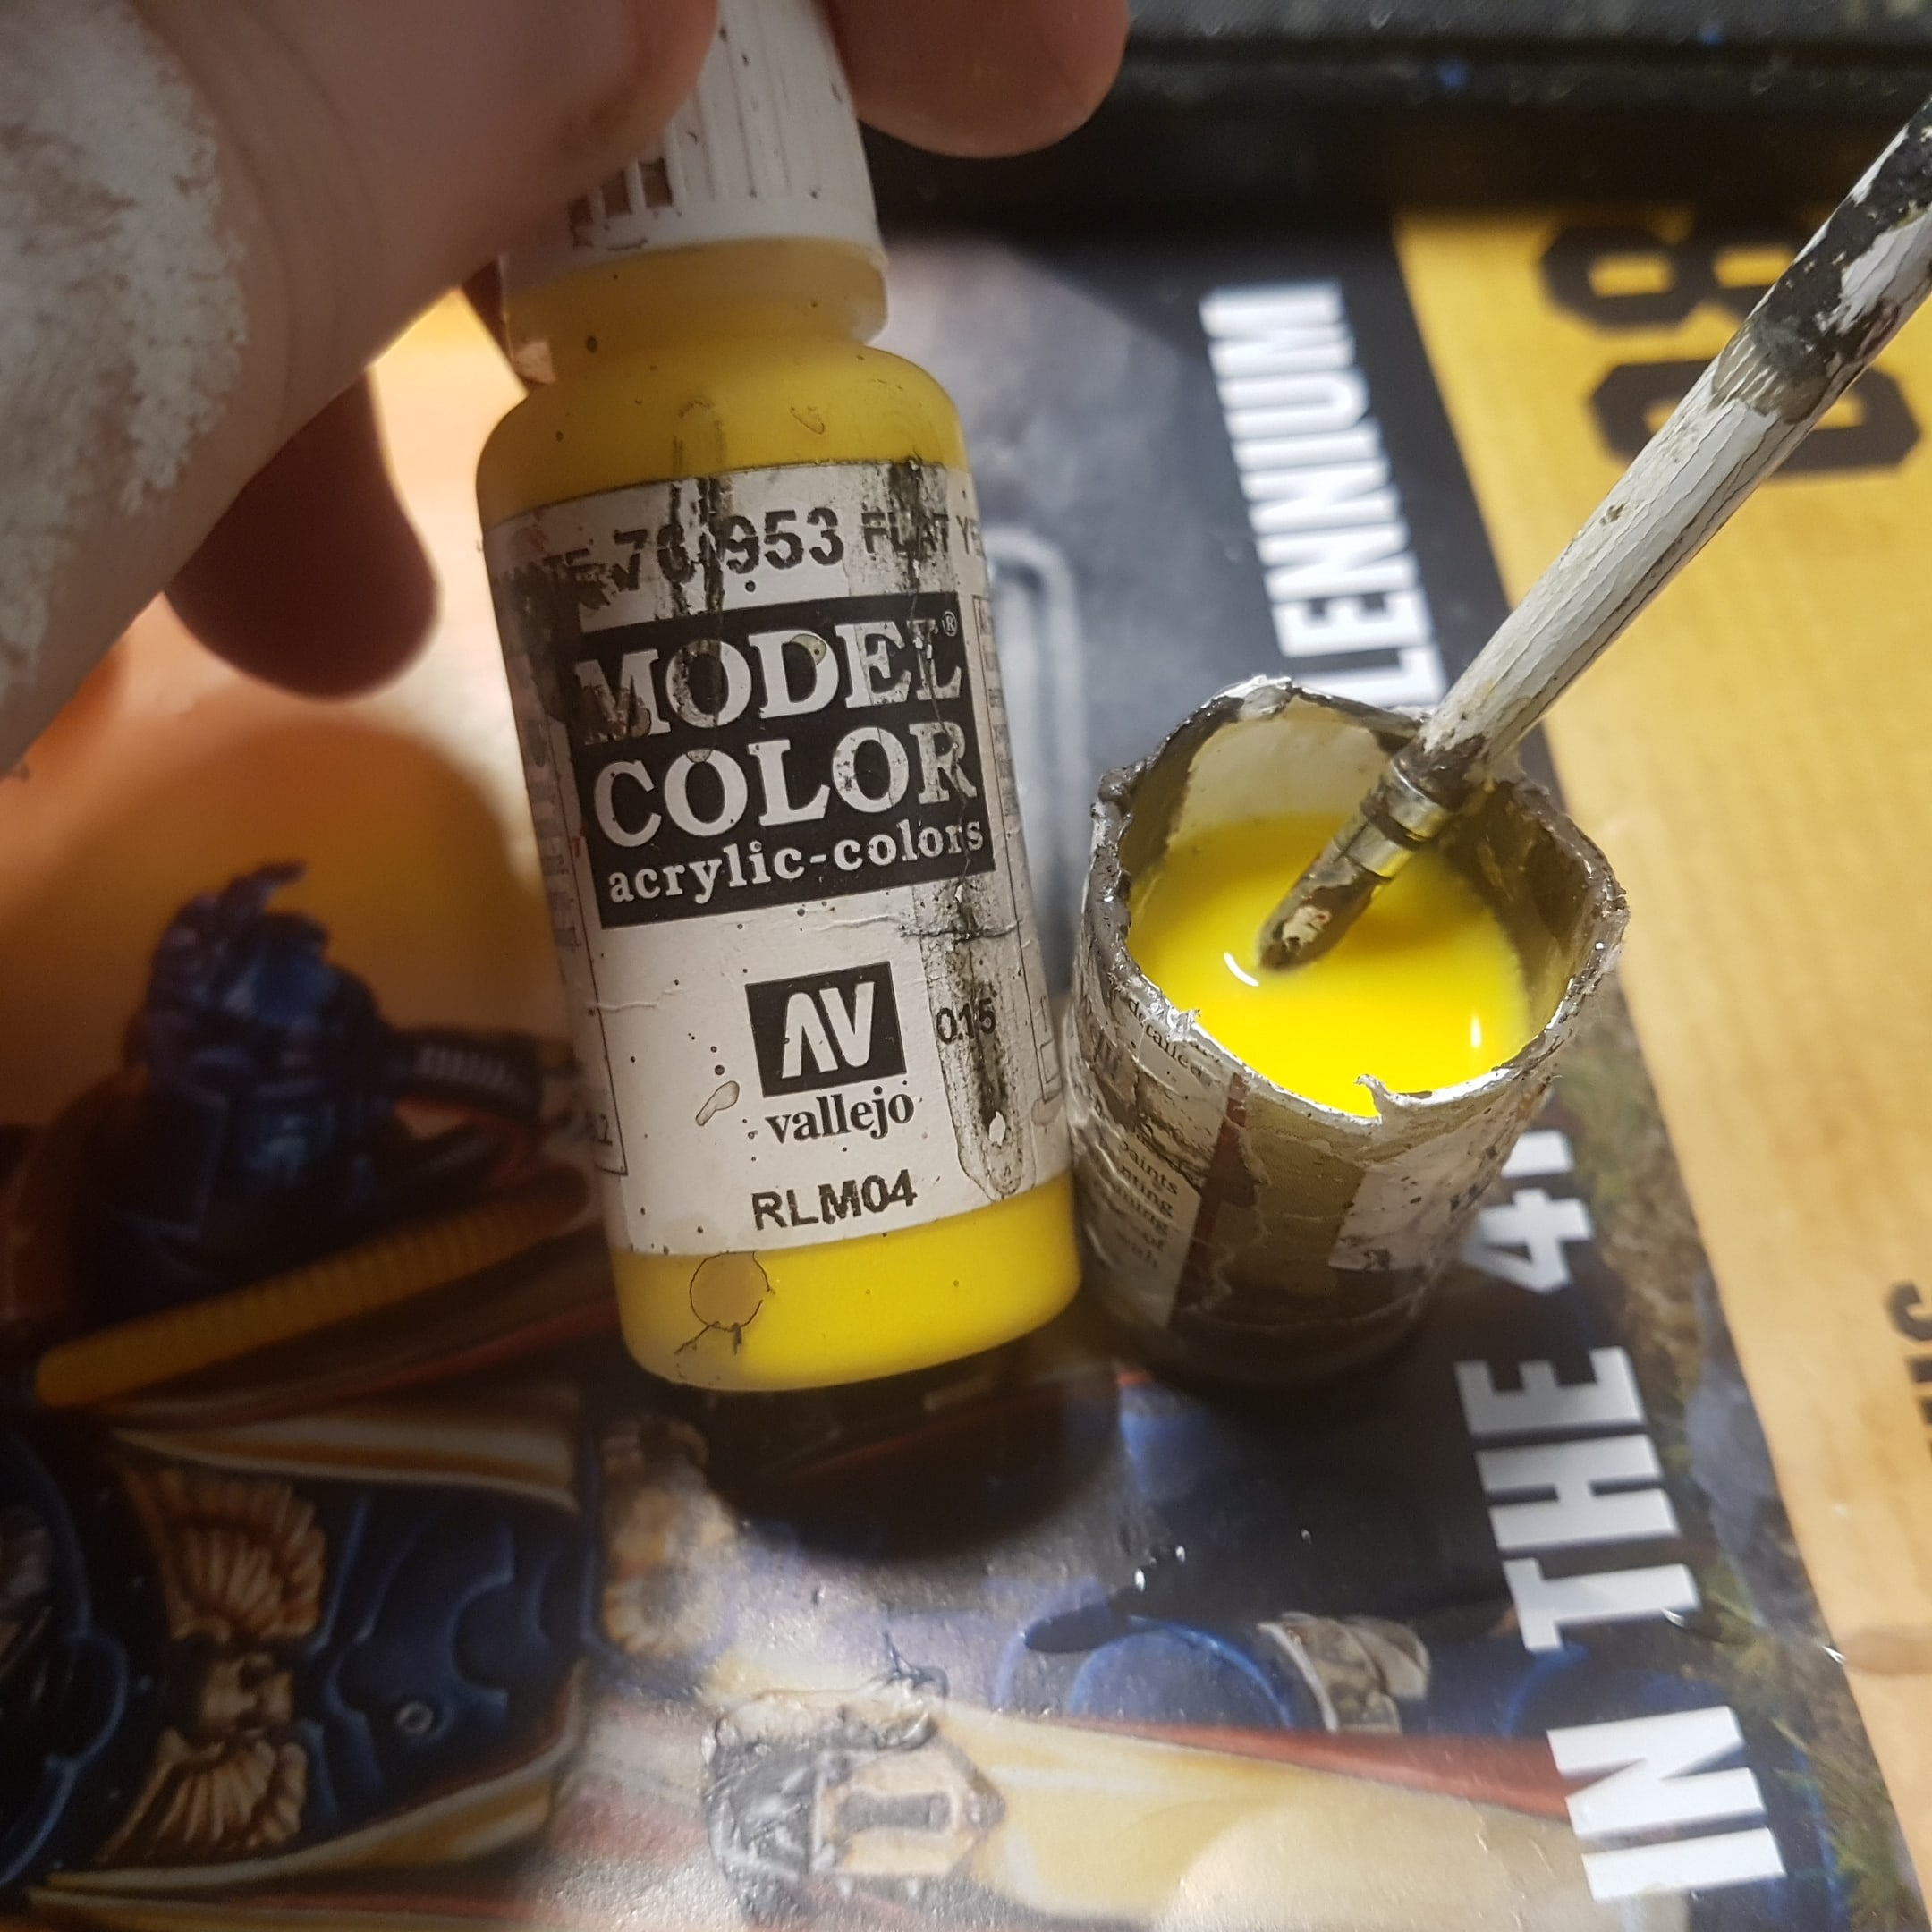 It Worked Fine, Mixed Well and Coloured the Sponge but Tipped Over Very Easily
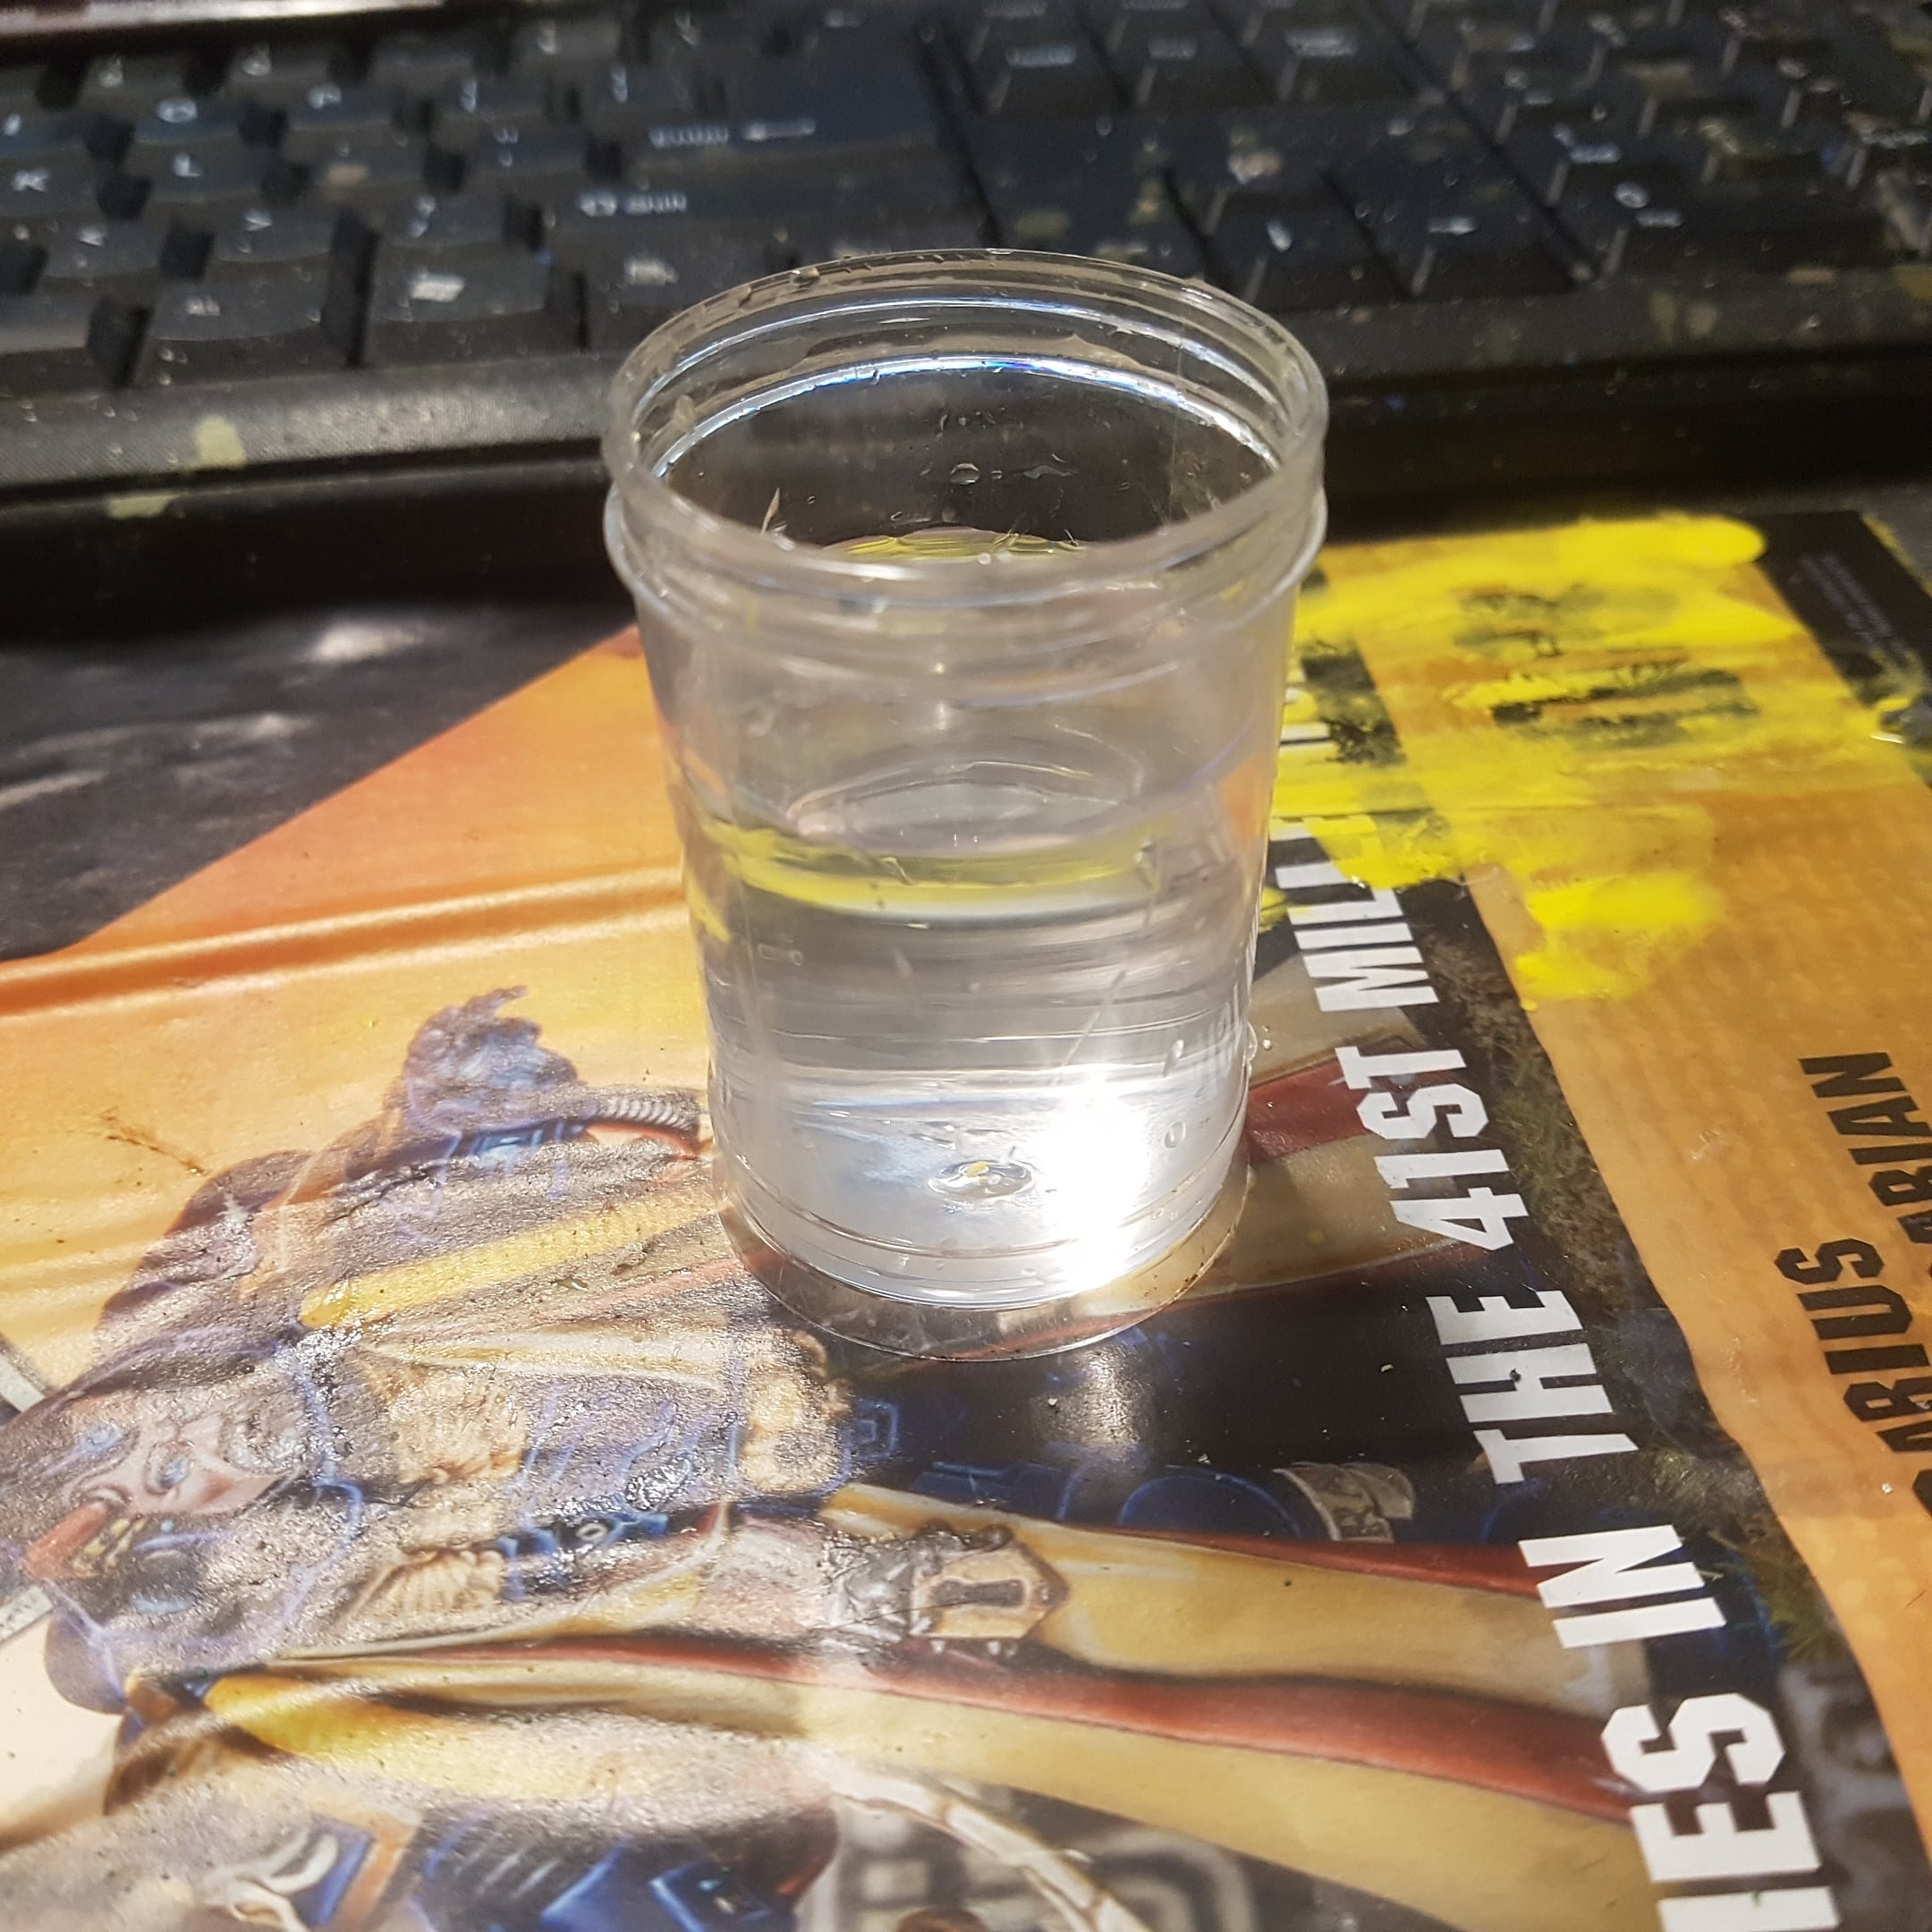 You can see the Spillage in the Background. Instead I'm Using a Toothpick Holder
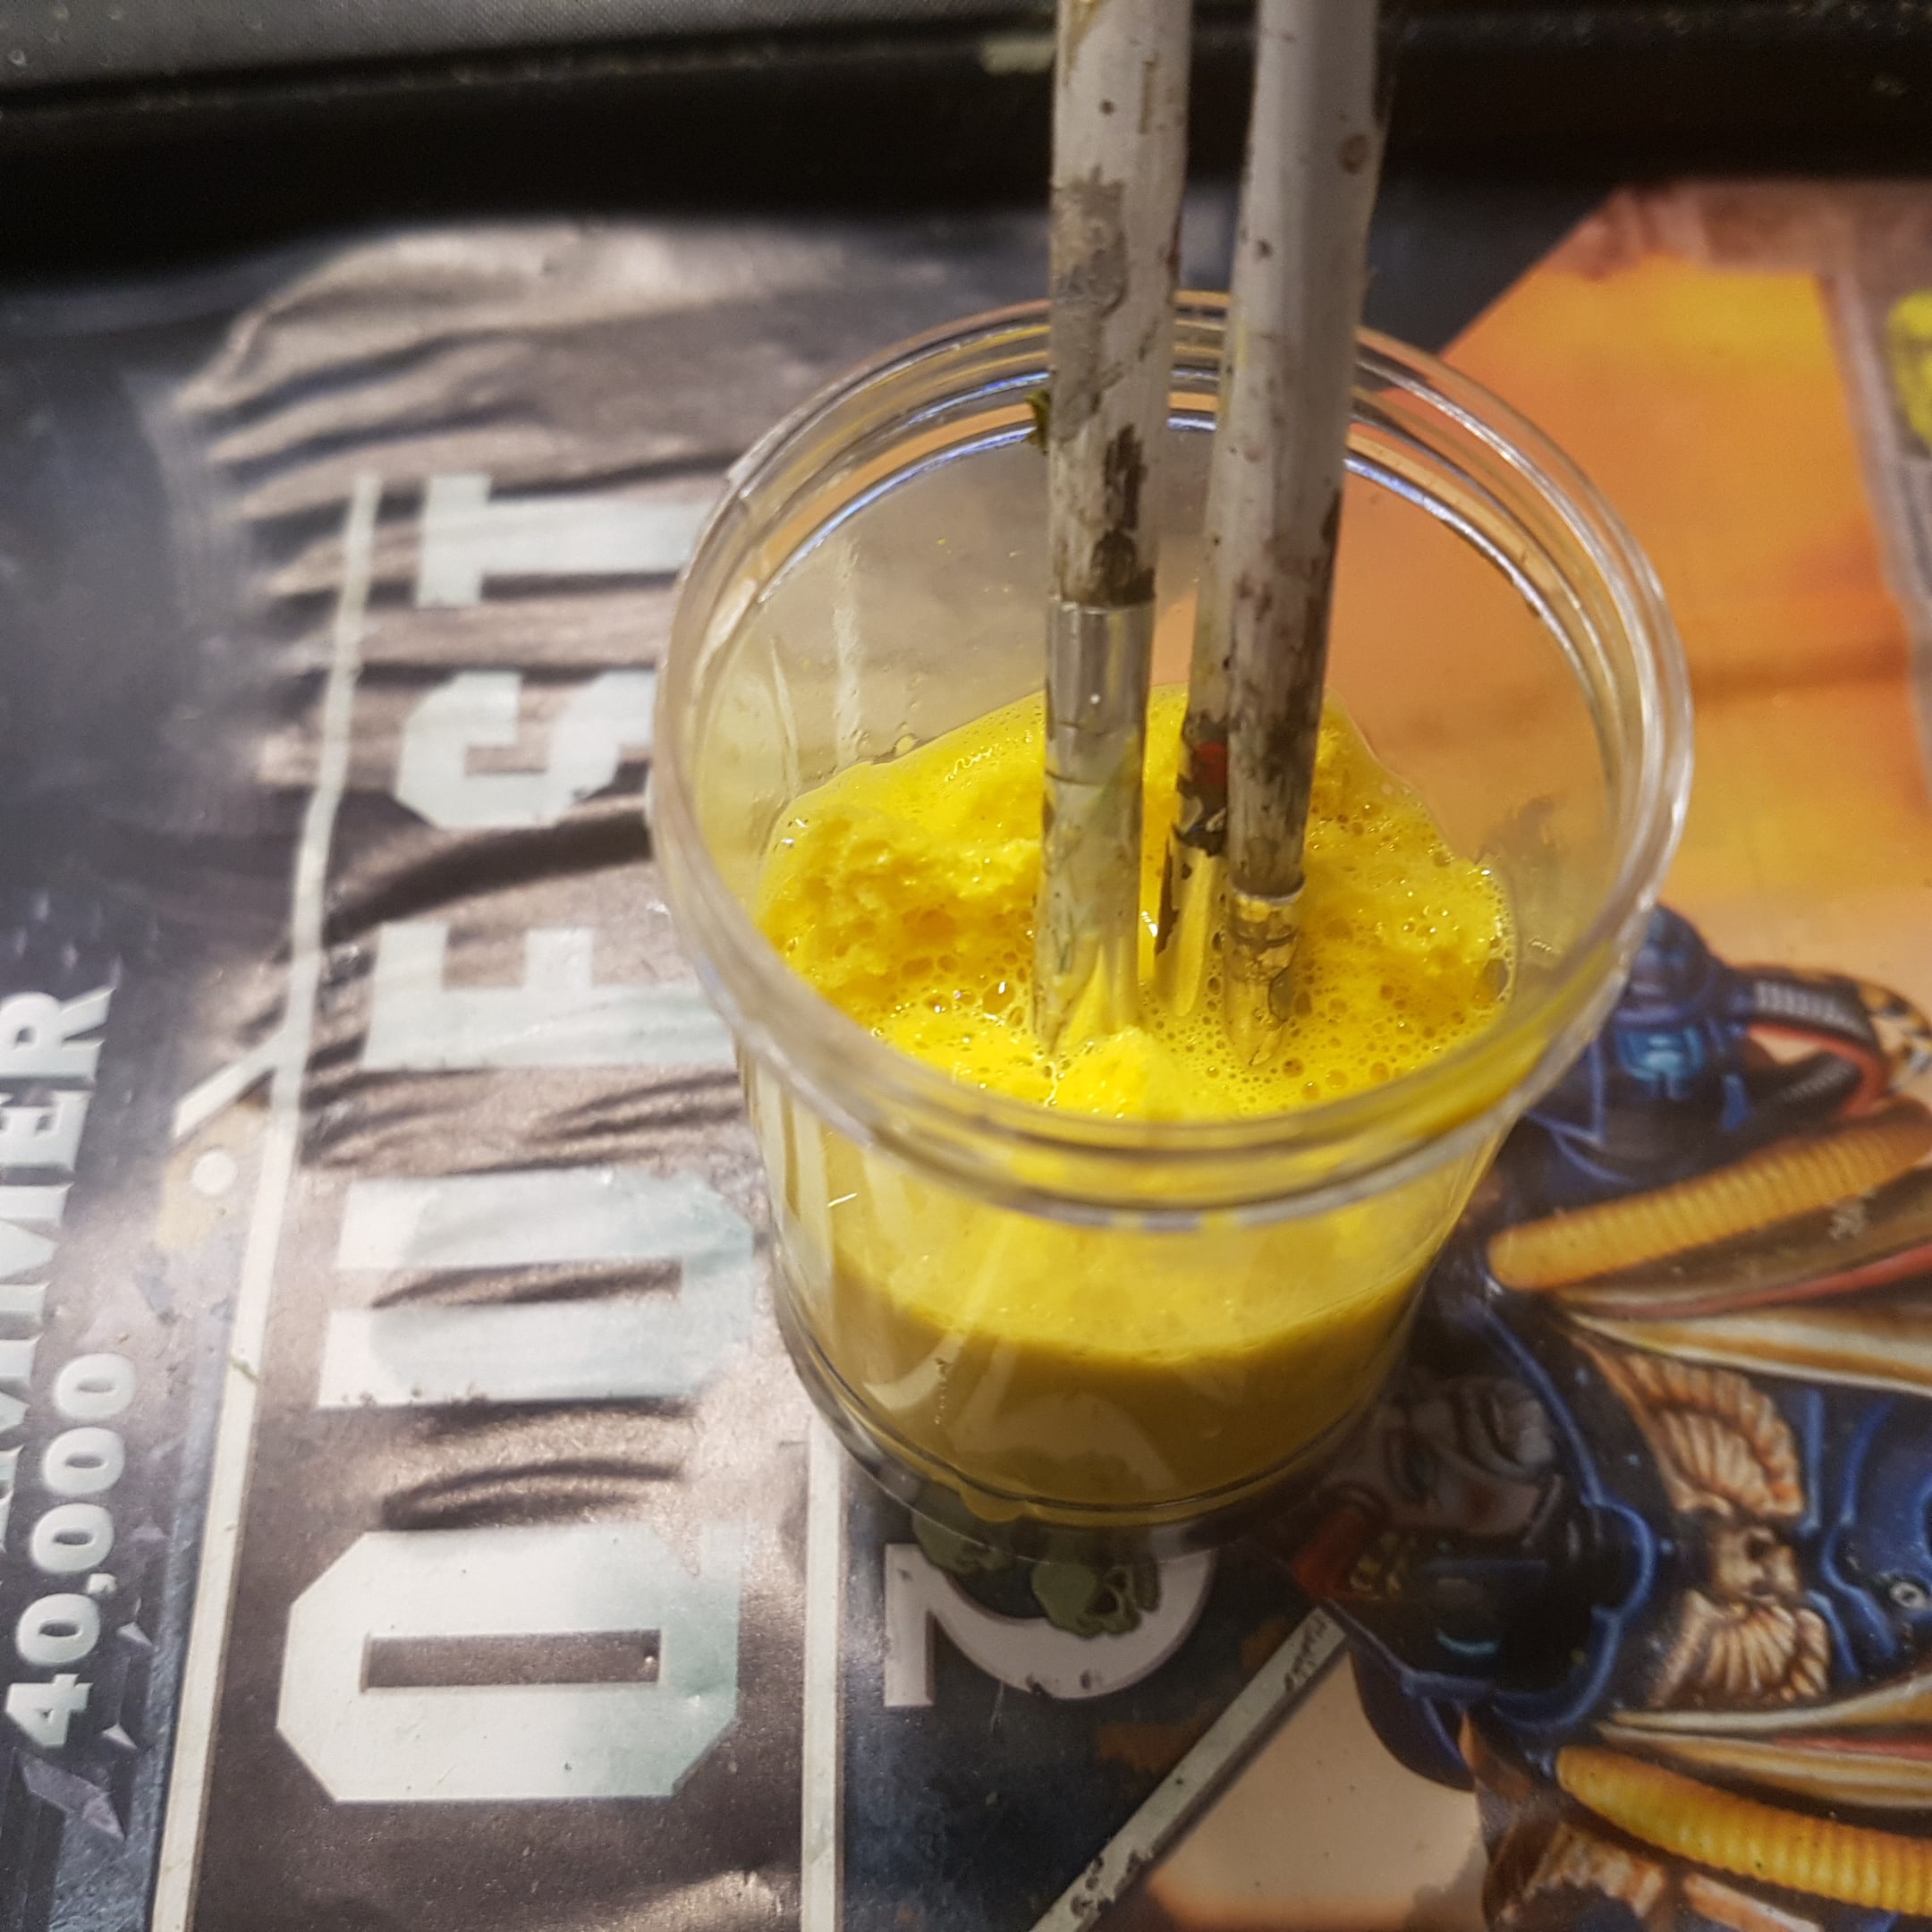 It was Easy Enough. Fill with Water, Apply a Bit of Paint and Squish with Old Brushes to Soak the Colour
 The Colour was then Left to Dry and the Container Washed and Repeated for Other Colours
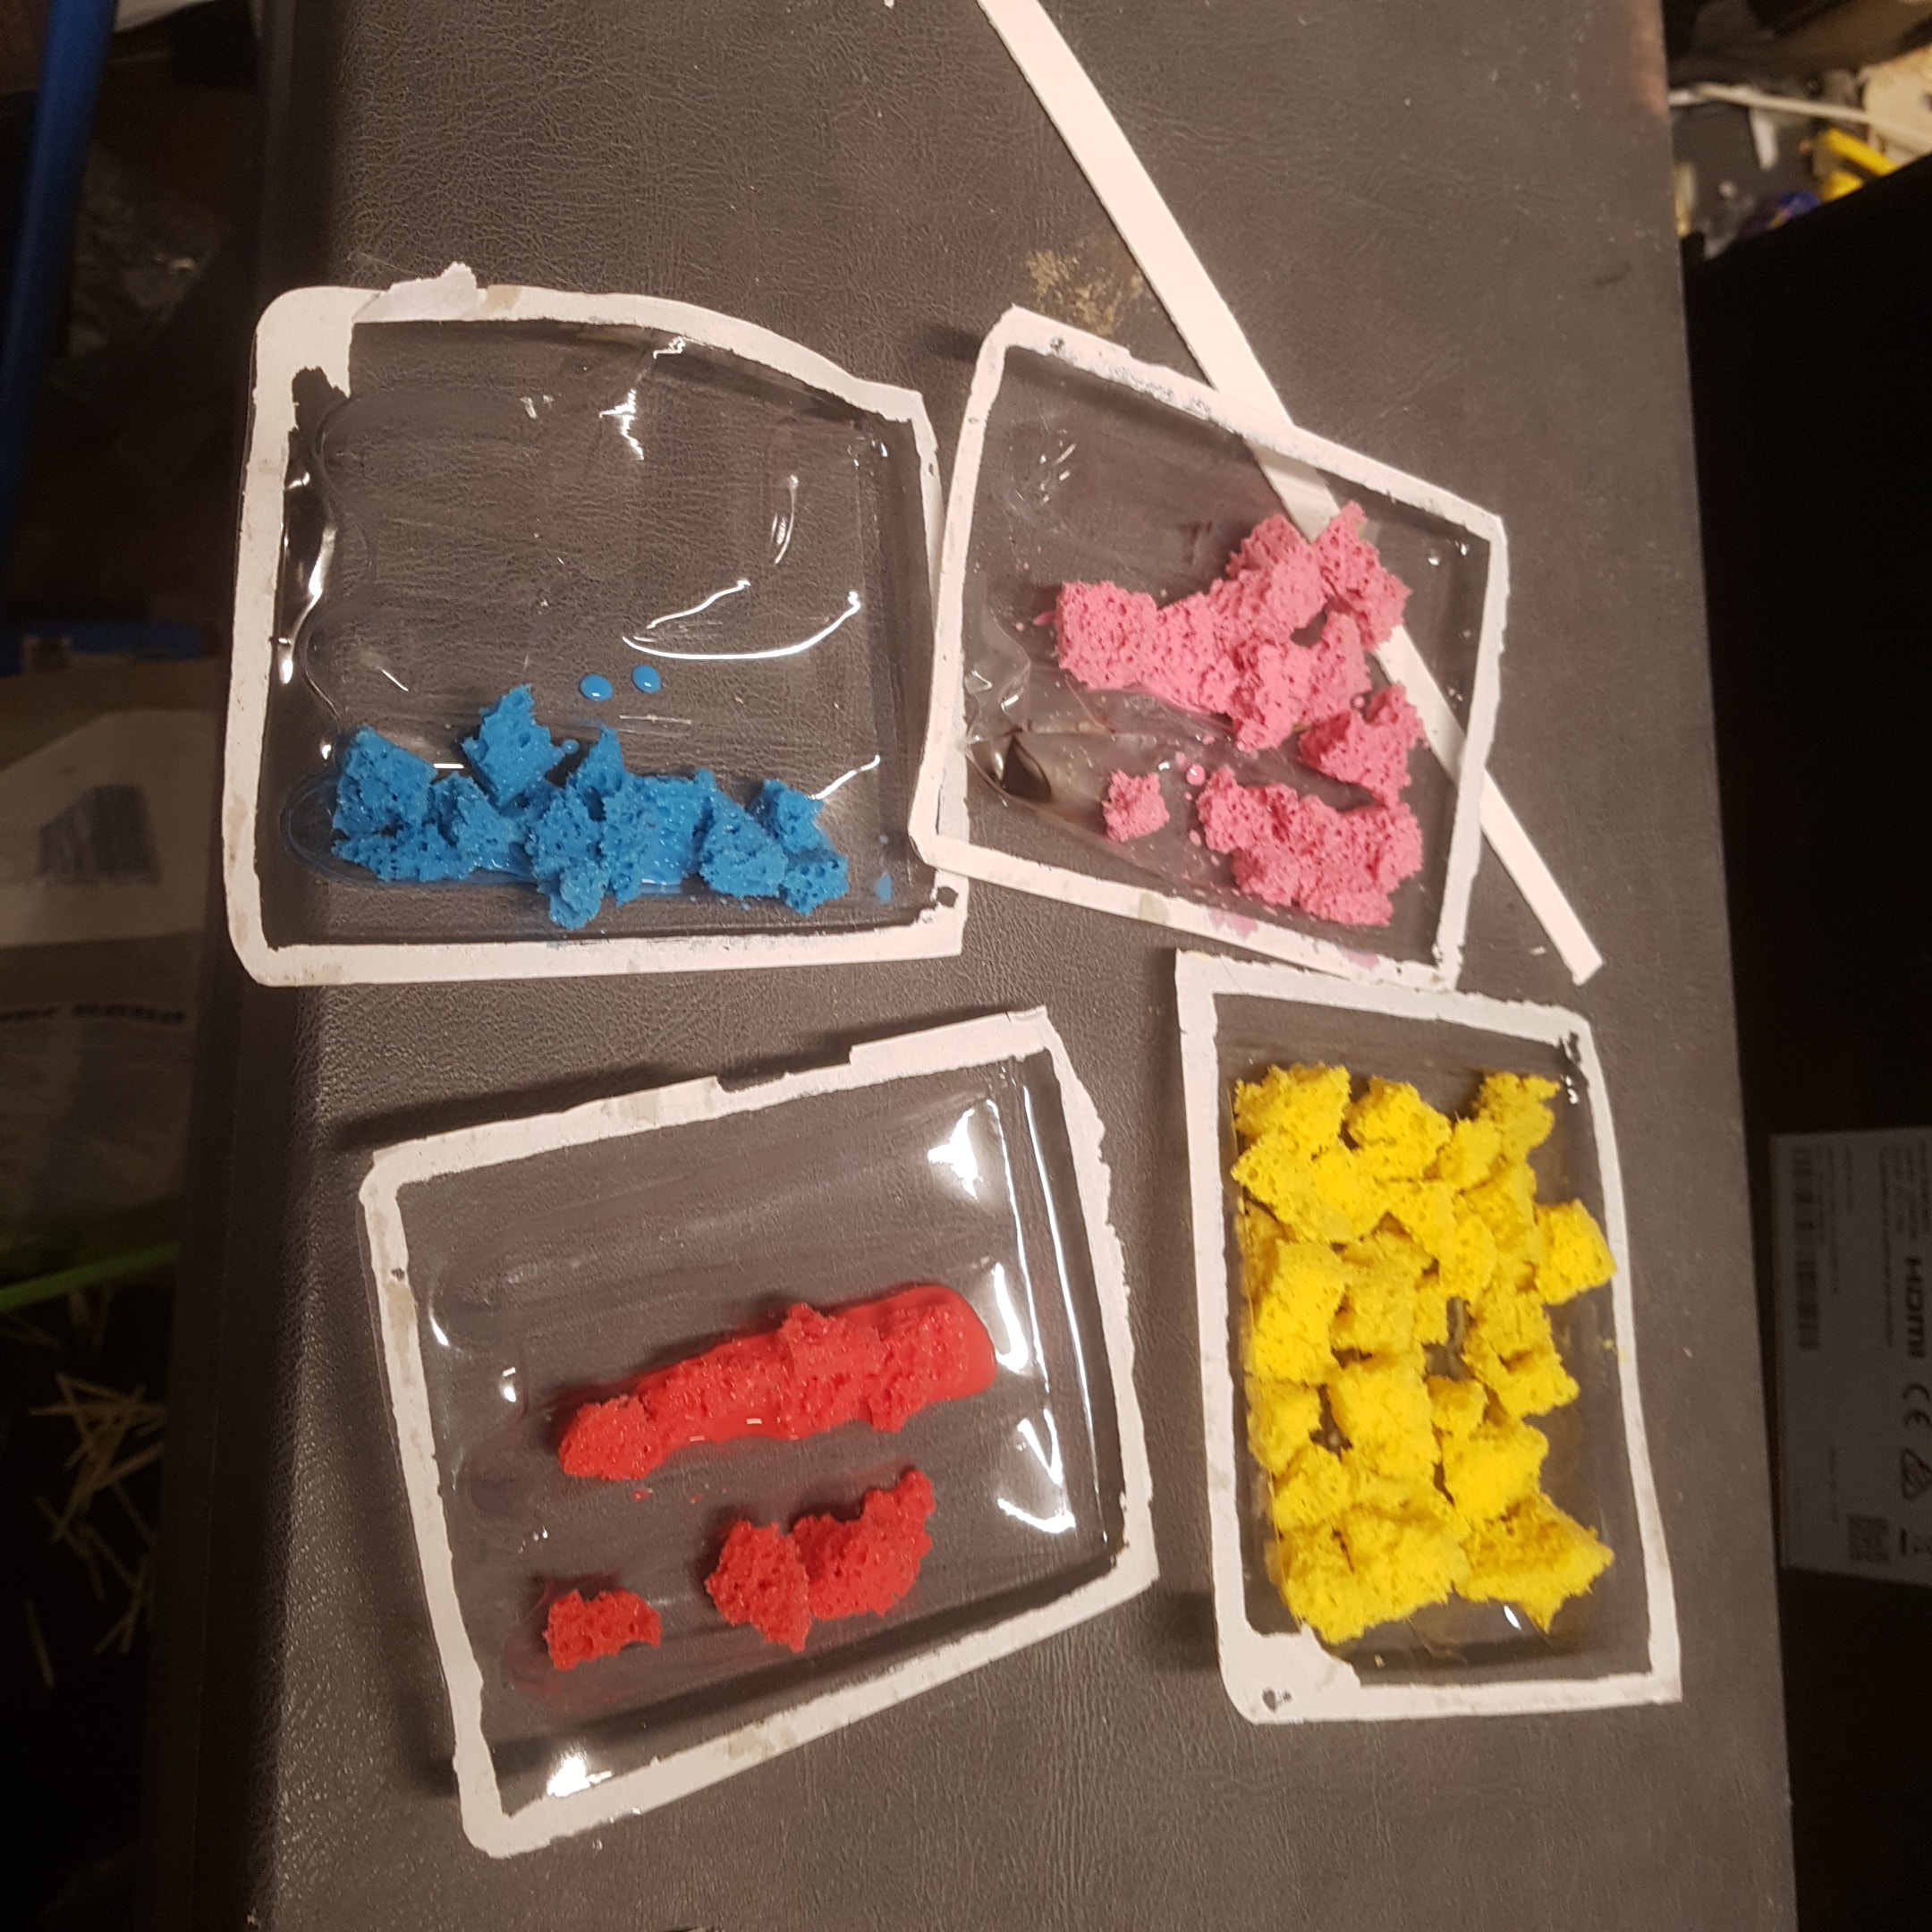
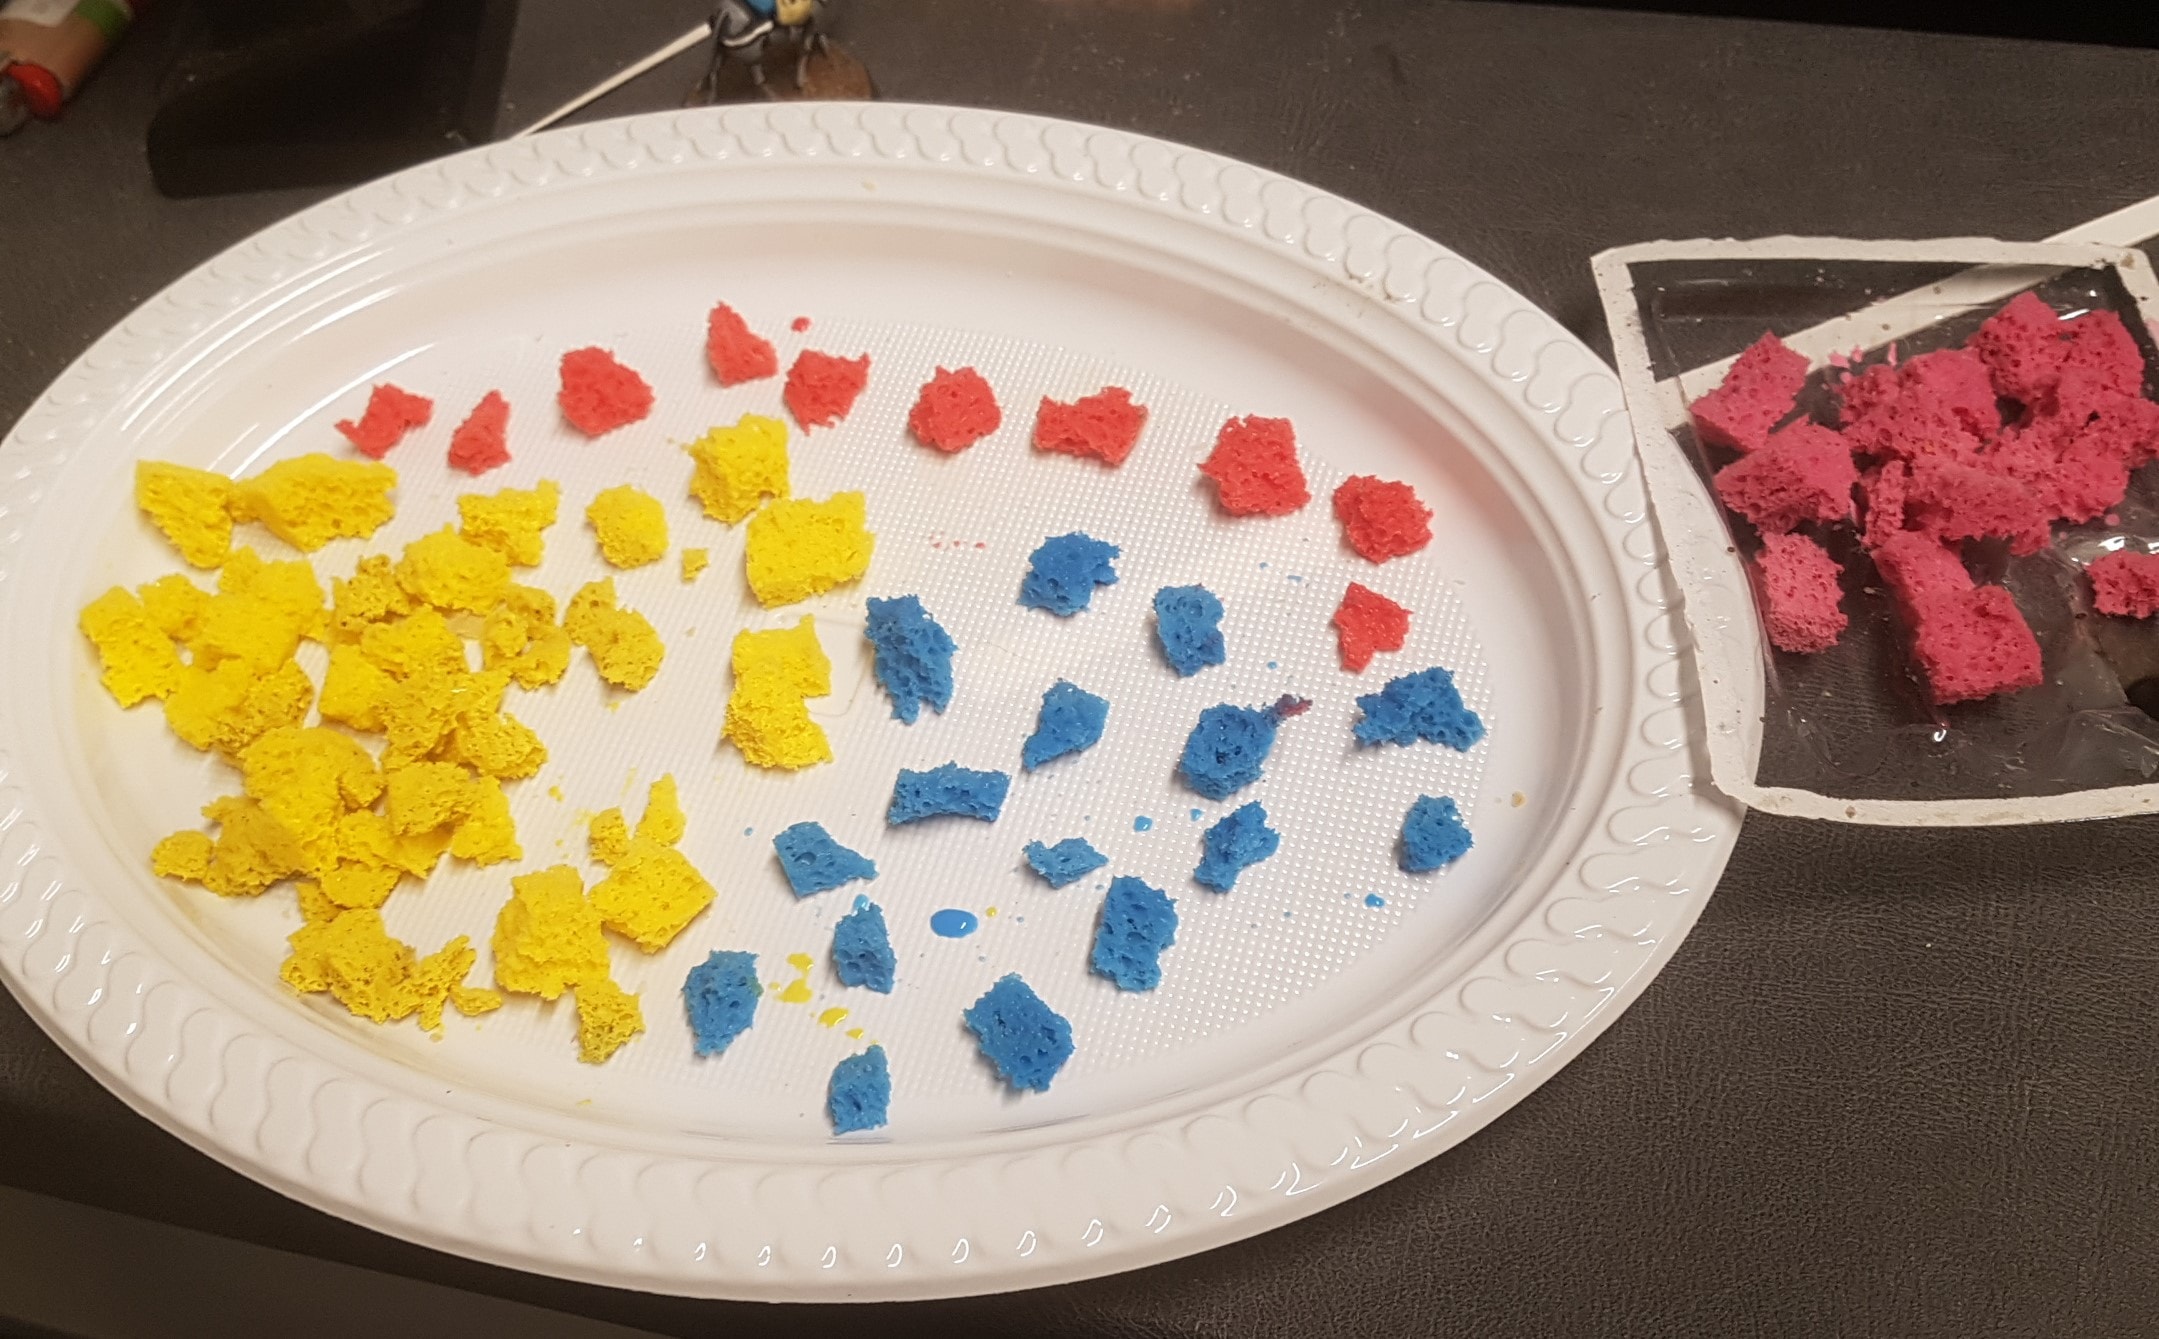 The Finished Product Waiting to Dry
Something Different
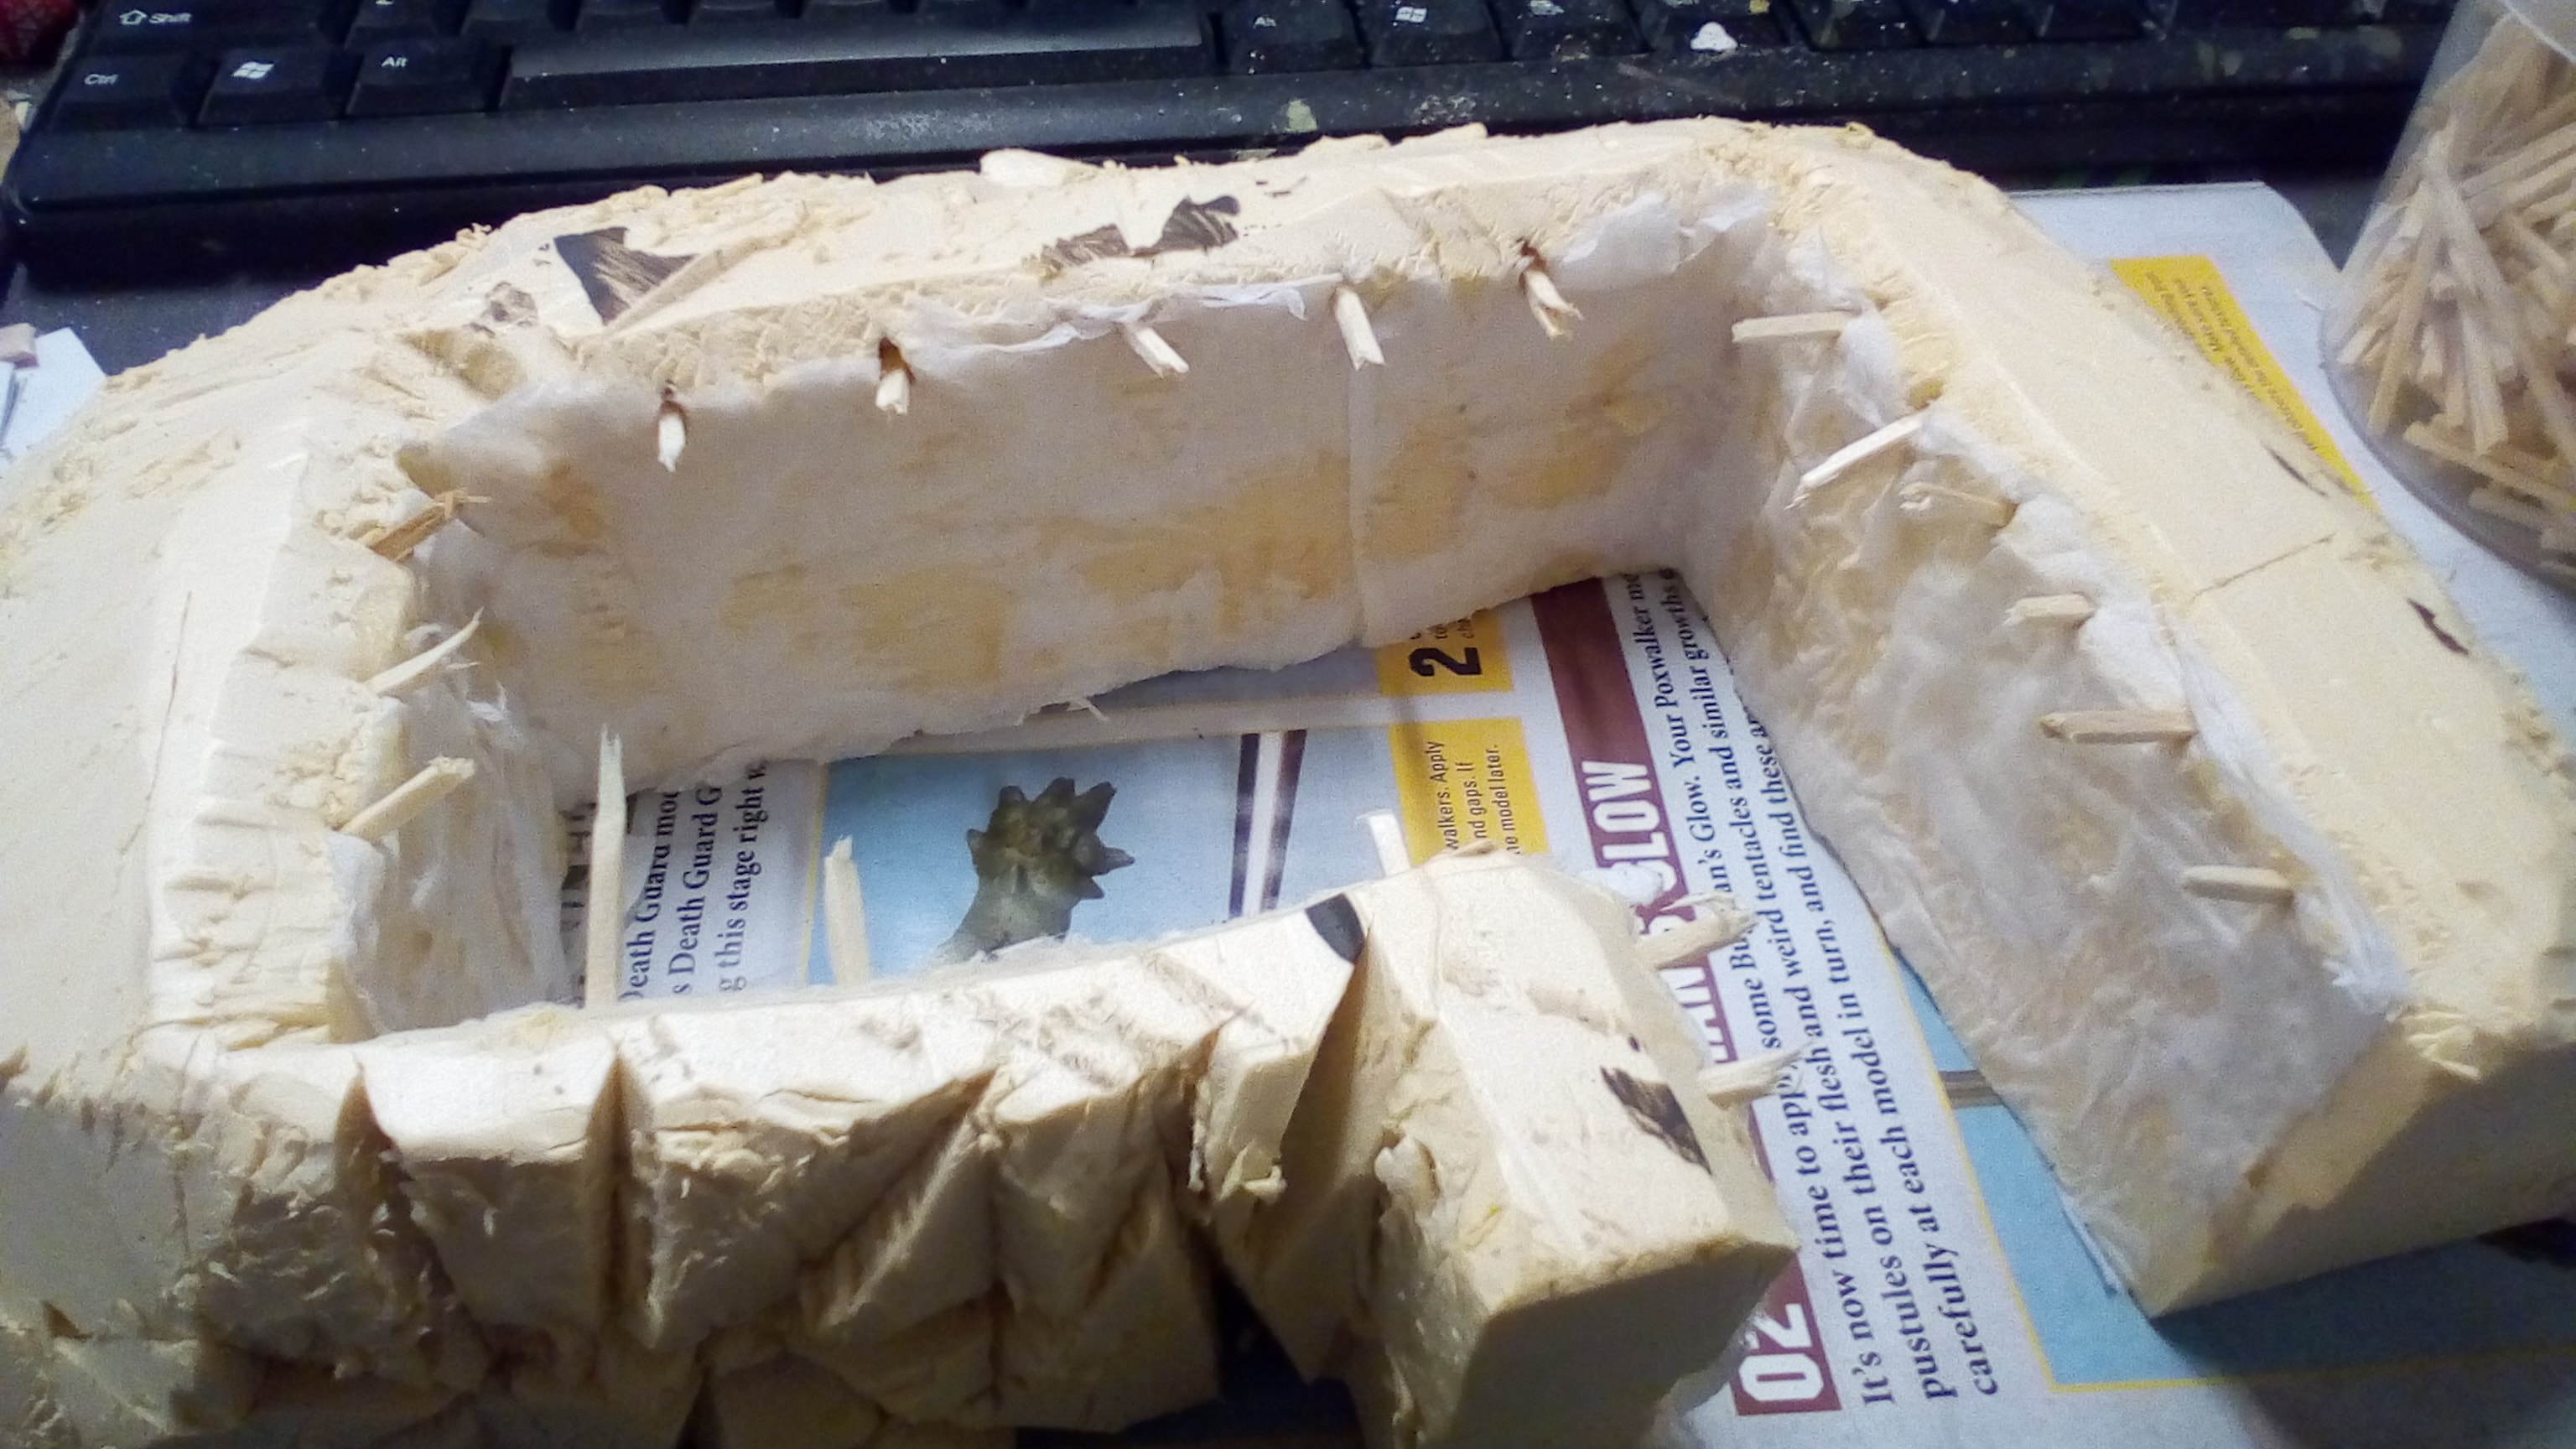
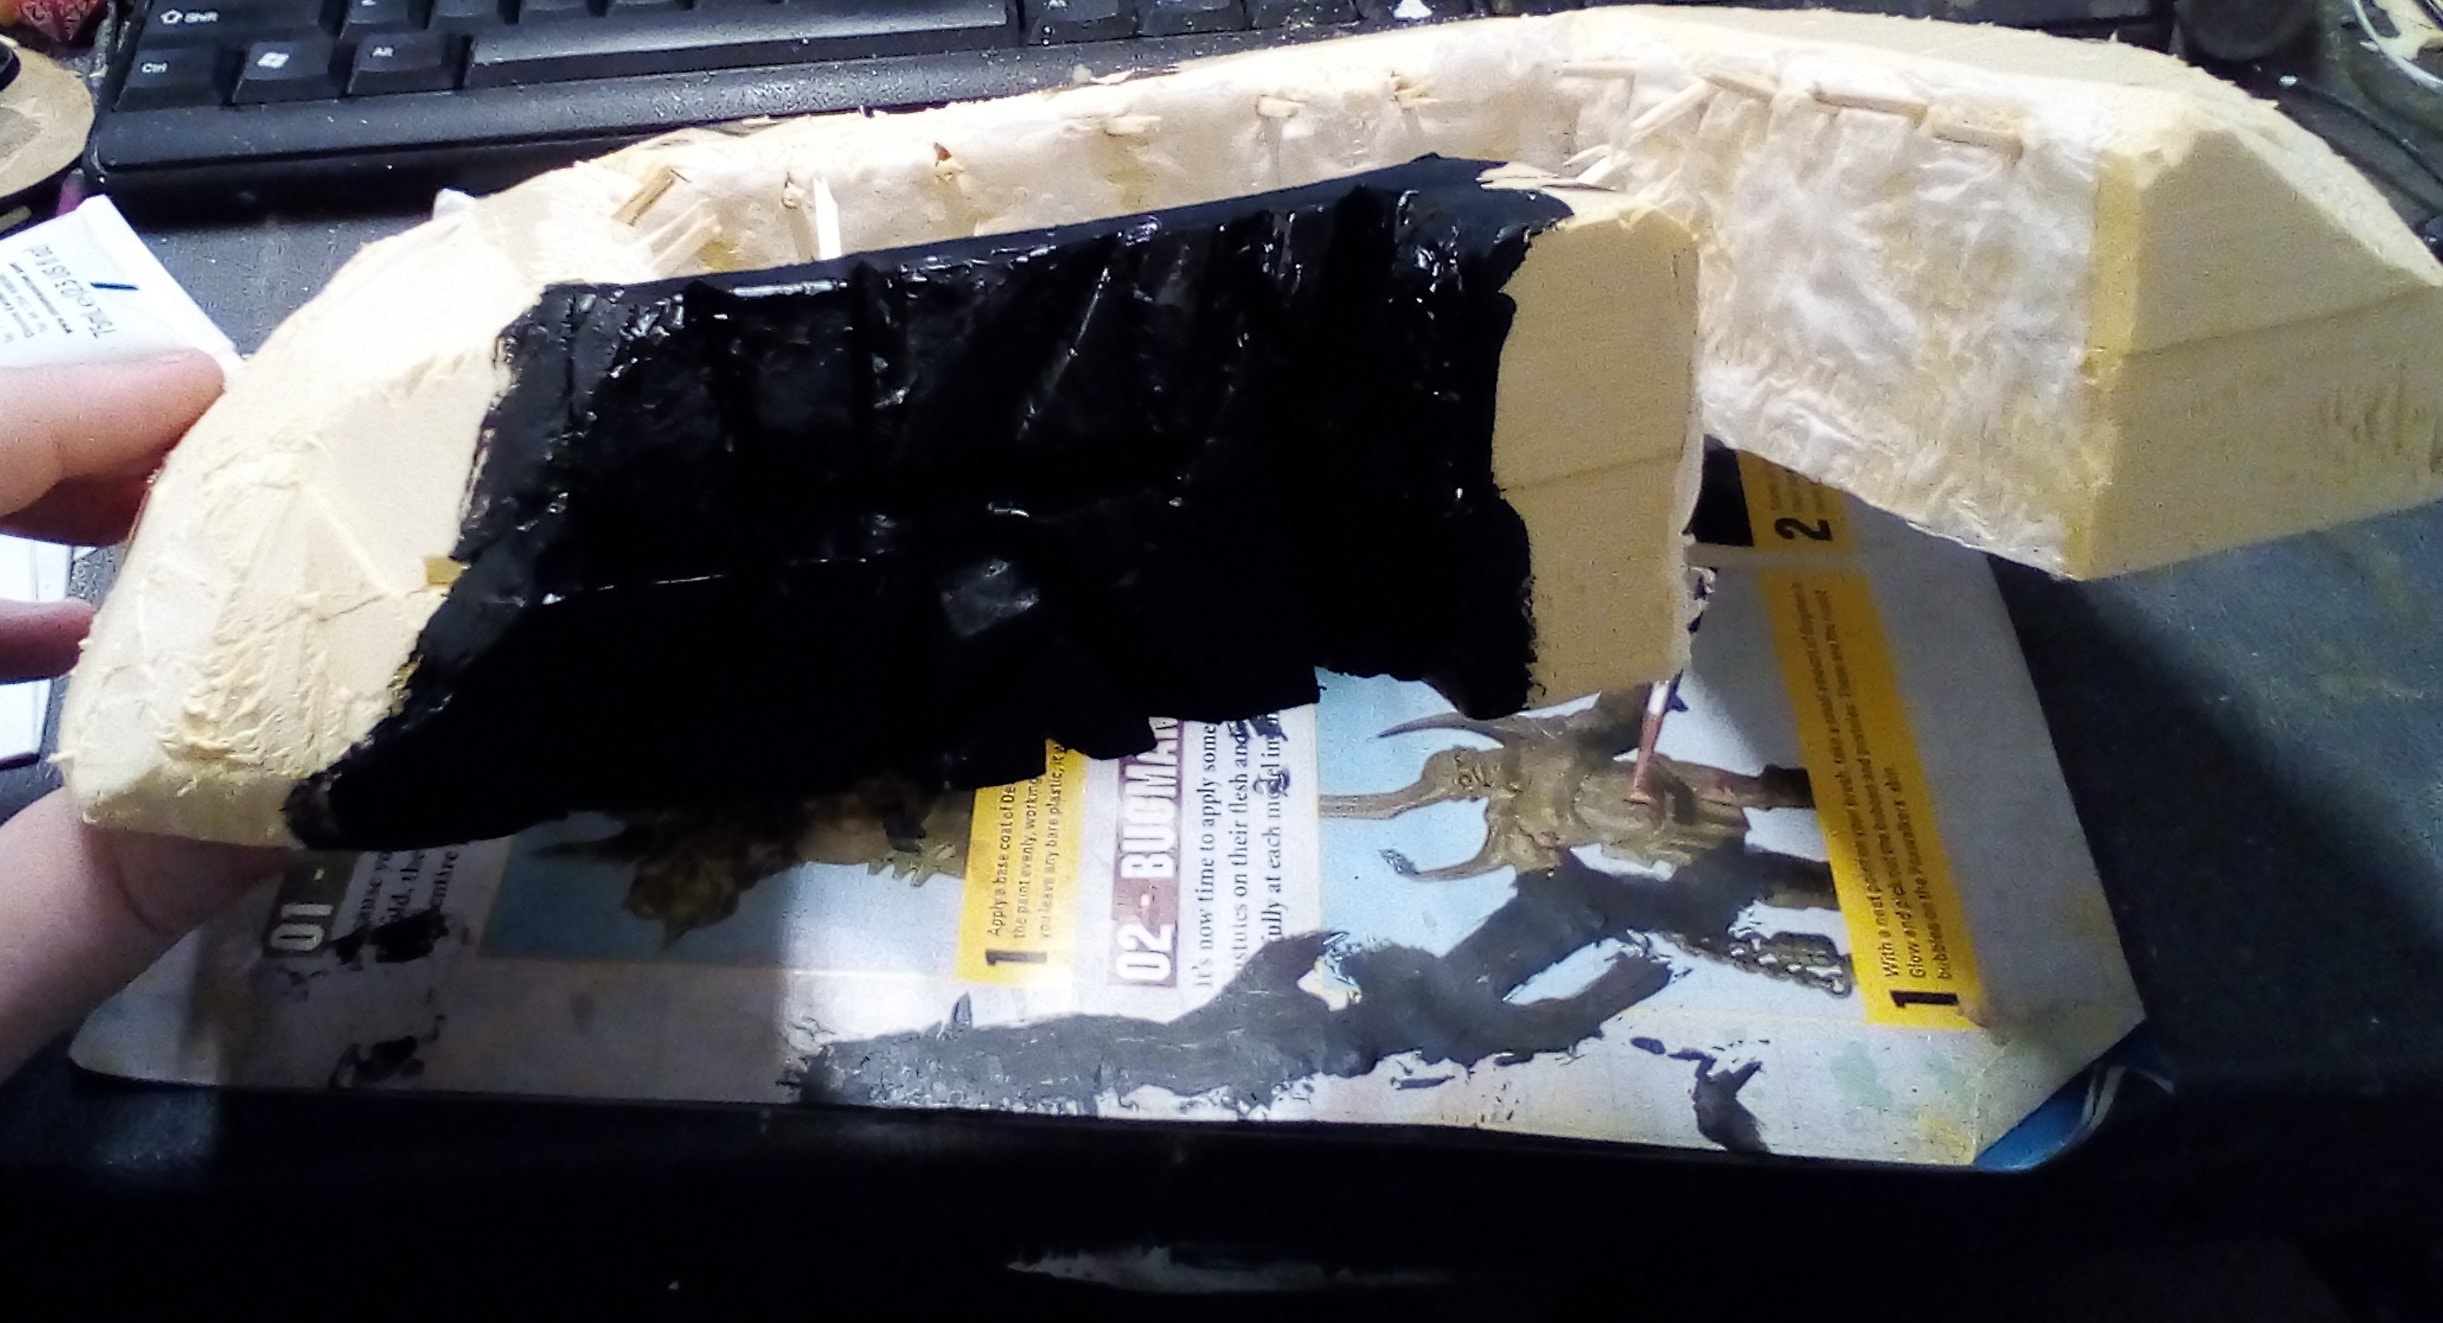
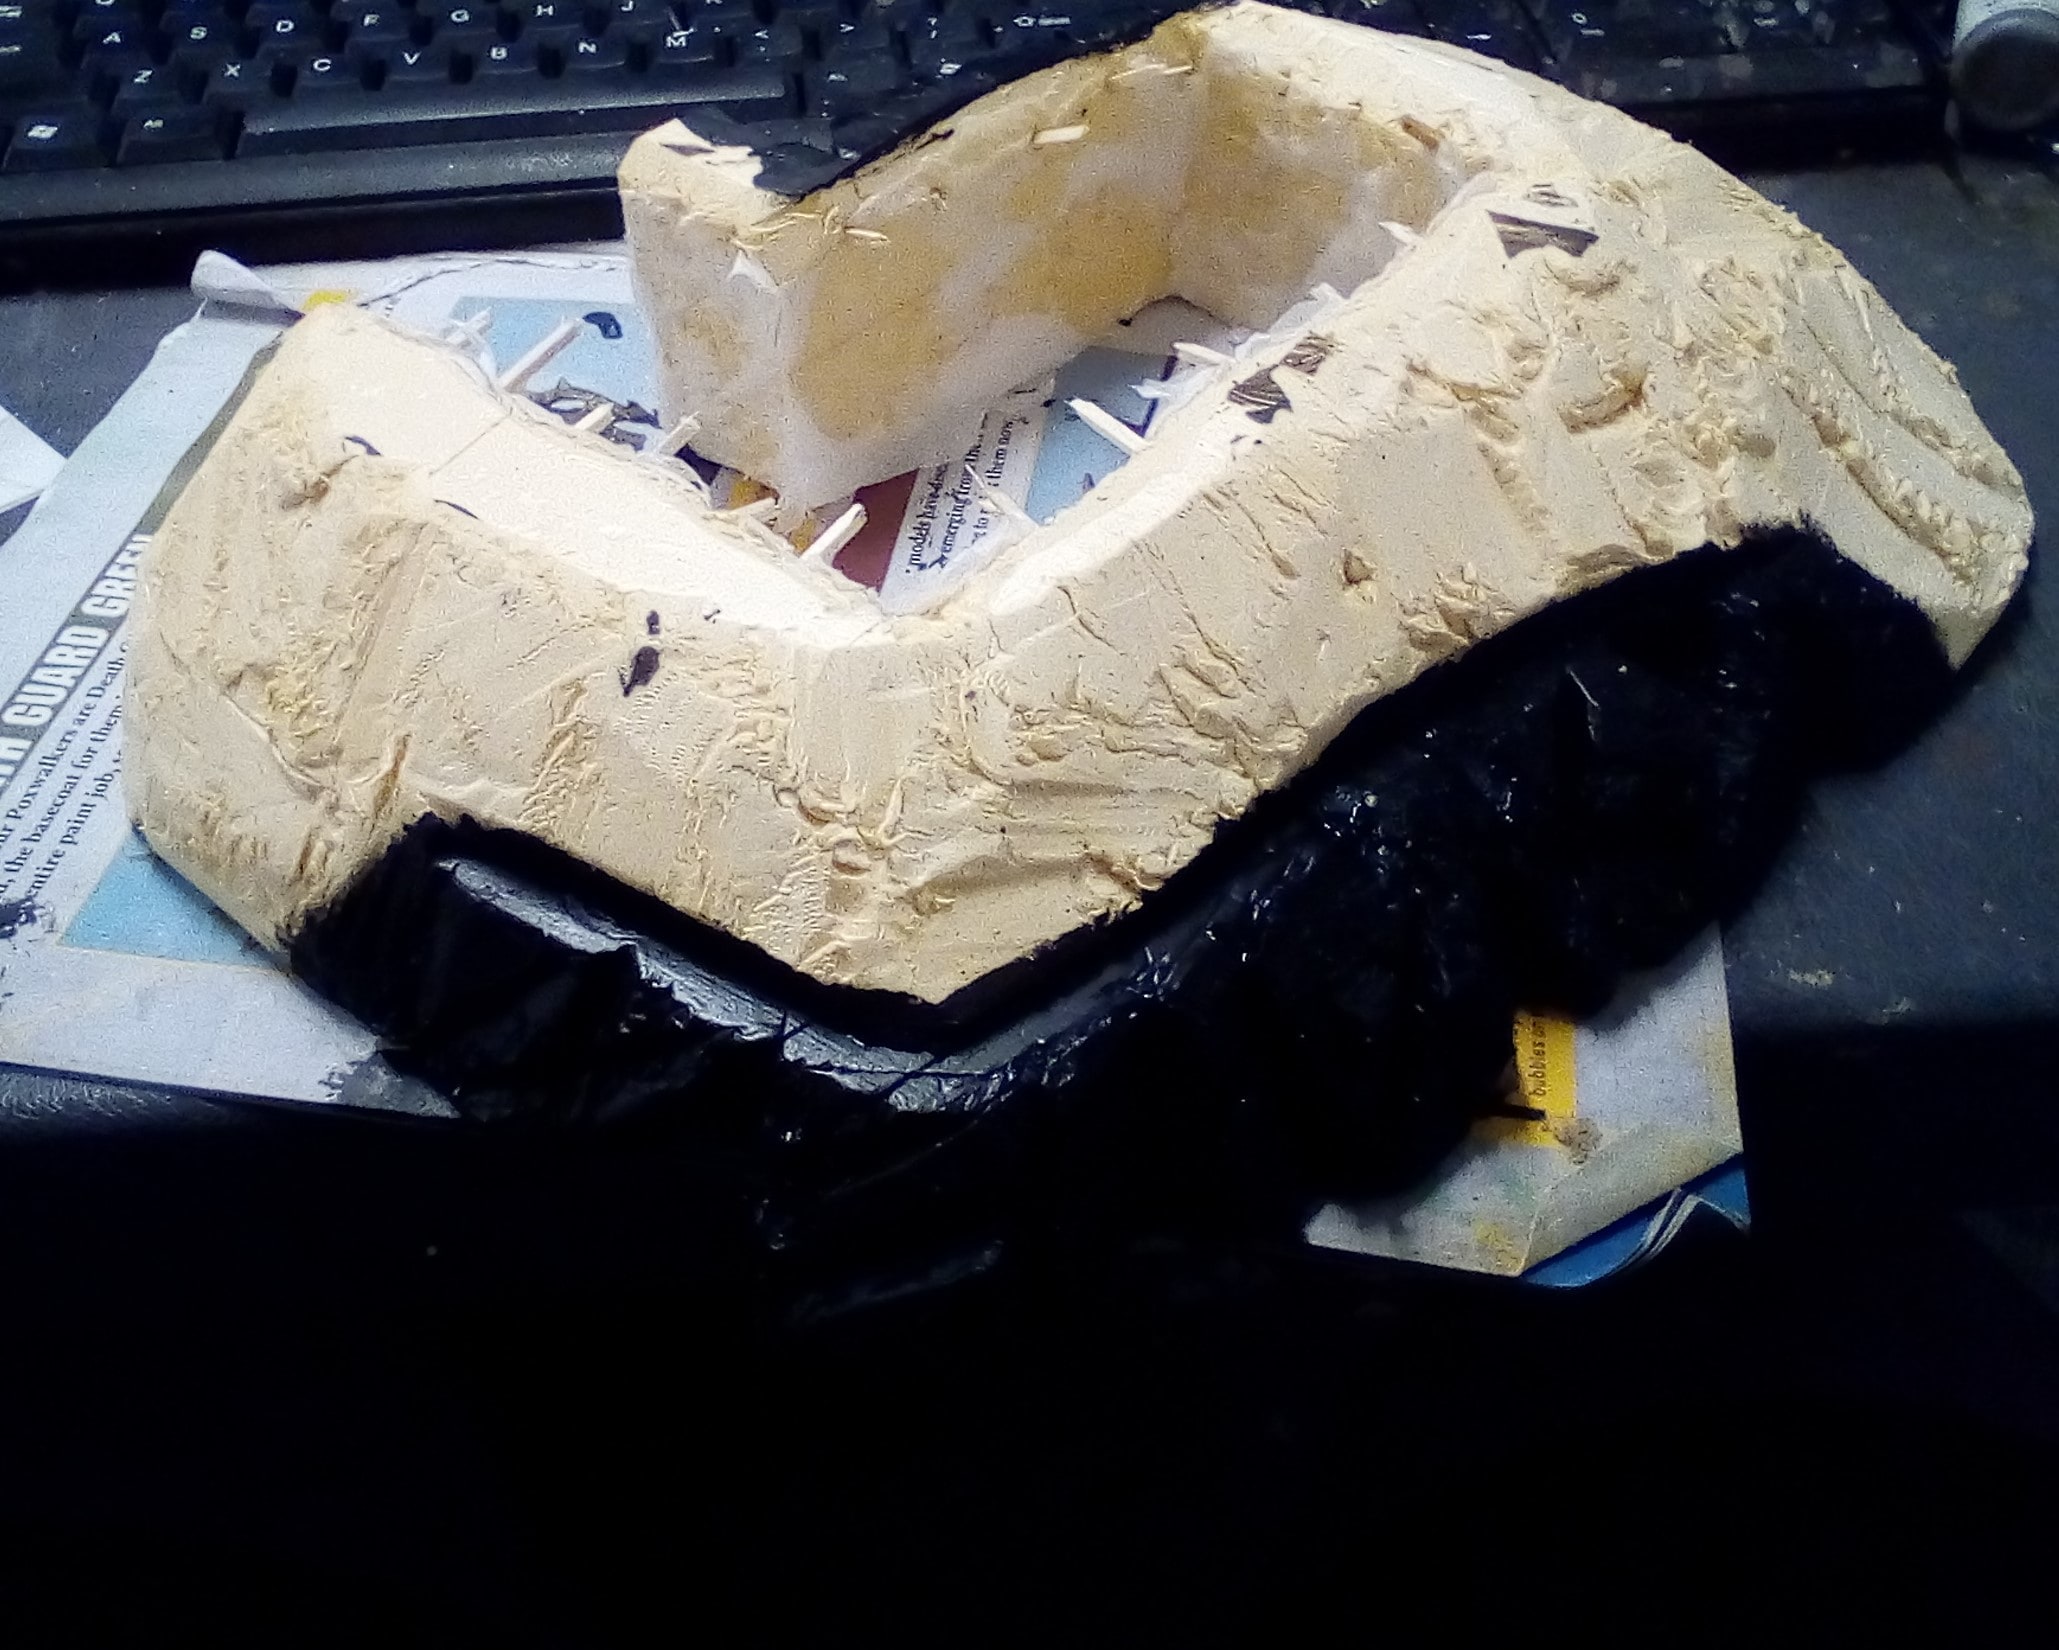
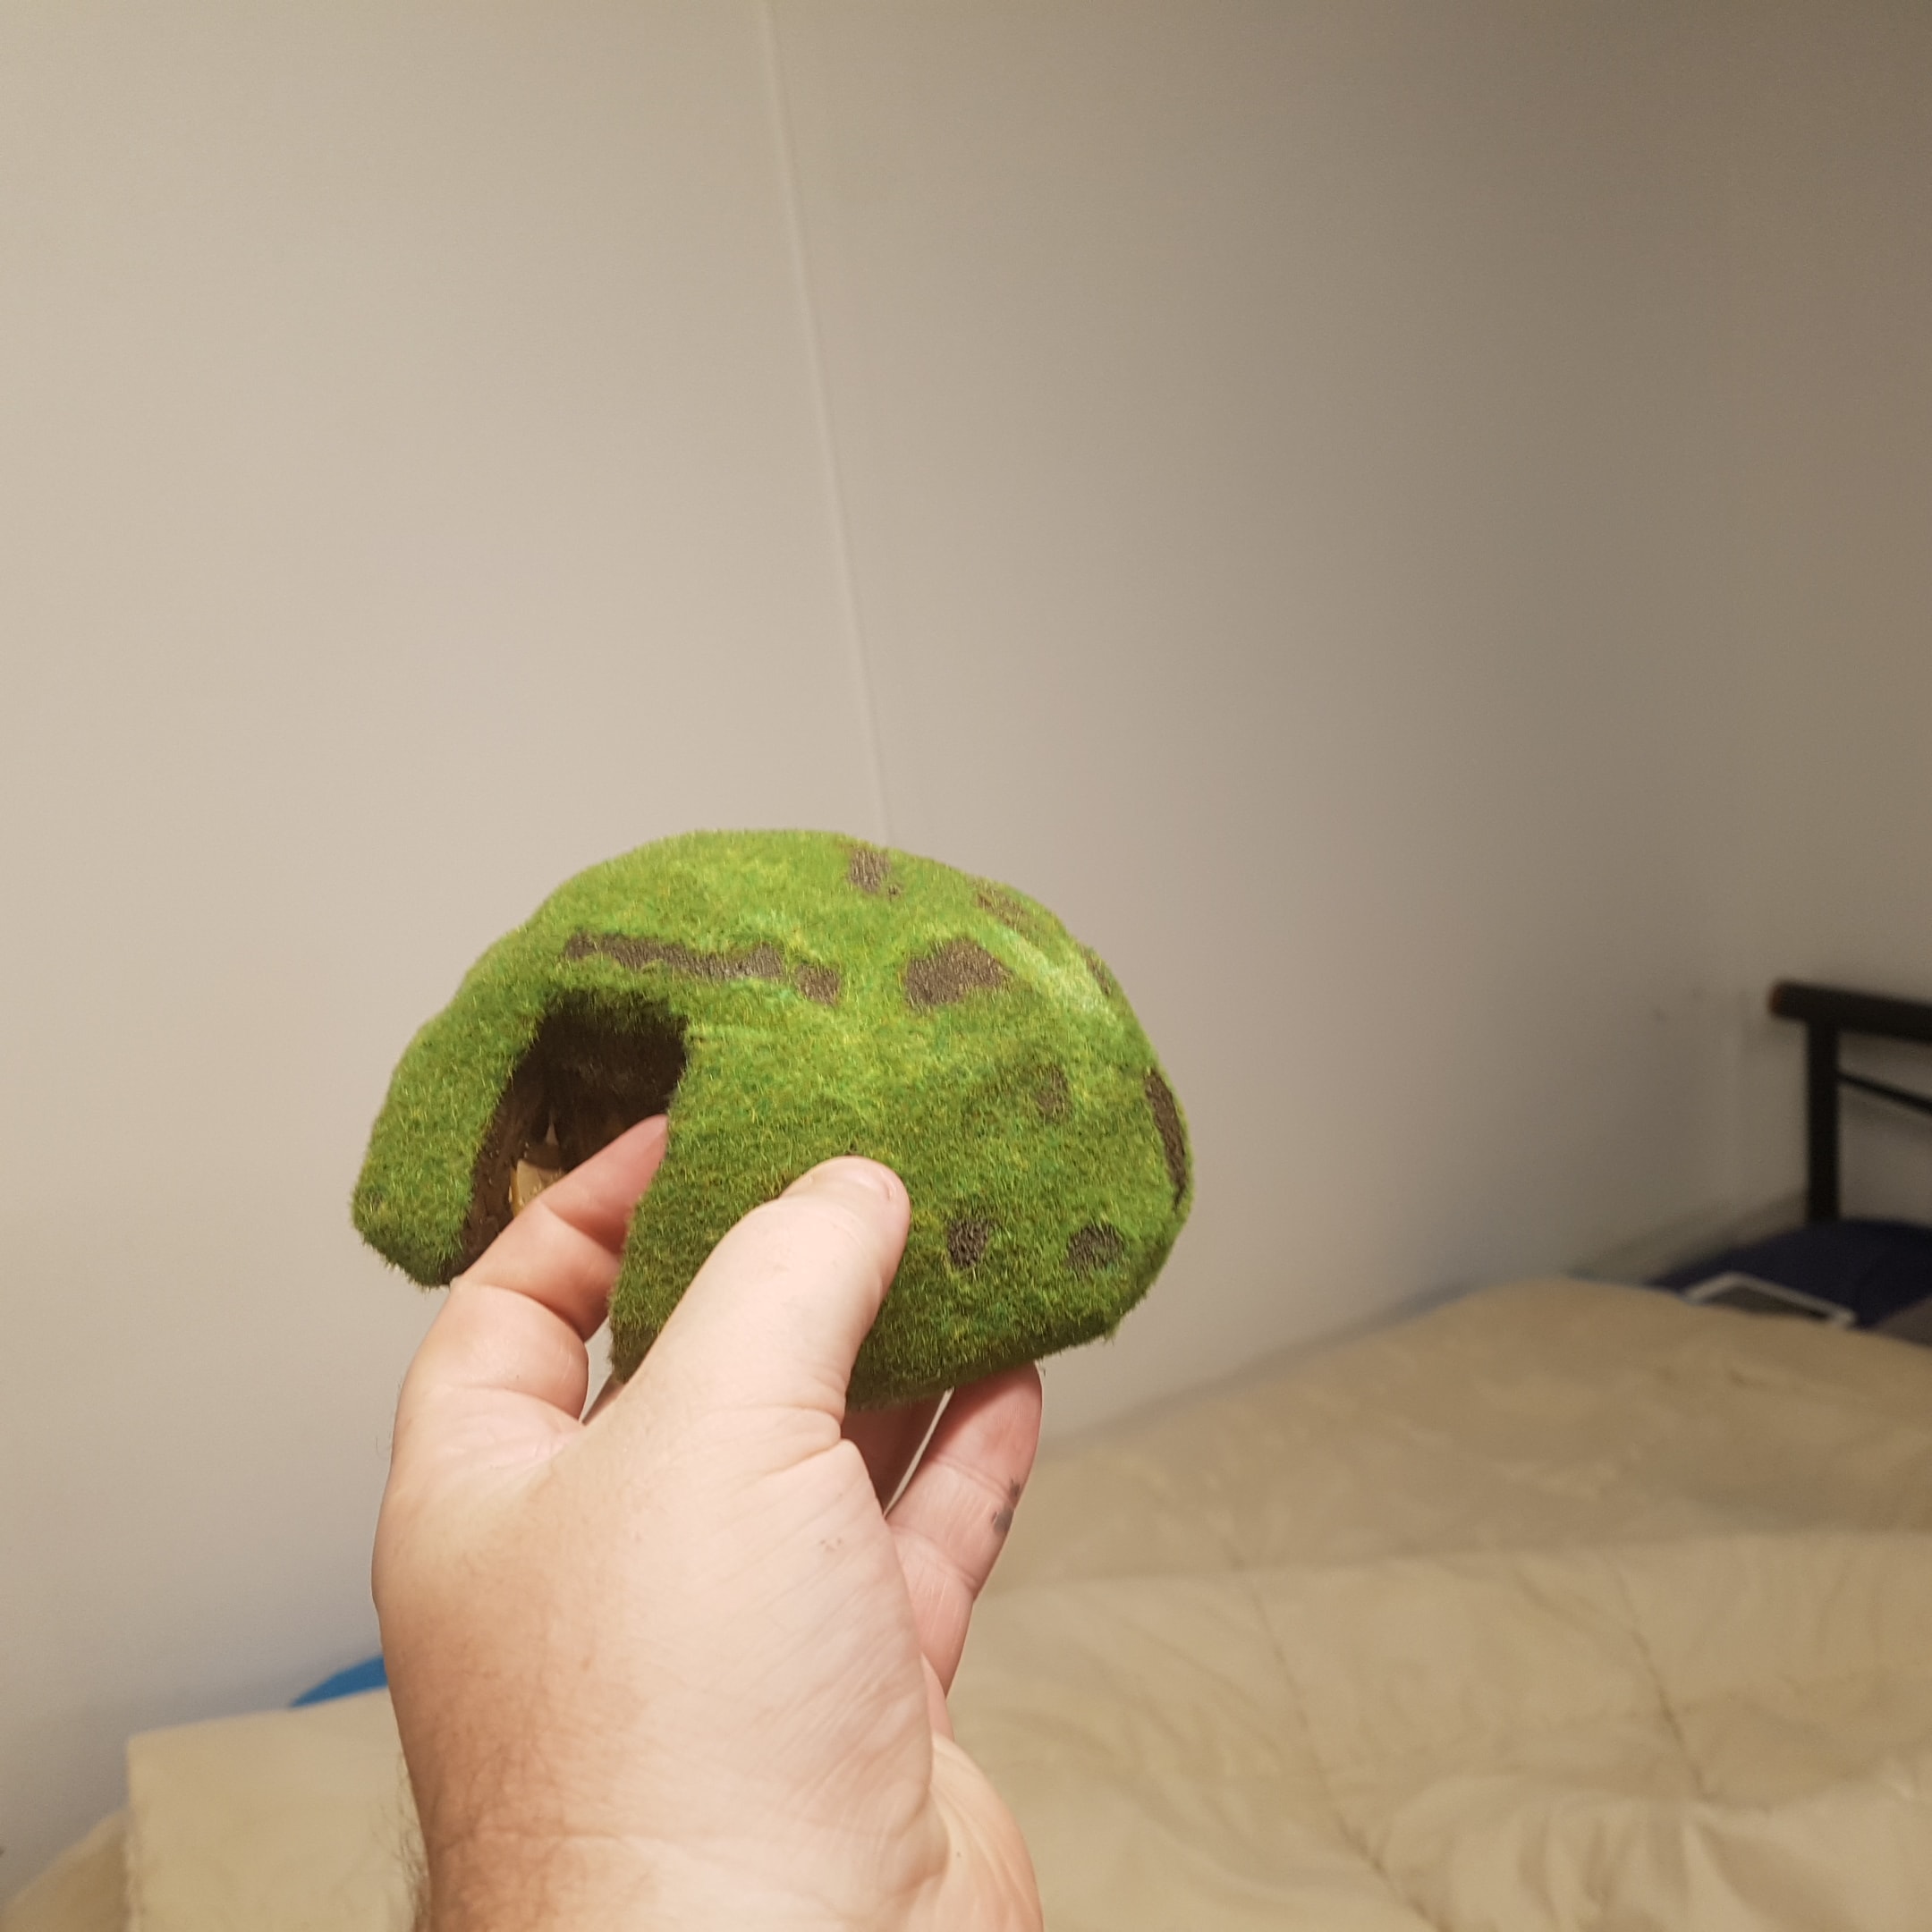
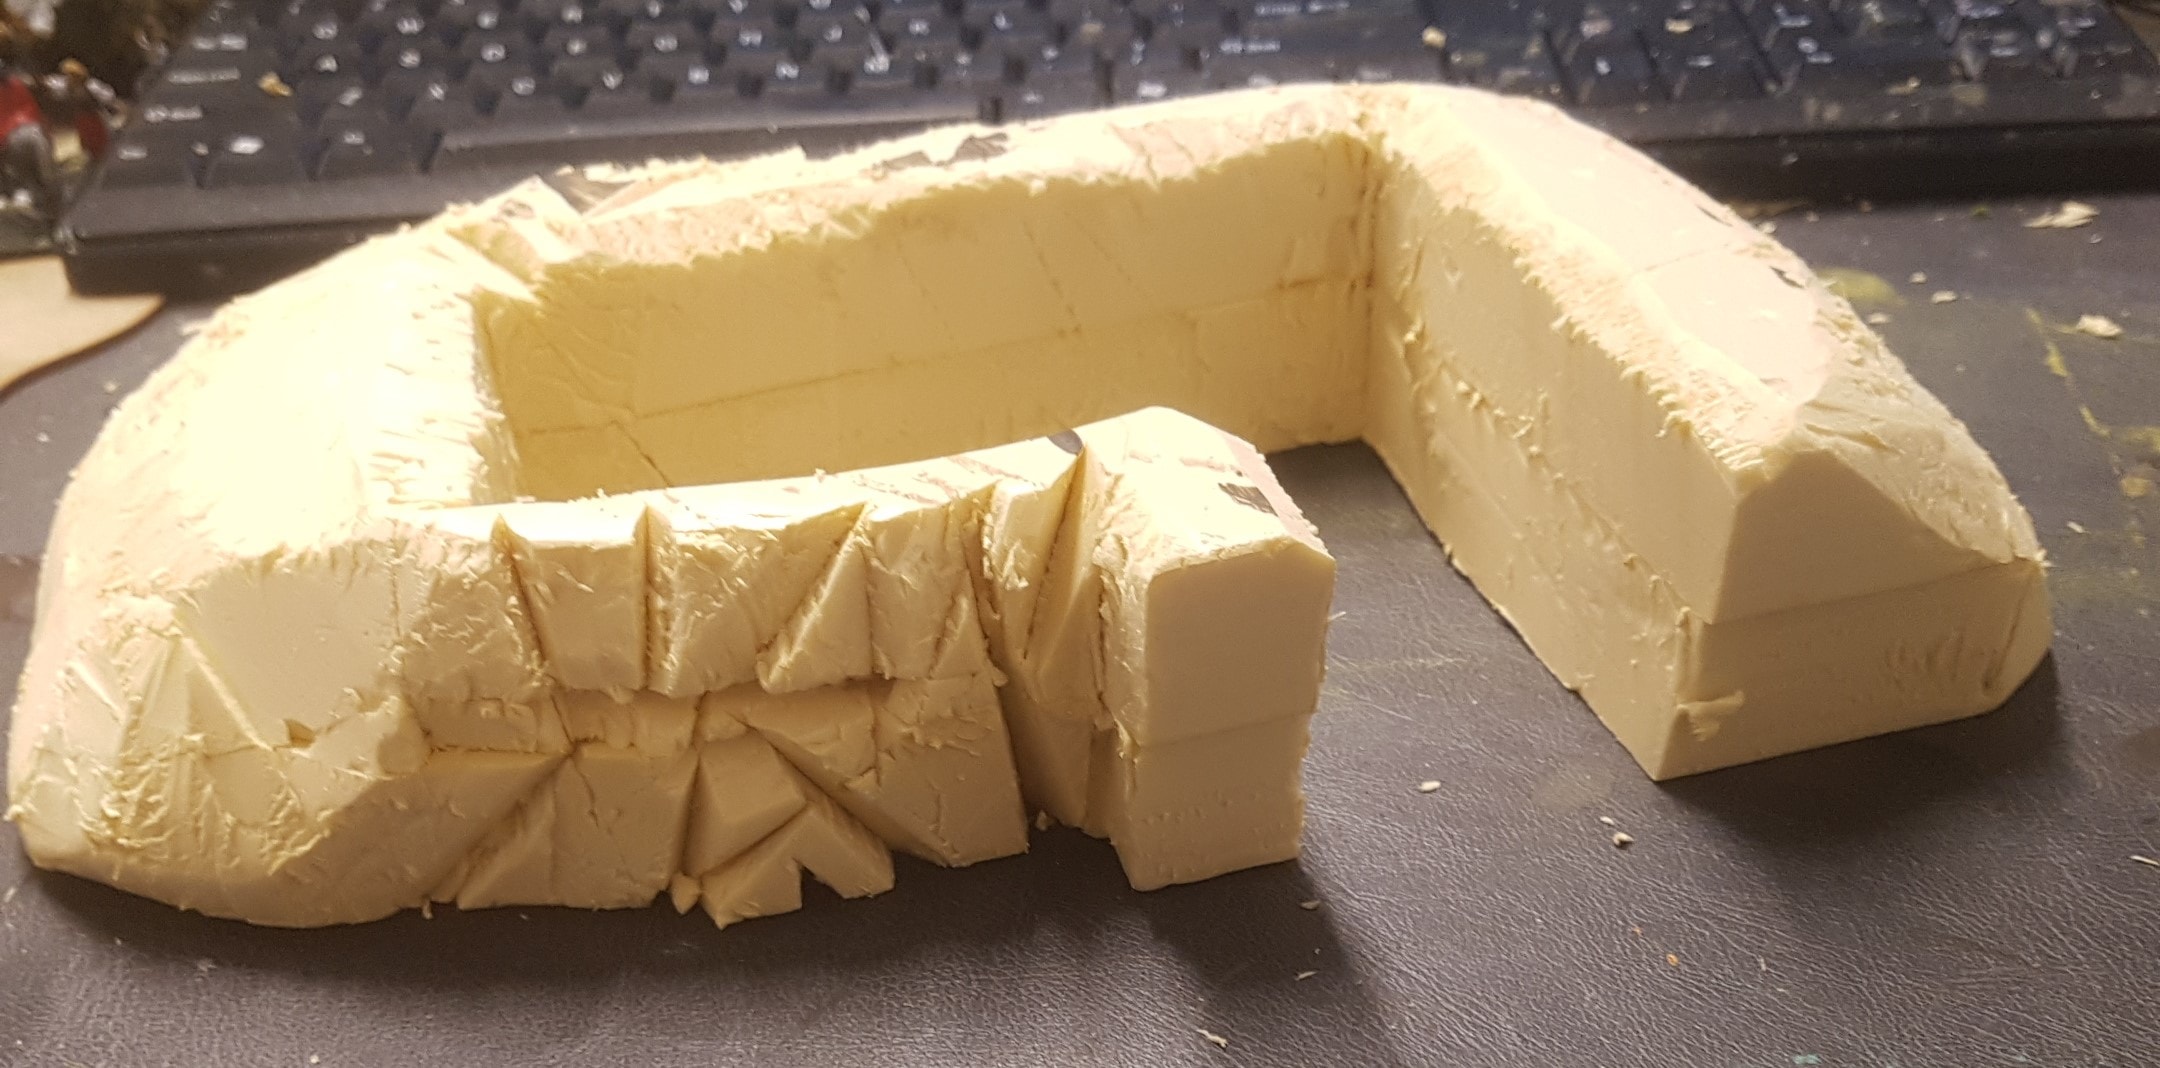 This Will be a Ruined Hobbit Hole with a Rock Face on Front and Back
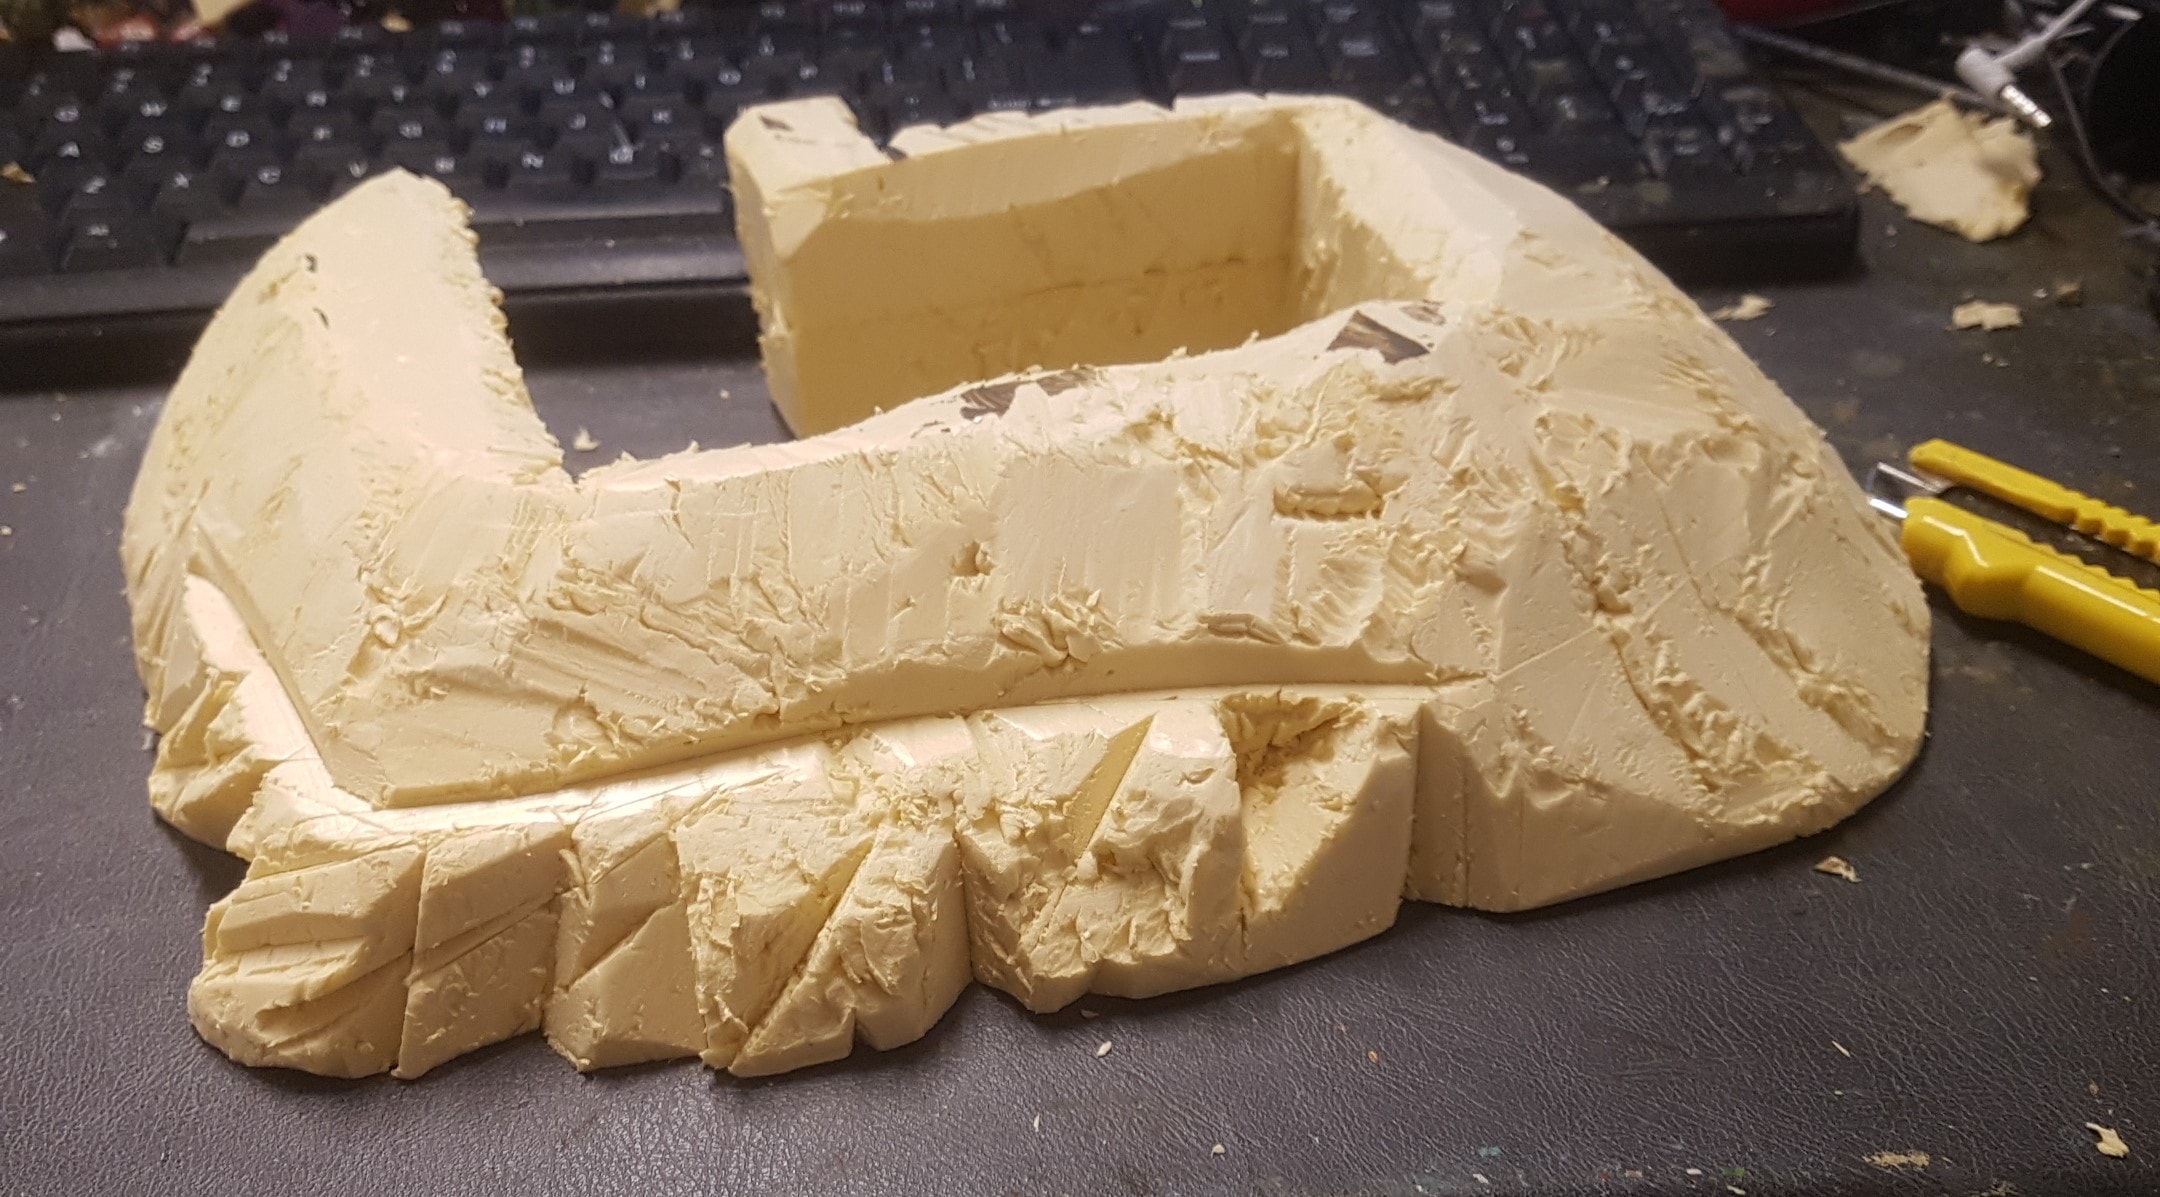
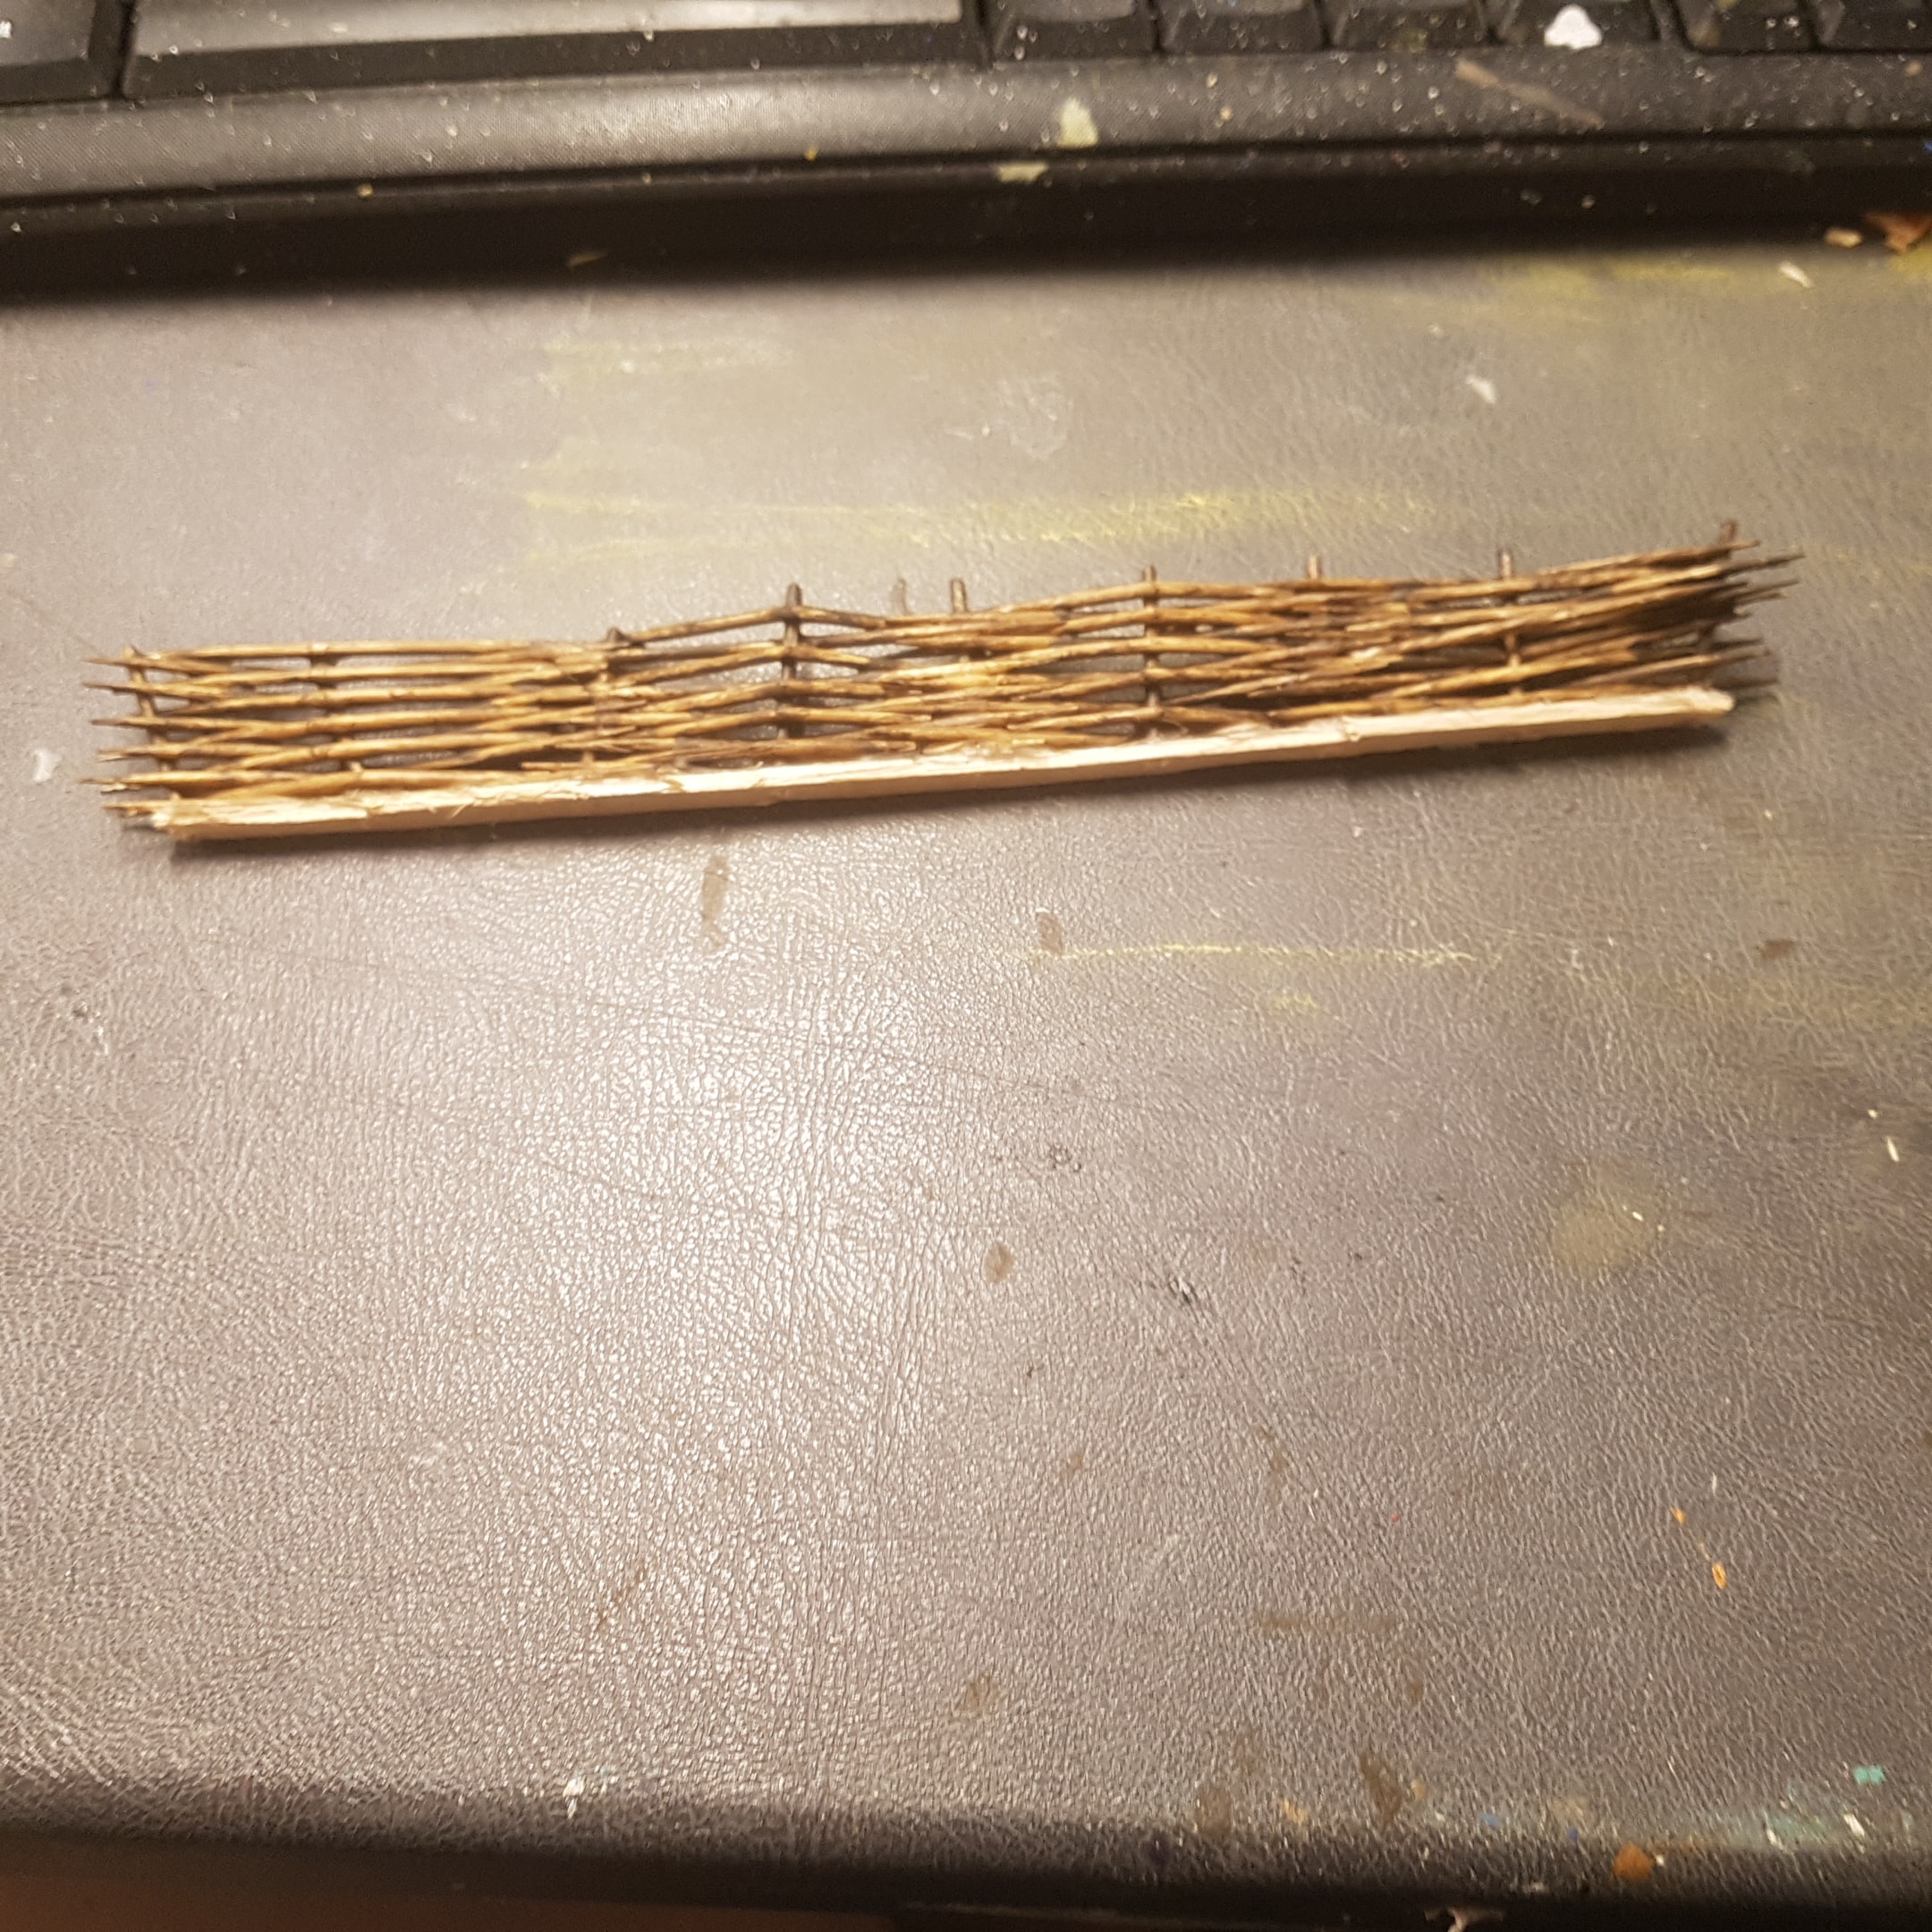 The Wicker Fence was Cut to a Very Slim Base
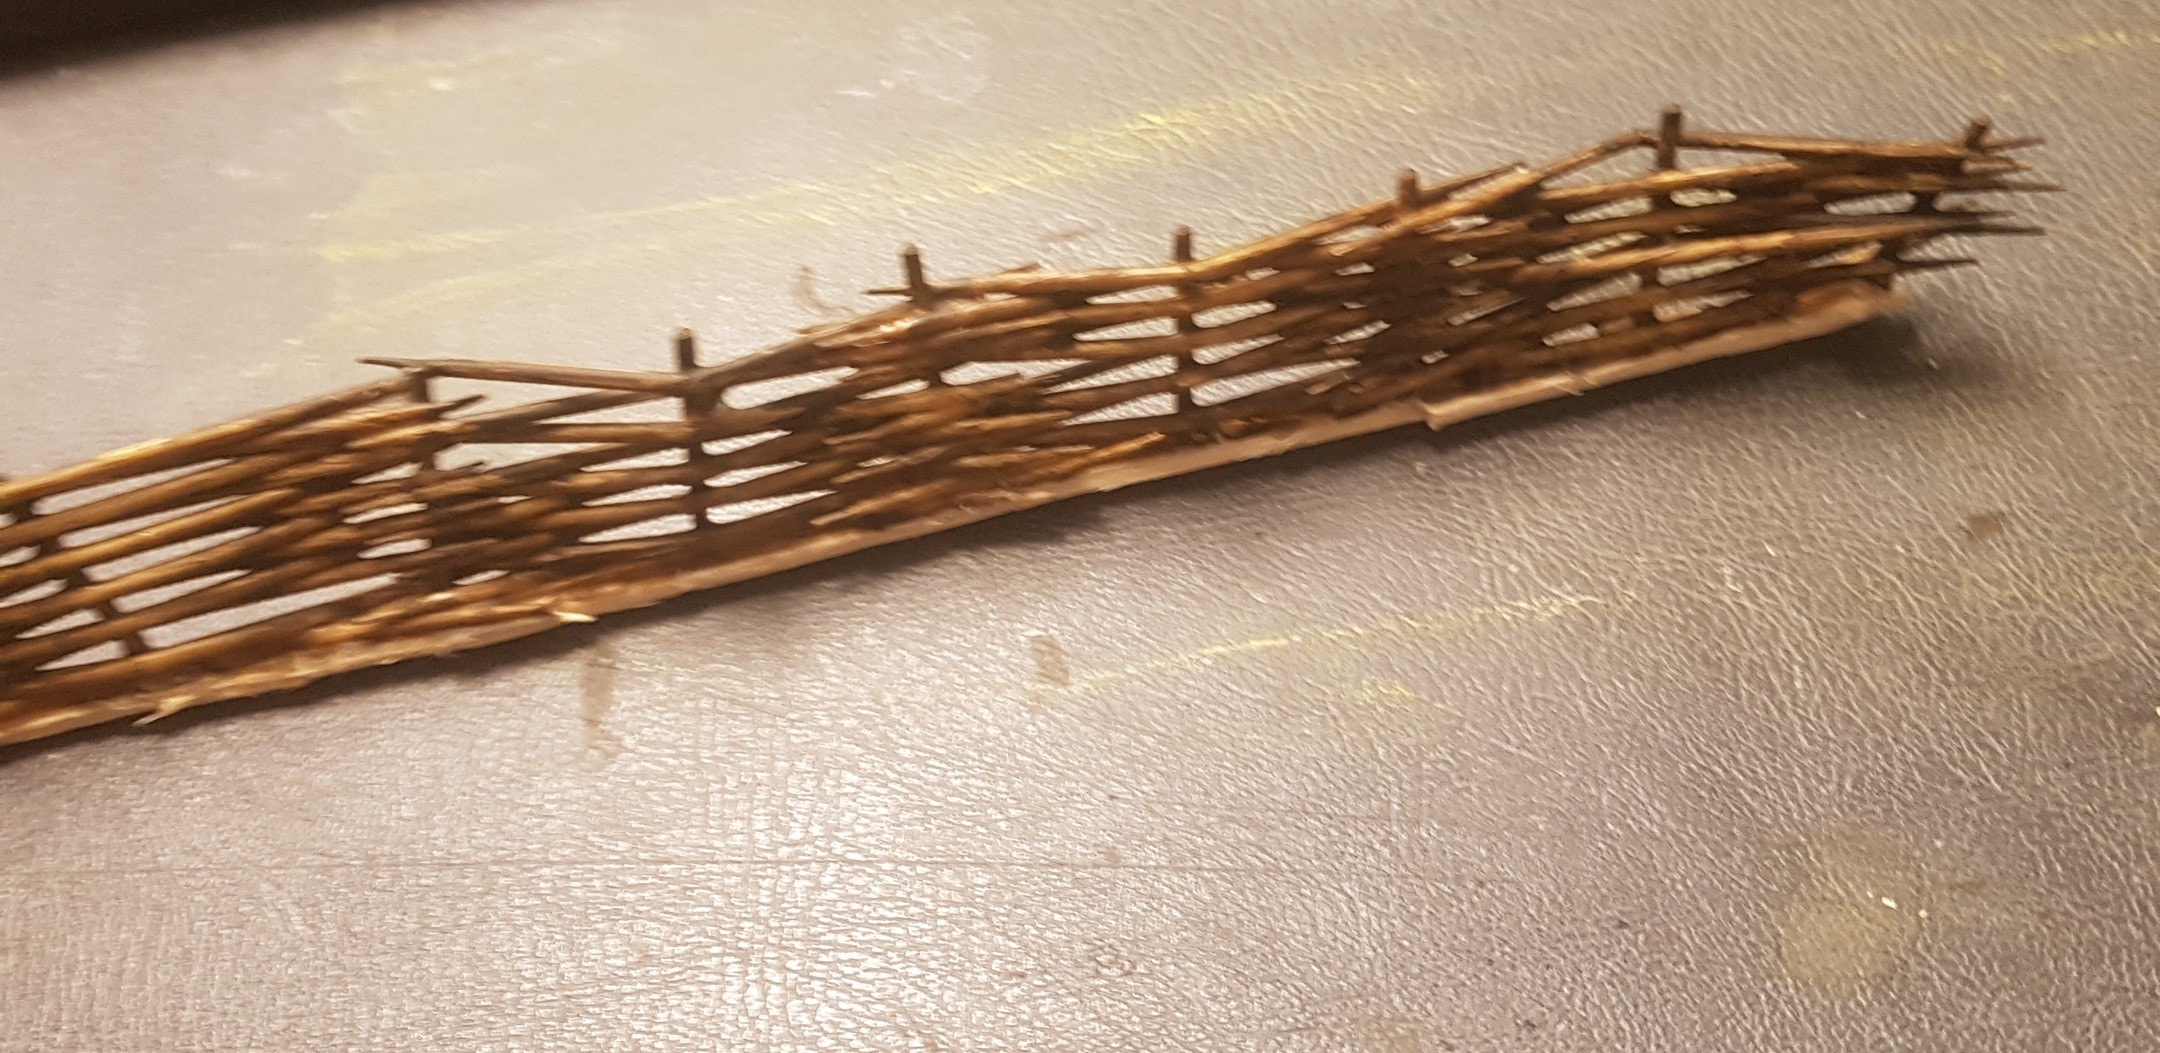
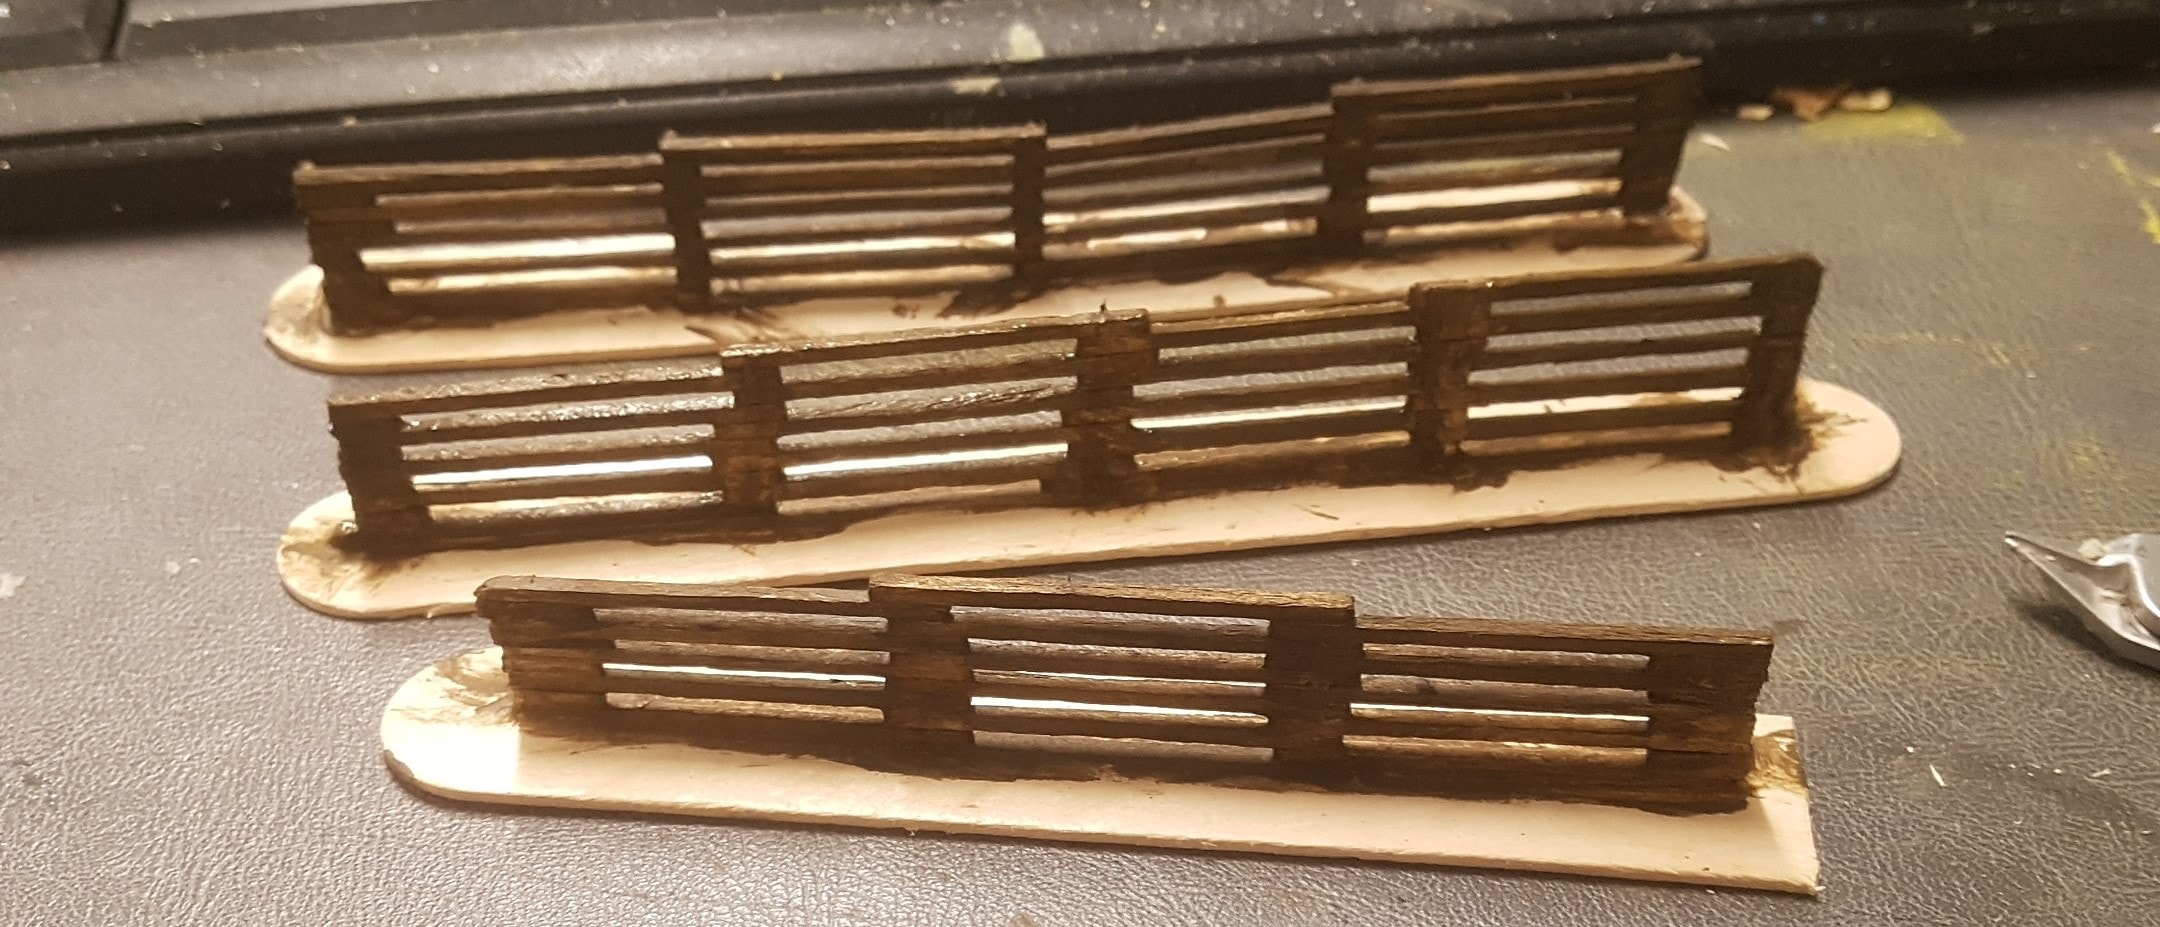 All Fences got a Single Coat of Cheap Acrylic Paint
 I Made these a While Ago but They'll work for the More Ravaged Parts of the Shire. Just a Welcome Mat Cut Up and Glued to a Base then Painted to Look Burnt
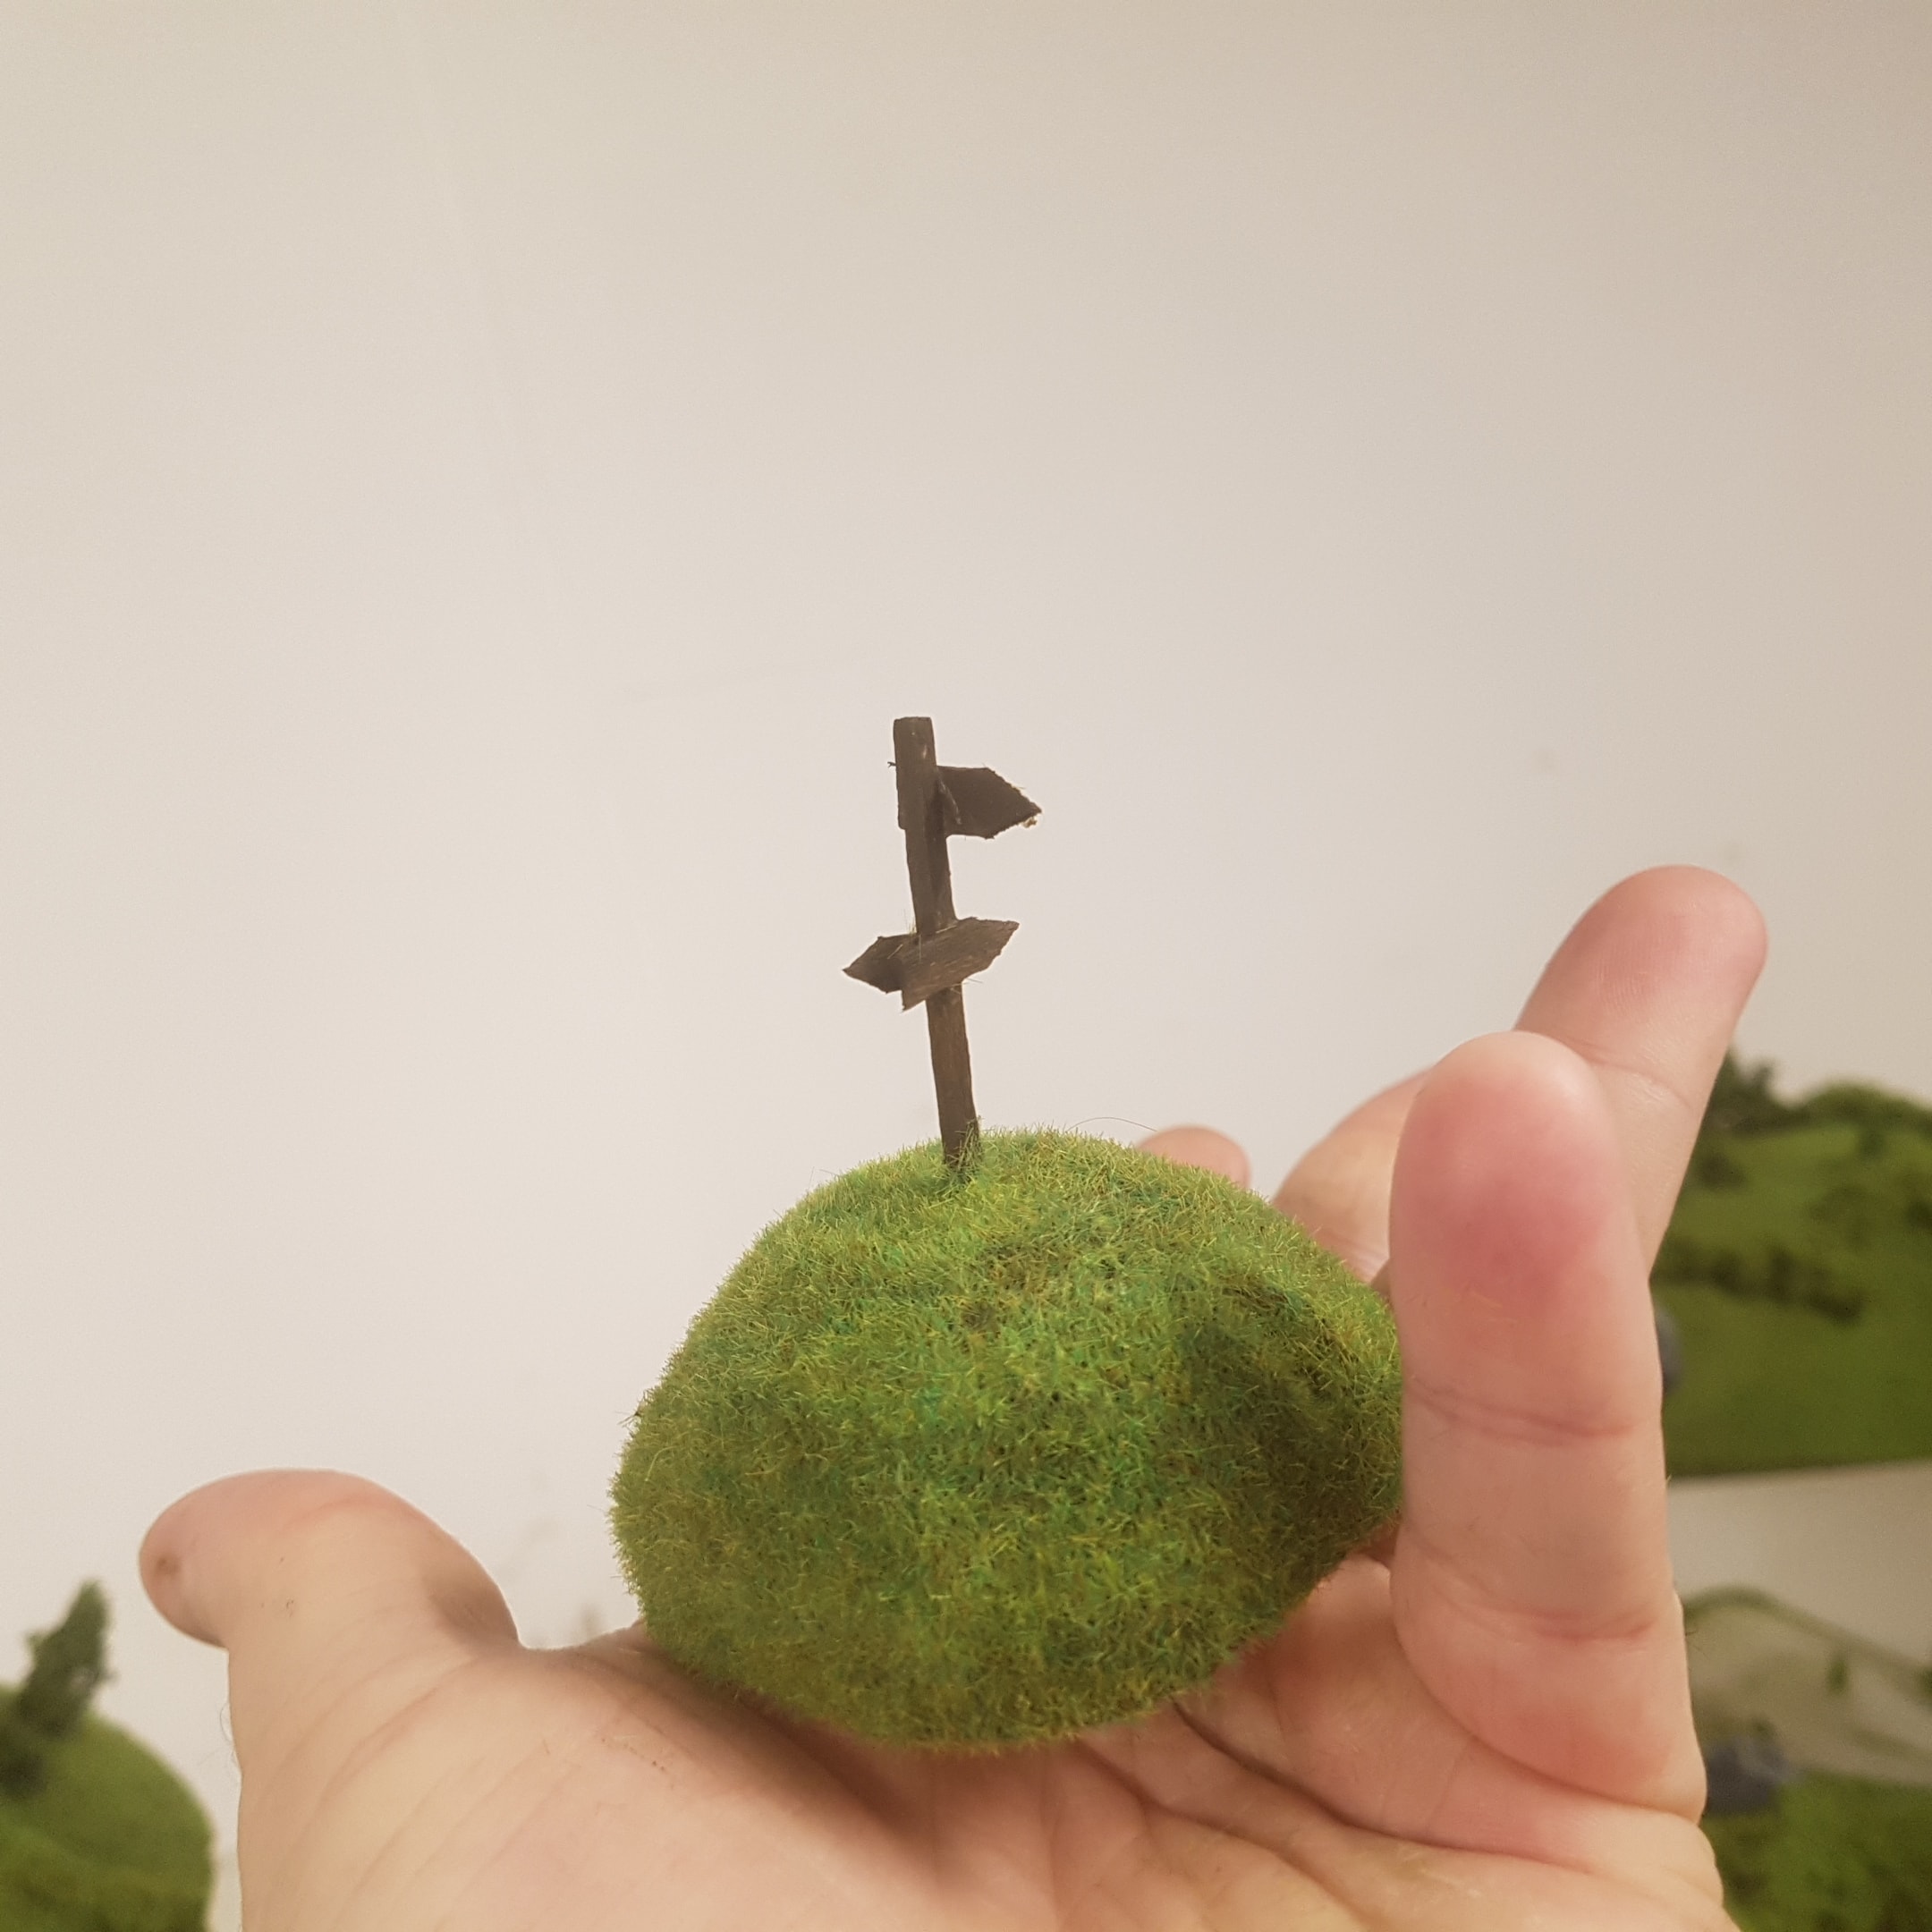 The Signpost Flocked
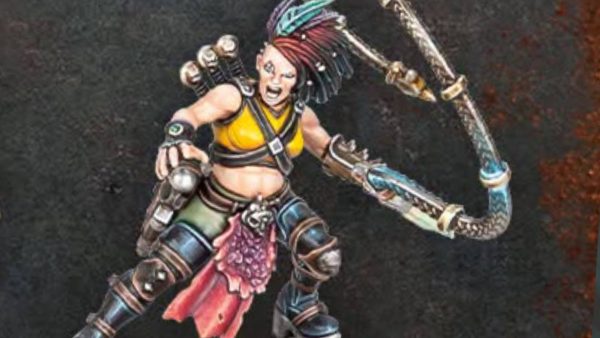
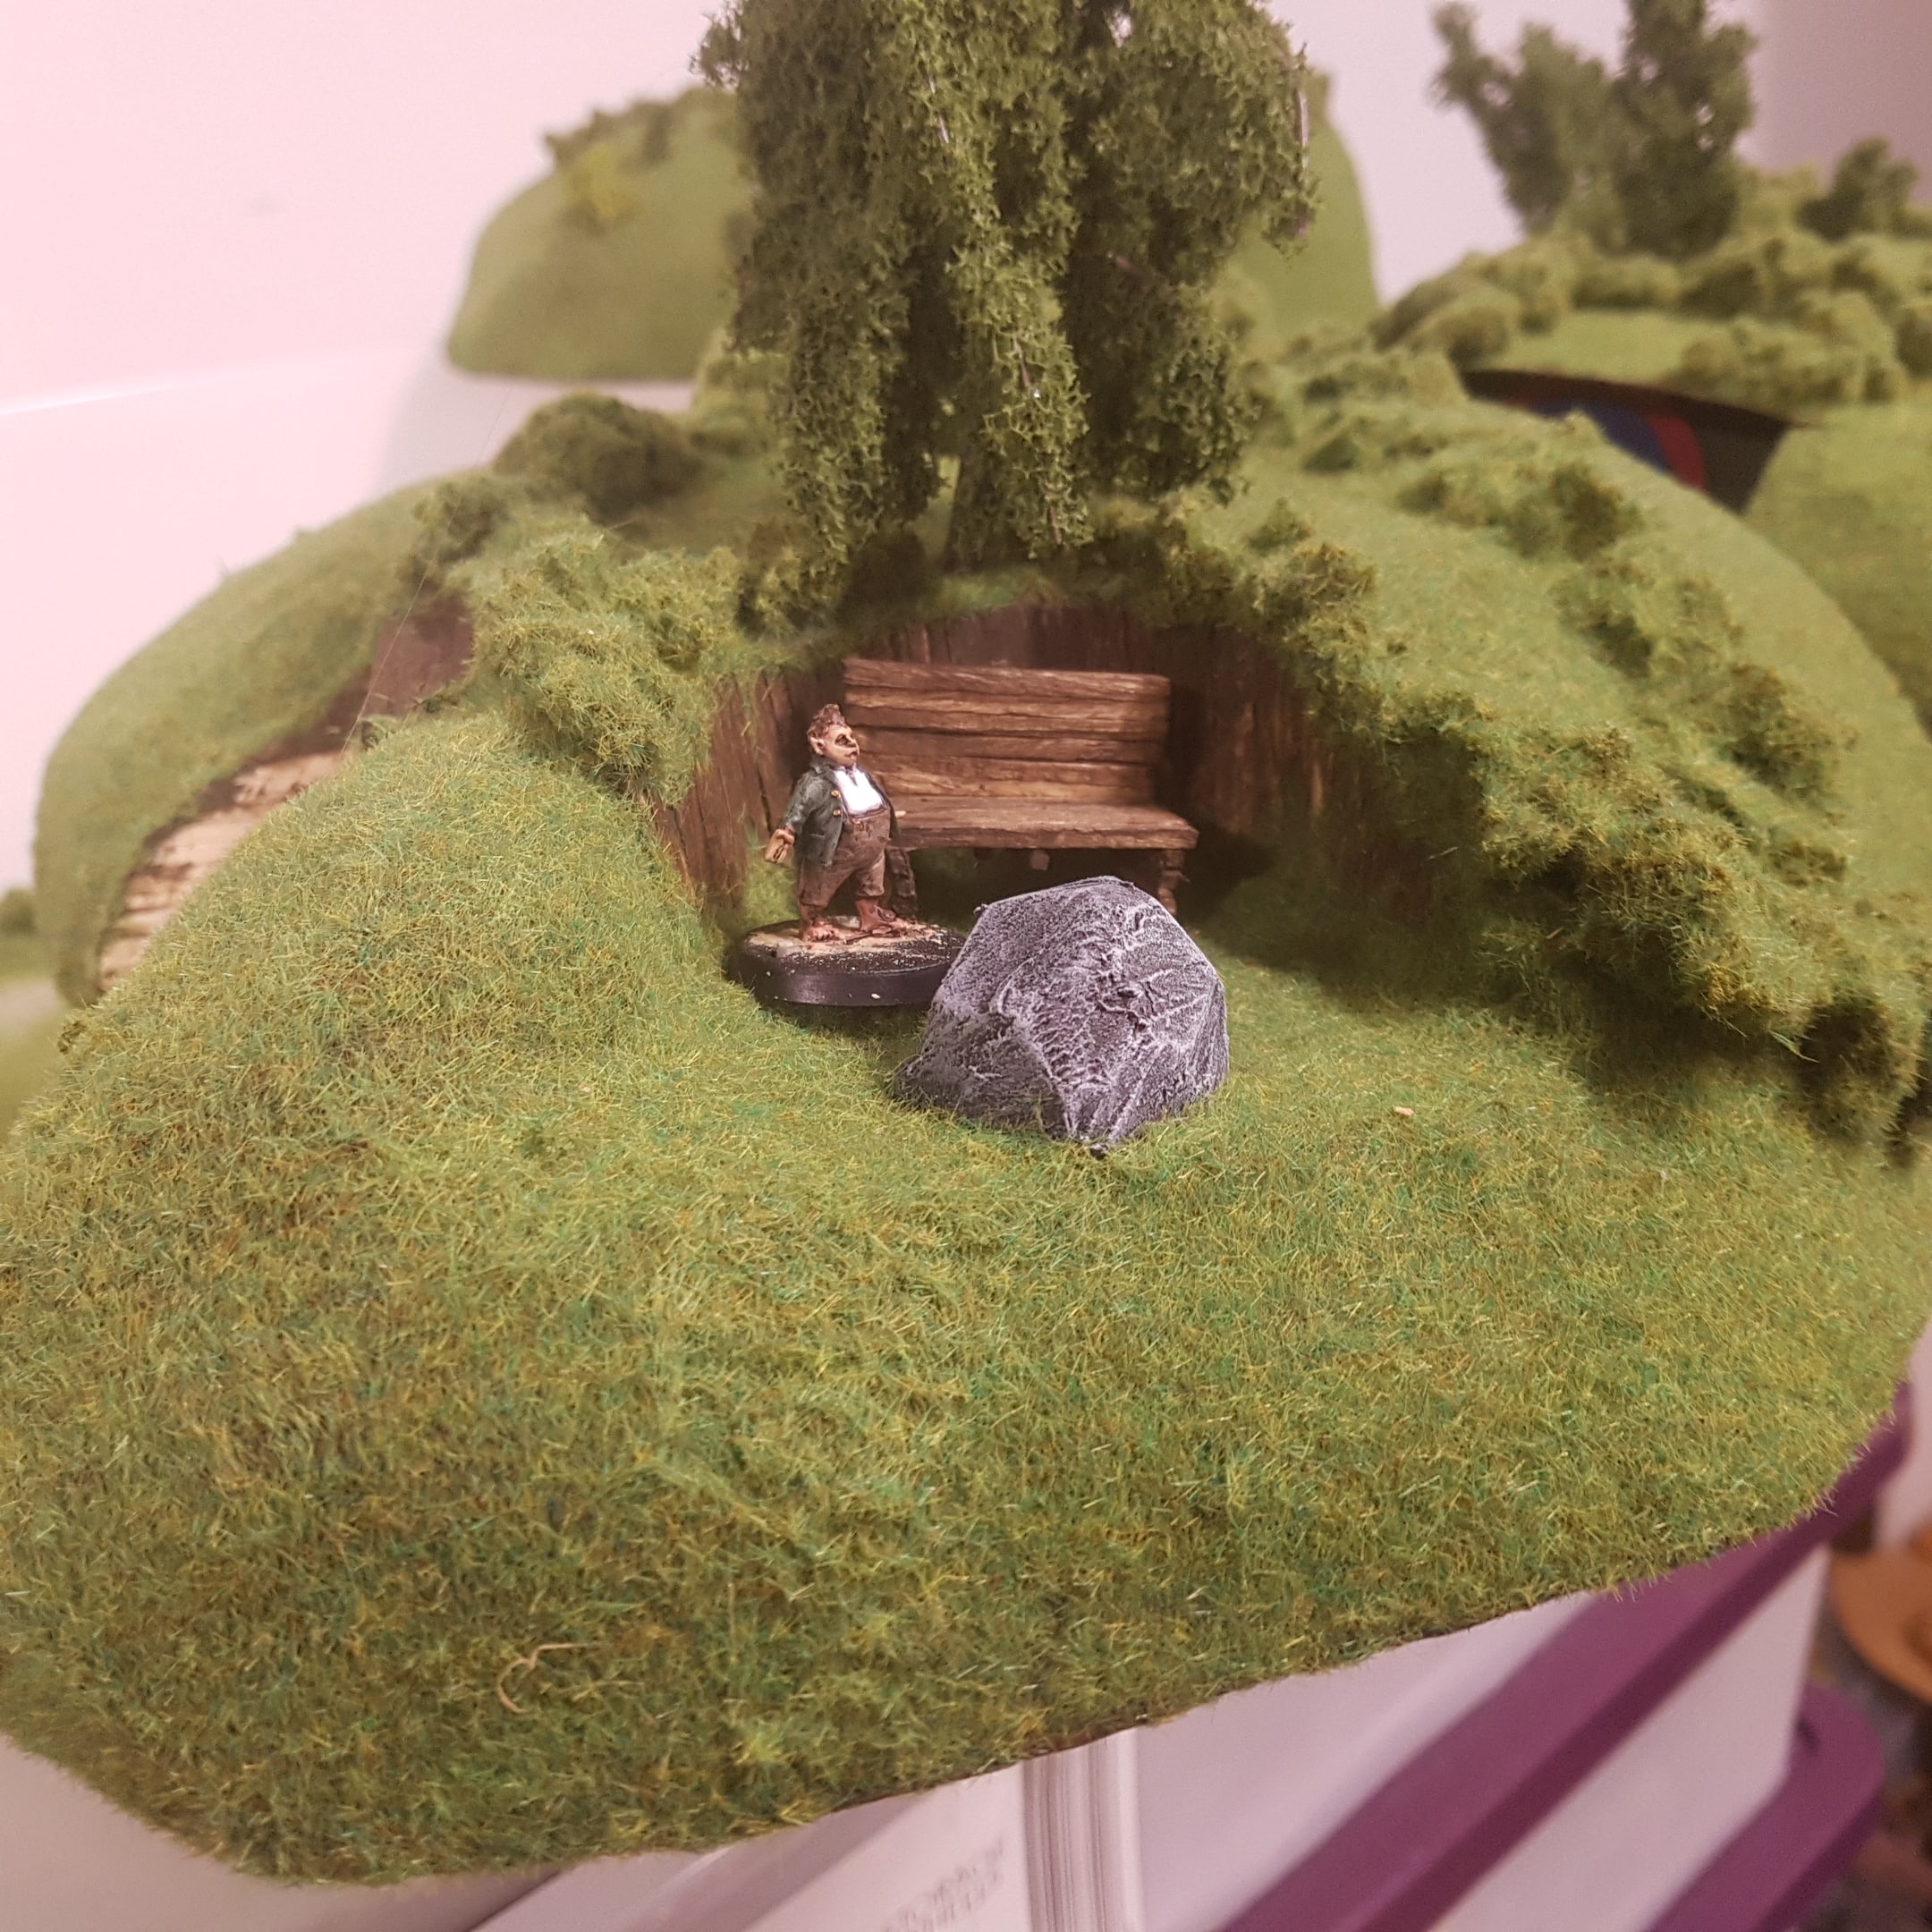 Fatty Next to the Shaded Seat
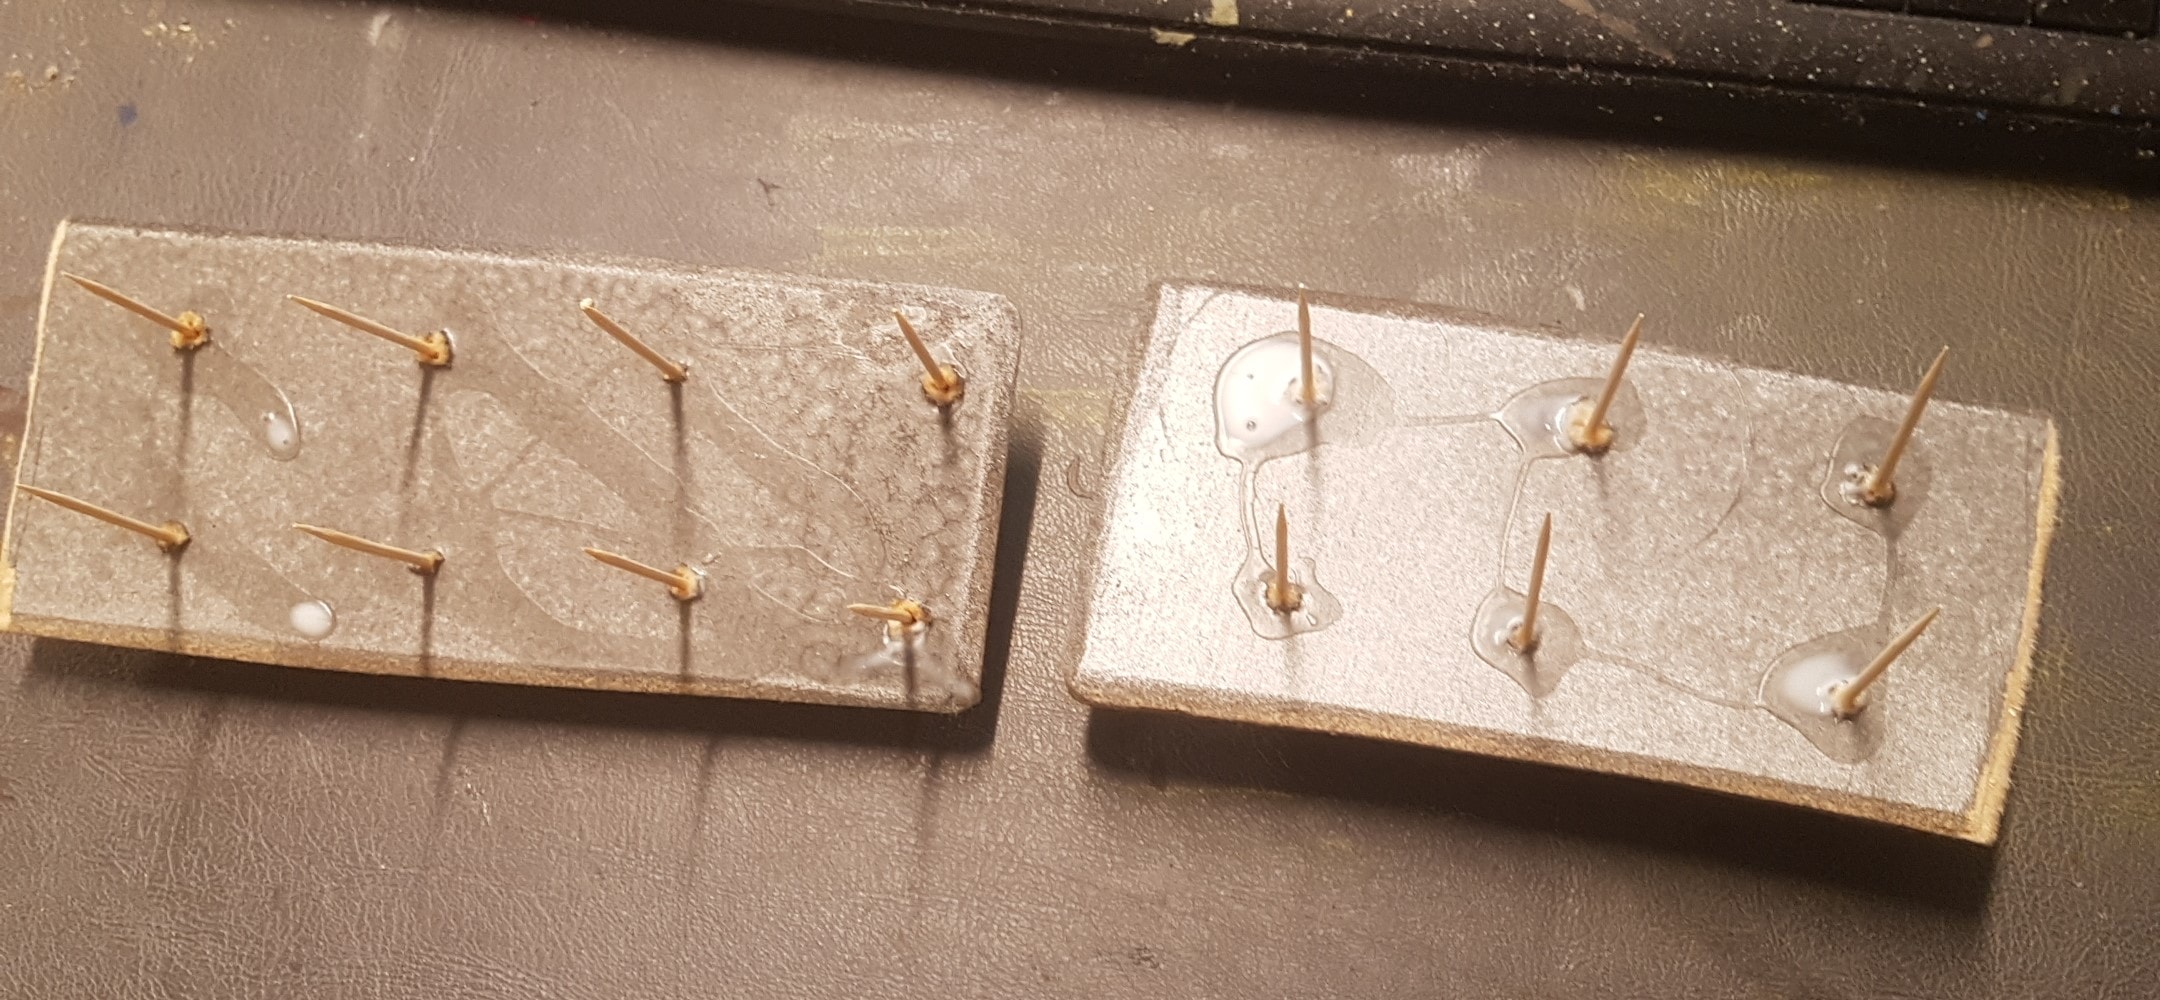 These Will be Grape Vines, Not 100% Sure How but I have a Few Ideas. I'm Thinking String with Very Bright Grass Like Strands on it.
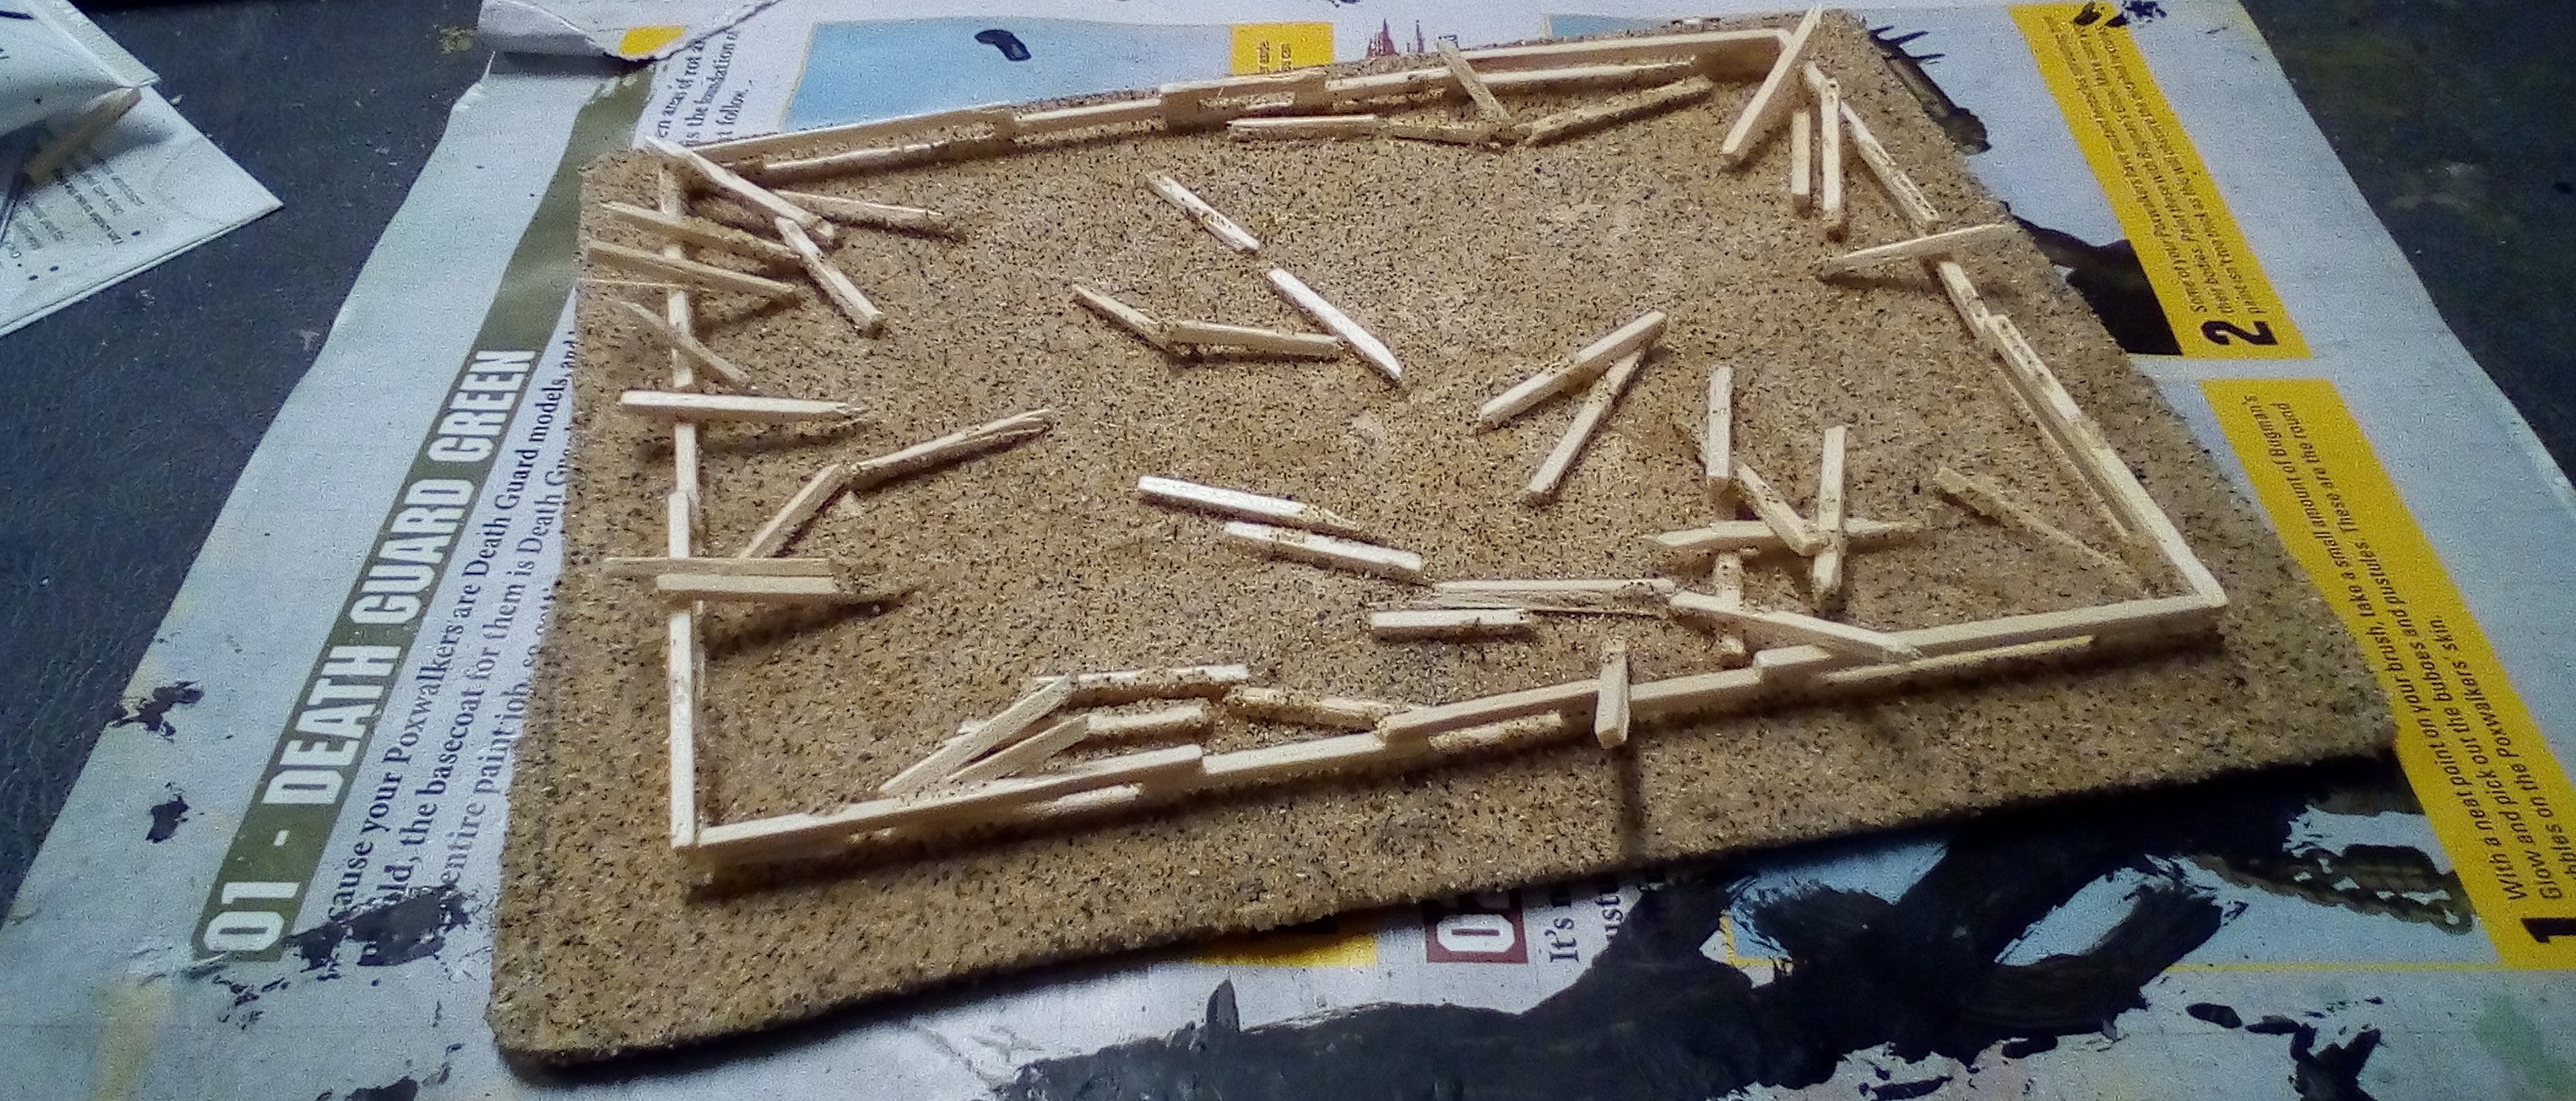
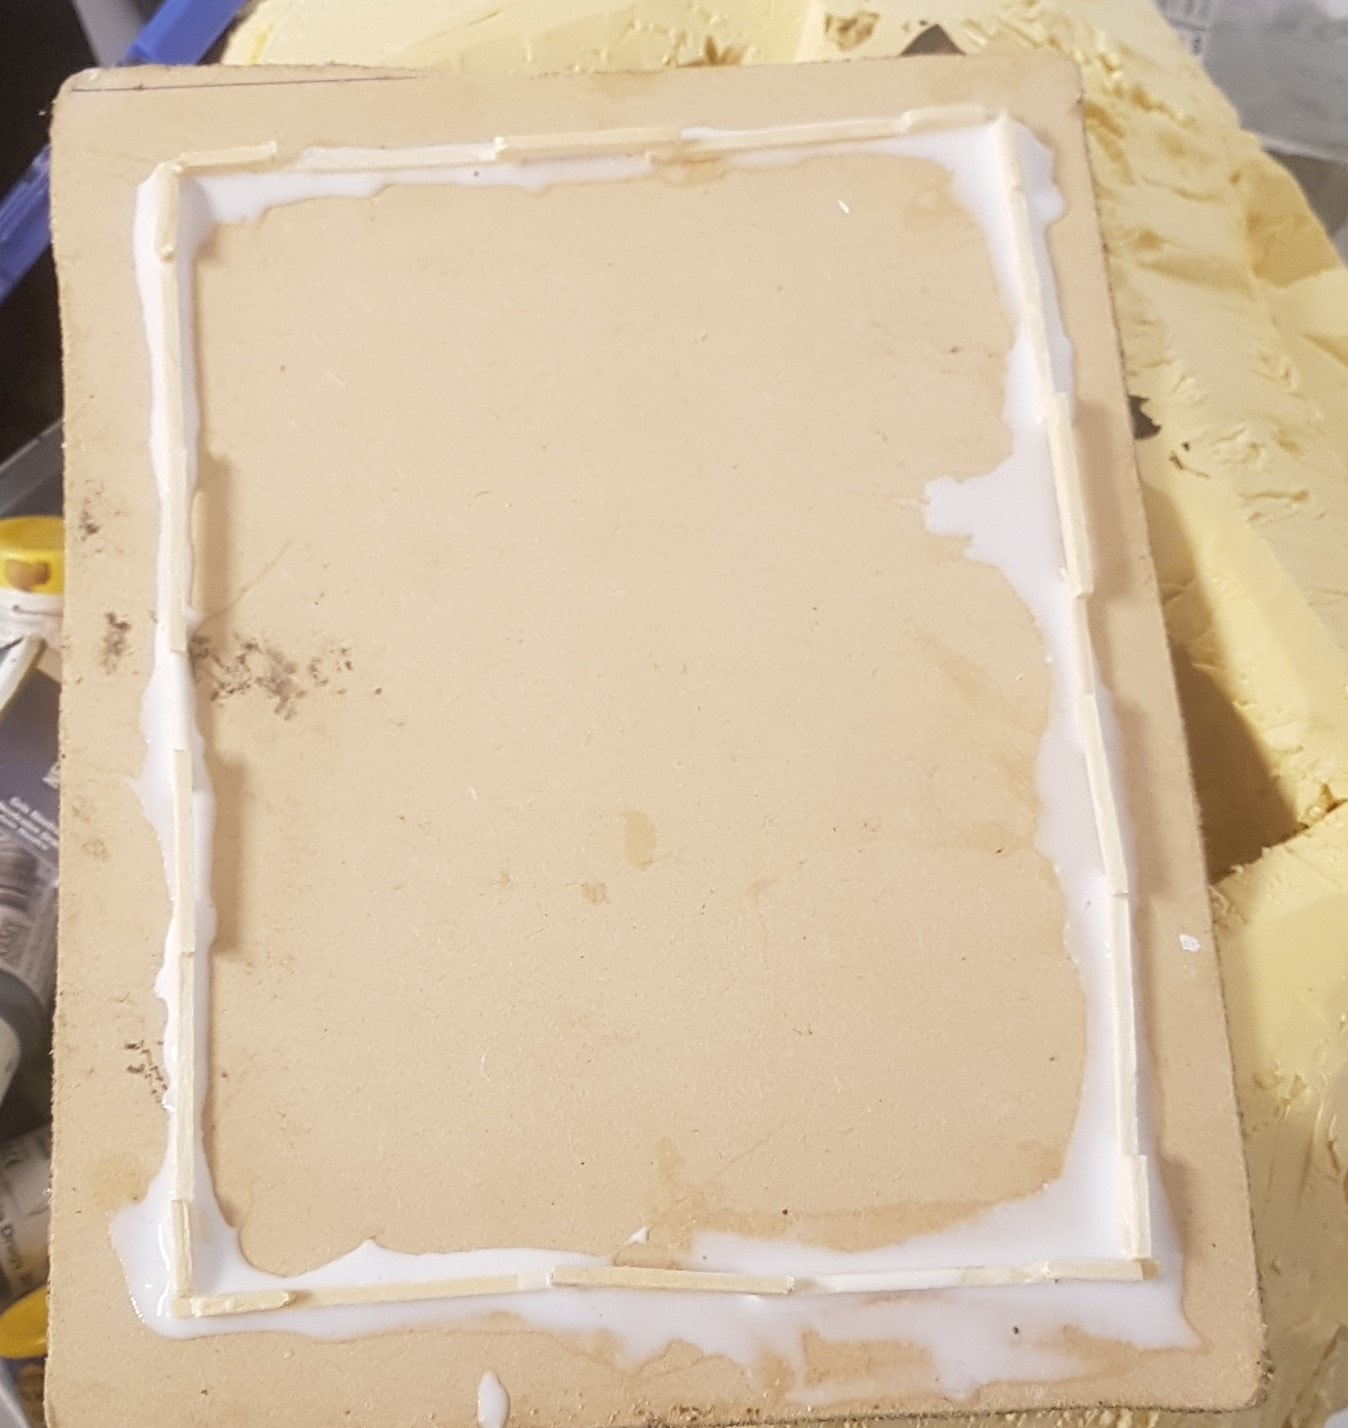 One Big (For A Hobbit) Animal Pen
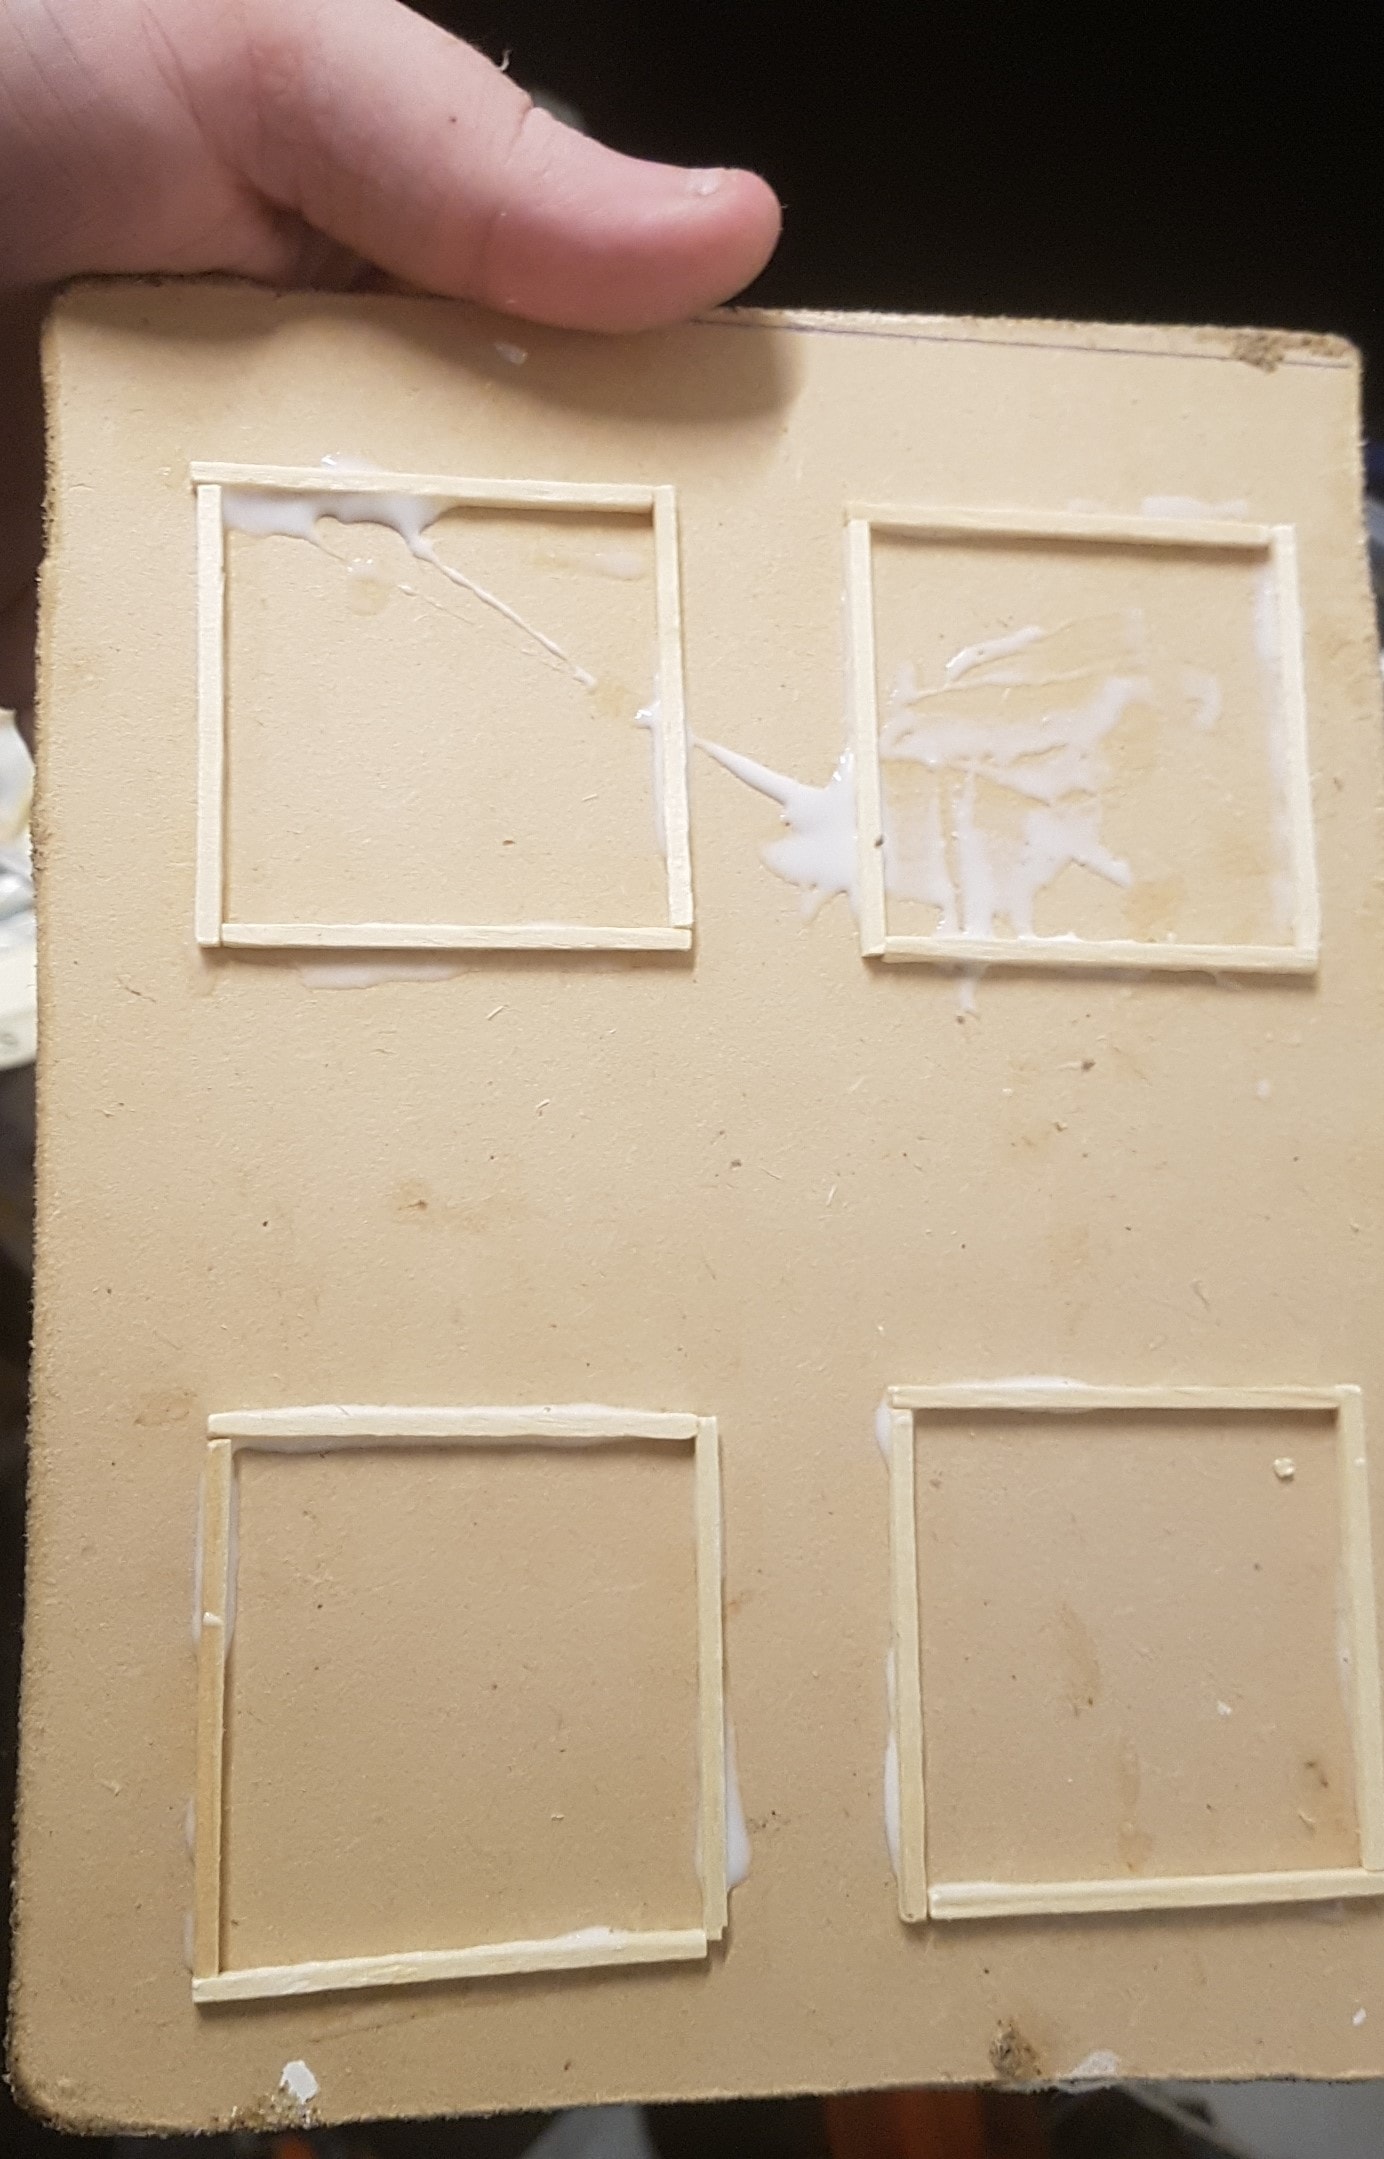 4 Small Garden Beds
A Splash of Colour
The Hobbit Holes are Coming Along but the Solid Green needs Breaking Up.
Later in the Week I’ll be Adding Flowers Made from Pins but for Now I decided to add some Clotheslines and Rocks
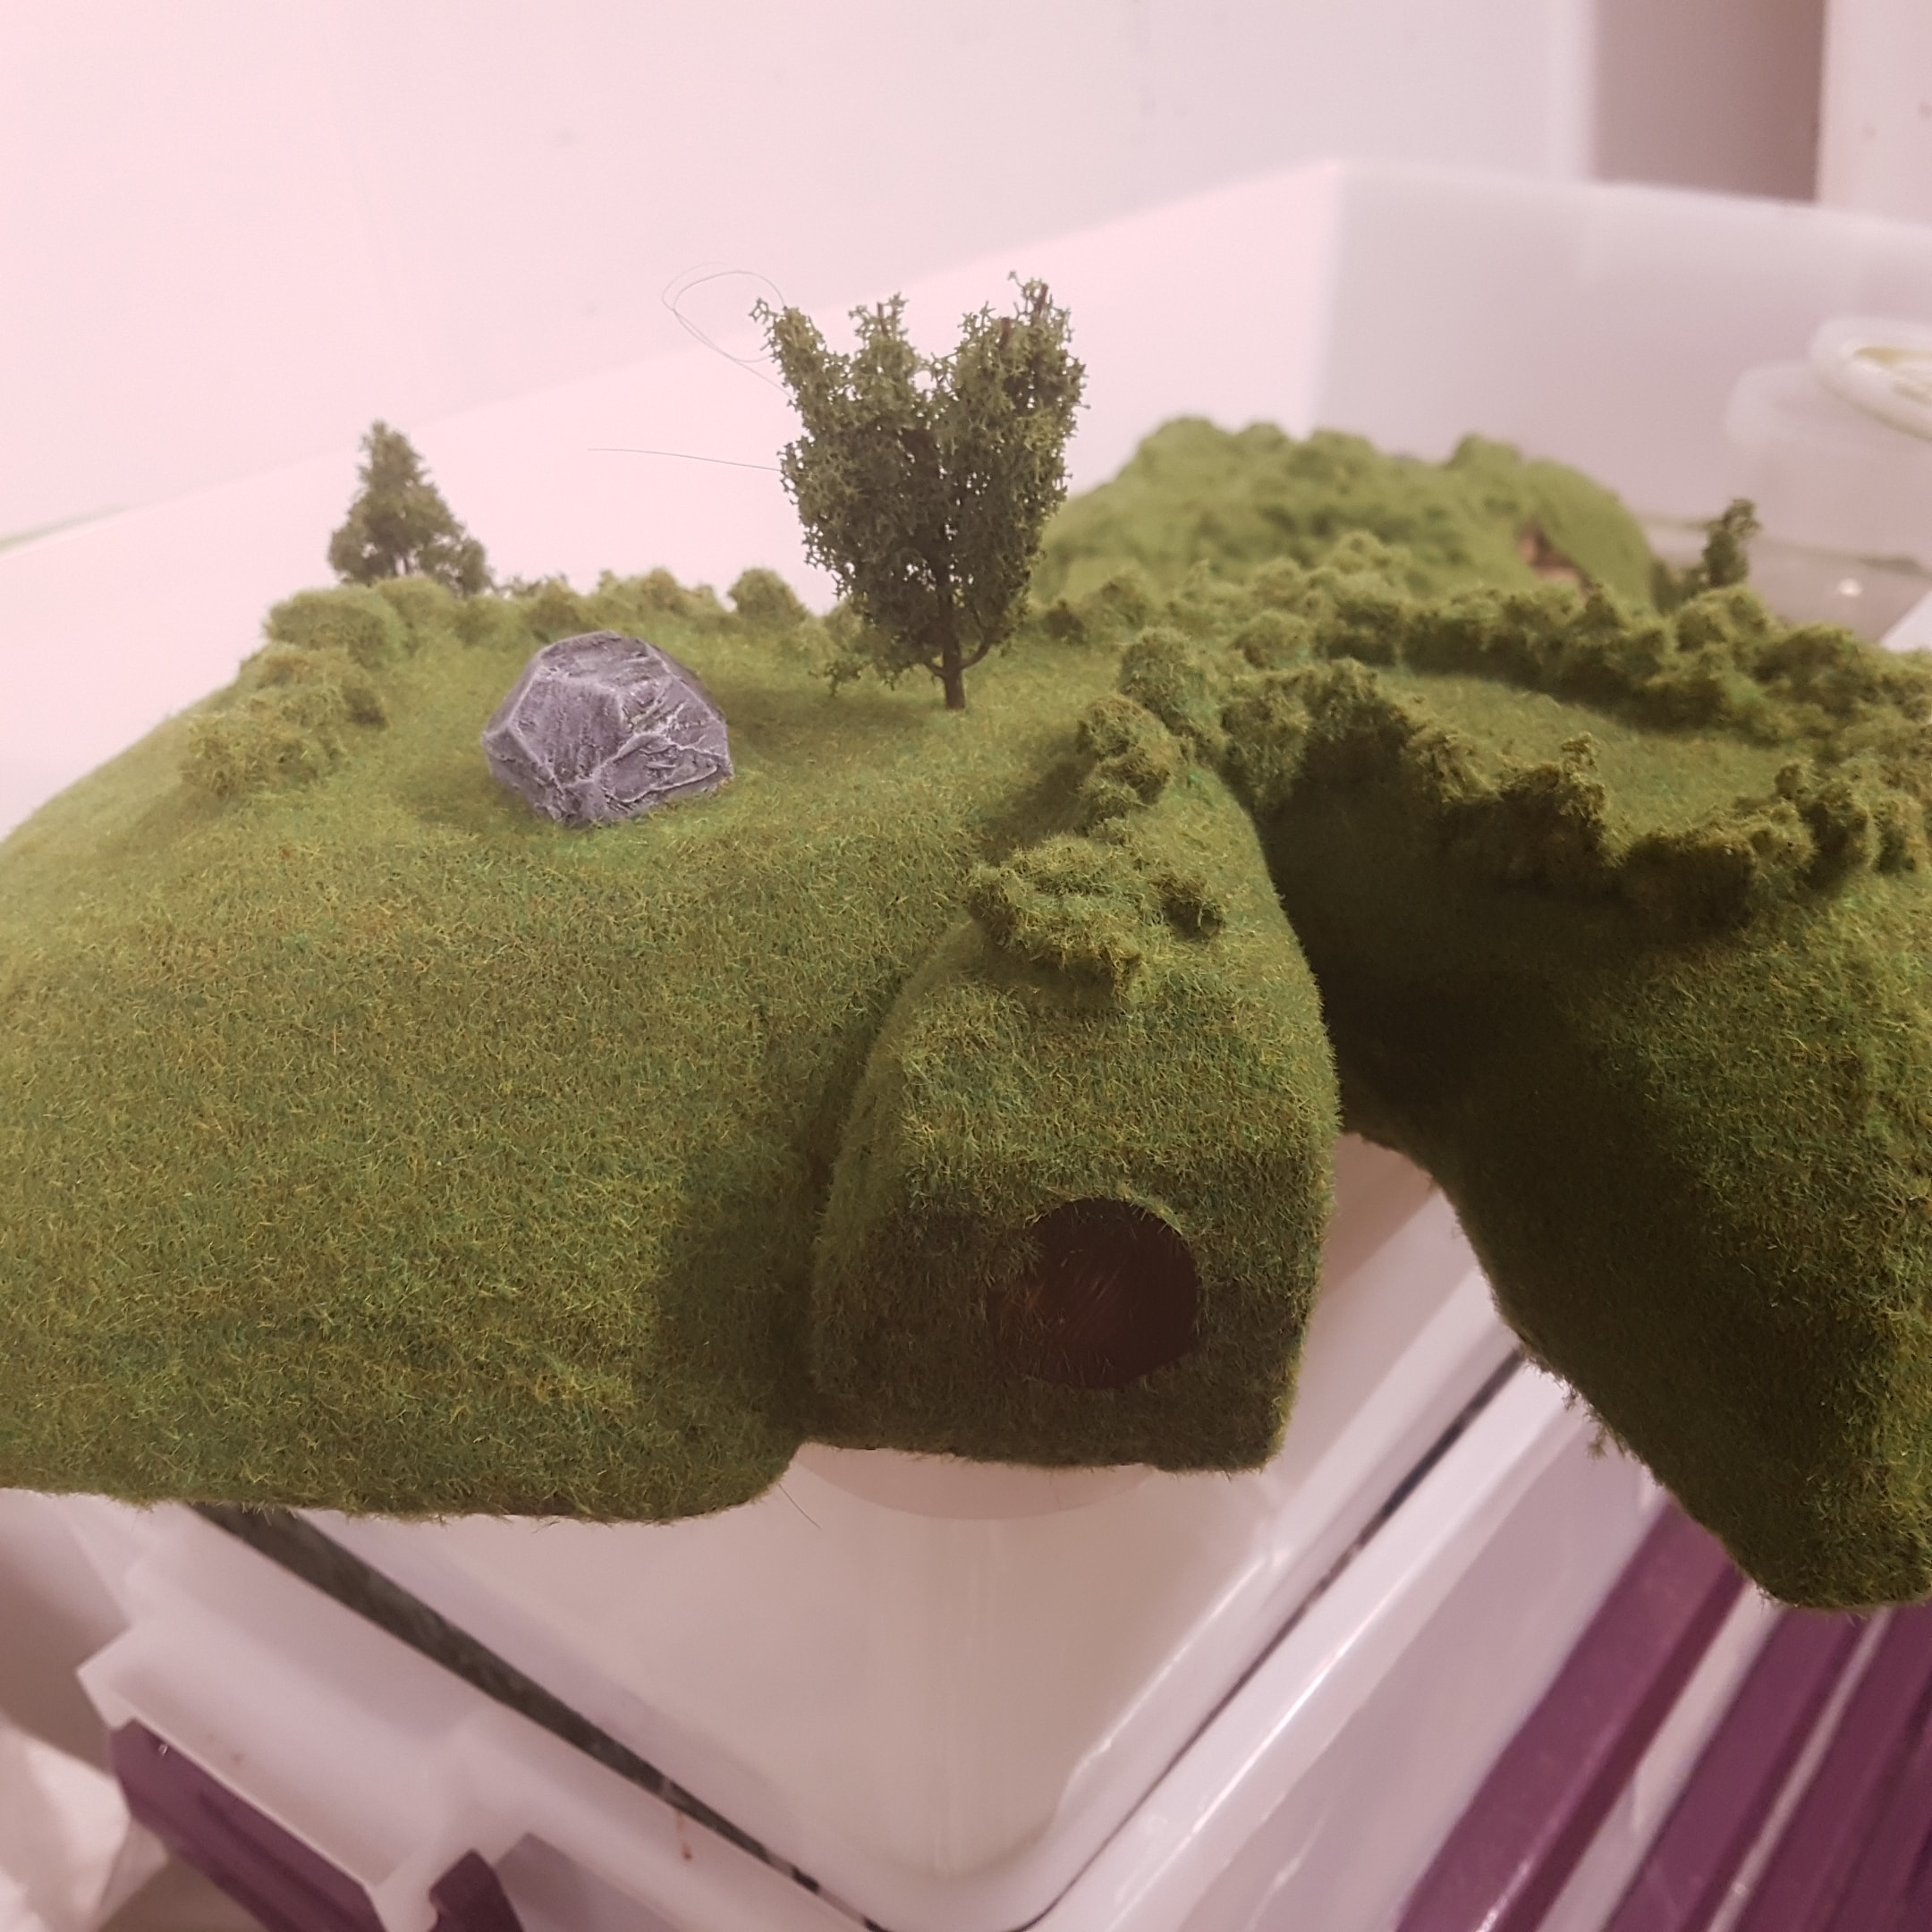 Each Hobbit Hole got a XPS Foam Rock. These are Very Easy to Make
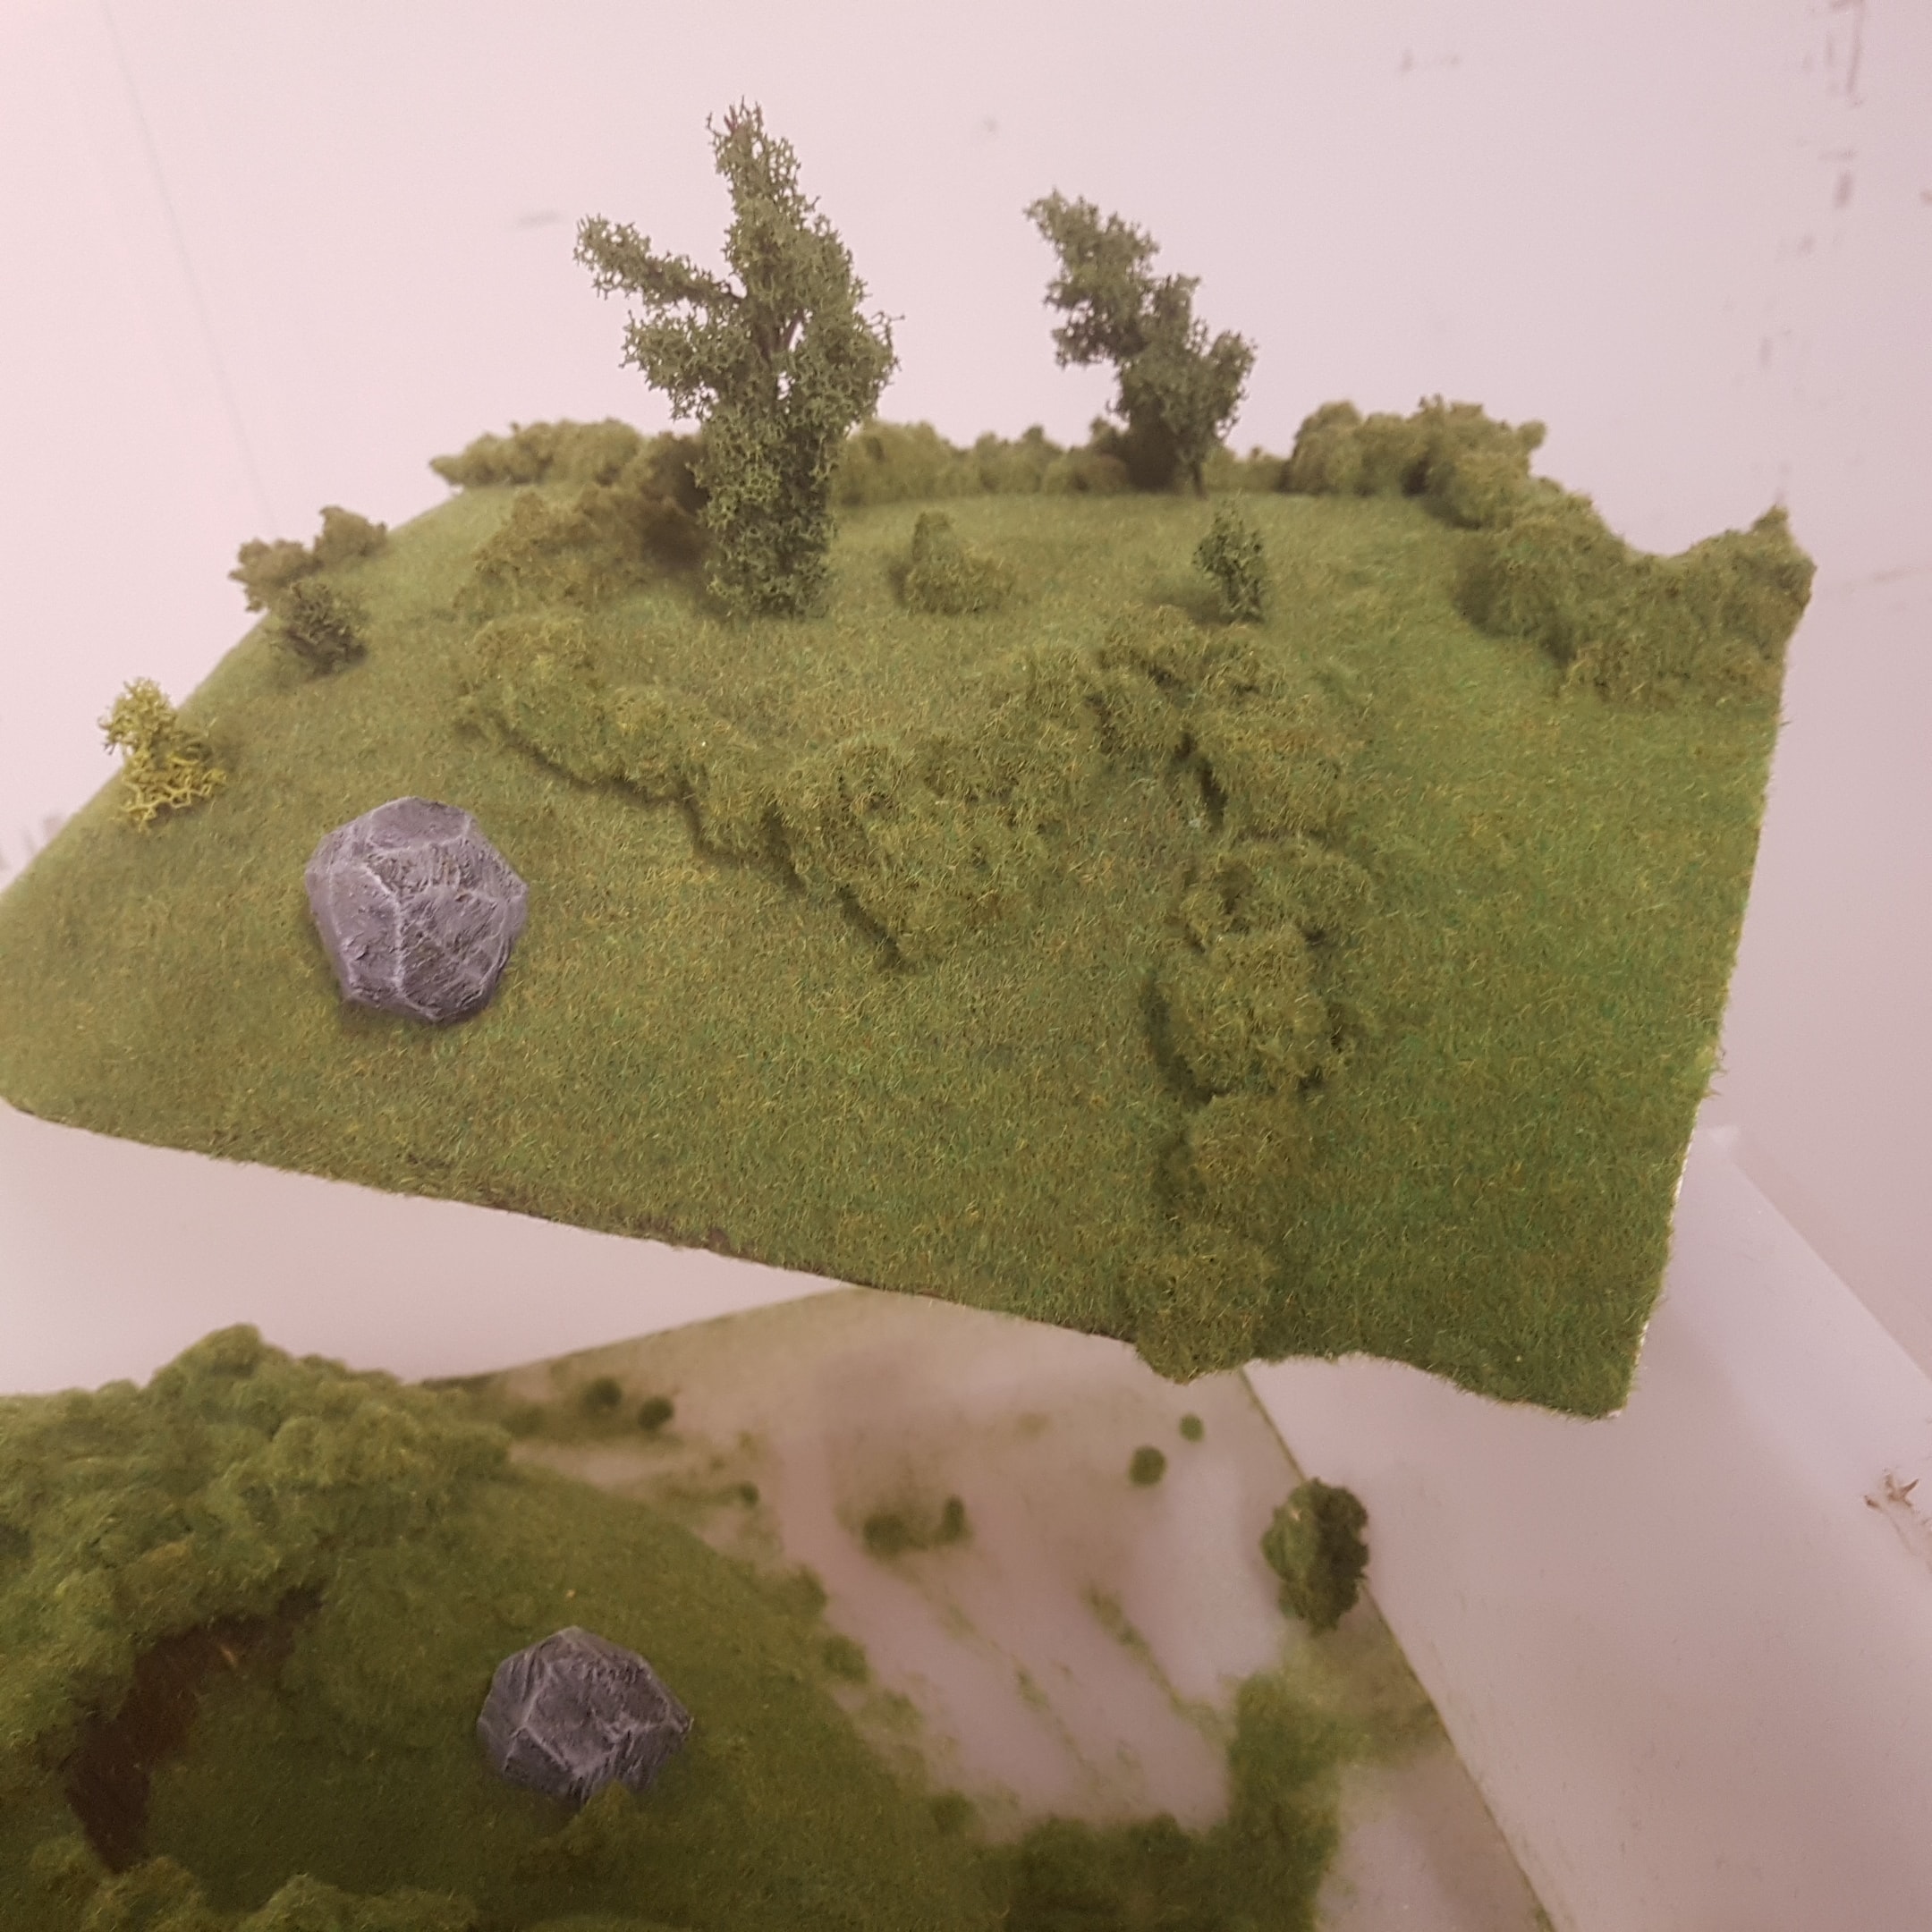
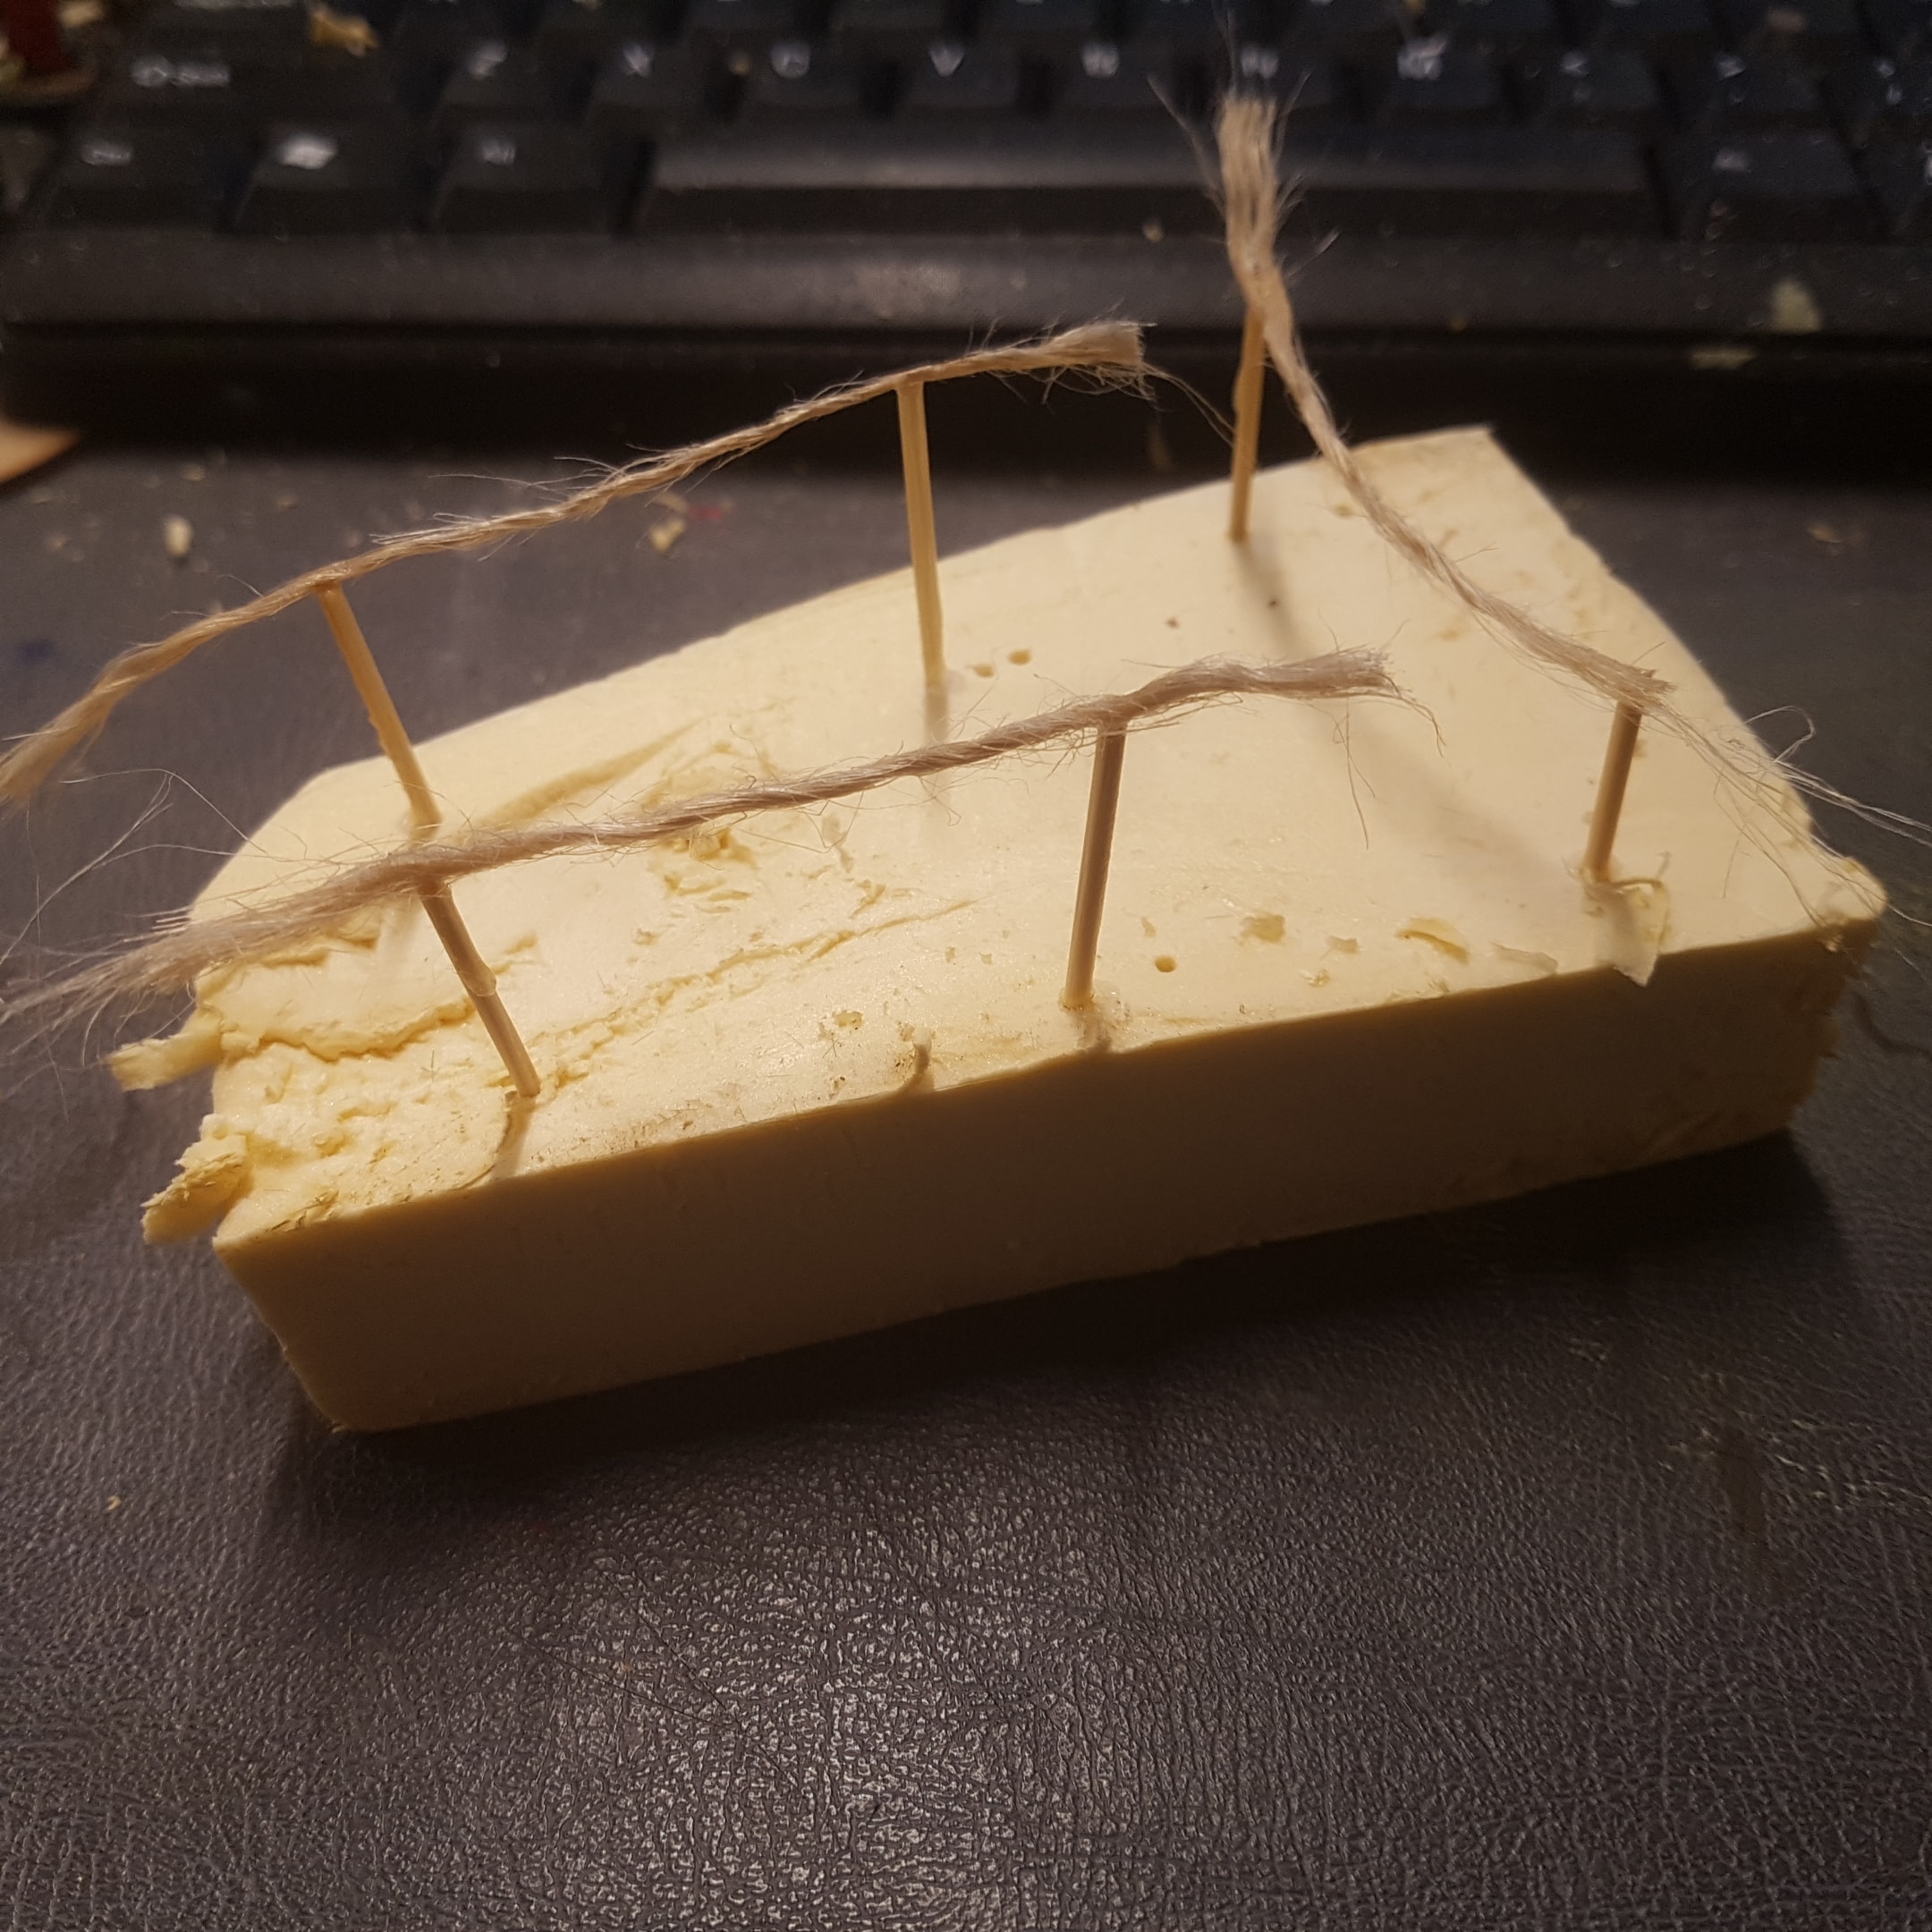 To Start a Washing Line I Stuck Two Toothpicks into a Piece of Foam. Then Trimmed them to Size and Super Glued a Single Strand of Jute String. Once the Glue was Dry then Fix Them in Place with More Glue.
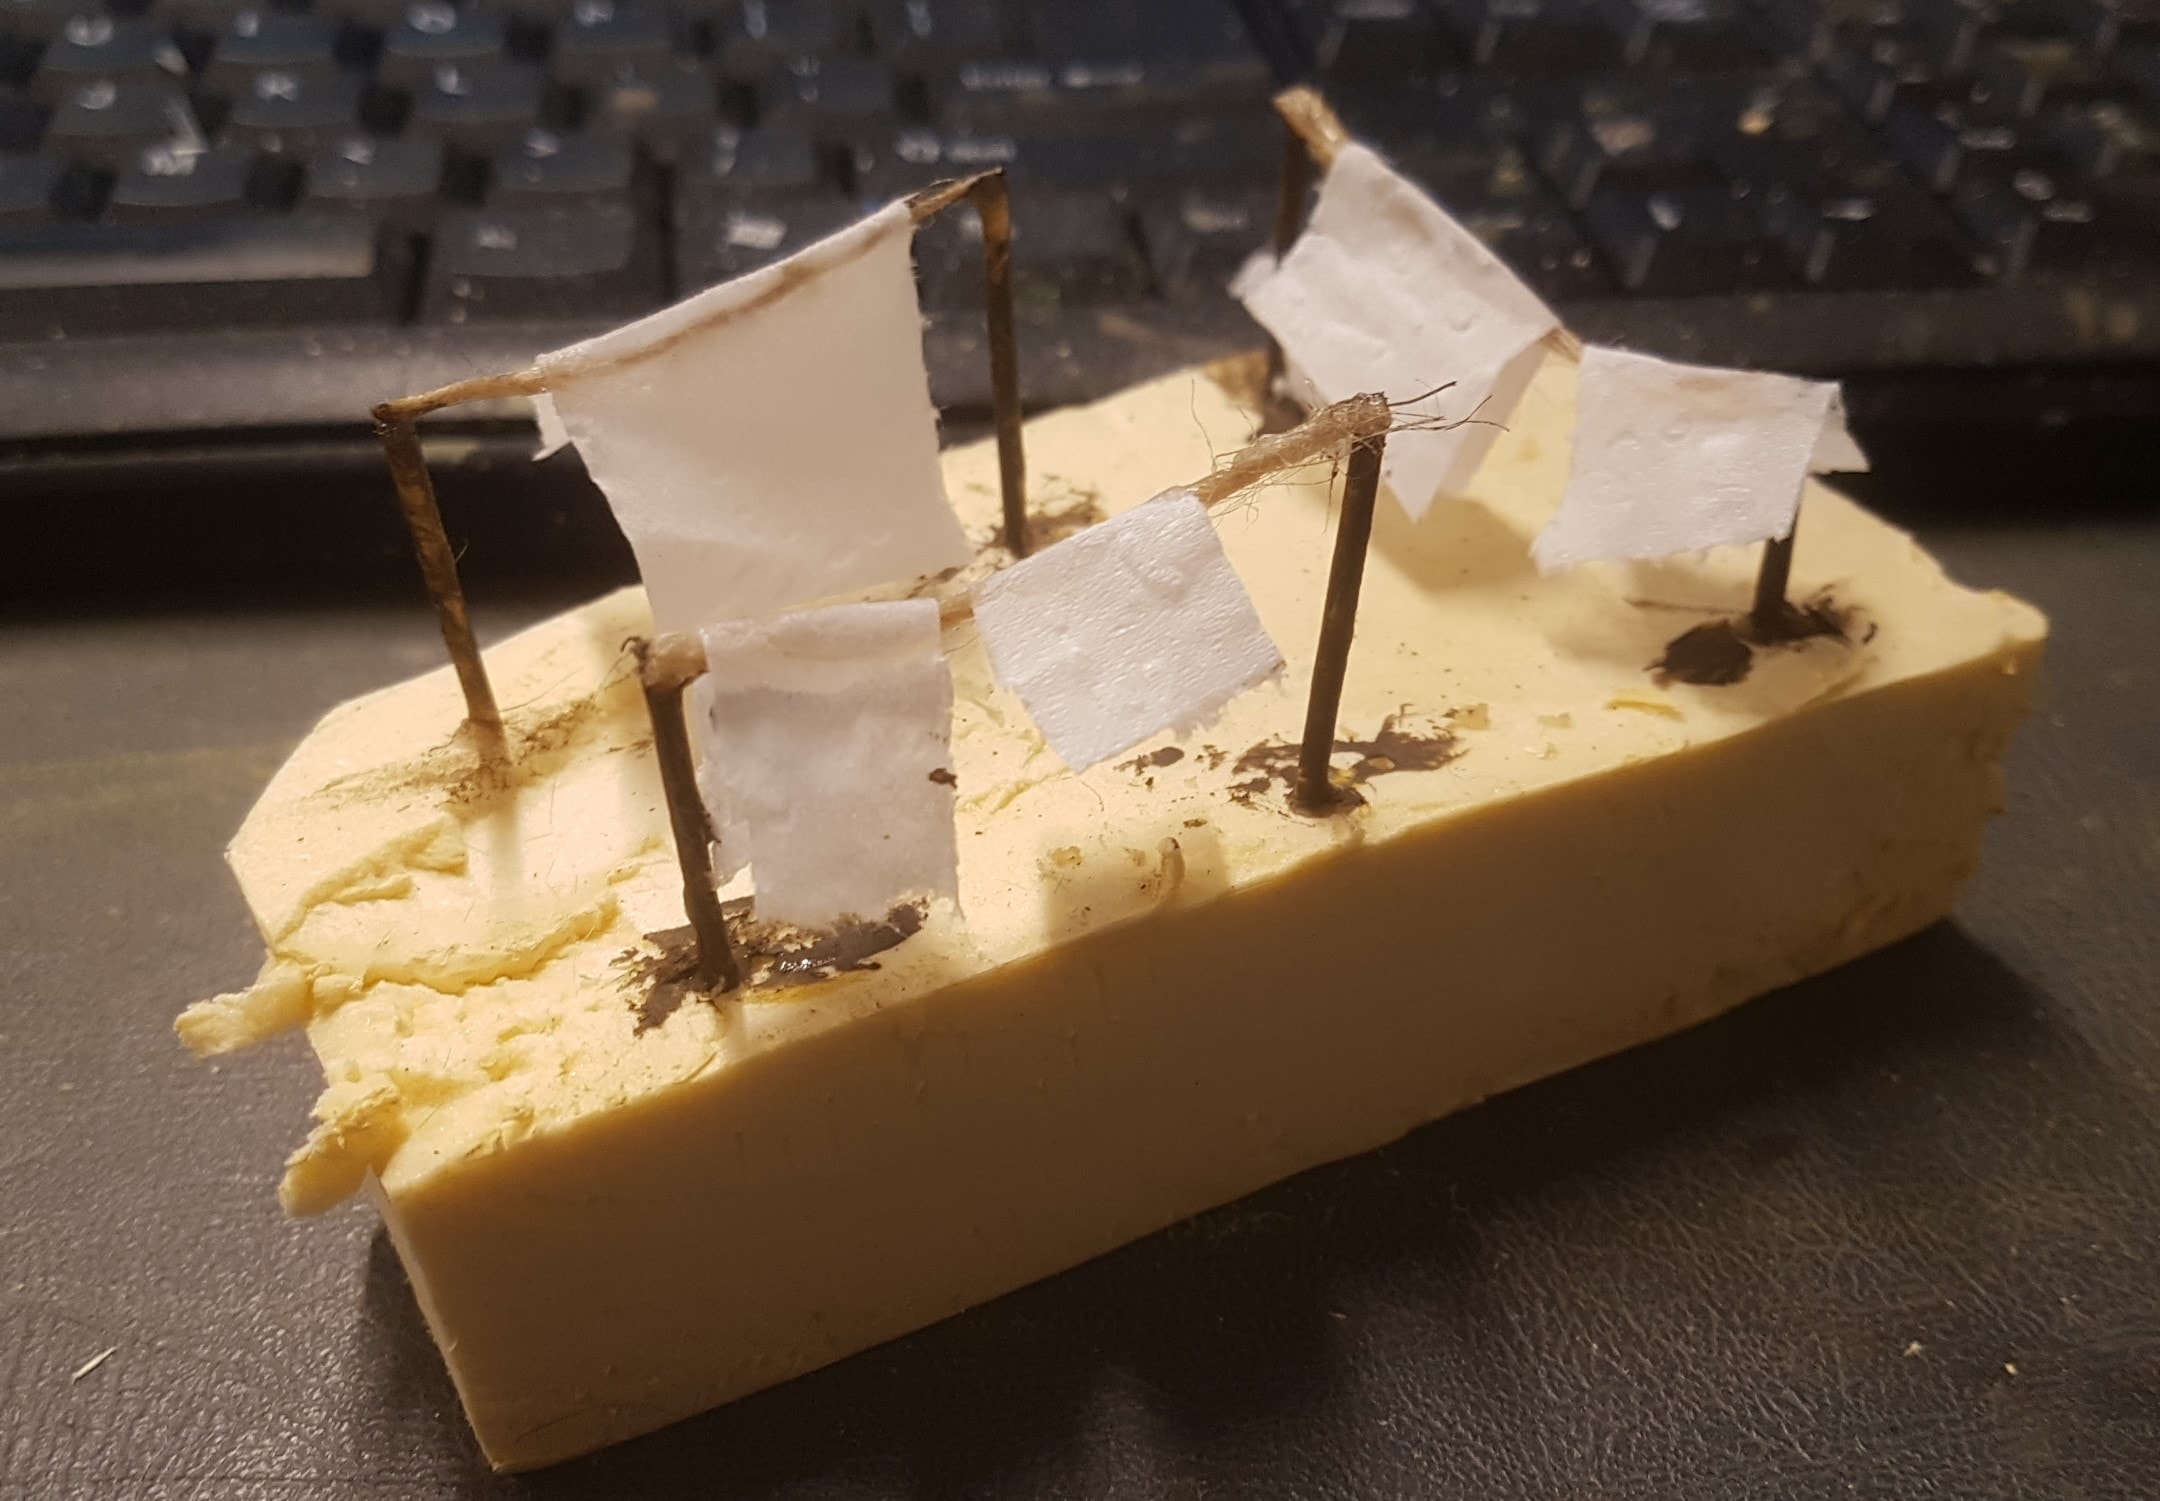 Once that was Dry the Entire Line was Covered in Superglue and a Piece of Tissue was Draped over Them. The Poles were then Painted with Cheap Paint
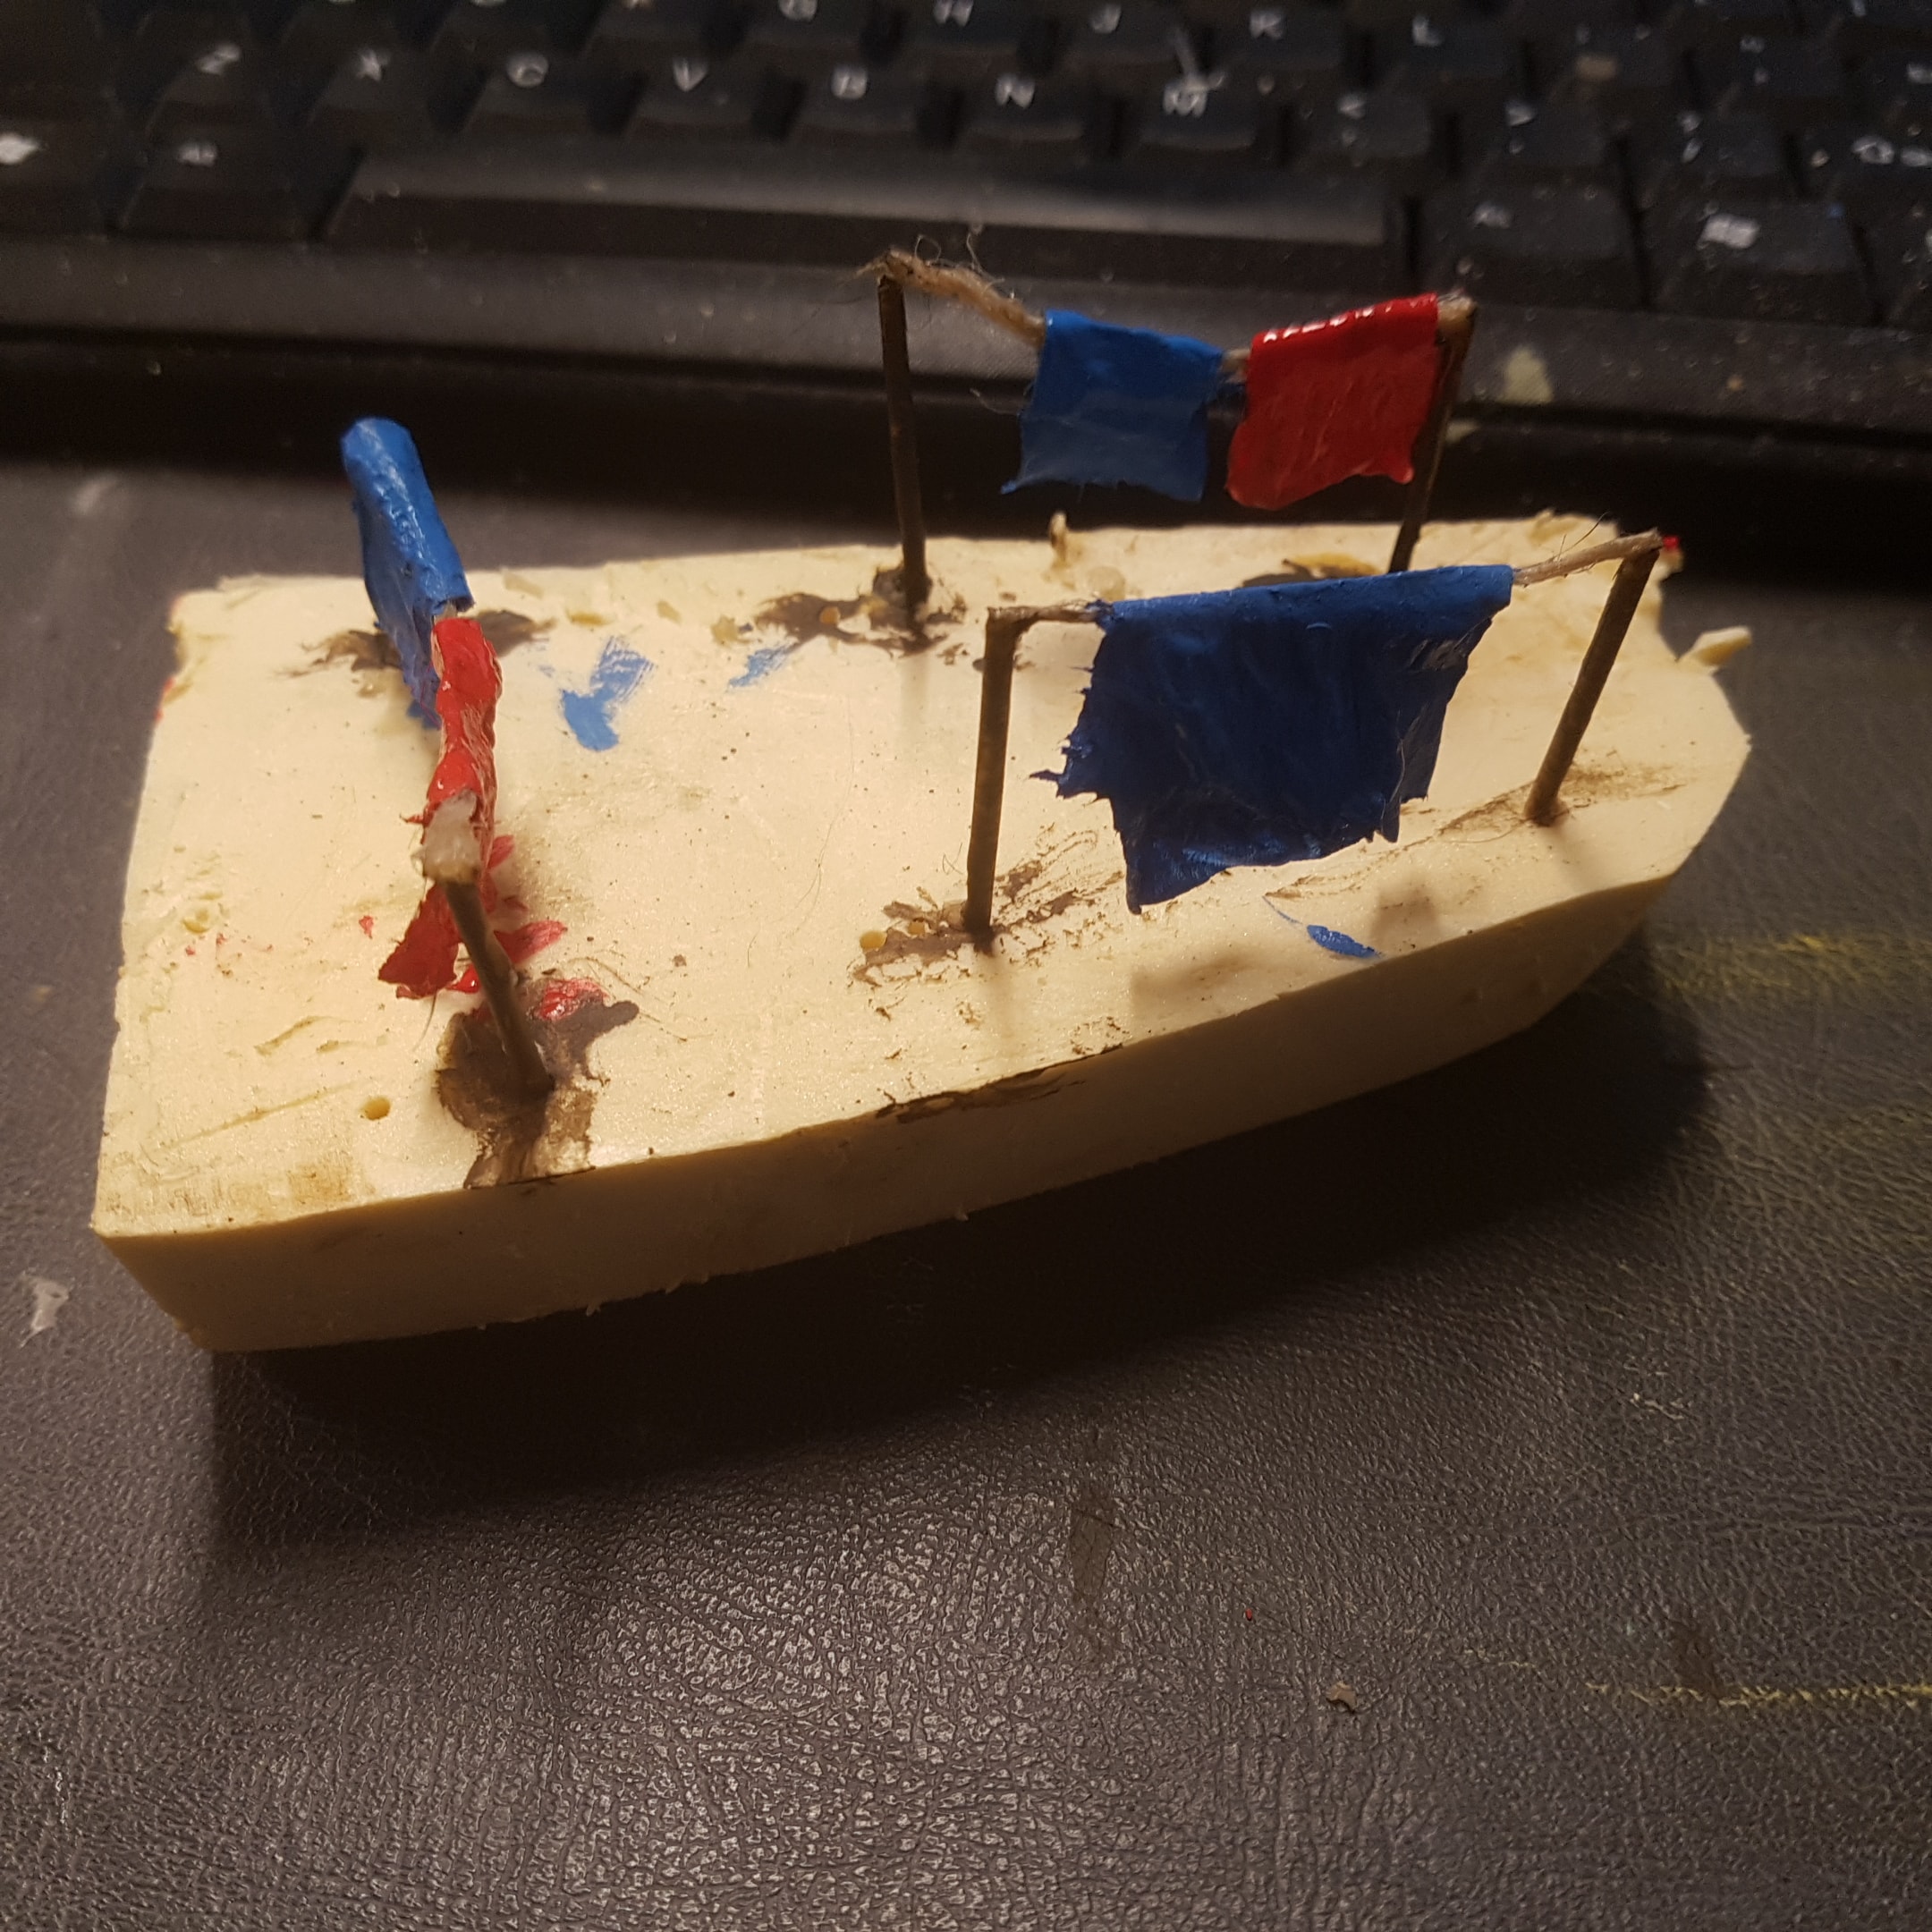 The "Sheets" were then Painted Red or Blue
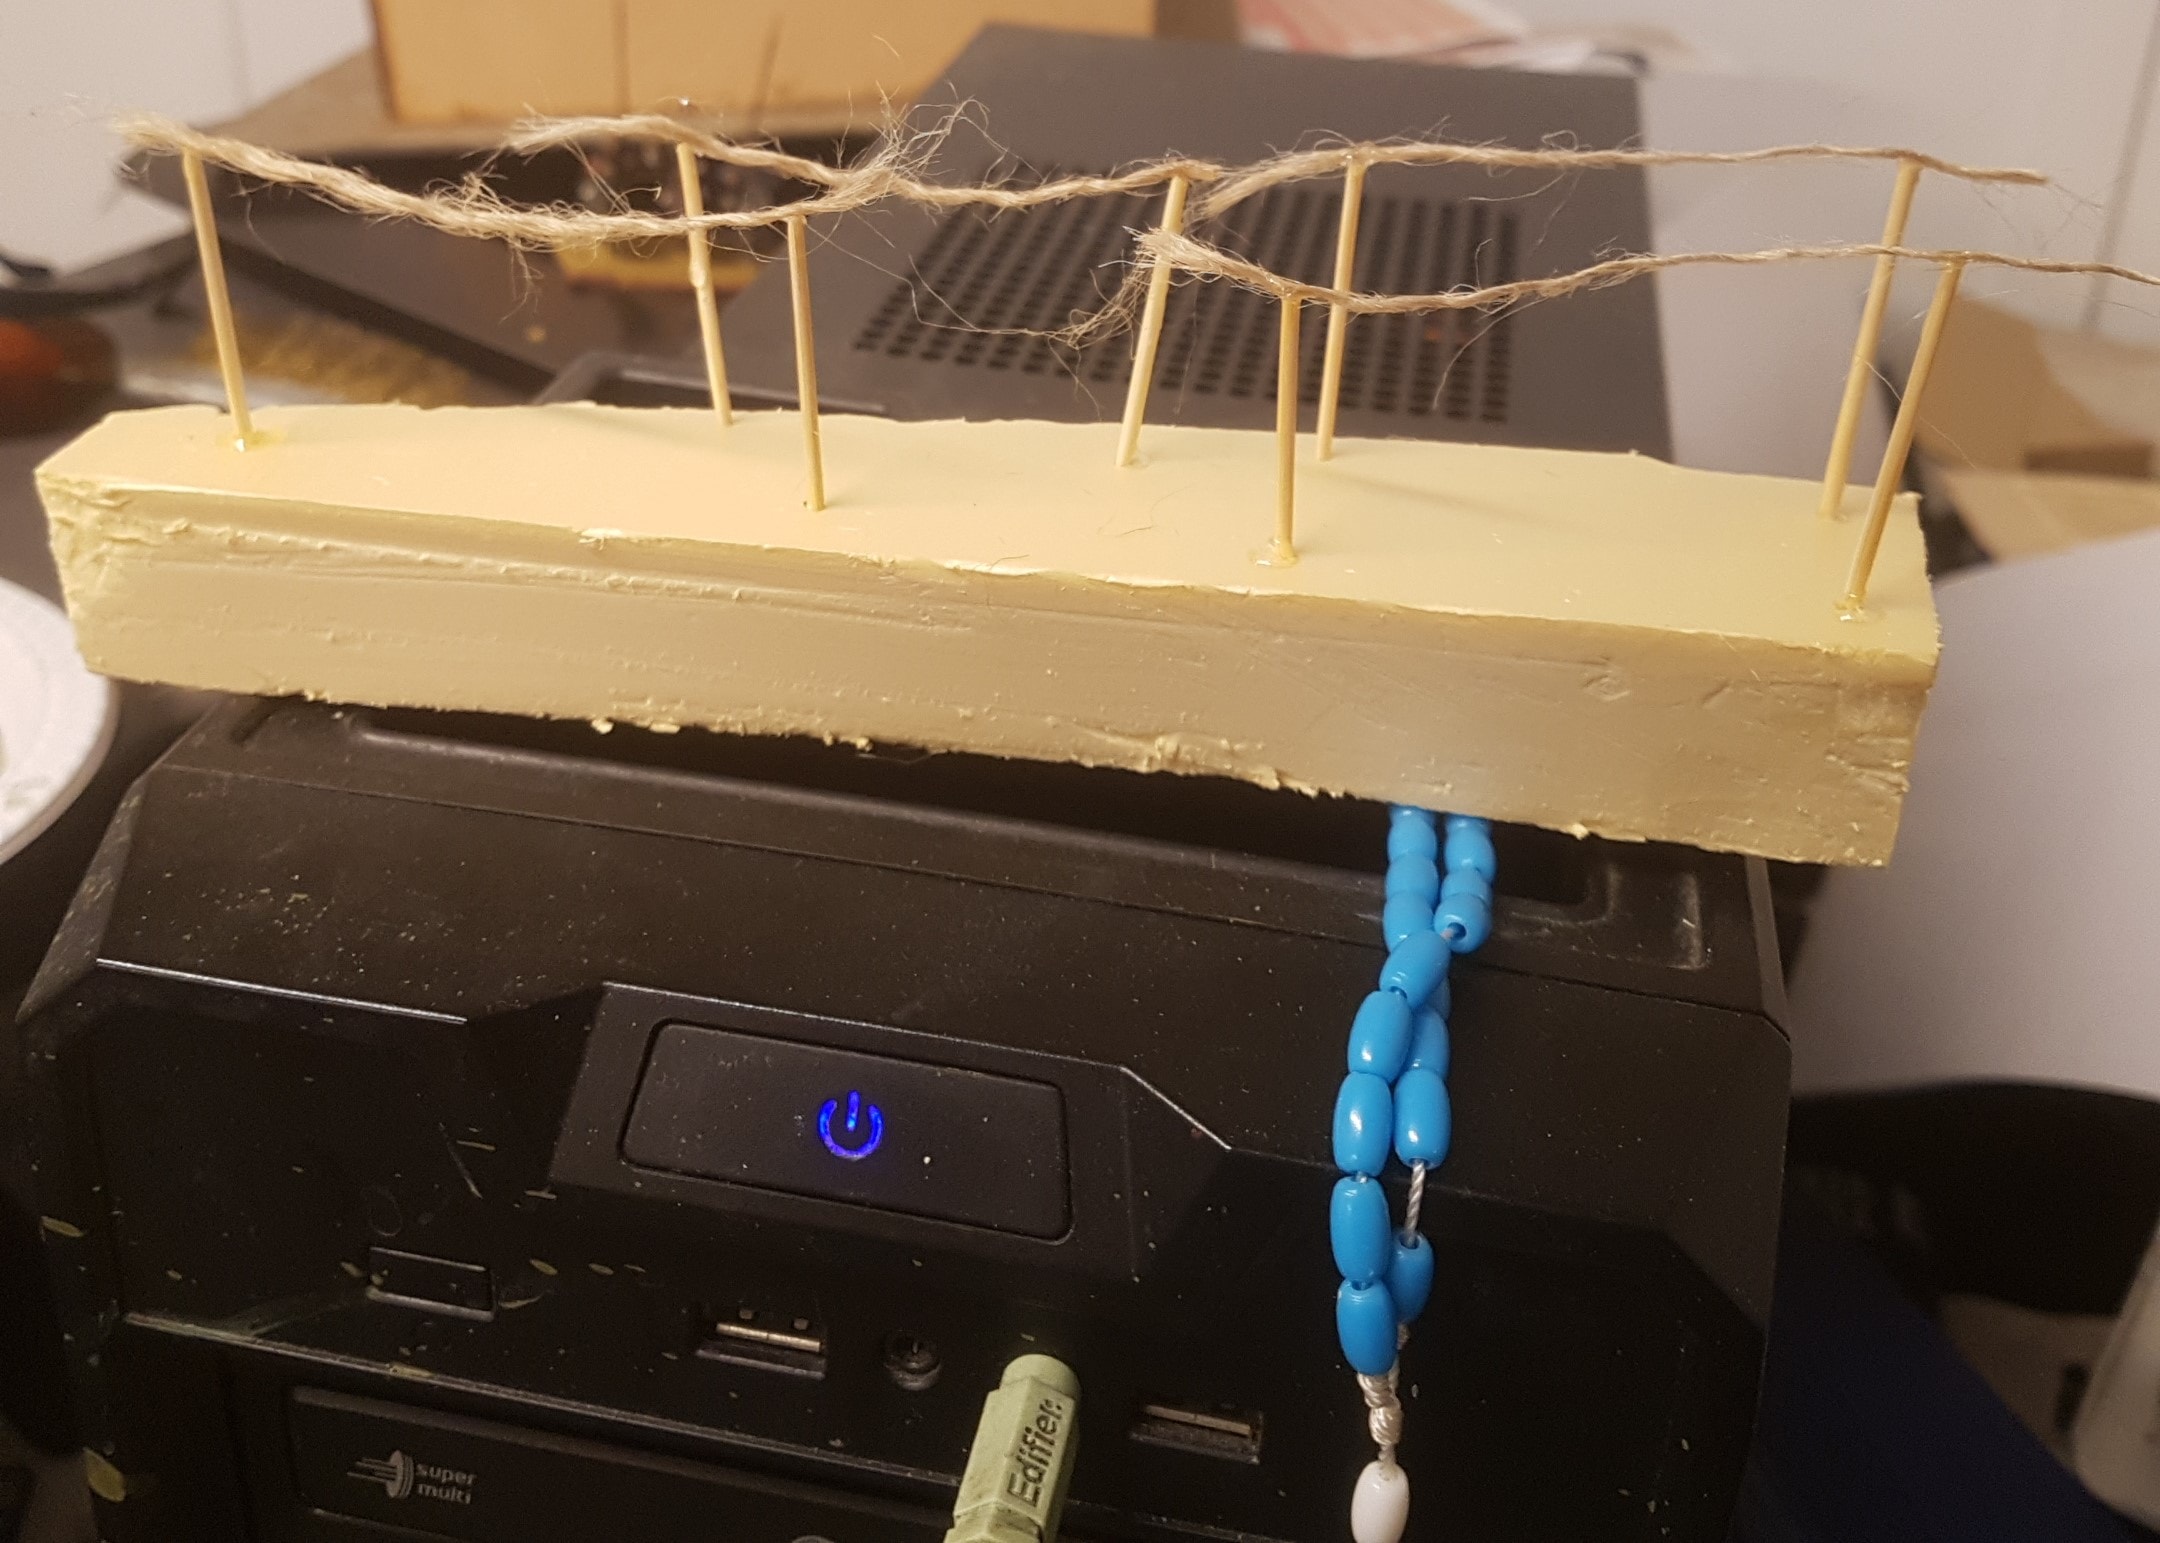 The Second Batch
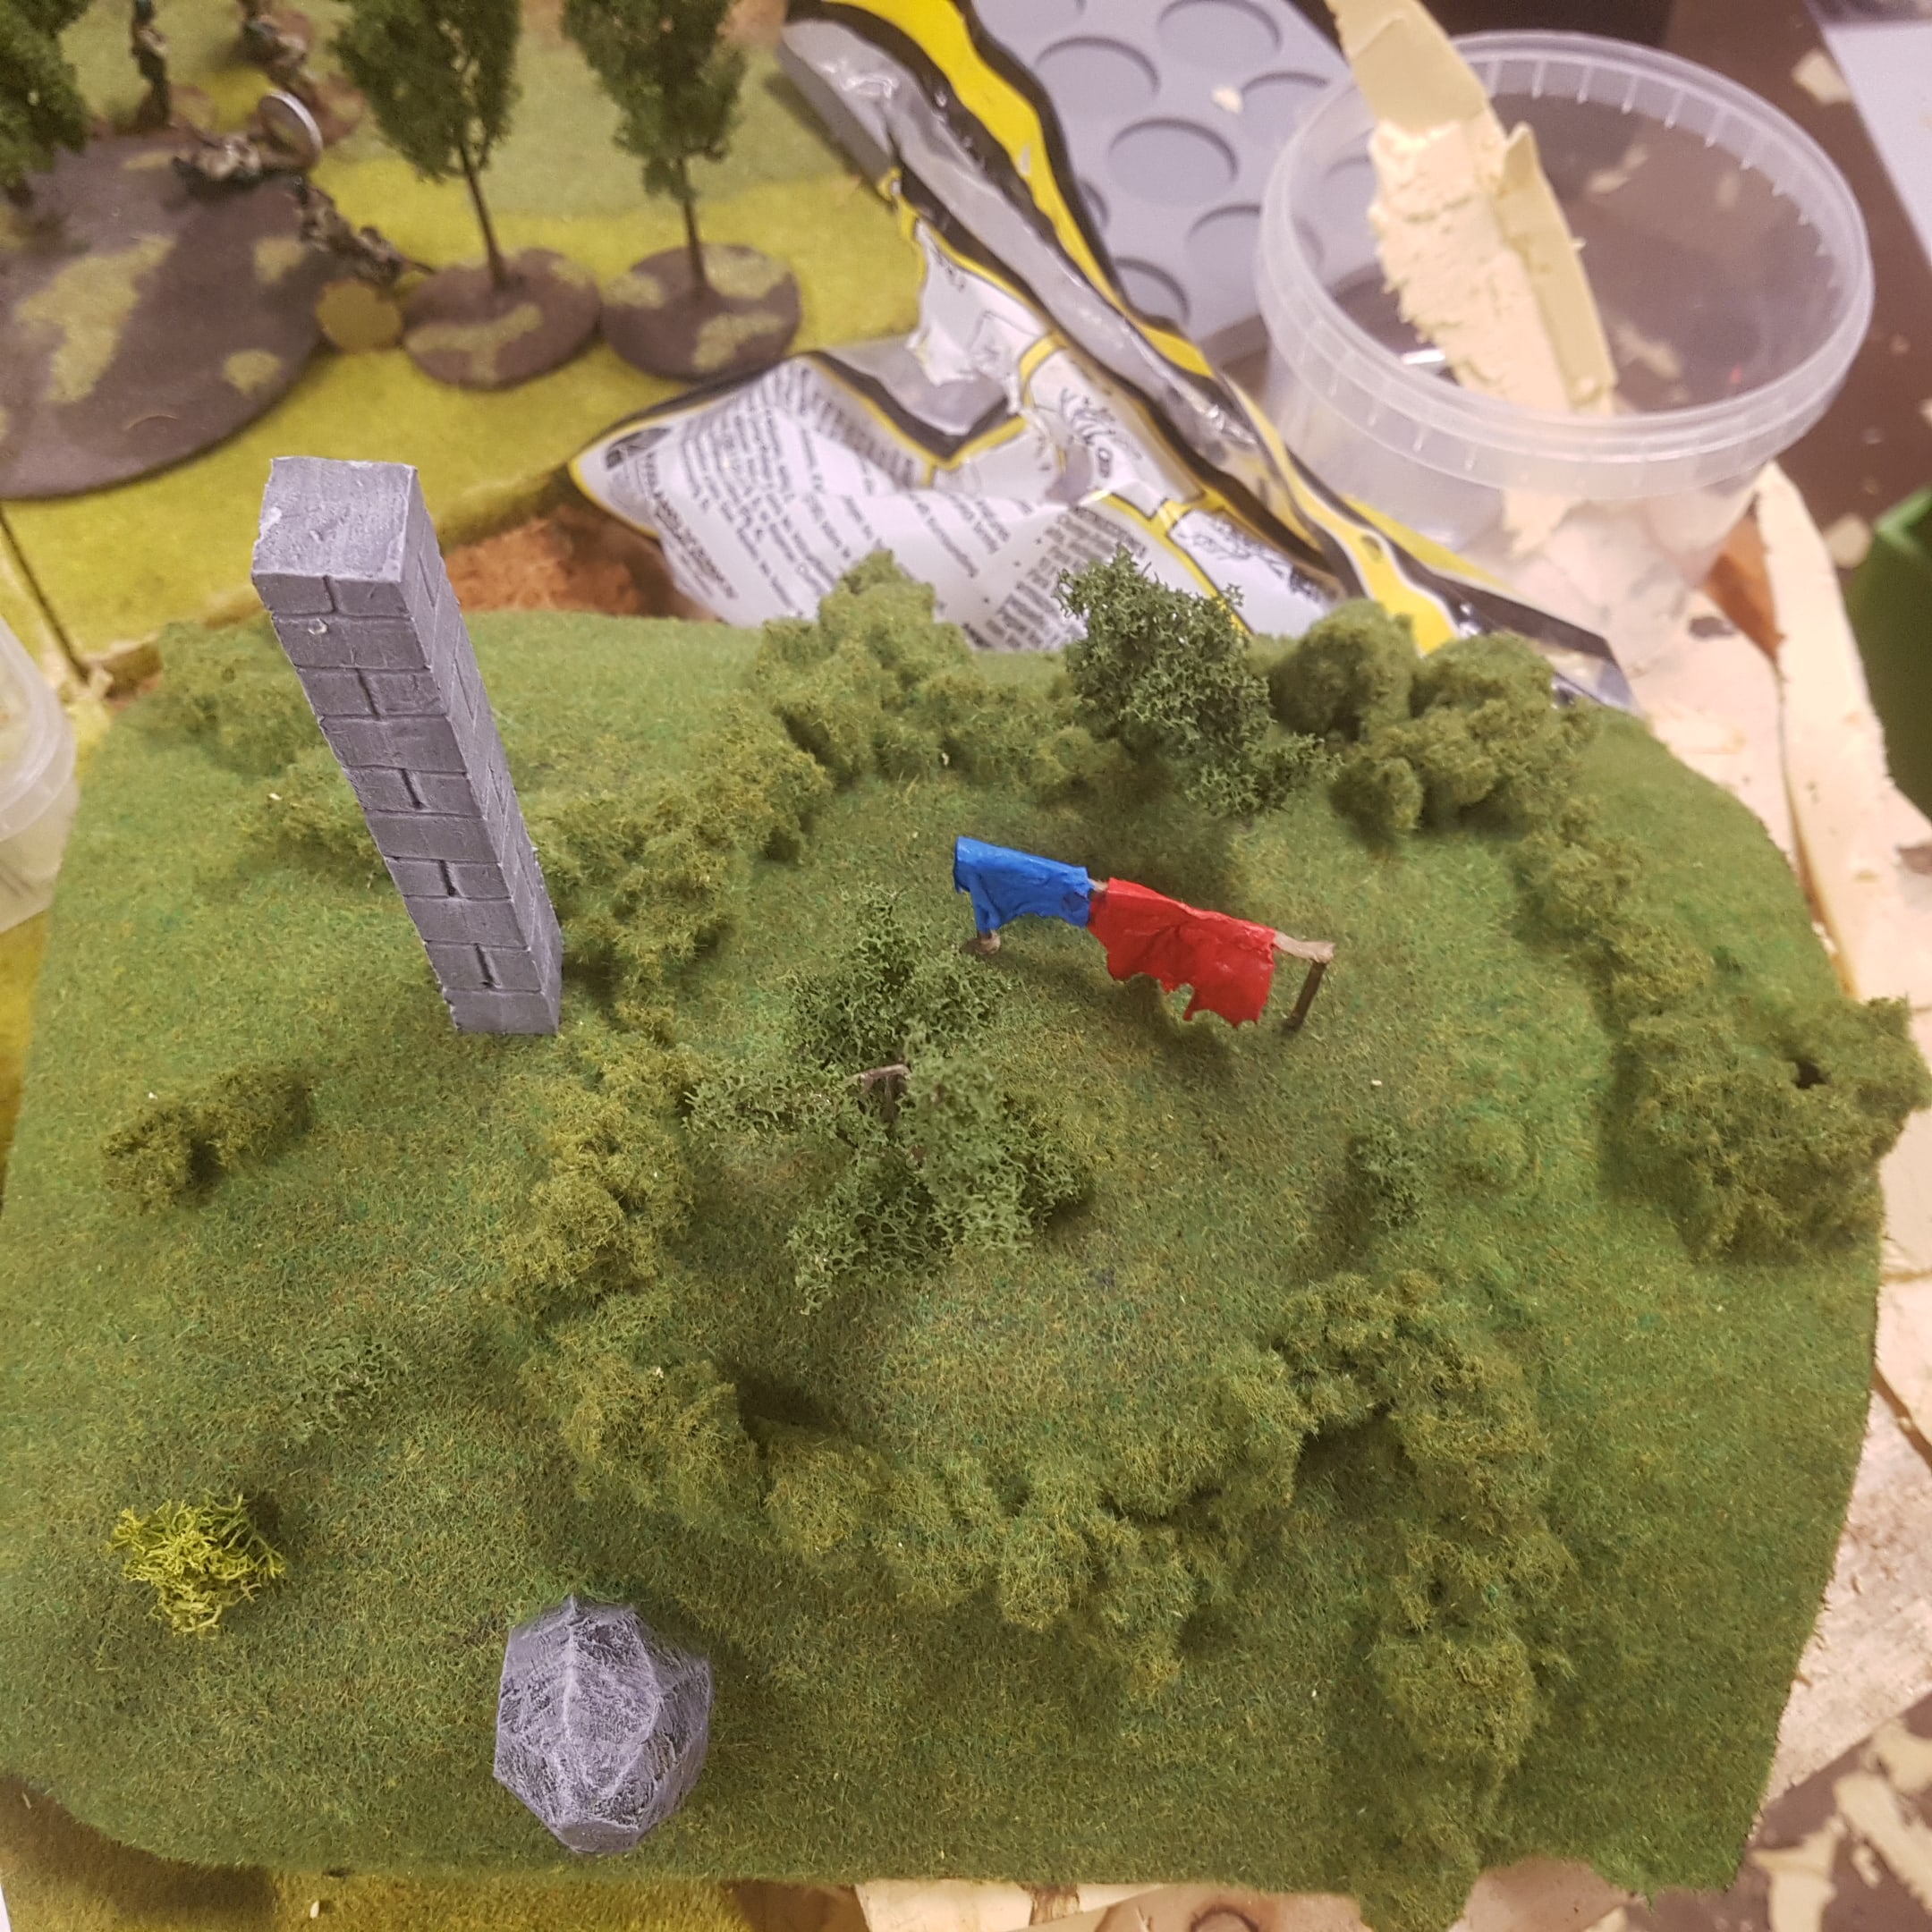 I Like the Effect that the Bright Colours Have. It Really Breaks up the Monotone Green.
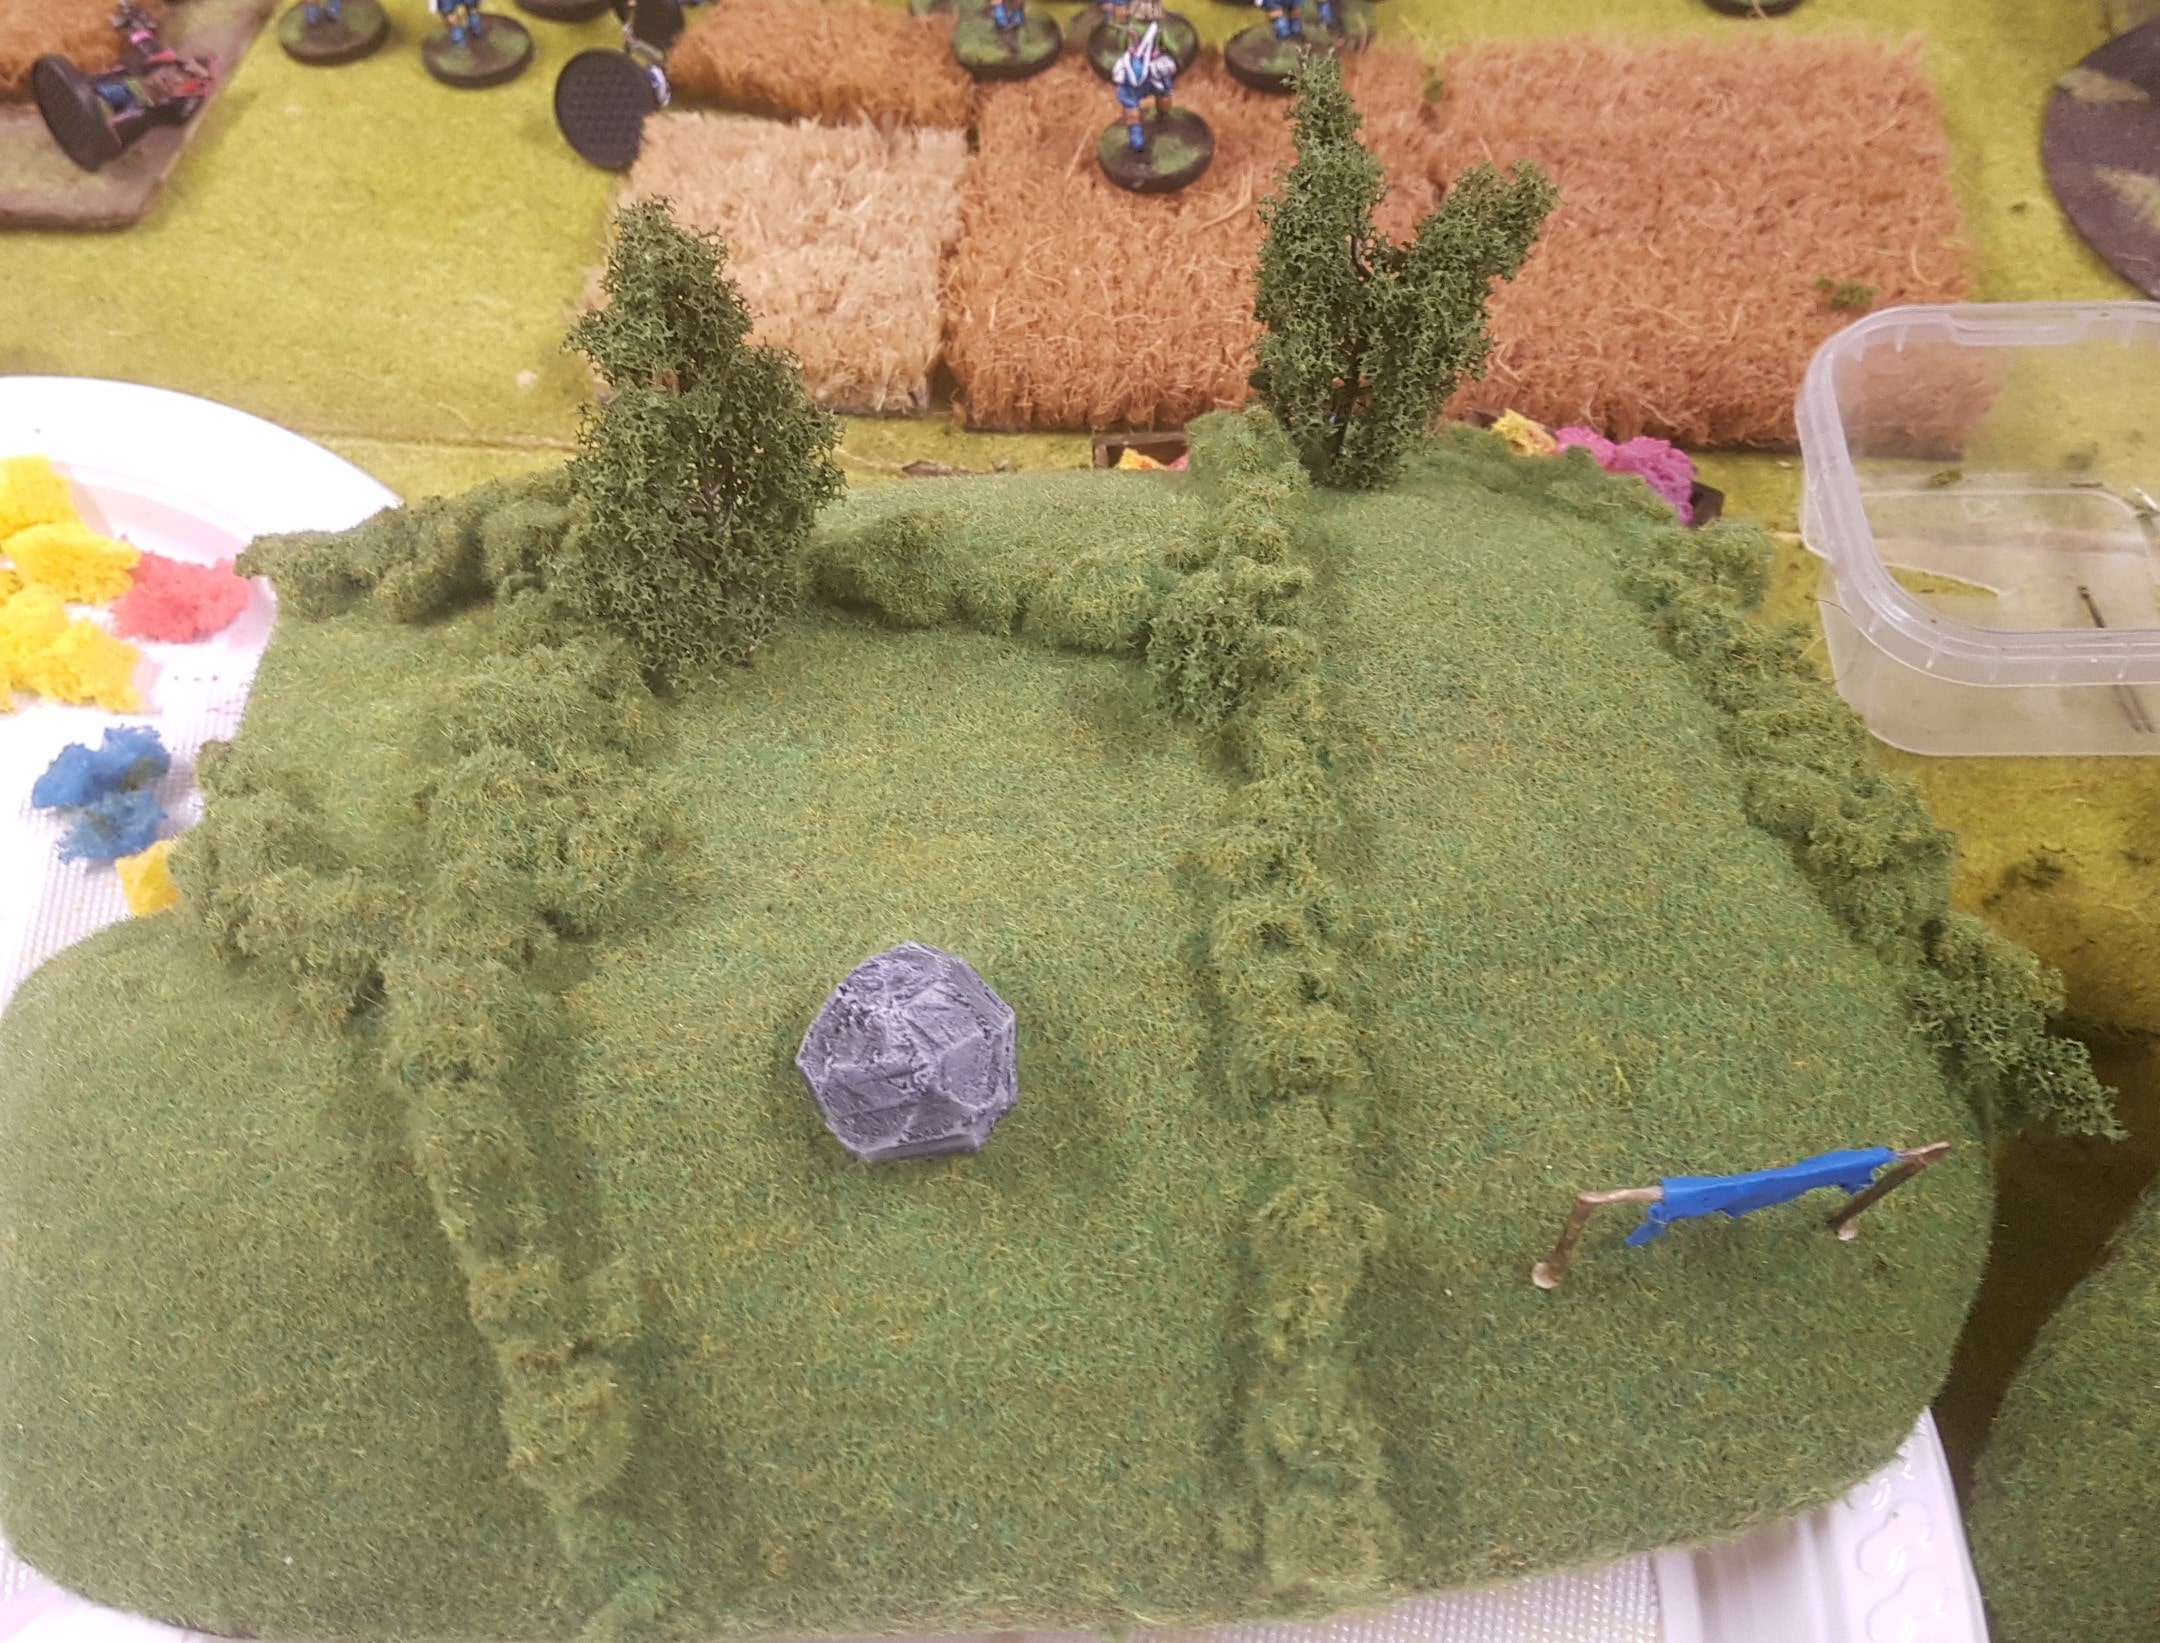
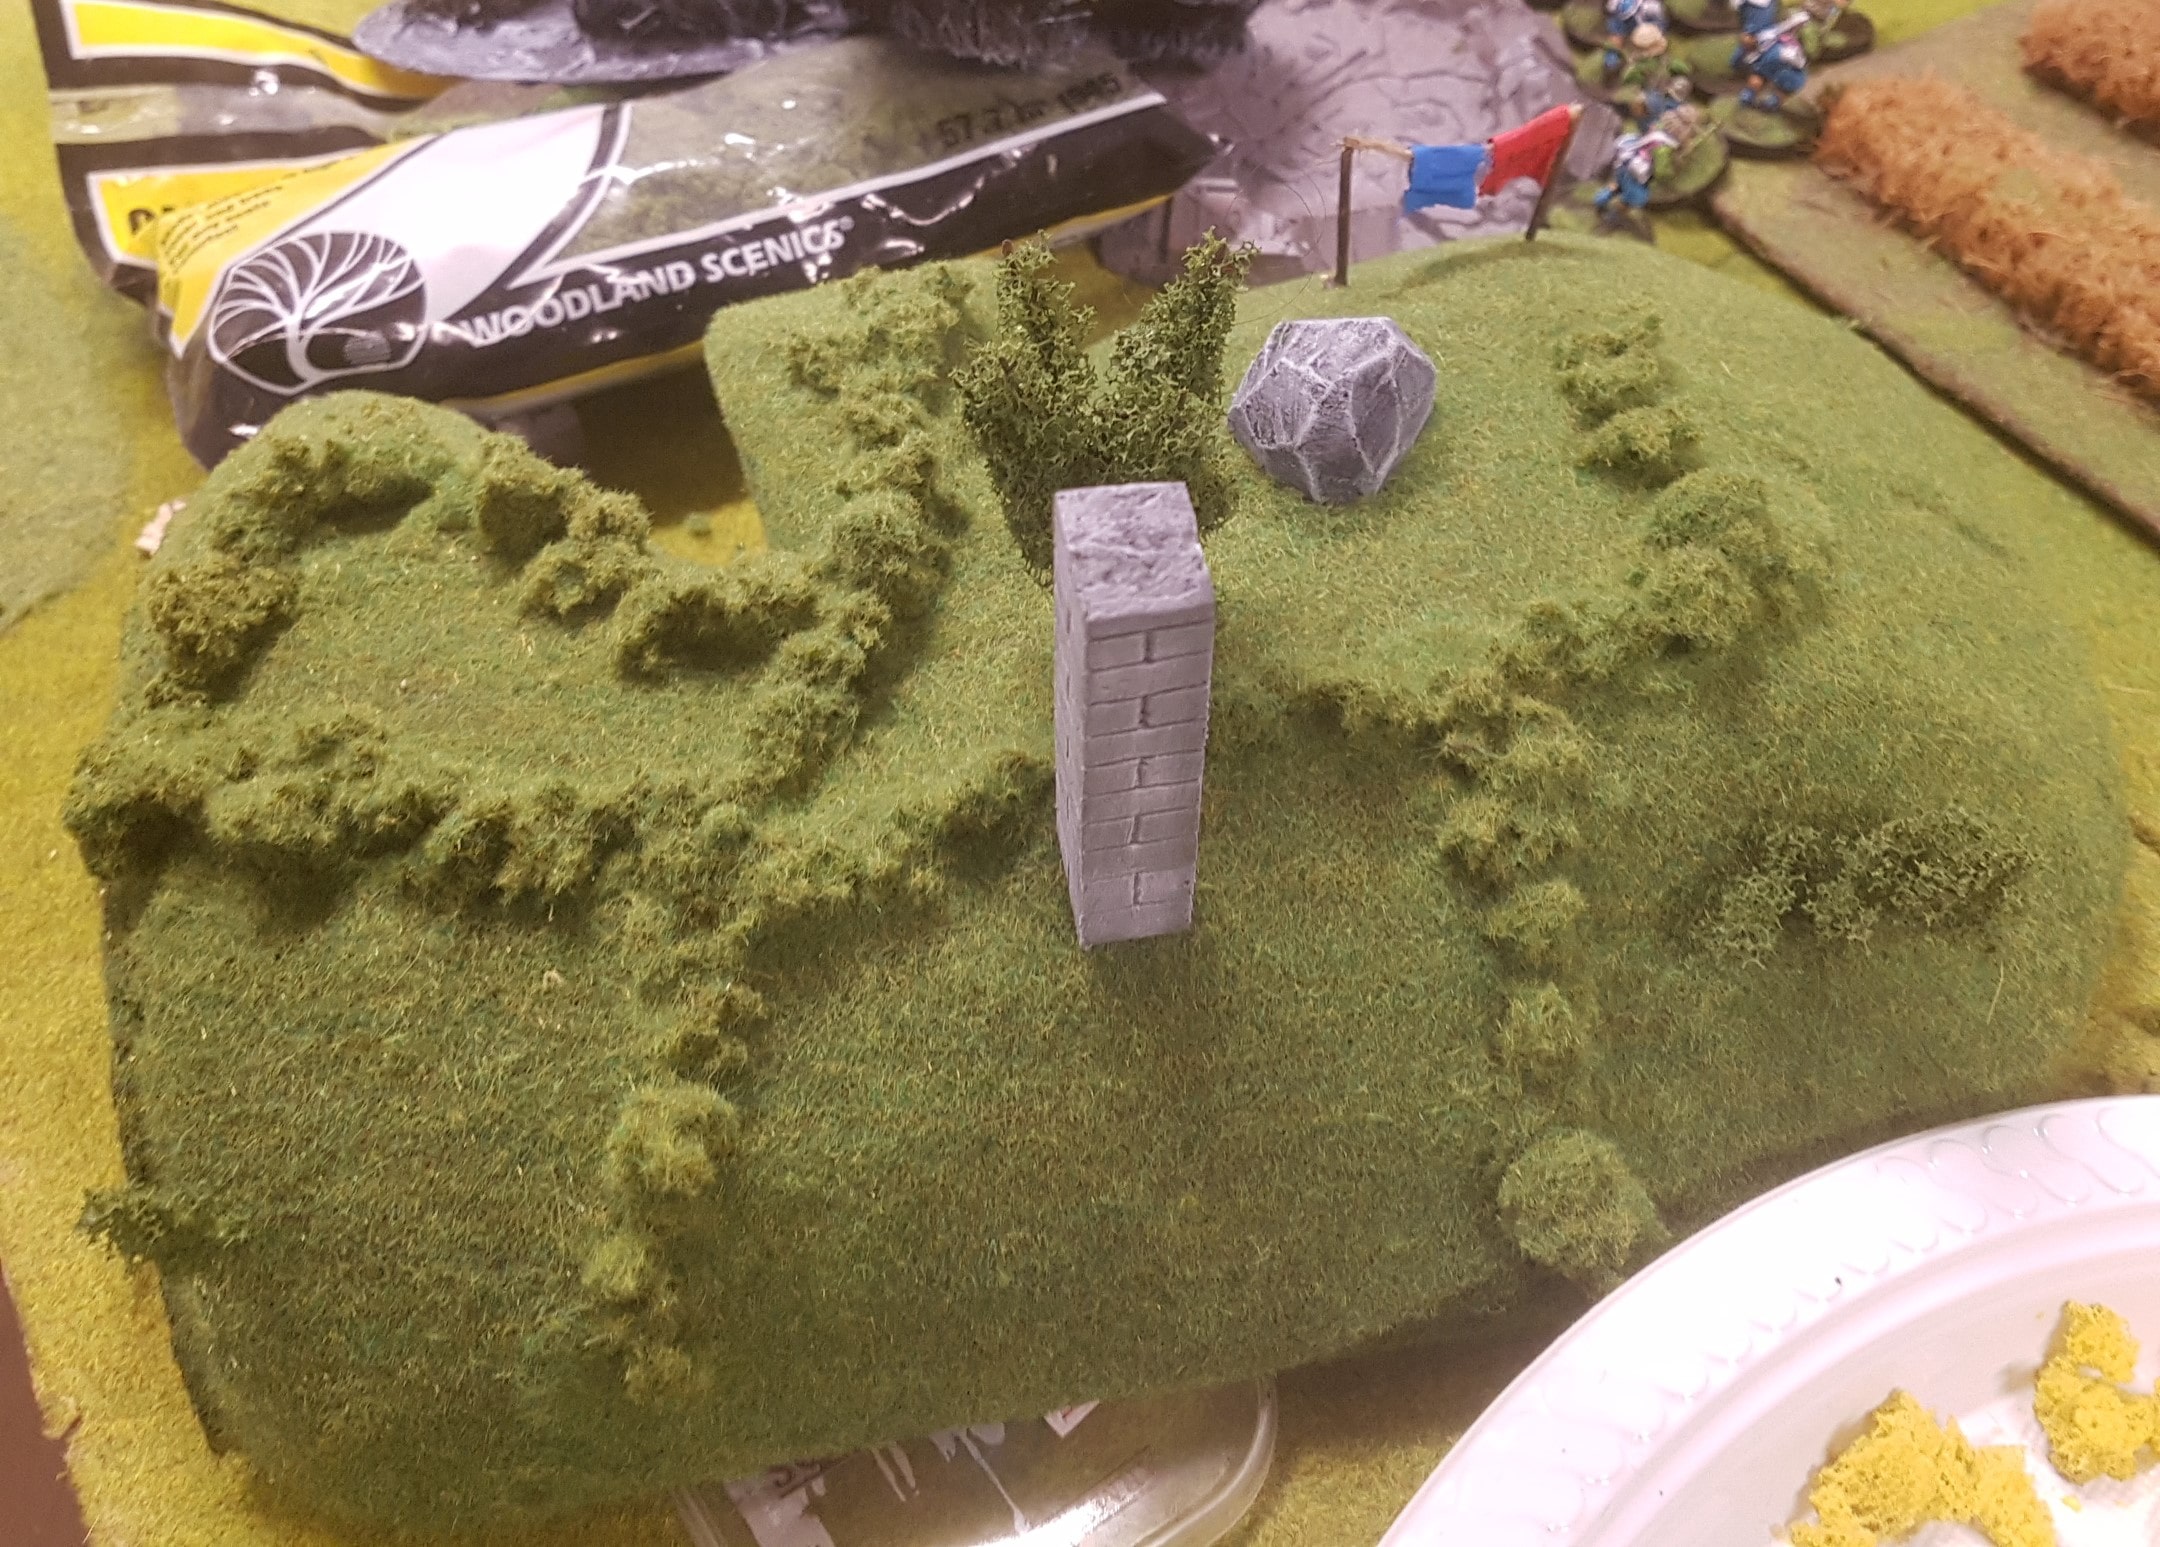 The Chimney's Will get Some Creeping Vines and Funnels Later in the Week
Flowers, Clotheslines and a Barrow
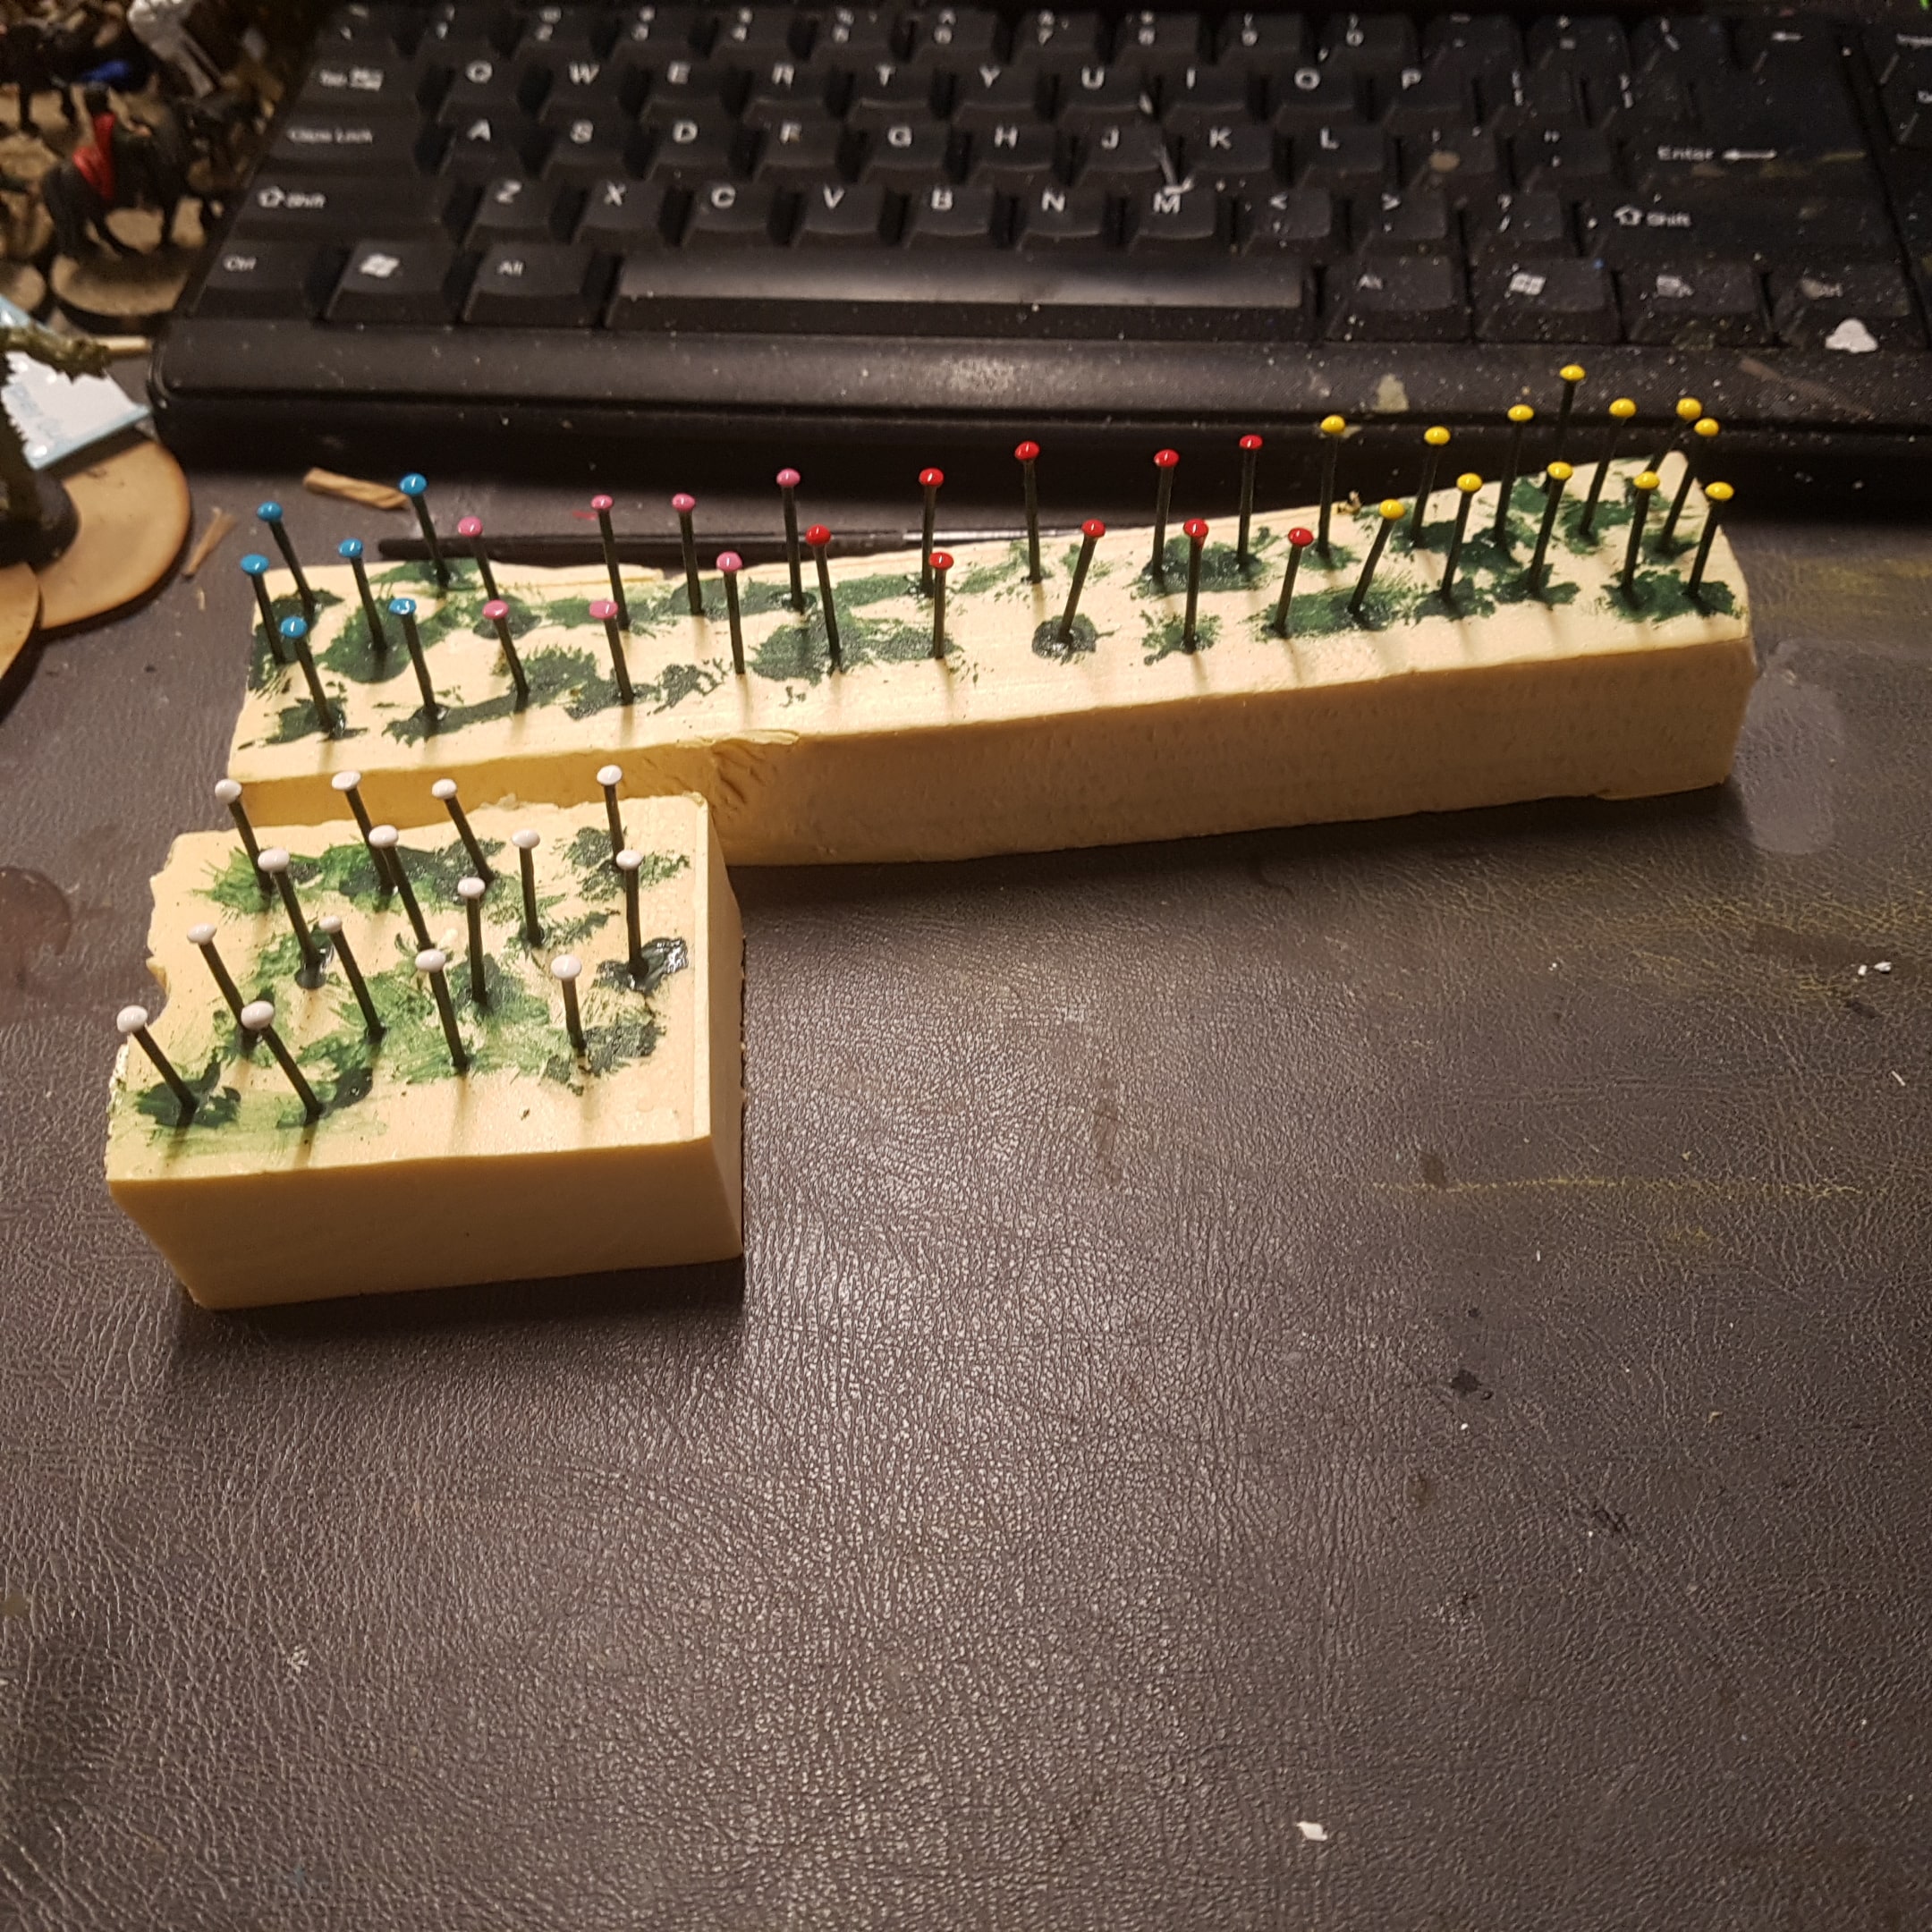
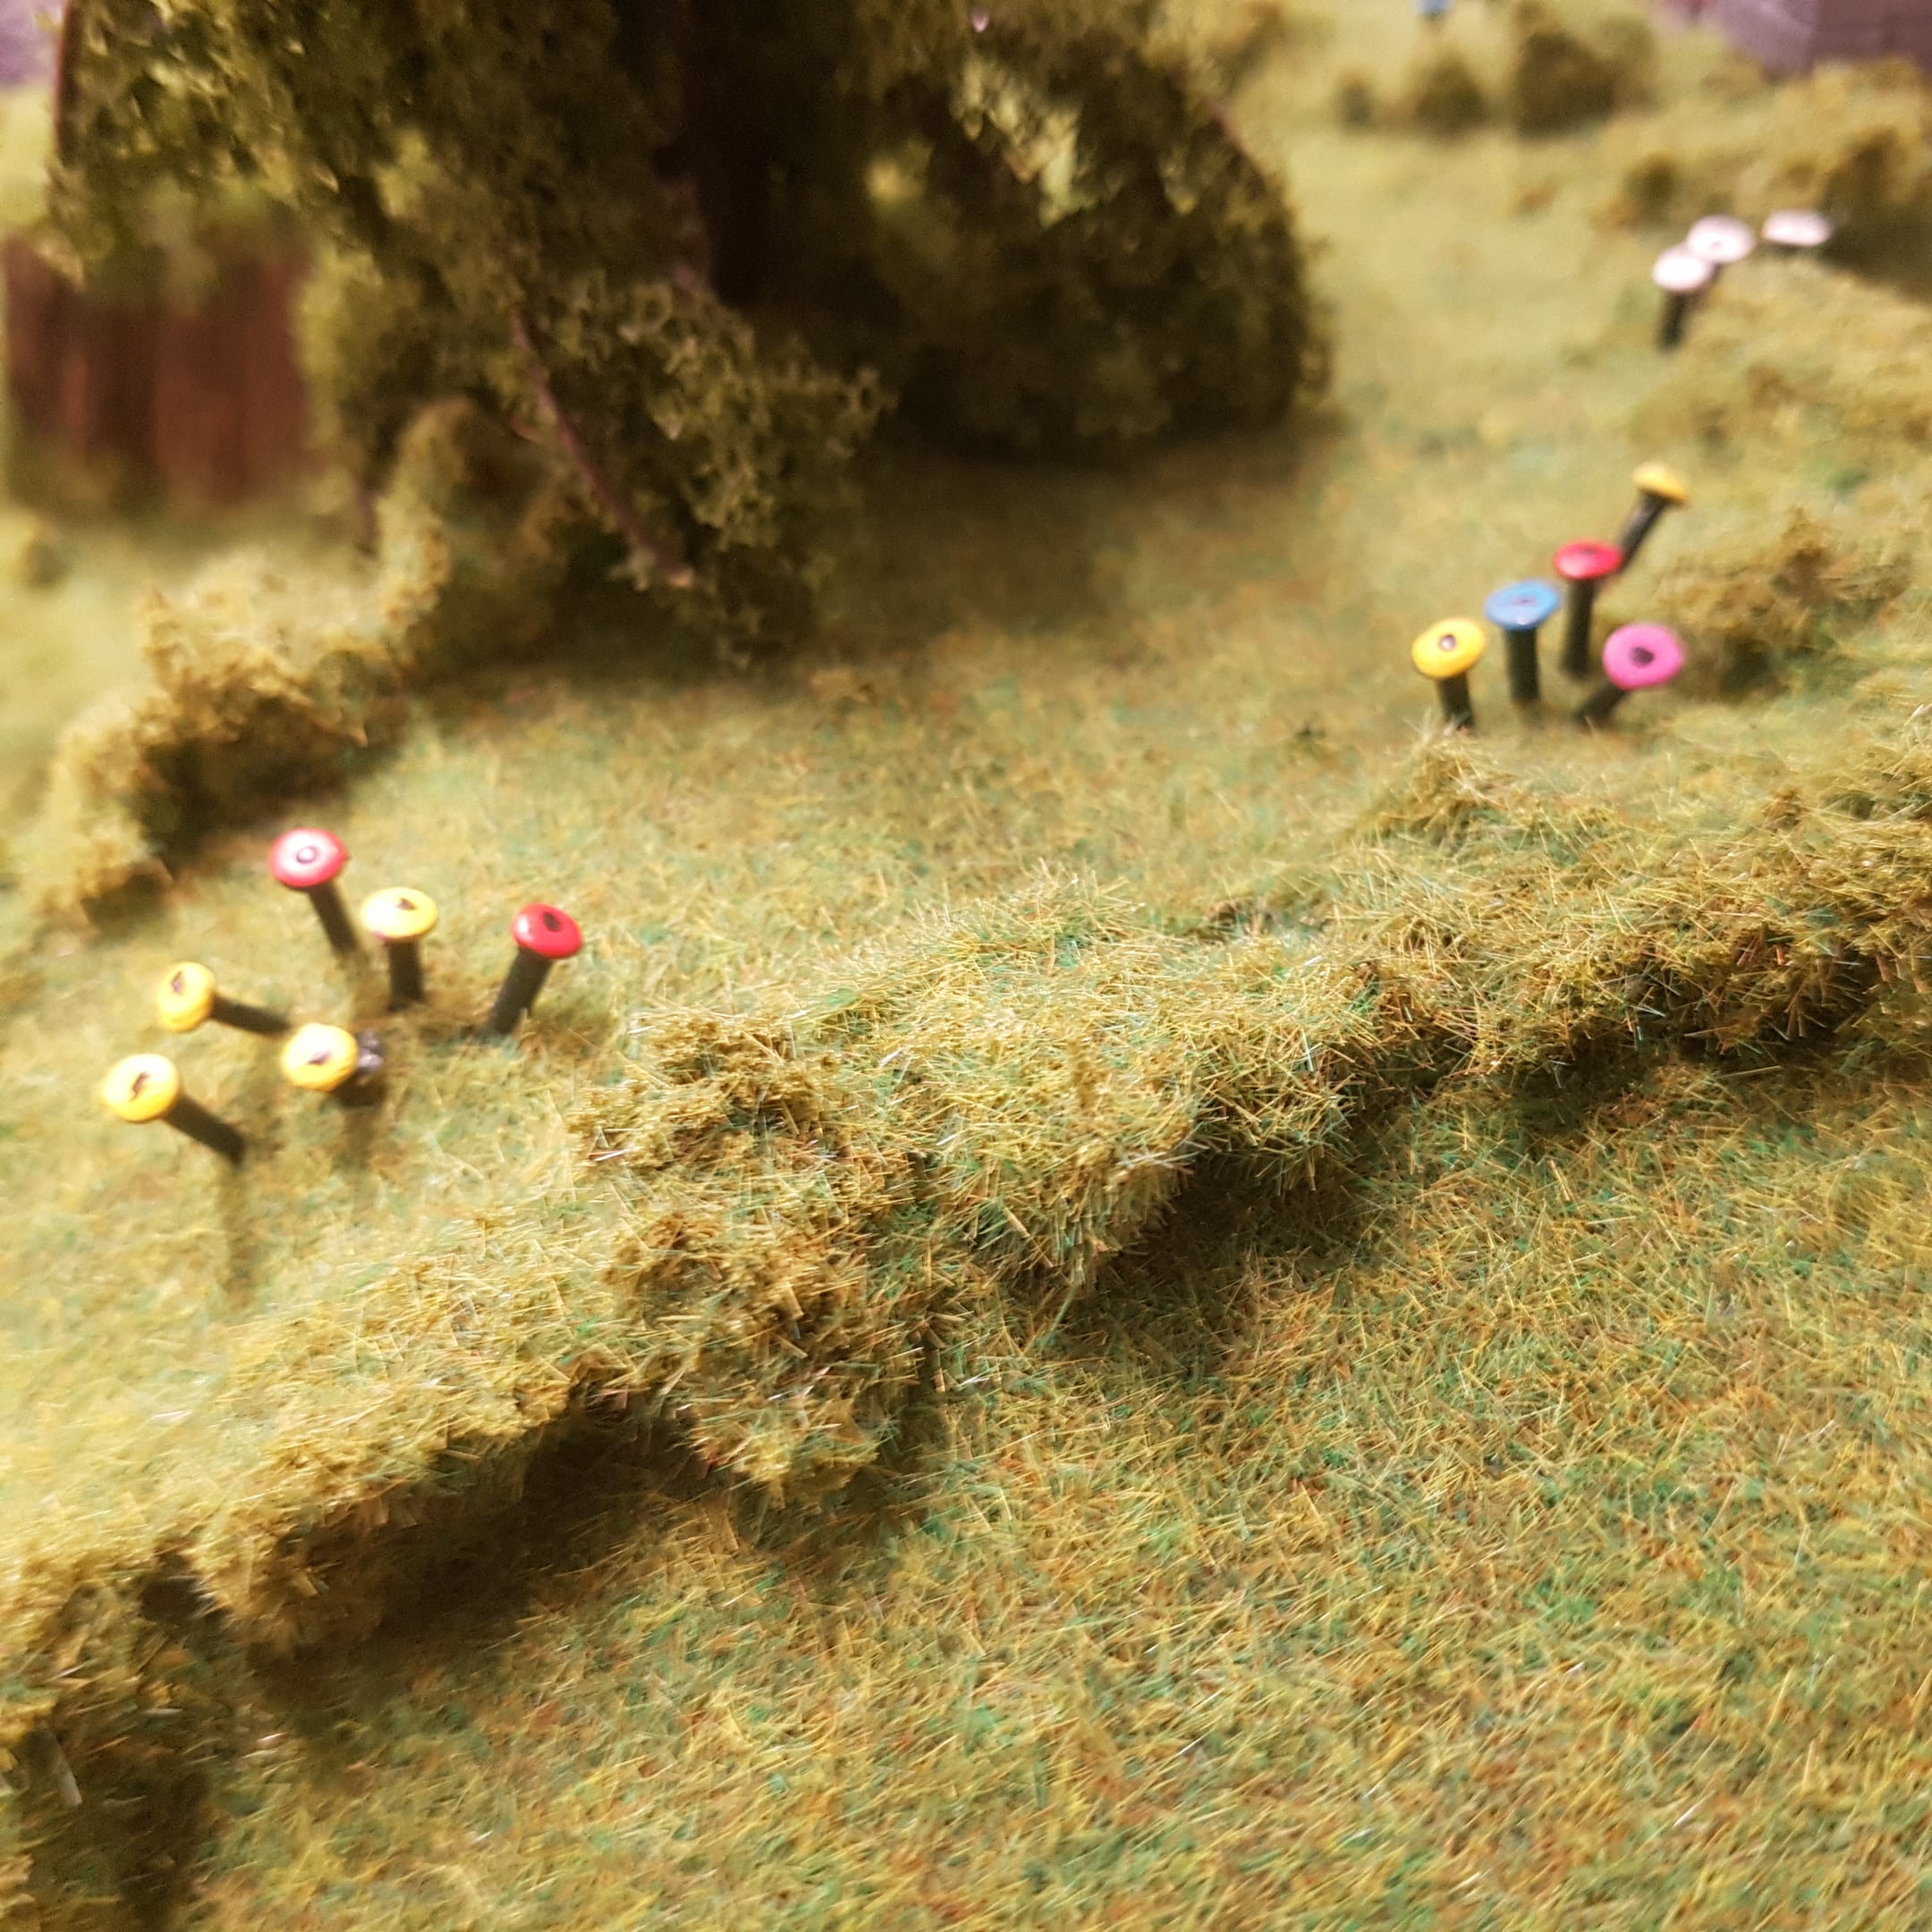
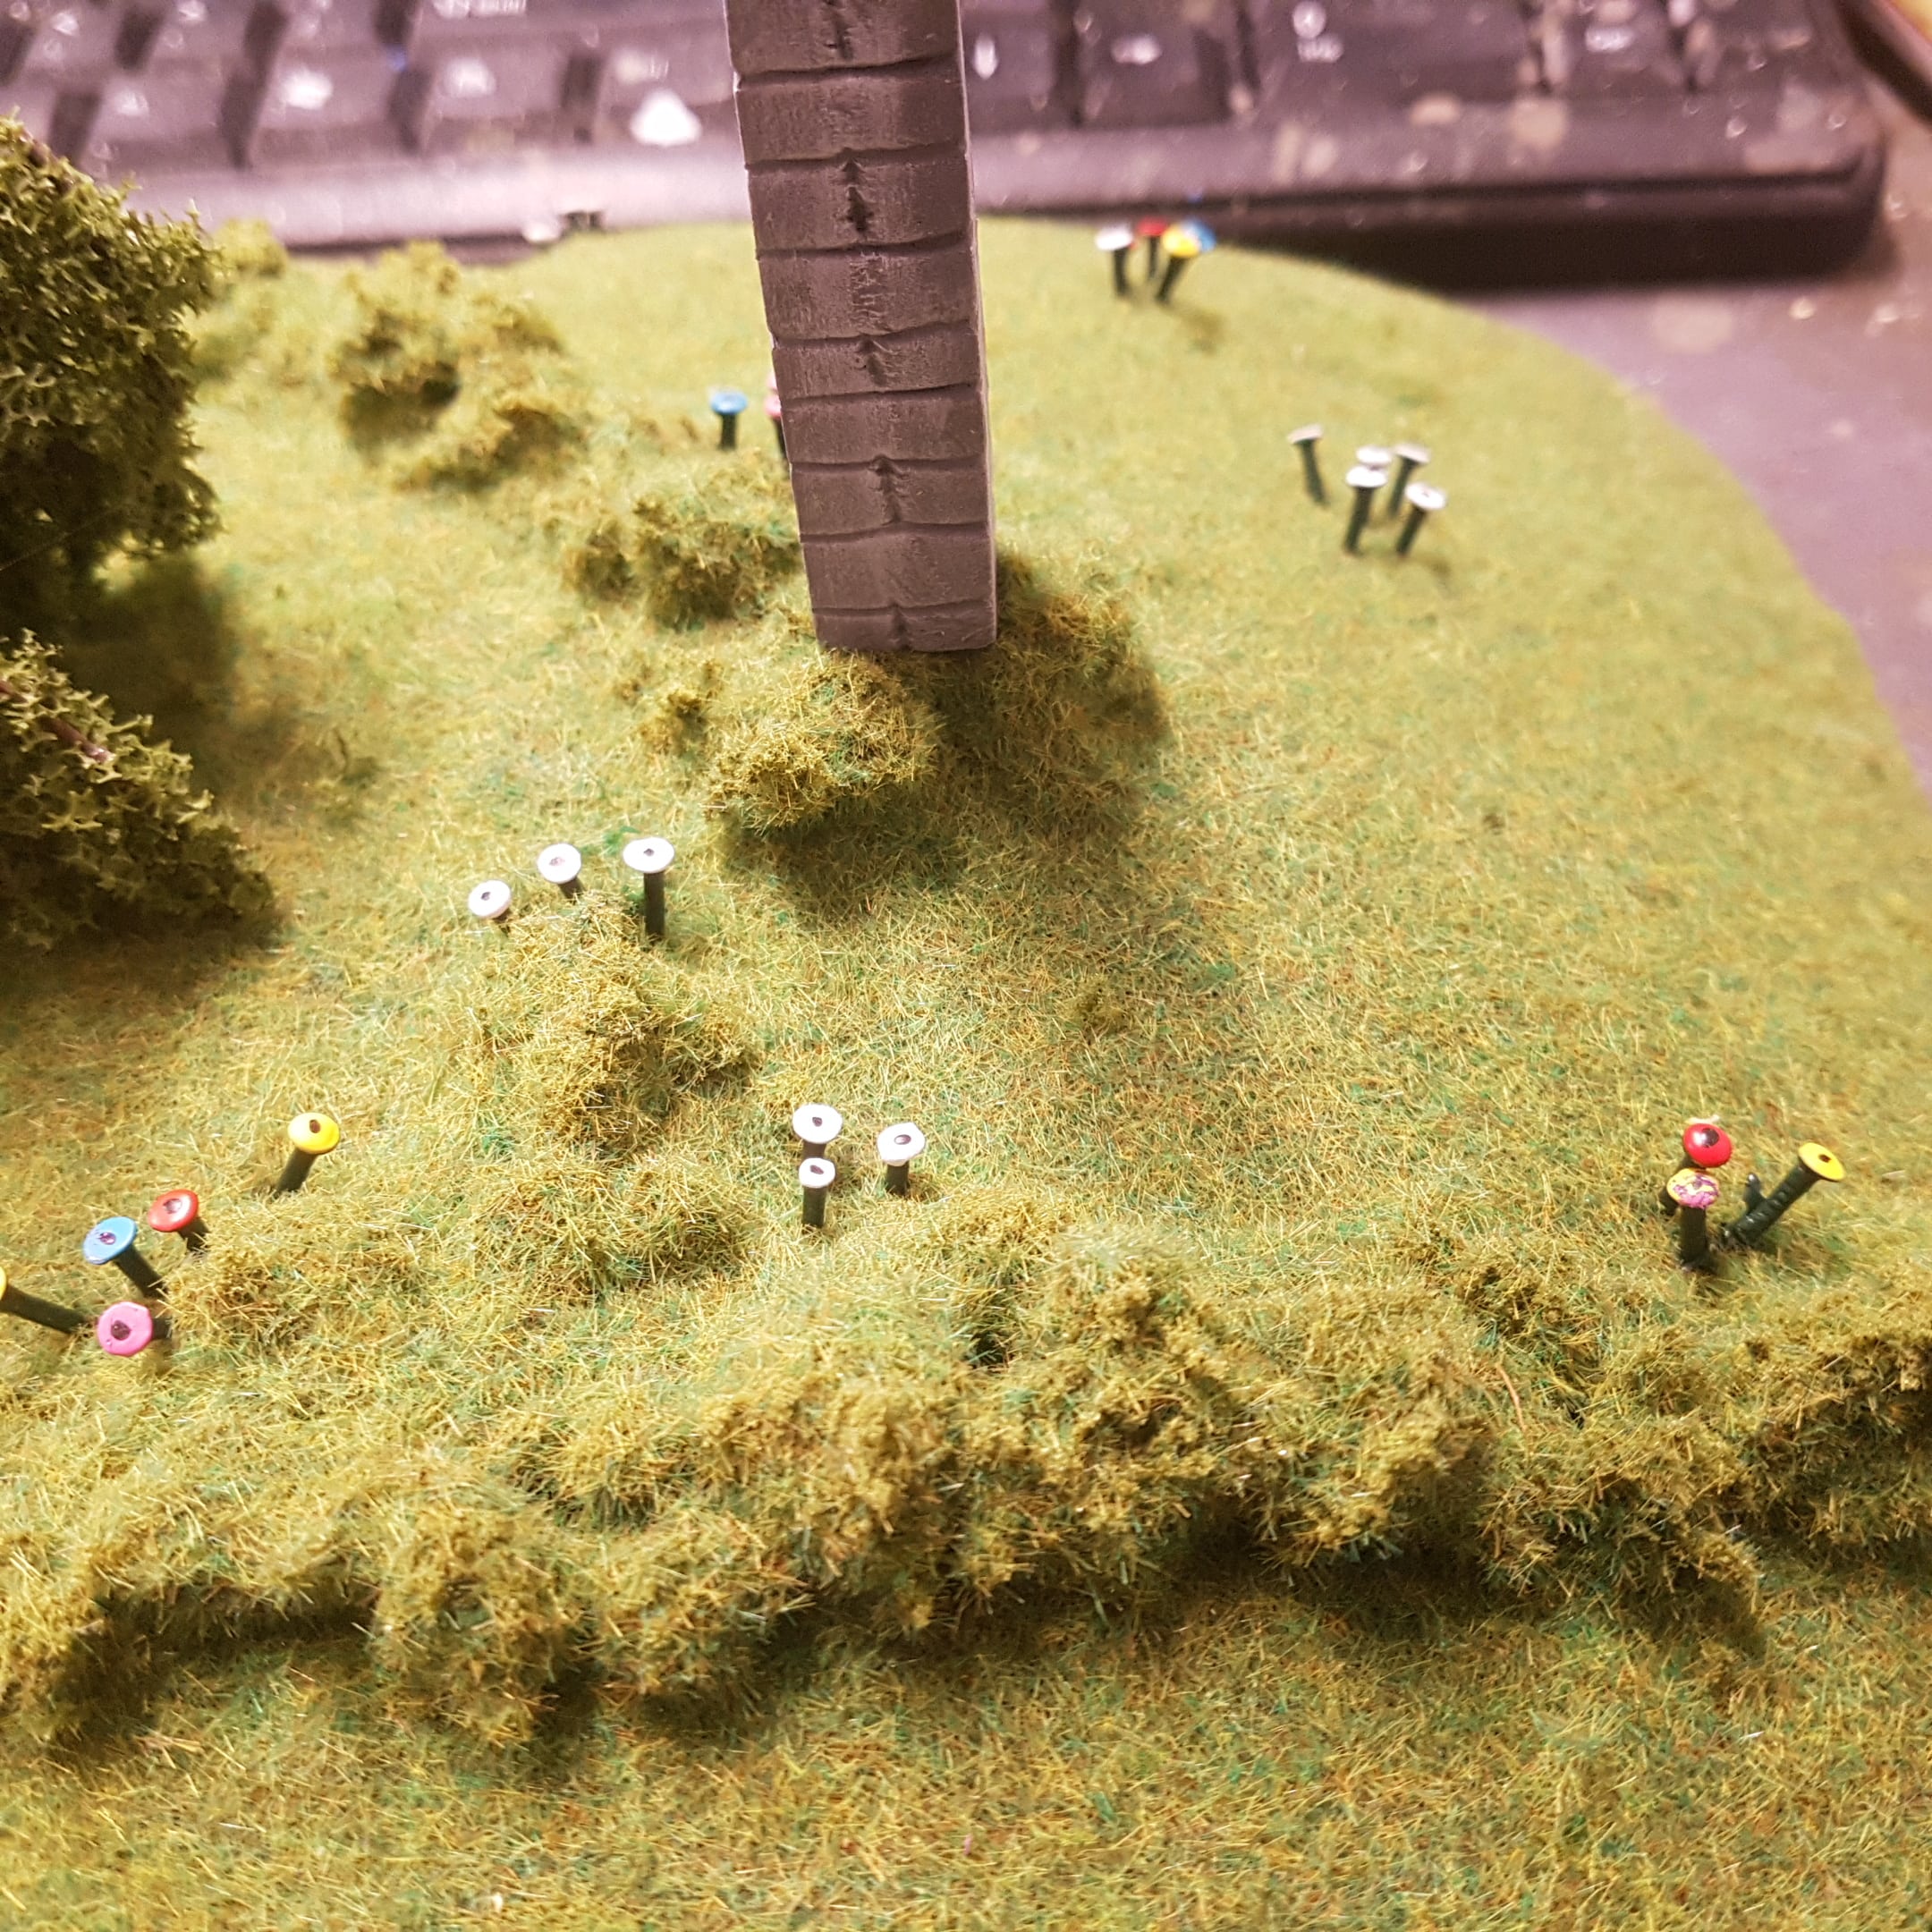
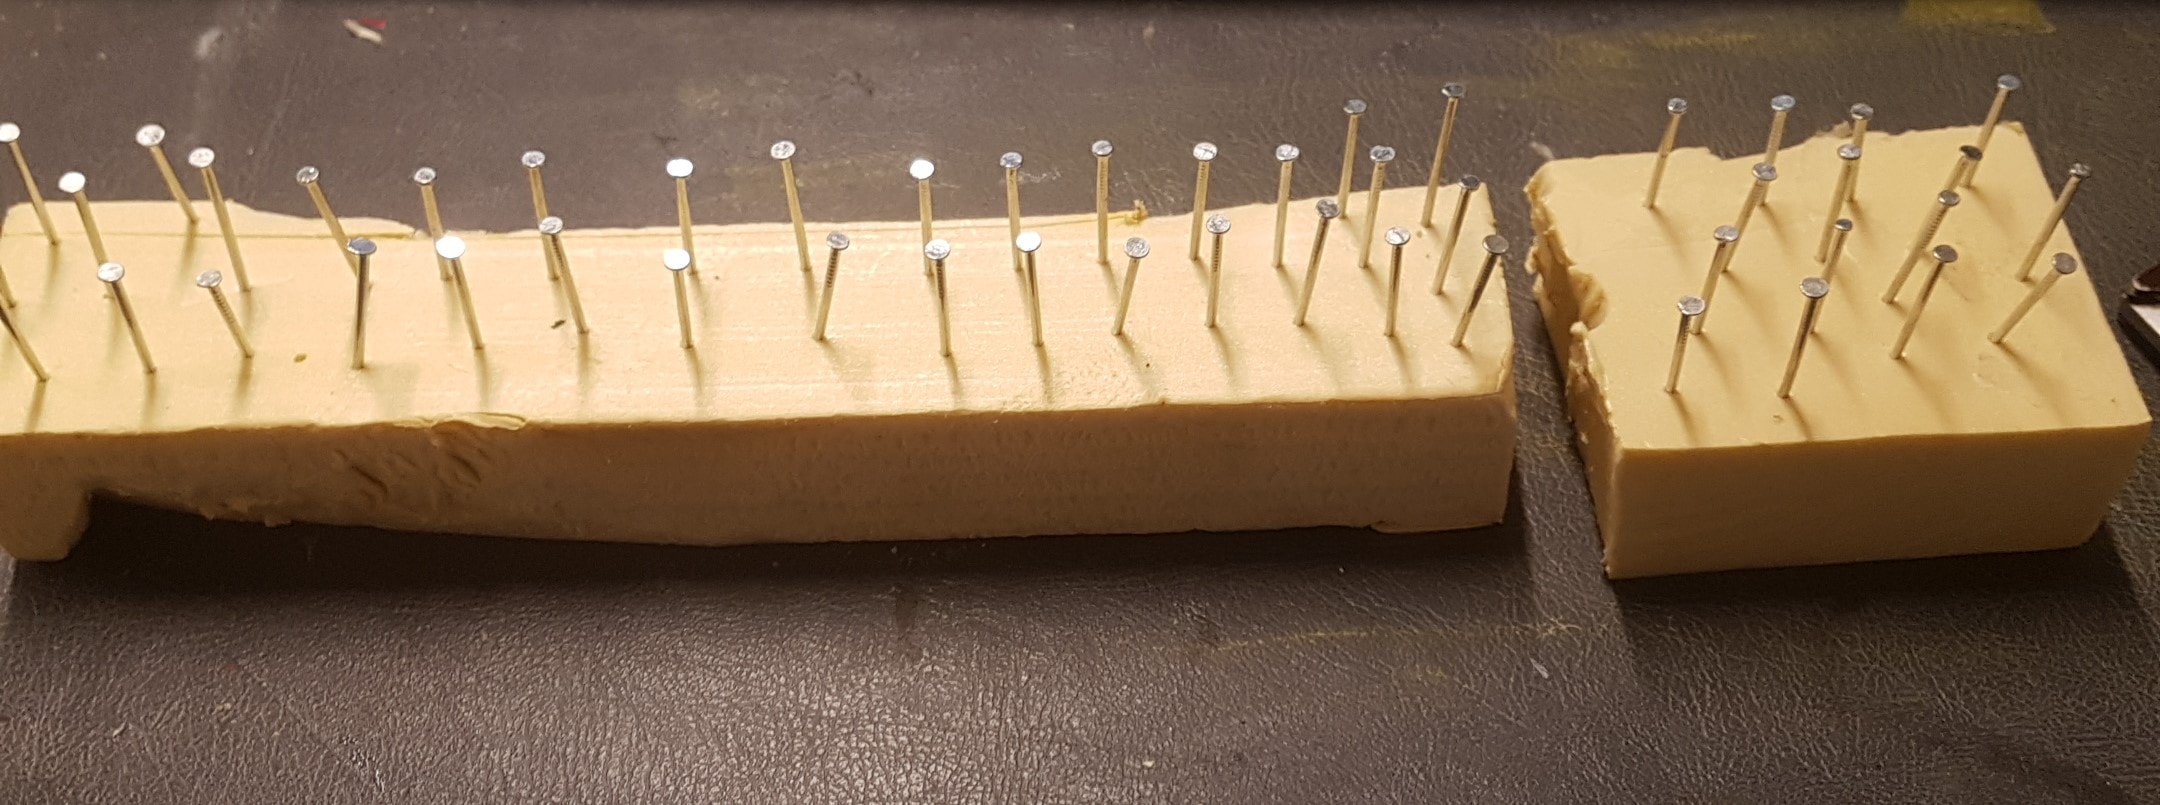 I Picked up a Nail Variety Pack at my Local Hardware and Stuck the Smaller Ones into a Piece of XPS Foam. There's a mix of Head Sizes which is Fine for What I'm After.
 They were Then Painted Green, They'll Need at Least One Maybe Two More Coats.
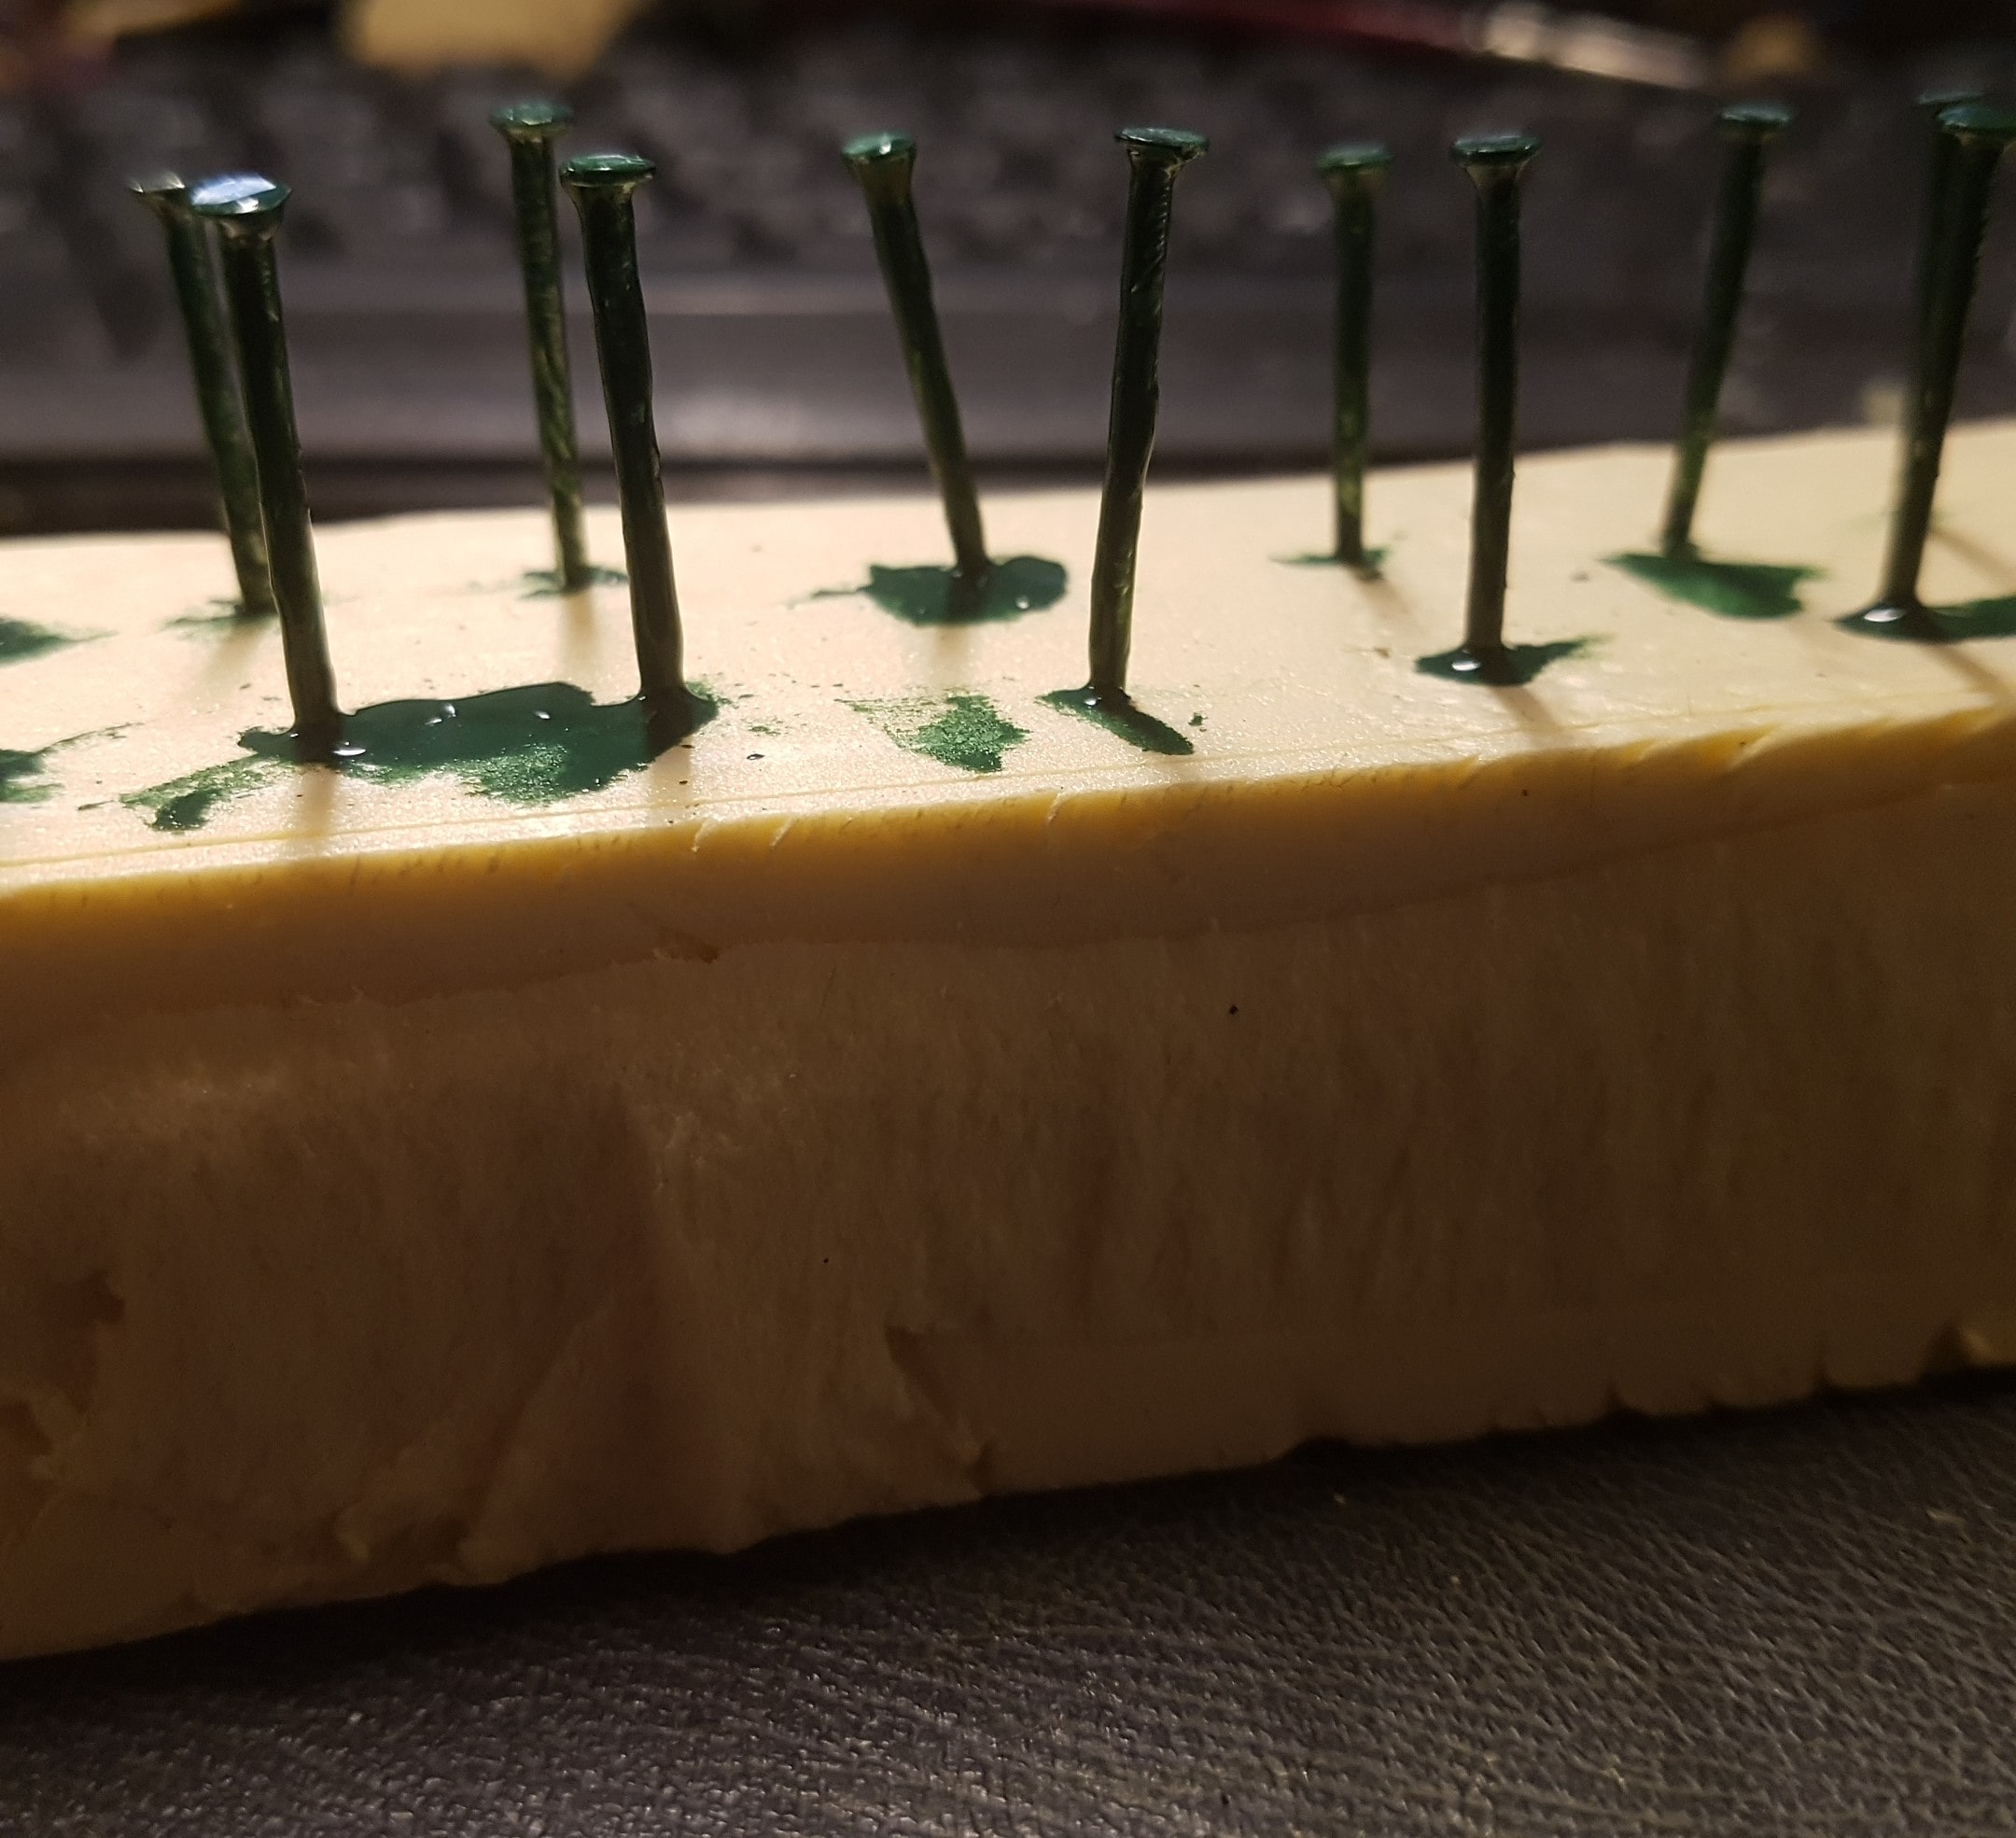 A Close Up
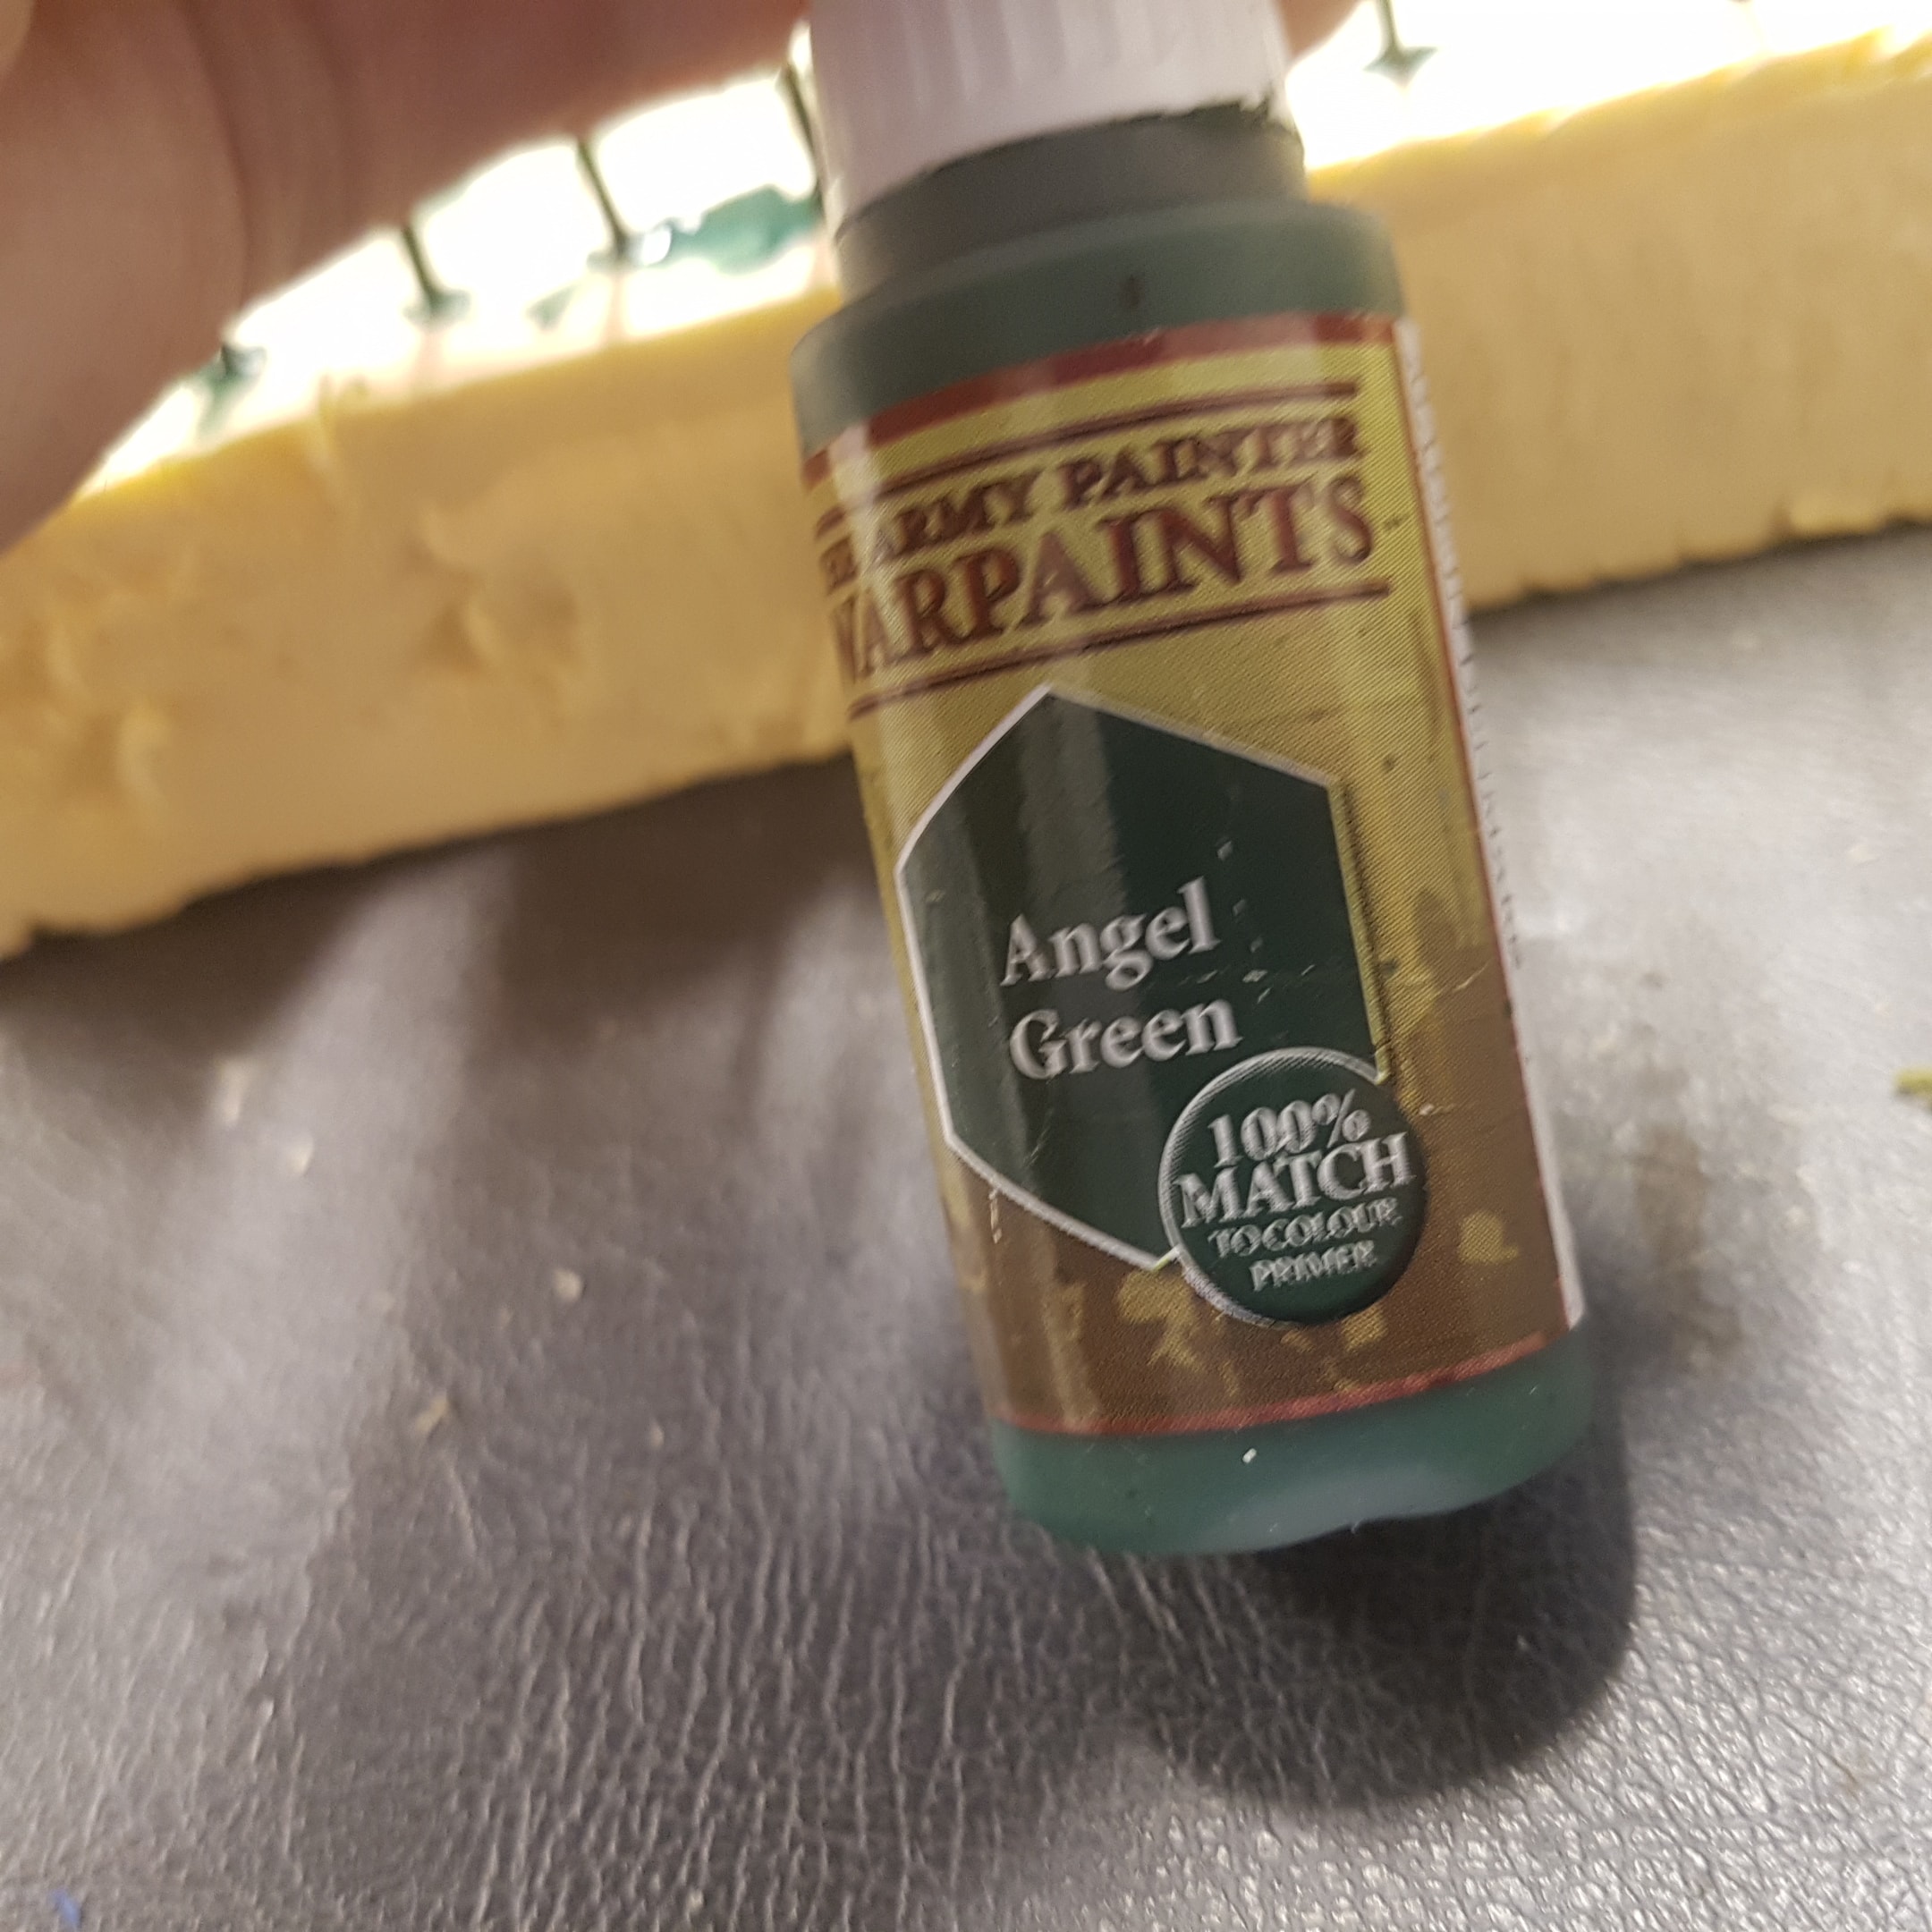 The Paint
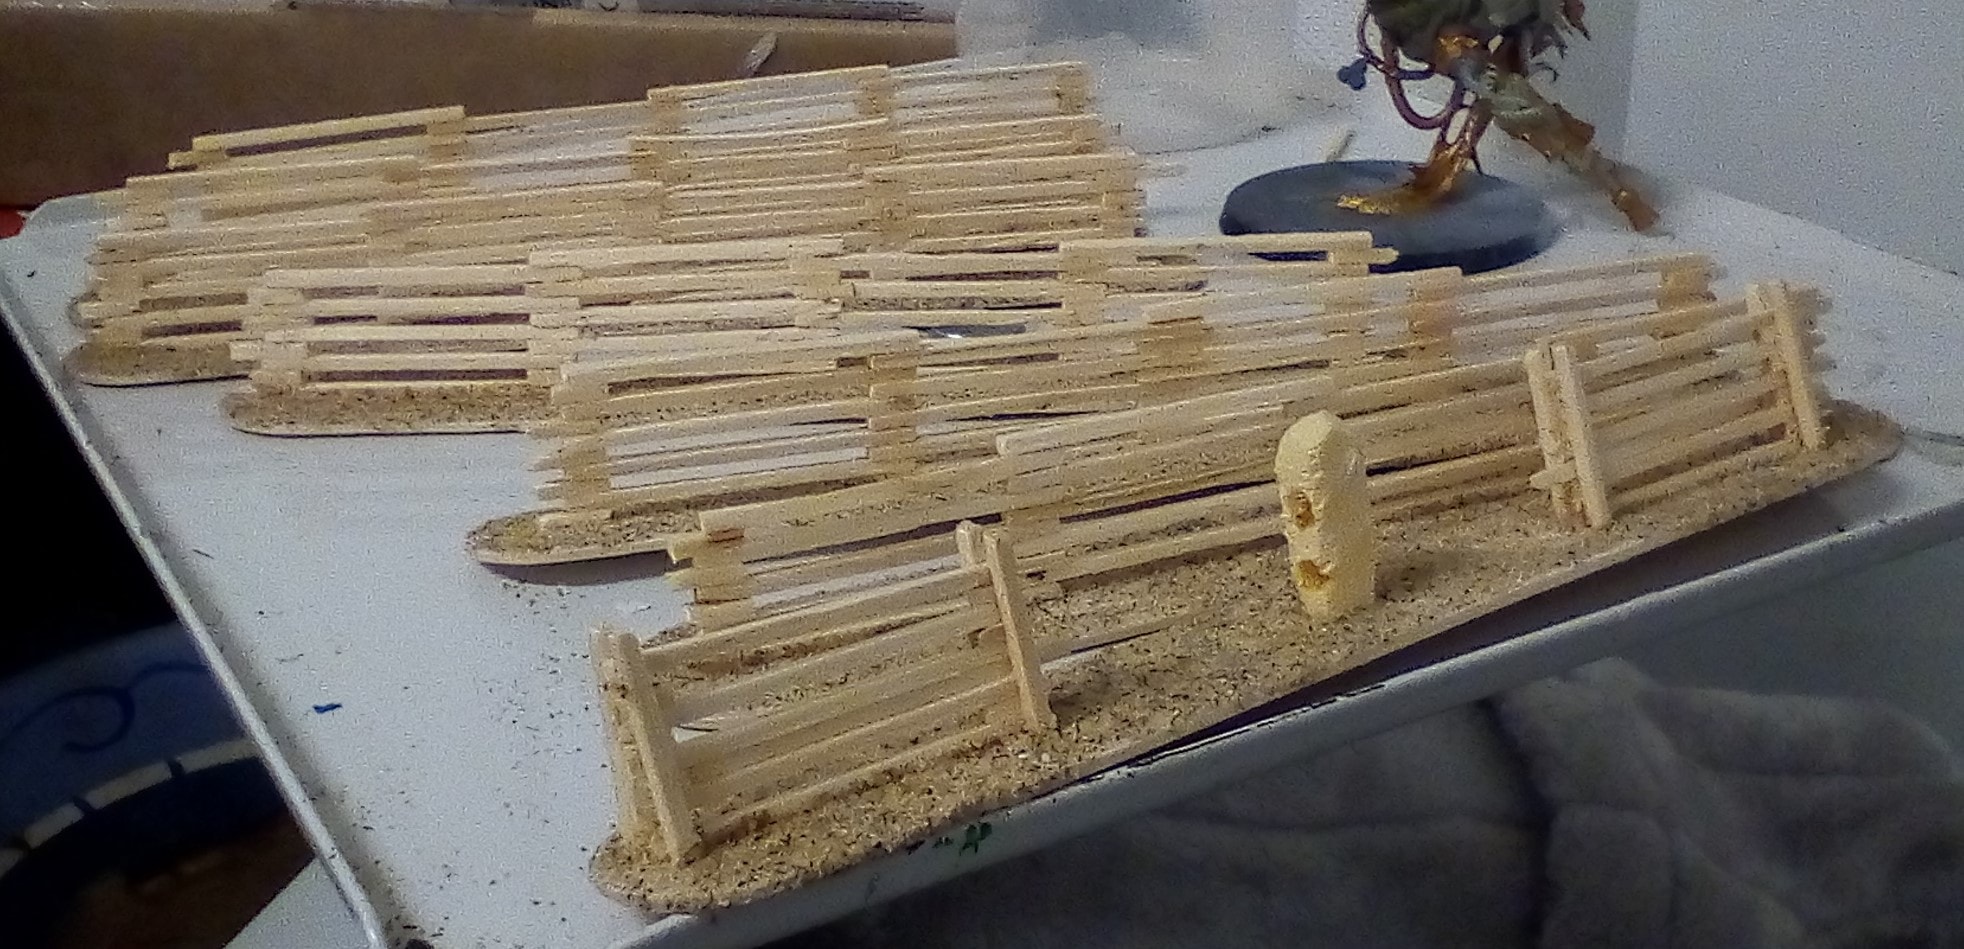
 Here's some More Fences. The Foam Piece is a Rock with Holes in it that will Form a Dual Gate.
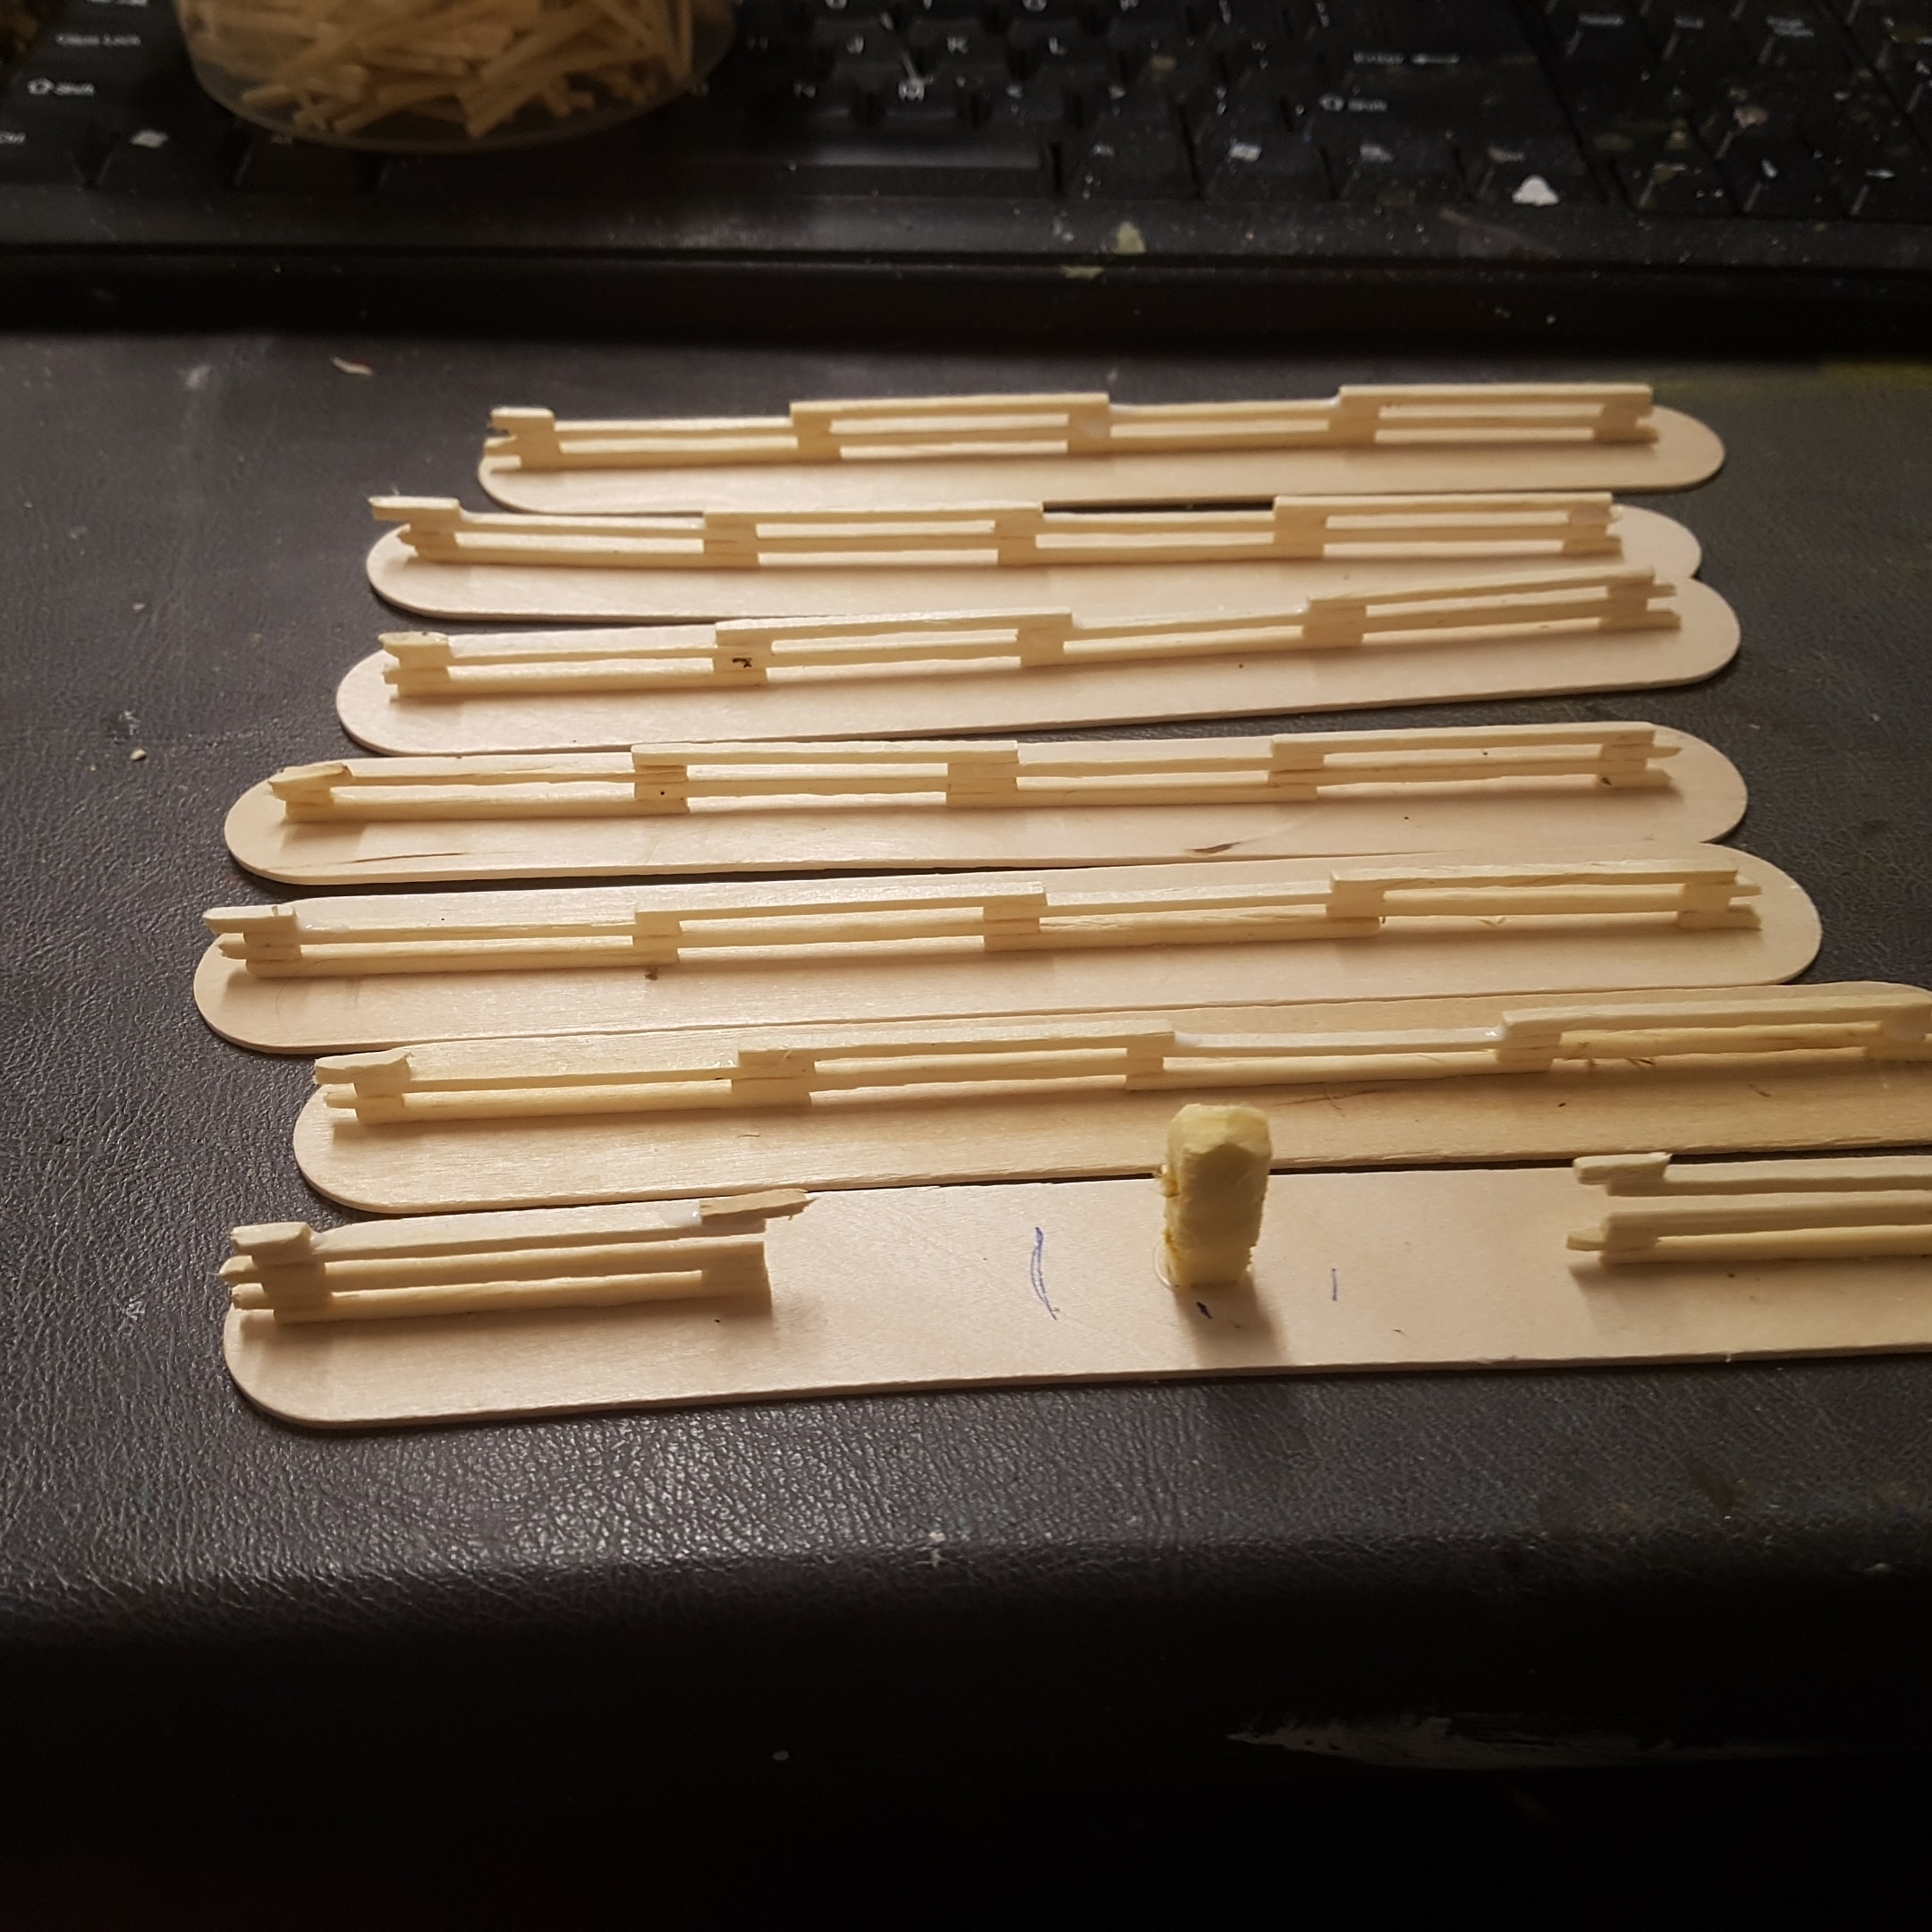 You can see a Space Left in the Front Fence for a Loose Piece of Wood to Slide into.
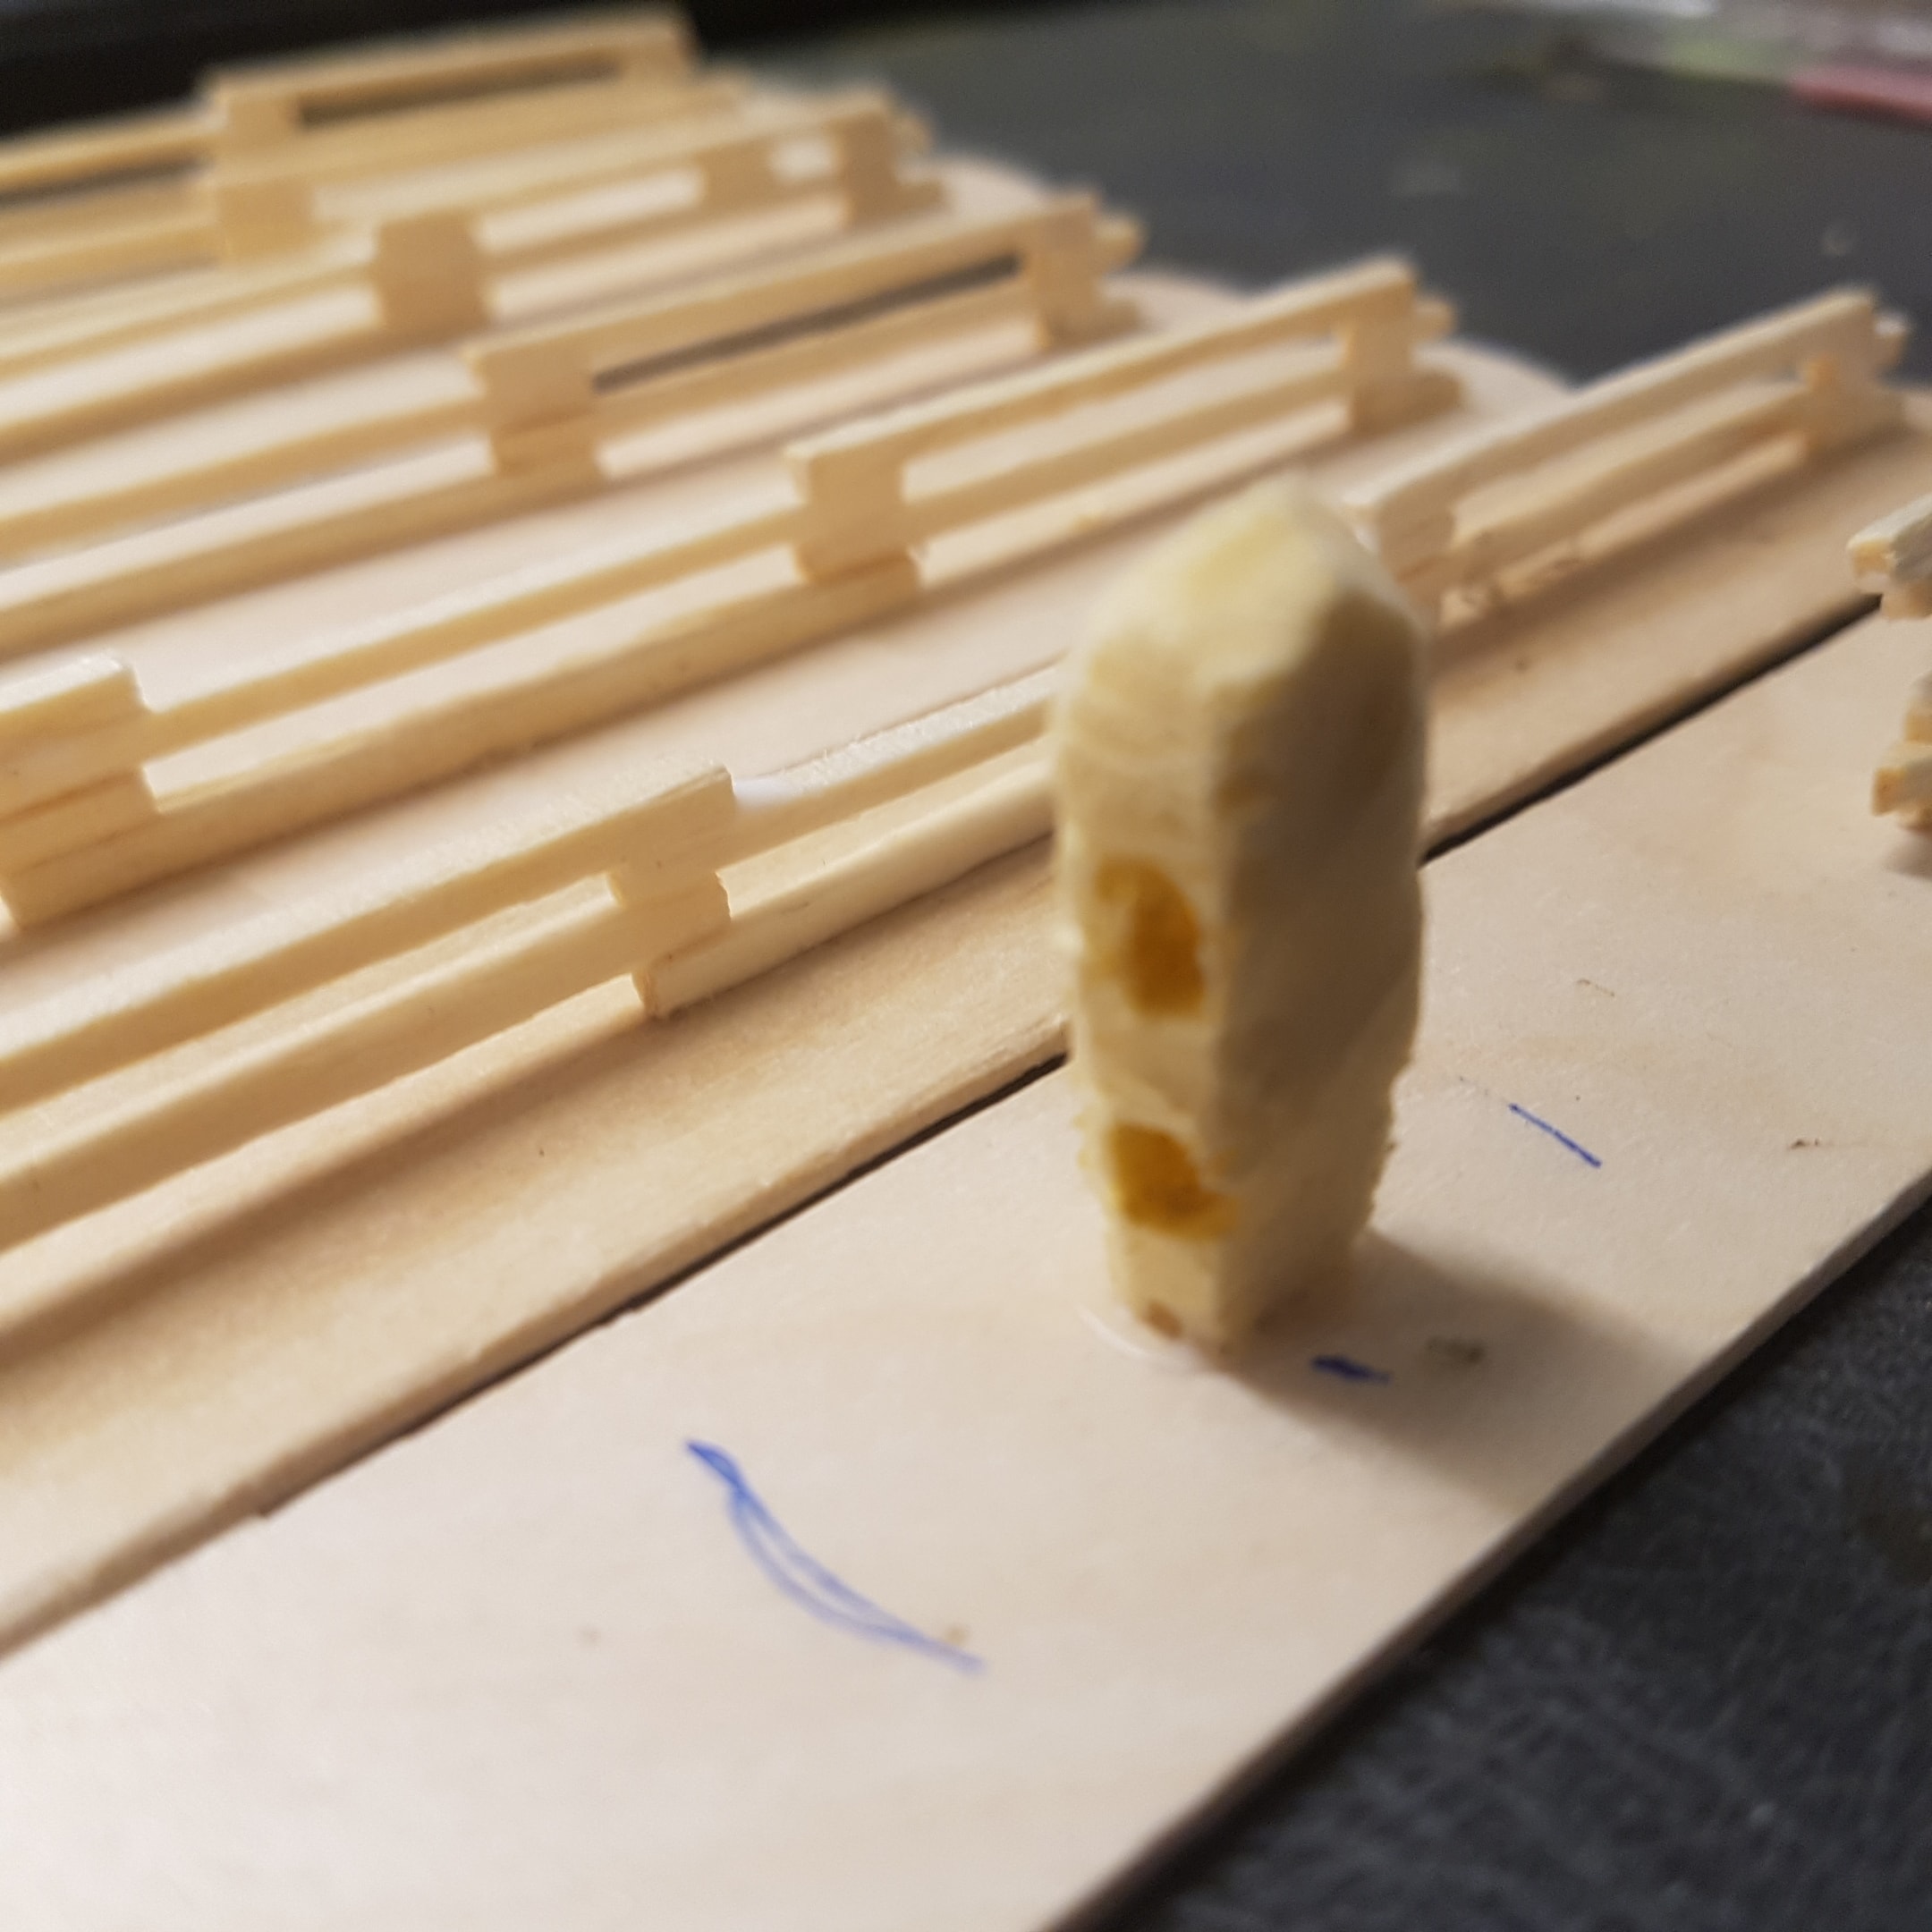 The Holes were Made by Heating Up a Very Thin Brass Spear and Sliding it Through
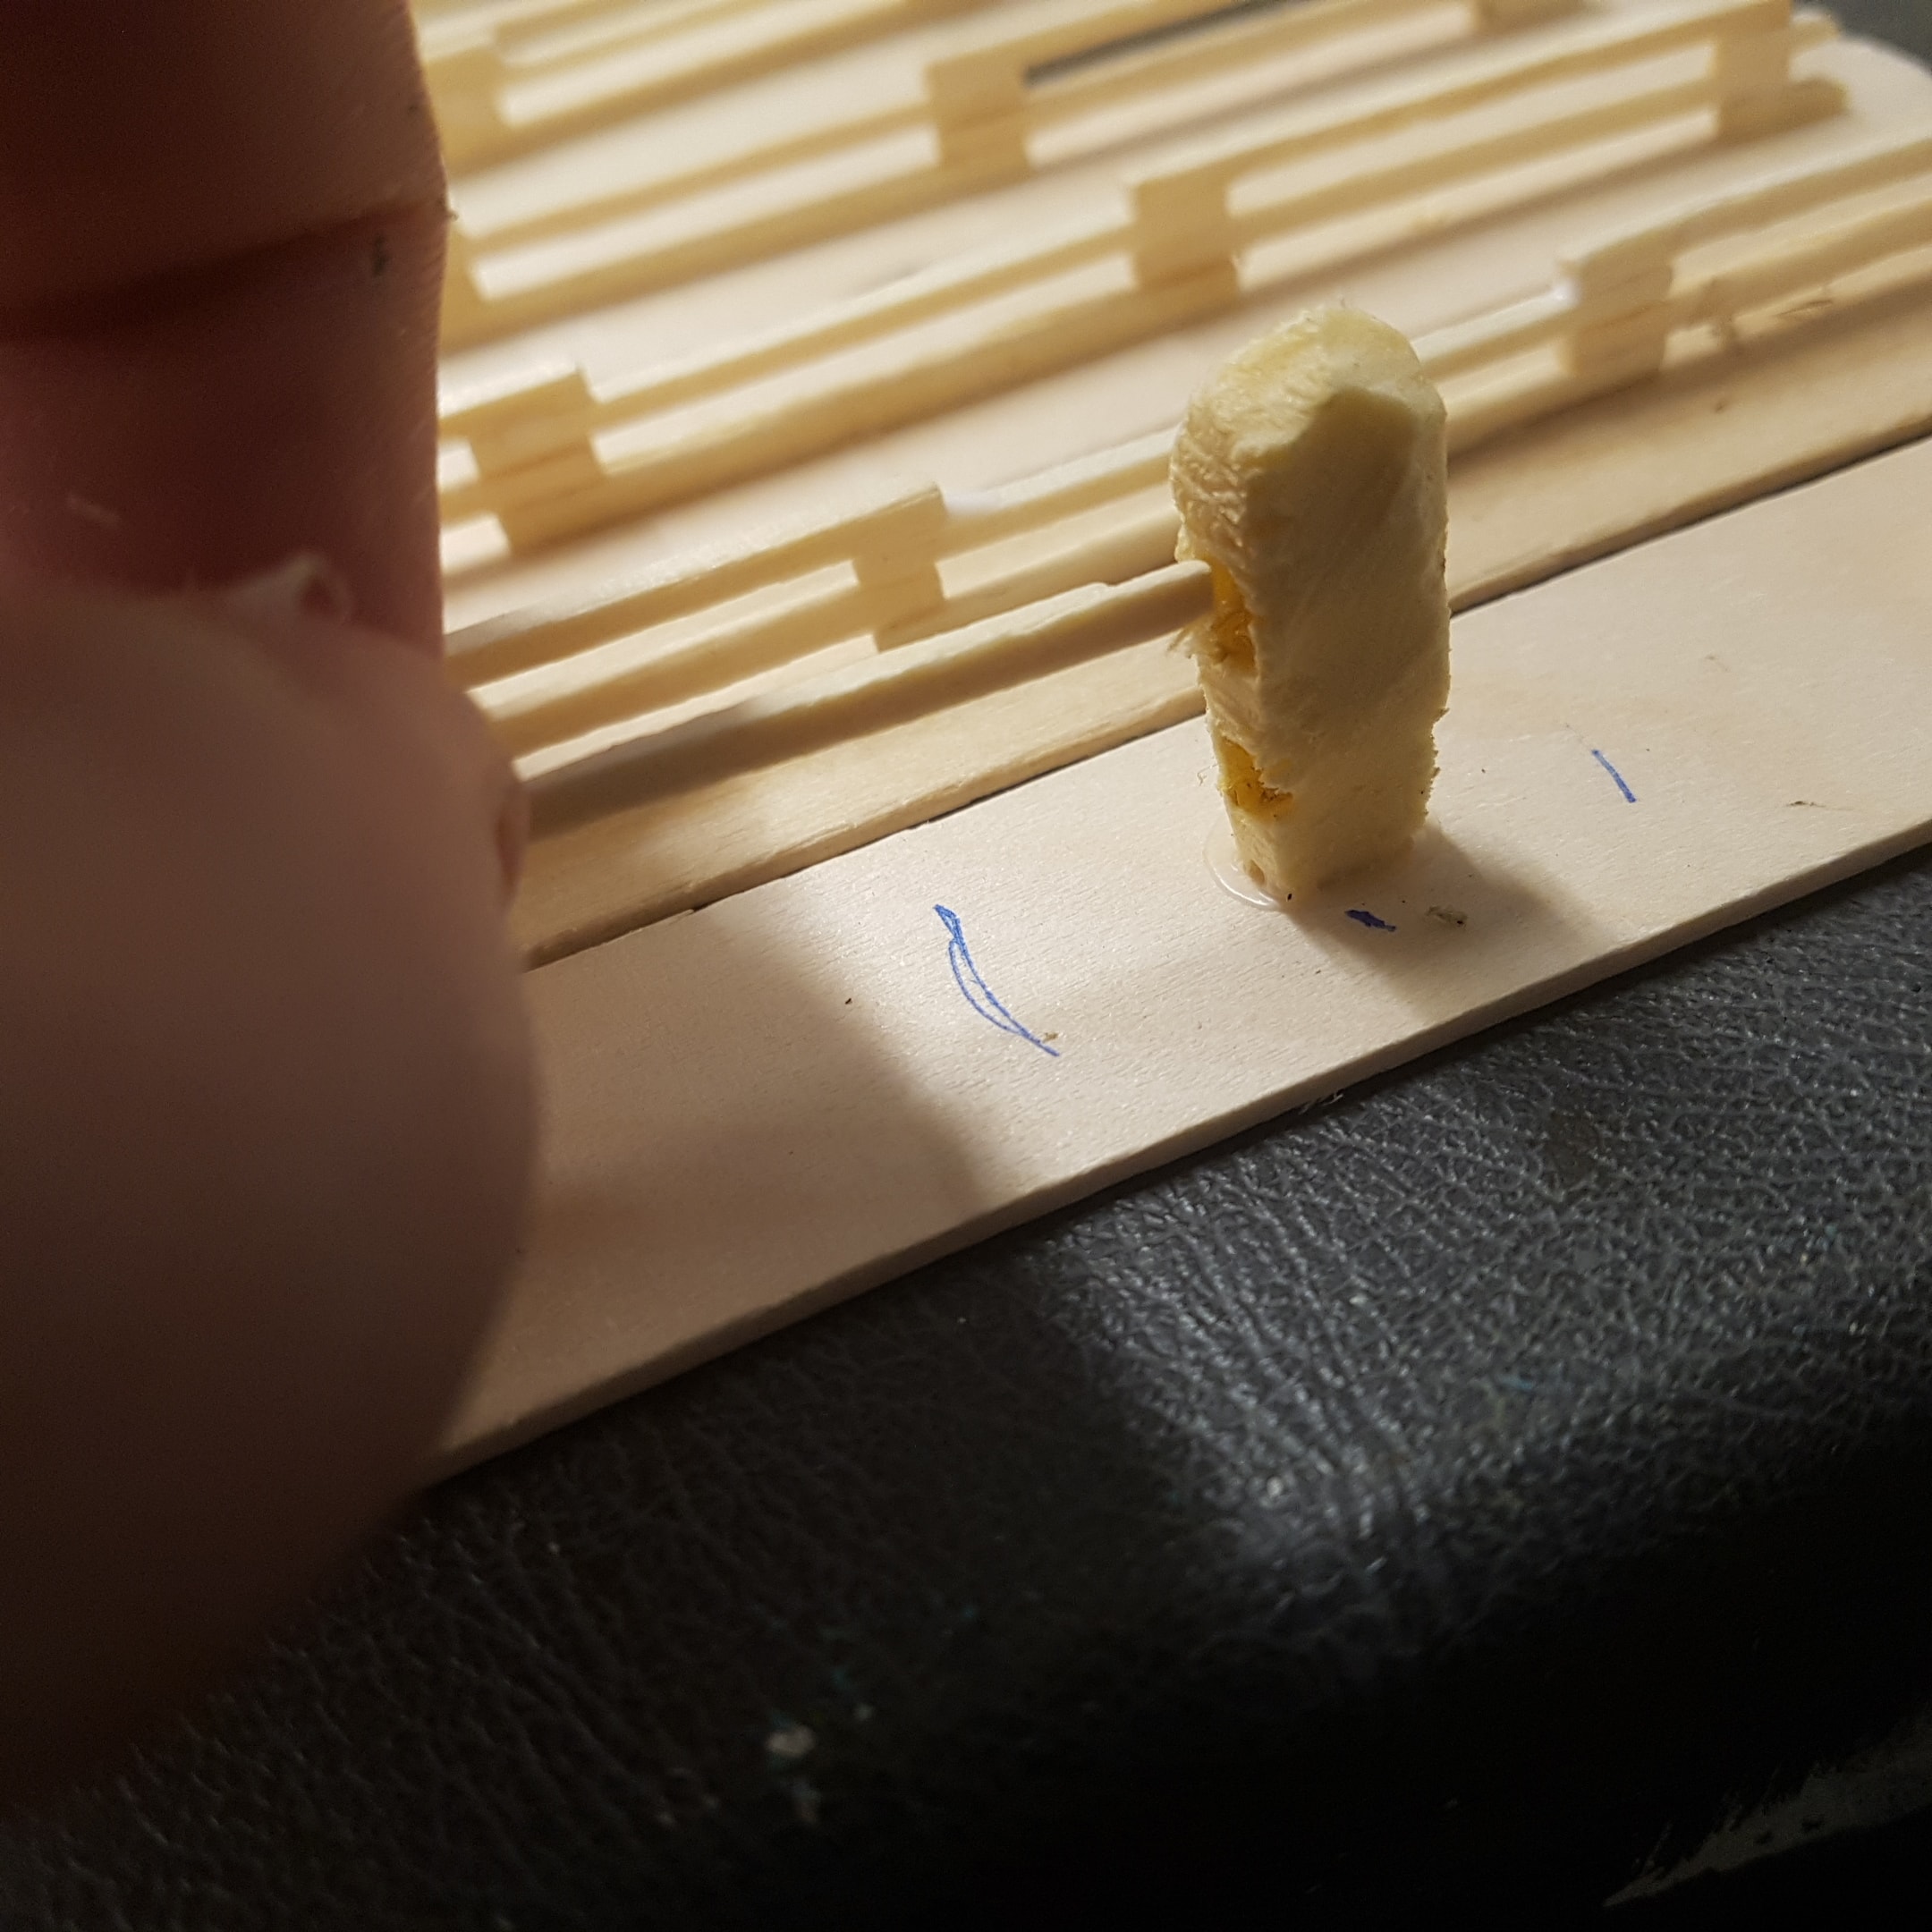 The Finished Fence will have Two Horizontal Pieces of Wood that can Slide in and Out of the Stone to Open and Close the Gate.
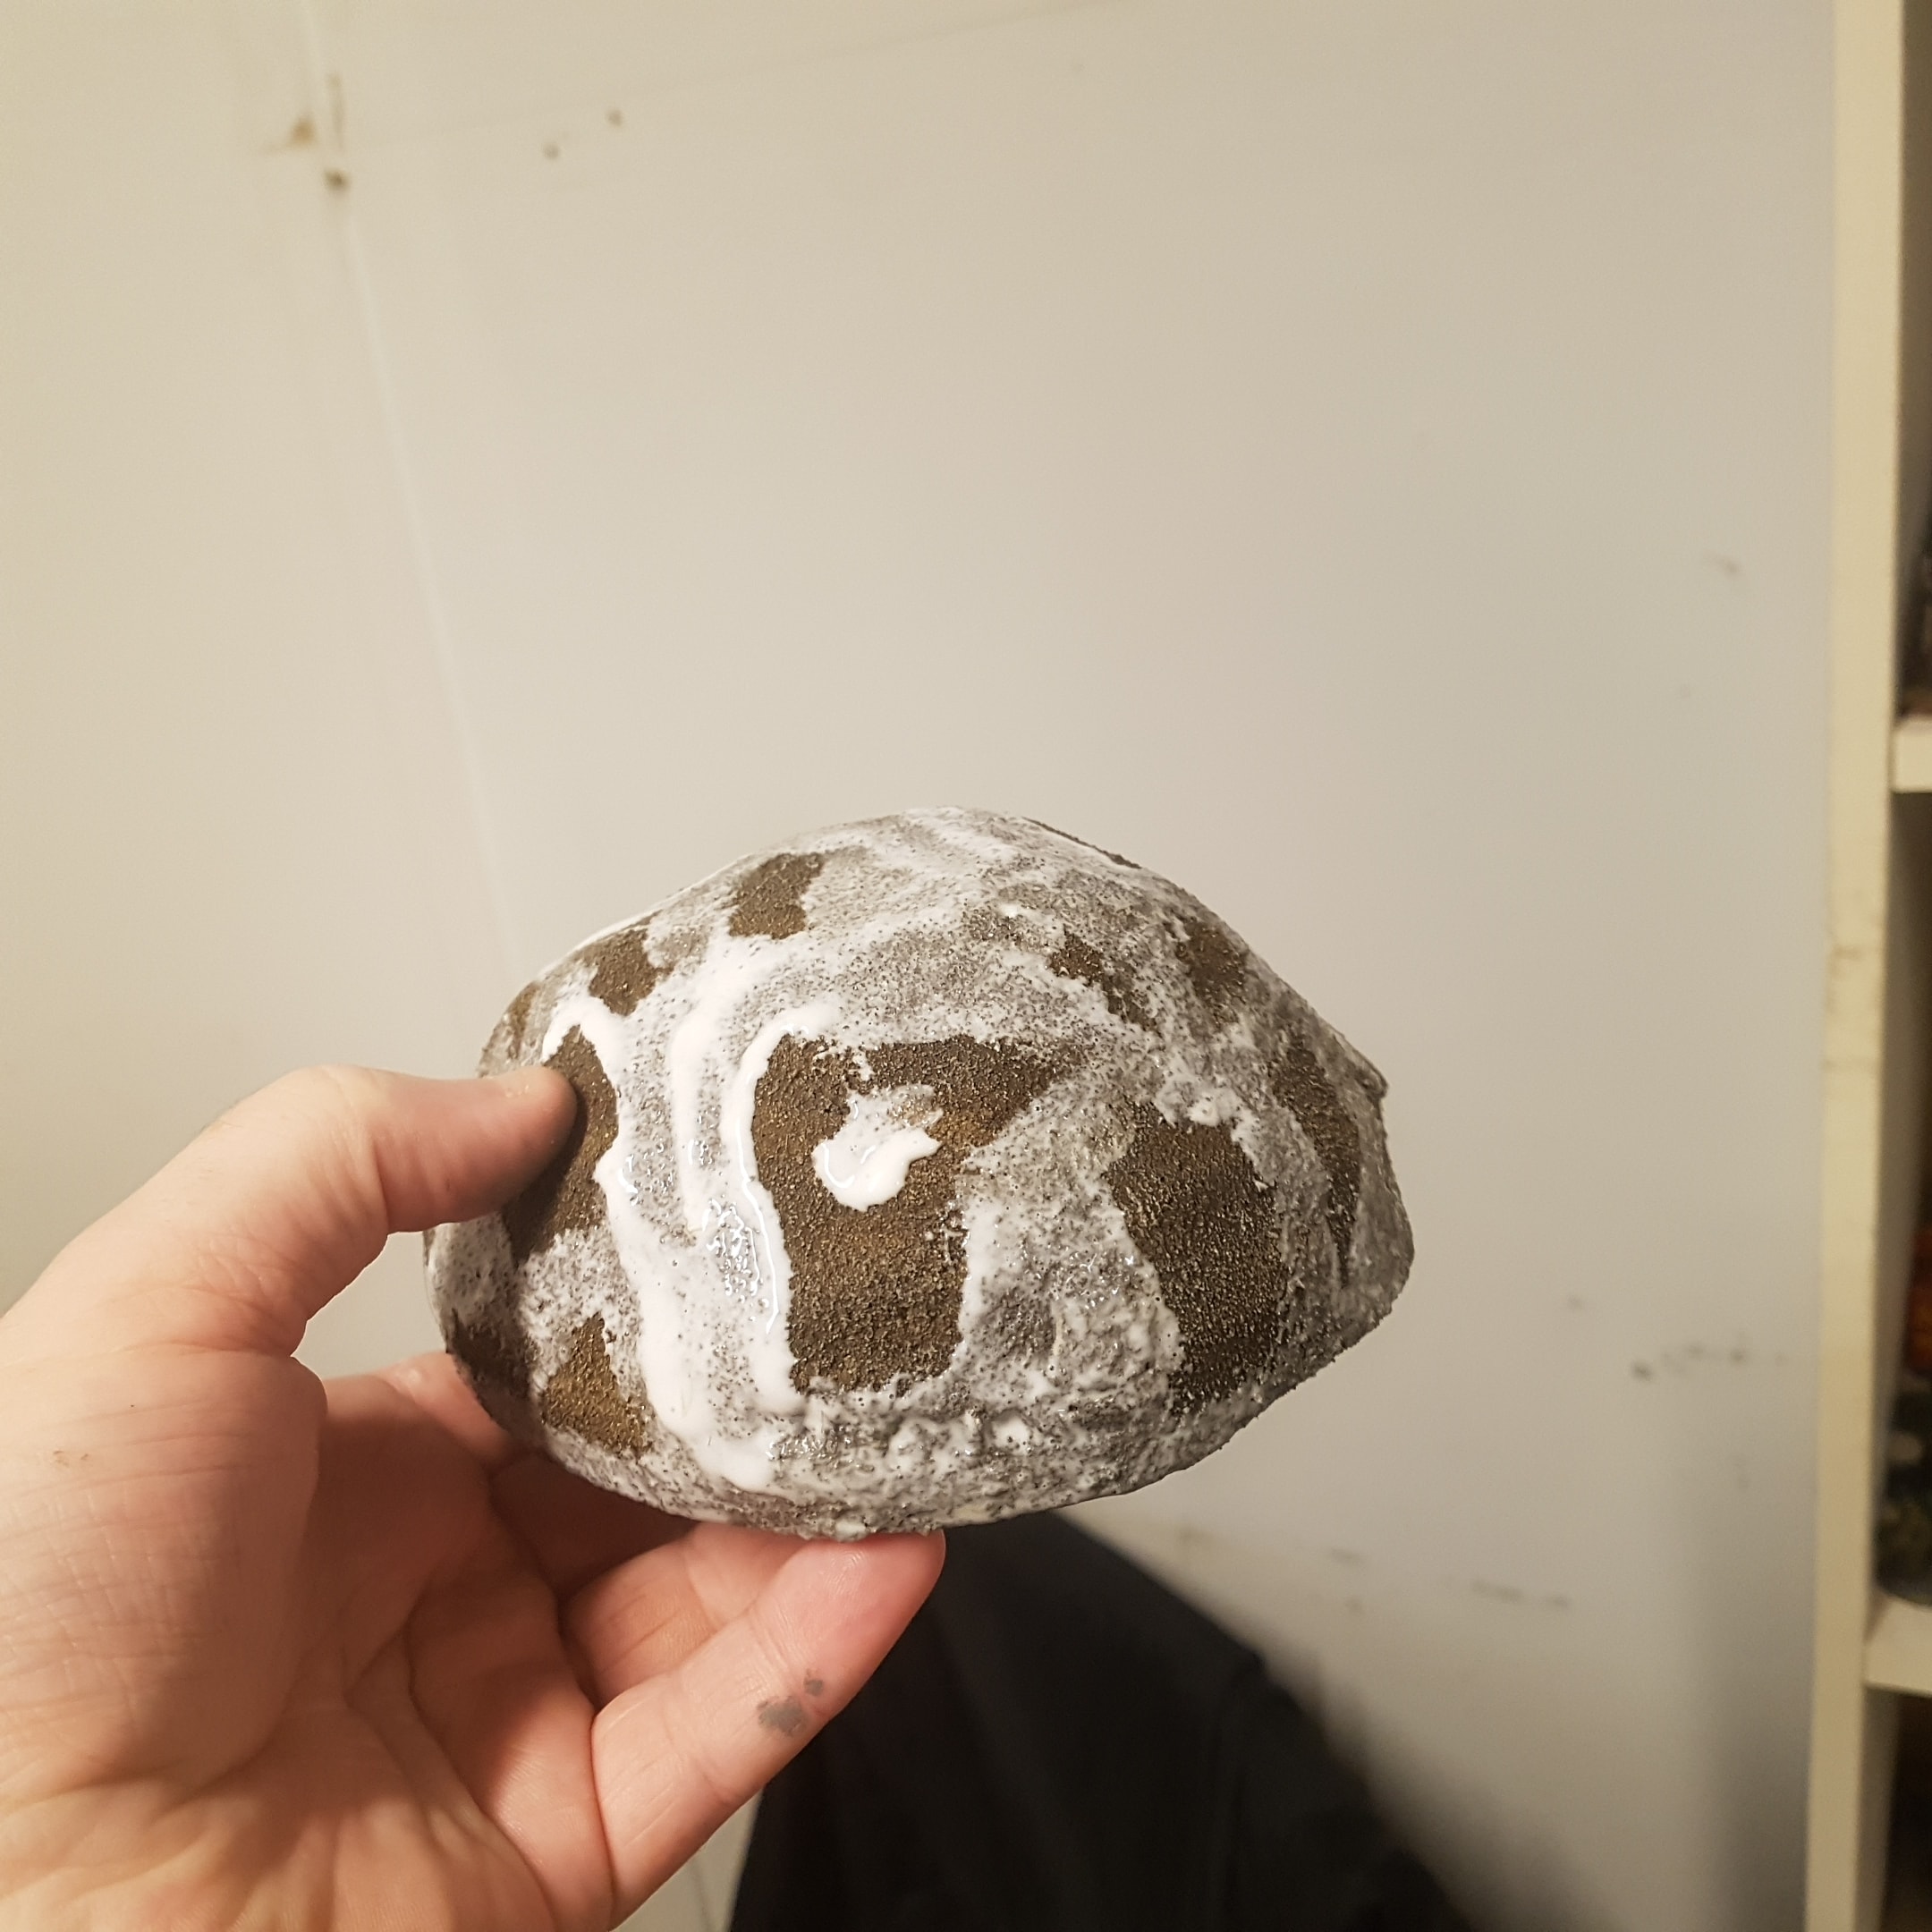 One of Four Barrow's I made Earlier now being Flocked
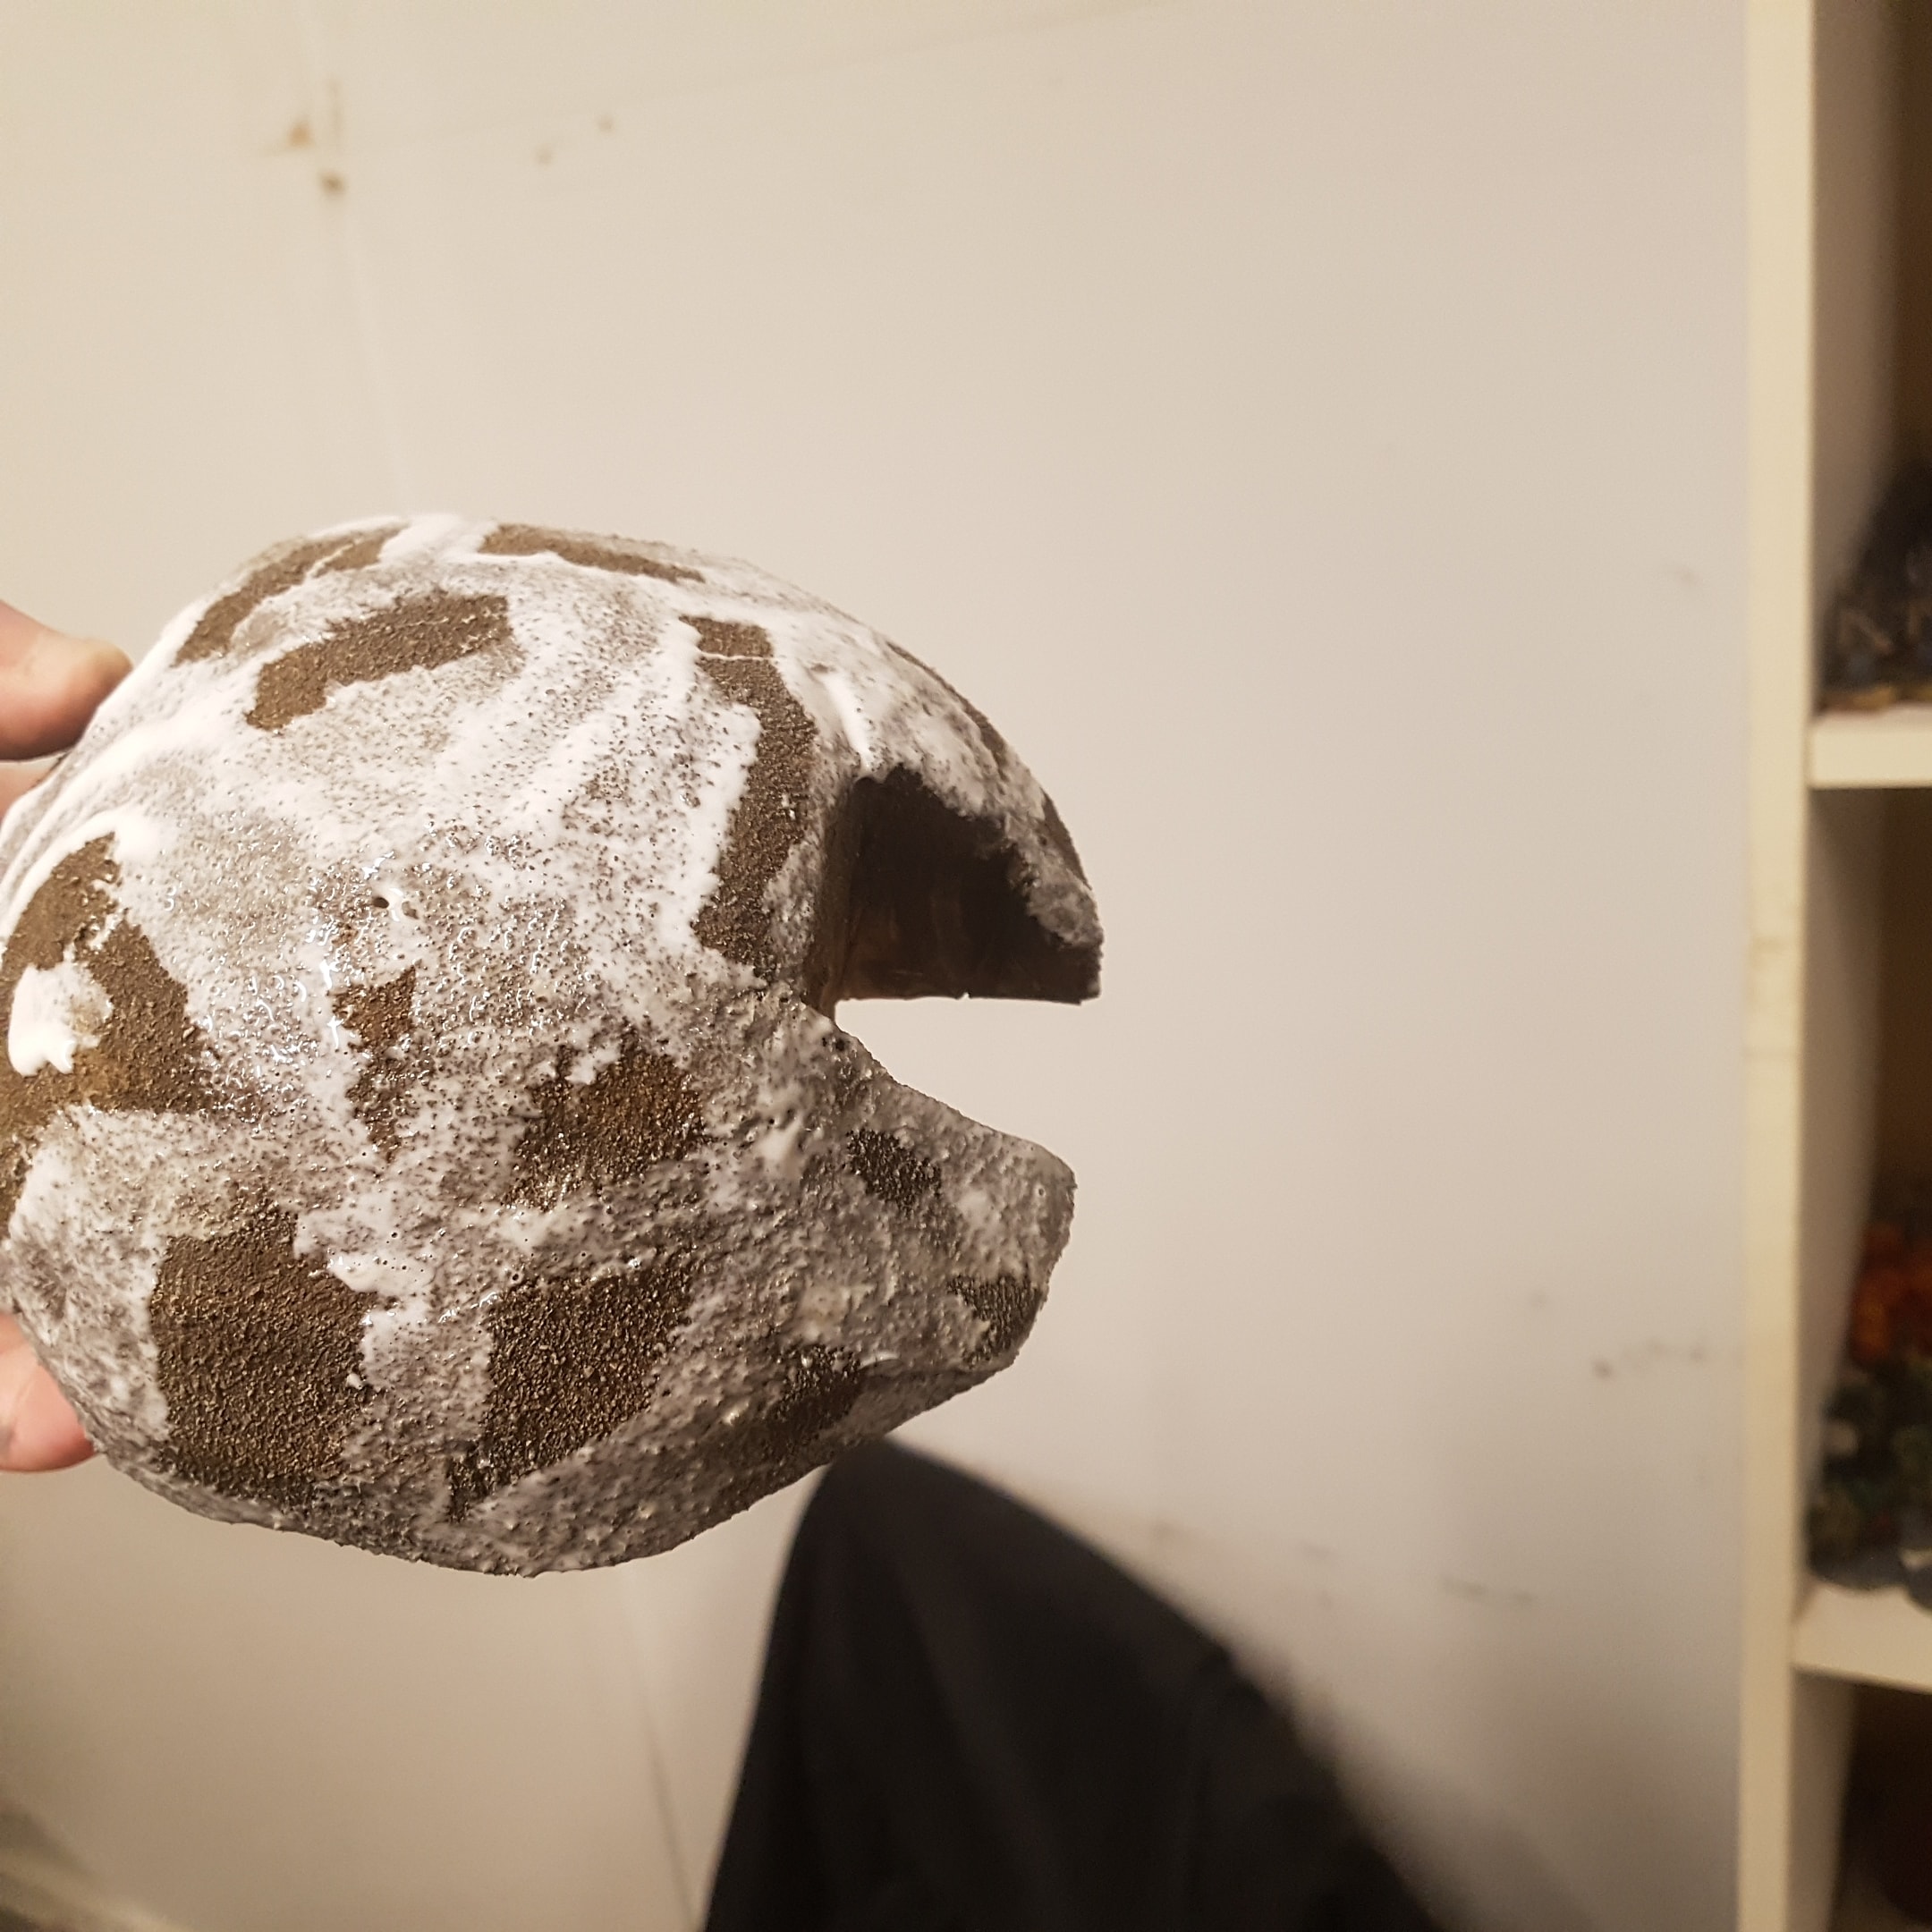
 The Flocked Barrow. These can be Used for Either Barrow Downs Barrows, Rohirrim Barrows or just Generic Barrows.
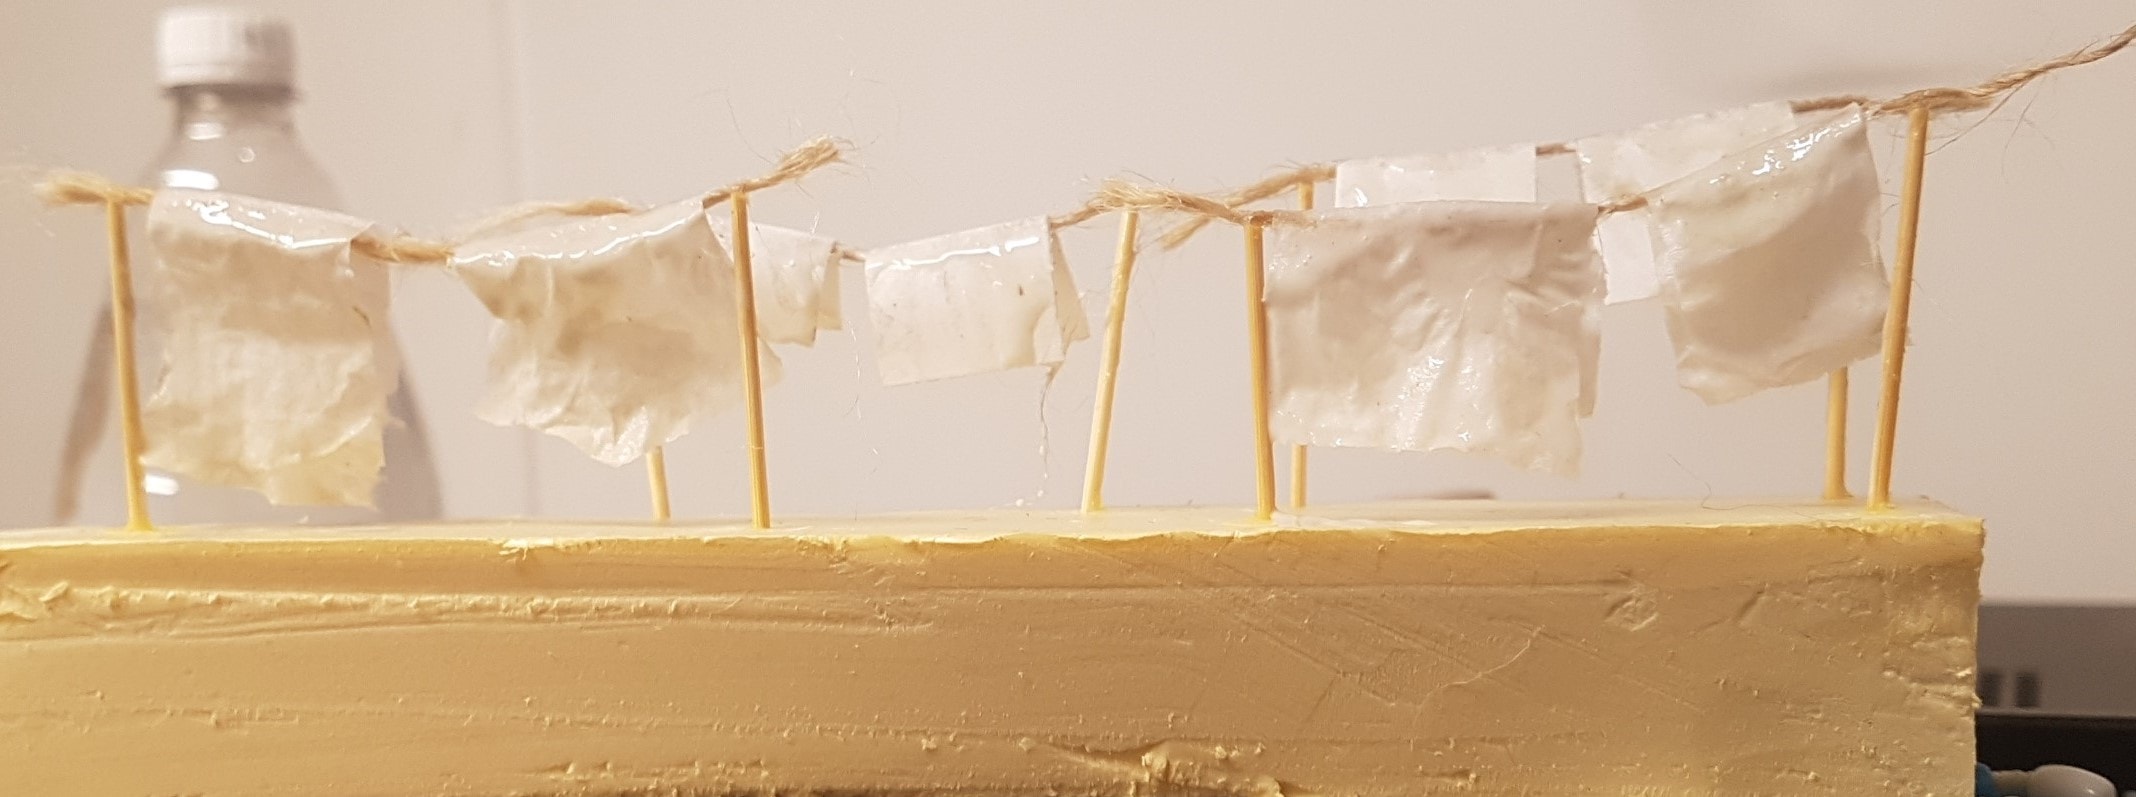 The Clotheslines got some PVA
Flowers
 The Flowers Painted and Ready for the Black Dot
 More Washing
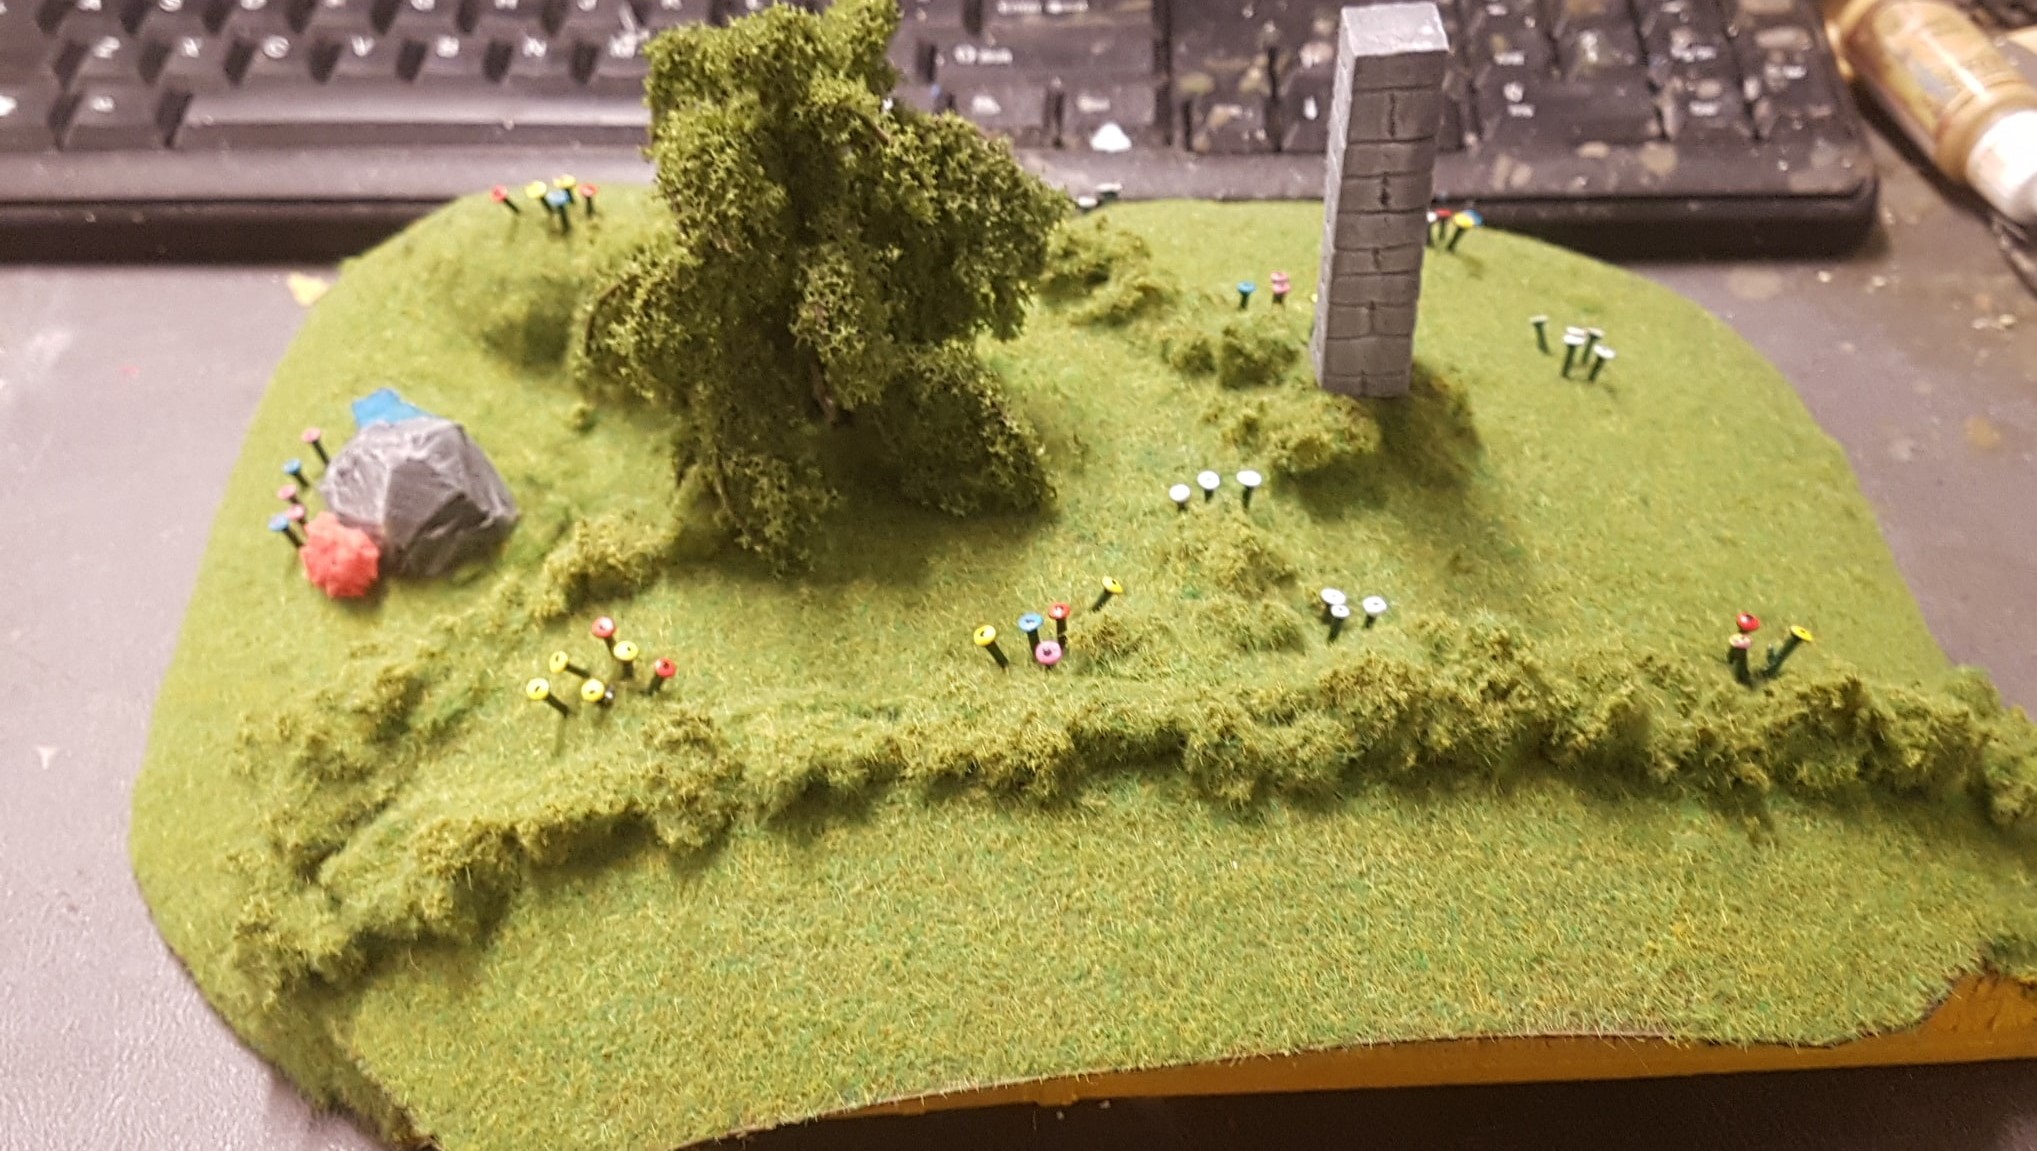 The Flowers, not 100% sure about them just yet. I've got some proper Flower Tufts coming next week so I'll see which way I go
Basing the Hobbit Holes
Apologies for the Pic Quality I Broke my Phone so I'm Using one with not as Good a Camera
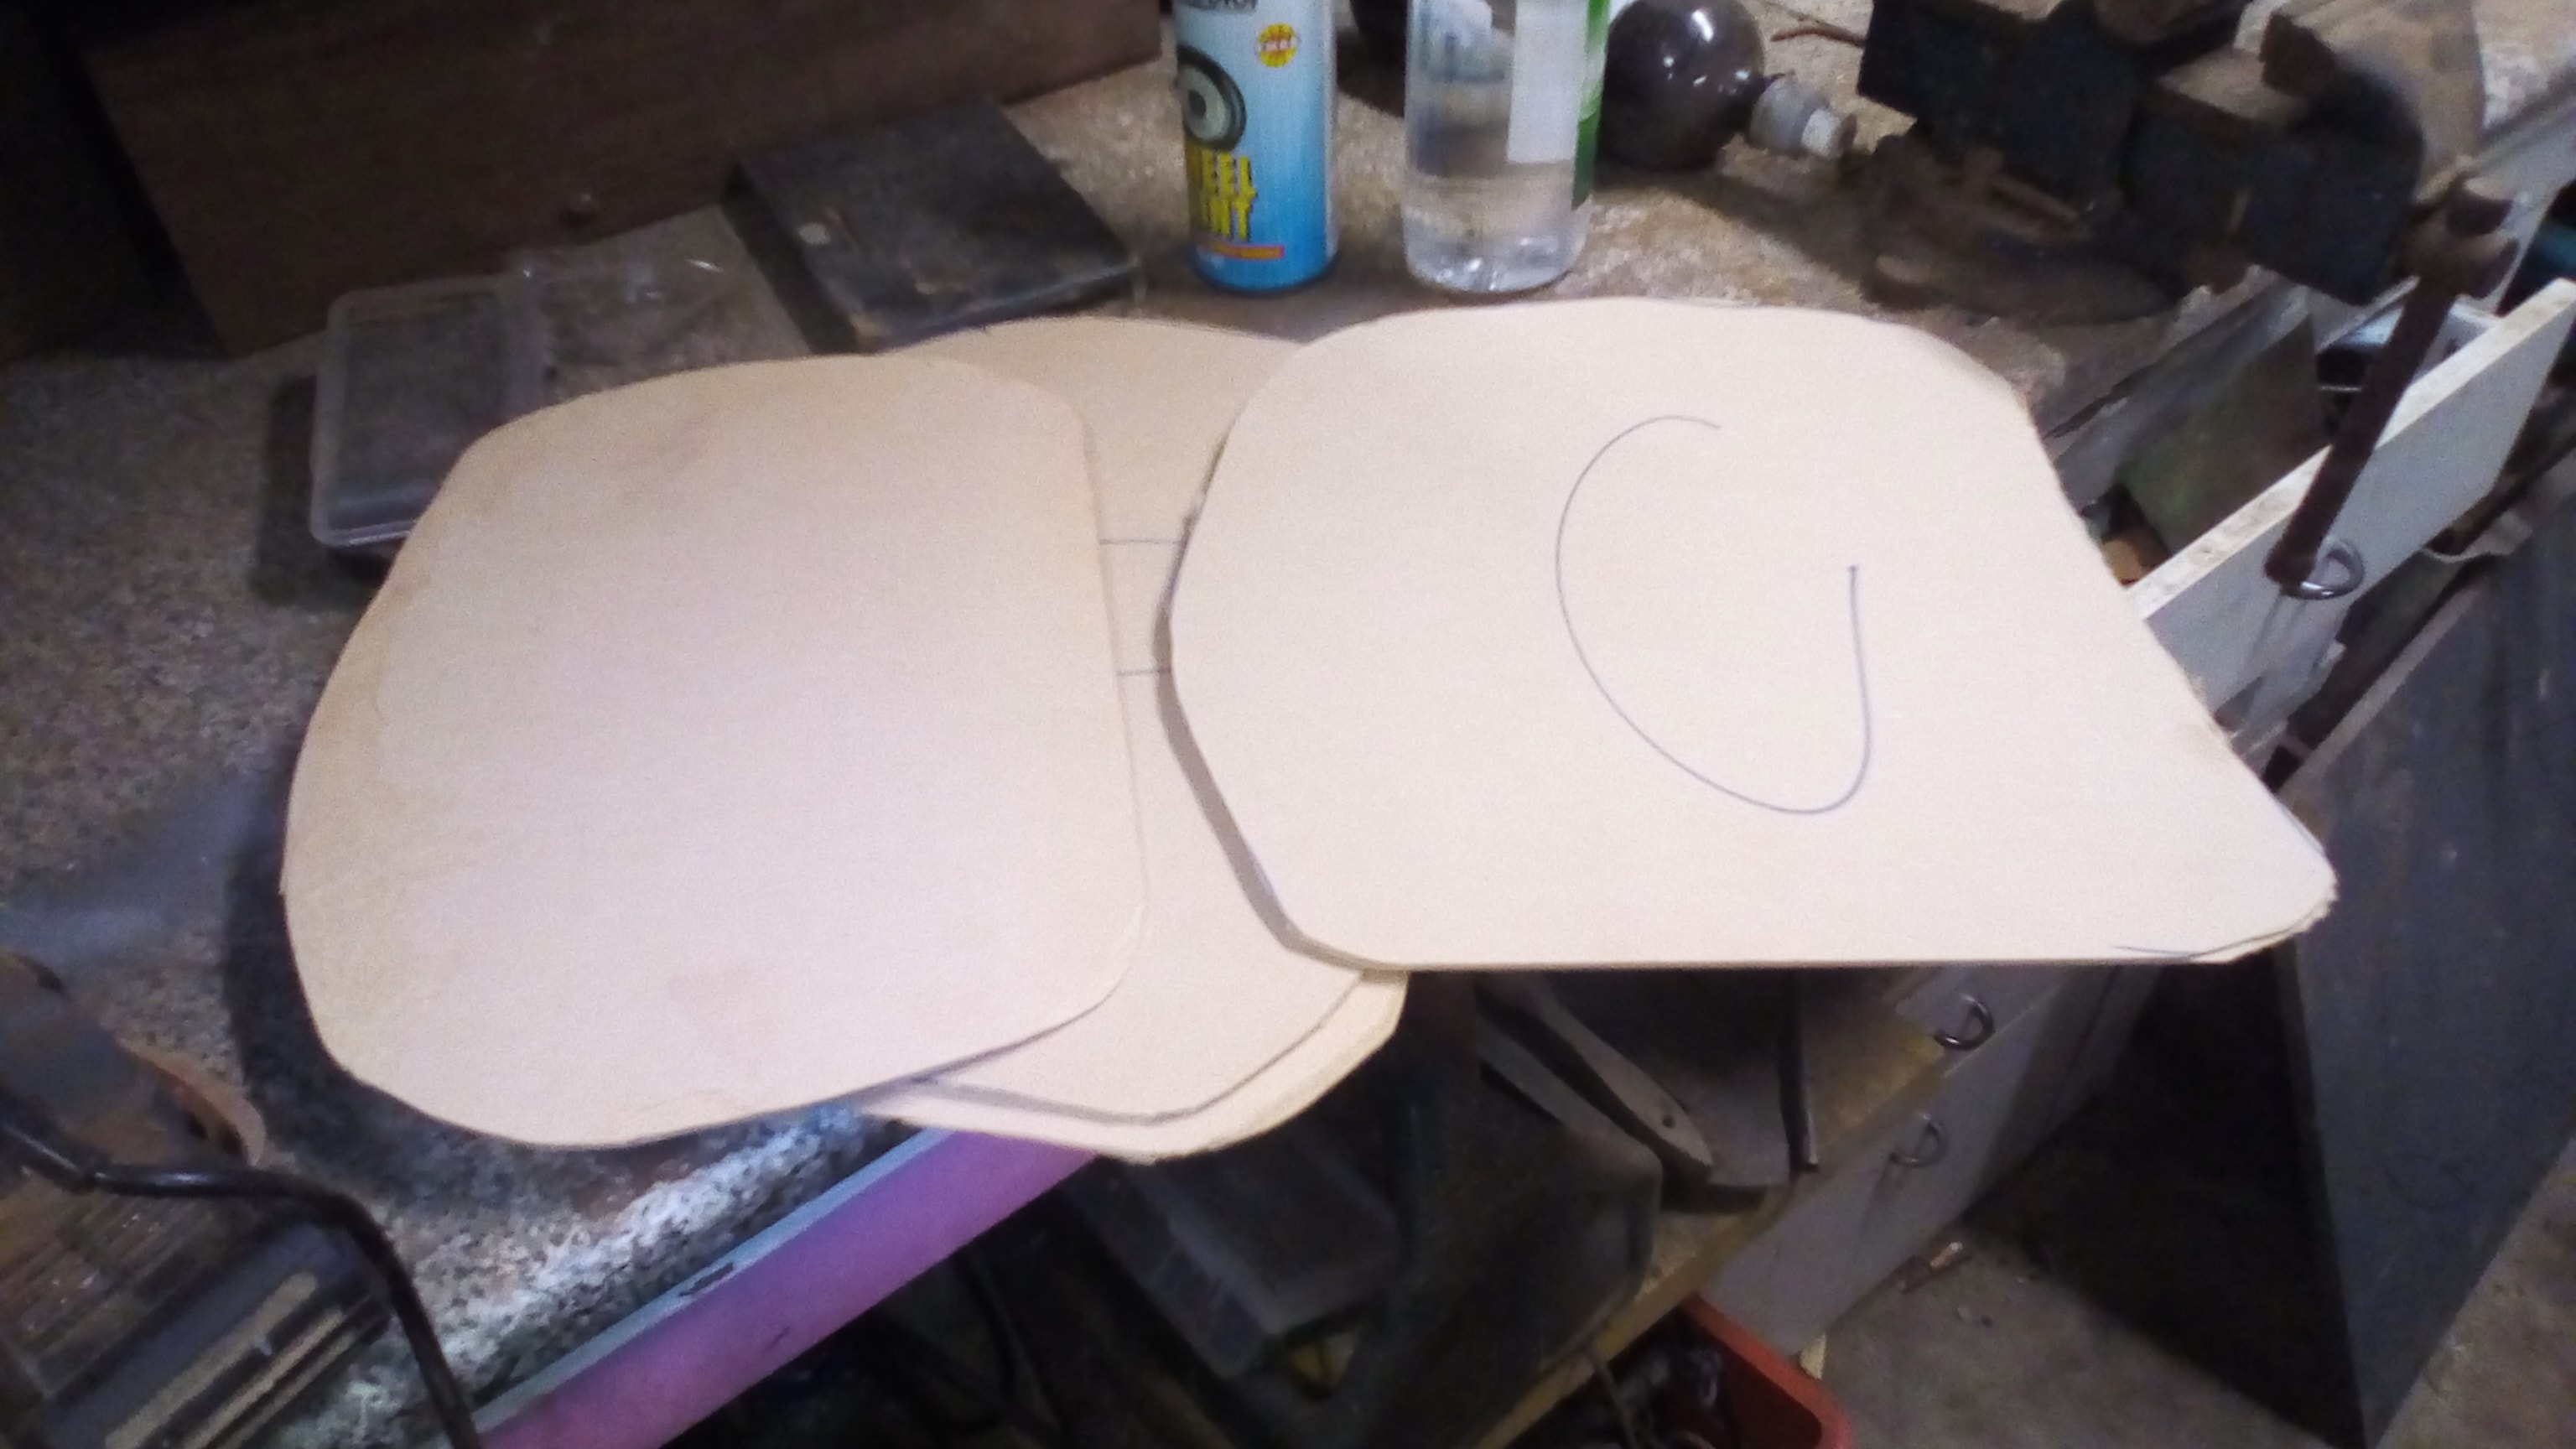 Four MDF Bases were Cut to Size and Beveled with an Orbital Sander
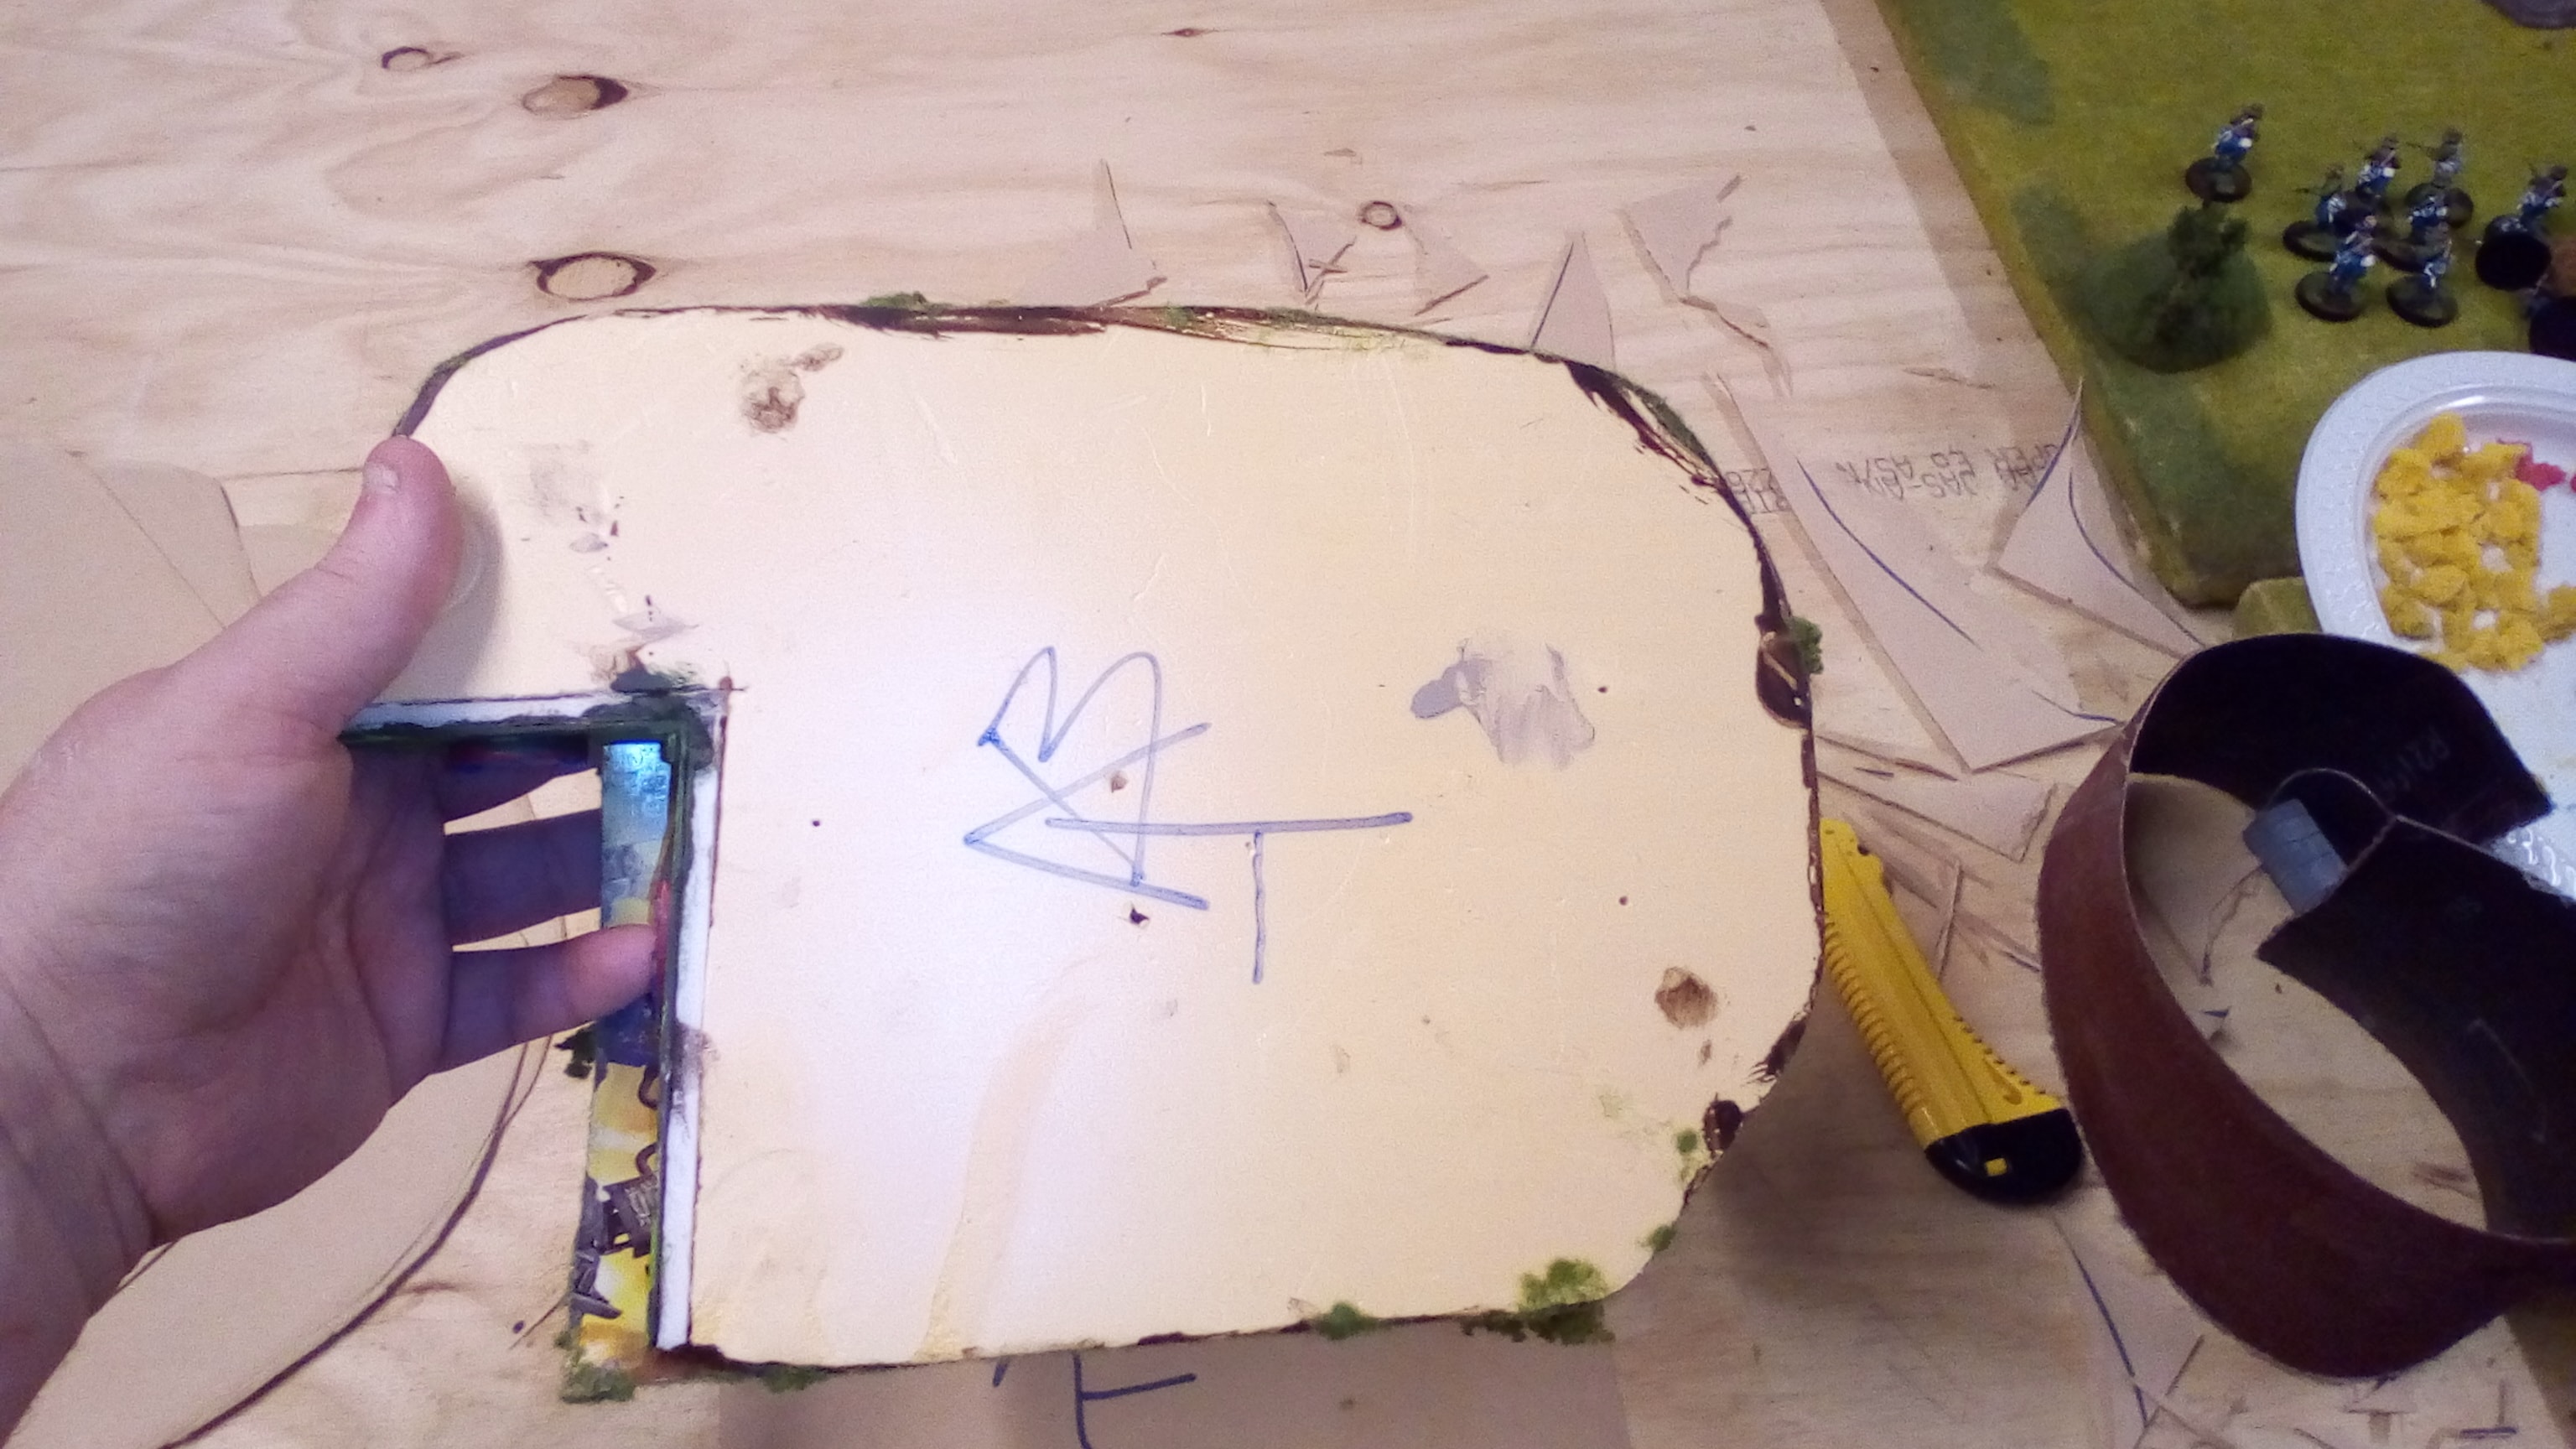 The Buildings were Matched to the Bases with Letters and in some Cases Directional Markings
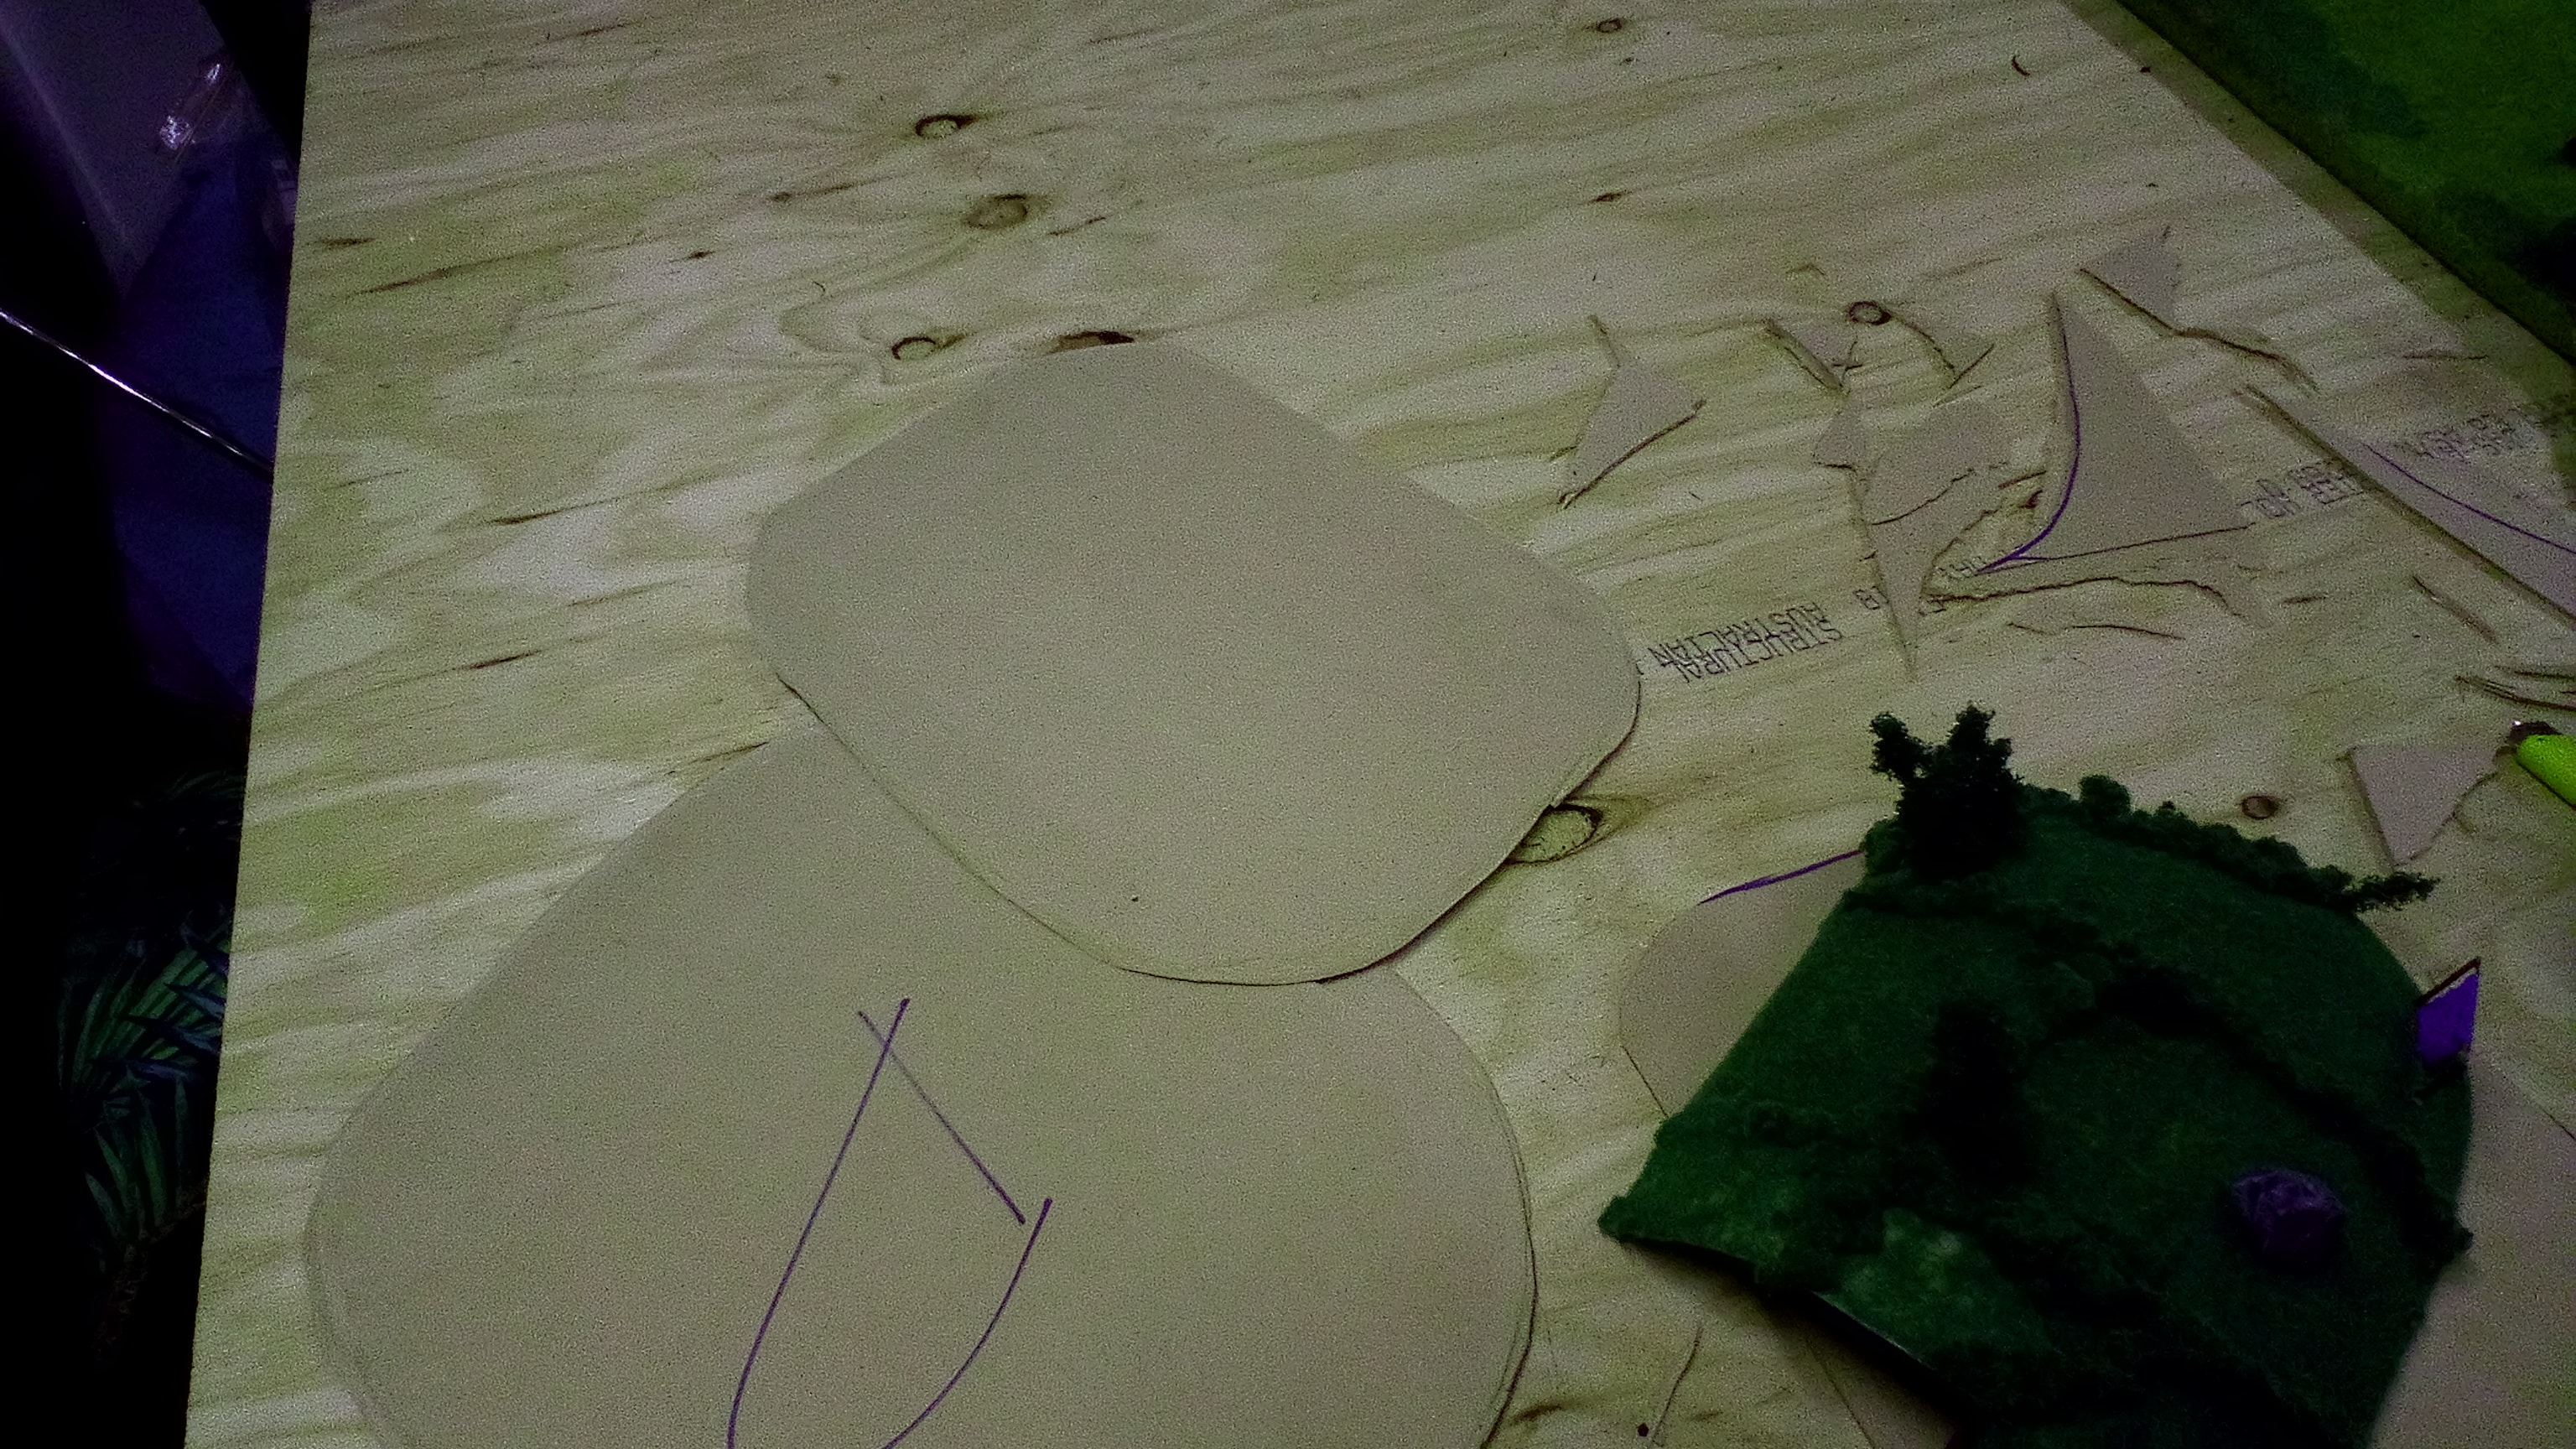 Again Sorry for the Picture Quality, Combination of a Dodgy Camera and Me Having Zero Idea how to Tune It In
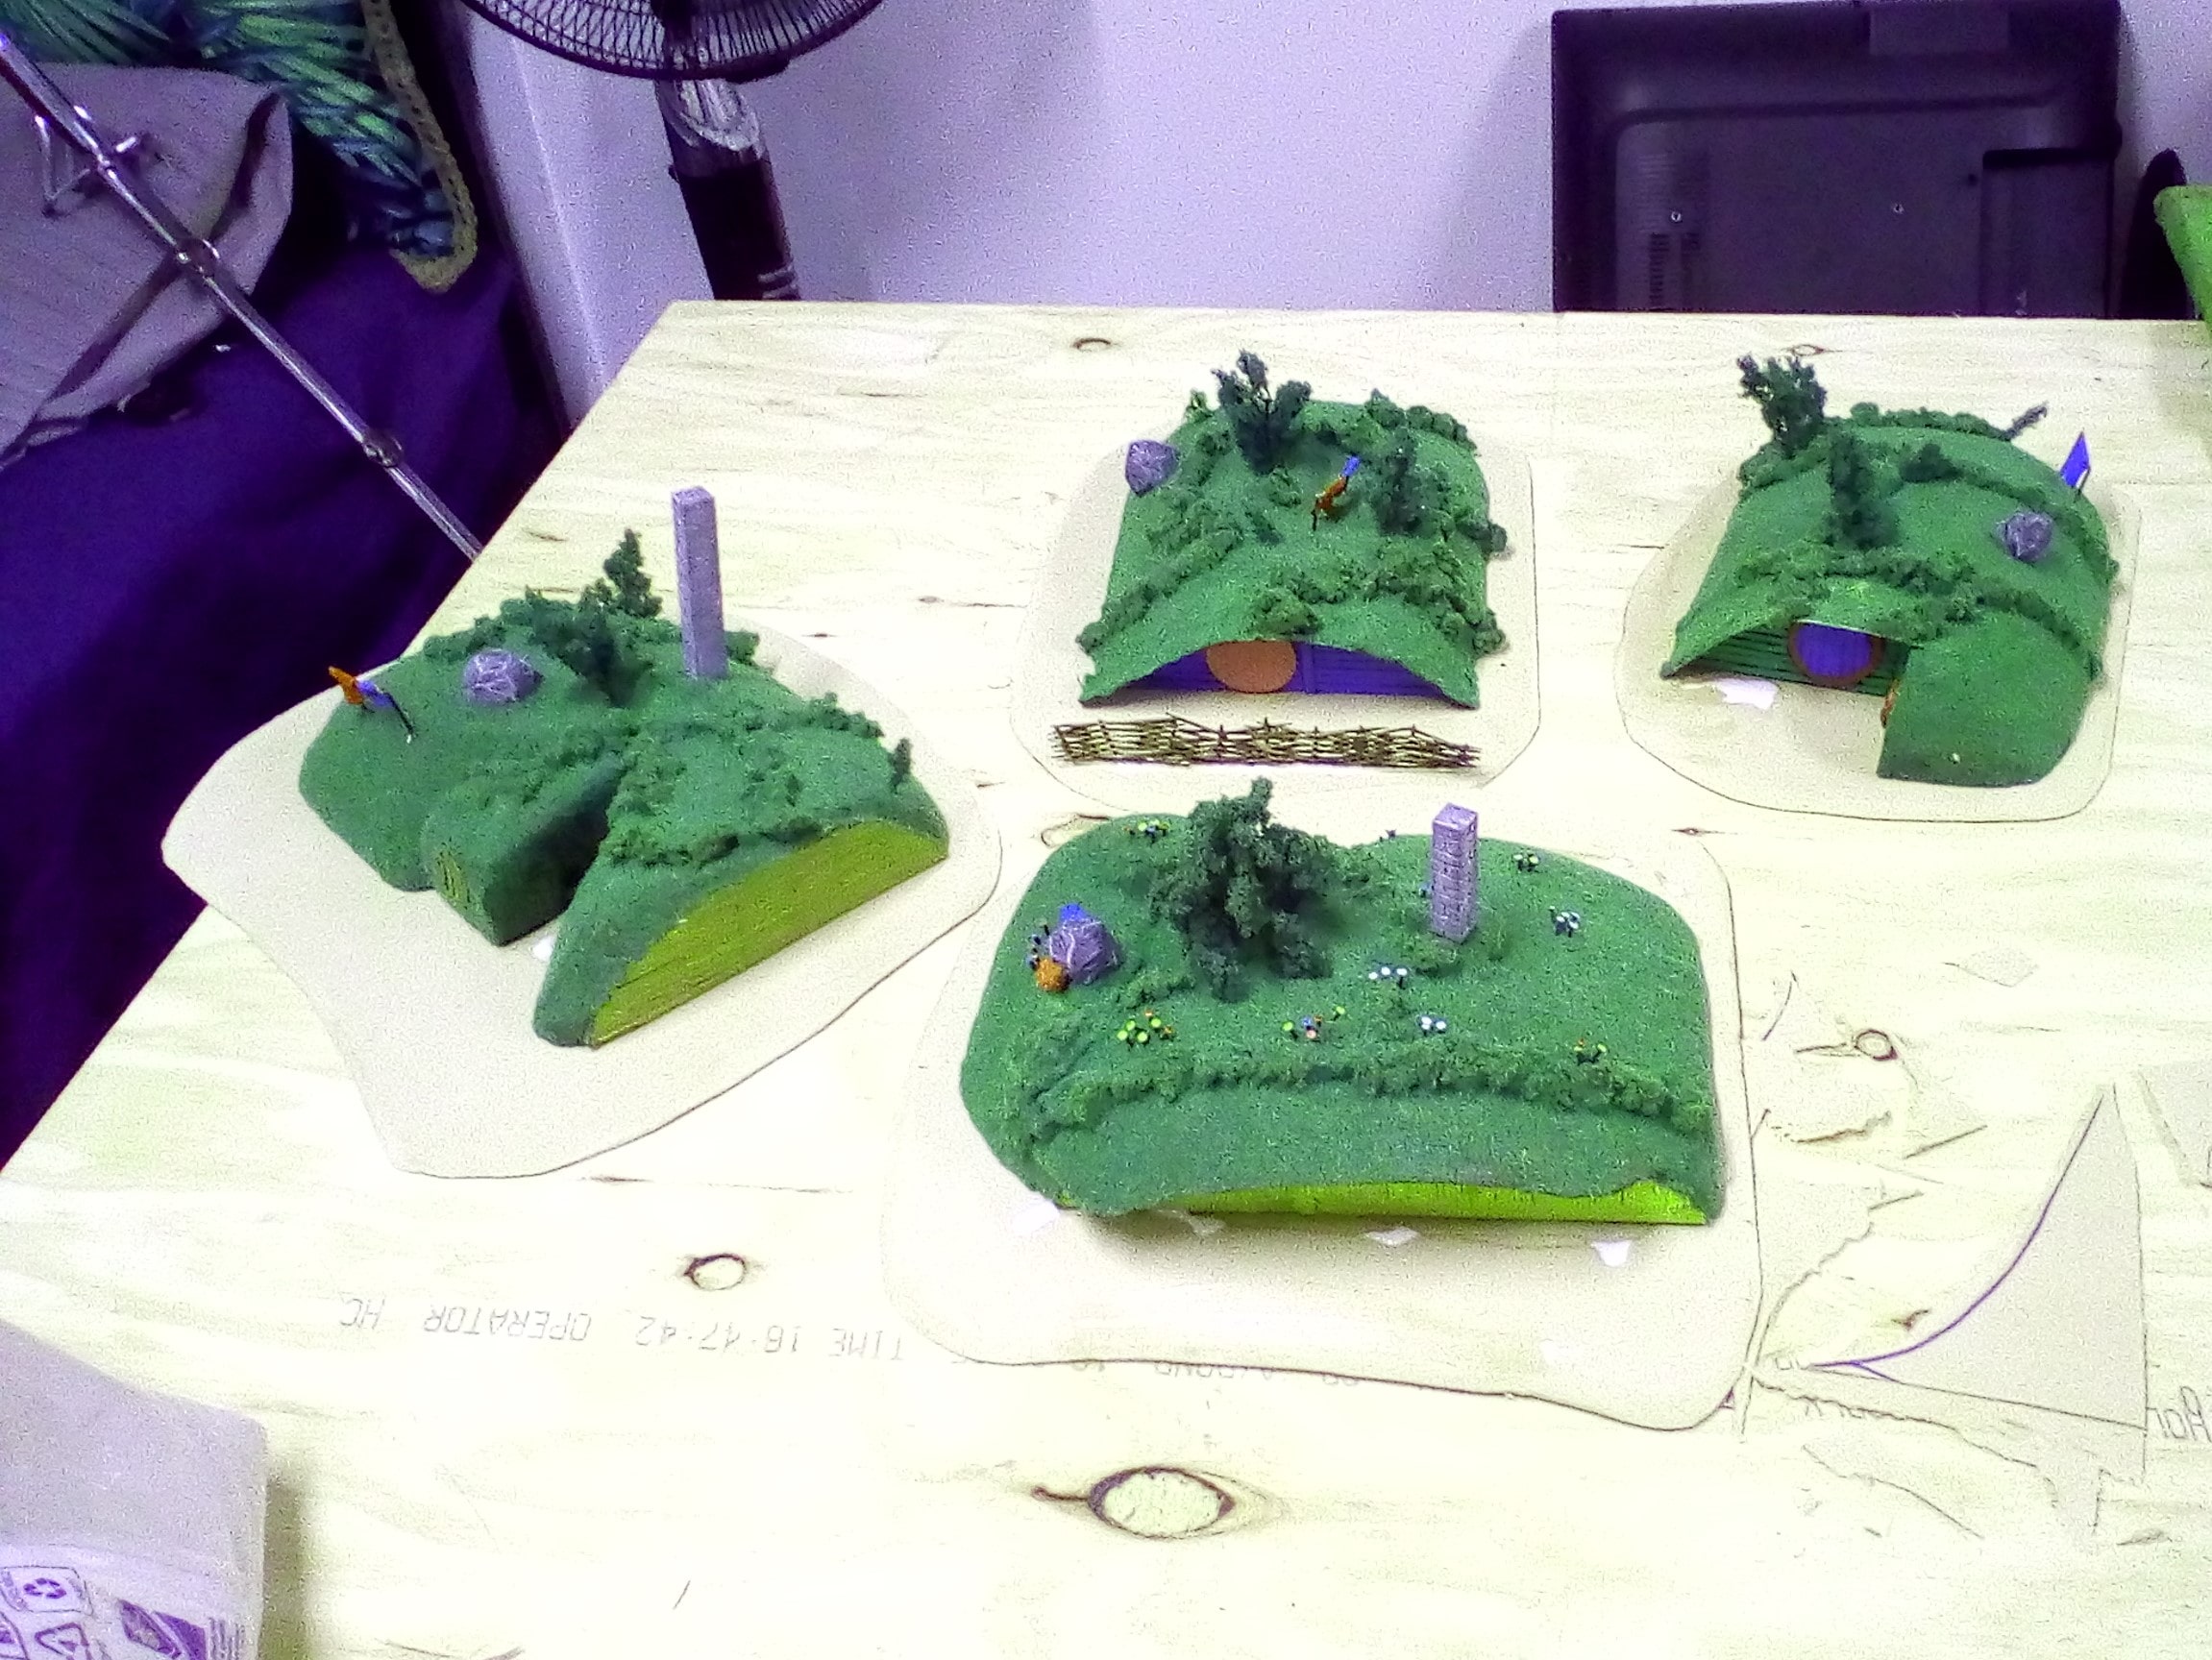 All the Hobbit Holes are Glued to their Bases. They Have Since been Based with Sand.
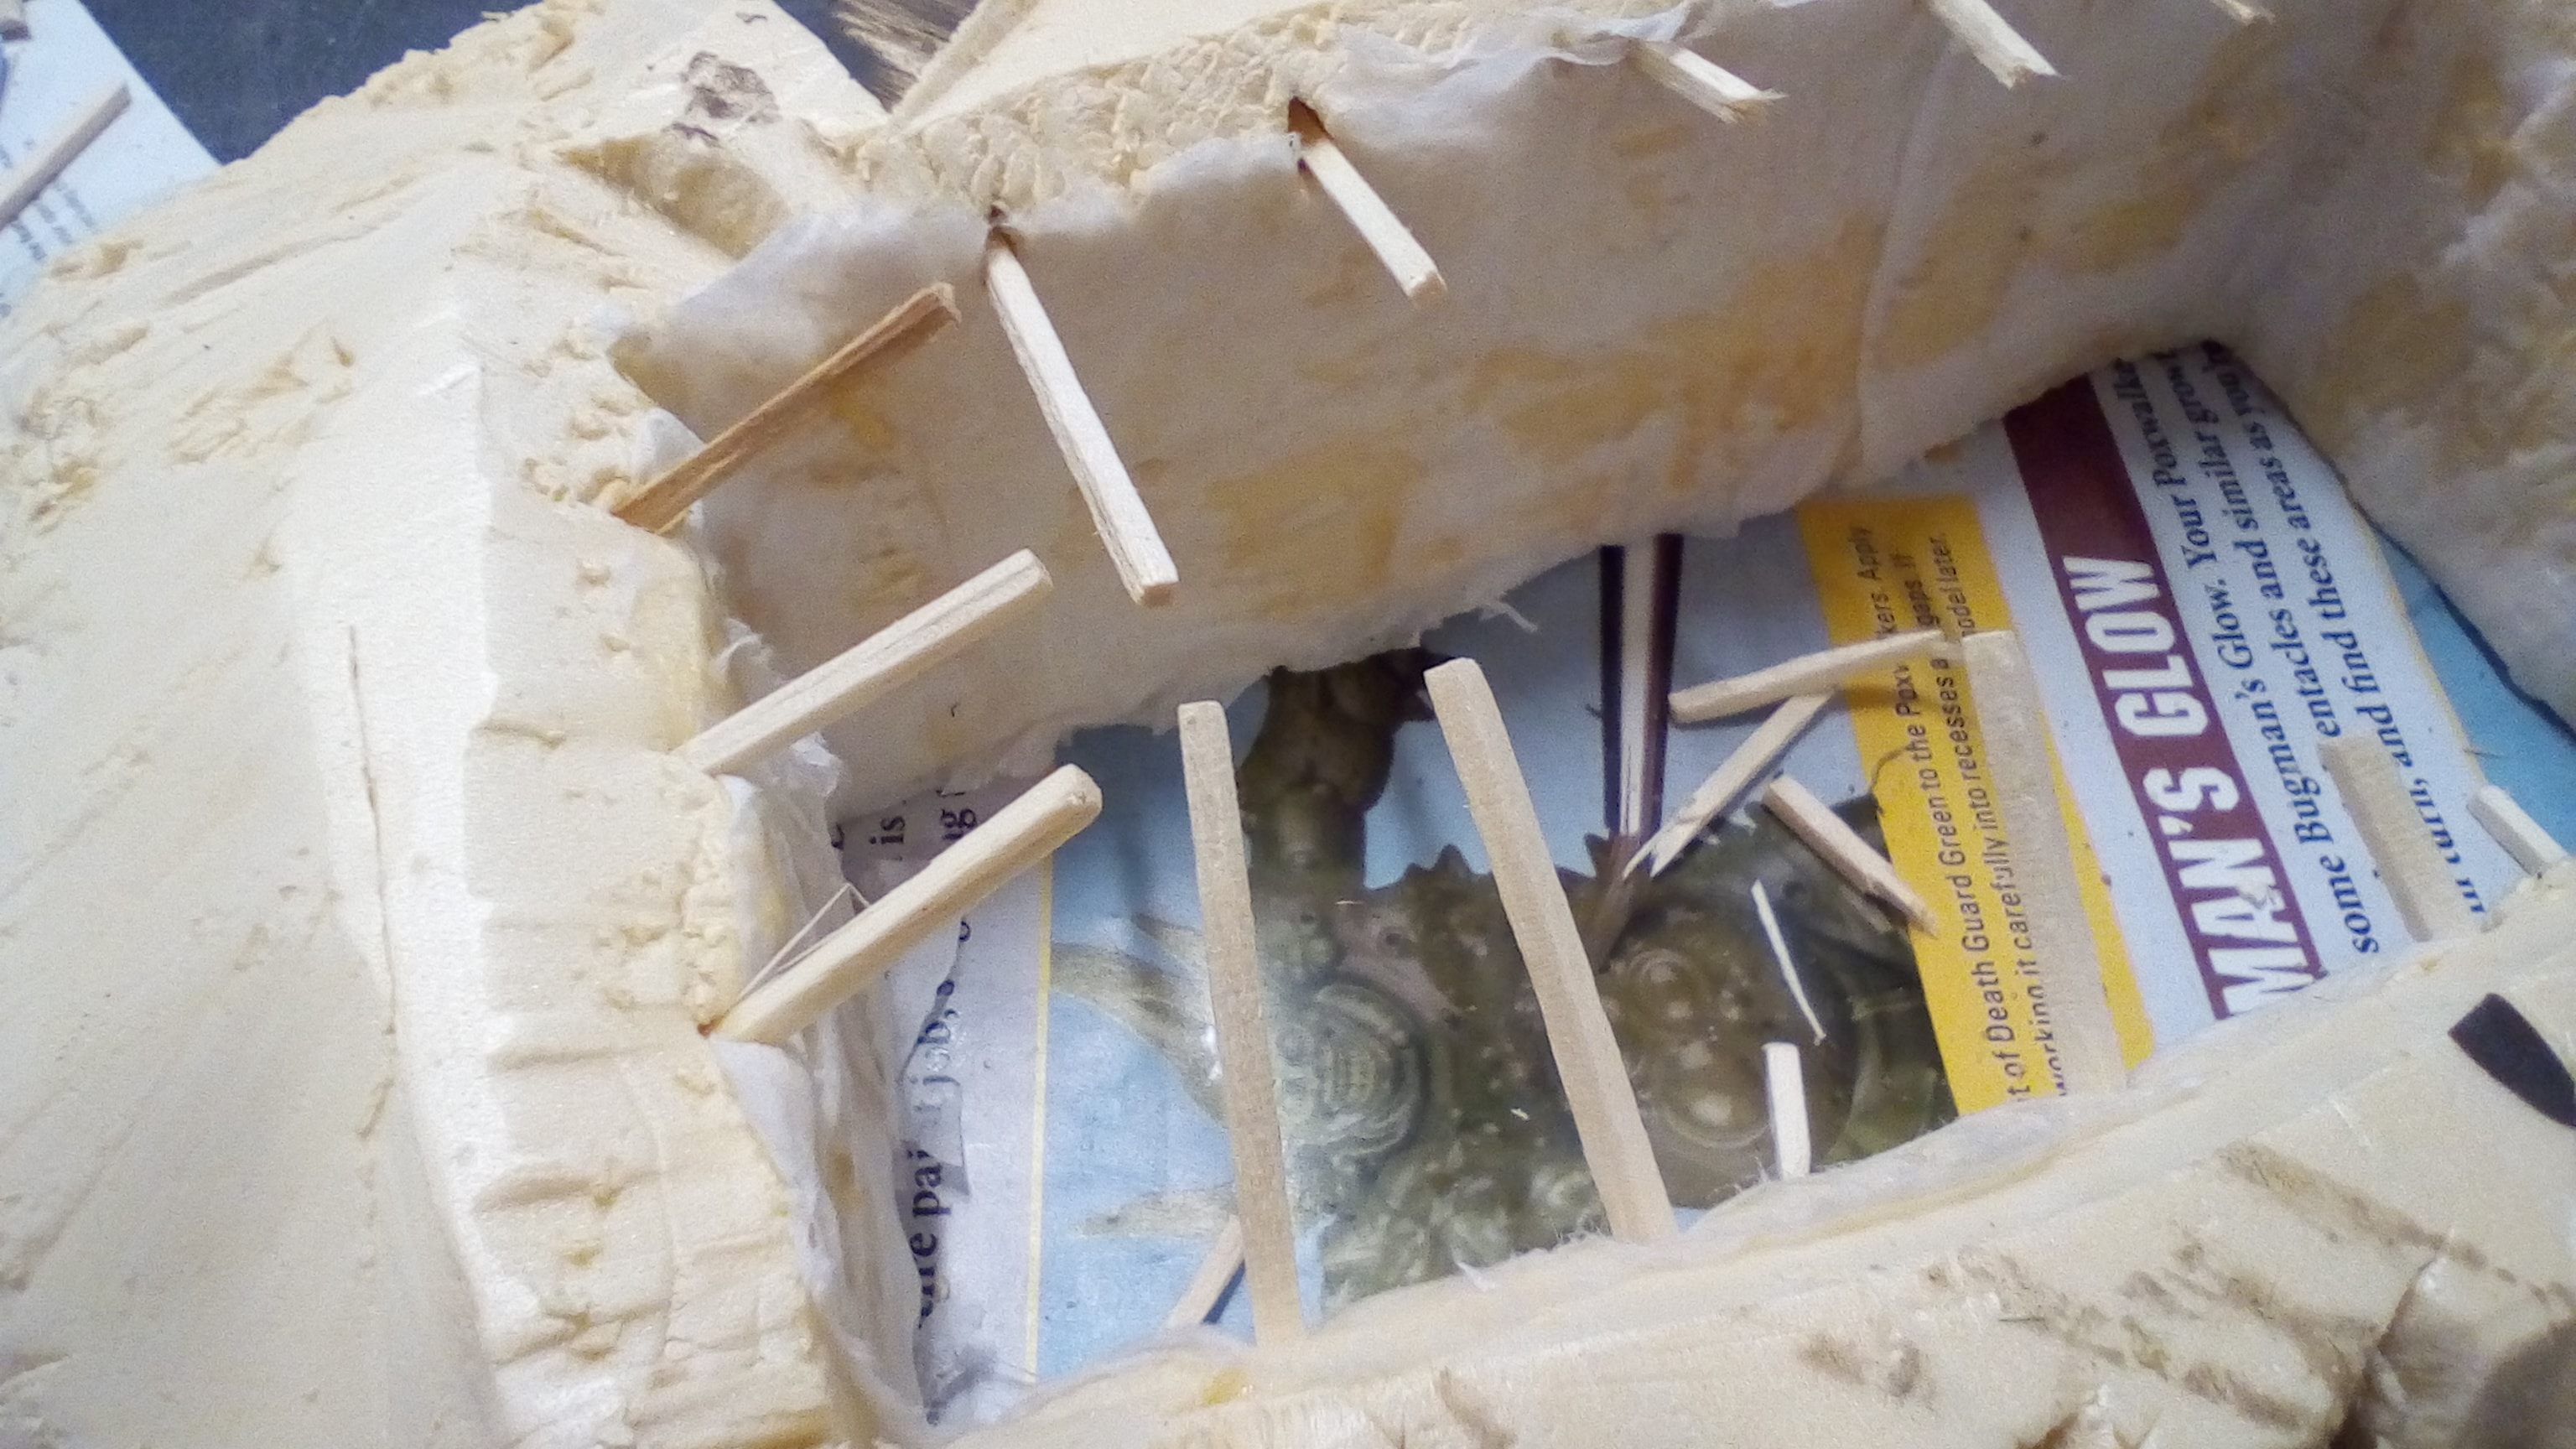
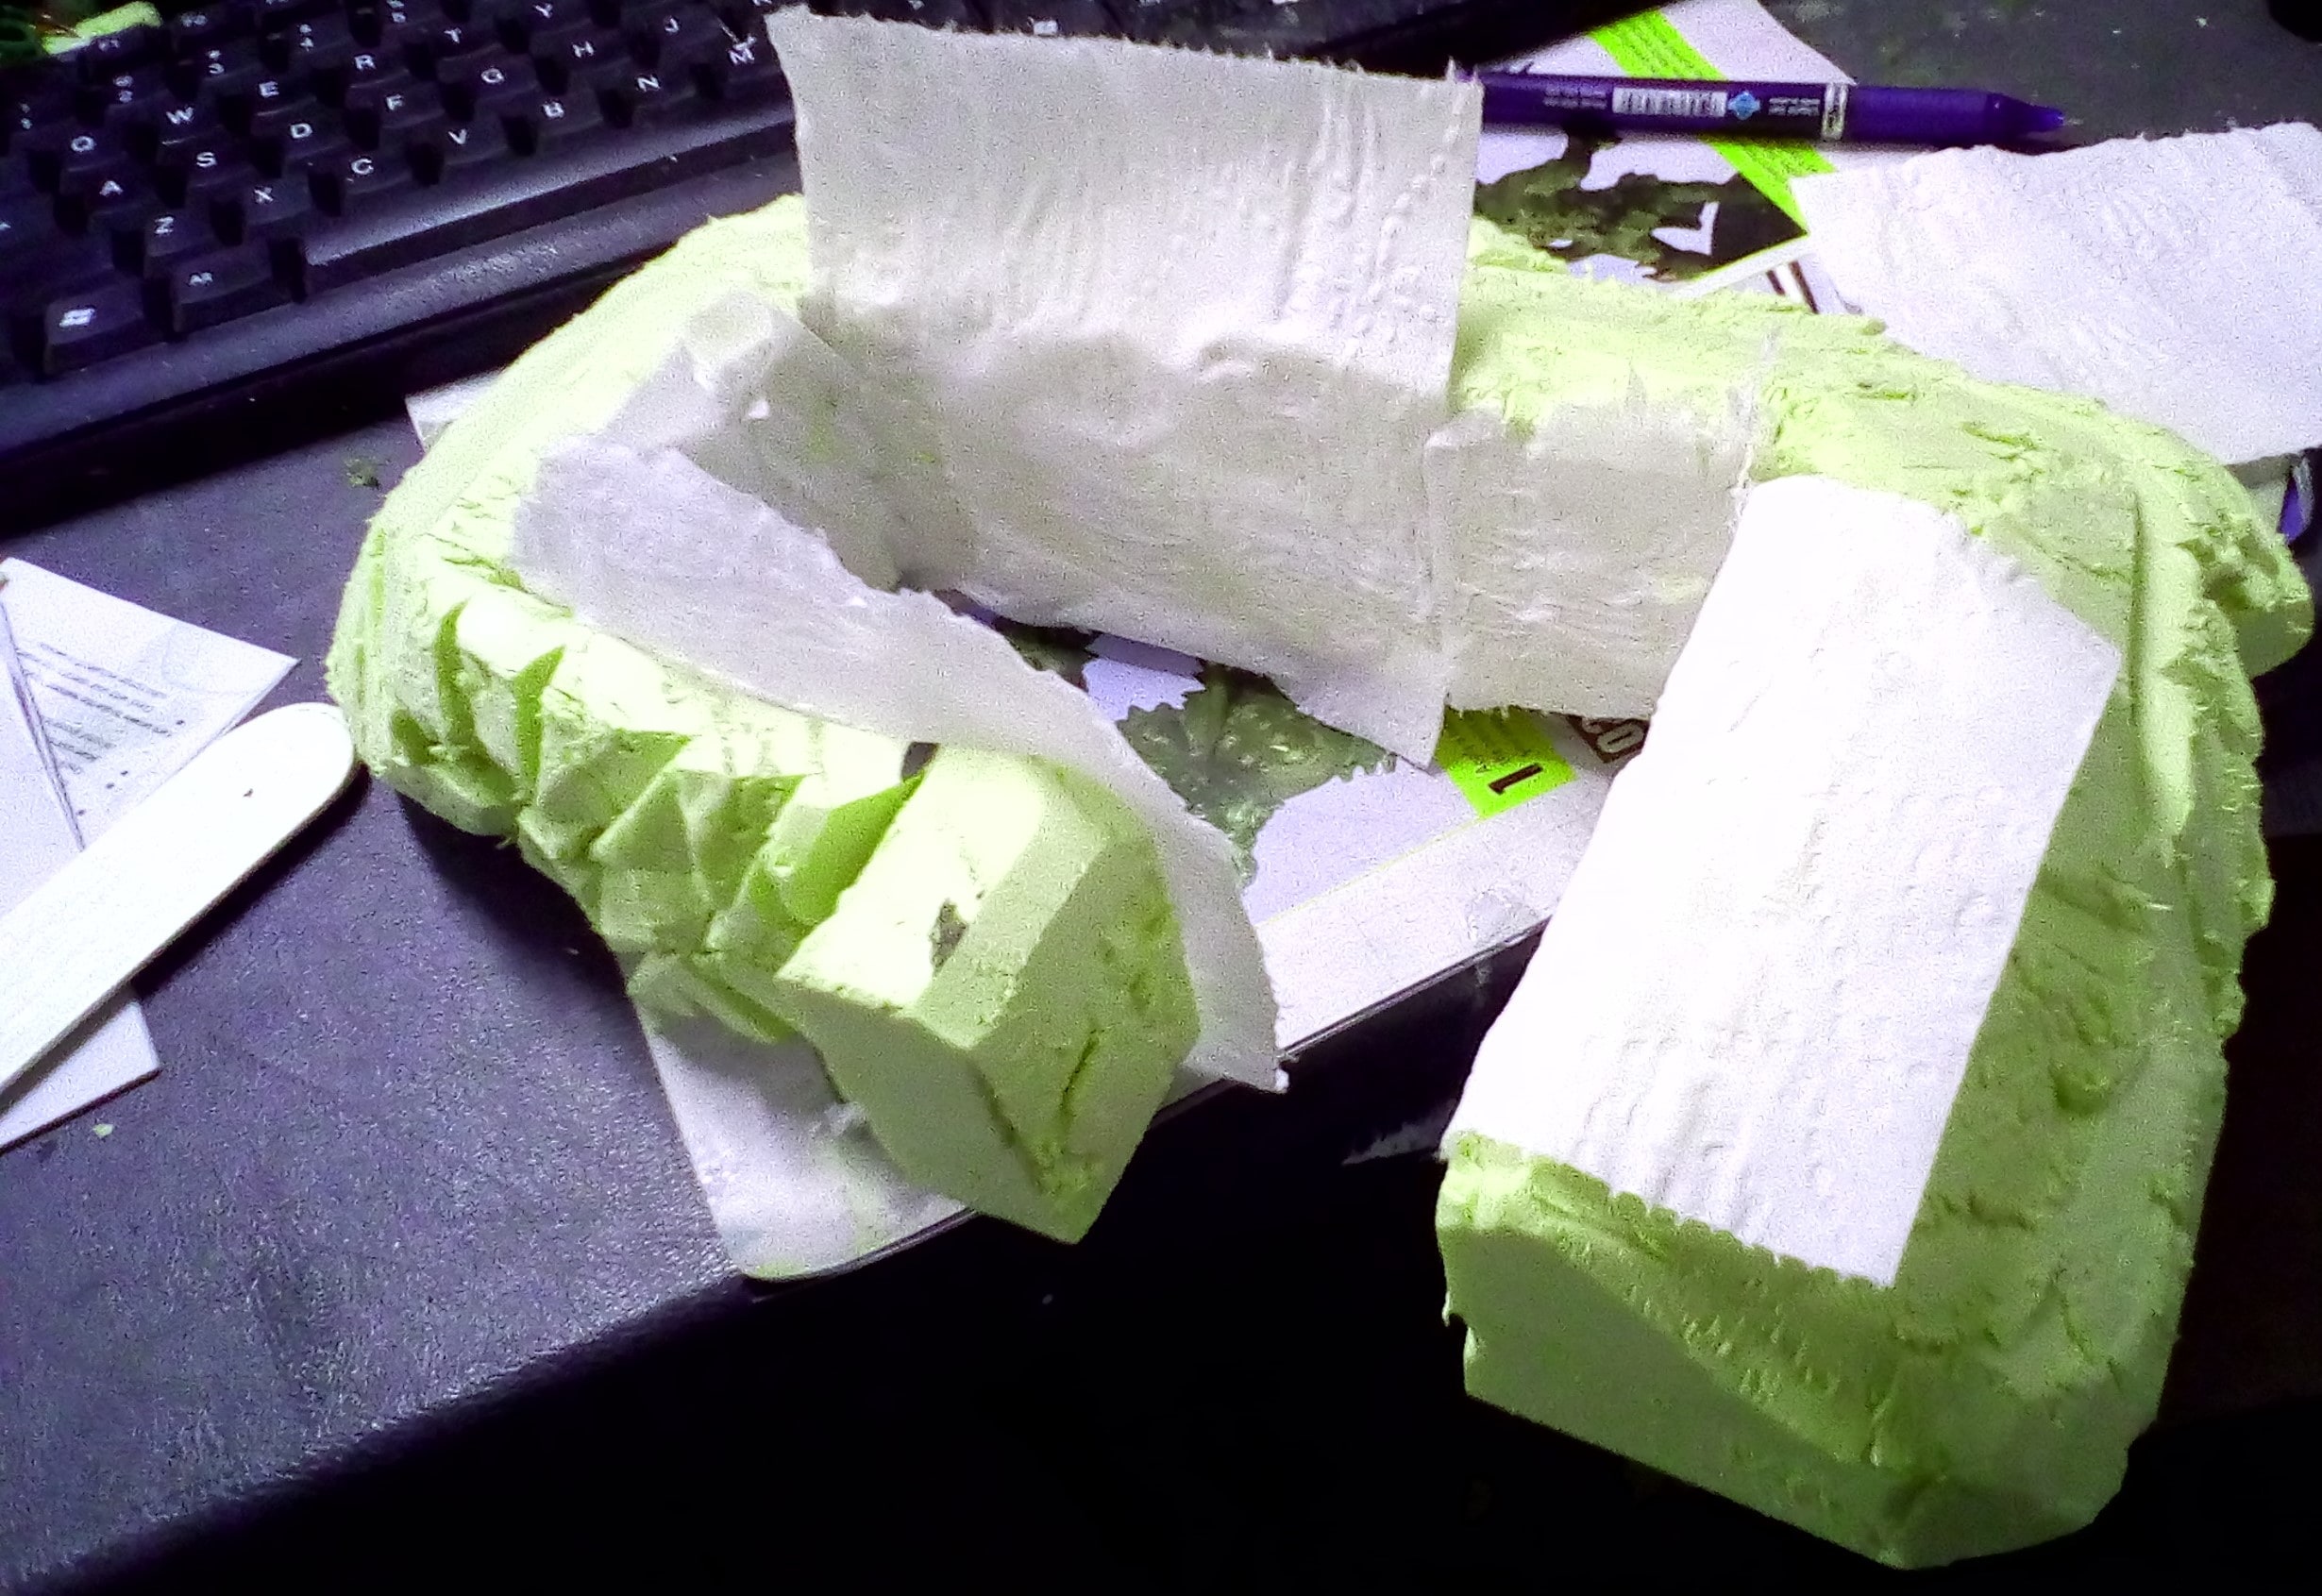 A Ruined Hobbit Hole Getting some Wallpaper
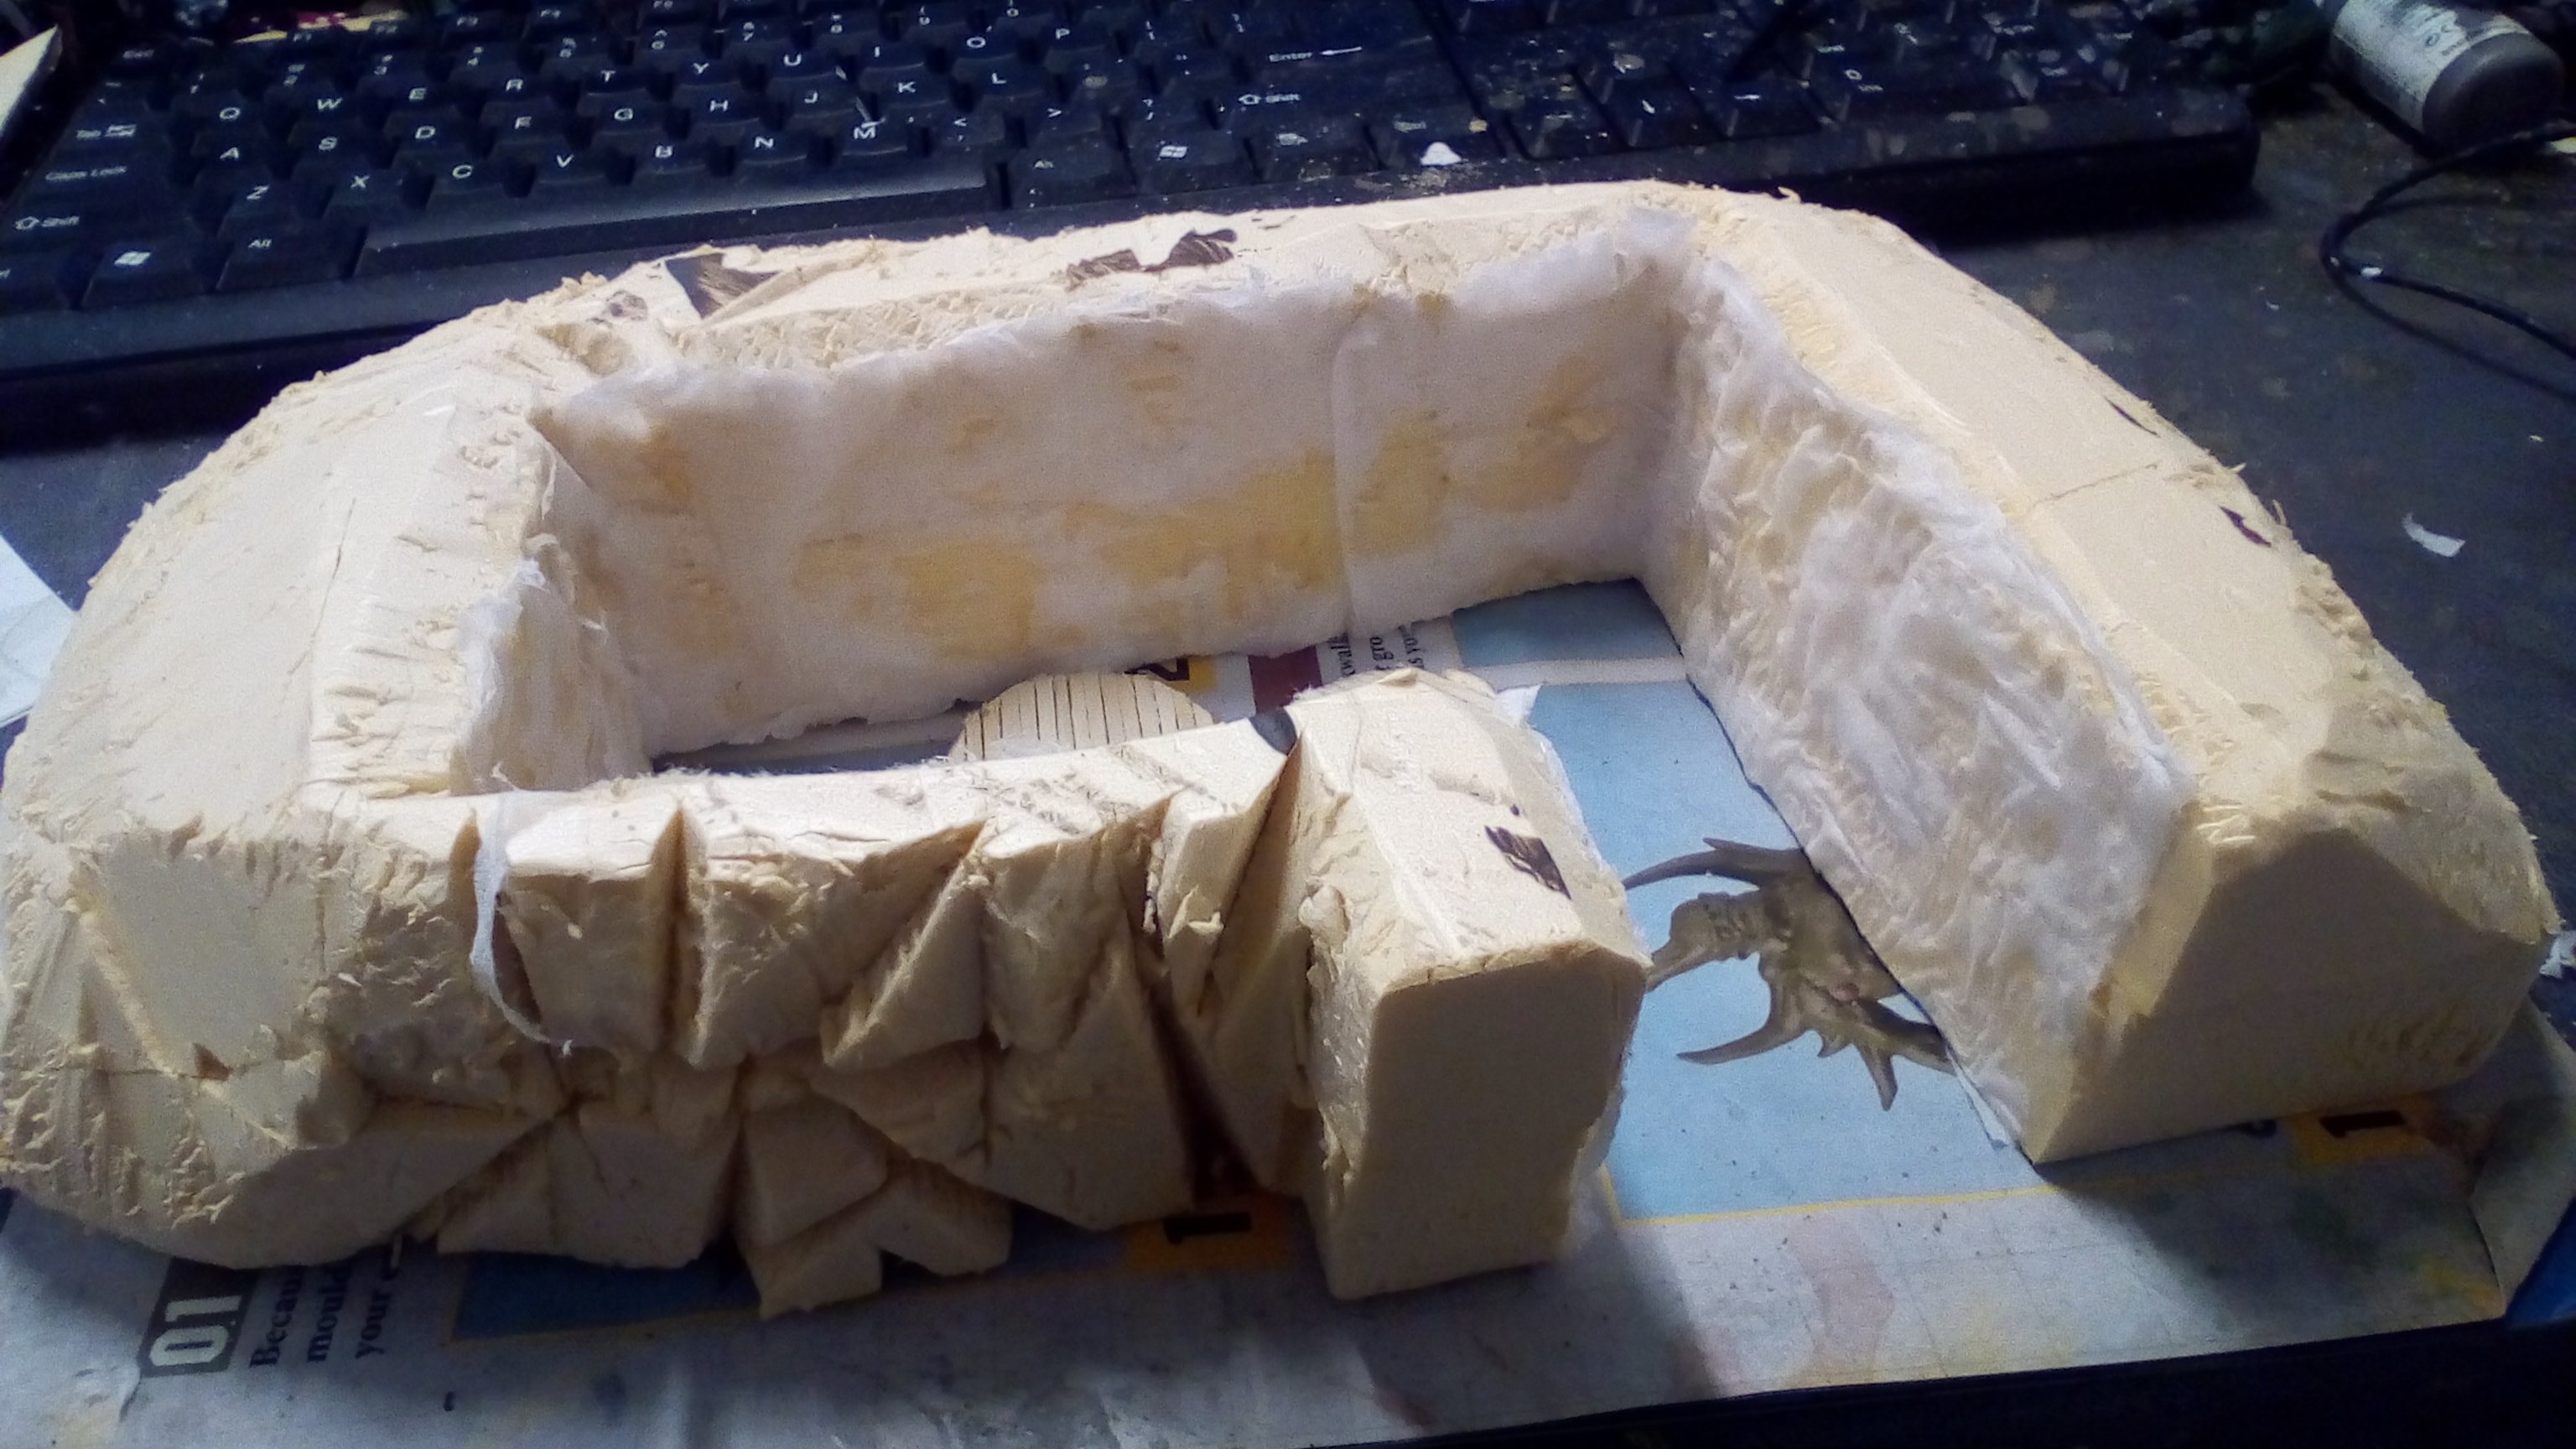 Trimming off the Excess
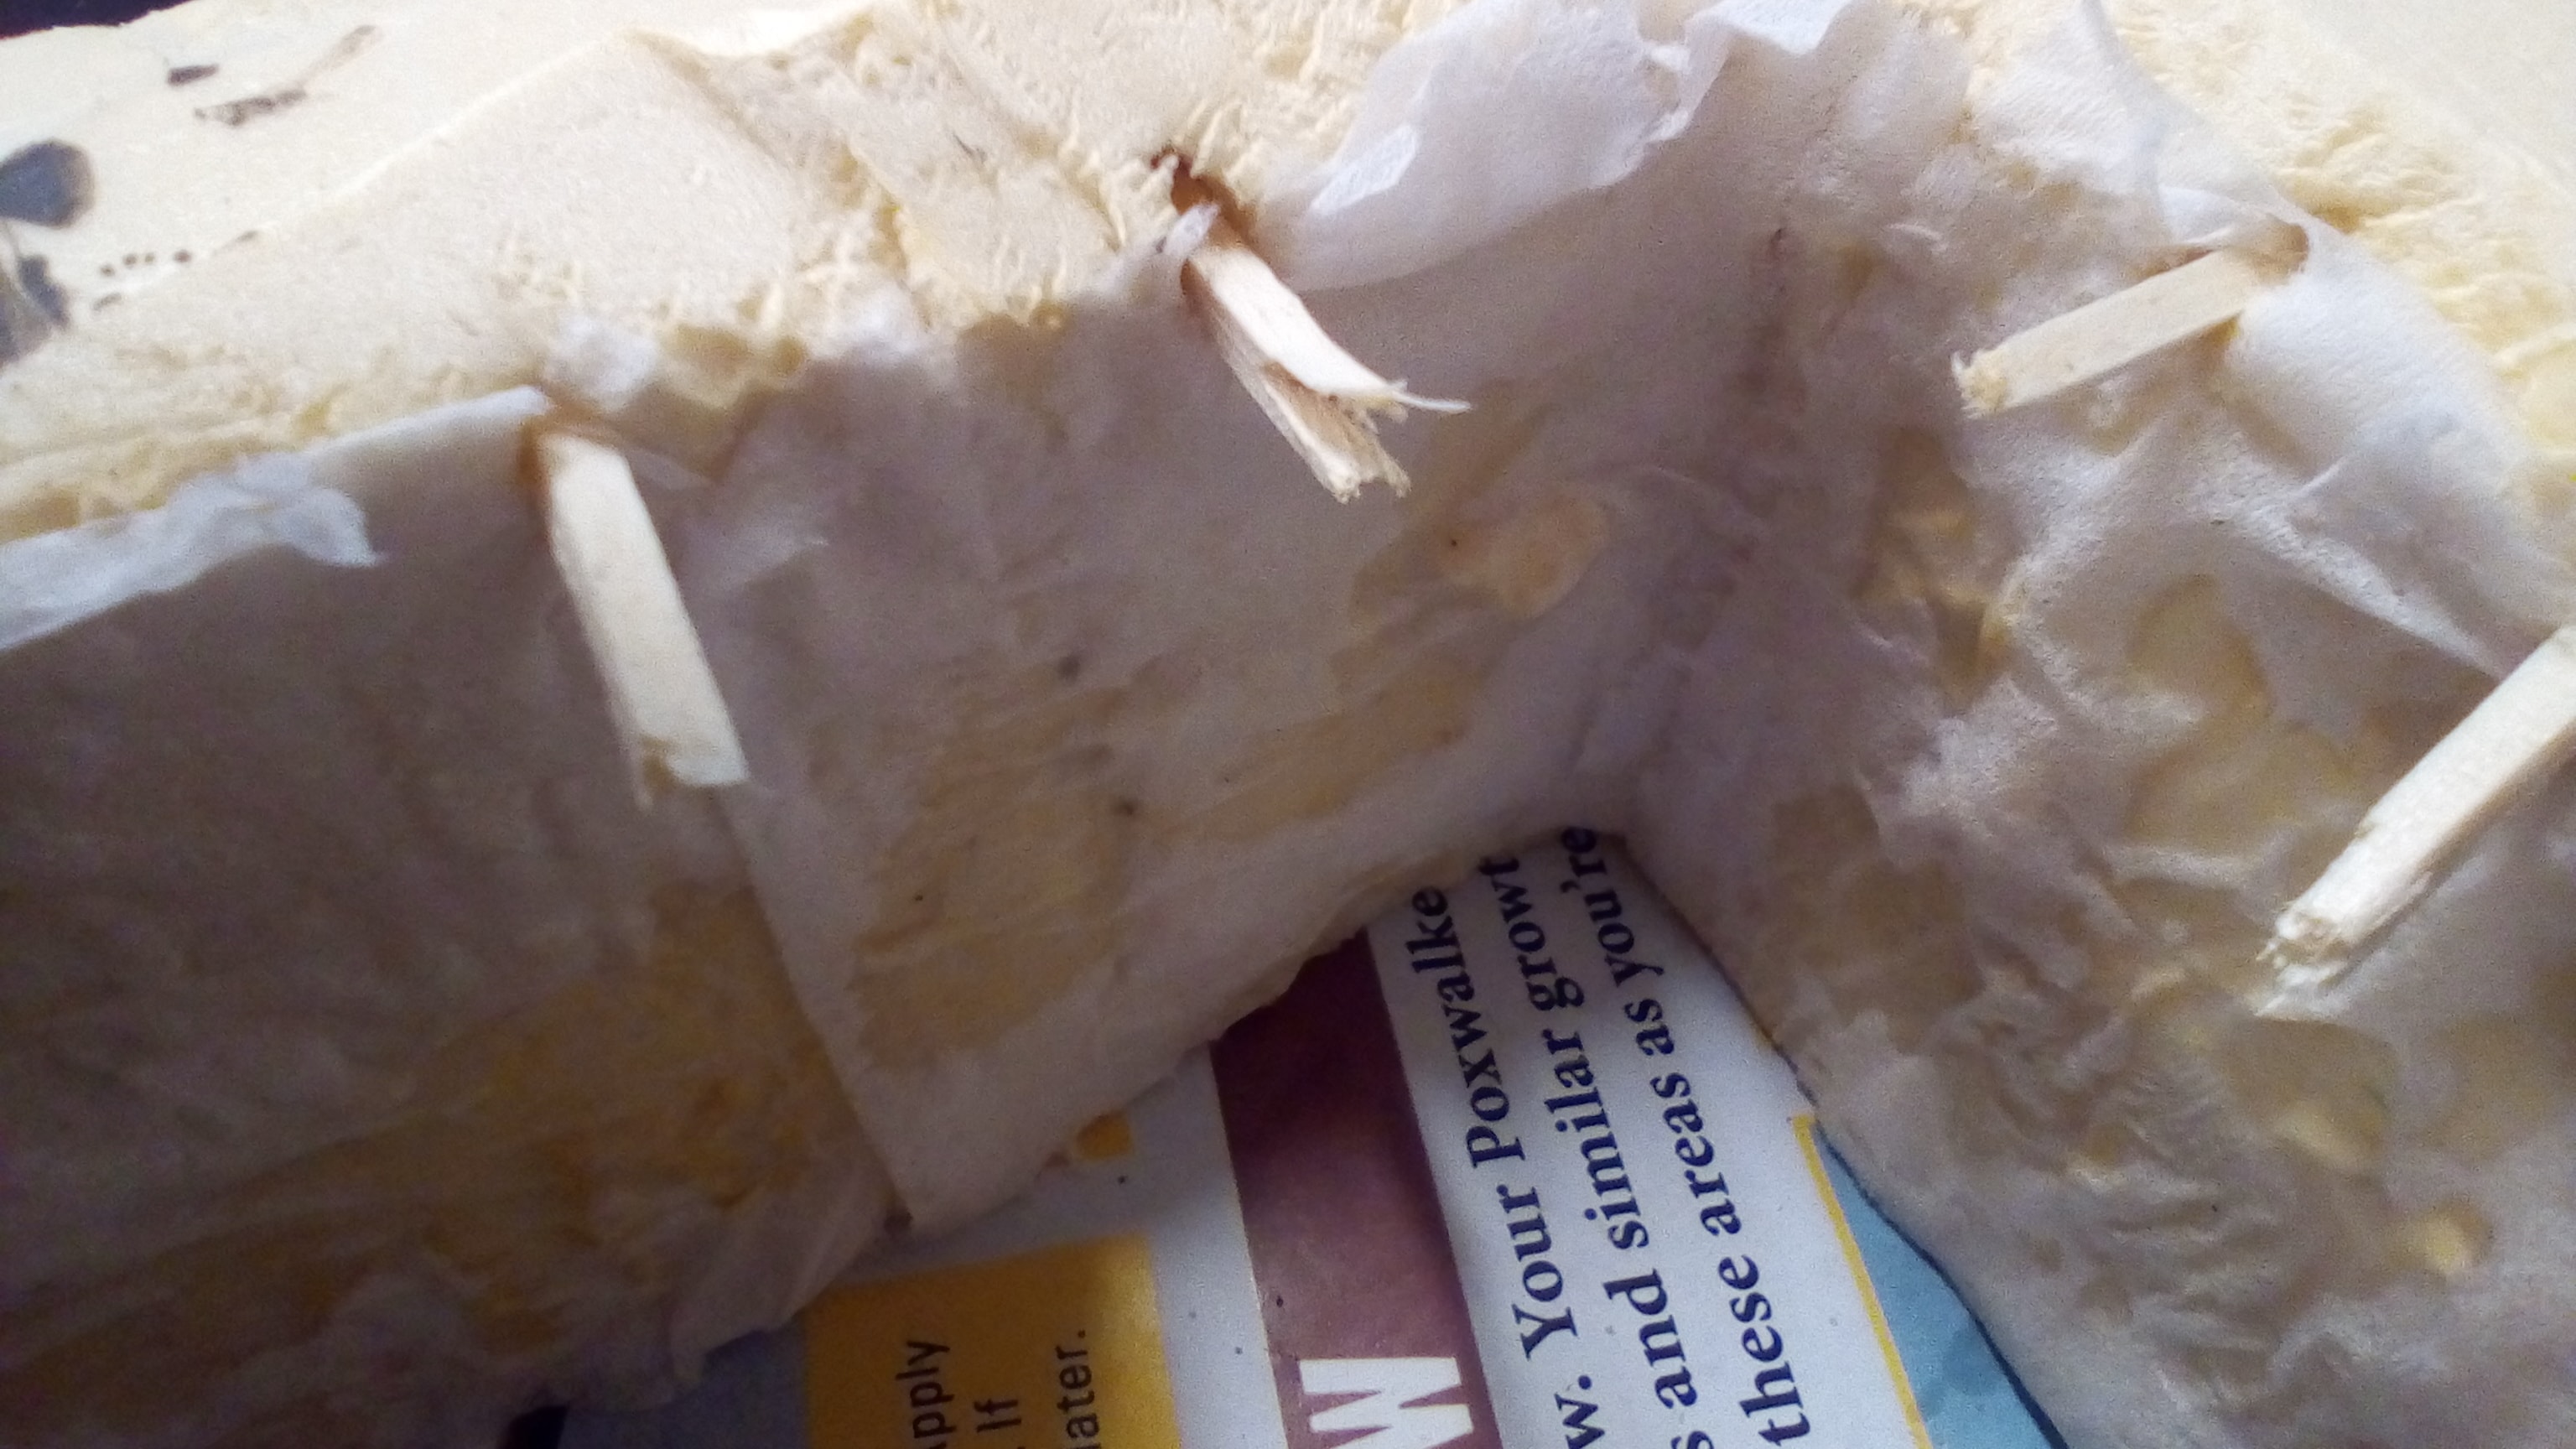
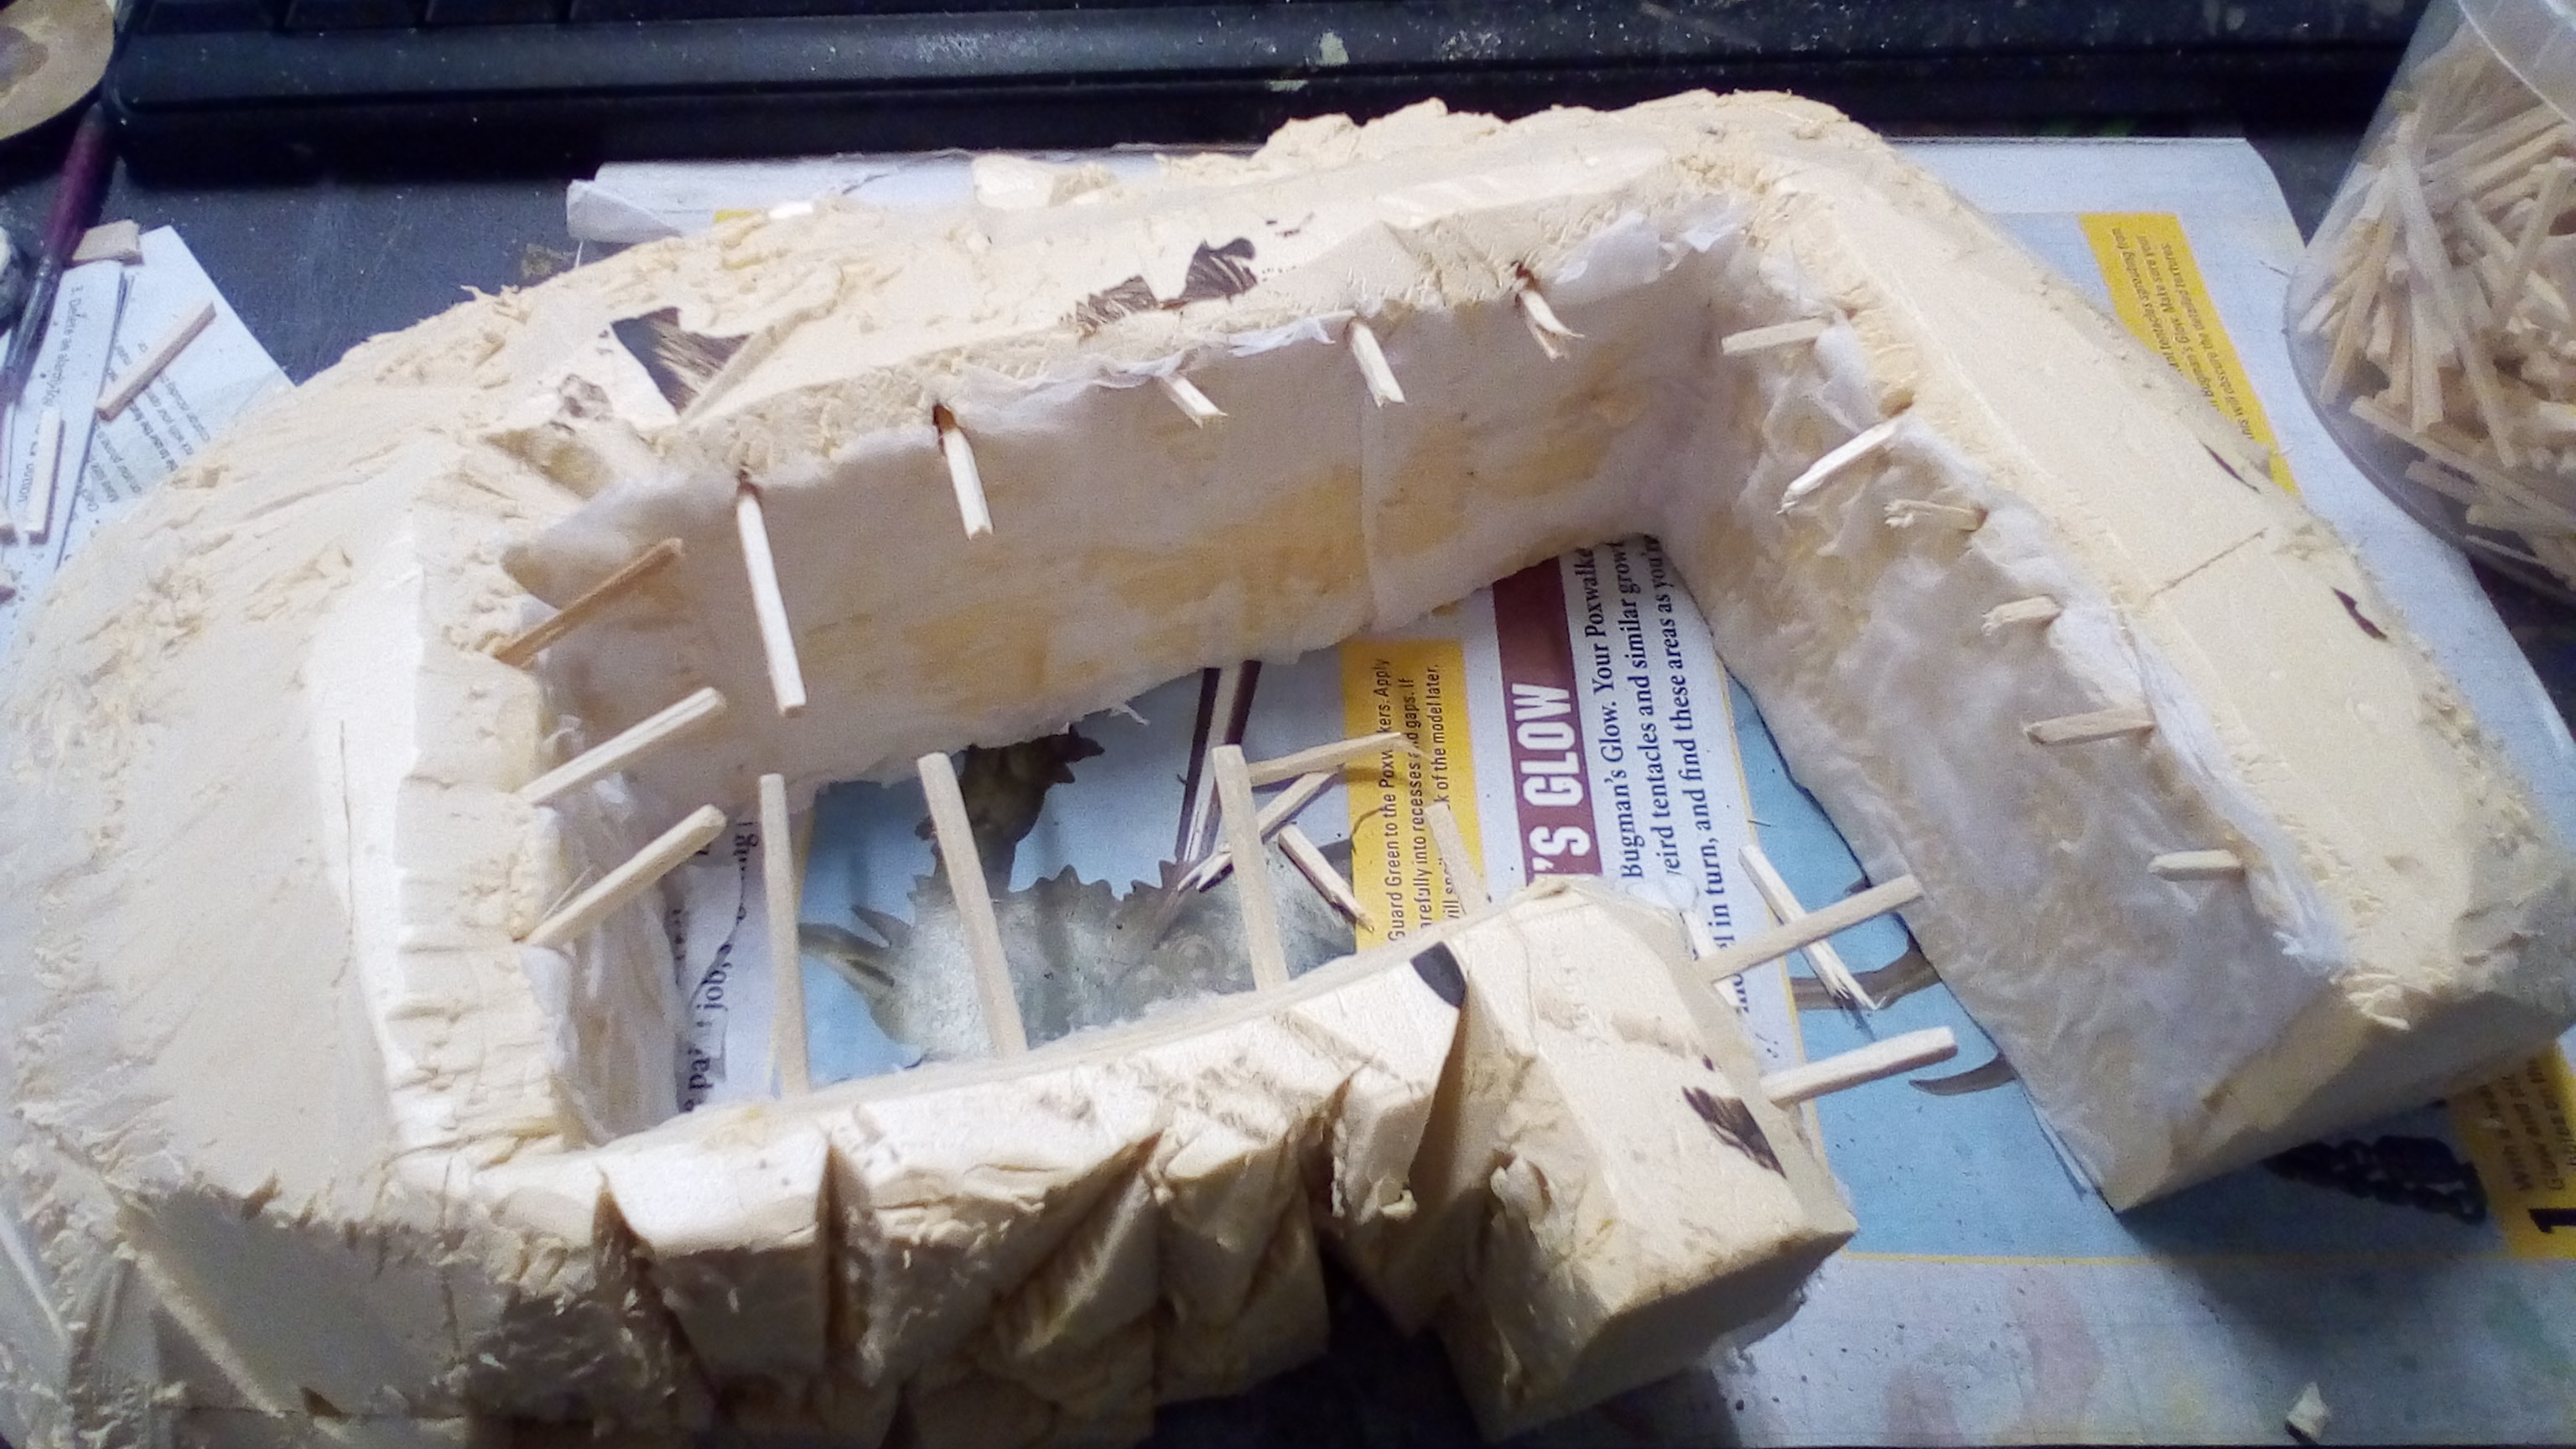 One End of a Matchstick was Cut to a Point and Pushed into the Foam then the Opposite End was Roughly Snapped Off.