


Gaz’s Spring Clean Hobby Challenge 2020


Recommendations: 266
About the Project
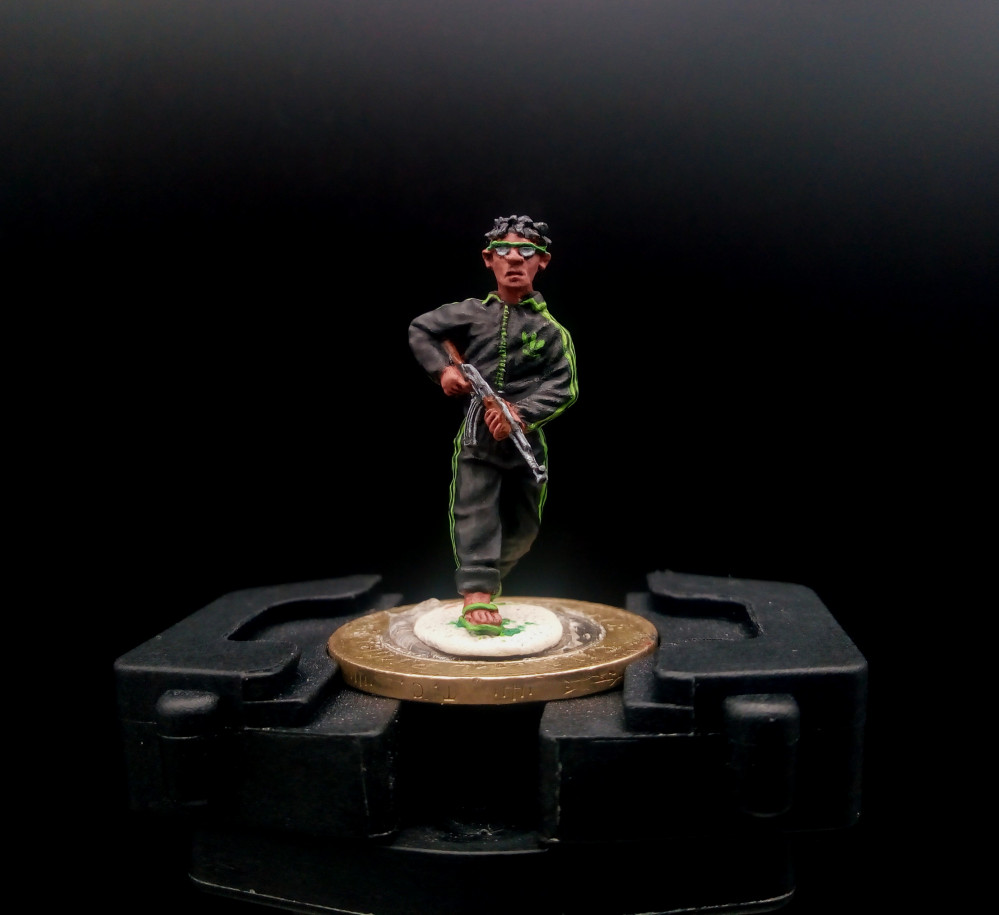
Hey guys, so 2020 Spring Hobby Challenge is here and I am ready to get some minis painted. Got the usual storage area full of never started projects and the odd partially done ones. Rather than bog myself down in large forces, I have decided to attack the skirmish style games. Hope you guys enjoy and any questions or comments please drop them in and I will do my best to answer them for you. So got my shades on, my hair is looking good, AK is loaded, my new Adidas tracksuit is freshly ironed and I'm wearing my best flip flops, let's do this people!
Related Genre: General
Related Contest: Spring Clean Hobby Challenge (Old)
This Project is Completed
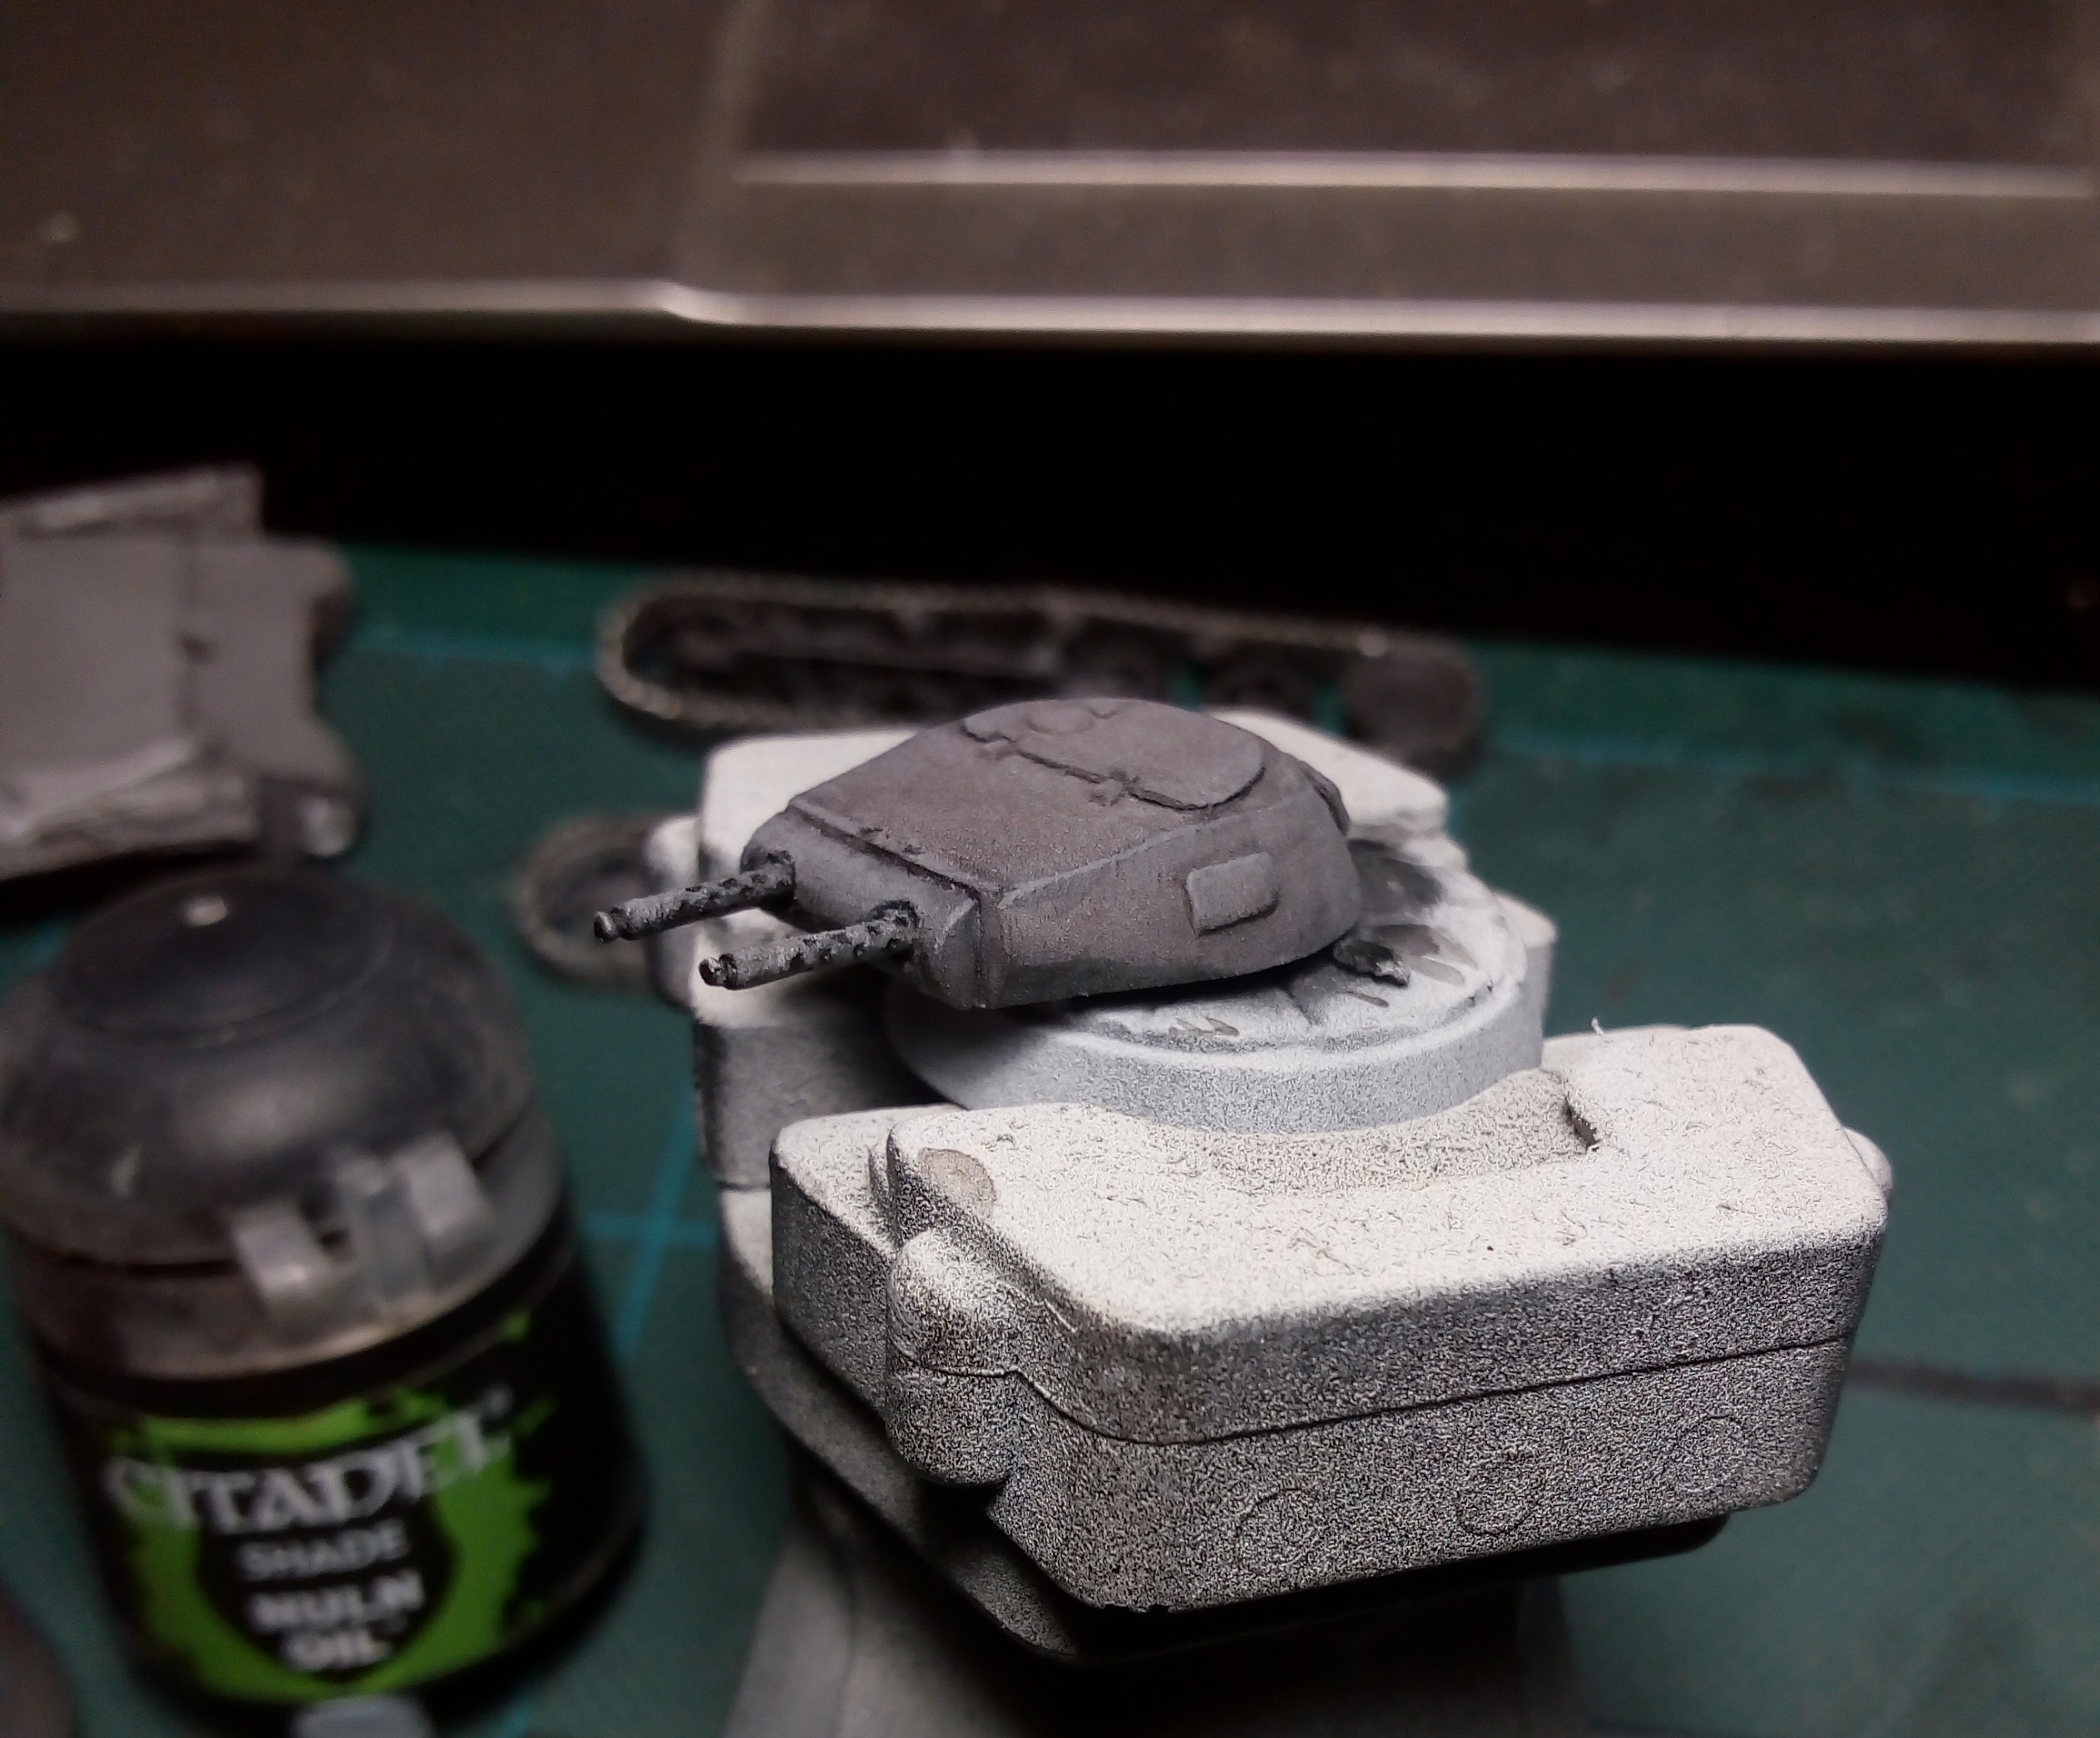
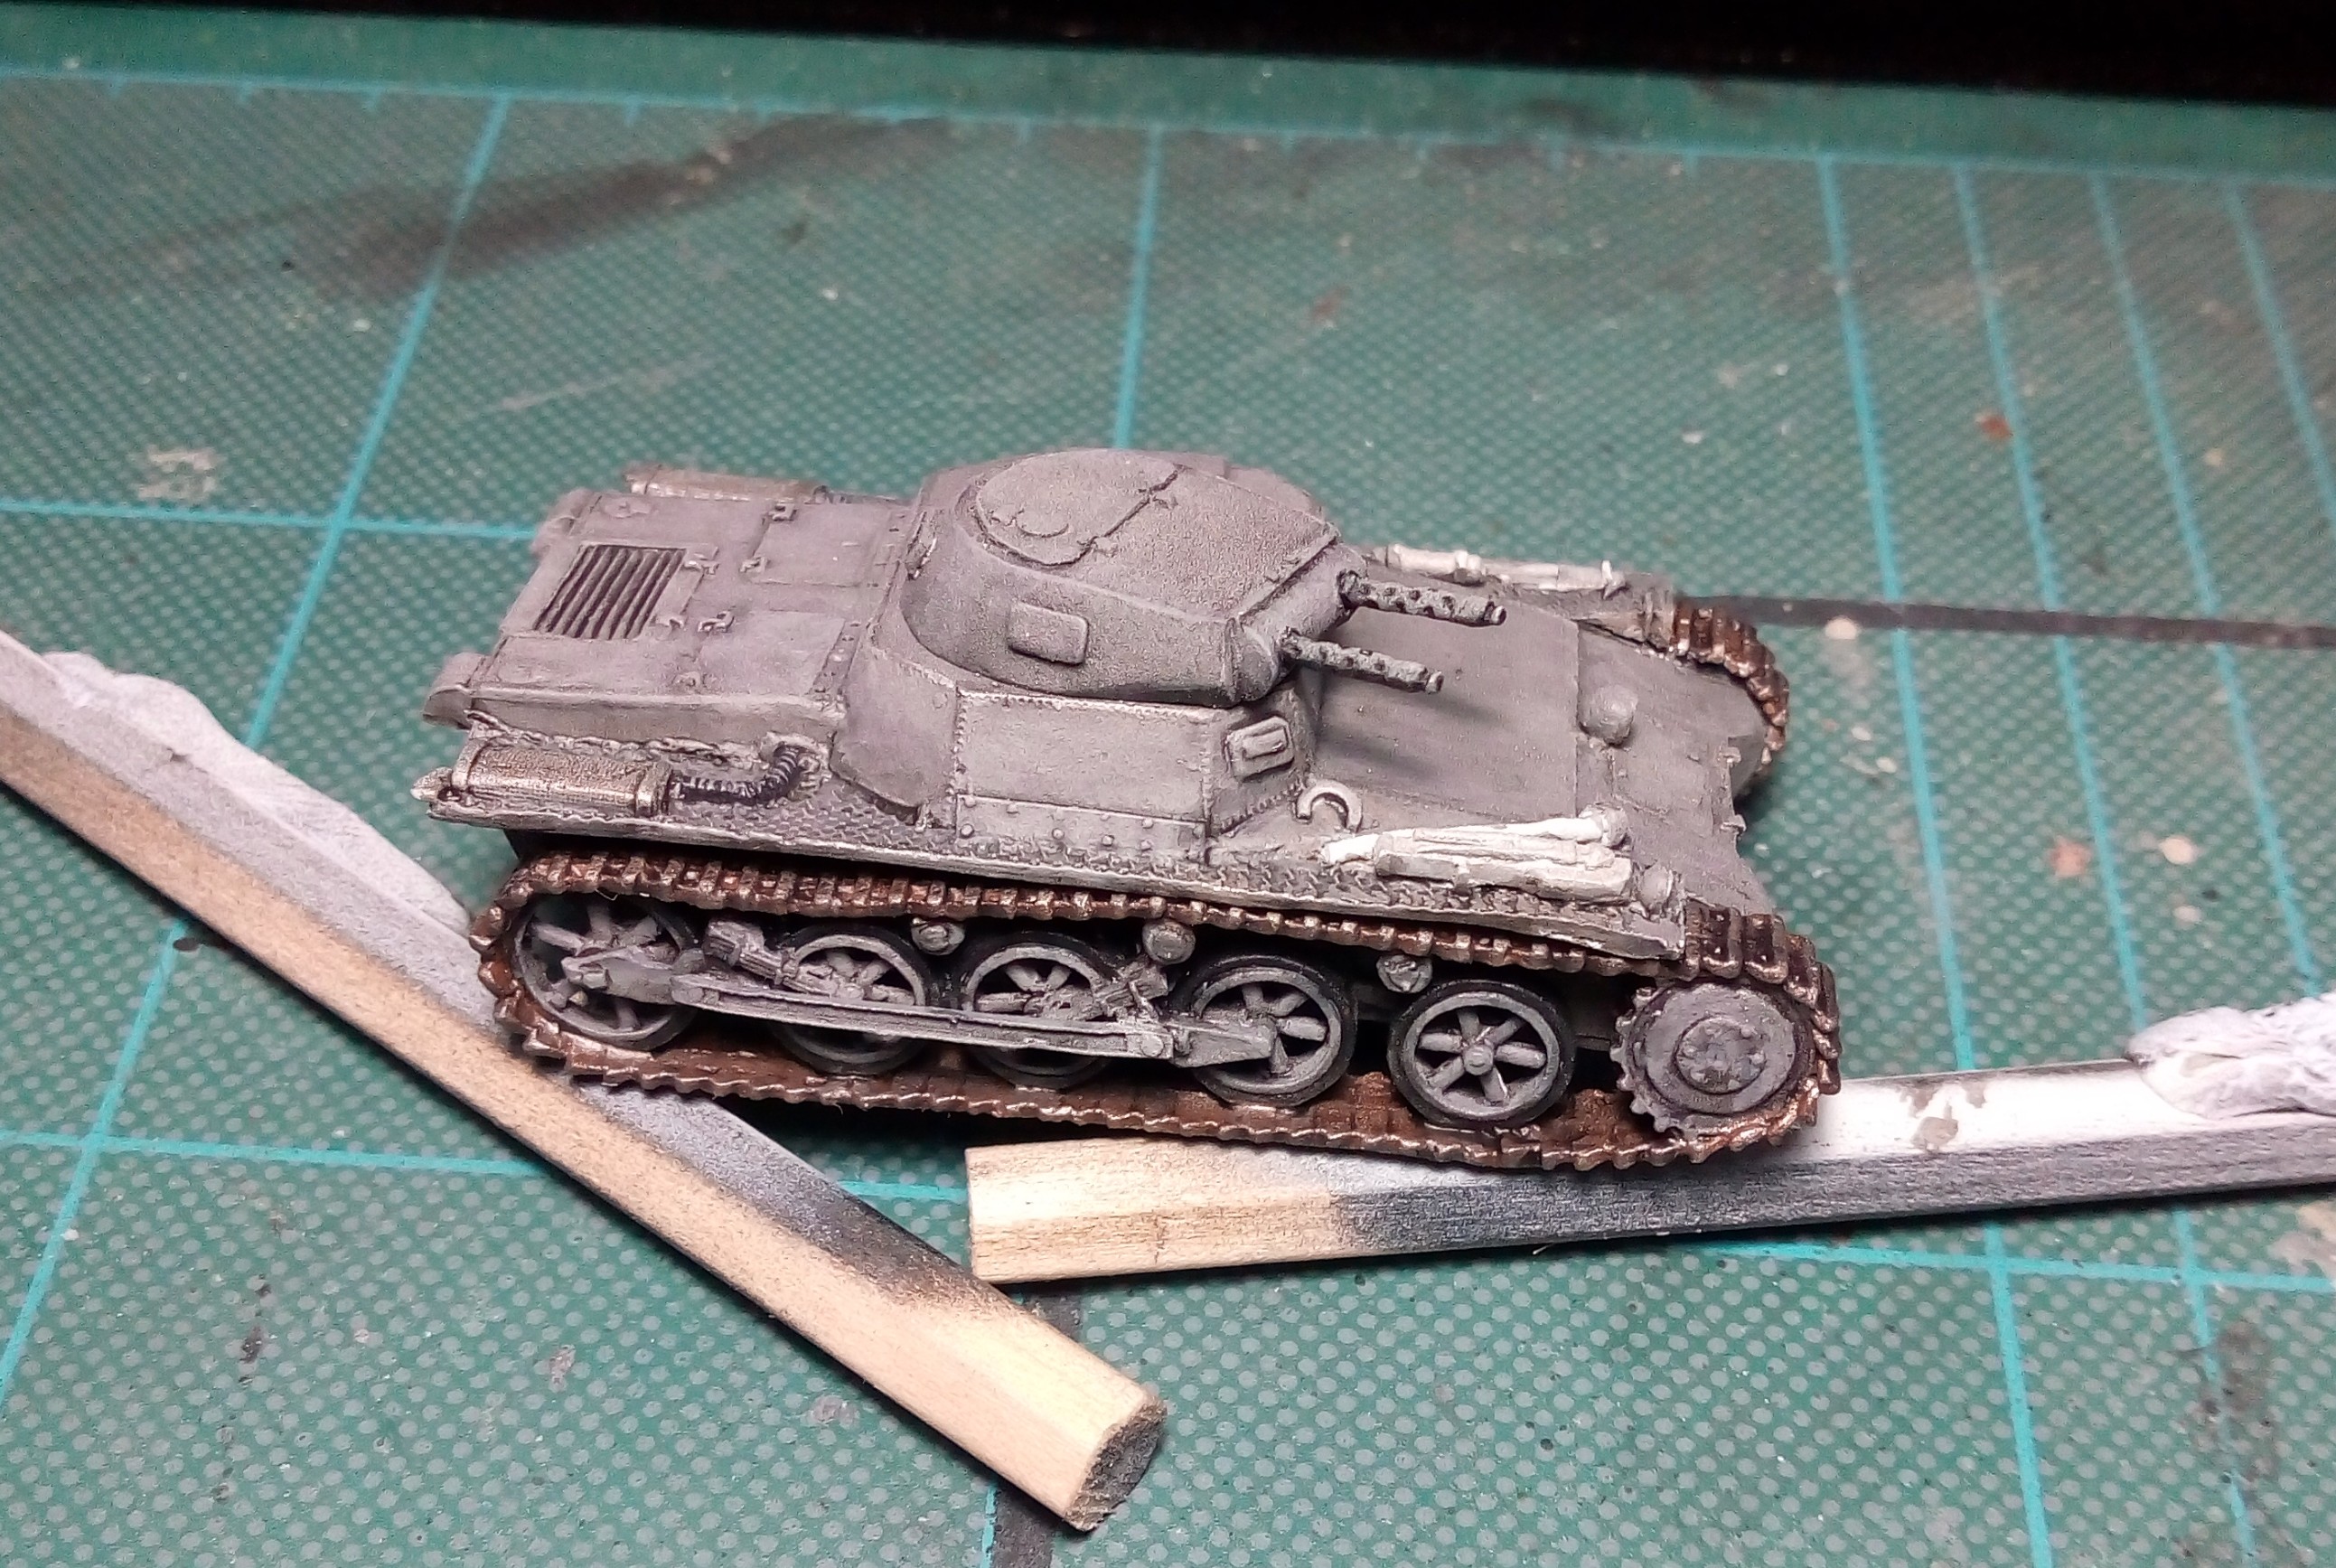
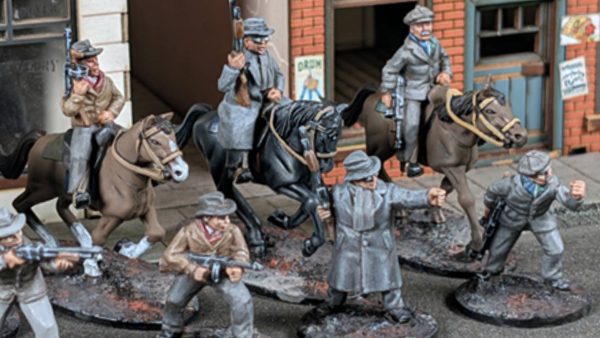
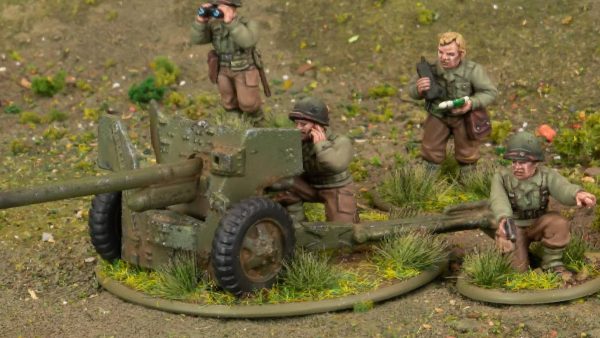
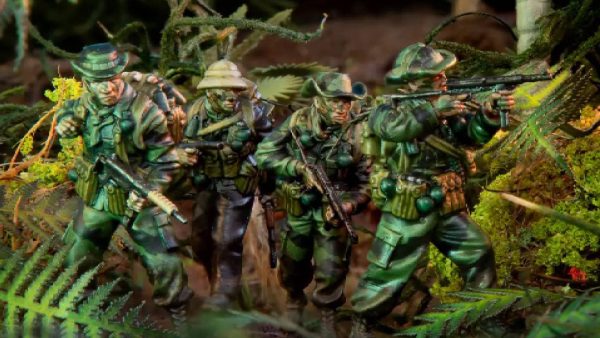
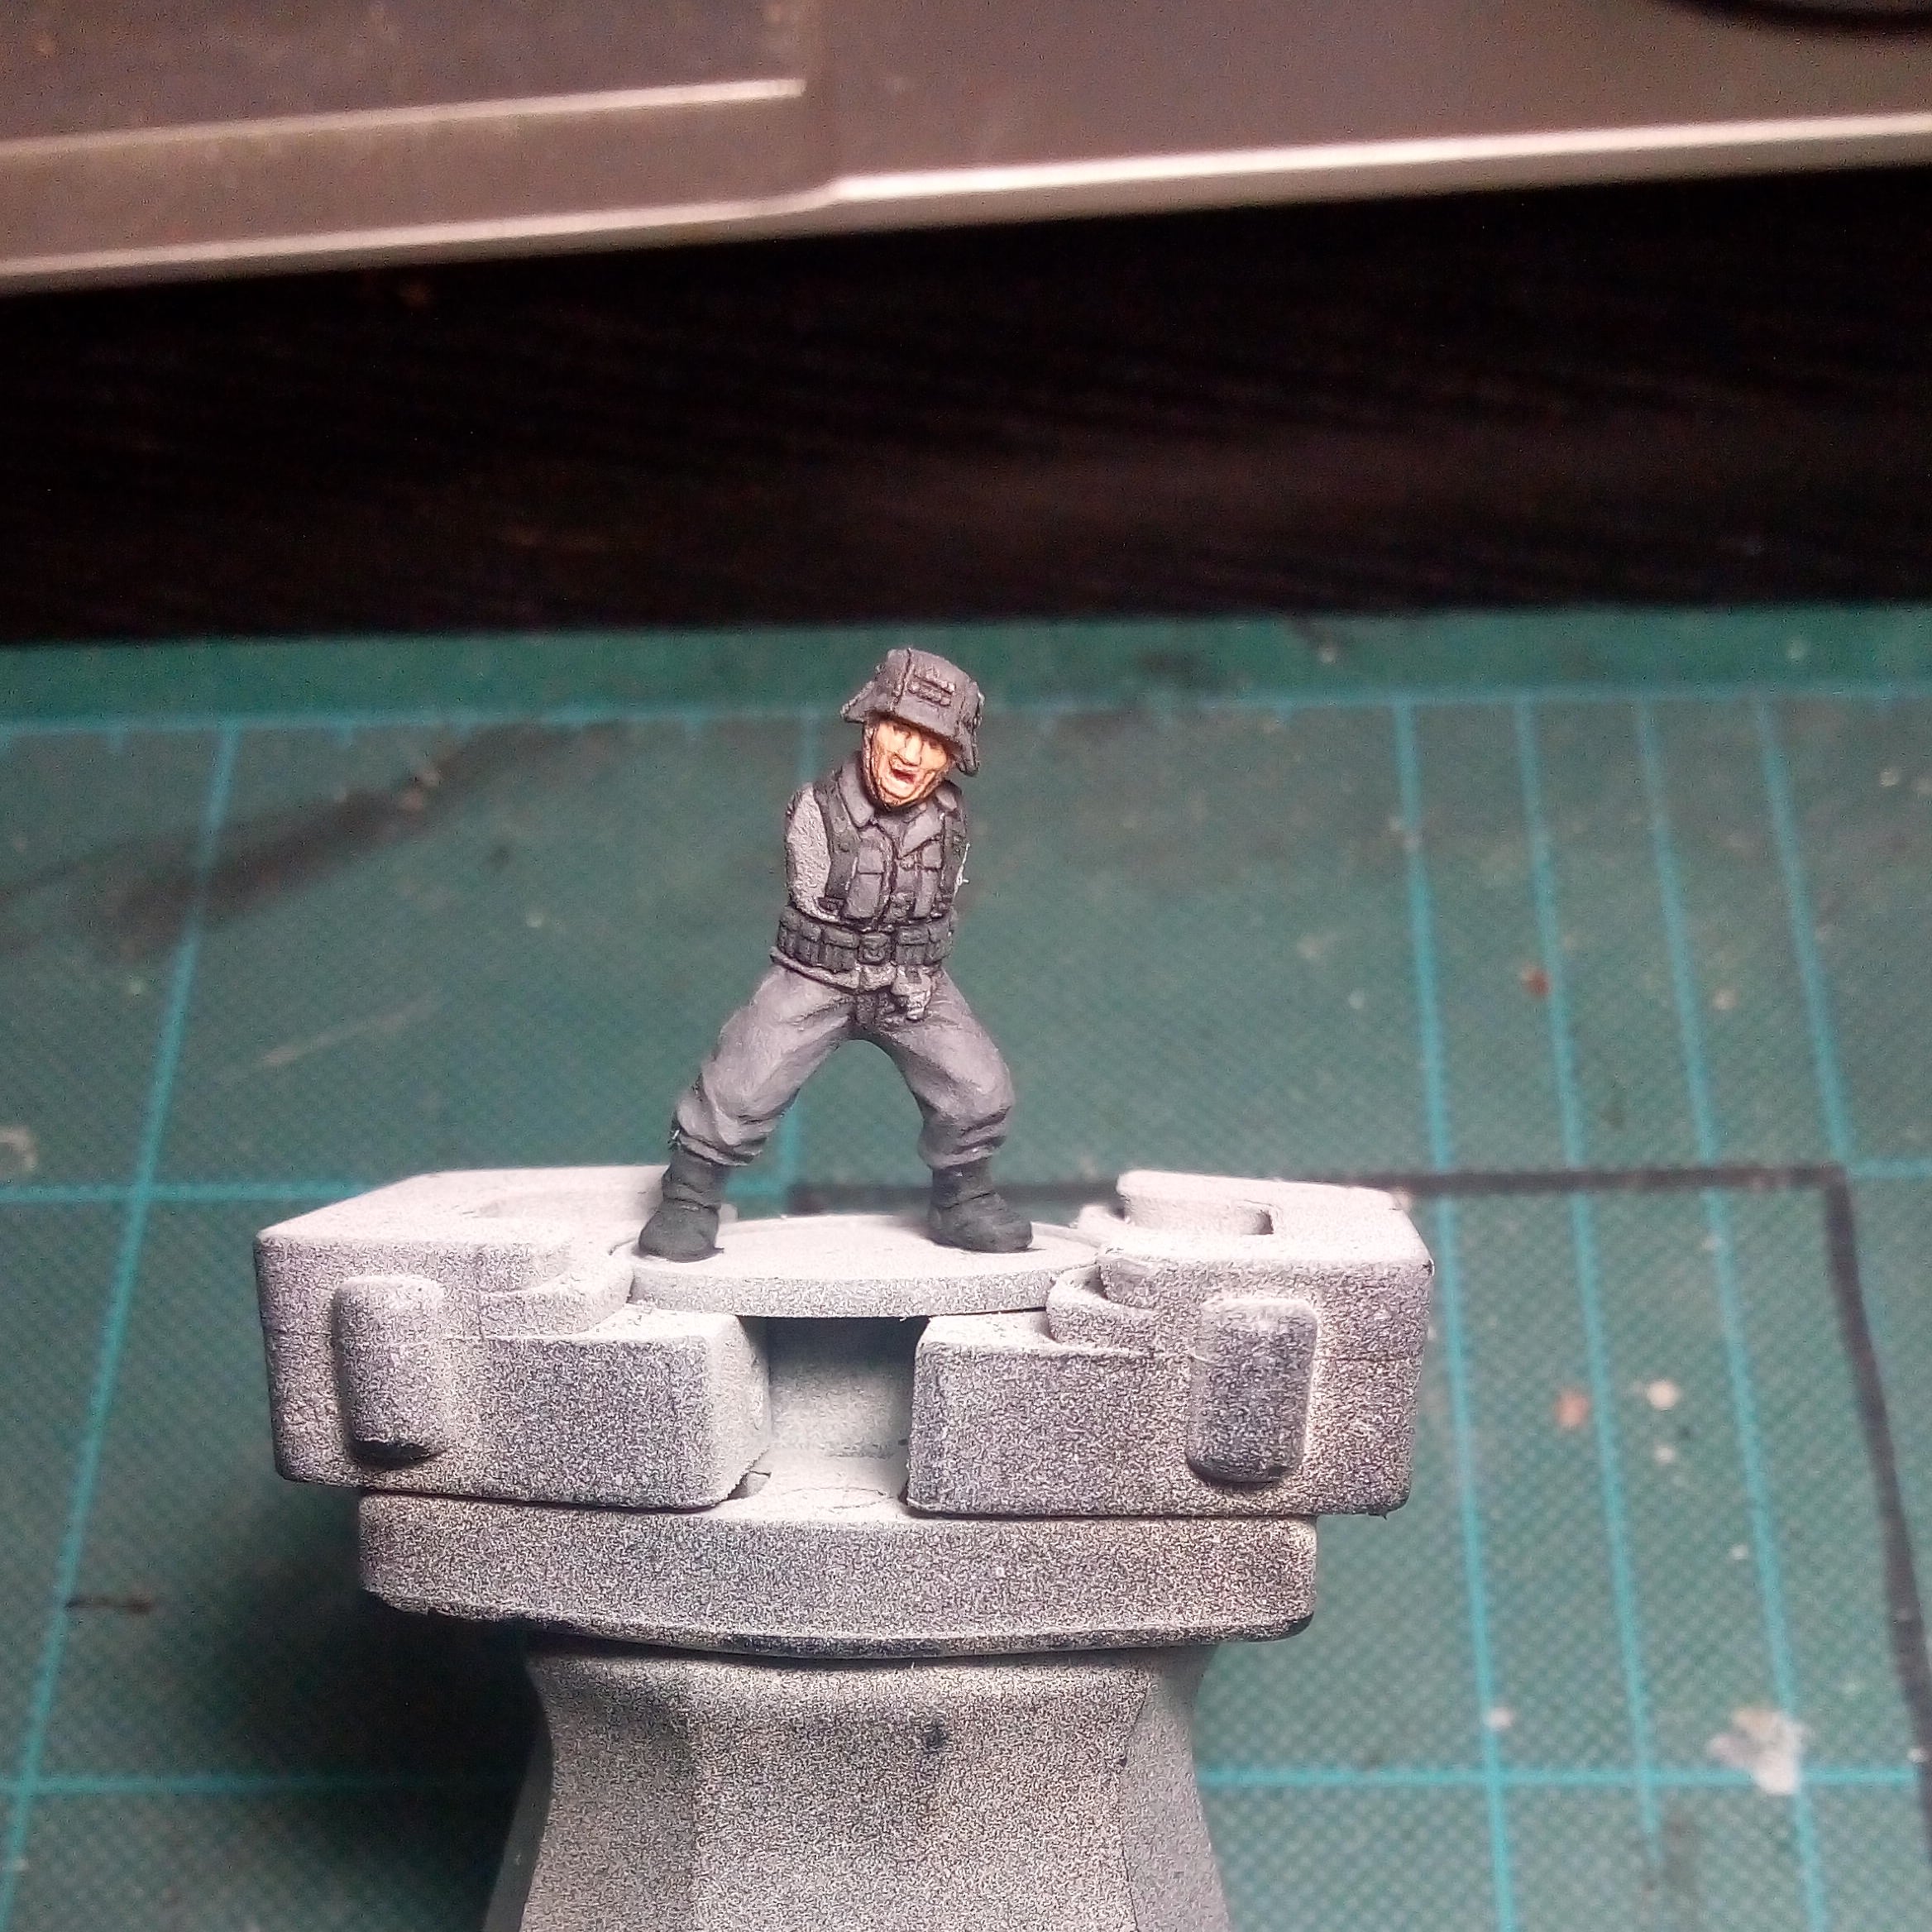
A quick colour test for 1940 Germans in Bolt Action.
So Bolt Action is very popular in my gaming community and I figured it was time I joined in. Ordered some Germans for a 1940 list including the rarely seen in BA Panzer I hehe.
Wanted to throw some paint at a mini and see how it came out today. Very pleased with the look and now waiting for confirmation of what’s right and wrong colour wise from a friend of mine who does re-enactment and has a lot of literature on the subject.
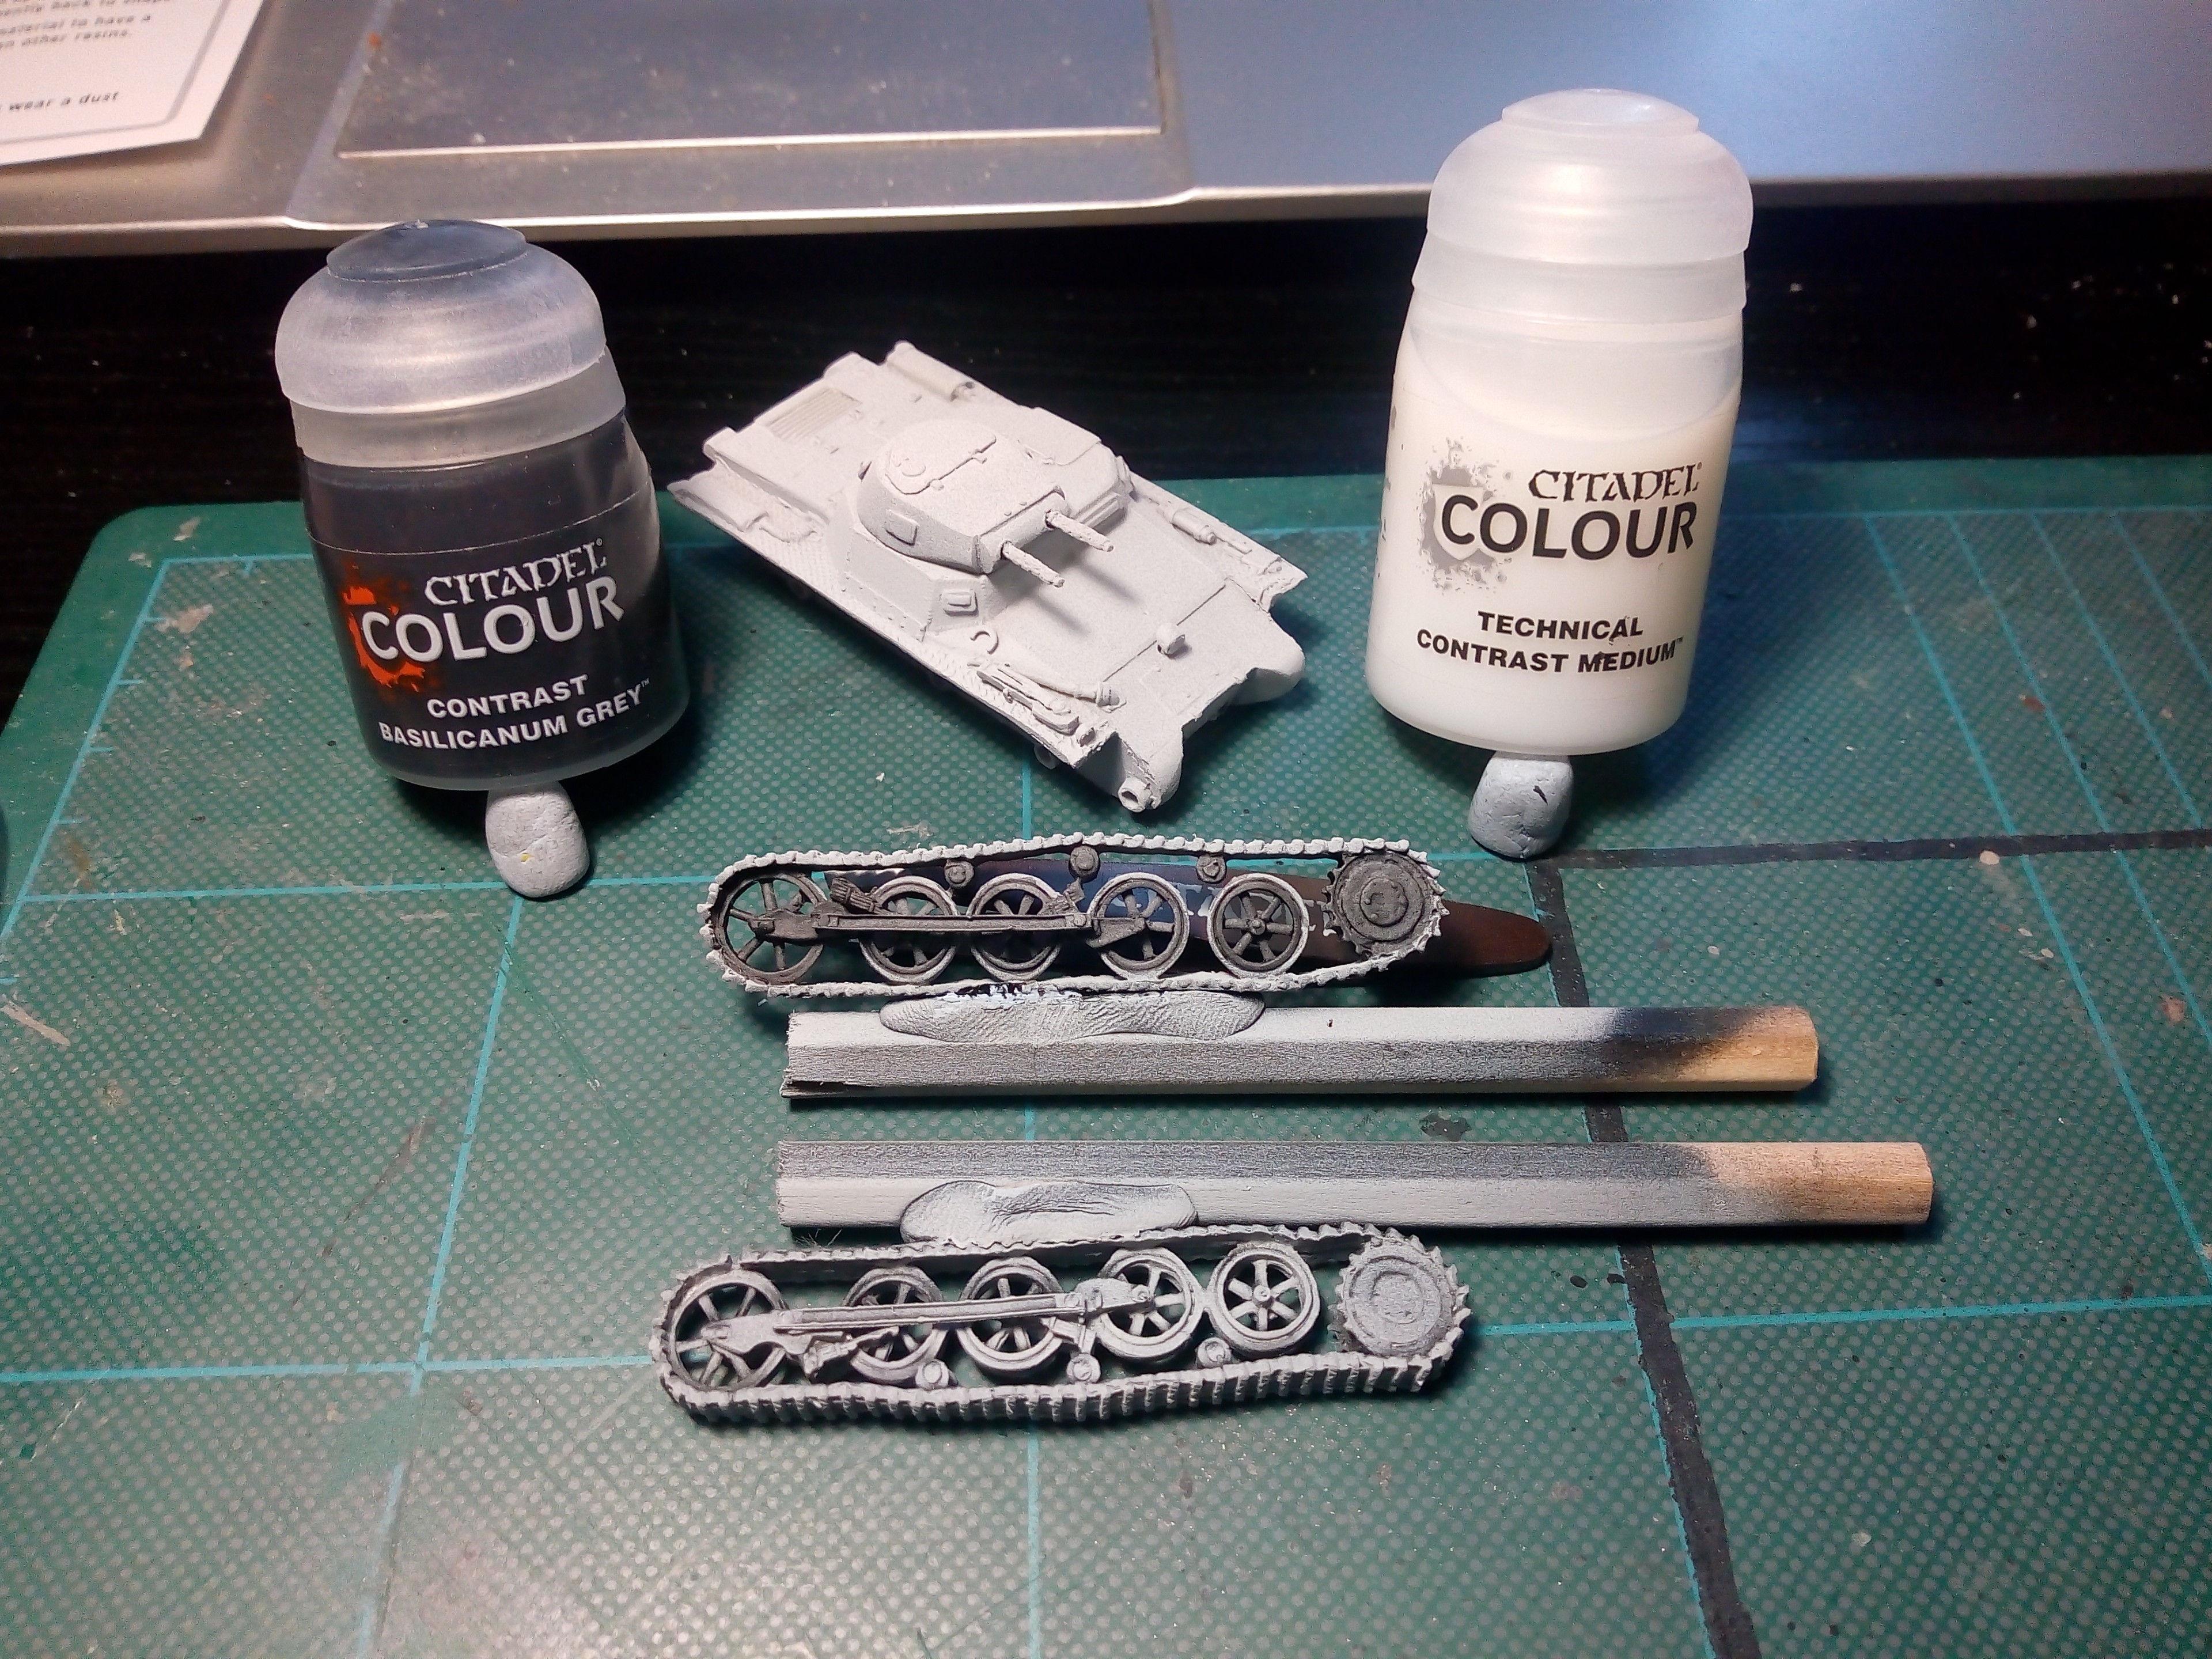
Colours used for the test.
White on Black Citadel Spray
Grey
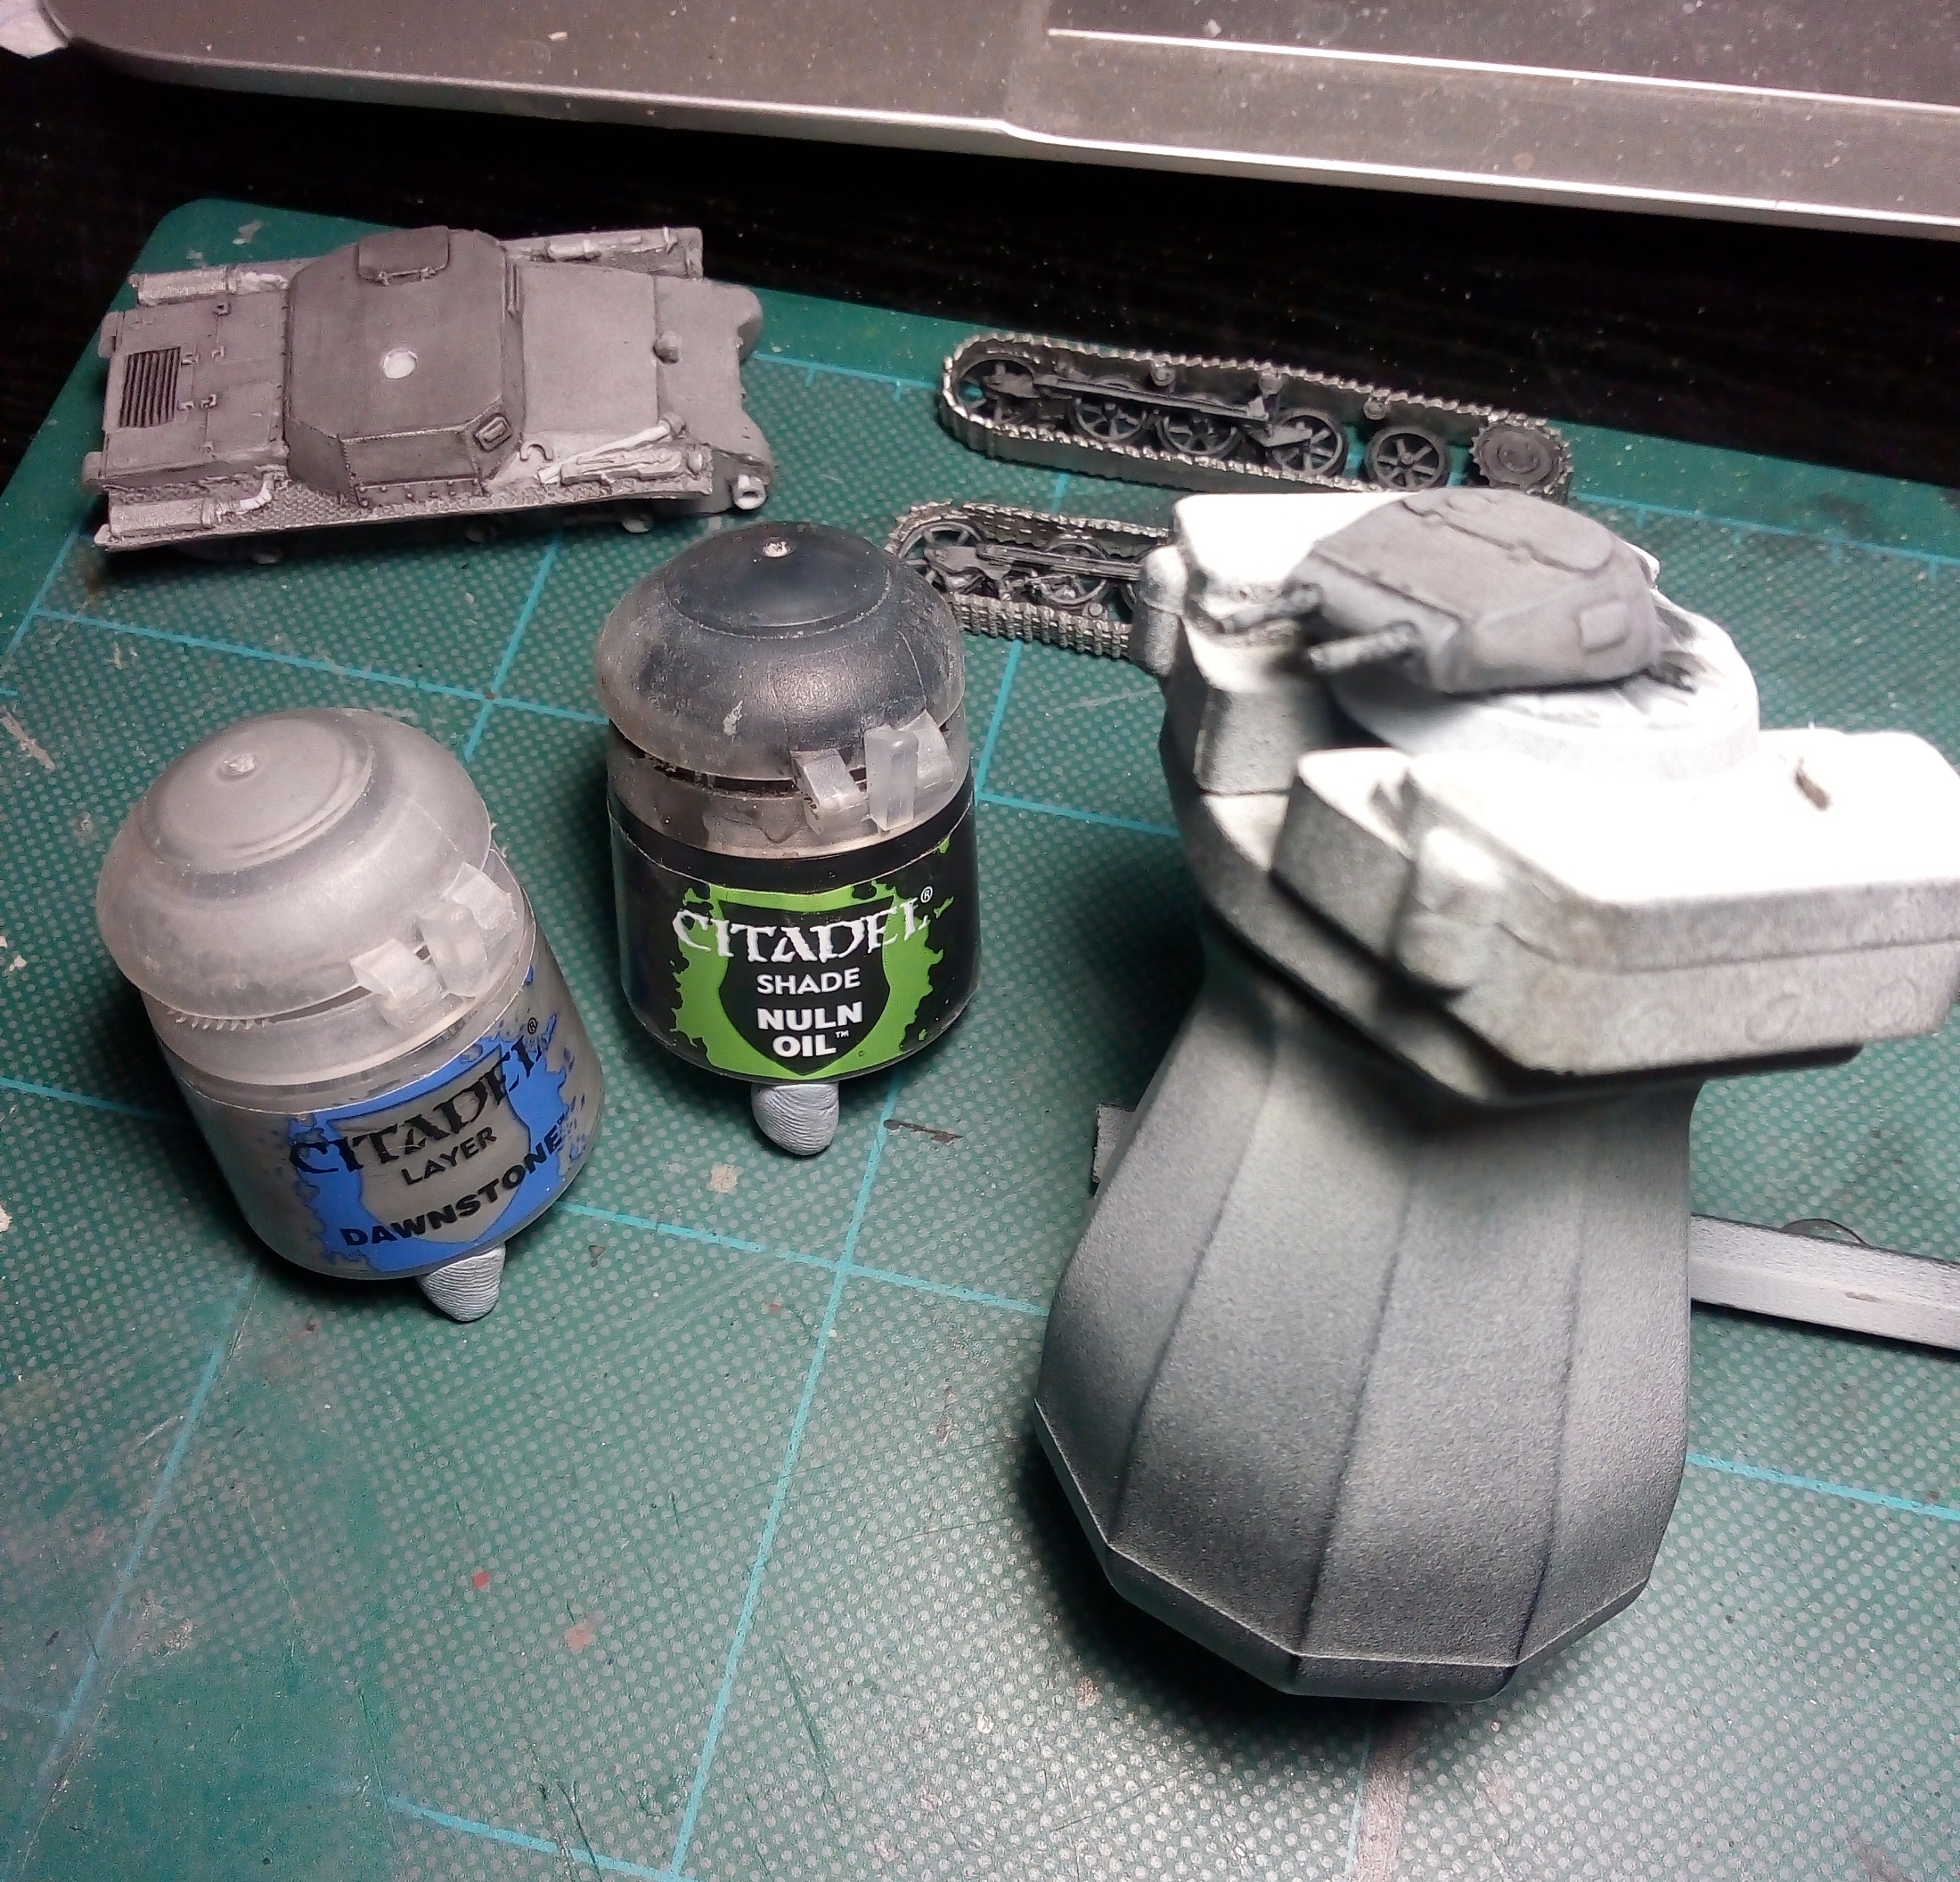
Basilicanum Grey (C) on the grey areas
Eshin Grey (L)
Dawnstone (L)
Black
Templar Black (C)
Eshin Grey (L) highlight
Skin
Wraithbone (B)
Guilliman Flesh (C)
Kislev Flesh (L) highlight
Kislev Flesh (L) 75:25 Wraithbone (B) highlight
Eyes
Pallid Wych Flesh (L)
Nuln Oil (S) for the pupil
So apparently the Jacket needs more green in it for the time period. He sent me a pic of his jacket showing this. Gonna try some of the green shades on the mini to see how it goes.
Stilts improve your access for spraying your base colour and painting.
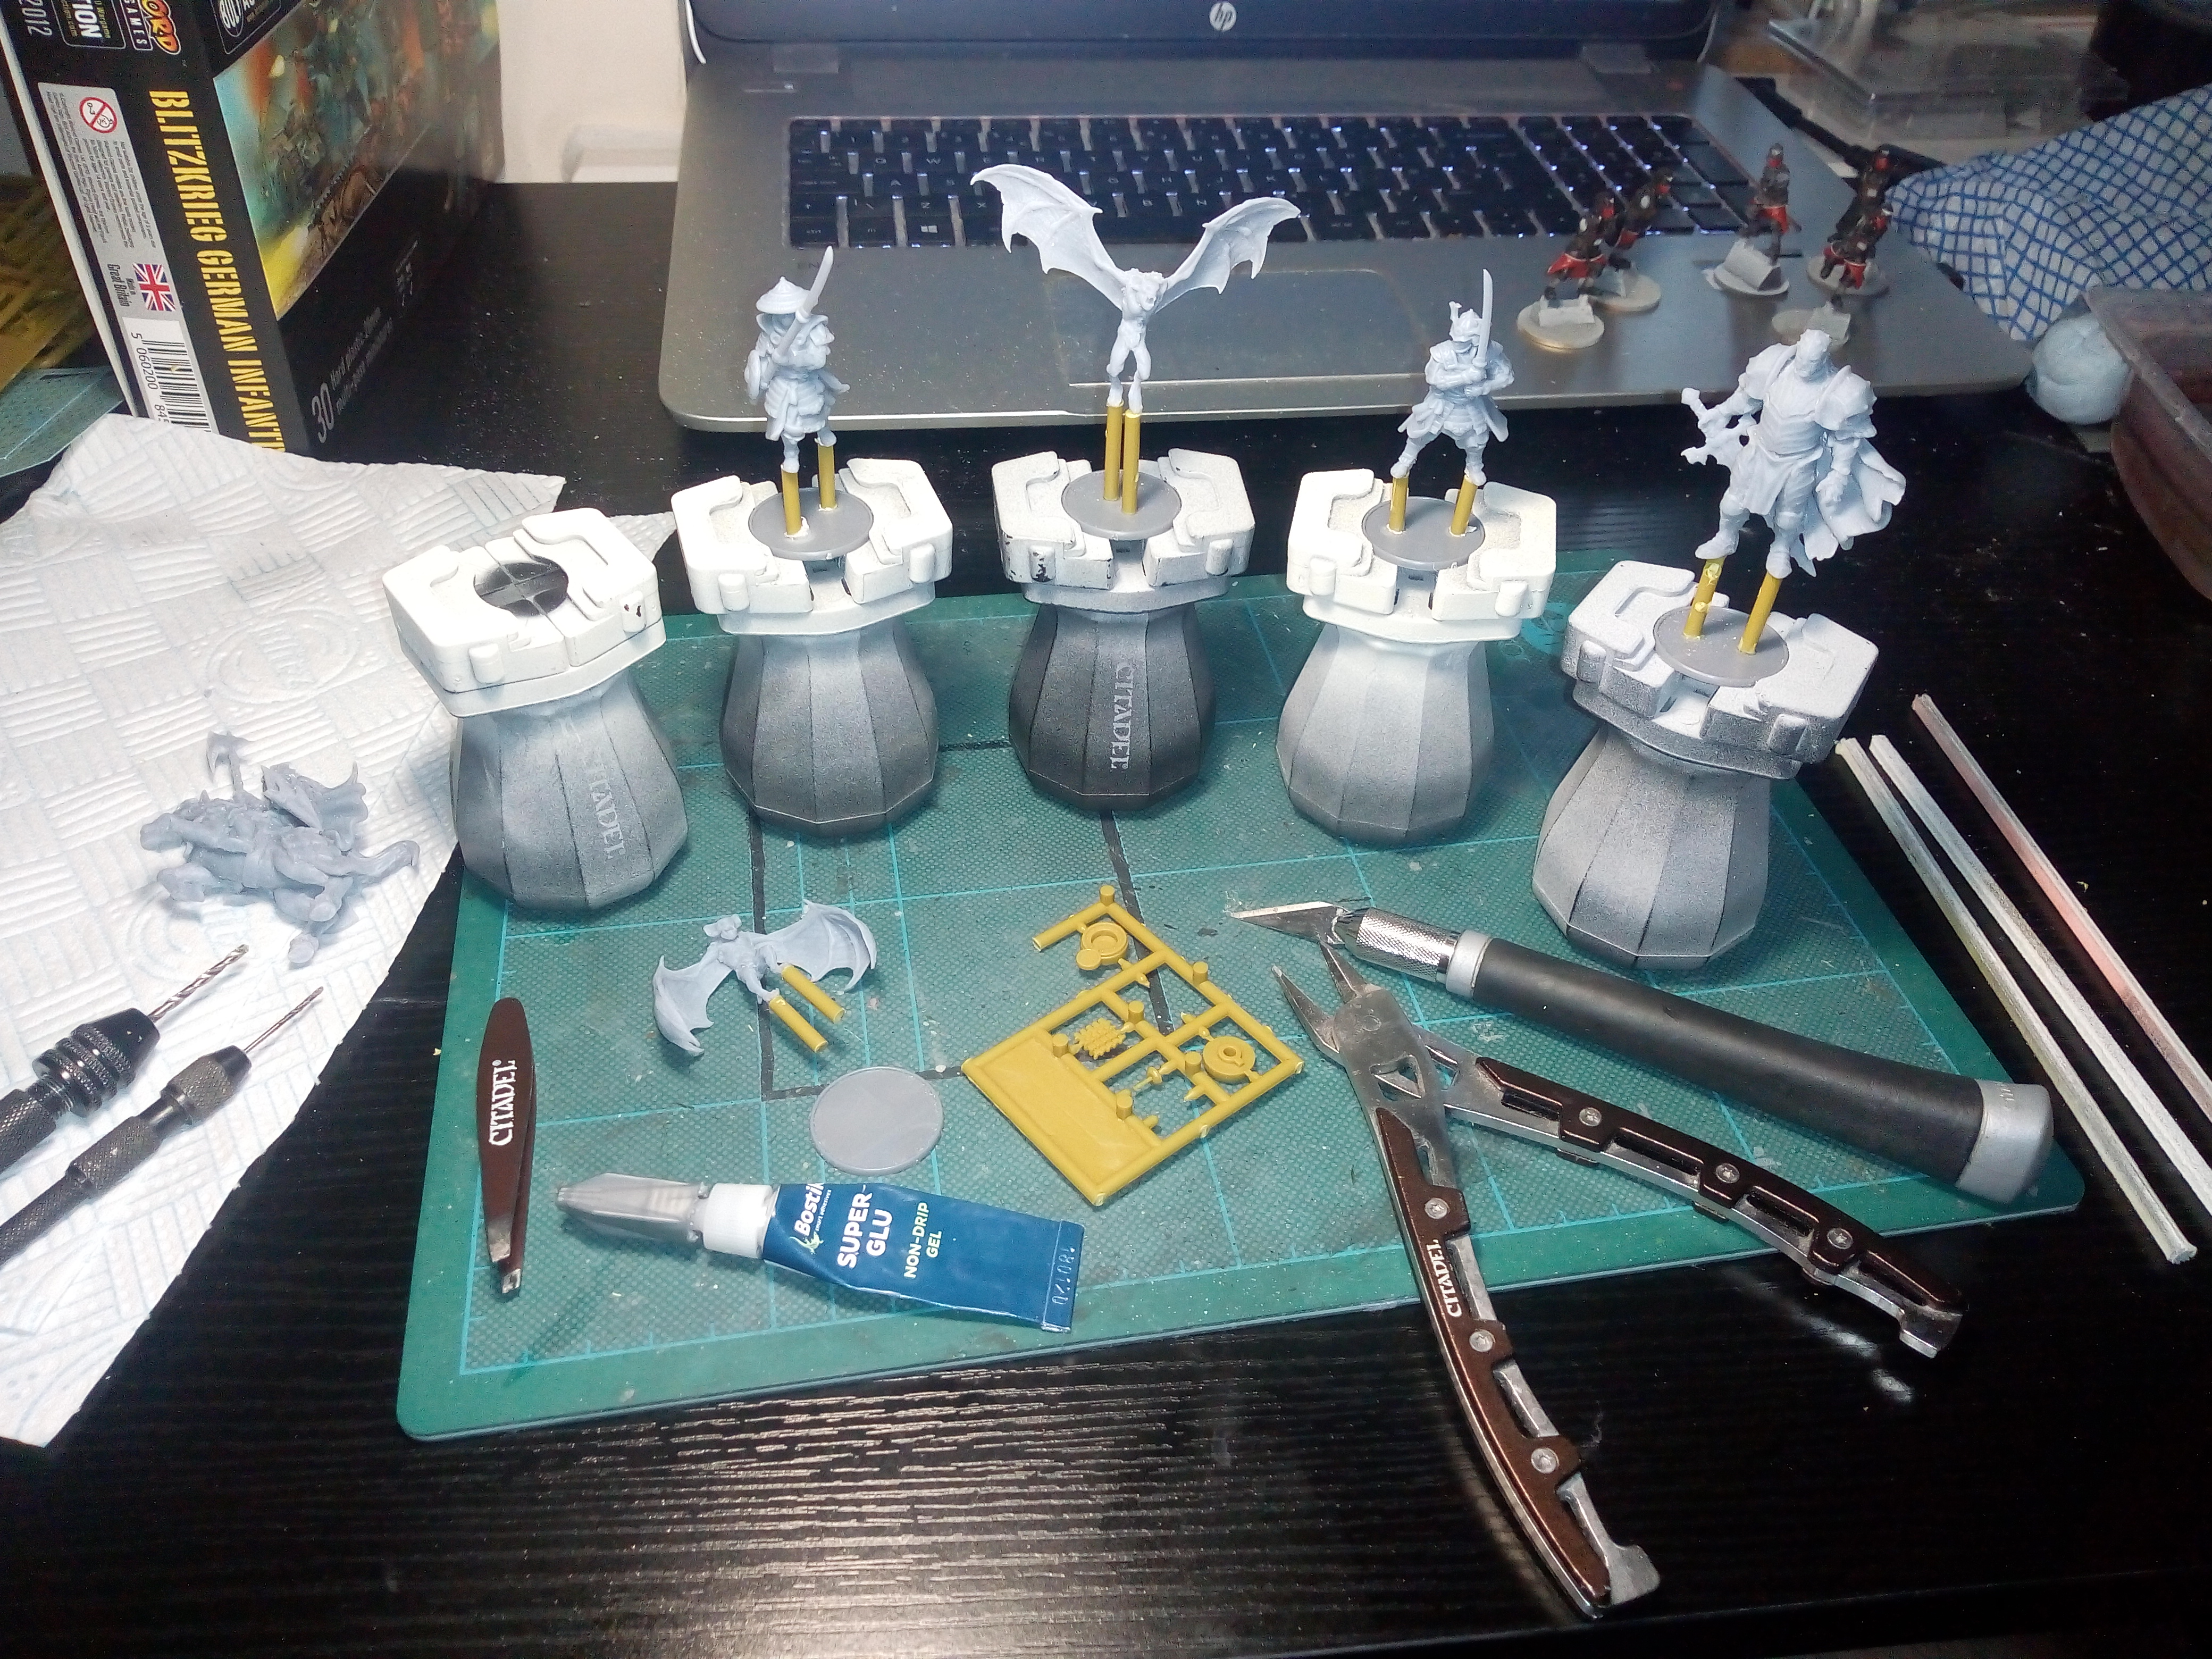
Just a quick post today that people may also find useful.
I have found on some of my minis I used to struggle to get a good base coat into the nooks and crannies due to the base blocking easy access. Also painting around the legs and feet could also prove awkward. I started to use old sprues to raise minis for easier access and have found it really useful.
Maybe this could help you as well.
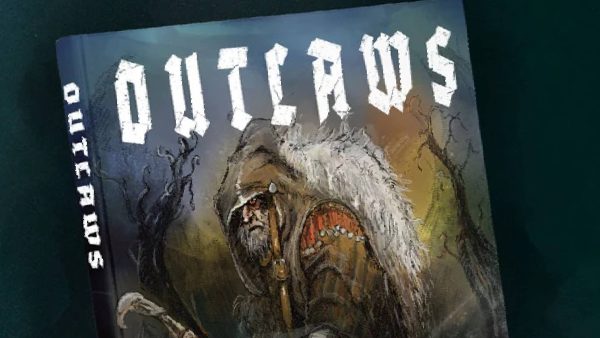
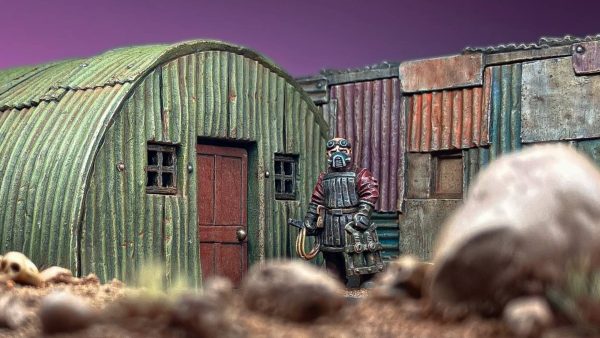
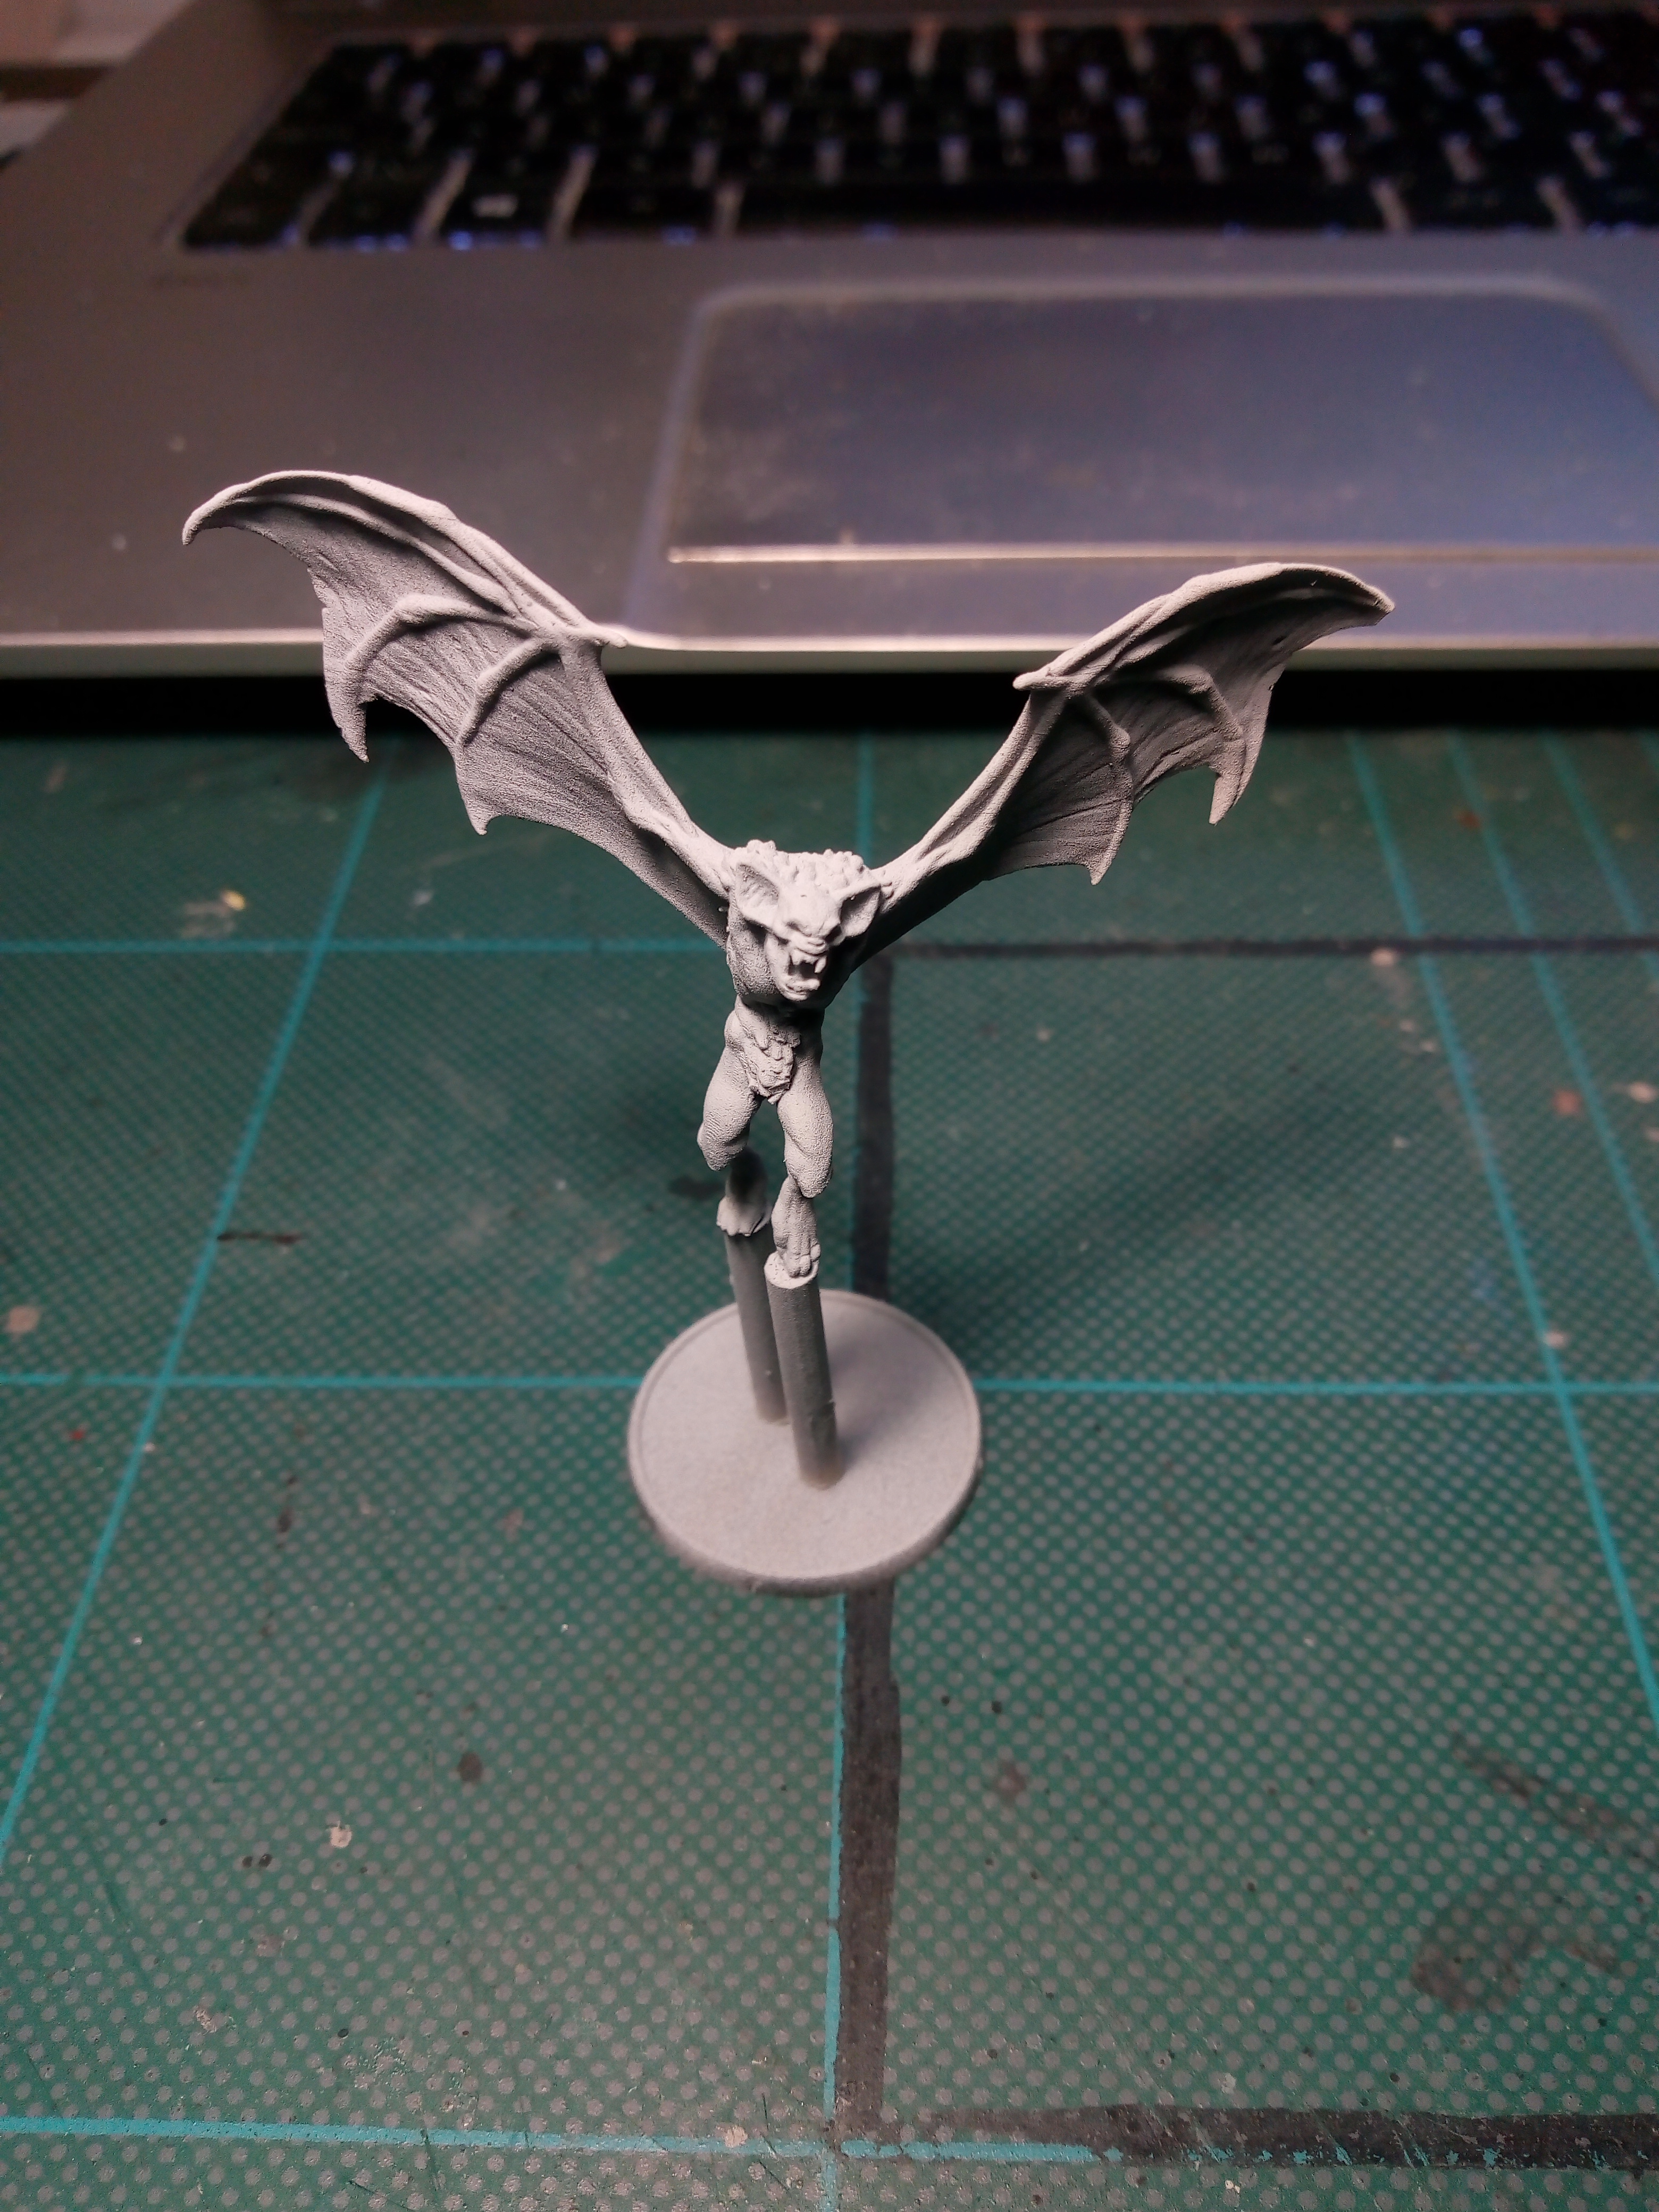
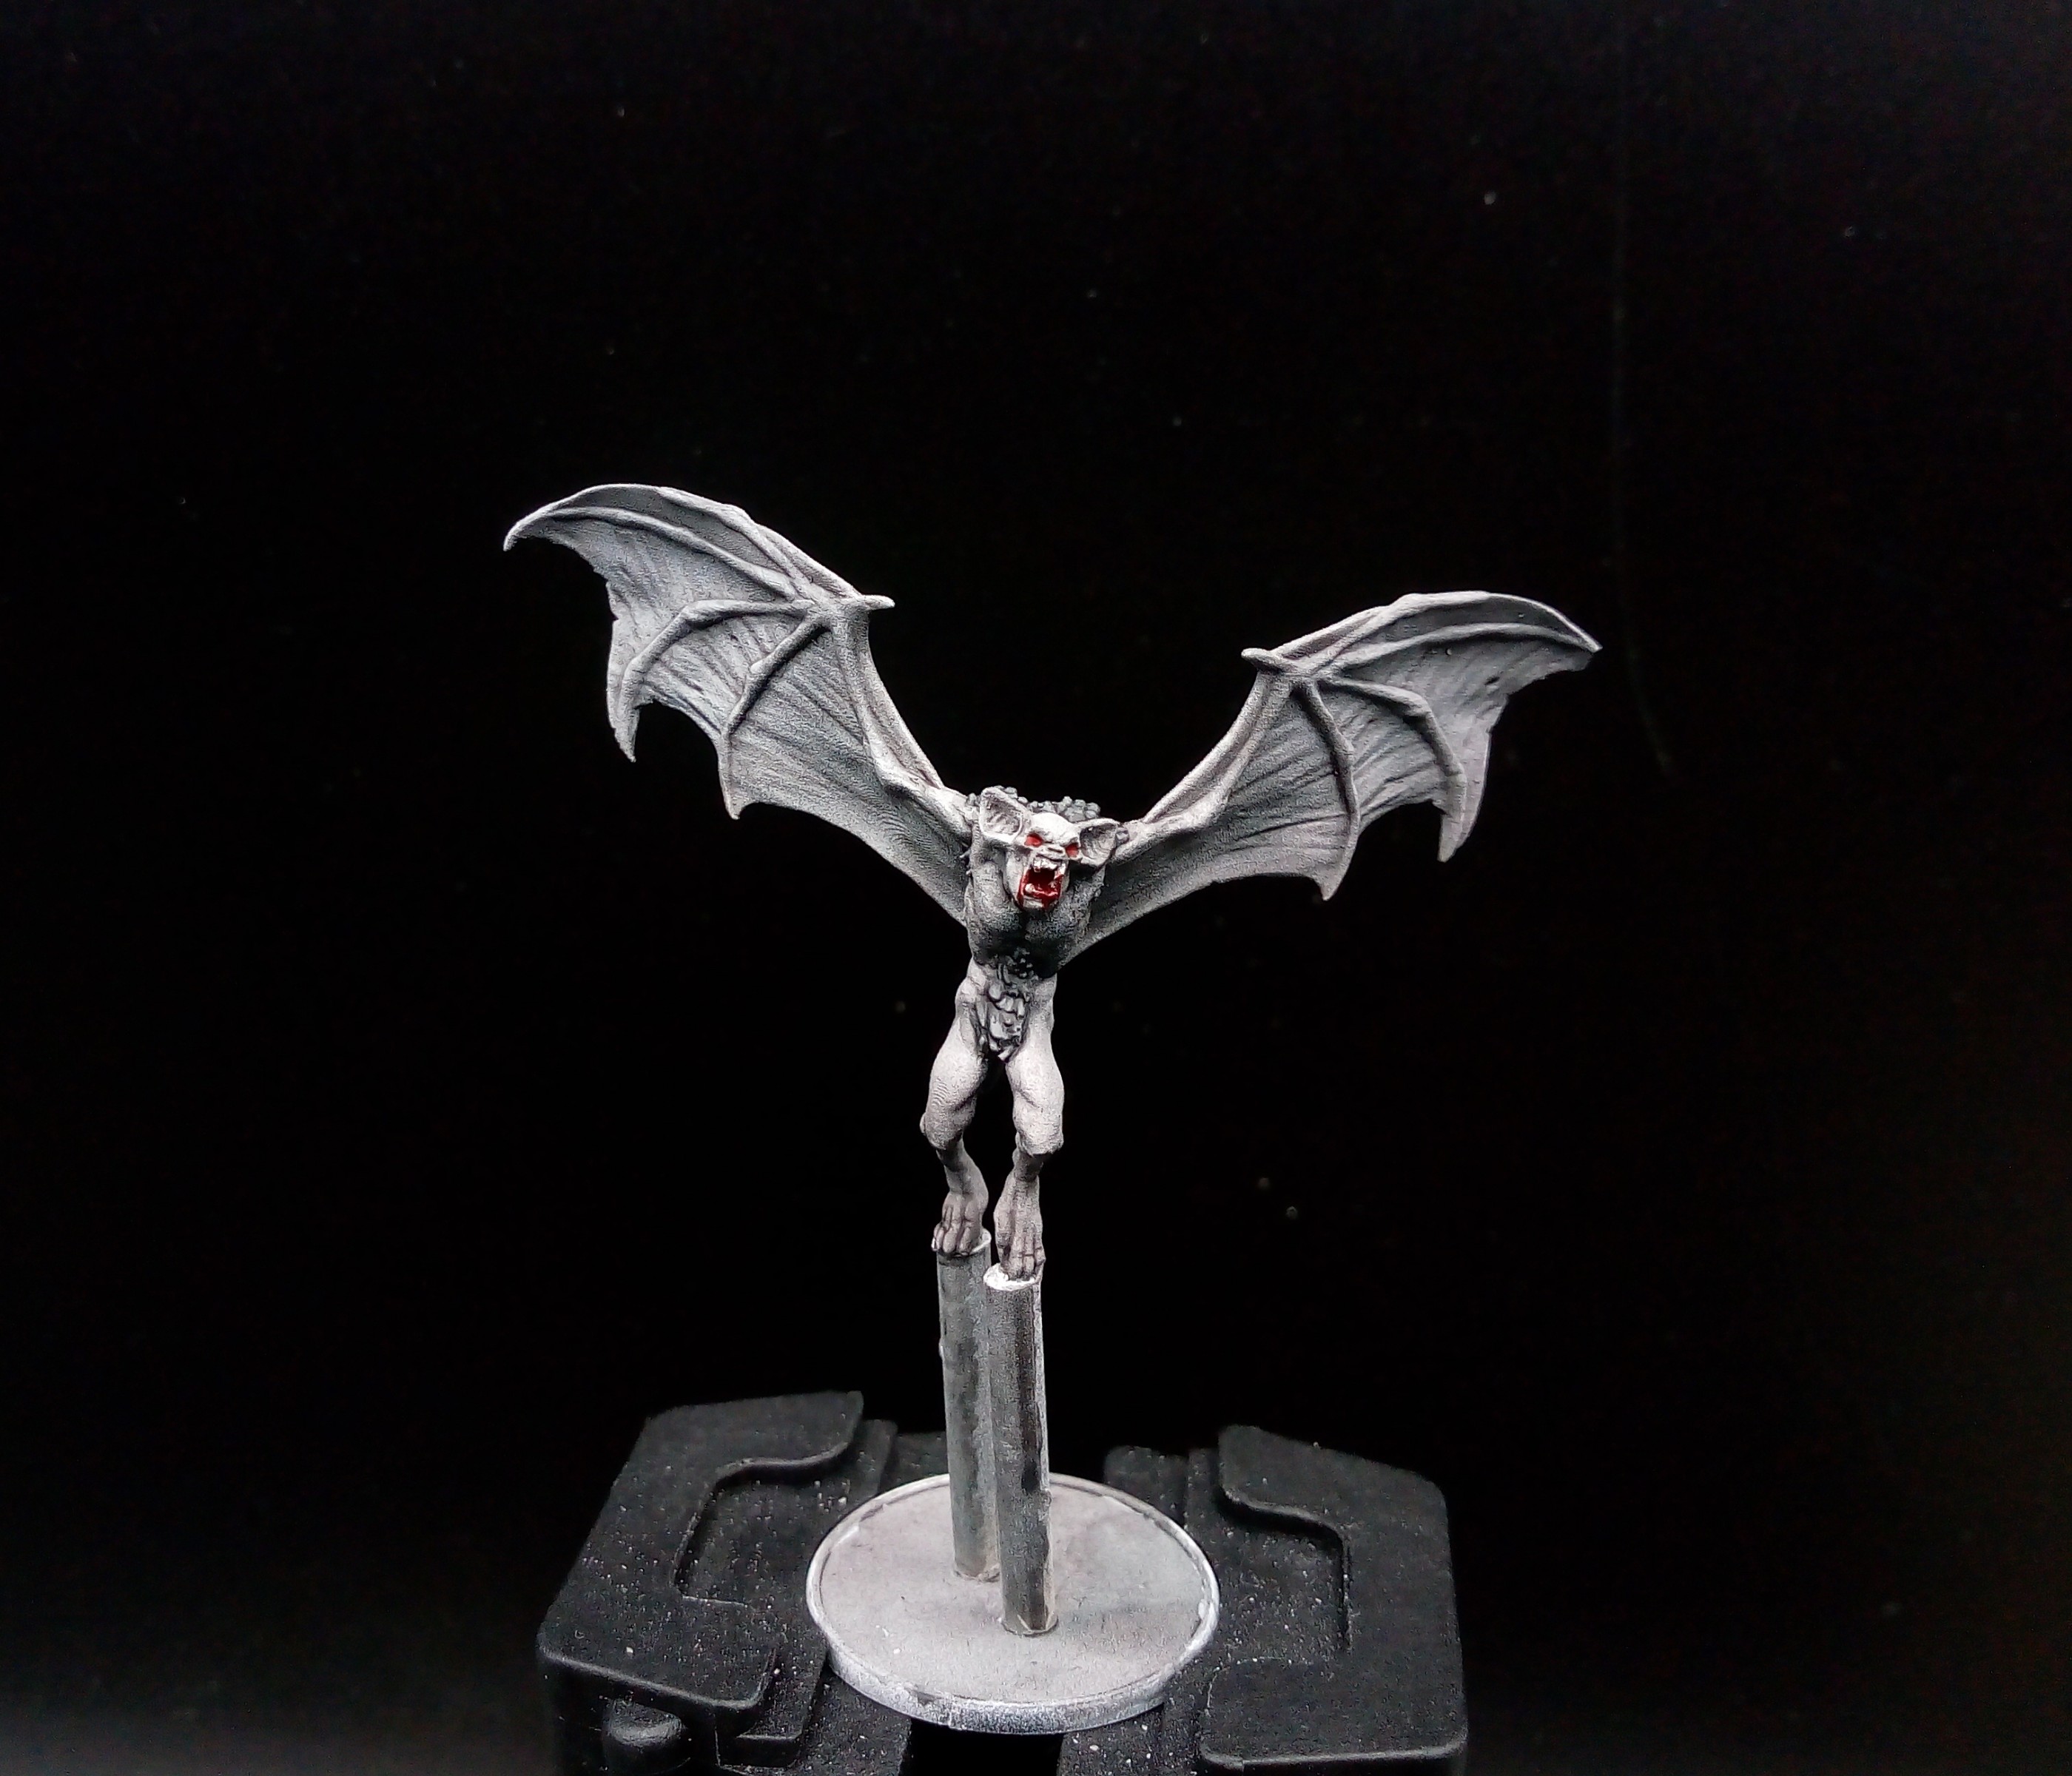
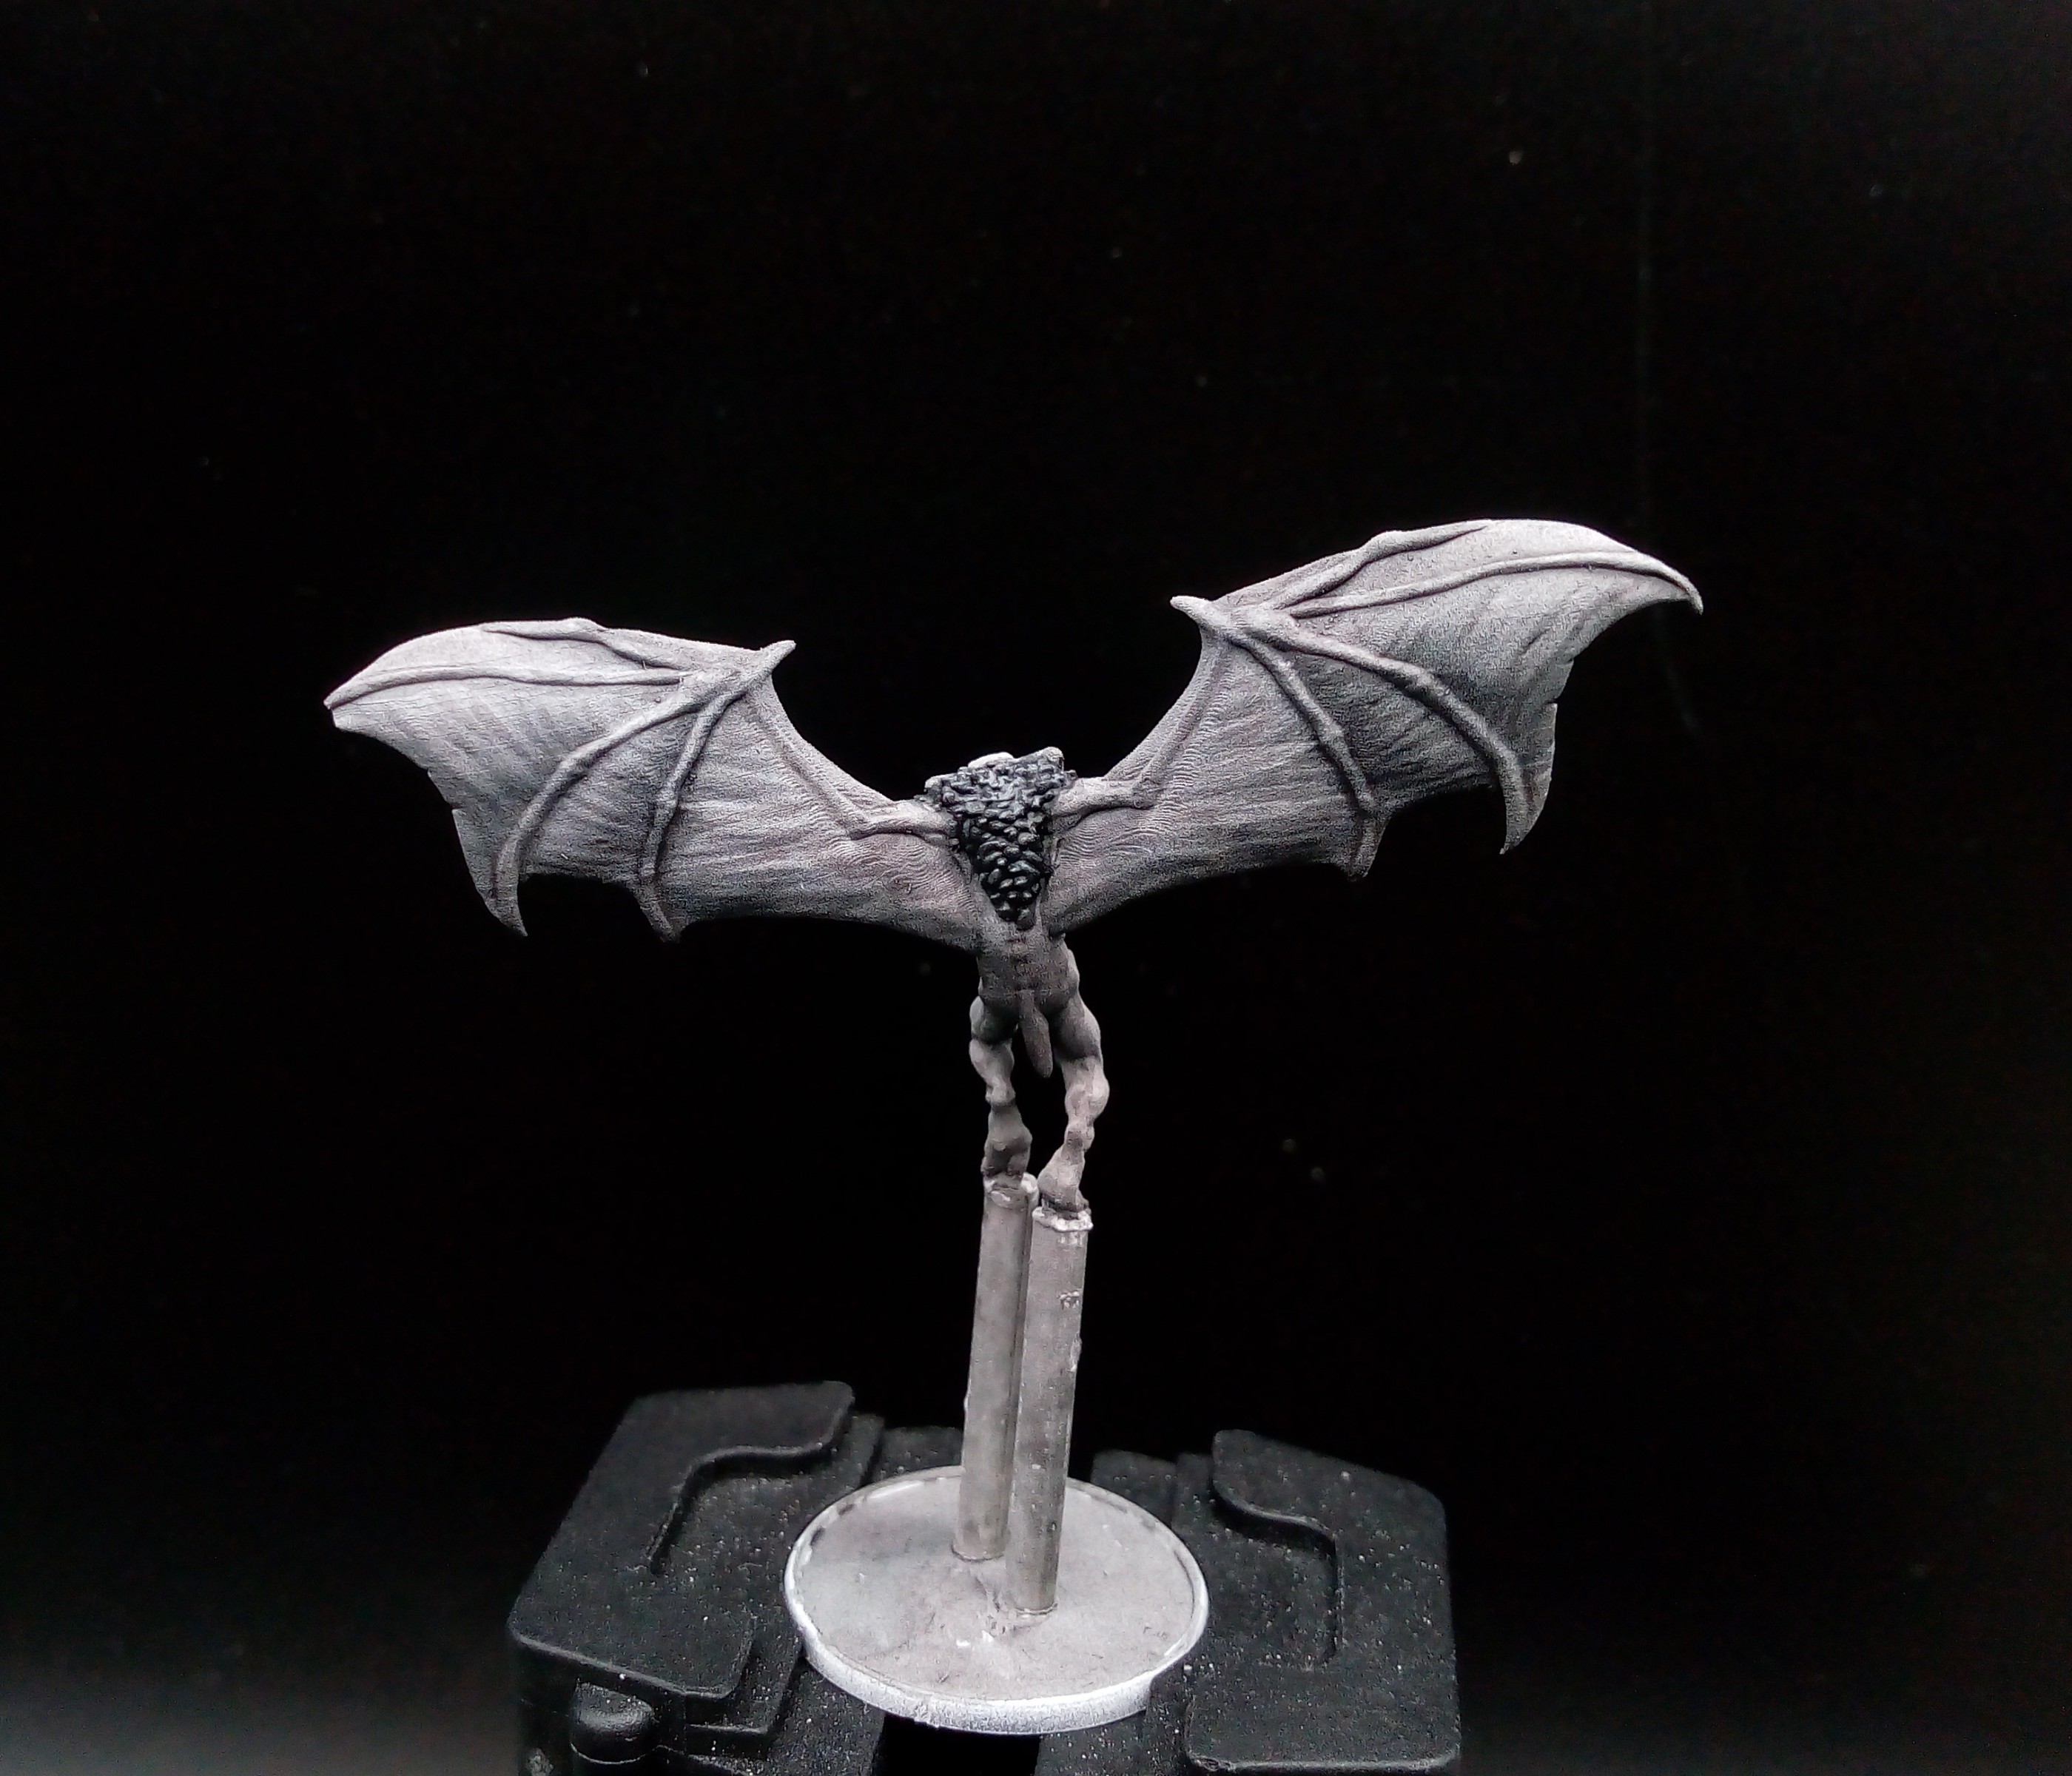
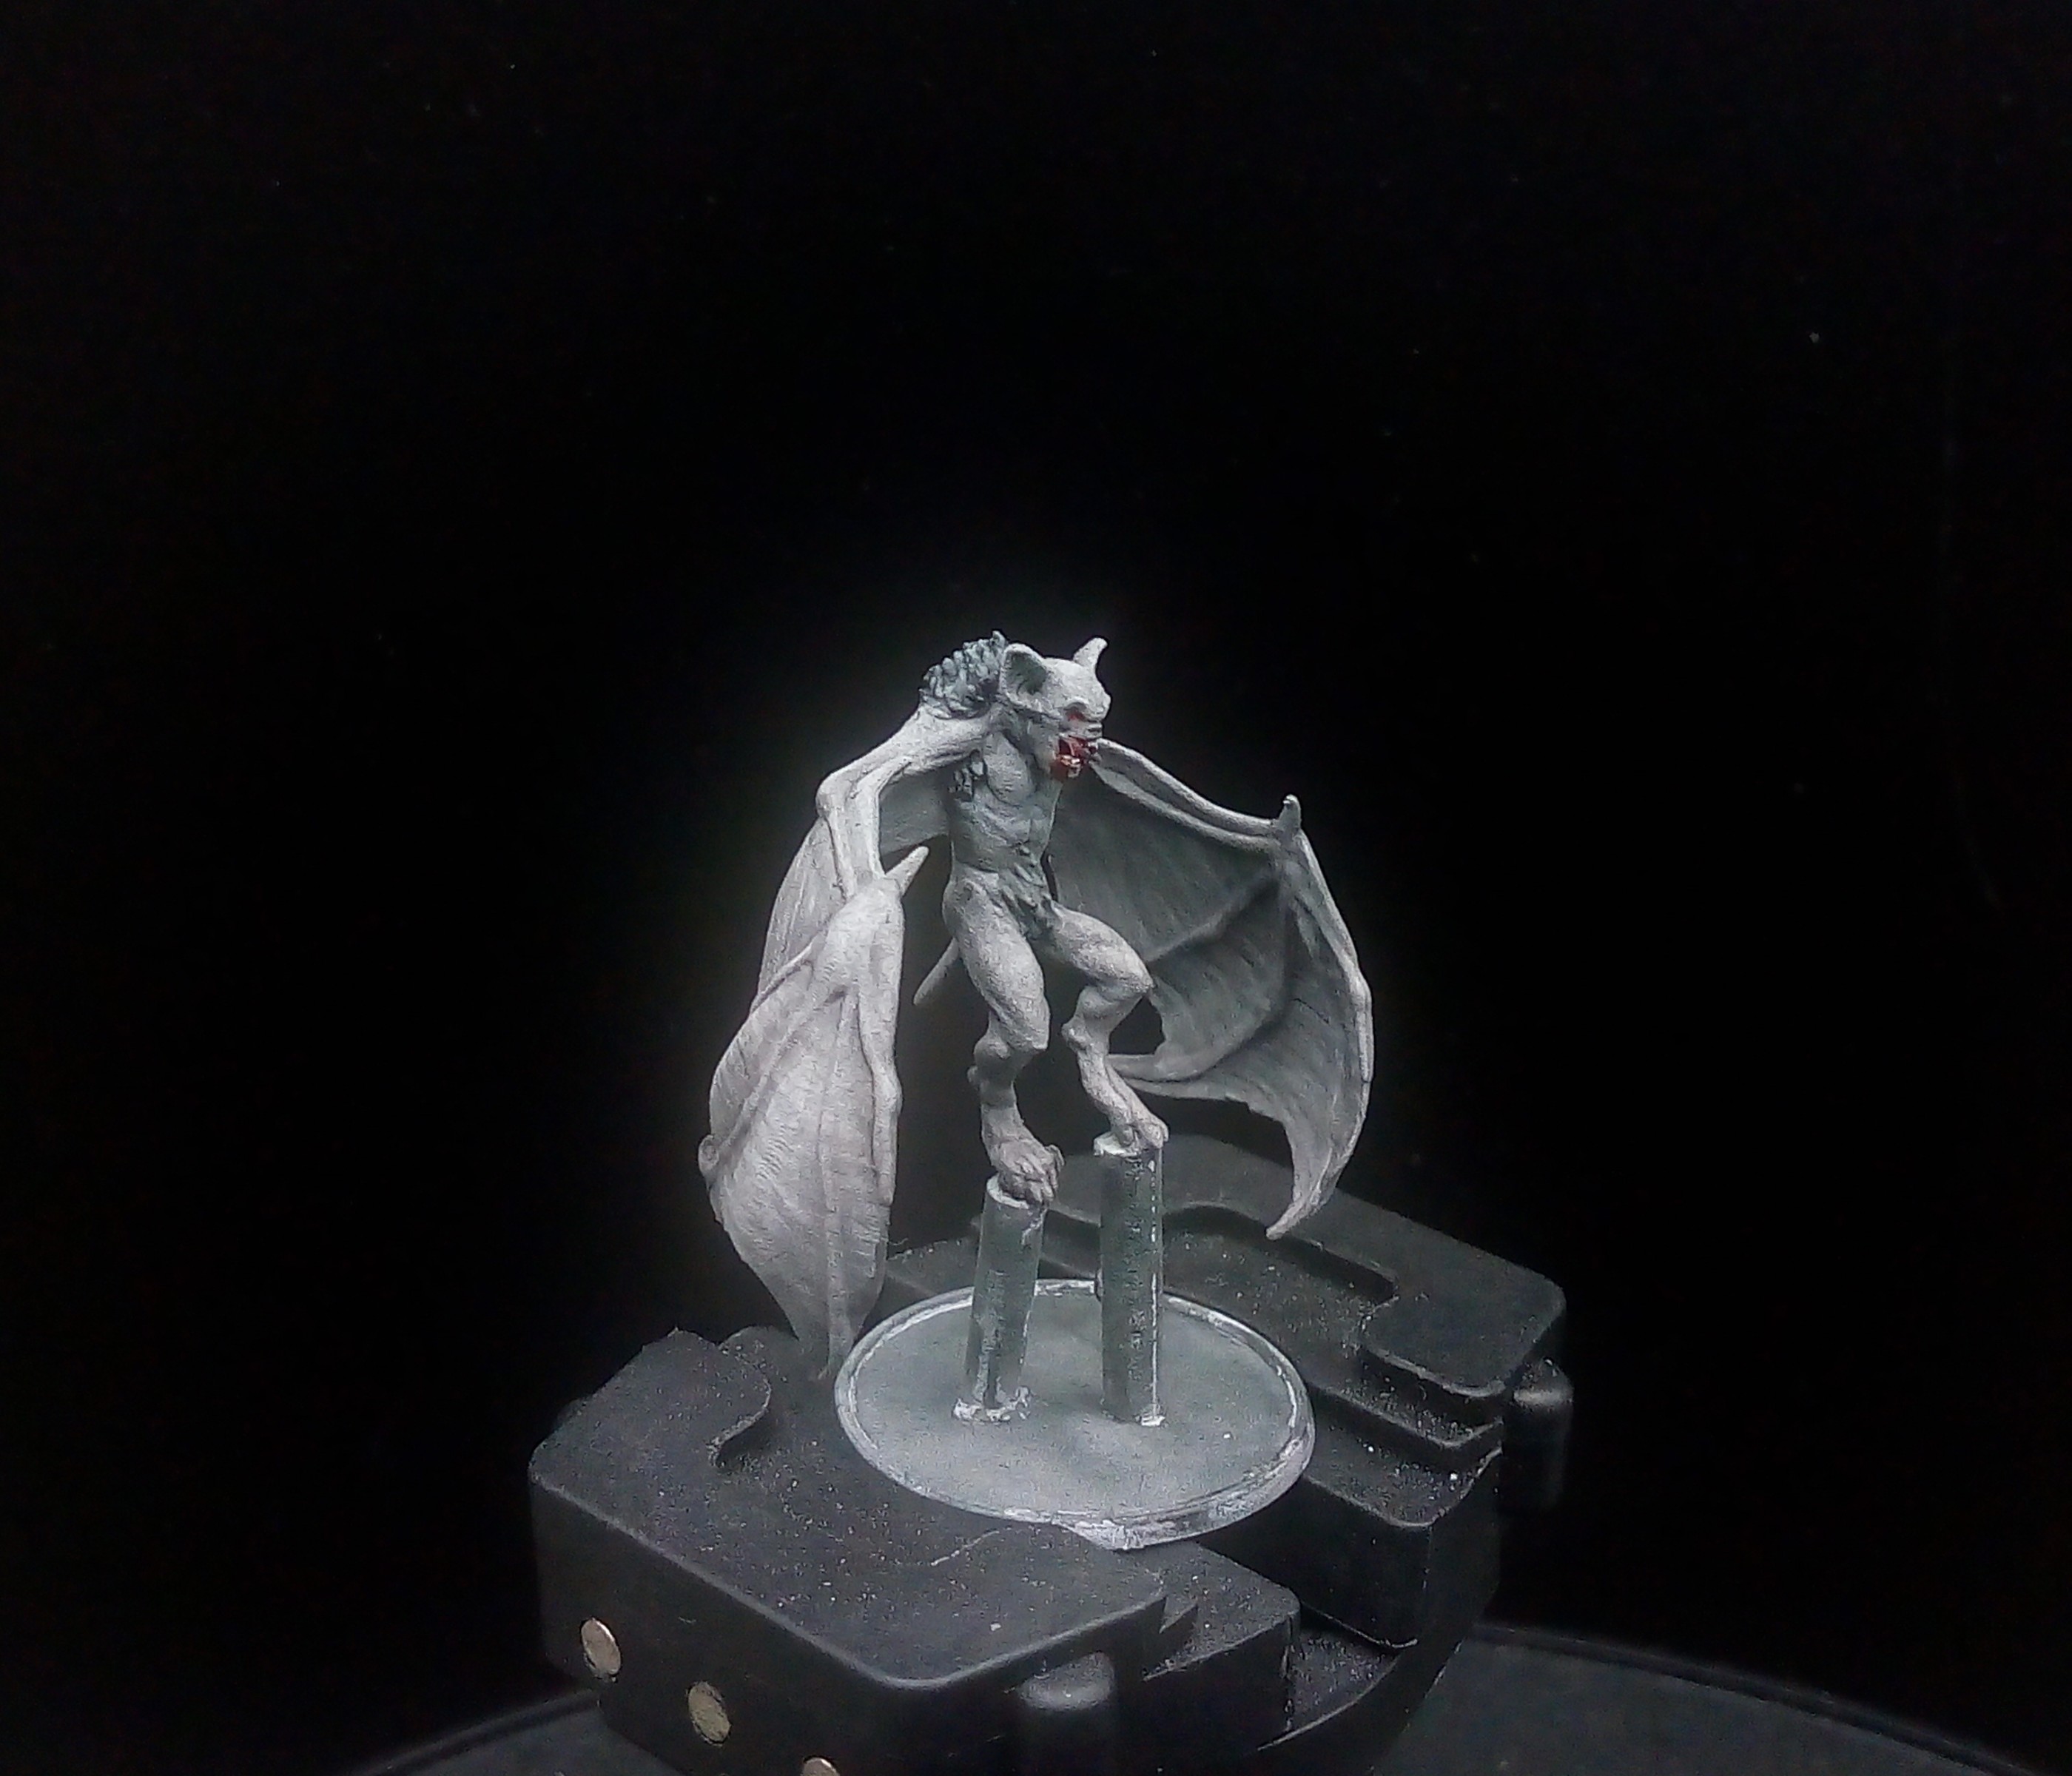
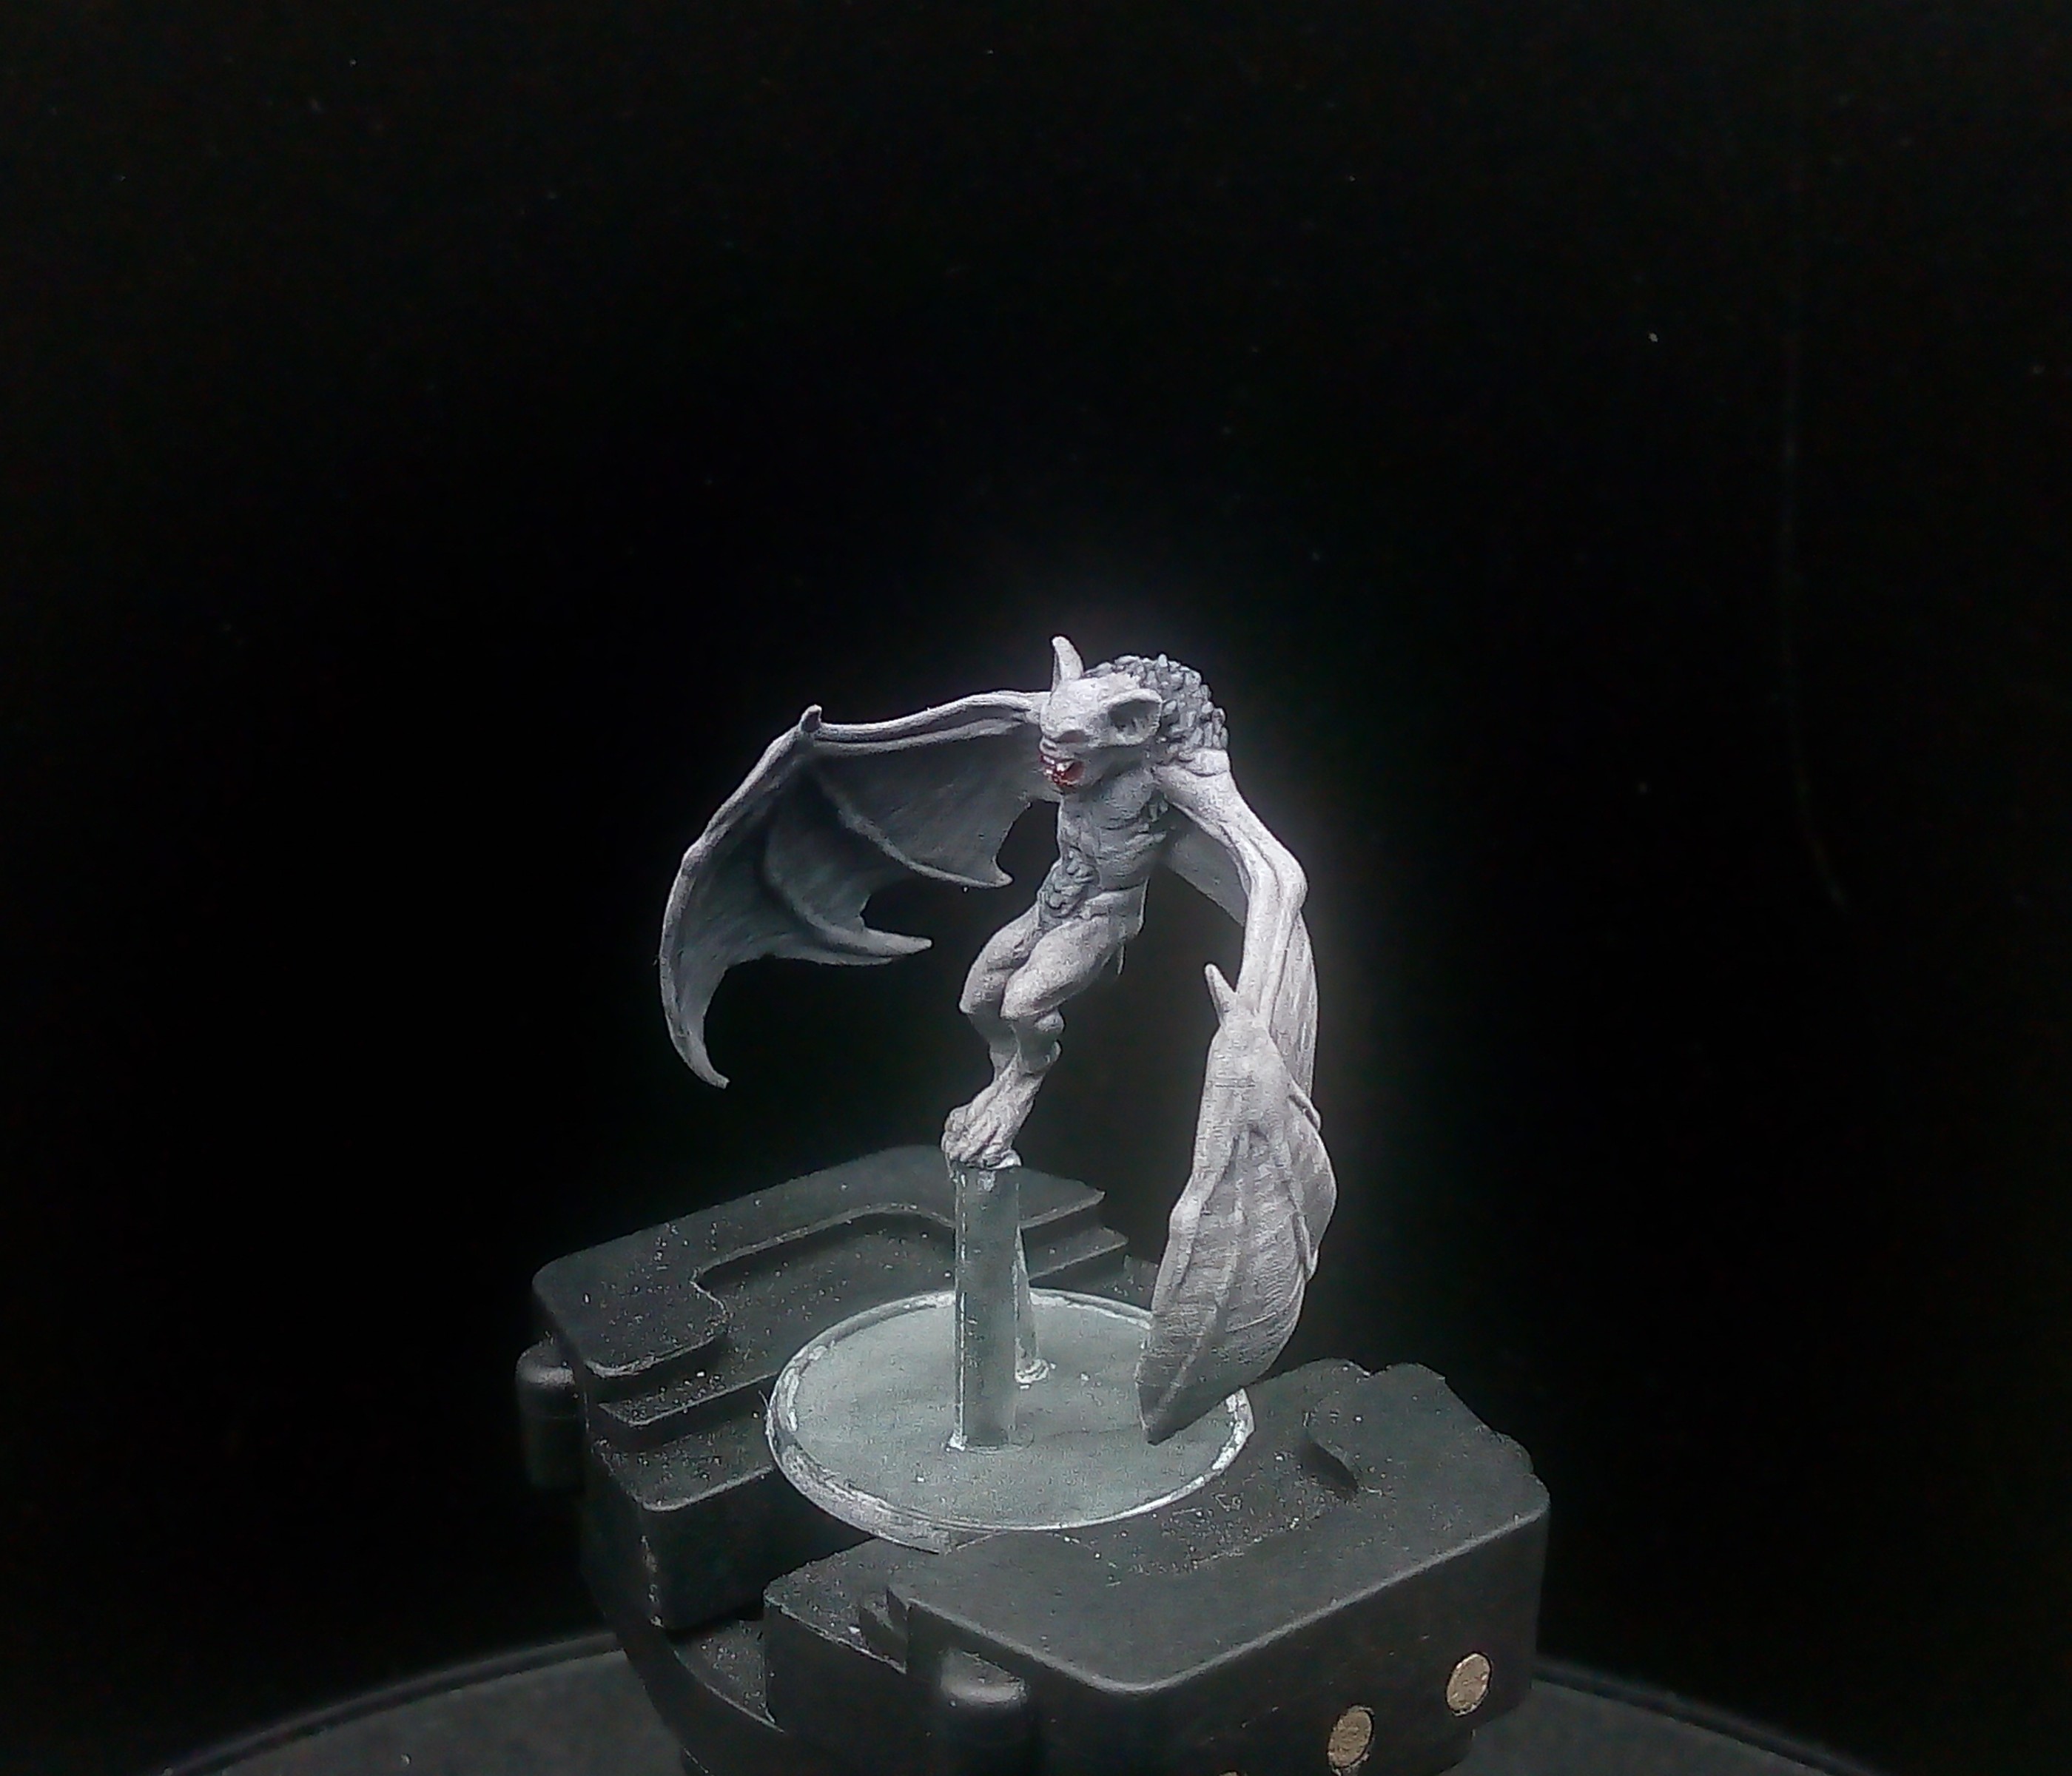
My first Giant Bat for Empire of the Dead using a Titan Forge STL print. Now added my second.
Hey guys so another update to the list of random minis I have done. Today I picked up and put paint to one of the Giant Bats from the Titan Forge Patreon. This and other models from the TF Vampire range will make up the force for my Empire of the Dead Nosferatu force. This is a really nice mini with such a good level of details that it took very little to bring it to life.
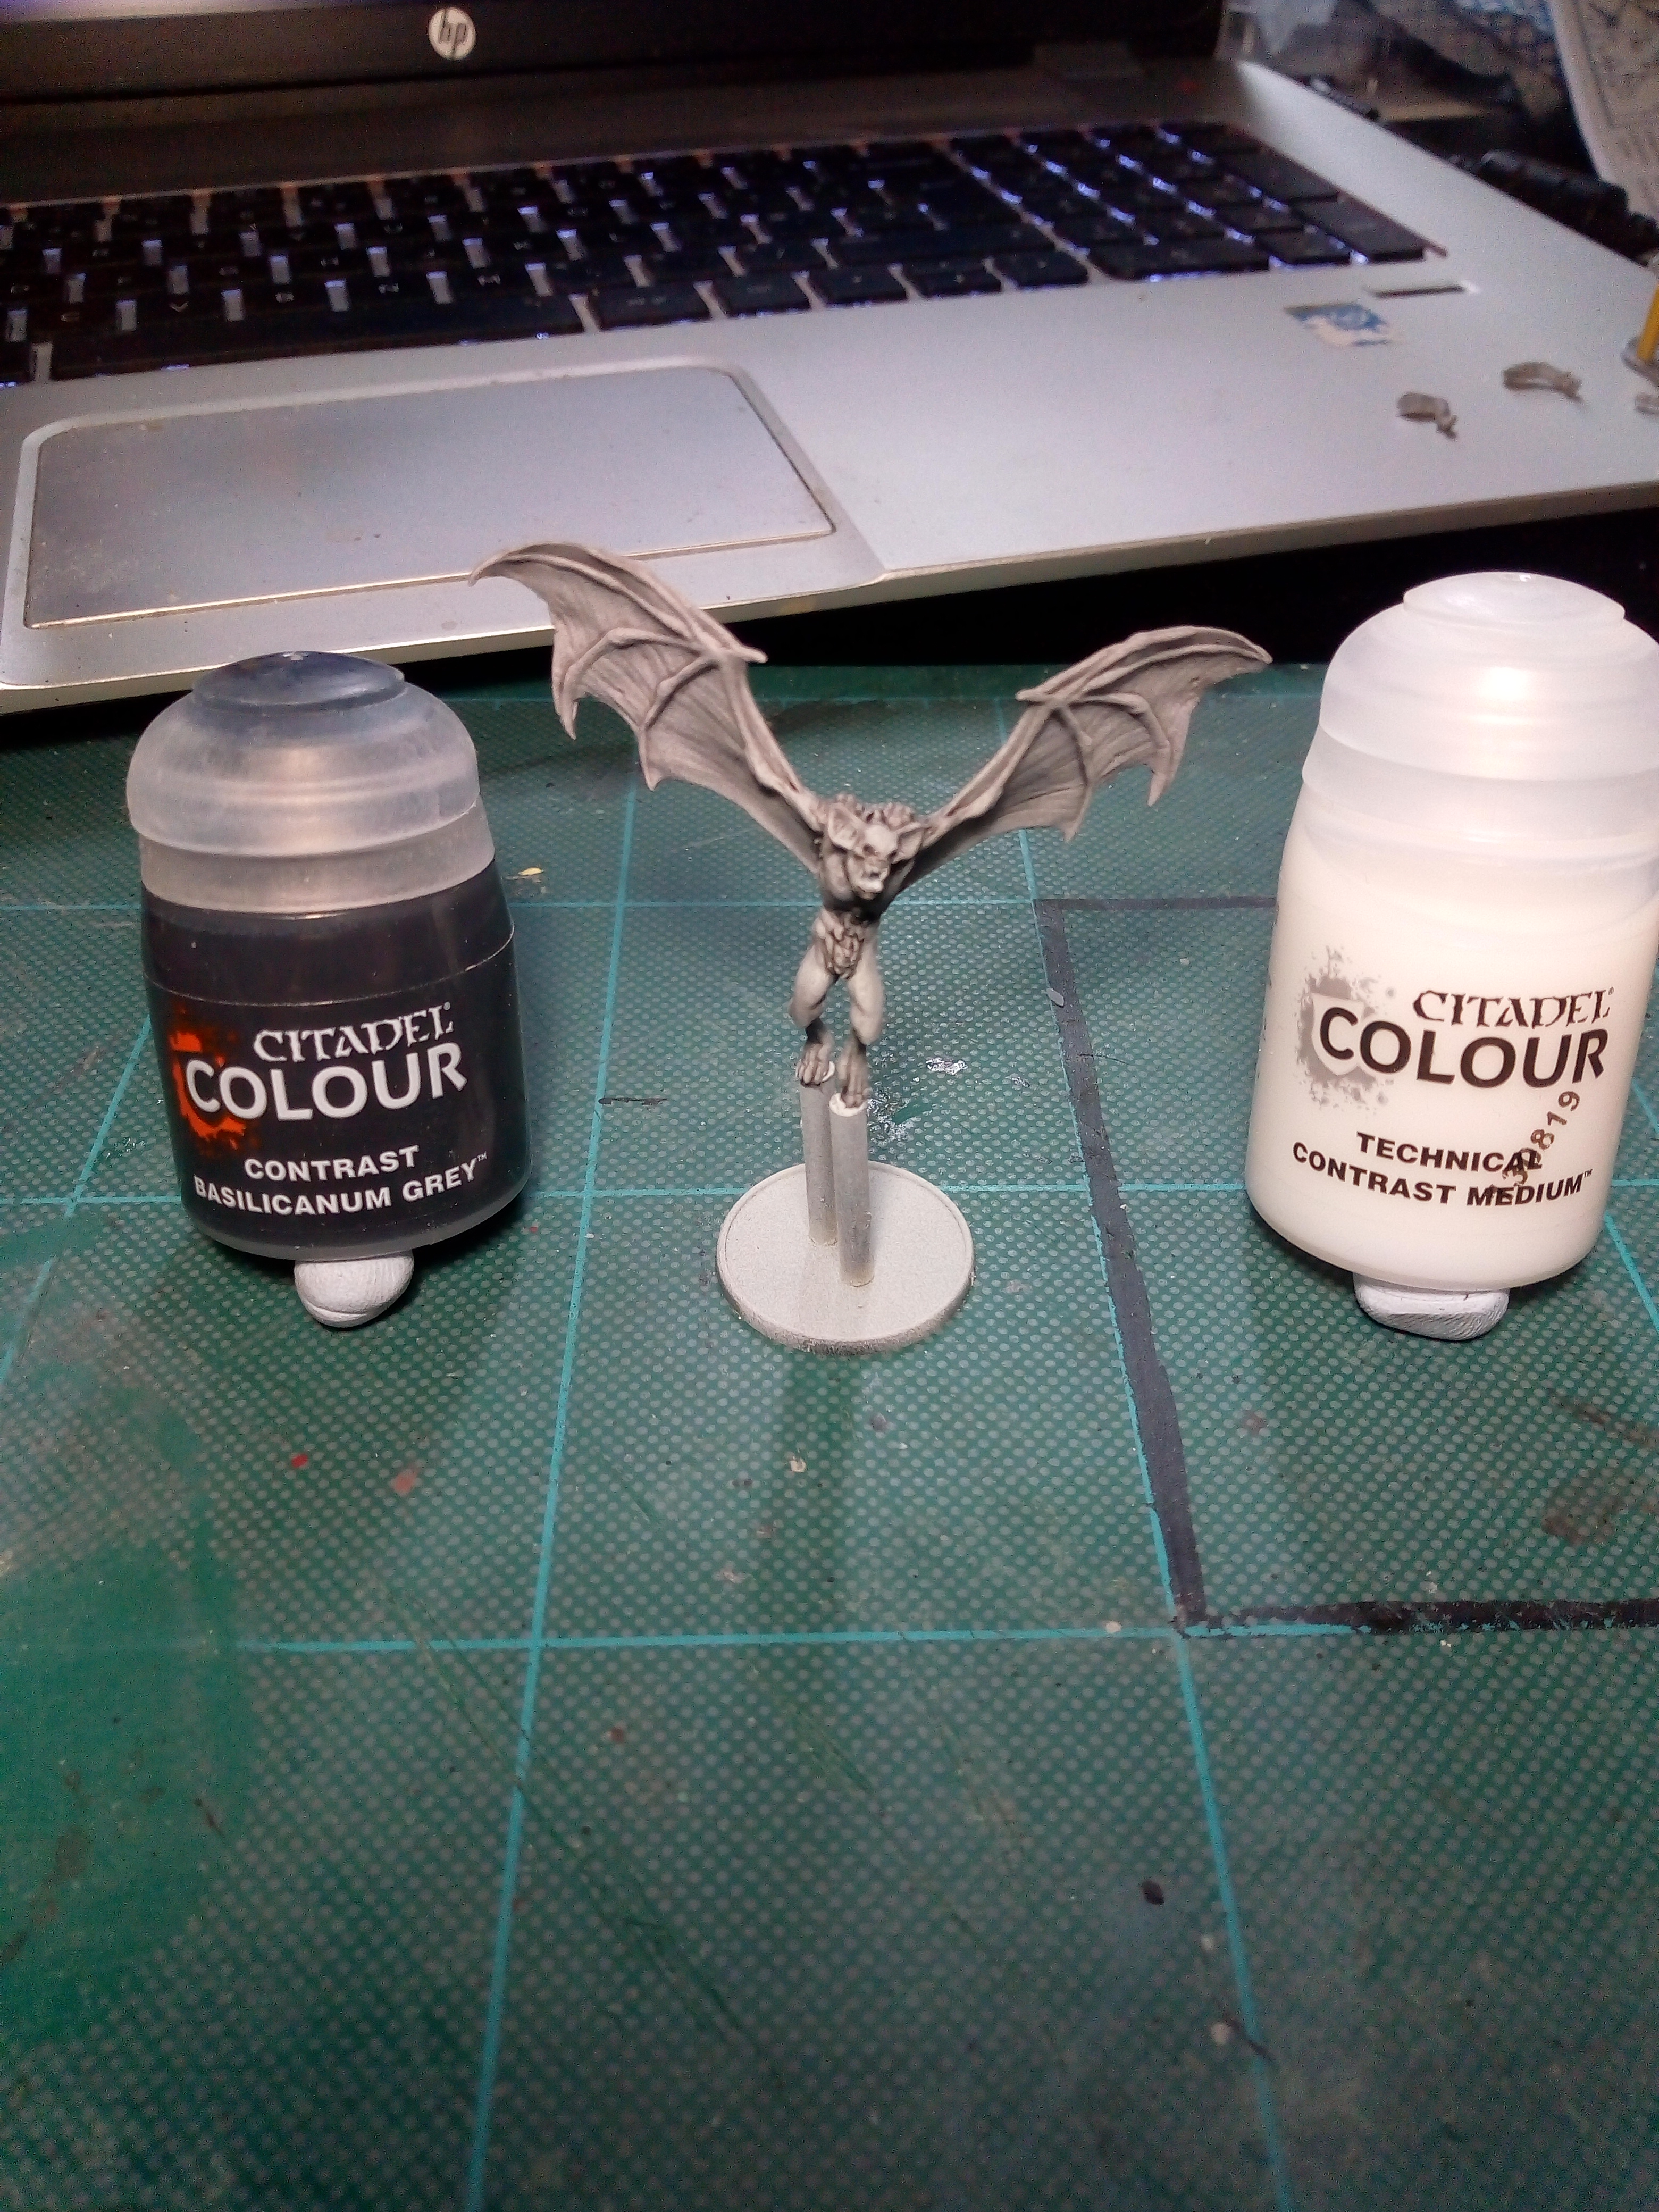
First I applied a single layer of thinned down Basilicanum Grey (C).
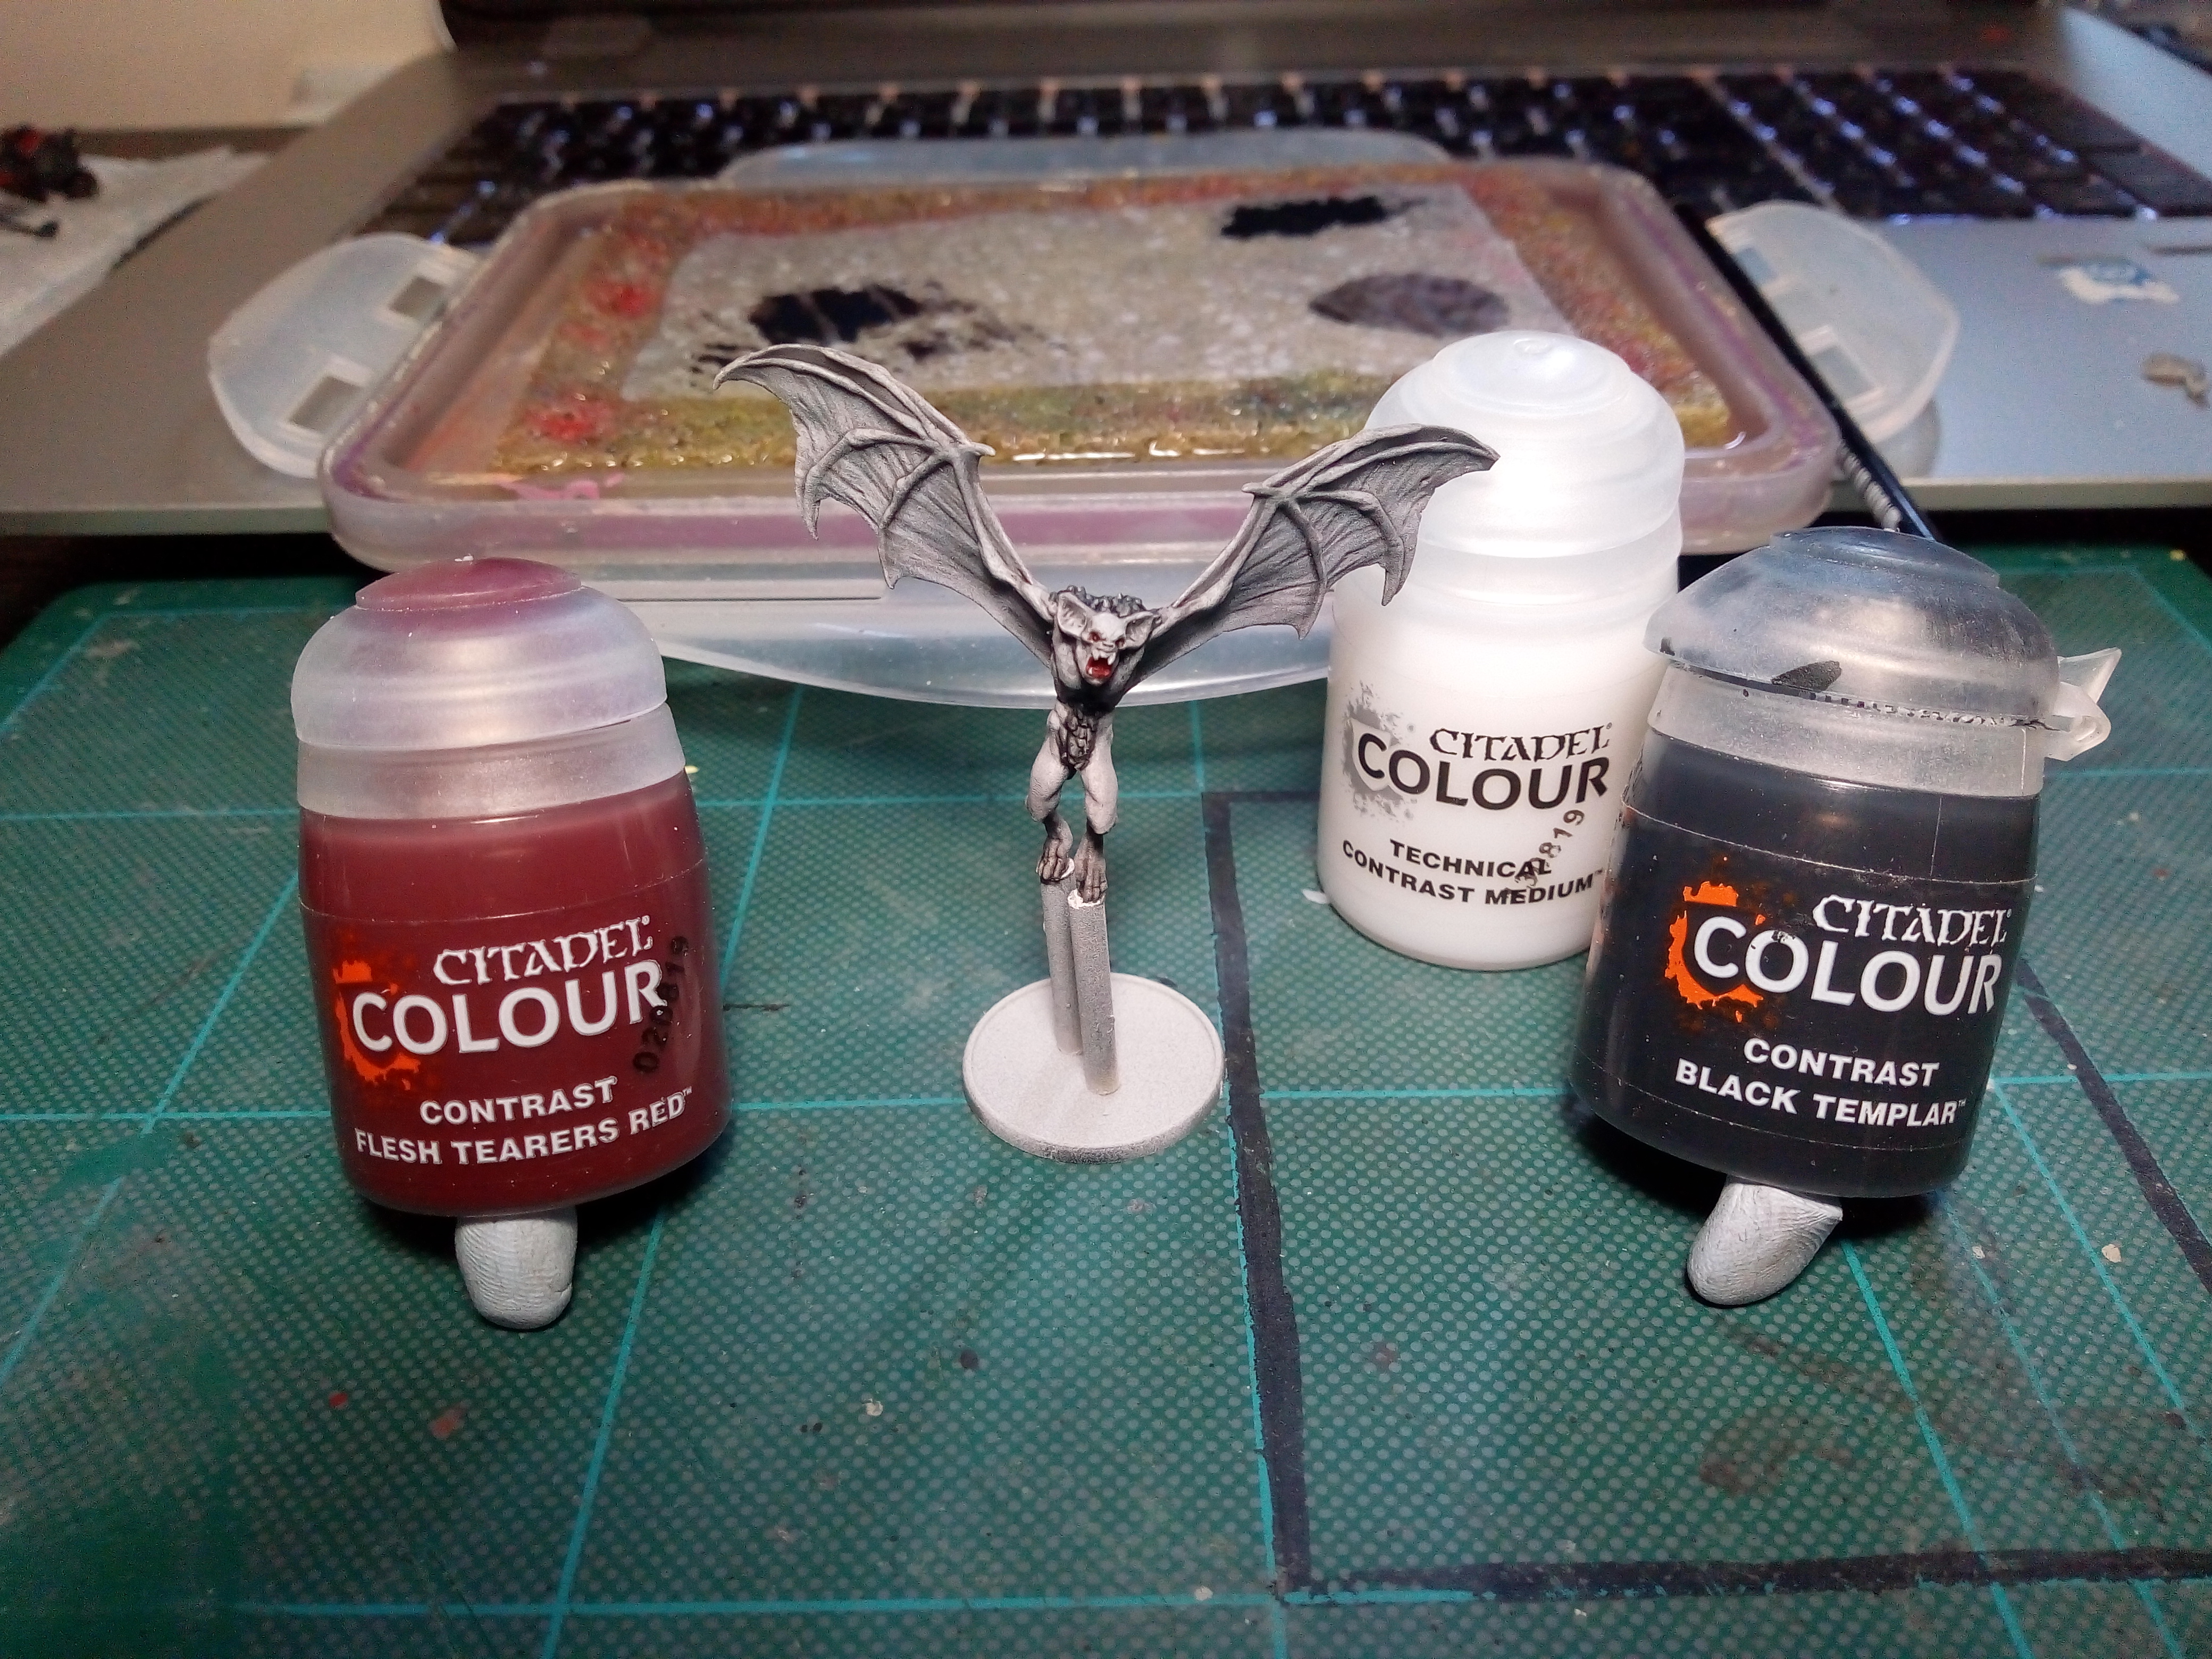
Next, I applied thinned down Black Templar (C) to the areas of fur.
I placed some Fleshtearer Red (C) inside the mouth.
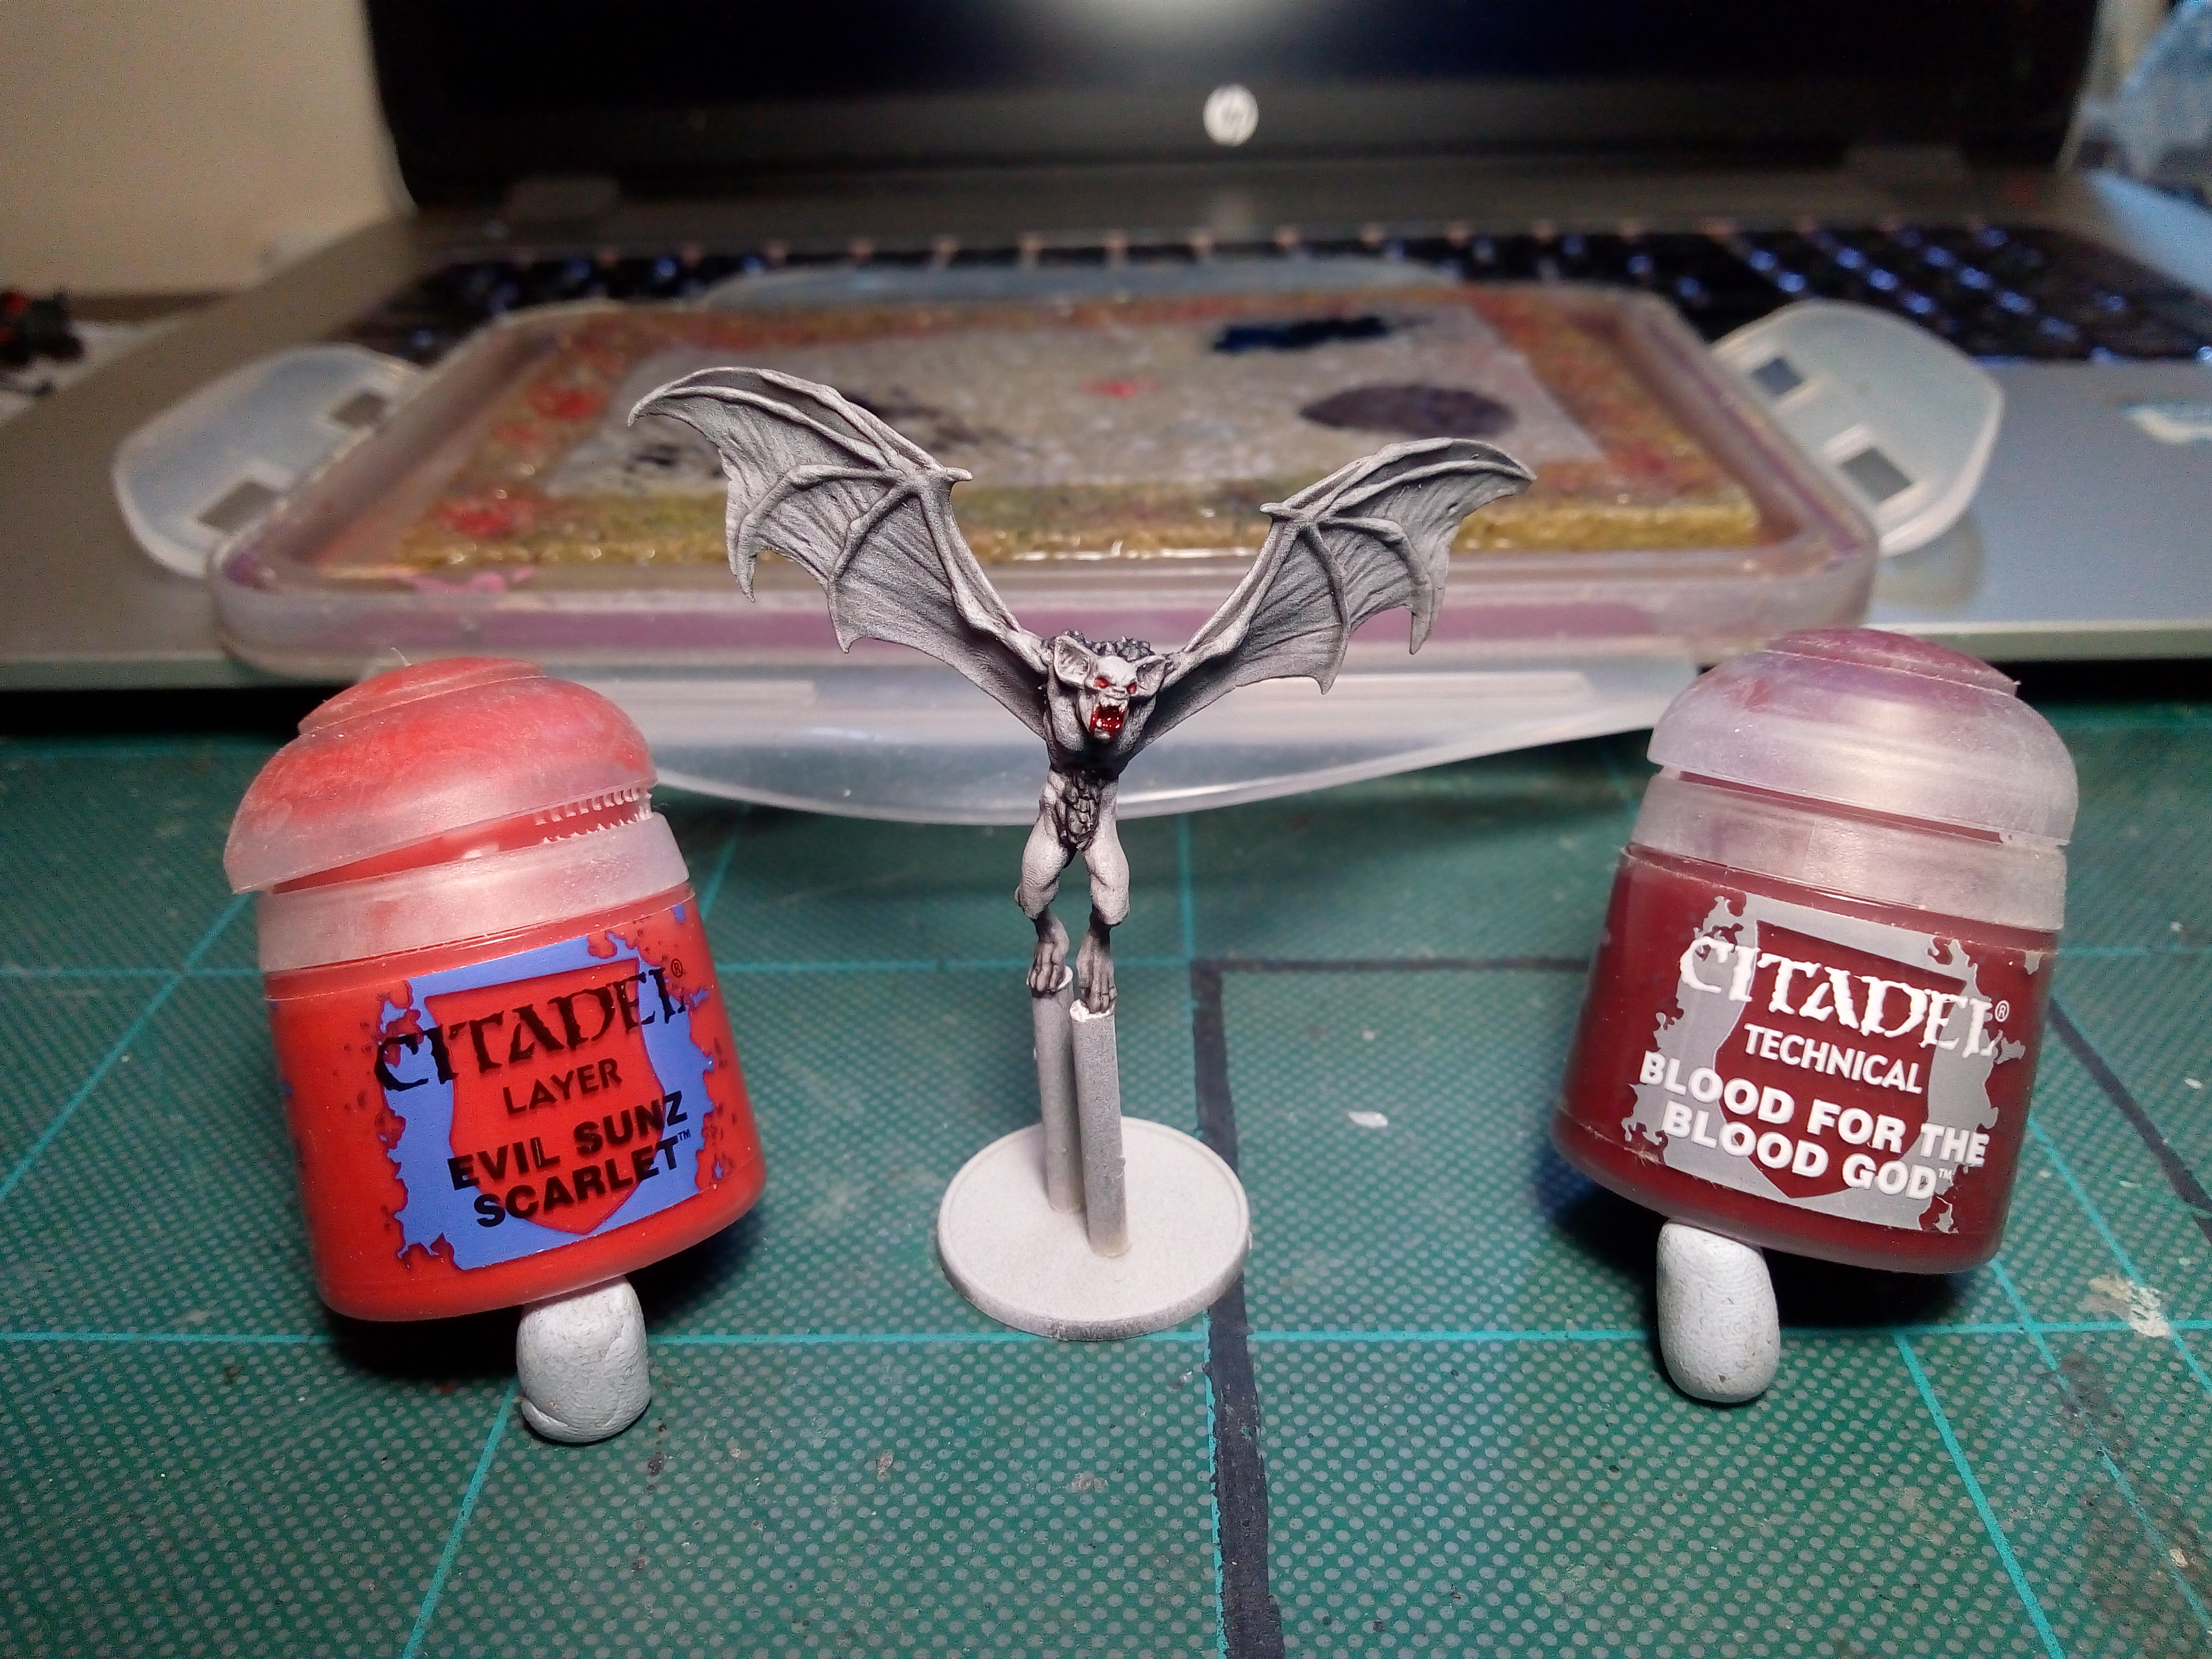
I then went back around with a second layer of thinned down Basilicanum Grey (C), this I used only in the shadows and to highlight the creases and the underside of the fingerlike areas.
Using Evil Sunz Scarlet (L) I put in the eyes and with Blood for the Blood God (T) bloodied up the mouth.
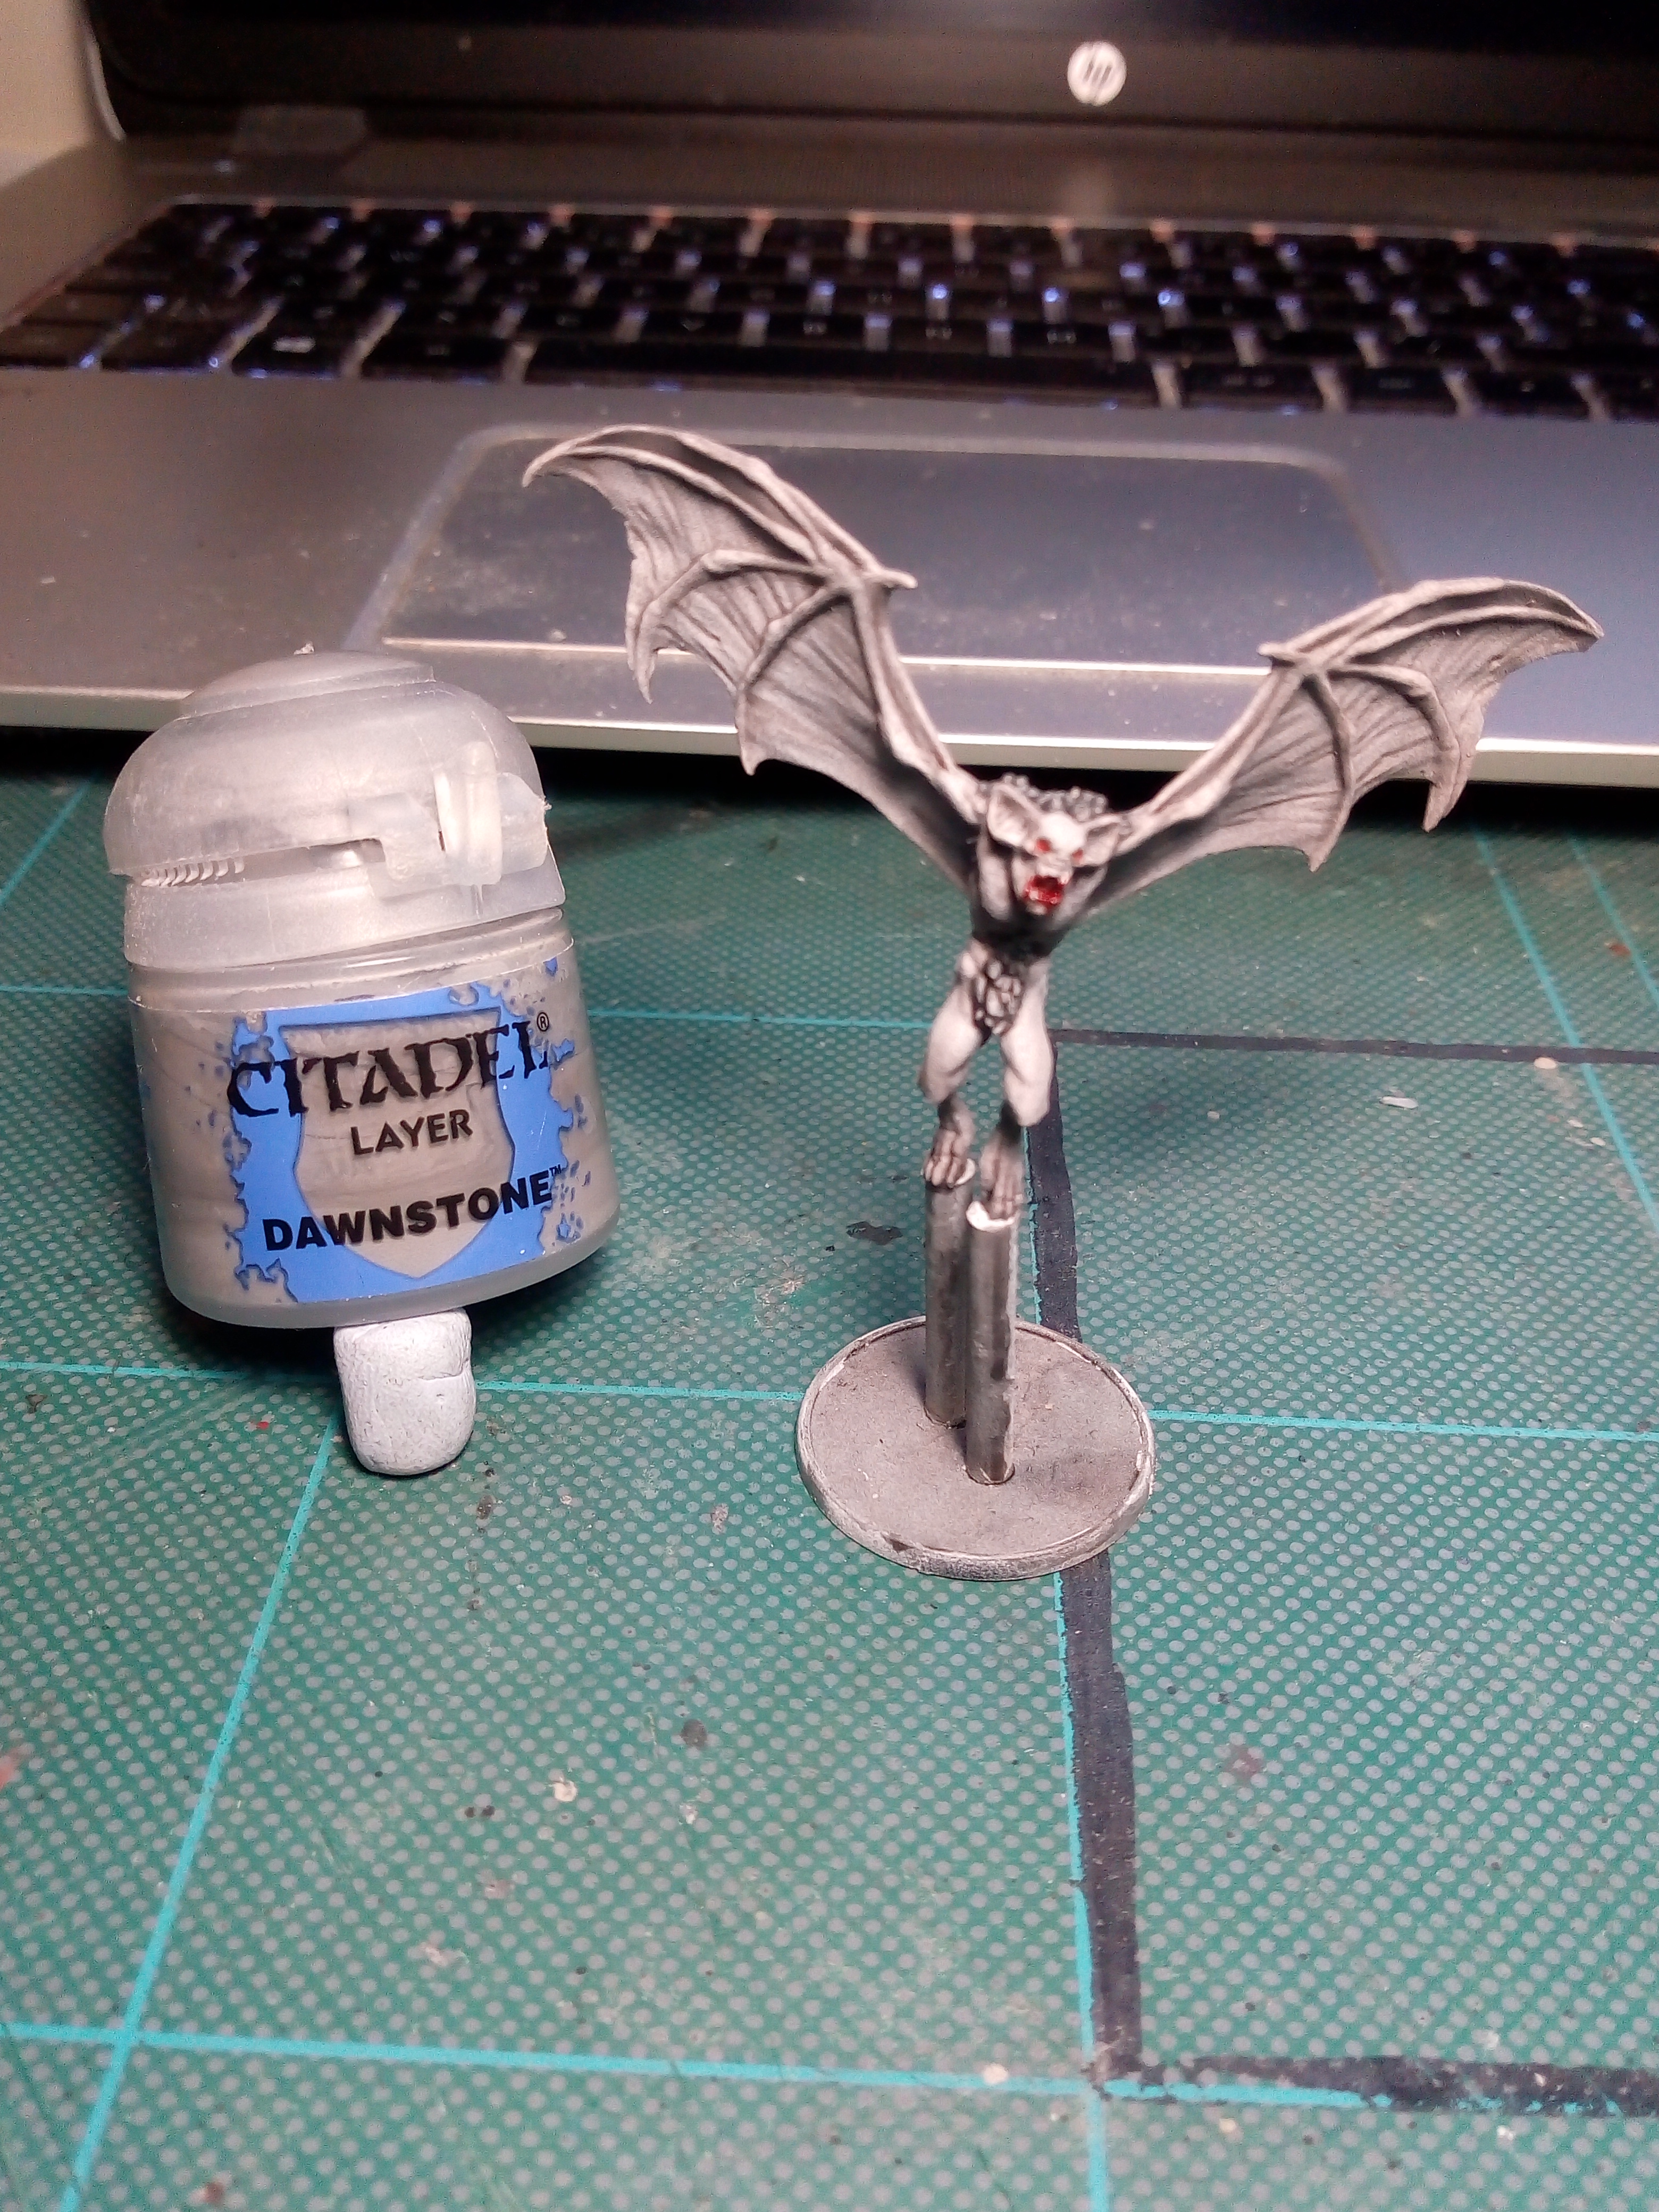
Finally I highlighted the fur with Dawnstone (L) and then washed the shadow areas with the remains of the thinned down Templar Balck (C).
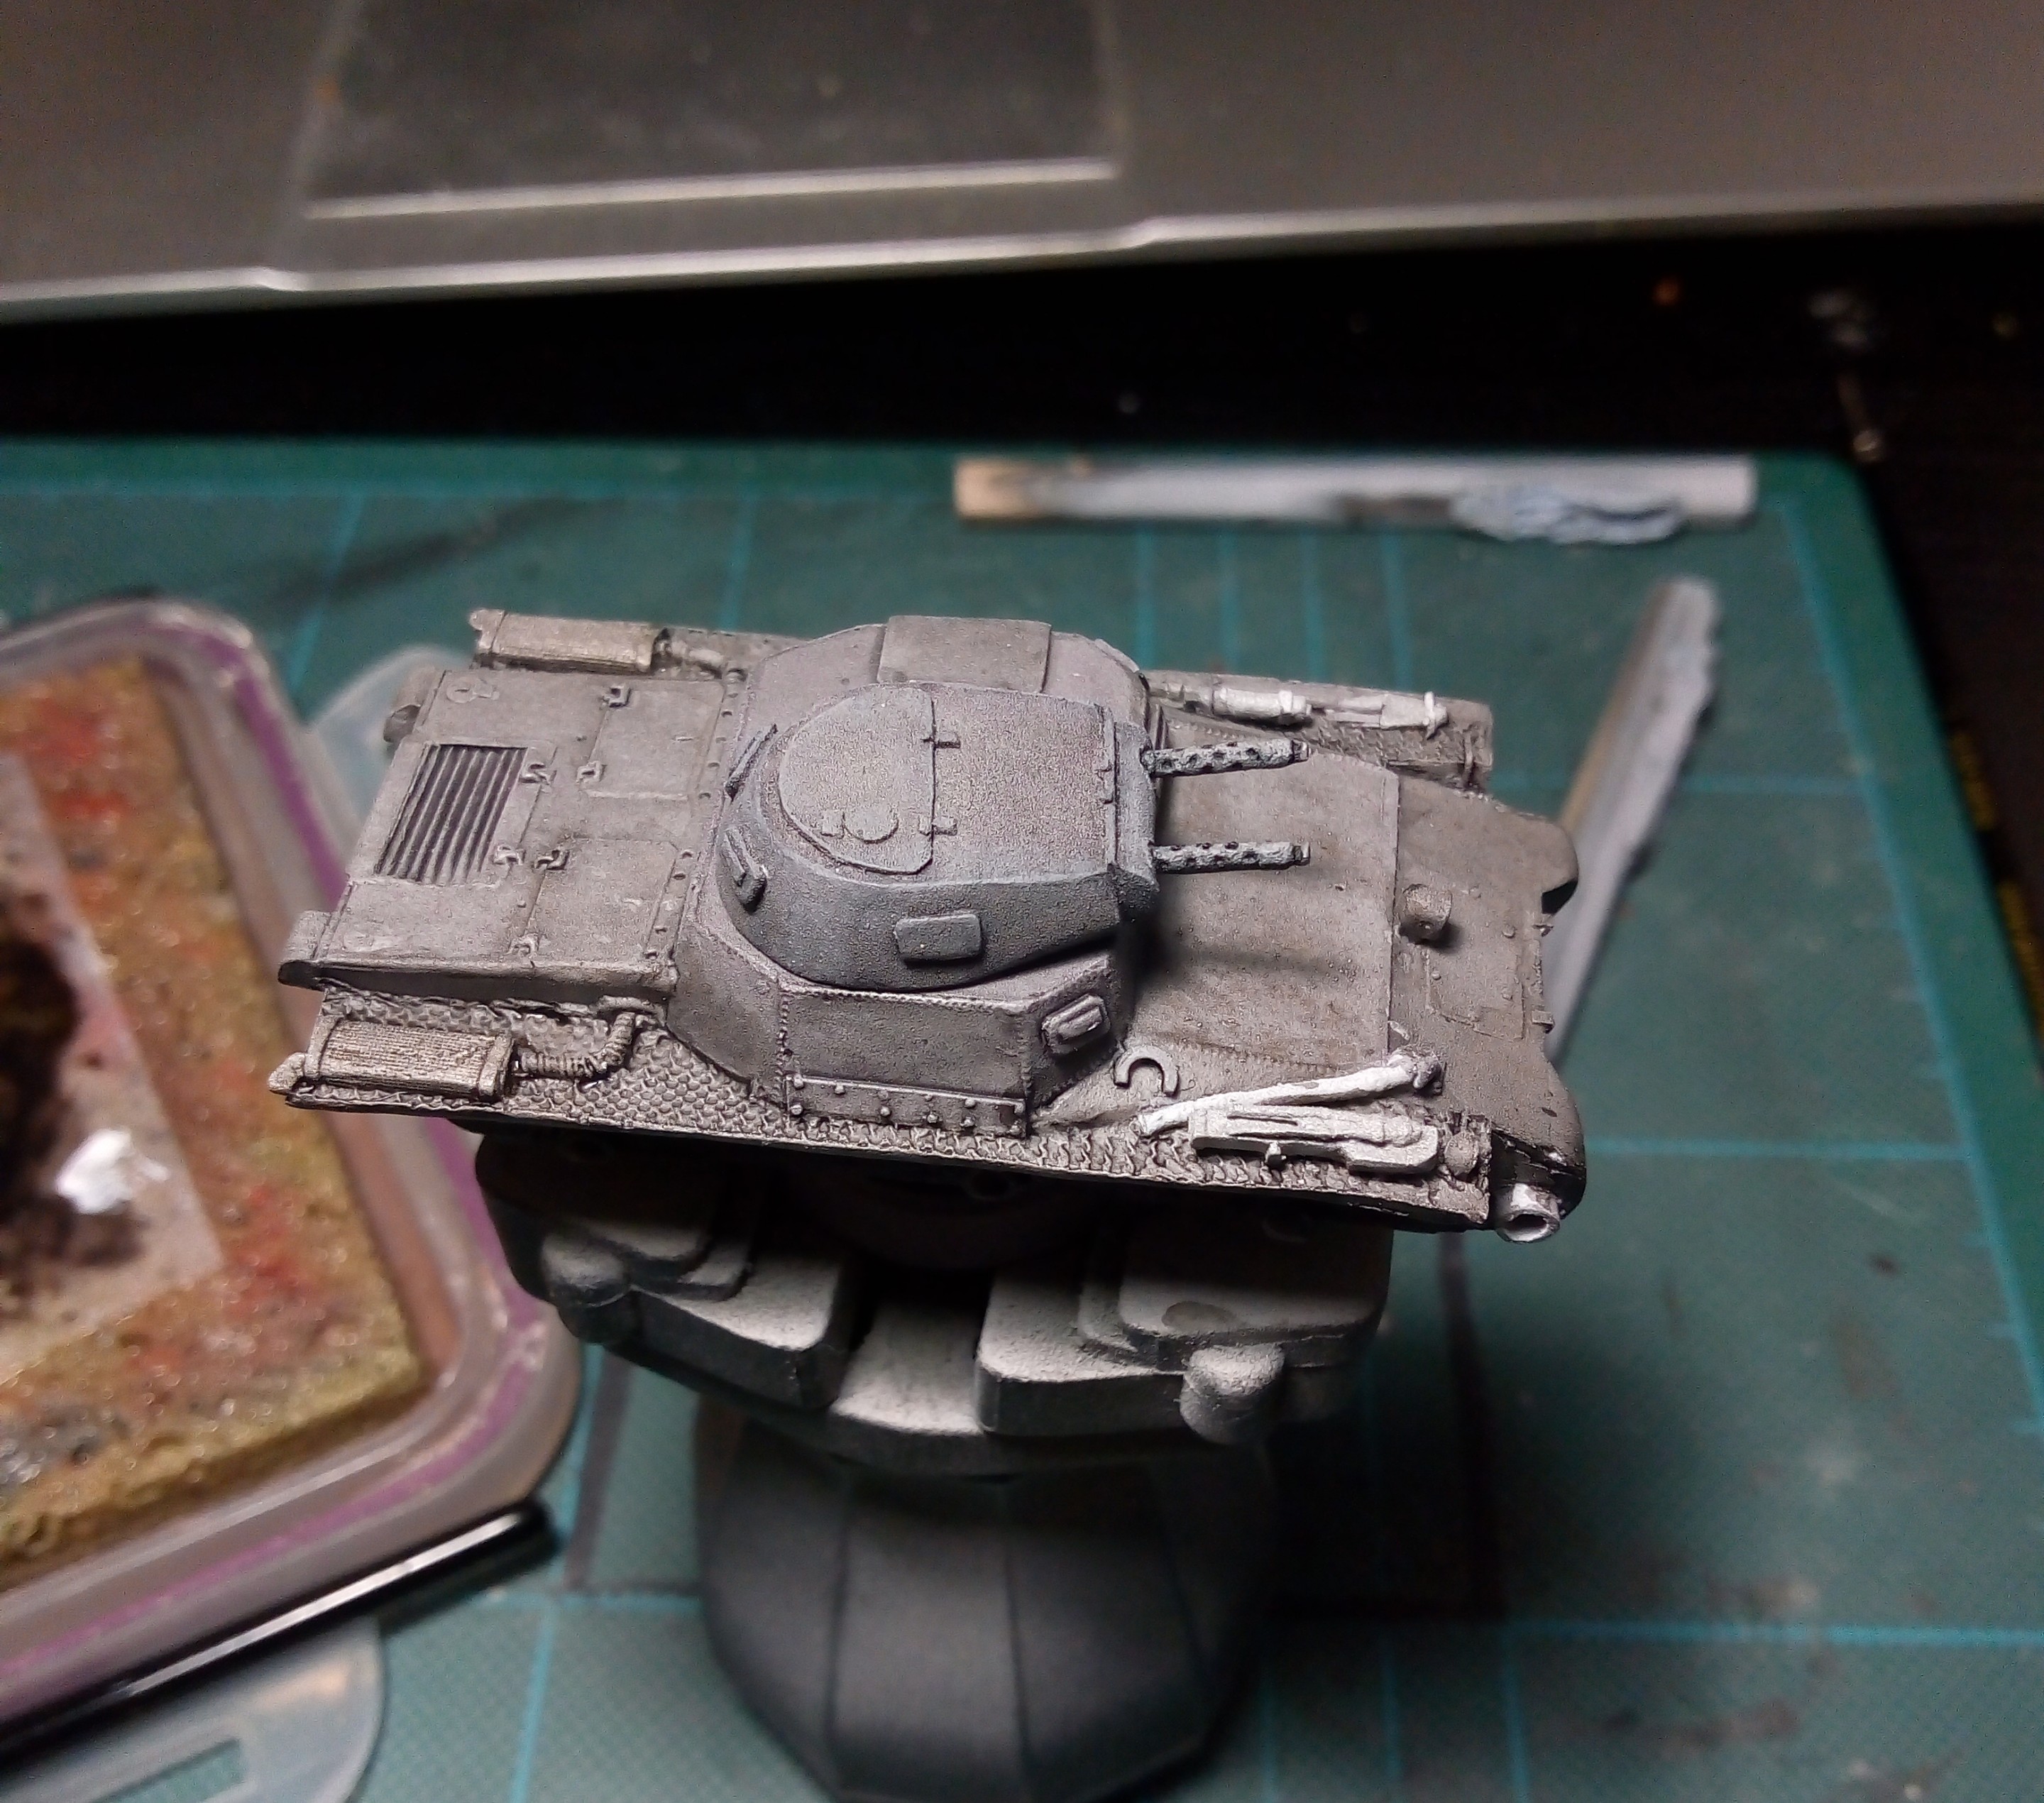
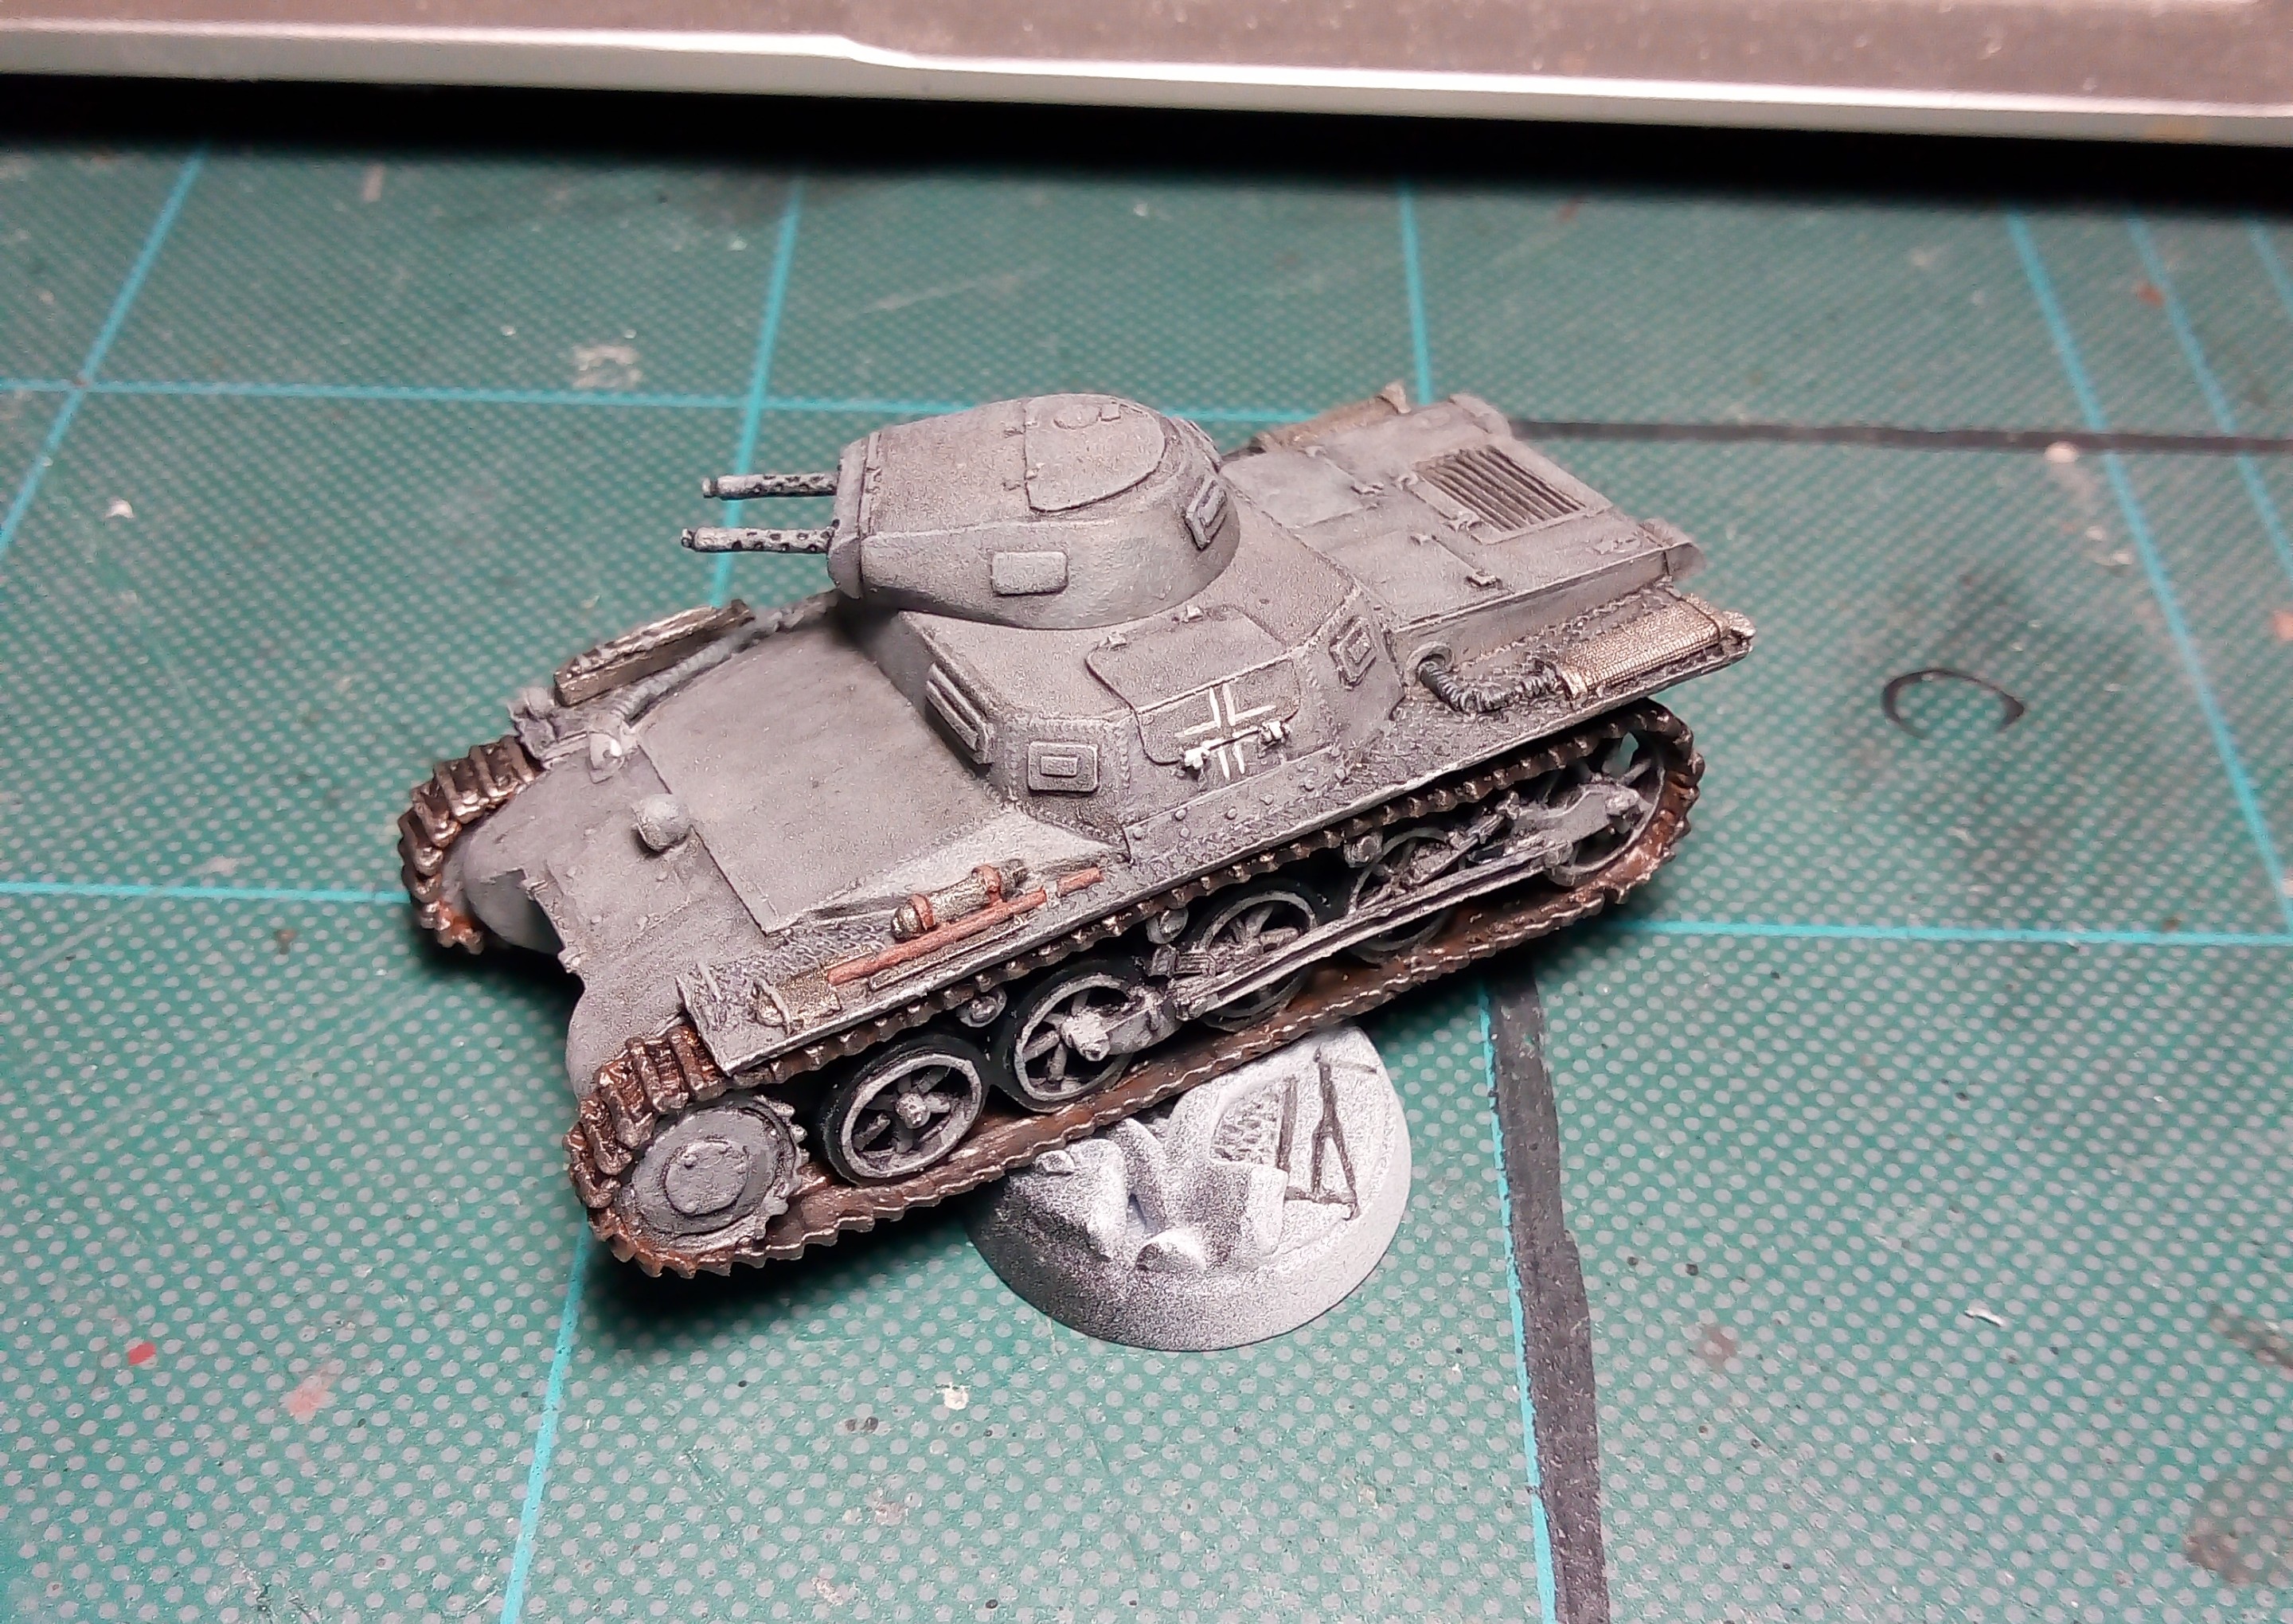
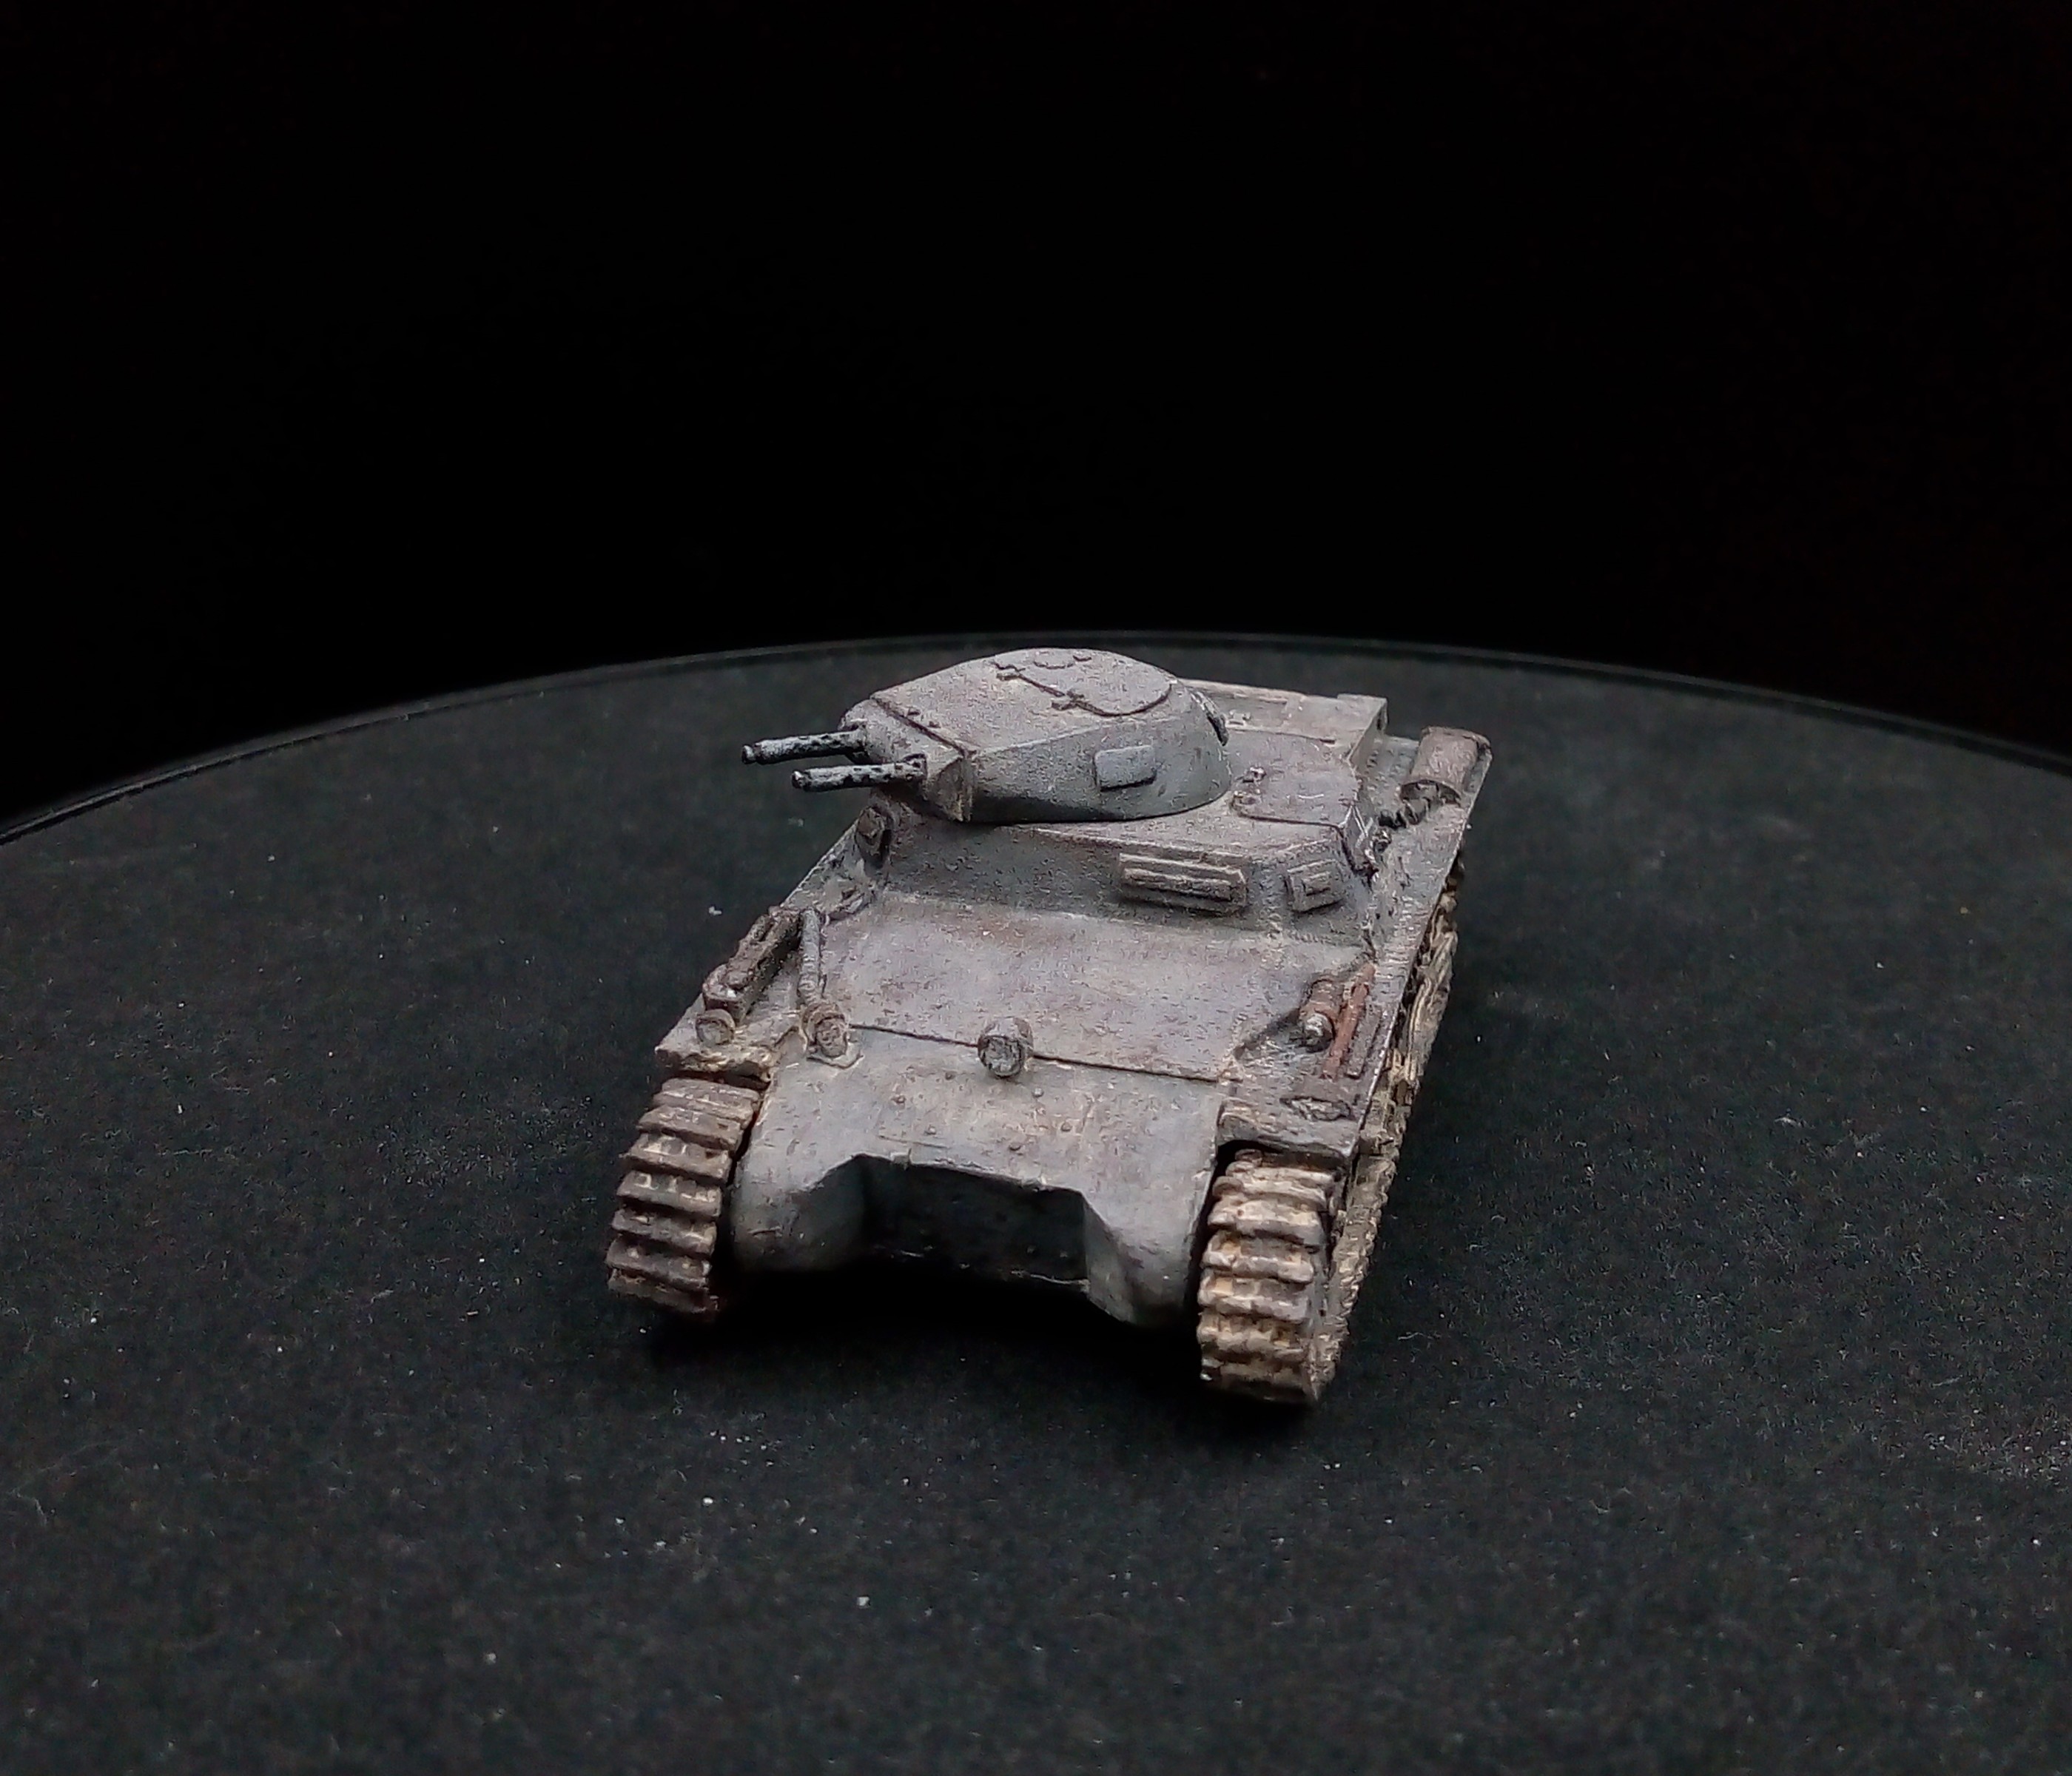
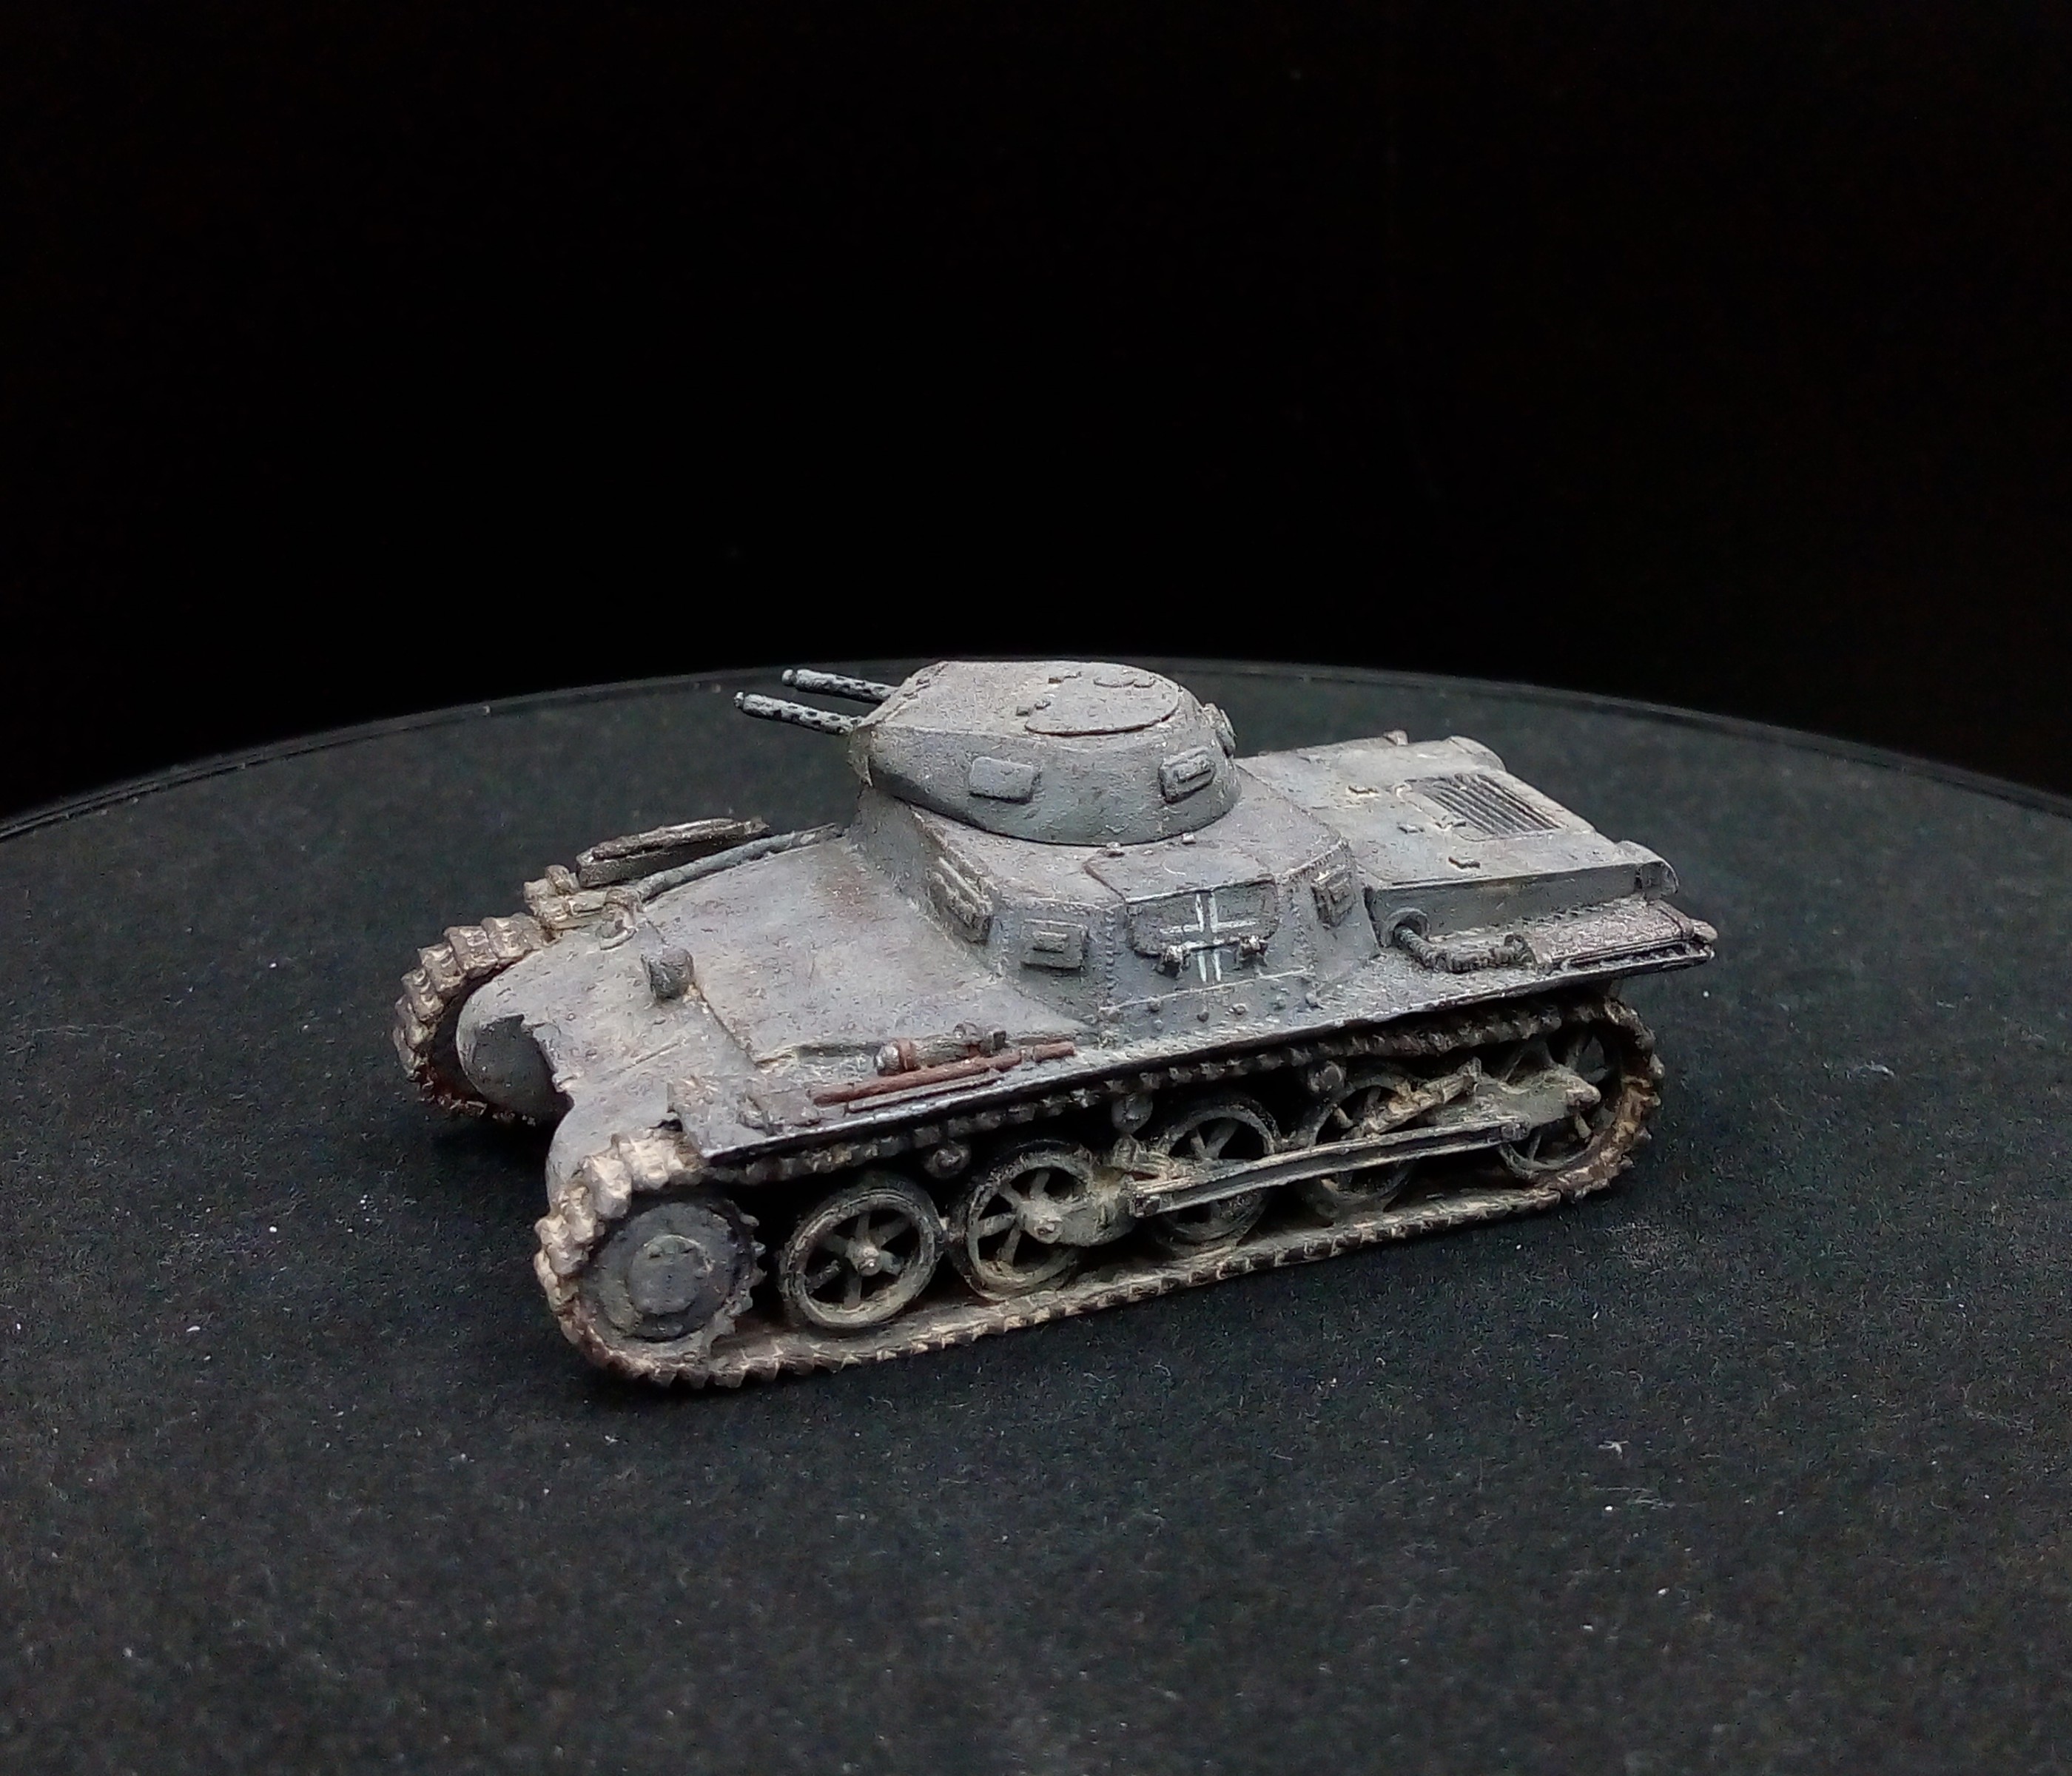
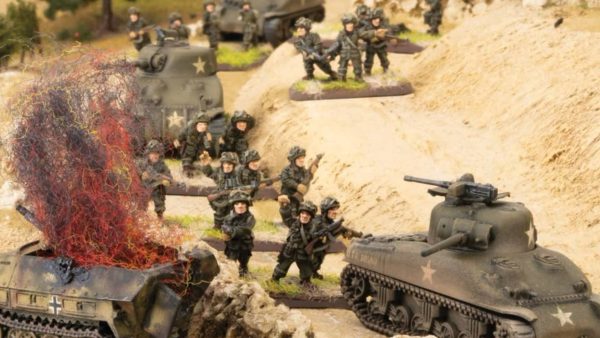
Bolt Action Panzer I Tank, super cool little vehicle
Hey guys, so I spent yesterday and today working on a Panzer I tank for Bolt Action. This is my first mini for a Bolt Action force and was lovely little mini to work on.
I keep the colour palette pretty limited in this one and thinned every layer I added to the armour to help it have the colours shifts and shadows in a way that looked right. Did everything with a brush as I still haven’t unpacked my airbrush yet.
I was surprised that the mini didn’t come with decals so kept the markings very basic after I screwed up the numbers on the turret and spent 30 minutes trying to repair the area to look like the rest.
So the process for this one was:
Armour
Basilicanum Grey (C) 50:50 Contrast Medium, I have found when painting flat area you need contrasts thinned to get good coverage. Keep the brush strokes going in one direction and only make one pass. If you go back you kinda ruin it.
Nuln Oil (S) 50:50 Lahmian Medium I kept this around the overhangs, panels and plates of the tank. Basically black lining it and creating shadows too.
Dawnstone (L) 50:50 water with this I took away a lot of the excess on the brush and used to act as the light point against the already established shadows.
Tracks
Ammo Mig rust effect
Nuln Oil (S)
Ironbreaker (L) Drybrush
Wheels
Same as the Armour but with Black Templar (C) used around the wheel sections for the outer rim.
German Marking
Dawnstone (L) to get a rough shape to work from.
White Scar (L) to do the final marking.
Thinned down Nuln Oil (S) just over the white to take the cleaness away.
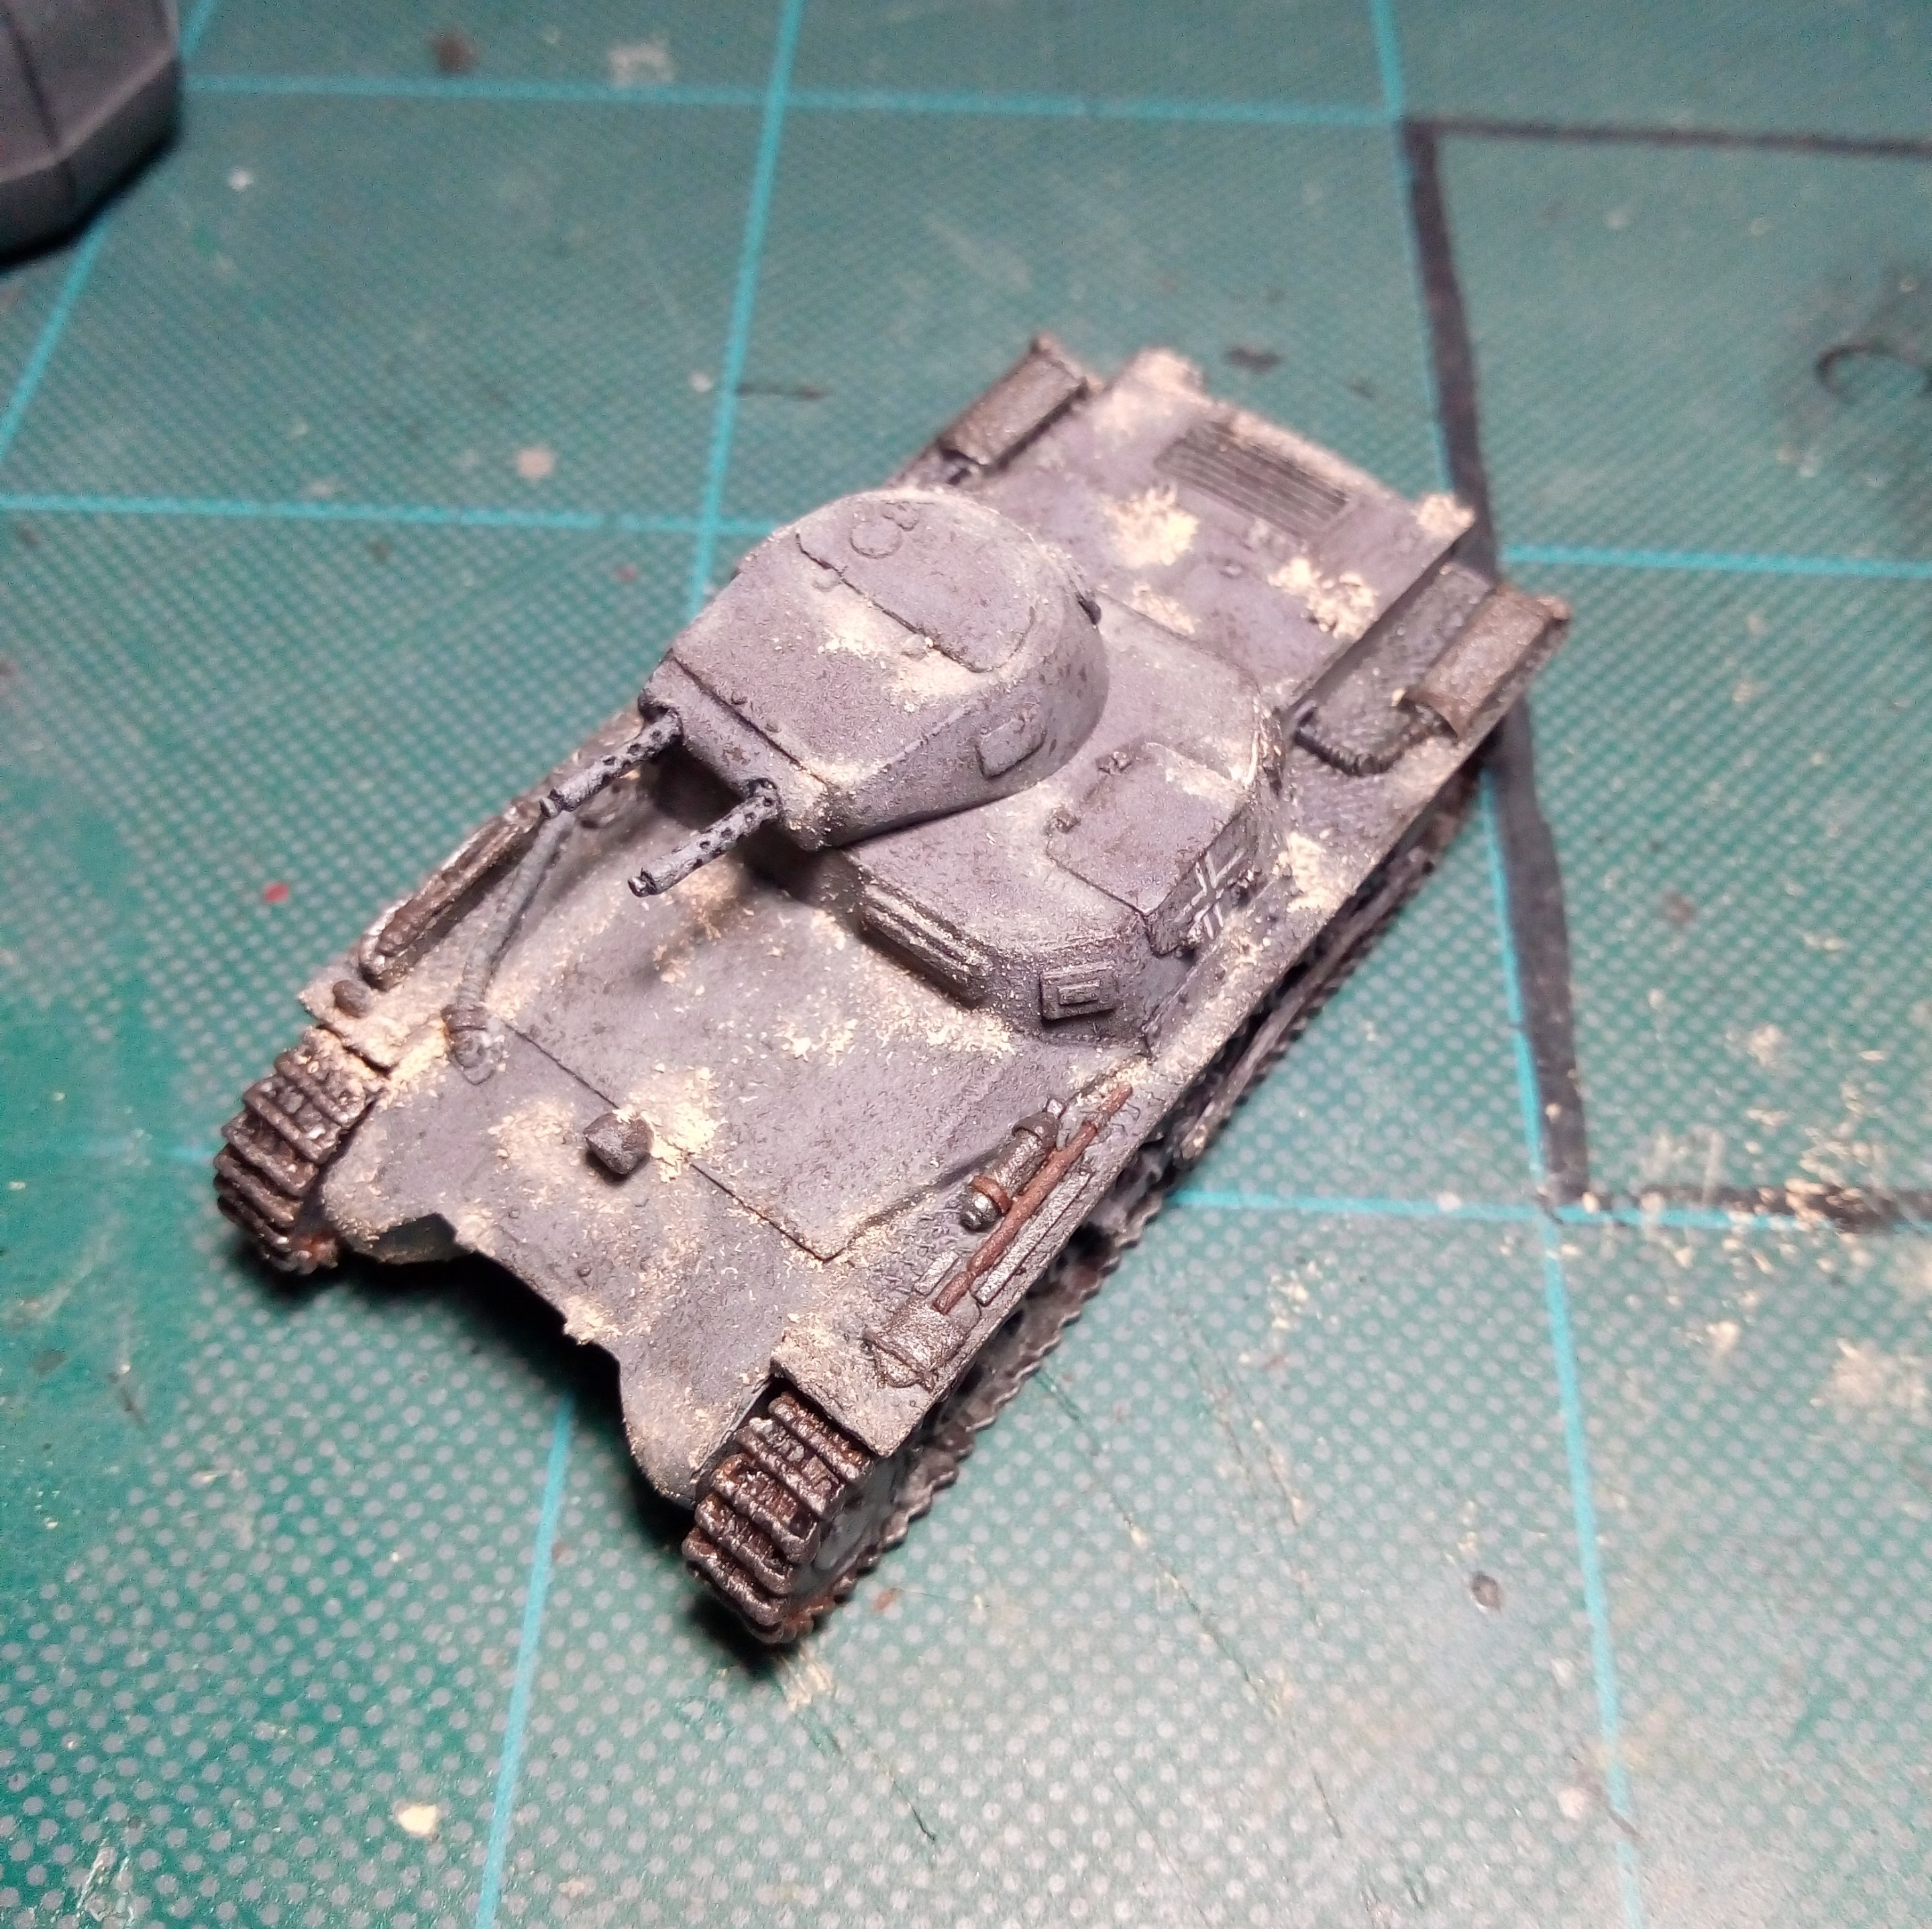
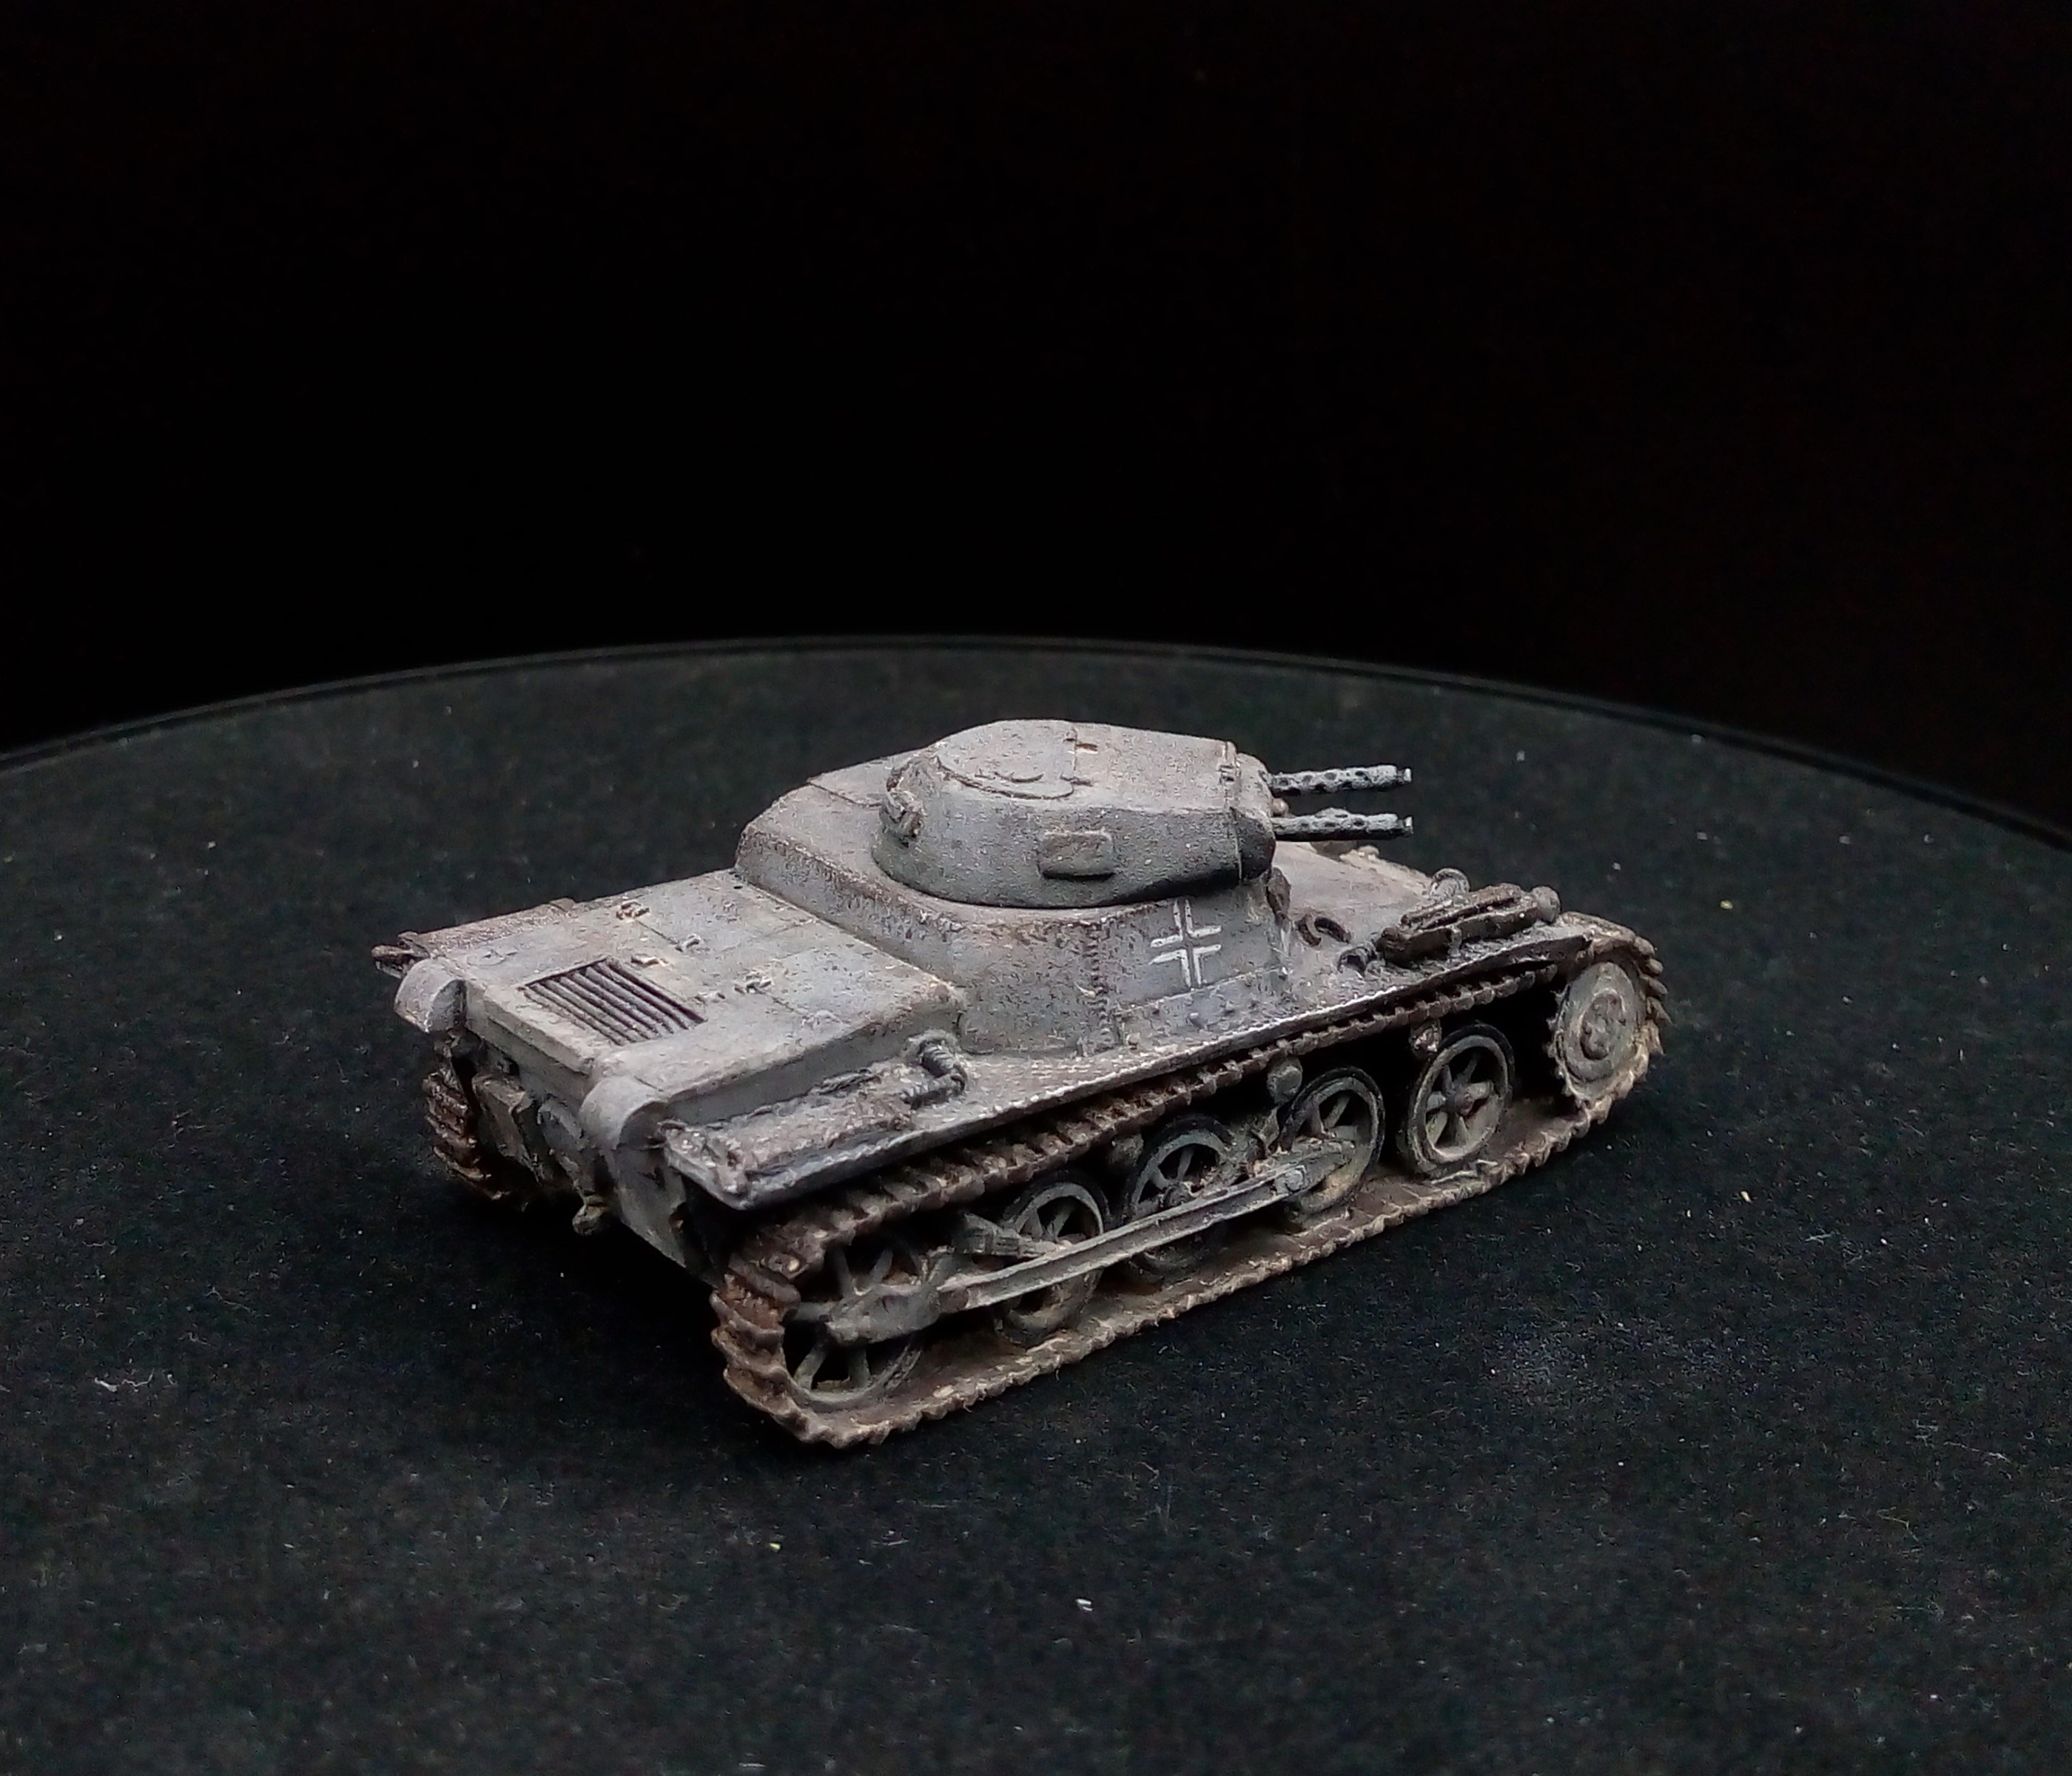
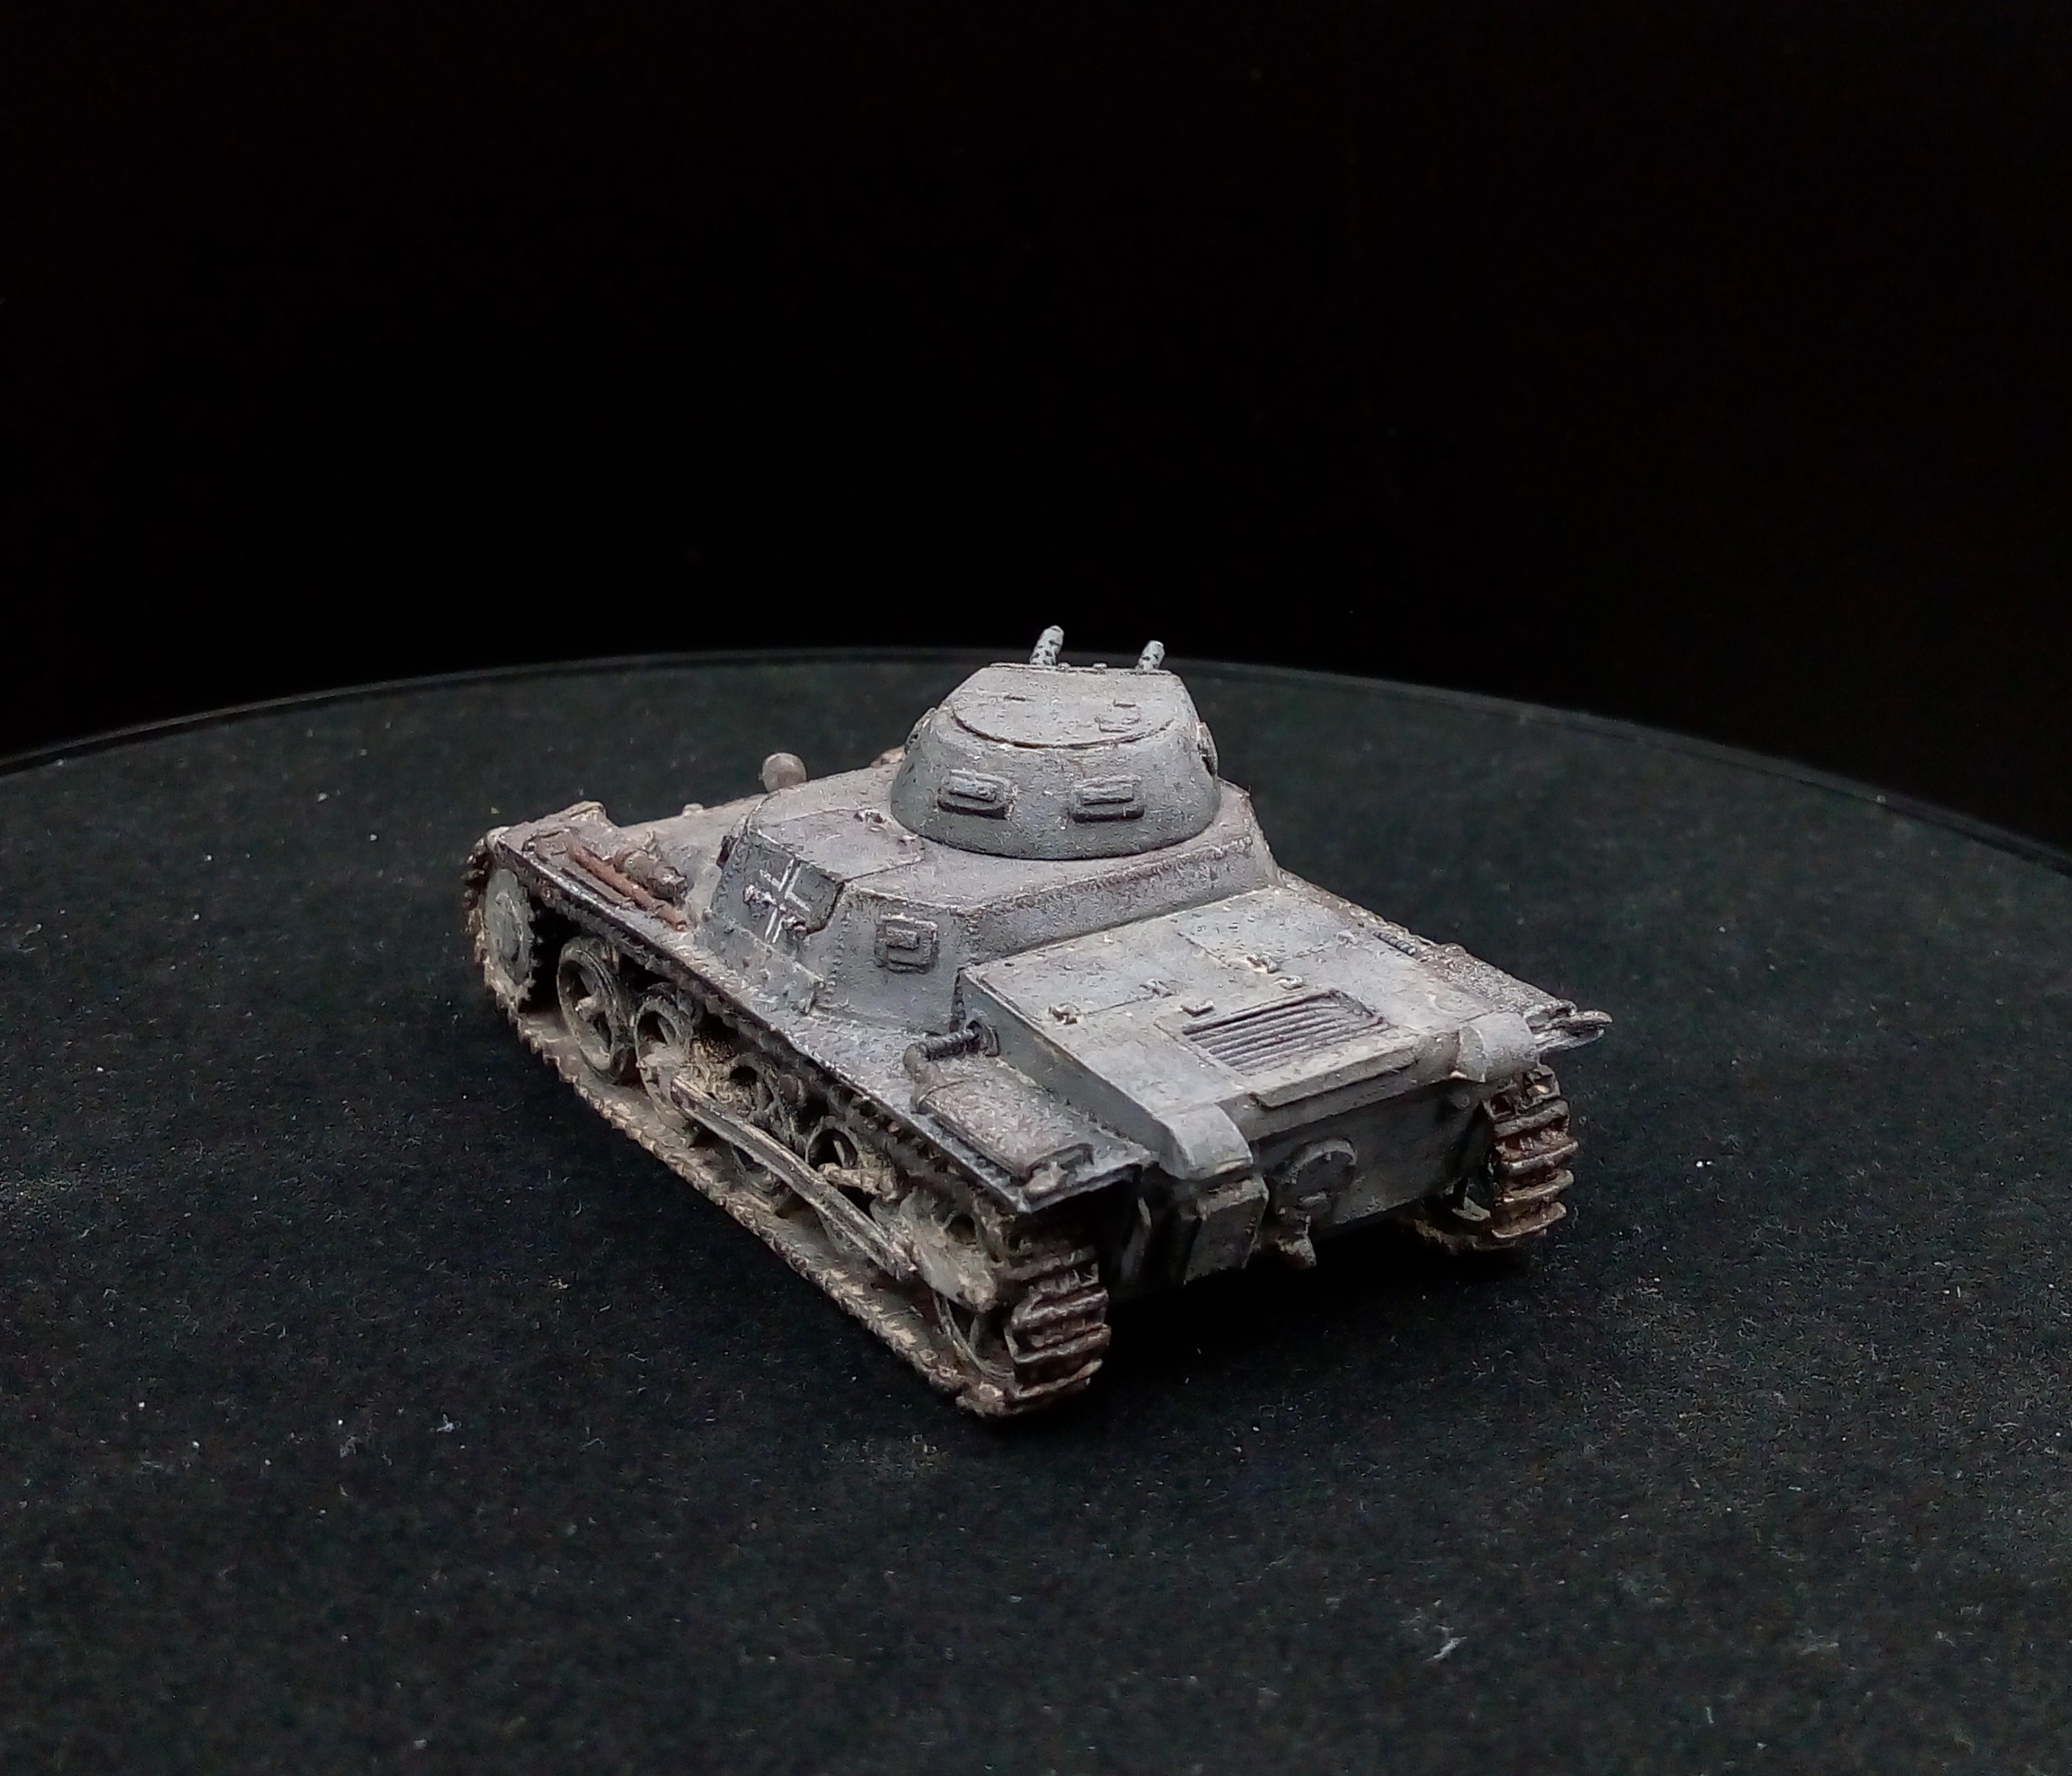
Having finished the mini looked really nice but had a factory fresh feel I couldn’t shake. After all these had been in production since the 1930’s so I grabbed some bits to do some weathering.
A quick dab of a sponge with the Ammo Mig chipping on it used similar to drybrushing having got most of it off with some tissue and I had some nice surface pitting but not so much it looked like it had been abandoned.
After that I grabbed my Ammo Mig North Africa Dust pigment and gave it a coating here and there before applying thinners to reinforce it. I did find I had put on too much and ended up using more thinners and earbud to remove a lot of it but happy with the final results.
Happy hobbying everyone