


Games and Reports


Recommendations: 164
About the Project
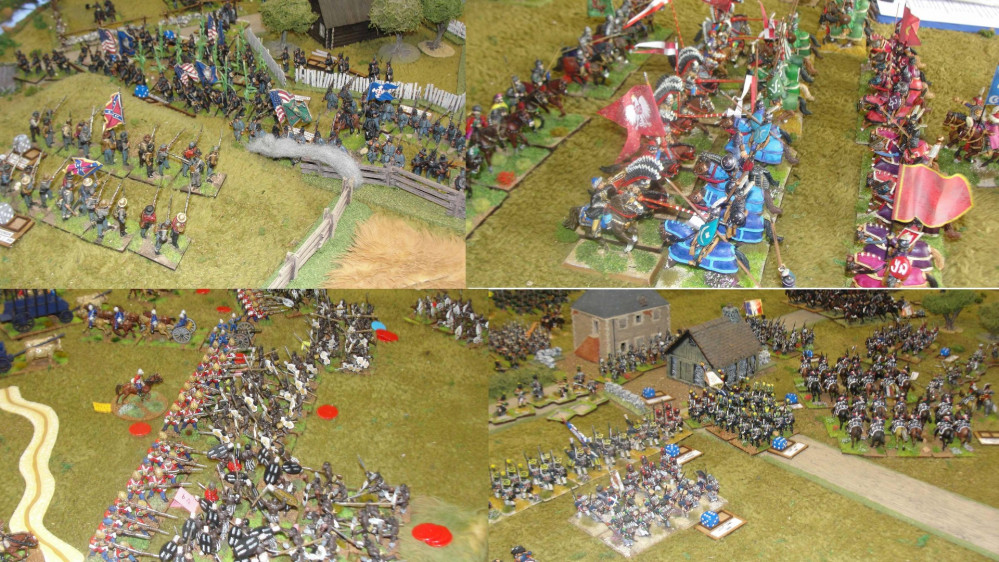
A selection of battle reports from the games I have been involved with.
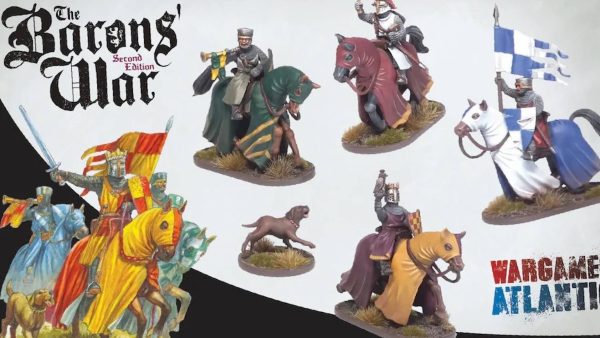
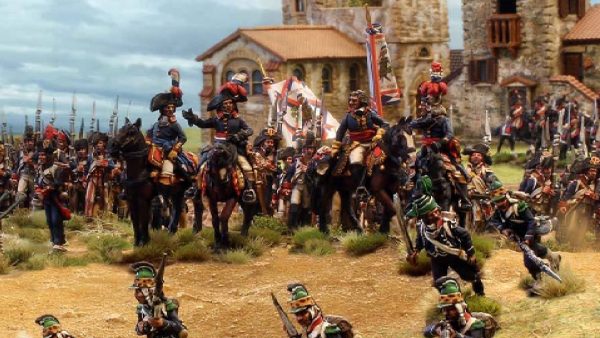
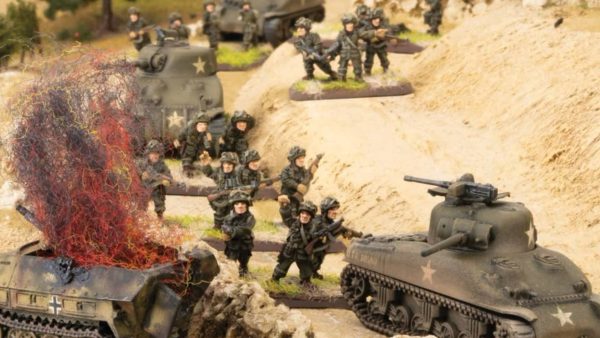
Related Genre: Historical
This Project is Active
High Jinx on the High Seas - Raid on the Anchorage - part 1
Cruel Seas game whare the scenario was an RN raid on a Kriegsmarine anchorage to rescue some high profile POW’s.
The Royal Navy briefing was as follows:
HMS Orchis has been ordered to accompany elements of the 35th and 58th Flotillas in a raid on the Tromsburg anchorage in northern Norway. Intelligence has been received that a number of POW’s are being held onboard a merchant ship that is due to depart the anchorage on the night of the 20th of November.
Latest arial surveillance shows that the merchant ship is moored with a Kriegsmarine Vorpostenboot Flakship and 2 R-Boats.
The anchorage is protected by anti-submarine and torpedo nets, but these can be crossed by lighter vessels (with care).
To achieve your objectives of freeing the prisoners you will be accompanied by a platoon of commandos who will need to be transported to the transport via the lighter craft (one section per boat).
To reach and return from the objectives the Vosper MTB’s will need to be towed by yourself and the Cape Portland as they do not have the fuel to make the return journey.
HMS Orchis is capable of vectoring in the smaller craft to intercept the enemy through use of radar, it also carrying star shells to assist in identification of enemy forces.
The Admiralty orders are simple “recover the personal held by the German forces and return to base at Scapa Flow”.
The Kriegsmarine were ordered to defend the anchorage and ensure that the transports were not taken by the enemy.
As an aside one of the players has earned the nickname of “Uncle Albert” as every time we play a naval game (or an air game for that matter) every ship he commands ends up sunk (or plane shot down).
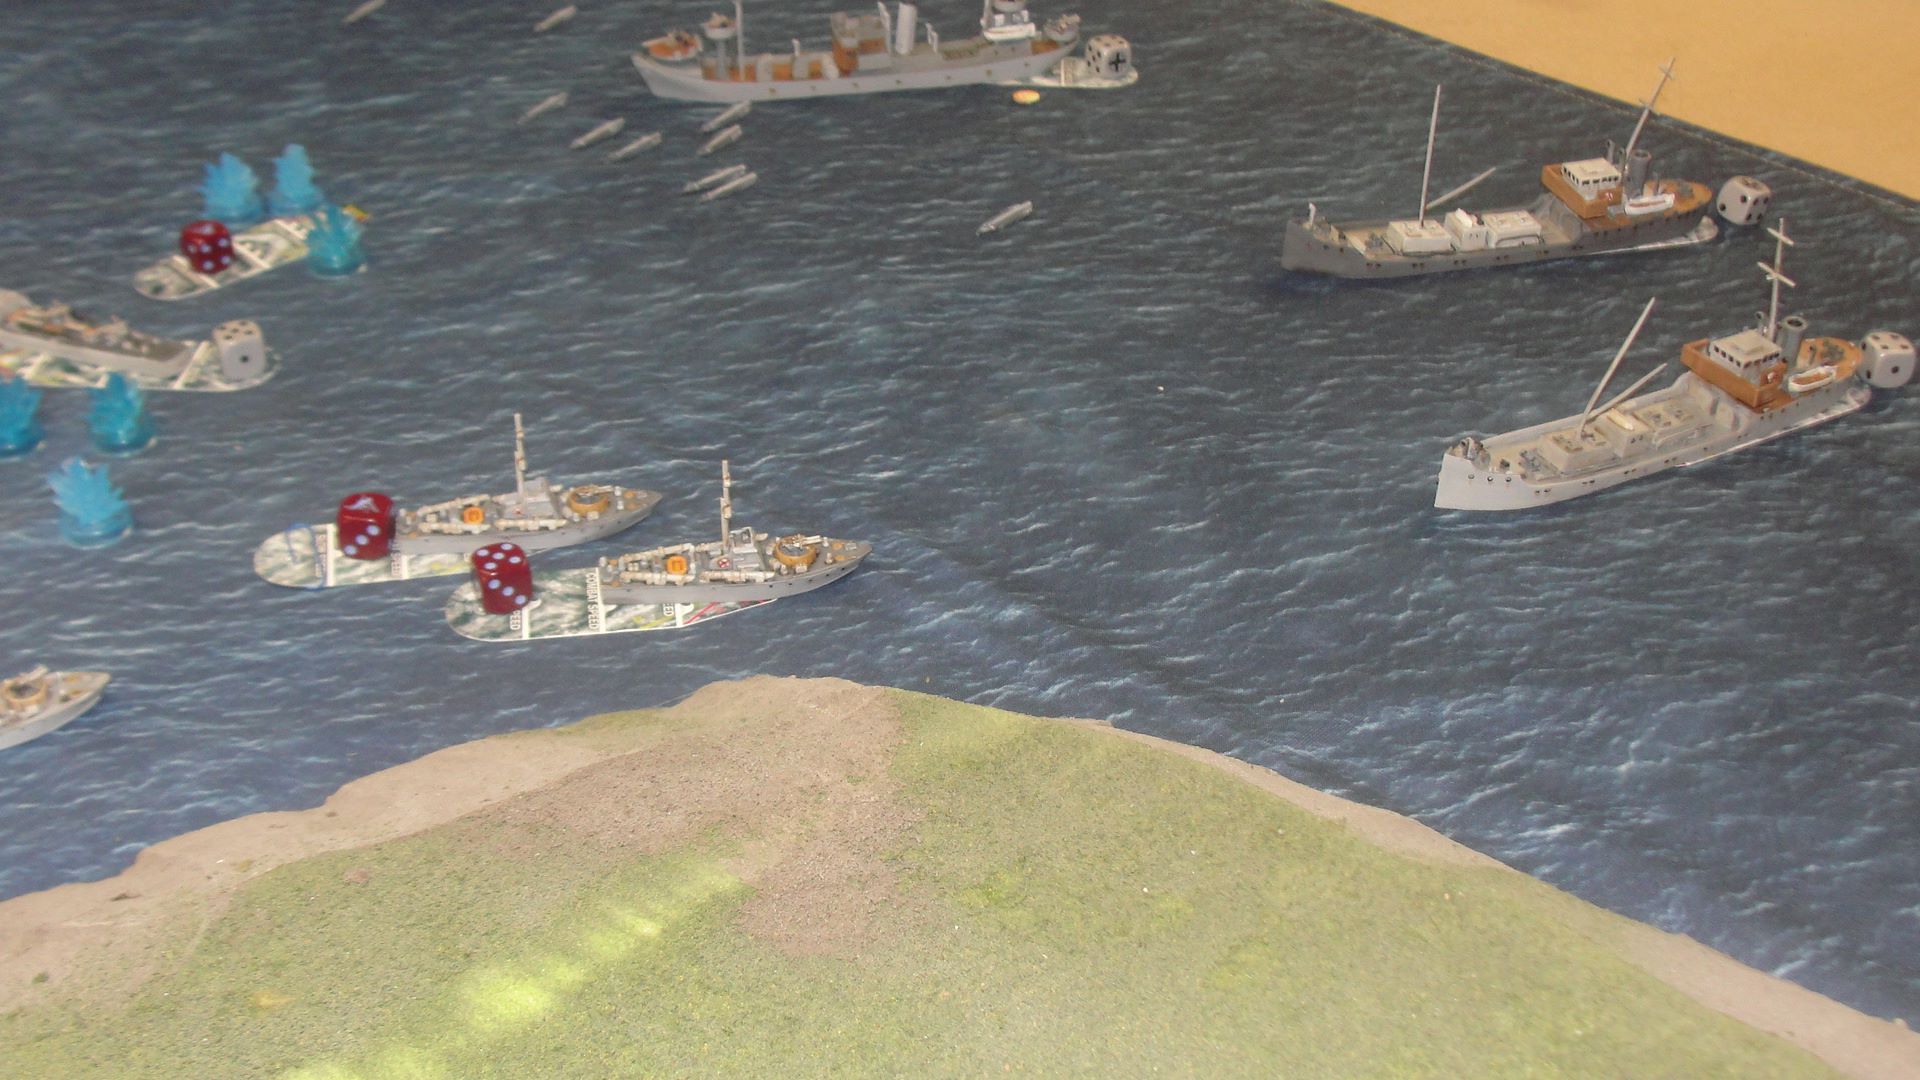
 The RN approach the entry to the Fjord
 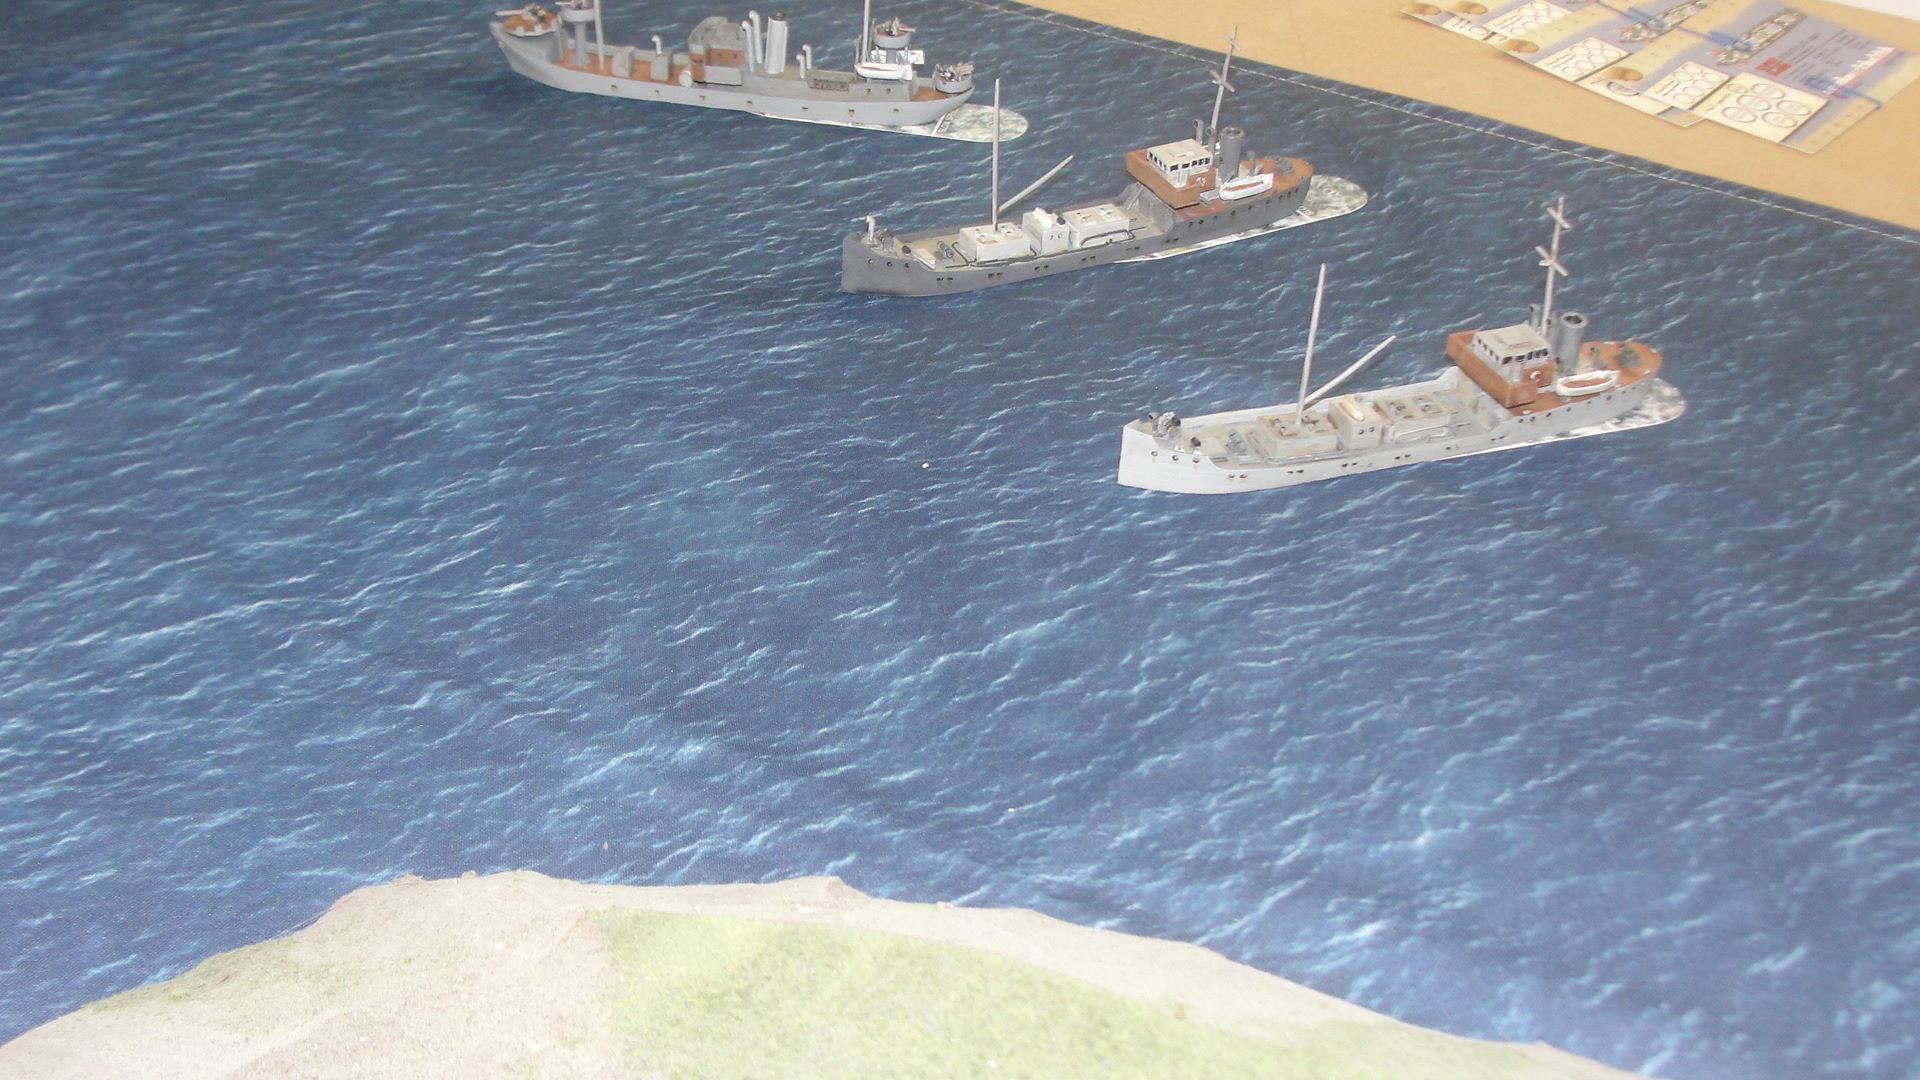 When the RN approach the anchorage they realise there are two transports not one which one holds the prisoners?
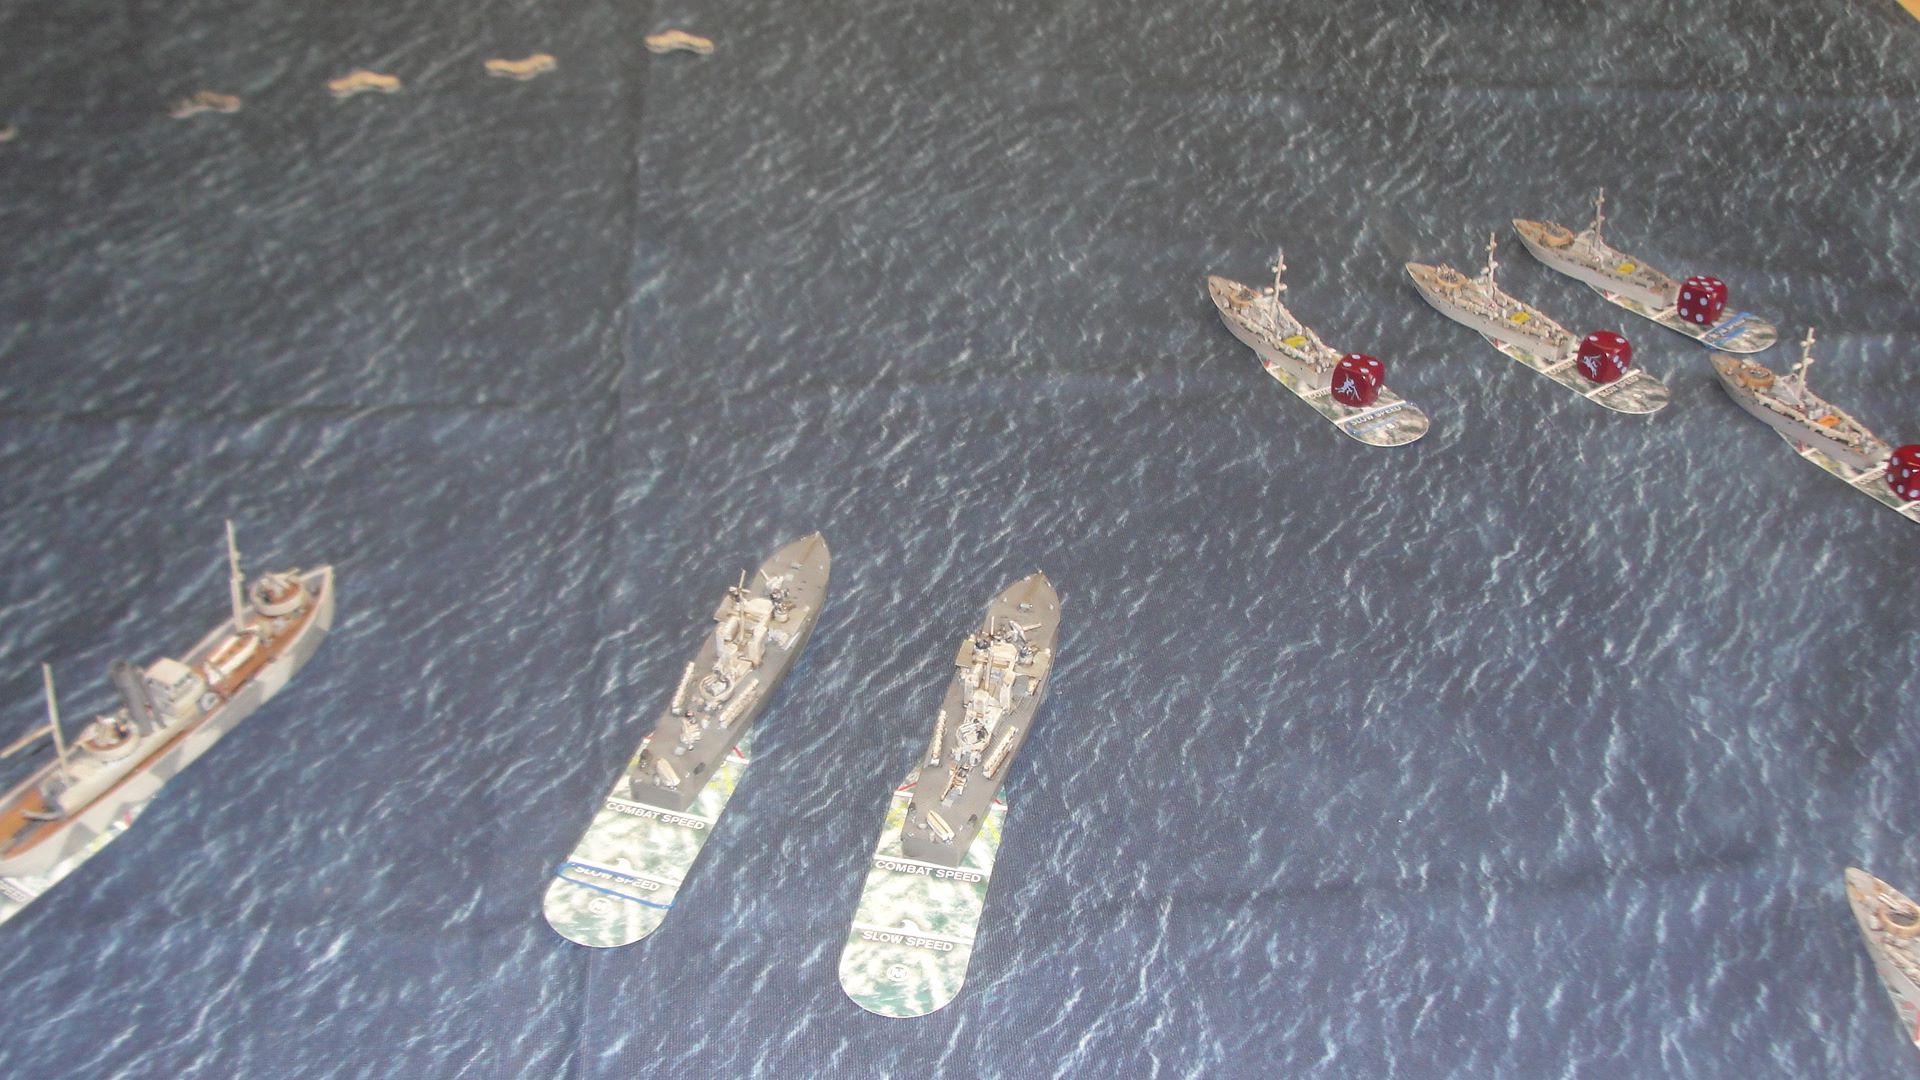
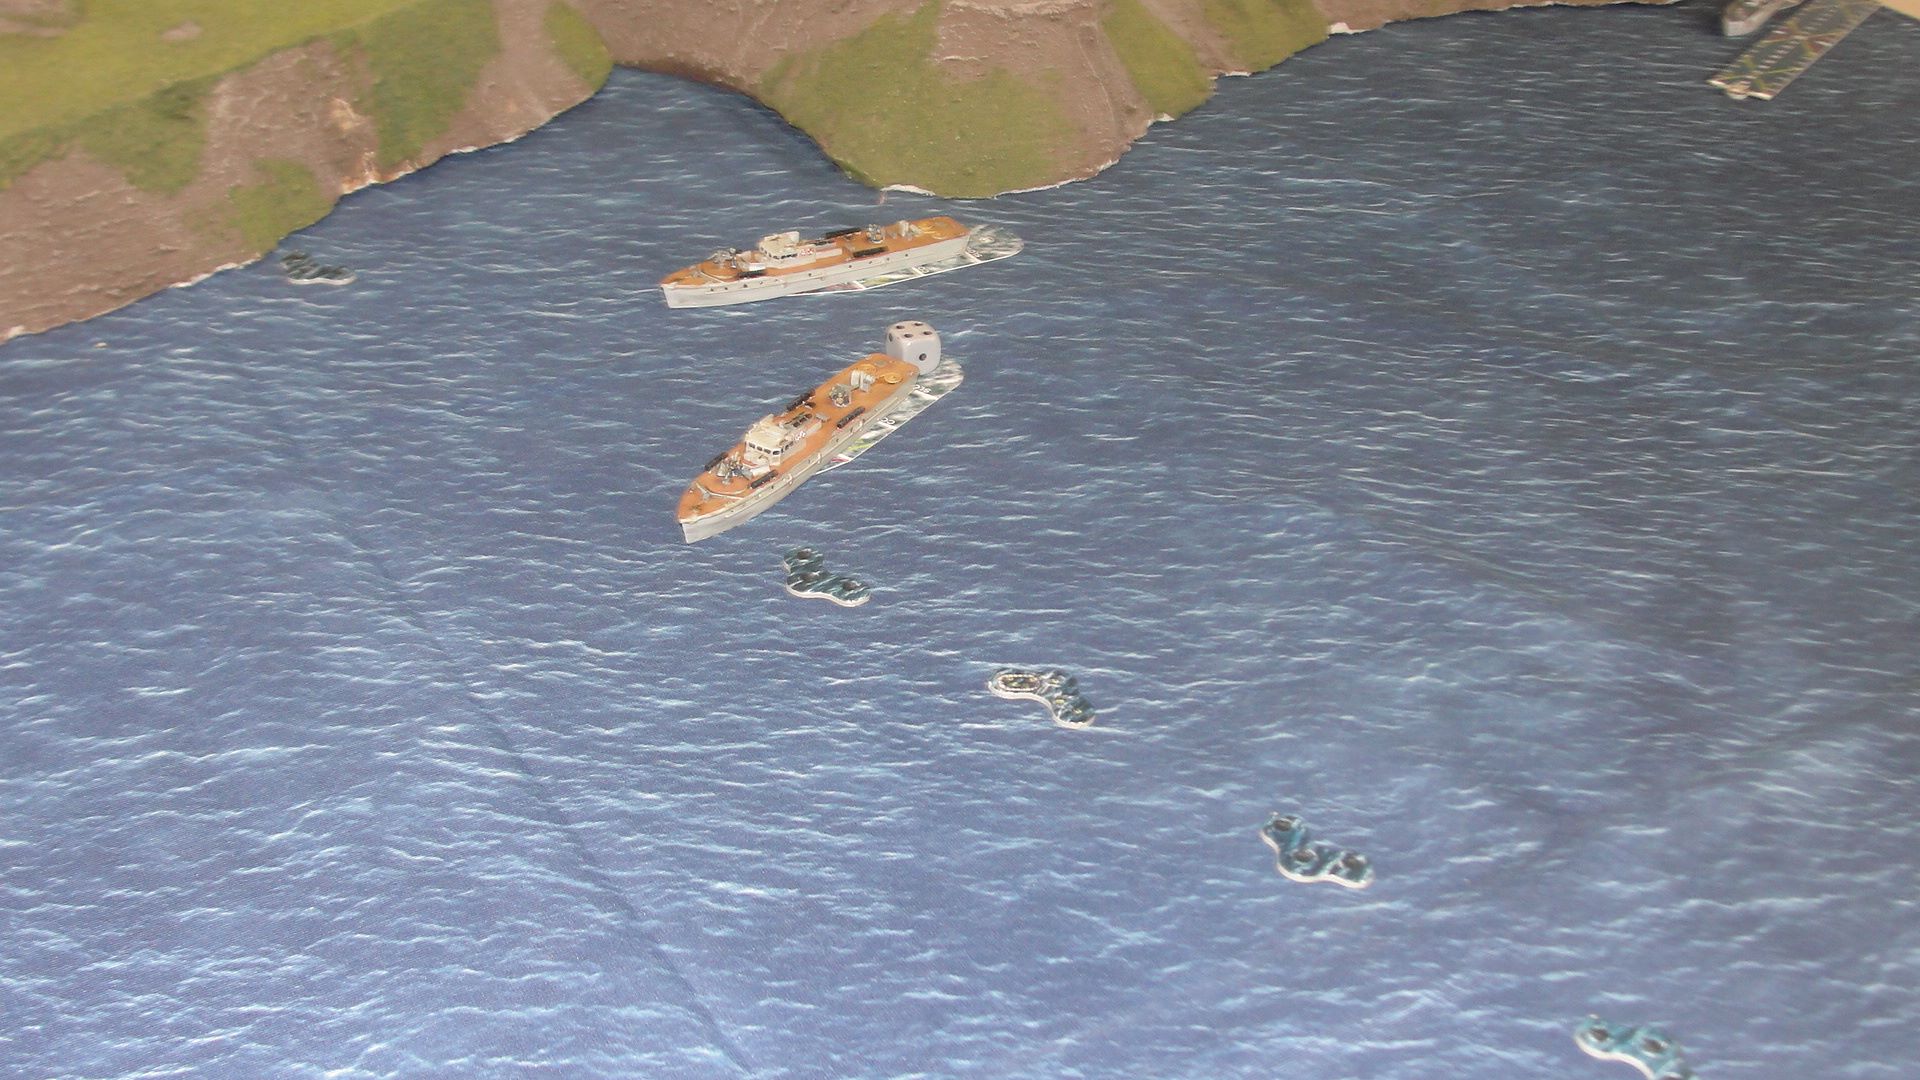 The two R Boats bravely (or foolishly depending on your opinion but they were commanded by “Uncle Albert”) moved forward to engage.
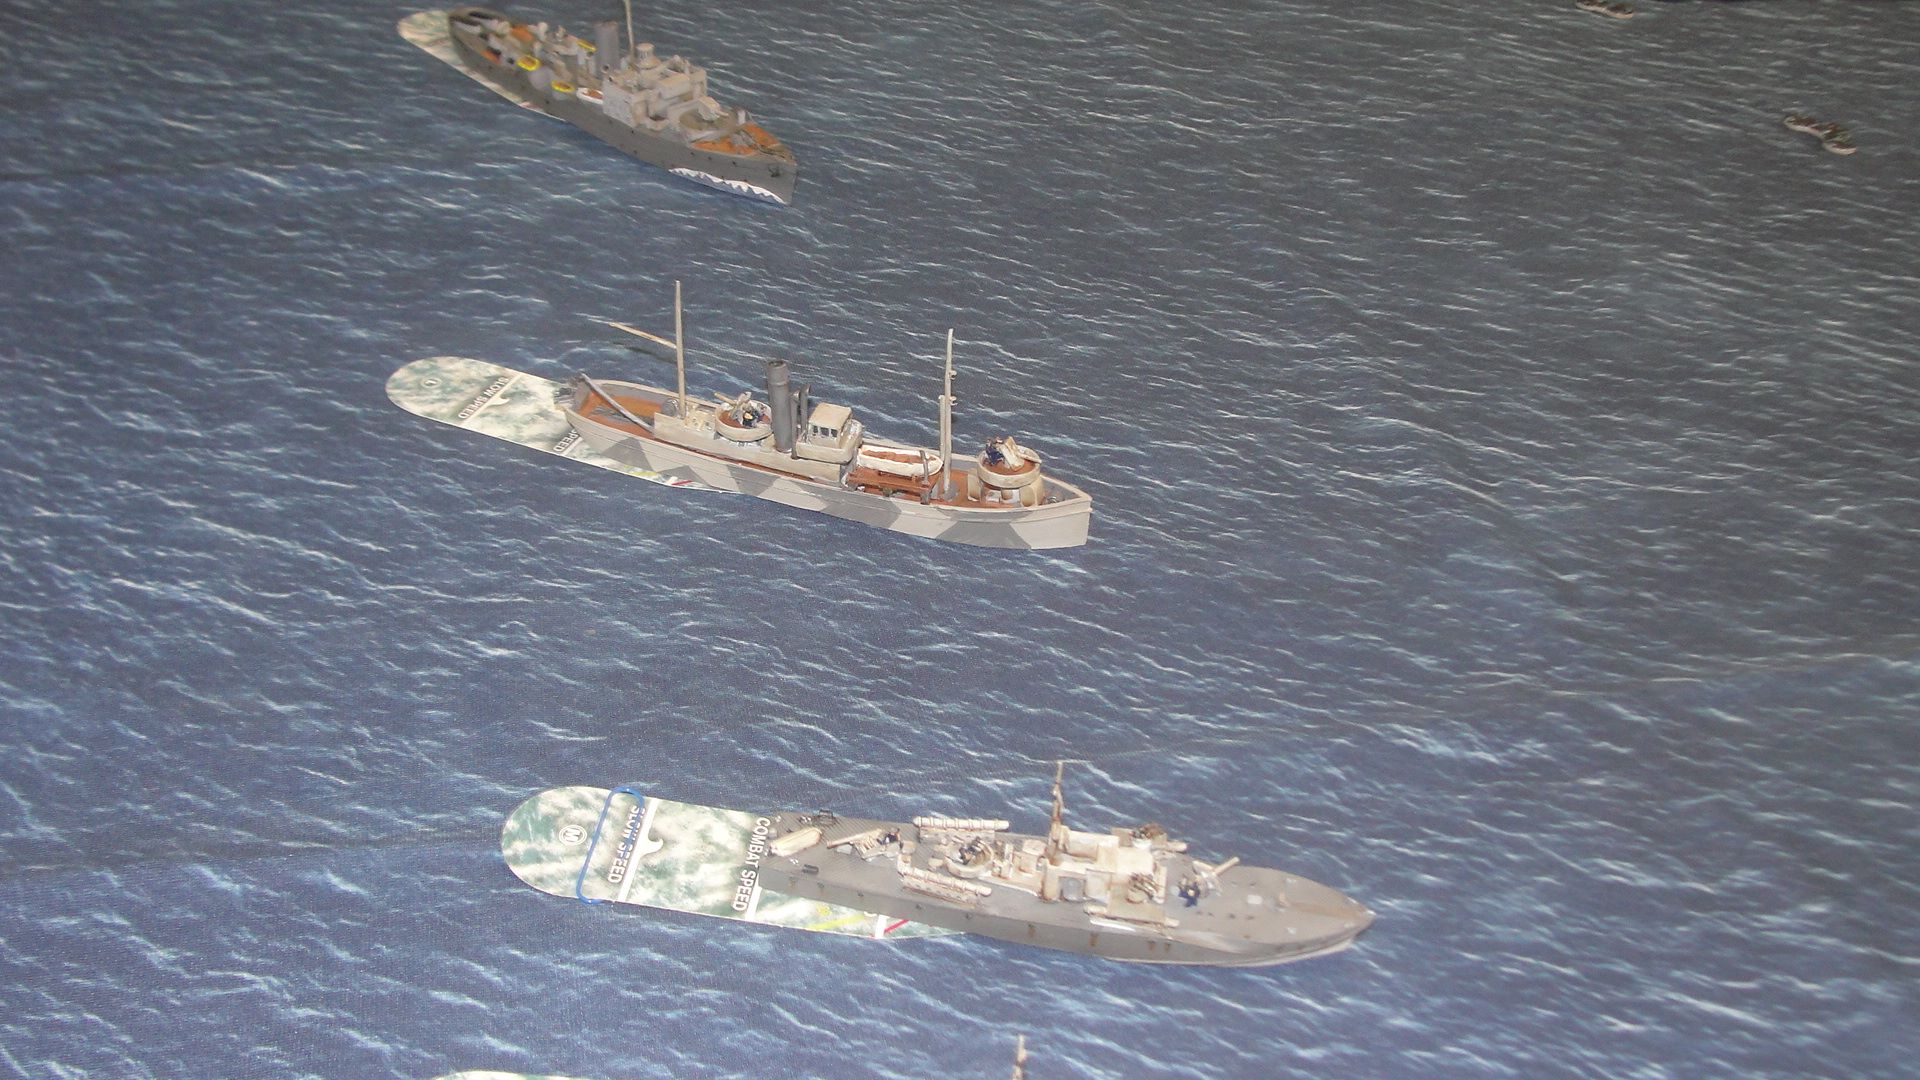 The Corvette and Trawler opened up on the R Boats as they were spotted and also fired “star shells” to illuminate the rest of the anchorage.
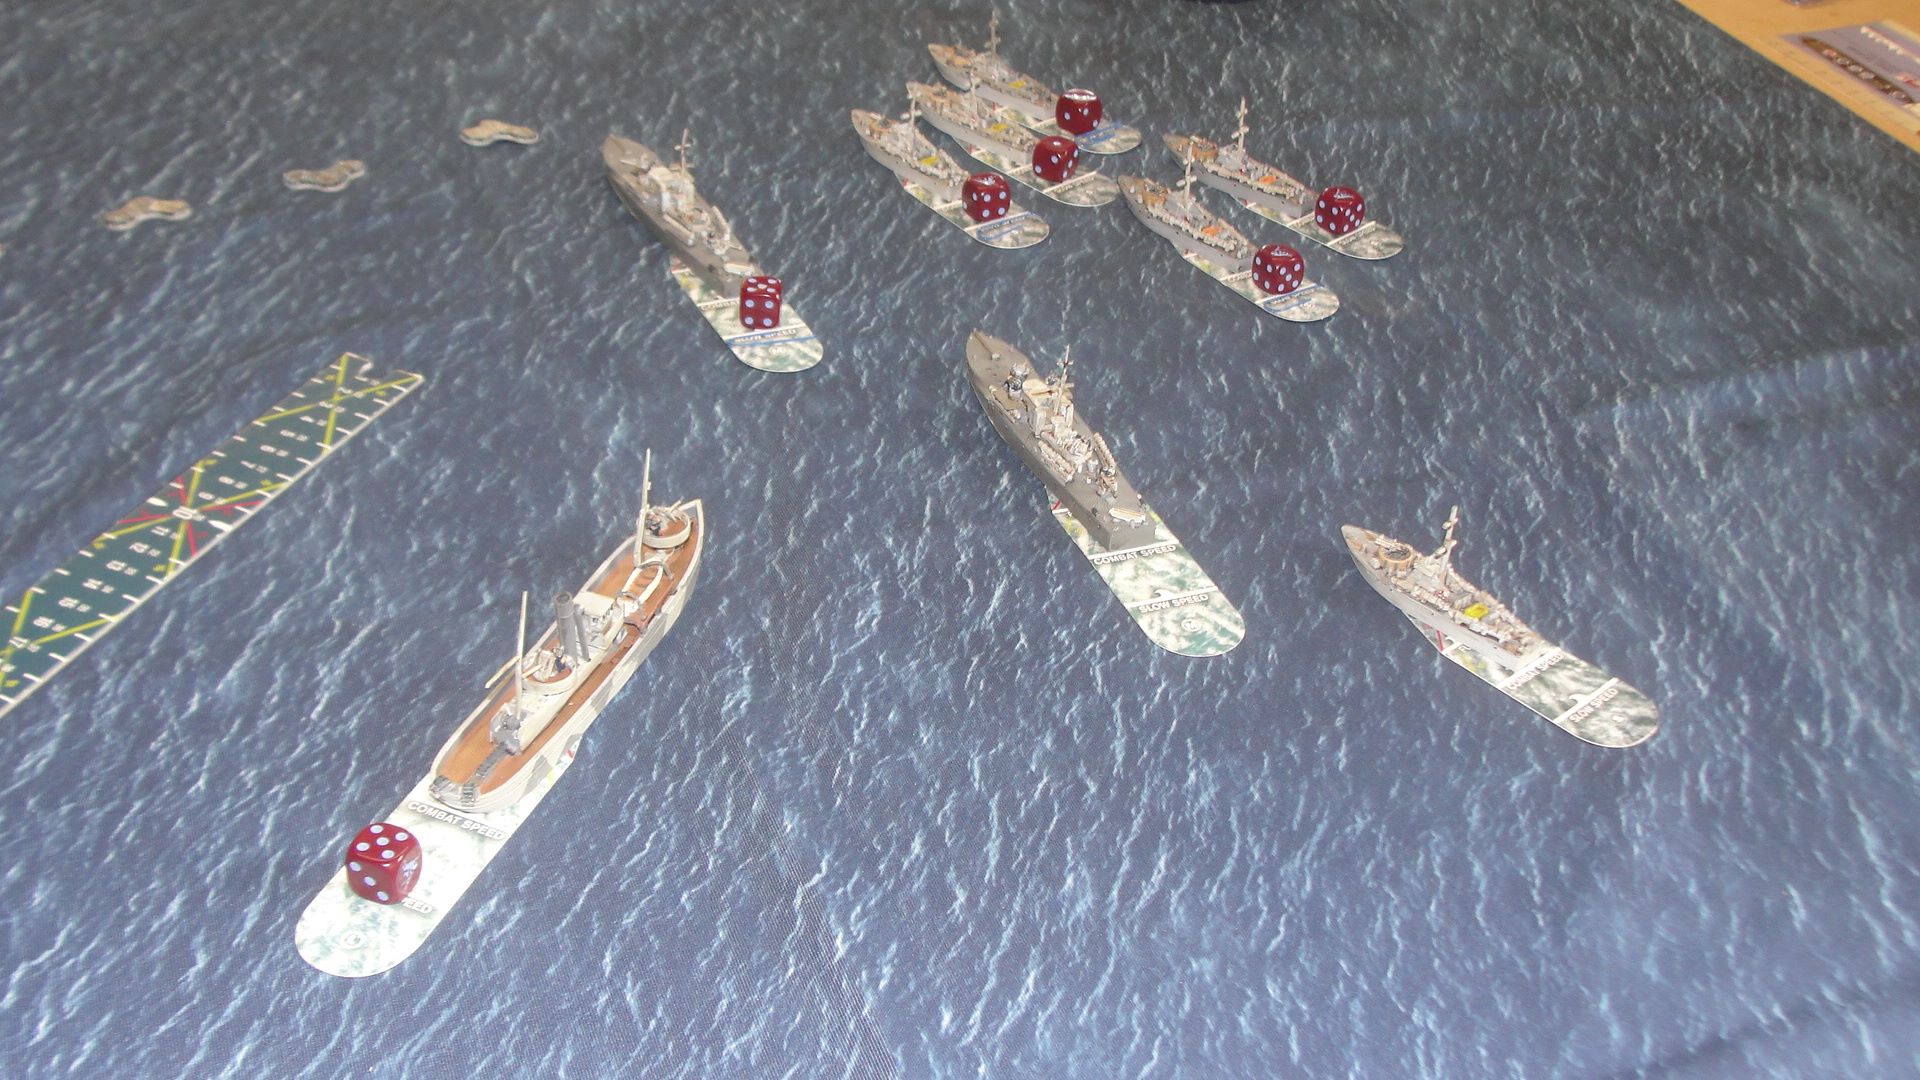 The various MTB’s were approaching the gap in the nets but it was congested and you could sense something was going to happen.
 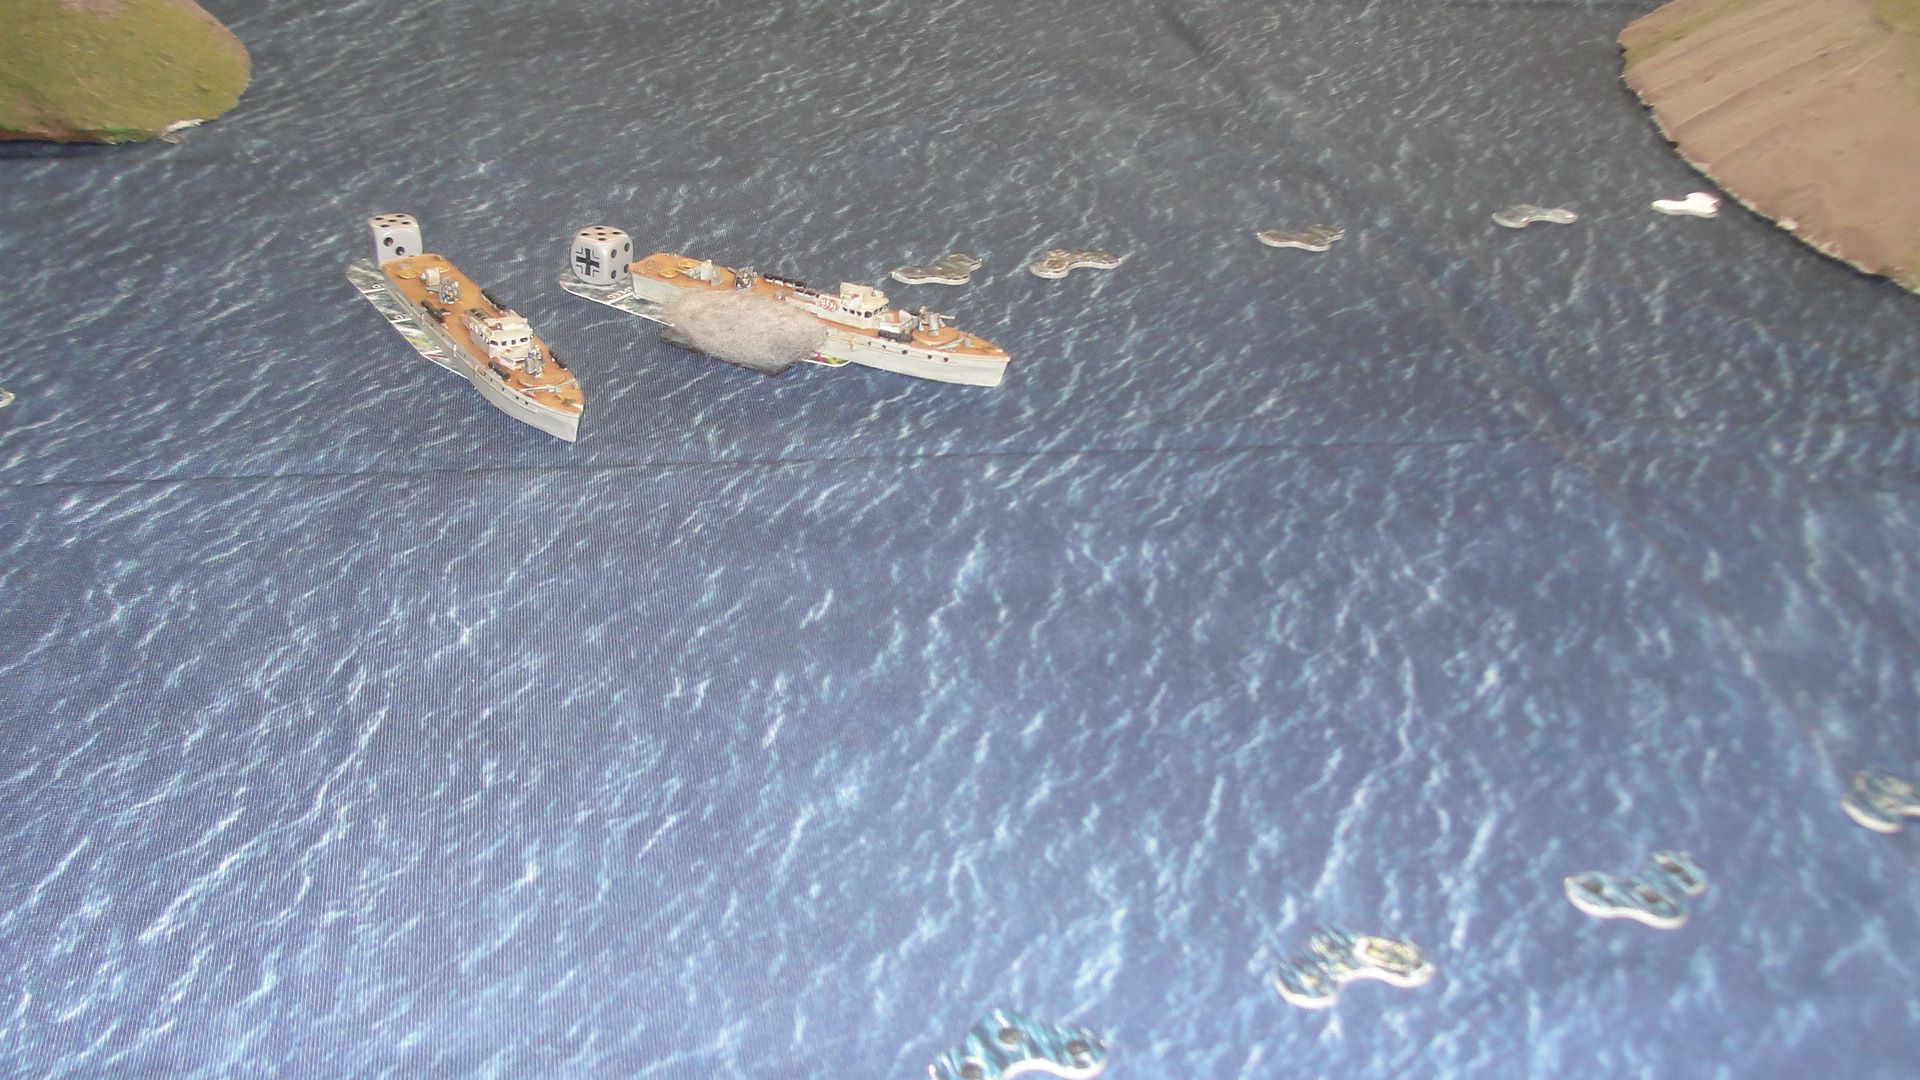 As the R Boats engaged, they took heavy fire from the RN forces, and one was soon slipping beneath the waves. However, they had inflicted damage on the Fairmile D’s putting its rudder out of action.
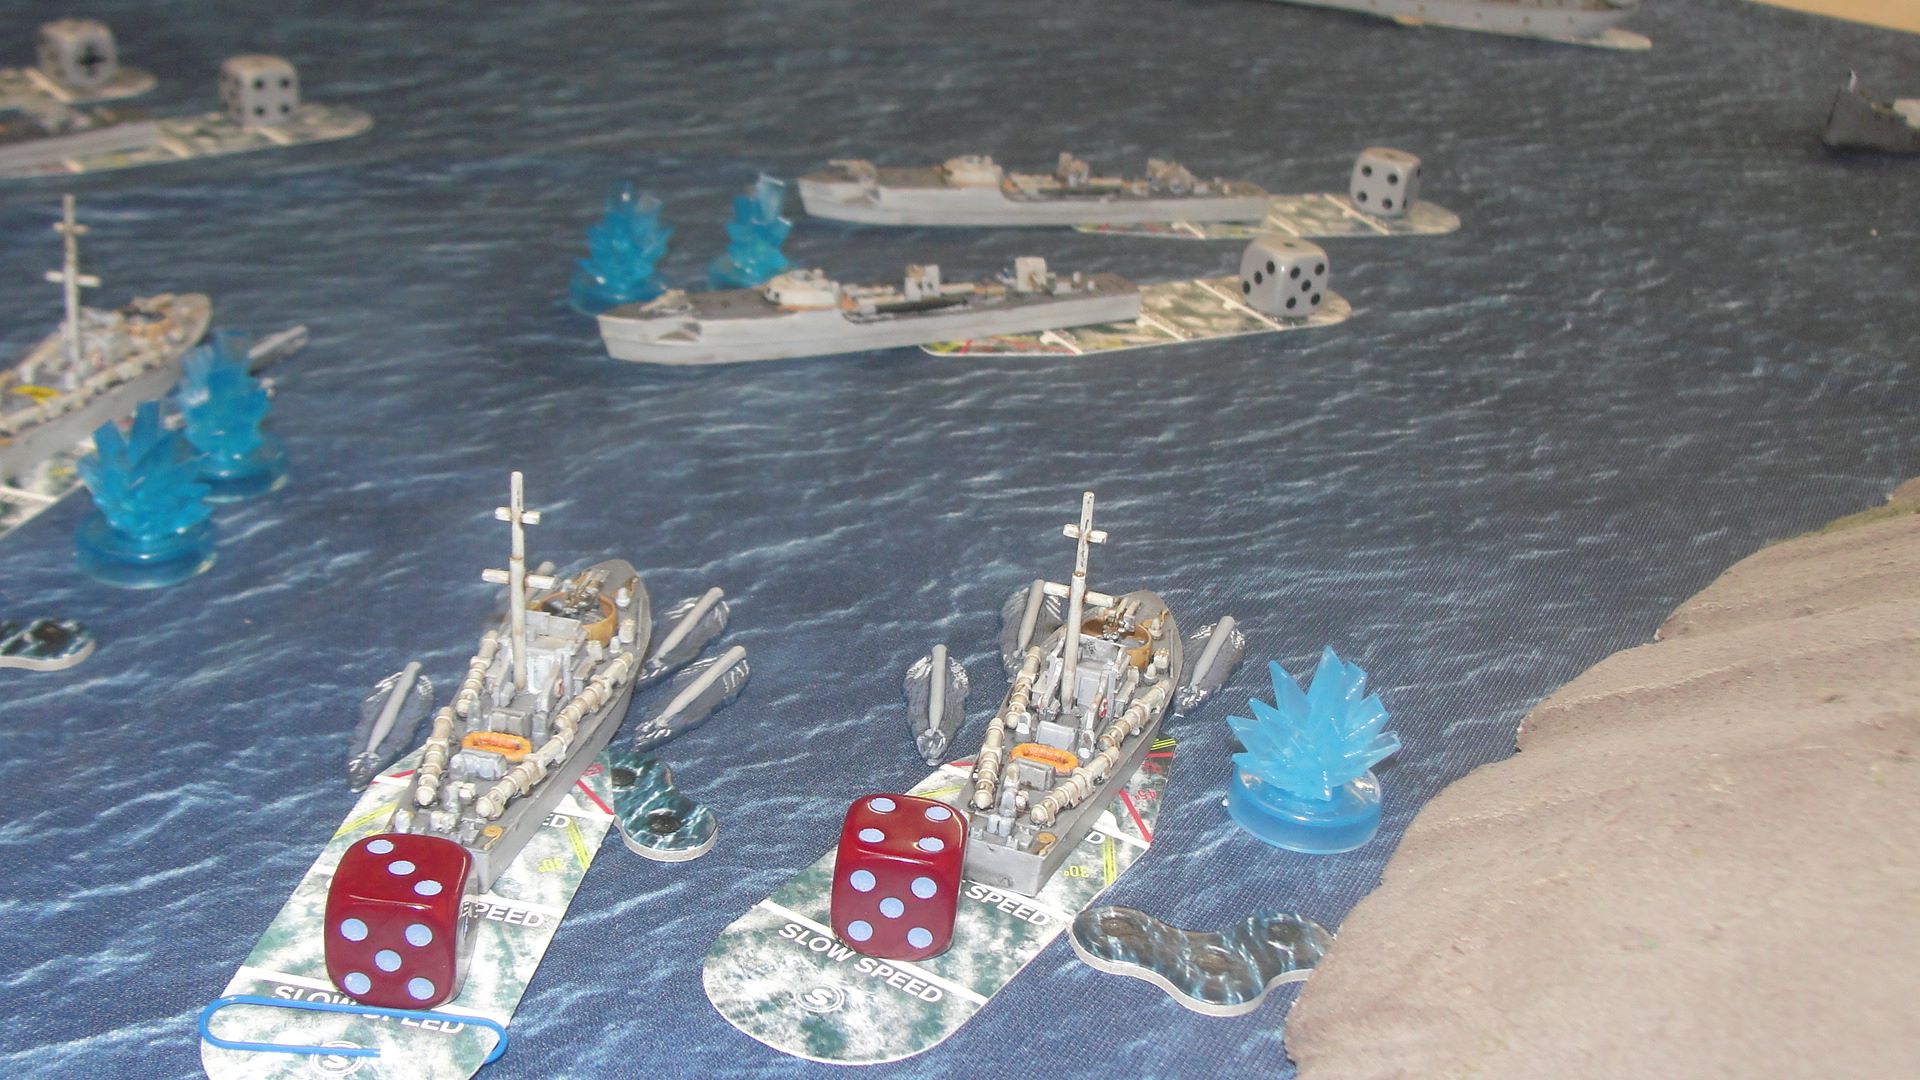
 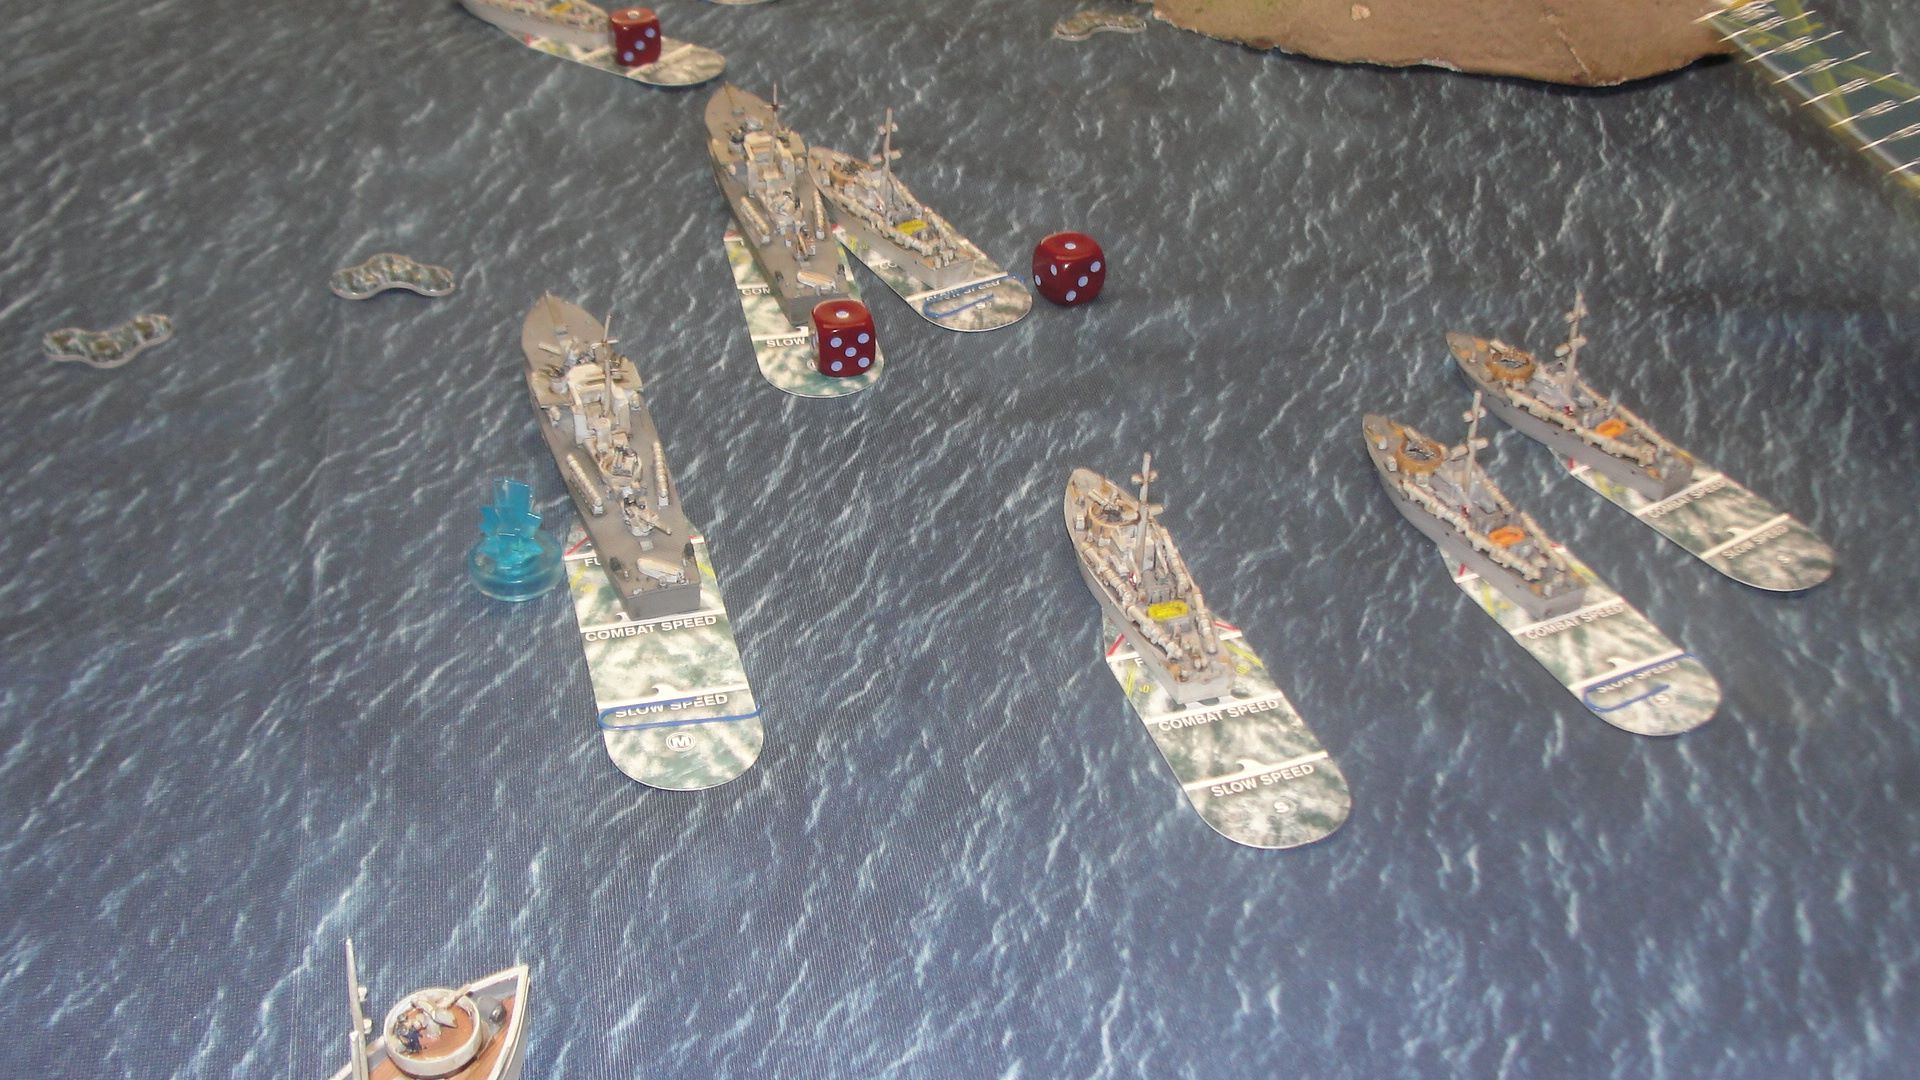 With the congestion entering the anchorage the inevitable happened and one of the Fairmile D’s and a Vosper collided.
 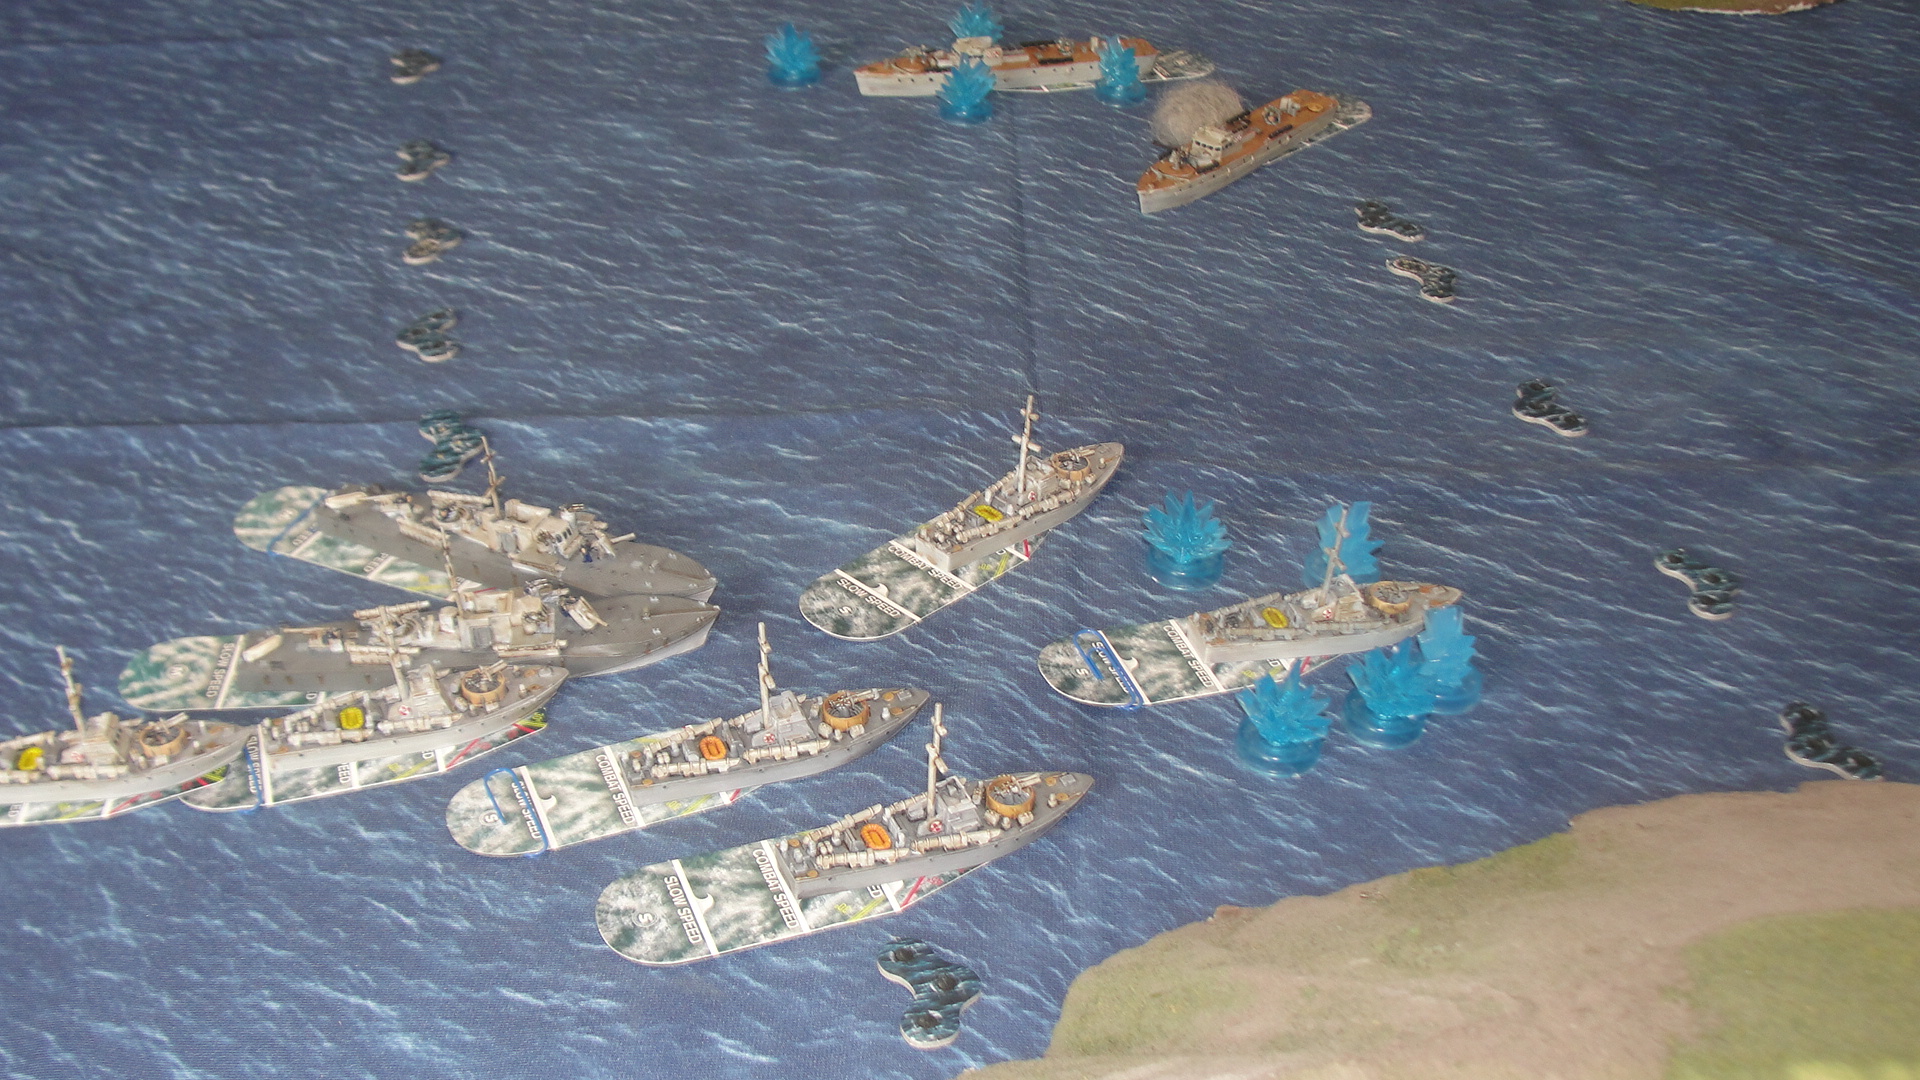 When the Fairmile D with the rudder damage threw for its effect, it was inevitable that it turned to its starboard and rammed the other Fairmile. Just to add to the fun one of the following Vosper’s did its move forward and rammed the other Vosper in the stern. By now the RN had done more damage to itself than the Kriegsmarine and the commander of the Corvette could feel the Admiralty Board of Enquiry looming in his future!
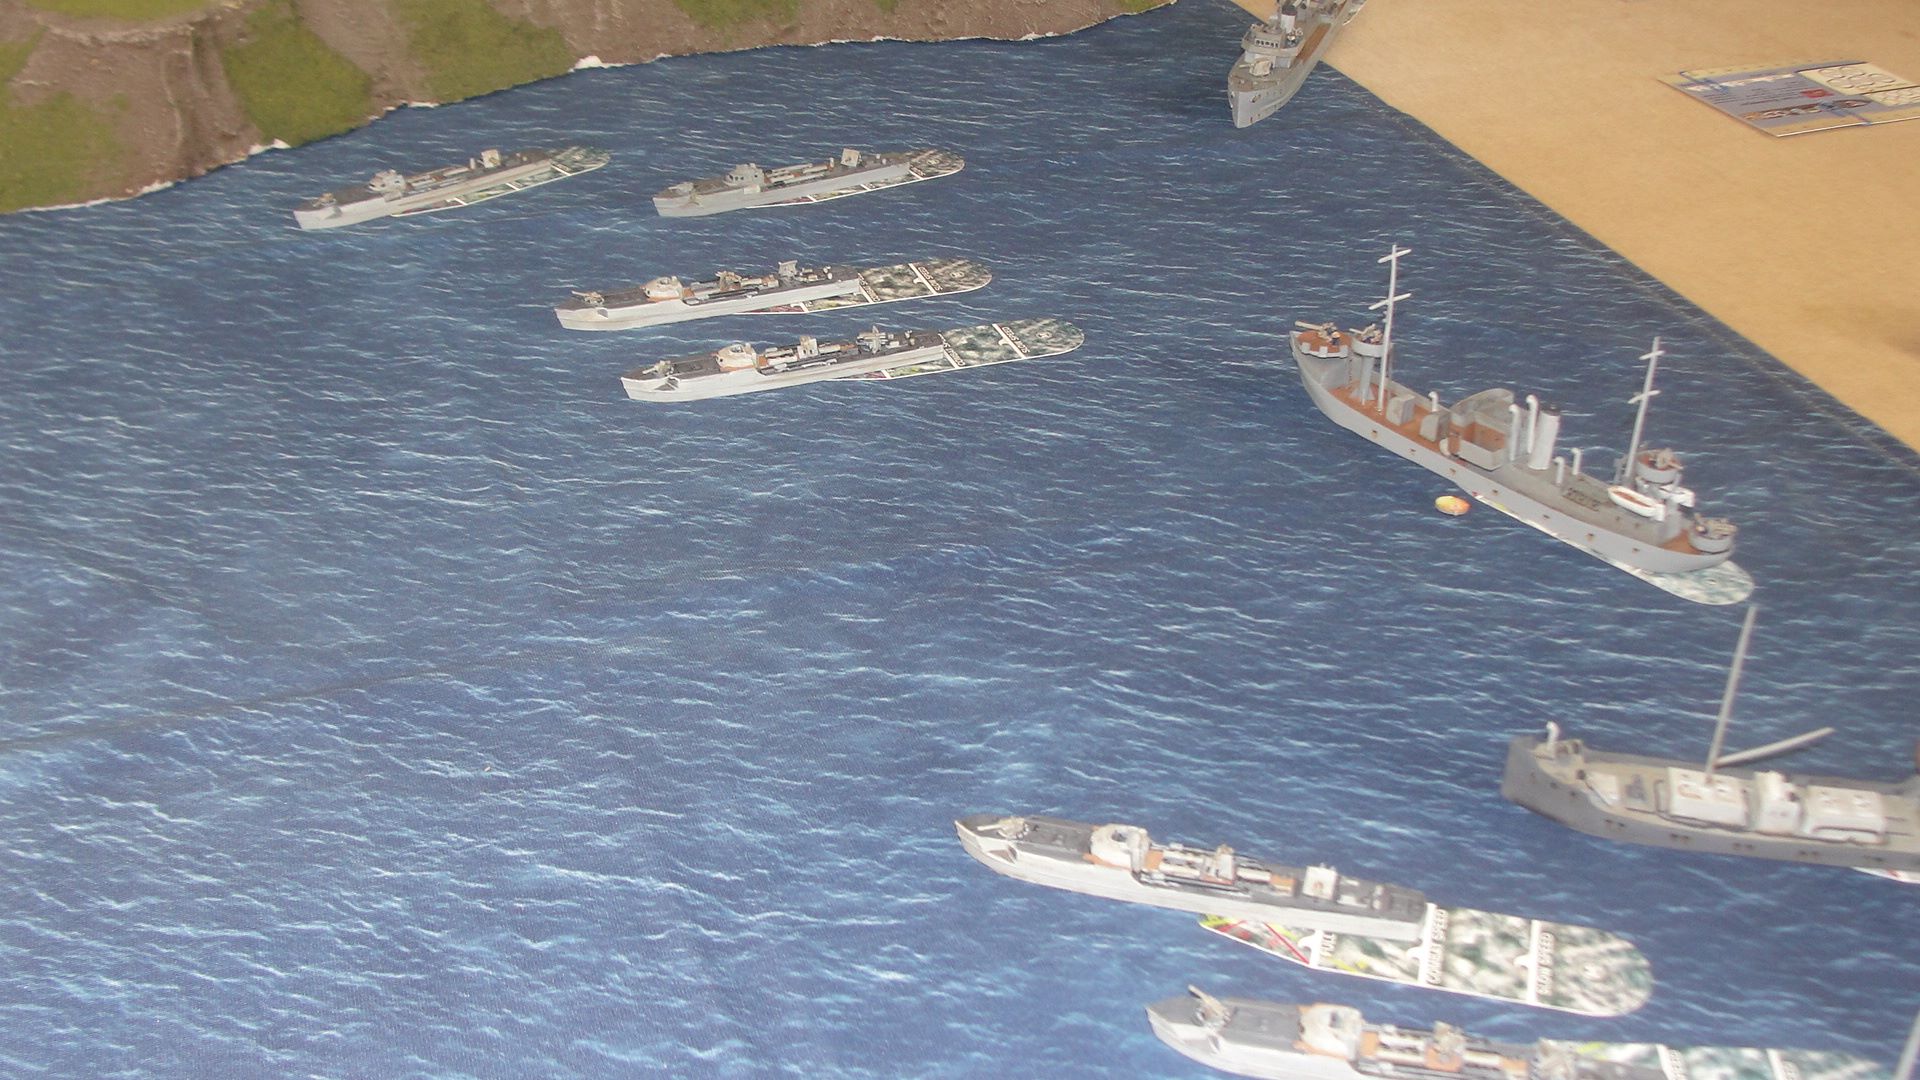
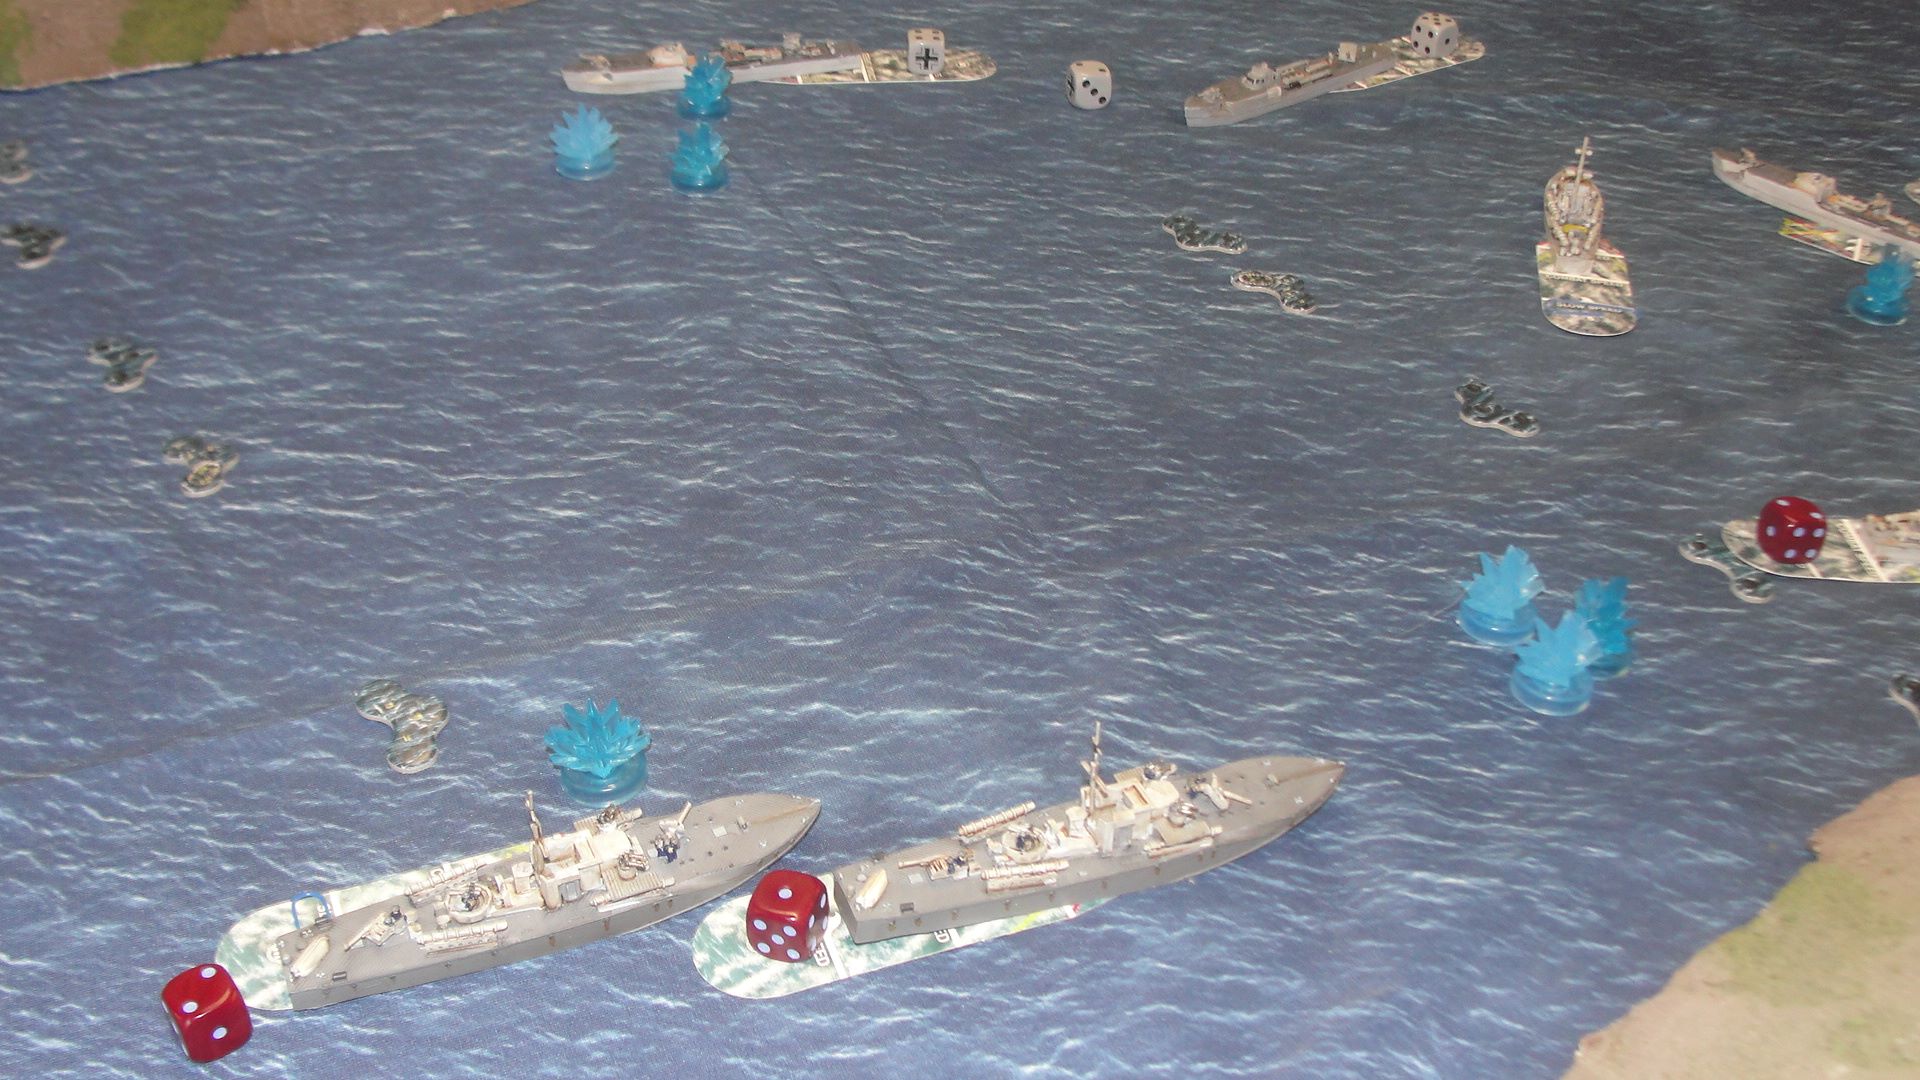
The S Boats did not arrive in time to stop the initial group of Vospers crossing the second set of torpedo nets. As soon as they cleared the nest all torpedoes were launched and the Flak ship and Minesweeper.
While one Vosper disintegrated under the fire from a couple of S Boats the Vosper’s carrying the commandos had entered the anchorage proper and were heading for the transports.
By now the Fairmile D’s had also sorted themselves out, completed repairs and started to engage the S Boats with their 6pdrs causing severe damage.
With torpedoes fast approaching both the Flak ship and the Minesweeper the fate of the defenders was sealed. The Commandos on the Vosper’s had identified their target and were readying to board and the game was called.
With the loss of only 2 Vosper MTB’s the game was called in favour of the RN but “Uncle Albert” did have two ships left afloat. However, these were the transports who no one was firing at ?.
Stalingrad (Part 2)
It was back to the Stalingrad game this week.
As things were standing the Russians were approximately 50% of the way to their morale limit while the Germans were slightly better off.
The situation was that the Germans were still assaulting the tractor factory while along the rest of the front both sides had hunkered down and were taking pot shots at each other.
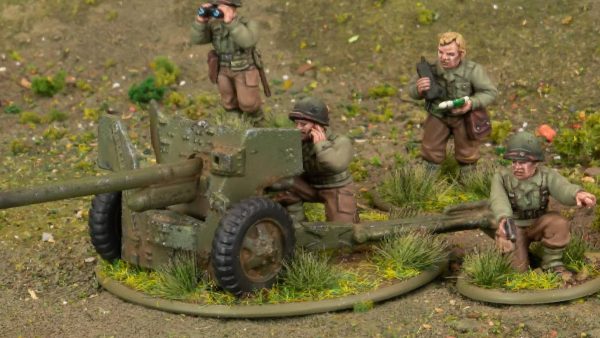
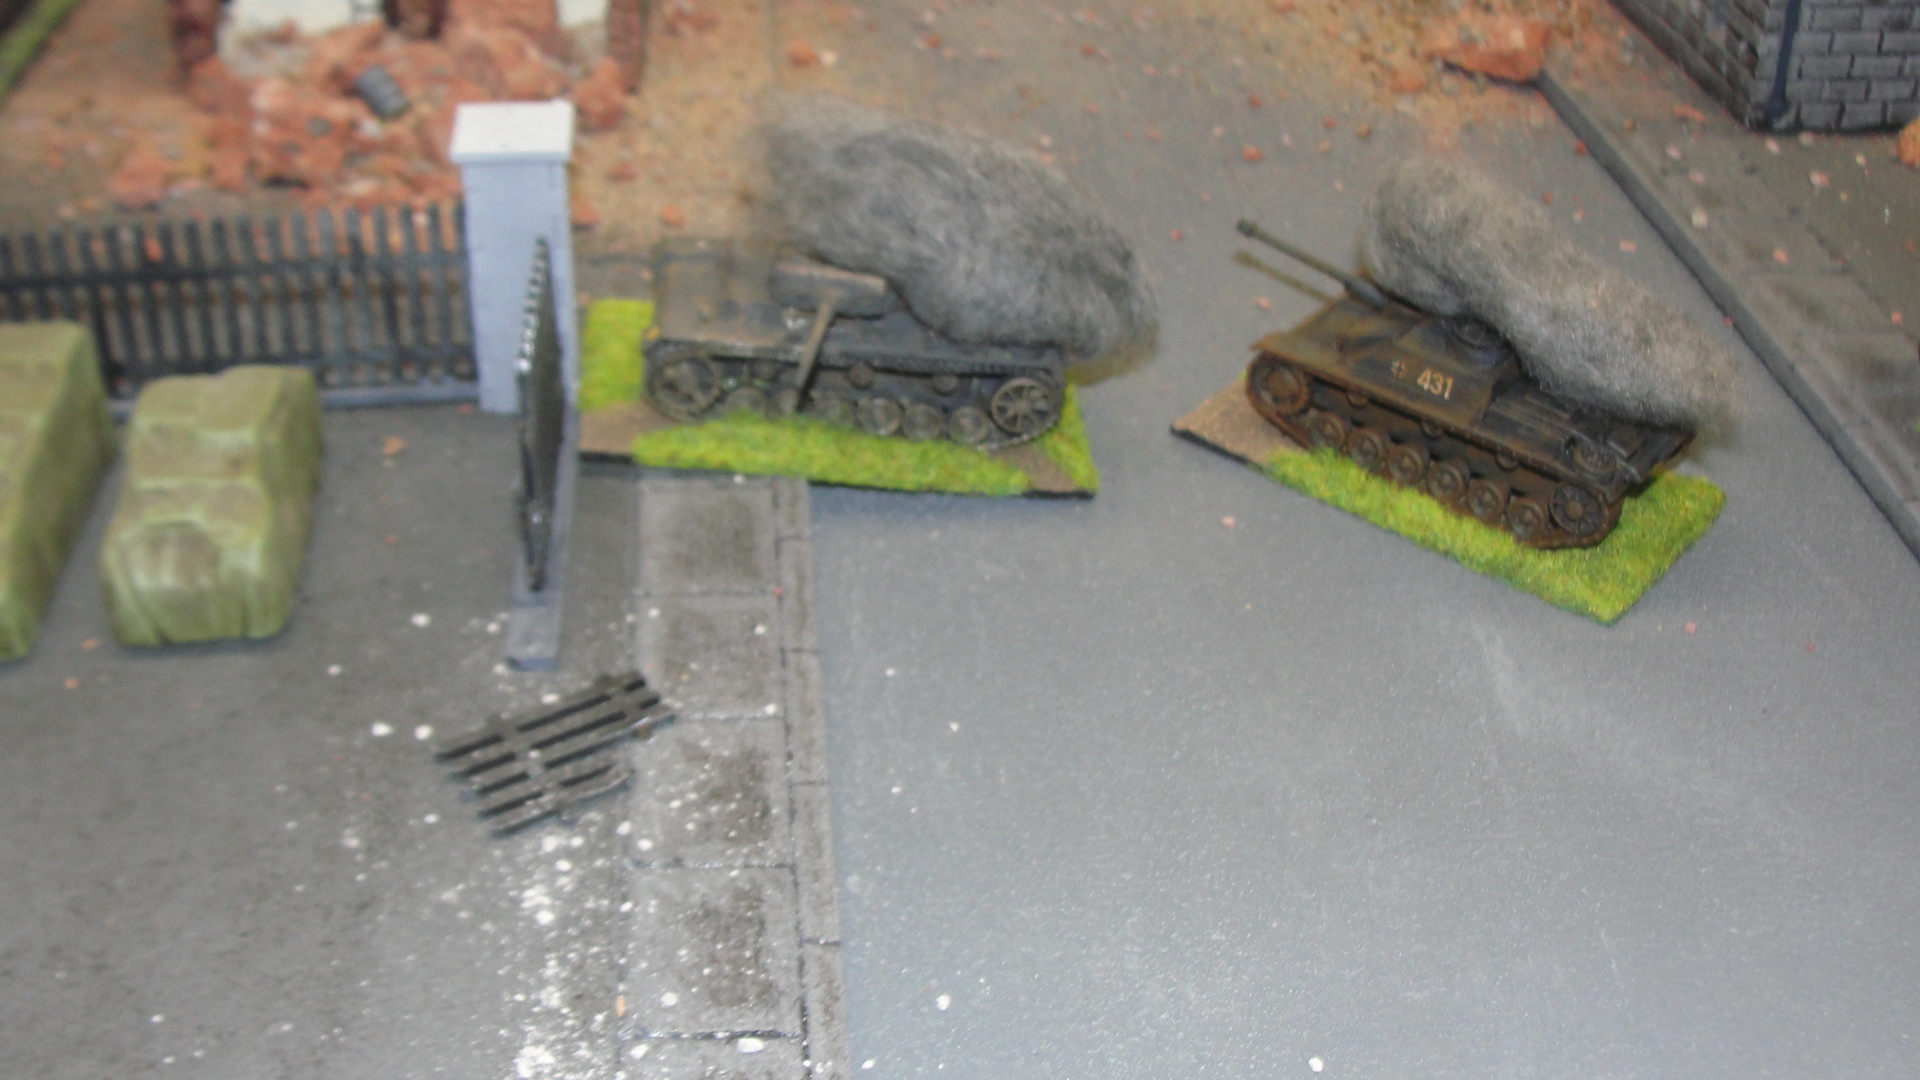
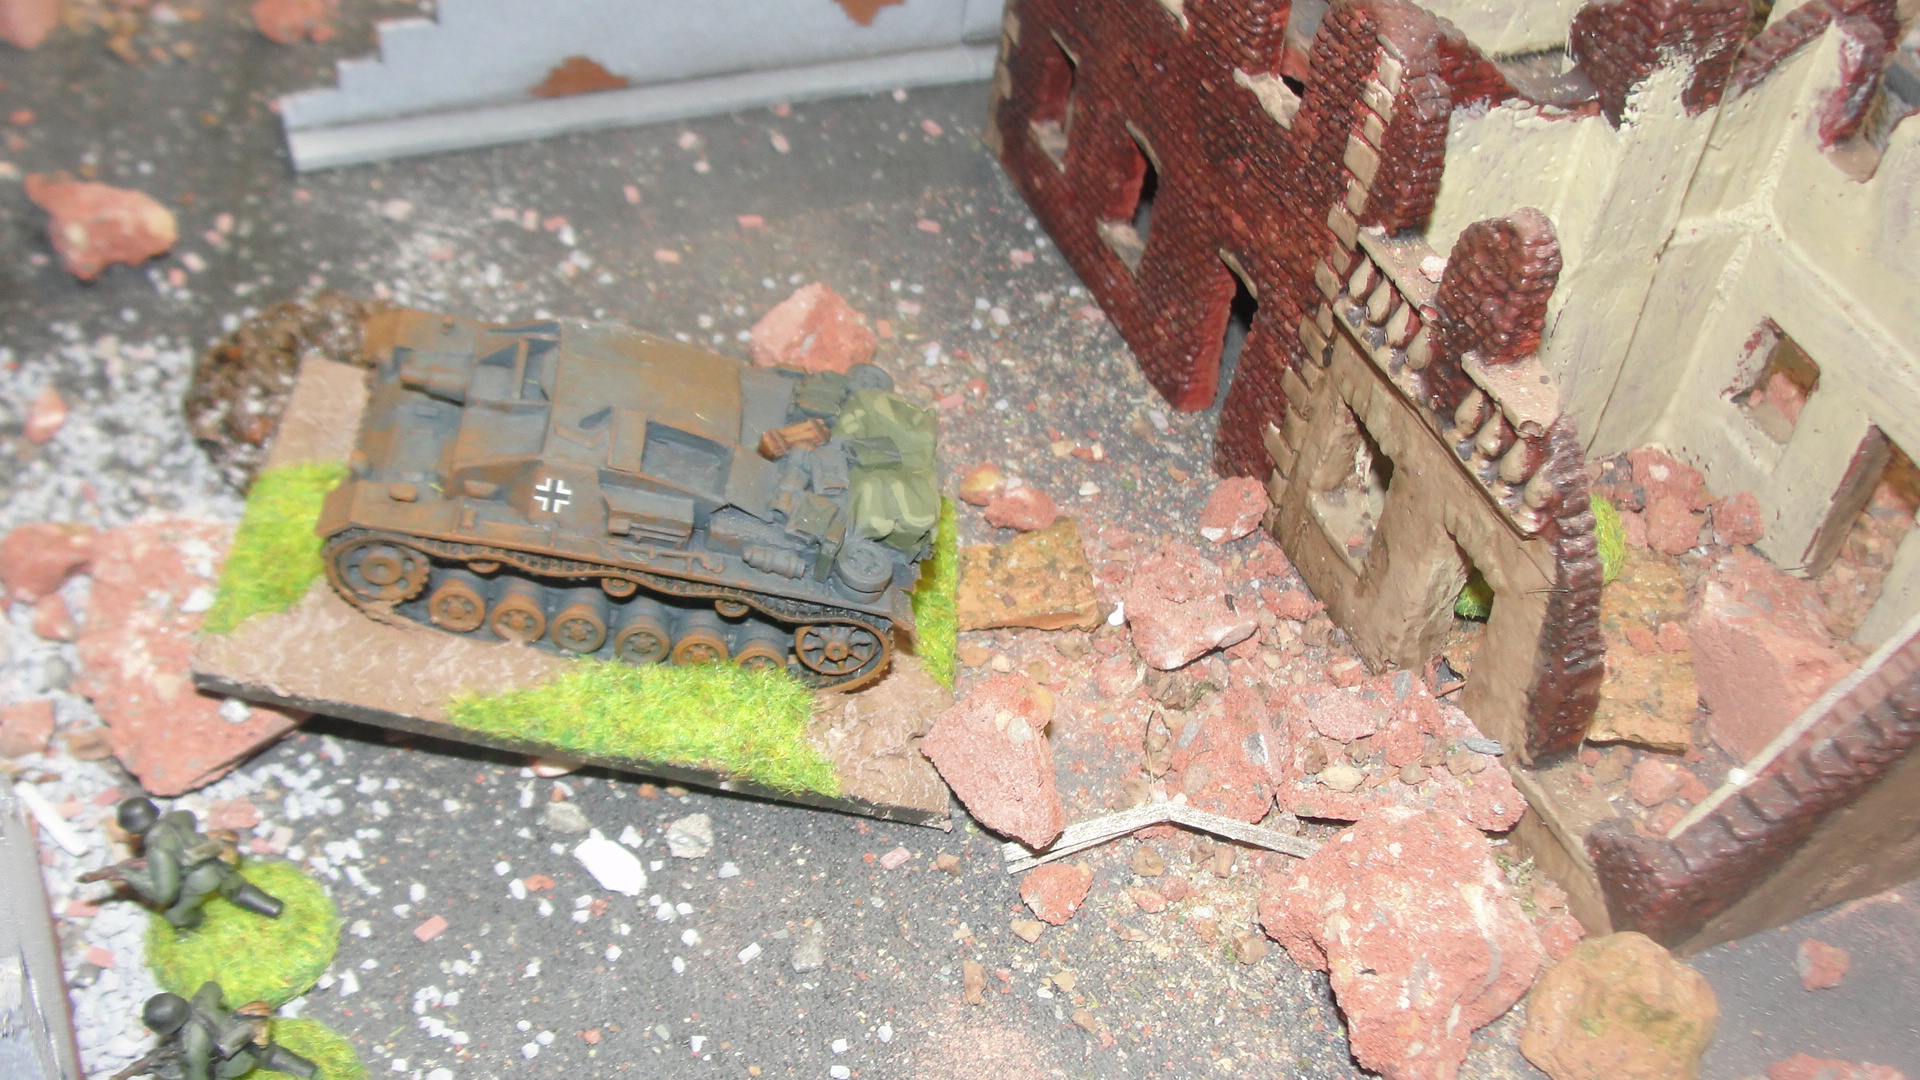
The Germans had moved a Stug 33B into position ready to open fire (only 24 of these beasts were built and all were used in Stalingrad) carrying the heavy 150mm gun.
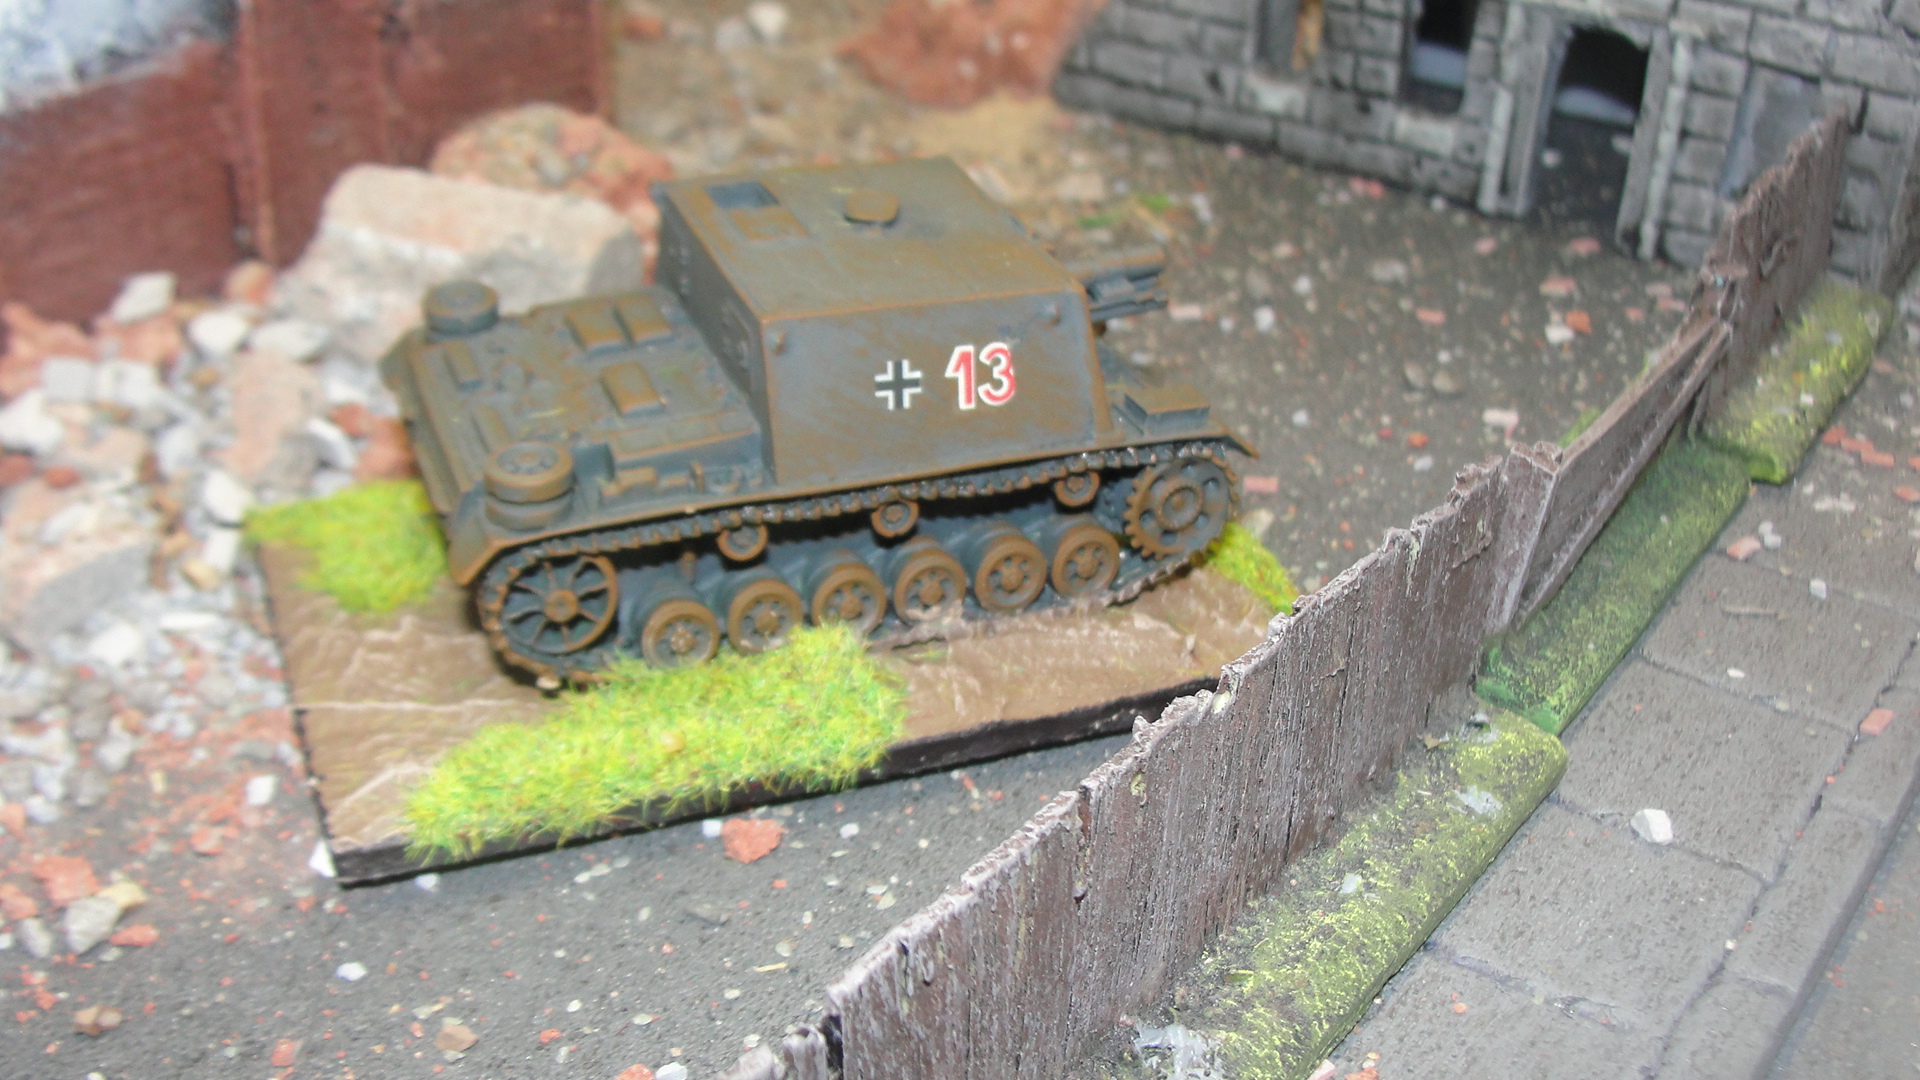 Stug 33B in position
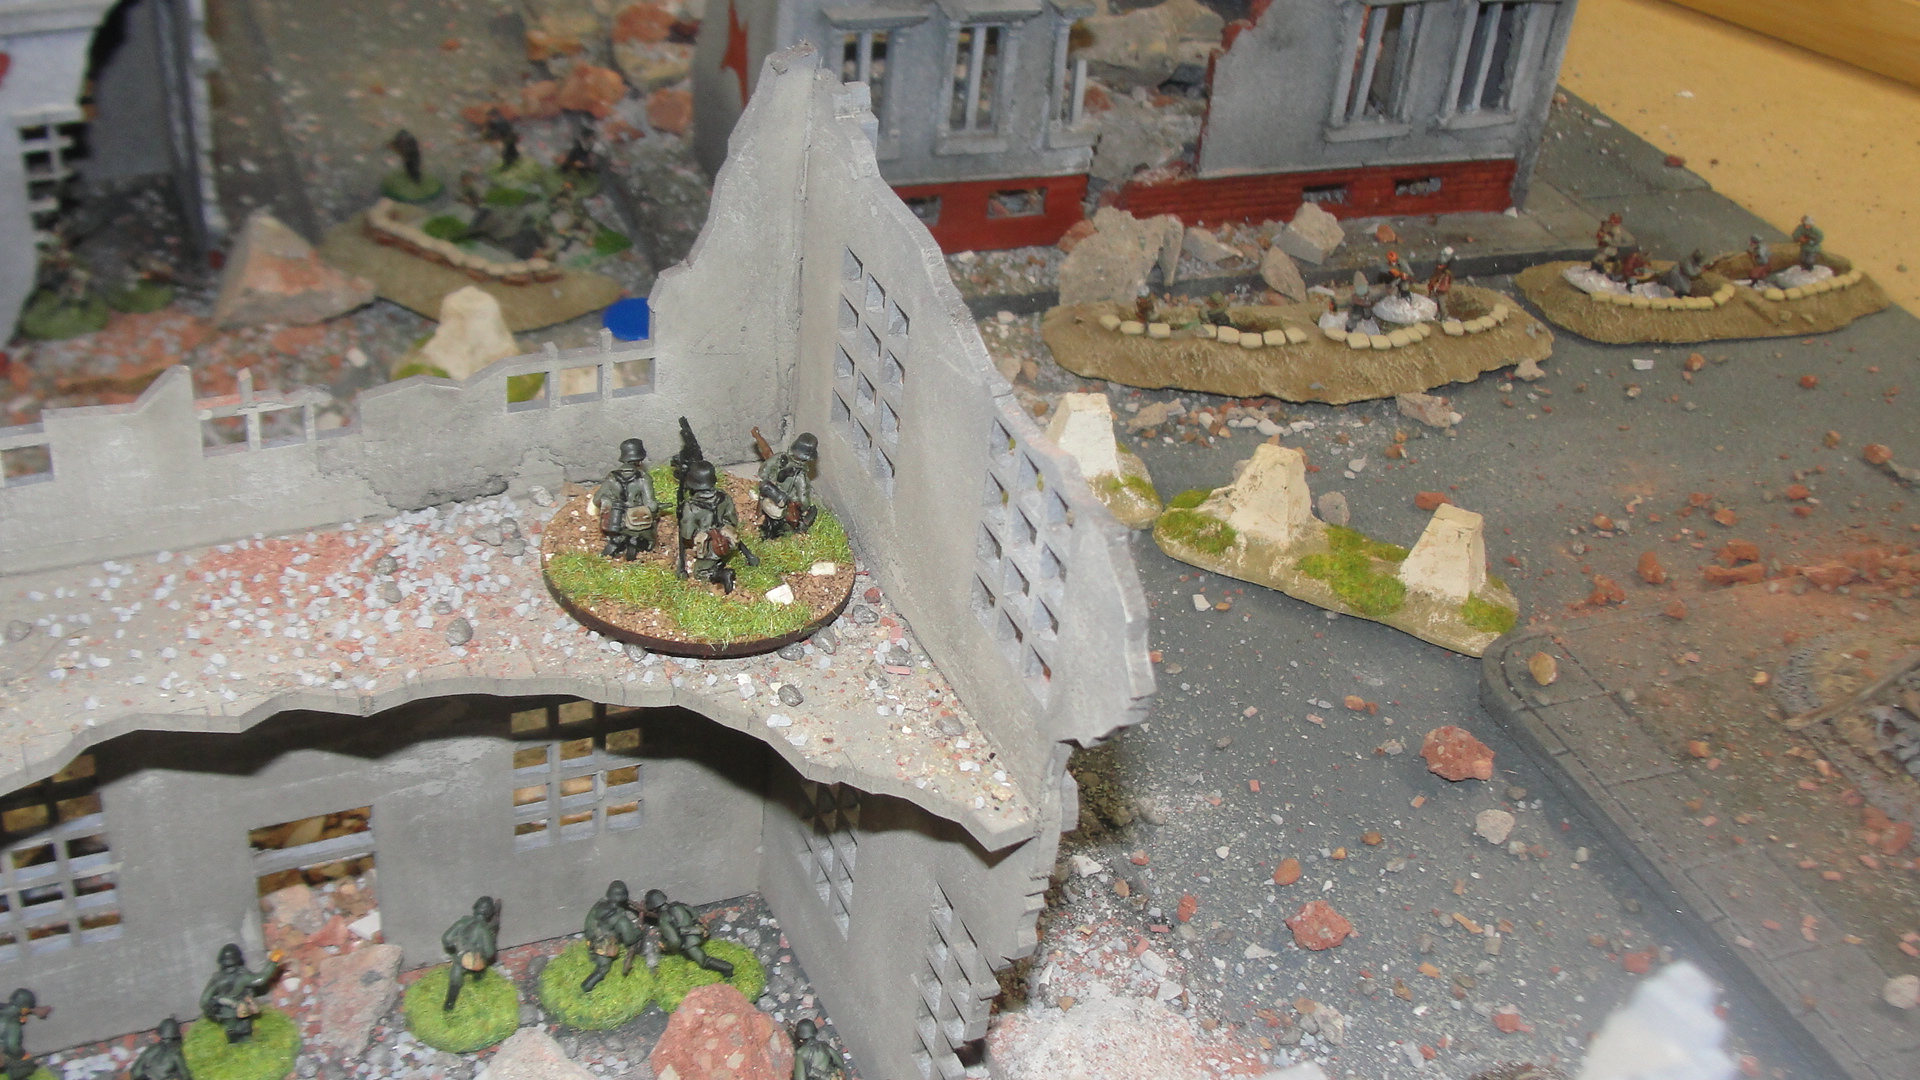
The Stug 33B targets the centre section of the flats that it knew was holding a command group and spotters, after all you cannot miss a building can you. The Stug 33B later suffered a “breakdown” and became immobilised (the Russians drew a lucky Battle Rating chit) but at the time it was parked next to its ammunition truck so could keep firing for the rest of the game.
 Targeting the flats
 The crossroads at the centre of the board was held by a Workers Militia AT tank team armed with Molotov cocktails and the dug-in T34. Somehow both these survived till the end of the game.
A section of the Workers Militia and Platoon HQ were still holding the left flank of the Russian line while the heavy fighting was continuing at the Tractor Factory.
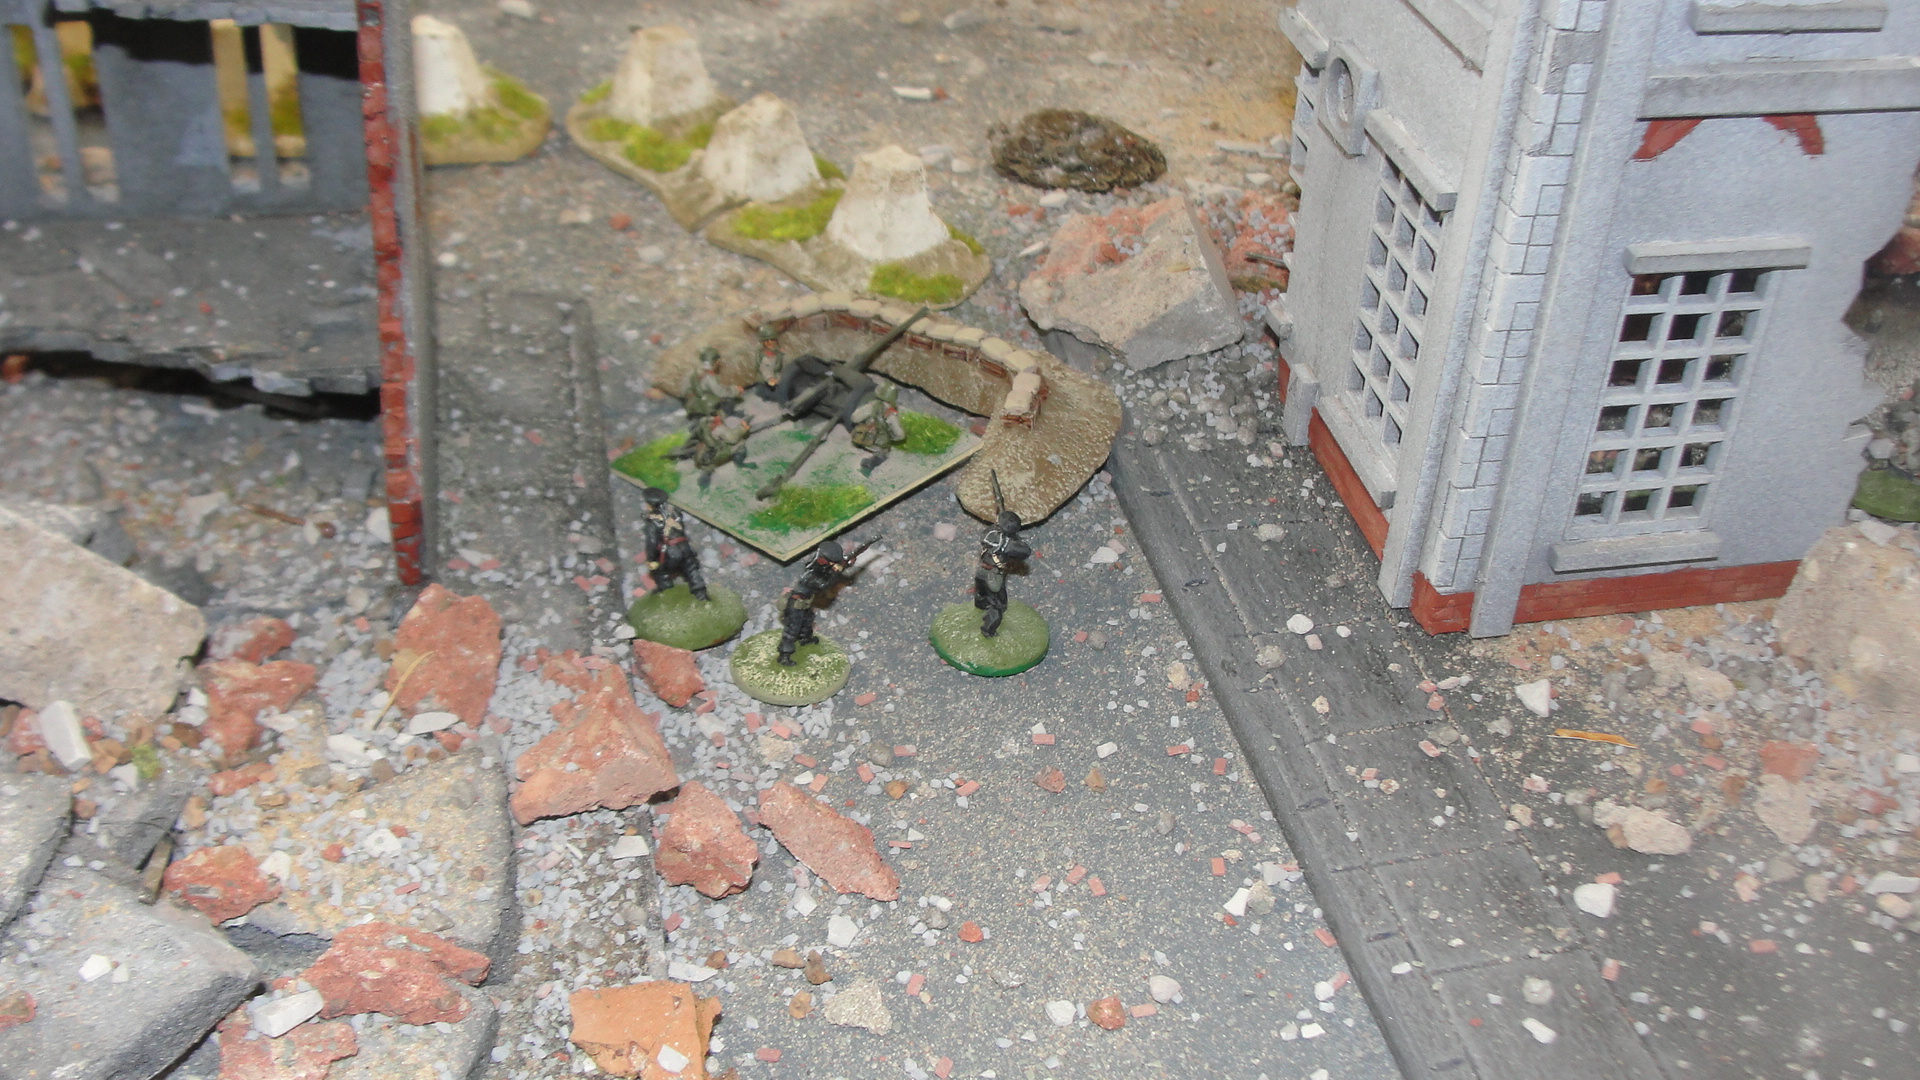
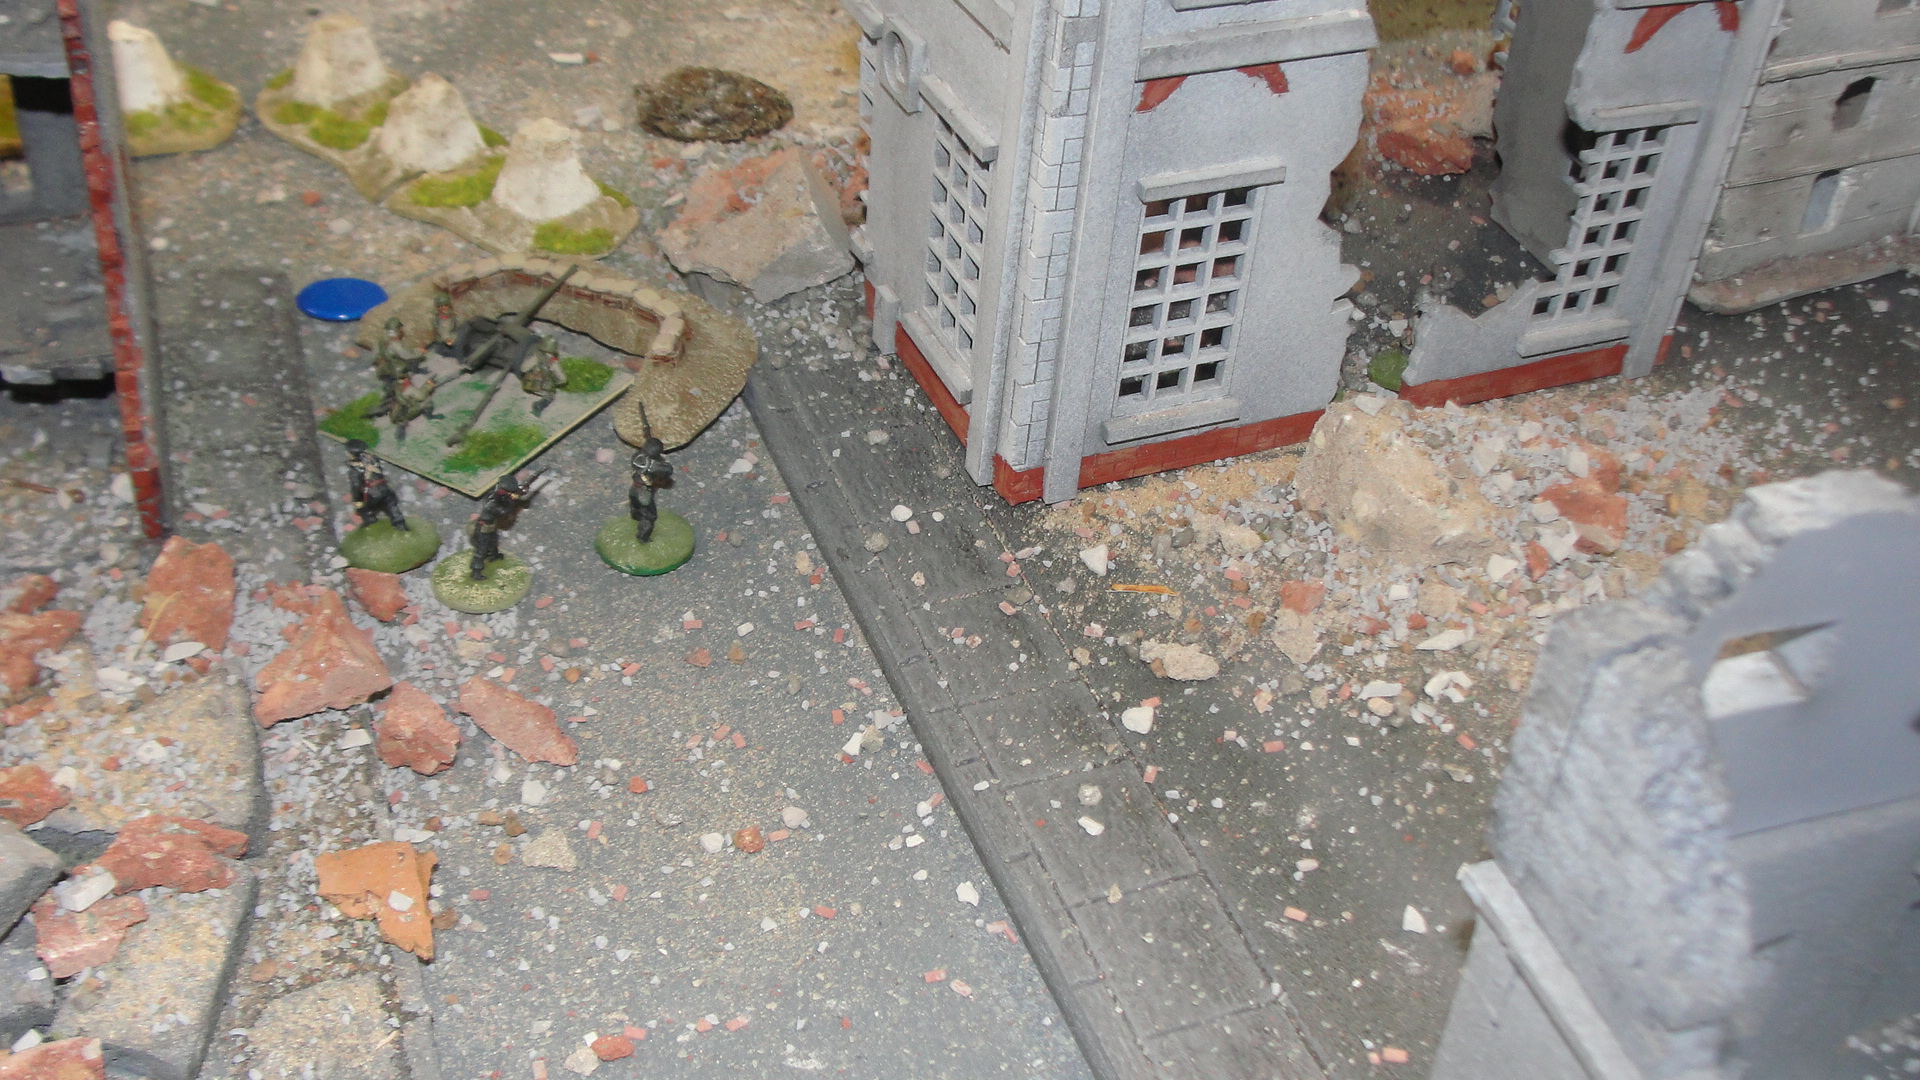
The Naval Infantry platoon AT gun waited patiently for a target but none appeared so started taking “pot shots” at the German infantry holding the buildings opposite.
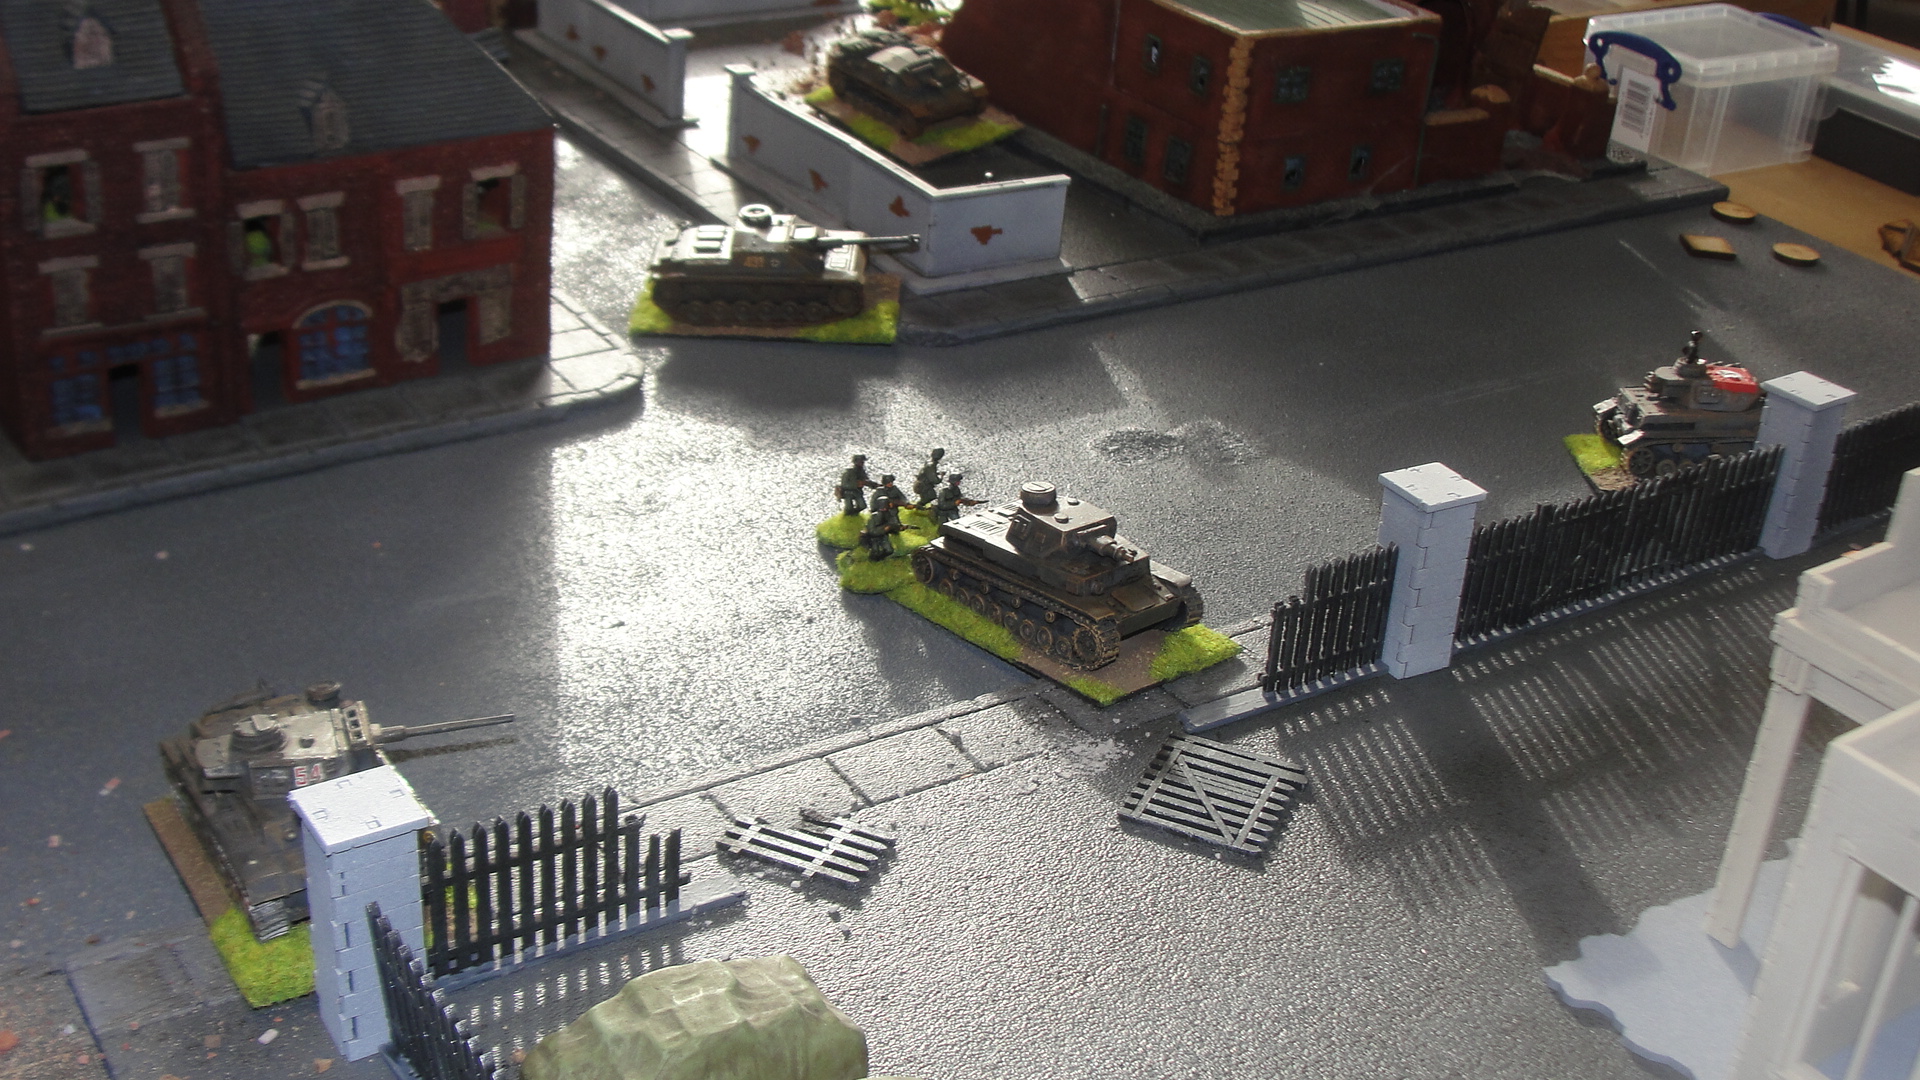
While on the Russian right flank the assault on the Tractor Factory continued with the German armour advancing in force with infantry support.
To counter this the Russians moved the last of the Naval Infantry platoon into the factory to support the T34 and the KV8.
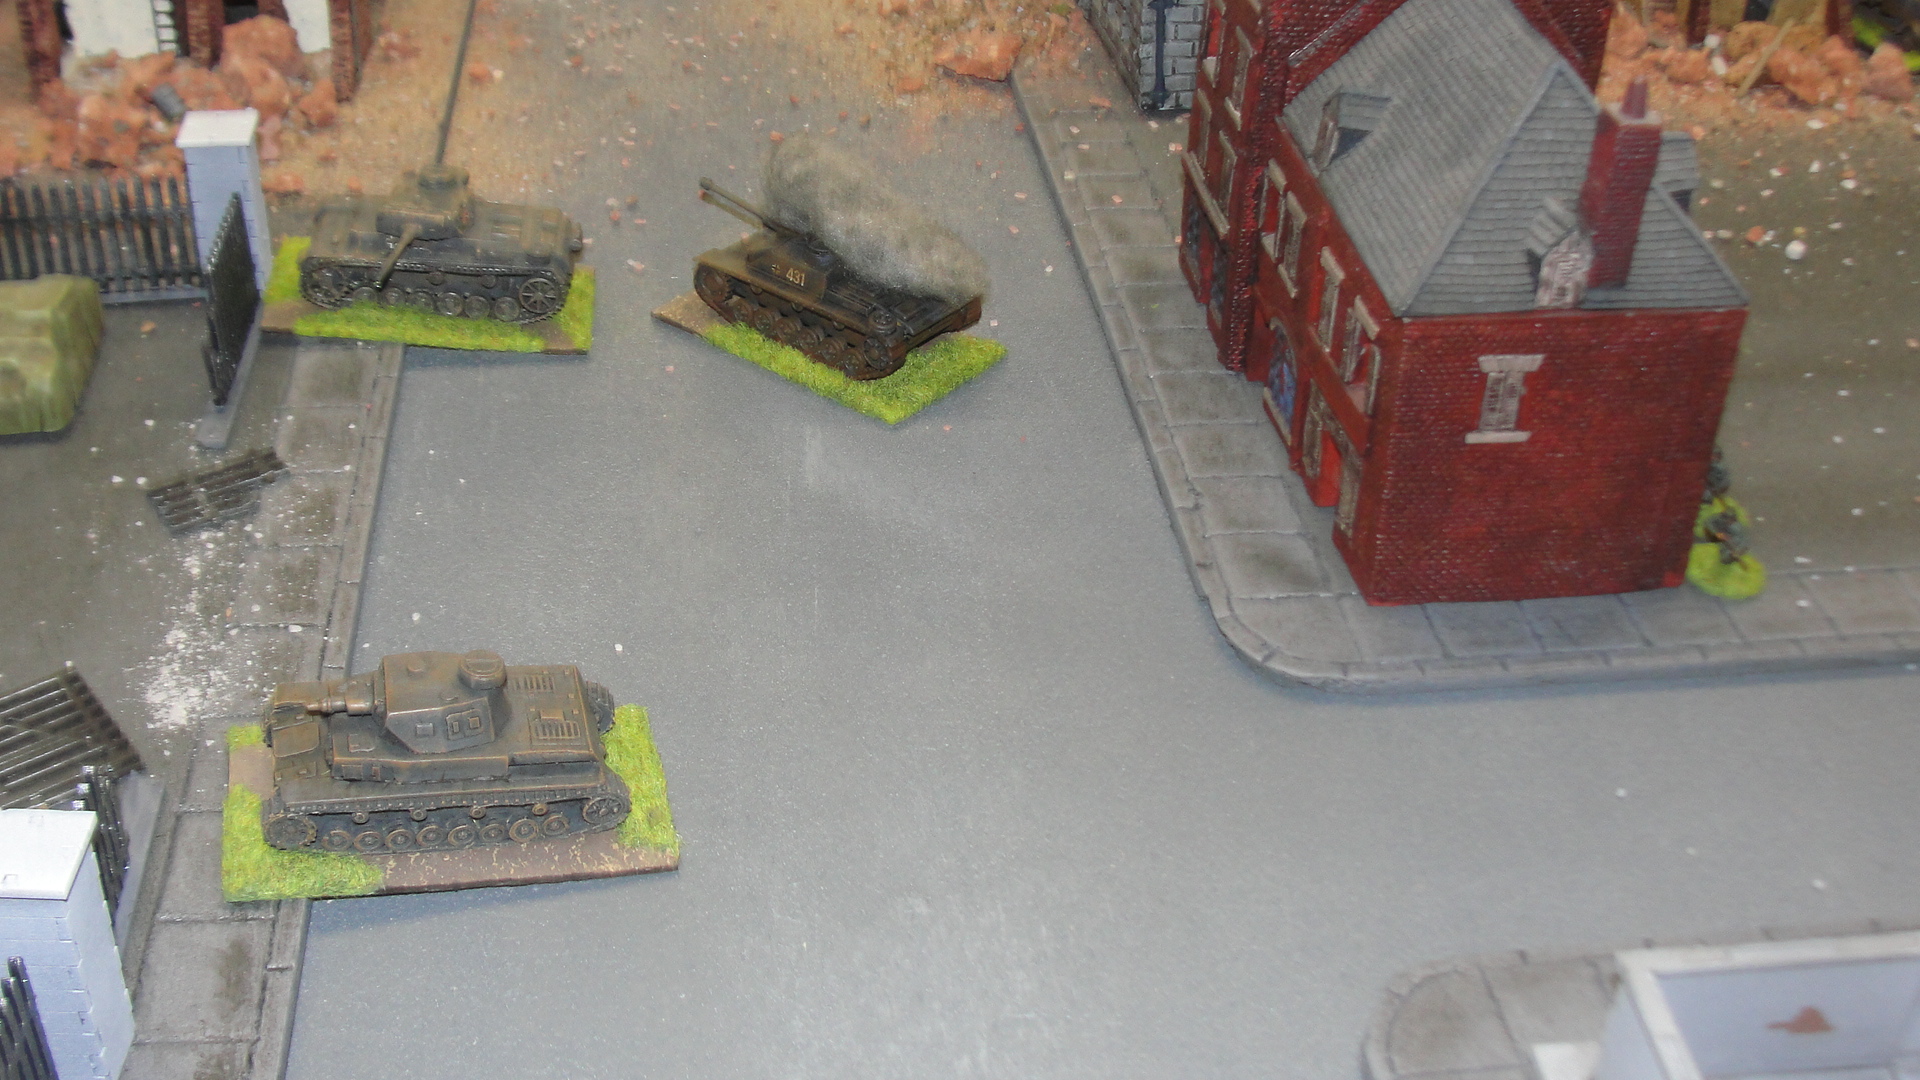
The T34 in the factory “took out” another Pzkw IV that was closing the range.
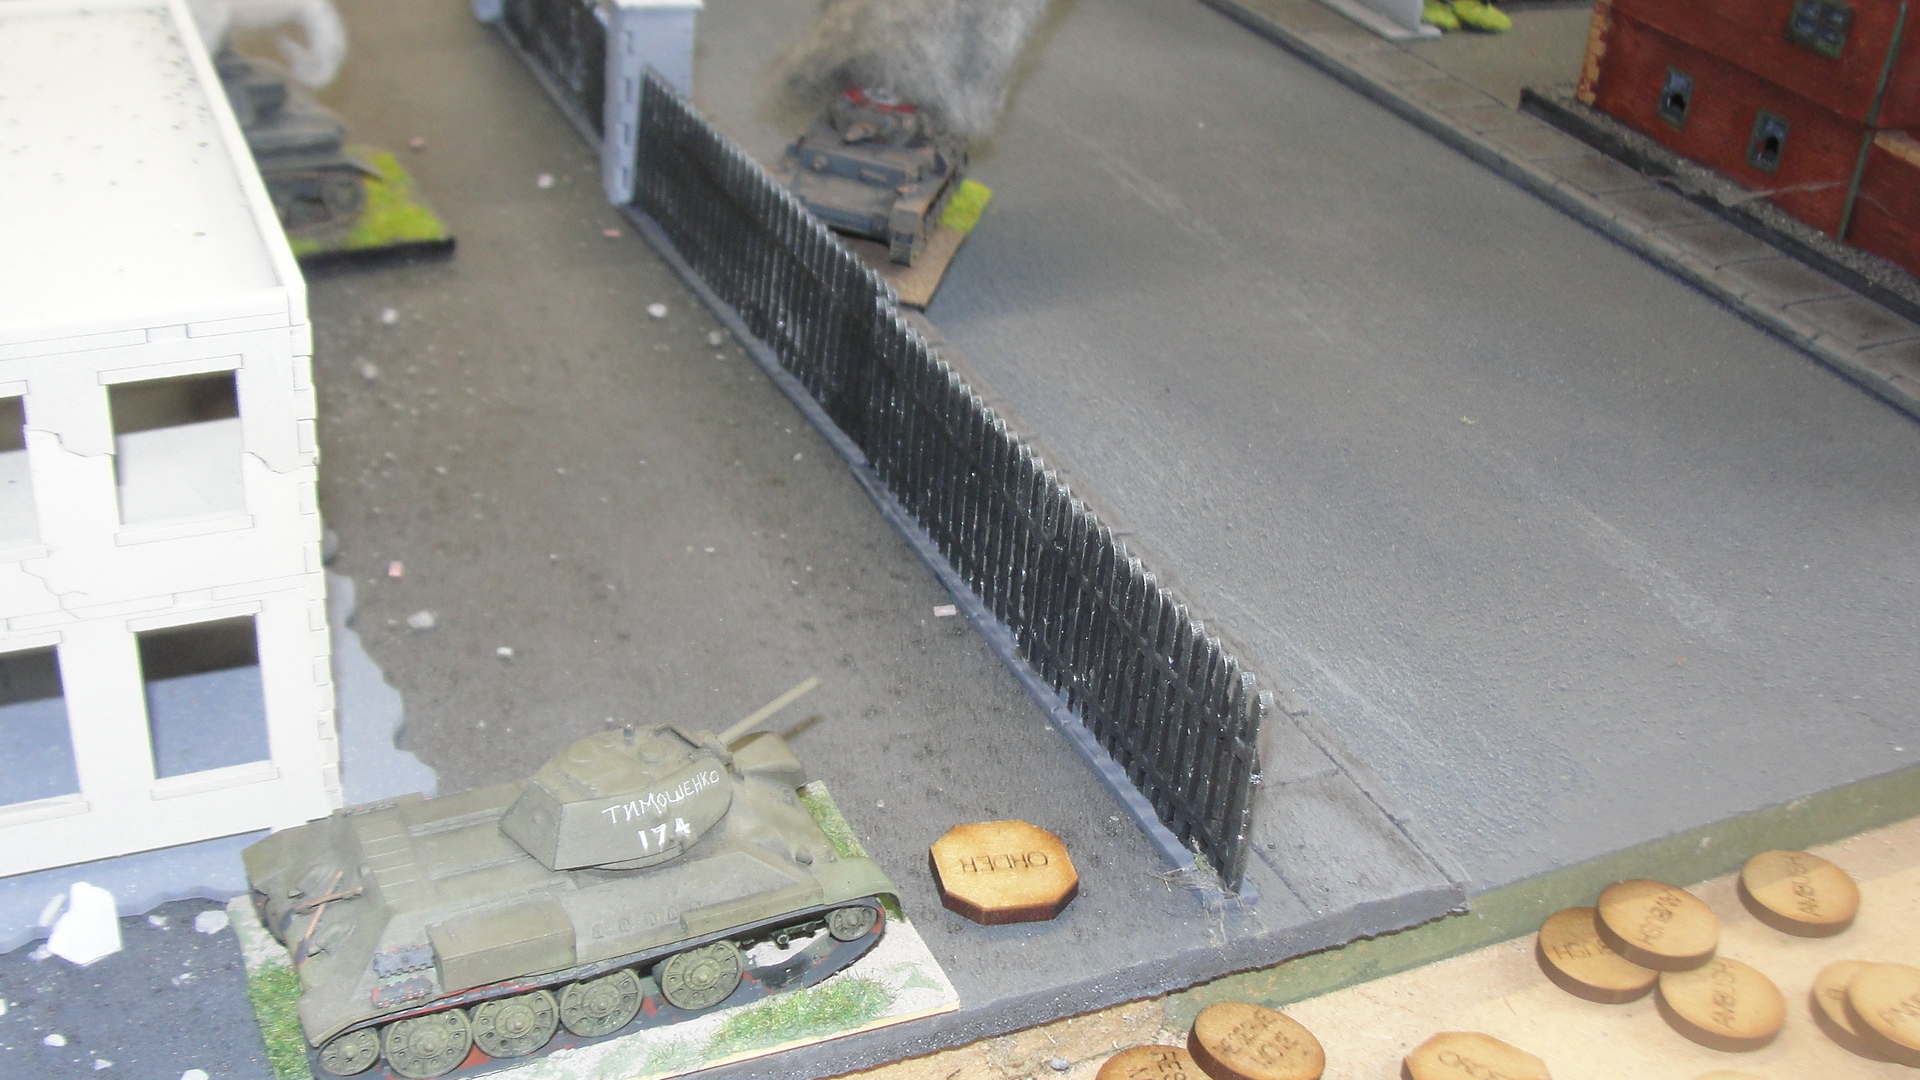
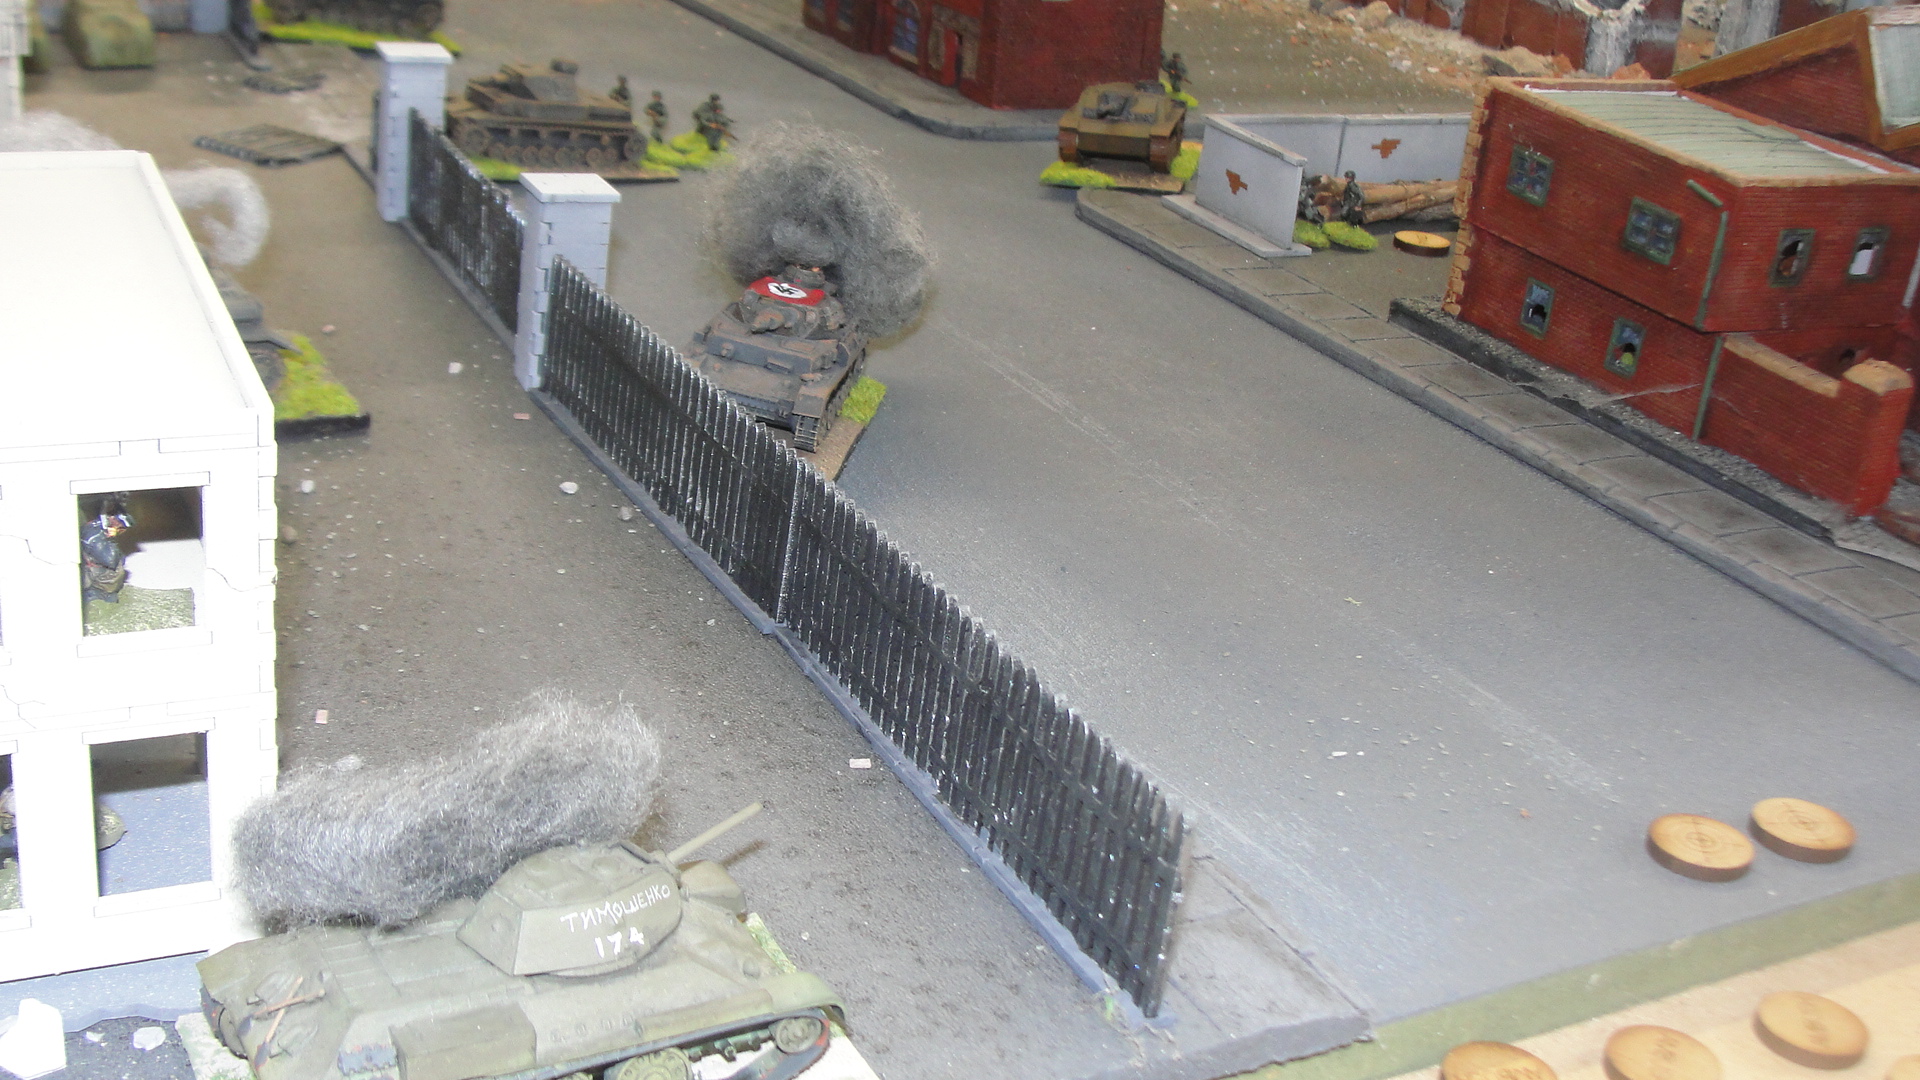
On the Russian left flank time had also run out for the T34/76 (named after Timoshenko) as the Stug IIIF fired and took it out.
But the Russians soon had their revenge as the StuG IIIF moved the KV8 lurking in the factory took it out (I think it was the KV8, but there was also a AT rifle taking pot shots at the time).
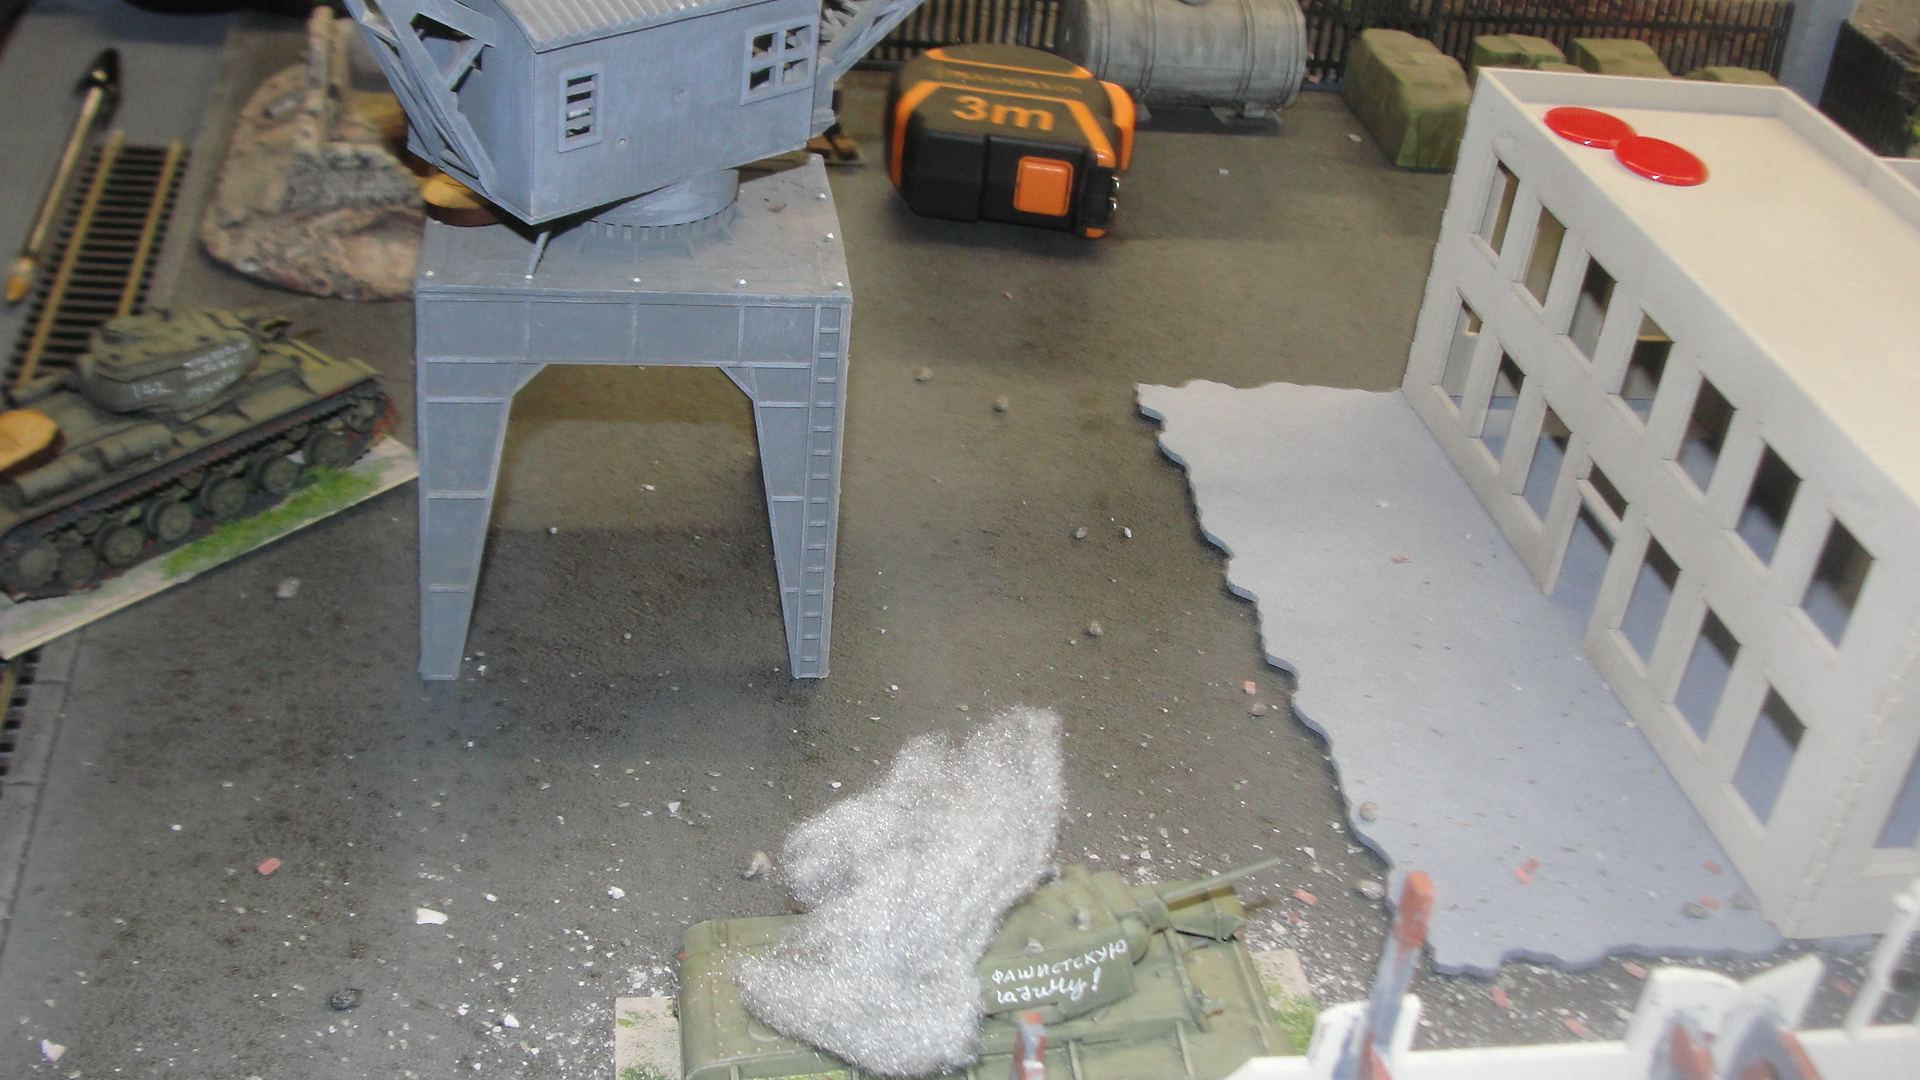
KV8 with its mighty 45mm gun celebrates another success (although the rules still show the 76mm gun which is incorrect). The 2 “red counters” on the building show that it had lost 2 out of 3 “structural integrity” points another 1 and the building would collapse!
As time was running out the Russians had snuck a T70 into the factory and this managed to knock out the Pzkw IIIJ lurking near the factory gates.
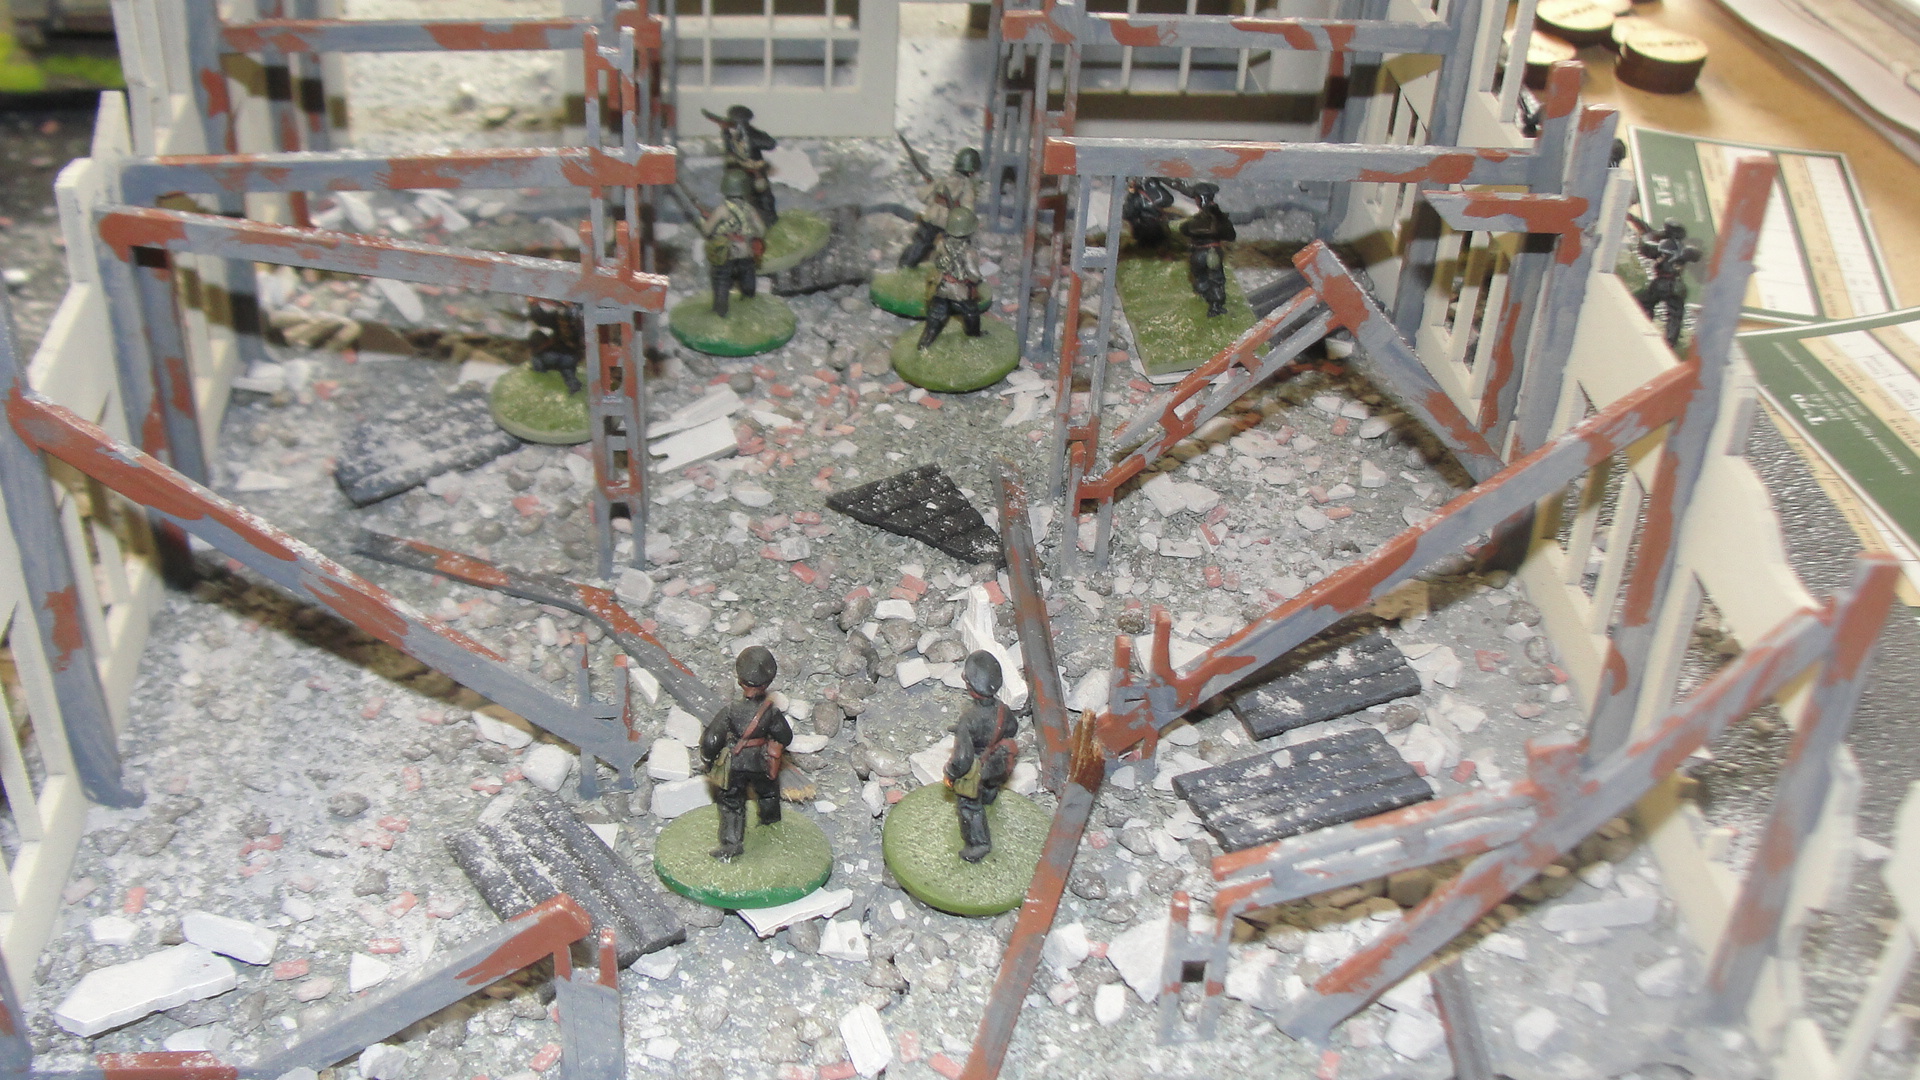
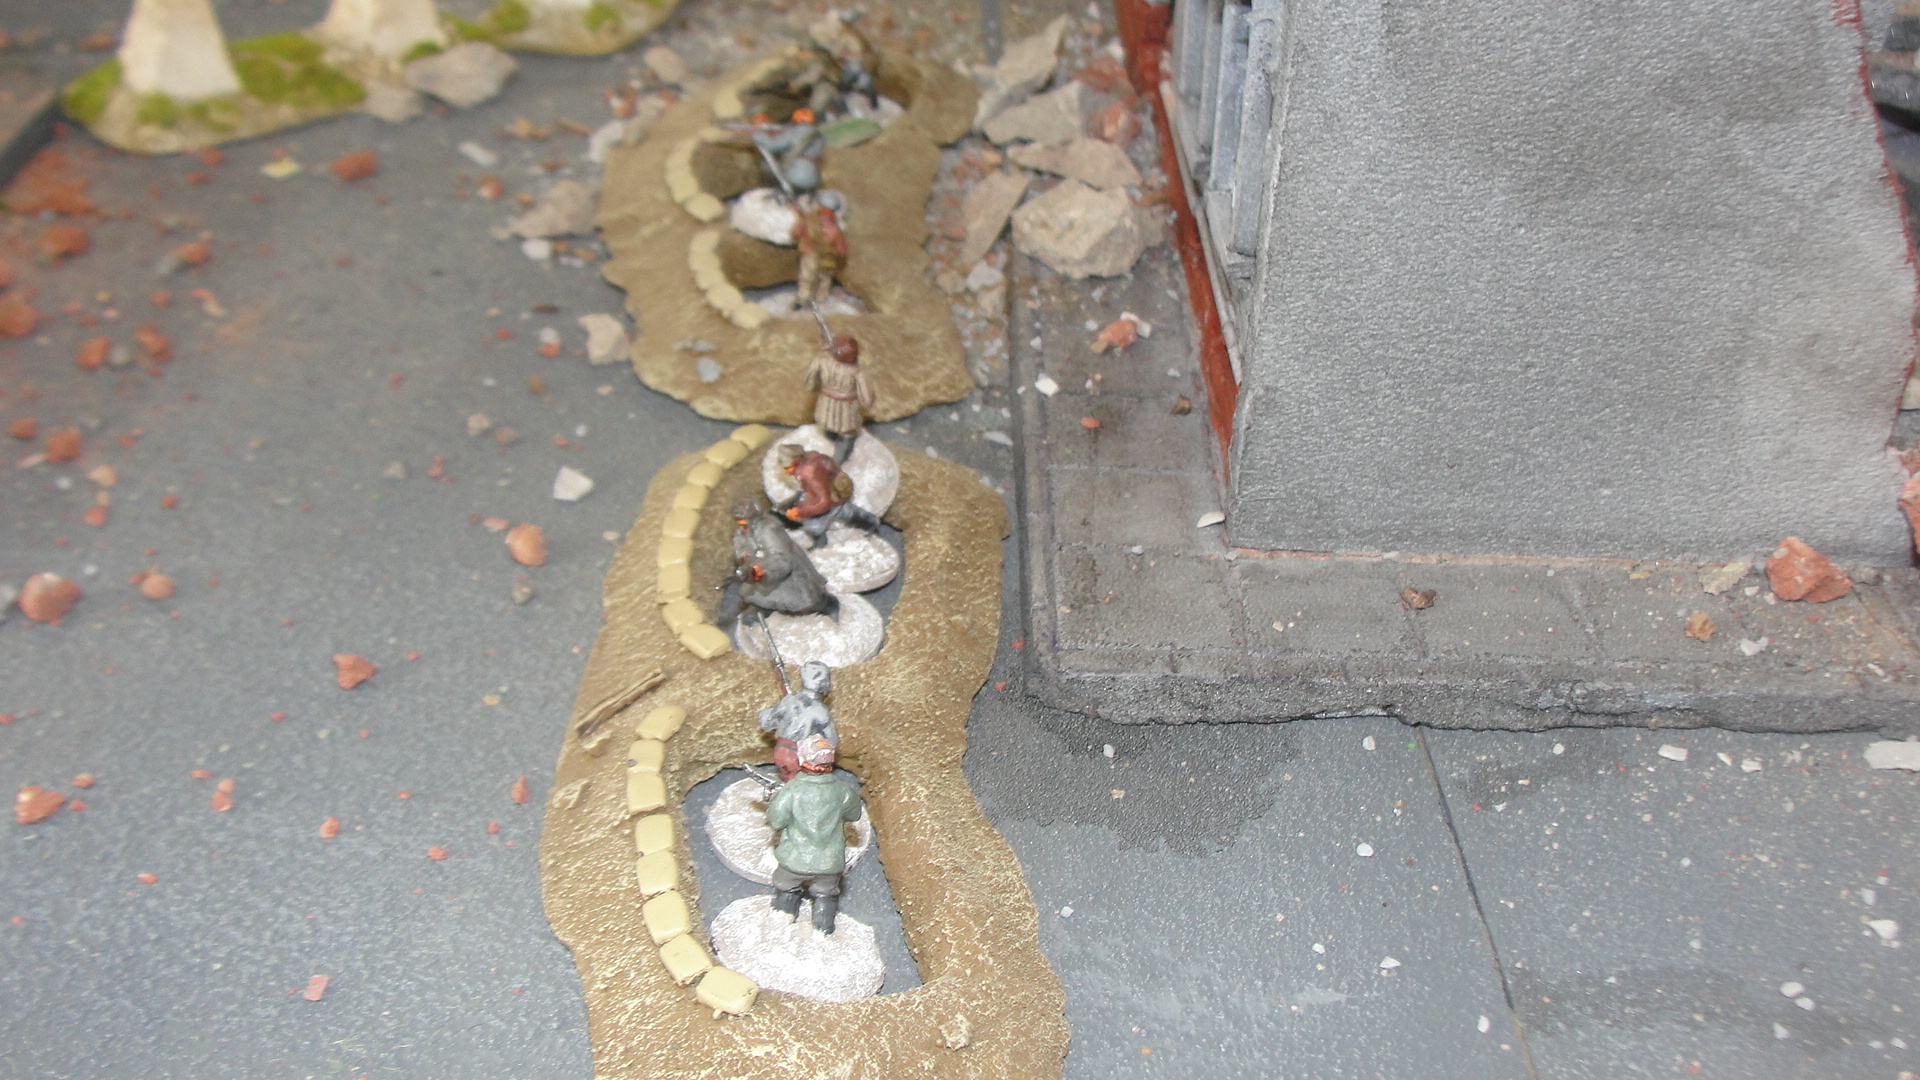
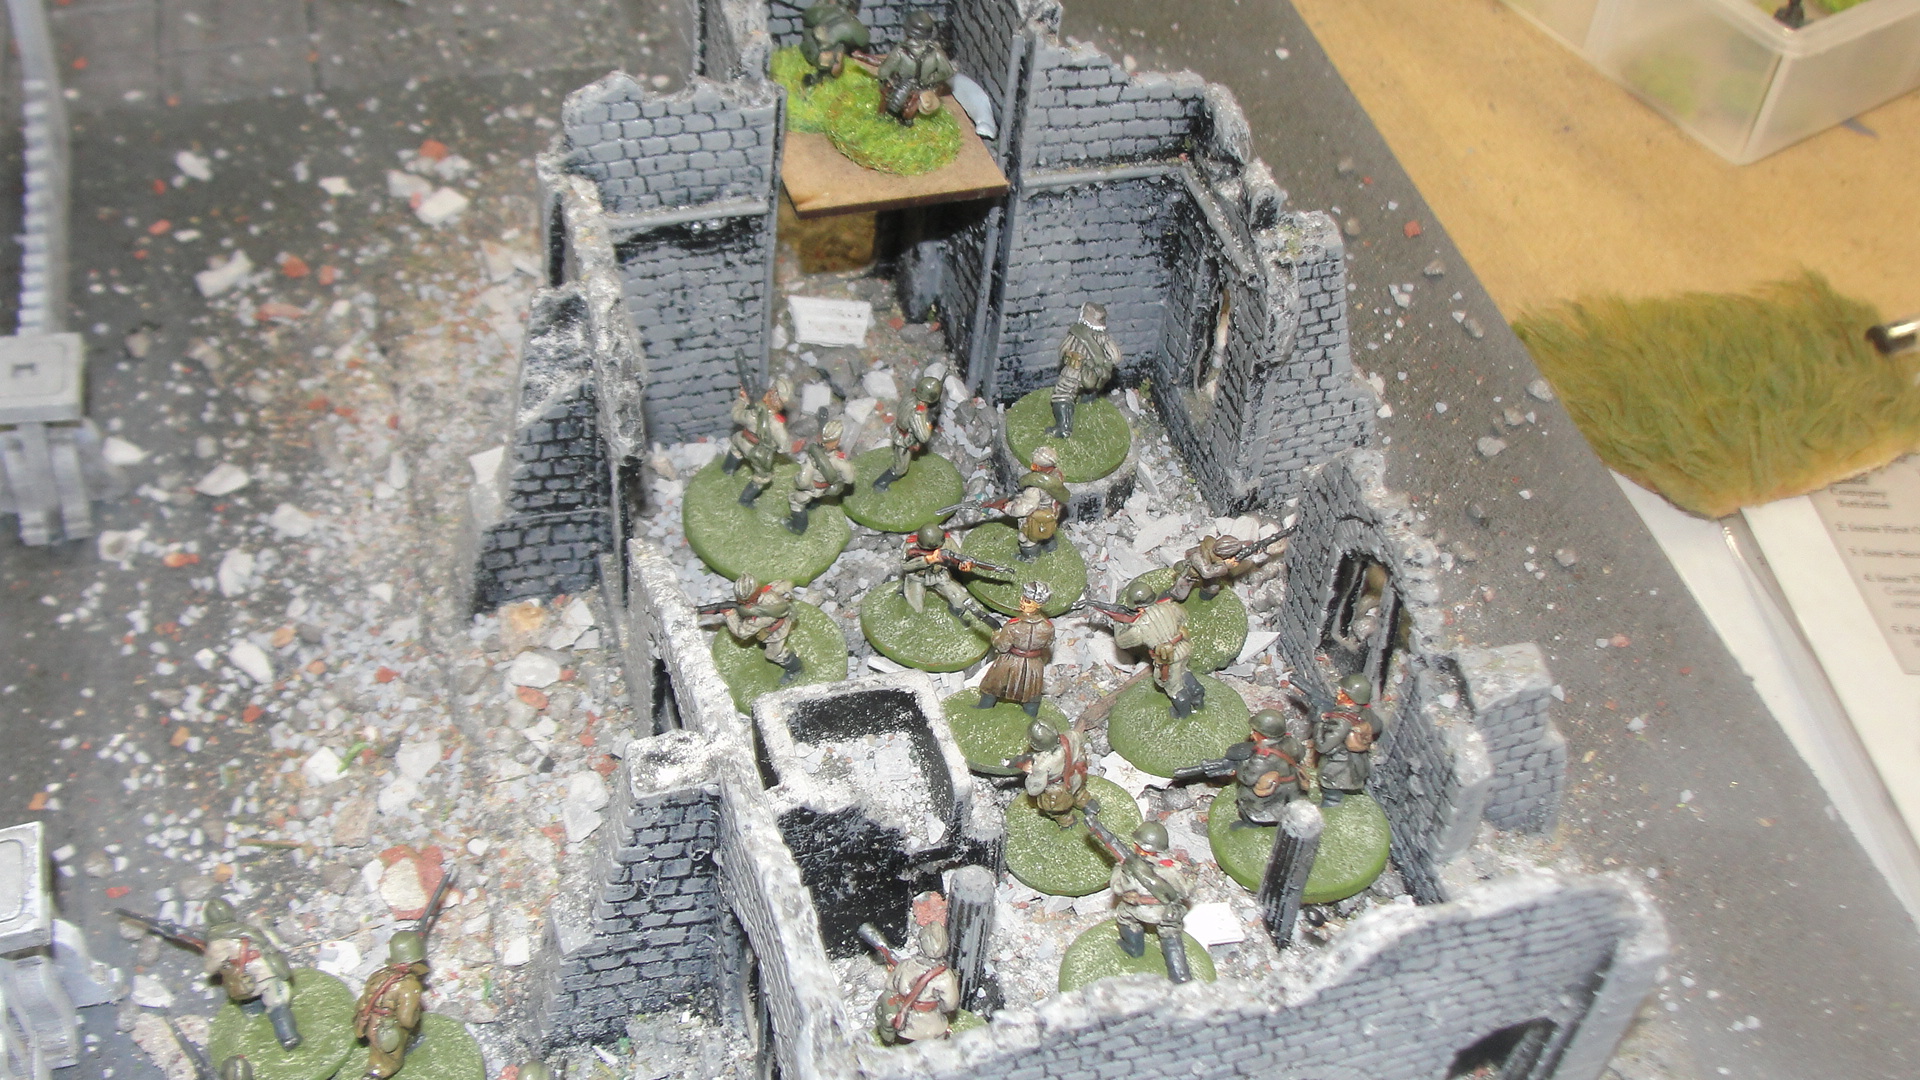
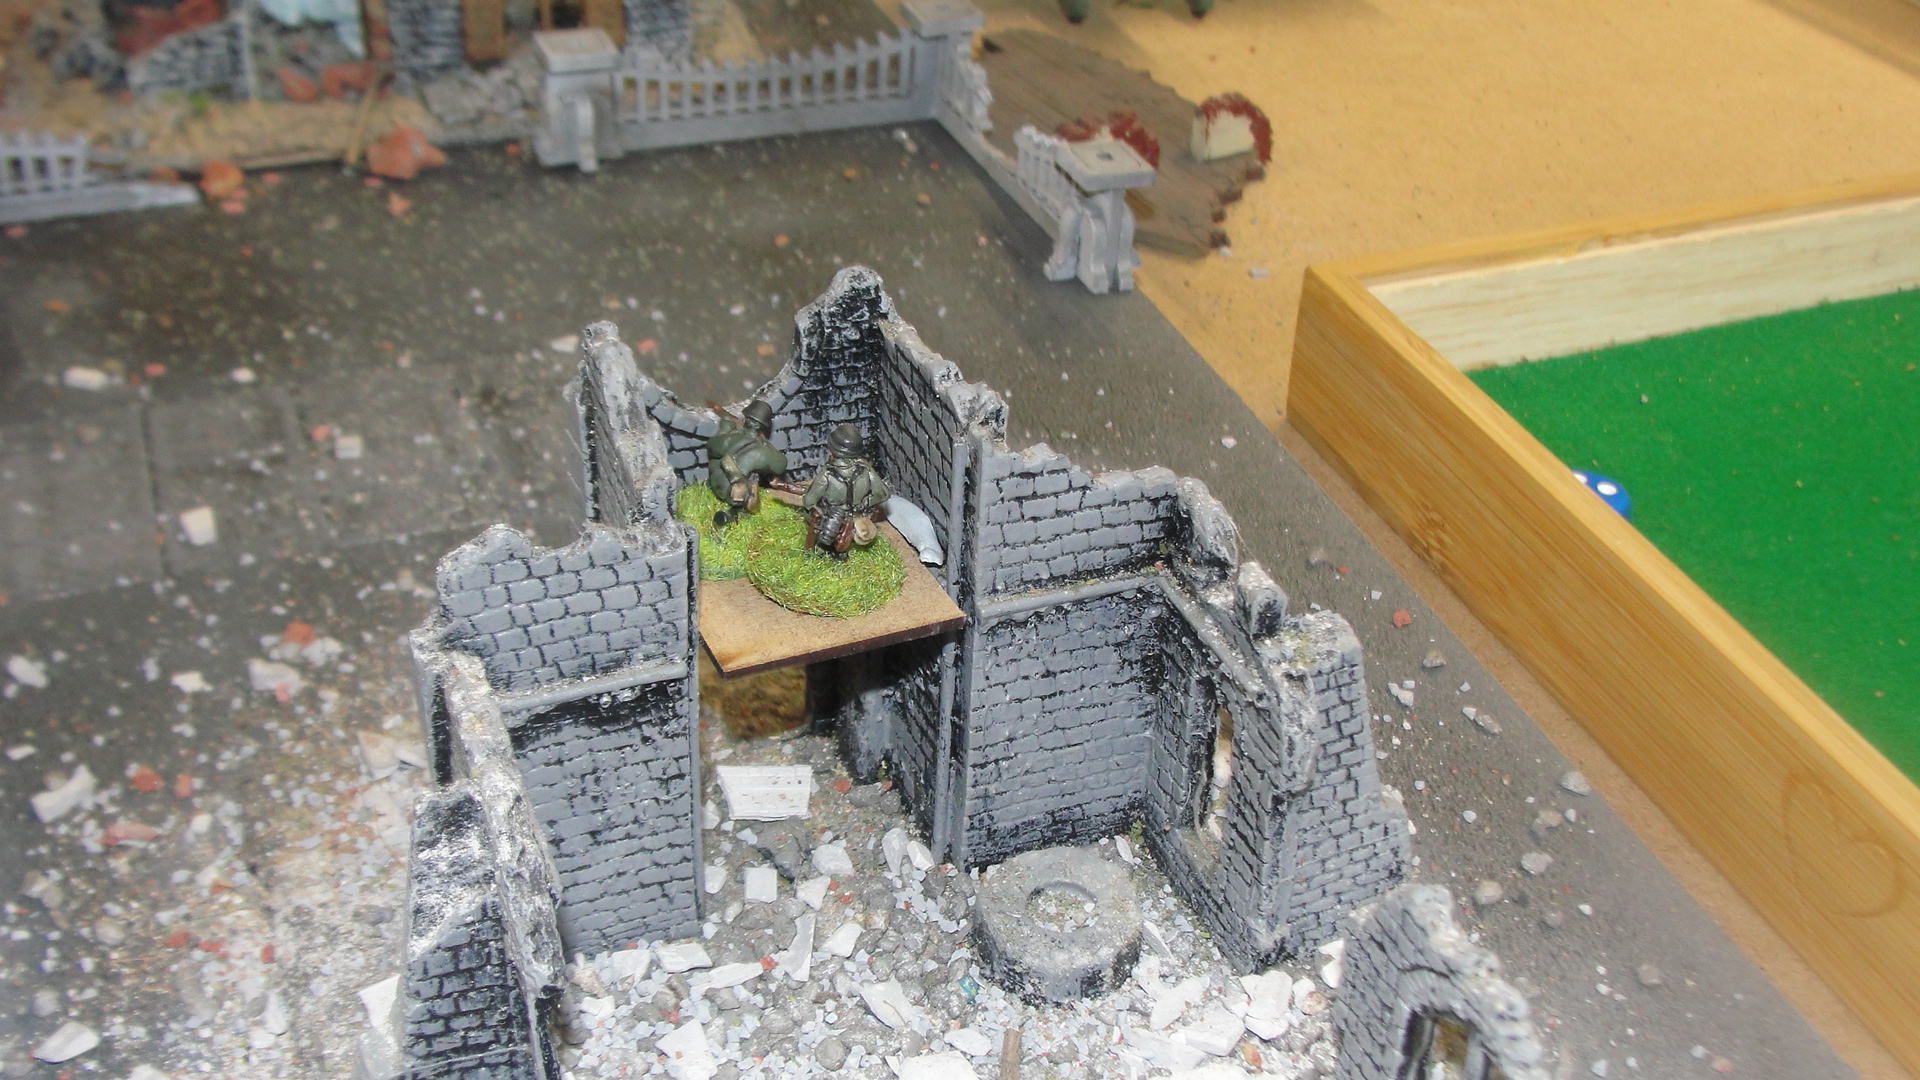
The German sniper now had a nasty surprise as 3 sections of Russian infantry suddenly emerged from a “hidden cellar” where they had been lurking since the beginning of the game. However, much to the Russians disgust on the first turn all 3 units failed their “experience check” and would not close assault the sniper. After taking fire from the sniper next turn however one of them succeeded and the sniper was no more.
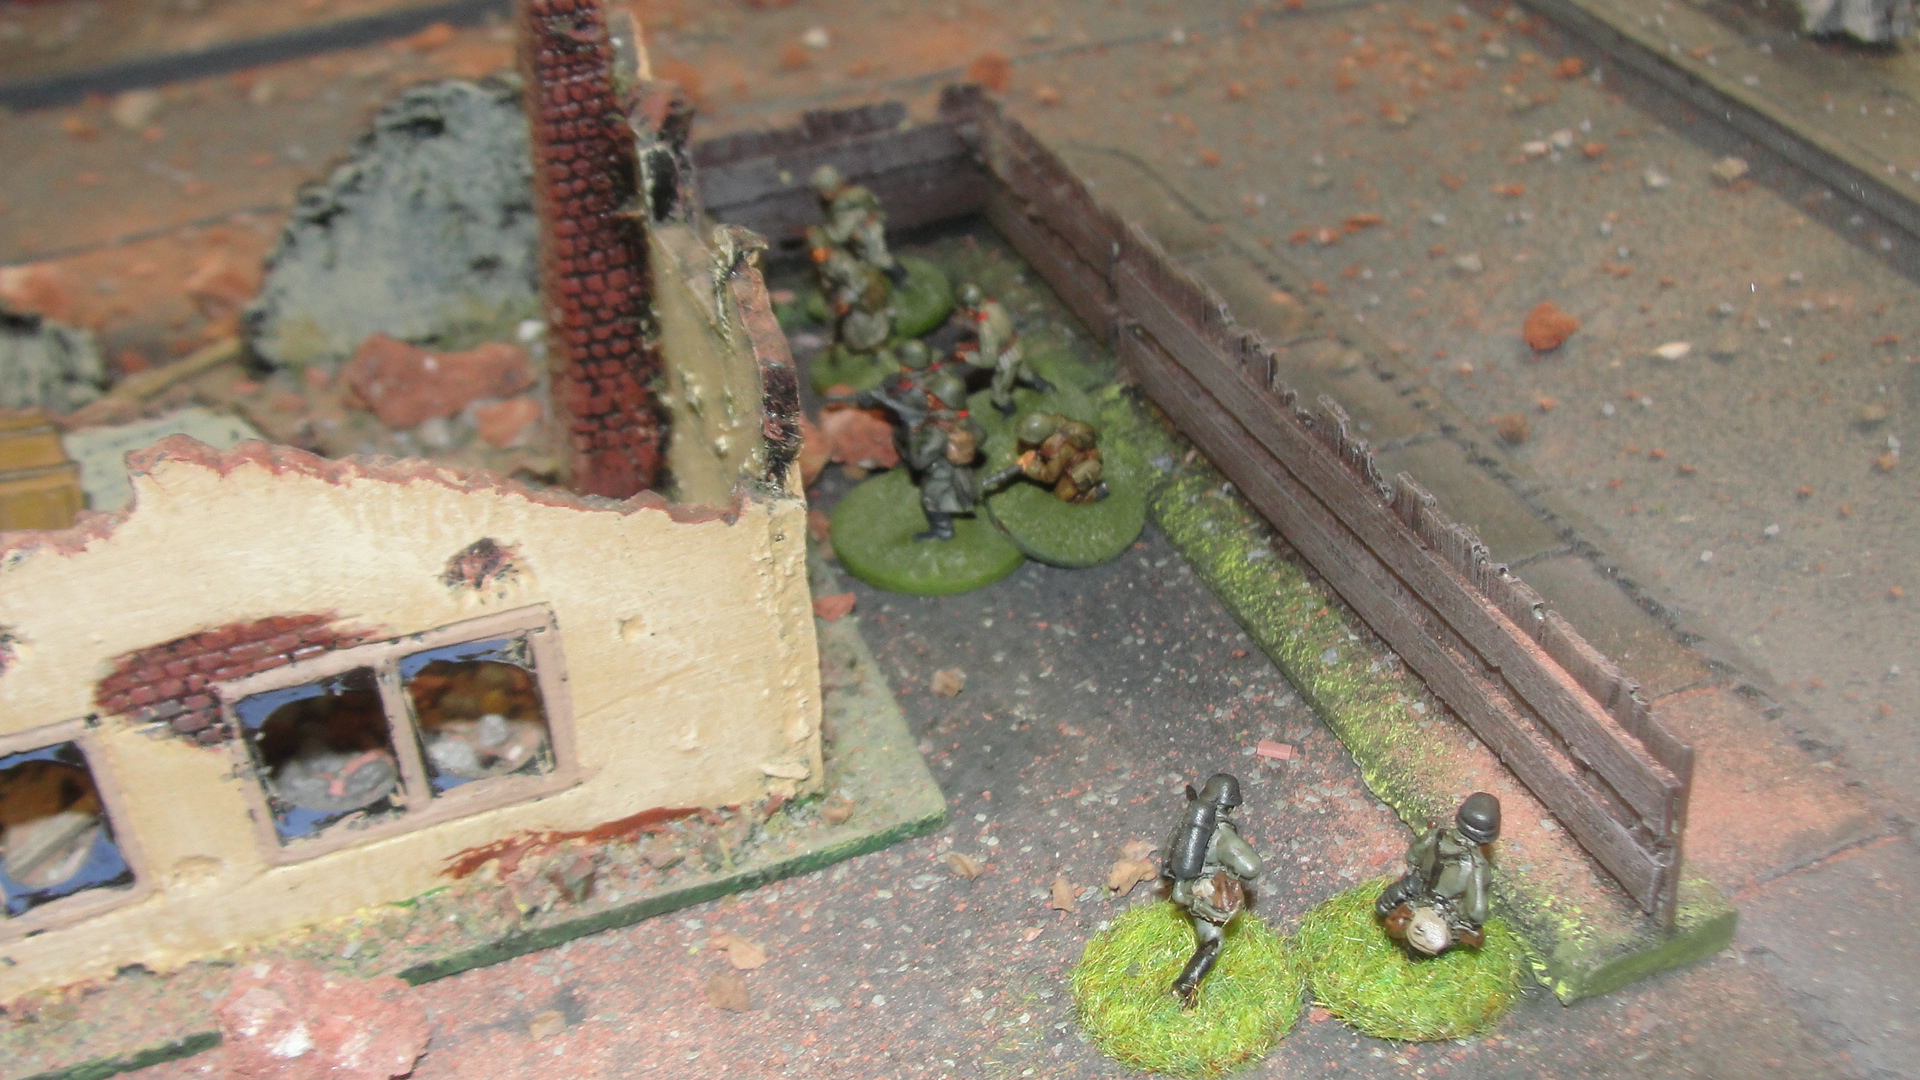
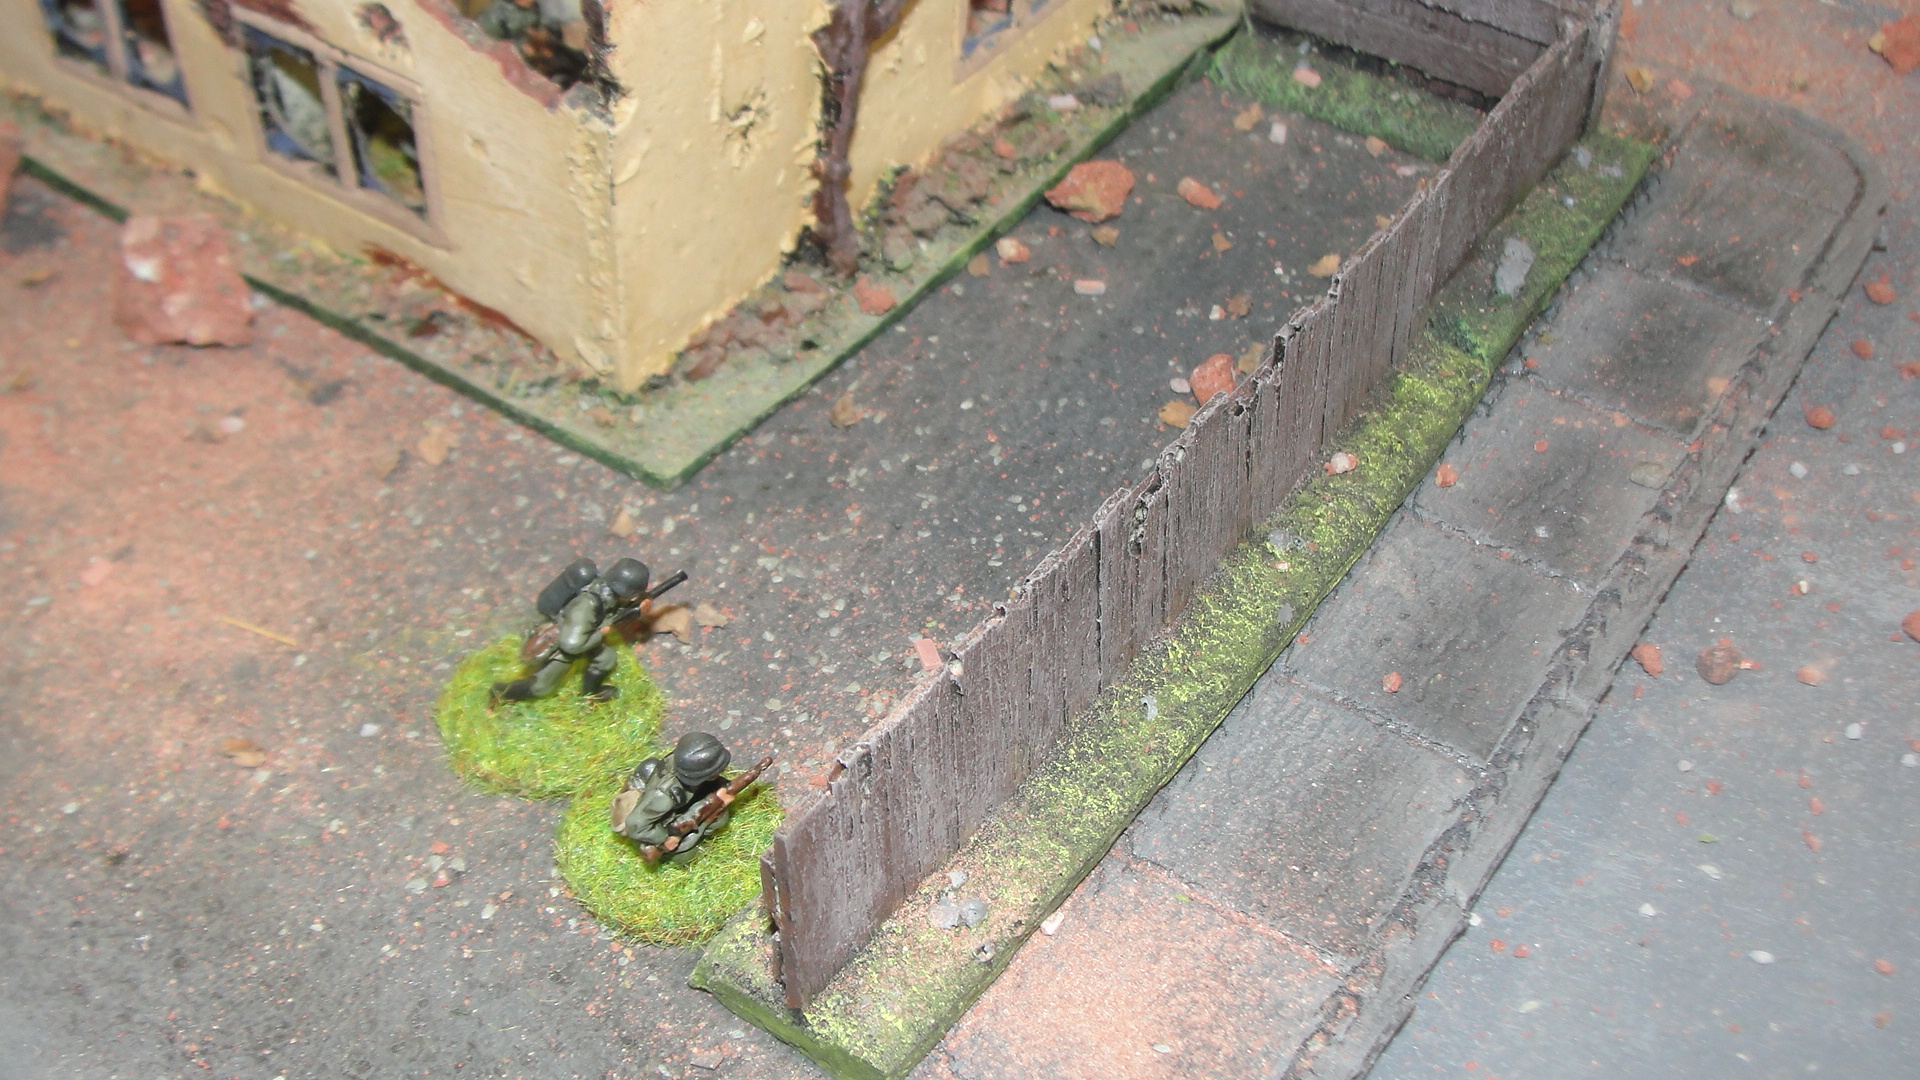
One of the Russian infantry sections that had emerged from the cellar now assaulted an infantry gun and wiped it out (I forgot to get a picture of that) and were closing in on an objective point much to the joy of their commanders. However as they prepared to advance on the objective a German Pioneer Flamethrower team appeared on their flank!!
One “whoosh” of flame and the section was no longer there, killed and broken, that’s two “morale” chits that had to be drawn one for loss of a section and another for coming under flame attack for the first time in the game.
Unfortunately, time had run out and we needed to call the game. No one had taken enough casualties to exceed their Battle Rating, no one had taken all five objectives so a quick “tot” up was needed to see what the total Battle Rating losses for each side was. The Russian had lost 54 ot of 66 while the Germans had lost 44 out of 65. So a “Tactical Victory” for the Germans.
But more importantly for me had I found a set of rules that “worked” for street fighting and the answer was yes.
Stalingrad (Part 1)
Period: WW2
Rules: Battlegroup (Stalingrad supplement)
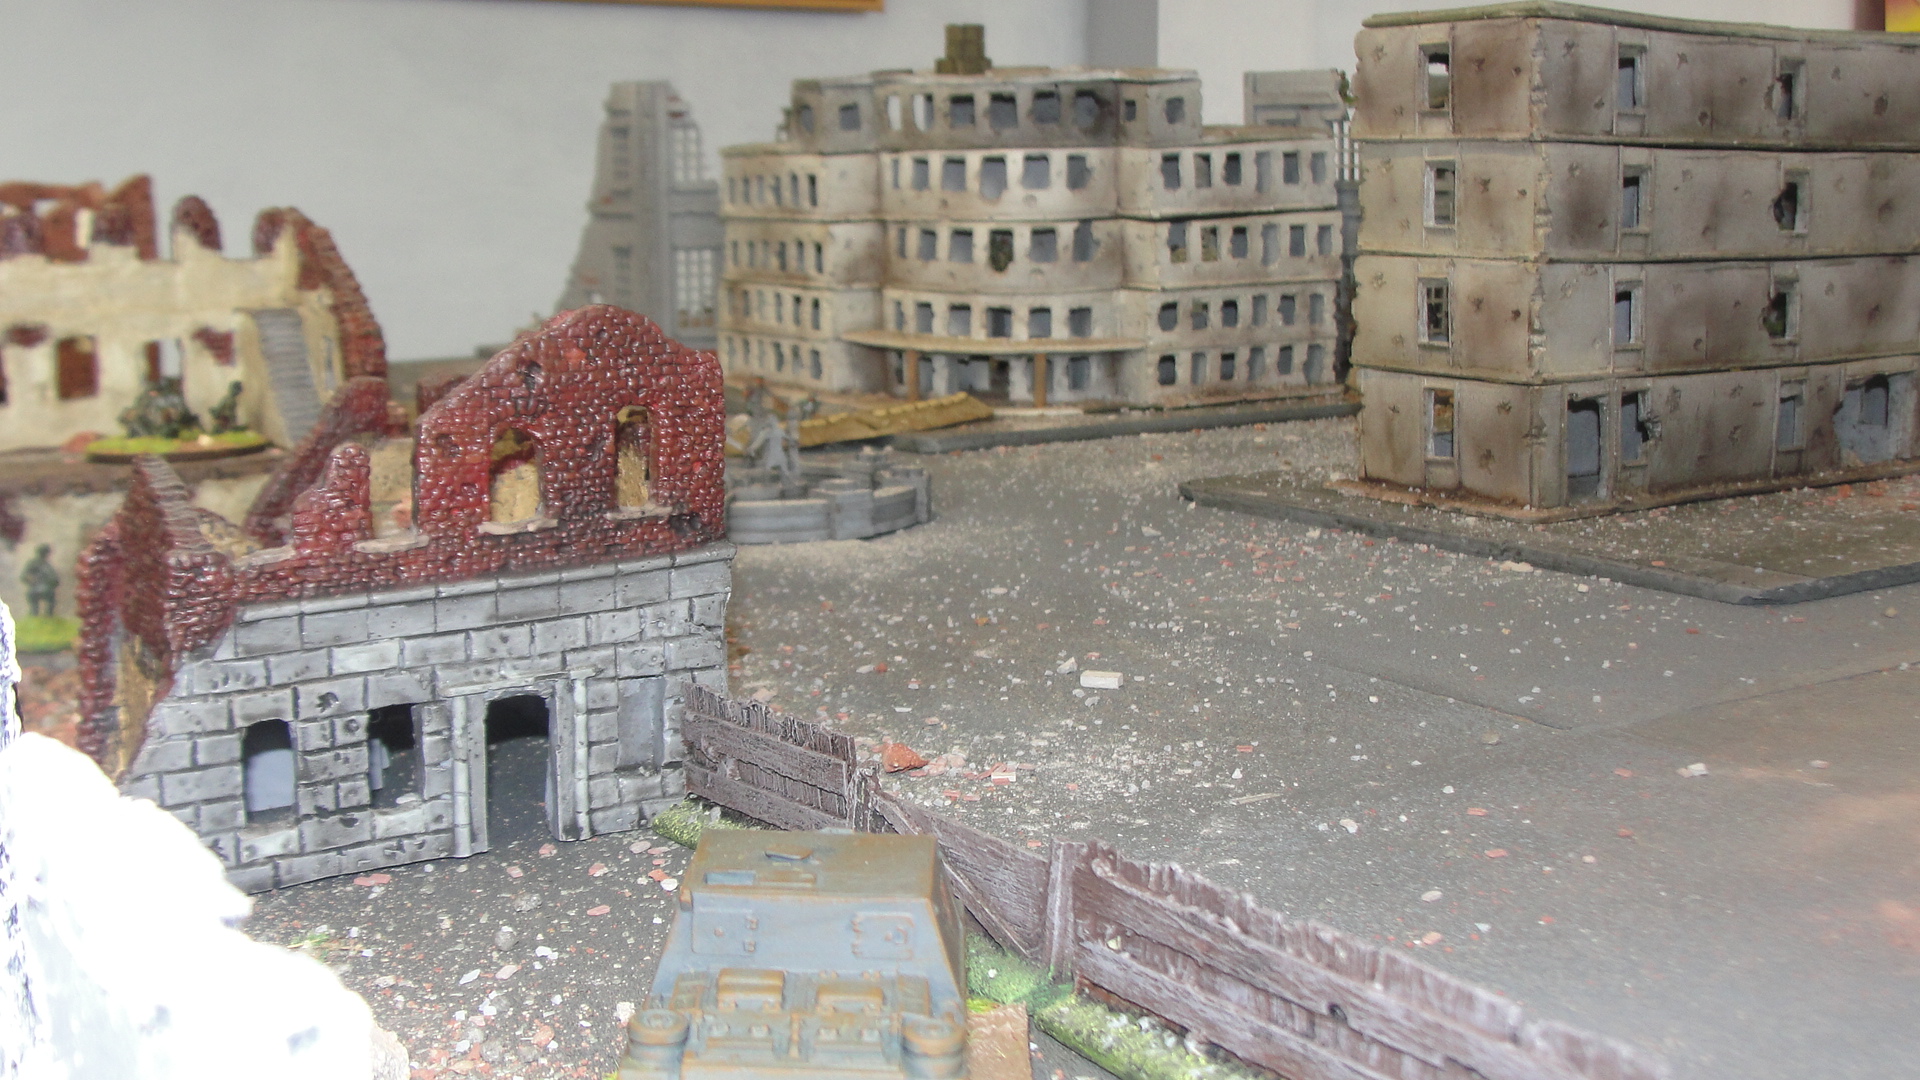
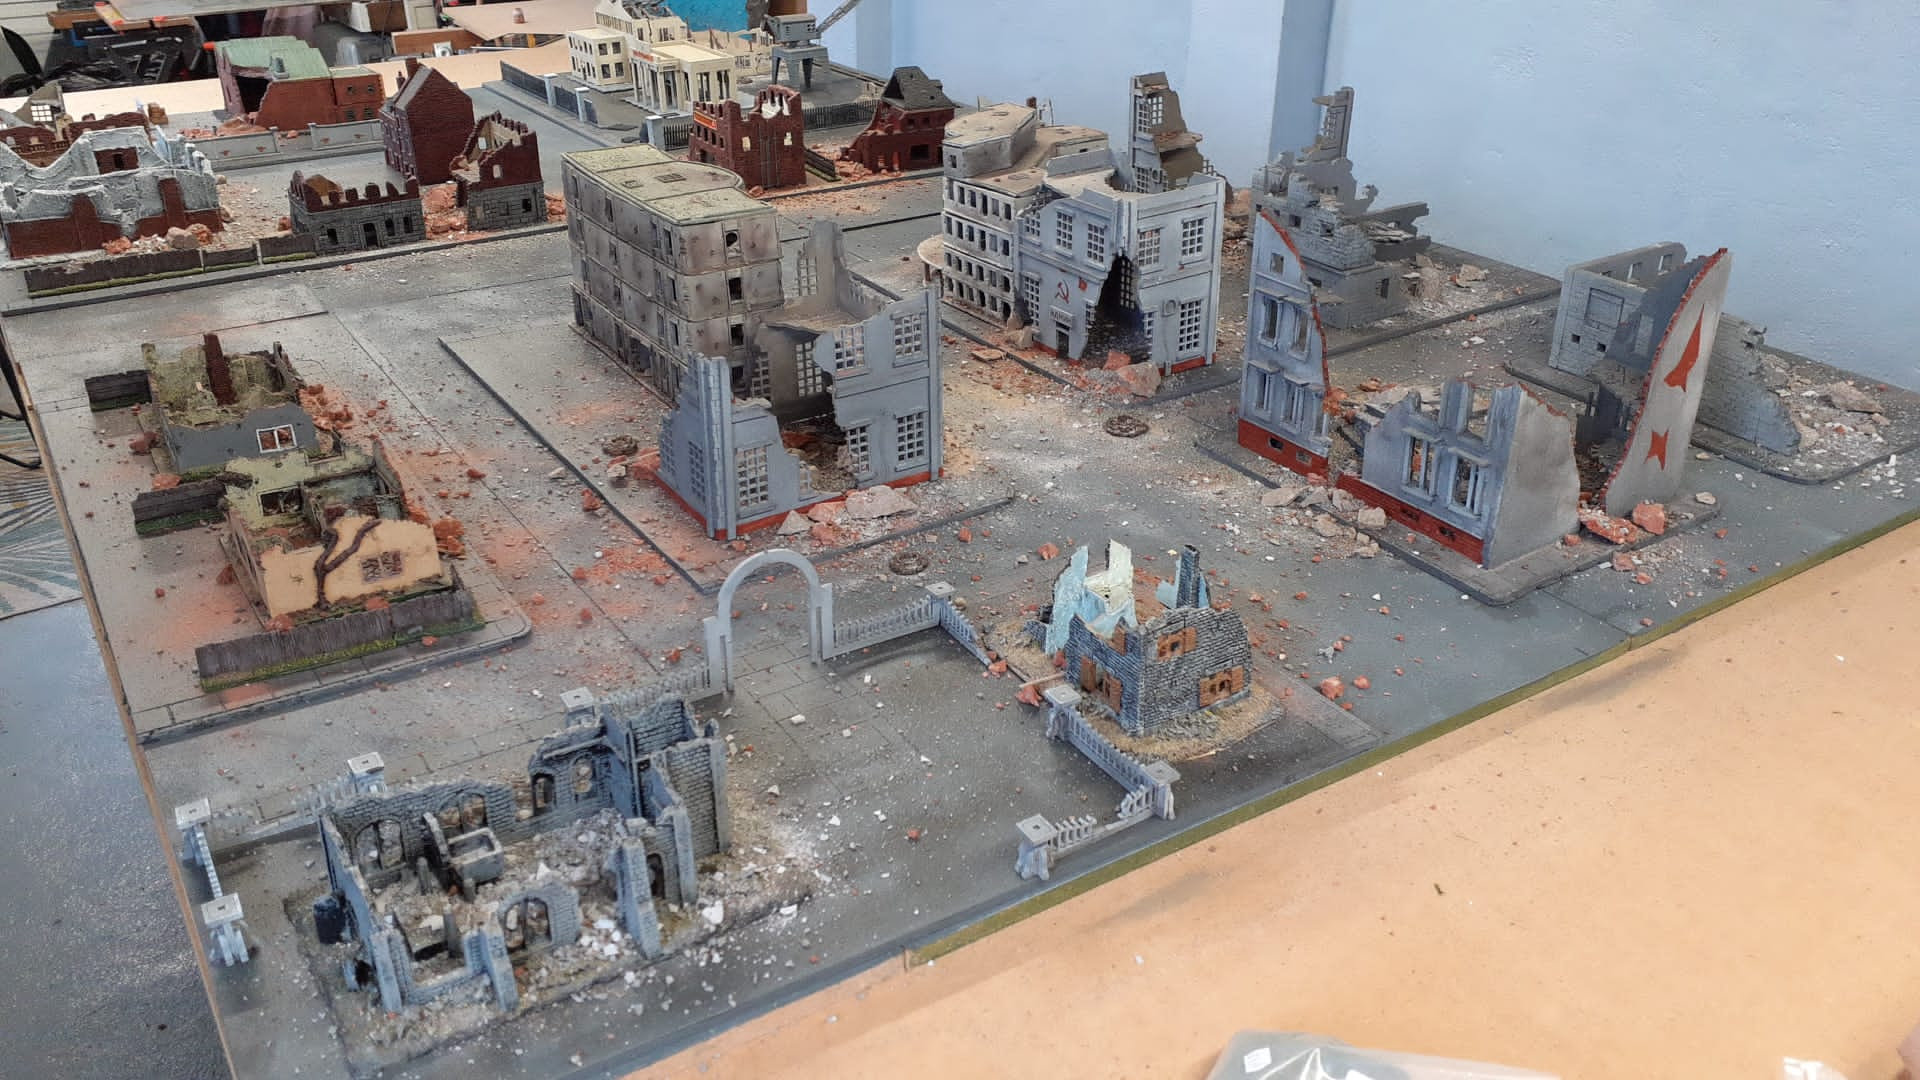
Having a large collection of WW2 20mm Soviet forces matched by an even larger collection of 20mm German forces pulled together over the years by my mate Paul. A few weeks ago I suggested that I pull together a Stalingrad scenario using the Battlegroup rules. Over the years we have used a number of WW2 rules but recently returned to Rapid Fire, however these do “not scratch that itch” as far fighting in urban areas like Stalingrad.
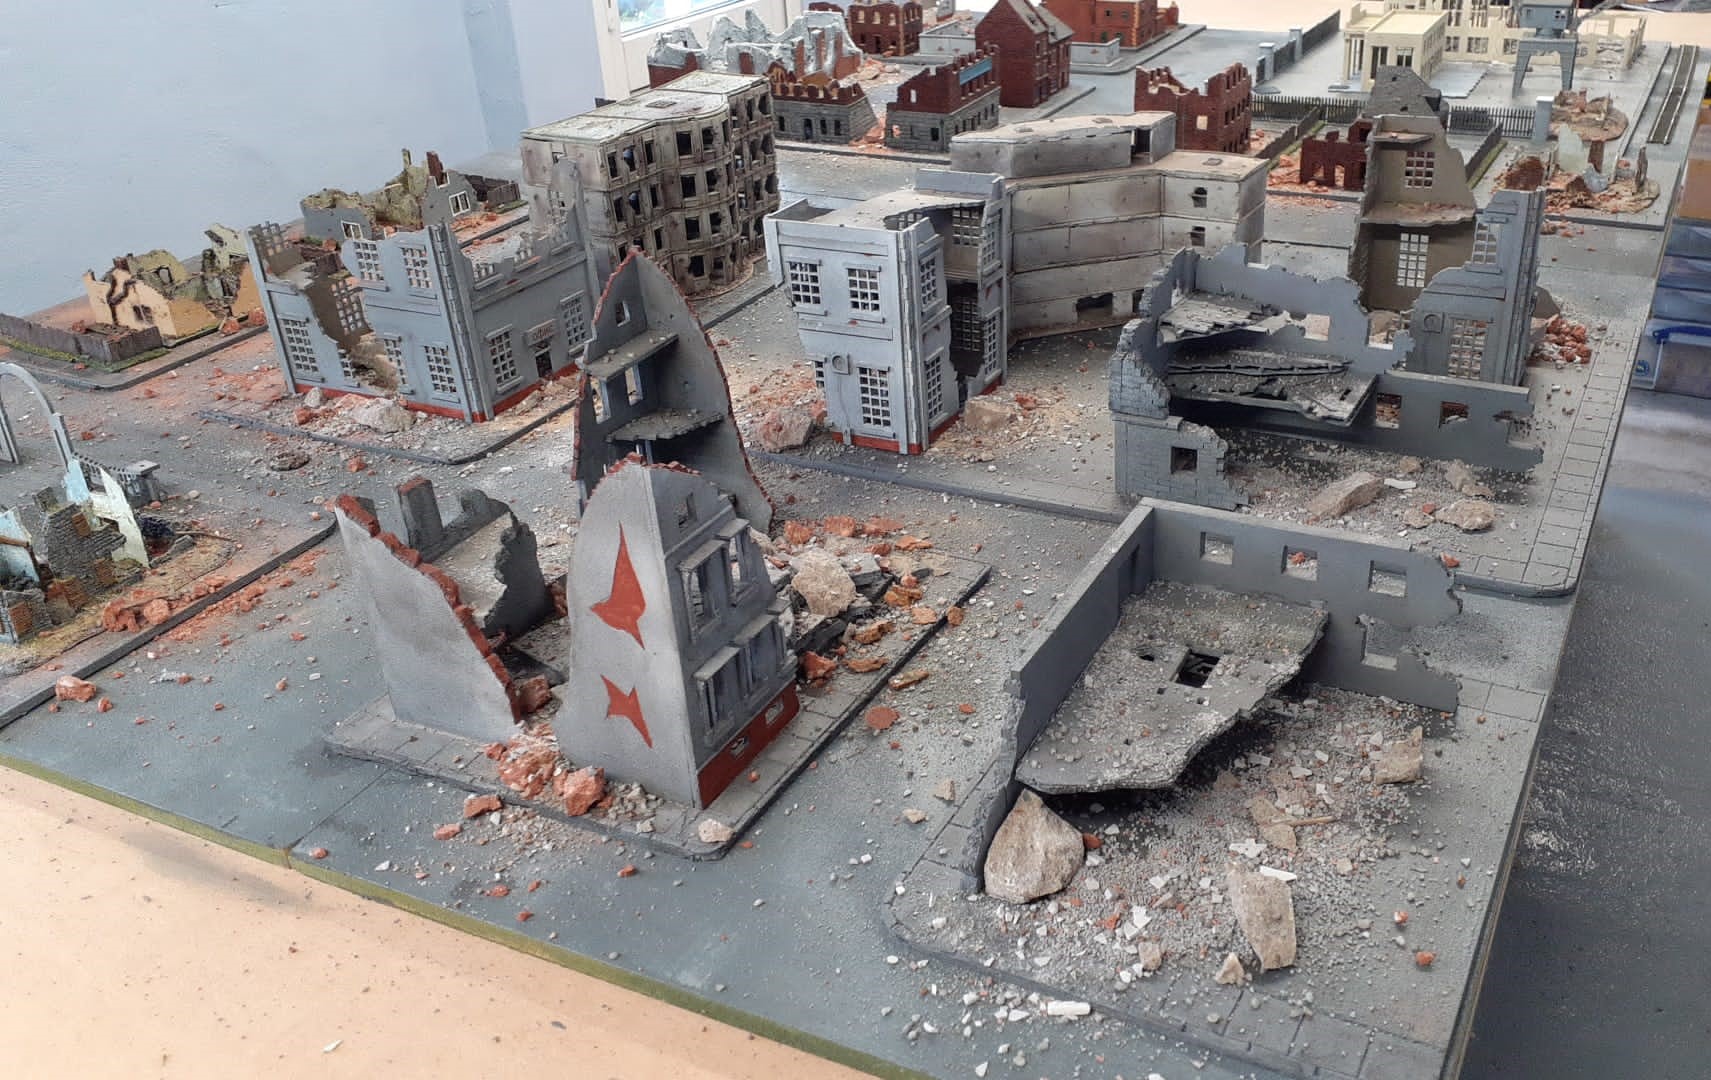
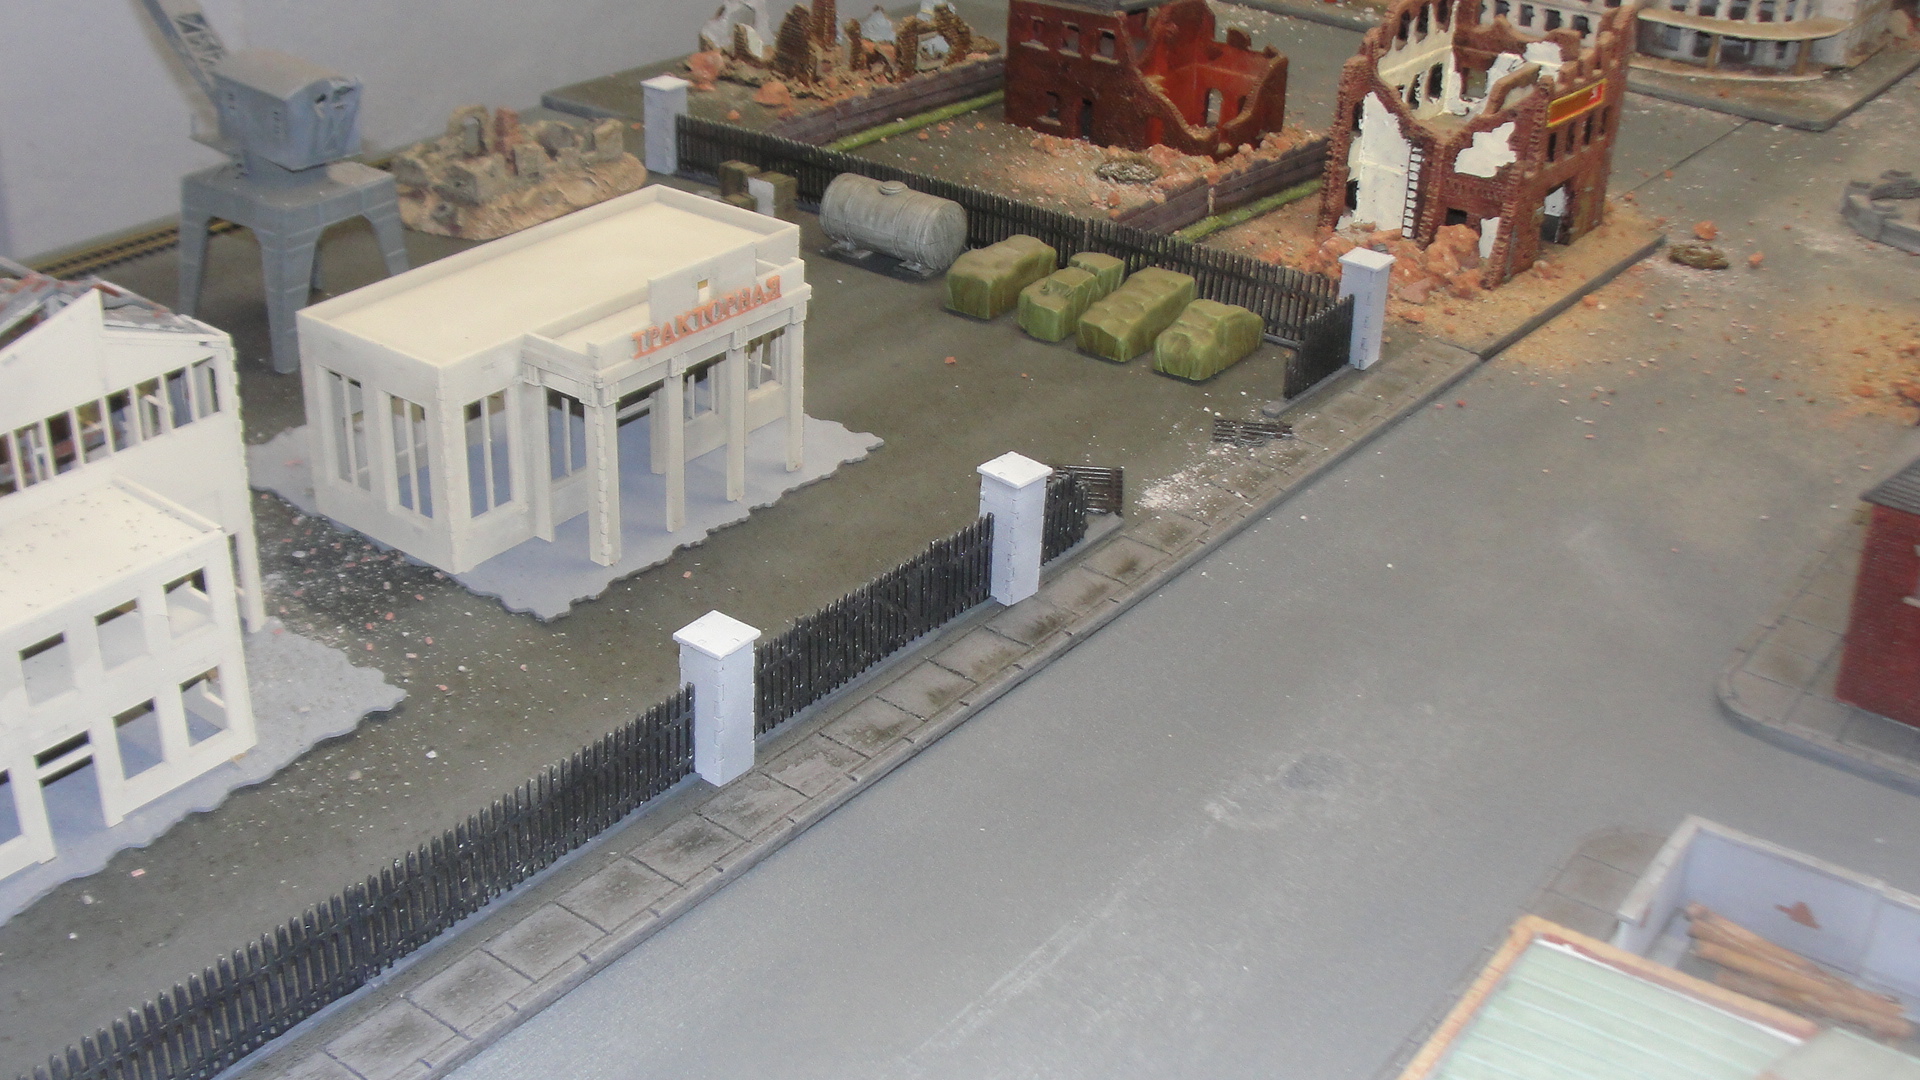
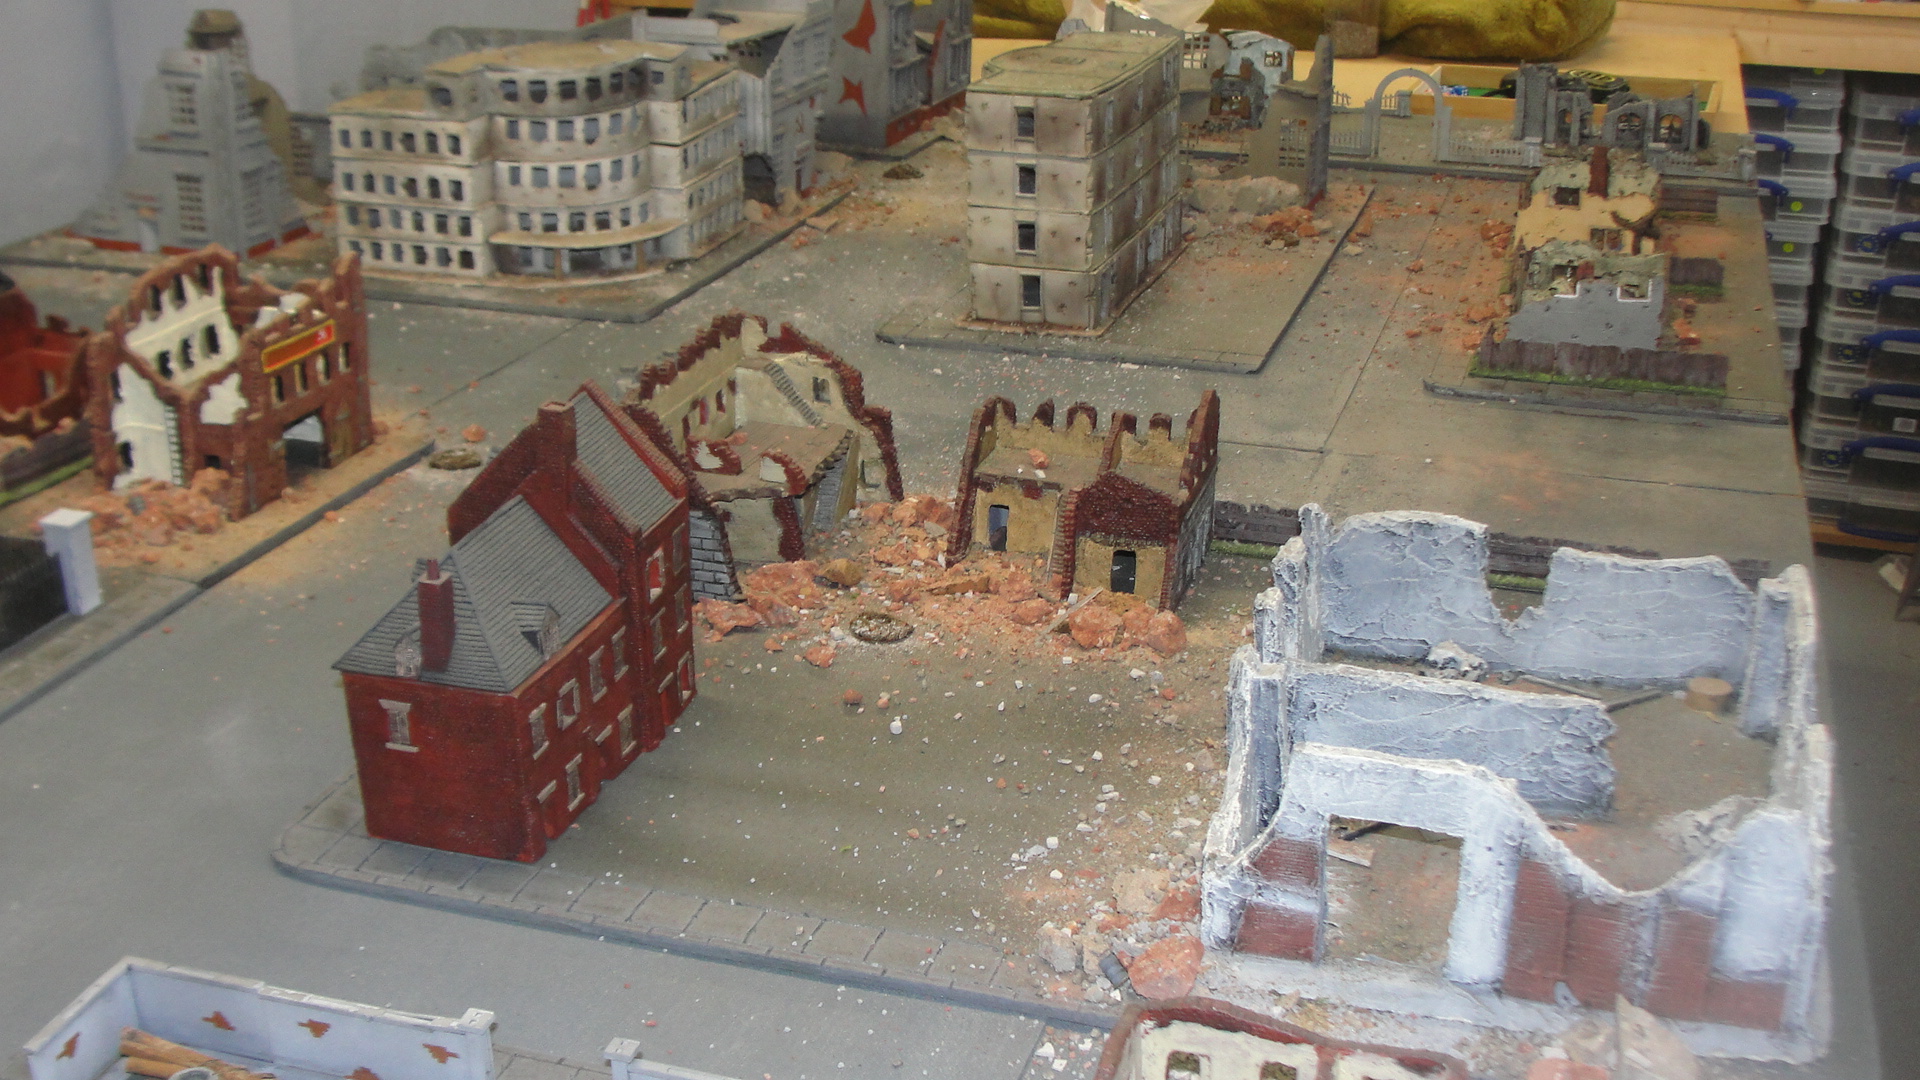
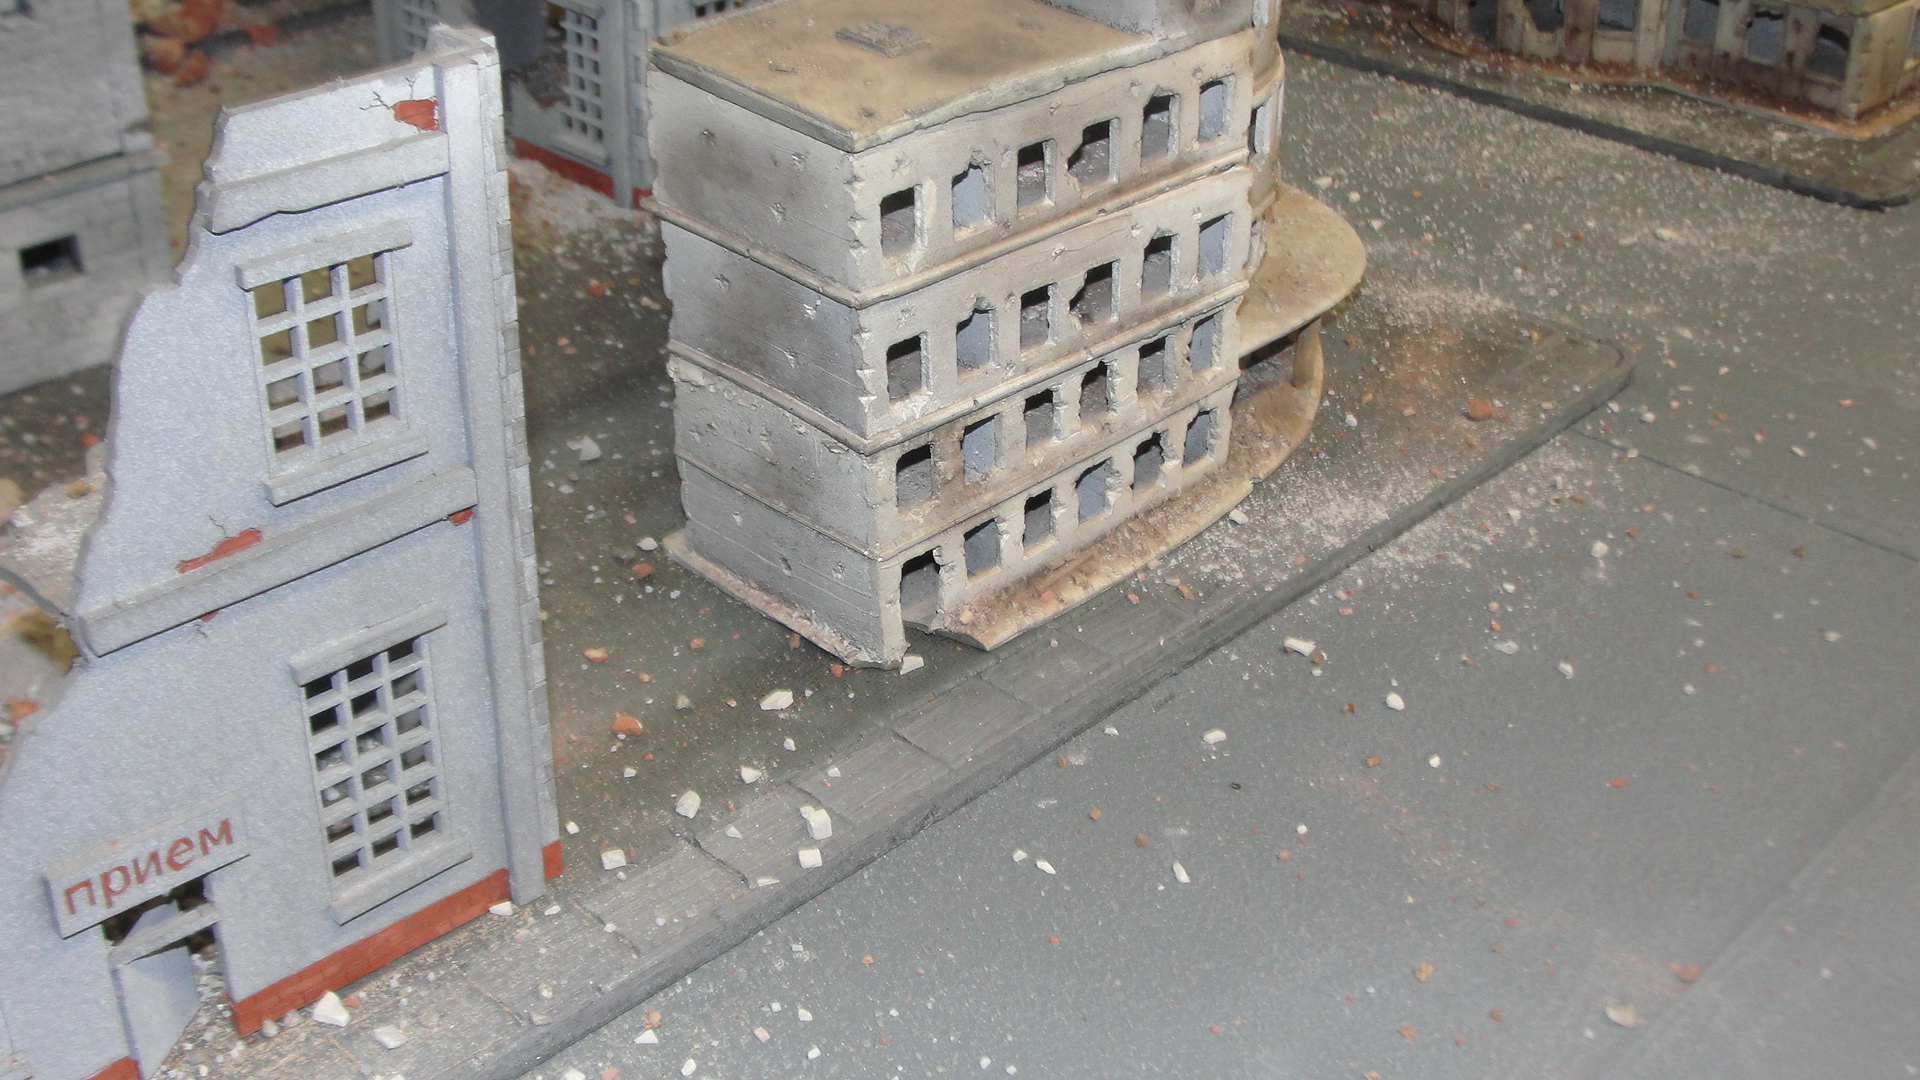
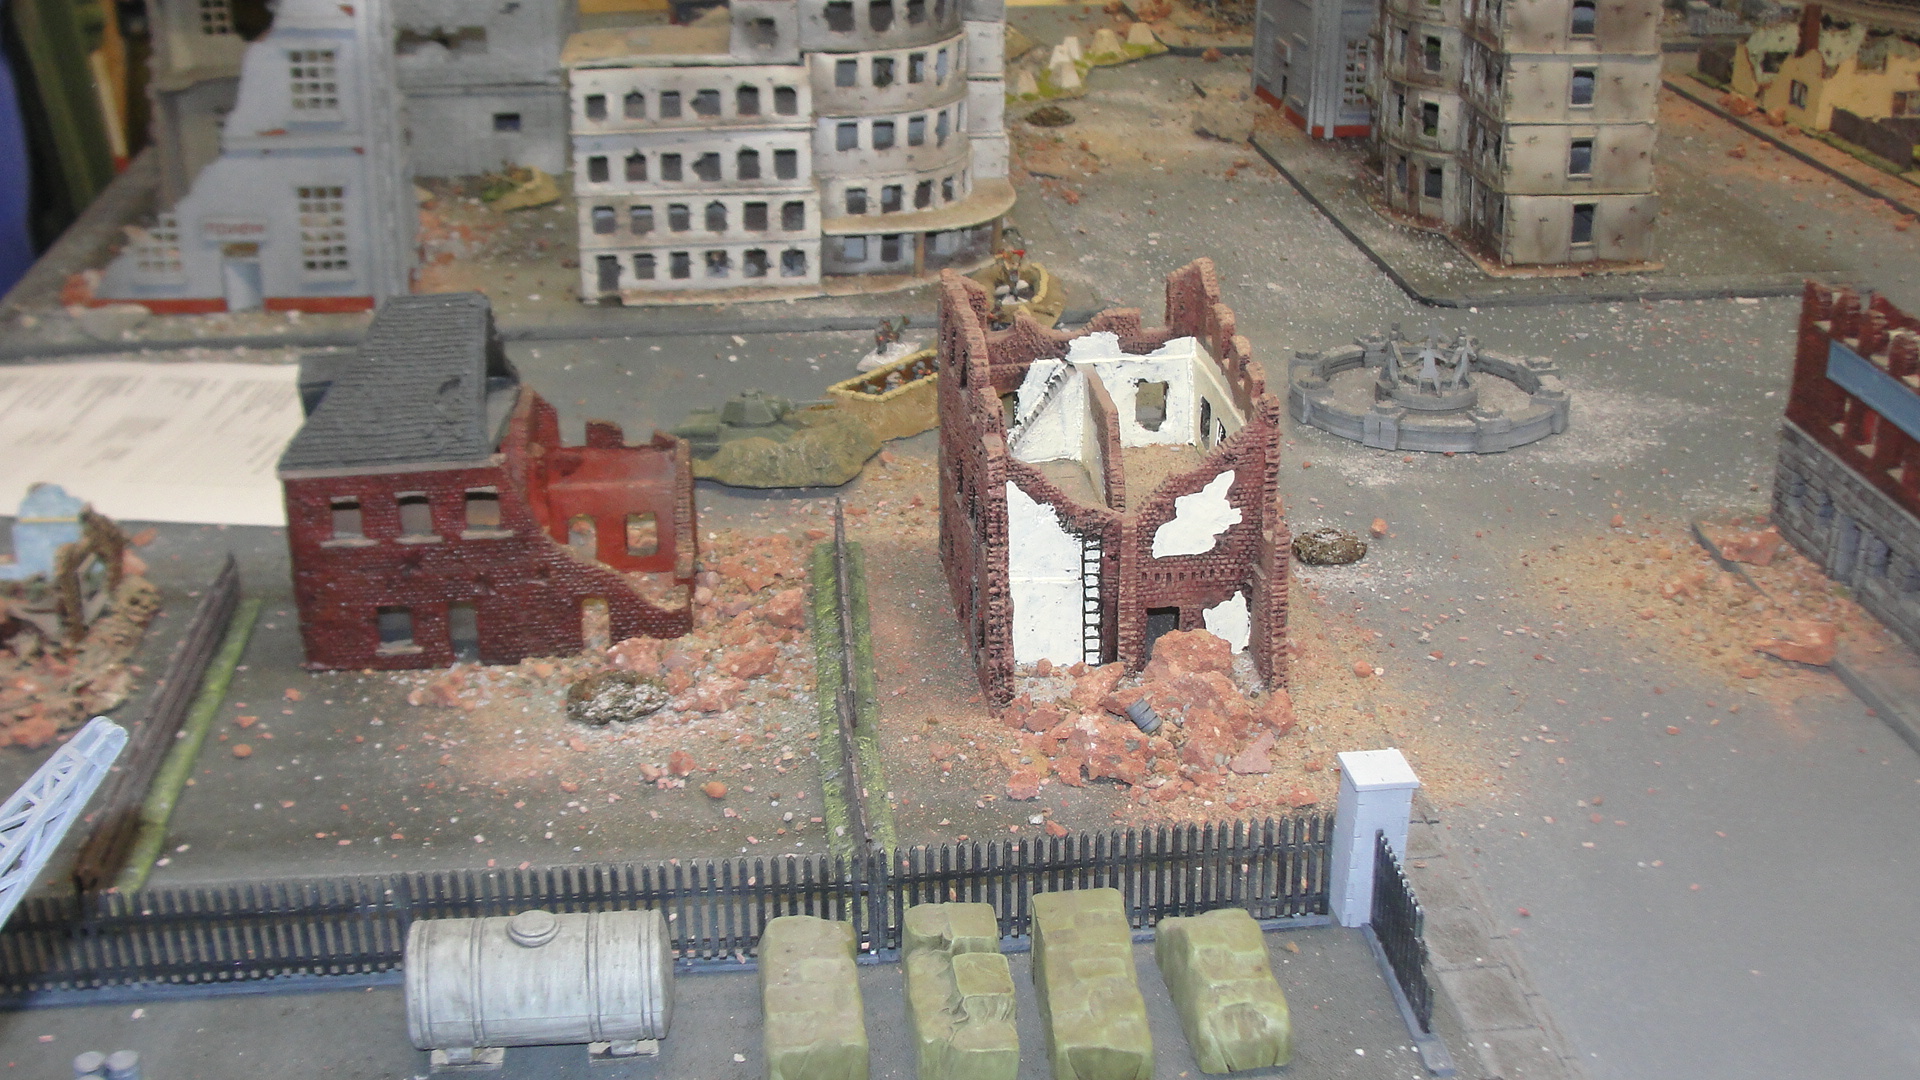
What I didn’t expect was that Paul (the Terrain-Meister) to go into overdrive to provide the table setup below, with several new buildings produced (including the Tractor Factory) in the space of 9 days. A joy to fight over.

The Russians had 3 infantry platoons made up of Workers Militia, Reserve Infantry and a “remnant” Infantry platoon (these have already taken casualties and start understrength) supported by armour and artillery. The Germans only had 2 infantry platoons made up of a standard platoon and a “Sturm” platoon again supported by armour and artillery.
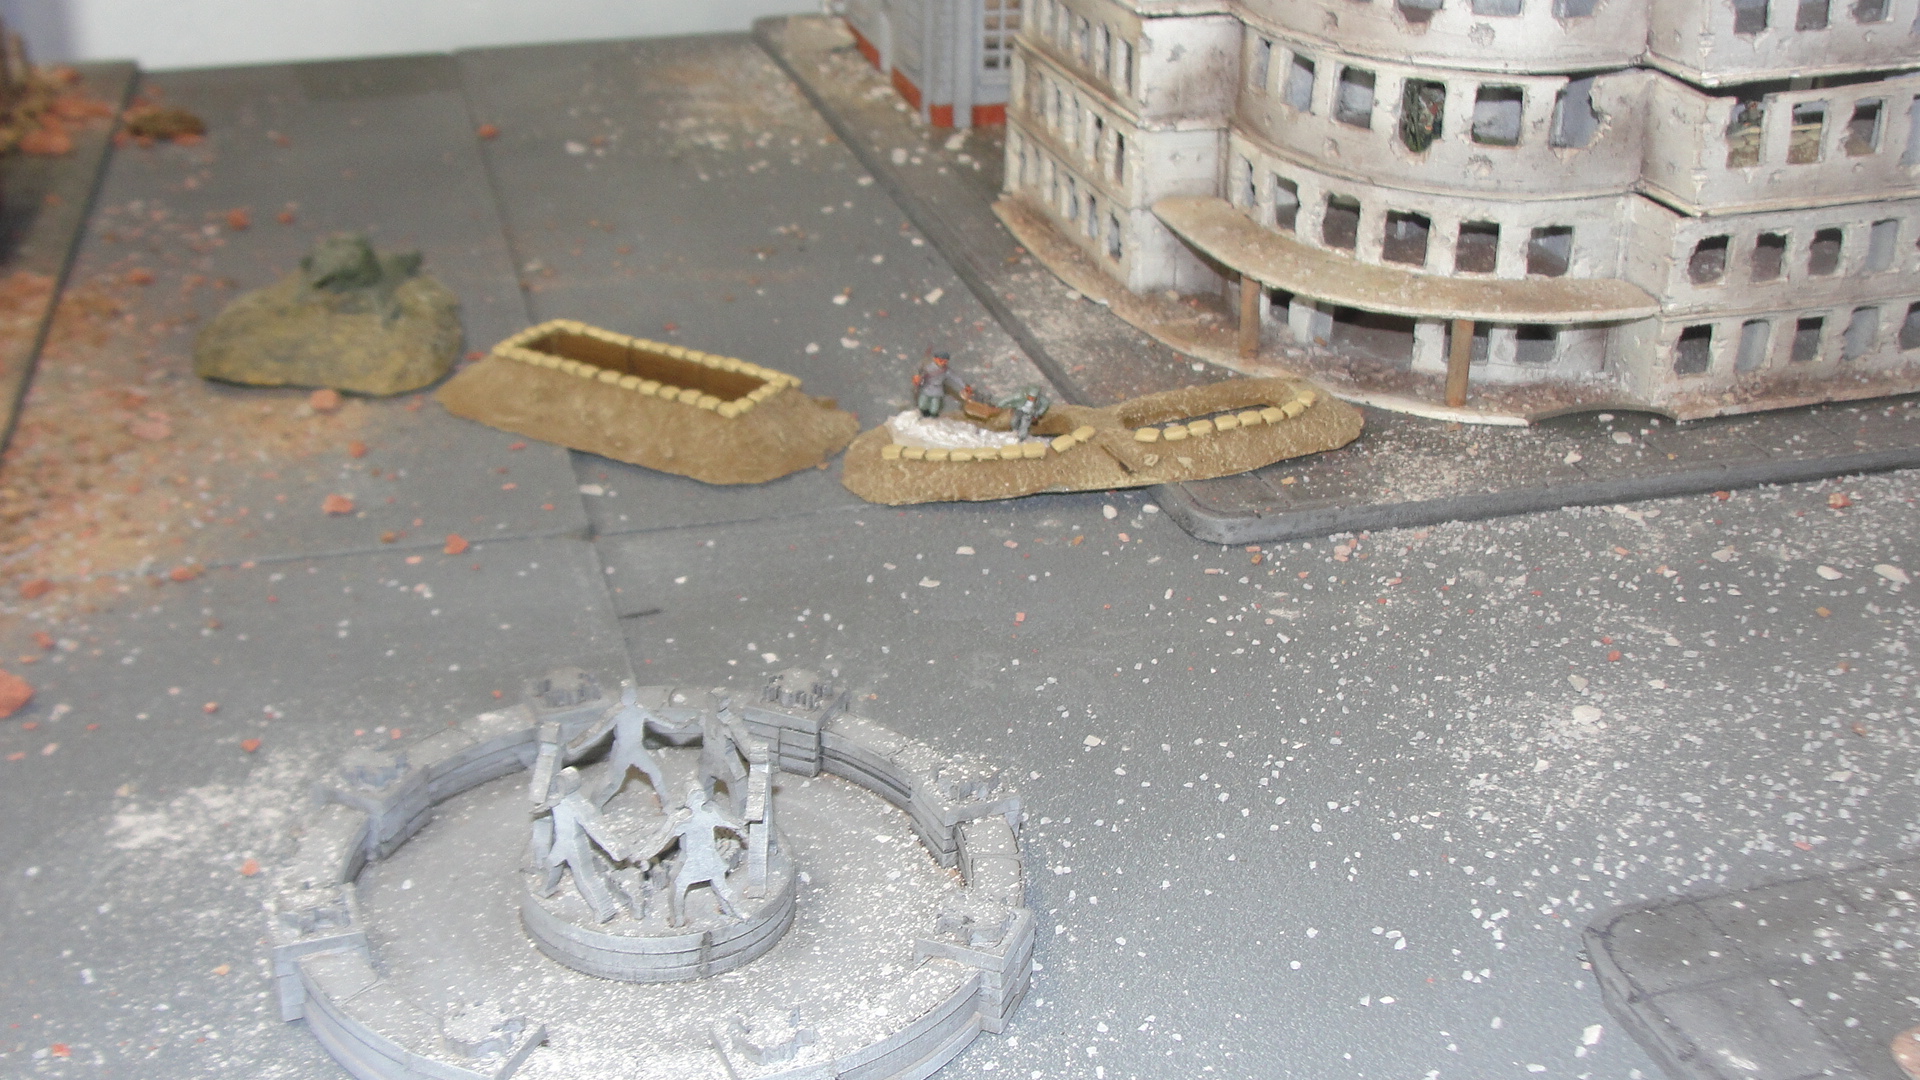
Five objective points were placed on the board, the Russians placed 3 all in their left flank quarter in the Workers district (where the flats are at the top of the board), while the Germans placed two on both of their flanks.
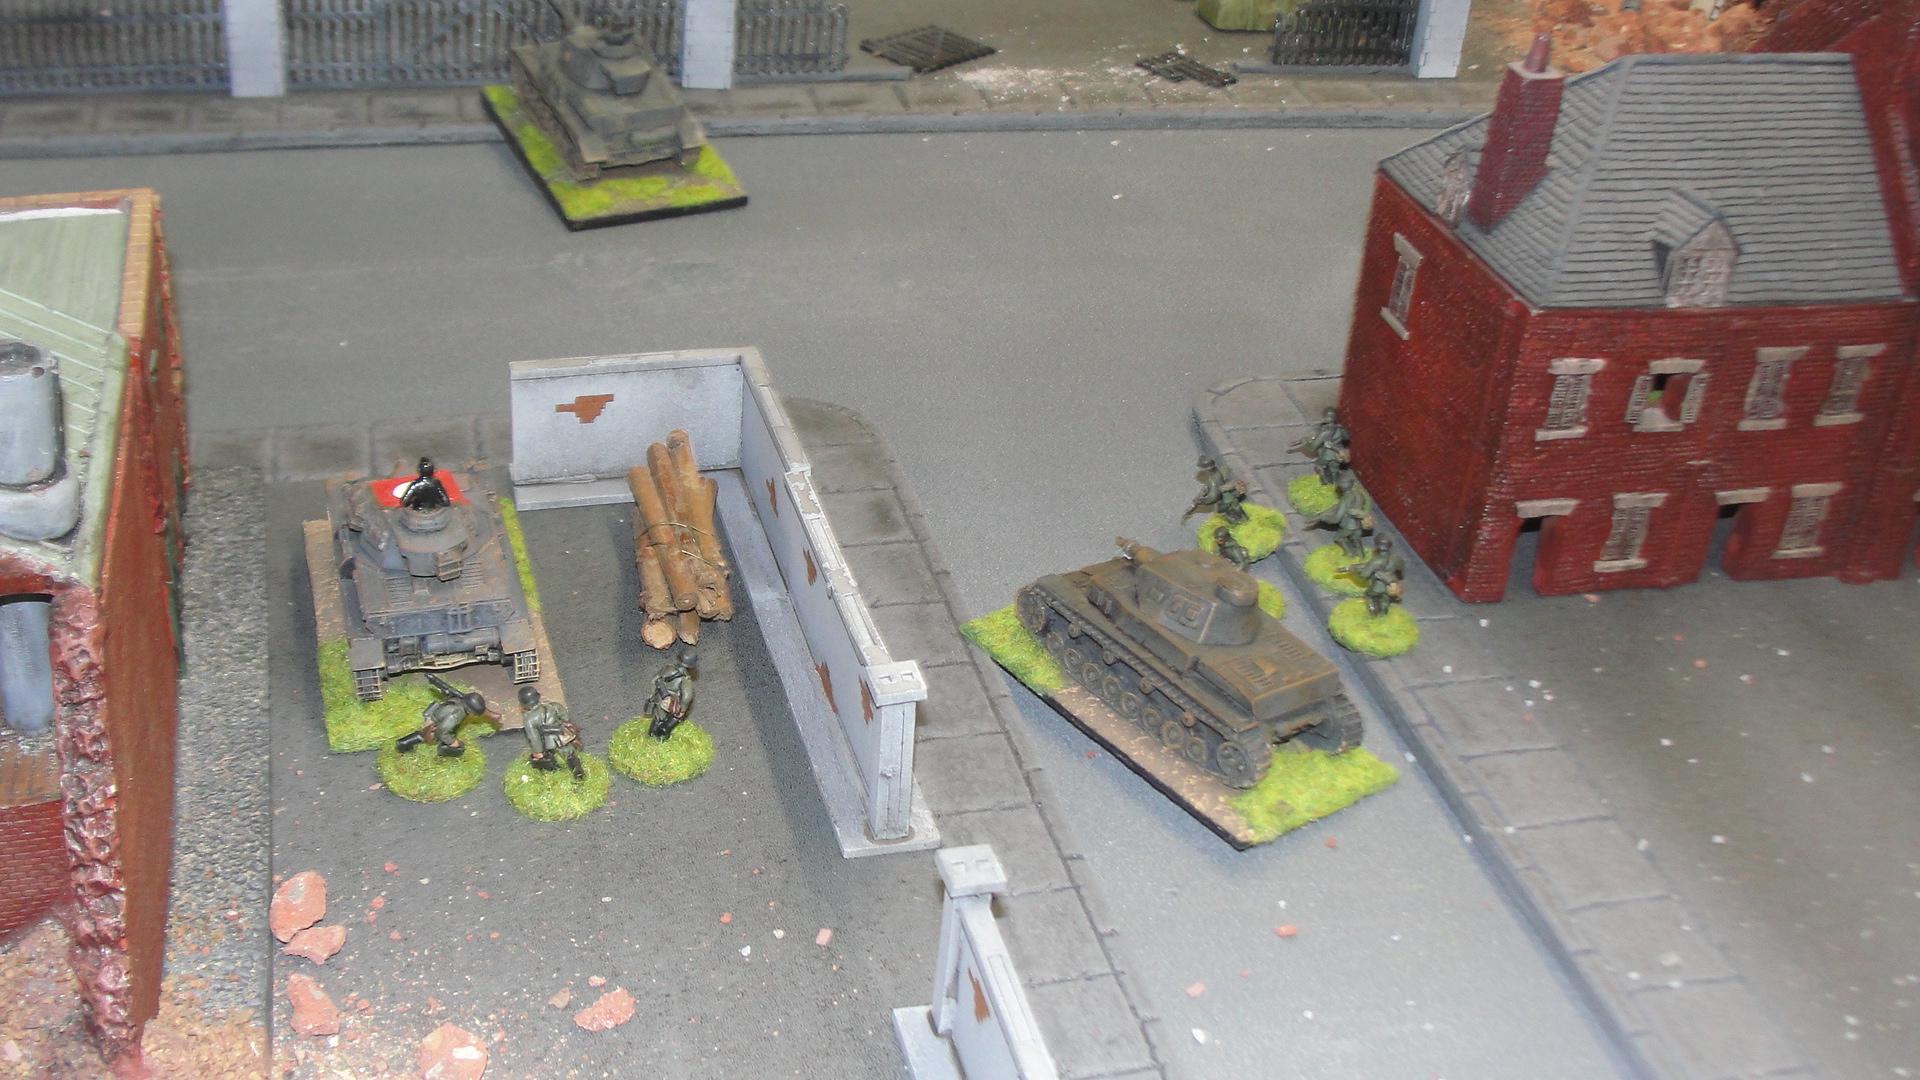
The Russians deployed most of their starting forces defending the Workers Quarter and the objectives they had placed. With a section of the Workers militia dug-in at the crossroads.
The Germans deployed one of their platoons in the Workers Housing while the Sturm Platoon was held in reserve with the armour. The opening moves for the Germans was to advance with the armour and Sturm platoon and assault the Tractor Factory.
 Workers Militia defending the crossroads
After a couple of failed shots at the Russian armour the Pzkw IV F2 advanced on the Tractor Factory to try and get a decent shot at the Russian Armour (cursing the frontal armour of the KV’s).
In the meantime, the MG34’s were being used in harassing fire on the Russian defenders.
On the German right flank the infantry were in a firefight with the Workers militia for control of the Workers Quarters.
On the Russian left flank their 45mm Anti-tank gun was forlornly looking for a target (blue marker represents reserved fire order). Also I know the “anti tank obstacles” are not entirely accurate but we didn’t have anything to represent the anti-tank ditch that had been selected as a defence.
In the centre the Workers Militia were also on “reserved fire” as was the T34. The militia soon quit the battlefield after being “pinned” by enemy fire and then subsequently failing a morale test.
Also before anyone points it out I know the T34 is actually a T34/43 but its the only dug-in T34 available (I still need to complete this model with camo netting).


In the Tractor Factory the Russians had deployed a KV1 and KV85 supported by a platoon of Naval Infantry to stop the German advance. The KV85 had been pinned after failing a morale test from a hit from the Pzkw IV. While it didn’t penetrate it distracted the crew.
After a number of failed attempts to penetrate the frontal armour of the KV’s the Pzkw IV F2 decided it would go “toe-to-toe” with the KV but missed.
But this is where “Broken Dice’s” luck showed again, after inflicting a loss on the Germans they had to draw a chit for morale loss. However they drew a “mine strike” marker instead and as the only Russian tank that had moved was the KV 1 it took the hit. A 6 was rolled and the KV 1 was no more.


But German celebrations were short lived as a T34 that had “tipped toed” under cover of the Tractor Factory popped its nose out around the corner and fired at the side armour of the F2 and we had an ex German tank.
The rest of the German armour continued to advance on the factory complex.
But time had beaten us and time was called but there will be a part two coming soon as the game continues in a weeks time.